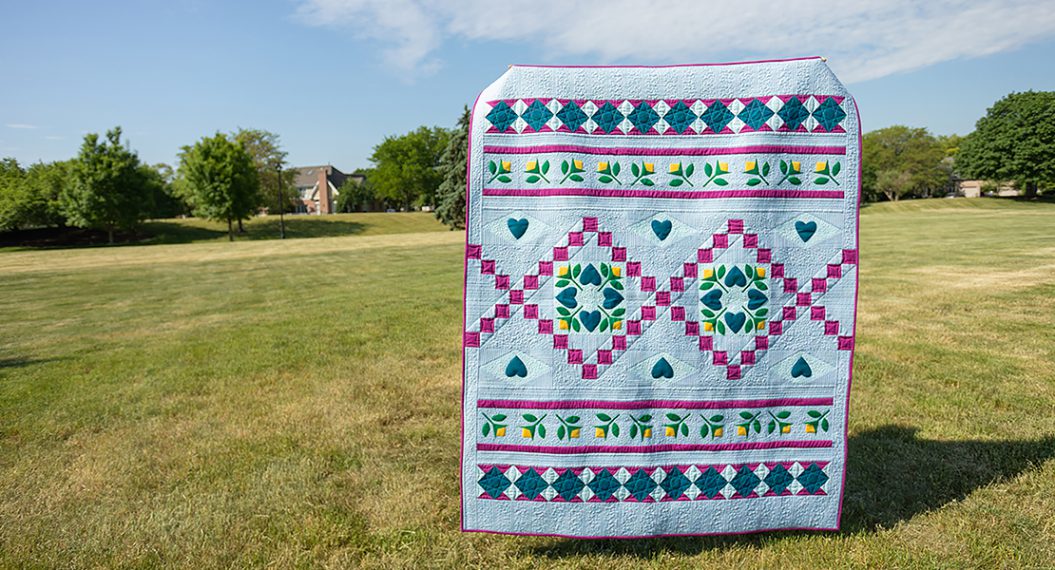
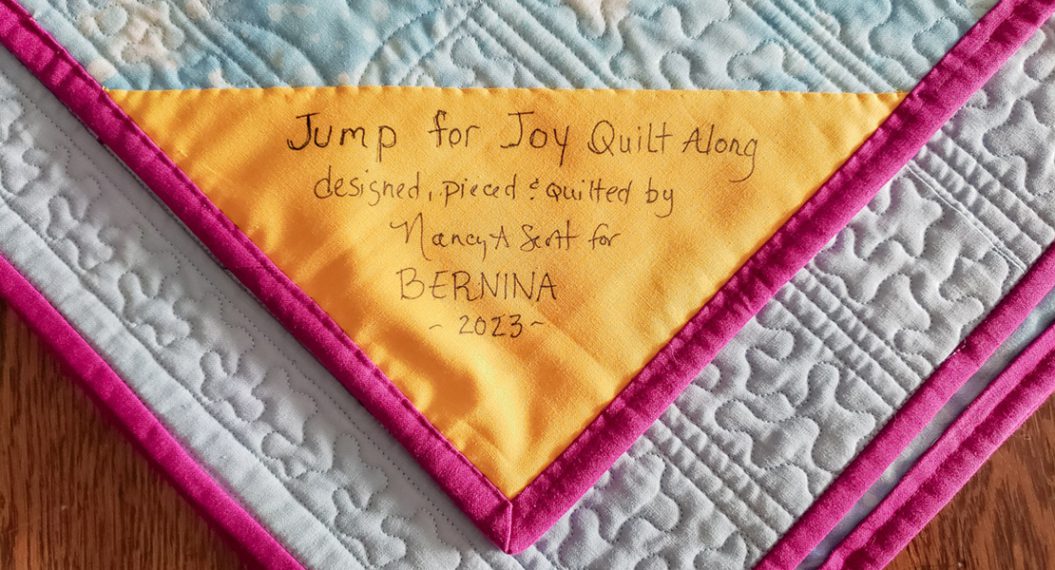
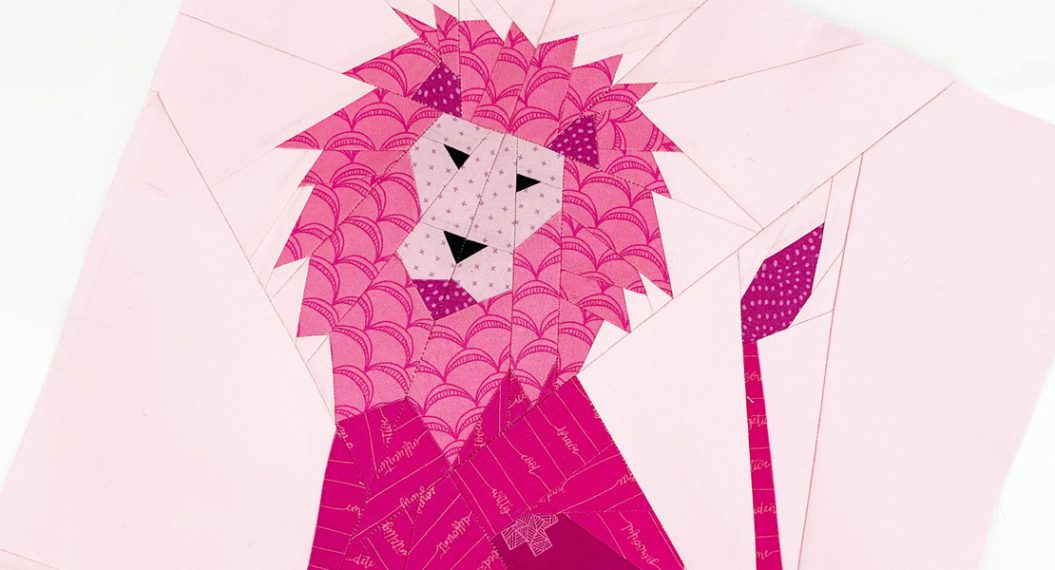
Jump for Joy Quilt Along, Part Nine: Quilting on the Frame
We are nearing the end of the Jump for Joy Quilt Along, with just one month to go. I hope you have had a lot of fun while increasing your quilting knowledge and skills. We’ve discussed a lot of quilting options in the past few posts and this month, the topic is quilting on the frame. I’ll also go over using the BERNINA Q-matic Longarm Quilting Automation System, which allows you to precisely place and stitch designs for quilting.
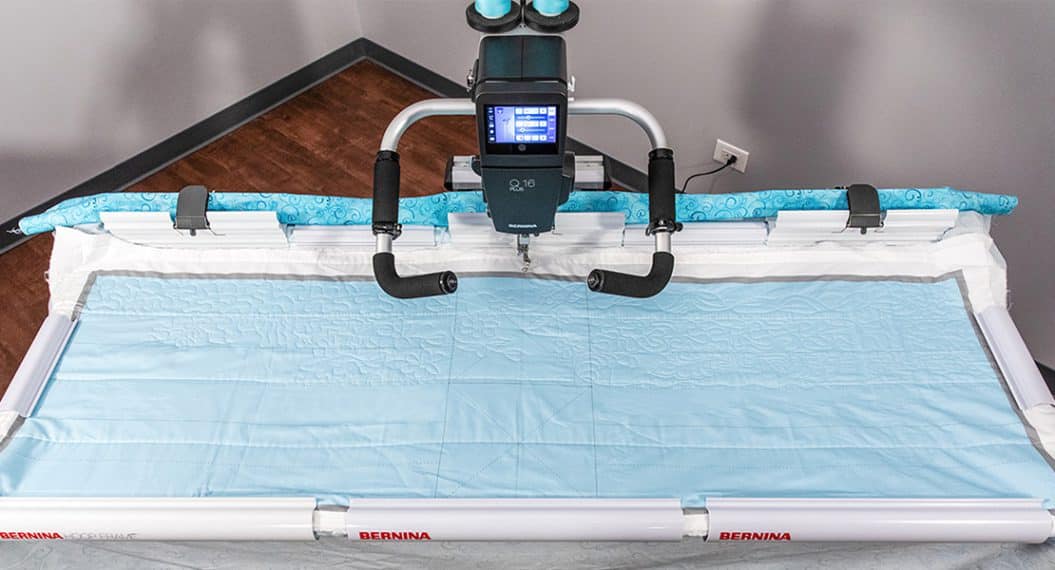
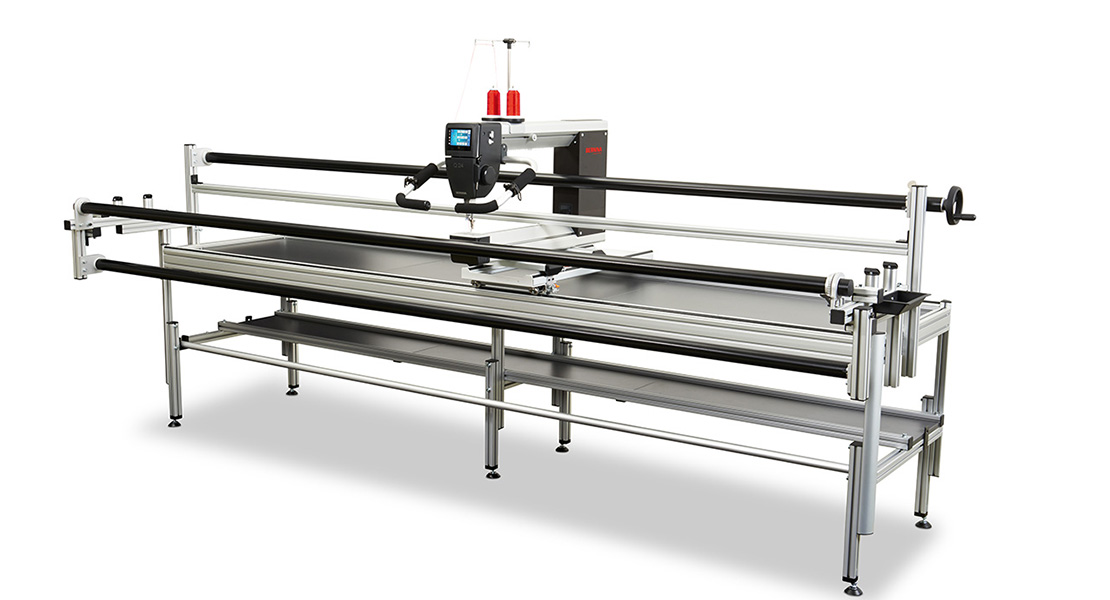
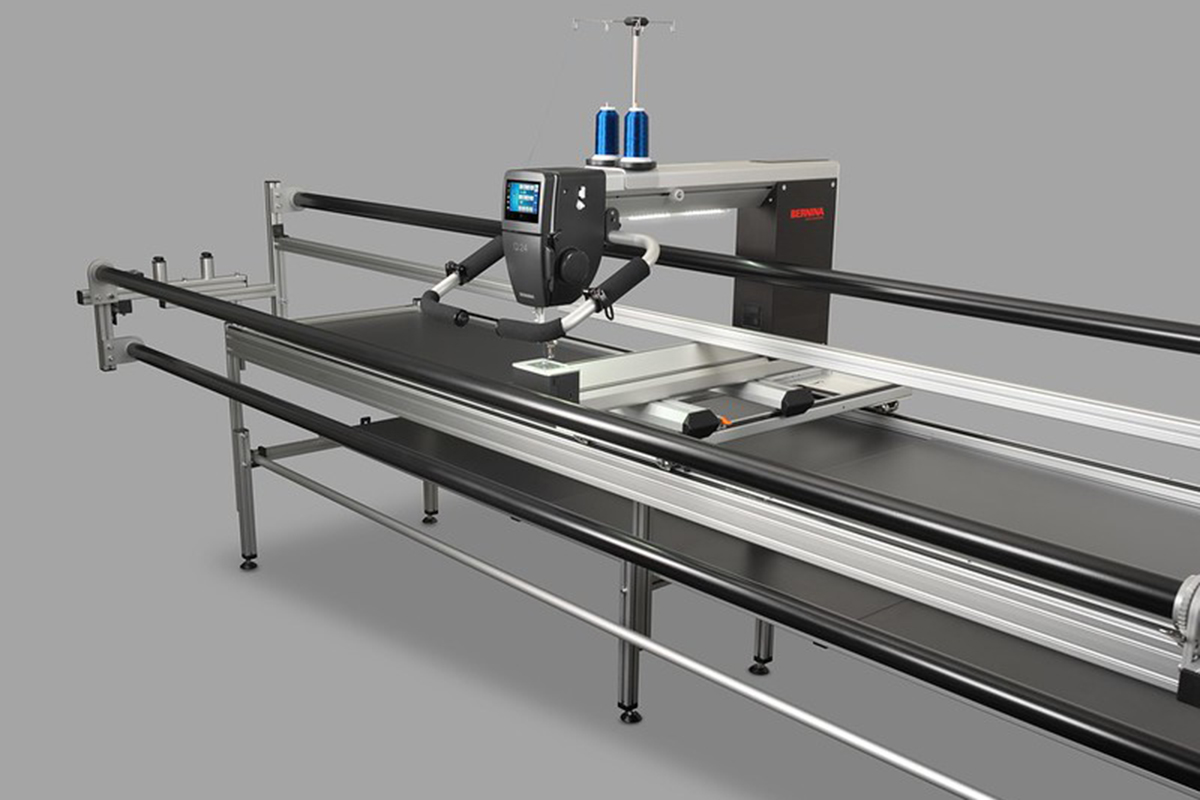
When working with a frame system, the quilt is stationary and the BERNINA Q Series Longarm moves on a carriage with wheels across the quilt.
If you are finding the Jump for Joy Quilt Along for the first time, it is never too late to join. Here are the direct links to the previous posts, which include the fabric requirements, cutting instructions, as well as piecing and assembly instructions for the quilt top.
- Jump for Joy Quilt Along, Part One
- Jump for Joy Quilt Along, Part Two: Raw Edge Fusible Applique
- Jump for Joy Quilt Along, Part Three: Chain Block
- Jump for Joy Quilt Along, Part Four: Diamond Block
- Jump for Joy Quilt Along, Part Five: Assembly
- Jump for Joy Quilt Along, Part Six: Planning
- Jump for Joy Quilt Along, Part Seven: Free-Motion Quilting
- Jump for Joy Quilt Along, Part Eight: Rulerwork
Materials for Frame Quilting the Jump for Joy Quilt
- BERNINA Q 24 on a Classic PRO Frame
- BERNINA Q-matic Longarm Quilting Automation System
- BERNINA Quilting Feet for Q Series
- Straight Line Ruler, included in the BERNINA Essentials Ruler Kit
- Quilting thread — Mettler Seracor 0271
Loading the Frame
Quilting on a frame has a lot of similarities to quilting on a domestic machine or a sit-down Q Series Longarm, but there are a few key differences. The first one is loading the frame. Instead of layering and basting the backing, batting, and quilt top together to form a quilt sandwich, each piece is loaded independently onto the frame.
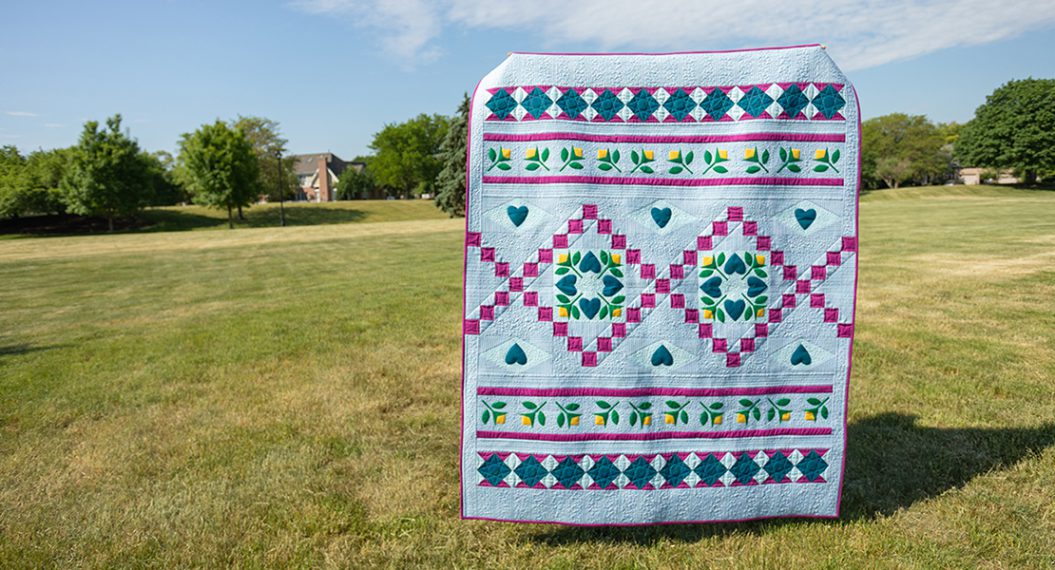
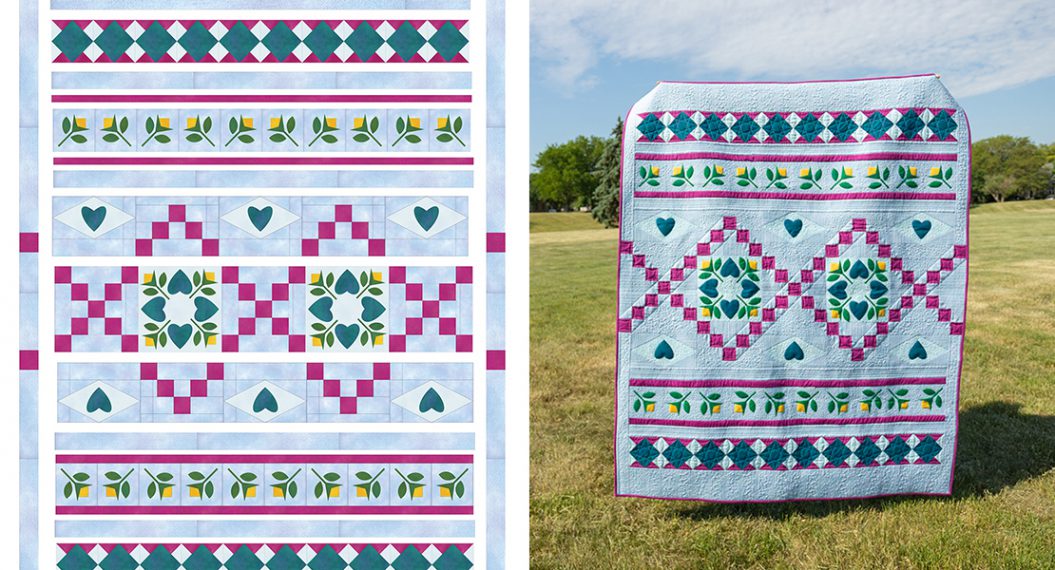
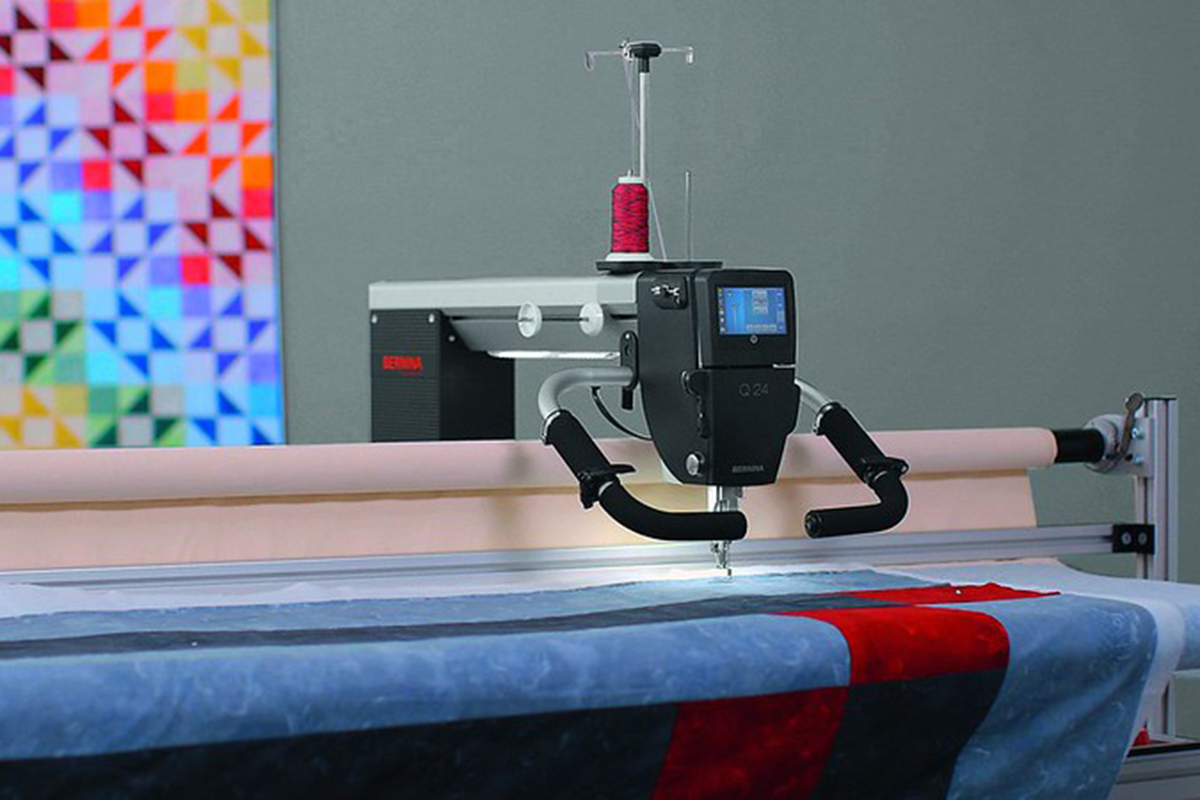
First, the backing is pinned to the Take-up and Backing Leaders. Next, the batting is smoothed across the backing and finally, the quilt top is positioned in place. Since the Jump for Joy quilt is designed as a mirror image, it doesn’t matter which short end is considered the “top” and which short end is pinned to the “top” leader.
This video shows you step by step on how to load the longarm frame.
Quilting Order
A second key difference is the order the quilting is completed. With a stationary machine, quilting typically starts in the center and works out toward the edges. With a frame machine, you start quilting at the top and work within the area the machine can reach before advancing to the next section of the quilt top.
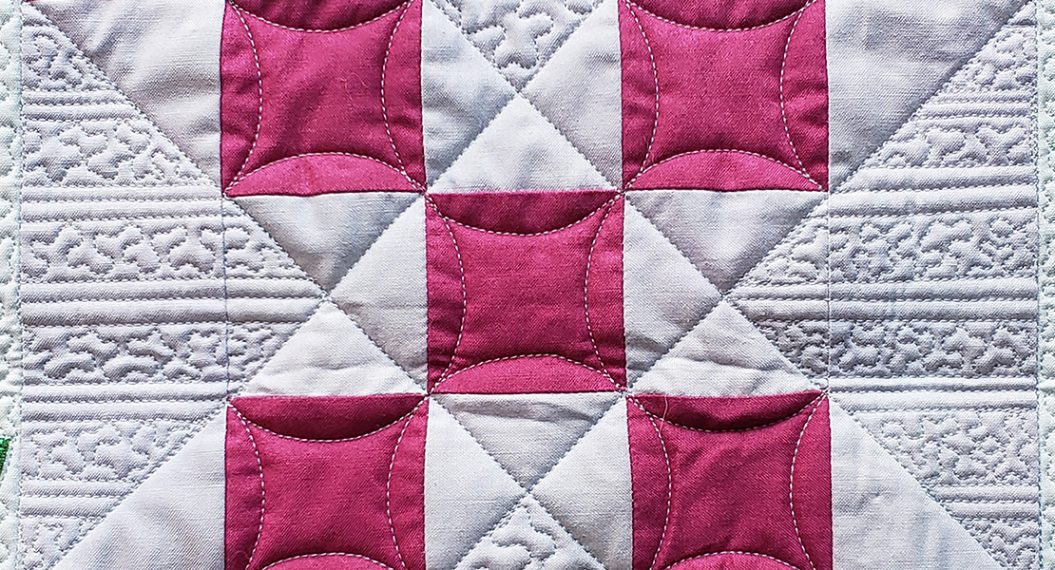
You can follow the same plan as we talked about in Part 6 by stitching the straight lines first, but you’ll only stitch the lines that are in the reachable area.
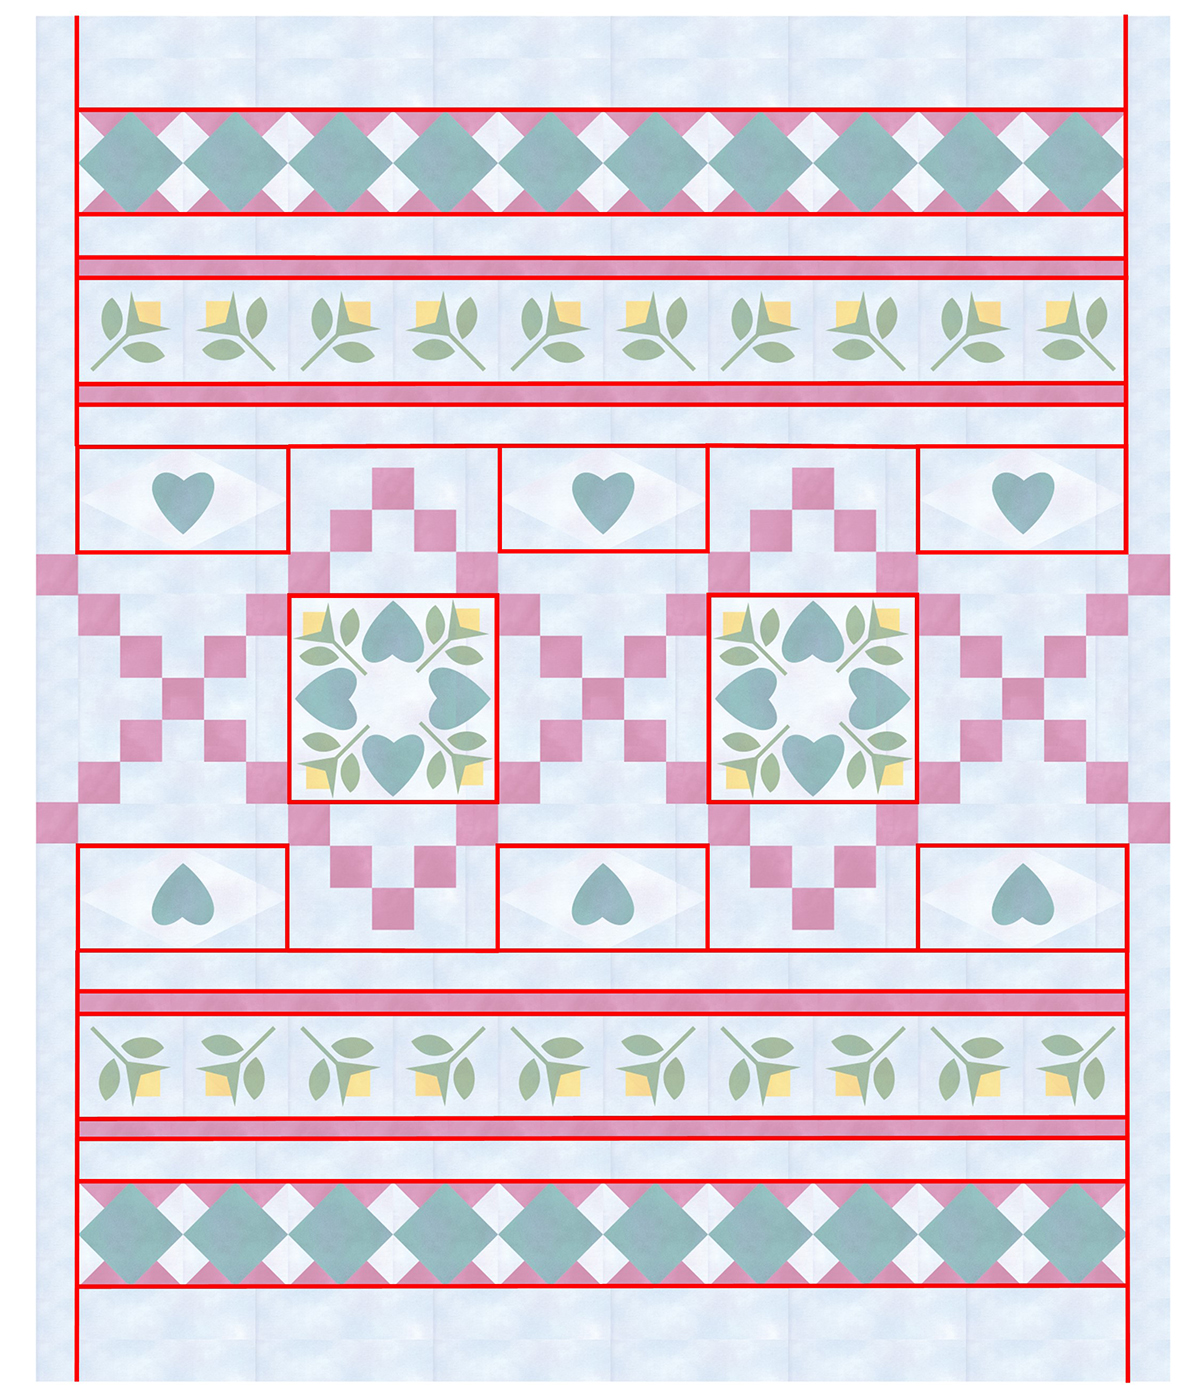
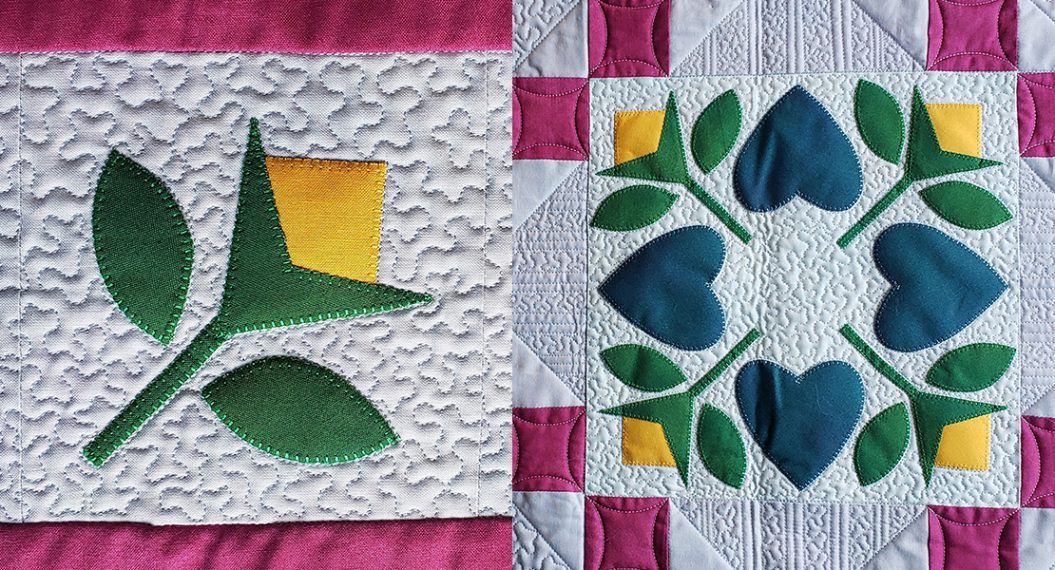
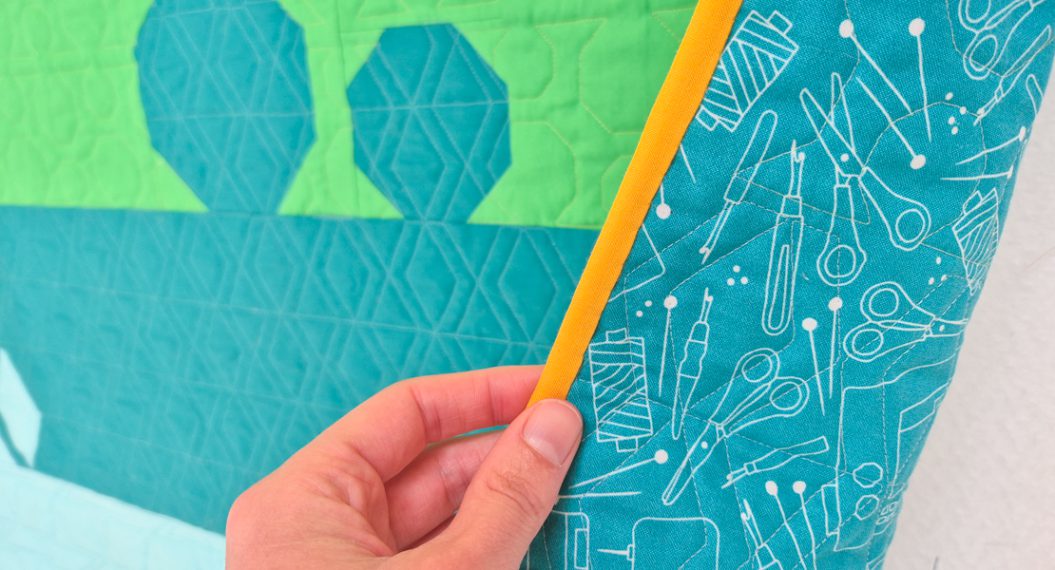
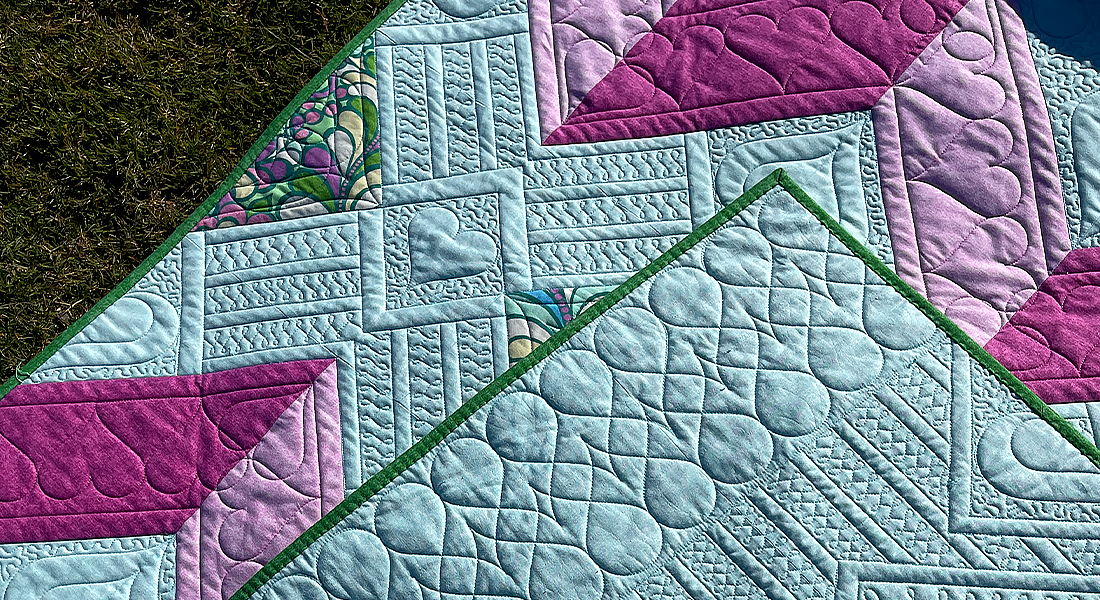
Once stitched, you’ll then proceed with adding the detailed quilting on the borders and blocks. If you are hand-guiding the longarm, you can follow the exact rulerwork and freemotion patterns shown in Parts 7 and 8. Once you have completed the quilting in that area, then you’ll advance the quilt by rolling all three layers onto the Take-up Rail to expose a new area for quilting. You will continue this process until you have all the quilting completed.
Automated Quilting Options
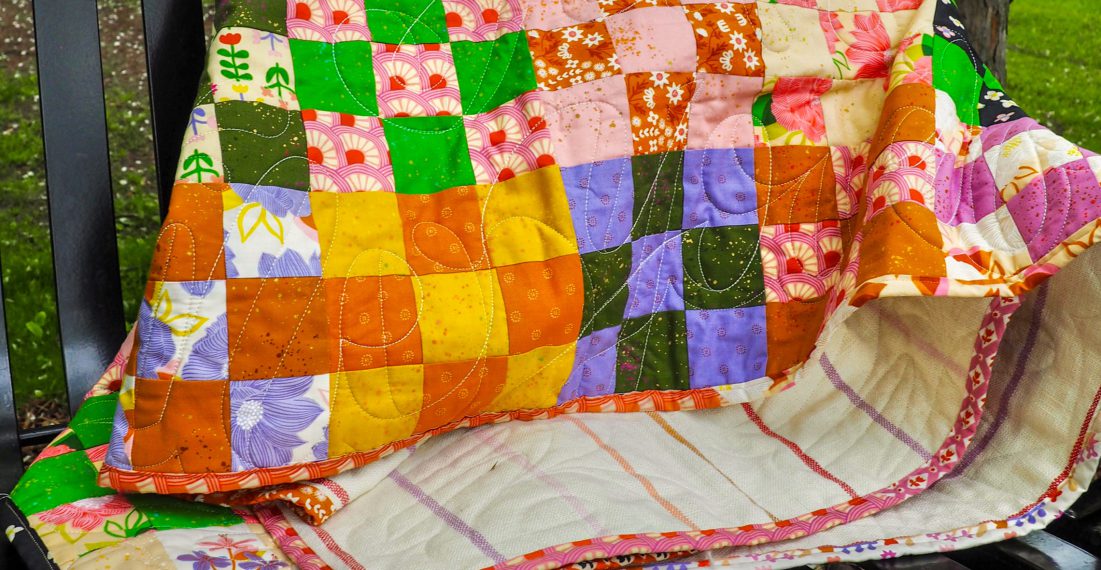
With Q-matic, you can choose to stitch an all-over or edge-to-edge design across the quilt, or you can custom quilt each section following the plan I used, or you can create your own quilting plan! An all-over pattern will stitch across all the piecing and applique, so you will need to determine if that is the look you prefer.
Q-matic provides a variety of options for creating a custom quilting look. You can set the designs on the computer screen and then hit the Play button so they automatically stitch on the quilt.
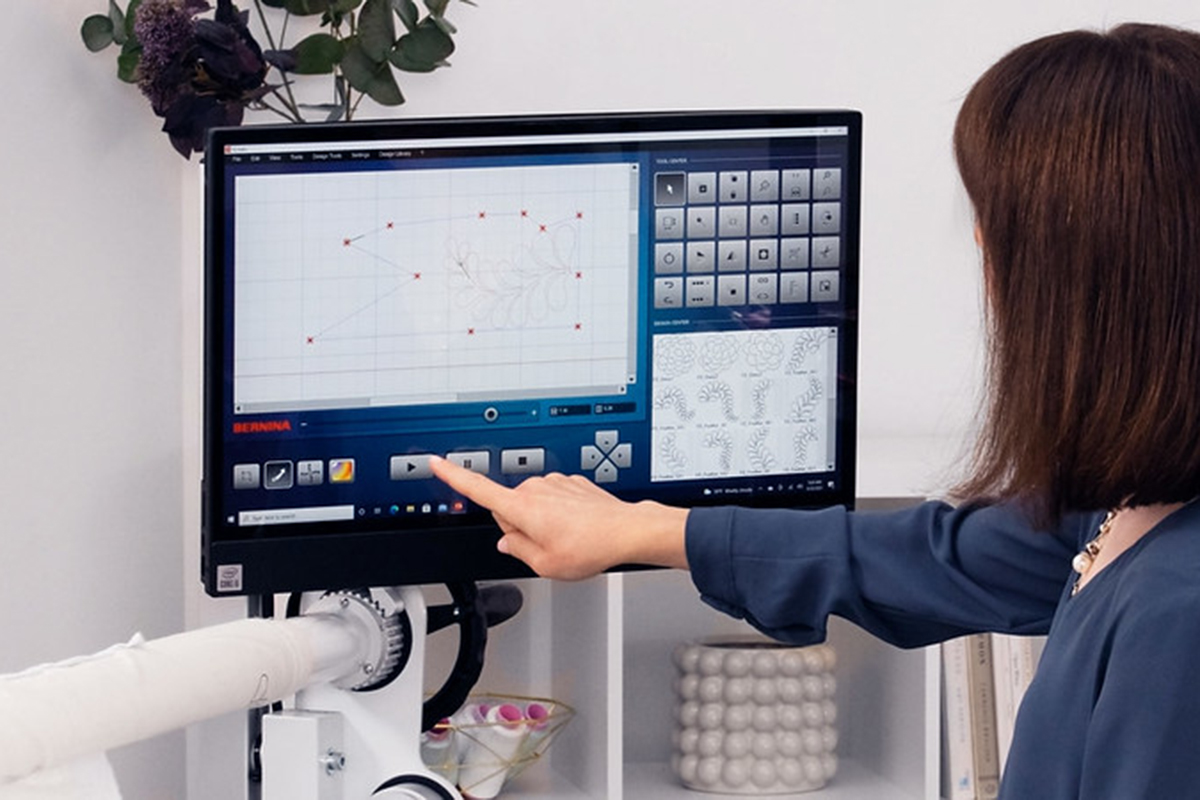
All the designs that were stitched hand-guided can also be quilted with Q-matic. This gives you a variety of options to try! If you don’t currently quilt on a frame but want to experience firsthand how easy and fun it is, use the locator to find your closest Q certified dealer. For me, it was love at first stitch!
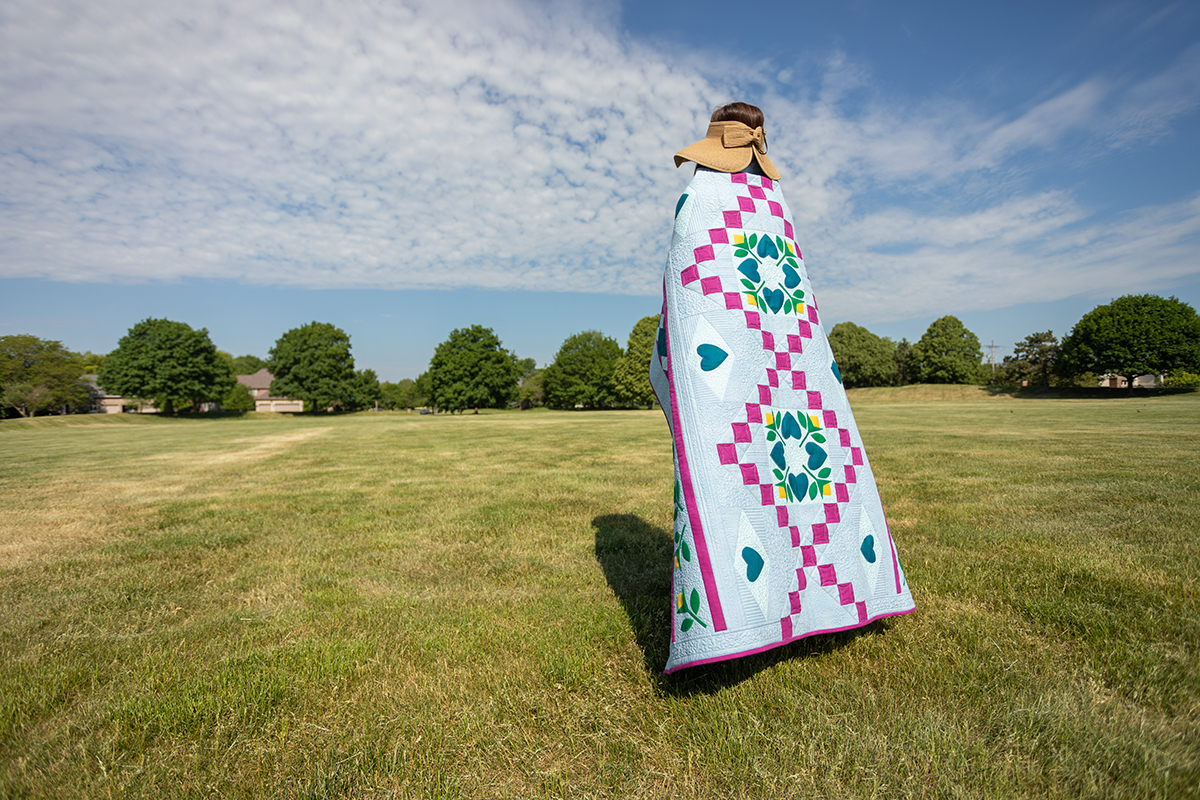
That’s it for today! Be sure to share the Jump for Joy Quilt Along with all your quilting friends and quilt guilds. Quilting is always better with a friend. Next month, we will wrap up the Jump for Joy Quilt Along with binding and finishing details. See you then!