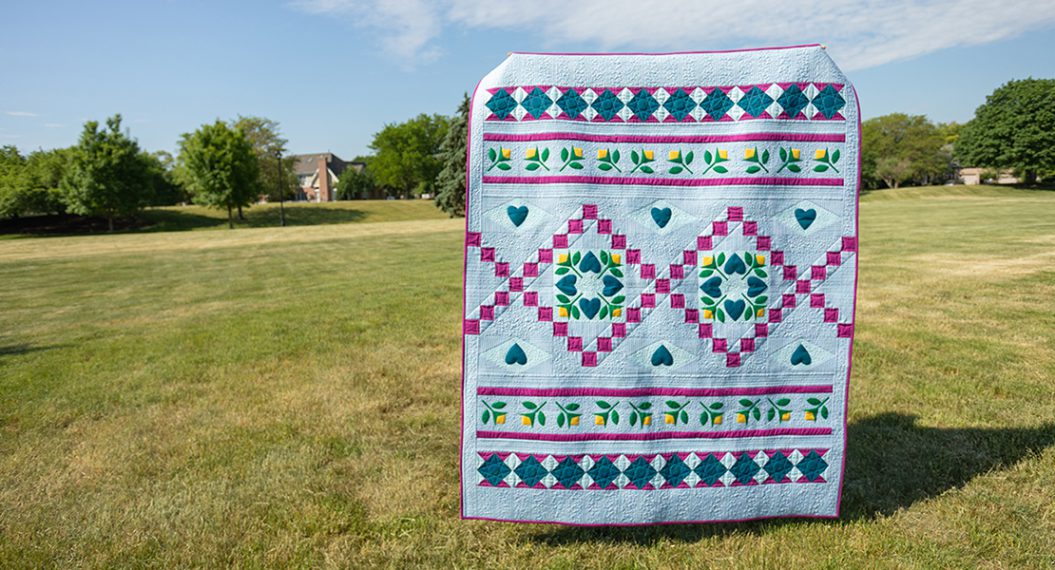
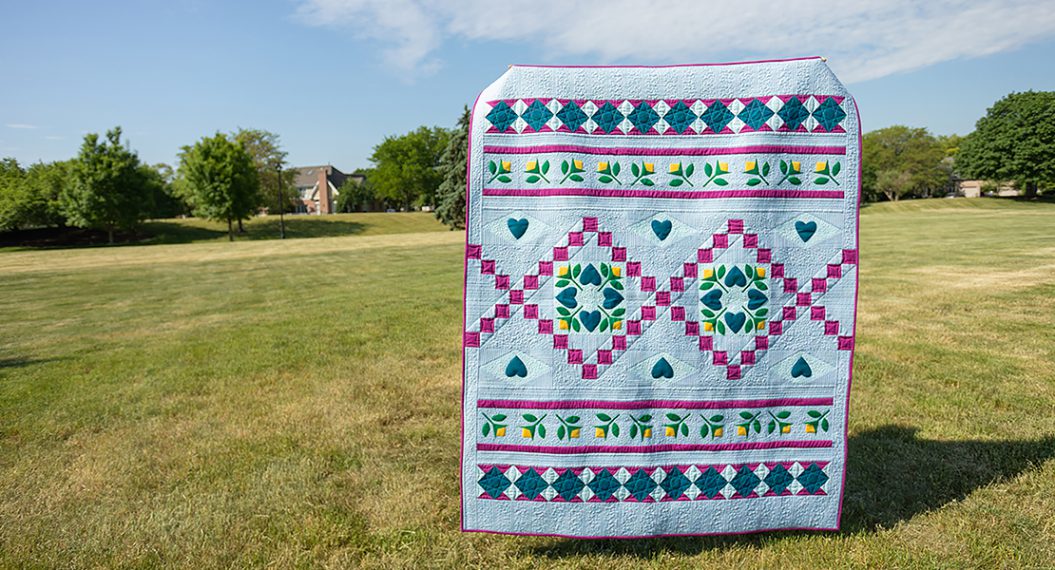
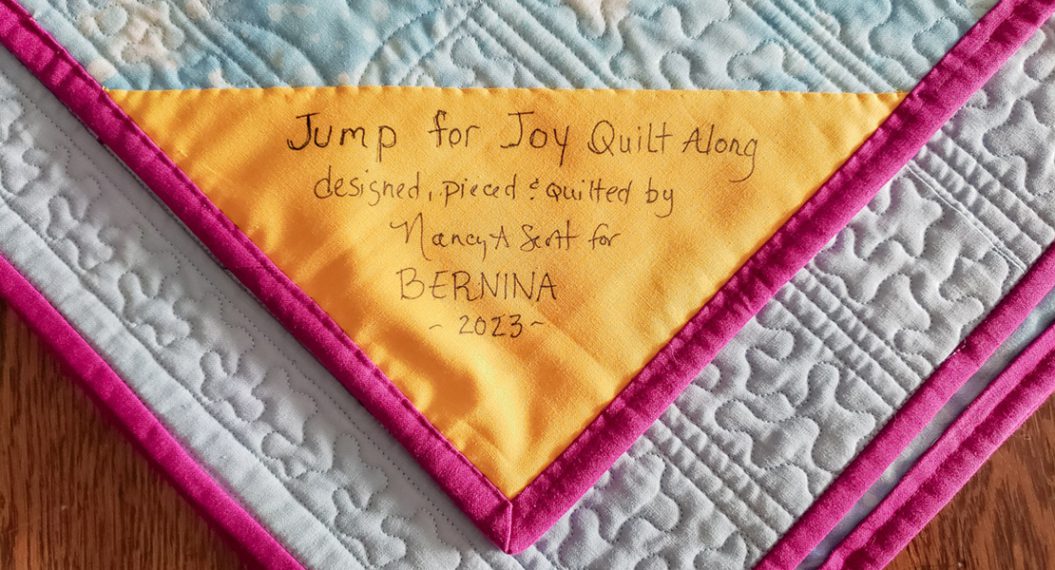
Jump for Joy Quilt Along, Part Seven: Free-Motion Quilting
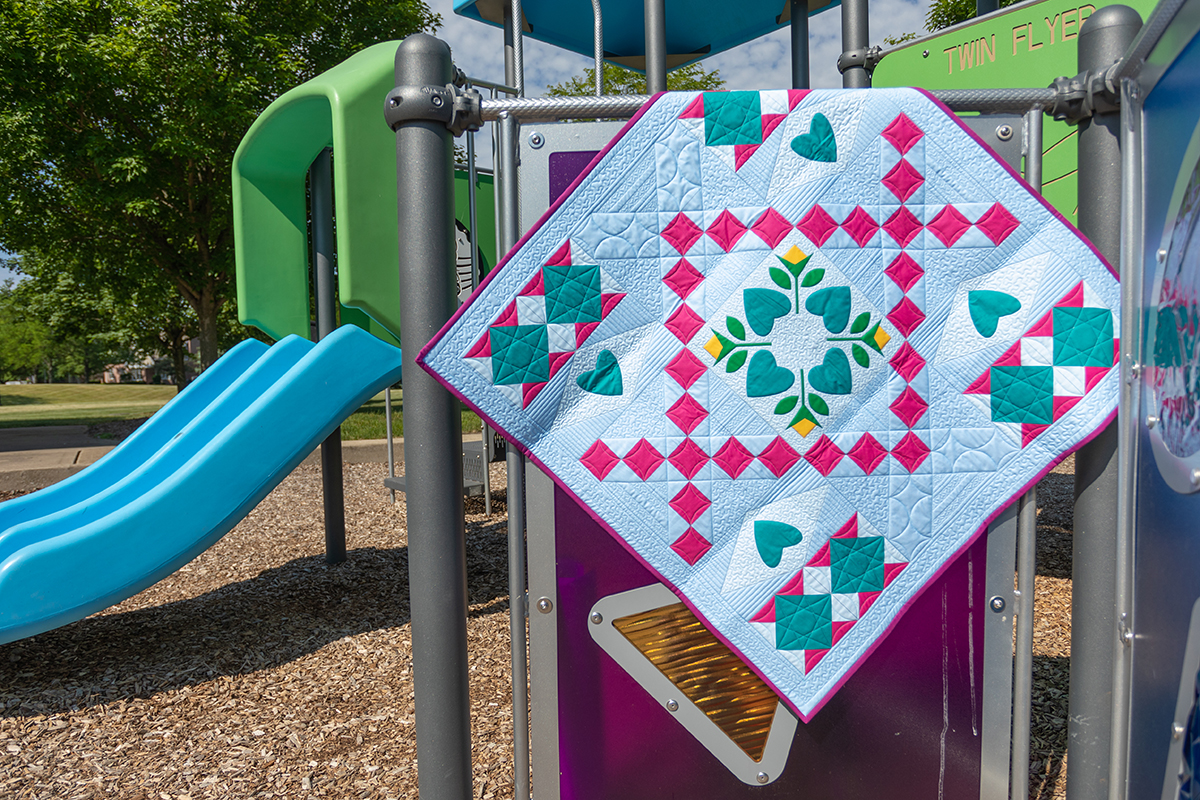
Welcome to Month Seven of the Jump for Joy Quilt Along. For the past five months, we’ve been focused on cutting, piecing, and assembling the quilt top. Last month, we started the quilting process by preparing for and planning our quilting. Now we’re diving into basic free-motion quilting on a domestic machine! Later this month, Kate Toney, BERNINA Machine Embroidery Specialist, is going to share a few tips and techniques for computerized quilting on her B 790 PRO, so be sure to come back to check those posts out.
If you are finding the Jump for Joy Quilt Along for the first time, it is never too late to join. I’d love to have you be part of it. Here are the direct links to the previous posts, which include the fabric requirements, cutting instructions, and piecing and assembly instructions for the quilt top:
- Jump for Joy Quilt Along, Part One
- Jump for Joy Quilt Along, Part Two: Raw Edge Fusible Appliqué
- Jump for Joy Quilt Along, Part Three: Chain Block
- Jump for Joy Quilt Along, Part Four: Diamond Block
- Jump for Joy Quilt Along, Part Five: Assembly
- Jump for Joy Quilt Along, Part Six: Planning
Materials for Free-Motion Quilting the Jump for Joy Quilt
- BERNINA 790 PRO
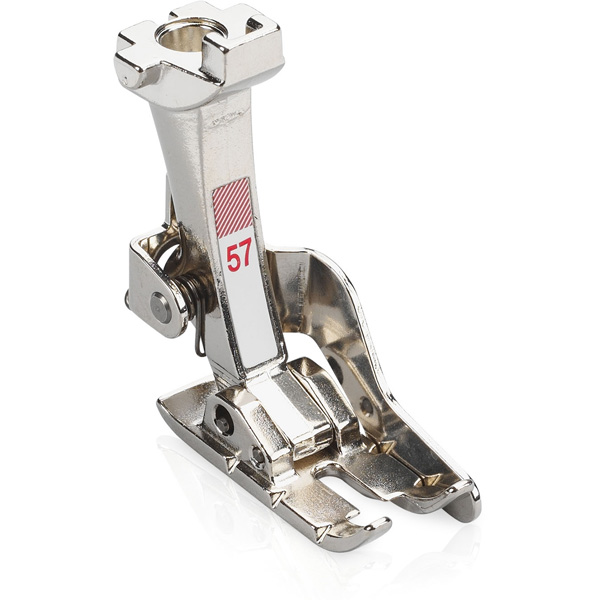
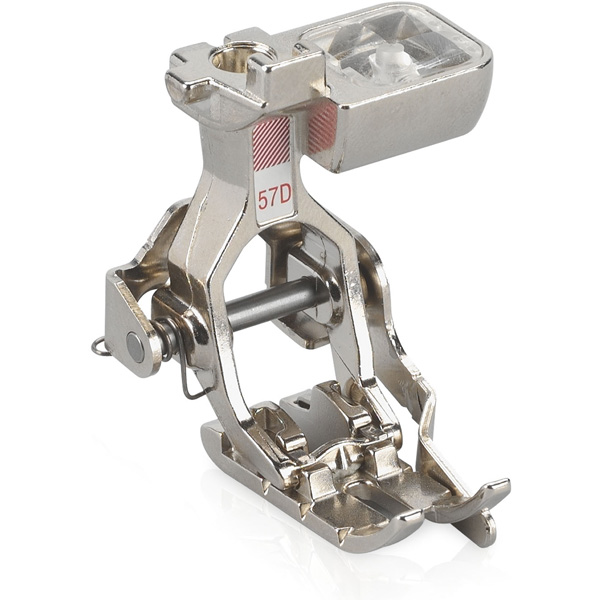
- BERNINA Patchwork Feet #37/37D, #57/57D or #97/97D
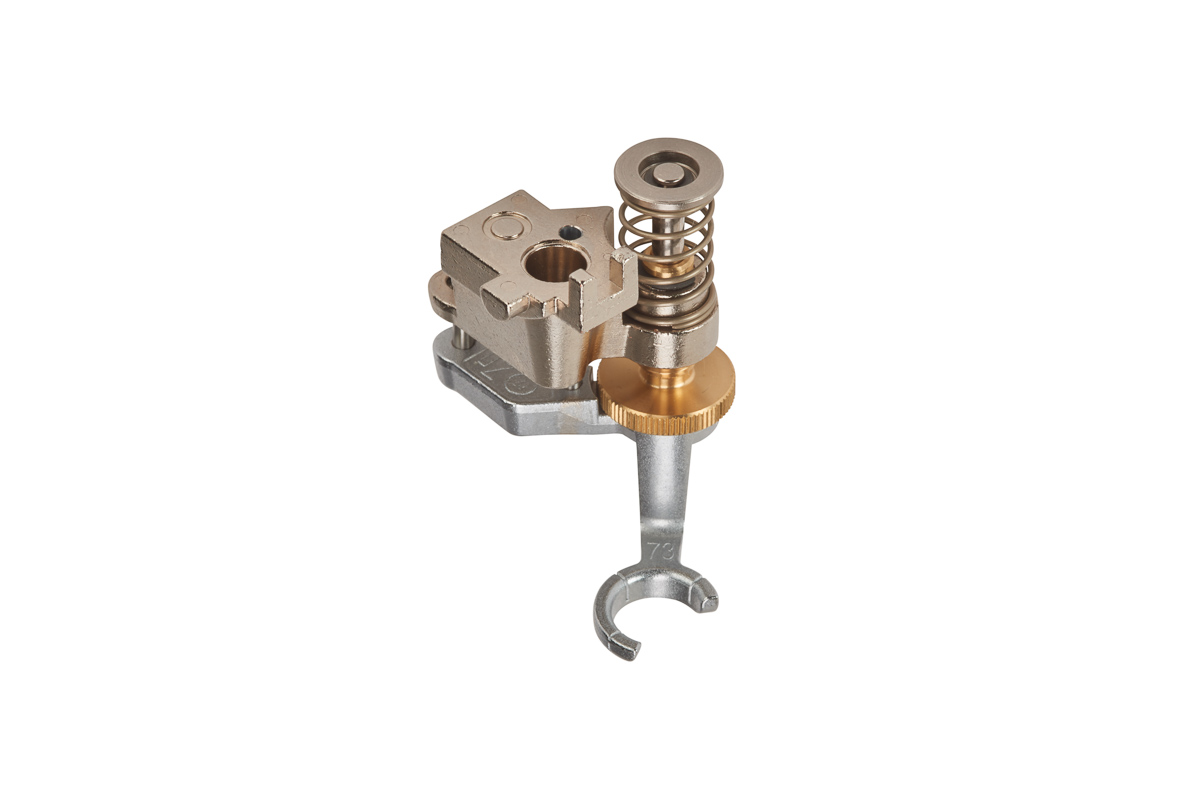
- BERNINA Quilting Feet for ruler work and free-motion quilting. My favorites are the Adjustable Ruler Foot with Slit #72S and the Adjustable Stippling Foot #73
- BERNINA Stitch Regulator
- Quilting thread – Mettler Seracor 0271
Basic Free-motion Quilting Techniques
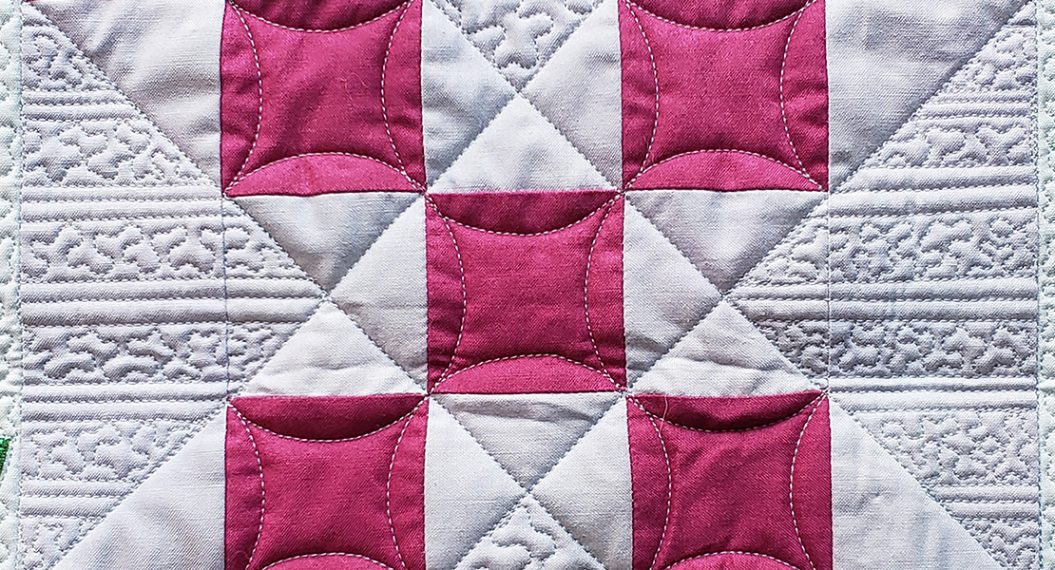
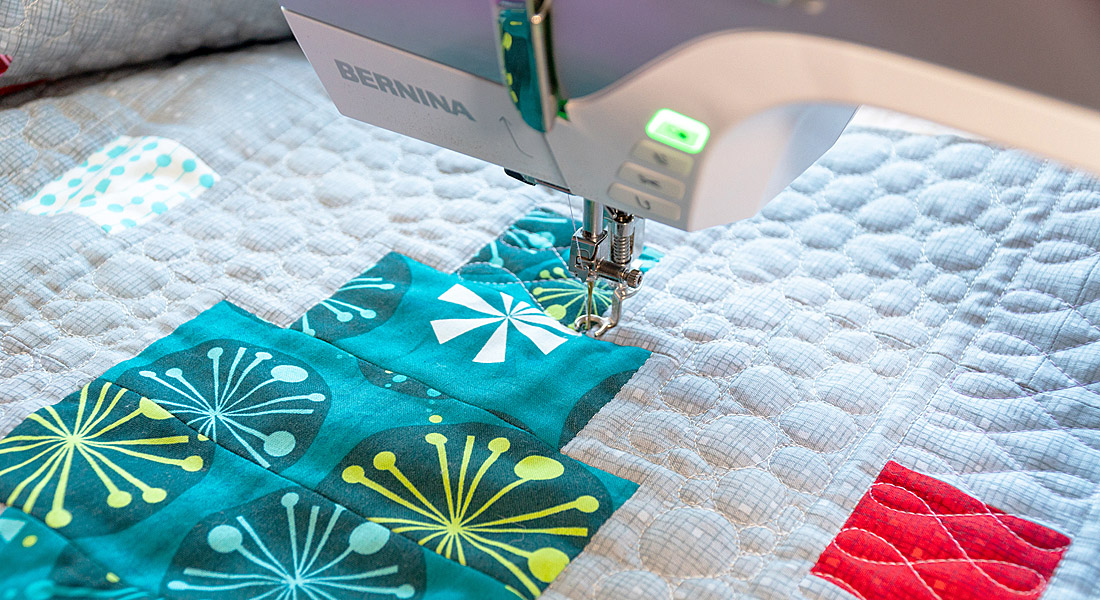
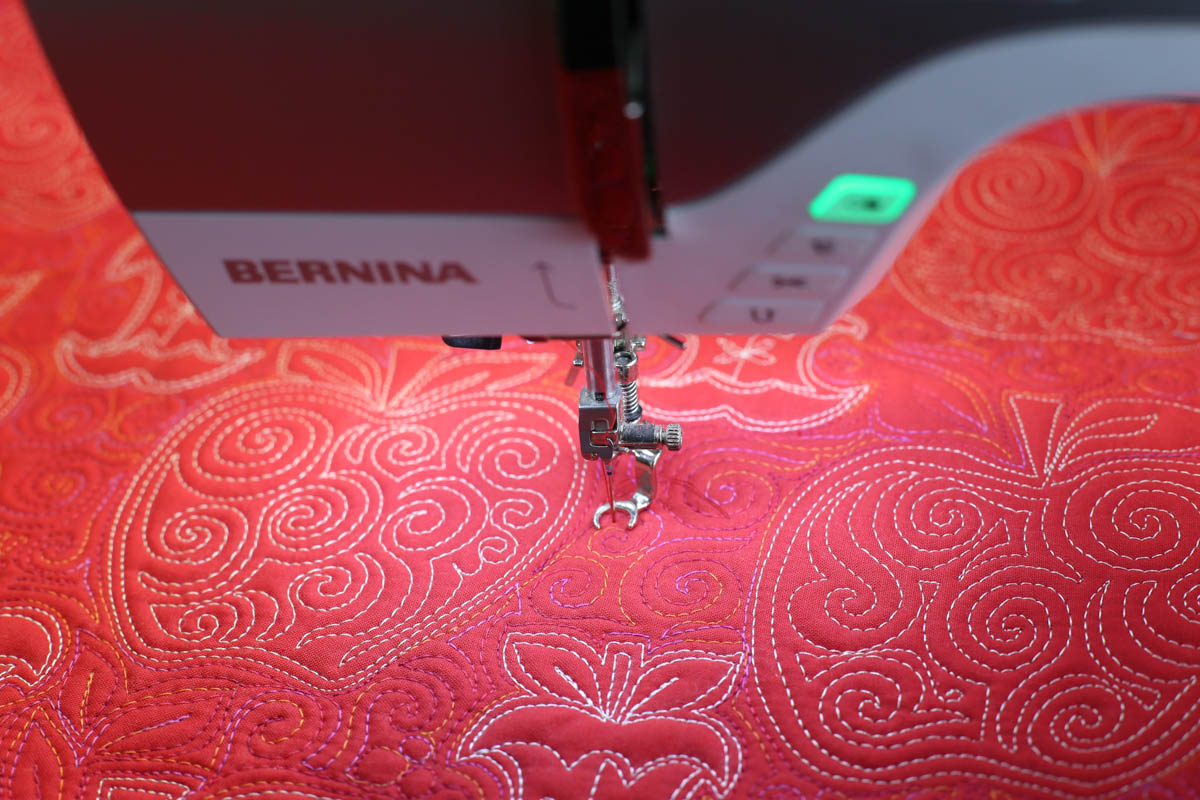
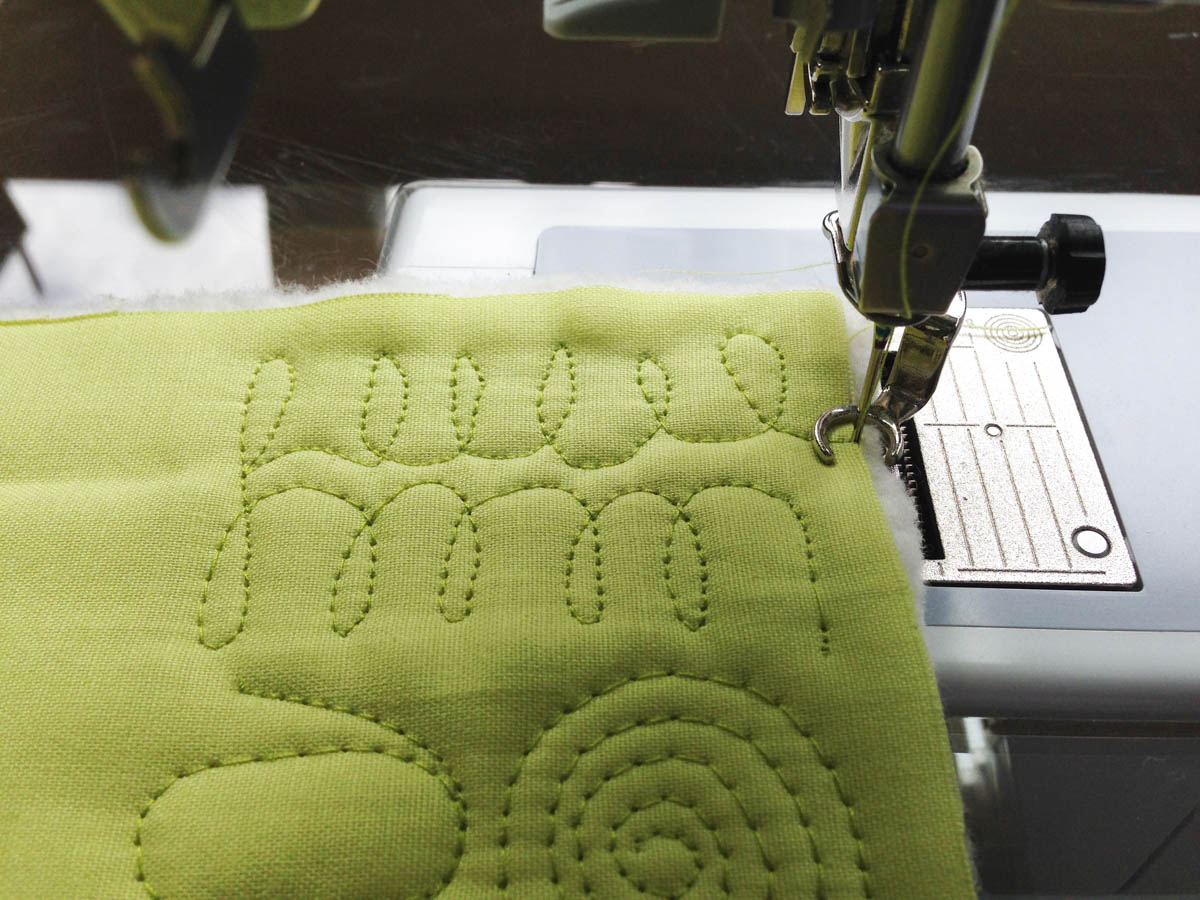
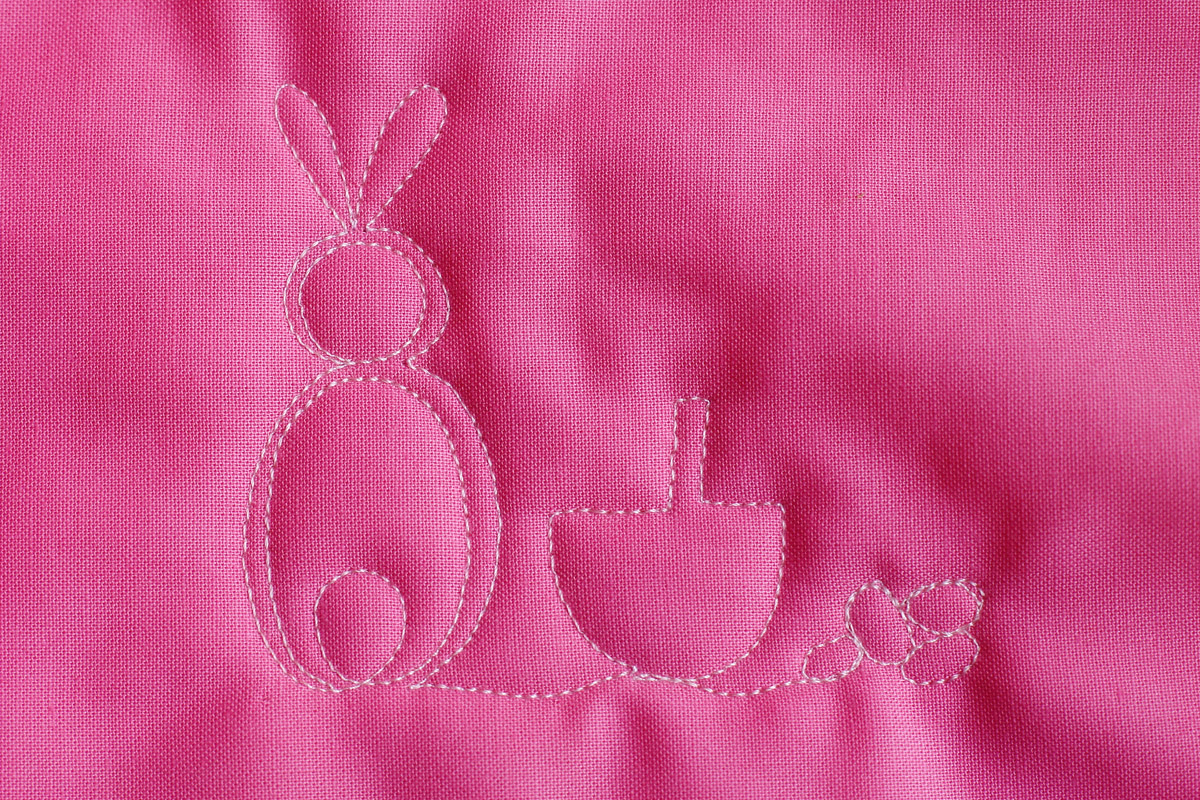
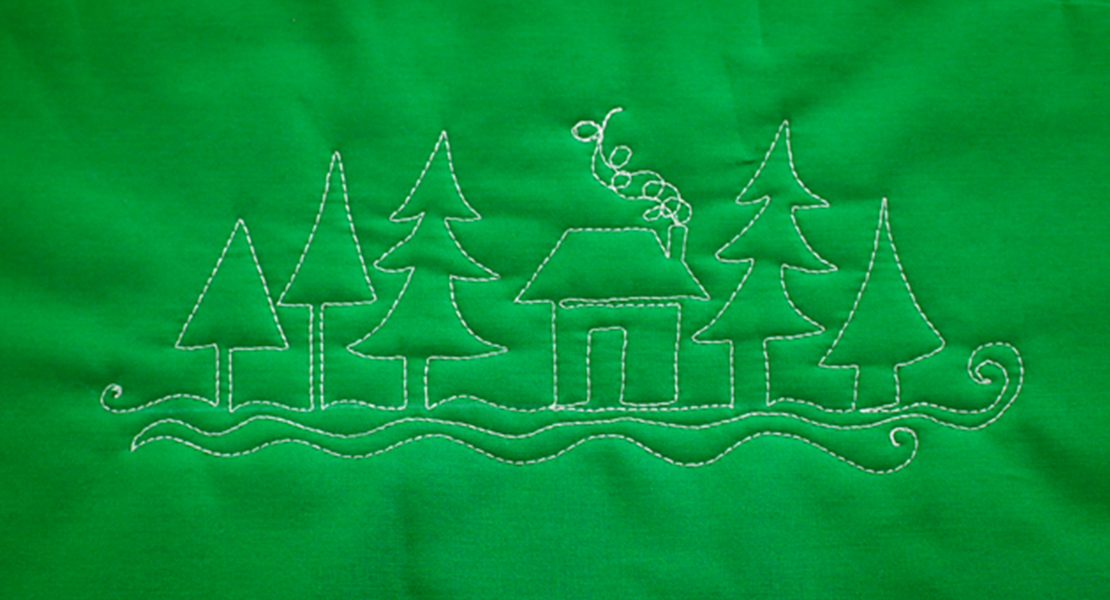
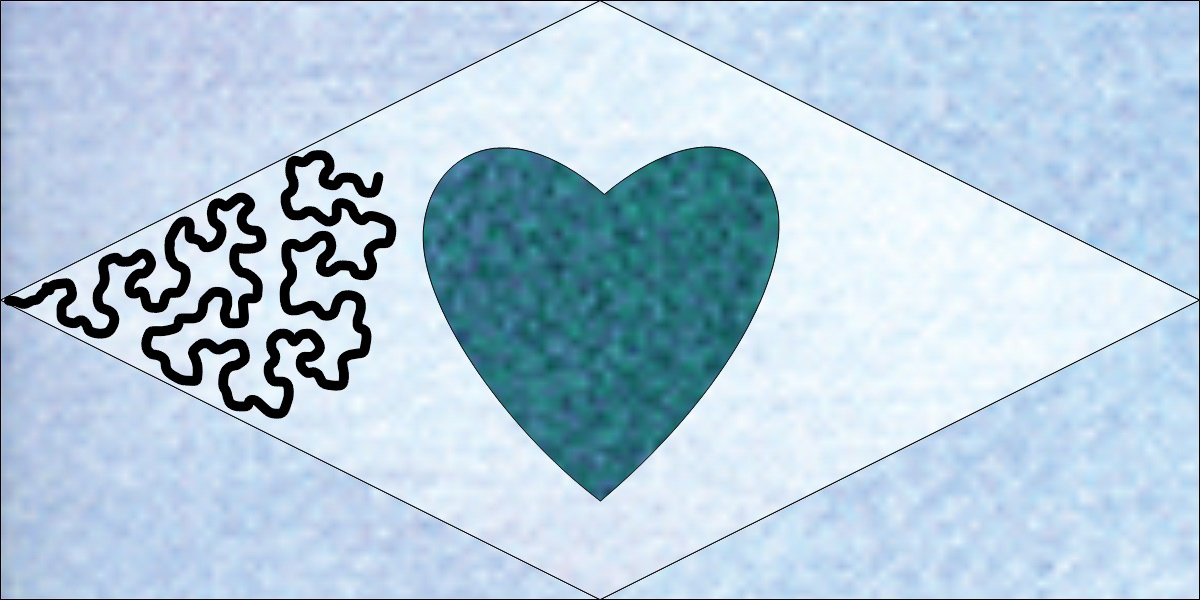
Regardless of whether you are quilting on a domestic machine, a sit-down BERNINA Q Series, or a frame-based Q Series machine, the same basic techniques are used. I use one of the most popular quilting patterns, the meander, in the Jump for Joy quilt. This curvy squiggle is perfect for even a beginner. The goal is to stitch a wiggling line that doesn’t cross itself.
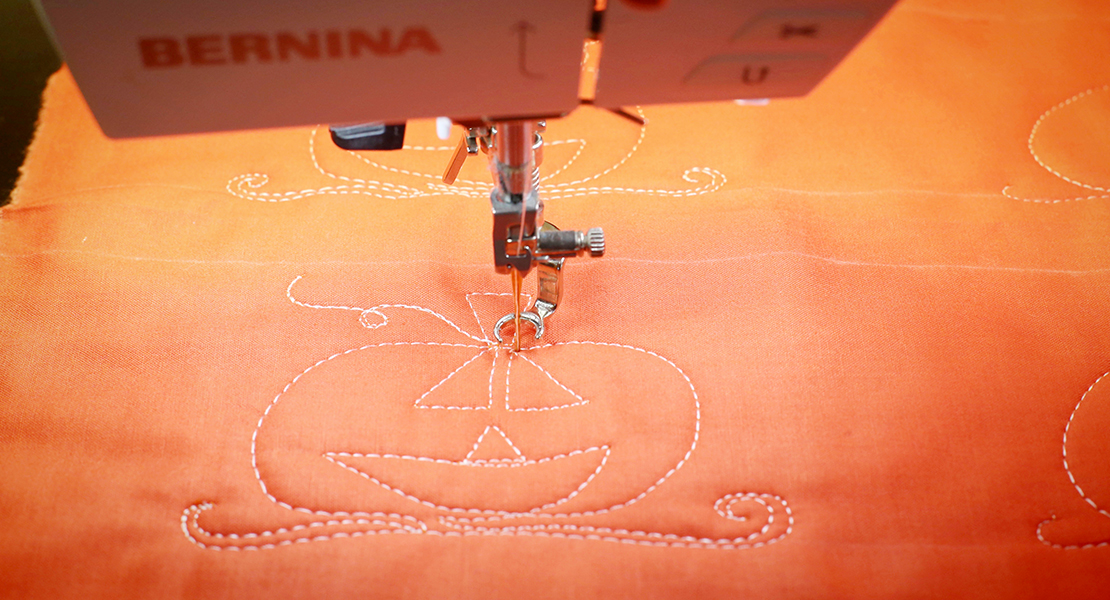
Last month, I shared the quilting plan with you for stitching-in-the-ditch to anchor the quilt sandwich together. Once you have those stitches in place, you’ll start filling in sections with additional quilting. To make it easy to see where you are stitching, I’m using the Adjustable Stippling Foot #73. This foot is perfect for quilting small designs & detail work. The “open toe” on the foot gives you a perfect sightline to the needle insertion point on the fabric. You also have the ability to adjust the height for the thickness of your quilt sandwich, which makes it easier to attain perfect stitches.
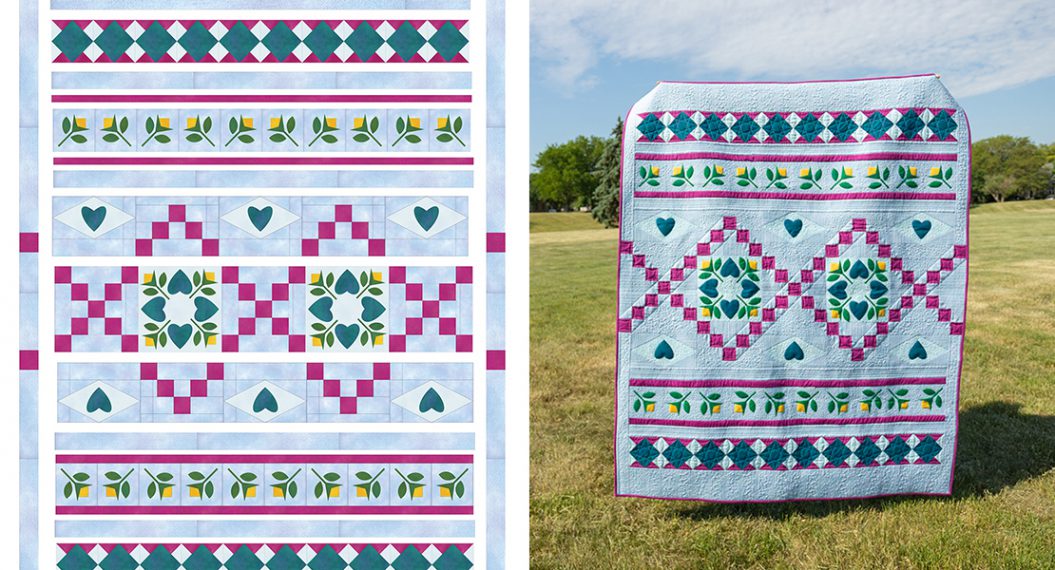
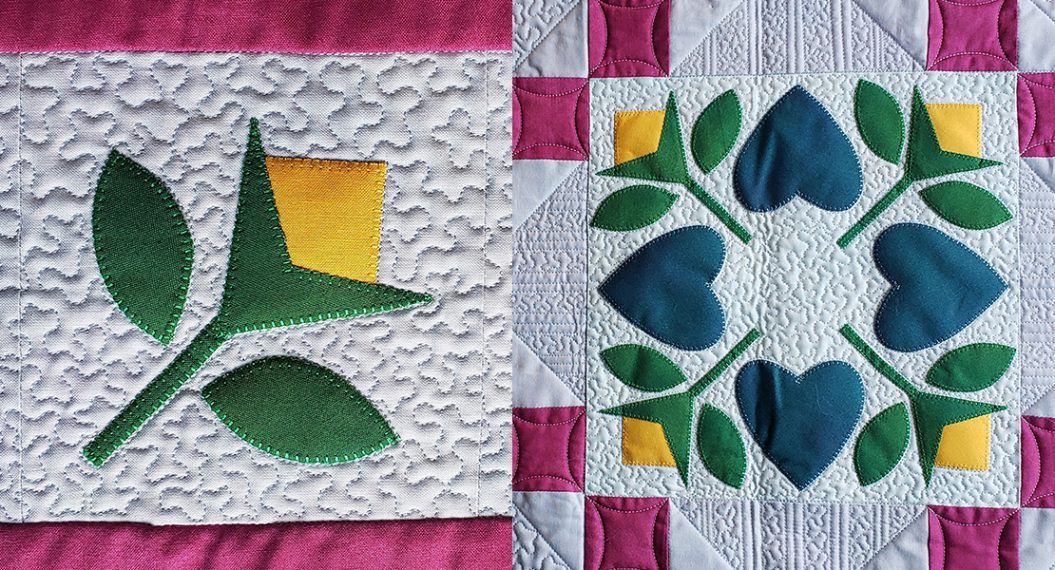
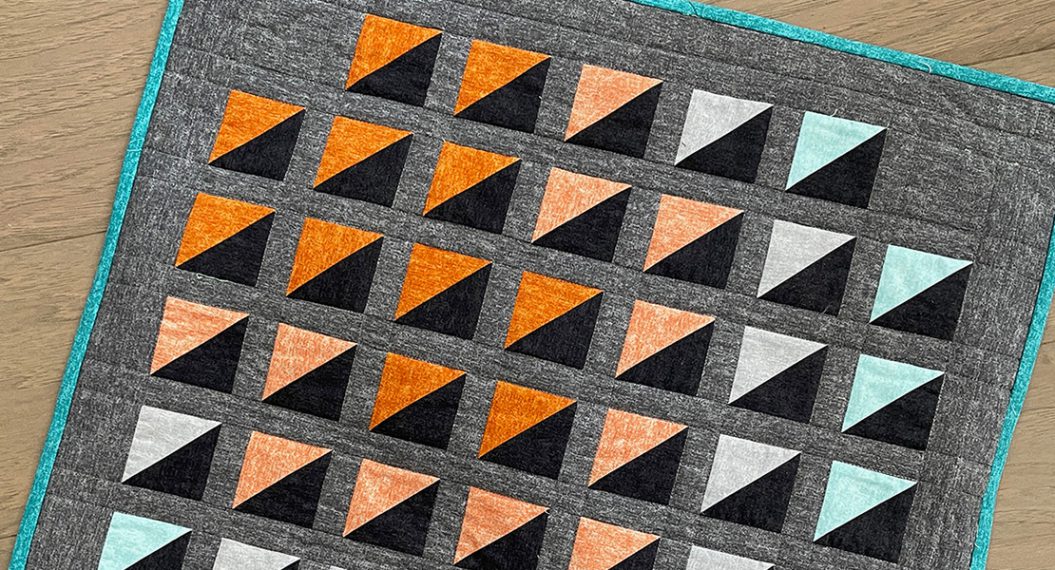
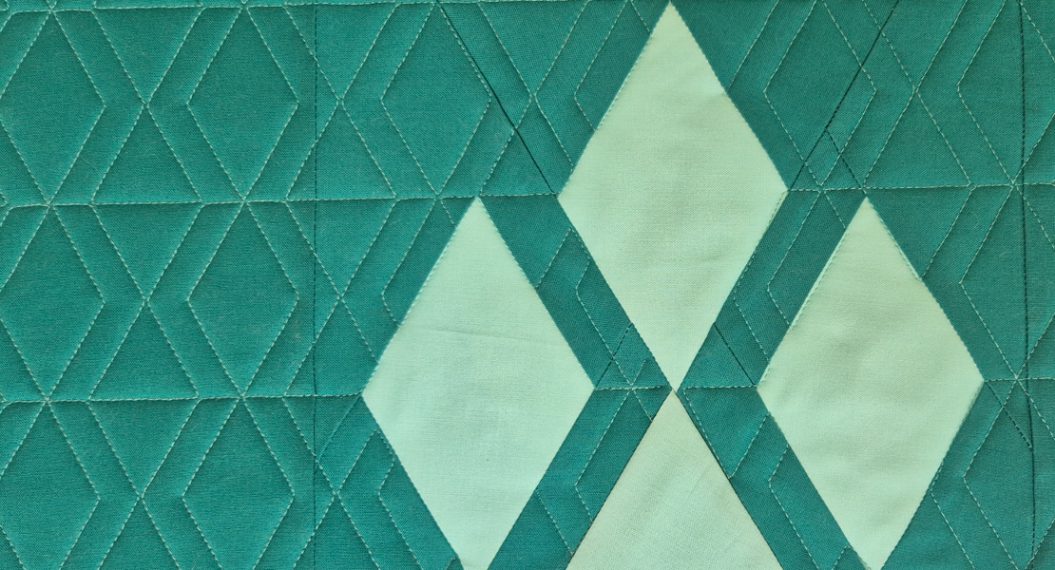
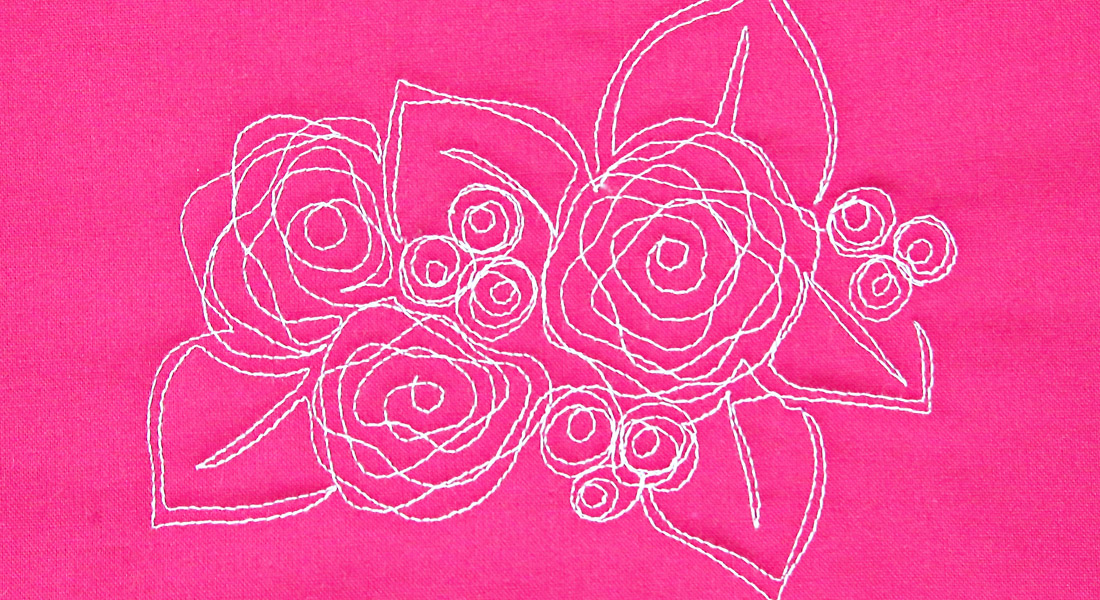
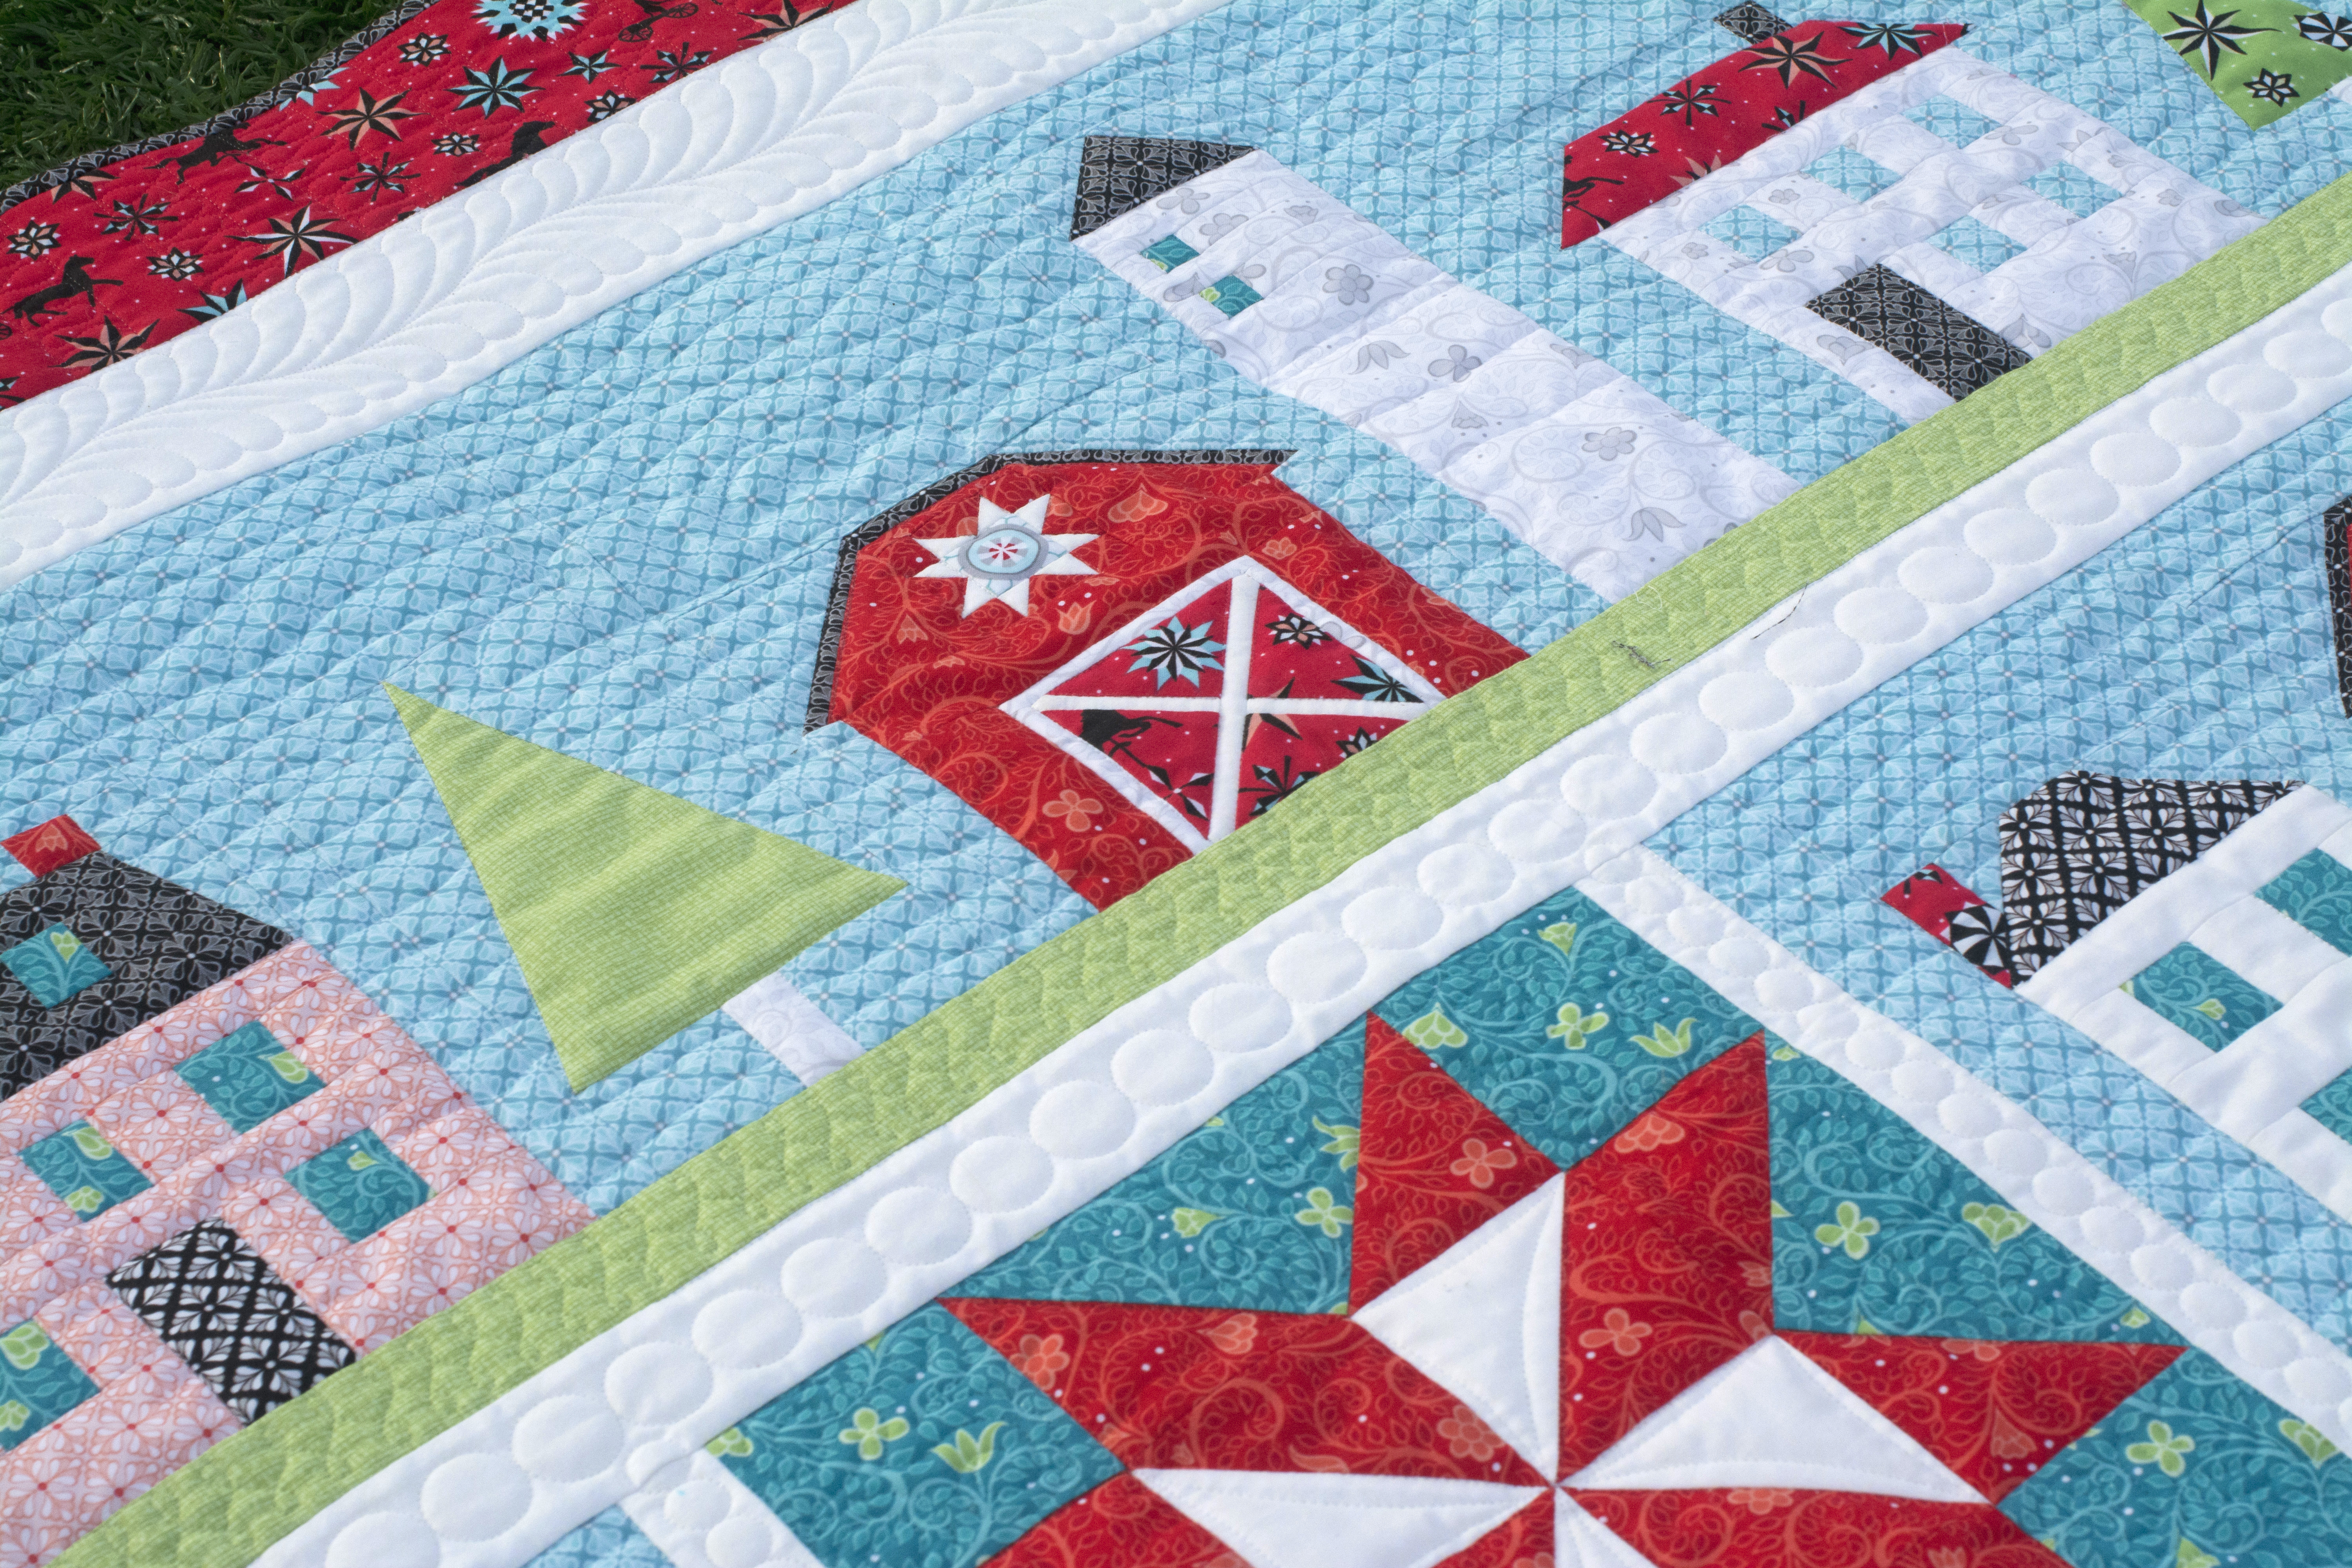
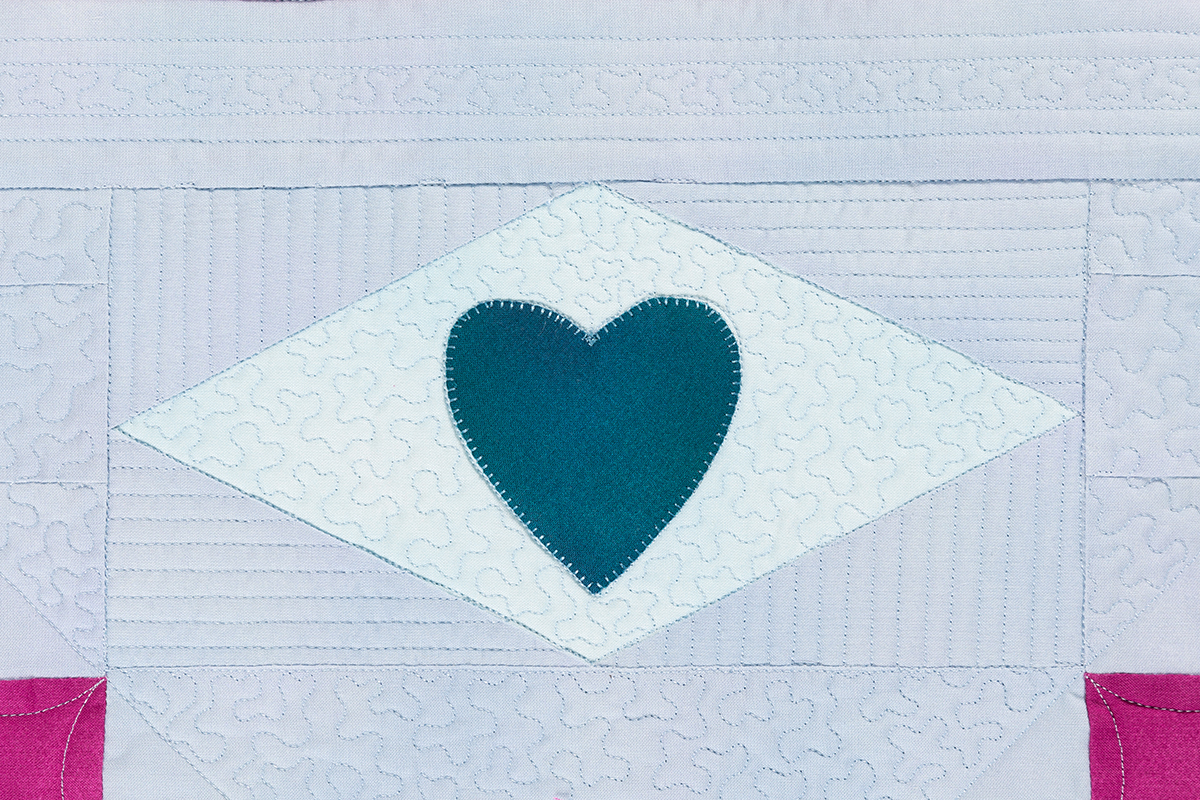
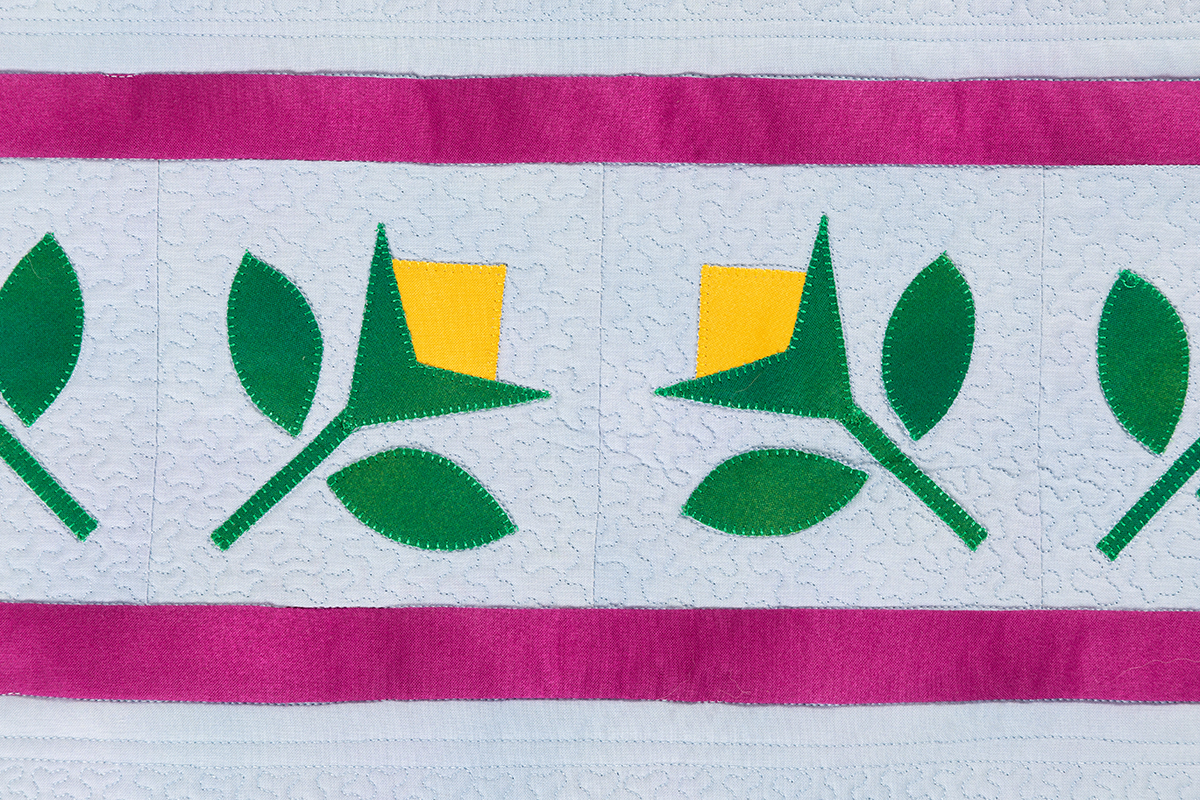
The sections of the quilt that are free-motion quilted in a meander pattern include the Heart & Flower Appliqué blocks, the background of the Diamond Heart Appliqué units, and the rows of the Floral Appliqué block.
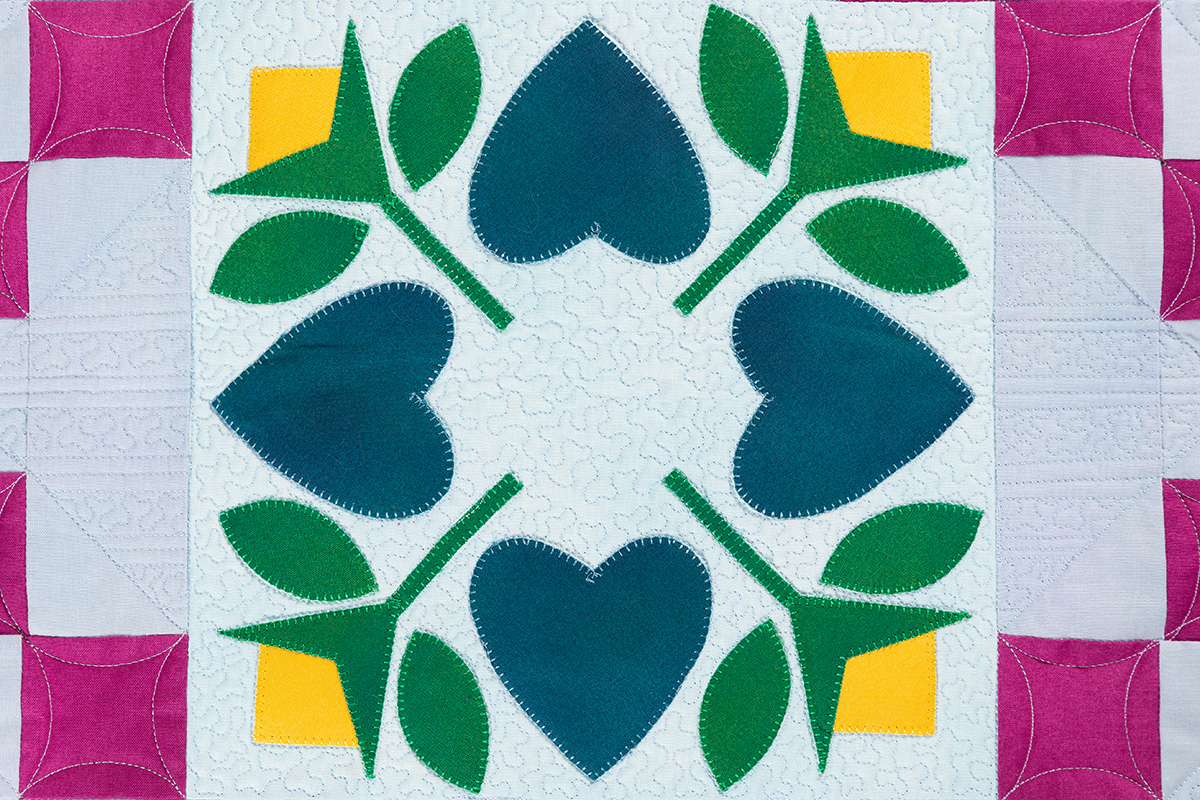
To get started with your meander stitching, start in a corner or along a seam line, where the anchor stitches won’t show. Then, start stitching around the appliqué shapes with a very curvy stitch path. Many times, the meander looks like a puzzle piece or the end of a dog bone. Keep twisting and turning the shape so it goes in a variety of different directions.
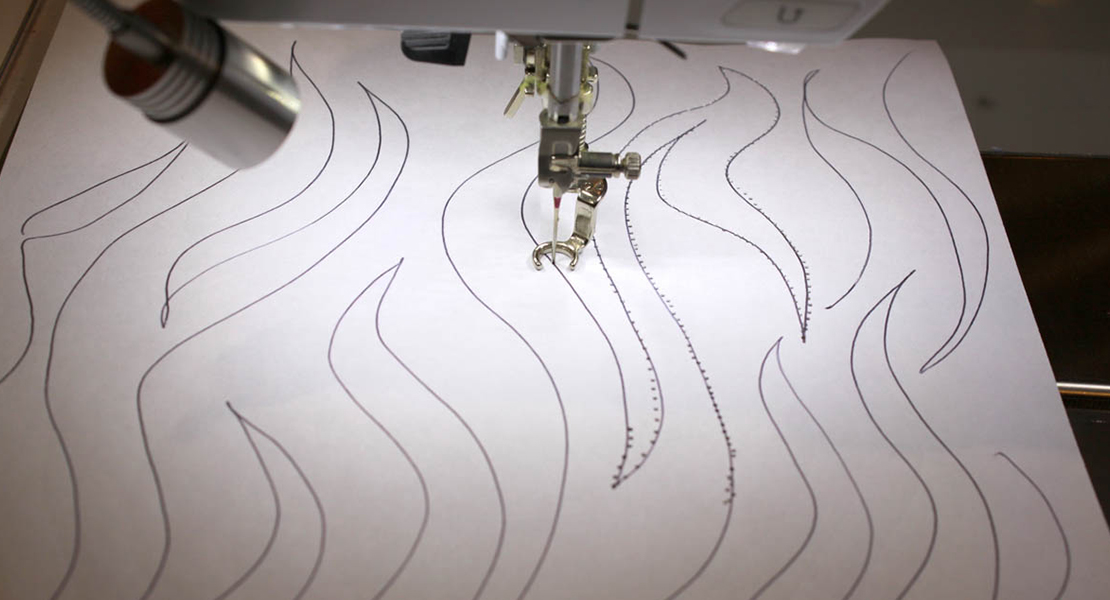
Before stitching, many quilters, including myself, find it helpful to draw the pattern on paper or a dry-erase board. The more times you draw it, you refine the path and you develop the muscle memory to repeat it while guiding the fabric under the needle. And no, your meander will not be the same as mine or anyone else’s. Just like your signature, your free-motion quilting will be unique to you too.
If you struggle to quilt with a ruler or knowing how to set up your machine for quilting, reach out to your local BERNINA dealer and ask about quilting classes they offer. If you don’t already shop there, use the dealer locator to find the closest one to you.
That’s it for today! This is a quilt along that you will definitely want to participate in. Be sure to share it with all your quilting friends and quilt guilds. Quilting is always better with a friend.
Next month, we will continue with the quilting plan for each section of the quilt. See you then!