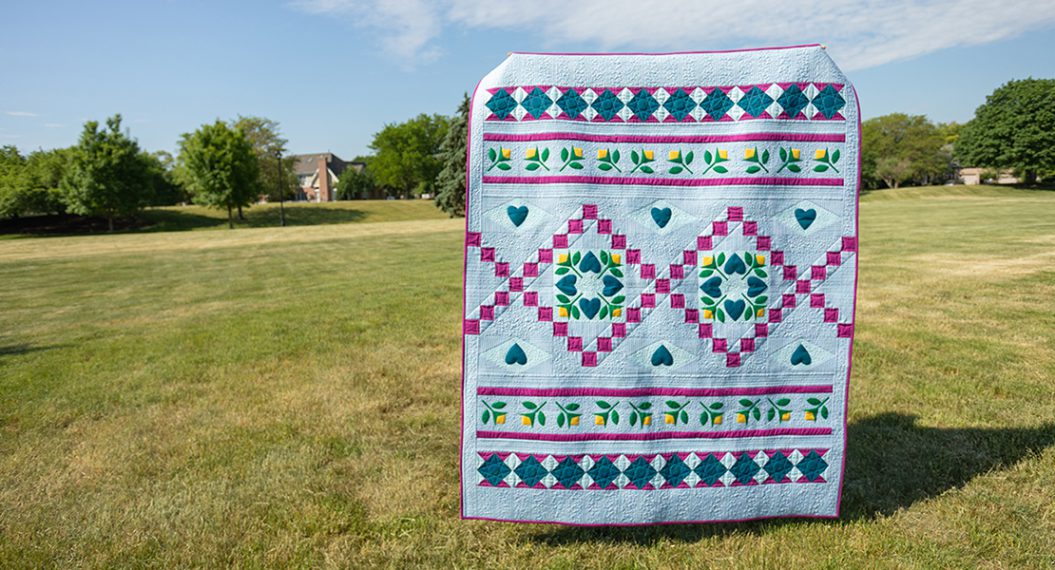
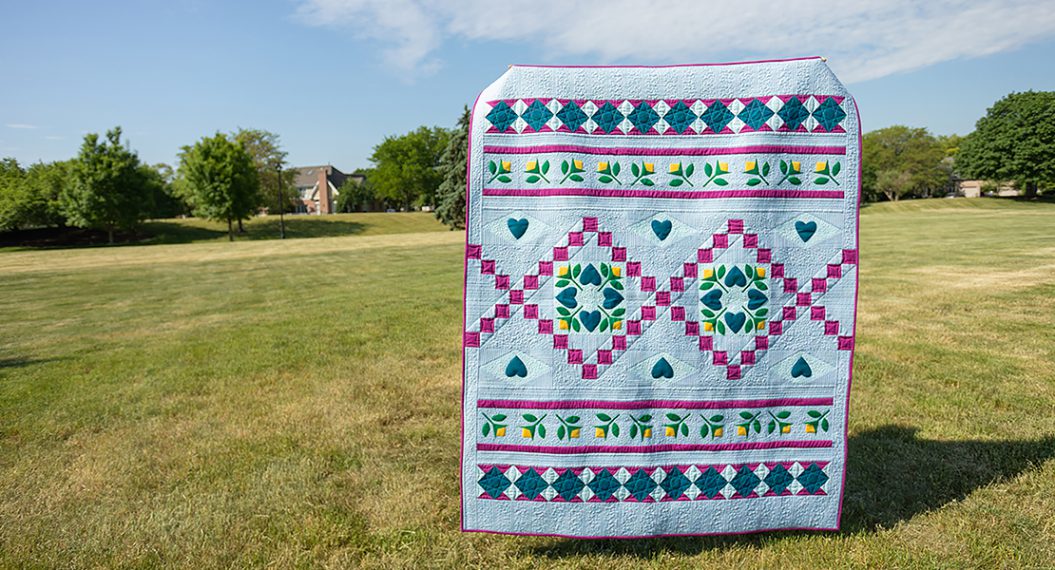
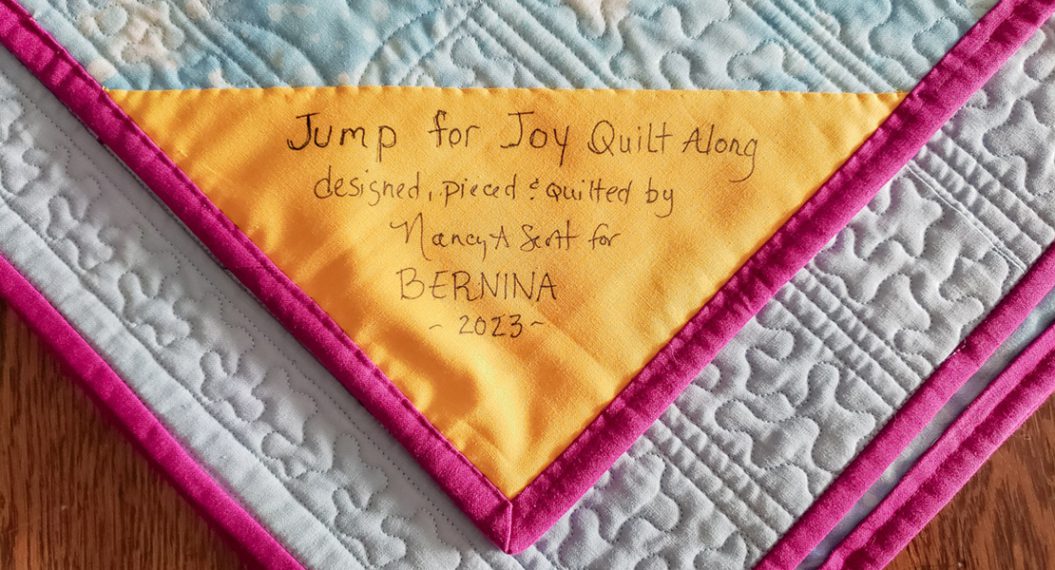
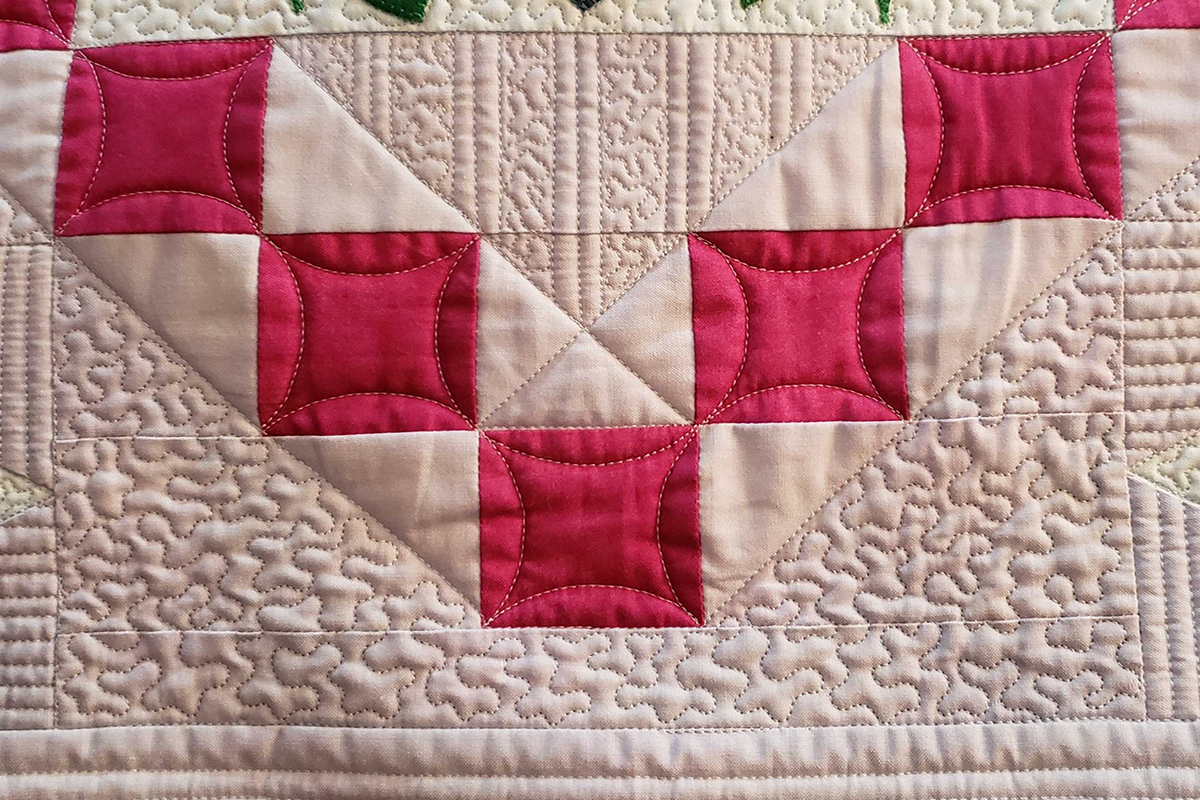
Jump for Joy Quilt Along, Part Three: Classic Chain Blocks
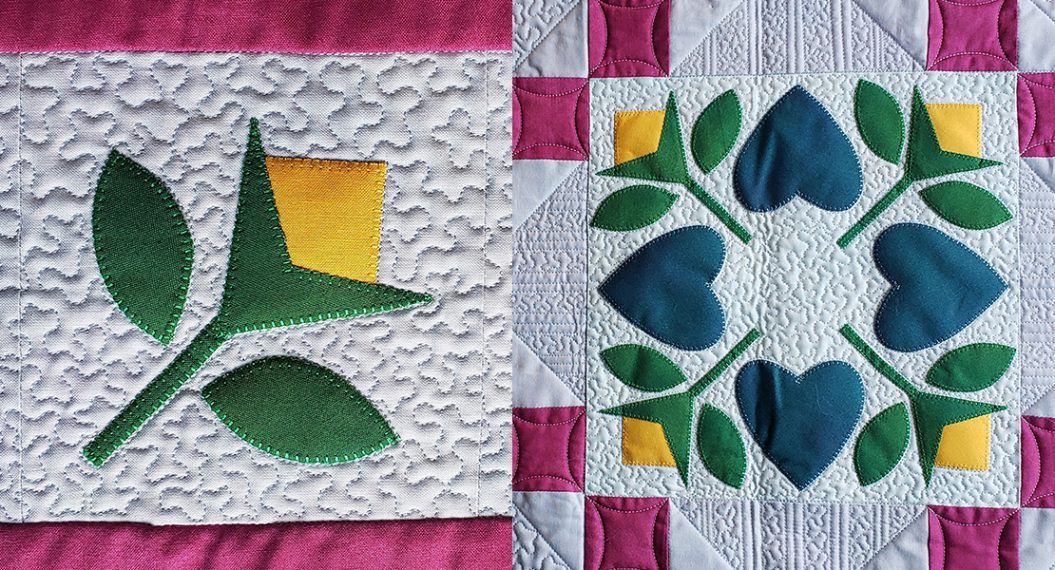
This month we are switching gears from raw-edge fusible applique to patchwork with a classic chain block. If you aren’t familiar with it, patchwork is one of the most popular types of quilting and the chain block is a very classic and traditional block. Skills you will learn include basic patchwork and sewing a quarter inch seam.
Chain Block
Partial Chain Block
This post focuses on the two types of chain blocks in the Jump for Joy quilt. Since you are only making a total of 7 blocks this month, it’s a perfect opportunity to get caught up with your applique blocks from last month, if needed.
If you are finding the Jump for Joy Quilt Along for the first time, it’s not too late to join. I’d love to have you be part of it.
Here is the link to the first post Jump for Joy Quilt Along, Part One which includes the fabric requirements and cutting instructions.
Jump for Joy Quilt Along, Part Two focuses on raw edge fusible appliqué.
Materials Needed
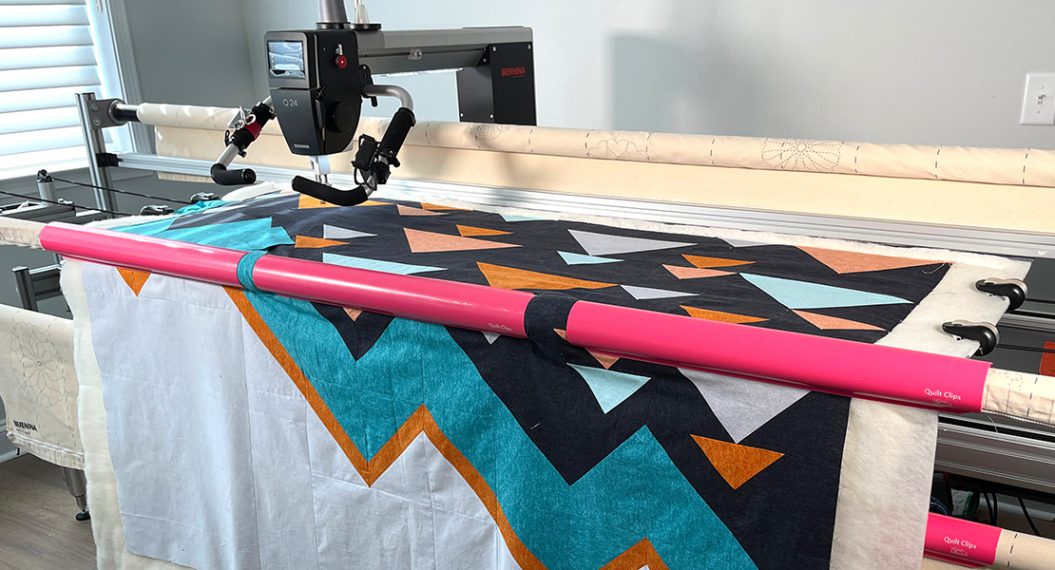
- BERNINA 790 PRO
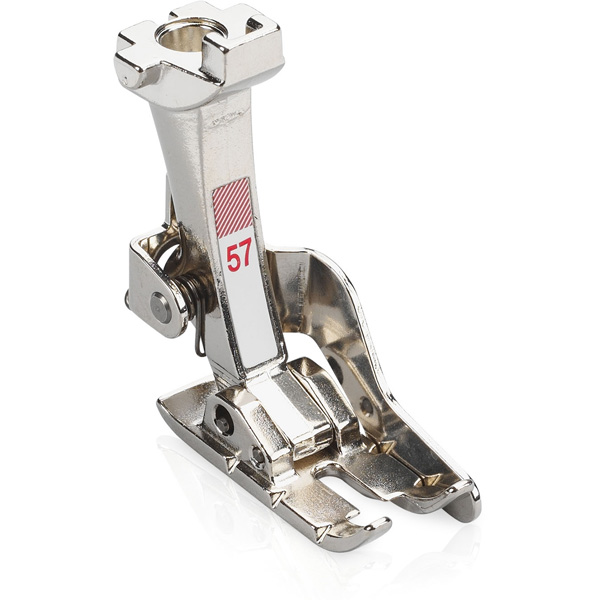
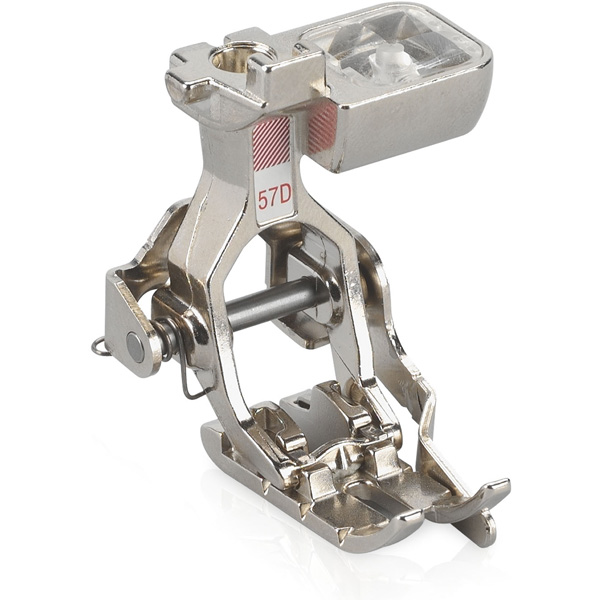
- BERNINA Patchwork Feet #37/37D, #57/57D or #97/97D
- Month 3 Chain Block Pattern Download
- Piecing thread – Mettler Silk Finish Cotton 1081

Many BERNINA dealers have everything you need to make the quilt; the fabric, the supplies as well as the machines, available for you to purchase.
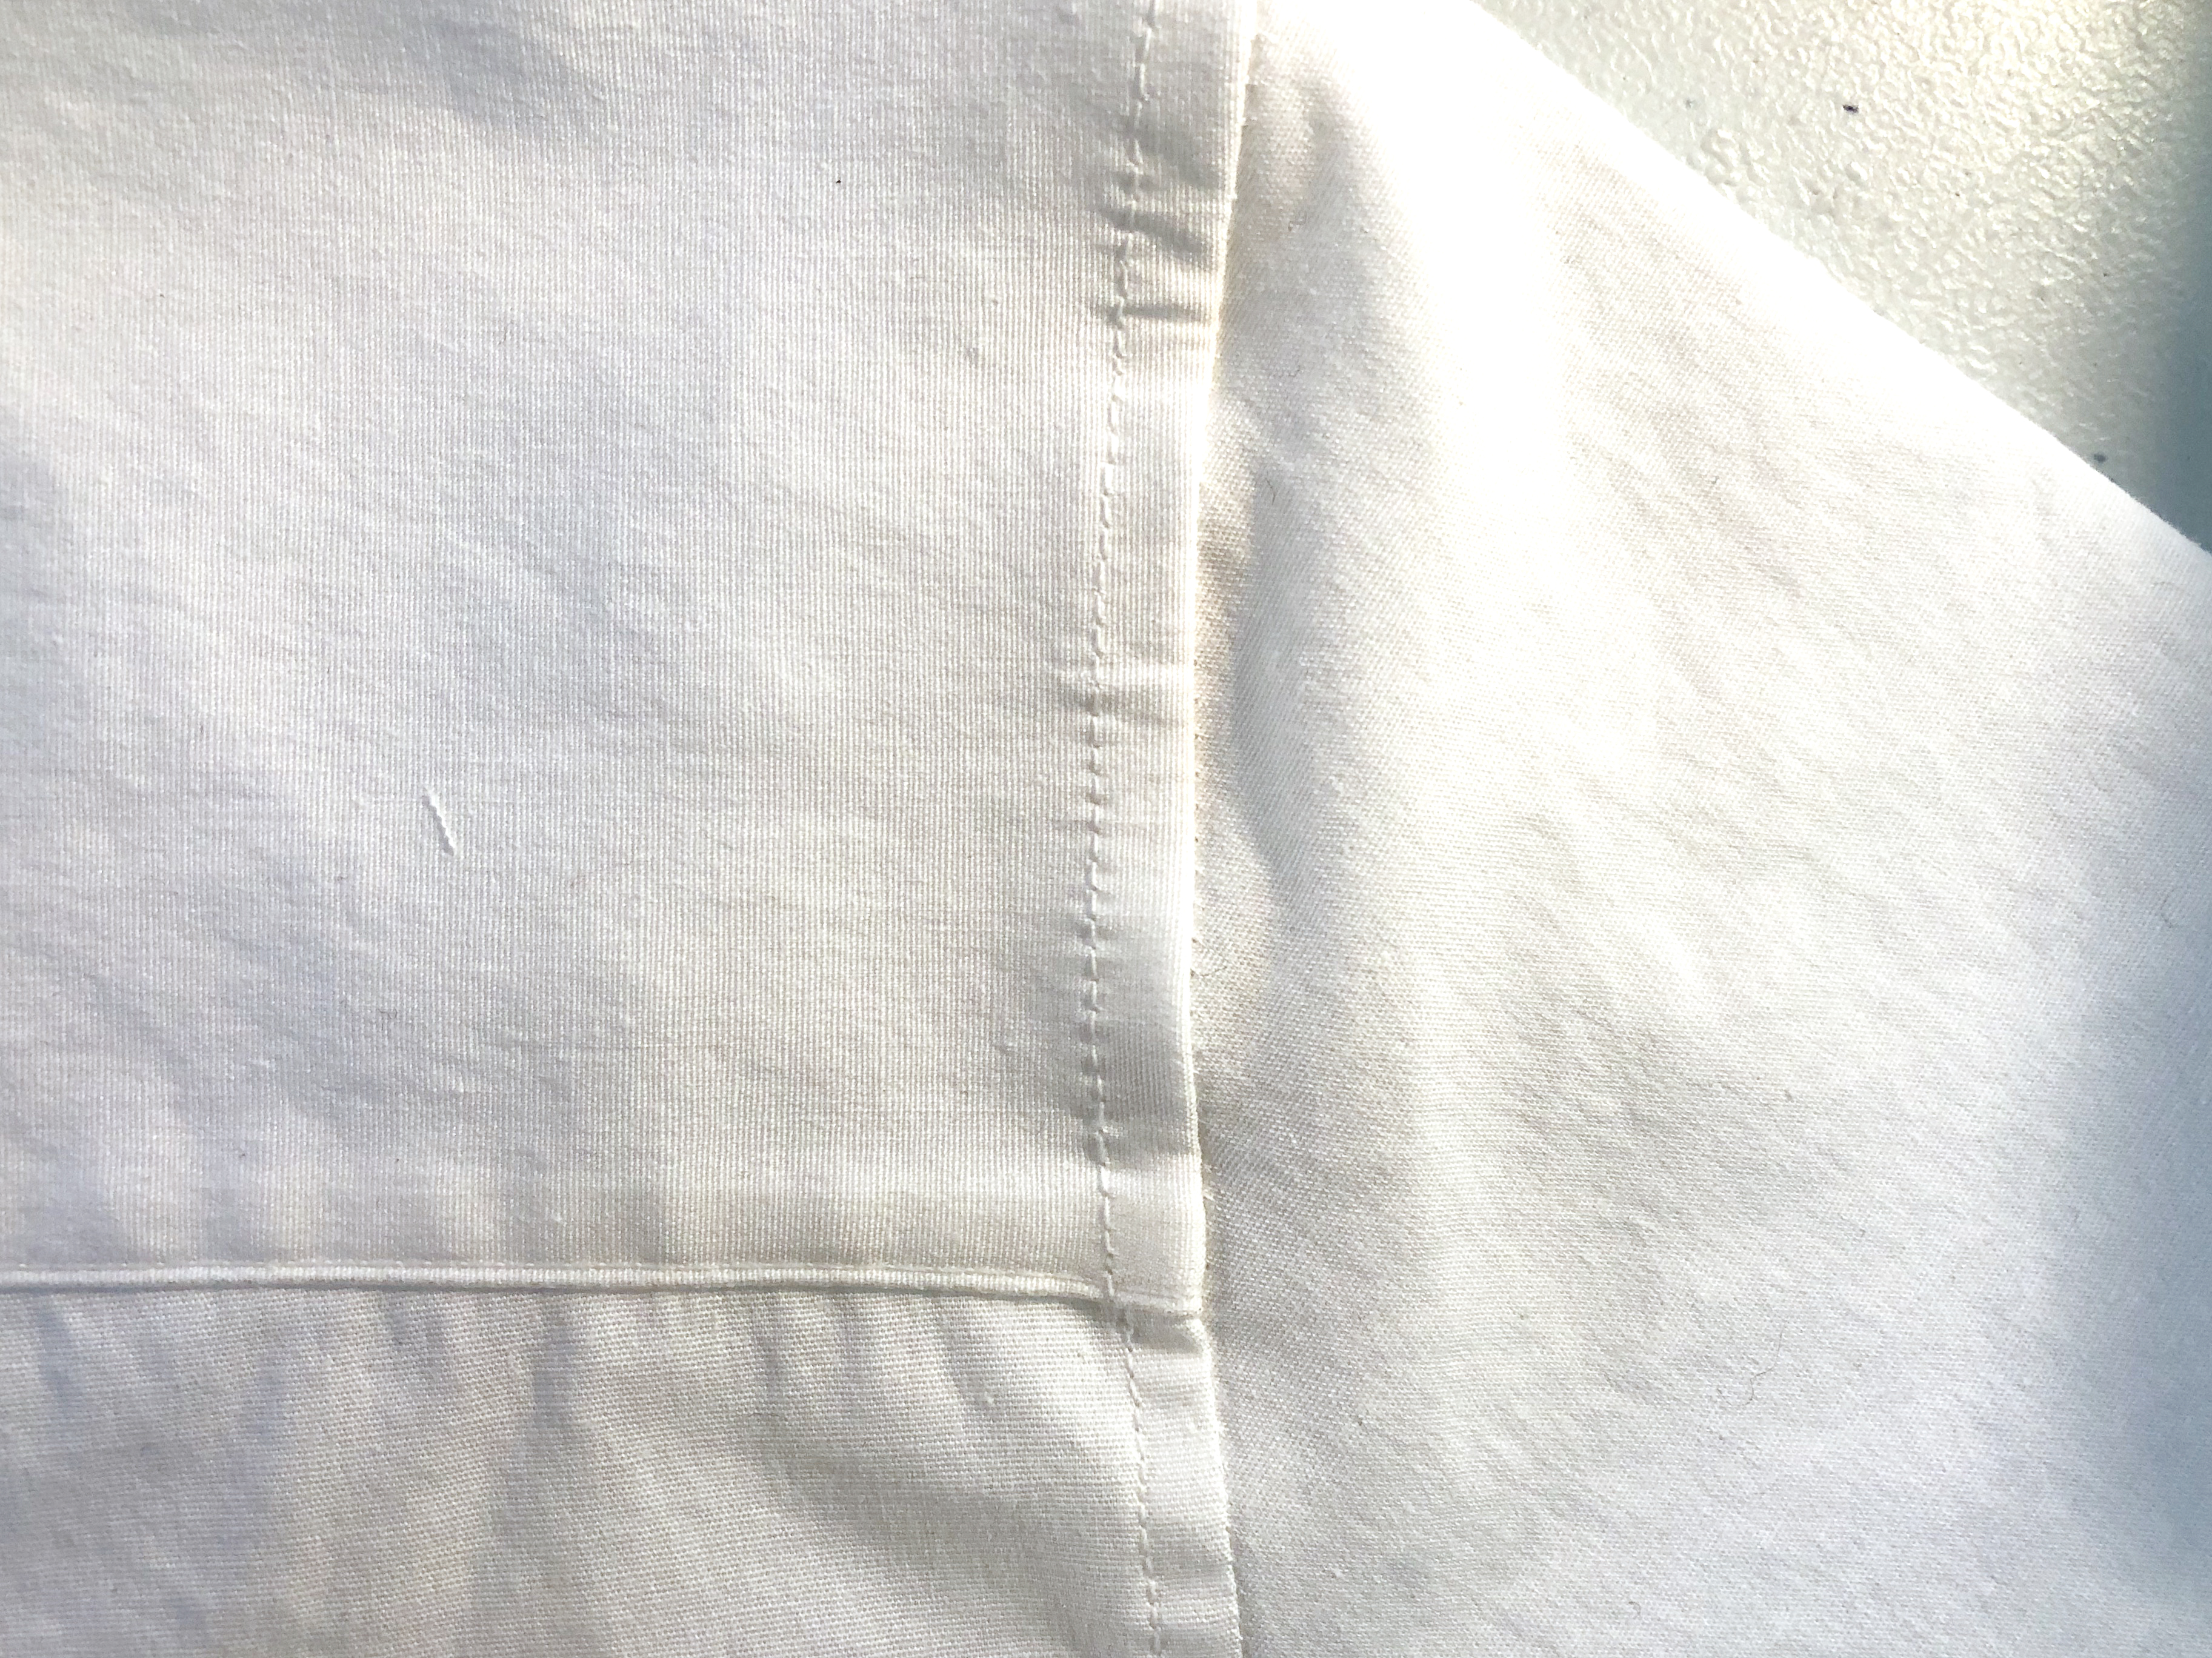
The key for this month is sewing an accurate quarter inch seam which is the basis for the blocks we are making. Each seam will need to be accurate in order for the block pieces or patches to be joined together correctly when finished.
On the WeAllSew blog, there are several articles that discuss the quarter inch seam as well as the BERNINA presser feet that make it easy to stitch with precision.
- Quarter Inch Stitching with BERNINA Patchwork Feet – WeAllSew
- Accurate Piecing Basics: Quarter-inch Seams – WeAllSew
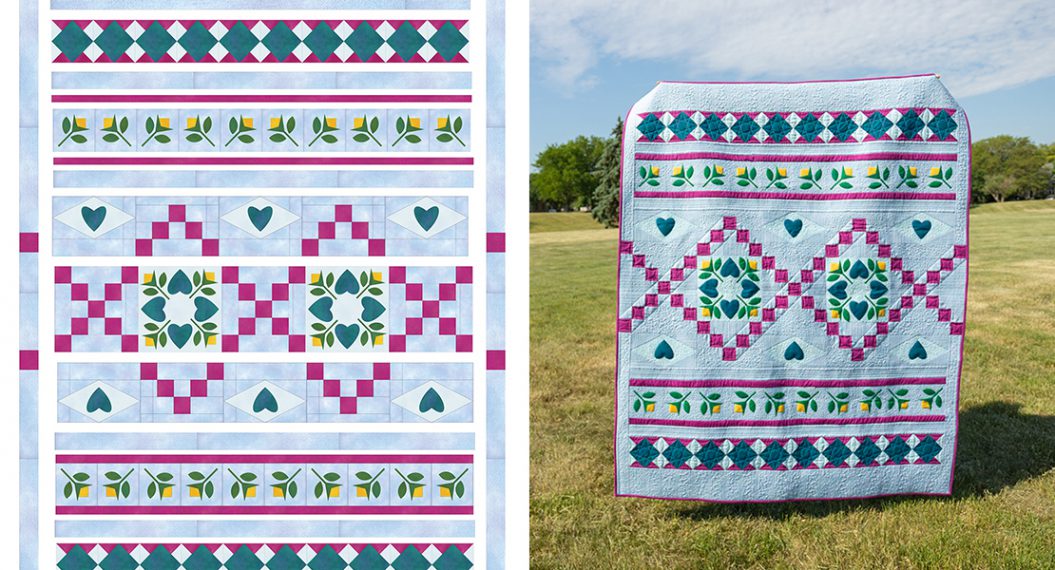
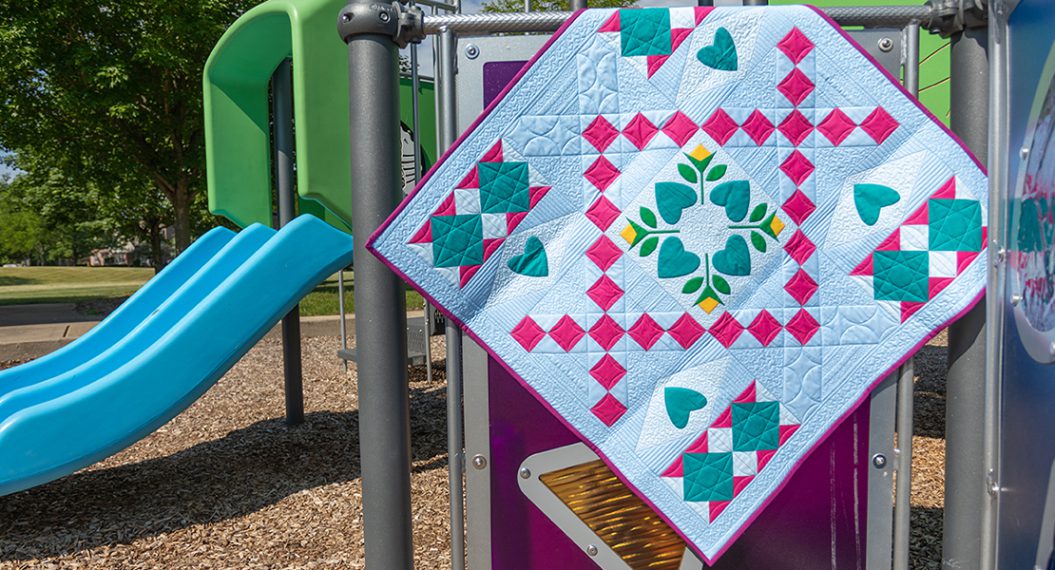
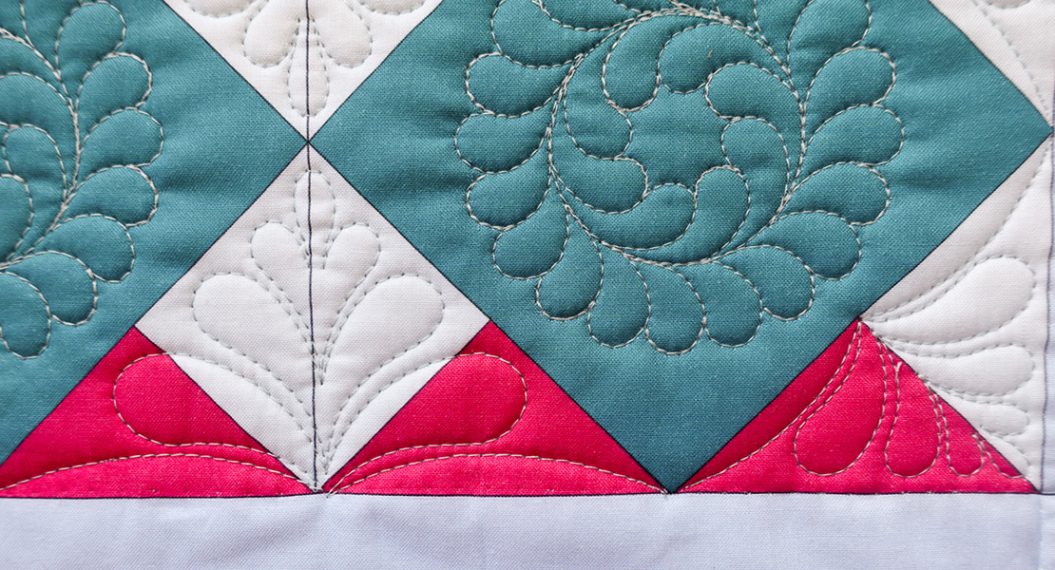
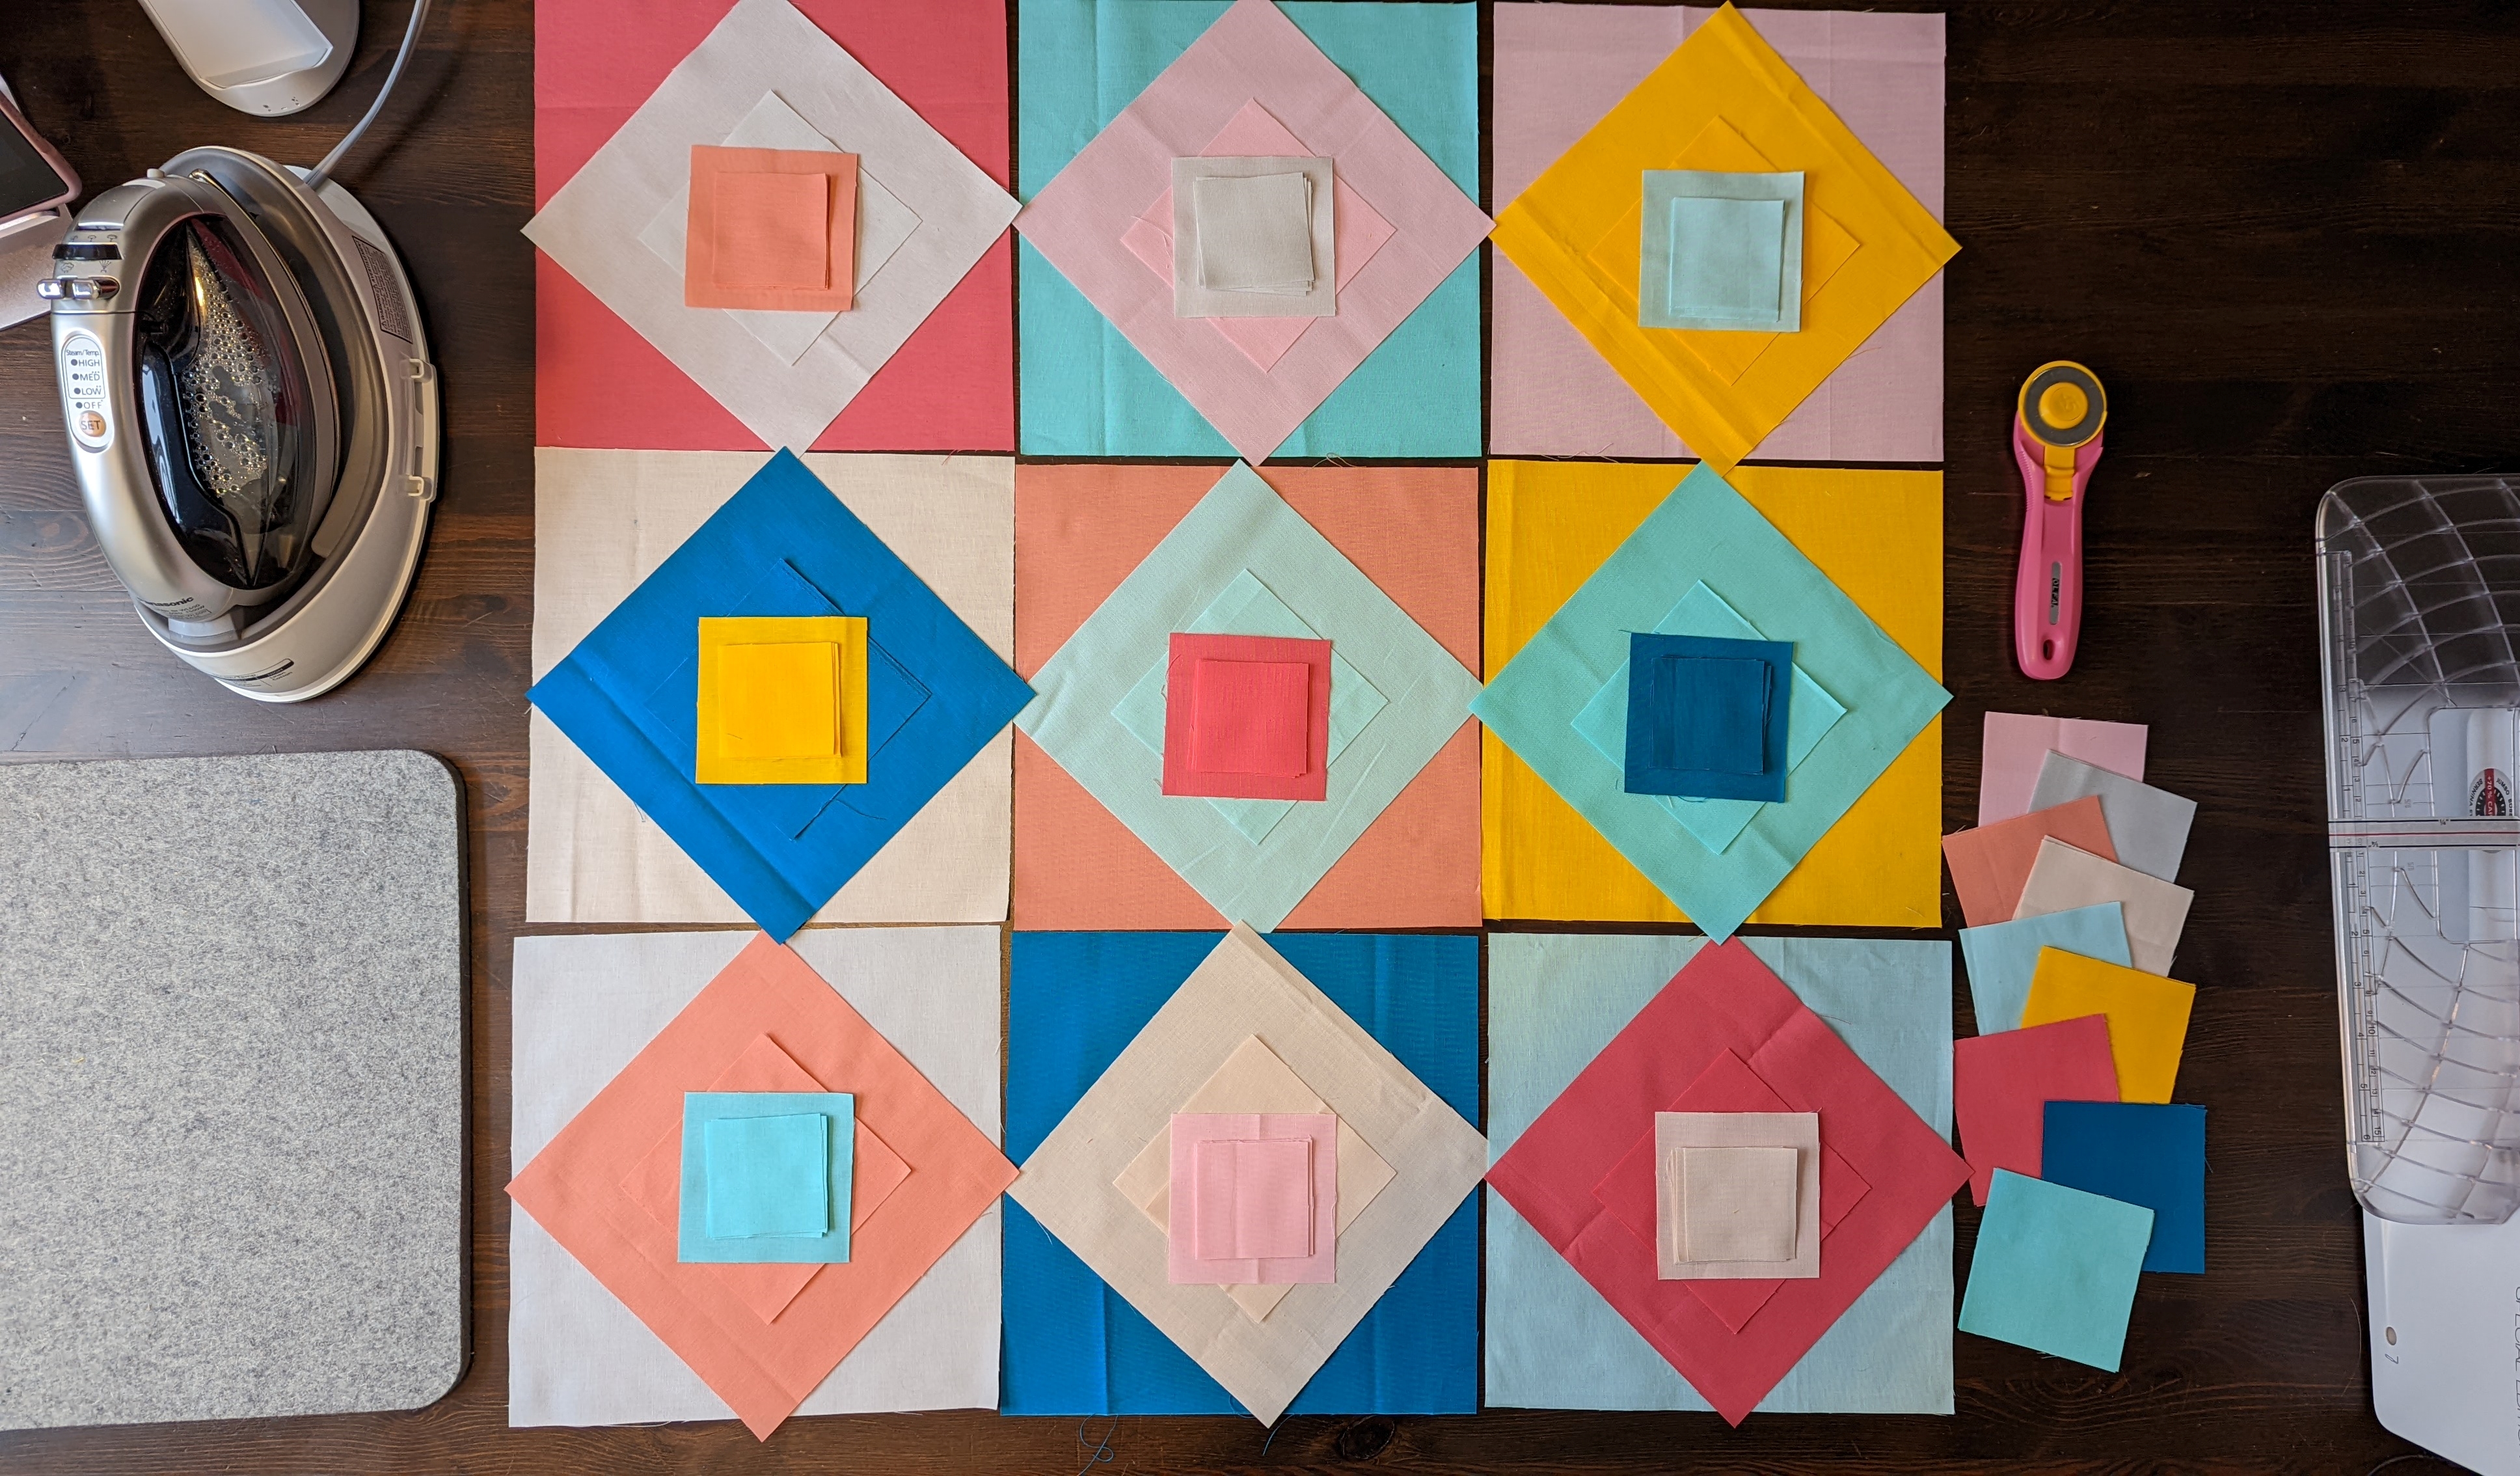
Making the Chain Blocks
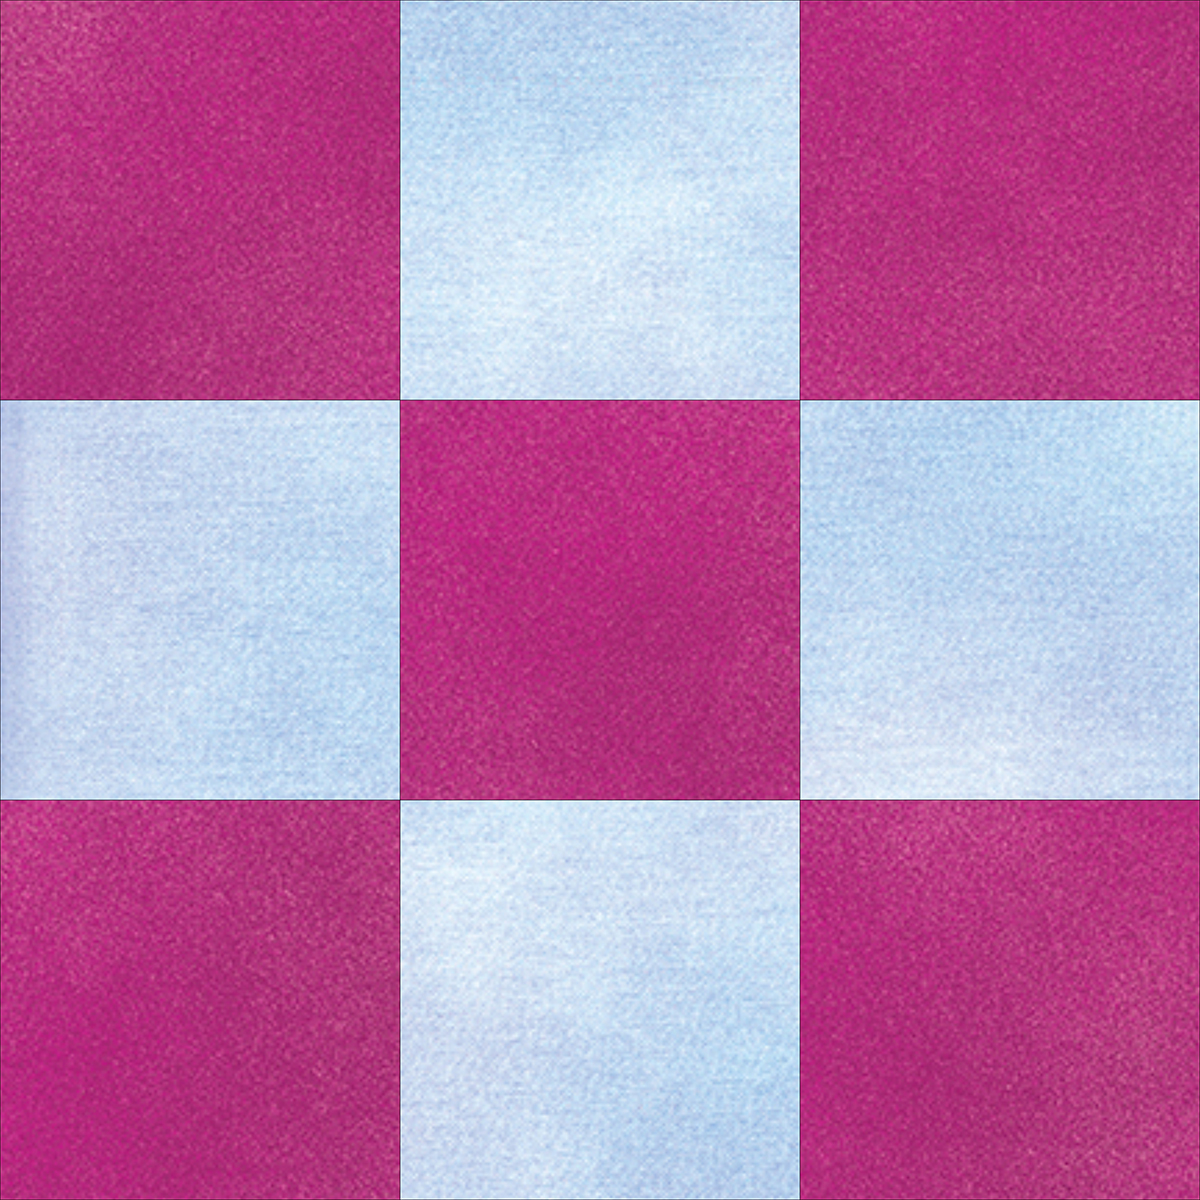
The chain block is easier to make than it appears. The first step is constructing a simple nine-patch and then an outer row is added.
So let’s make that nine-patch unit first. Download Month 3 Chain Block instructions.
You will be using the following pieces: G squares, H rectangles, I squares, J rectangles and K strips.
Referring to the instructions in the download, you will join the nine squares in three rows of three squares each. Two of the rows will be identical.


Next, arrange the three rows as shown and join together. If your seam allowance is correct, the nine patch unit should measure 6-1/2” x 6-1/2”. If it is smaller than this measurement, then your seam allowances are too deep or too large. If it is larger, then your seam allowances are too scant. If you do need to trim your unit to size, ideally you shouldn’t be trimming more than 1/16” from the edges just to even it up.
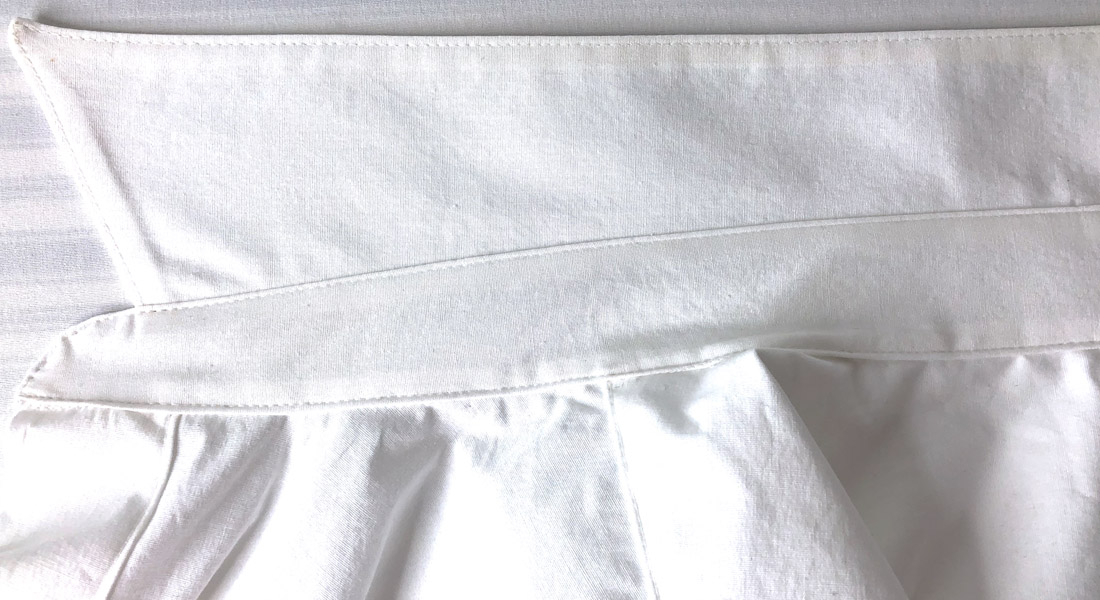
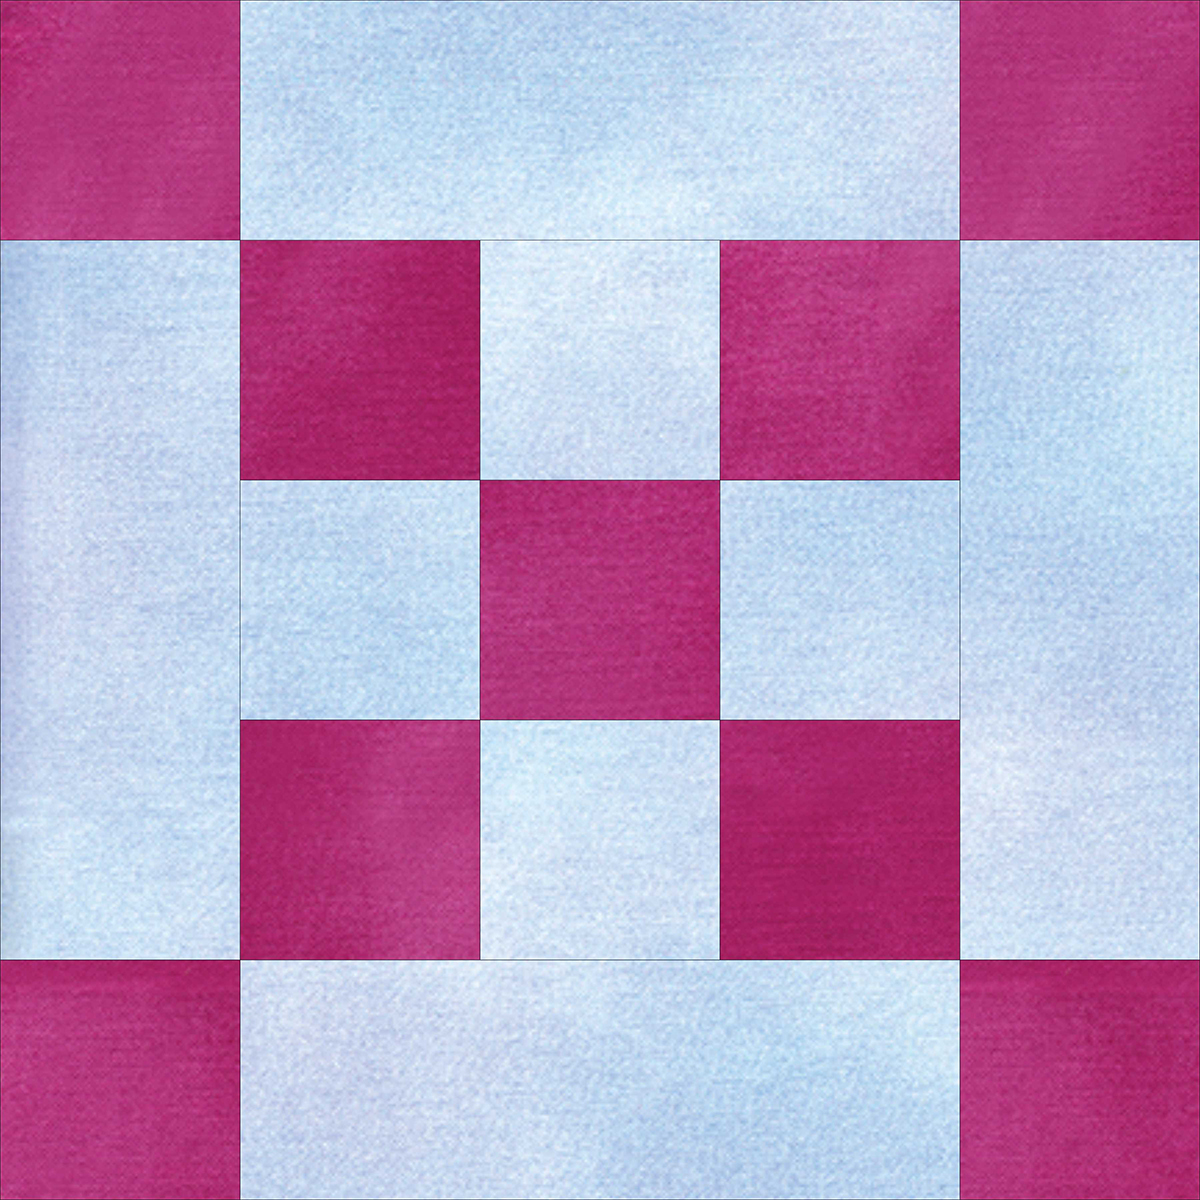
Next step is attaching strips to opposite sides of the nine patch unit. This is where the accuracy really comes into play to get everything to line up precisely.
The top and bottom rows of the chain block are easily assembled by sewing squares onto opposite ends of the long strip.

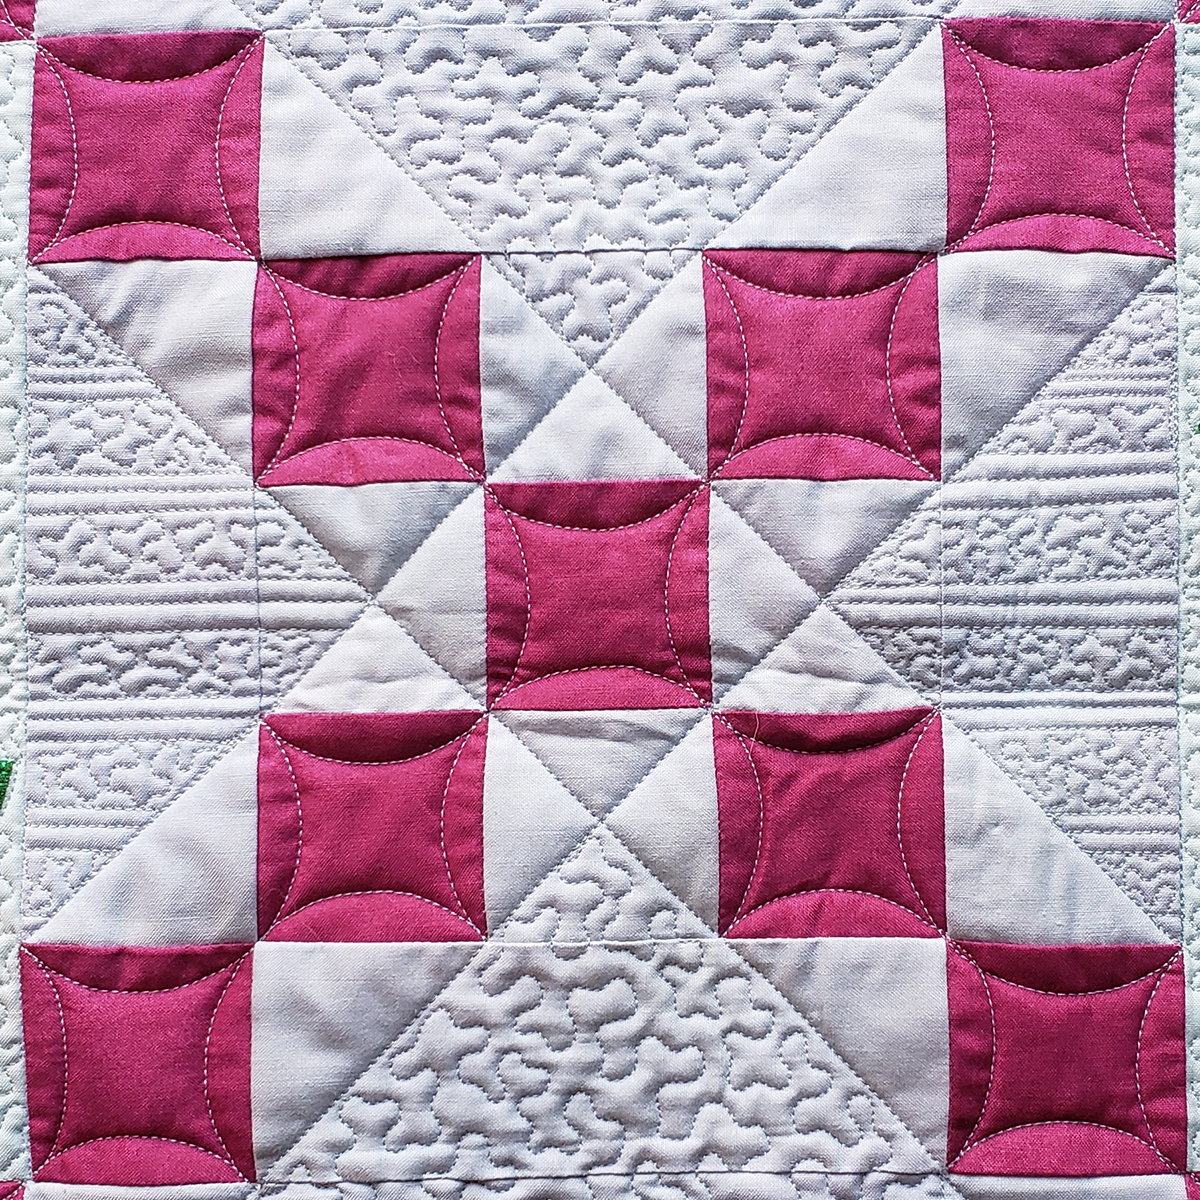
And the final step is stitching the top and bottom in rows in place to complete one chain block. You will make a total of 3 chain blocks.
Making the Partial Chain Blocks
Next up are the partial chain blocks which are just as easy. The instructions guide you step-by-step through the process of making the three rows.
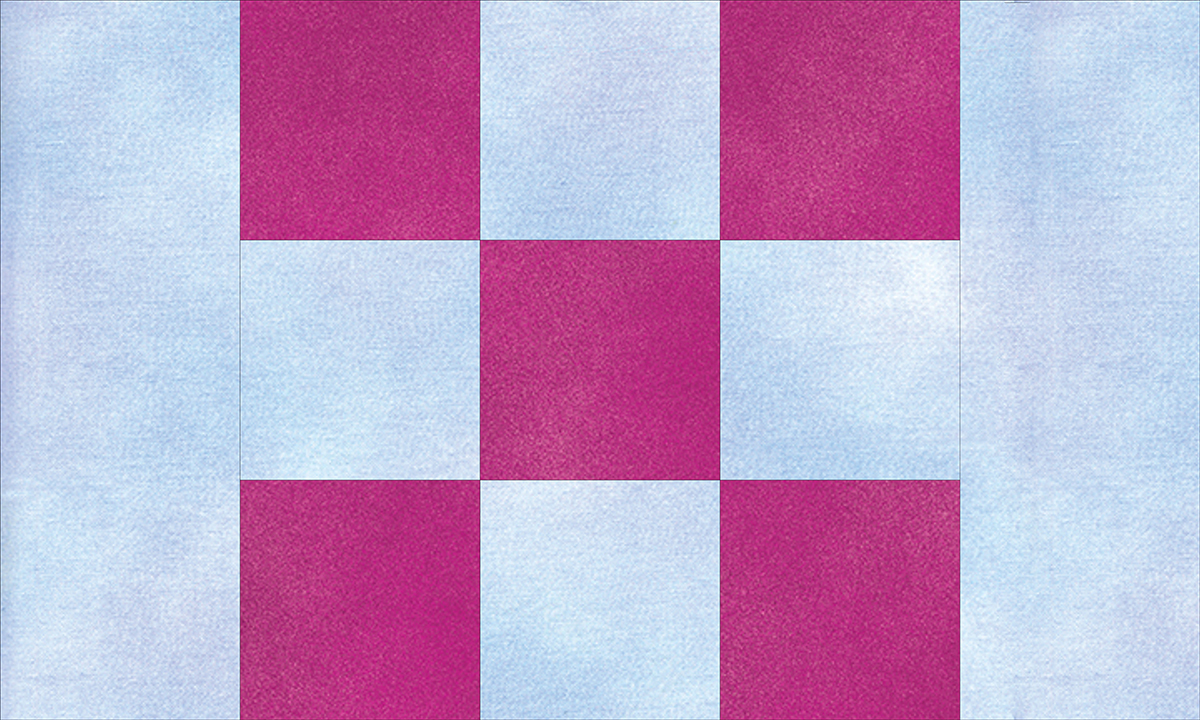
First is a row that matches the top and bottom row of the chain block, as shown above.
The next row is joining five squares together. Same concept as joining the three squares earlier, now we are just working with five.

And the final row is super simple, joining rectangles on each side of a square.

Before you go into assembly mode, do a quick double-check to make sure the length on each strip is the same. Next, join the rows together as shown with the plain fabric strip in the correct location. Each of the rows will join other and the points will match to create the chain. You will make a total of four partial chain blocks.

Set these blocks aside for now.
That’s it for today! This is a quilt along that you will definitely want to participate in and be sure to share it with all your quilting friends and quilt guilds. Quilting is always better with a friend.
Next month, you will start working on the diamond blocks using traditional patchwork techniques. See you then!