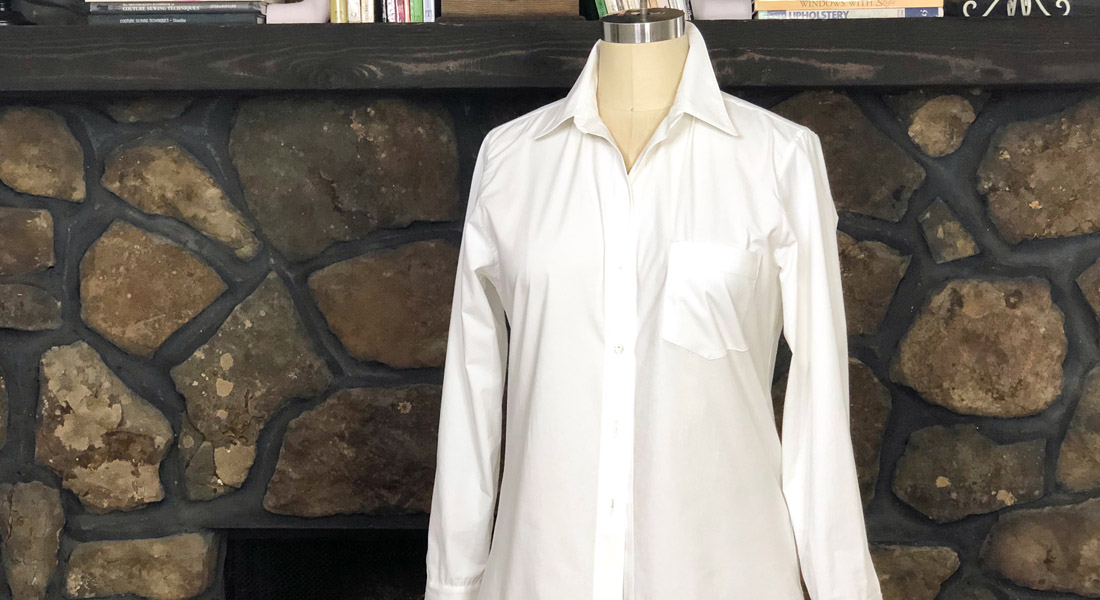
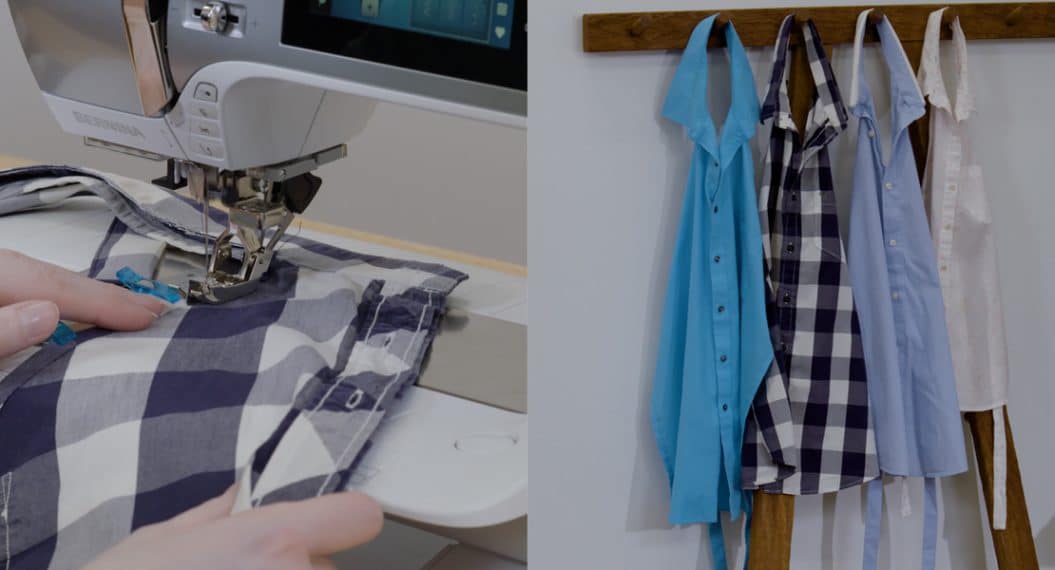
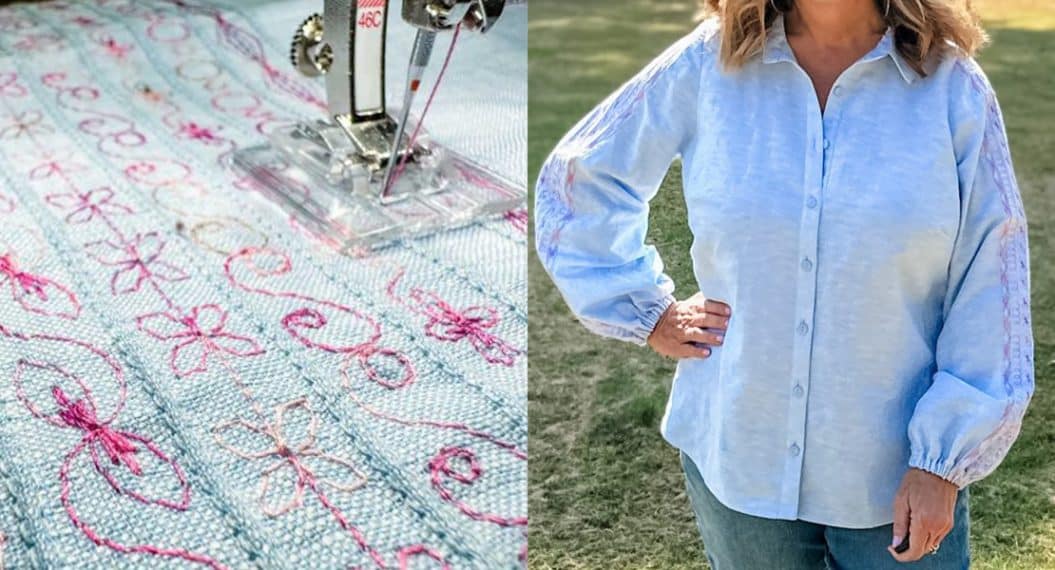
Classic Button Up Shirt Sew-along: Part 2
In Part 1 of the Classic Button Up Shirt Sew-Along, we completed the front. Now it’s time to start on the back.
In this lesson, we will sew:
- the back to the double yoke
- shoulder seams
- edgestitching
- collar
- collar bands
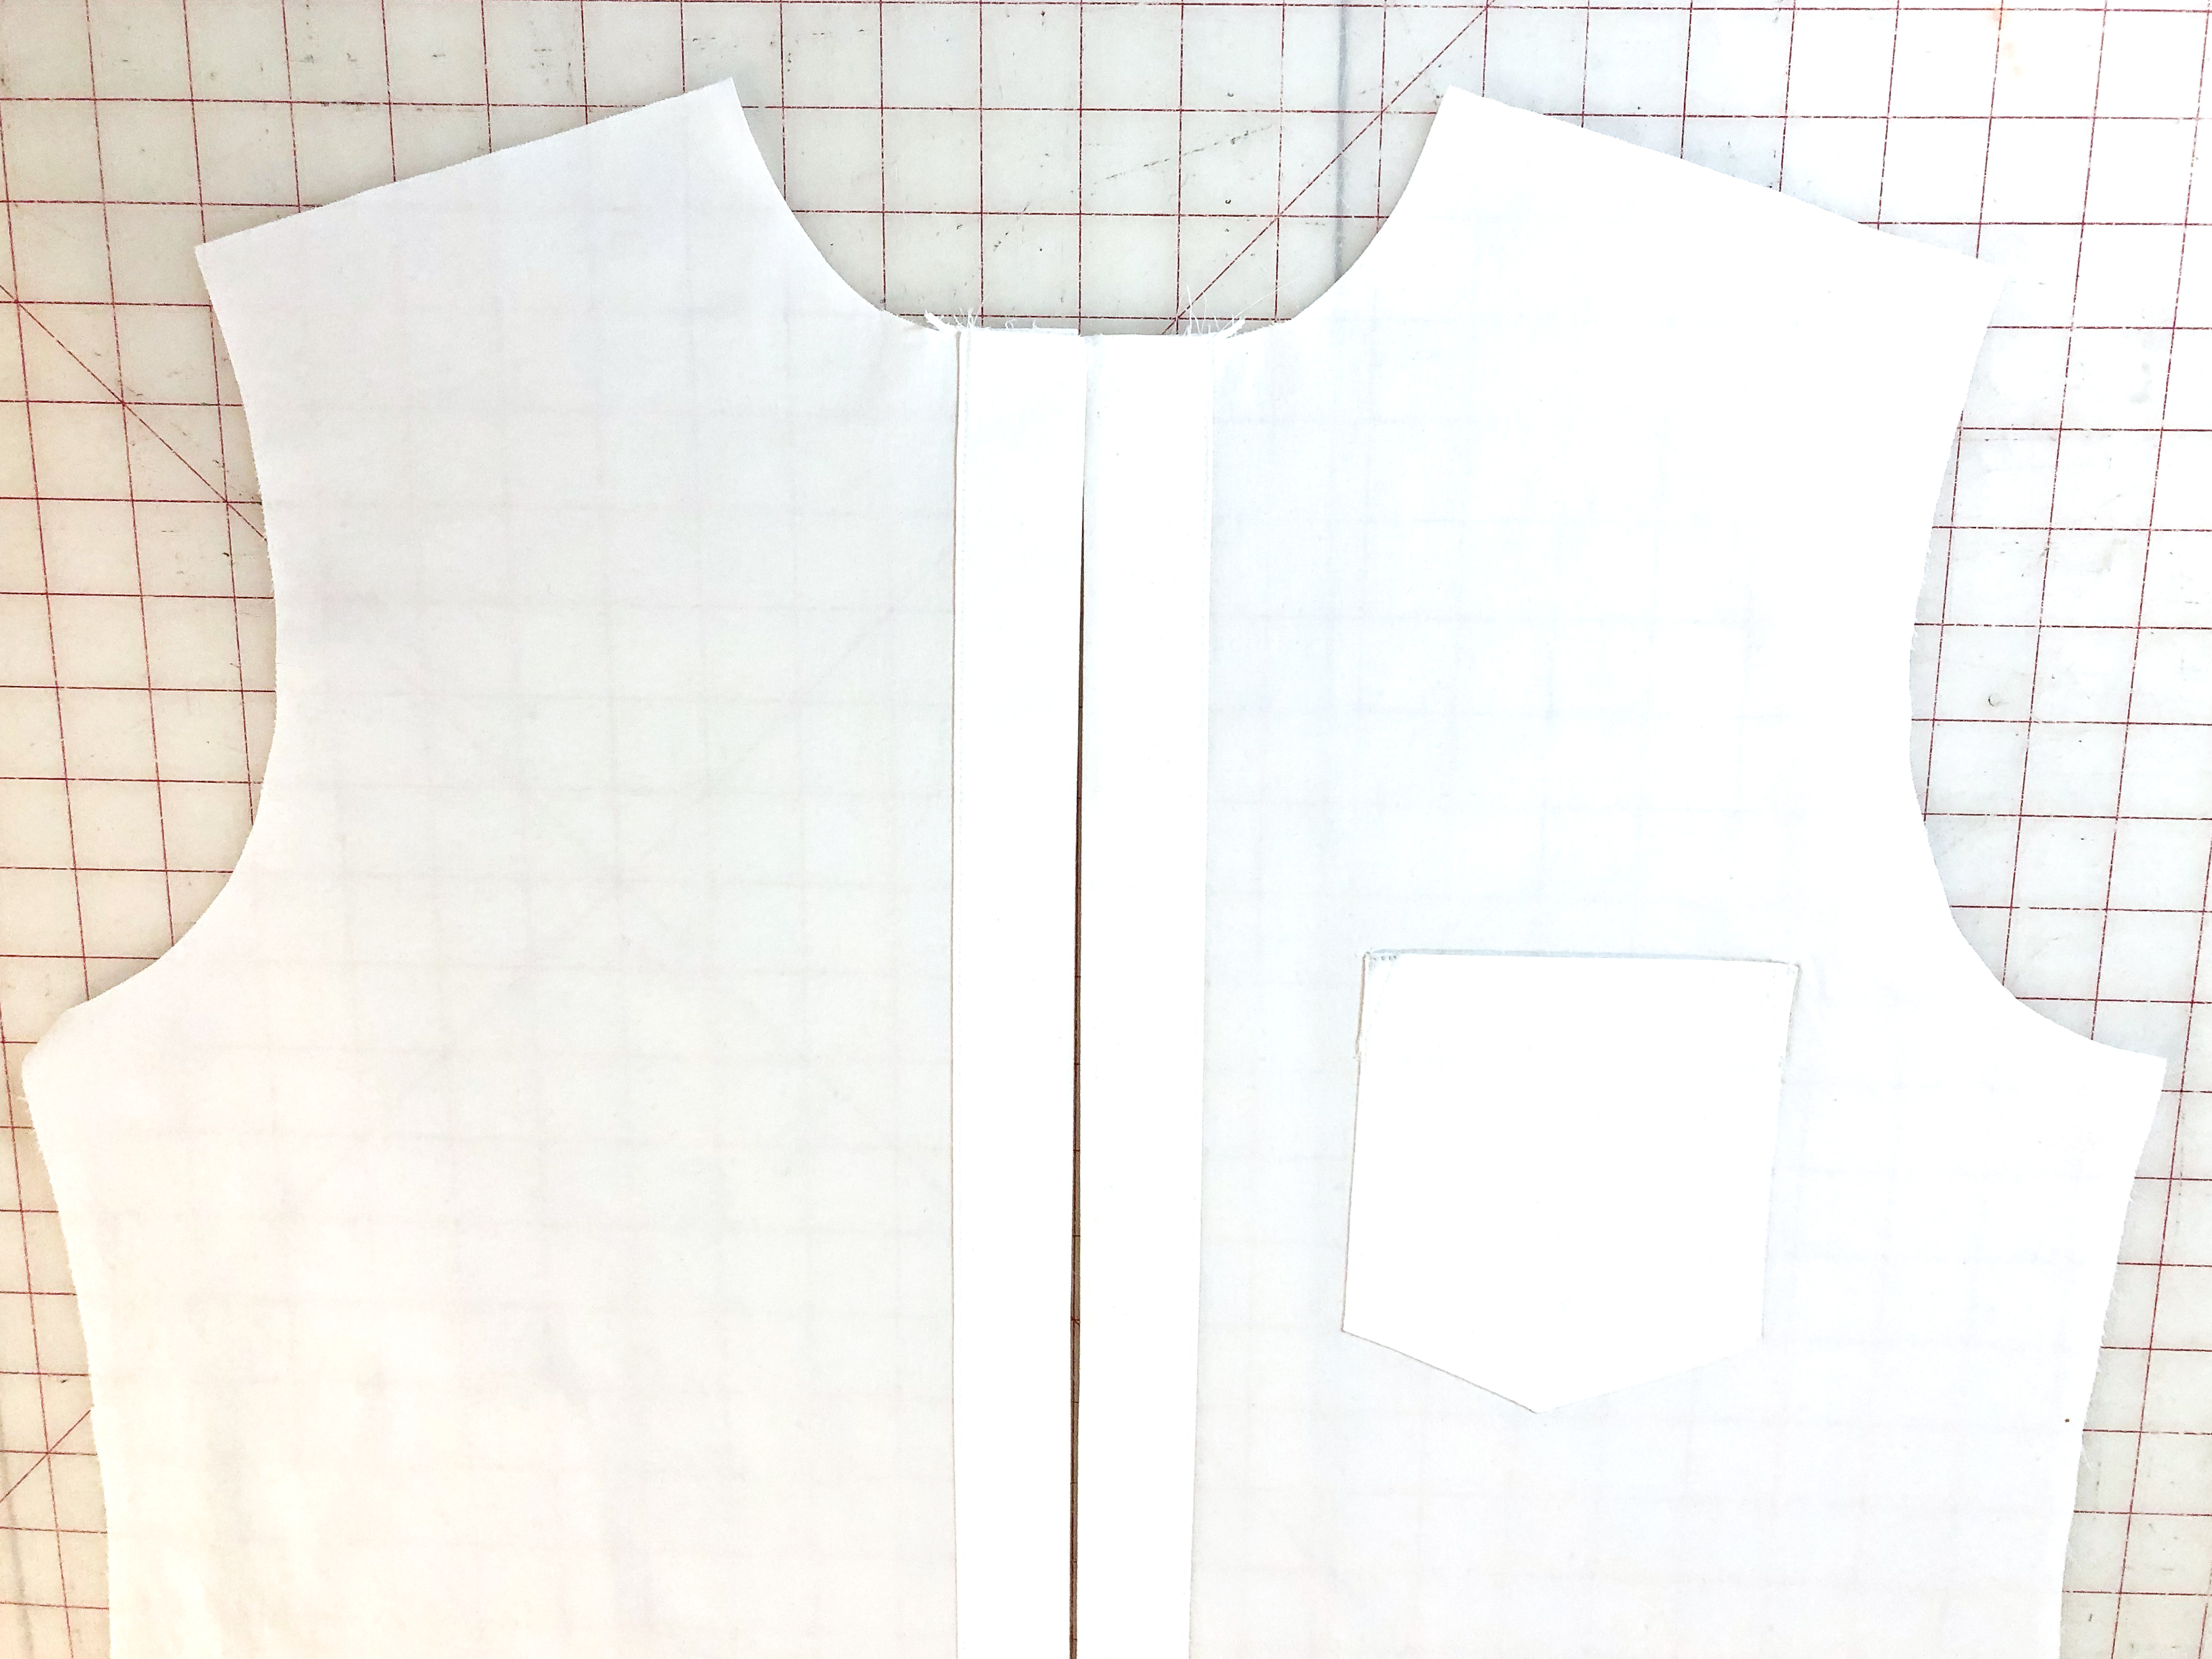
The Back, Yoke, Shoulder Seams and Edgestitching
Construction tip: I attach my yoke and yoke facing a little differently than how the instructions of the pattern suggest. They do what is commonly referred to as the “Burrito Method”, where you roll up your garment and sandwich it in between the yoke and the yoke facing in order to sew the shoulder seams
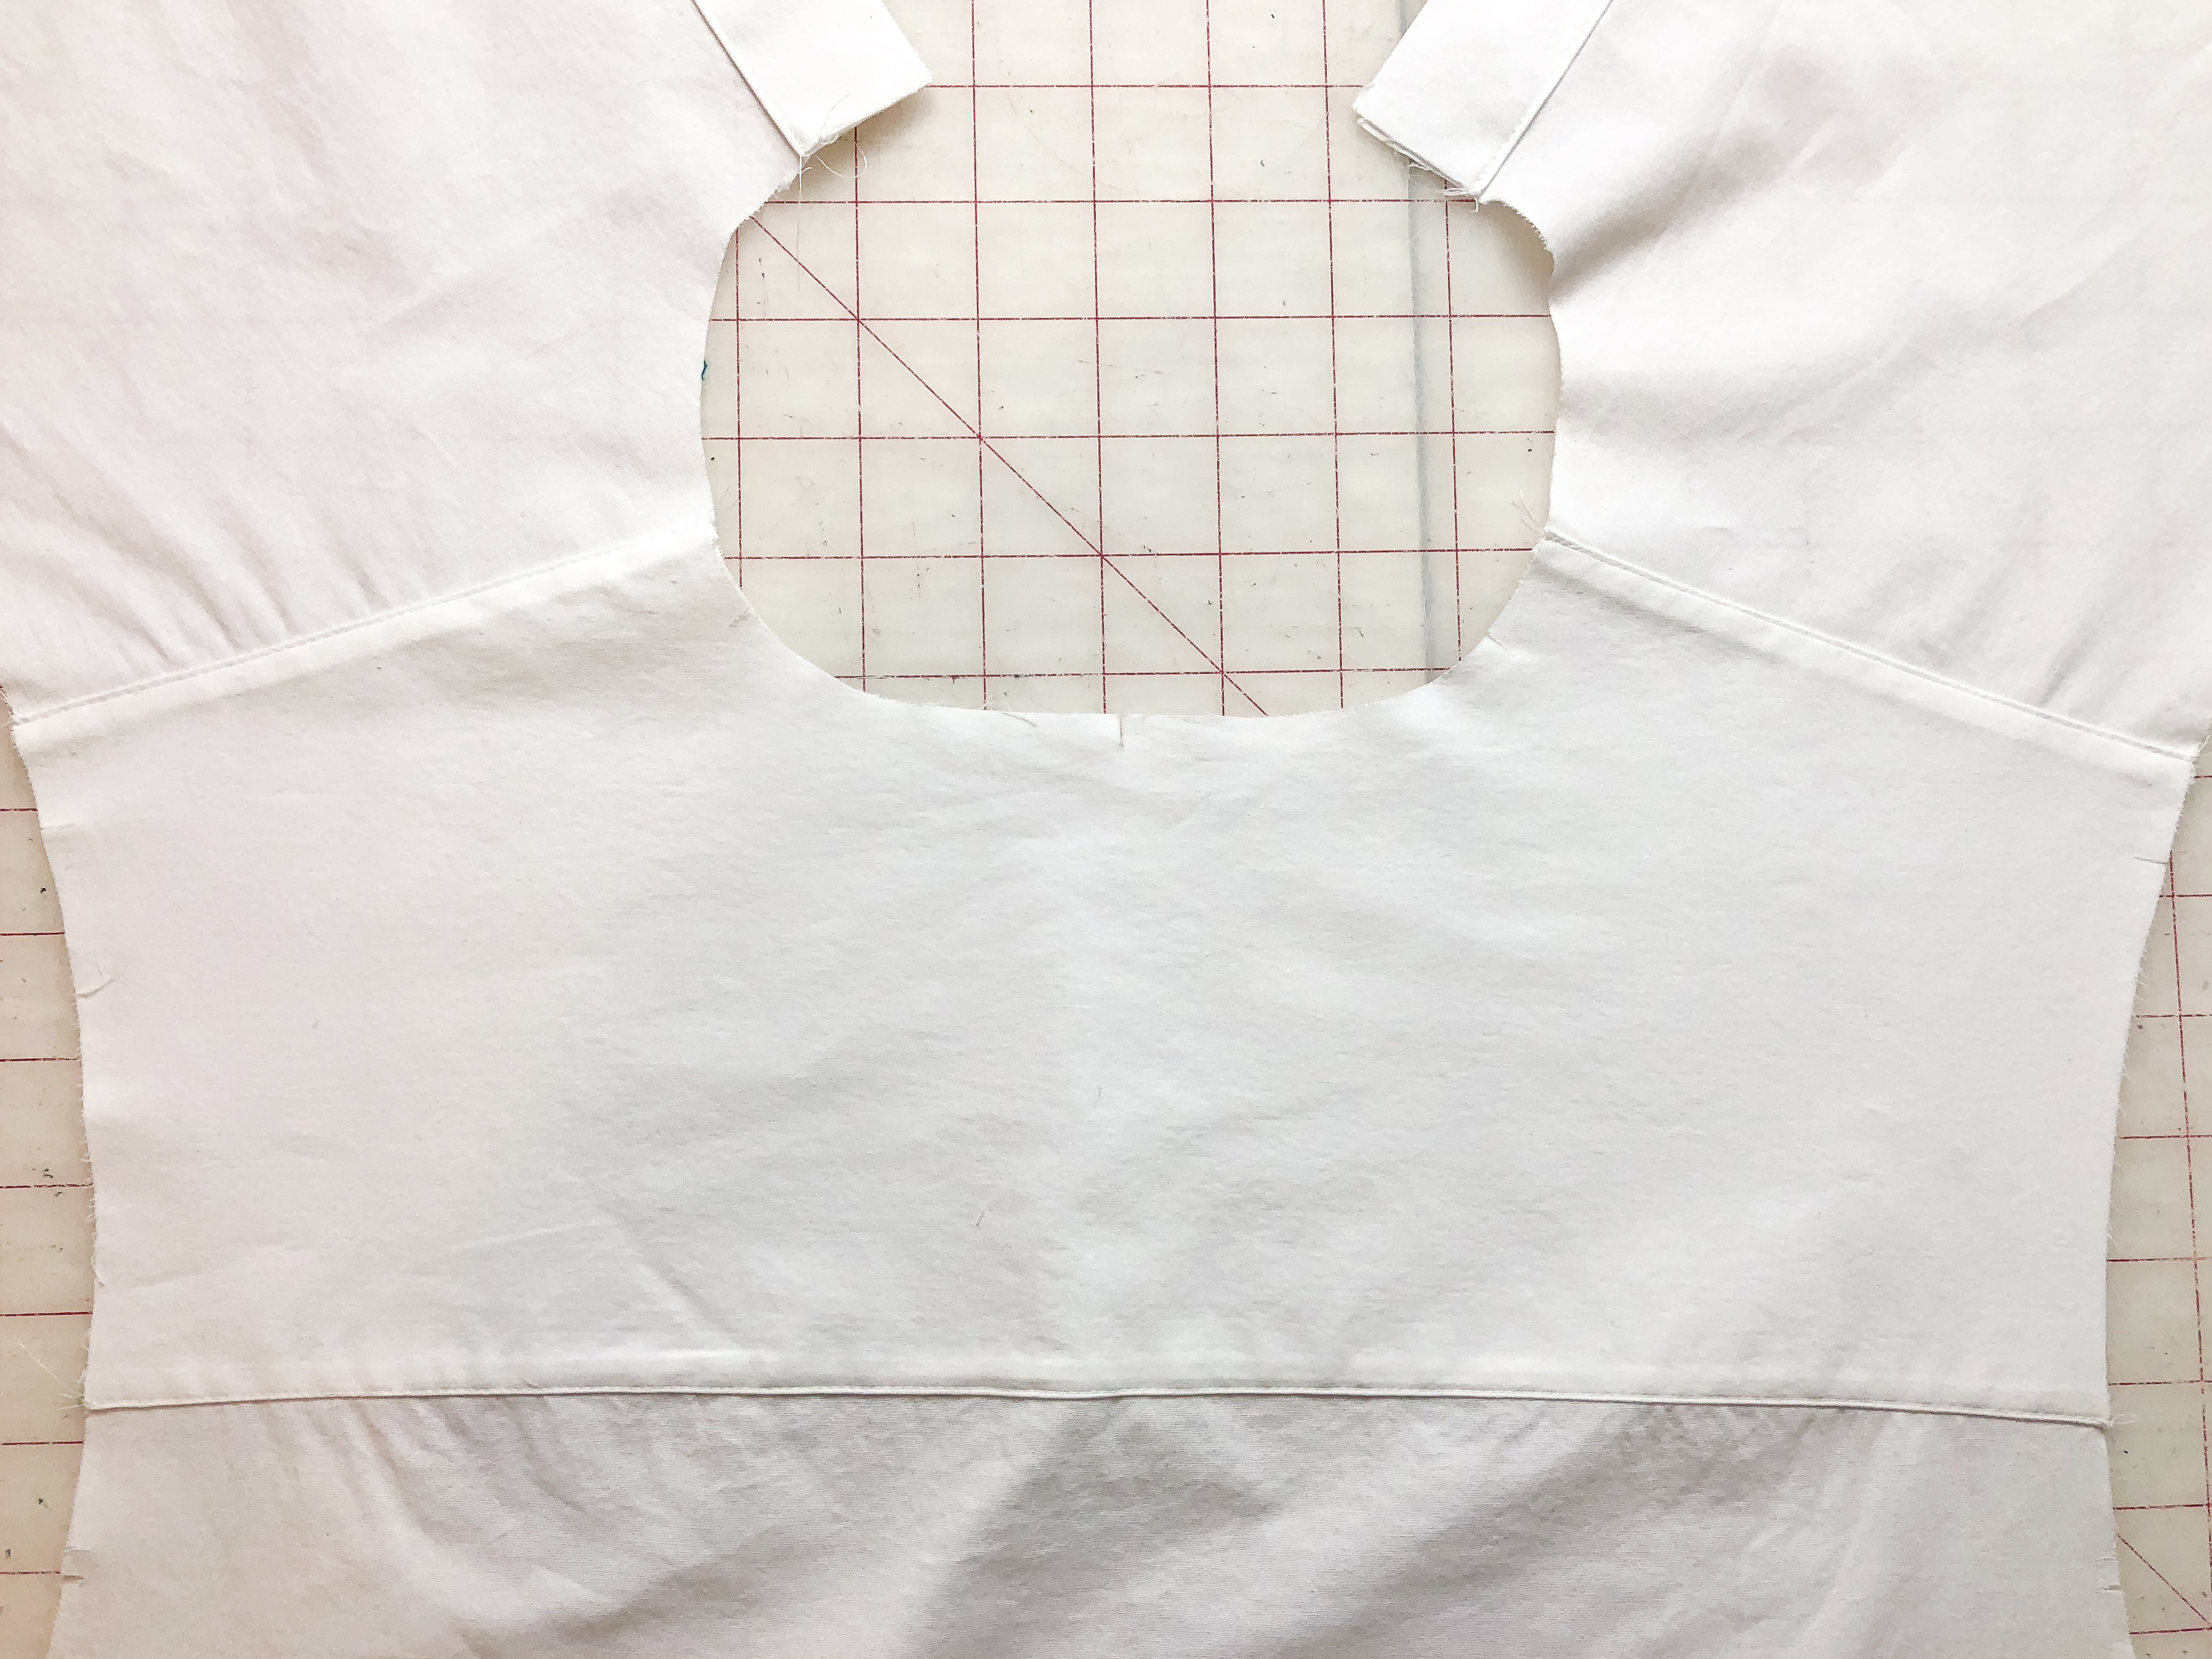
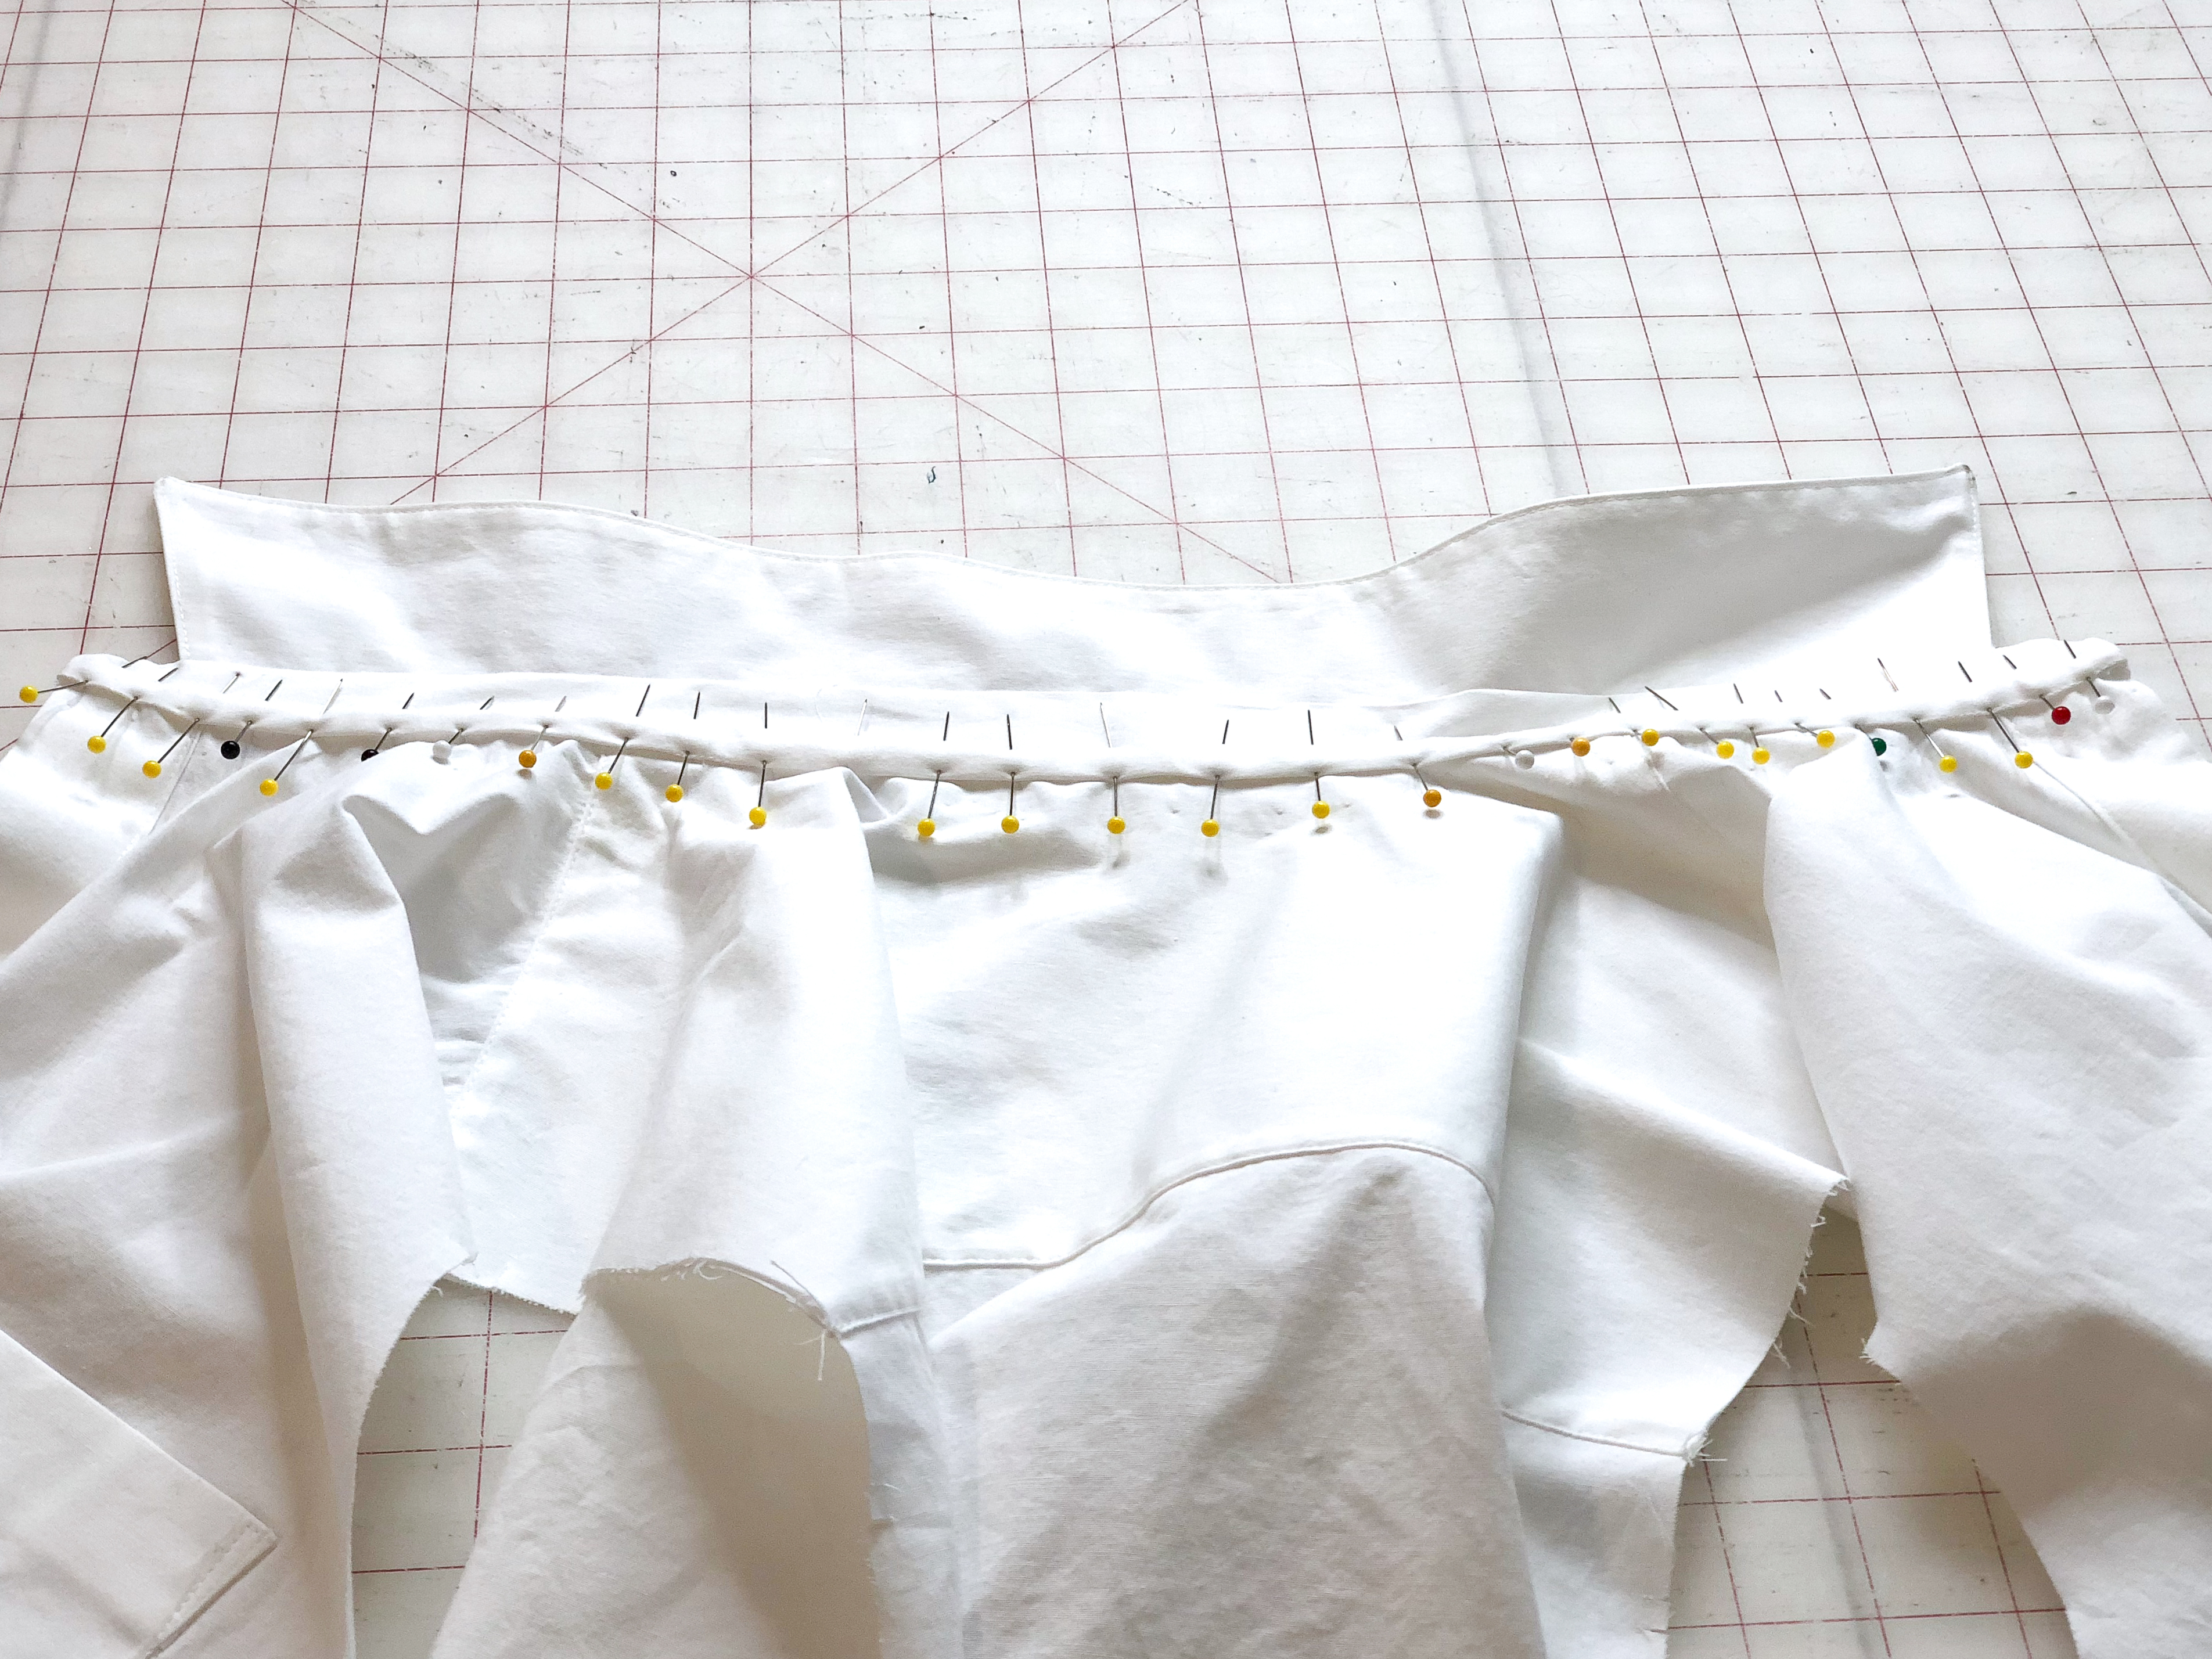
First, sew the yoke (the outside piece) to the back piece, right sides together, sew the yoke facing (the piece that goes on the inside) right side of yoke to wrong side of back, then press.

Keeping the yoke facing out of the way, sew the shoulder seams of the yoke to the shoulder seams of the fronts with right sides together.
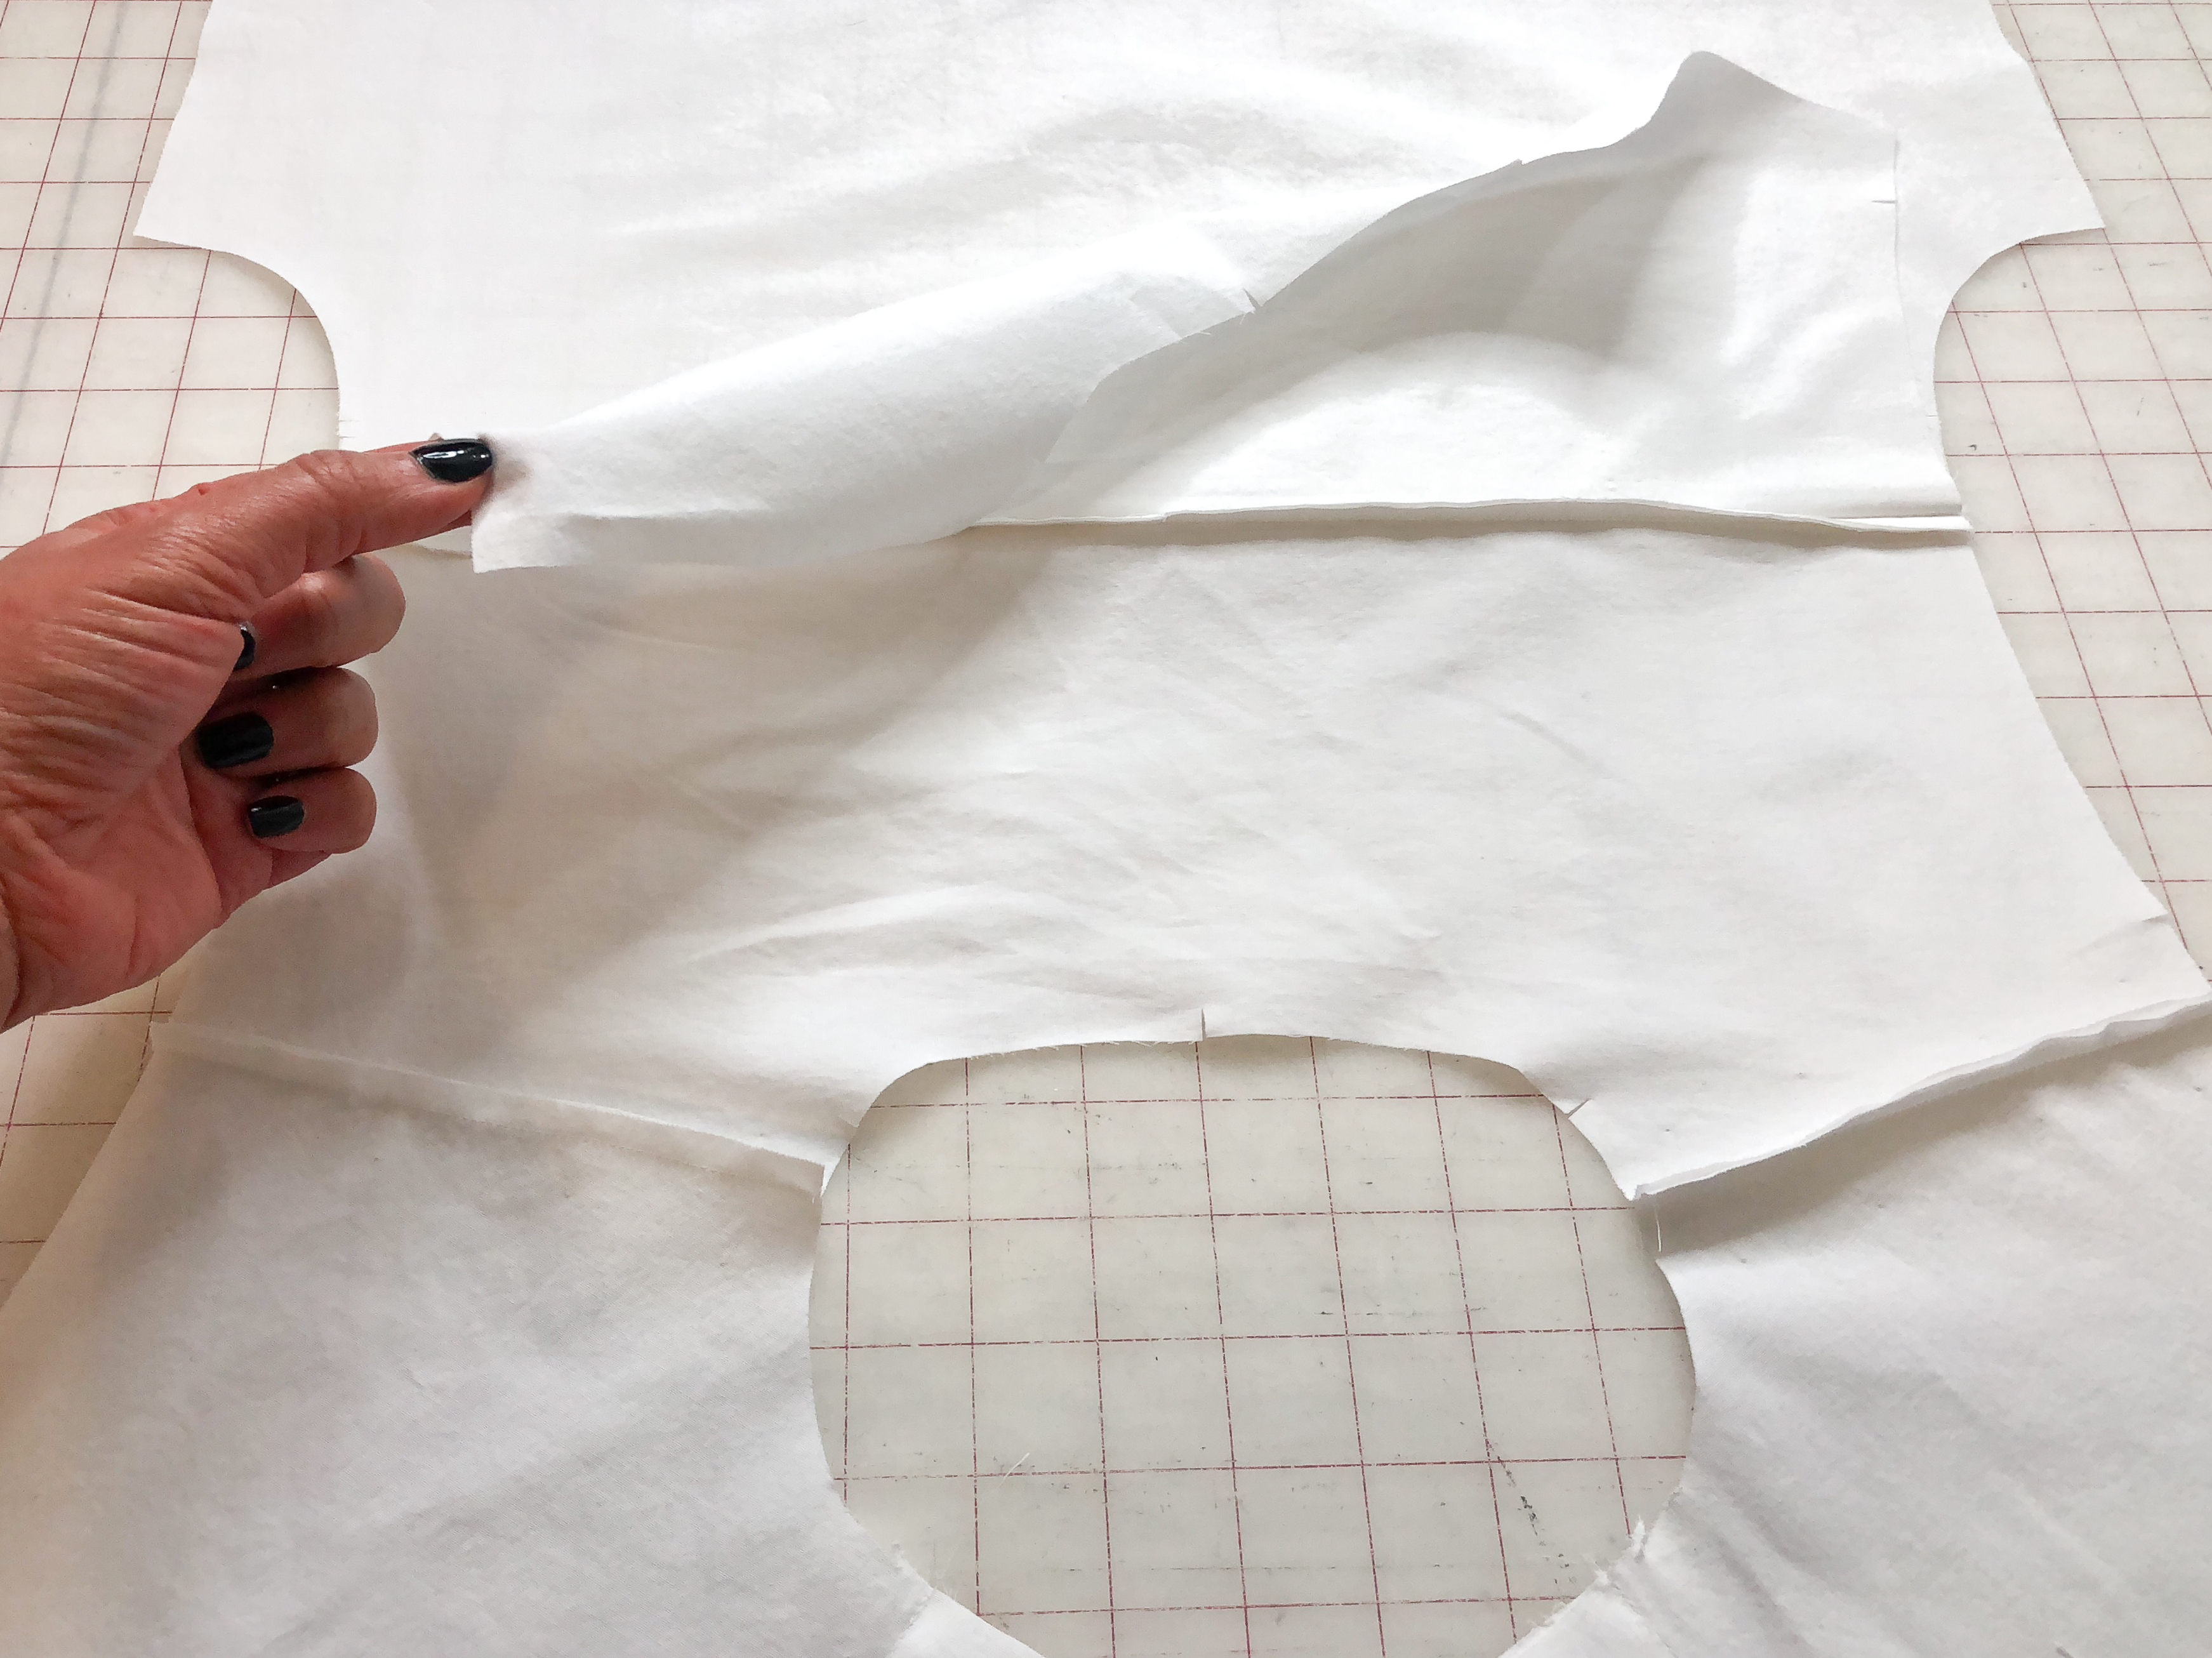
Open the shirt out with the fronts facing you with the inside up.
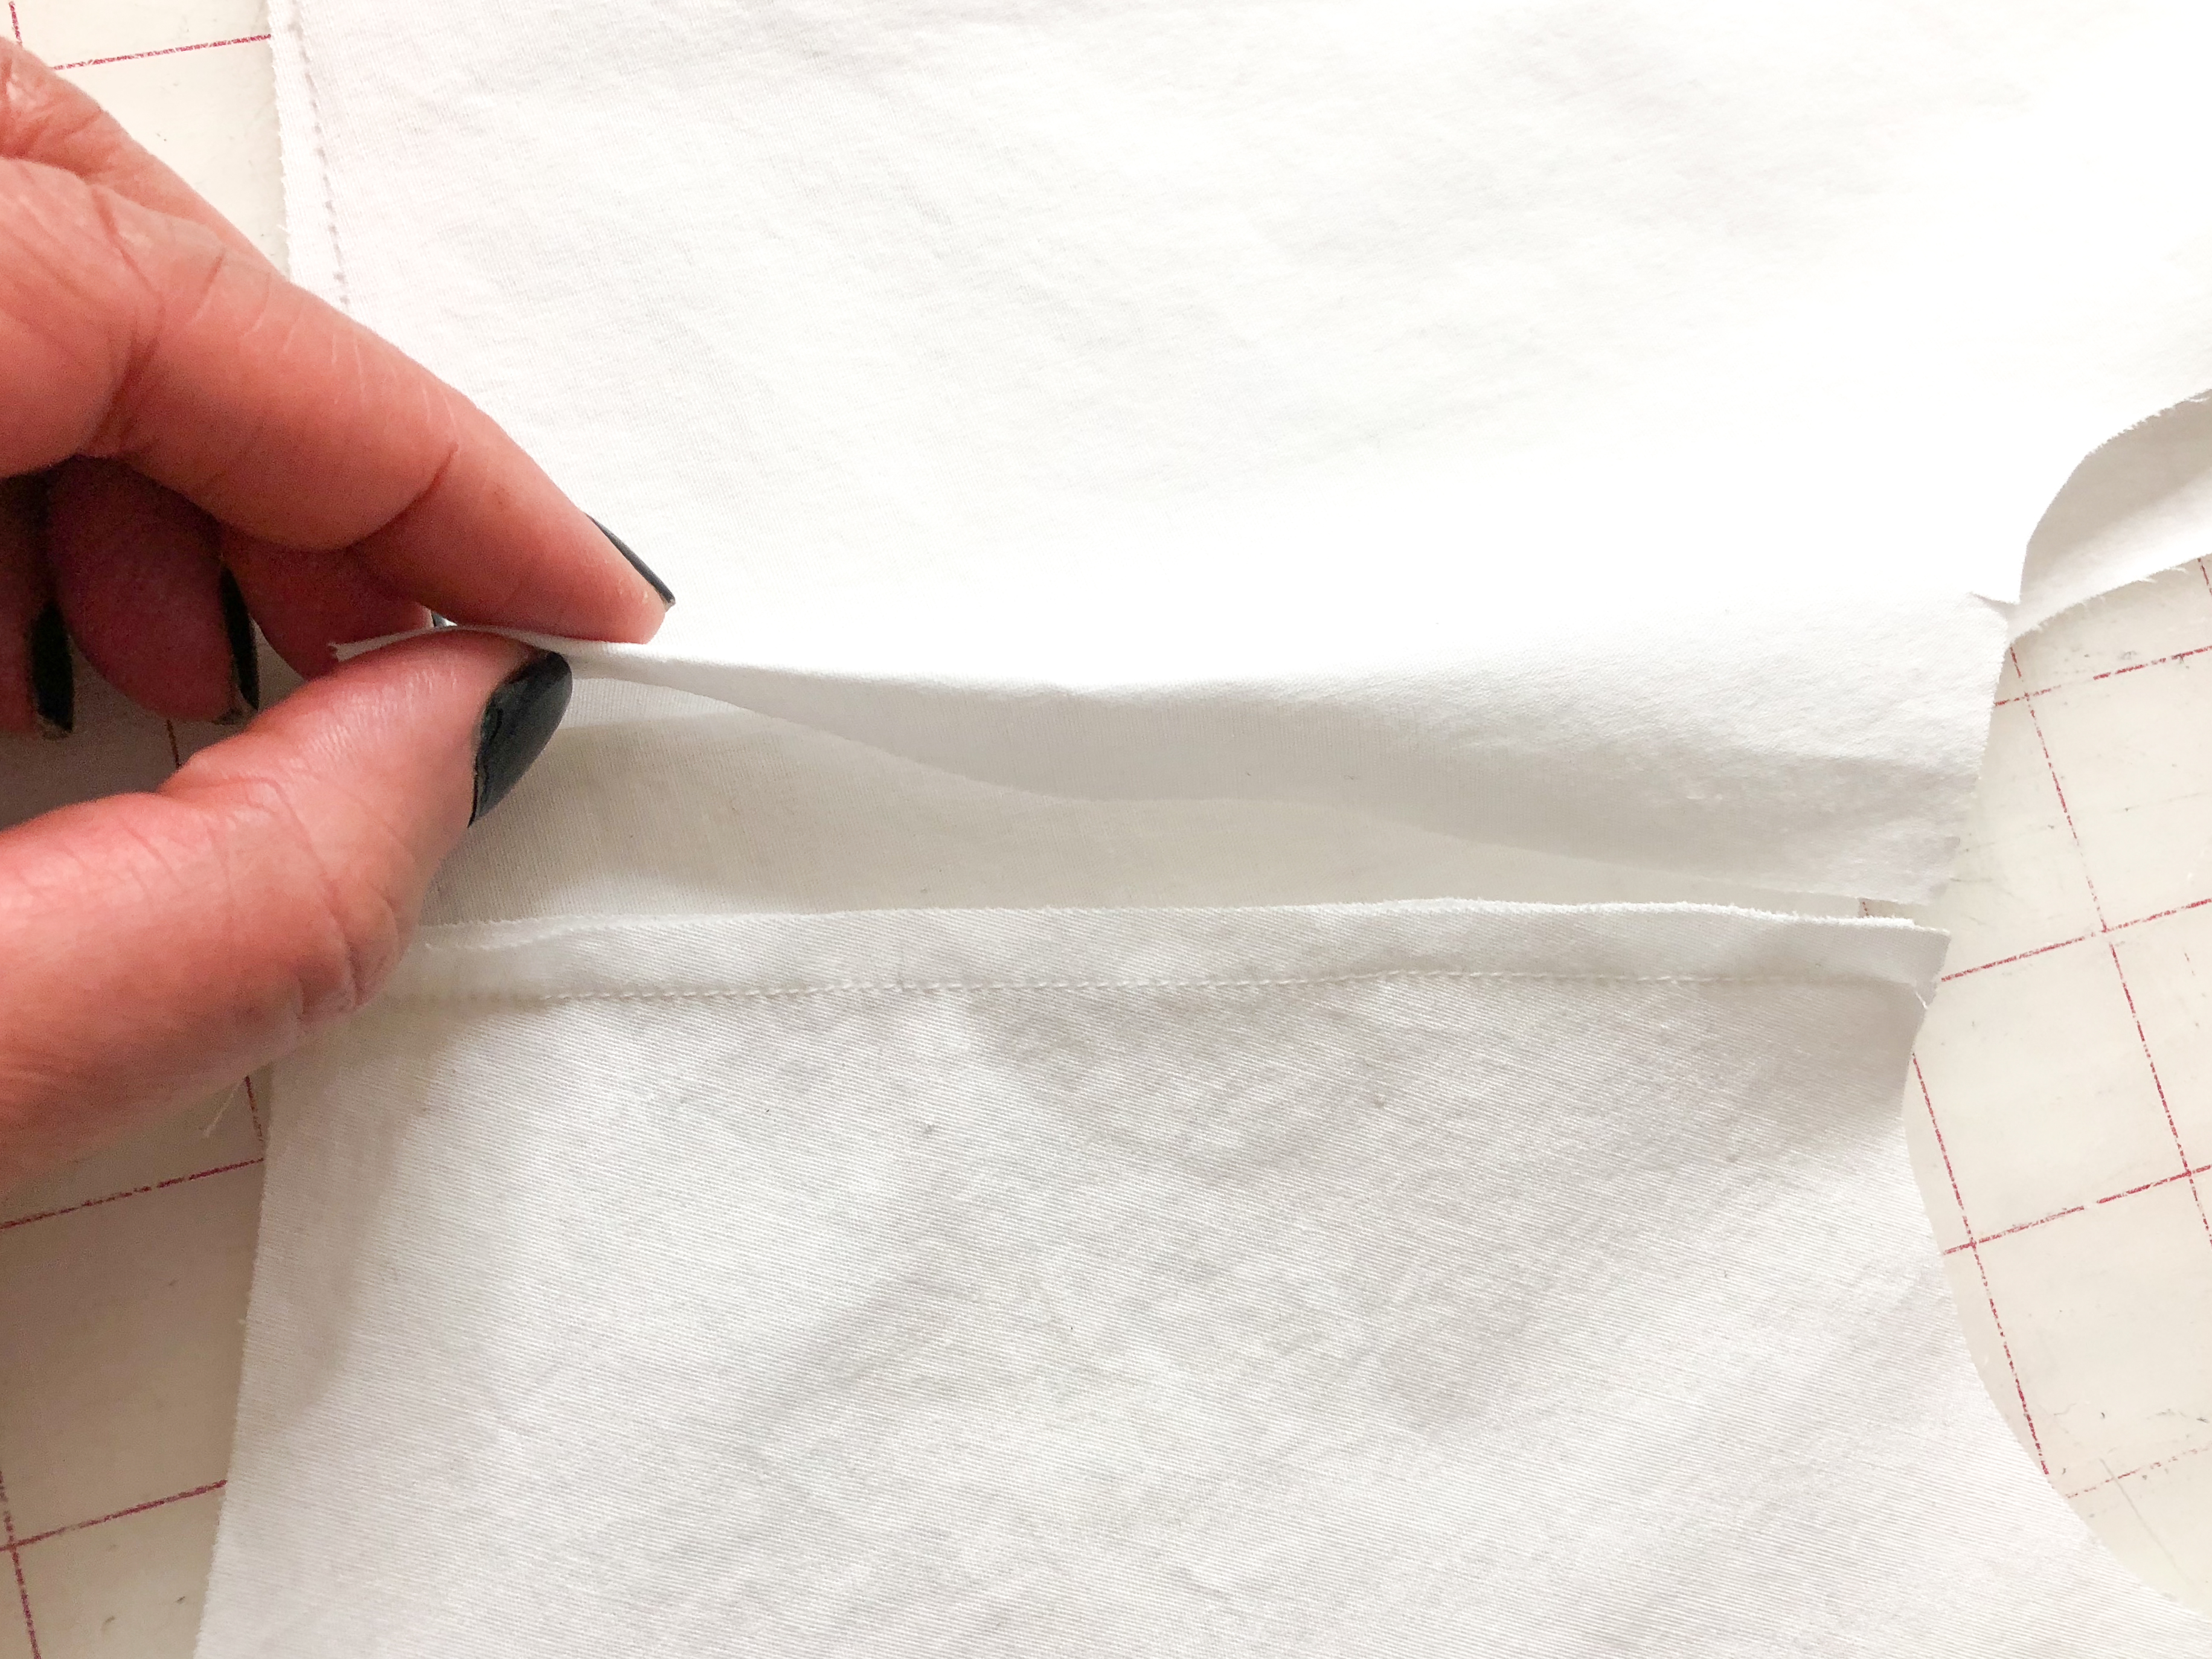
Take the seam allowance of the yoke facing and turn it under.

Lay it on top of the shoulder seam line and pin in place.
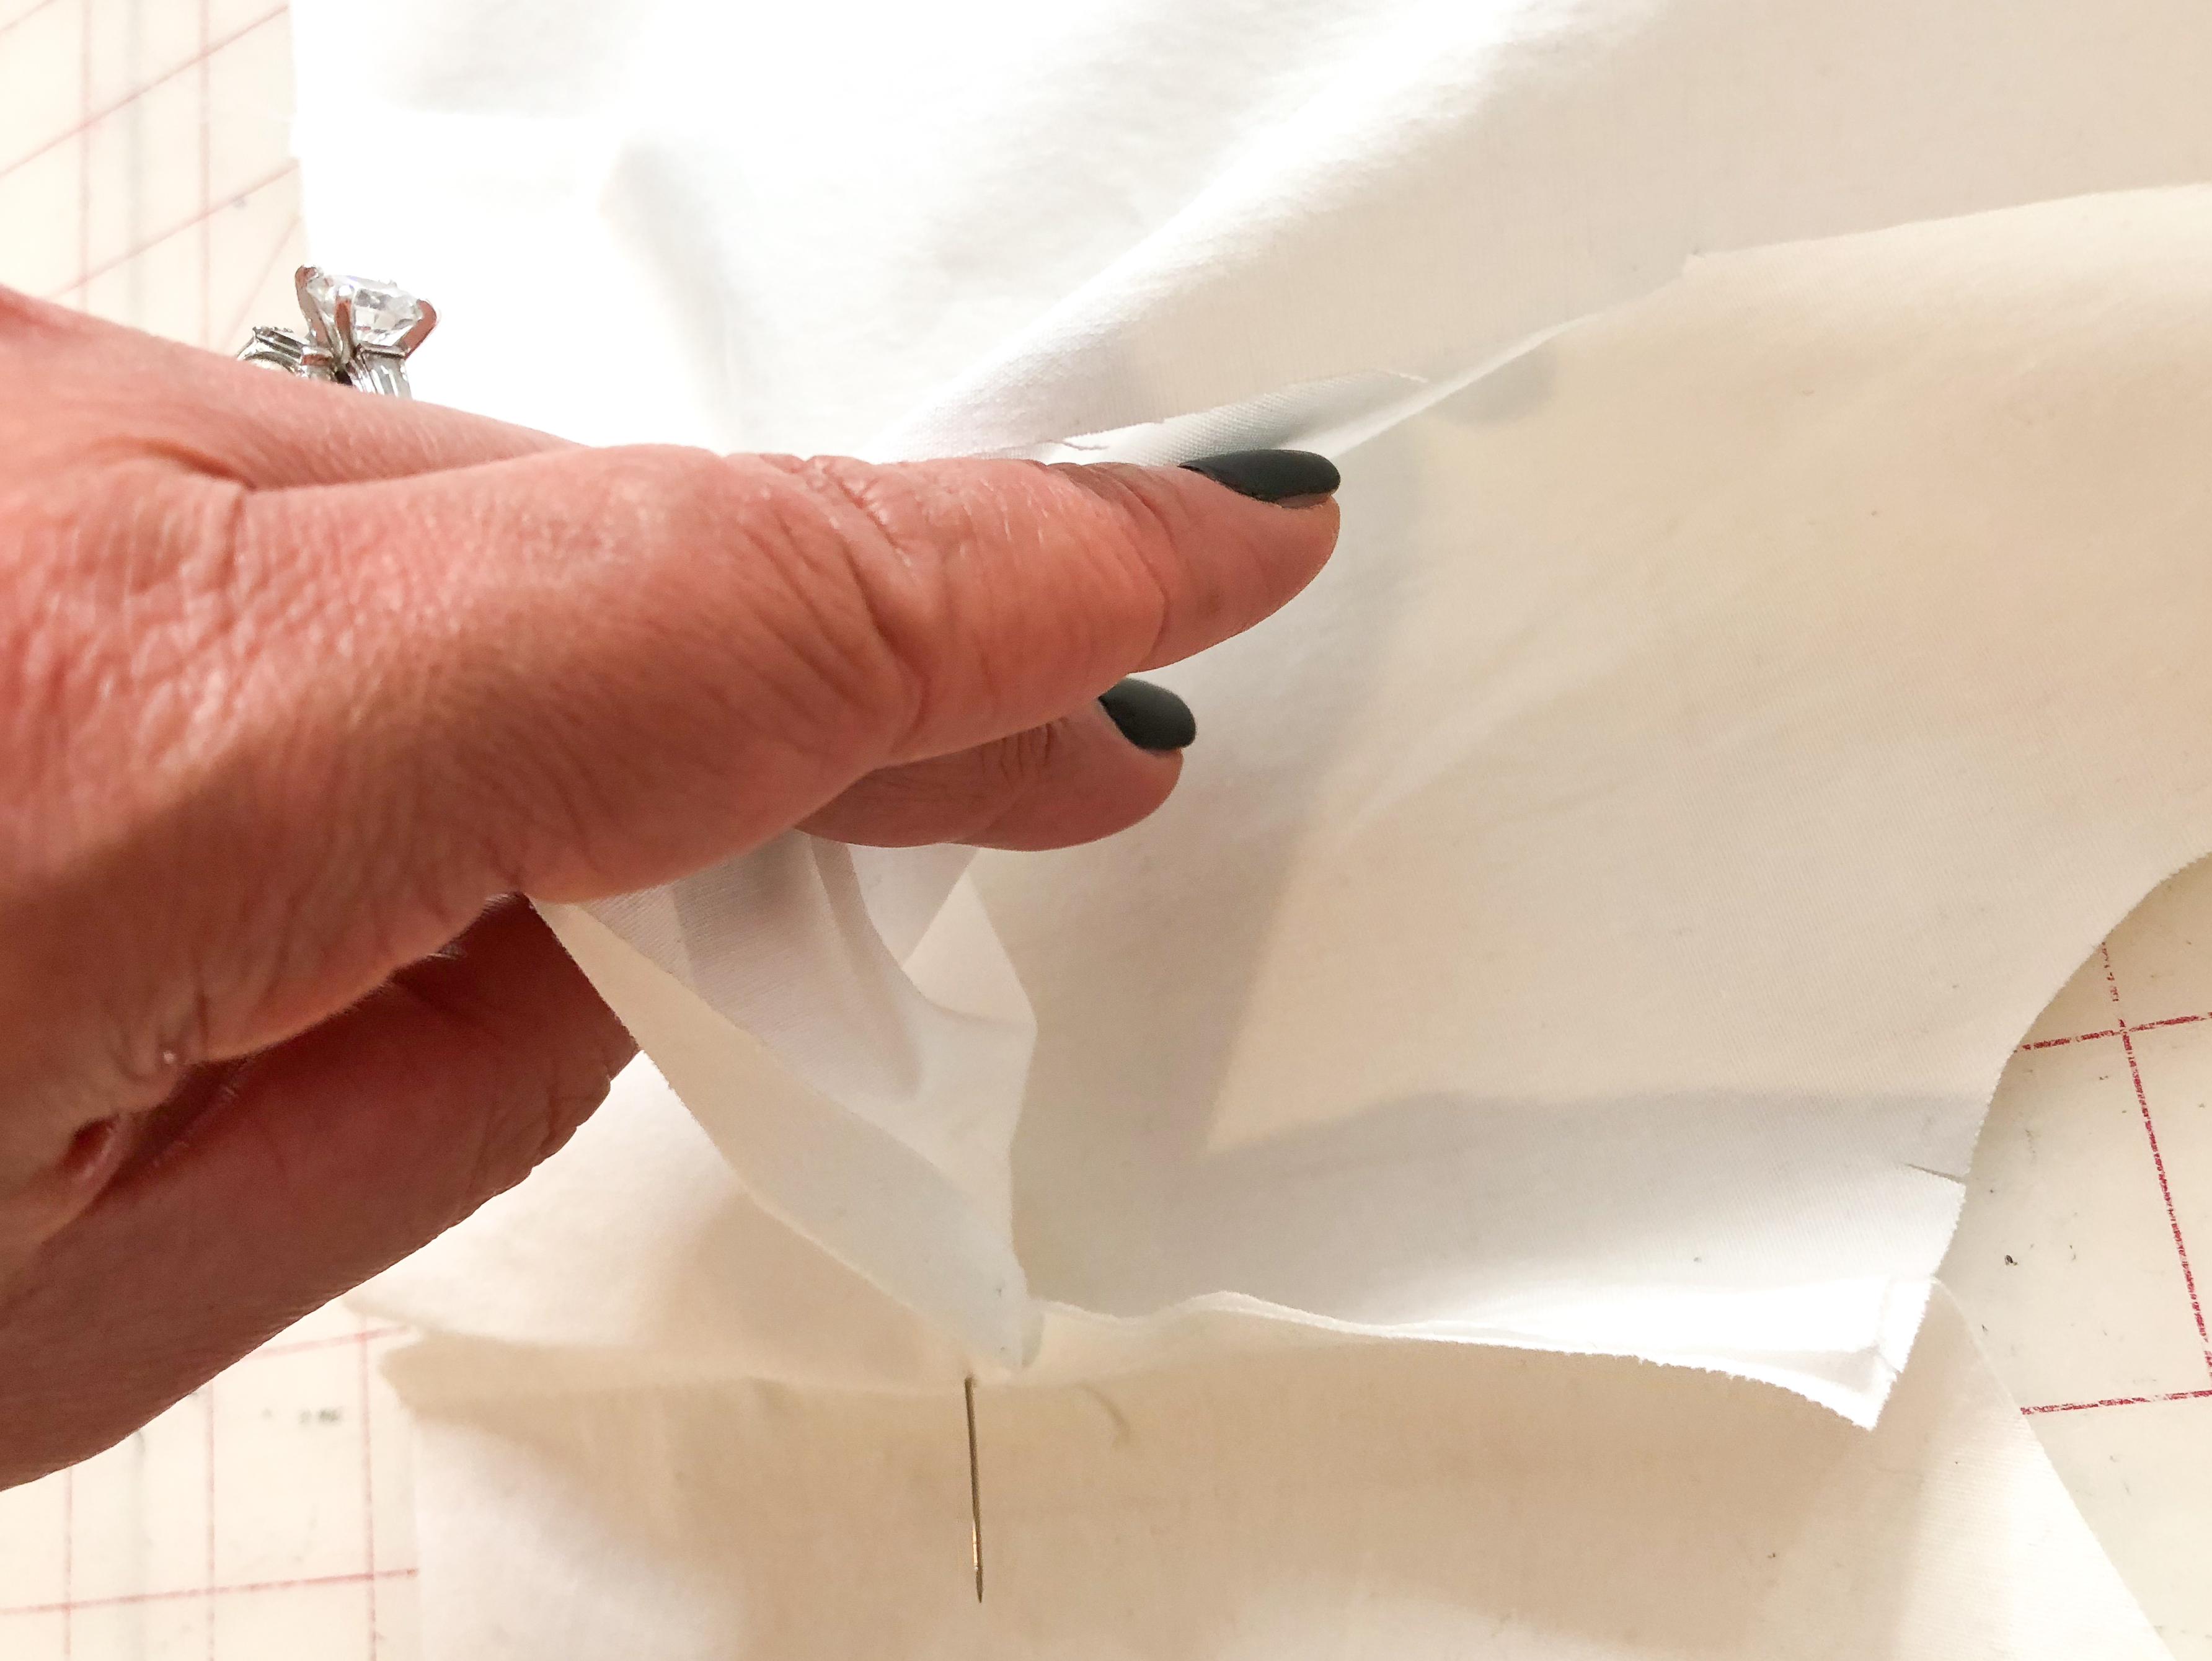
Reach inside and grab the matching seam allowance of the yoke that is sewn to the front shoulder seam along with the seam allowance of the yoke facing and pull through.
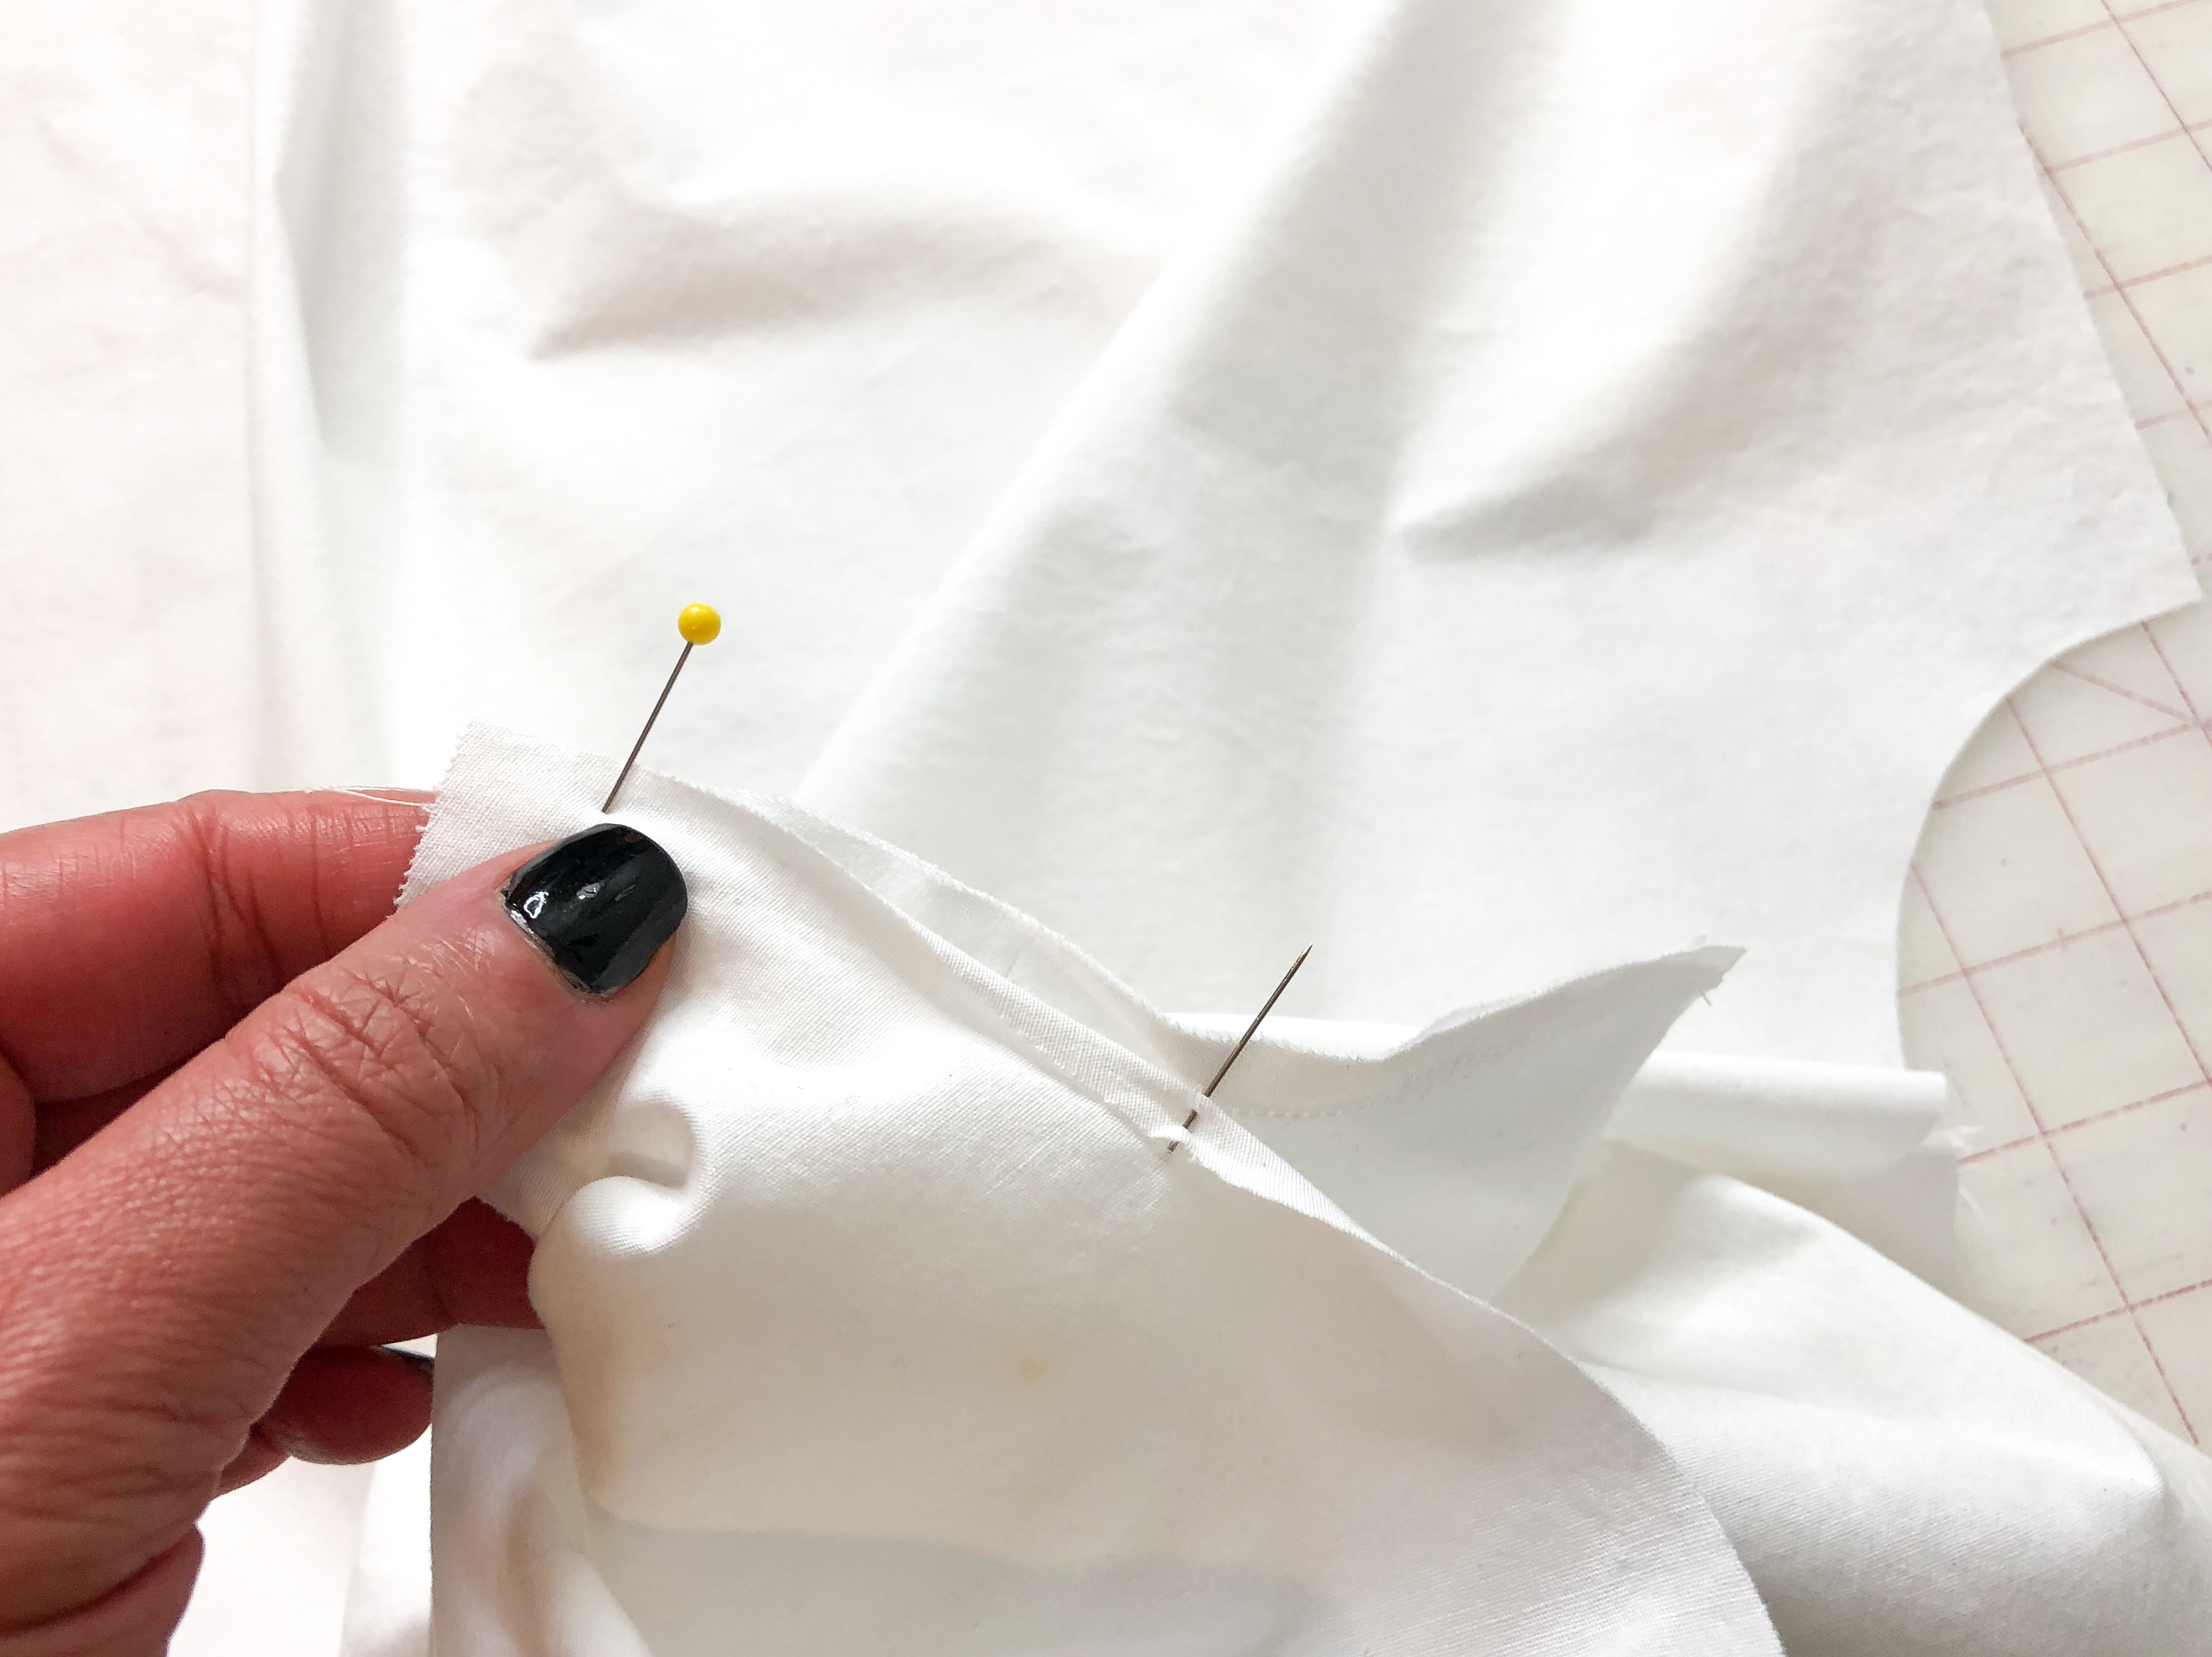
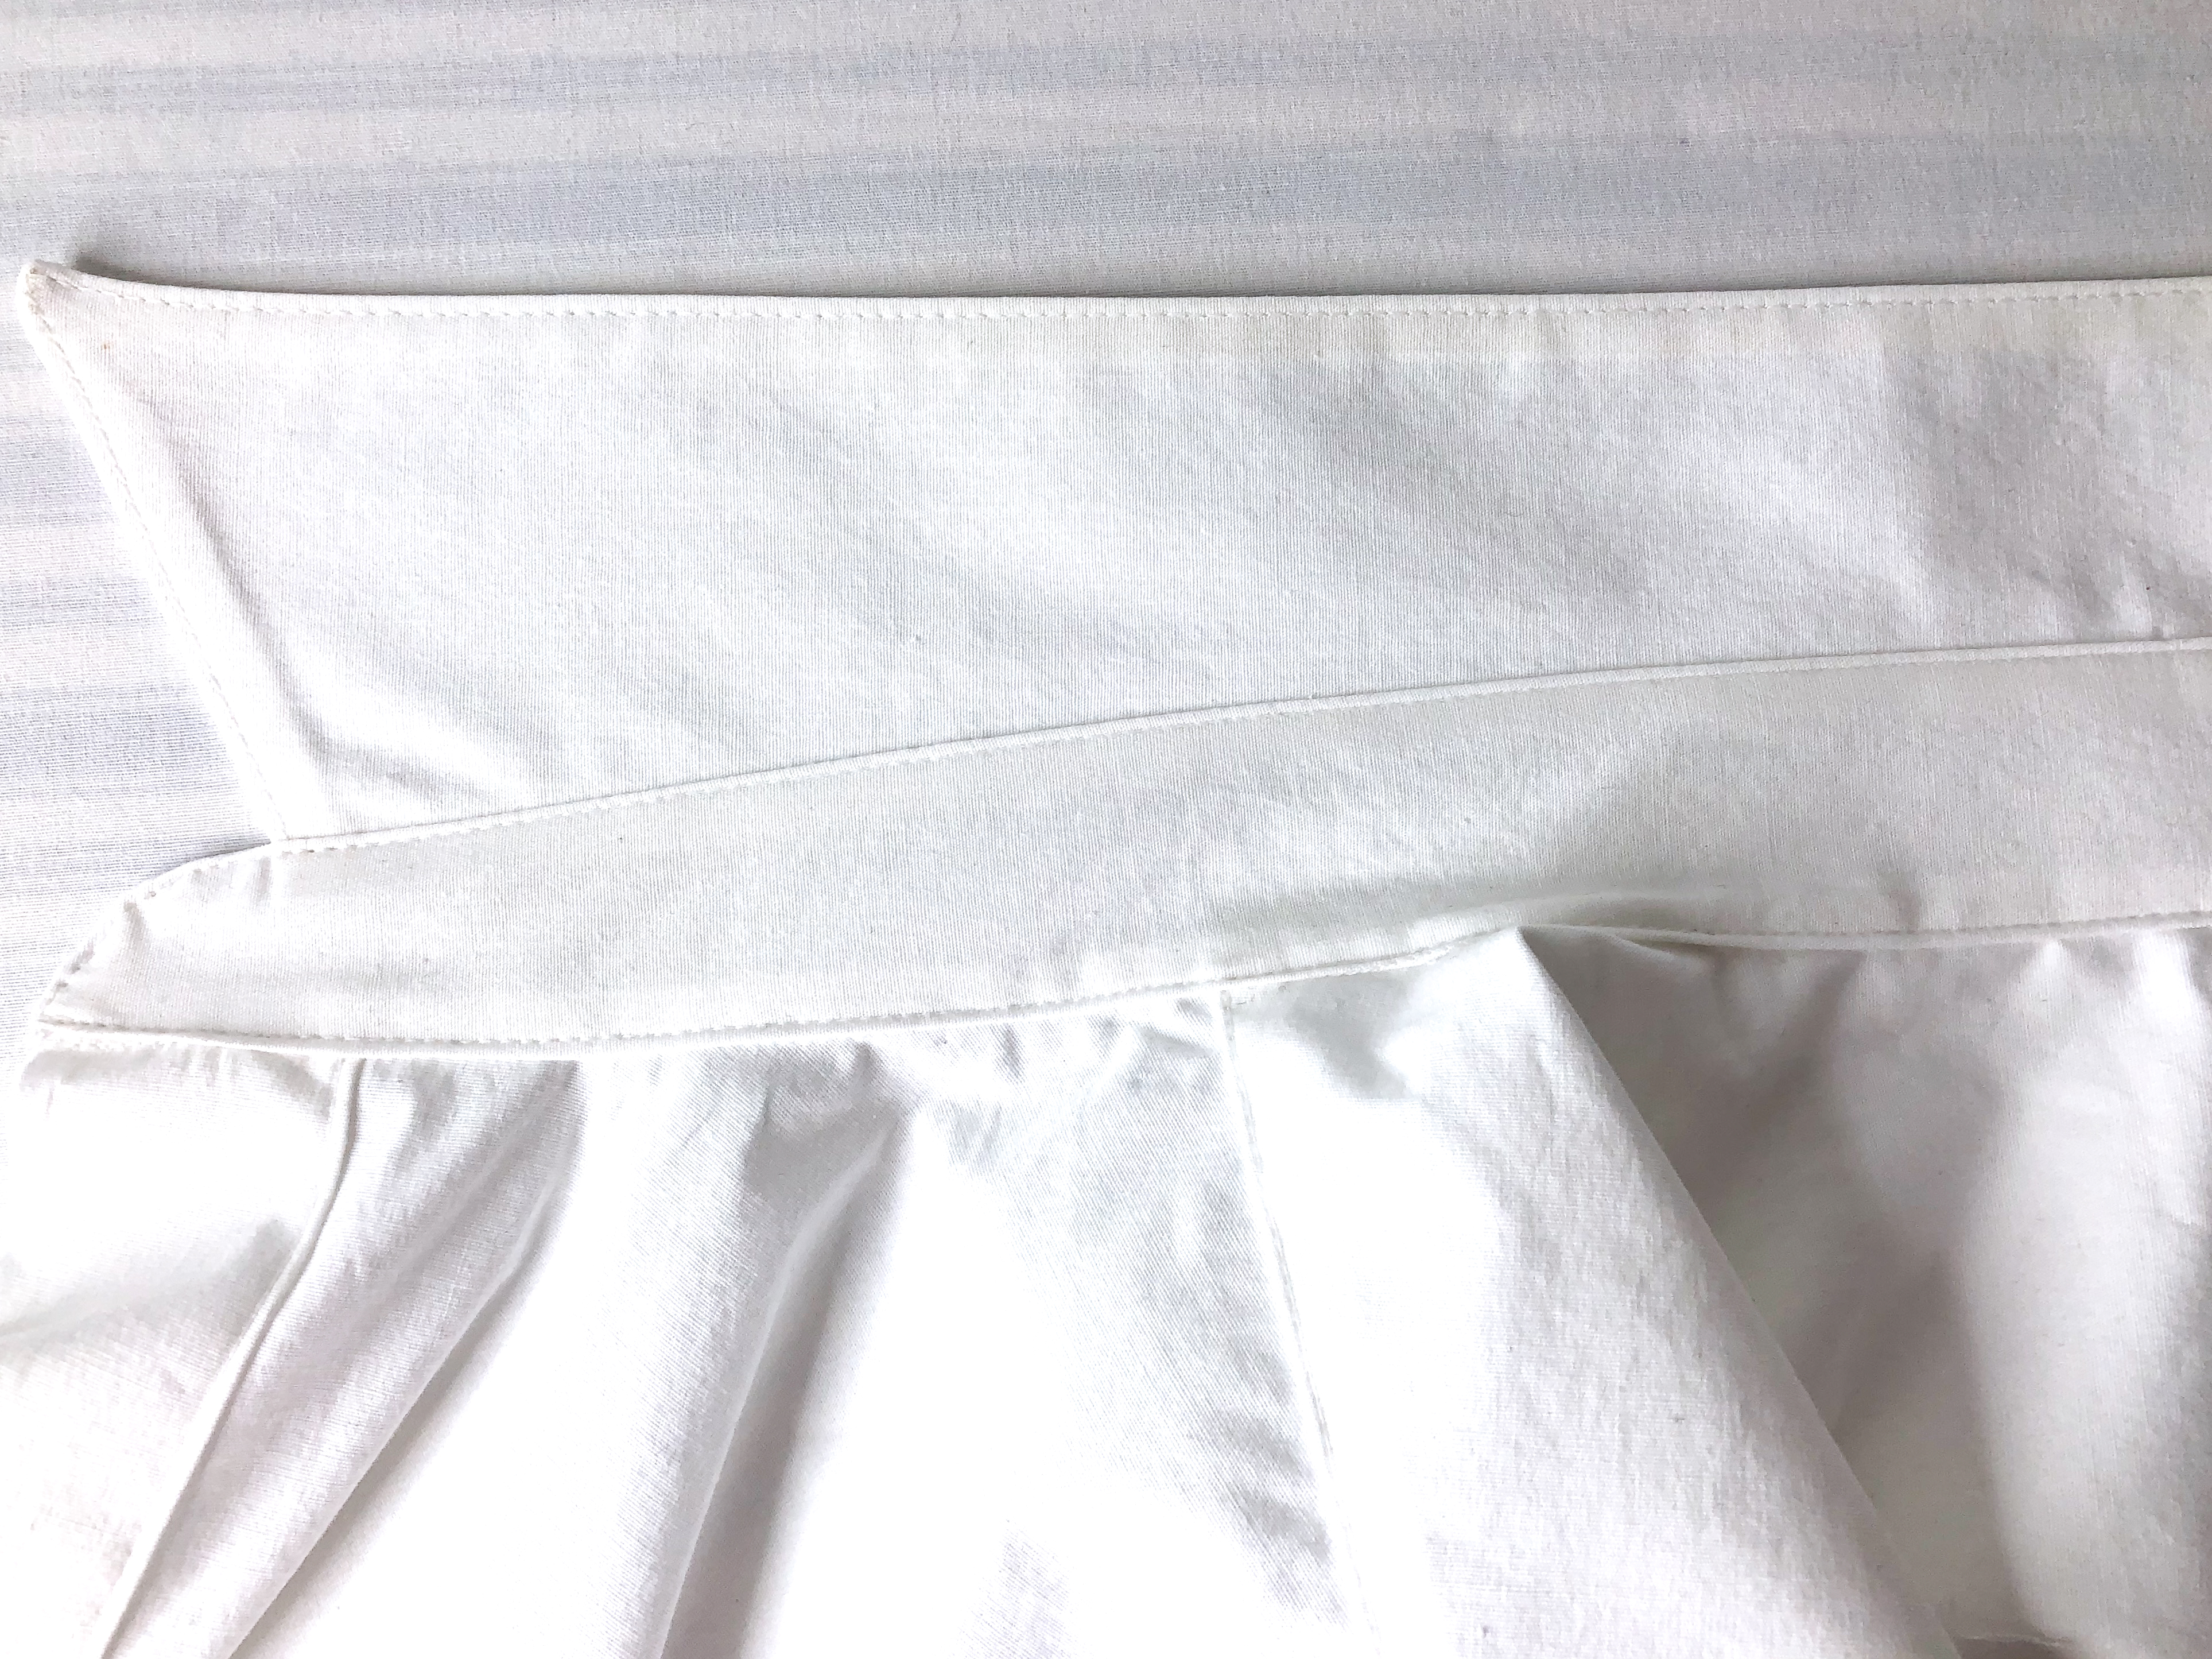
Pin together and stitch the seam at the machine. And turn back to the right side. Repeat on the other shoulder.
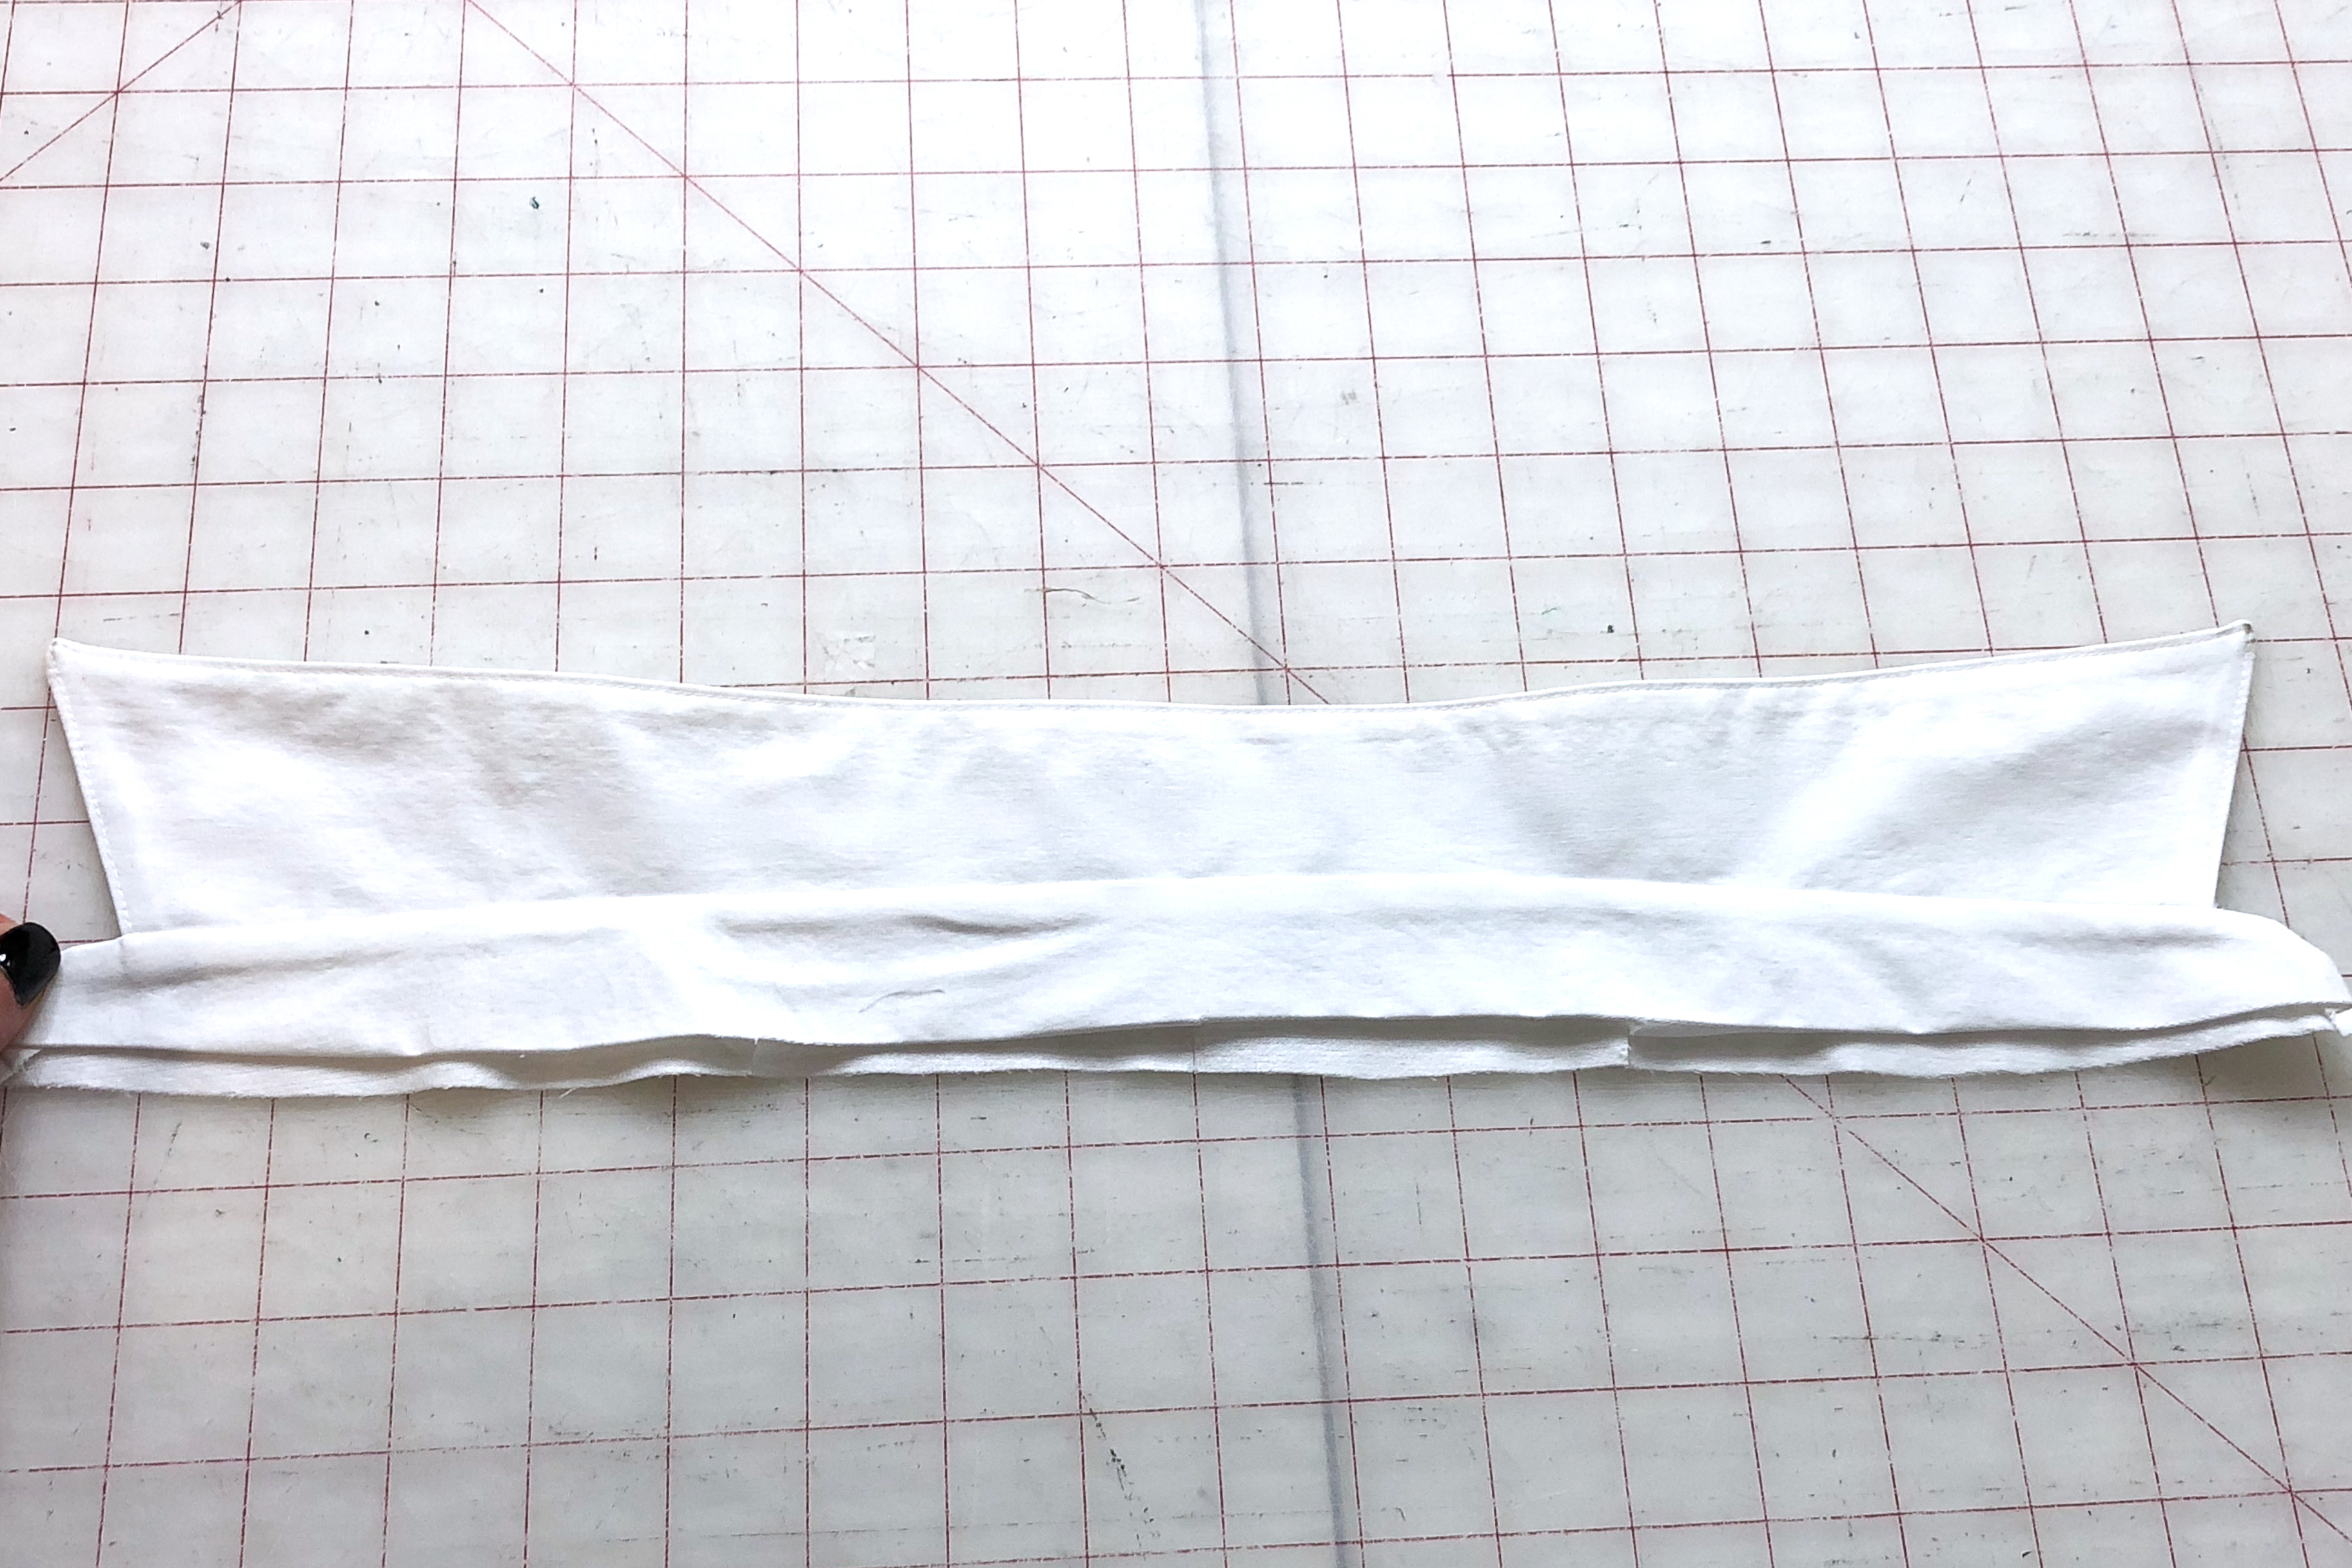
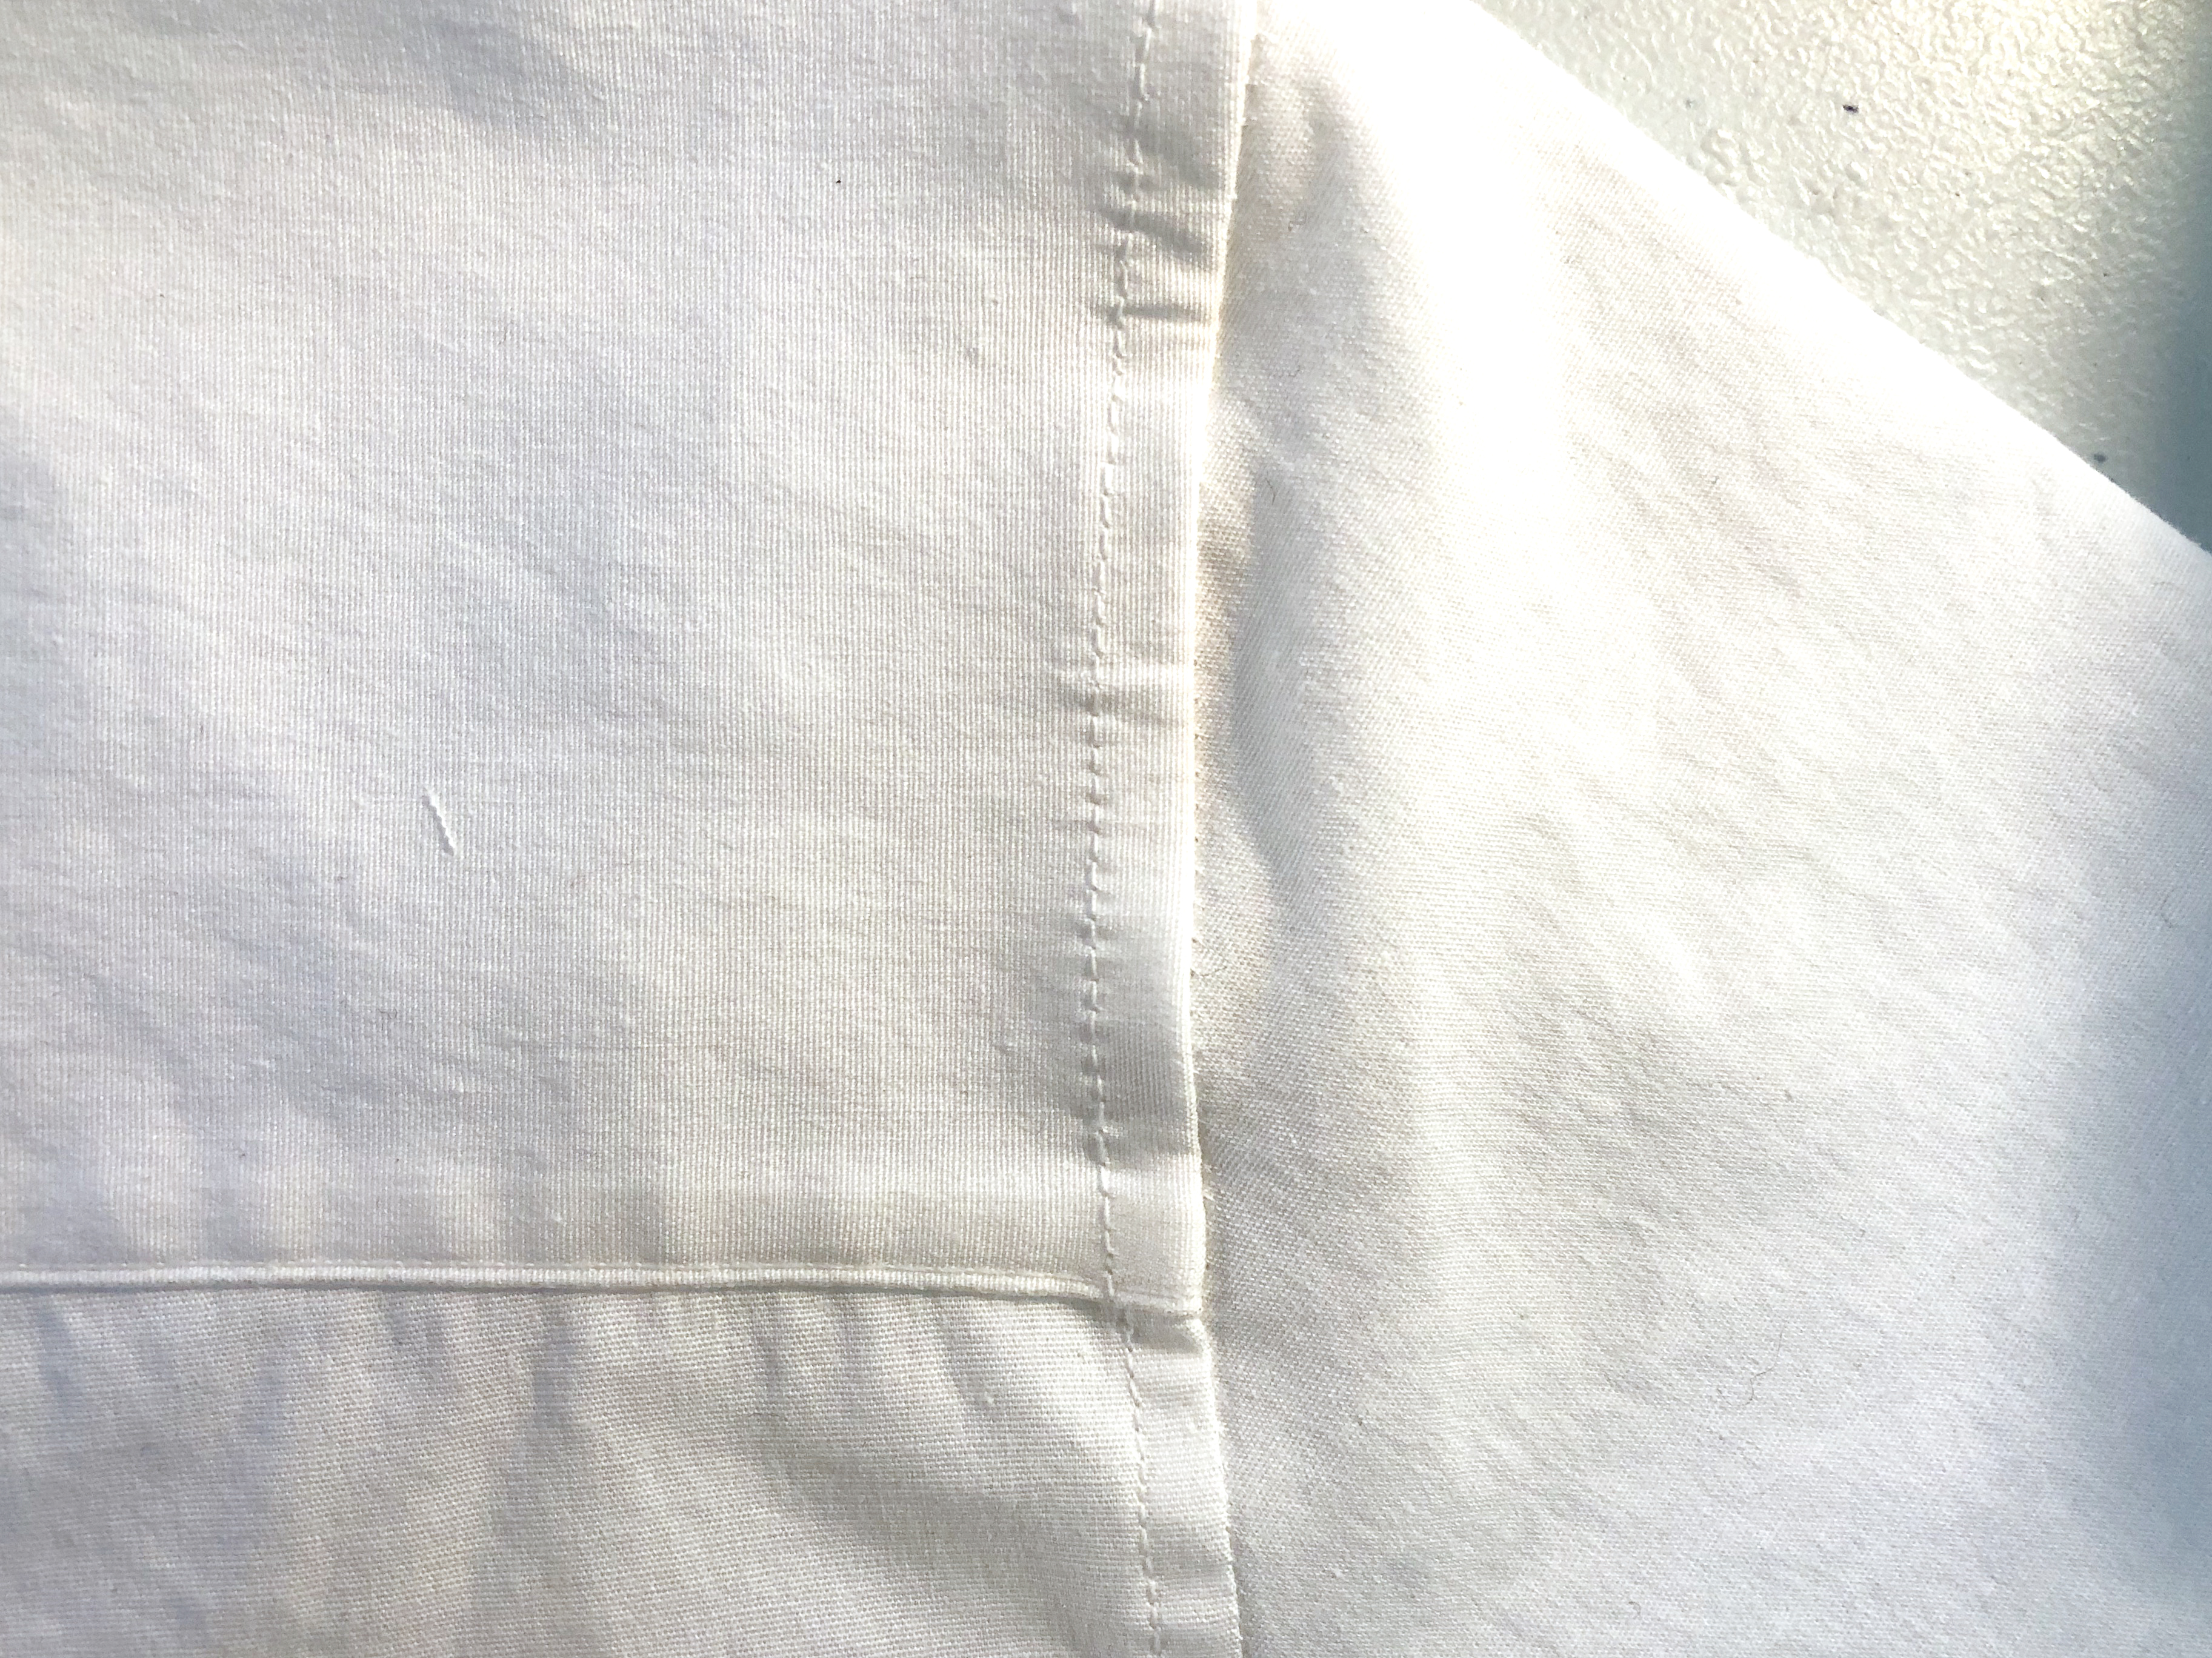
Press and edgestitch close to the seams.
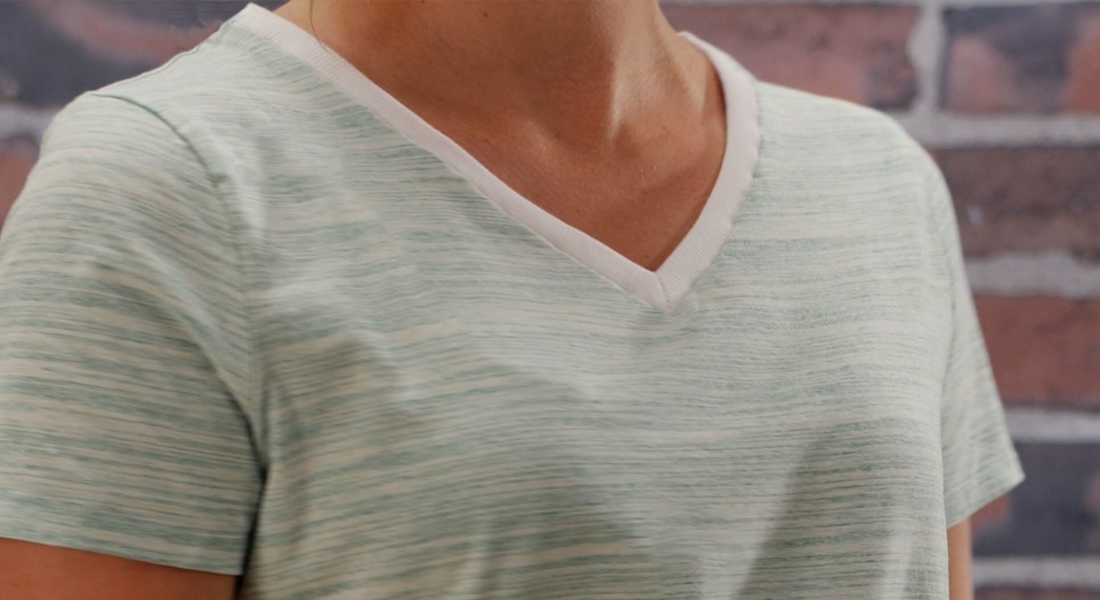
Collar, Collar band and Sewing to shirt
You have an upper collar and an under collar. The upper collar is slightly larger so that once they’re sewn together, you get a “Turn of Cloth”. This ensures that the seam line doesn’t show.

With right sides together, pin across the top and stitch.
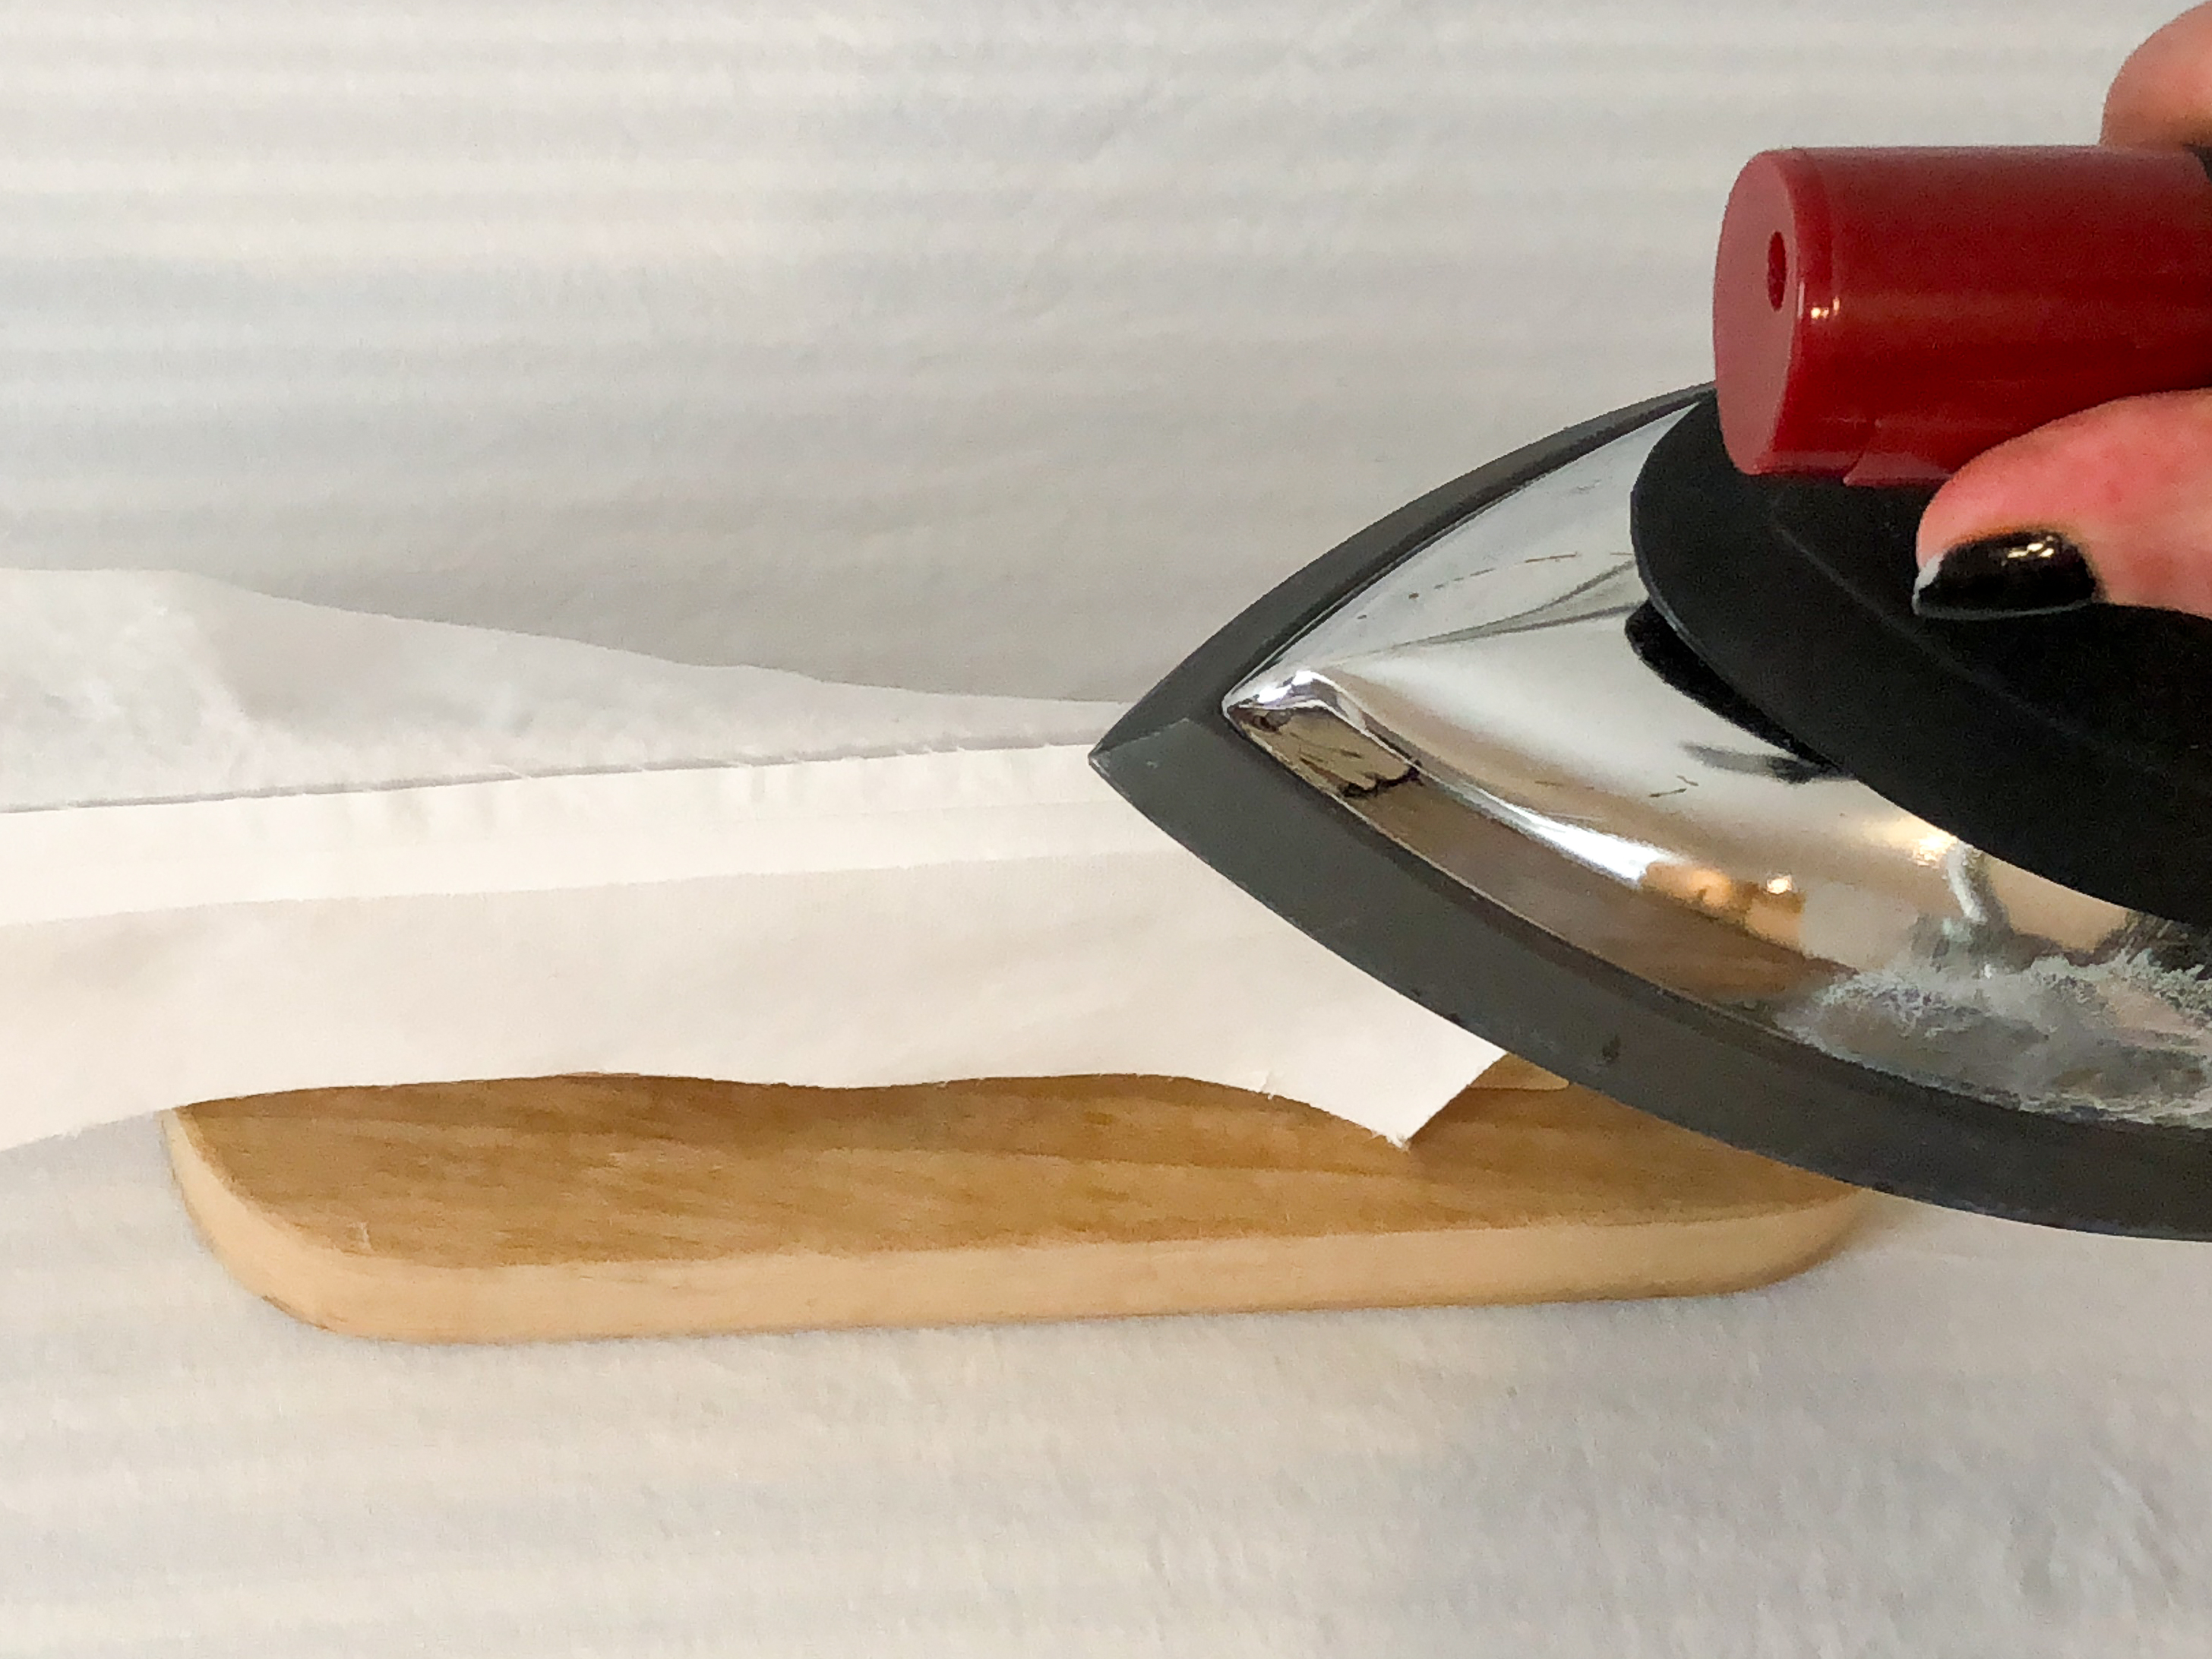
Press your seam open using a point presser.

With right sides together, pin the side seams and stitch.

Turn right side out and push out the corners. And press. Find more tips to sew pointed collars in the post Secrets of Sewing Perfect Collars here at WeAllSew.

Edgestitch close to the edge of collar.
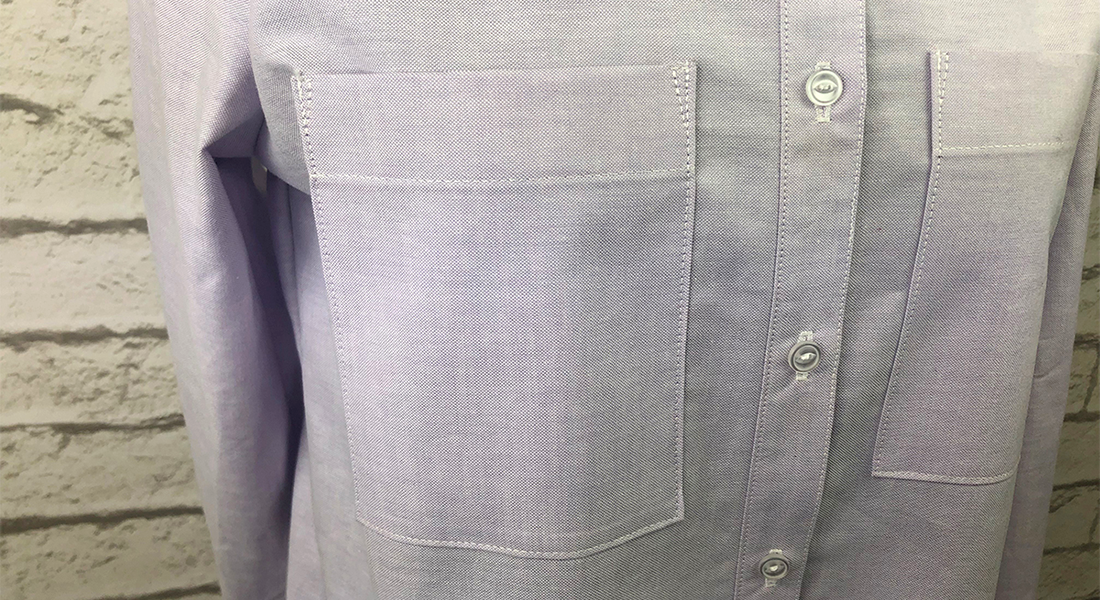
Press under seam allowance on the interfaced collar band. Sew the right sides of collar bands on each side of the collar. Make sure that the interfaced collar band is placed to the under collar side.
Pin the right side of uninterfaced collar band to the wrong side of the neckline and stitch. Pin the interfaced side of collar band with pressed under seam allowance to the neckline and stitch close to edge.
Press and topstitch all the way around close to the edge.
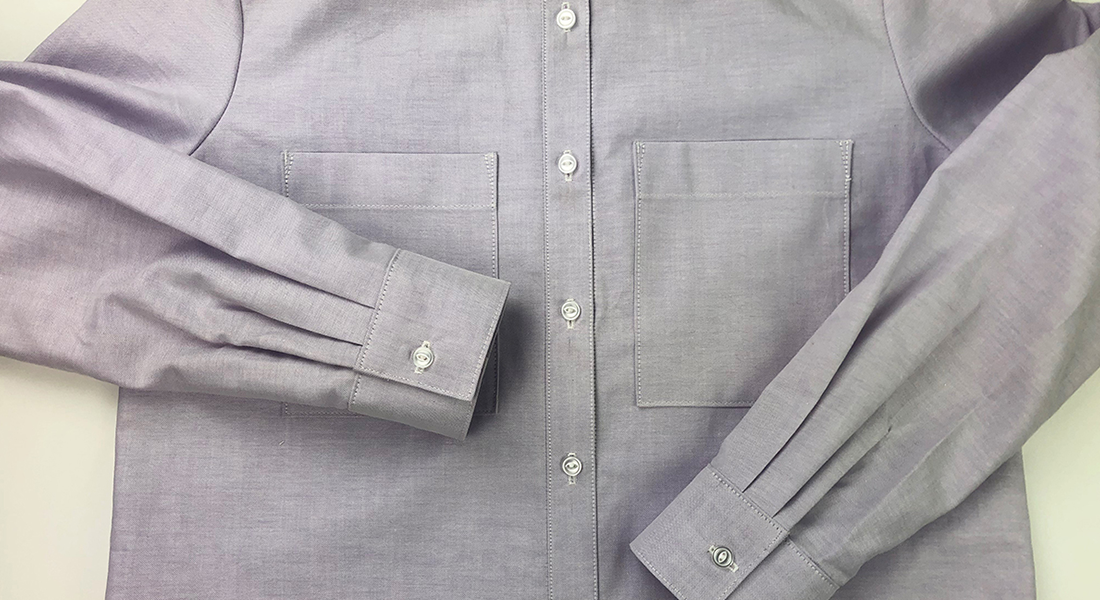
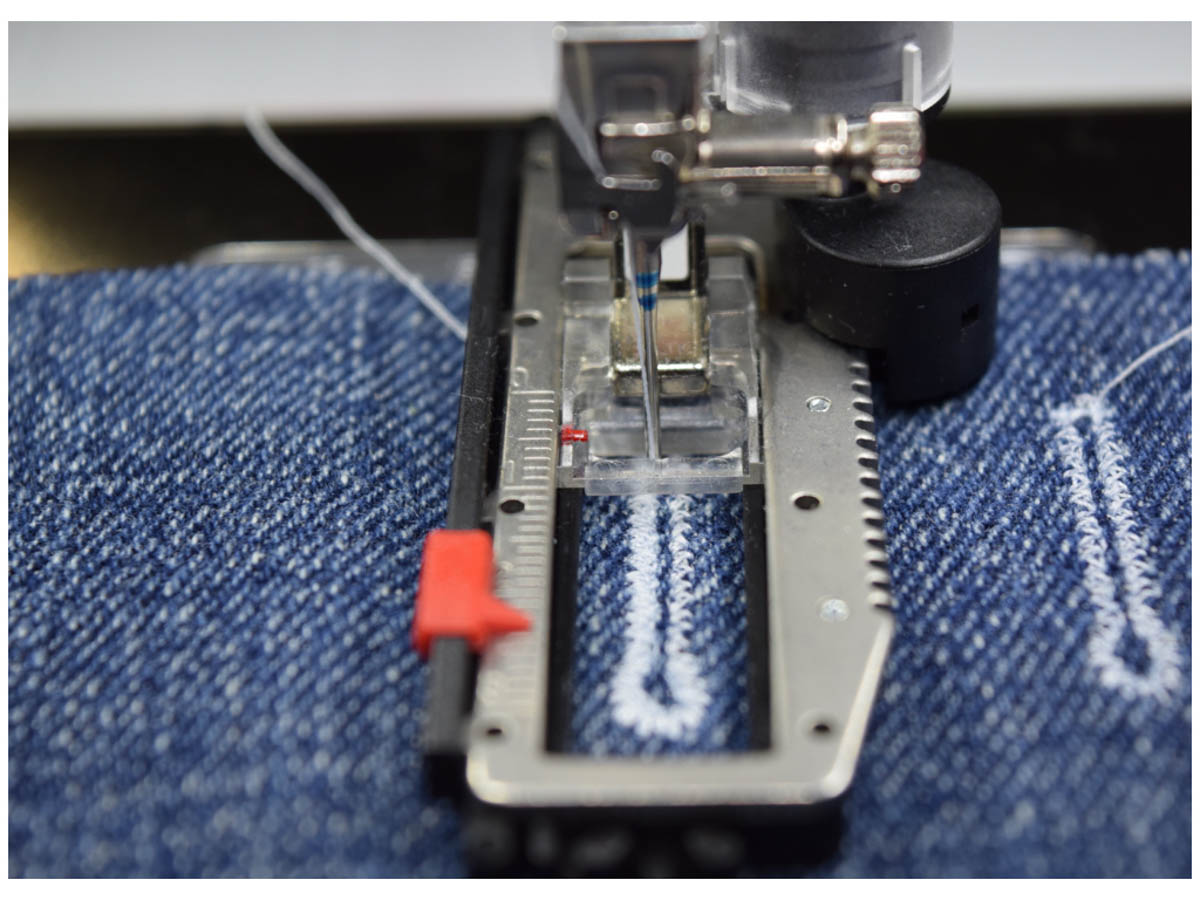
We are closely approaching the finish line. In the next lesson, we will sew the sleeves, continuous plackets, hem the shaped edge, sew the side seams, the cuffs and buttonholes and buttons.
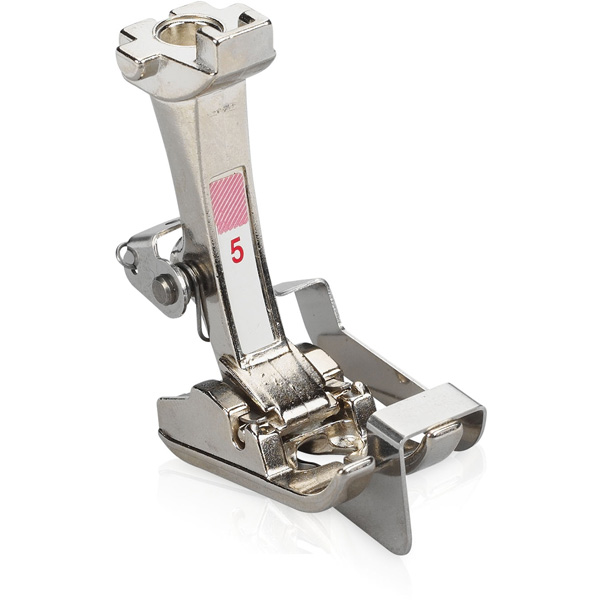
Used Products


What you might also like


2 comments on “Classic Button Up Shirt Sew-along: Part 2”
-
-
I’m so happy you found a replacement that you’ll make! Thanks so much!
-
Leave a Reply
You must be logged in to post a comment.

I am so happy to see this sew-along. Forty years ago I had a wonderful Simplicity pattern for a shirt just like this one. I made several dozen shirts for myself using it. At this point in my life the pattern would no longer fit me and I was thinking about grading the pattern to fit me now. I plan to get the Kwik Sew pattern and I look forward to working through this sew-along.