Garment Sew Along Part 9: Buttons and Buttonholes
How is your button up looking so far? Walking through each of the components step-by-step has hopefully helped to create the garment with the best craftsmanship. At this point in the series, all of the fabric pieces cut out in the beginning should be sewn into the garment. The one thing this shirt is missing is its closure!
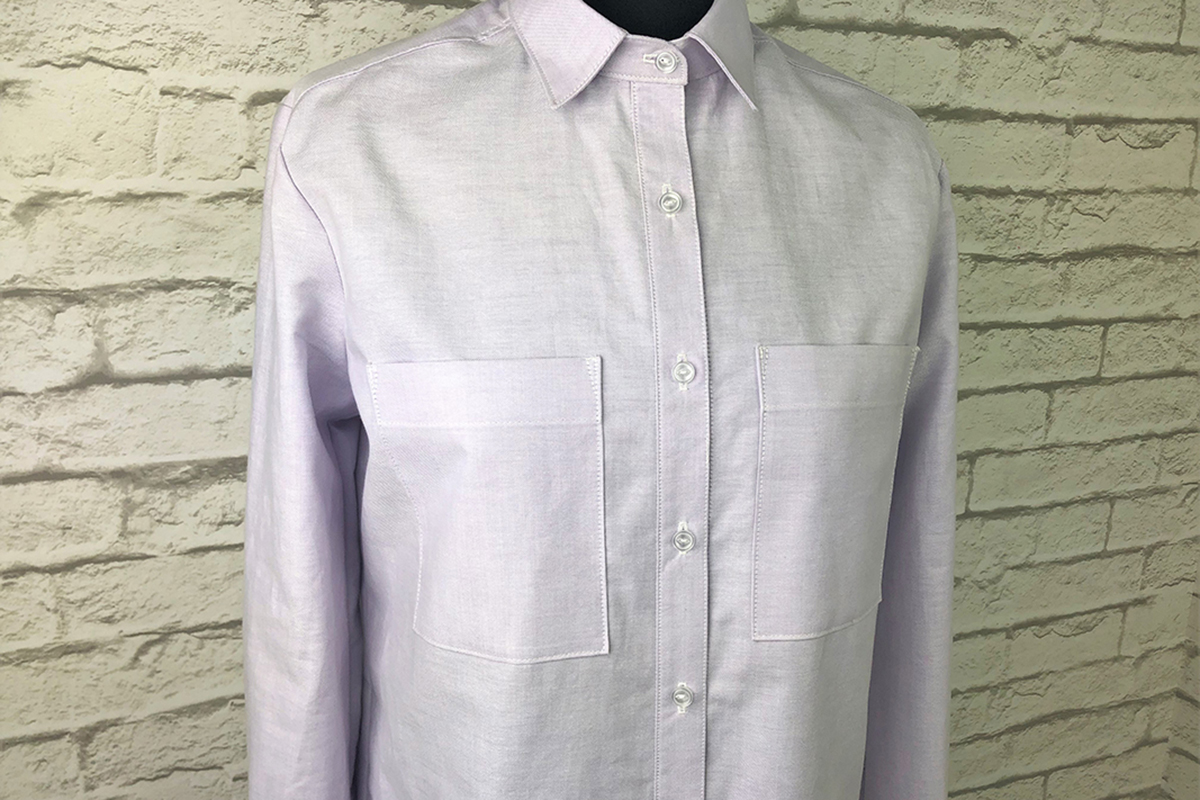
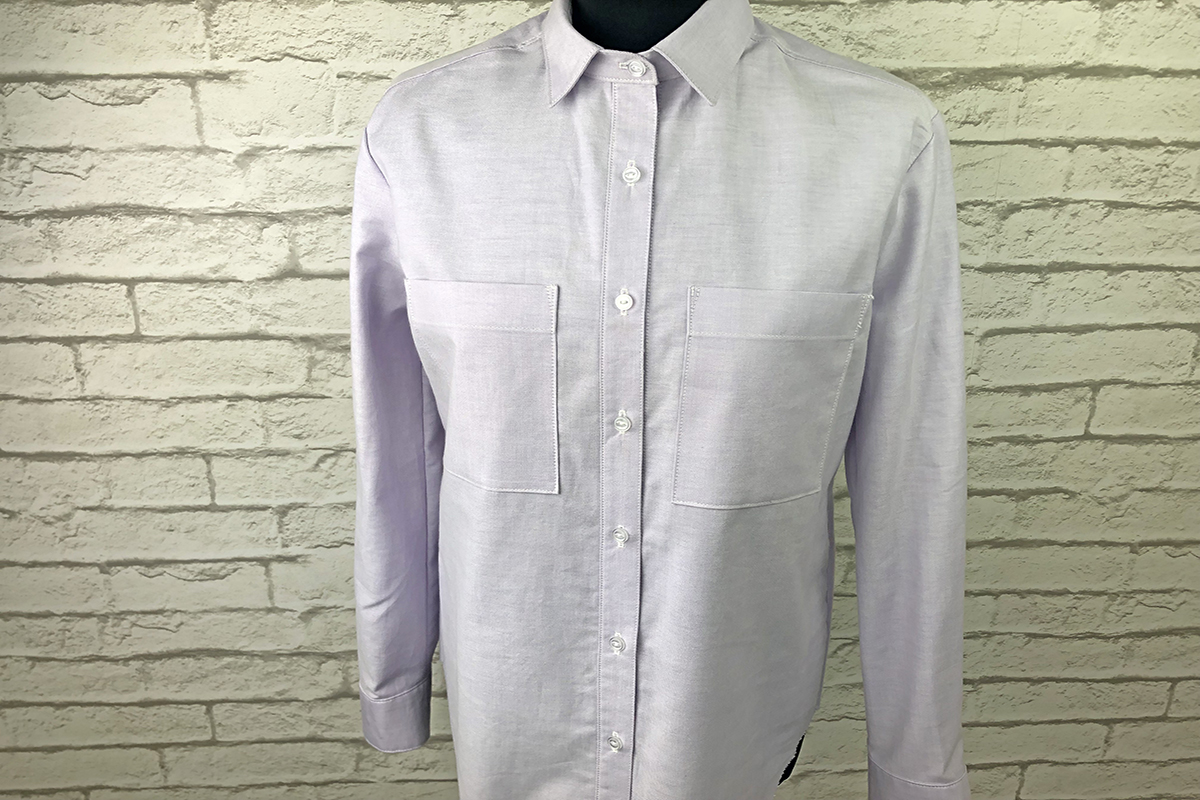
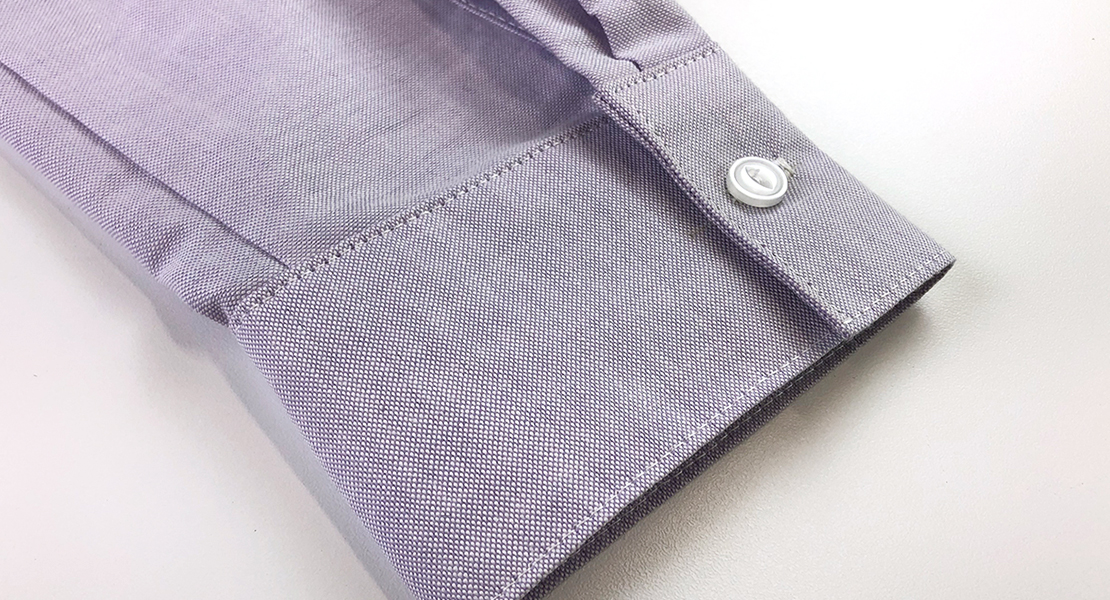
One of the final steps is to stitch out the buttonholes and sew on the buttons, which will serve as the closure for this garment. These components have very functional purposes, but are also decorative. I have chosen to use opaque, white buttons that match all of my edge stitching and topstitching. Your button selection may be different – perhaps buttons that match the stitching or the fabric, buttons that contrast, or thread for the buttonholes that will pop against the shirt.
This post will first cover the different types of buttonholes available on the BERNINA 480, then how to mark, program, and stitch out the buttonholes for the button up, and finally how to attach the buttons with perfect alignment.
Supplies
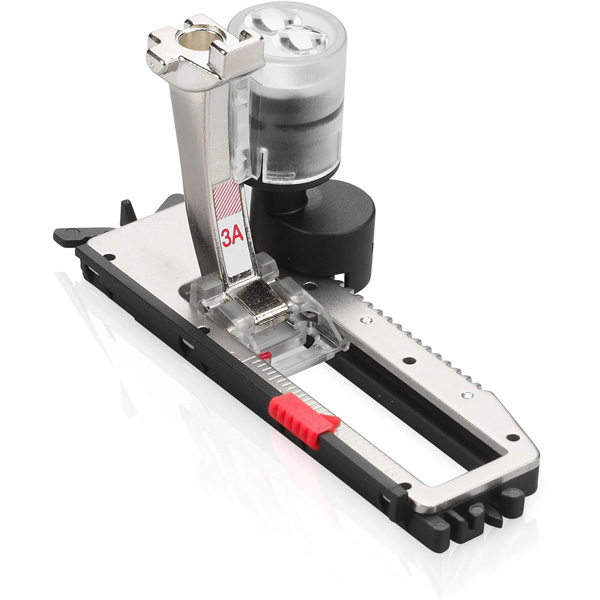
- Buttonhole Foot #3A
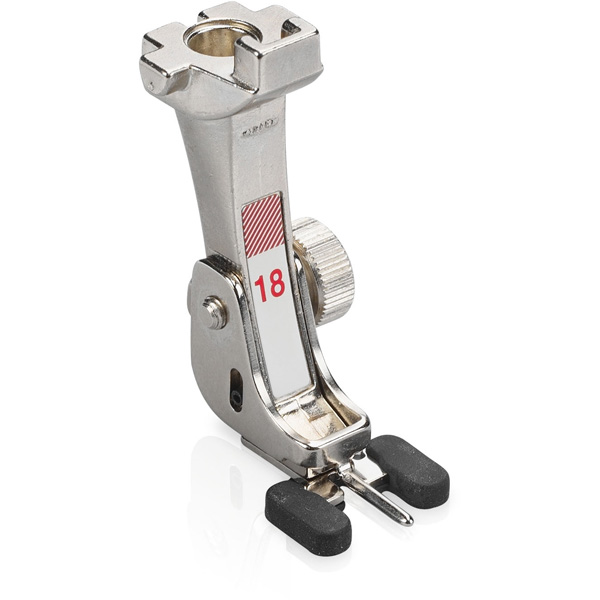
- Button Sew-on Foot #18
- FriXion pen
- Air-erasable or water-soluble marker
- Seam gauge
- 9 – 3/8” to ½” buttons
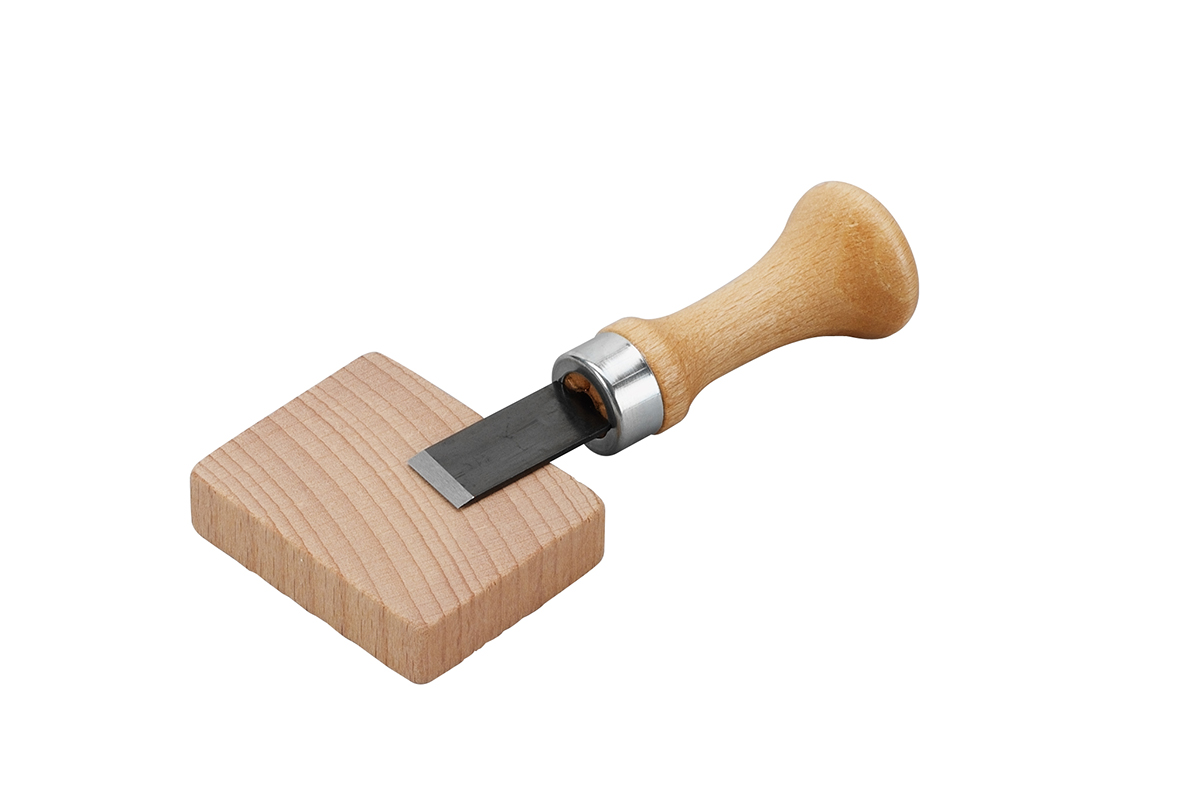
- Nifty Notions Buttonhole Cutter with Wooden Block
- Seam ripper
Types of Buttonholes
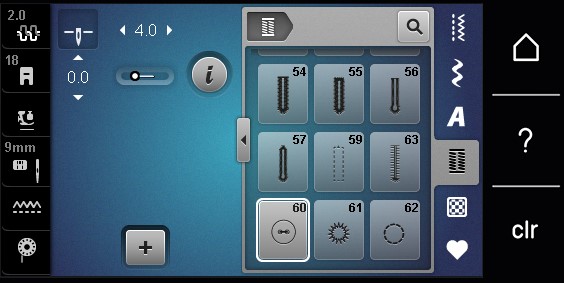
Like most things in garment construction, there are numerous ways to get the same result. The same is true when creating buttonholes. Hand-sewn, manually machine-stitched, and automatically machine-stitched are a few methods that can be used. With the help of the B 480 and Buttonhole Foot #3A, sewing automatic, machine-stitched buttonholes is simple. This step in the construction process can be done quickly, without any hand sewing or difficult to understand machine steps. Let’s begin this section by talking about the different types of buttonholes available within the buttonhole menu on the B 480 and their applications. Below you will see the 9 types of buttonholes available on the B 480.

Standard buttonhole, #51 – The standard buttonhole will be used on this button up. It is a basic buttonhole that can be used for almost any application. Several adjustments can be made, including the length of the buttonhole, the distance between the two beads, and the length and width of the stitches within the beads. Use this buttonhole on tops, dresses, pants, and bed linens made with medium weight materials.
Narrow buttonhole, #52 – The difference between the standard buttonhole and the narrow buttonhole is not the distance between the beads, but rather the width of the beads themselves. This difference can be seen in the image above. Although the standard buttonhole can be adjusted to be narrower, this buttonhole comes with those features preset. It should be used on lightweight, fine fabrics or heirloom garments.

Let’s talk about Buttonhole Stitches #53-#56.

Stretch Buttonhole #53 – Stretch buttonholes are designed specifically for knit fabrics. The double overlock stitch featured in the beads stretches with the fabric to help the buttonhole maintain its shape. To get a proper stitch out, place stabilizer underneath the fabric before stitching.
Round Buttonhole with Normal Bartack #54 – More commonly seen on medium and heavyweight fabrics, the round buttonhole is designed for more wear-and-tear. This type of buttonhole would be found on garments such as dresses, jackets, coats, pants, and rainwear.
Round Buttonhole with Horizontal Bartack #55 – It is rather interesting to watch this stitch out. The bartack at the end is not done like the traditional buttonhole where the needle moves left to right. In this case, the presser foot and feed dogs move the fabric forwards and backward very quickly to create the horizontal bartack. It provides a different type of stability for the entire buttonhole. It should be used with medium to heavyweight fabrics, similar to the applications of the normal bartack.
Keyhole Buttonhole #56 – Like the round buttonholes, the keyhole buttonhole is designed for heavy usage. A common application is the waist band of denim jeans. The round keyhole naturally curves to the roundness of the donut button found on jeans. The curve creates a consistently tight fit.
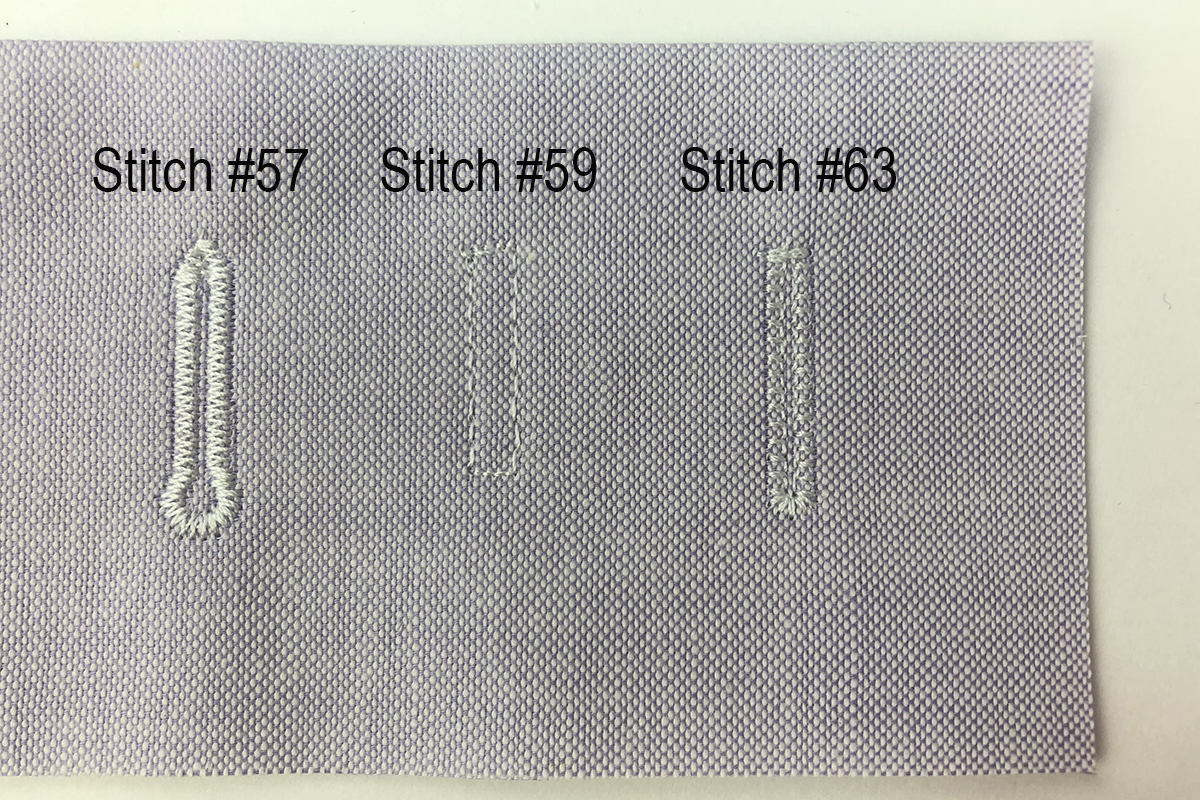
Keyhole Buttonhole with Pointed Bartack #57 – The name gives this buttonhole away. The beads round out at the bottom, then come back up to create the point at the top before the tie off. This buttonhole should be used on non-stretch fabrics on garments like jackets, coats, and leisurewear.
Straight Stitch Buttonhole #59 – The straight stitch buttonhole looks quite different than those discussed above. This is because it is most commonly used as reinforcement for satin stitched buttonholes and a security feature on fraying fabrics. If you created a bound buttonhole, it would be wise to stitch around it using the programmed straight stitch buttonhole. The width of the buttonhole opening can be adjusted using the Upper Multi-function knob.
Heirloom Buttonhole #63 – The heirloom buttonhole is not a traditional buttonhole, but rather a decorative feature that could be used when extra reinforcement is necessary. After the stitching is complete, what is left behind is really a hand stitched effect commonly seen in heirloom sewing.
As you can probably tell, there is not an application that the B 480 buttonholes cannot complete. These programmed buttonholes are just part of the reason why this sewing machine is so great for garment construction. For more information on buttonholes, check out this How to Create Buttonholes Three Different Ways post on WeAllSew.com
Buttonholes: Start to Finish
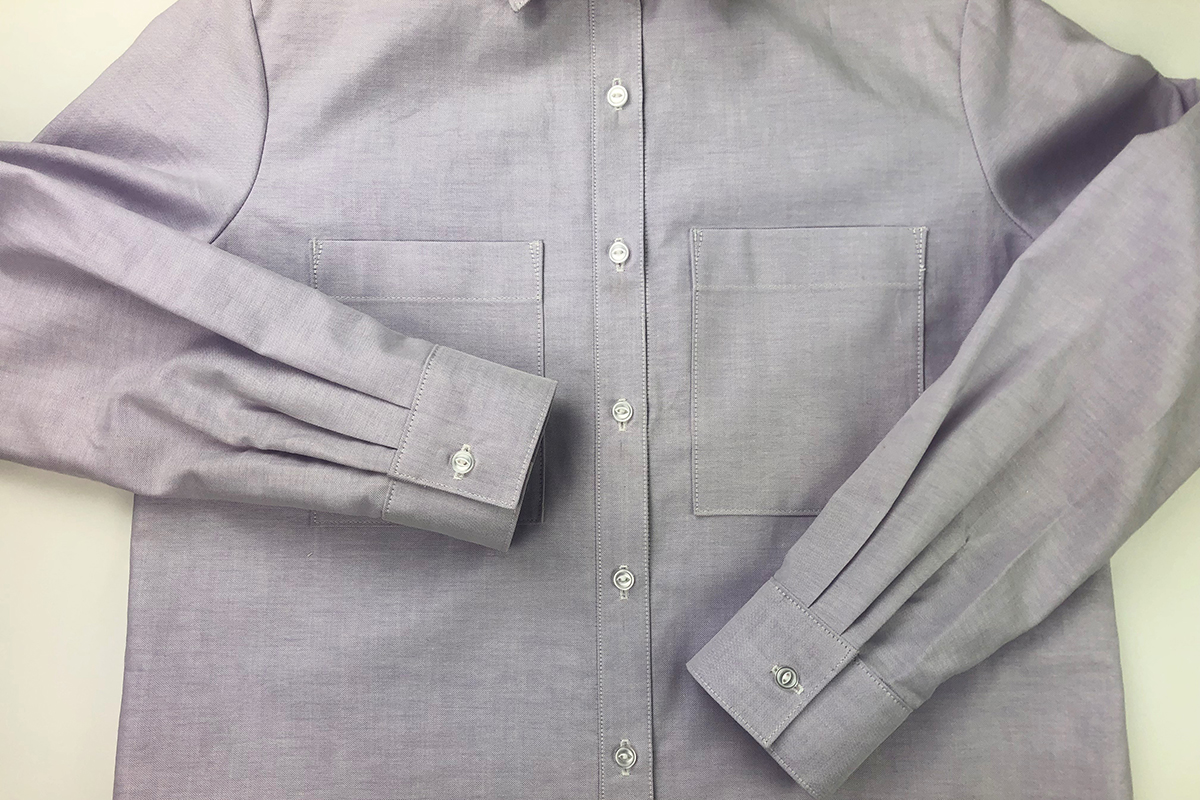
Moving forward, I will be using the Standard Buttonhole #51, to sew automatic, machine-stitched buttonholes. The buttonholes will be vertically- and horizontally-placed to complete the front closure, as well as the closures on the cuffs.
Think back to the beginning of the construction of this garment. One of the first steps was to iron the fusible interfacing to the left and right button bands. That is playing a major part in the steps being completed now. That interfacing is an added layer of stabilization to the bands so buttons can be attached and several buttonholes can be stitched out without the fabric morphing or fraying. The interfacing will also make a difference in the long run as the shirt is worn and the buttons are used.
The steps to completed buttonholes include marking the fabric, programming the stitching, aligning the fabric, and cutting open the stitched buttonholes.
Marking for the Buttonholes
Most of the marking for the buttonholes should already be complete. After the bands were stitched to the front, I realigned the right front button band pattern piece (piece 3) and used my FriXion pen to mark the buttonhole alignment points. If you forgot to do this, no worries. Realign the piece now, but allow for the ½” seam allowance used when stitching the collar stand to the neckline. I use heat-erasable markers for this step because the buttonholes can still be ironed after being stitched out.
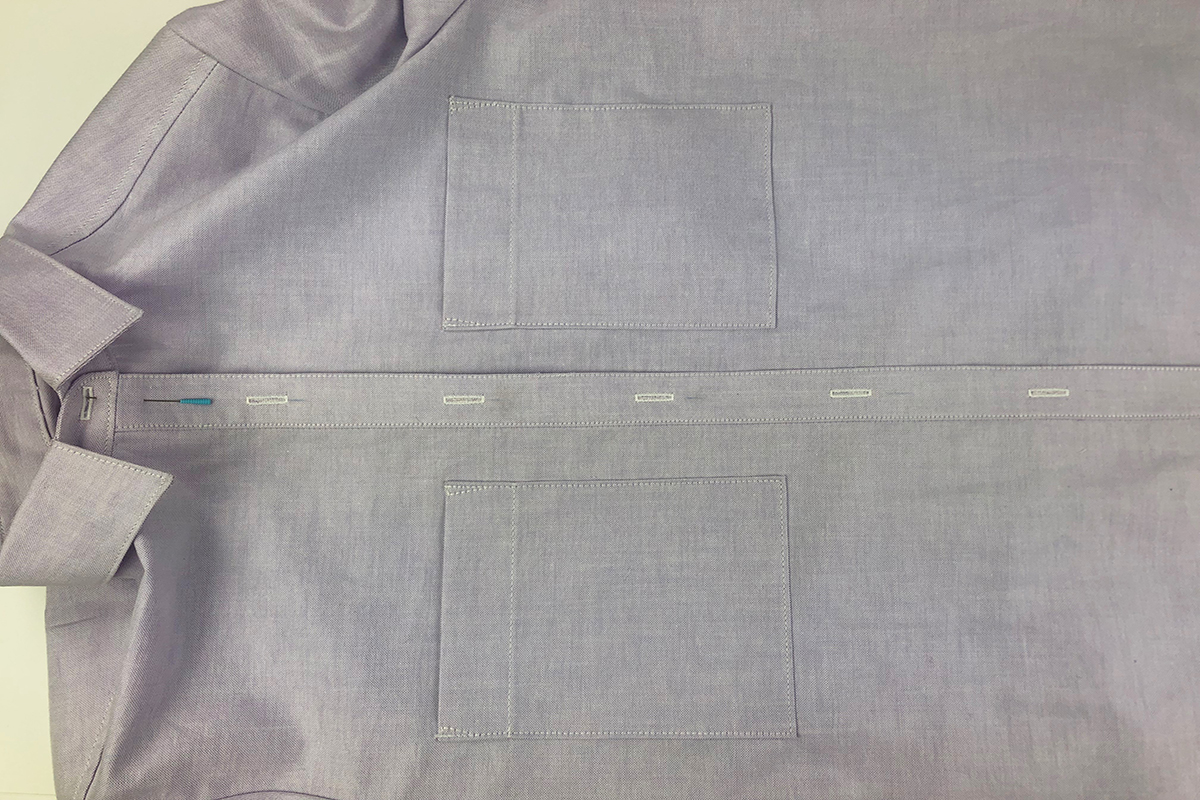
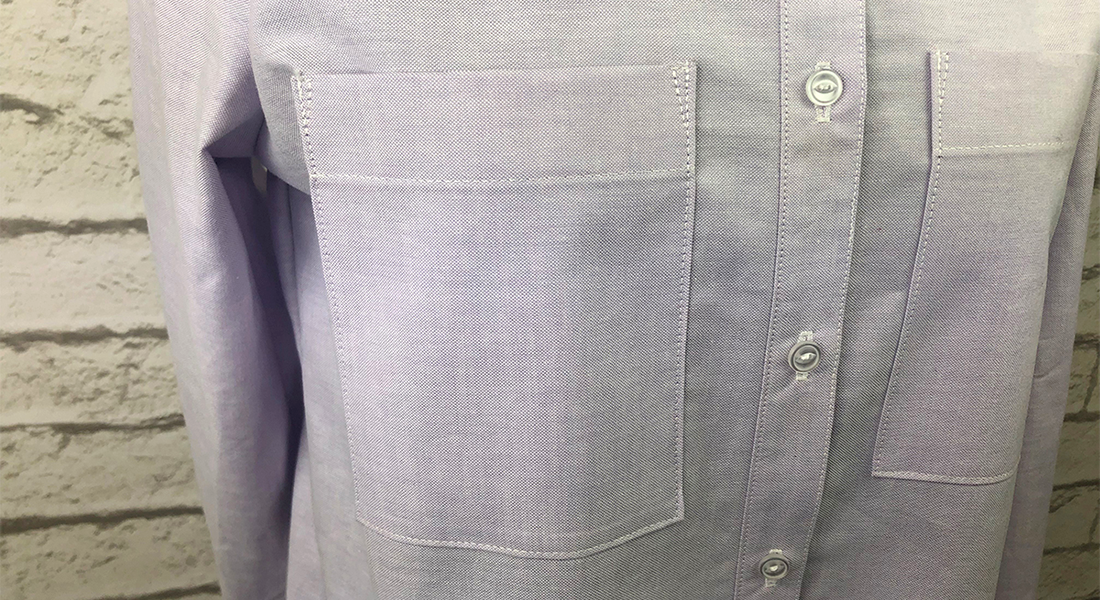
The buttonholes on the right front button band will vertical, meaning they will run parallel to the long edge of the front band. There should be six in total. You can always add more than the pattern calls for. In fact, I marked a buttonhole on the collar stand, in case I ever wanted to button the shirt up completely. This one should be marked and stitched horizontally, opposite of those already marked on the front.

As I have said before, the pattern is merely a suggestion or a guideline. If you are not happy with the spacing of the buttons and buttonholes, adjust them. I shifted mine upwards slightly, moving each buttonholes from being 3” apart to being only 2 5/8” apart. This allowed me to close the gap between the top button on the collar stand and the first button on the front band.
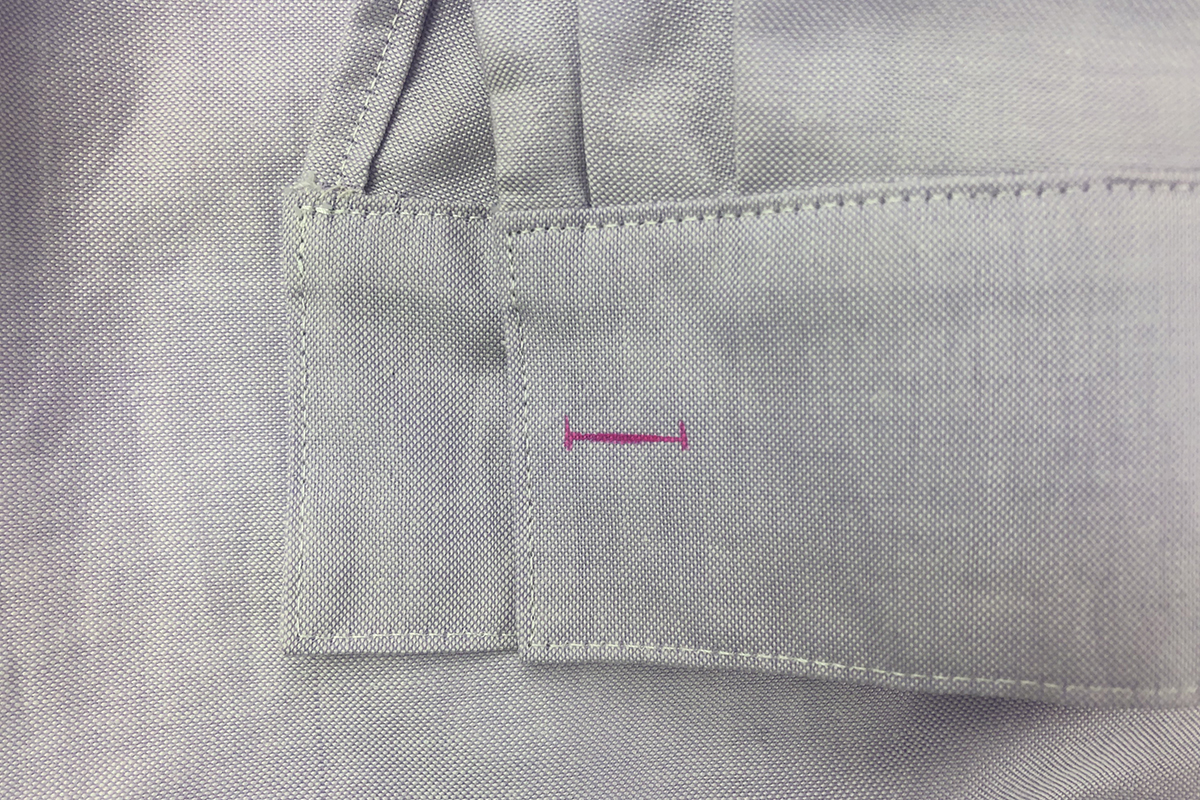
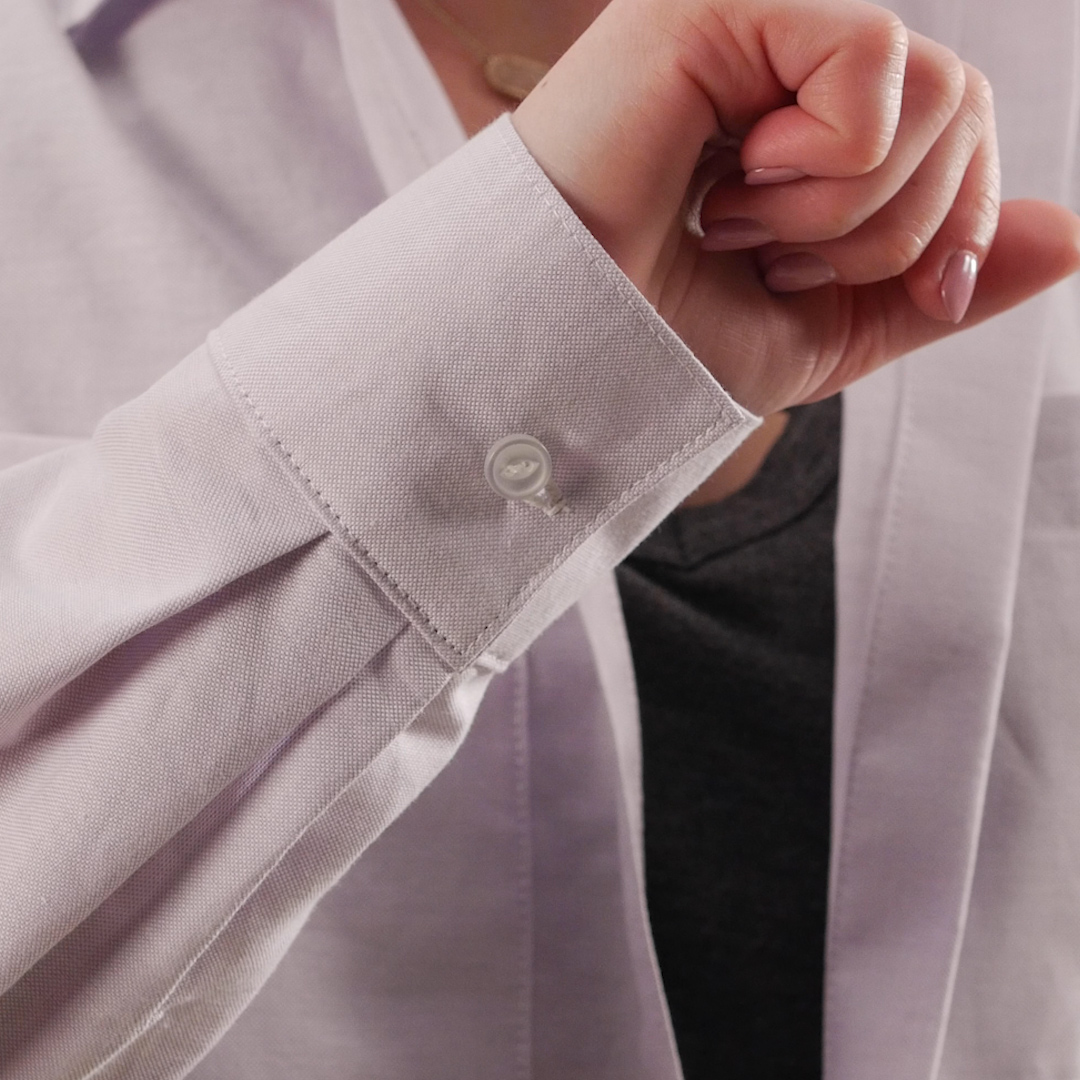
Moving along to the cuffs, the buttonholes should be horizontal, running parallel to the bottom of the cuff. The beginning and end of each buttonhole should be marked distinctively to help when aligning the needle on the sewing machine.
Programming Buttonholes on the BERNINA
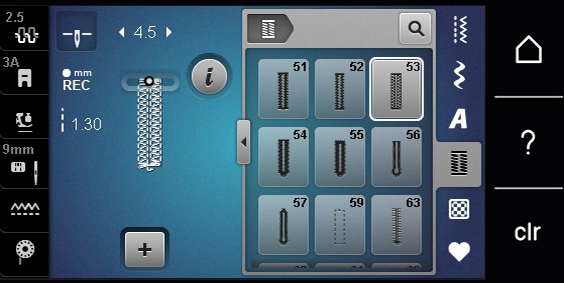
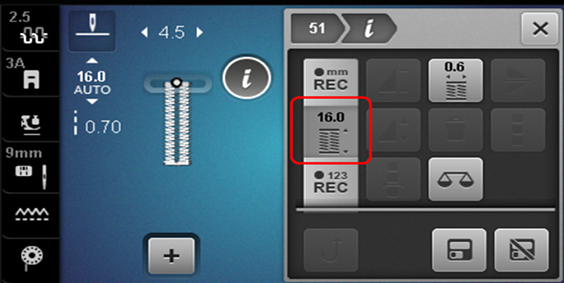
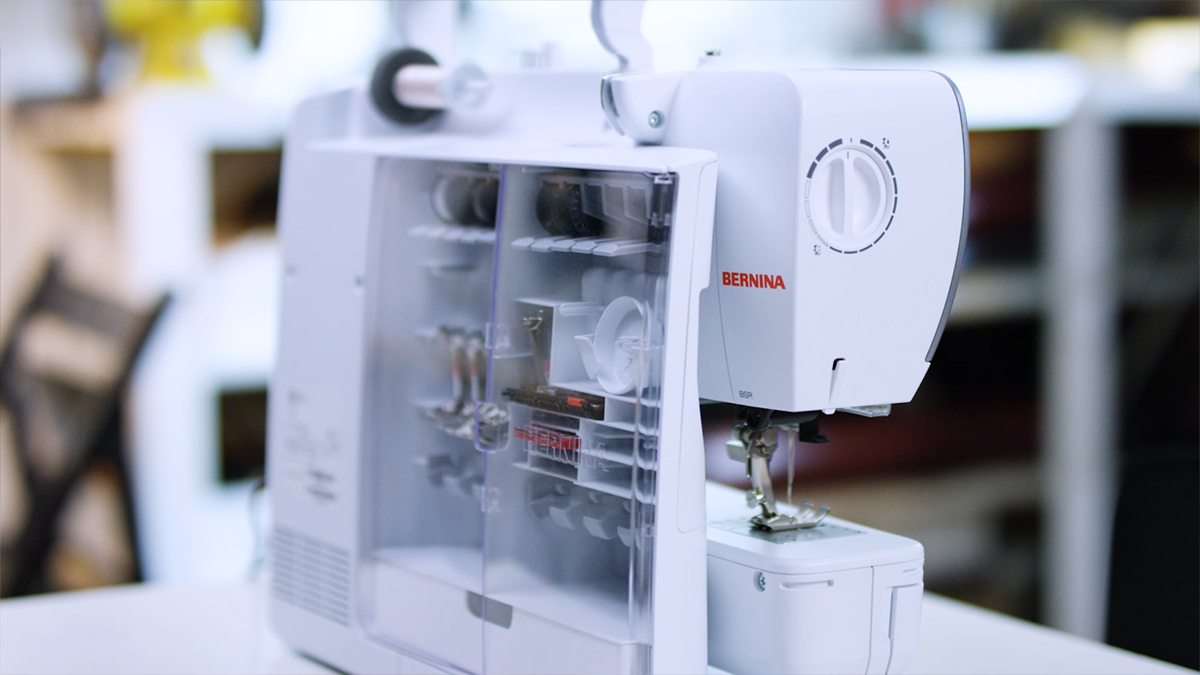
Navigate to the buttonhole stitch menu on the machine and select Standard Buttonhole Stitch #51 on the B 480. The only adjustment that I did to the standard buttonhole was adjusting the length within the Information (‘i’) menu. If you do want to make any changes or adjustments, be sure to do a test sew before stitching on the garment.
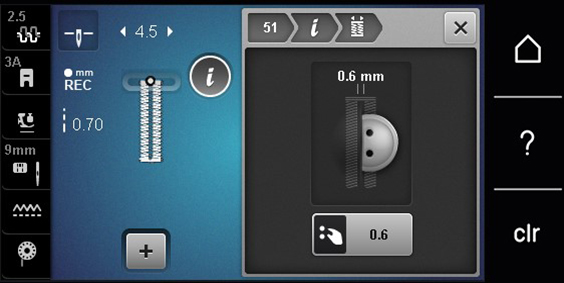
To change the length of the buttonhole to work with your button selection, open up the Information (‘i’) menu on the screen, and select ‘Buttonhole Length’ on the side.
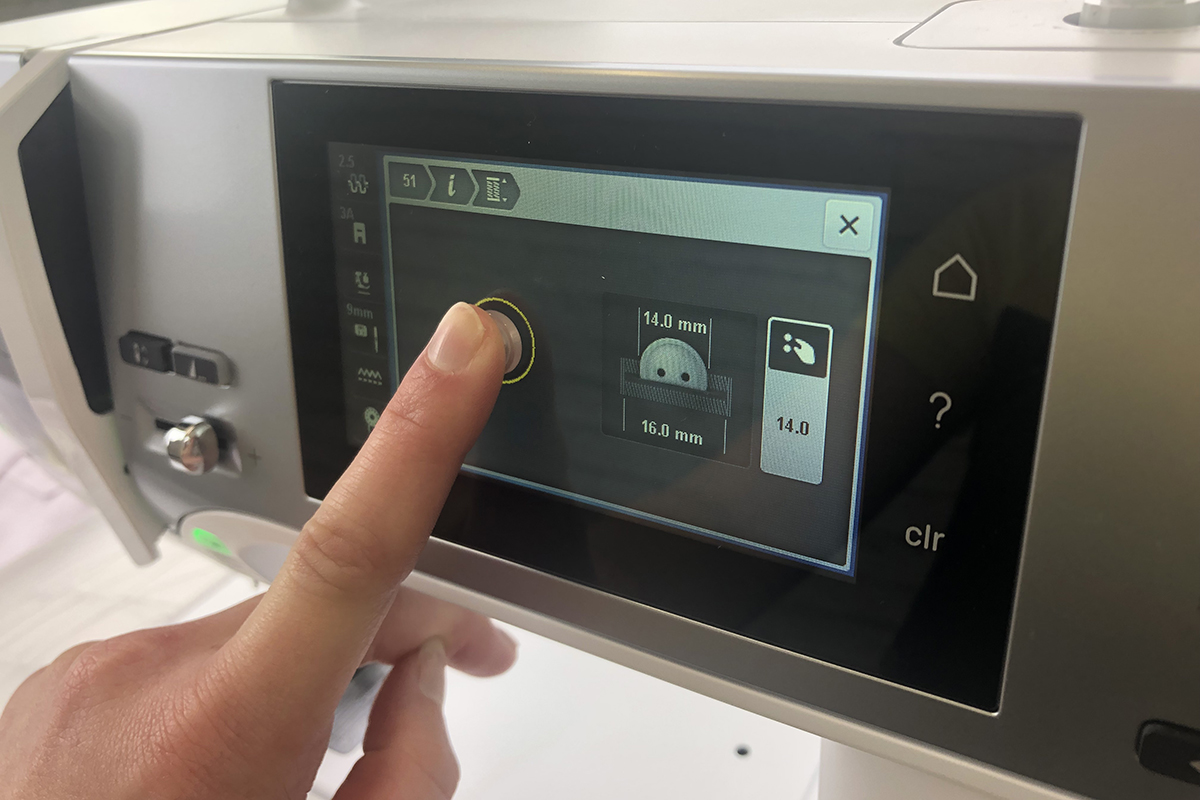
A new screen will open.
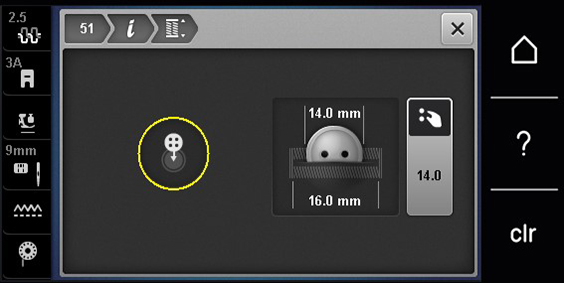
Hold your chosen button on the screen using one hand. Use the Multi-function knobs to increase or decrease the size of the circle to sit just around the button. The machine will automatically create the perfect sized buttonhole, with a little extra room added on to allow the button to glide through smoothly. Close the Information menu.
Stitching Out & Cutting Through
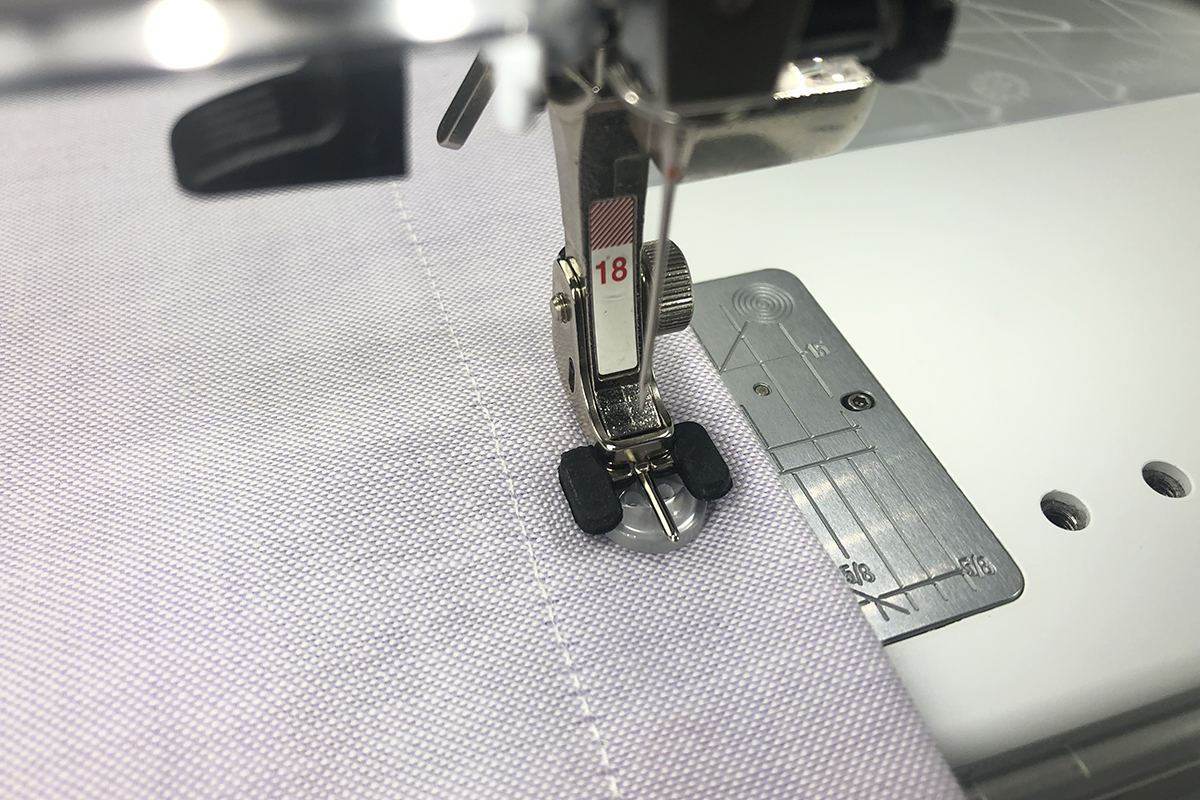
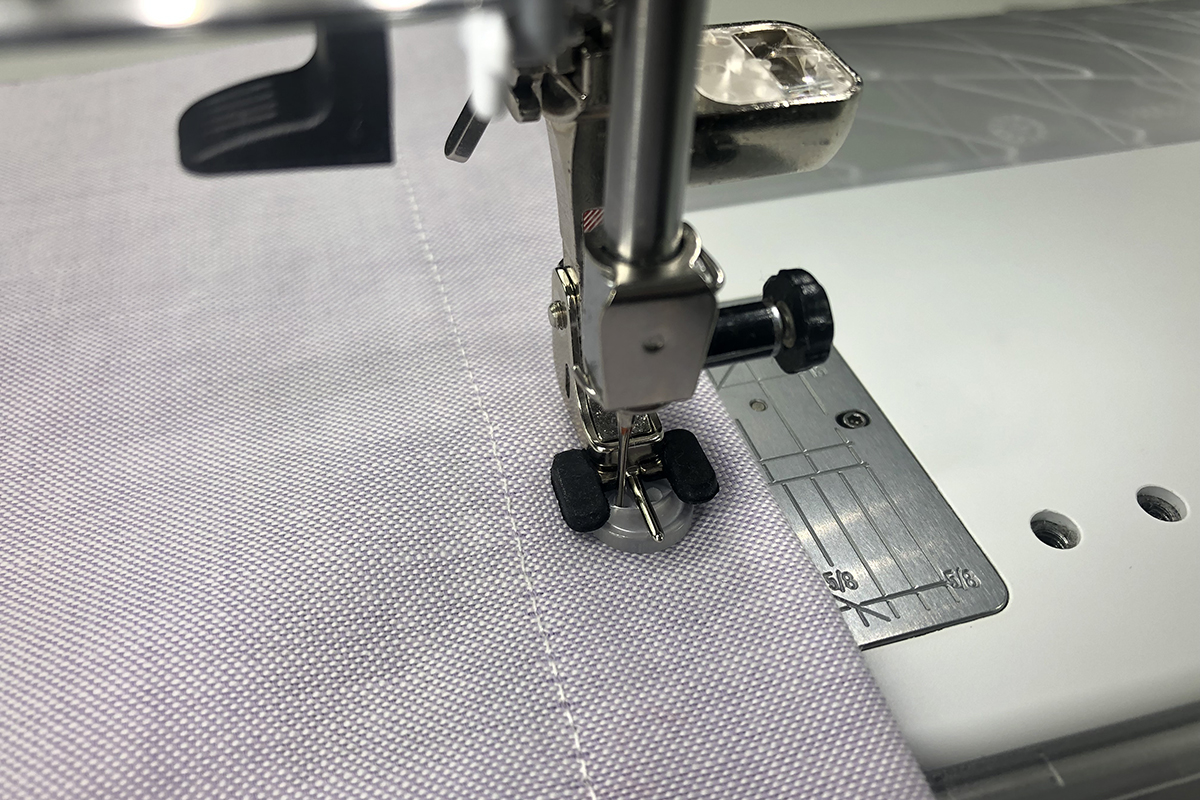
To prepare the rest of the machine for sewing, simply attach the Buttonhole Foot #3A and thread normally. The buttonhole stitches from top to bottom, so the fabric should be lined up accordingly. The mark for the buttonhole should be centered under the presser foot. Note that the first needle penetration will be in the center, so the needle should be directly over the top of the marked spot.

If you lower the needle using the handwheel when checking to see if your fabric is aligned, be sure to touch the ‘Pattern Begin’ icon that pops up over the stitches in the middle of the screen.
When everything is aligned and you are ready to begin stitching, lower the presser foot and hold down the foot pedal until the machine stops. Alternatively, begin the stitching by pressing the Start/Stop button on the front of the machine; the machine will automatically stop once the buttonhole has finished. Once the stitching is completed, press the Automatic Thread Cutter button on the front of the machine or clip the threads manually. Repeat the alignment and stitching steps for all of the buttonholes.

Once the buttonholes are completely stitched, they must be cut open. The simplest way to do that is by using a sharp buttonhole cutter with the wooden block underneath. I also sometimes use a seam ripper to split open buttonholes, and clip any additional fraying with scissors.
If you are finding that you are cutting the beads of the buttonholes when splitting them open, consider widening the distance between them. Select ‘Buttonhole Slit Width’ in the Information menu to adjust before you stitch the buttonholes.
Button Application
Like buttonholes, there are several ways to accomplish the same thing when it comes to sewing on buttons. With the Button Sew-on Foot #18, buttons can be attached to the garment with the touch of a button. And any hand sewing can be avoided!

Marking & Aligning
Unlike the buttonholes, ironing the buttons or beneath them poses a difficult challenge. Rather than using a FriXion pen to mark the button positions, try using an air-erasable or water-soluble marker in a light color. If neither of these are available, chalk will do the trick. Just be sure to use something light that will not show or will disappear over time.
The buttonholes should be split open on both the front band and the cuffs. To mark for the buttons on the left button band, overlap the front bands as if wearing the shirt (the right button band with the buttonholes should be on top). Make sure that the band covers the stitching of the other band entirely. Pin at both the top and bottom of the shirt. Using your choice of marking tool, open the buttonhole slightly and mark a small dot onto the fabric underneath. Be sure to mark in the middle of the buttonhole.
The button alignment points should already be marked on the cuffs. If not, realign the pattern piece (piece 15 or 17) and mark, minding the seam allowances. You can also set your own positioning based on the location of the buttonhole. I chose to mark my own, near the edge.

Aligning the Buttons
Attach Button Sew-on Foot #18 to the machine. Leave the needle unthreaded to begin. The holes on the buttons can be facing in whatever direction is desired for decorative purposes. There is very little difference in the functionally between the ways the holes are positioned. For the front band, I chose to position the buttons so that the thread in the middle would run perpendicular to the long edge. When the shirt is buttoned, the thread from the buttons and the thread from the beads of the buttonholes will look like they are stitched in the same direction. The same is true of the cuffs.
Position the shirt and button underneath the foot. The metal prong in the middle of the foot should sit directly between the holes on the button. Select Button Sew-on Stitch #61. Gently lower the presser foot.
Before stitching the button down, bounce the needle back and forth to check that the stitch will fit between the two holes. This works best when the needle is unthreaded. If the needle hits the side of the button, first try repositioning, then click the ‘Pattern Begin’ icon on the screen to test again. If more adjustment needs to be made, use the Multi-function knob to increase or decrease the distance between the needle penetrations.
Once everything is aligned, press ‘Pattern Begin’ on screen, carefully raise the presser foot, and thread the needle. Then, lower the presser foot and hold the foot pedal down until the stitching is completed. You can also press the Start/Stop button on the screen. The machine will automatically stop when the stitch is finished. Remove the fabric from underneath the foot by gently pulling it towards yourself. Cut the threads afterward. Repeat the process for all other buttons. If the buttons being used have 4 holes, the garment will just have to be rotated to repeat the process. This stitch will work if diagonal stitches are desired.

One thing that we do not need to worry about is having extra room under our buttons. Sometimes with thicker materials, such as that of a wool coat, a thread shank, or a knot, needs to be created on the top side of the fabric directly underneath the button. This causes the button to sit up higher so the sides of the buttonhole have room to fit underneath and close properly. This can be done with the button sew-on foot by raising the presser foot height using the adjustment wheel on the side. My shirt is made with a pretty thin fabric, so there is no need to add extra thread.
Until Next Time
Buttons can add fun and excitement to your button-up, or they can be just a functional component. Some of them are used as both! Buttons and buttonholes are a great way to add your own personal flair to whatever you are making. Upon making this shirt again, try something different with your button selection. Use a contrasting color of thread to really make the feature stand out. Size the buttons up or down, or space them out differently. The limits are endless!
The next post will be the final one of the series. I will show you my tricks to getting an even hem all the way around the bottom edge of the shirt.
Garment Sew-along
Part 1: Garment Sizing and Fabric Selection
Part 2: Pattern Cutting, Markings and Fitting
Part 3: Different Stitches in Garment Sewing
Part 4: Fronts, Yokes and Seams
Part 5: Sleeves and Side Seams
Part 9: Buttons and Buttonholes
Used Products

What you might also like


6 comments on “Garment Sew Along Part 9: Buttons and Buttonholes”
-
-
I did use the BERNINA 480 to construct this entire top! BERNINA sewing machines, across all series, have the same penetration power to sew through several layers of thick, bulky fabric. No matter what machine you pick, it will sew perfect buttonholes.
What does make the machines different are their sizes (weight and space to the right of the needle), number of stitches they have built-in, whether or not they have embroidery capabilities, and a few other factors. Some things to consider when searching for the perfect machine would be how much space you have in your sewing area, what you will be sewing with this machine, and if you want embroidery.
If I were you, I would browse here on our website to see all the machines: https://www.bernina.com/en-US/Machines-US/Sewing-Machines
Also If it helps you, I sew on a B 790 PLUS at home, do most of my ‘quick’ projects with a B 590, and use the B 480 as my travel machine to take it from class to class!
-
-
Where do you keep the top thread to the back or to the left over or under the foot? Do you hold the thread or not? Would you recommend any additional tear away stabilizer for a 6.5oz denim fabric? Thank you.
-
You can put the top thread wherever you want. With the B 480, there is a thread cutter to the right of the presser foot that holds the thread. I tend to keep the thread there when I begin stitching, then I trim it away or pull to the back when stitching is complete so there isn’t anything visible on the top.
-
-
Did you use the 50 weight thread mentioned in part 1 or did you use the 28 weight thread for the buttonholes?
-
I used the 50wt on these buttonholes!
-
Leave a Reply
You must be logged in to post a comment.

Thank you for all this information. I’m searching for the sewing machine that sews the most beautiful buttonholes and the Bernina Buttonhole foot looks really strong and steady. You were using here the Bernina 480. I have a question: Are the sewing machines from upper series, like series 700 even better in terms of the quality of the buttonhole? And in terms of “power” for sewing thicker fabrics or several layers? Could you please give me an advice for the best option to make beautiful buttonholes? With all the stores closed it’s quite dificult to have this information or simply go to a store and try several Berninas. Thank you 🙂