Garment Sew Along Part 10: Hems
The time has finally come for the last blog post of the series! We are ready to tackle the final element of this button up – the hem! Consequently, hems tend to be the final construction component on many garments. Hems provide a finished, fray-free bottom edge. They help to prevent unraveling as the garment is worn and washed and add a little extra weight to the garment to help it hang nicely.
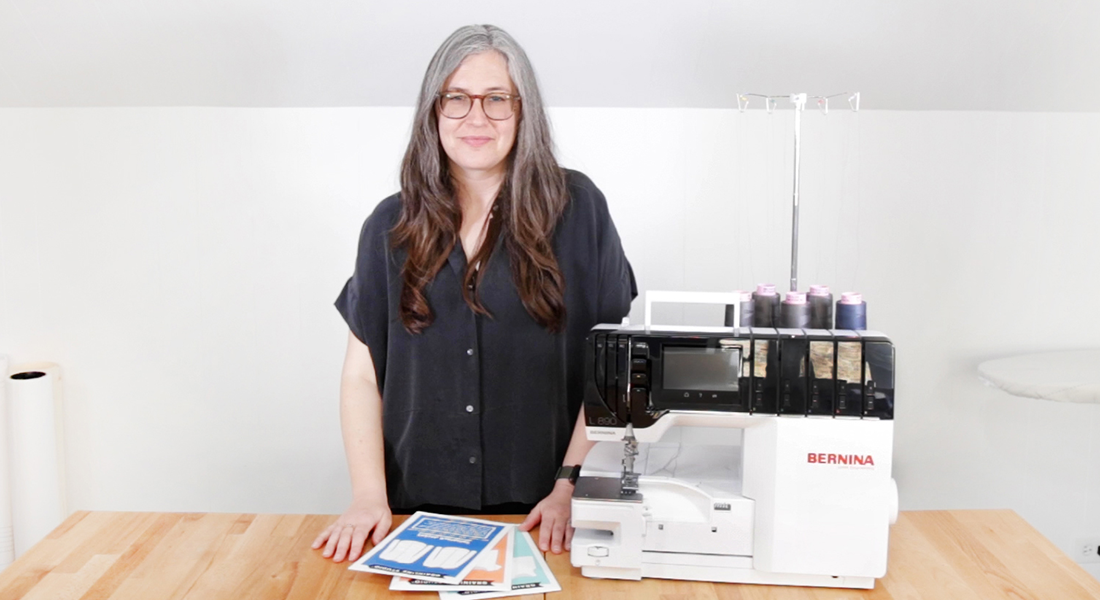
Supplies
- Reverse Pattern Foot #1C
- Schmetz Microtex Needles Size 80/12
- Iron
- Wool mat or pressing mat
- Seam gauge
- Best Press
- Wonder Clips
- Stitch Witchery (1/4” width)
Creating the Perfect Hem
The following steps are rather simple but necessary to complete this button up. First, the hem will be pressed into position. The sewing machine will then need to be set up to stitch the hem. The only thing left after that is to sew it into place.
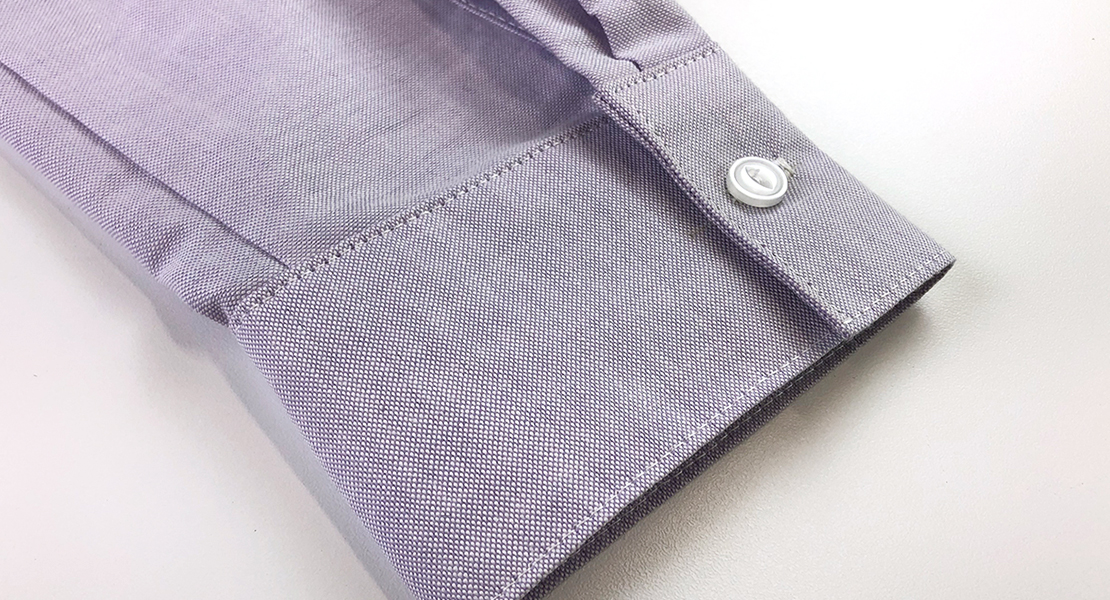
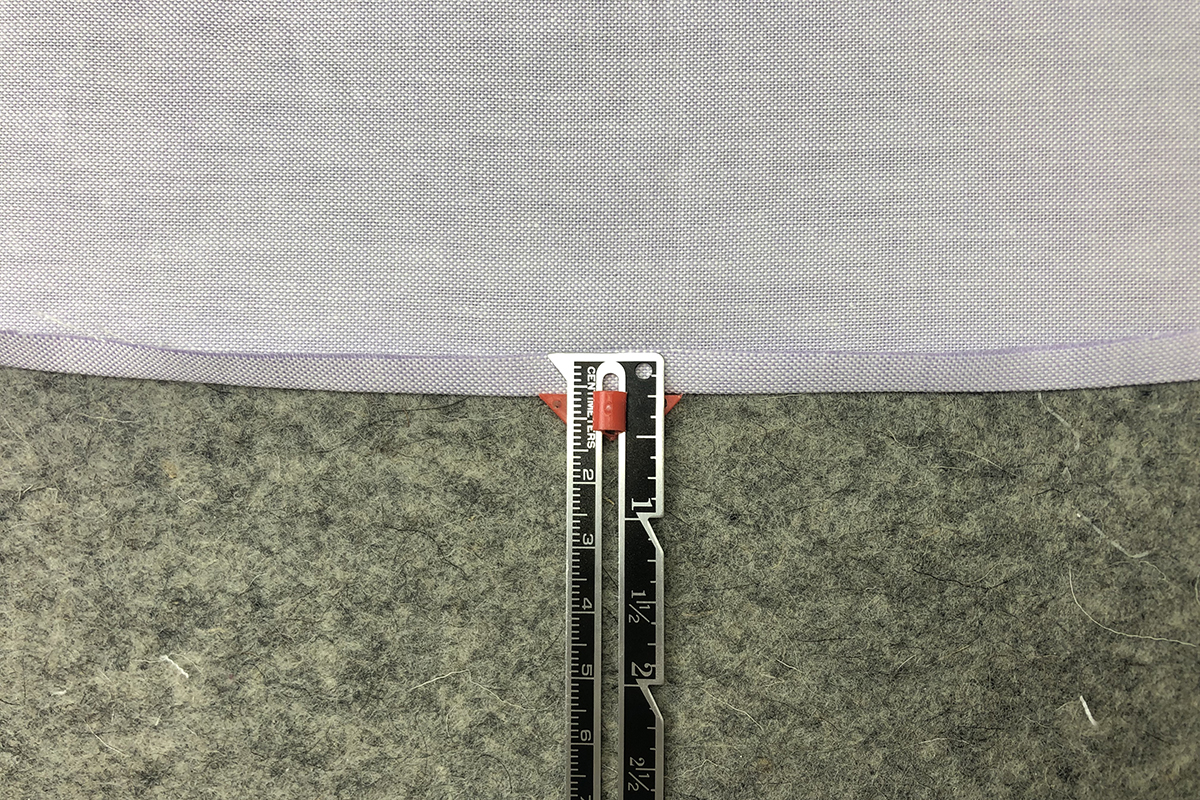
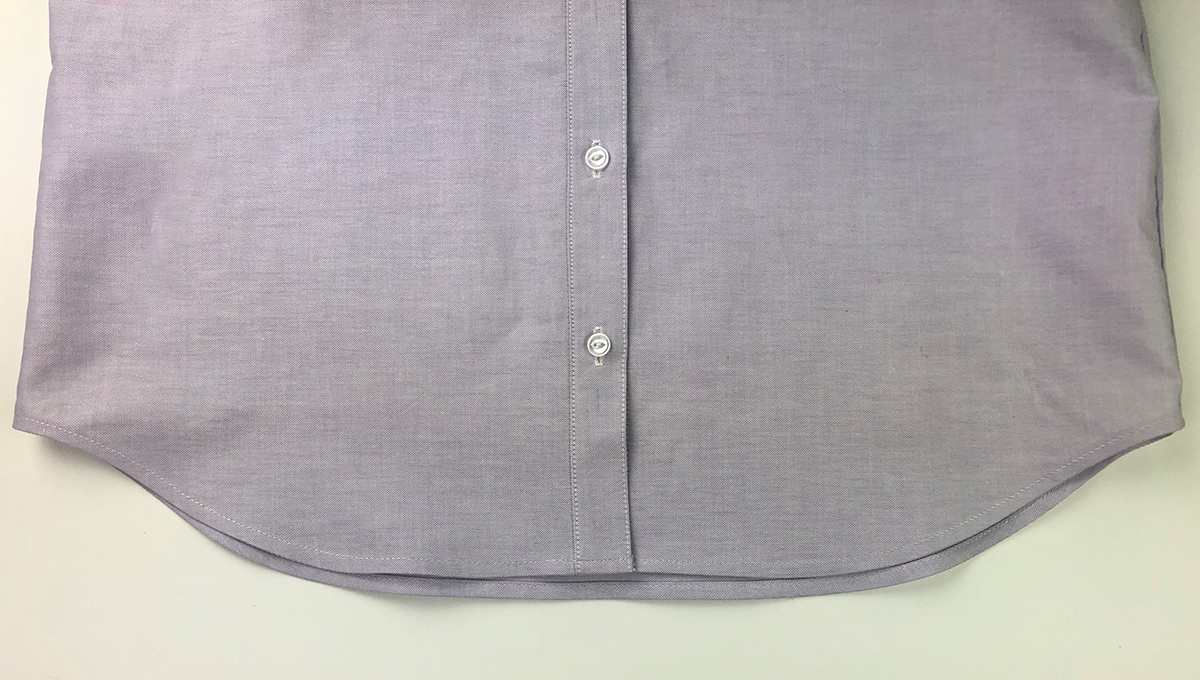
The hem allowance was already taken into account when the pattern pieces were designed and cut out. There is extra fabric at the bottom of the shirt that was intended to be pressed up and sewn into place. The instructions for this section are straightforward – “Press the hem of the shirt up 1/4″ twice and stitch in place 1/16” from the top of the folded edge.”
Pressing Up the Hem
If you are anything like me, it can be very difficult to get a perfect 1/4″ fold every time. I use a combination of tools, along with the iron, to keep the folds consistent along the entire seam. Start by setting the iron to the hottest heat setting that the fabric allows. Check to see that the side seams are pressed towards the back of the garment.
Working in small increments along the bottom edge, start with the button band on the front of the garment and fold up the raw edge to the inside. Use a seam gauge to ensure that the fold is exactly 1/4″.
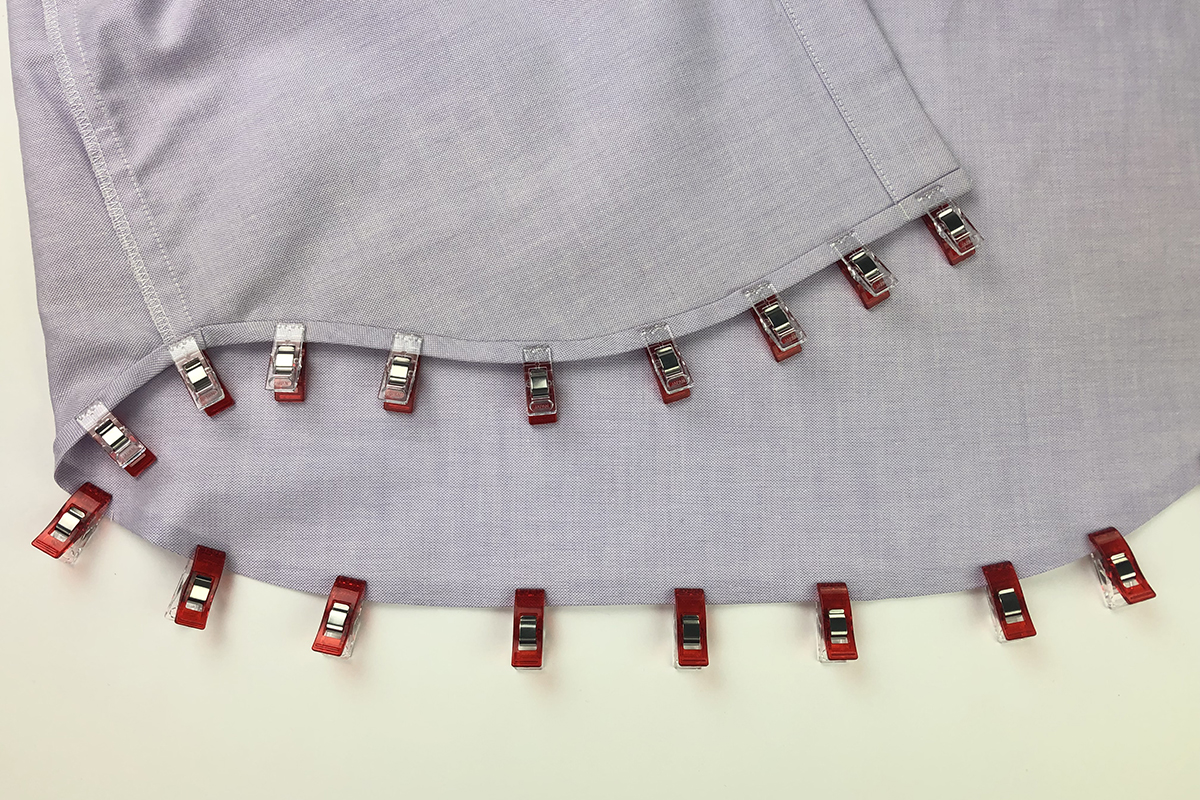
Keep the bulk as flat as possible and press in place. Steam is your friend here. Once this fold is pressed, it should have a very distinct crease, and should practically stay in place on its own. If the fold does not seem to be holding, spritz the area Best Press starch alternative. I found that it is helpful to use Wonder Clips to hold the bulk of the first fold in place as I work around the rest of the hem, especially on the button bands.
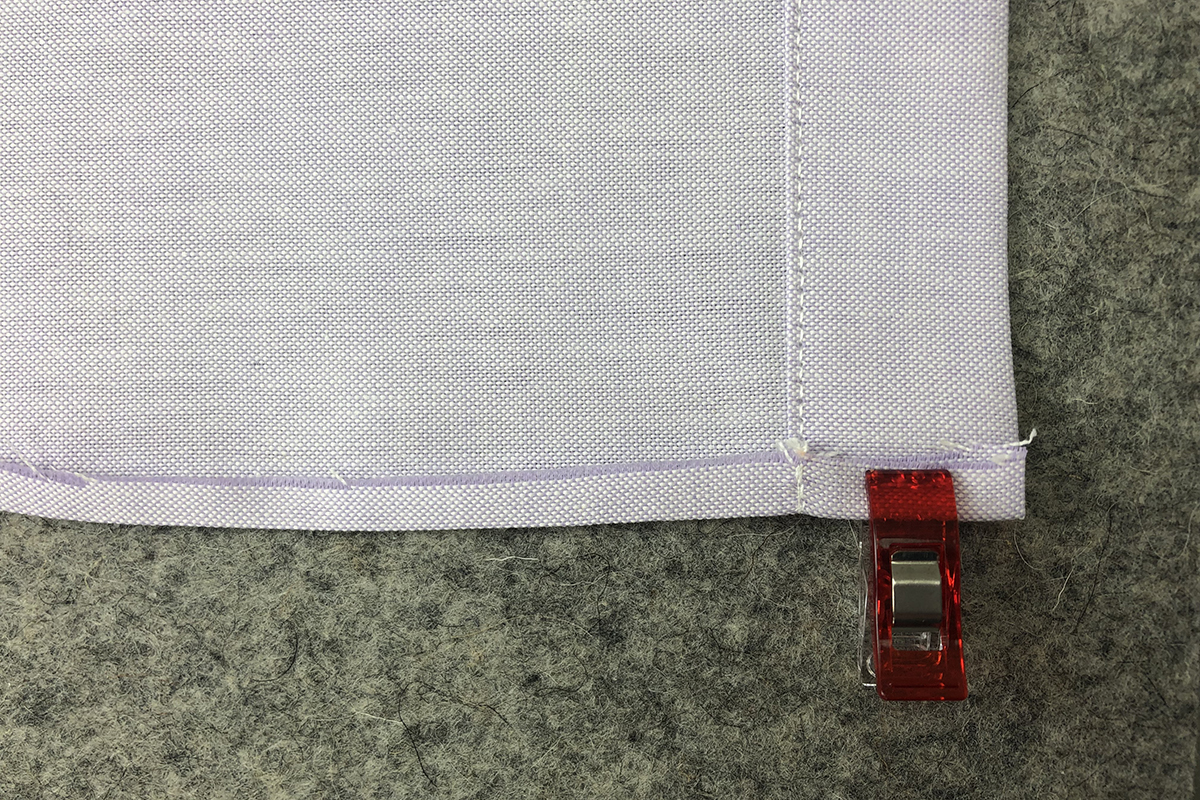
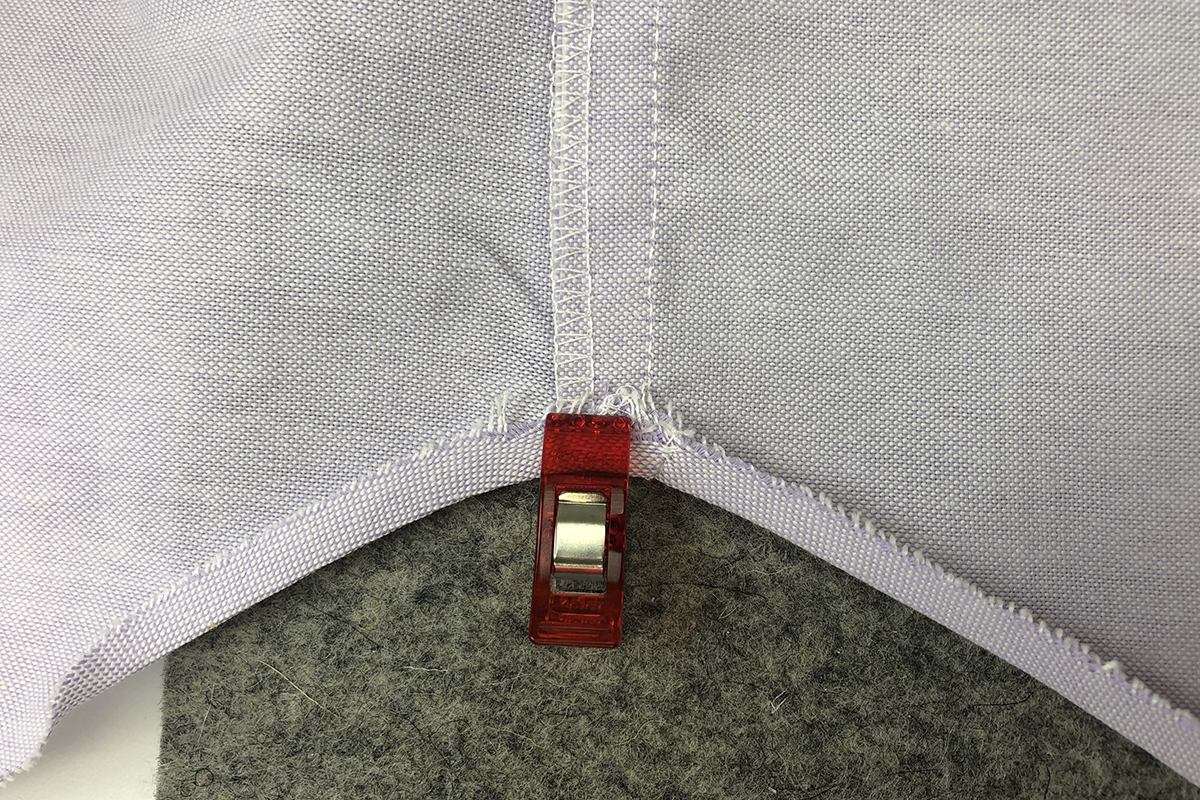
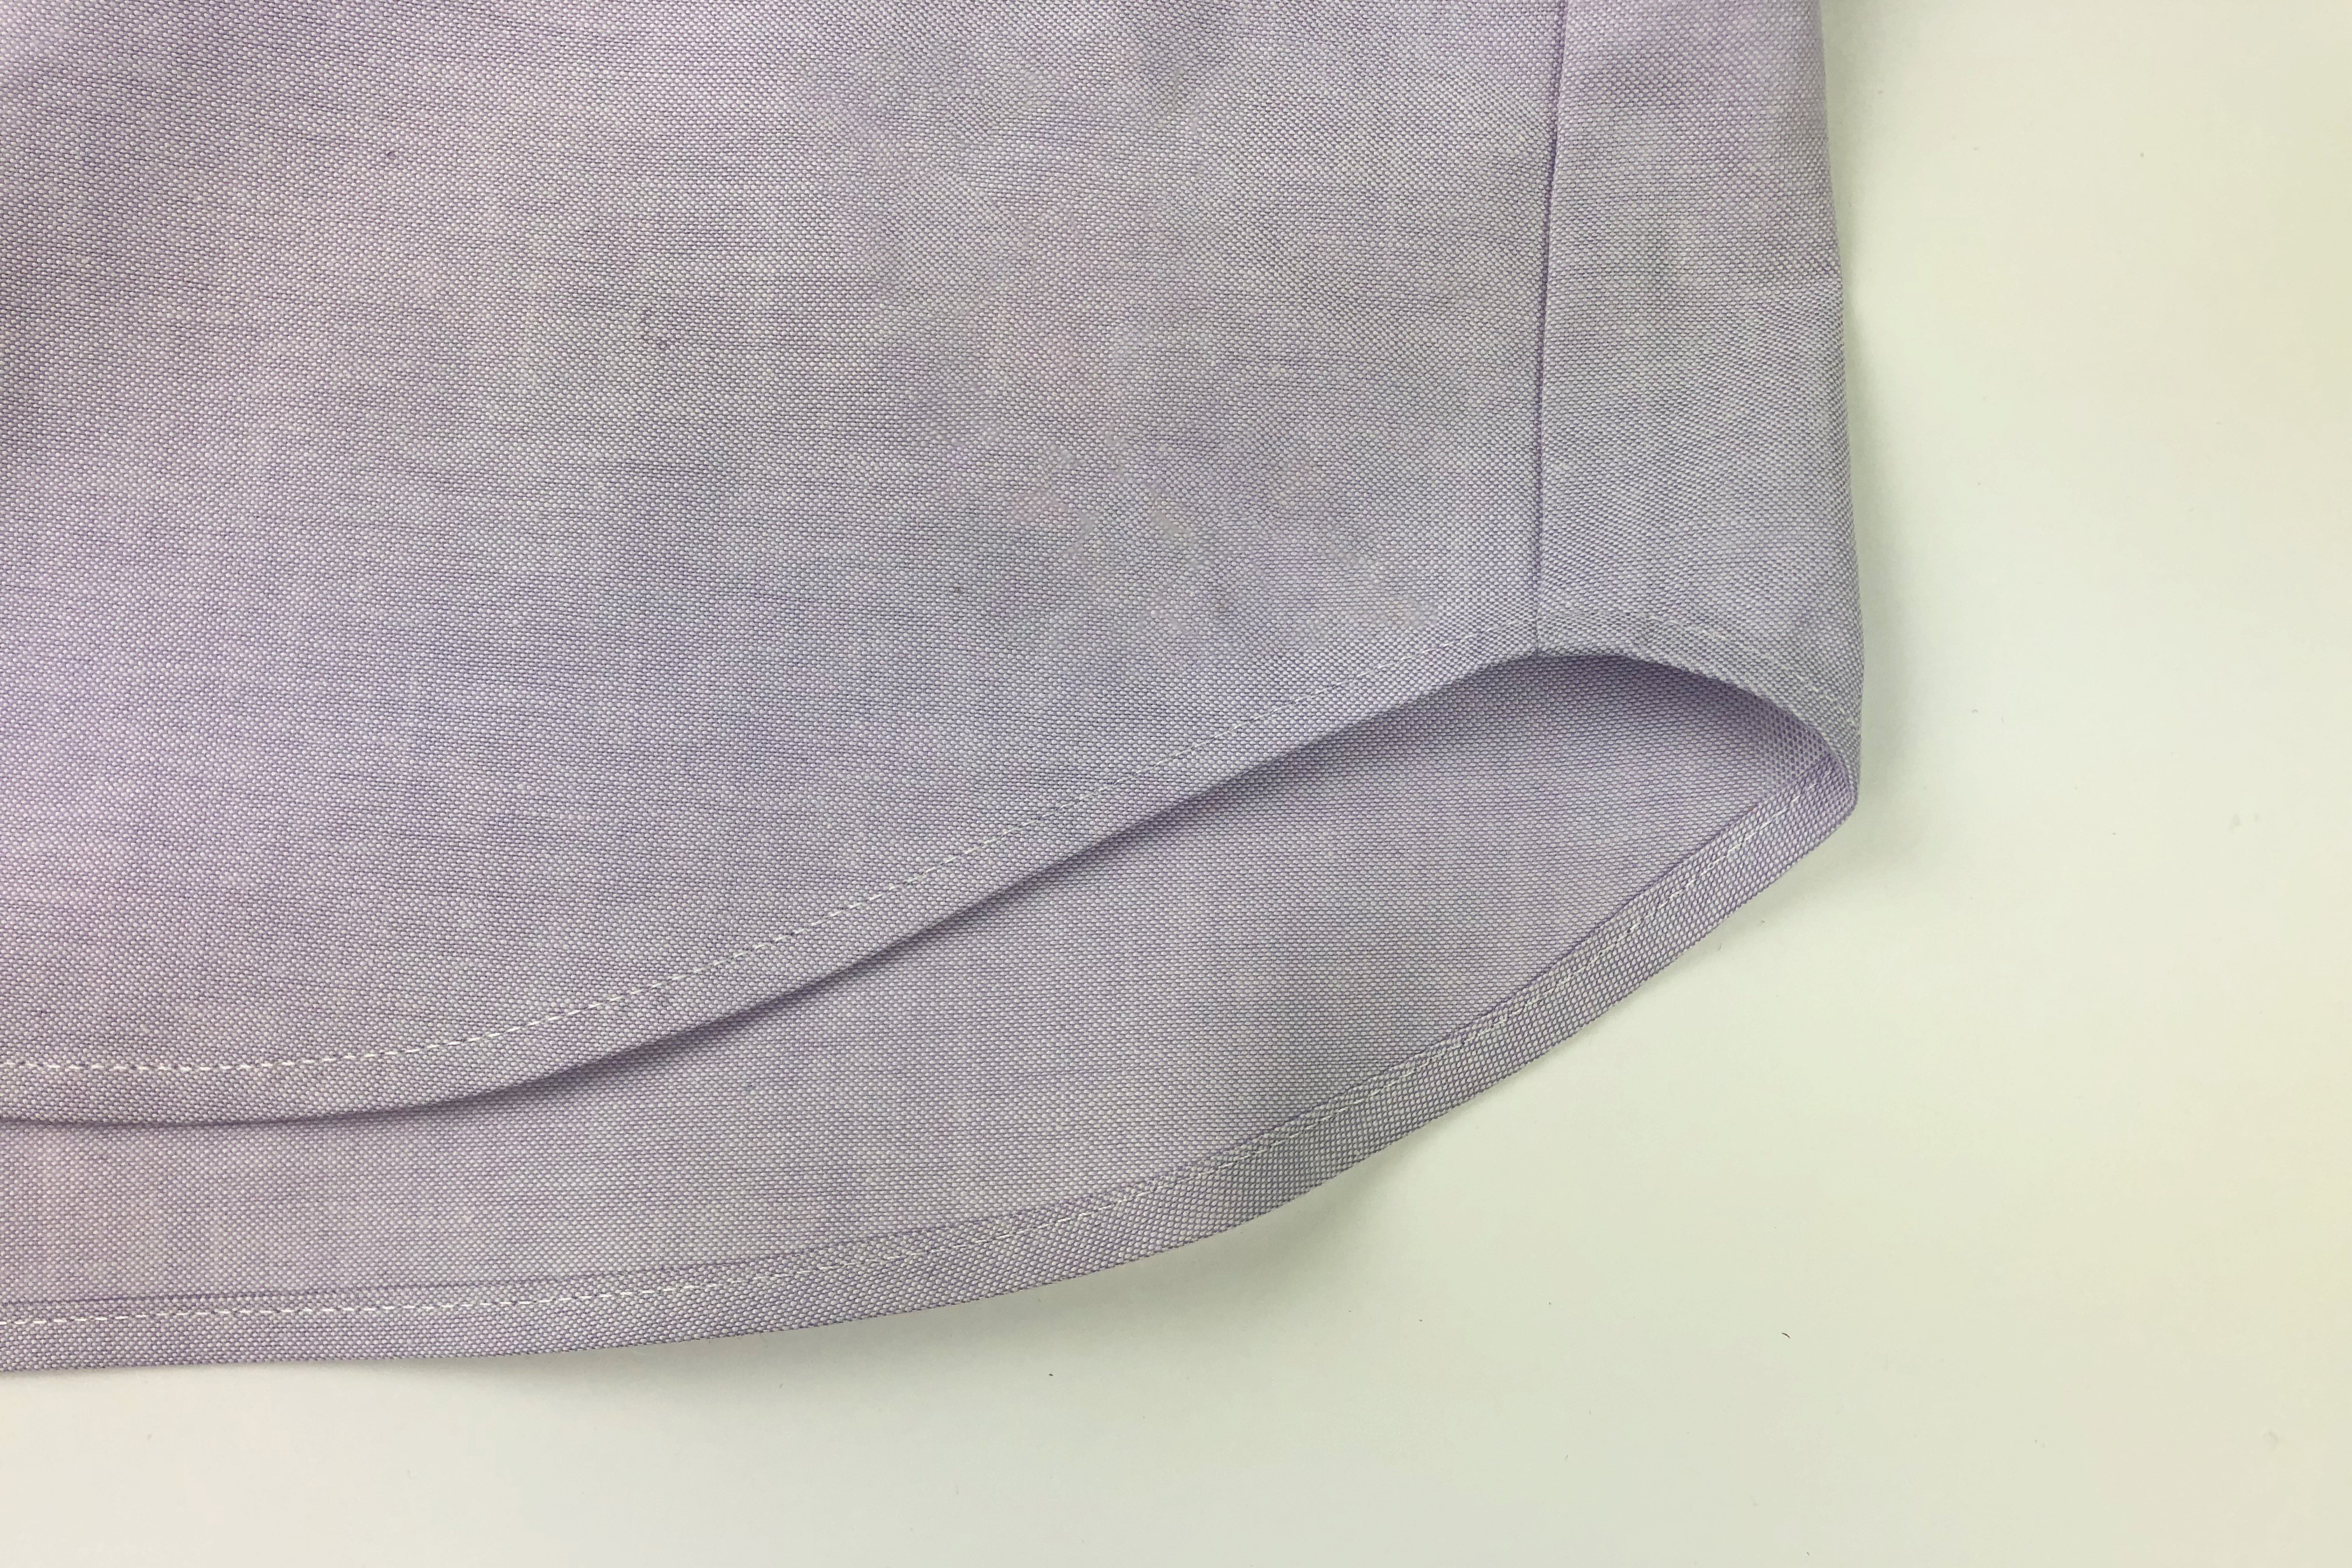
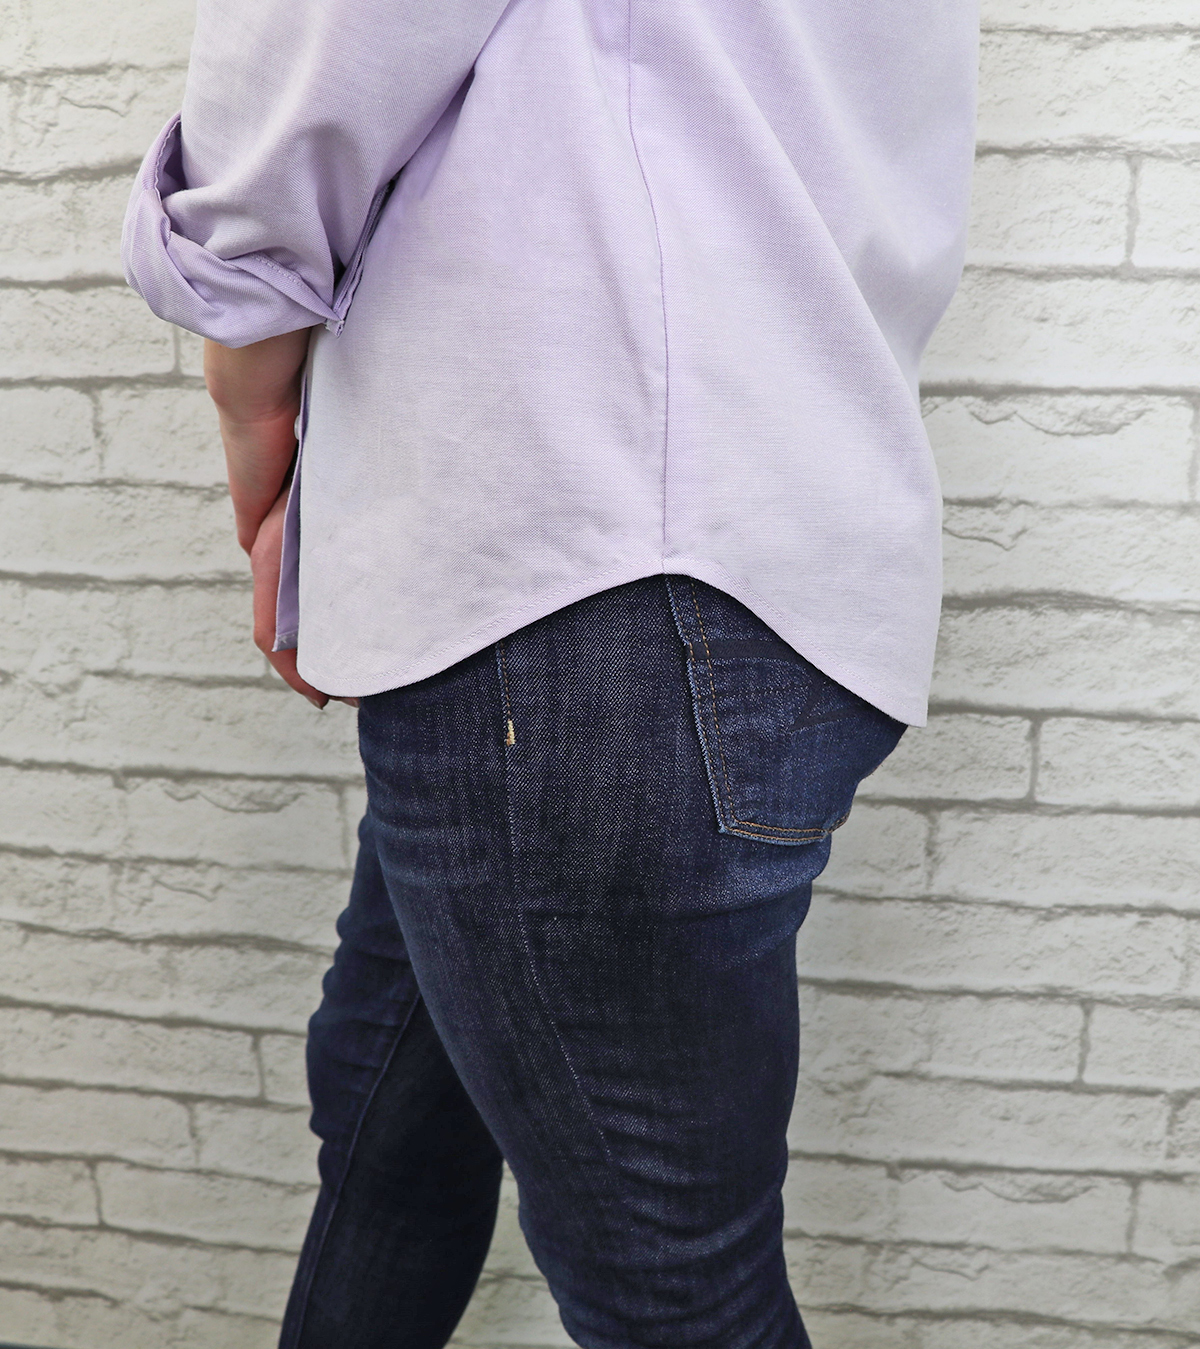
Continue to press the first fold all the way around the shirt. Notice on the curves at the side seams that the seam sits at an angle when it is folded under – this is normal! We want the seam to lay flat around the hemline and that means that the seam should not be completely straight. Do not sell the curves short on the hems, they need to be folded up 1/4″ like the rest of the bottom edge.
Work around the entire shirt, pressing the single fold, and checking constantly that the fold is 1/4″ wide.
Only after the first fold is complete should you go back to the beginning and fold the hem up a second time. On the second fold, my trick to getting my hem to stay in place is to iron in Stitch Witchery. It comes in rolls that are 1/4″ wide, which is perfect for this hem. The fusible webbing is virtually weightless so it will not add extra bulk to the hemline.
Continue to work in small sections on the second fold, using a seam gauge to make sure you are only folding up another 1/4″.
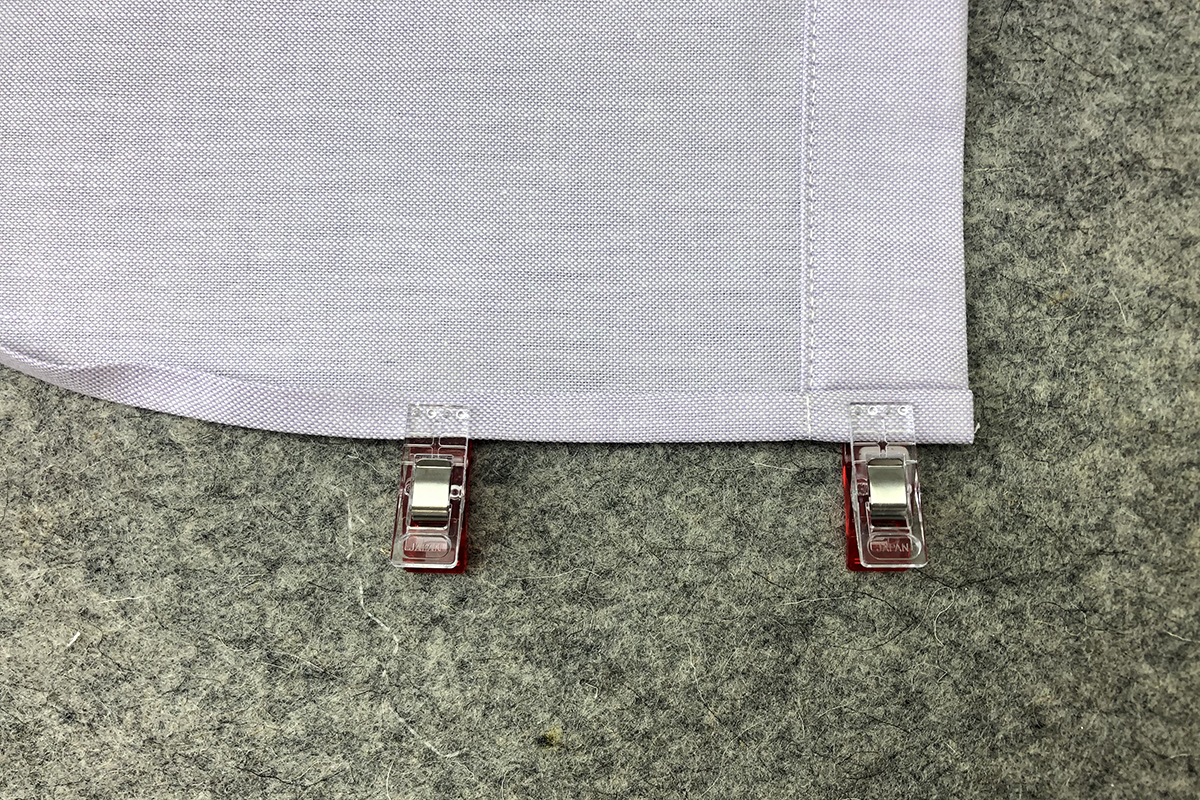
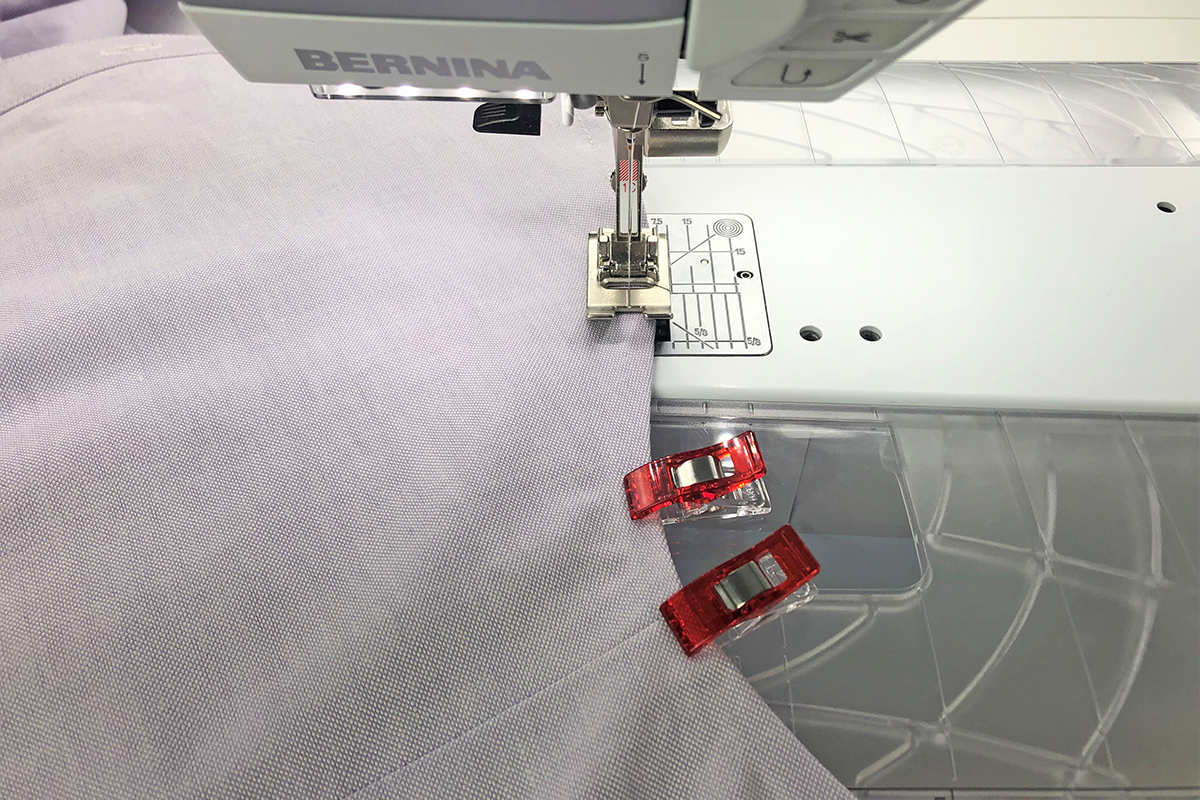
After pressing up the second fold, tear off a 2-3” piece of Stitch Witchery, insert it into the fold line, and press without steam. For an added layer of security, Wonder Clips can be added after the fabric has cooled off. The images below show that they were put on upside down. This was done on purpose because I will be stitching on the outside of the garment. Use shorter pieces of the fusible web on the curves.
Stitch Settings & Stitching Guides
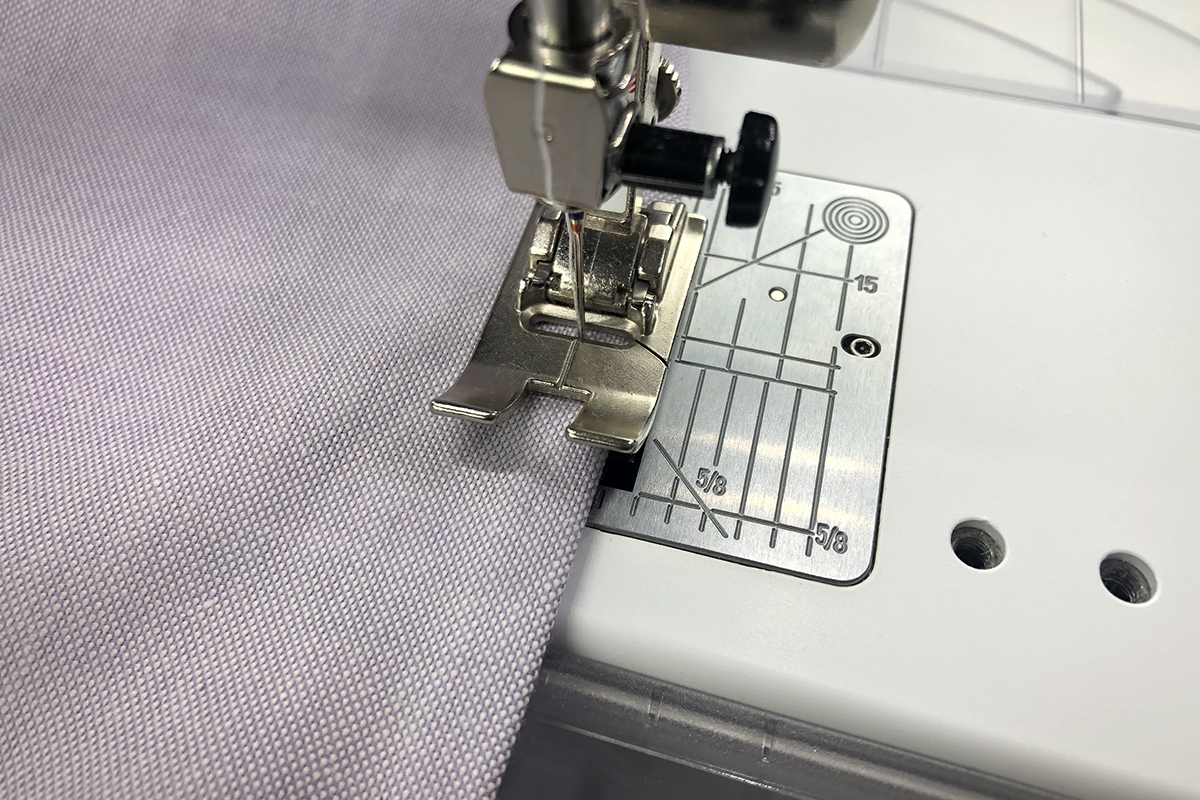
It is time to set up the sewing machine to stitch the hem. By now, it is clear that stitching methods are dependent on personal preferences. When I sew my hems, I stitch on the outside of the garment and find a mark on the stitch plate to follow, without adjusting the needle position.
The first thing to do is switch out whatever needle is currently in the sewing machine for a Schmetz Microtex Needle. The sharp point will cleanly penetration between the fibers of the fabric. Attach Reverse Pattern Foot #1C. The standard 9.0 mm stitch plate should already be on the machine.
I prefer to use the same stitch settings of the edgestitch settings that have been used throughout the series for consistency. Select Straight Stitch #1. Increase the stitch length to 2.90 mm. This length can vary depending on the look that you want. Be sure to do a test sew first. Touch the Needle Stop Up/Down icon on the screen to make the needle stop down.
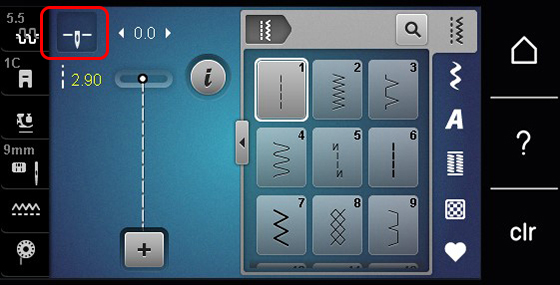
Sew time! My guide point on the stitch plate is just shy of the ¼” line. Place the fabric under the presser foot with the right side (outside) of the garment facing up. The fold should be aligned to the guide point. Stitch all the way around the hem, backstitching at the beginning and end.
Go slow around the curves, and use the free hand system to rotate the fabric as needed.
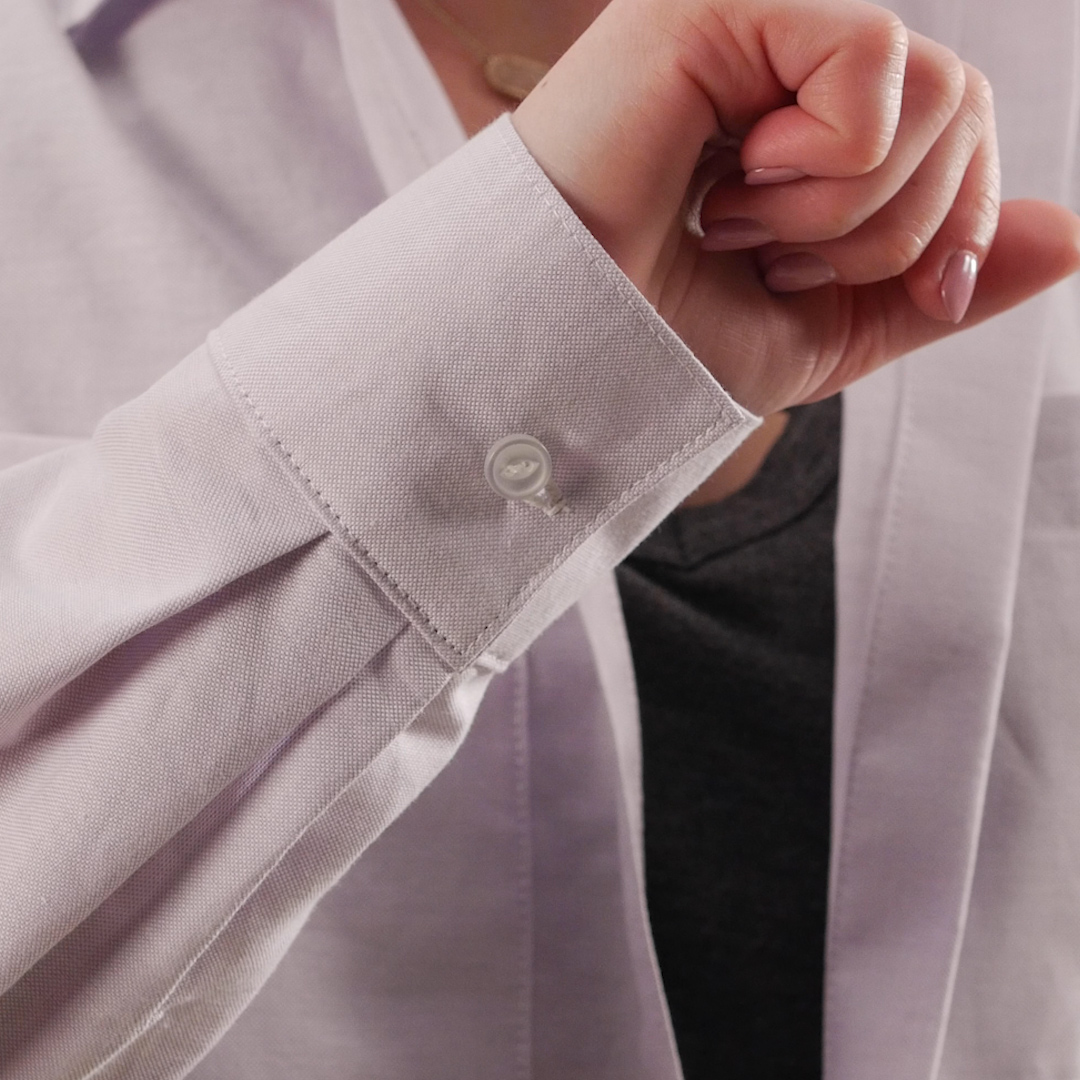
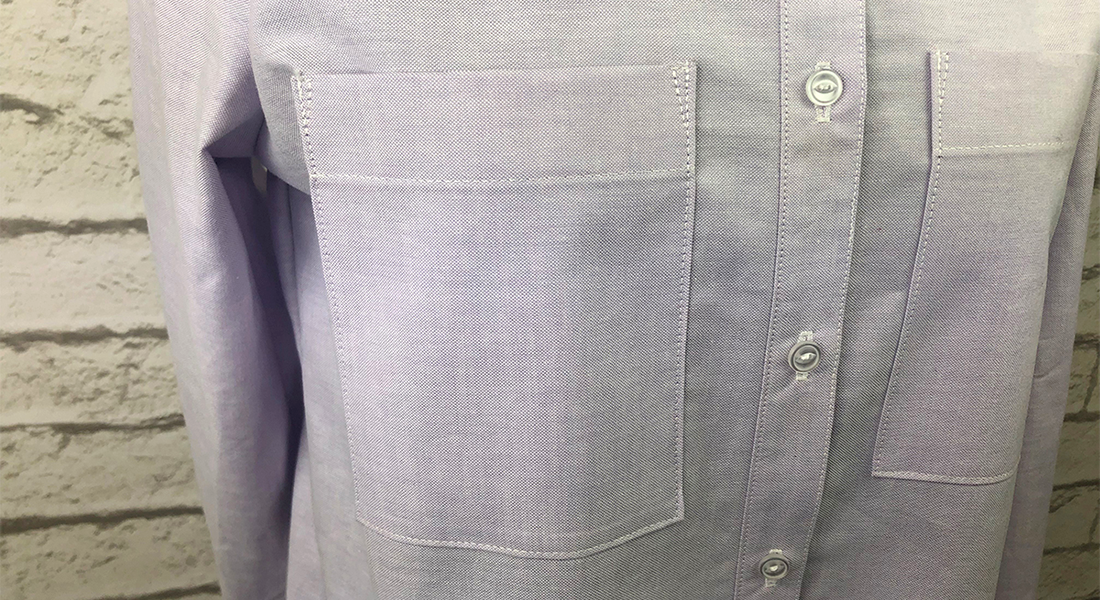
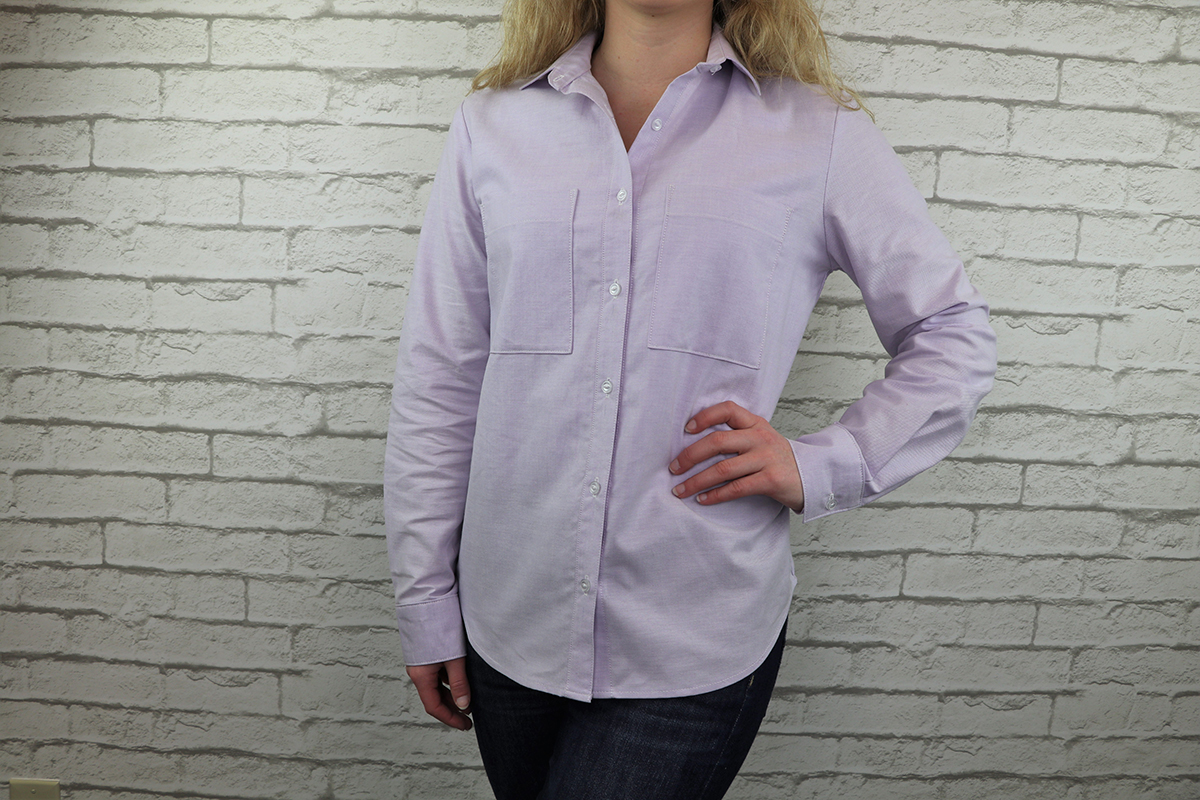
Give the hem one last press after you are done stitching, and the shirt is completed!
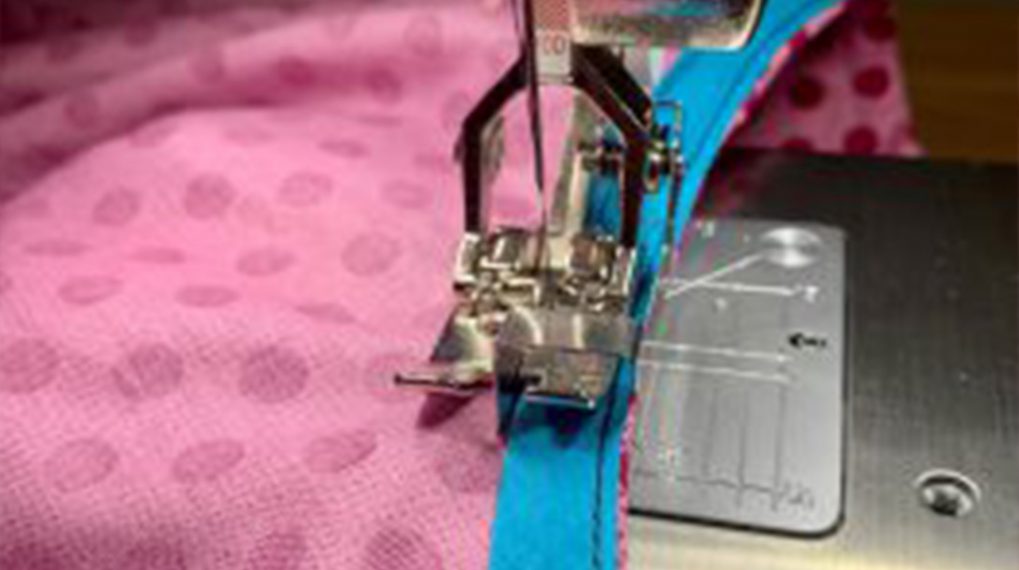
If there is a lack of visibility with foot #1C, considering switching to a clear sole foot such as Clear Foot #34C. This presser foot might come in handy when going around the curves of the hem near the side seams. Depending on the foot being used, the needle could be moved to a different position, either left or right of center. Find an alignment point that works best for you and use it as a guide for the fabric around the entire hem.
Alternative Methods for Hemming
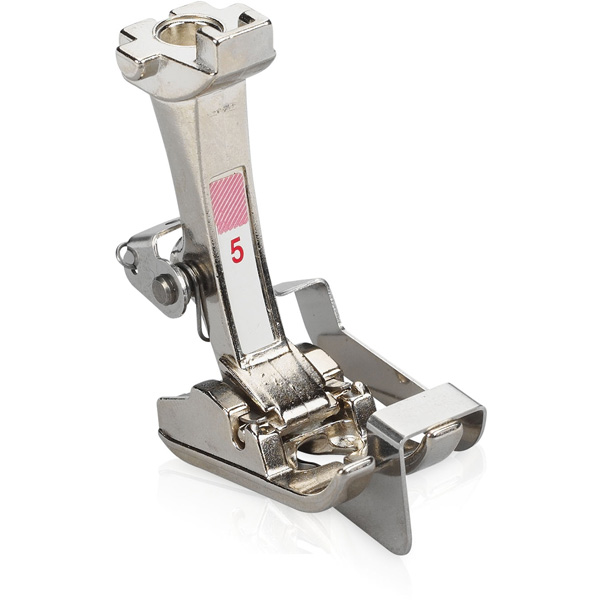
There are more ways than one to finish the hem for this shirt. Discussed above is a machine finish. Maybe you do not want stitching on the outside of the garment. Instead, try hand sewing the hem or using the blindstitch programmed in the B 480. This post discusses how to use Blindstitch Foot #5 and several other hemming techniques.
Hand sewing might not be your thing. BERNINA has several hemmer feet that can stitch hems of varying widths. Follow this post for a quick demo on how to use these feet.
If you are noticing a lot of fraying on the bottom edge, it may be beneficial to serge the raw edge before folding and pressing it. I do not usually do this because the extra thread adds bulk to the seam allowance. This may be the way to go if the hem needs to be shorter or longer, depending on the wearer. Temporarily stitch the hem in place with a basting stitch for easy removal later.
Garment Complete
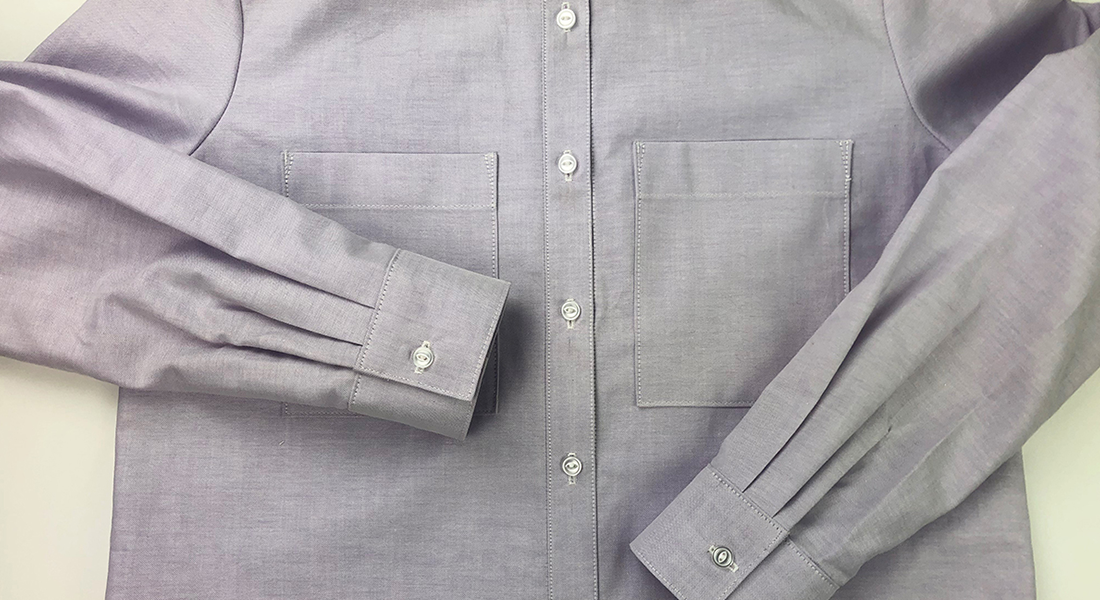
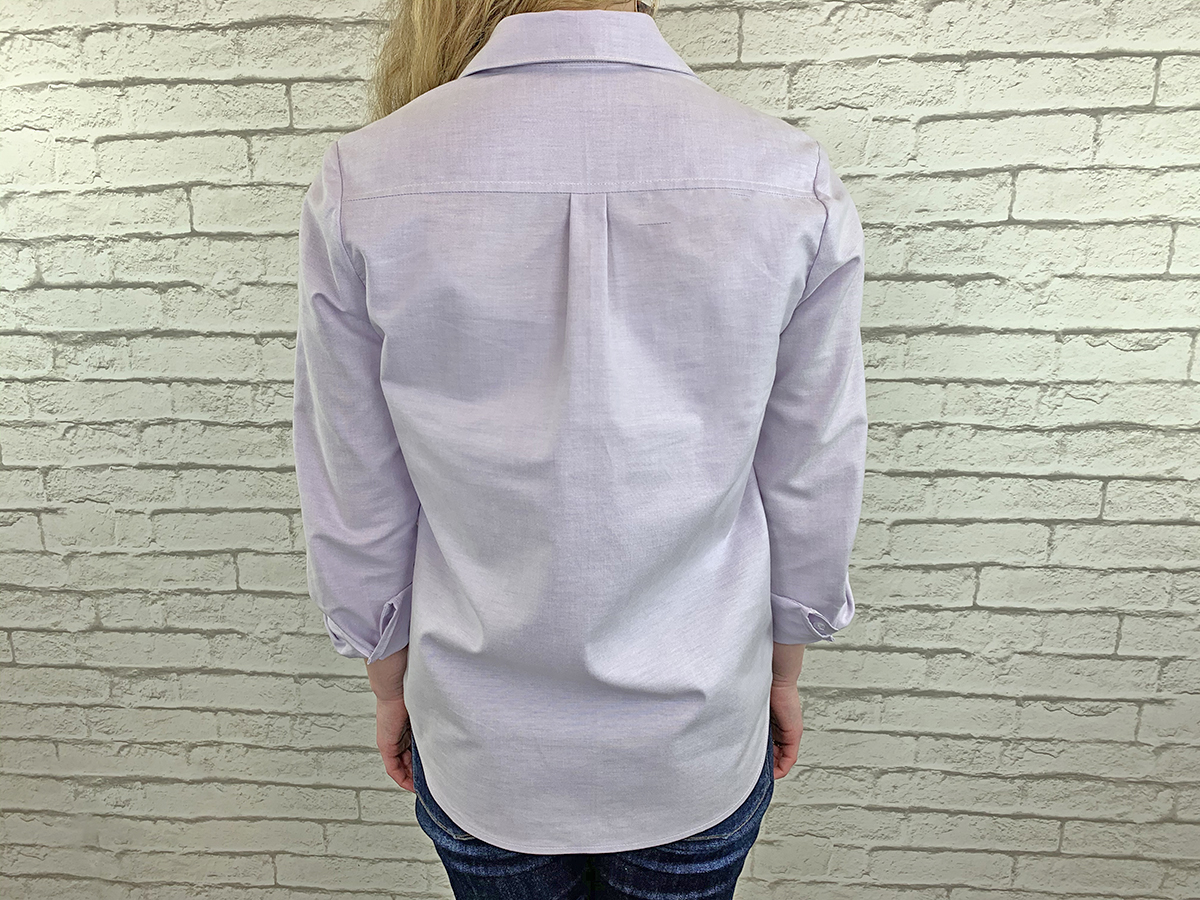
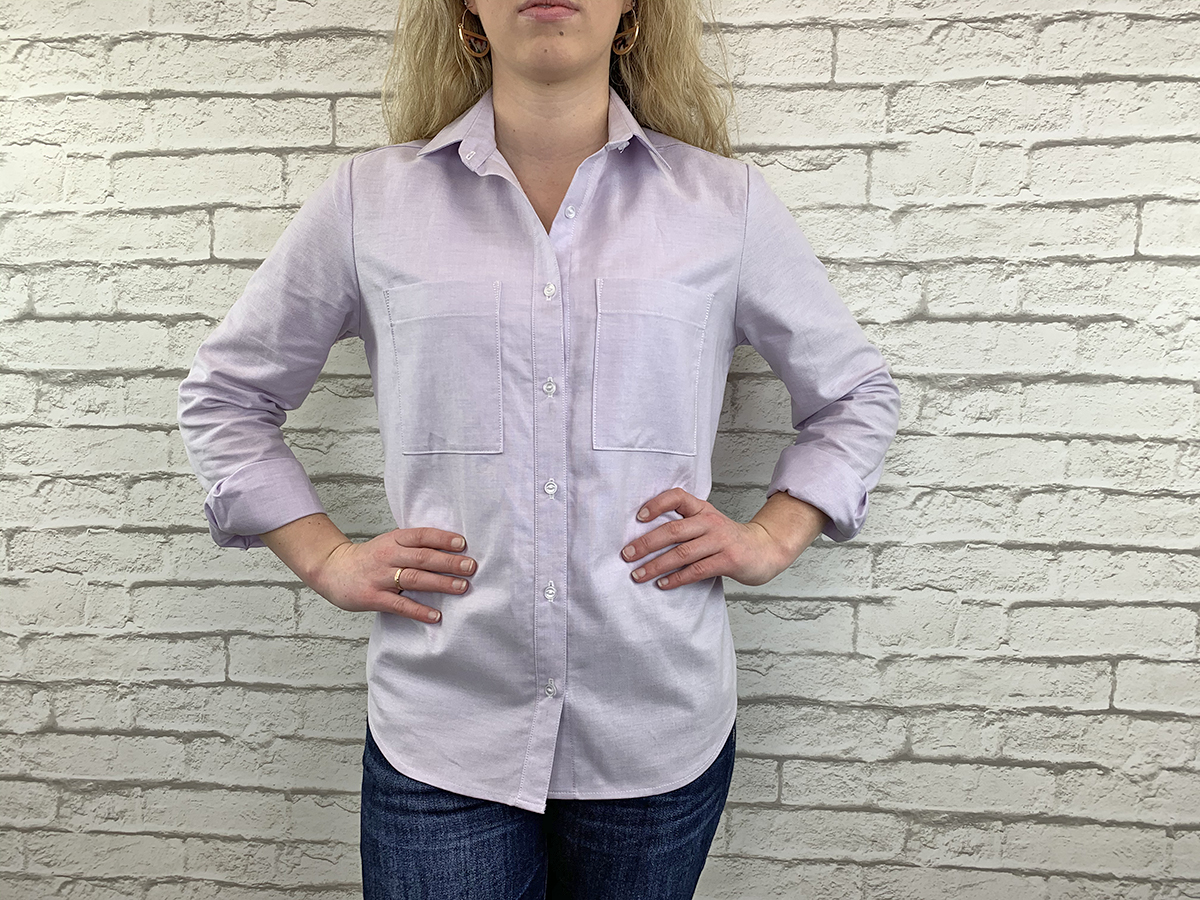
There you have it, a completed button up! Share your finished look on the WeAllSew community page!

Garment Sew-along
Part 1: Garment Sizing and Fabric Selection
Part 2: Pattern Cutting, Markings and Fitting
Part 3: Different Stitches in Garment Sewing
Part 4: Fronts, Yokes and Seams
Part 5: Sleeves and Side Seams
Part 10: Hems