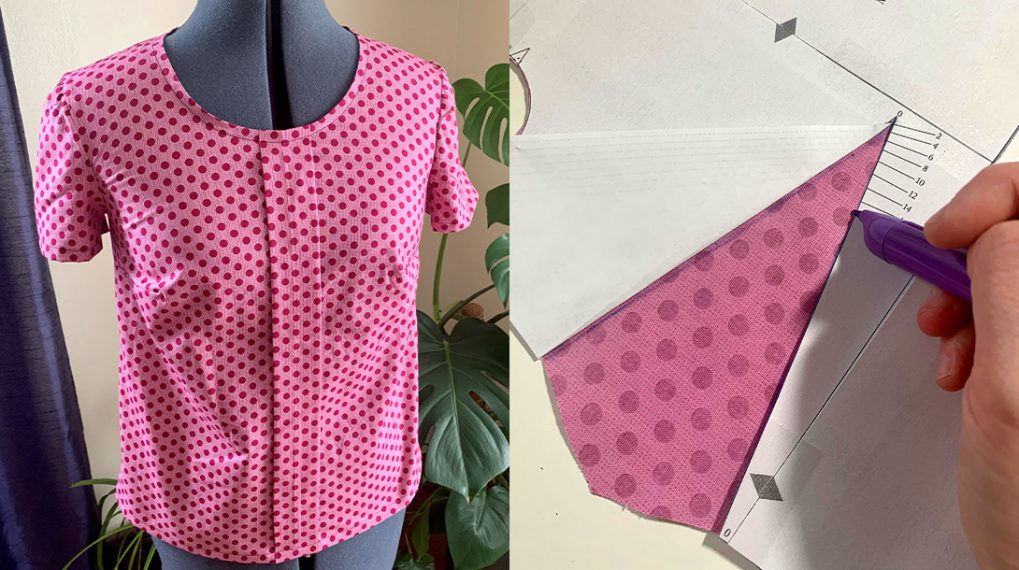
Sorbetto Top Sew Along, Part 4: Hems
Have you been following along with the Seamwork Sorbetto sew along? In part 1, we cut and prepared our patterns, in part 2, we started sewing our bodice, and in part 3 we set in our sleeves. In this post, we’ll finish our tops by sewing the hems. Remember to share your progress in the We All Sew Community and on Instagram (make sure use the hashtag #weallsewsorbetto and tag me (@thelilacelk) and @BERNINAusa so we can see what you make!)

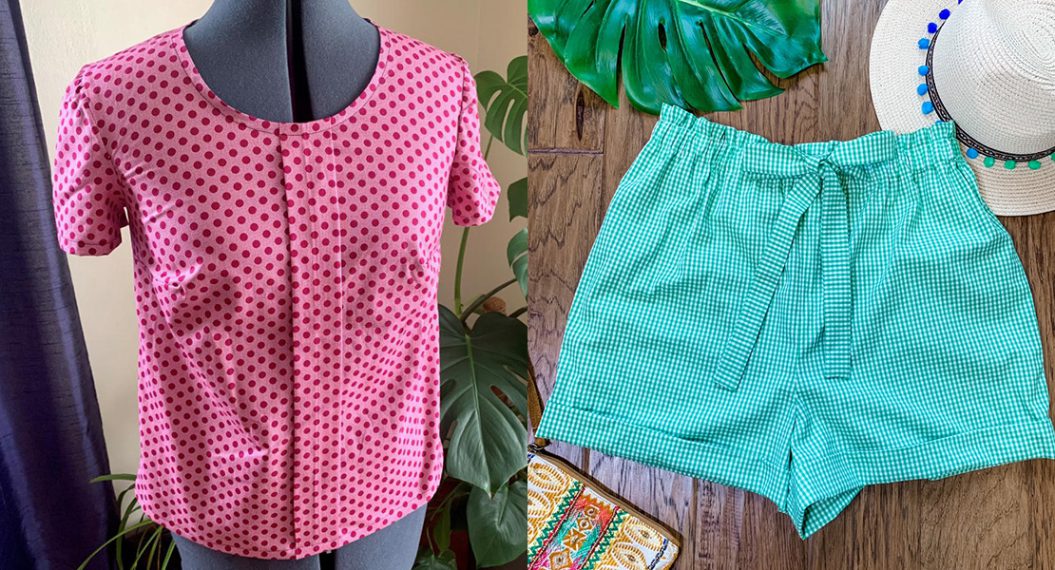
The polka dot fabric I used in the post was so kindly provided by Brewer. It’s a quilting cotton that works well for garments too!
Hemming the Neckline
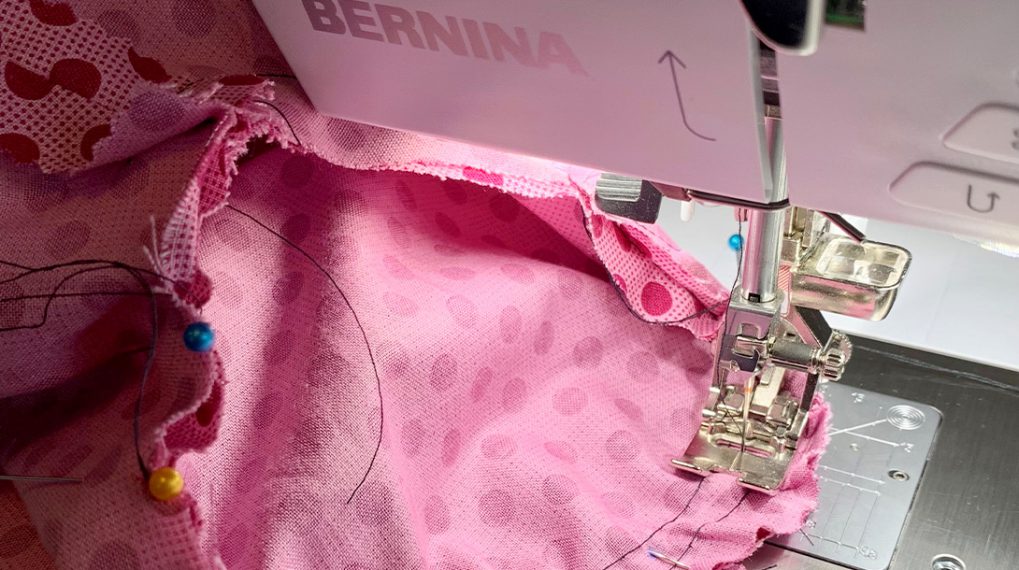
1. Attaching Bias Tape
Necklines are usually hemmed using a facing or bias tape because they are a curved edge. For this top, we’ll use bias tape. Start with some single fold bias tape and unfold one edge. Leaving yourself a little bias tape tail and starting at the center back, stitch this to your neckline, lining up the raw edge of your neckline to the raw edge of the unfolded bias tape, right sides together. Your goal here is to stich in the ditch of that fold, so the #10D Edgestitch Foot is very helpful. You can line the bar of the foot up with the fold in the bias tape to get a nice, straight seam with minimal effort! Stop stitching an inch or two from where you started and leave a bias tape tail here too.
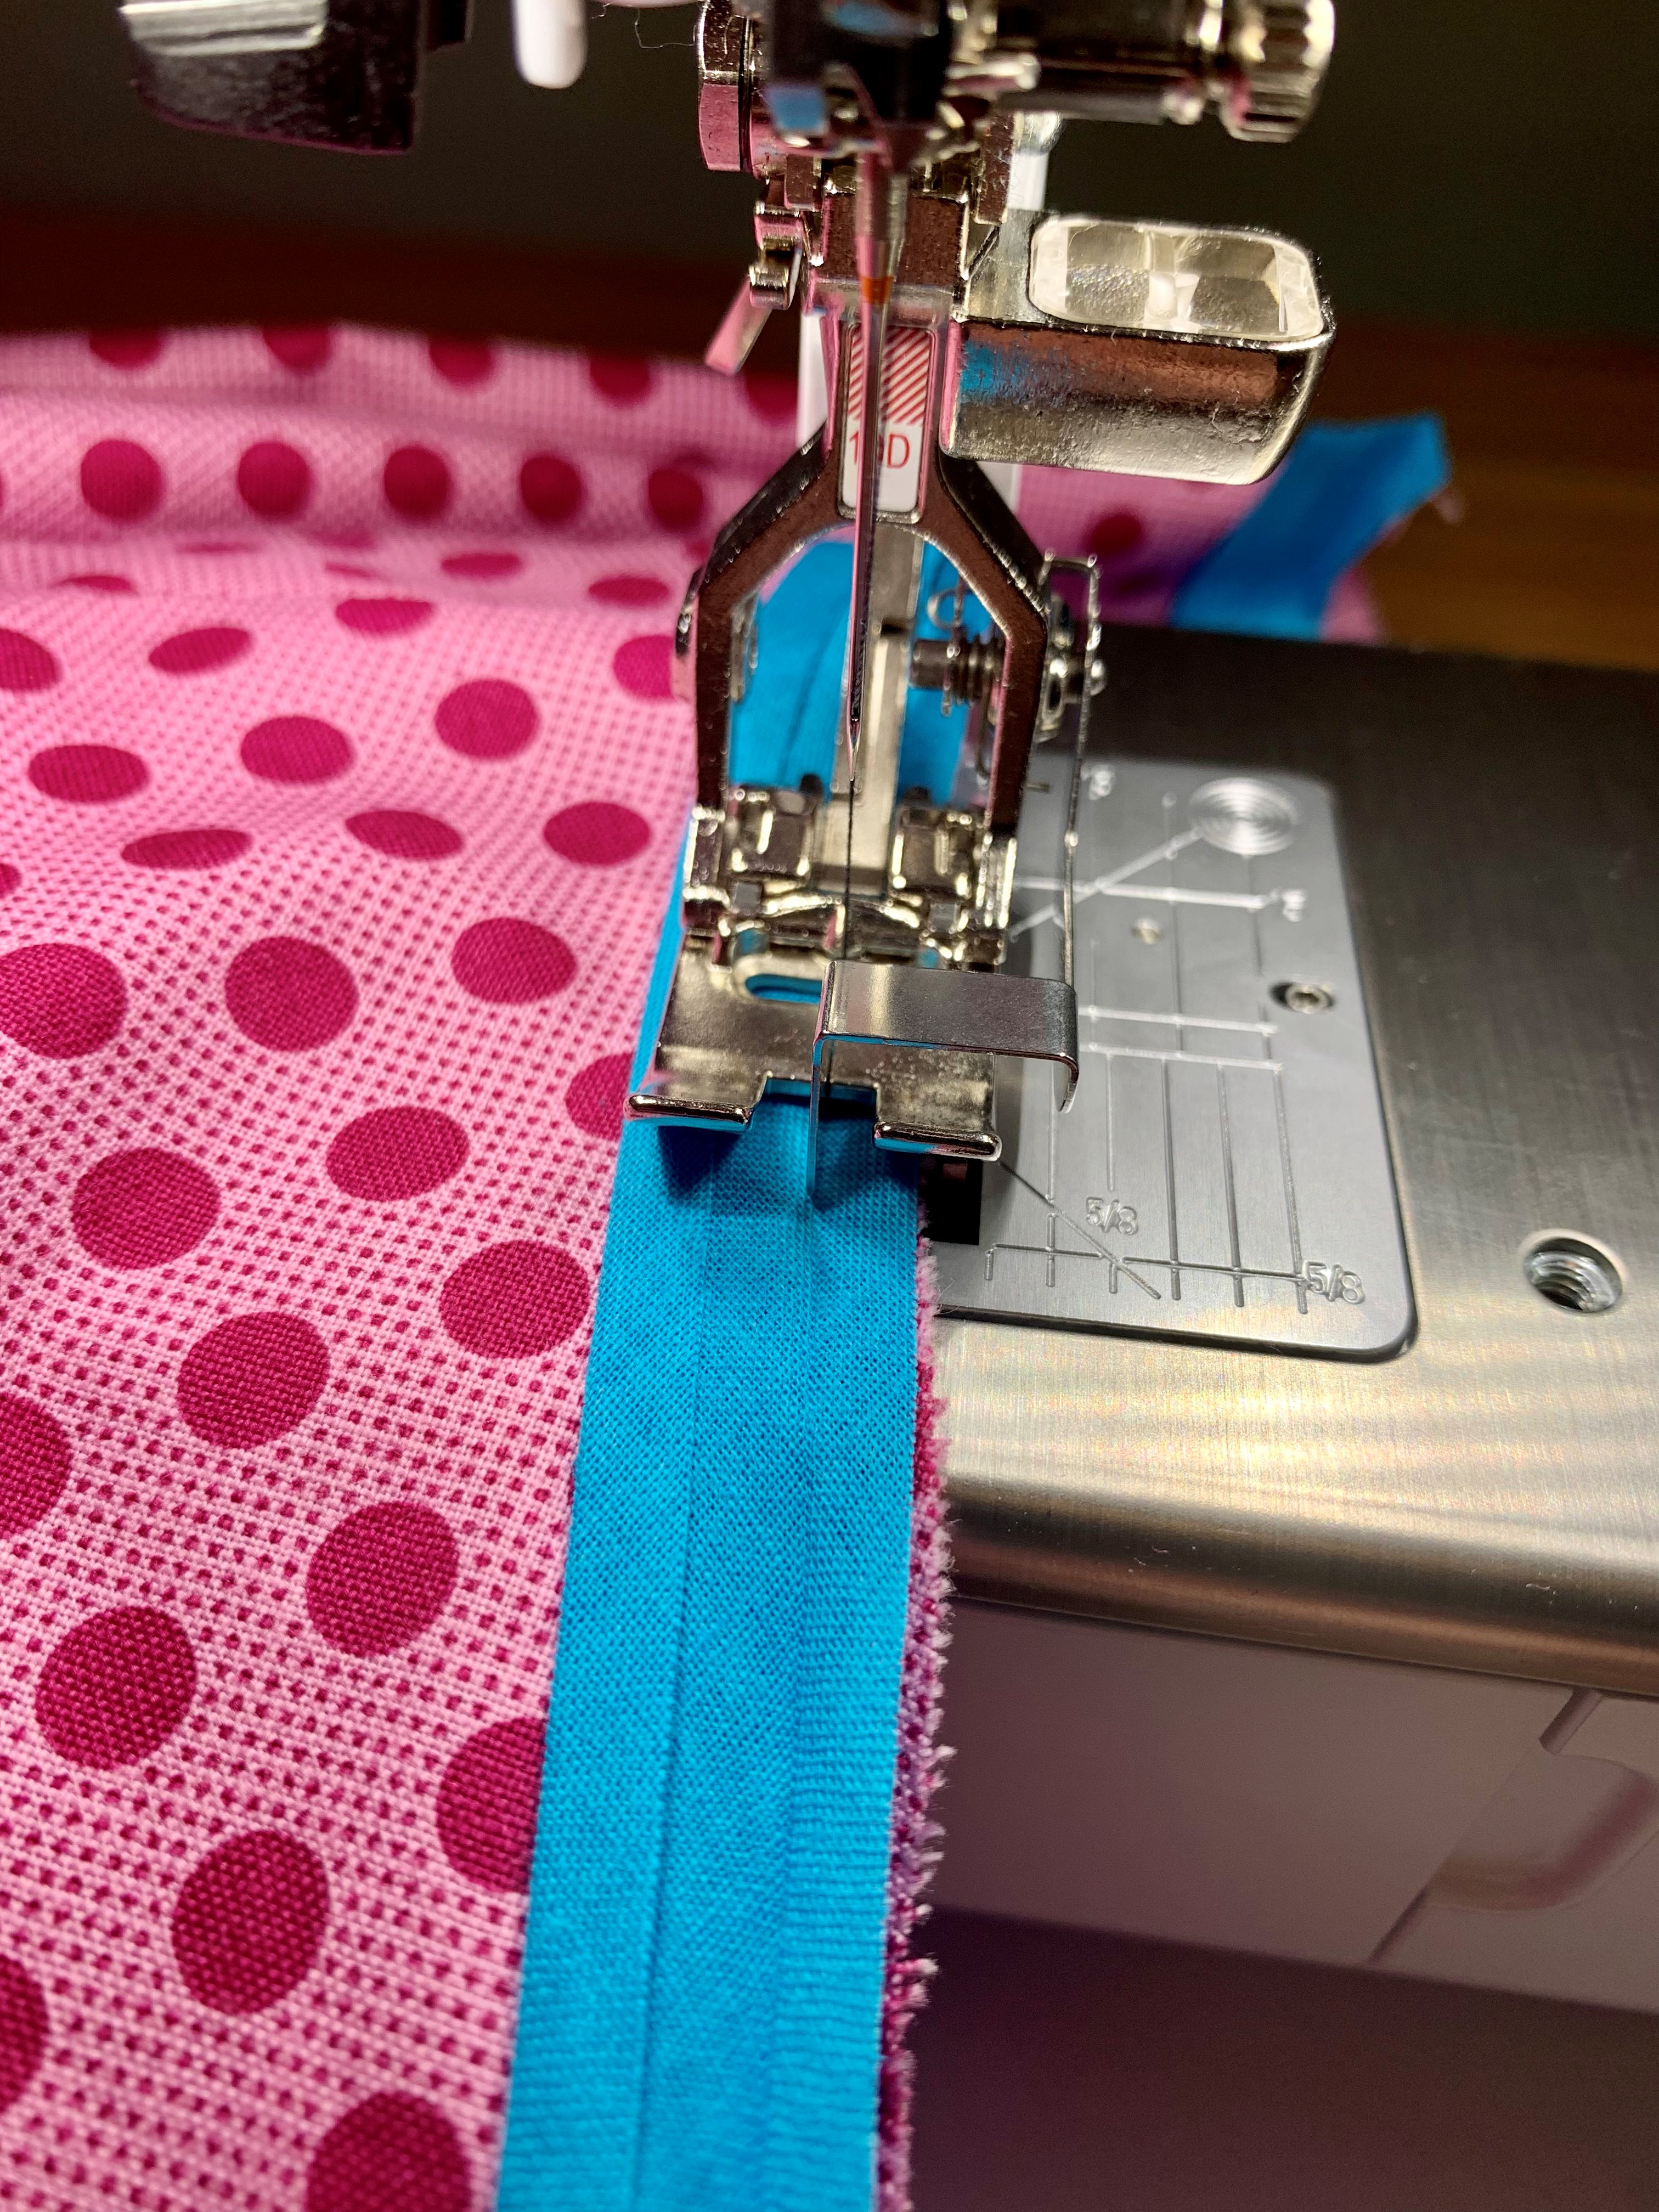
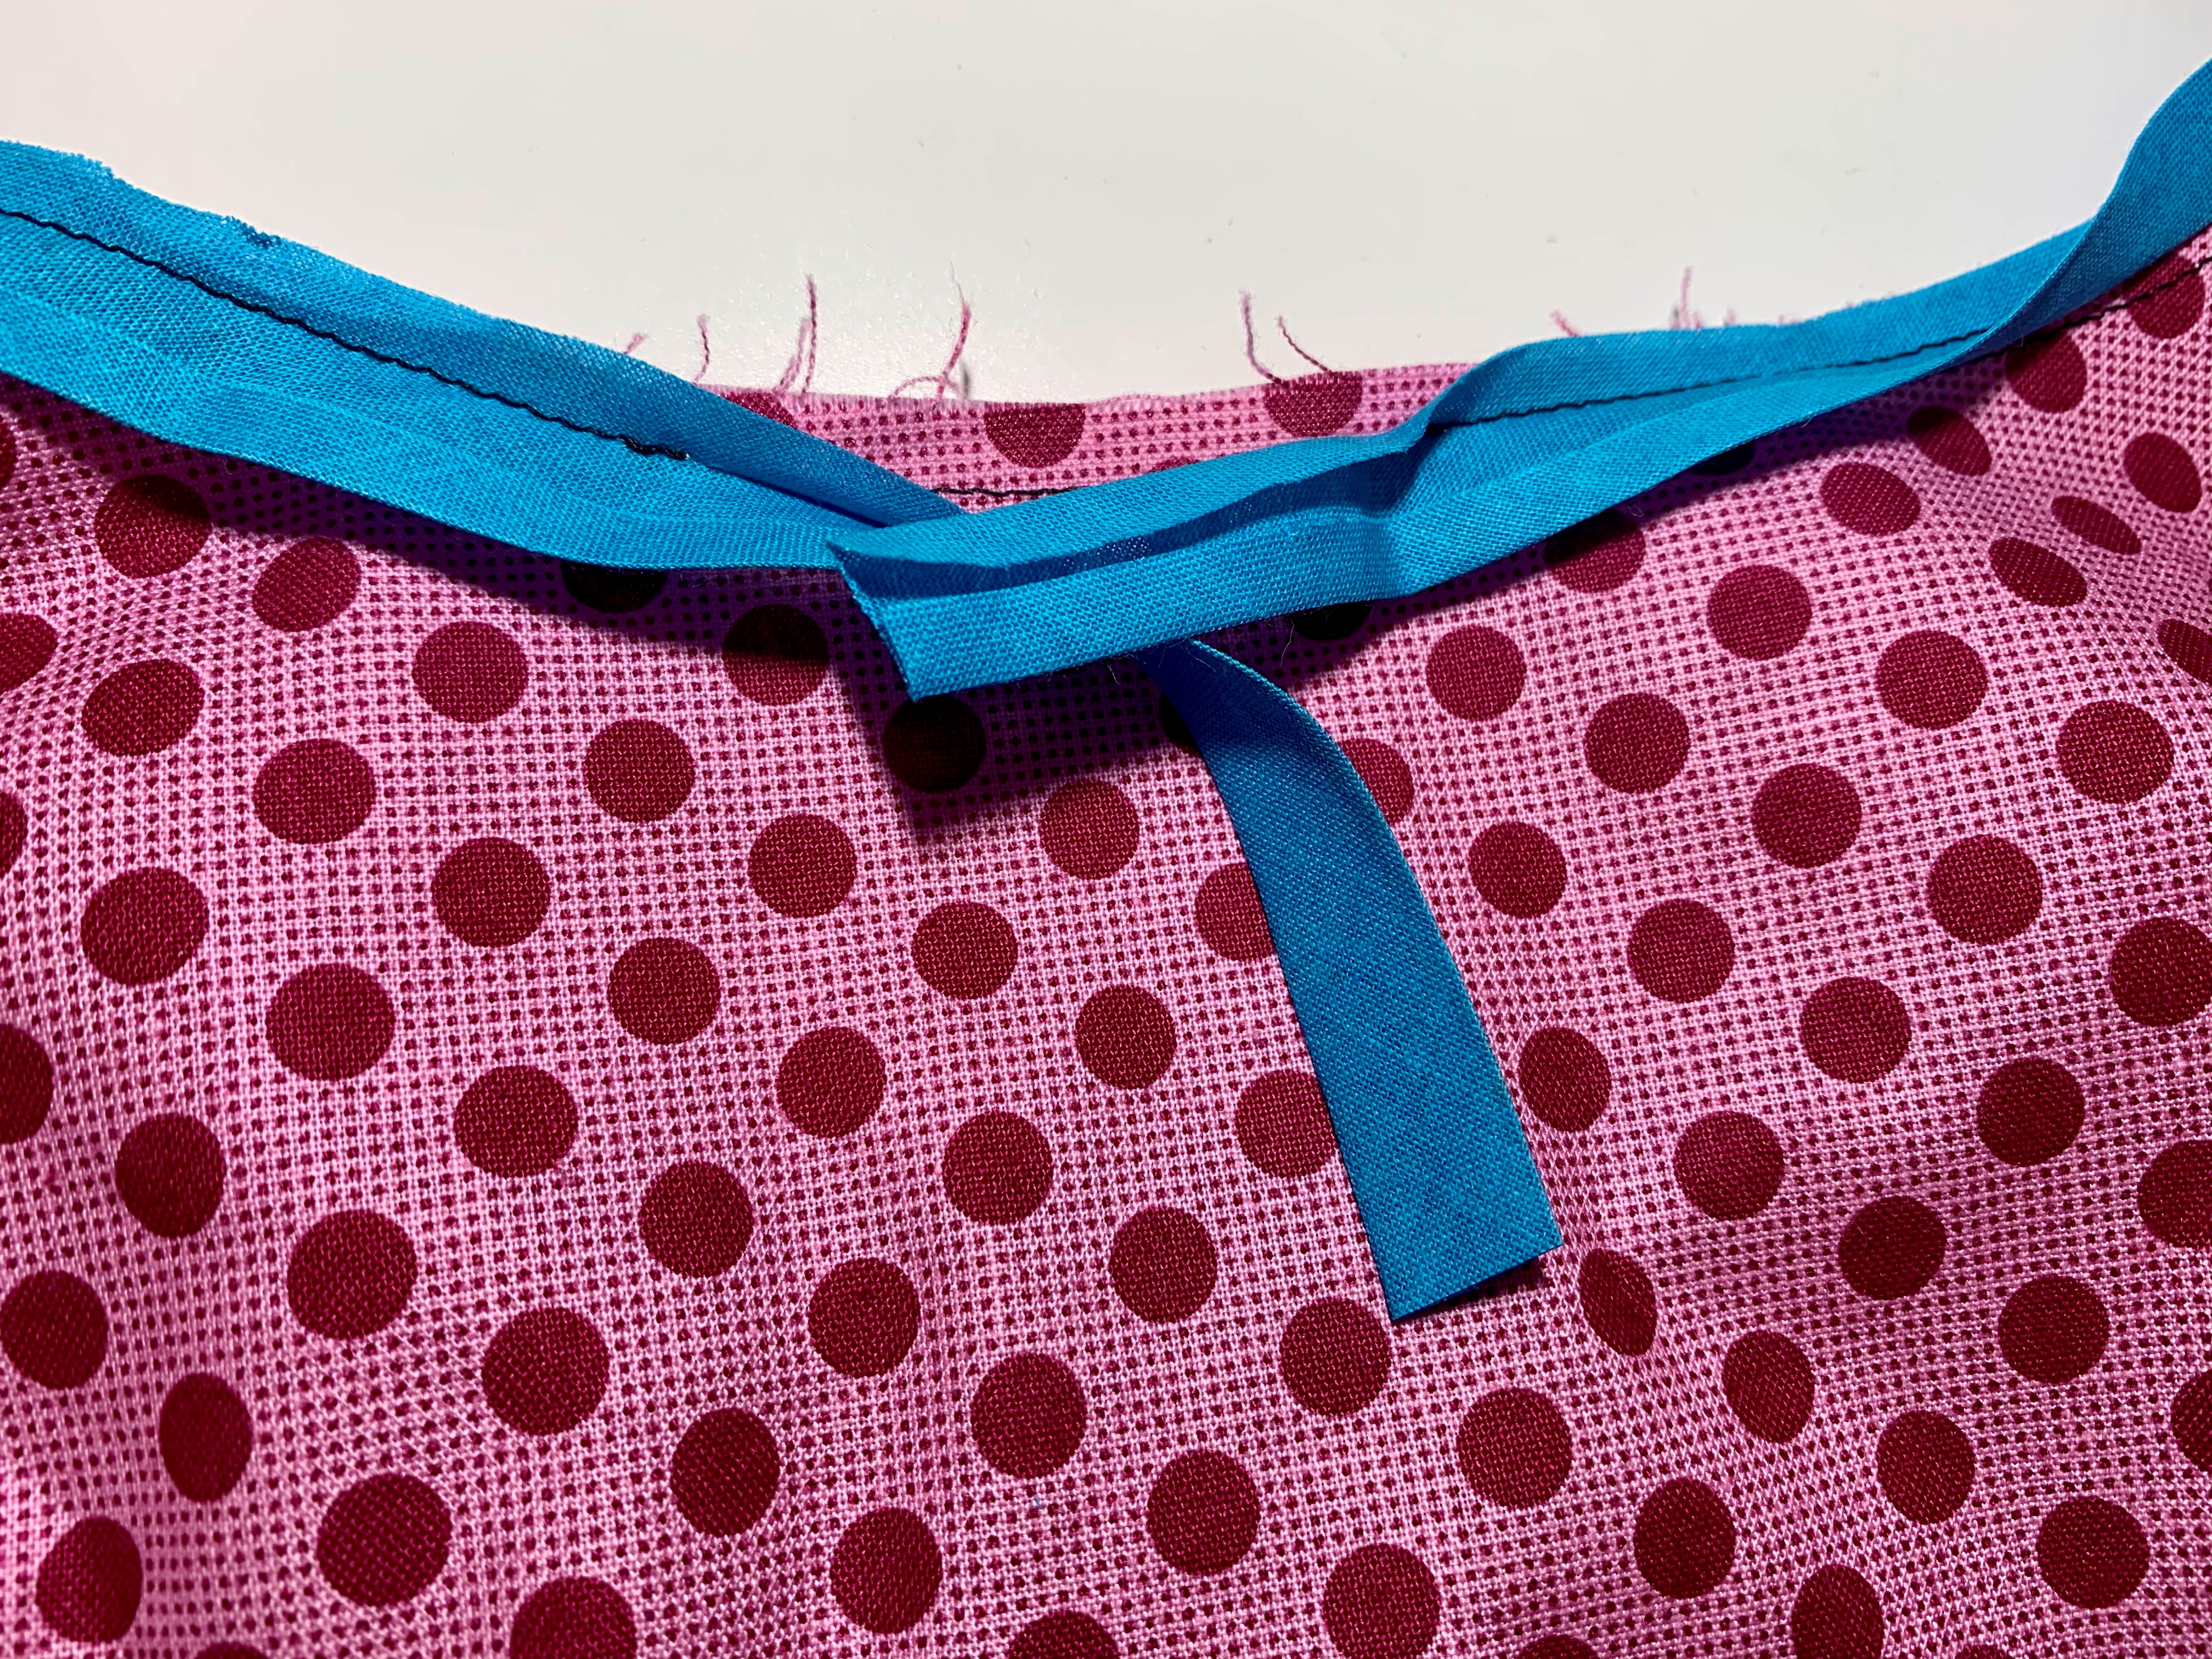
2. Joining the Bias Tape Edges
Unfold both of your bias tape tails and line up the bias tape right sides together so that the circumference of the bias tape is the same as the circumference of your neckline. Stitch the bias tape together and trim the seam allowance of the bias tape you just joined.
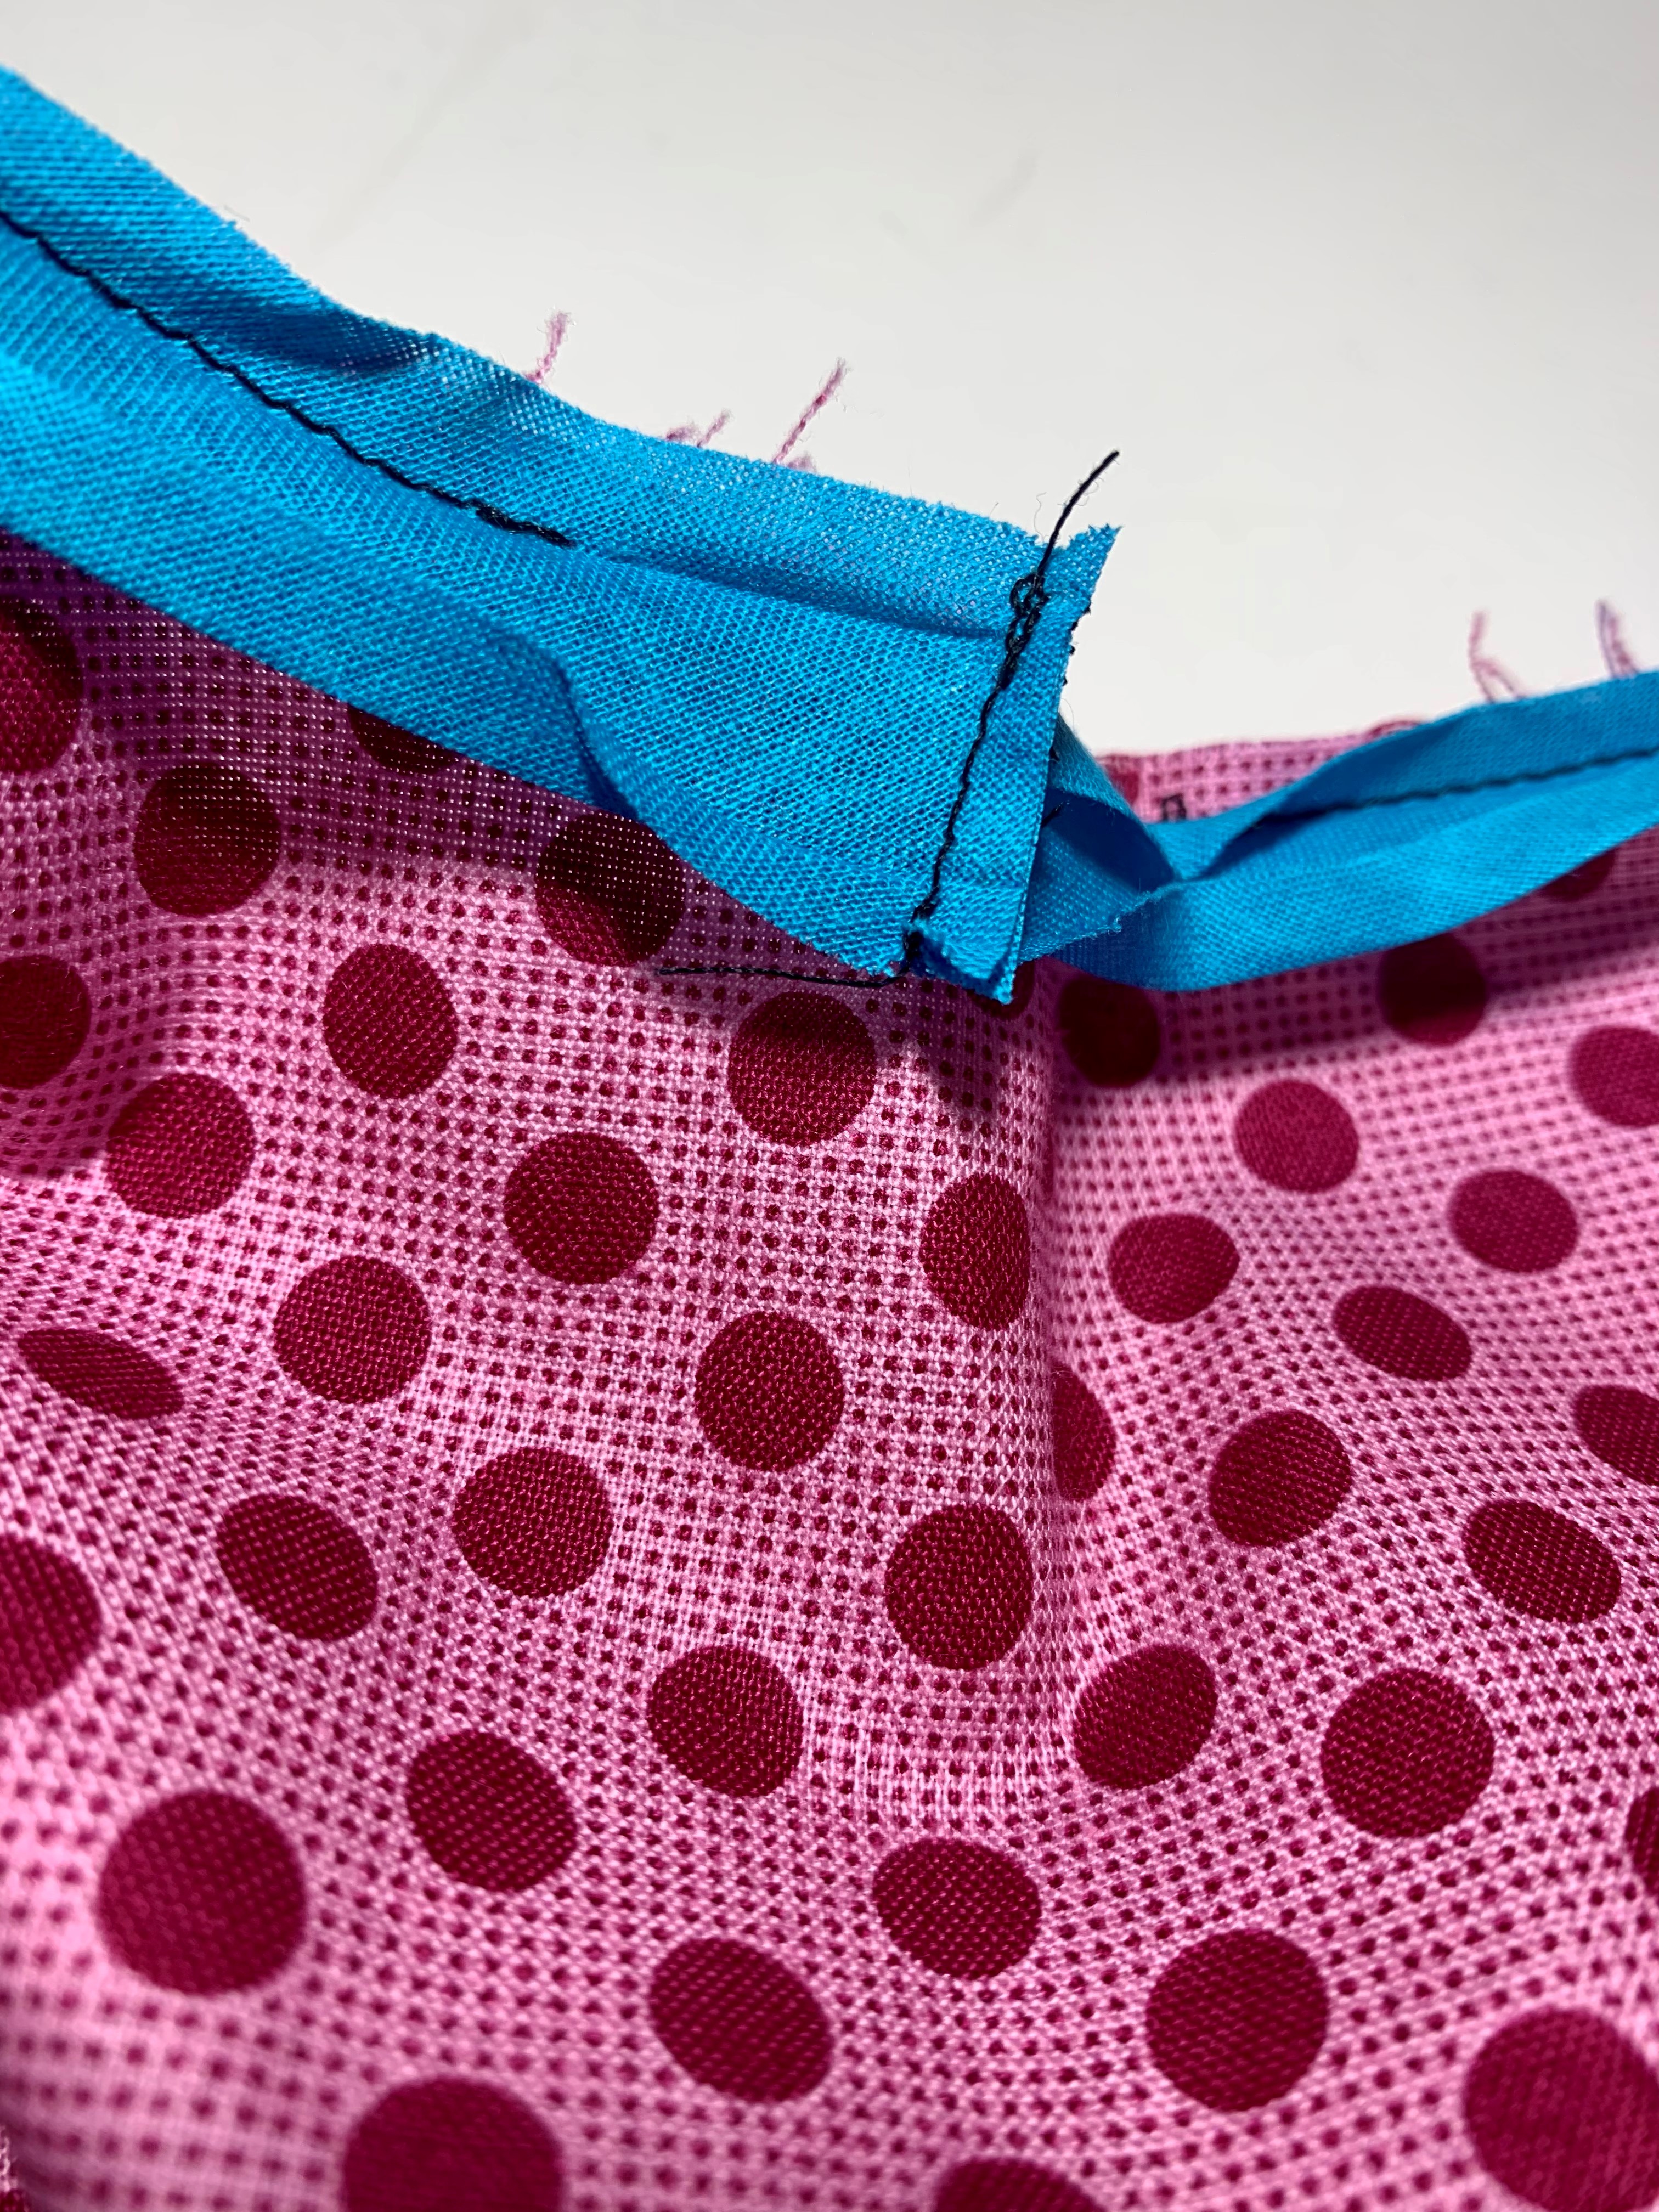
Finish stitching the bias tape to the neckline, closing the gap you left in step 1.
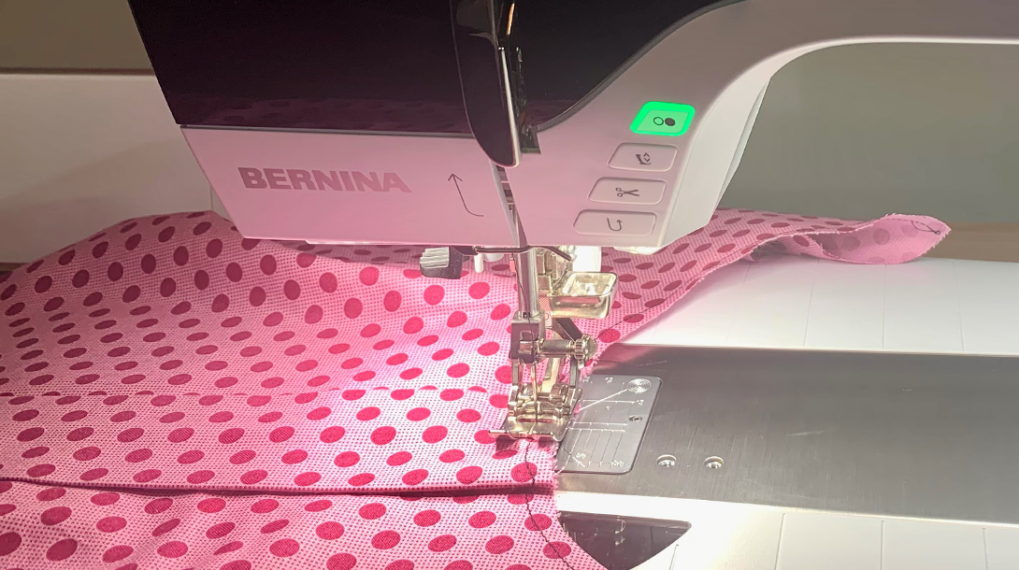
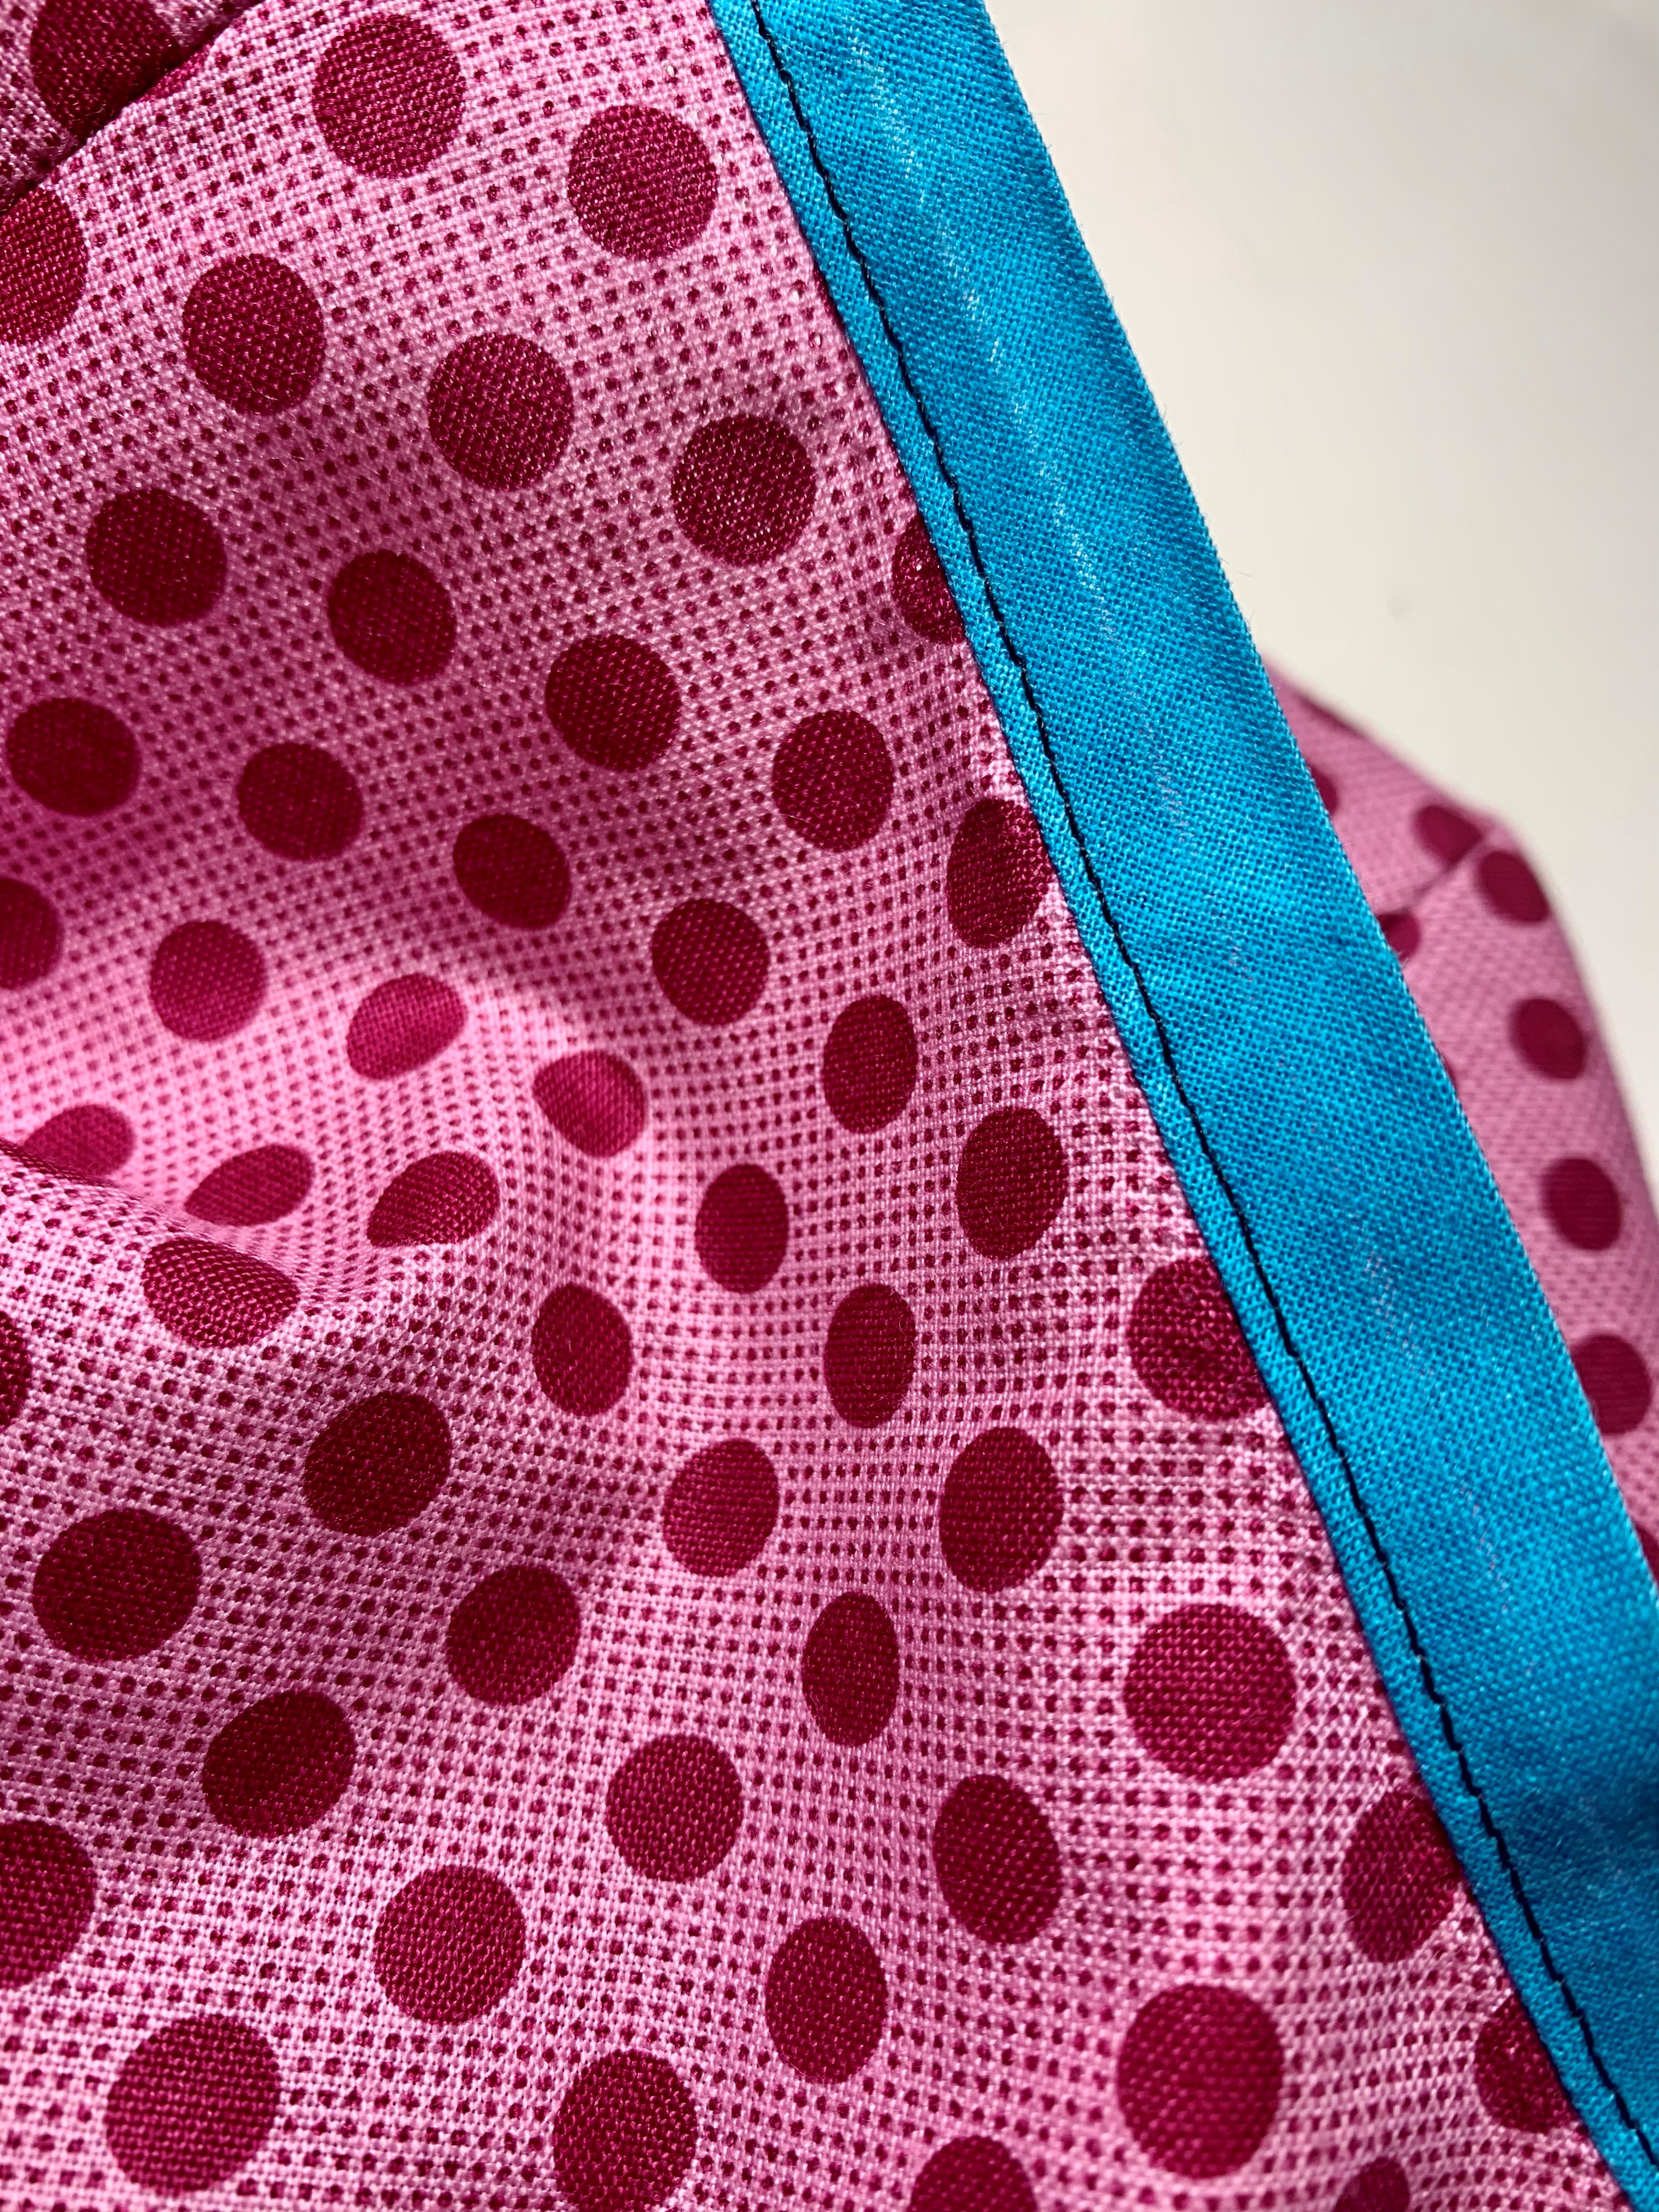
3. Understitch the Neckline
Understitching is my favorite sewing step and I think you’ll see why! Press the bias tape and the seam allowance around the neckline up, away from the bodice. Stitch along the bias tape, close to the seam between the bias tape and the shirt, catching the seam allowances underneath.
4. Press the Bias Tape
After you’ve understitched, press the bias tape to the inside of the shirt so that the wrong side of the bias tape is facing the wrong side of the shirt. That understitching should make this easy!
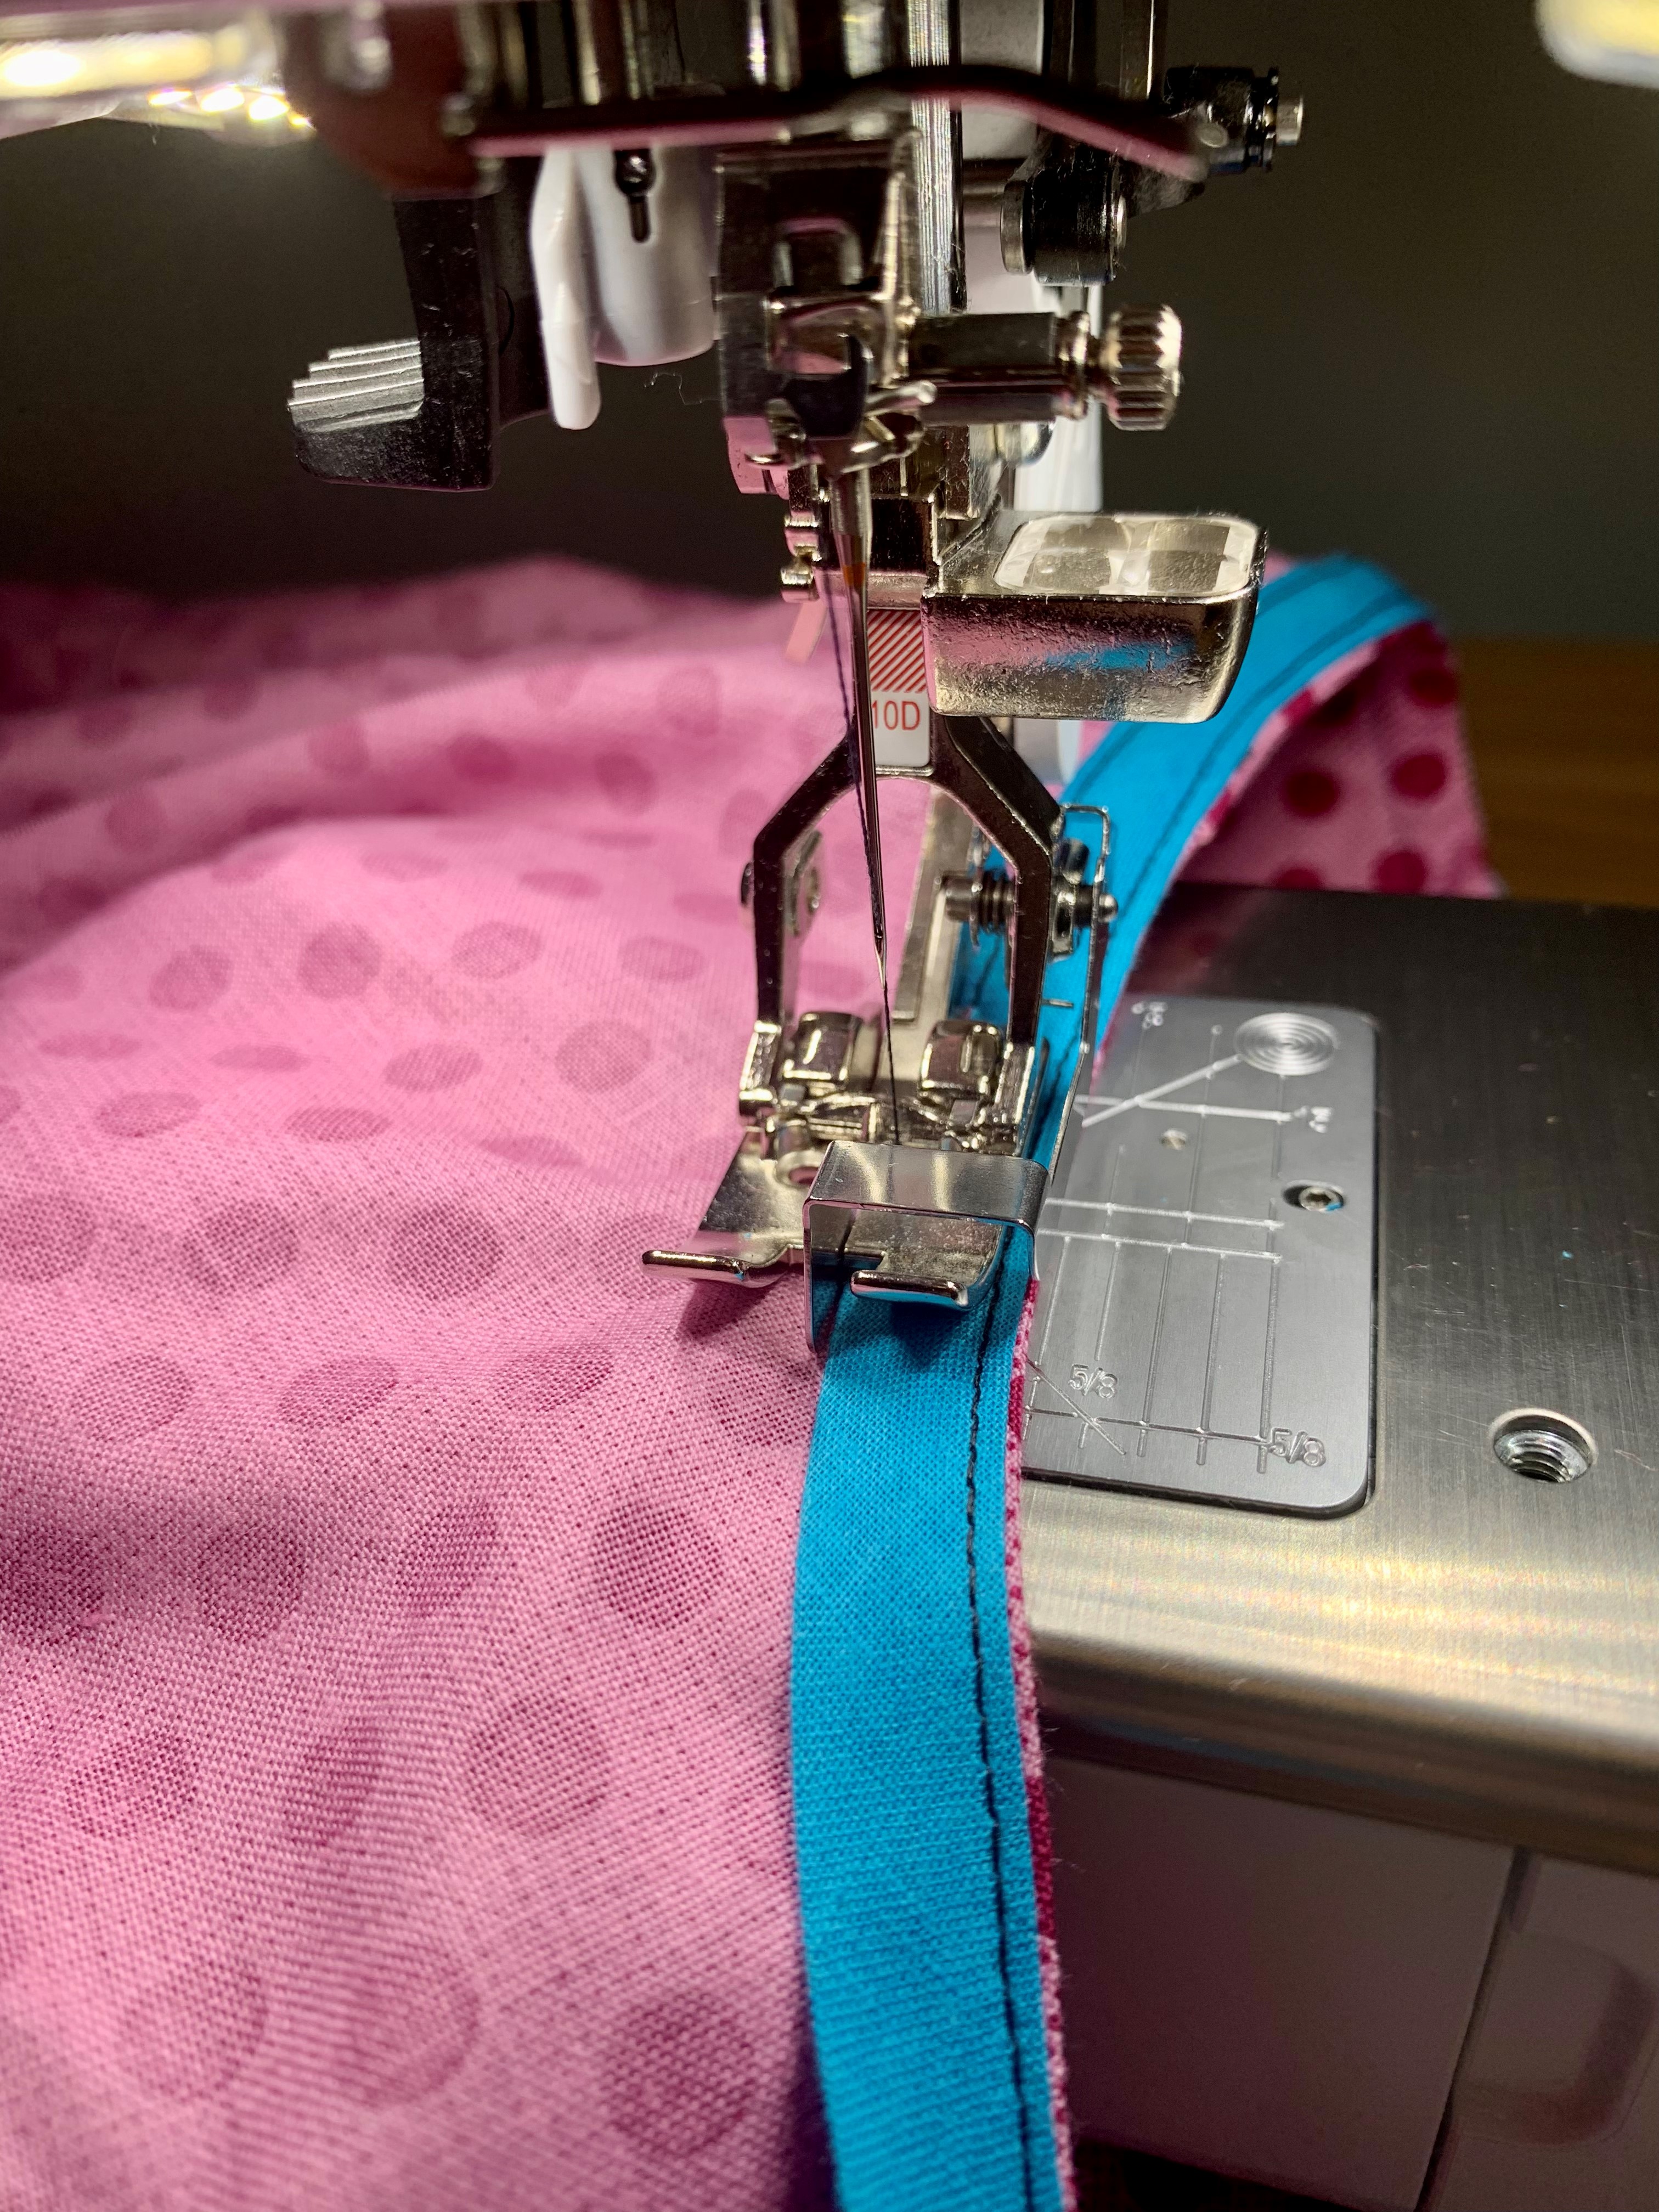
5. Sew the Bias Tape to the Shirt
Finish off this neckline edge by sewing the loose edge of the bias tape down, close to the edge. I like to use the #10D Edgestitch Foot for this too. I just move my needle over toward the bias tape and keep the bar of the foot at the edge.
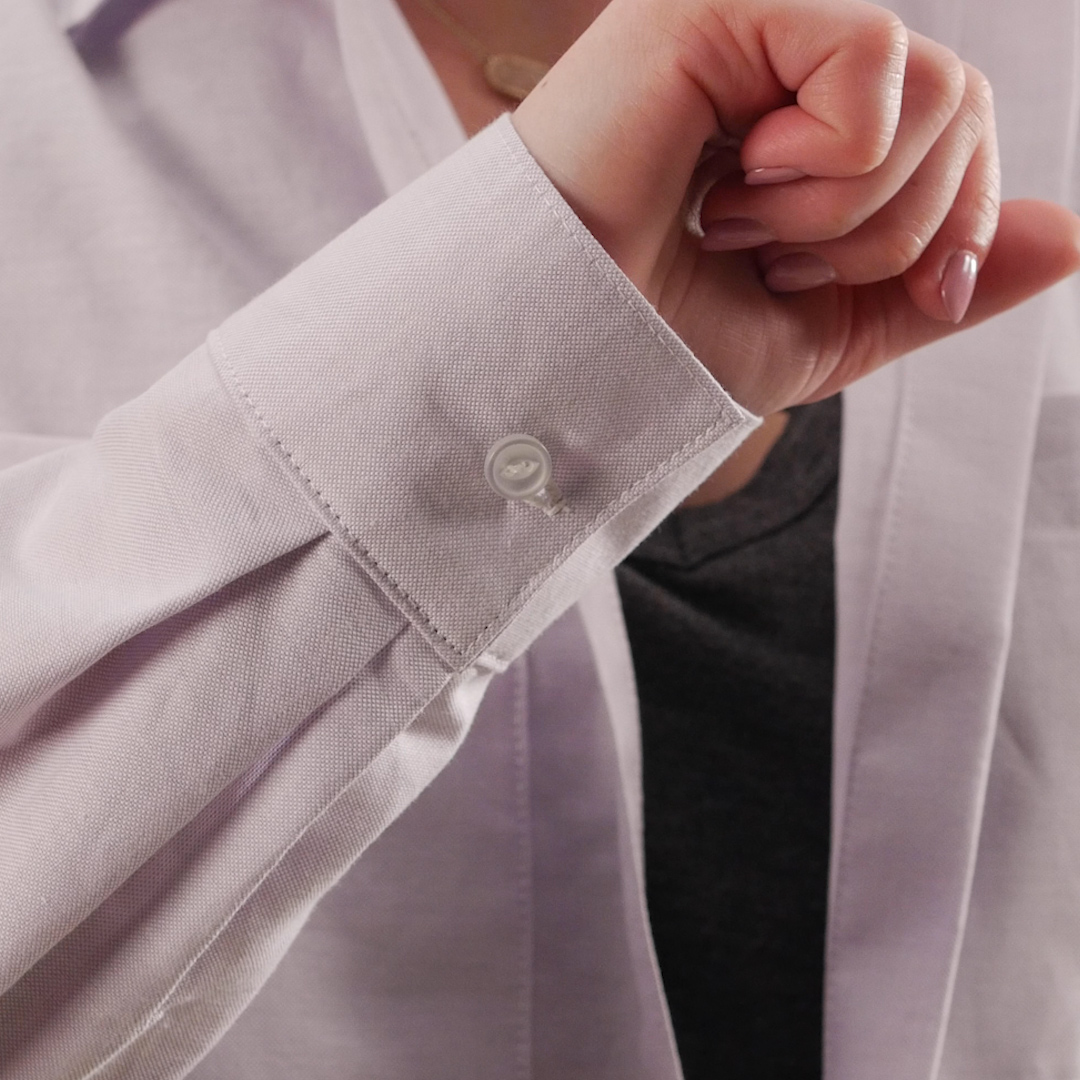
Hem The Shirt and Sleeves
1. Press the Hems
We’ll be hemming the bottom of our shirt and the sleeves the same way. Start by folding the raw edge to the wrong side by 1/2″ and press. (This amount can easily be changed to whatever length you prefer!)

Fold up edge by 1/2″ again and press, enclosing the raw edge between the fabric.
2. Sew the Hem
Sew this hem, close to the folded edge. Repeat for the bottom of the shirt and both sleeves.

And you’re finished! You sewed a top and should be so proud!
I hope that you enjoyed this sew along. Remember to share your finished tops in the We All Sew Community and on Instagram (make sure use the hashtag #weallsewsorbetto and tag me (@thelilacelk) and @BERNINAusa so we can see what you make!)