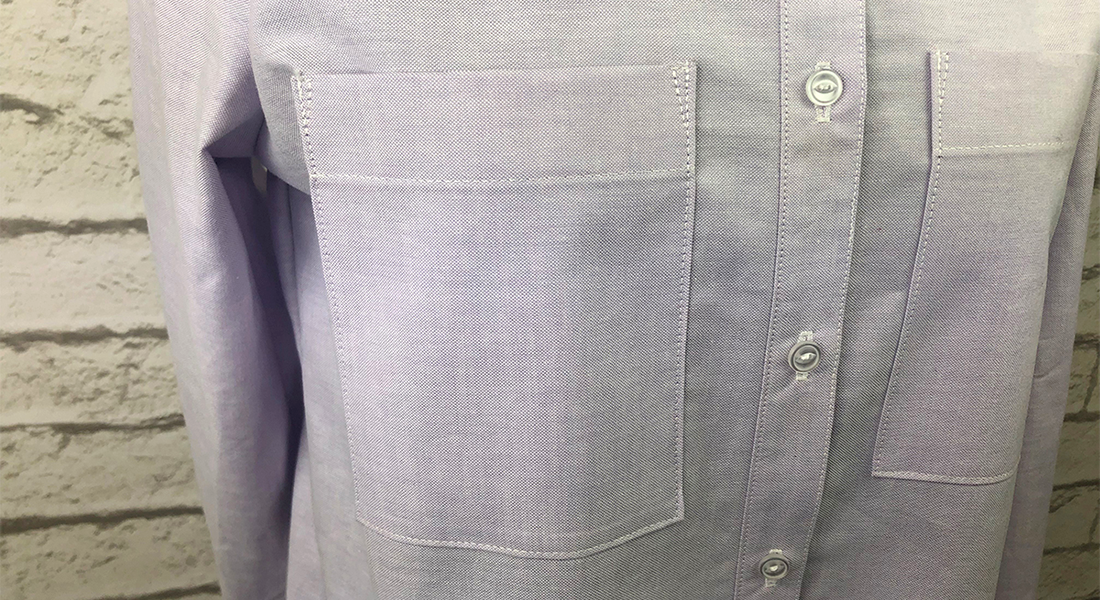
Classic Button Up Shirt Sew-along: Part 3
In the Classic Button Up Shirt Sew-Along Part 1, we’ve completed the shirt front, and in the Classic Button Up Shirt Sew-Along Part 2, we’ve completed the shirt back. Now it’s time to construct and set the sleeves by making the sleeve slit opening, sleeve slit facing, sleeve tucks, sew sleeve to armhole, topstitch, hem bottom edge, sew sleeve and side seams and make the buttonholes.
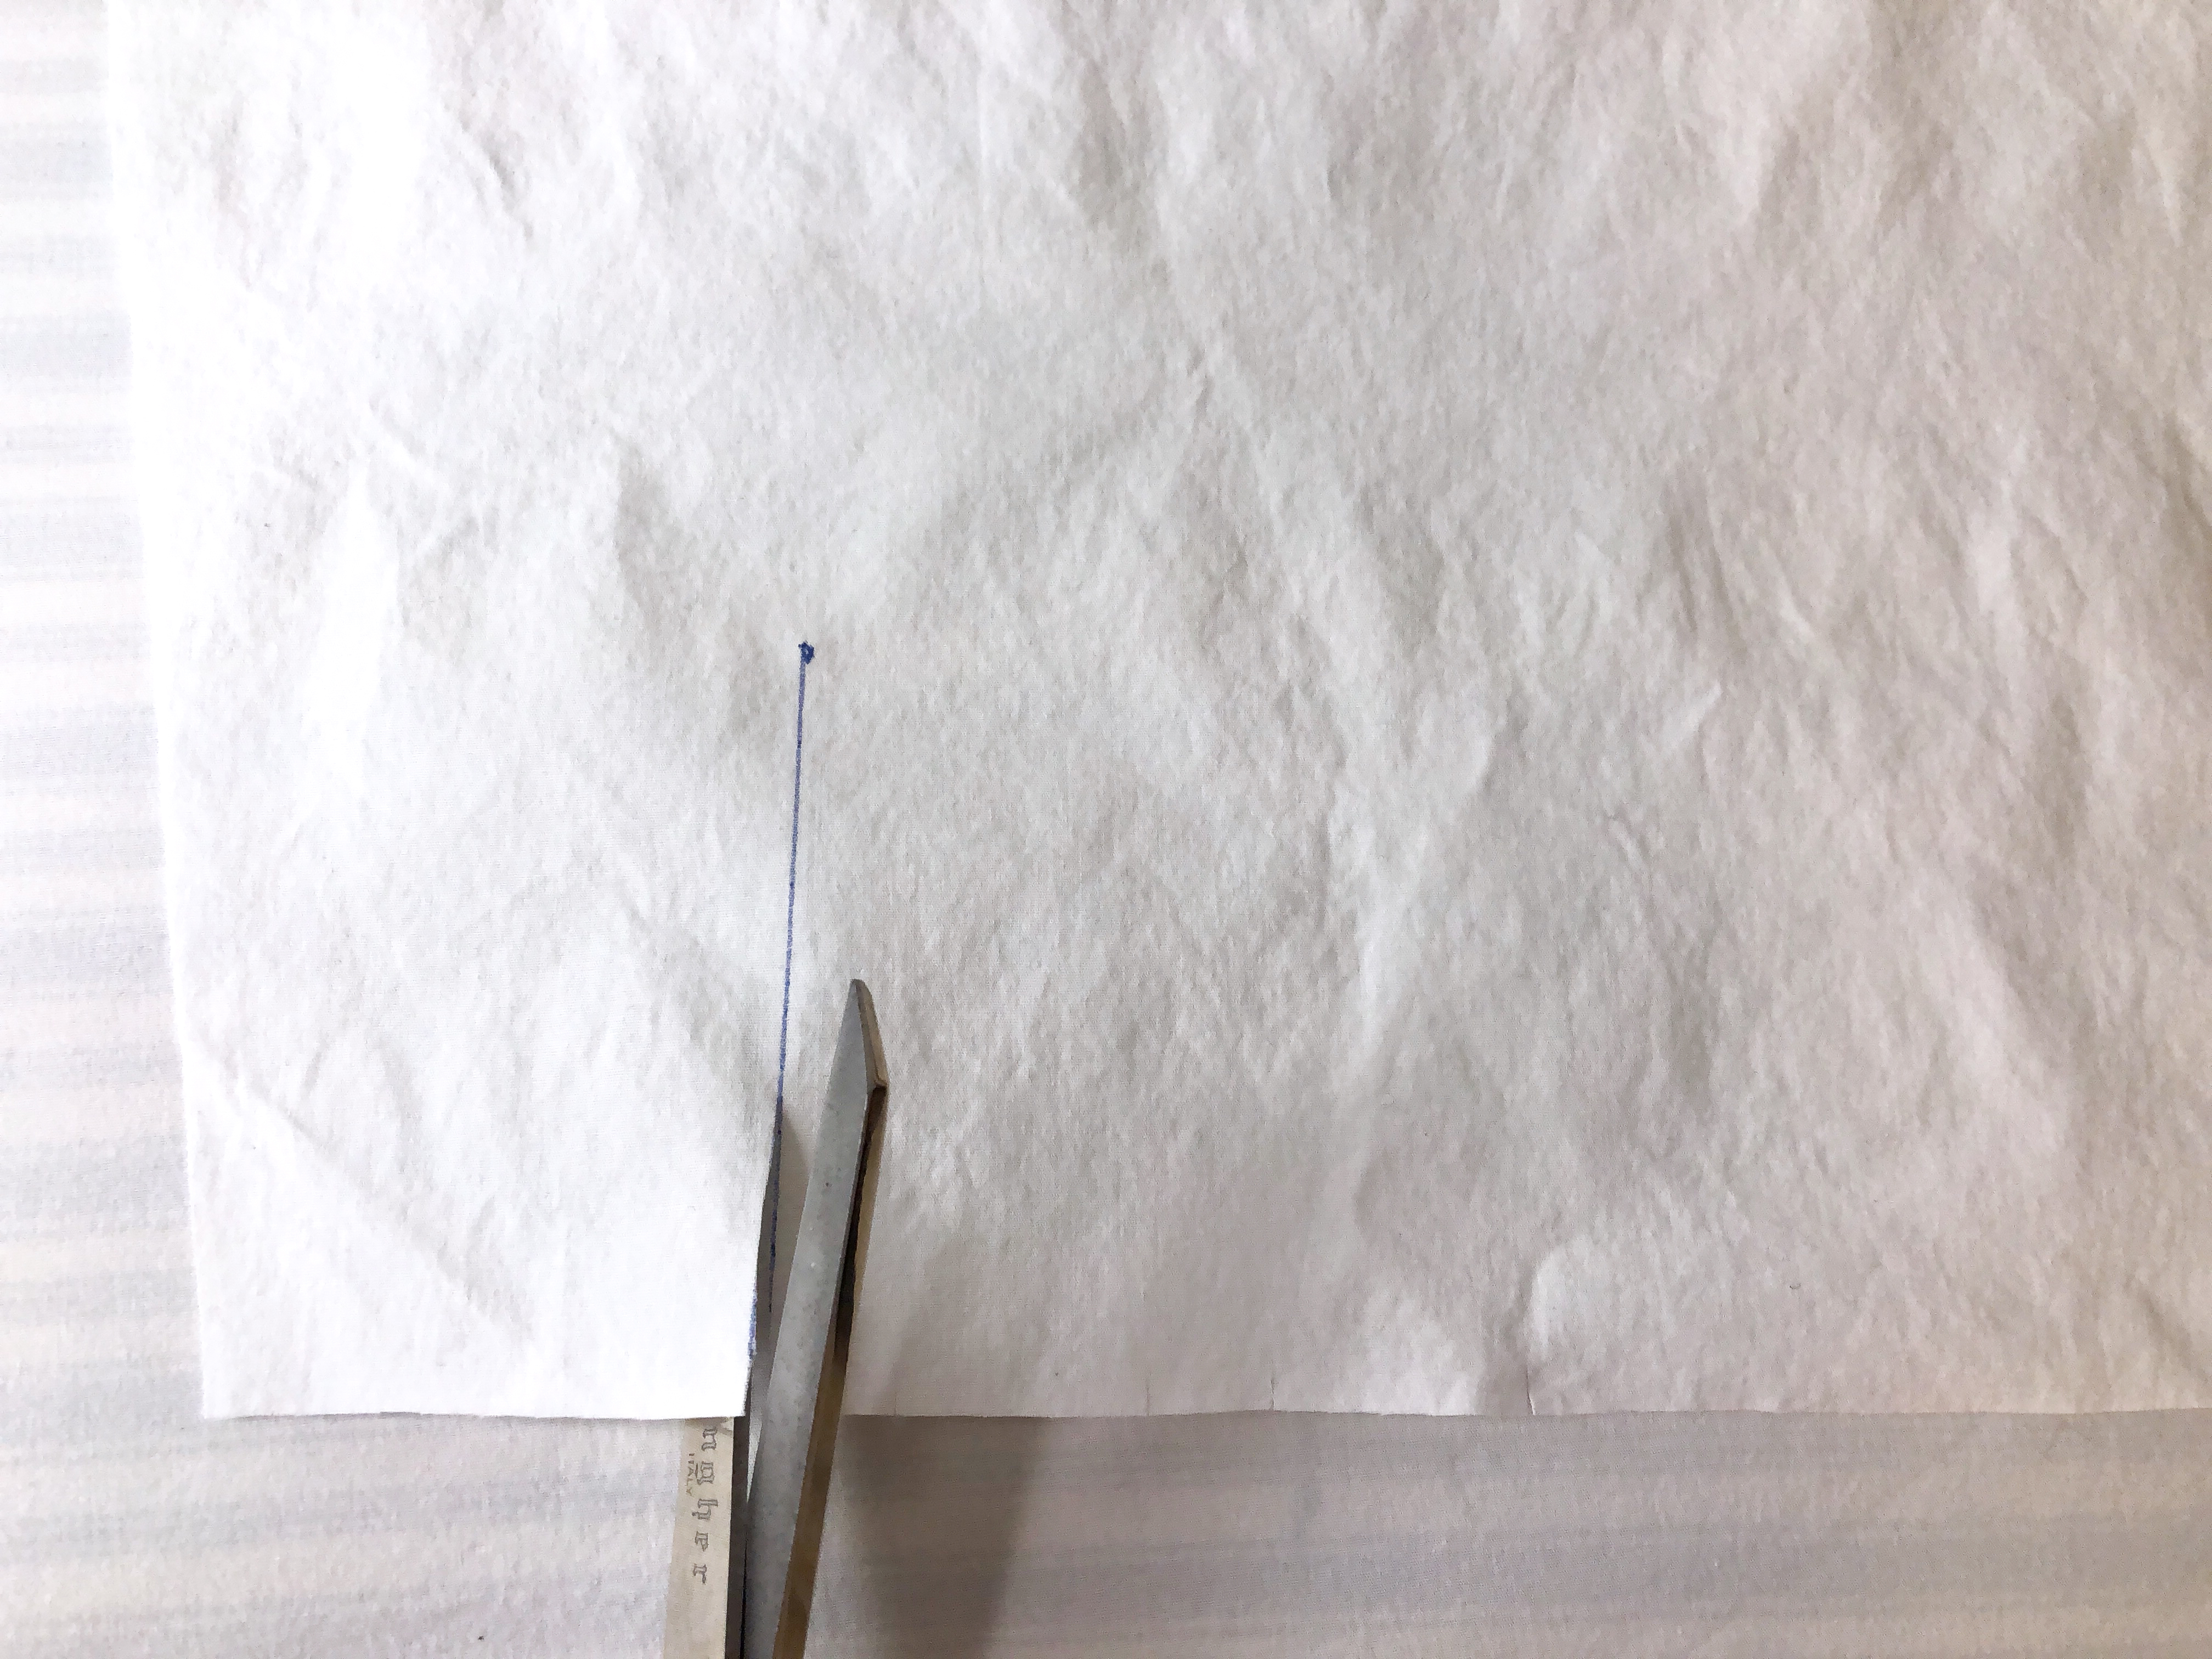
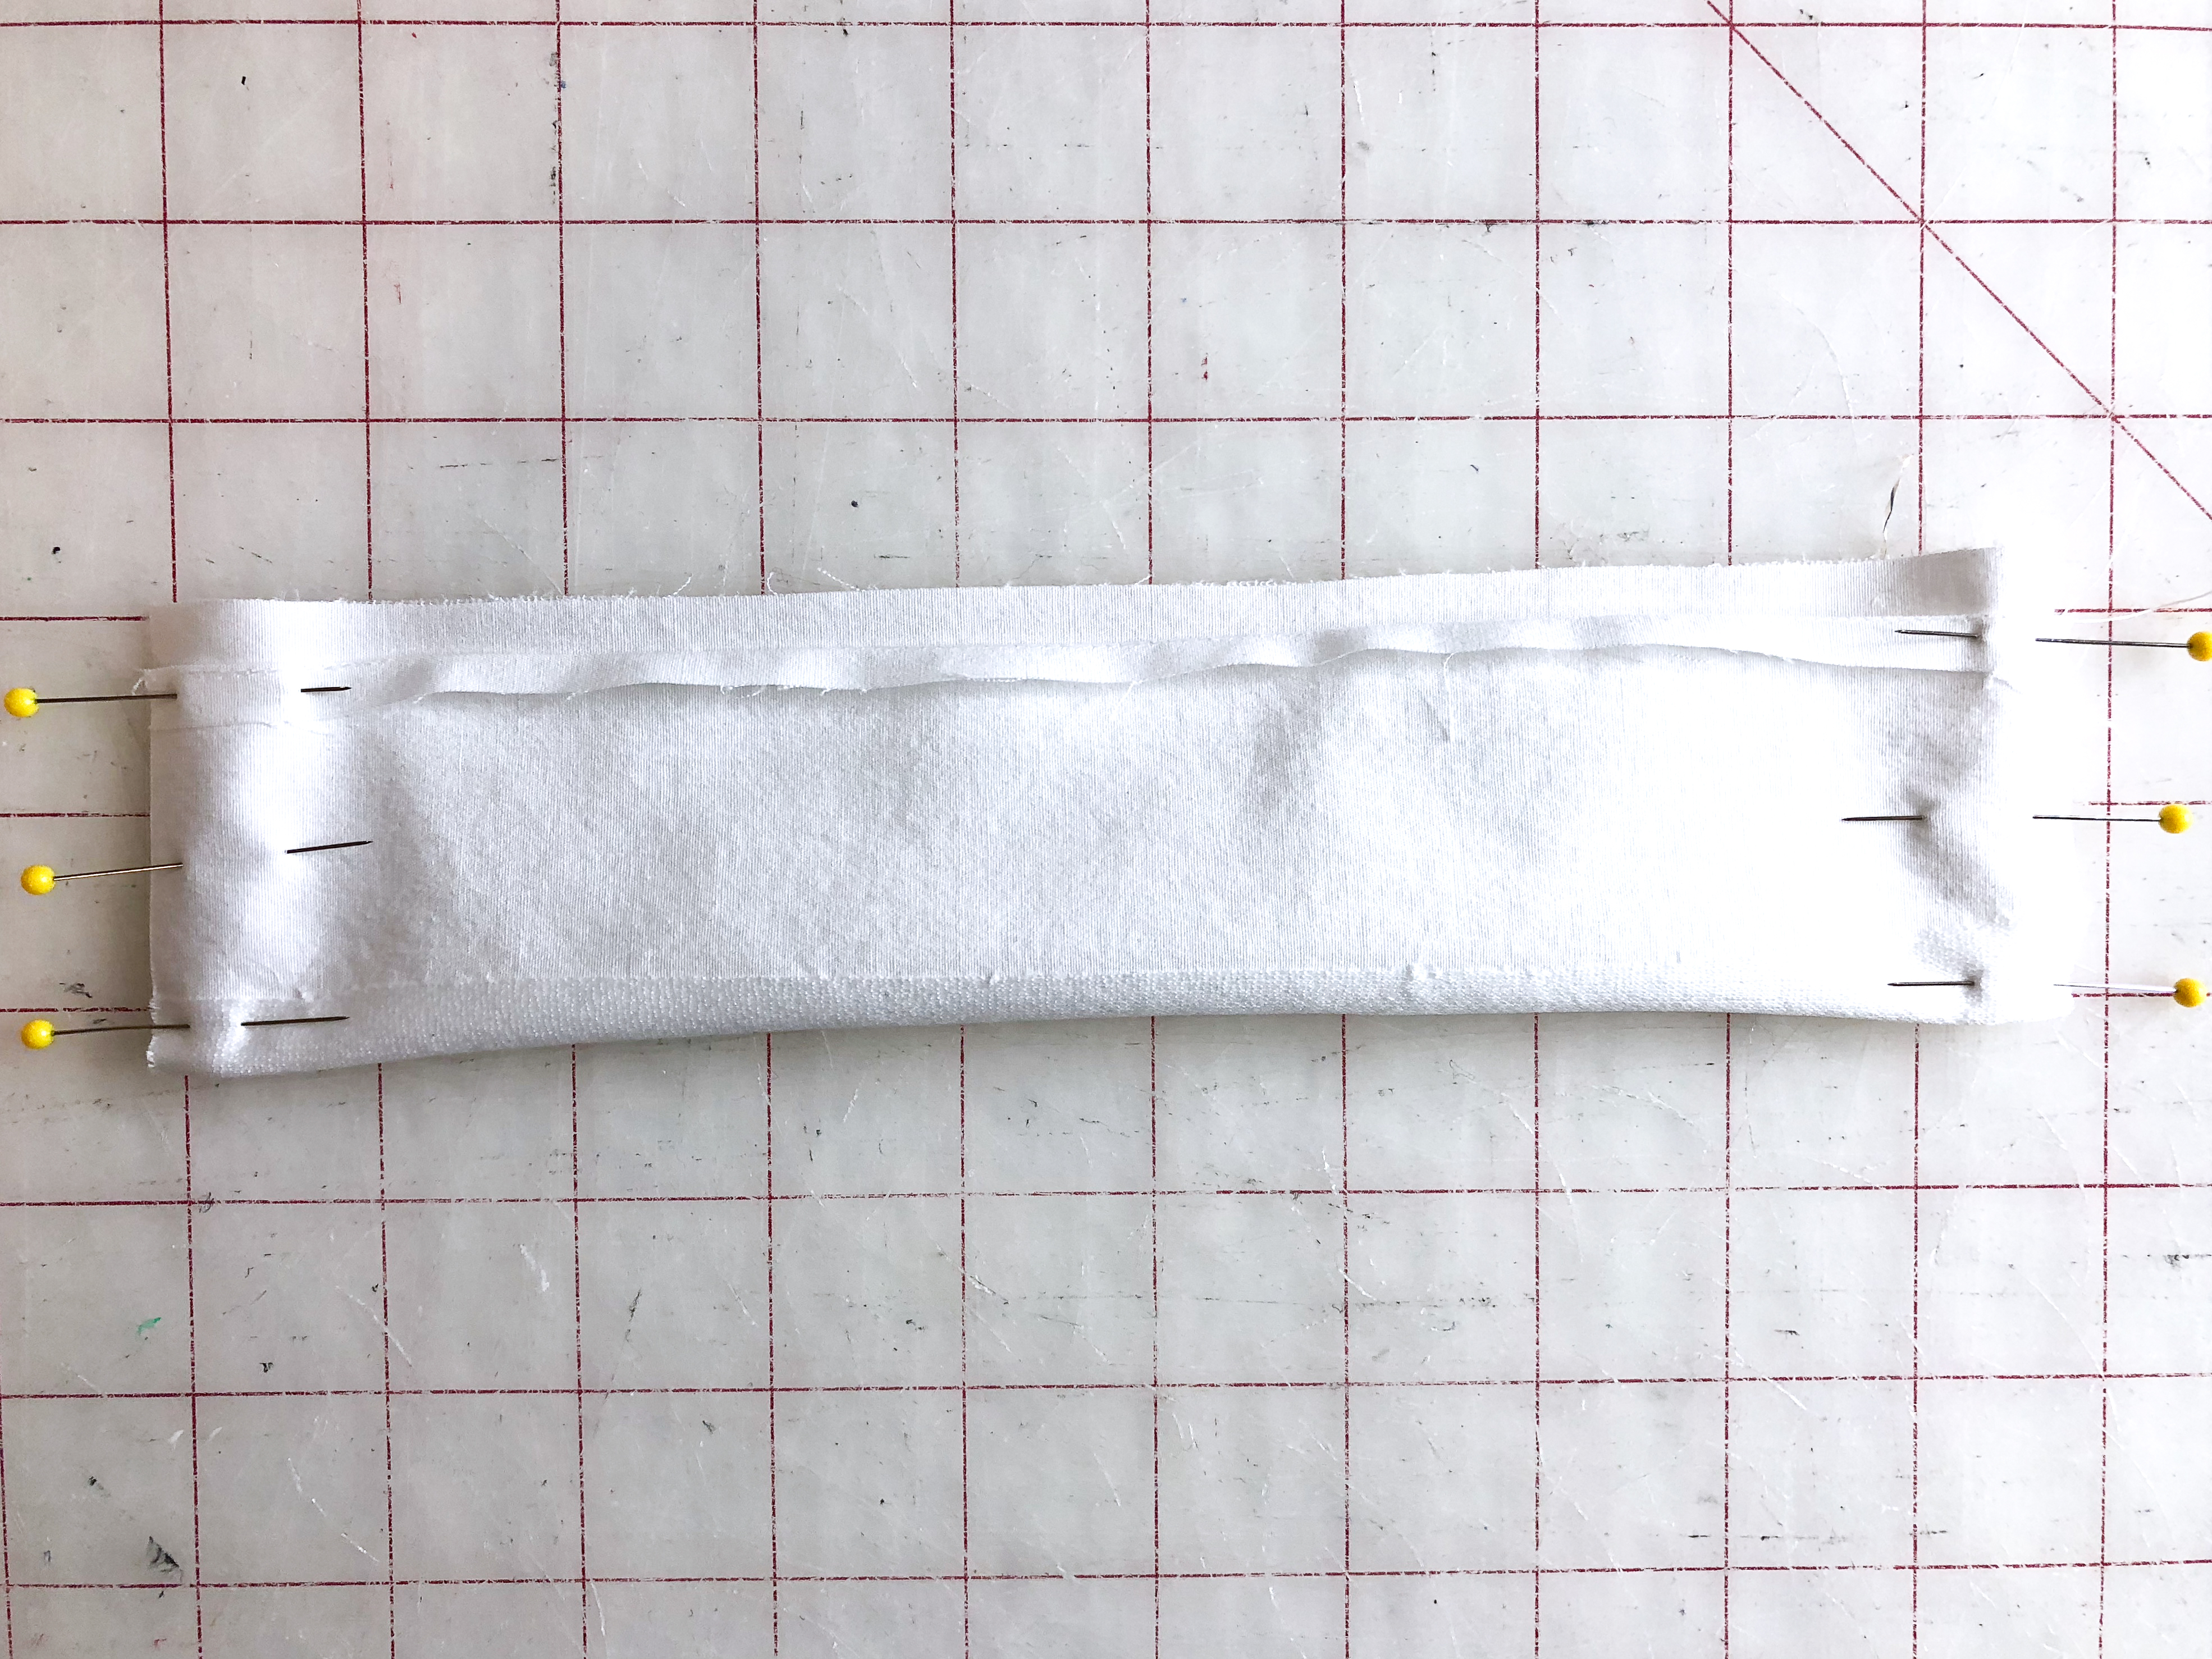
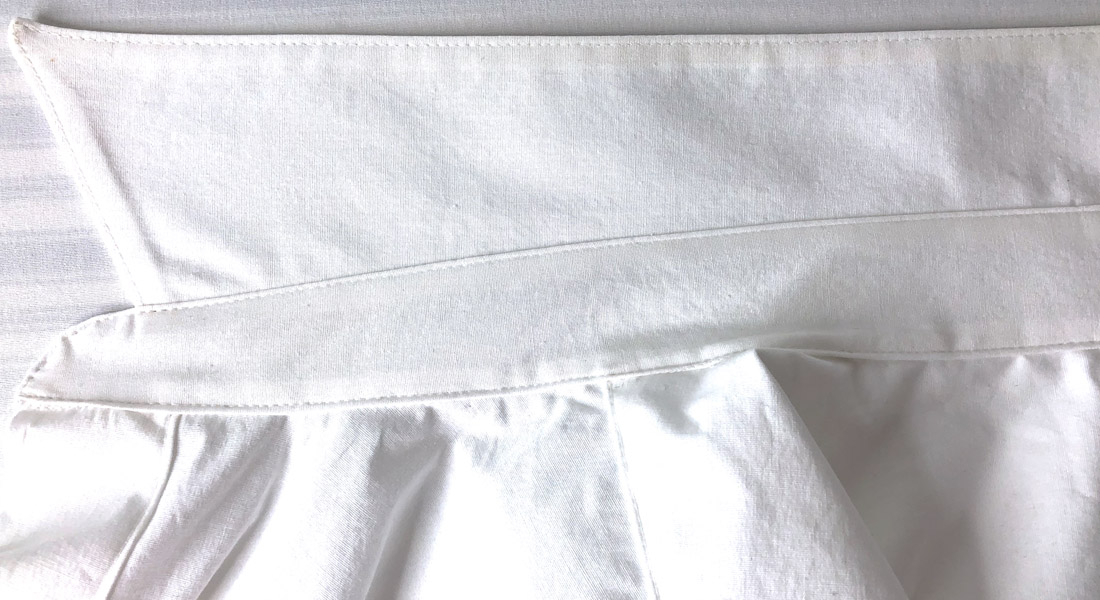
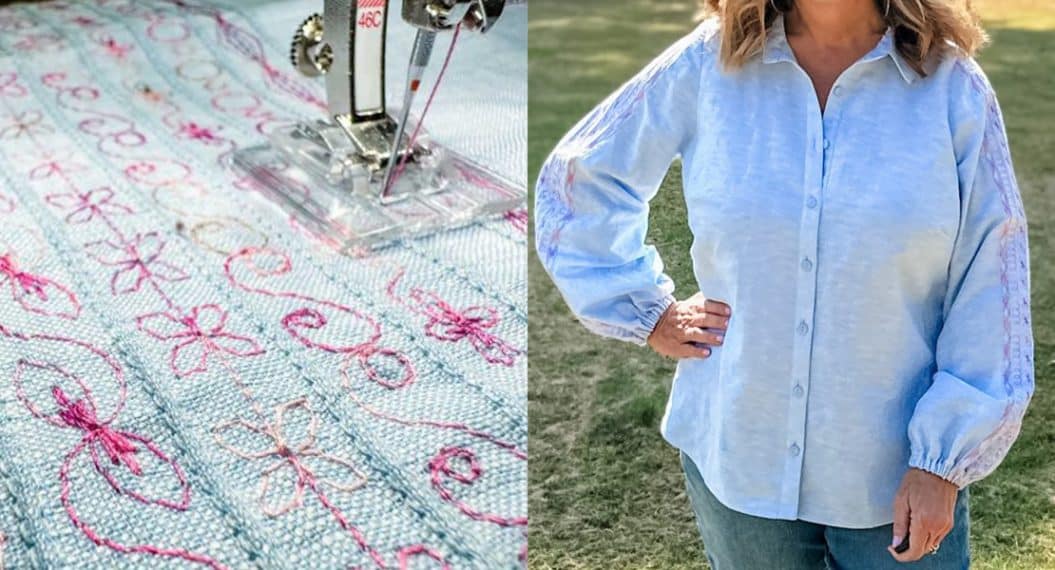
After transferring the marking for the sleeve slit to each sleeve piece, cut open the slit.
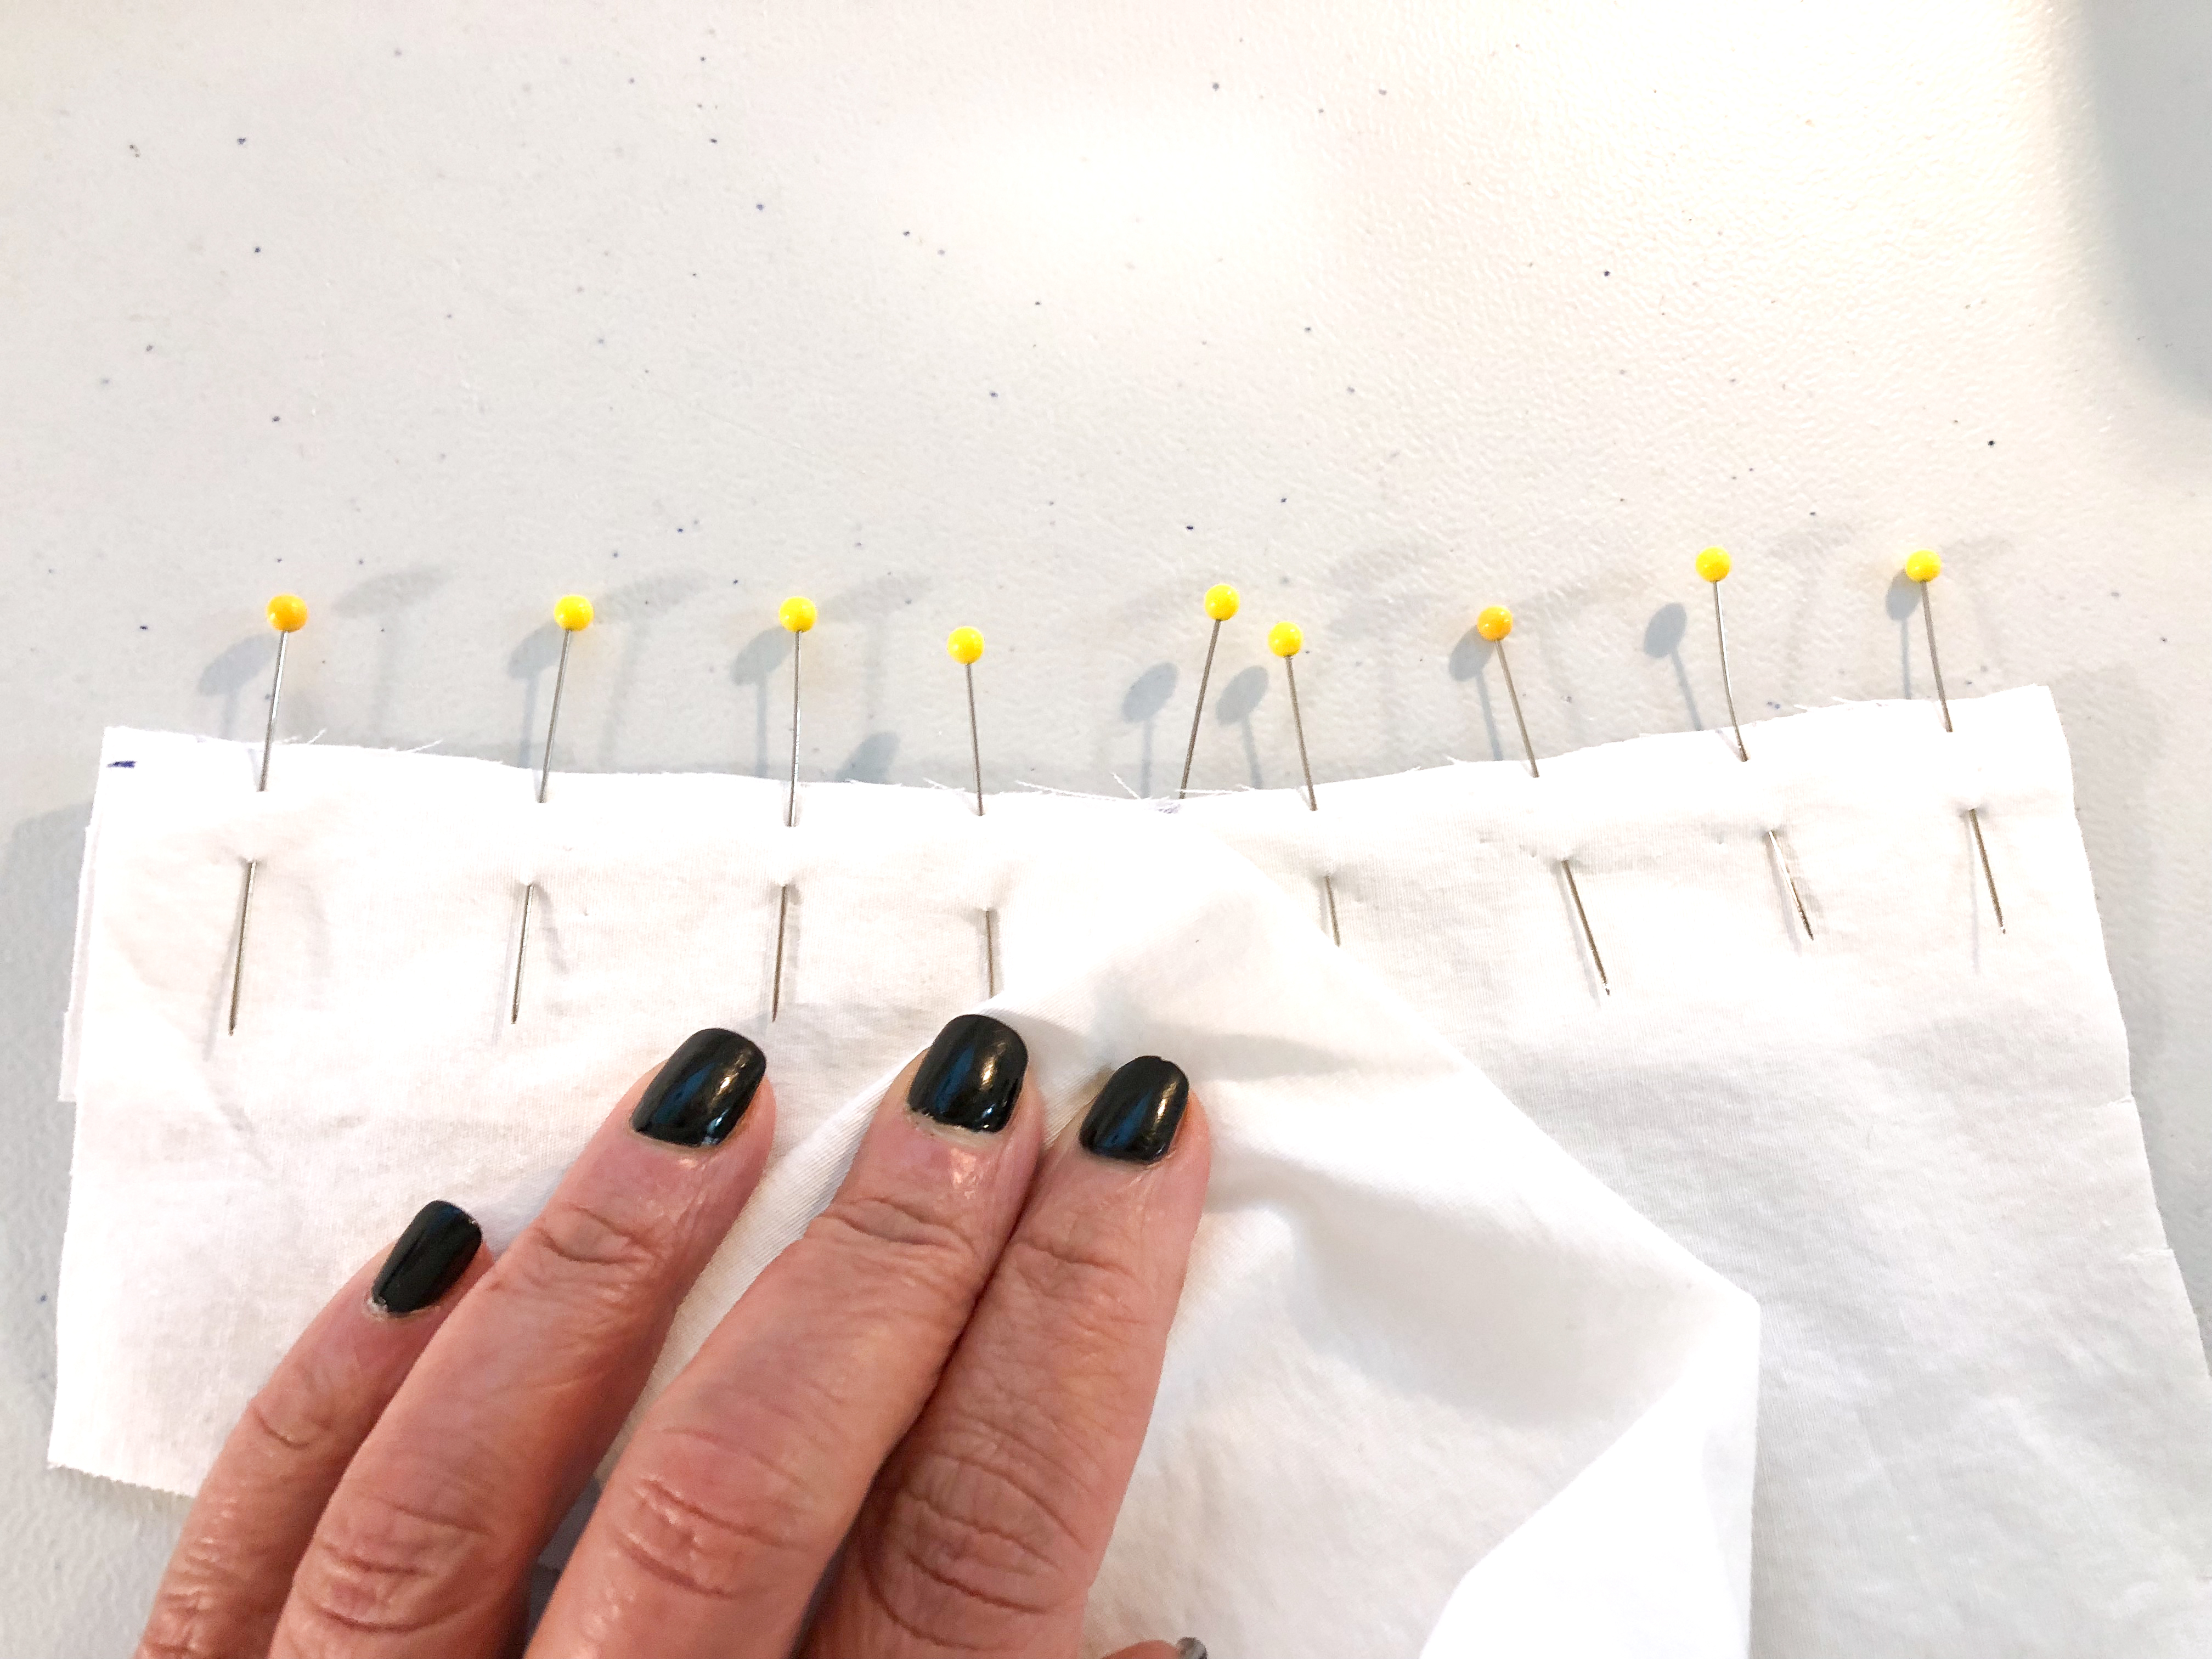
Pin the right side of sleeve slit facing to the wrong side of the sleeve slit opening.

Sew using a very scant 1/8″ seam allowance.

Press the seam allowance towards the sleeve slit facing and press down the 1/4″ seam allowance on the other side.

Fold the sleeve slit facing to the right side covering the stitches and stitch close to the edge.

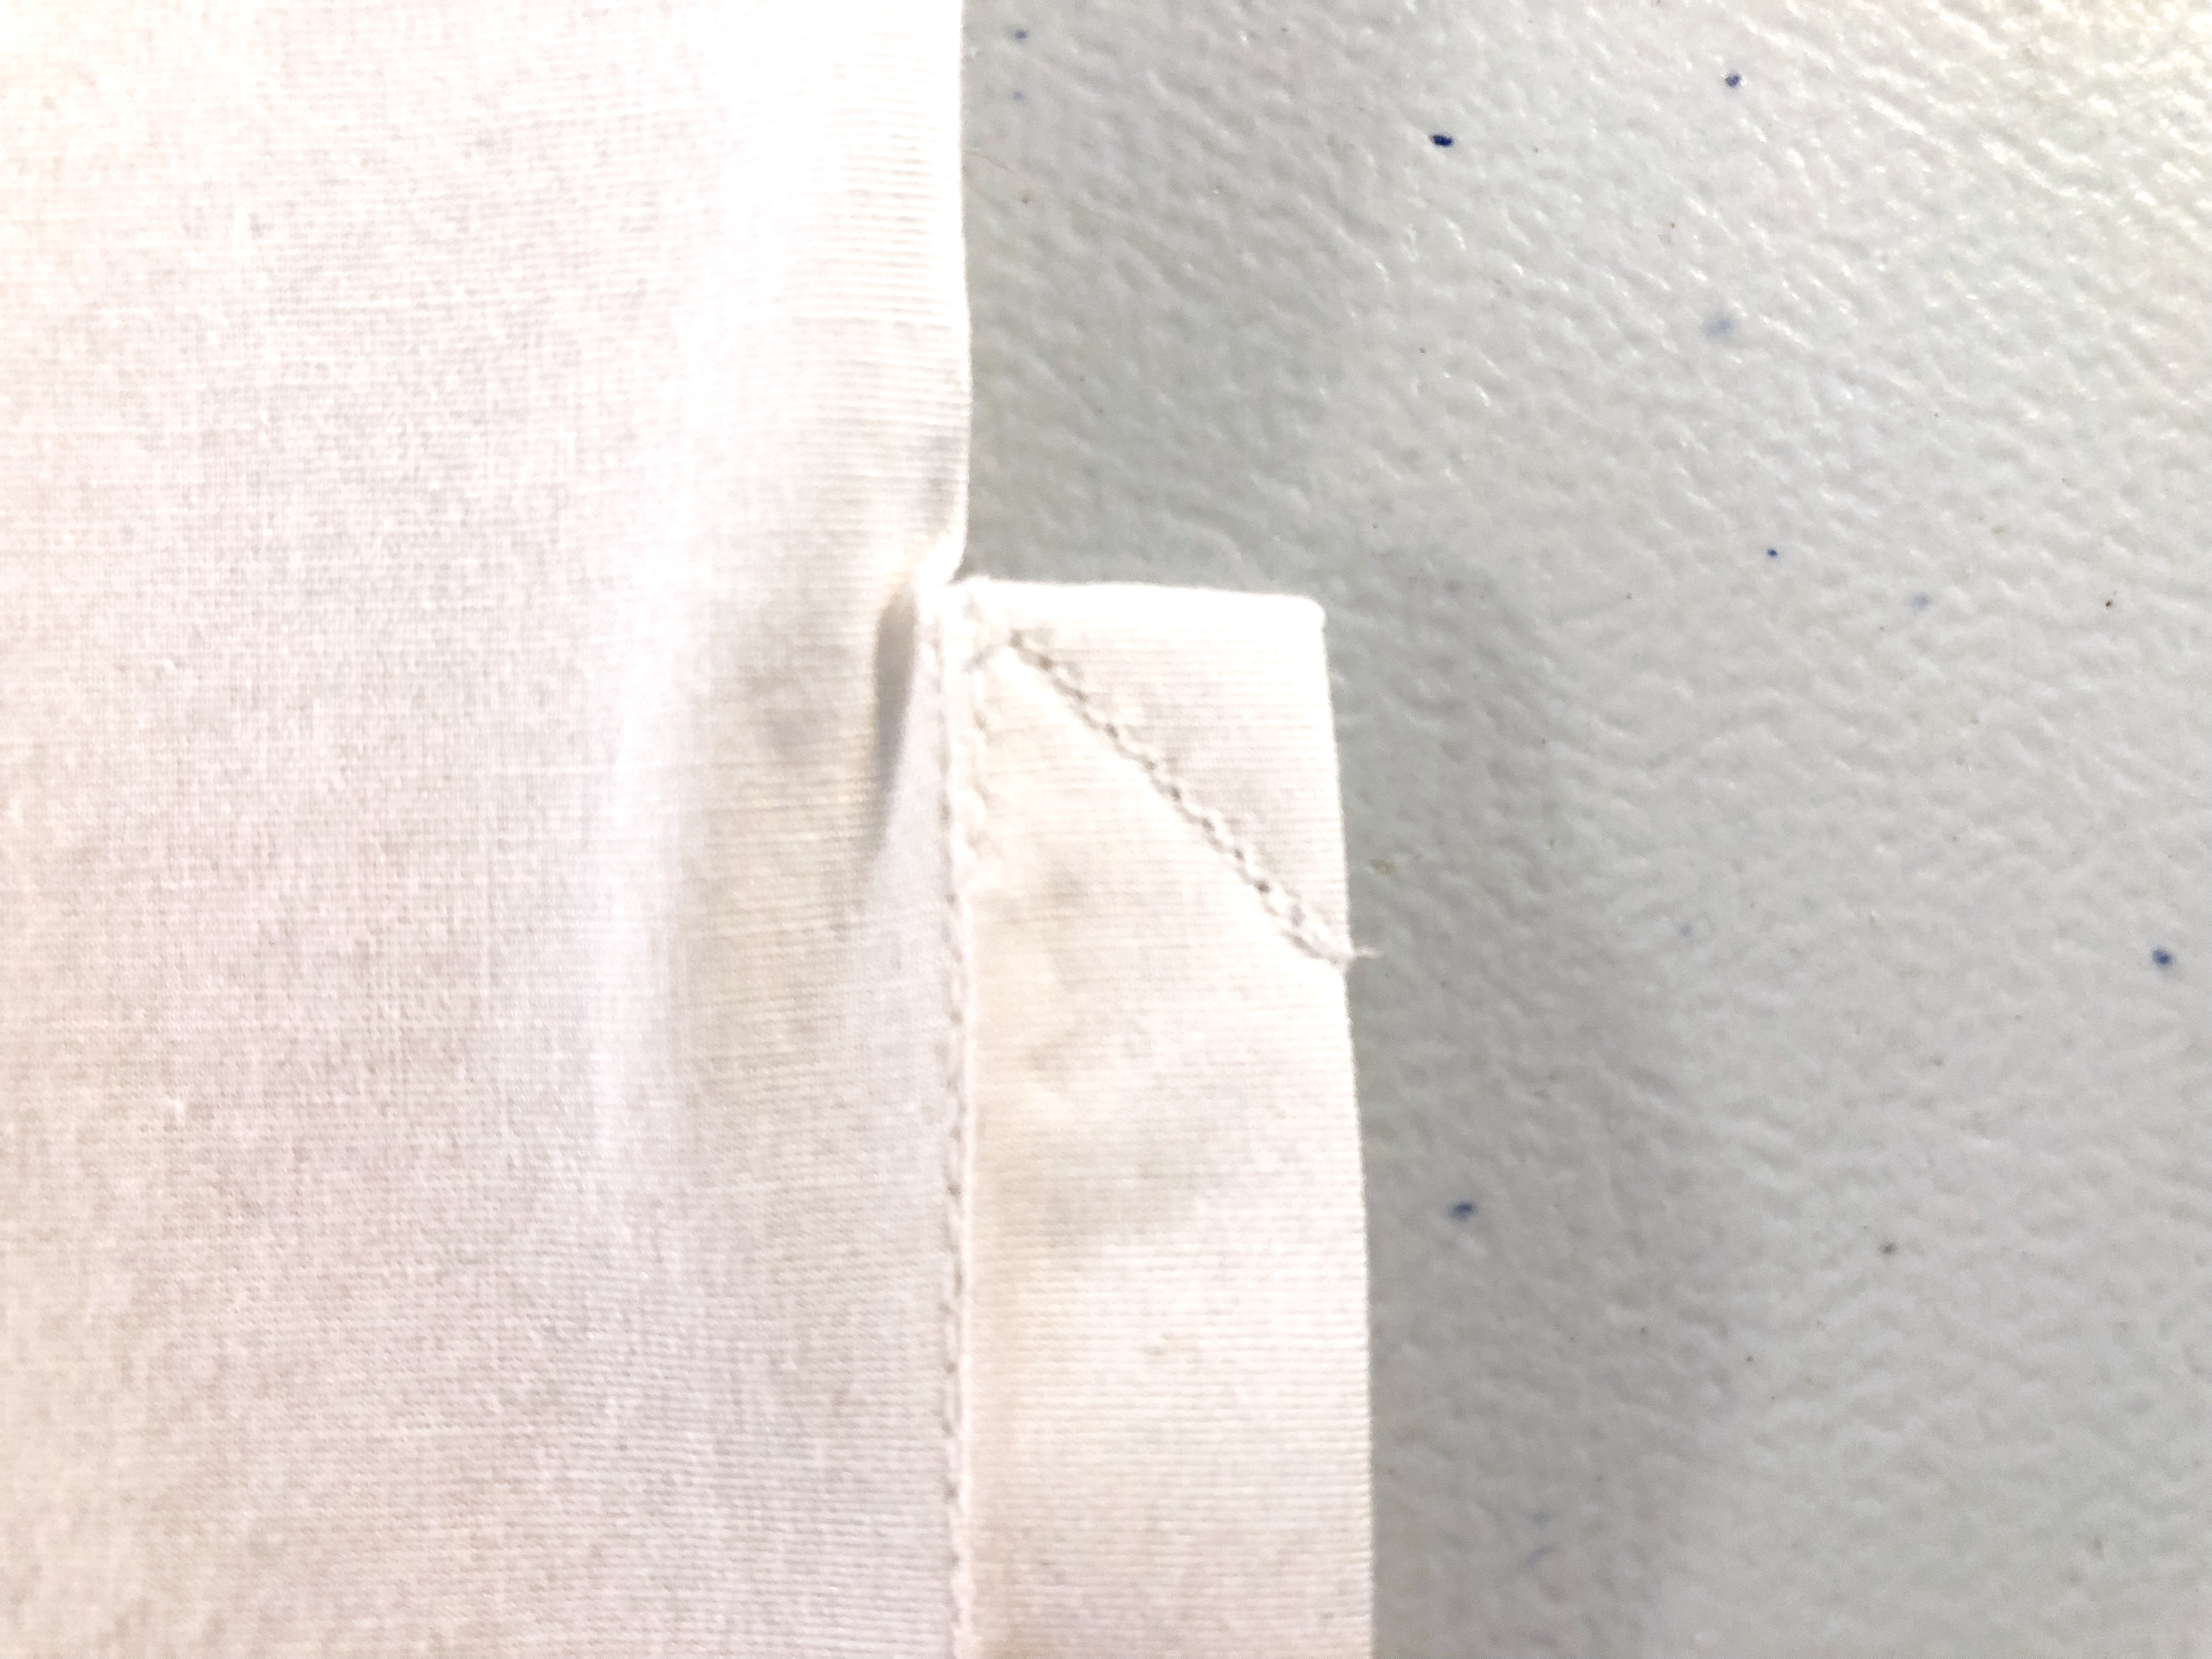
Fold the facing right sides together and stitch across the top at a 45 degree angle.
Make a tuck on the bottom of the sleeve where you previously marked. On the right side, they should be pointing towards the opening.
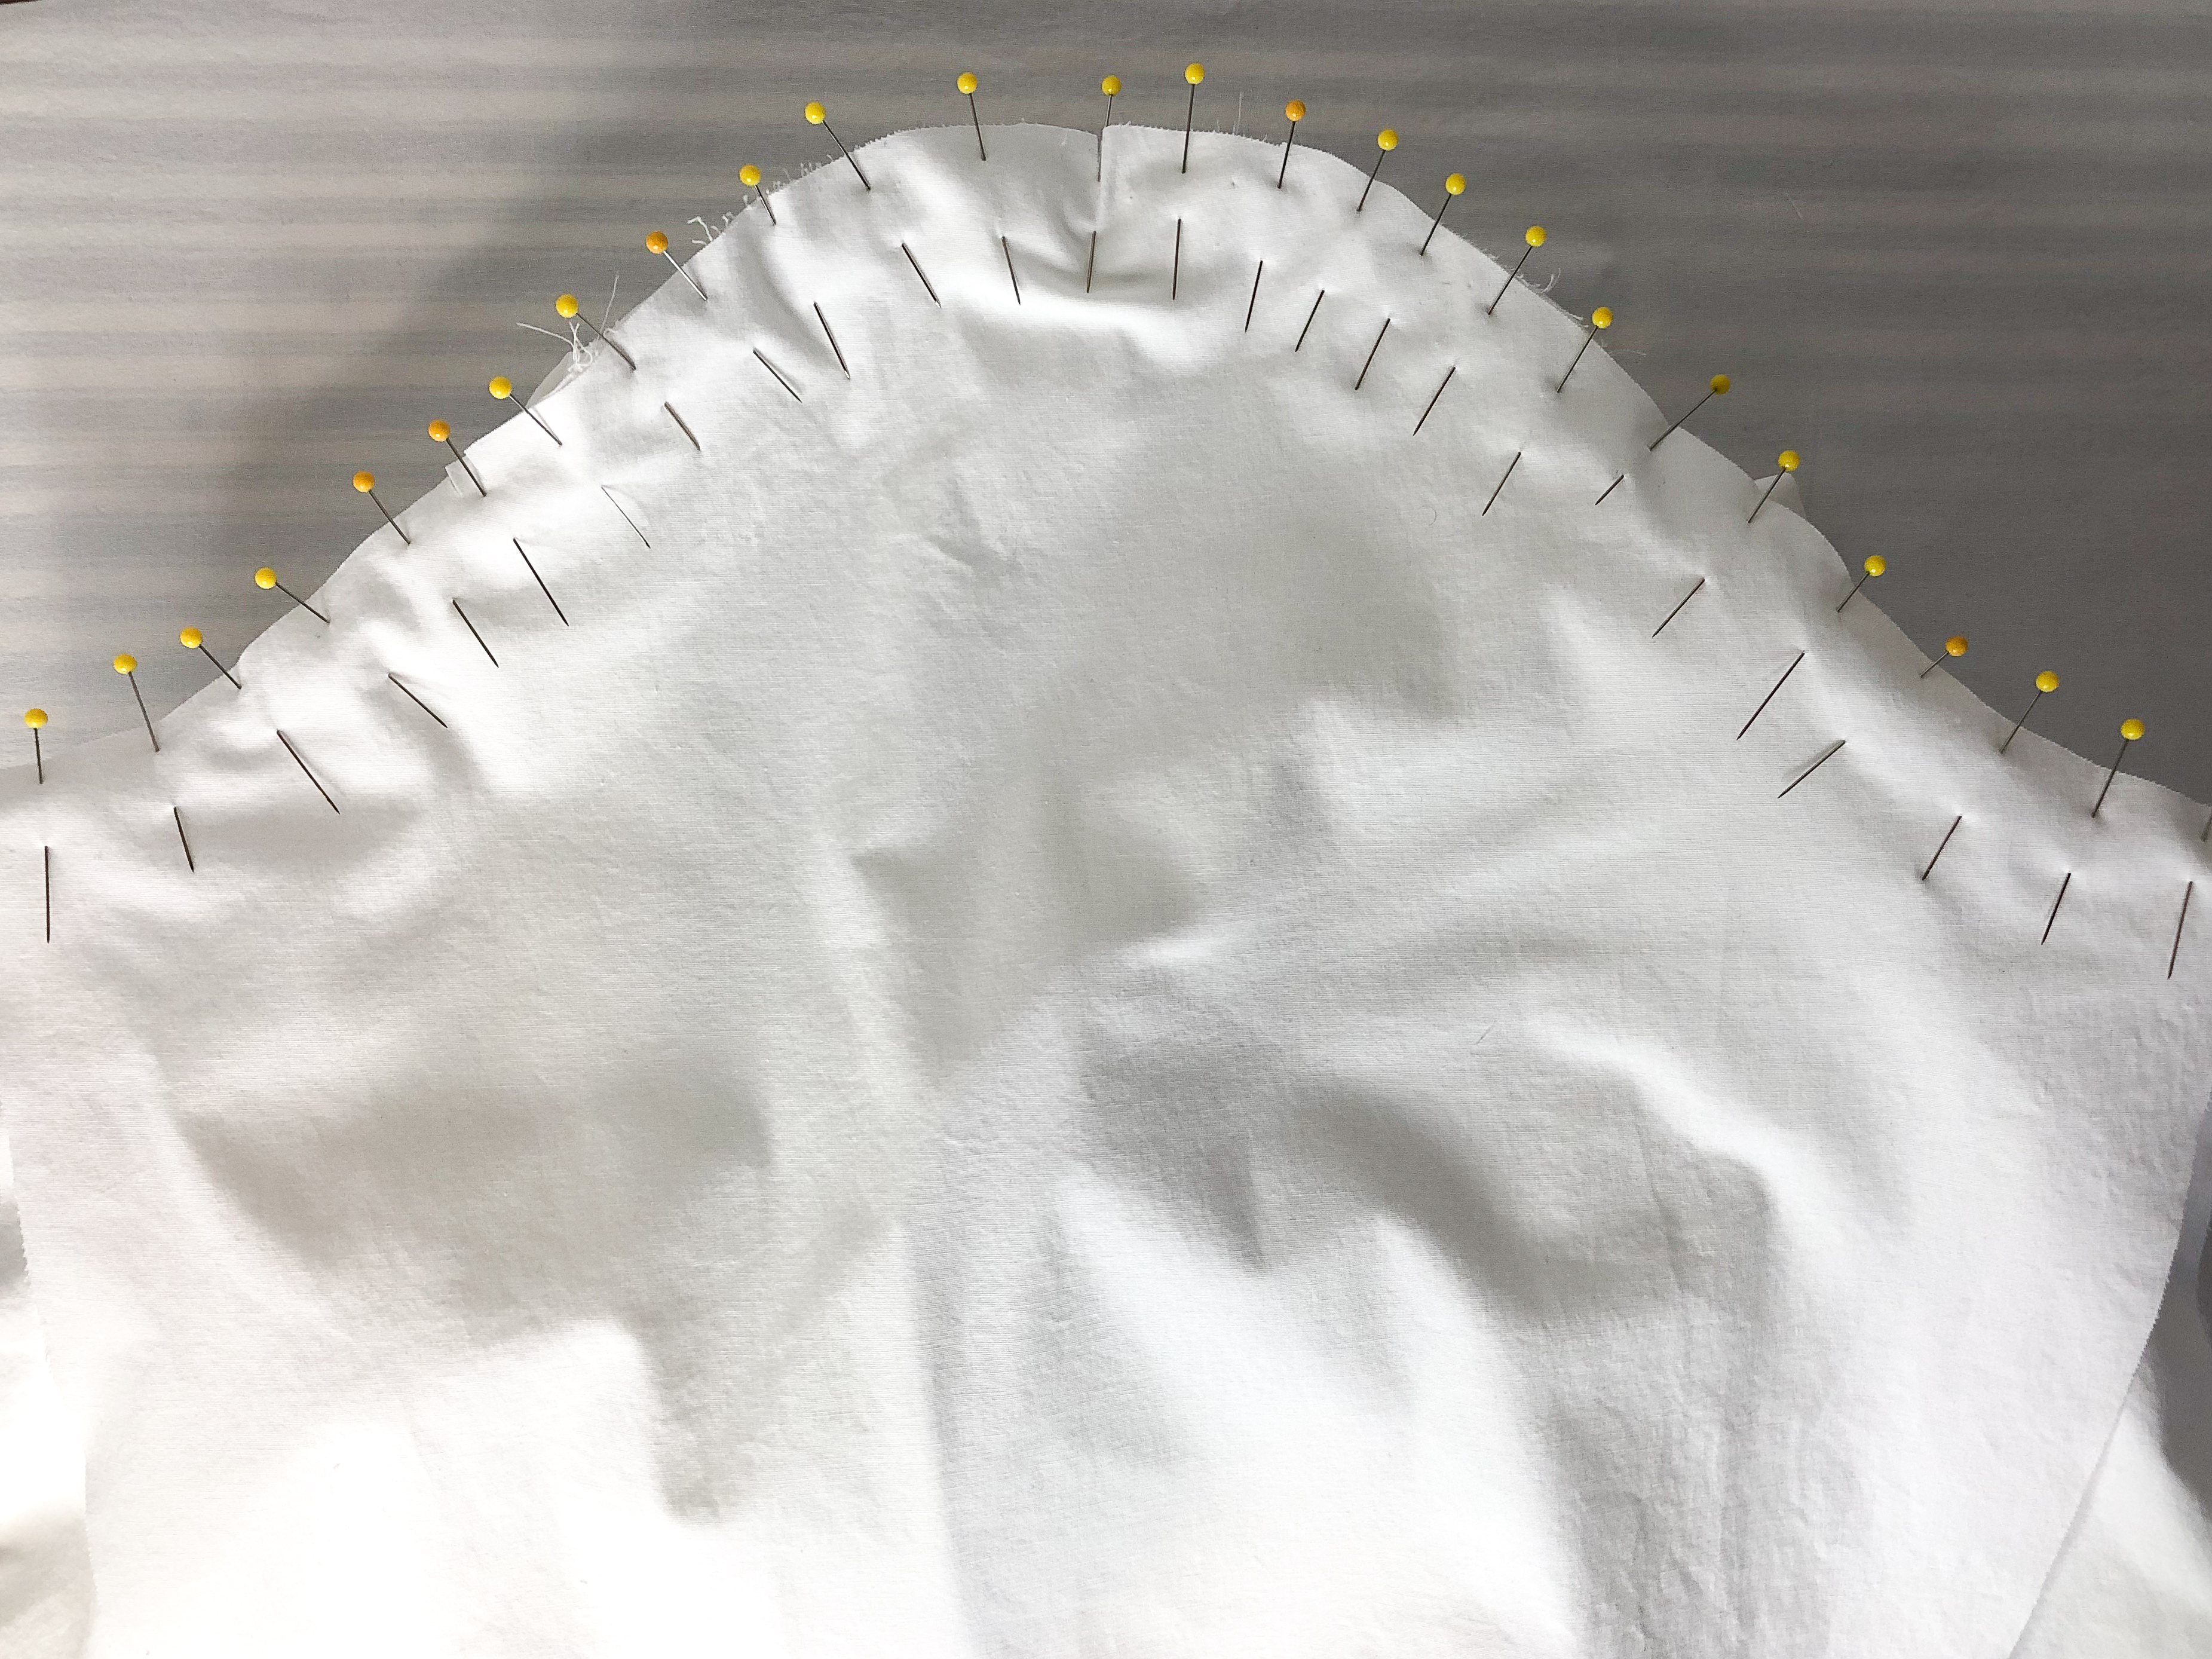
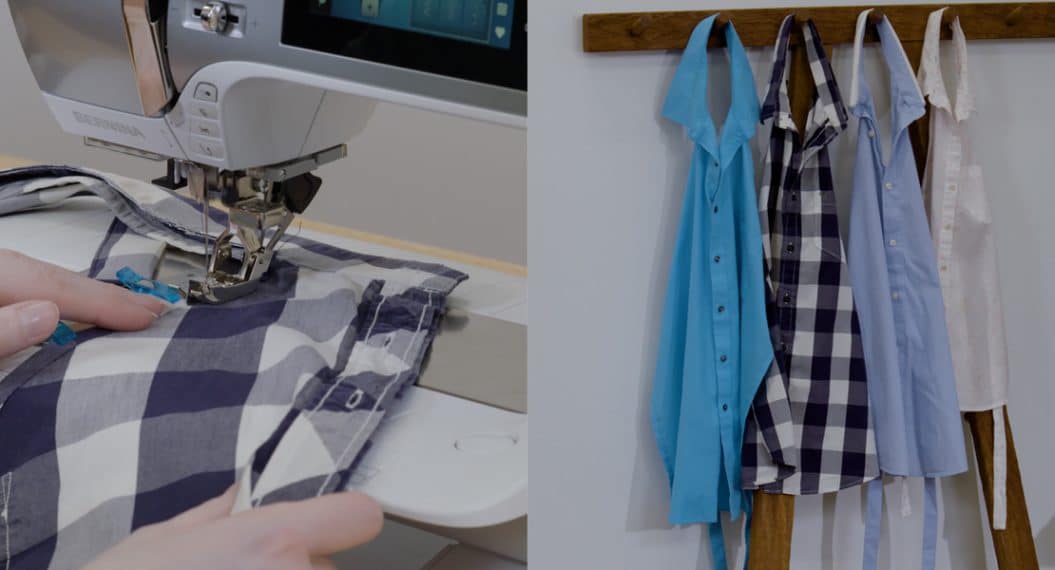
Instead of easing a sleeve into the cap by sewing it in the round, this sleeve is sewn in flat without any ease stitches. Use plenty of pins to prevent puckering.
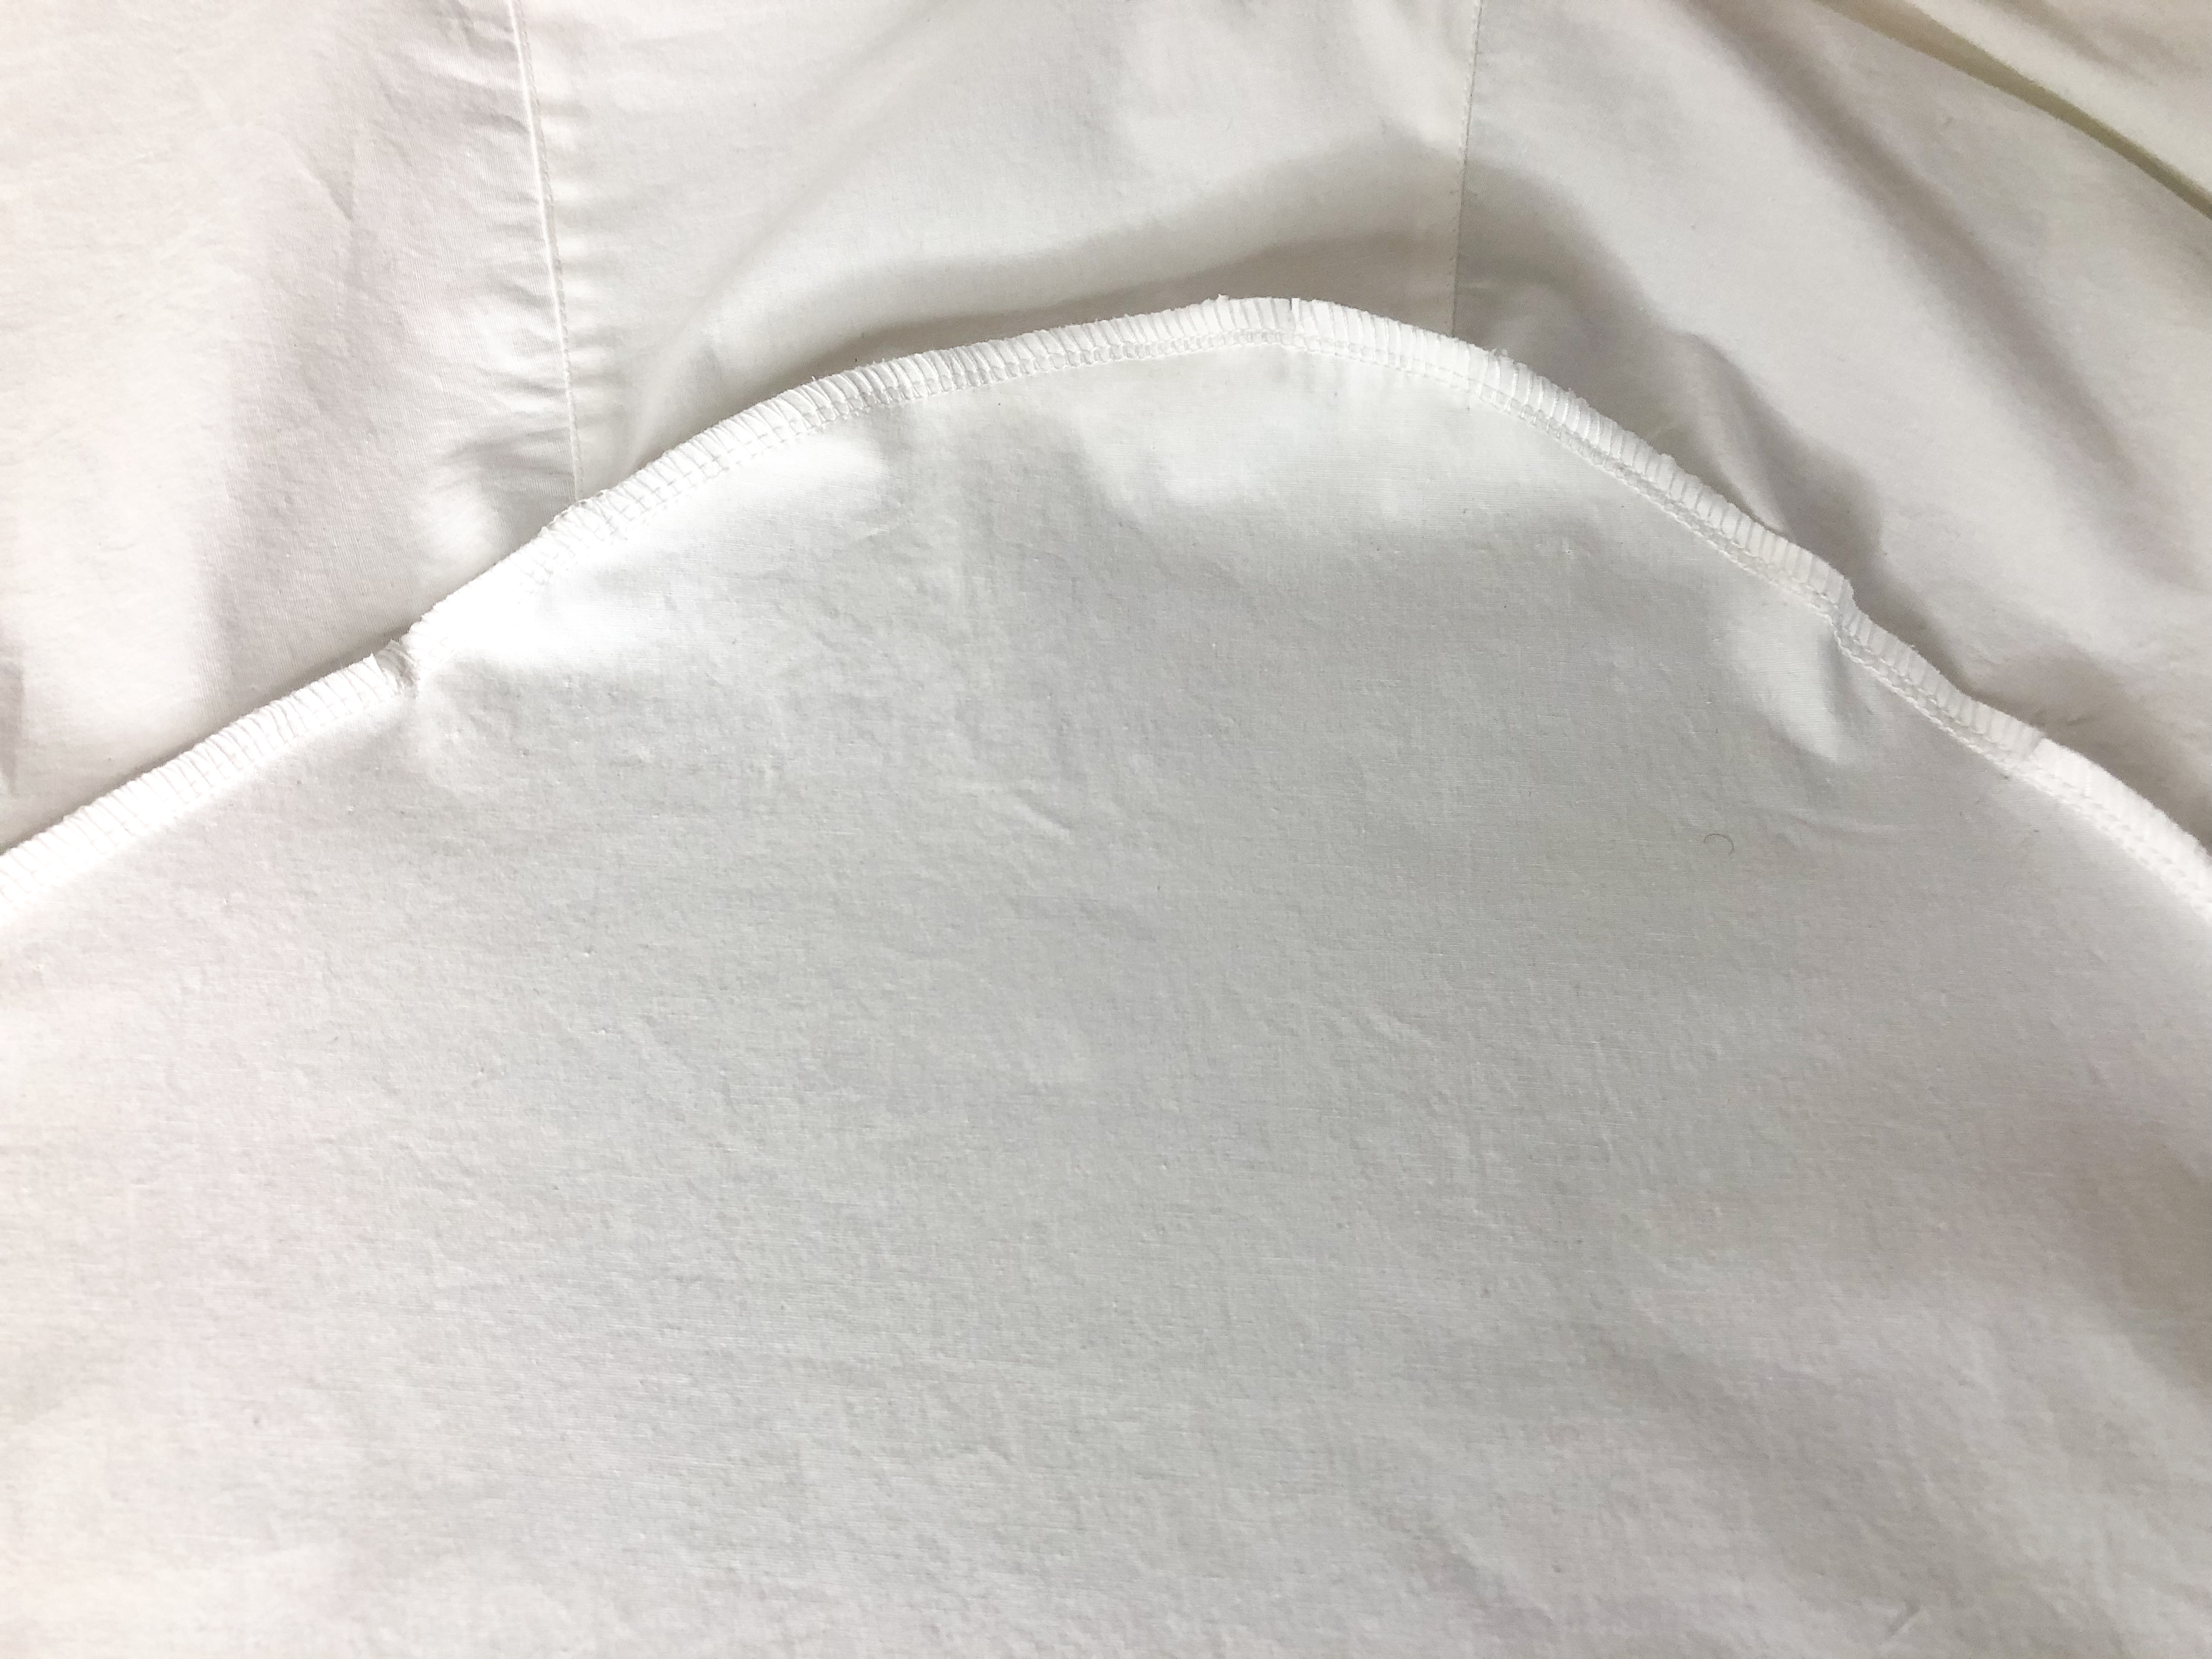
Serge the seam. And press towards the back.
Topstitch close to the seam.

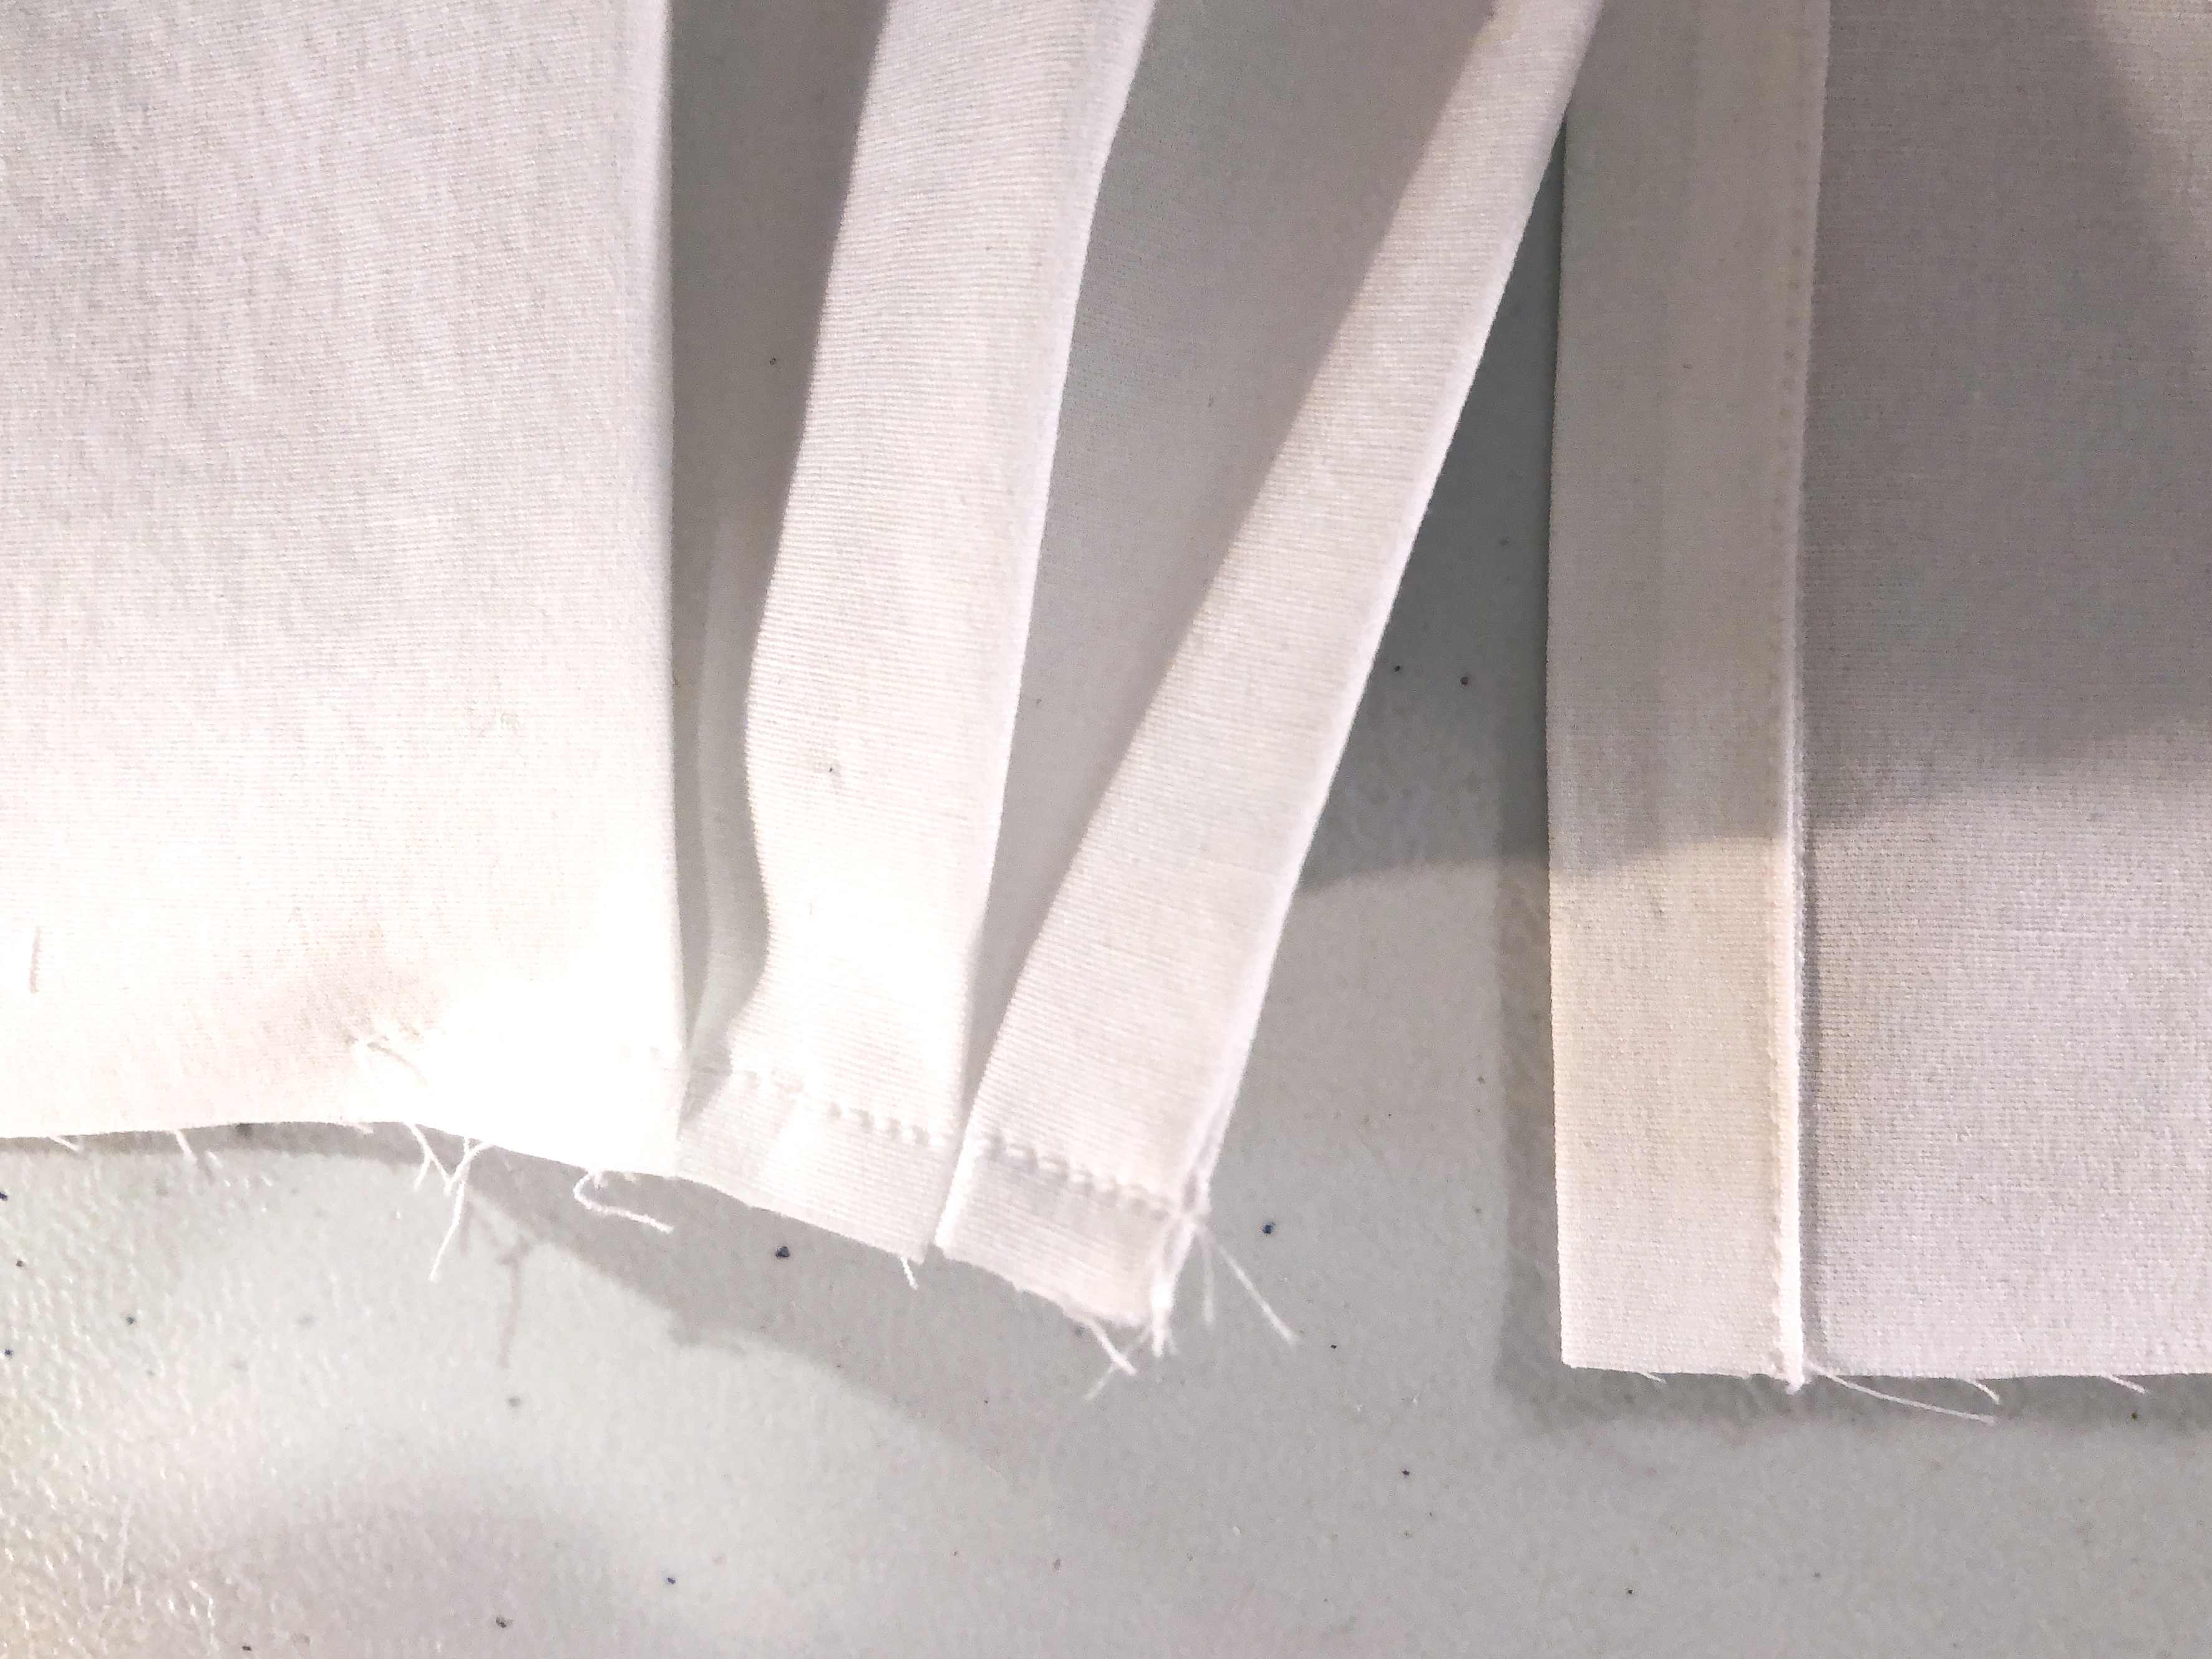
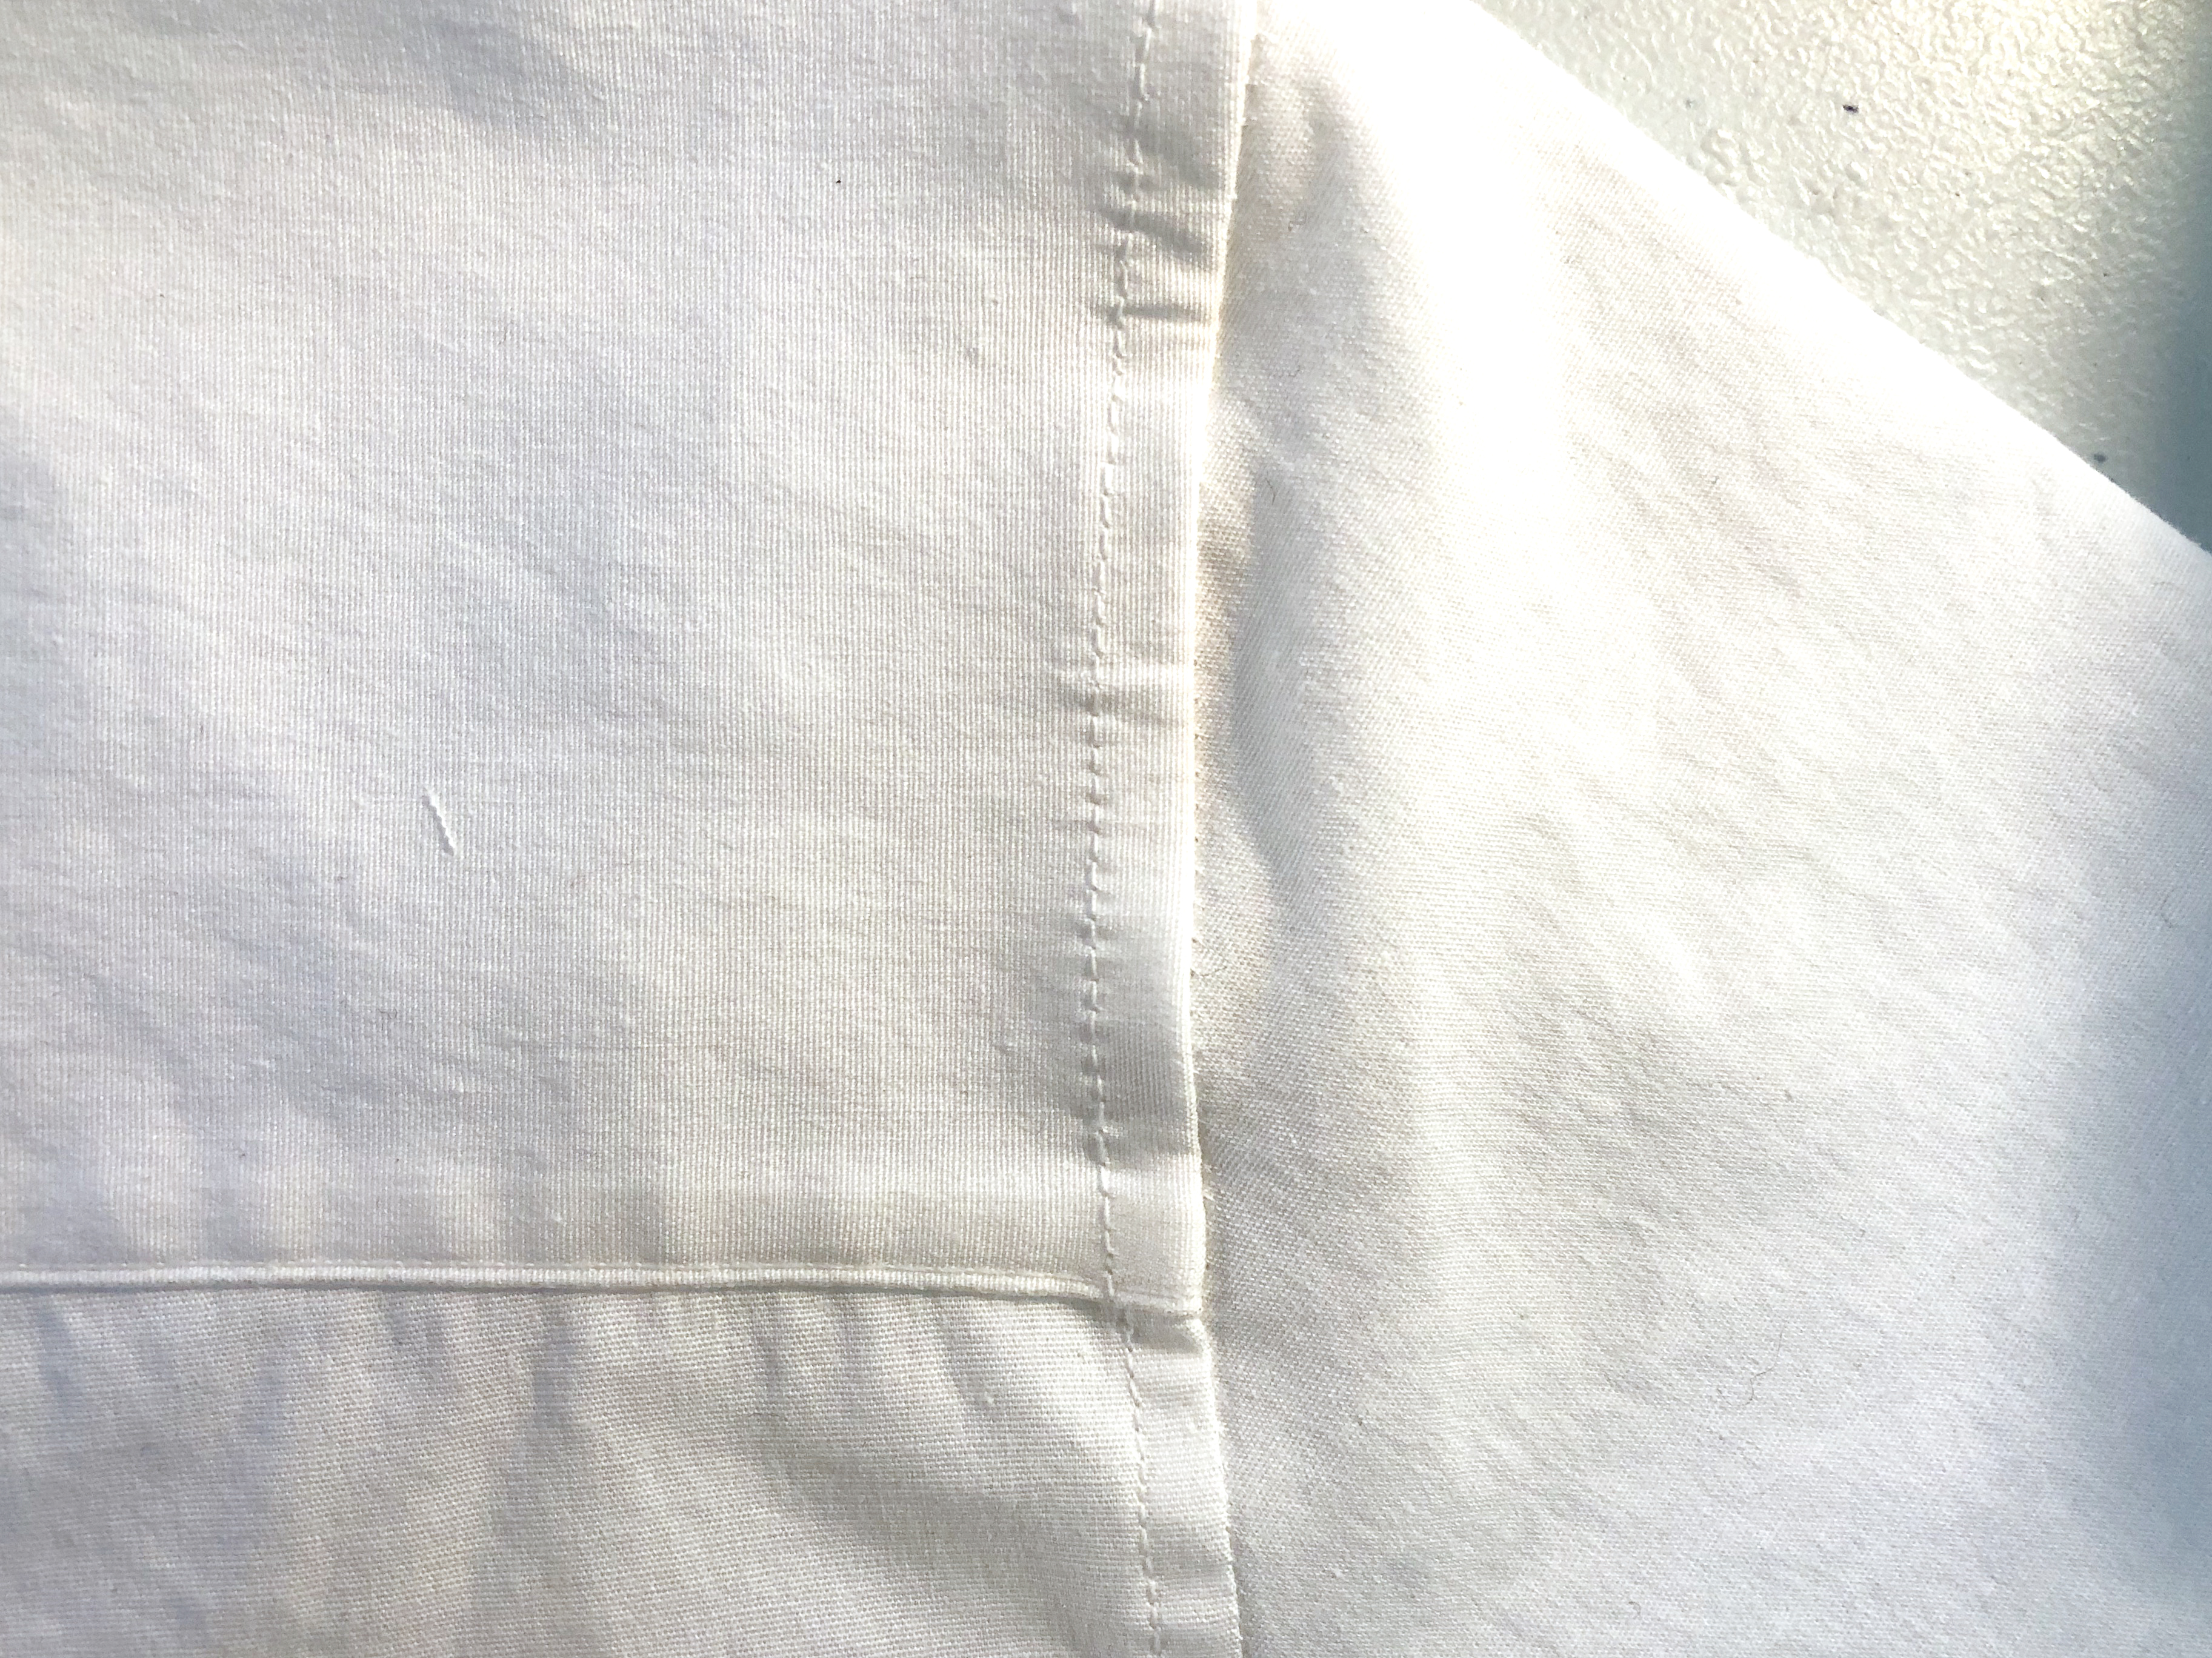
Serge the bottom edges of the fronts and back. Fold up and stitch a 3/8″ hem.
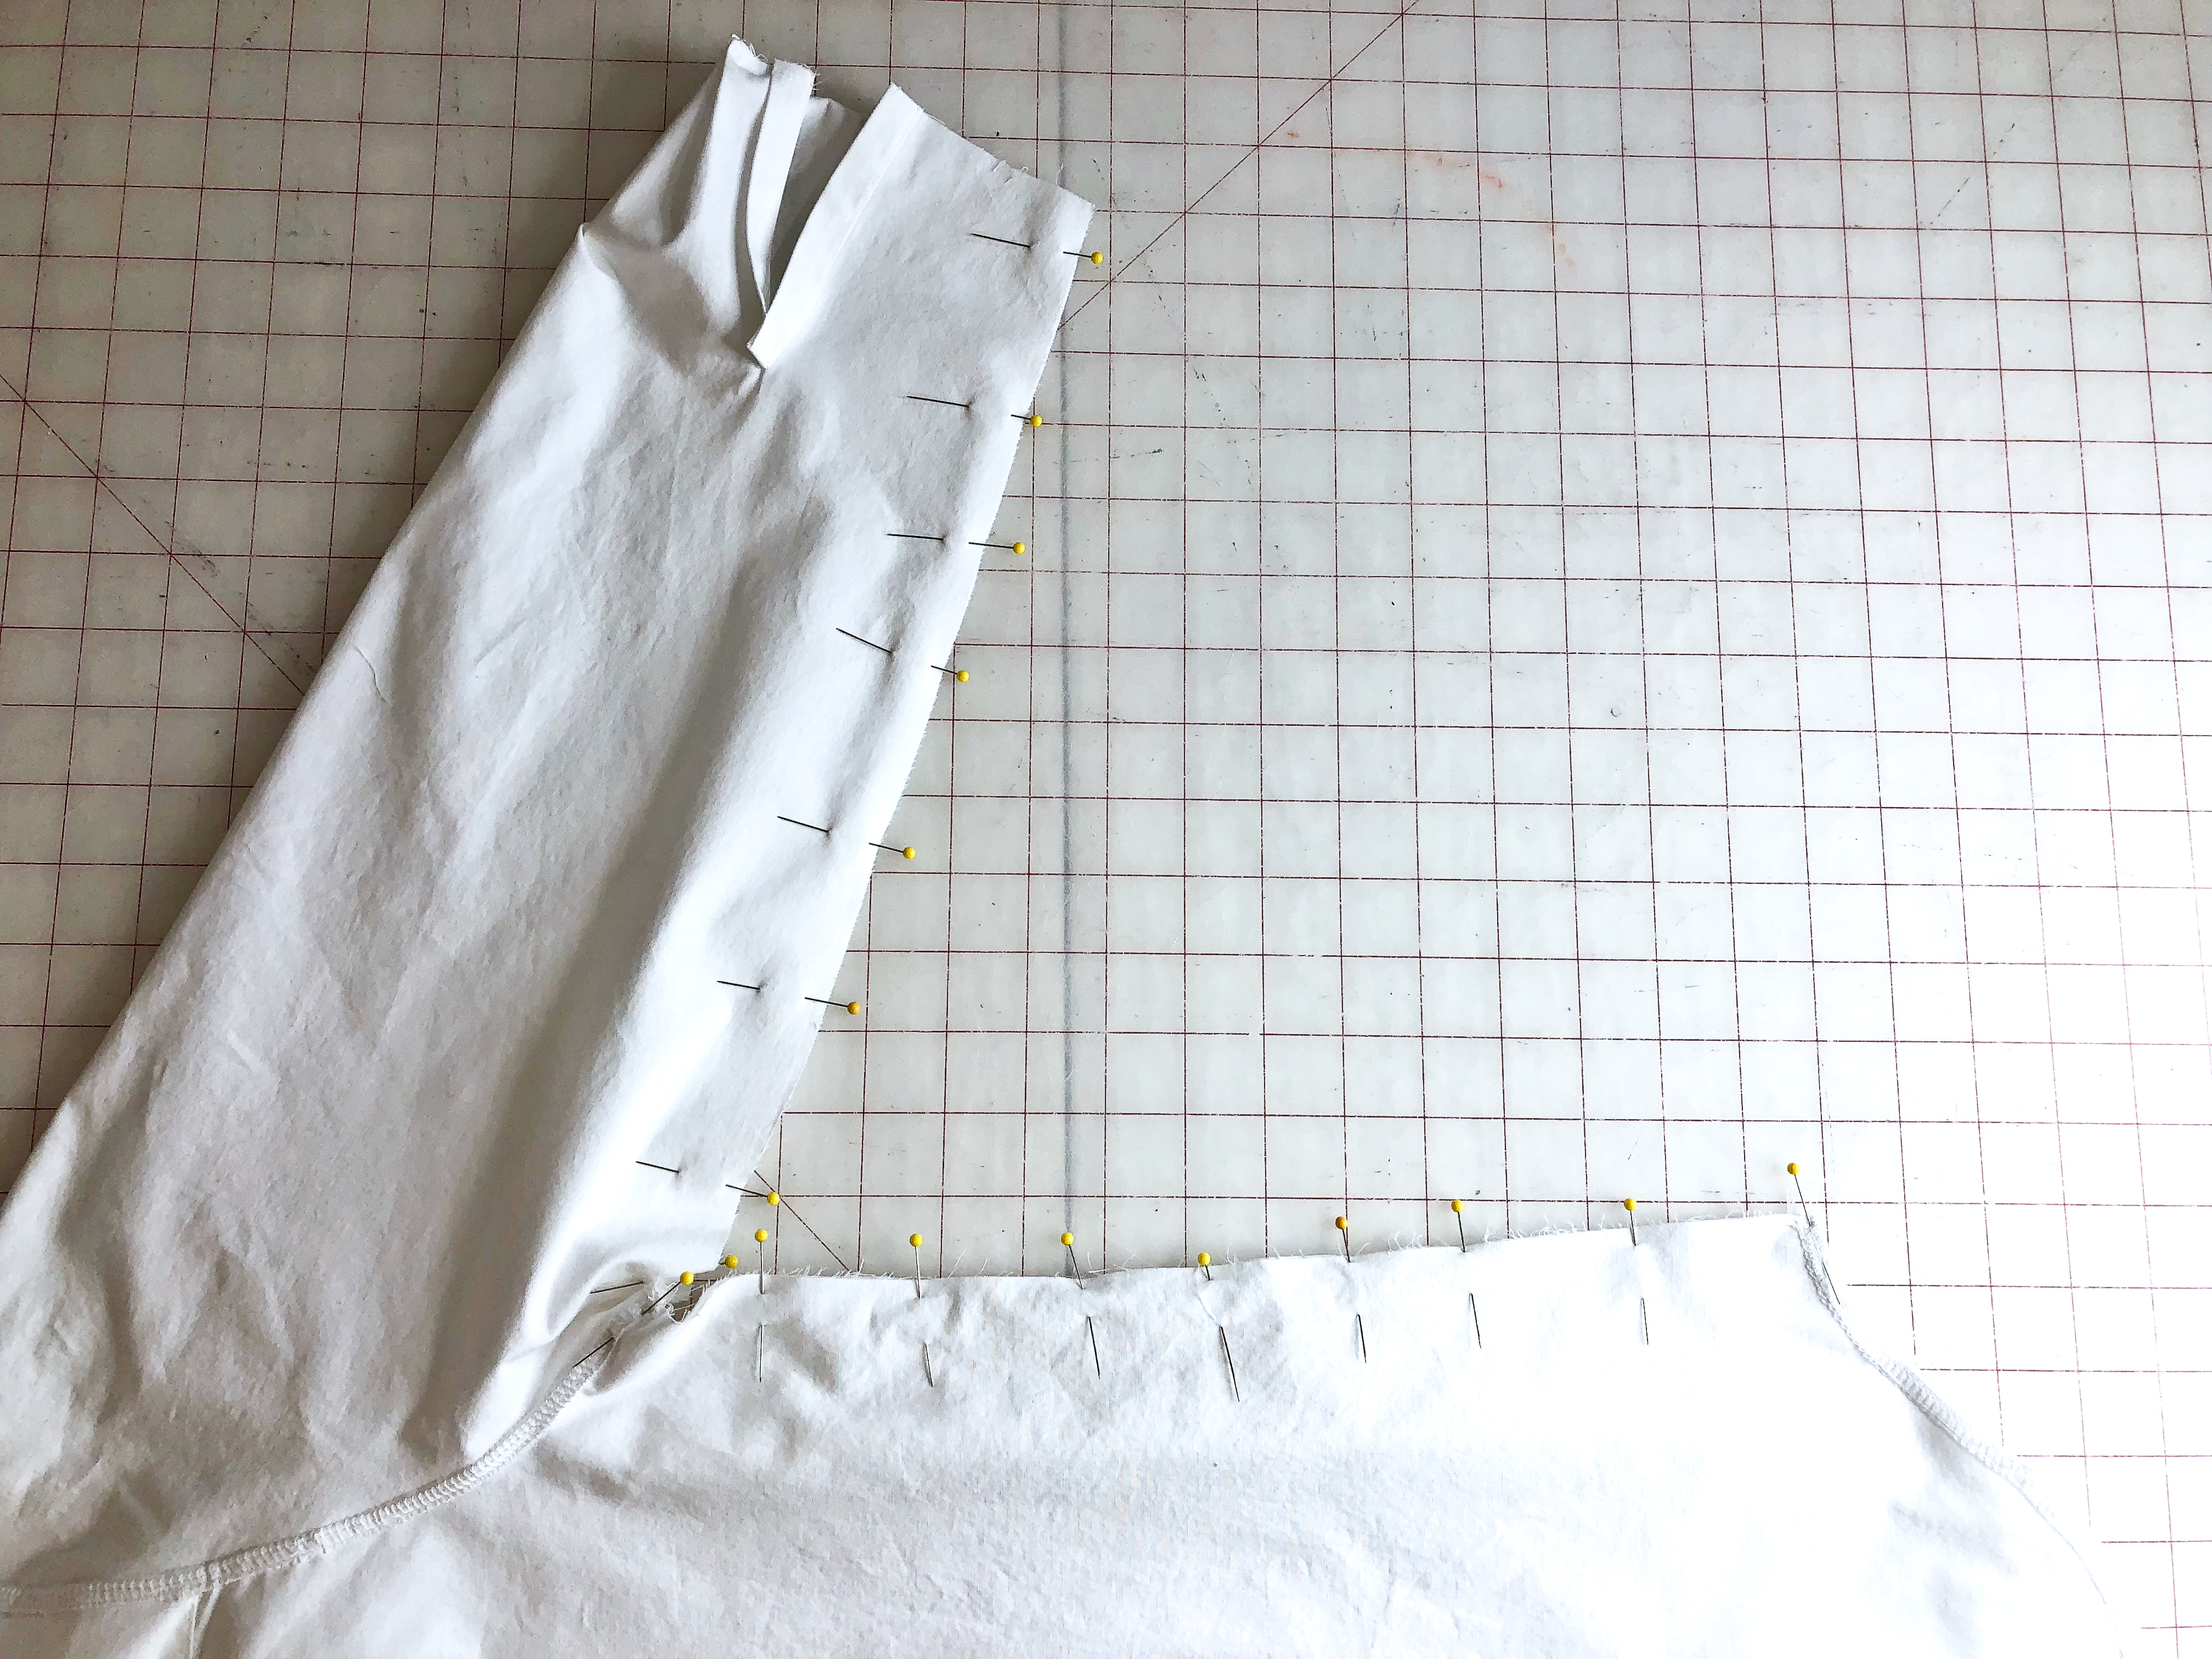
Pin and stitch the sleeve and side seams, matching the edges and the underarm seams.
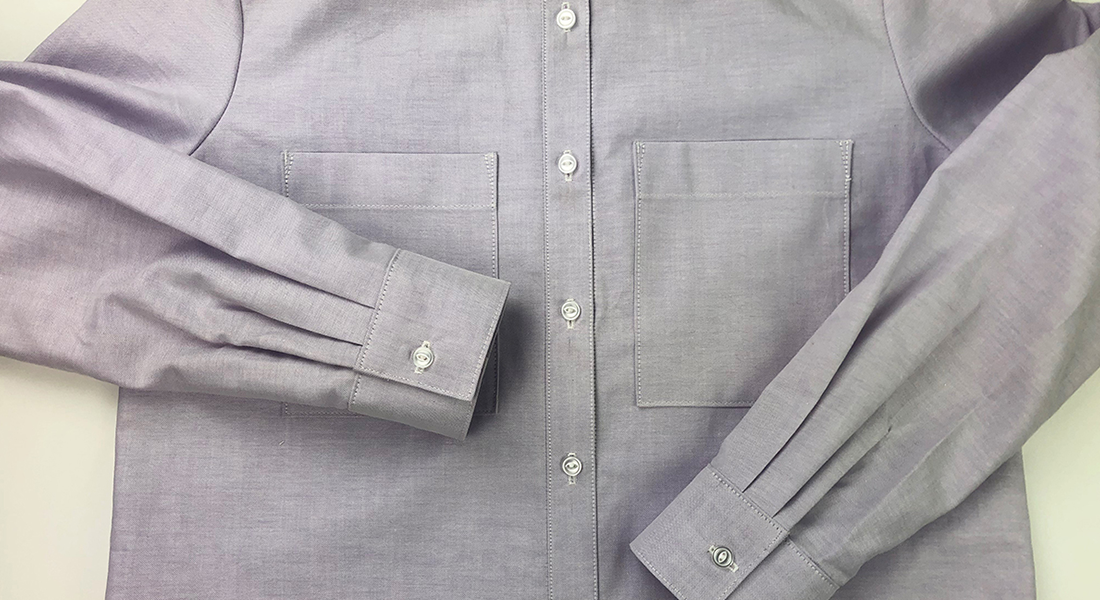
After interfacing the wrong side of the sleeve cuffs, fold in half lengthwise with right sides together, then fold down the seam allowance of the interfaced edge and stitch each side.

Pin the right side of the uninterfaced edge of the cuff to the wrong side of the sleeve and stitch the cuff seam. Press the seam allowance towards the cuff. Pin the folded edge over the stitches and stitch close to the edge. Topstitch the entire cuff close to the edge as shown.
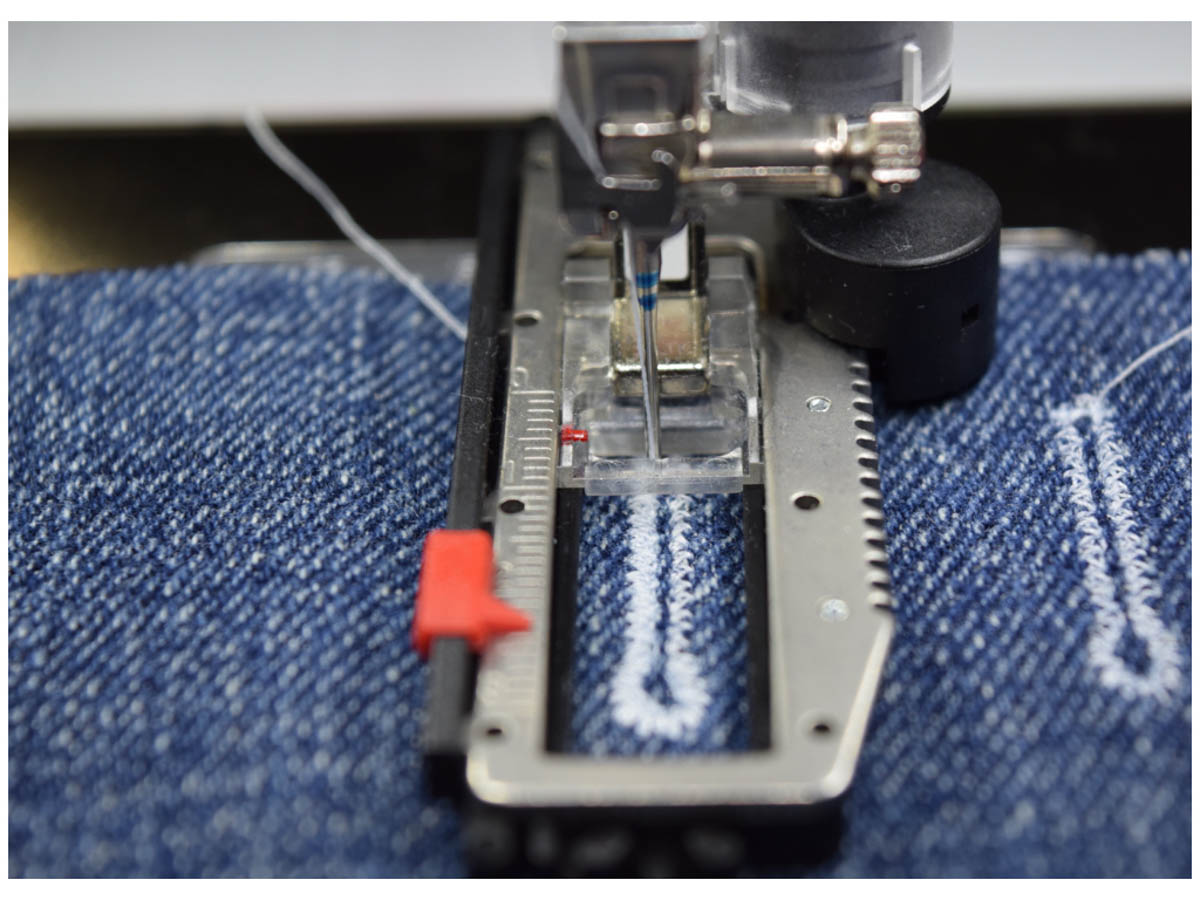
We’re almost at the finish line! Next up, buttonholes! Find more tips for sewing buttonholes with Tips for Sewing Buttonholes by Machine here at WeAllSew.
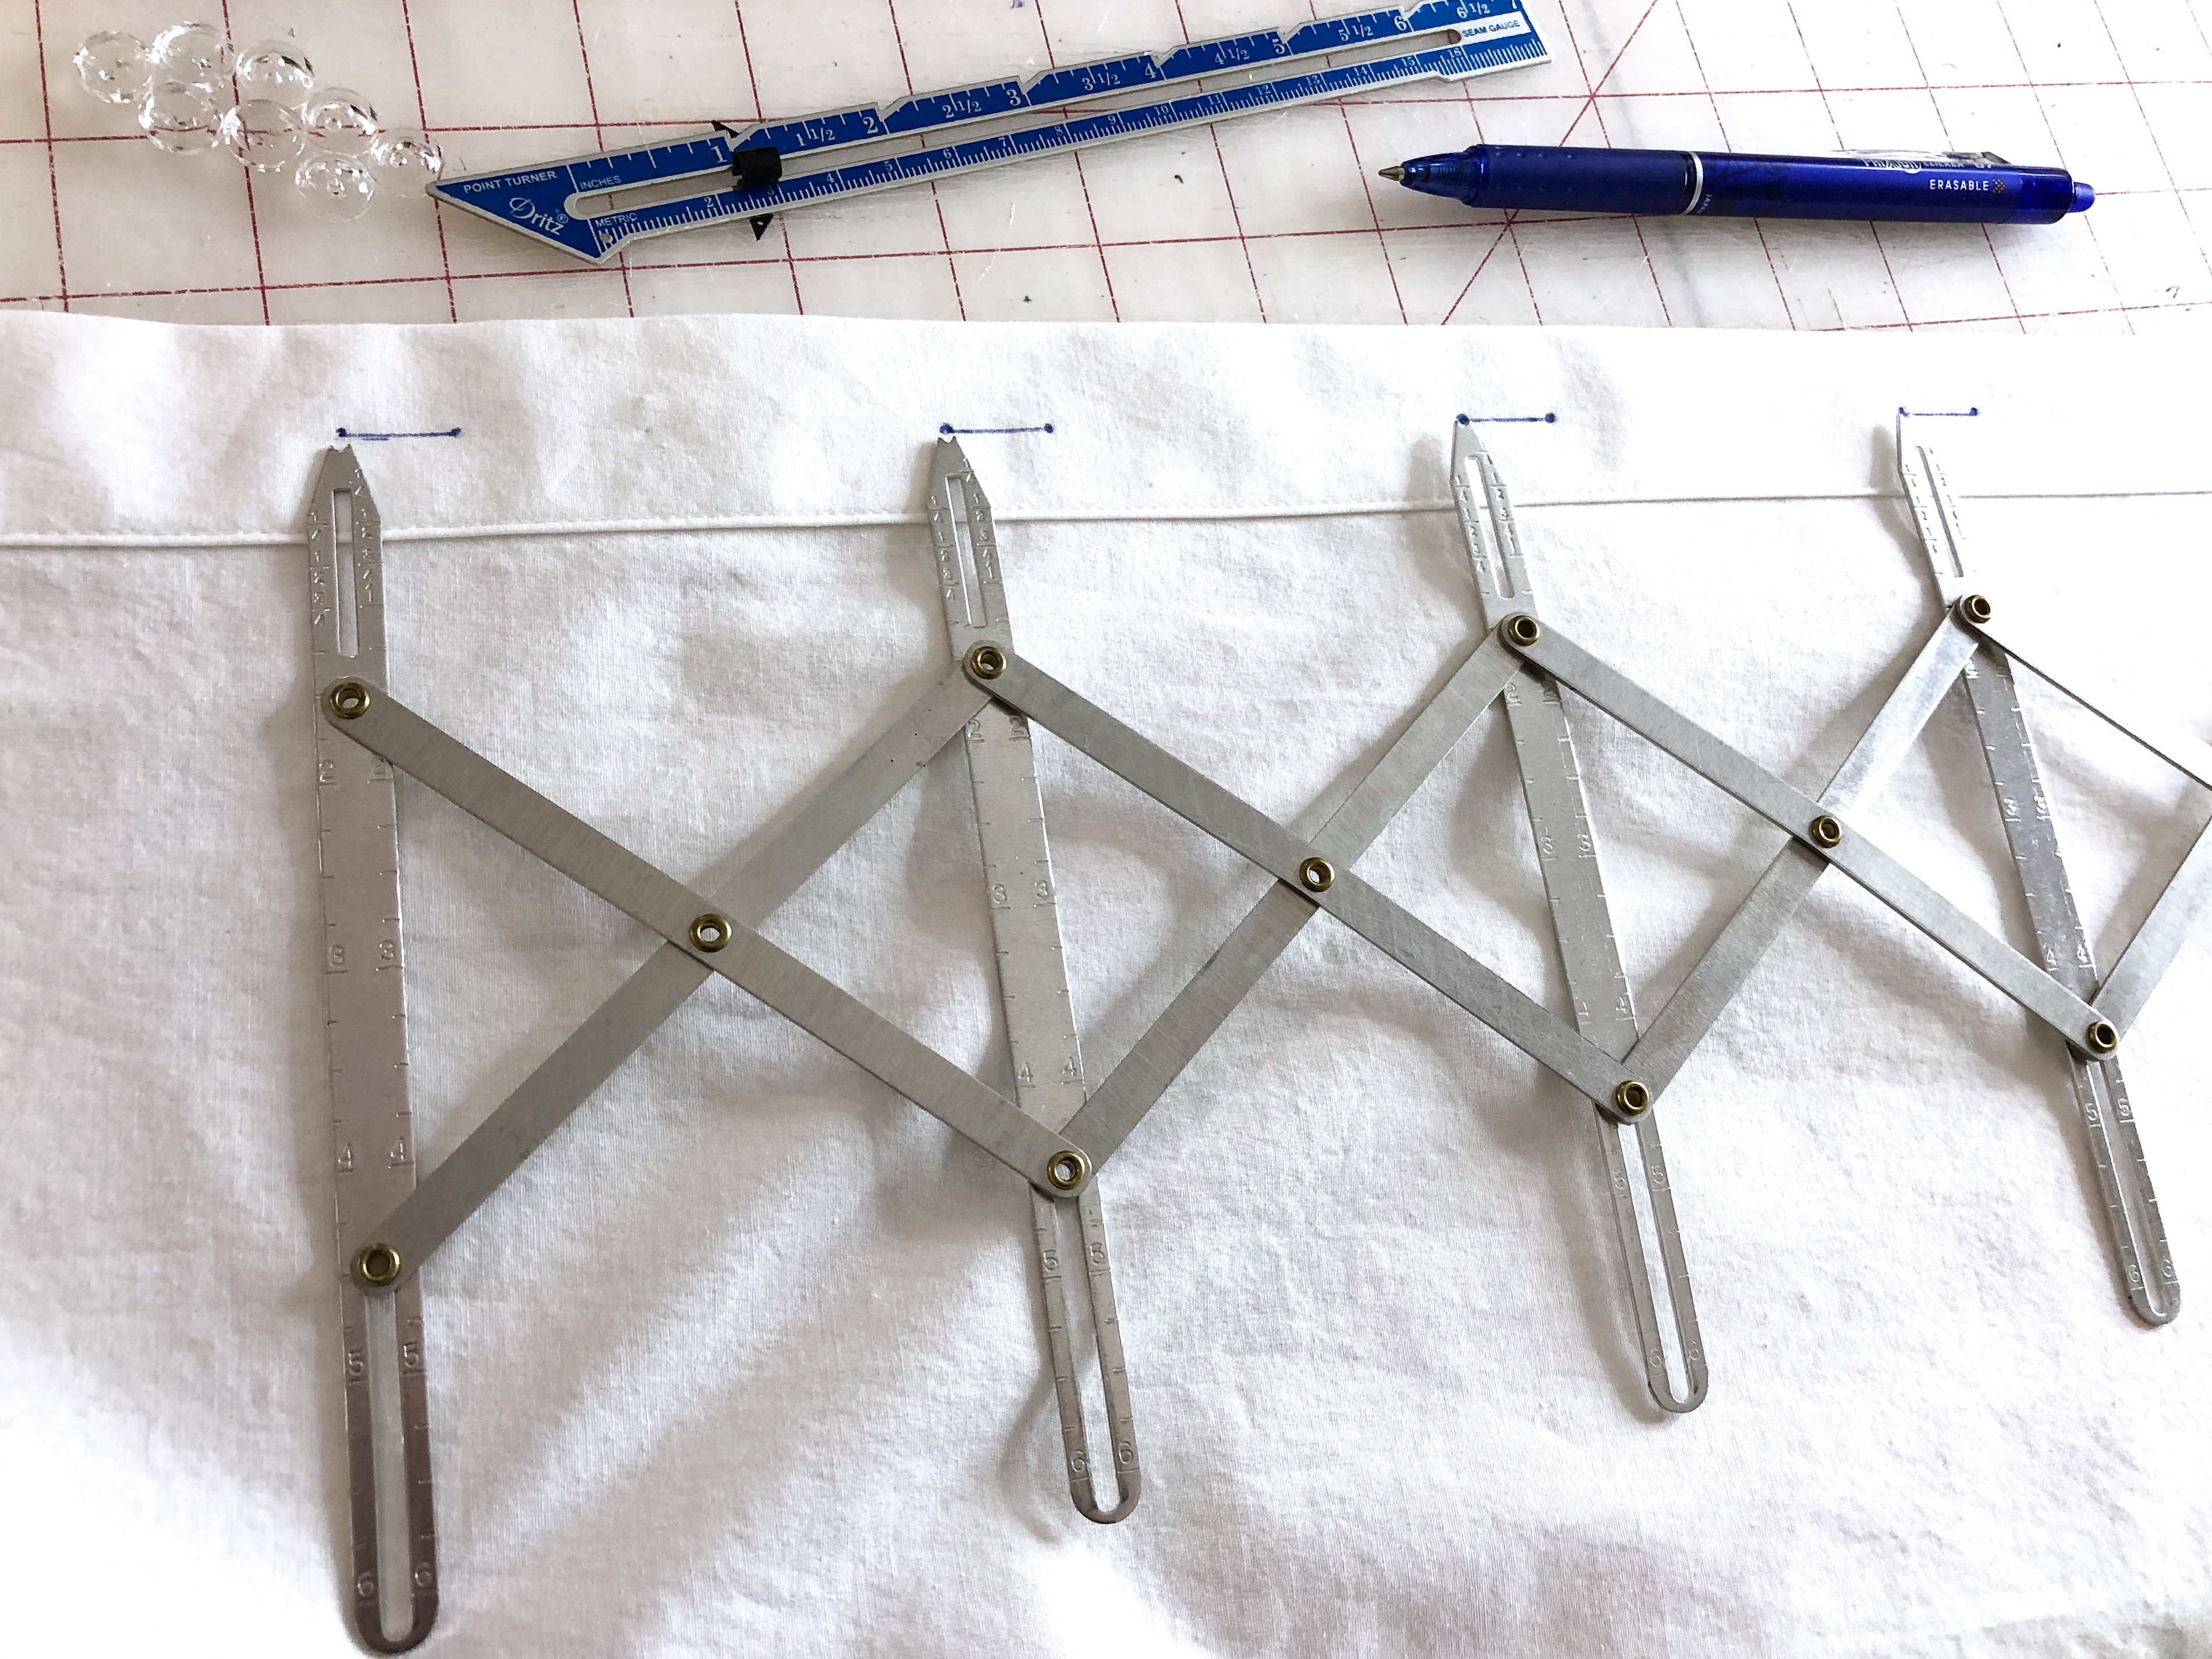
I use a Simflex Expanding Buttonhole Gauge to mark my buttonhole placement. I’m using 1/2″ buttons and I’m setting them 3.75″ apart.
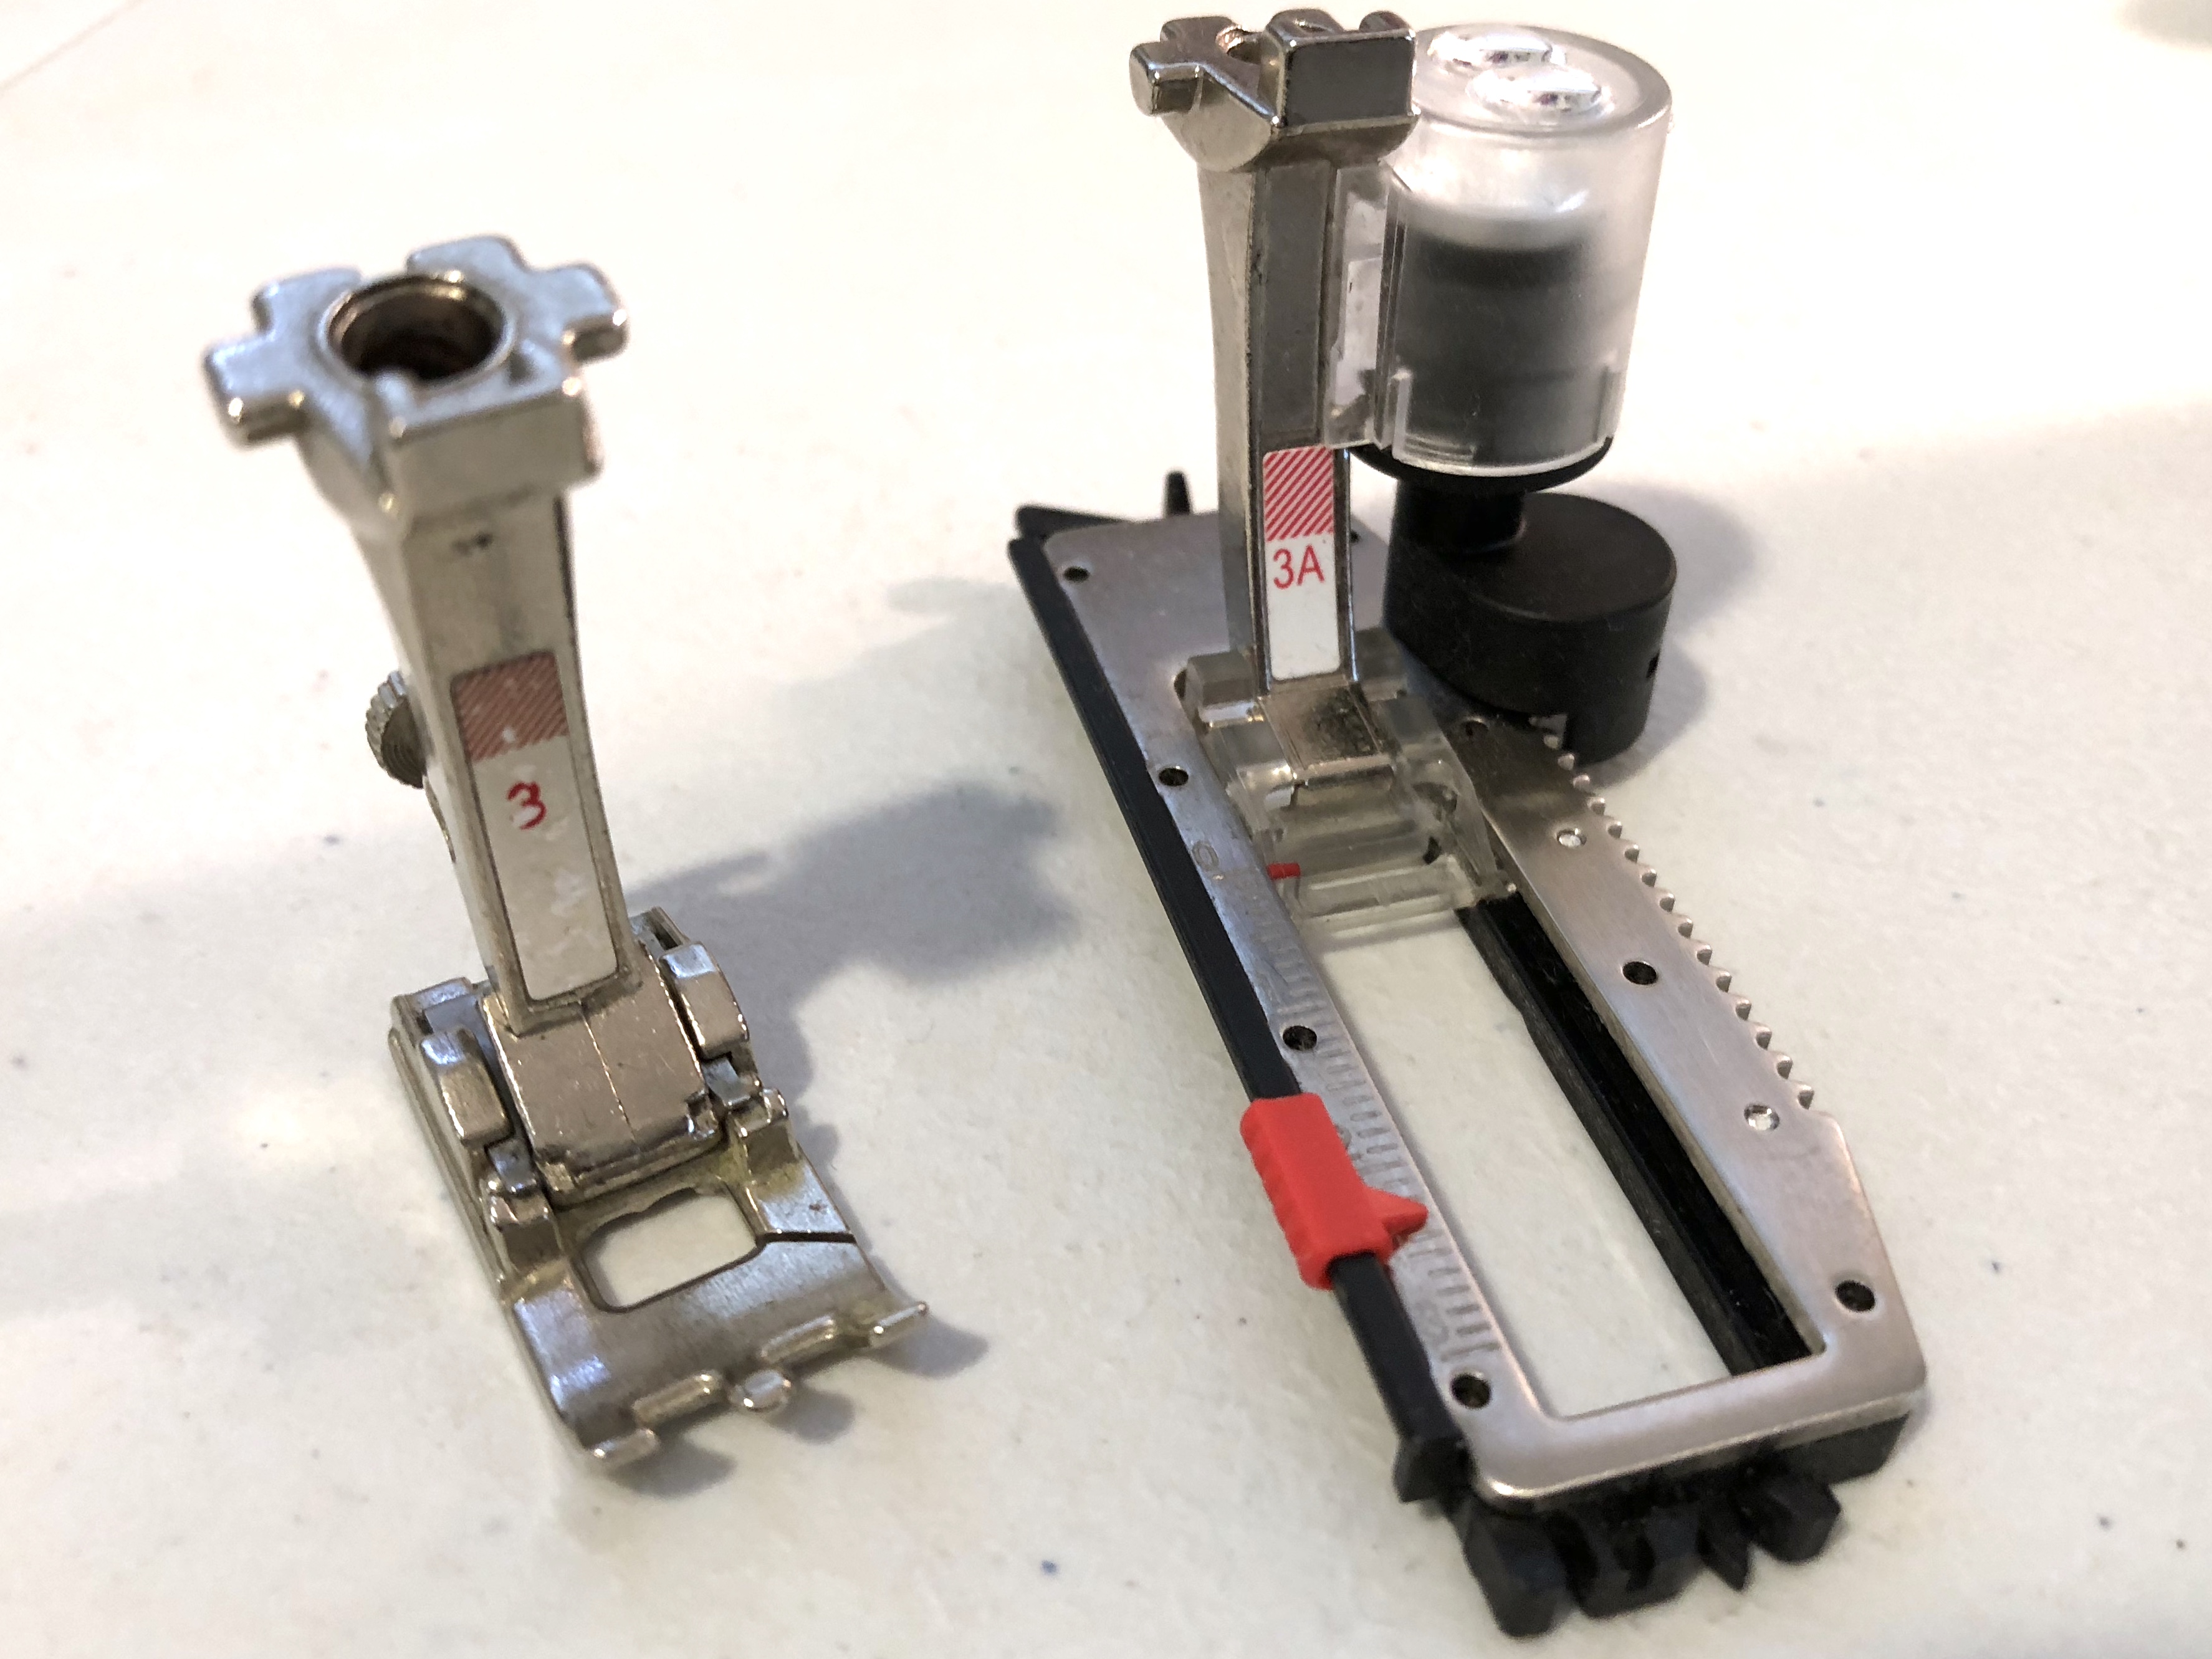
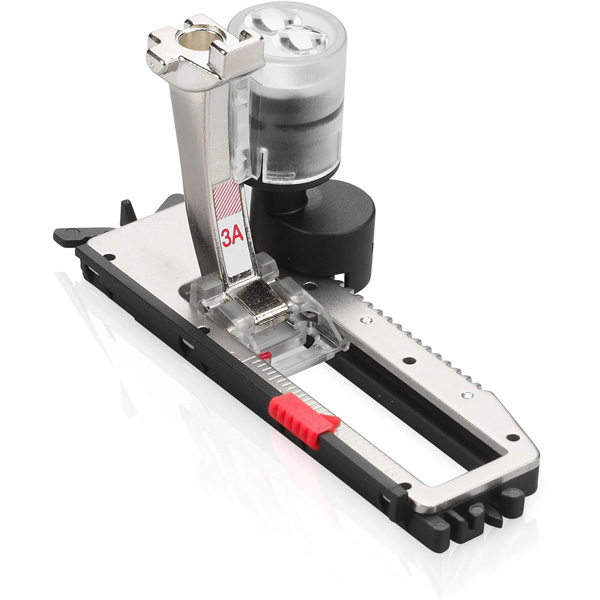
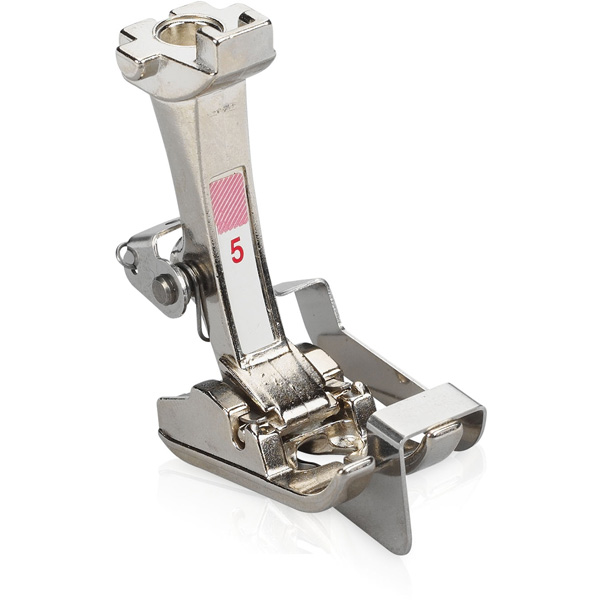
You’re going to use one of the BERNINA Buttonhole feet. And the #10 stitch (on the BERNINA 350 PE).
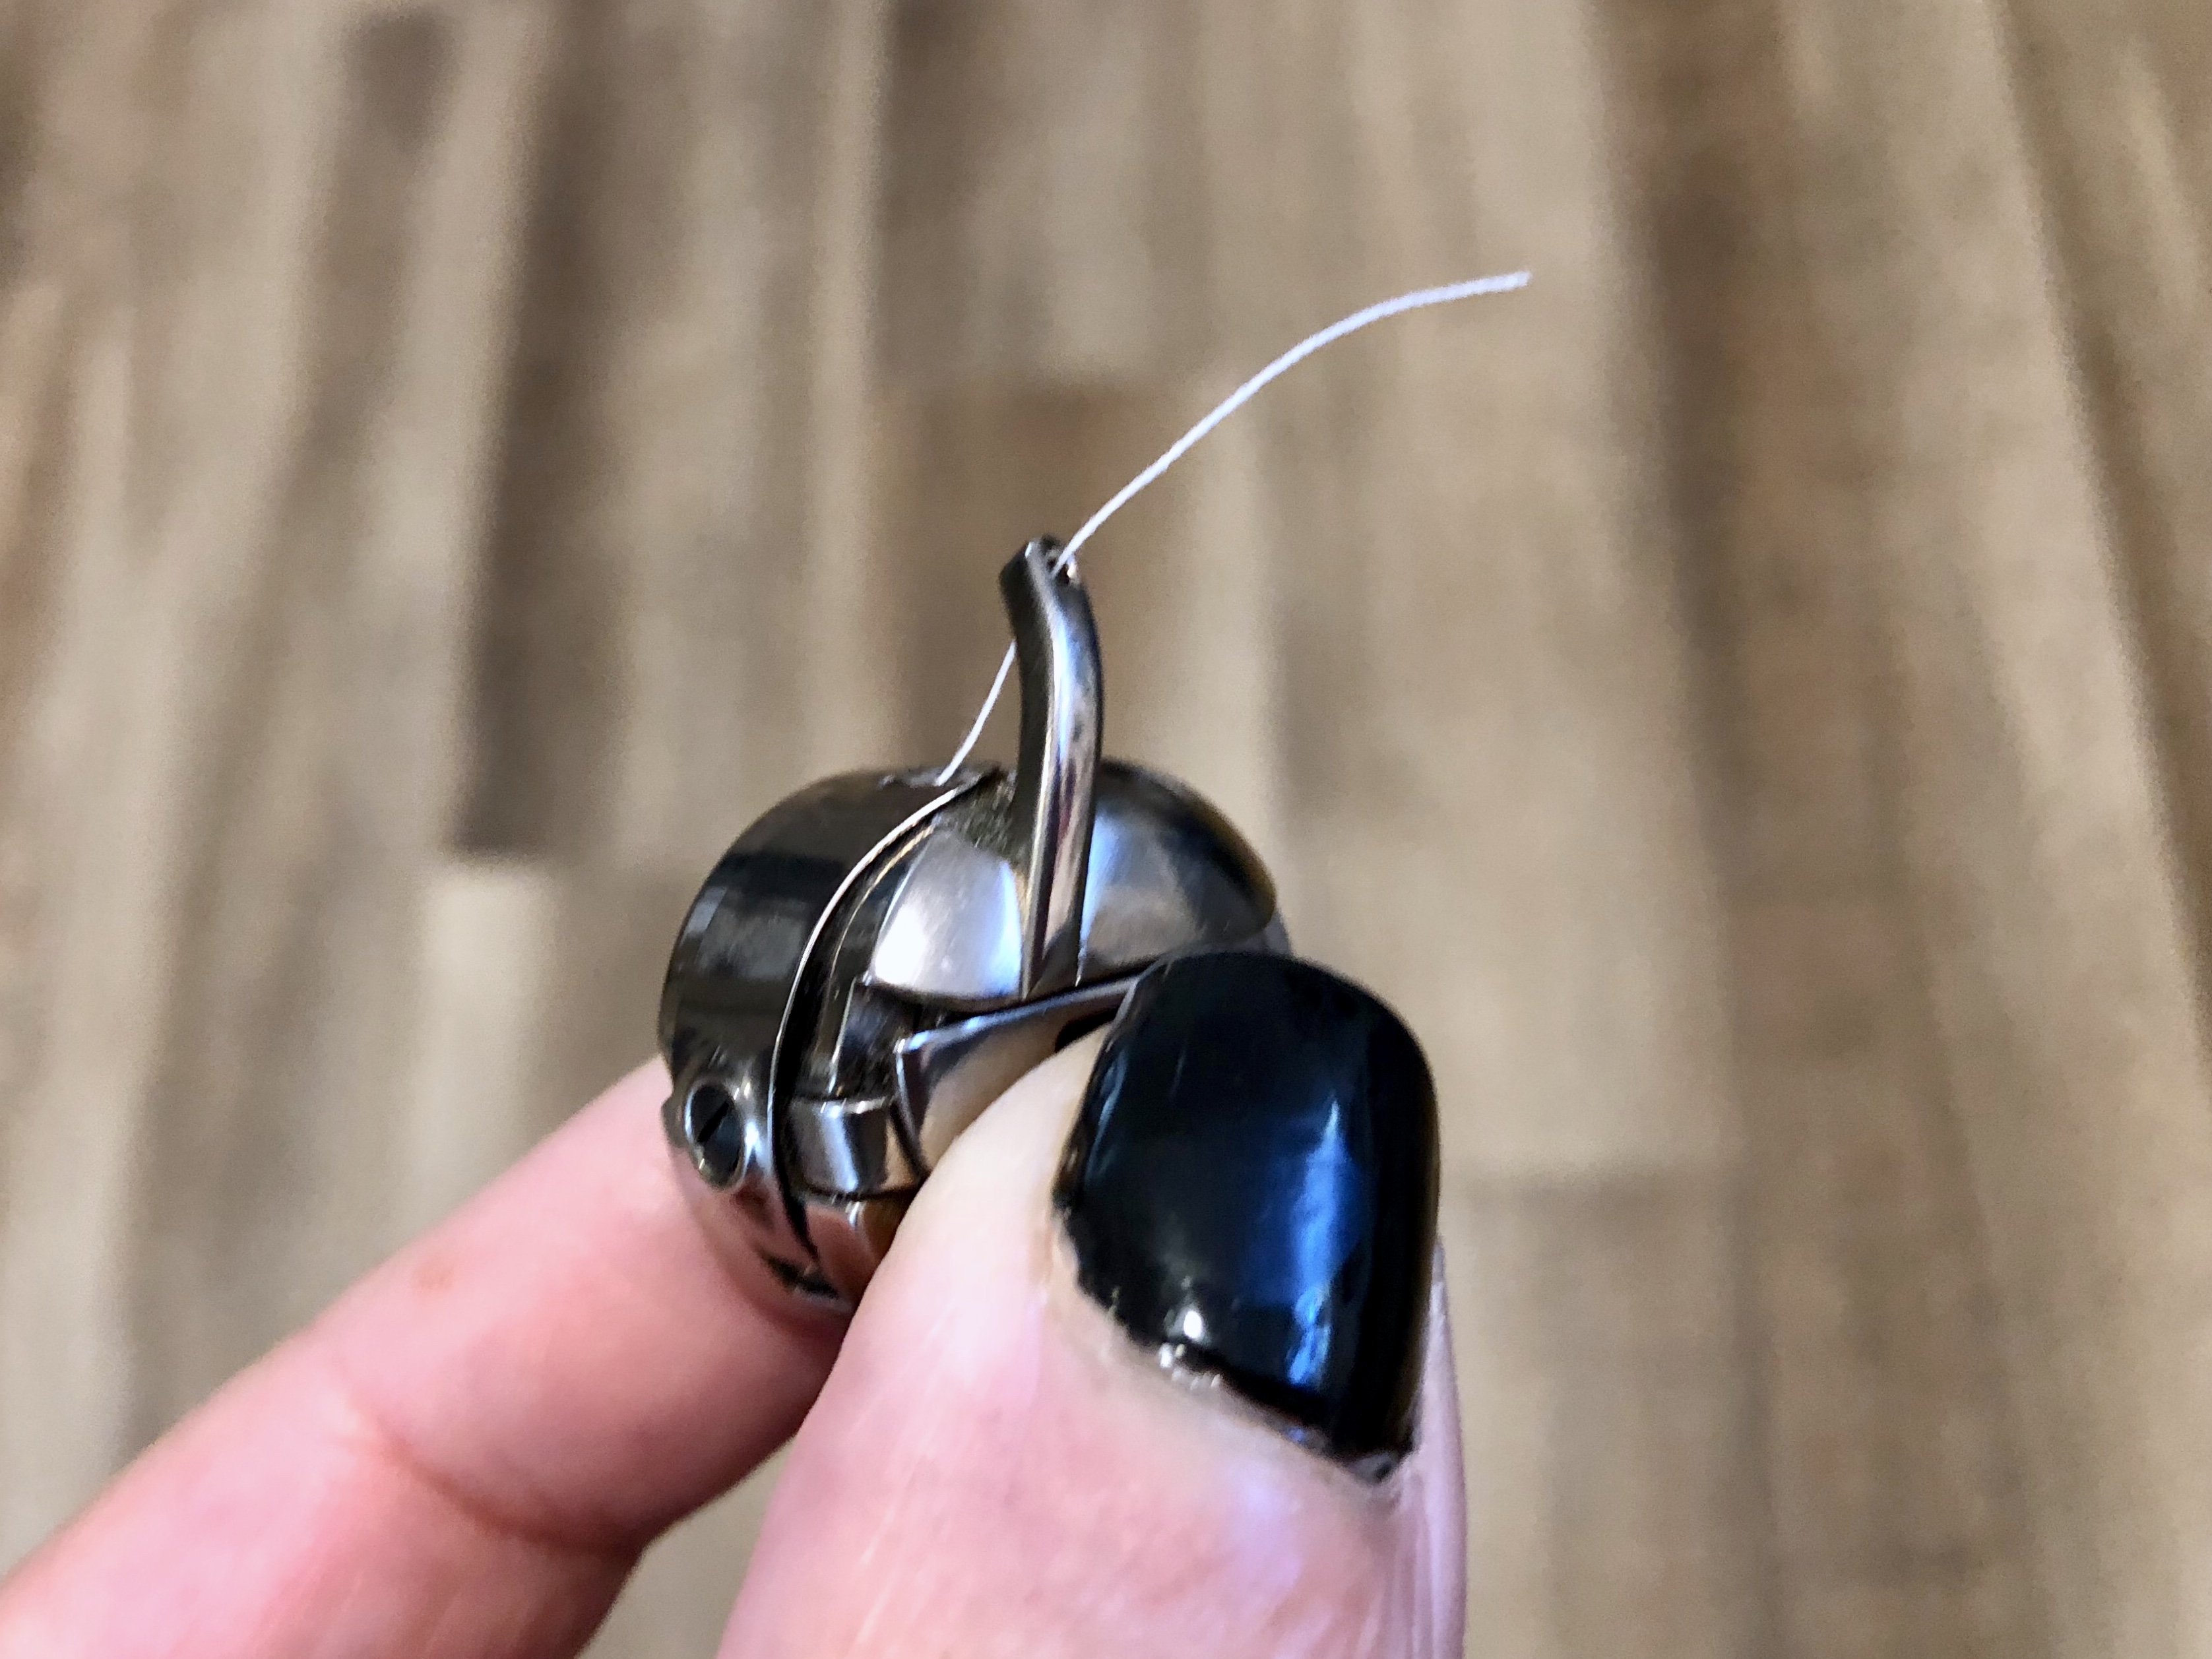
Take out your bobbin case and you need to thread the eye on the finger. This creates more tension in the bobbin thread that will give you a prettier and more raised satin stitches for your buttonholes.


Cut open your buttonholes and make sure to use a product like Dritz Fray Check to prevent the buttonholes from fraying.
Sew on your buttons using the #12 stitch on a BERNINA 350 PE or by hand if using shank style buttons.

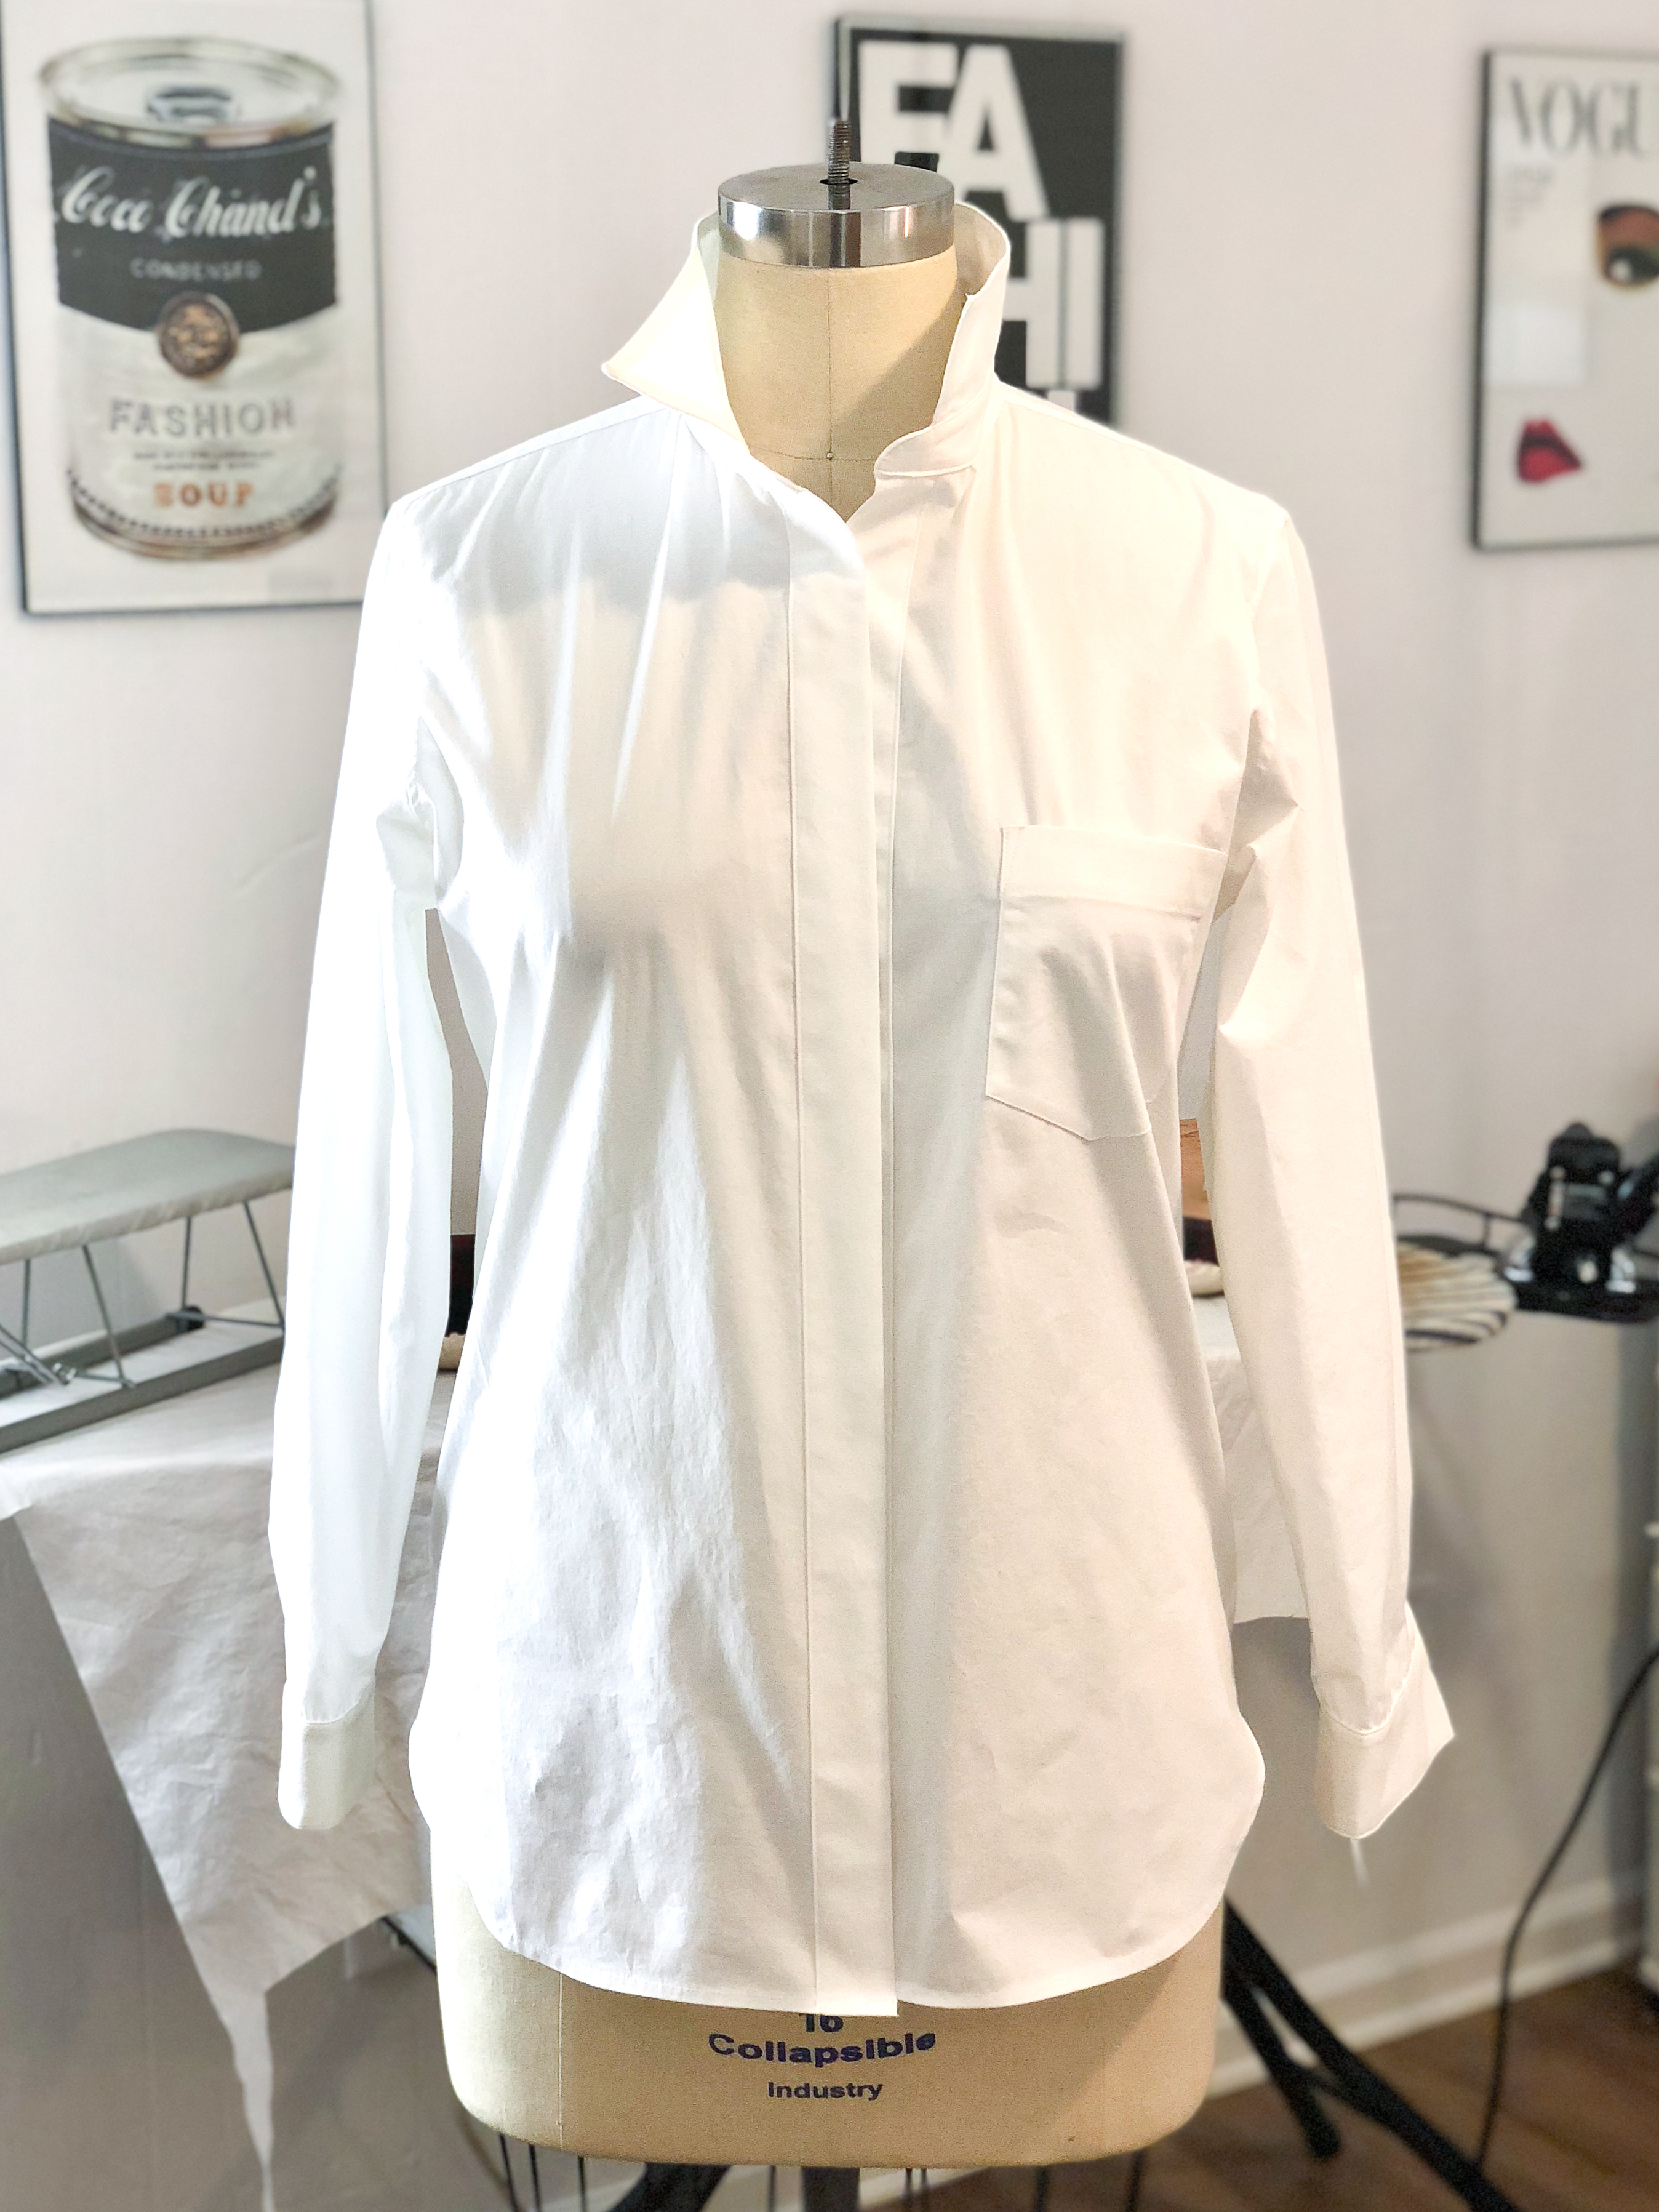
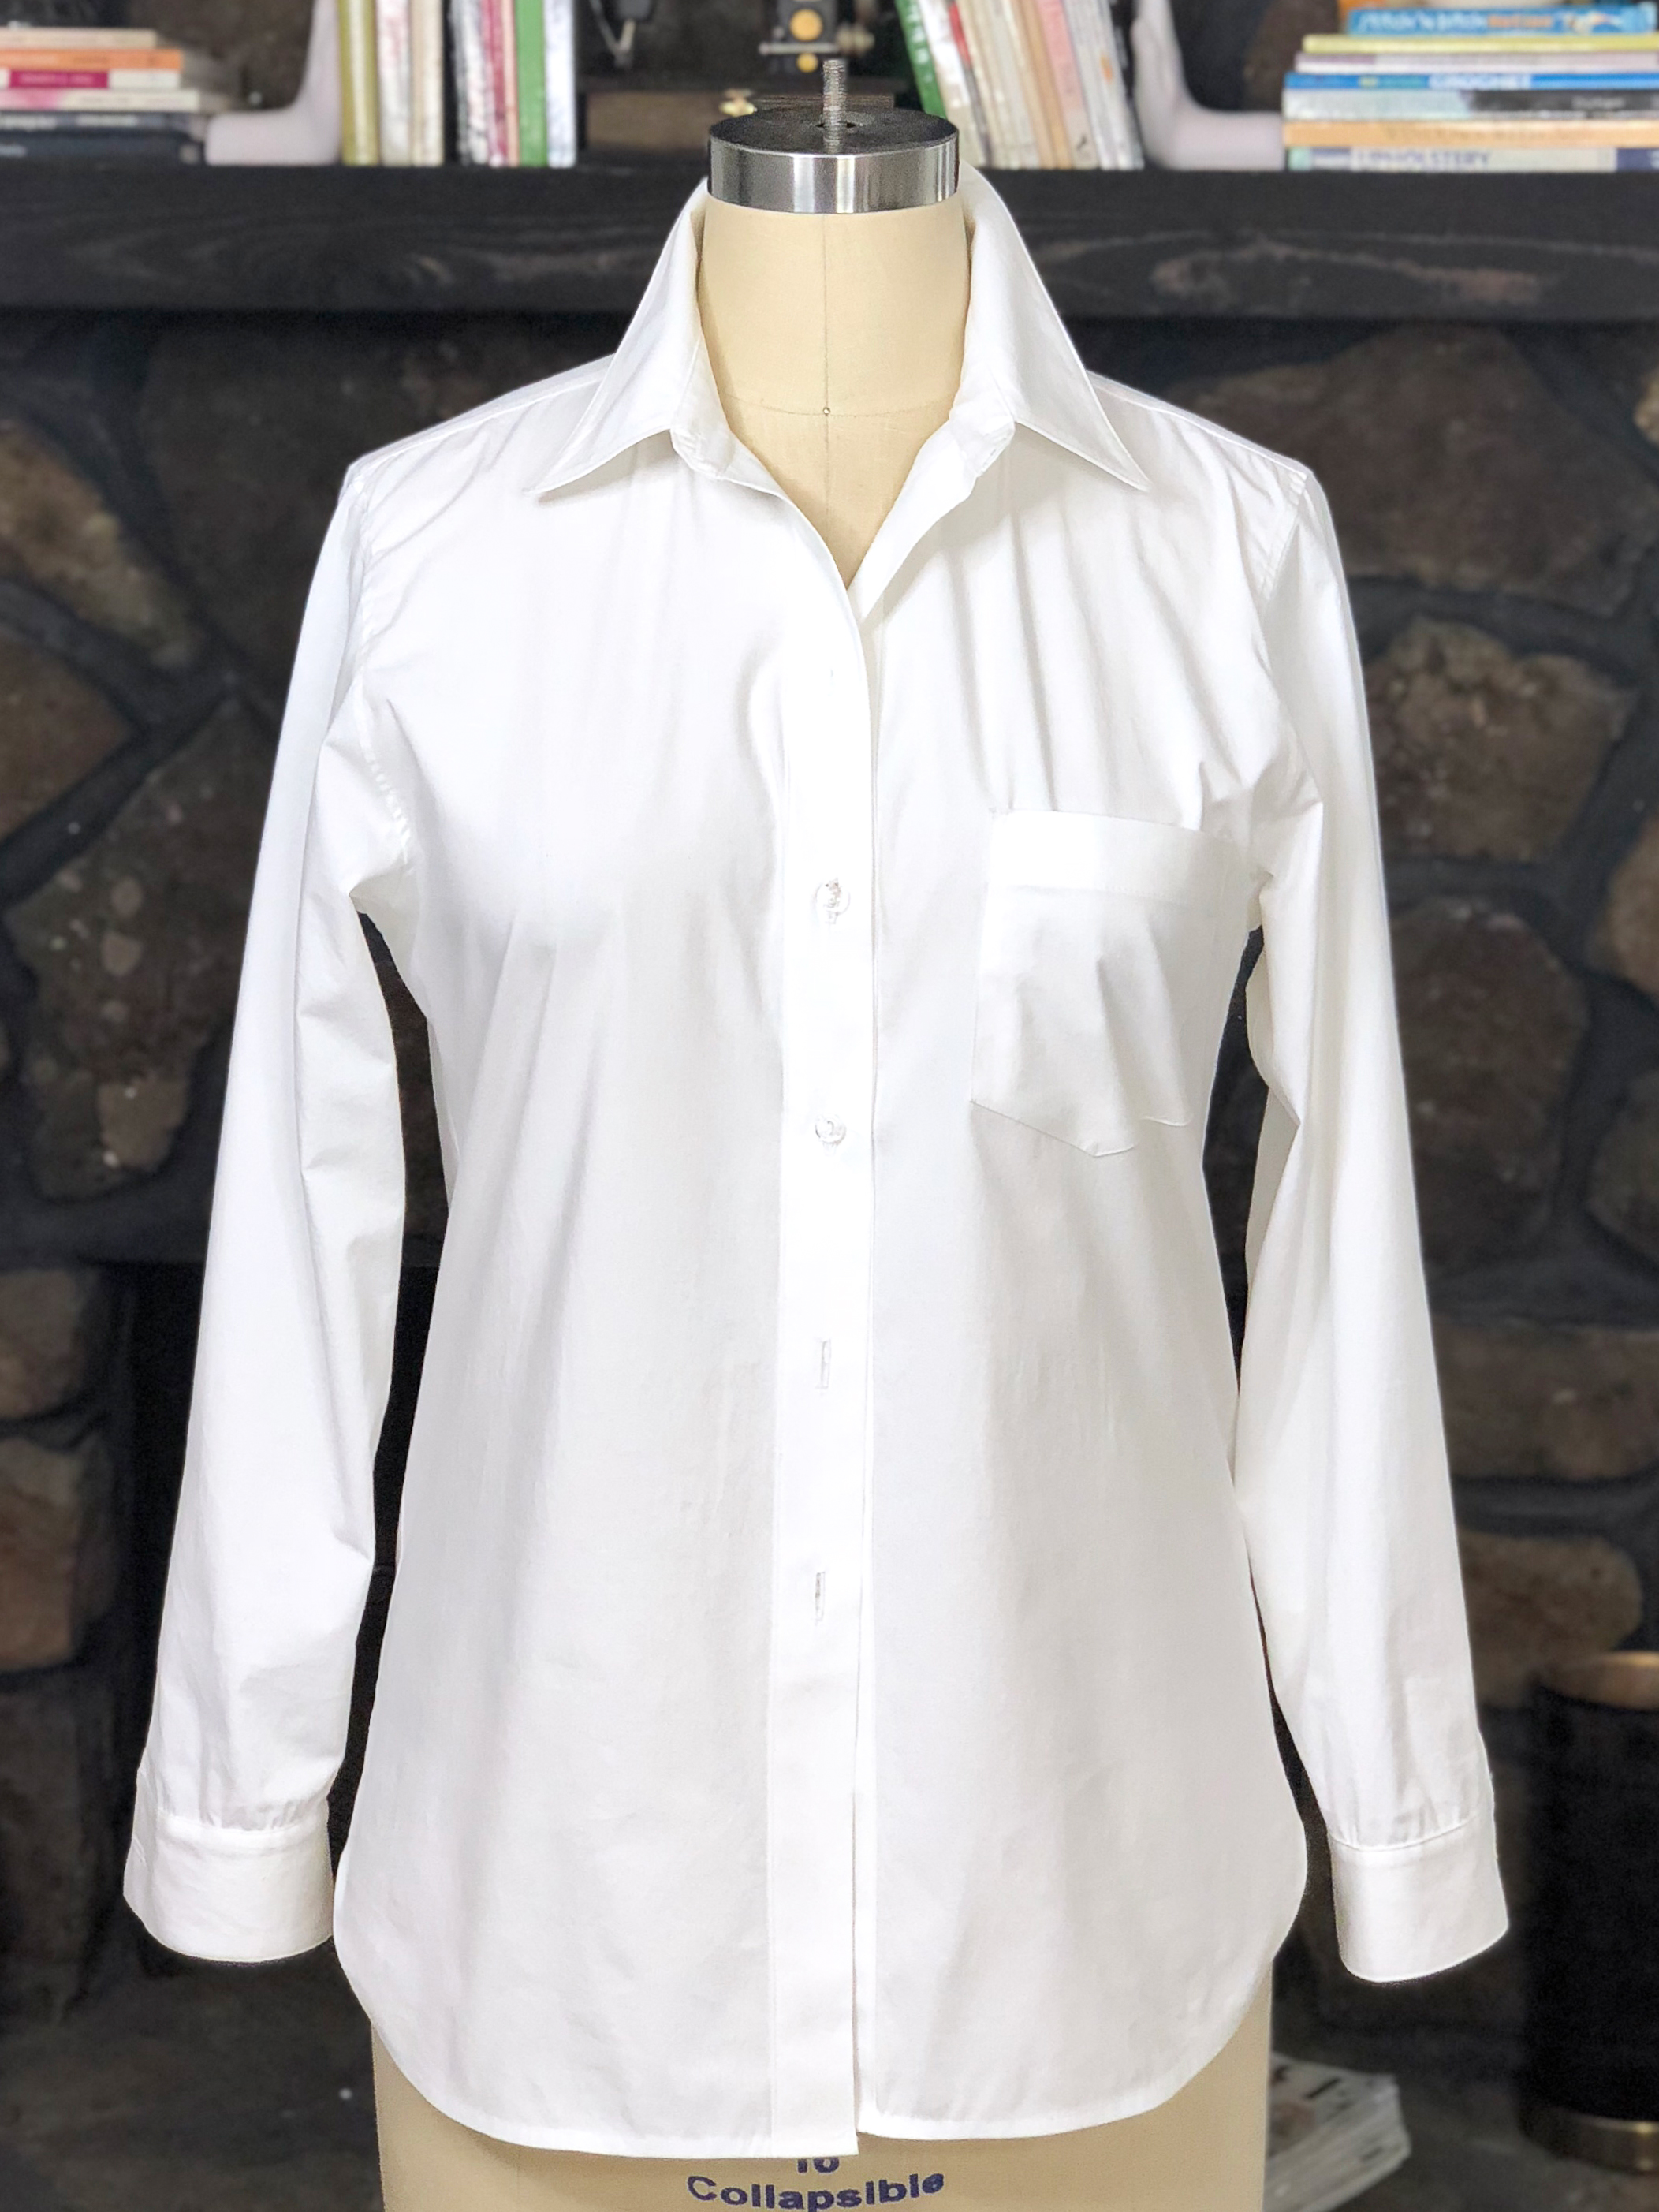
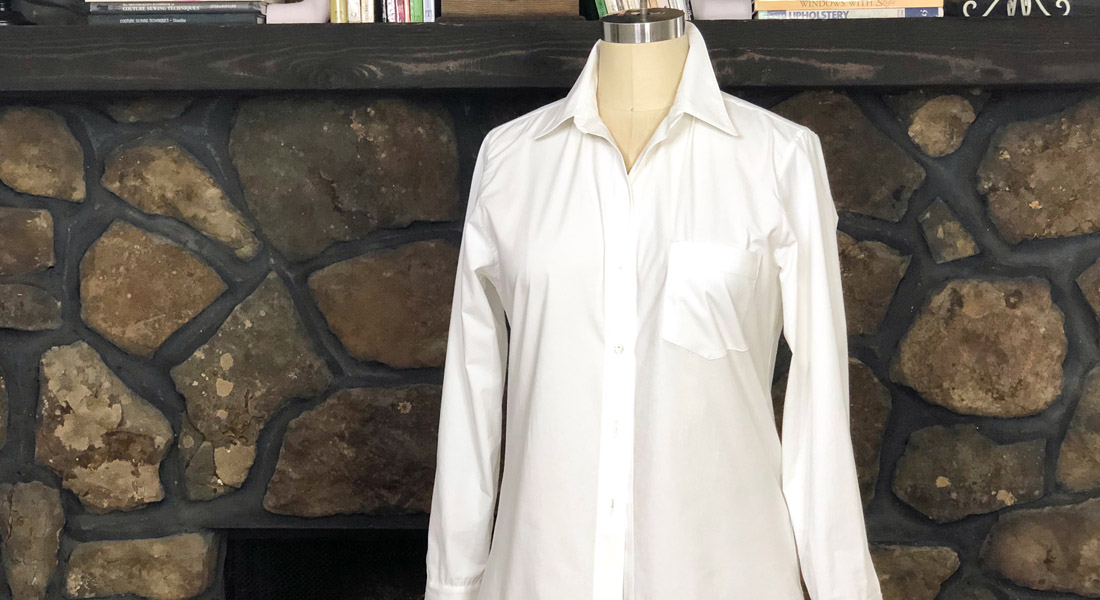
Give your shirt a final press and pat yourself on the back!

Used Products

What you might also like


3 comments on “Classic Button Up Shirt Sew-along: Part 3”
-
-
Thank you, thank you, thank you. Your shirt is so beautiful. I have this Kwik Sew pattern after viewing your instructions I feel confident enough to try it.
-
Love this shirt and it looks so good on you. I enjoy a raised collar. Would you recommend a stiffer interfacing in the collar to do that or keep with the same interfacing as the rest of the shirt?
Leave a Reply
You must be logged in to post a comment.

I love machine embroidery. I like giving Kitchen towel with embroidery