T-Shirt Upcycle: Transform a Crew Neck into a V-Neck
Thinking that it is time to change up that wardrobe a bit? Any t-shirt can be very stylish, but it is time to make it your own by transforming the crew neck neckline into something unique. How about a V-neck?
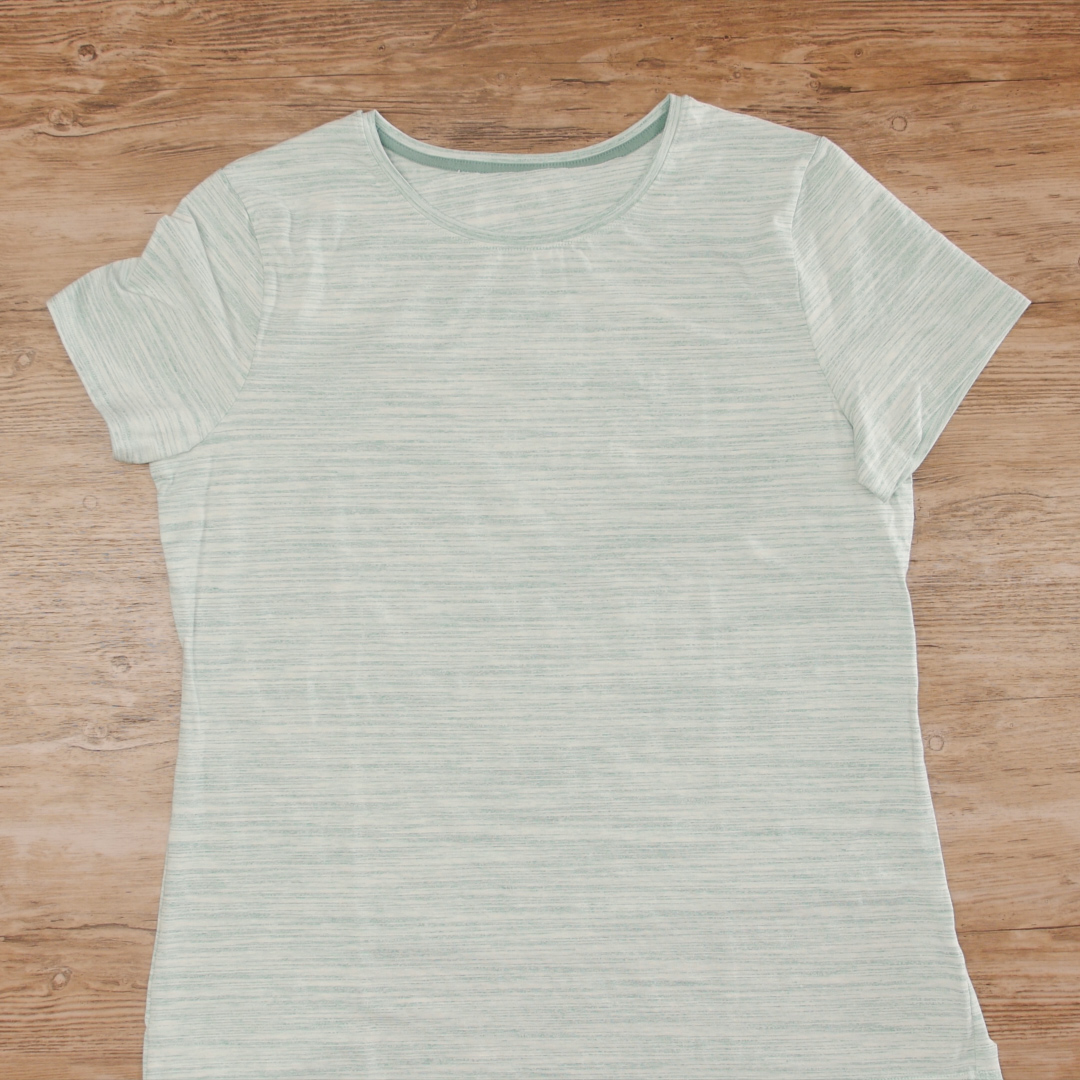
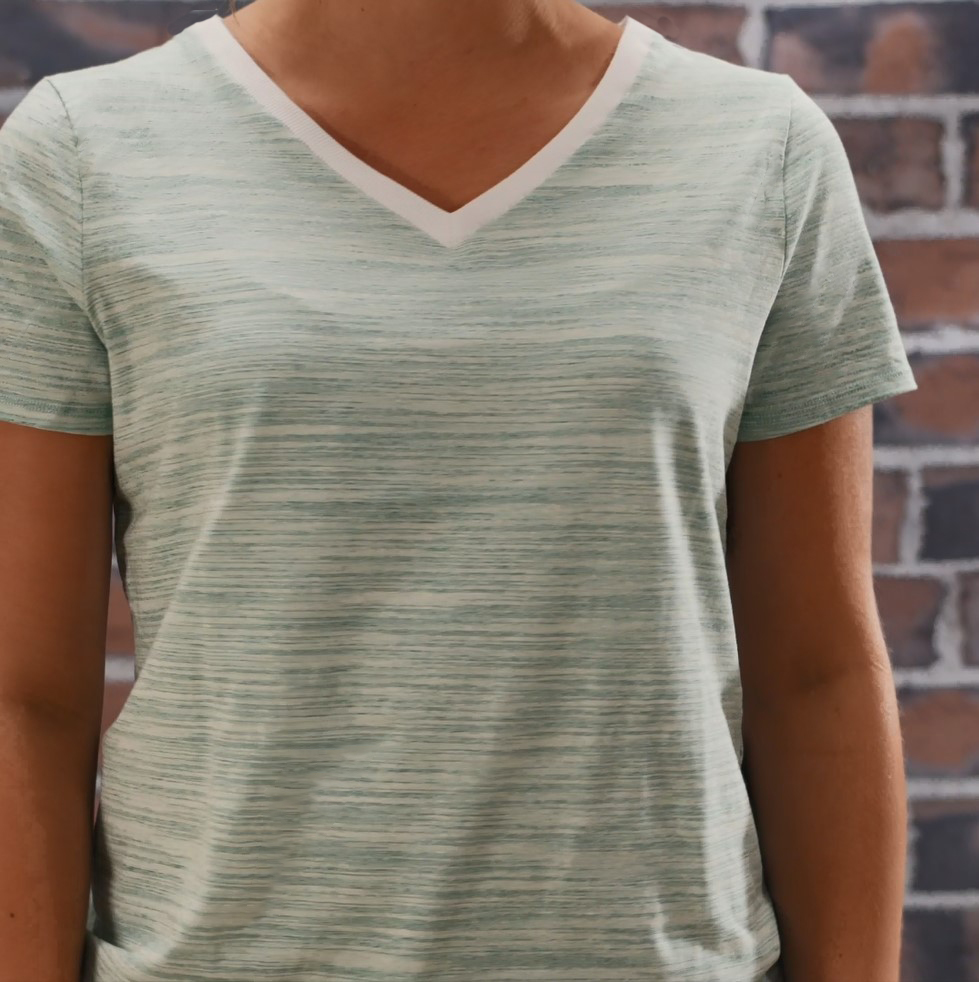
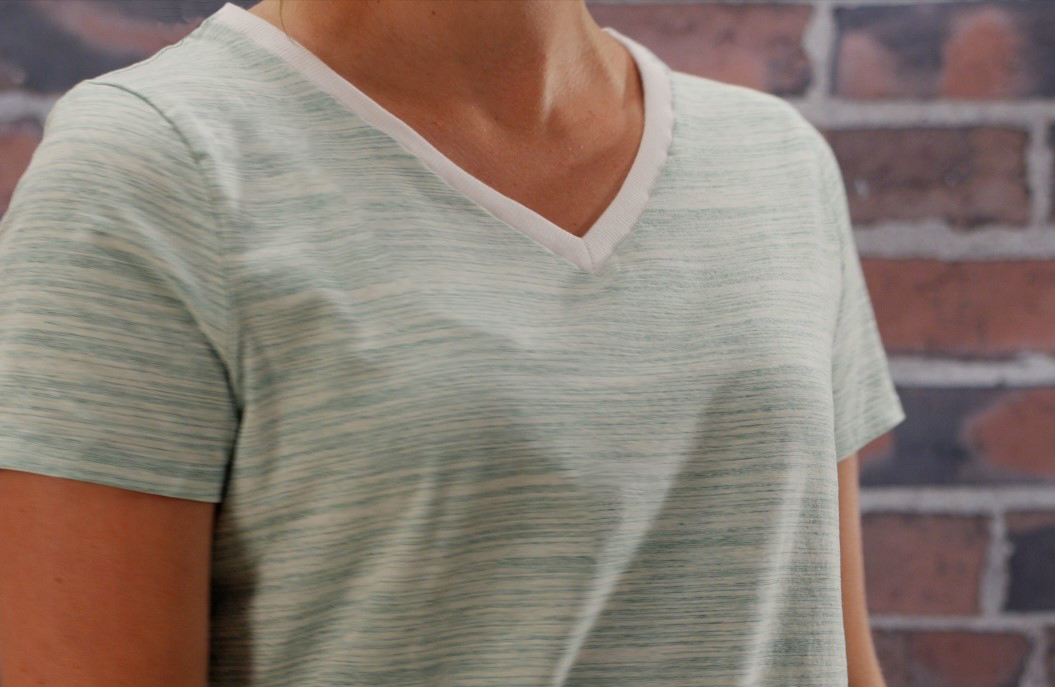
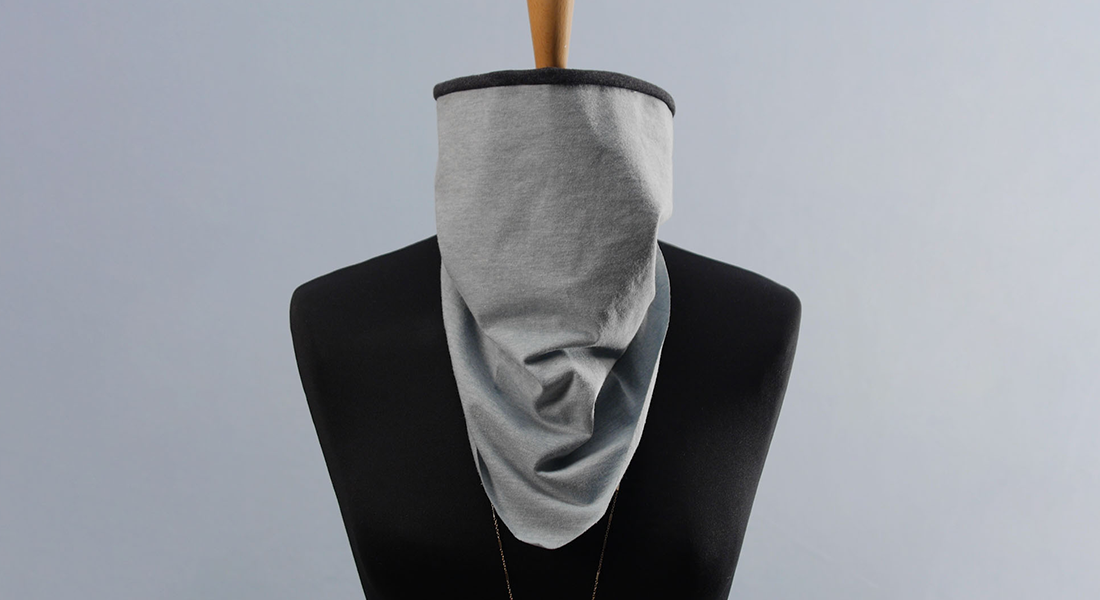
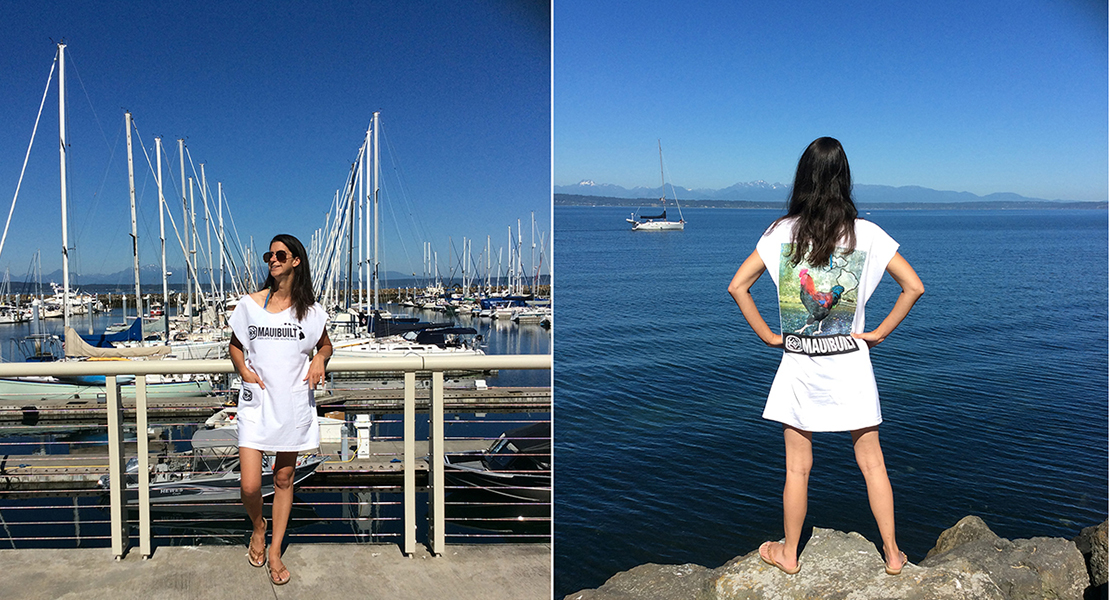
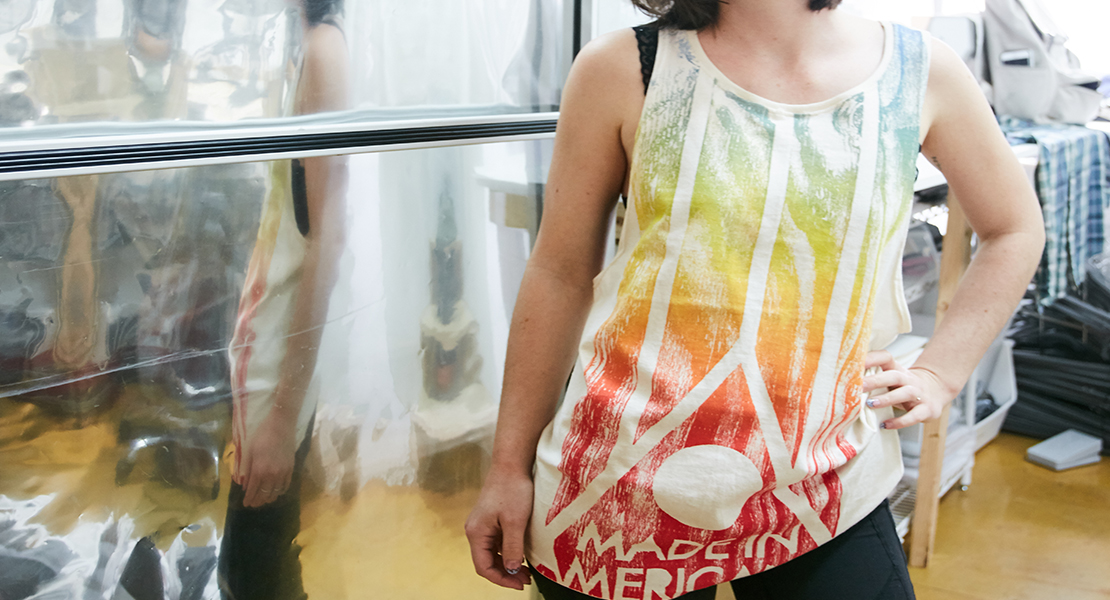
With this tutorial, you can turn this…
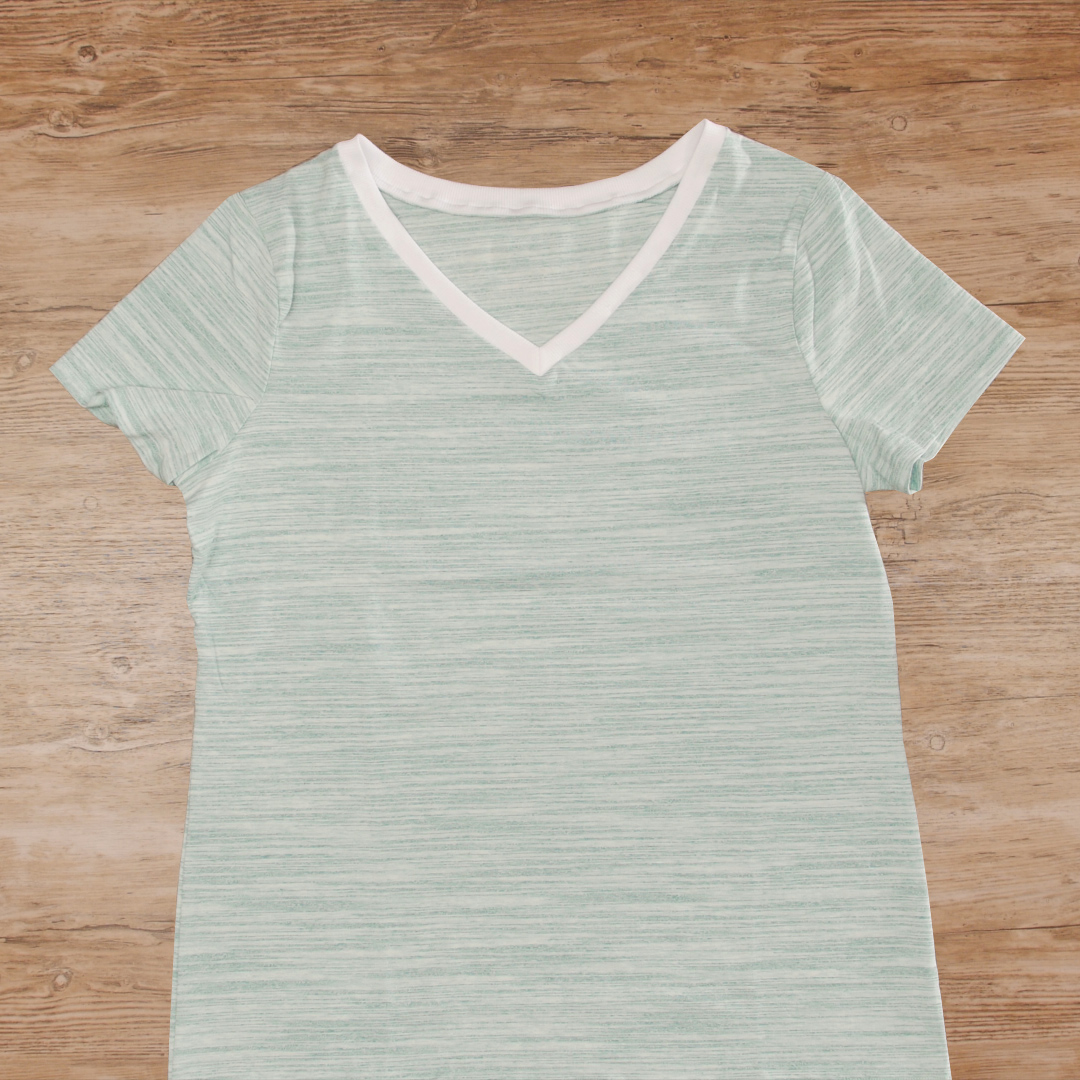
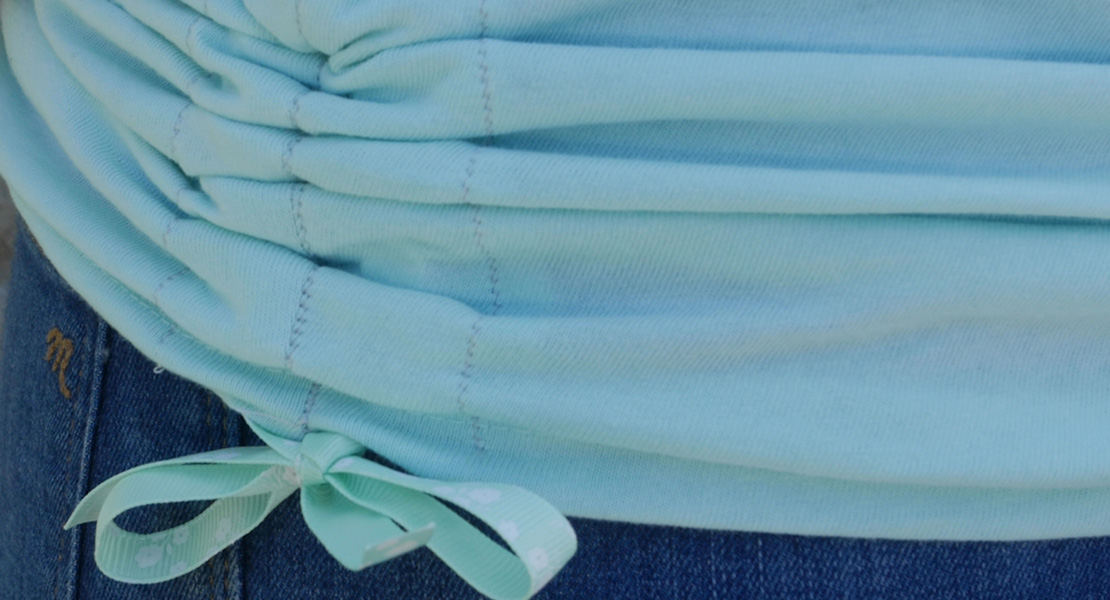
…into this!
The steps are EASY and it should only take about an afternoon to complete.
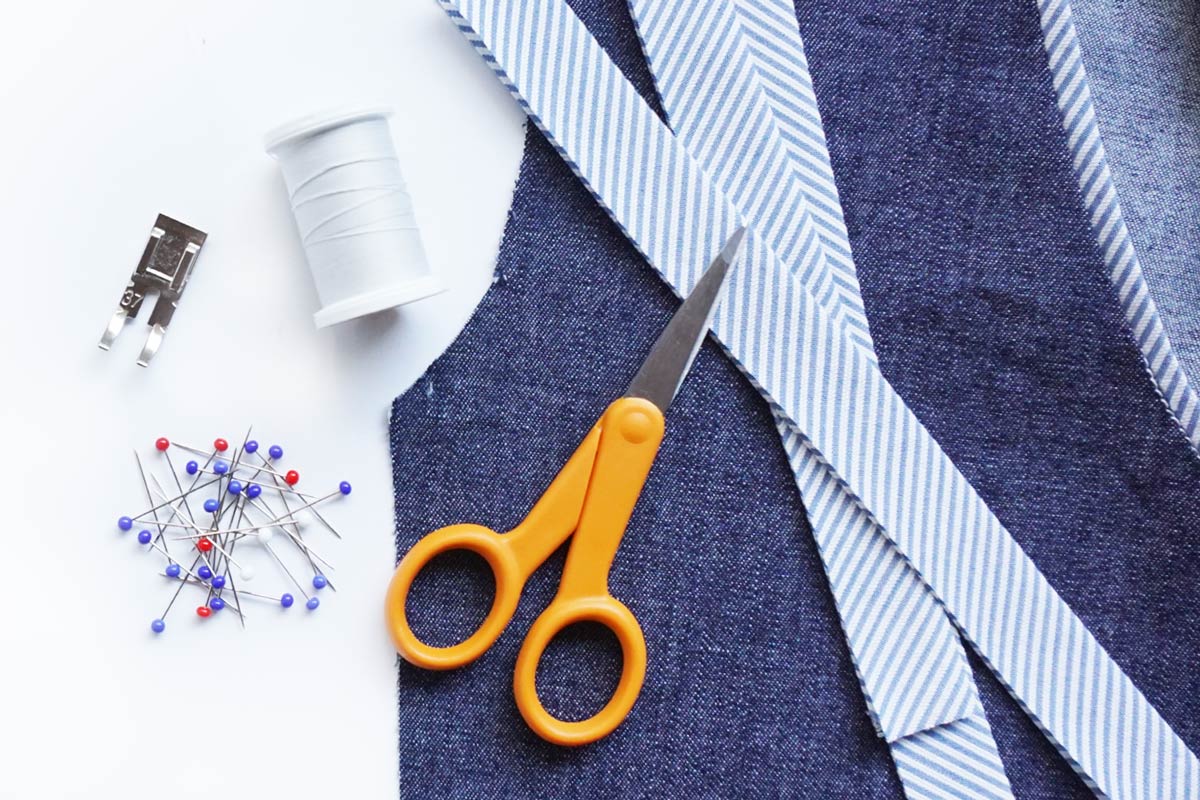
Materials to Upcycle a T-Shirt into a V-Neck:
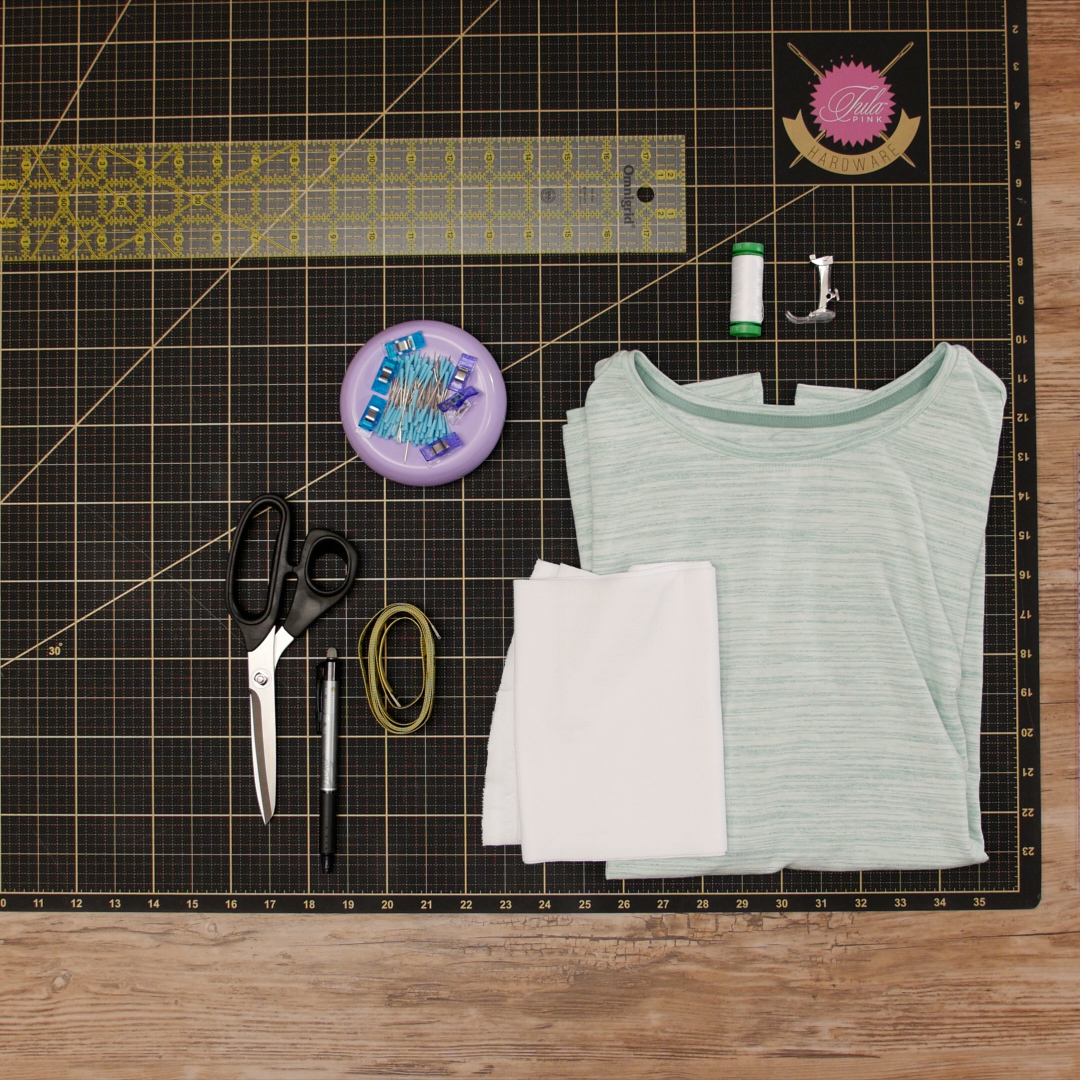
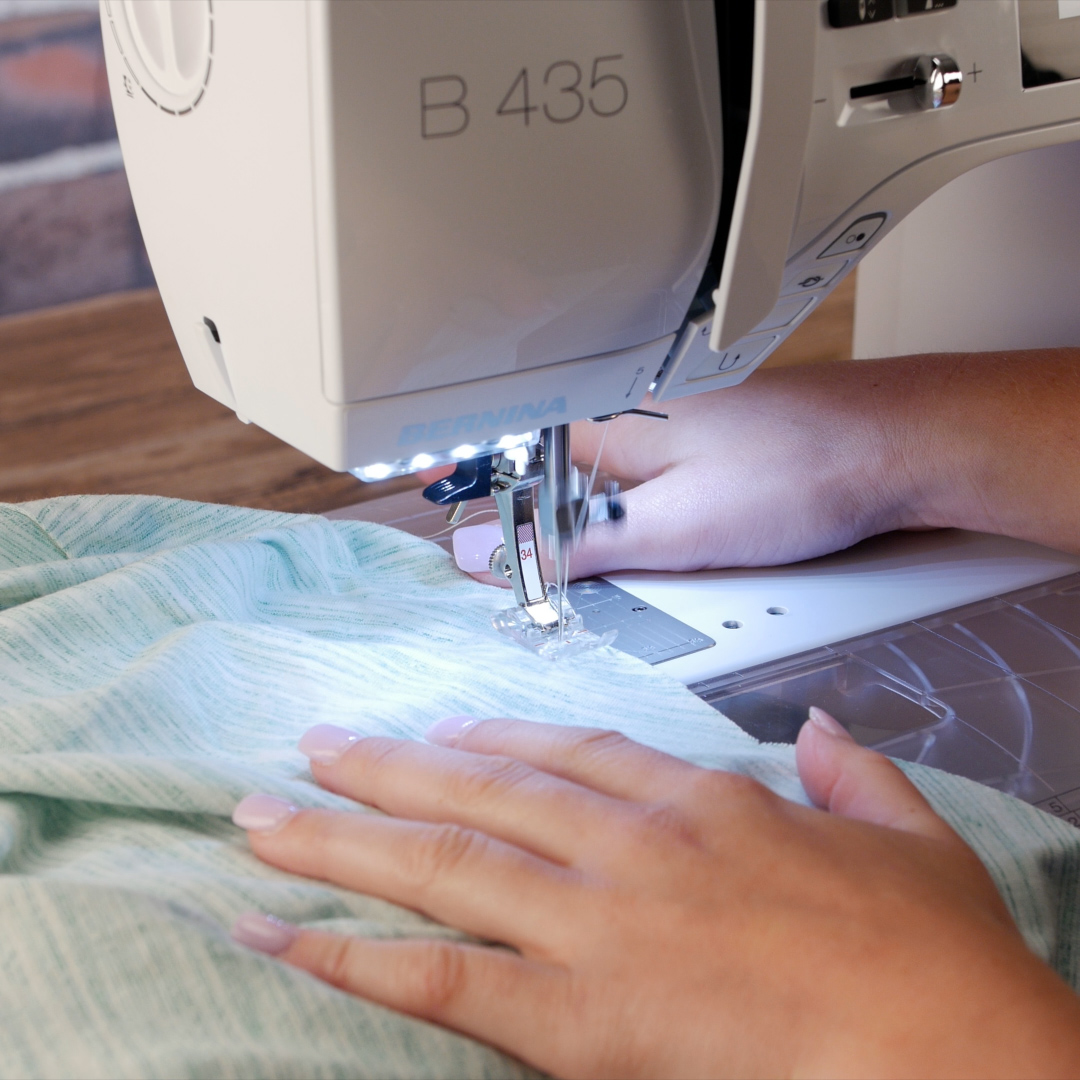
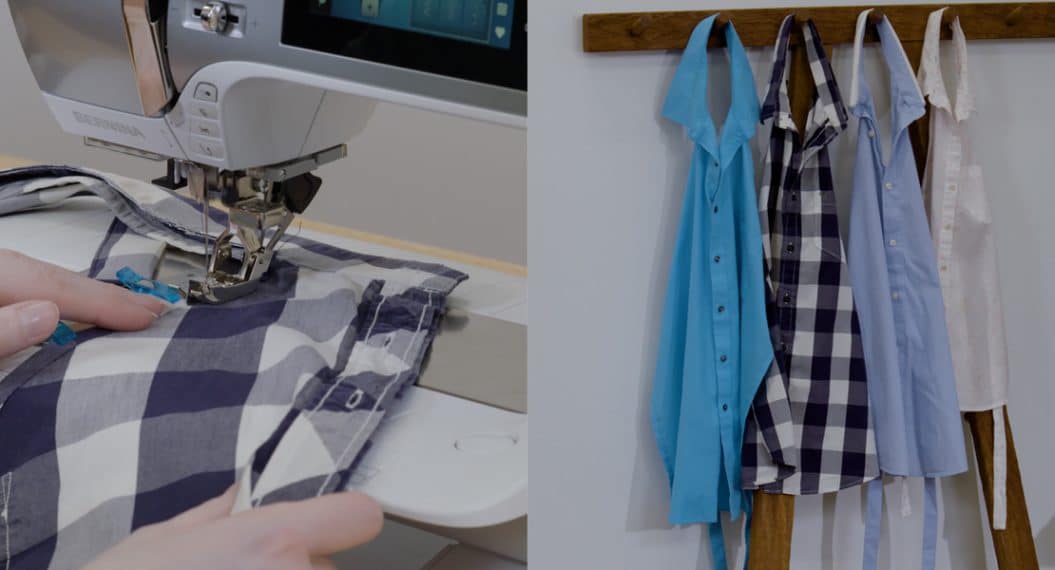
- BERNINA 435
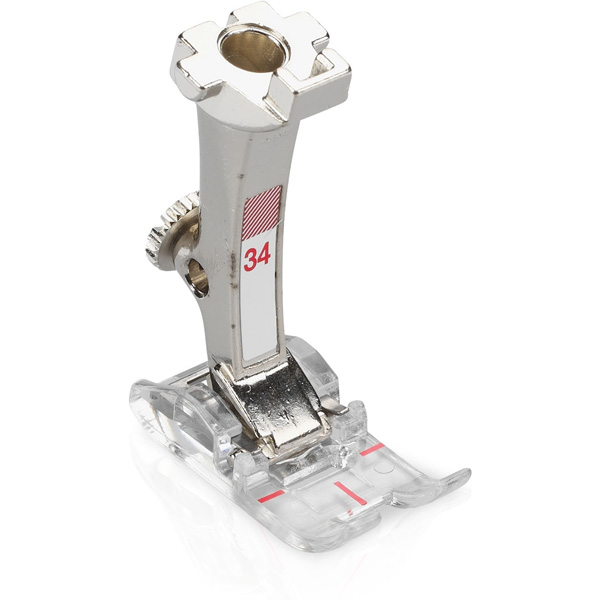
- Reverse-pattern foot with clear-sole #34
- Size 80/12 Universal needle
- Coordinating thread
- Crew neck t-shirt that needs an updo
- Rib knit, color of choice
- Tape measure
- KAI scissors
- Rotary cutter
- Ruler
- Chalk or erasable marker (I prefer FriXion pens)
- Pins or Wonder Clips
- Pressing ham
- LAURASTAR iron
Steps to Upcycle a T-Shirt into a V-Neck:
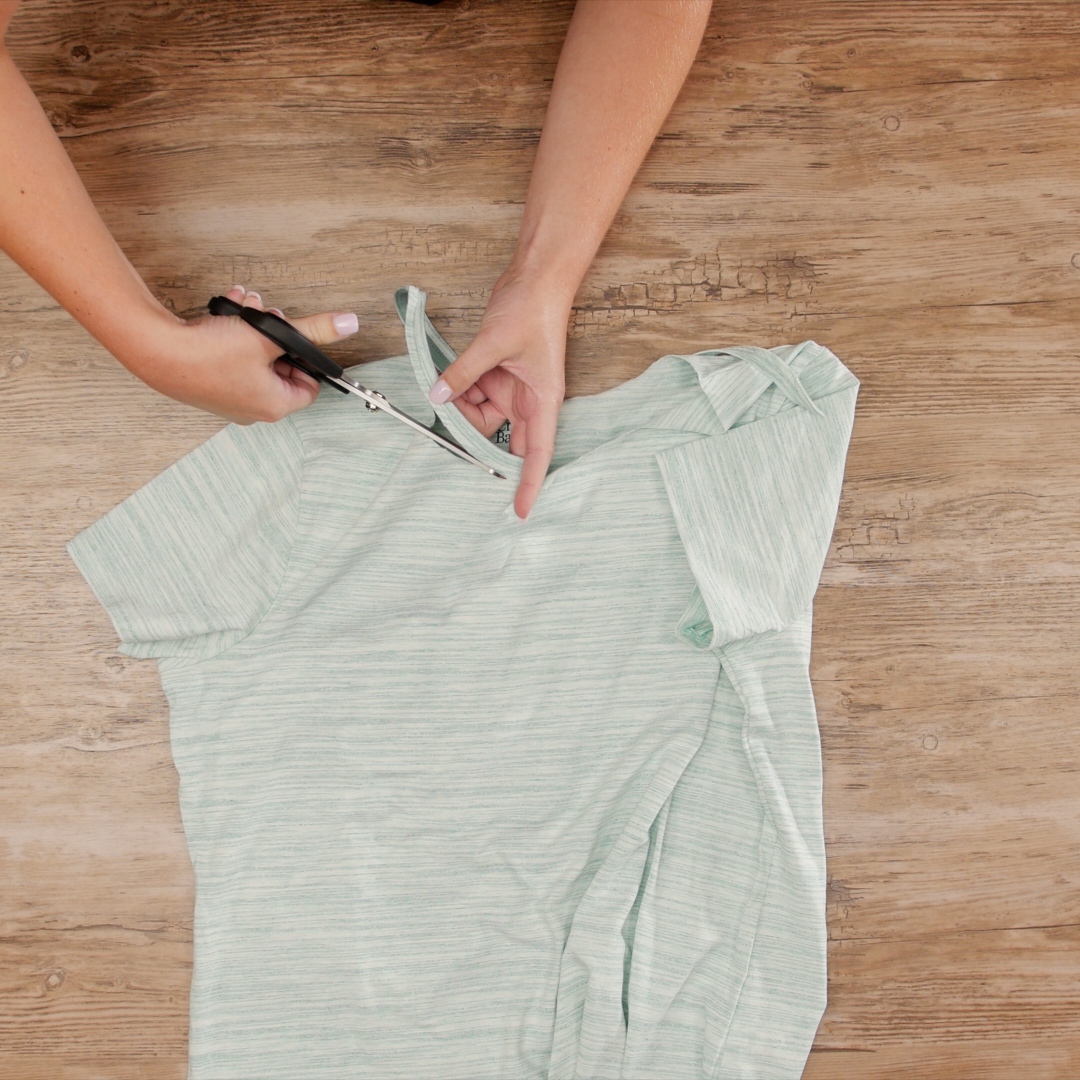
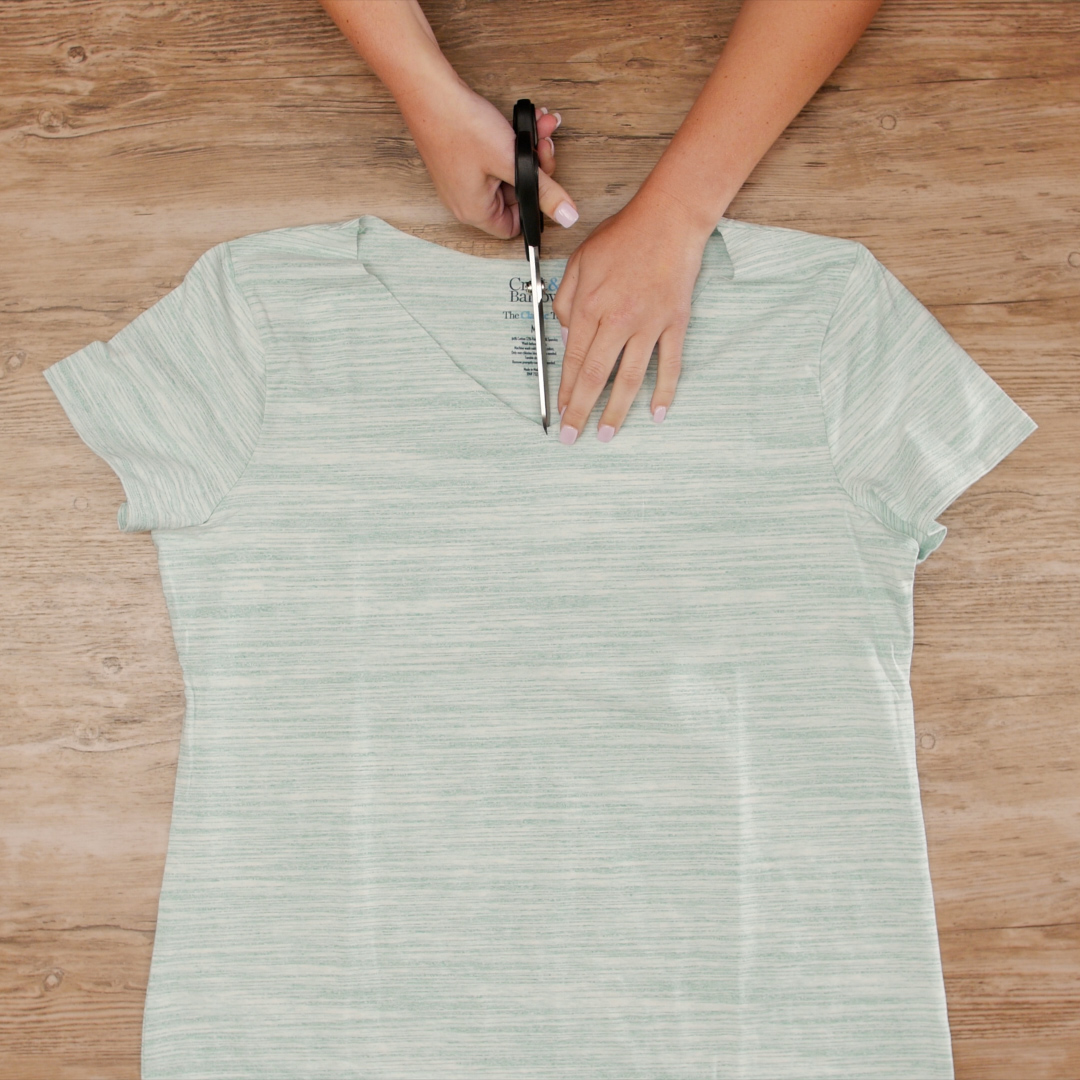
First, using scissors, cut off the band around the existing neckline. Cut just beyond the topstitching to create a clean edge for the steps that follow. The neckline that was just cut off can be discarded.
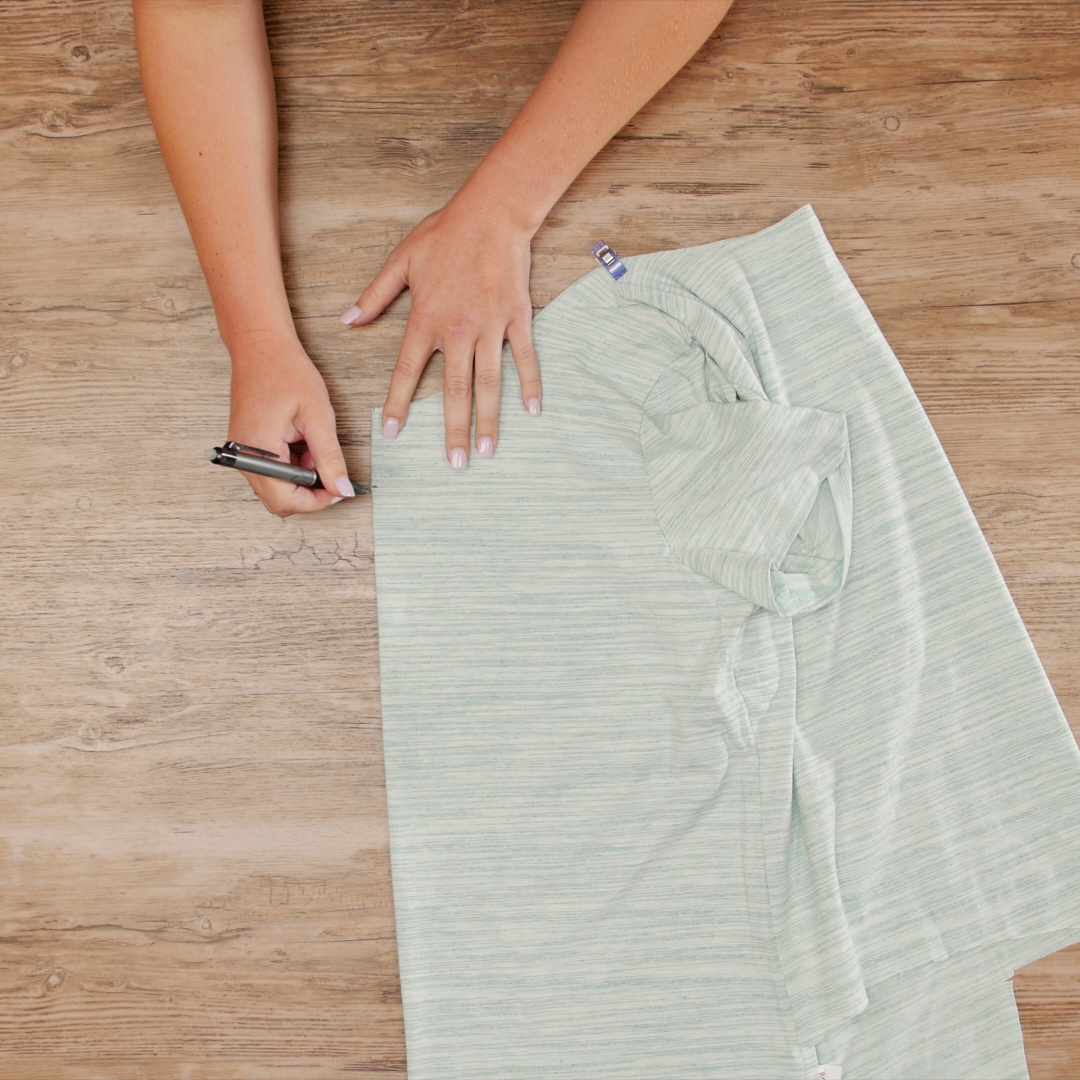
Fold the shirt in half lengthwise and lay it flat on the table. In the center front on the fold, measure down 2” and mark the point with chalk or erasable marker. With the shirt still folded, draw a line from the marked point to the shoulder seam, creating the new neckline. When drawing this new neckline, add a bit of a curve to make it look natural. If you are not comfortable free-hand drawing the line, try using a ruler.
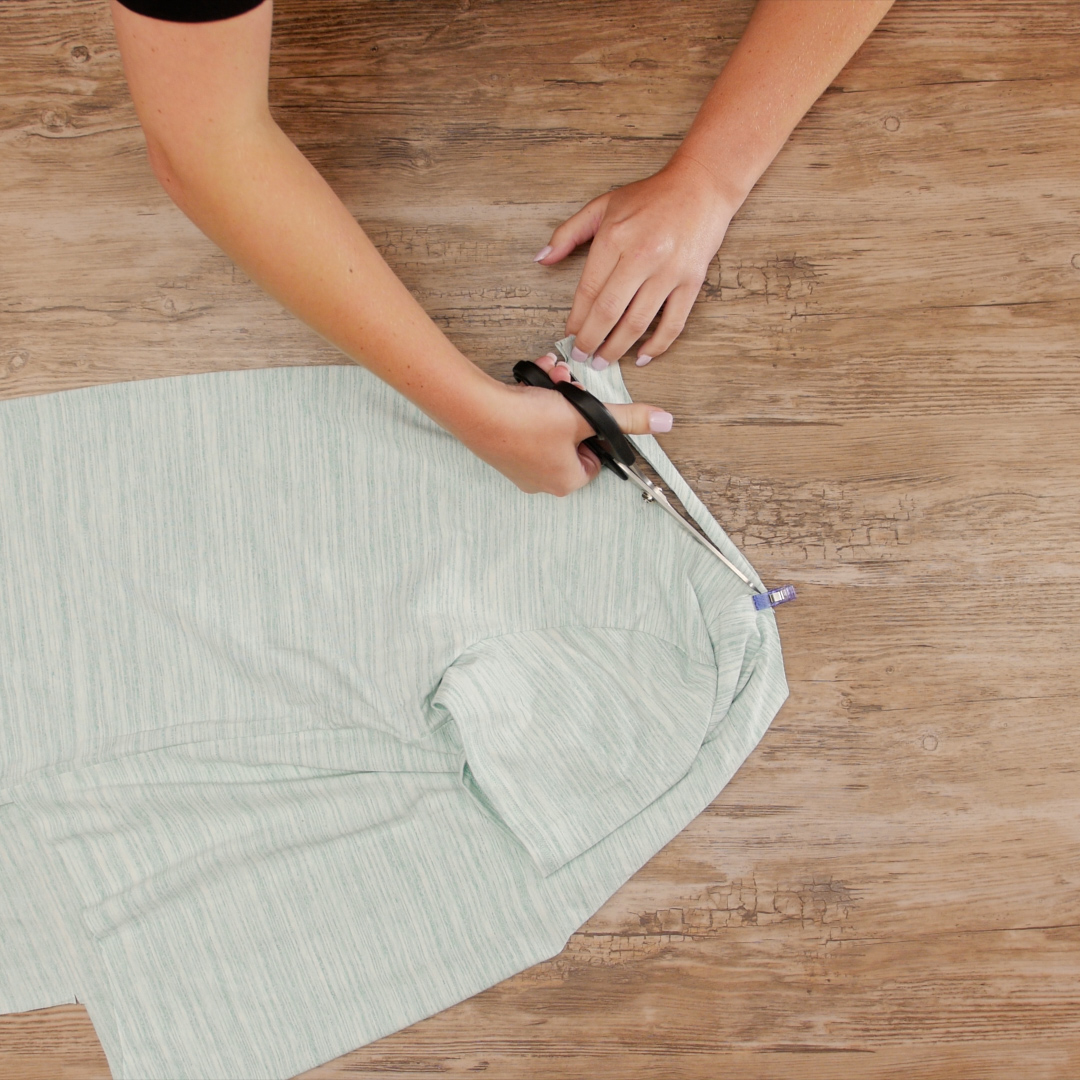
Using scissors again, cut along the line just drawn from the centerfold to the shoulder seam. Be sure to cut through both layers.
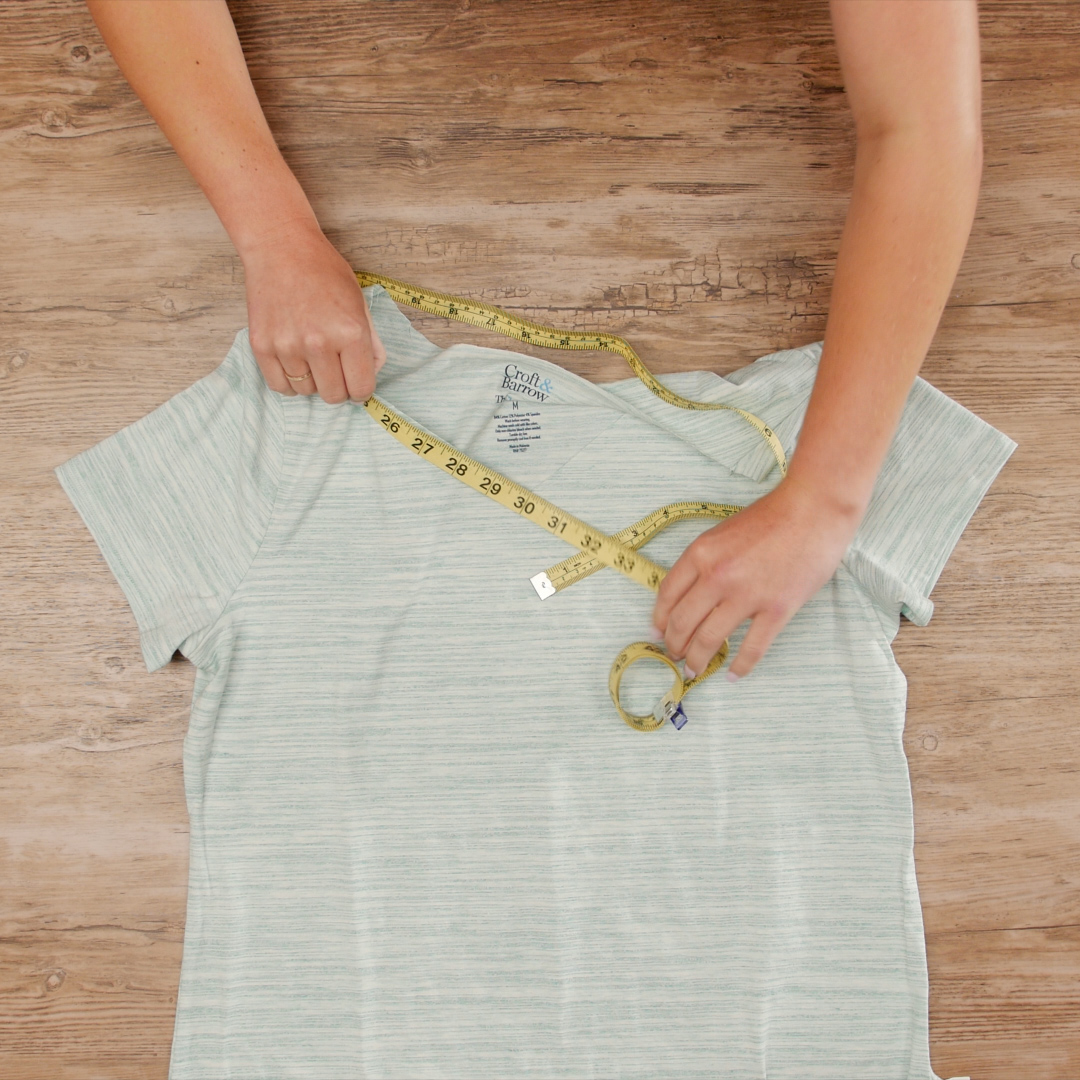
Grab a tape measure and measure the circumference of the neckline just created. I found it easiest to measure starting at the cut angle in the center front. Take your time measuring this. Move slowly around the neckline. Record the measurement.
With the new neckline measured, it is time to cut the rib knit needed to make the new neckline. Here is how to determine the length and width of material needed:
Length: Neckline circumference minus (-) 3” = length needed. Typically rib knit is stretched to fit the shape of the piece it is being added to. This is what causes that collar to stand up, and why we have to subtract those 3”.
Width: You can use whatever width you desire. Note that the band will be folded in half and a ¼” seam allowance will be used to sew it to the shirt. Also keep in mind that when cutting, the ribs in the fabric will need to run perpendicular to the neckline edge.
My circumference measured 30” and I wanted a wider band, so that made my cut measurements 27” L x 2” W.
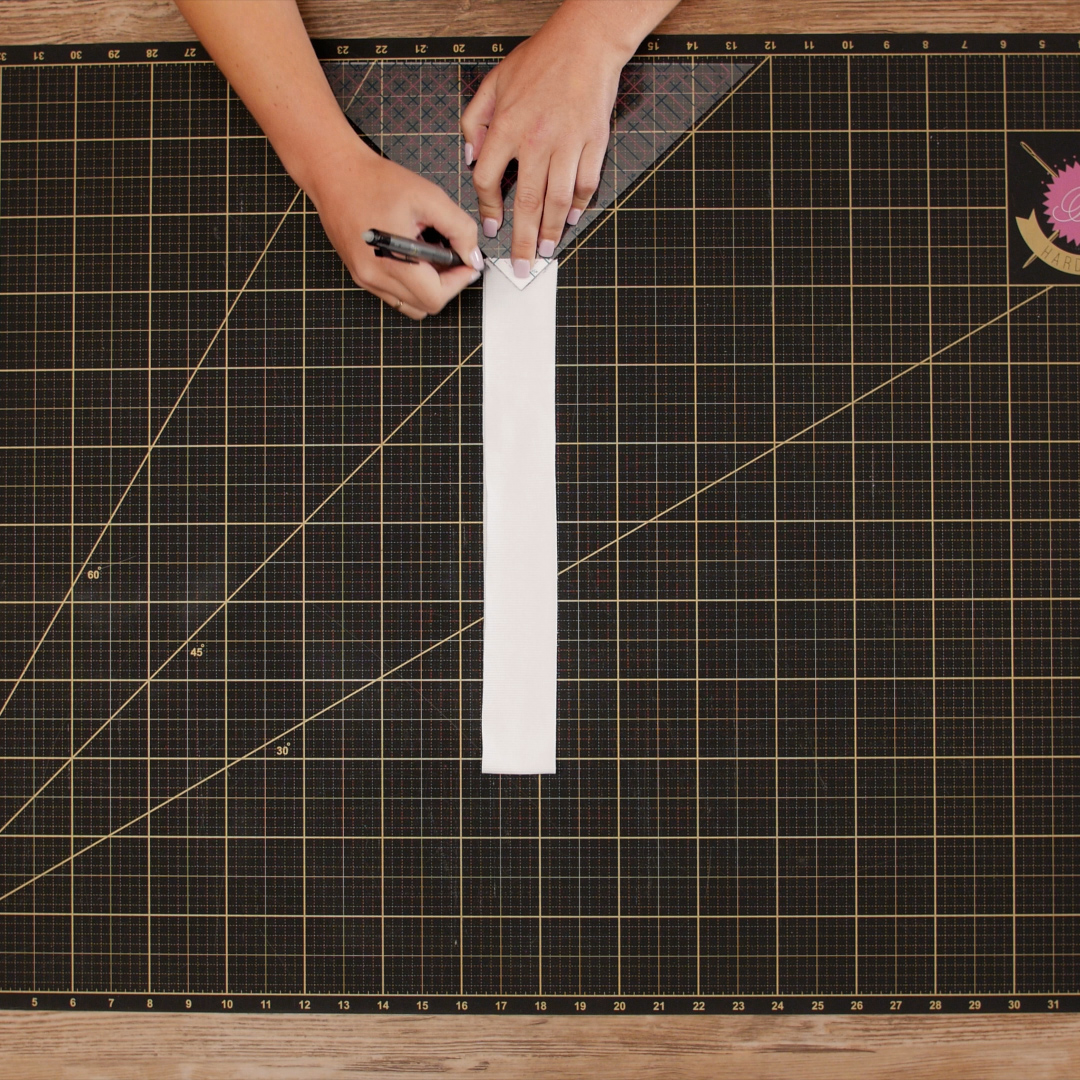
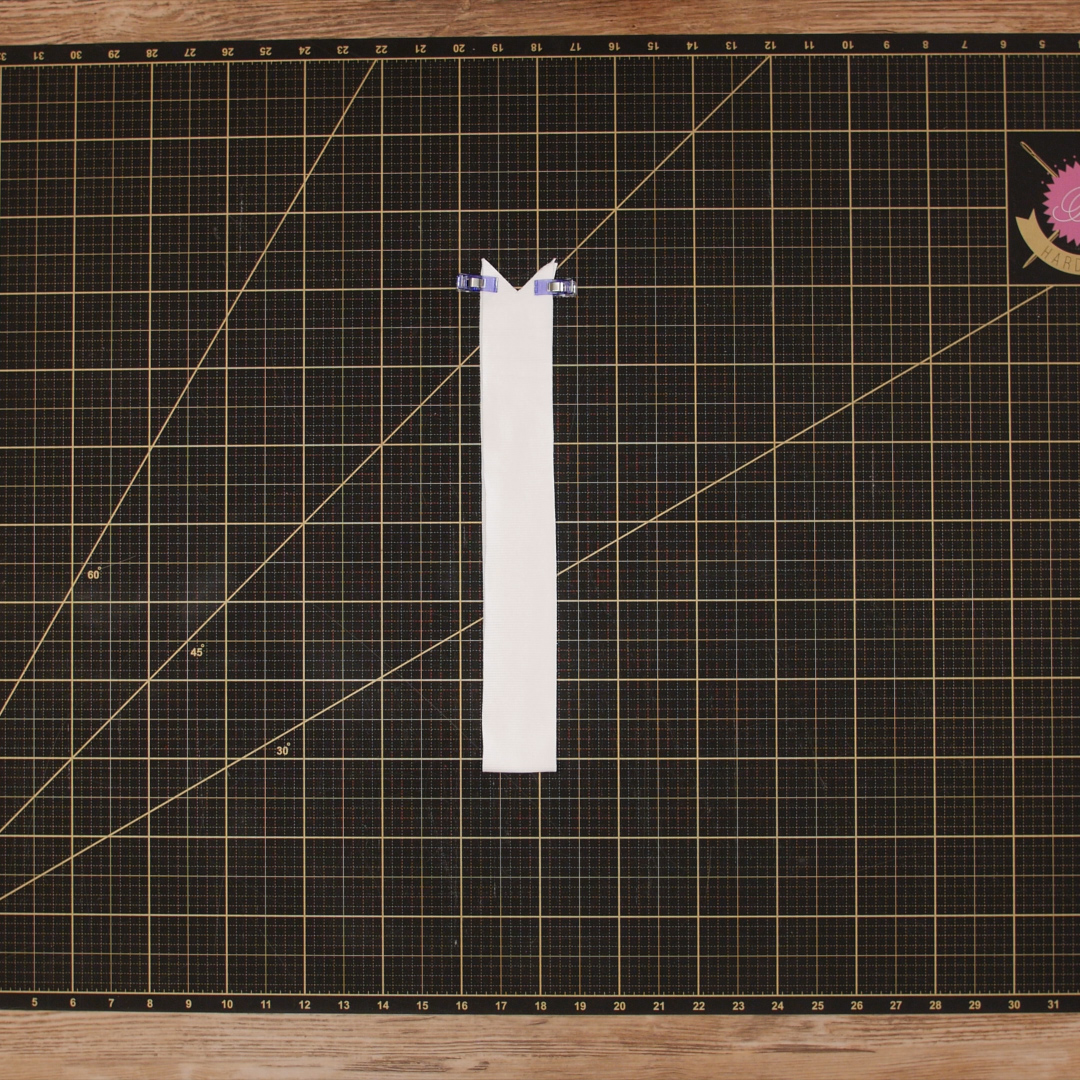
Once the rib knit strip has been measured and cut, the ends of the band need to be shaped and sewn. This can be accomplished by cutting a V-shape with a 90-degree angle into the ends. This angle will form the center of the V-neck neckline and will match up with the center front of the shirt. I used an angular ruler to mark the angle first, then used KAI scissors to make the cut. Once that is cut, pin the strip right sides together.
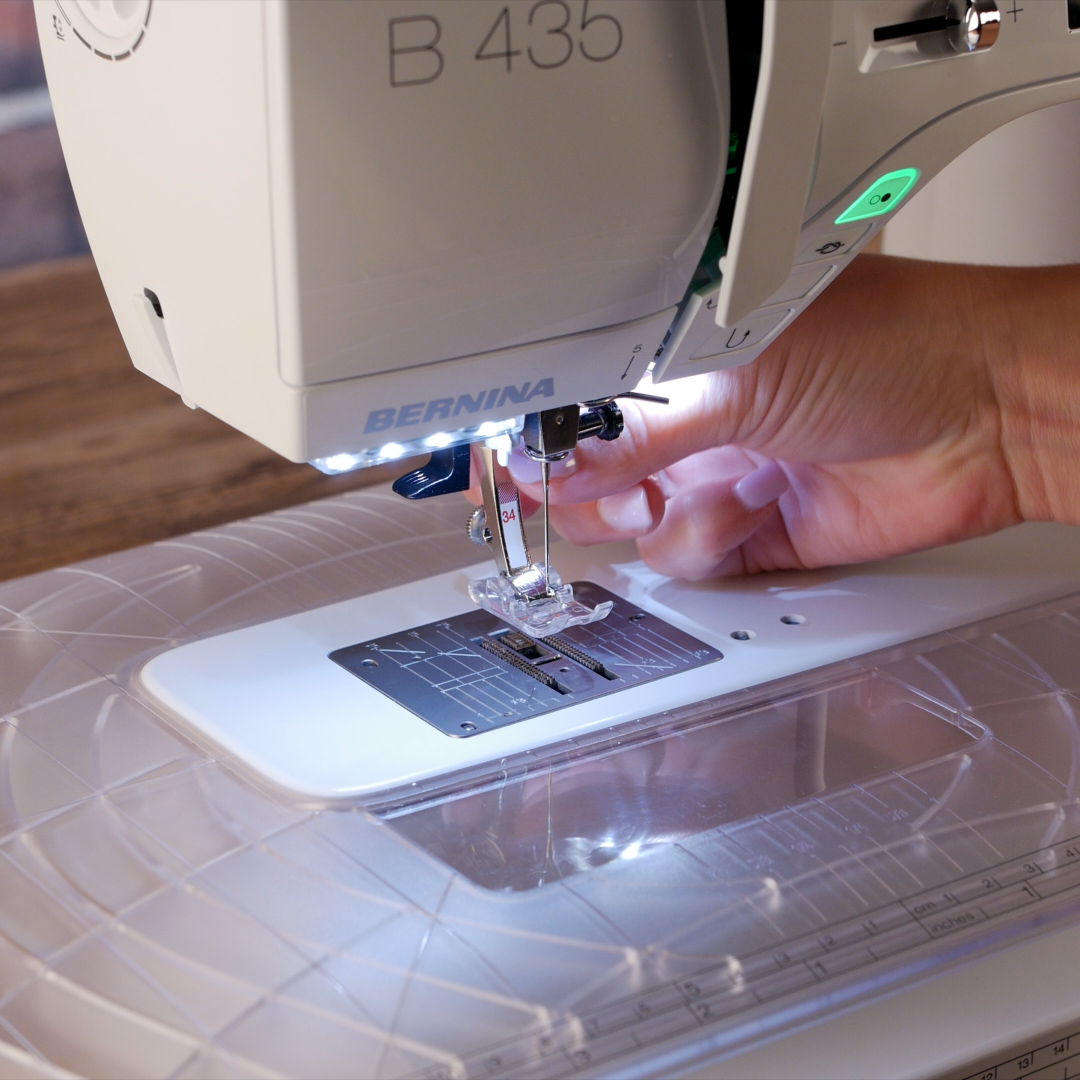
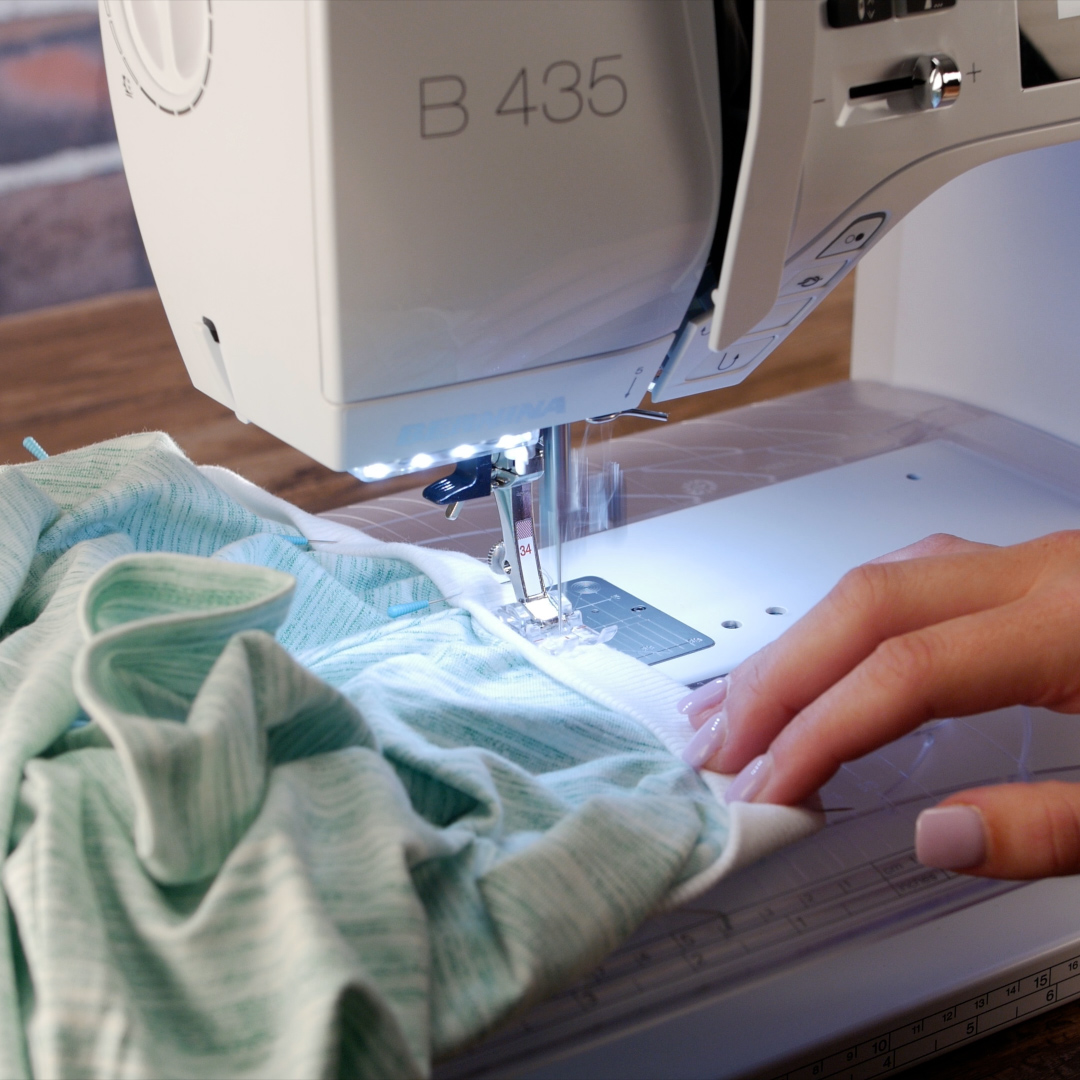
Time to move over to the sewing machine. For this project, I used the B 435 and the Reverse-patter foot with clear-sole #34.
Sew the ends of the rib knit piece together with a ¼” seam allowance to form a closed band. While sewing, carefully pivot around the angle to ensure accuracy. Secure the seam as desired. Fun fact, when I am garment sewing I leave my thread tails long and tie knots at the beginning and end of almost every seam.
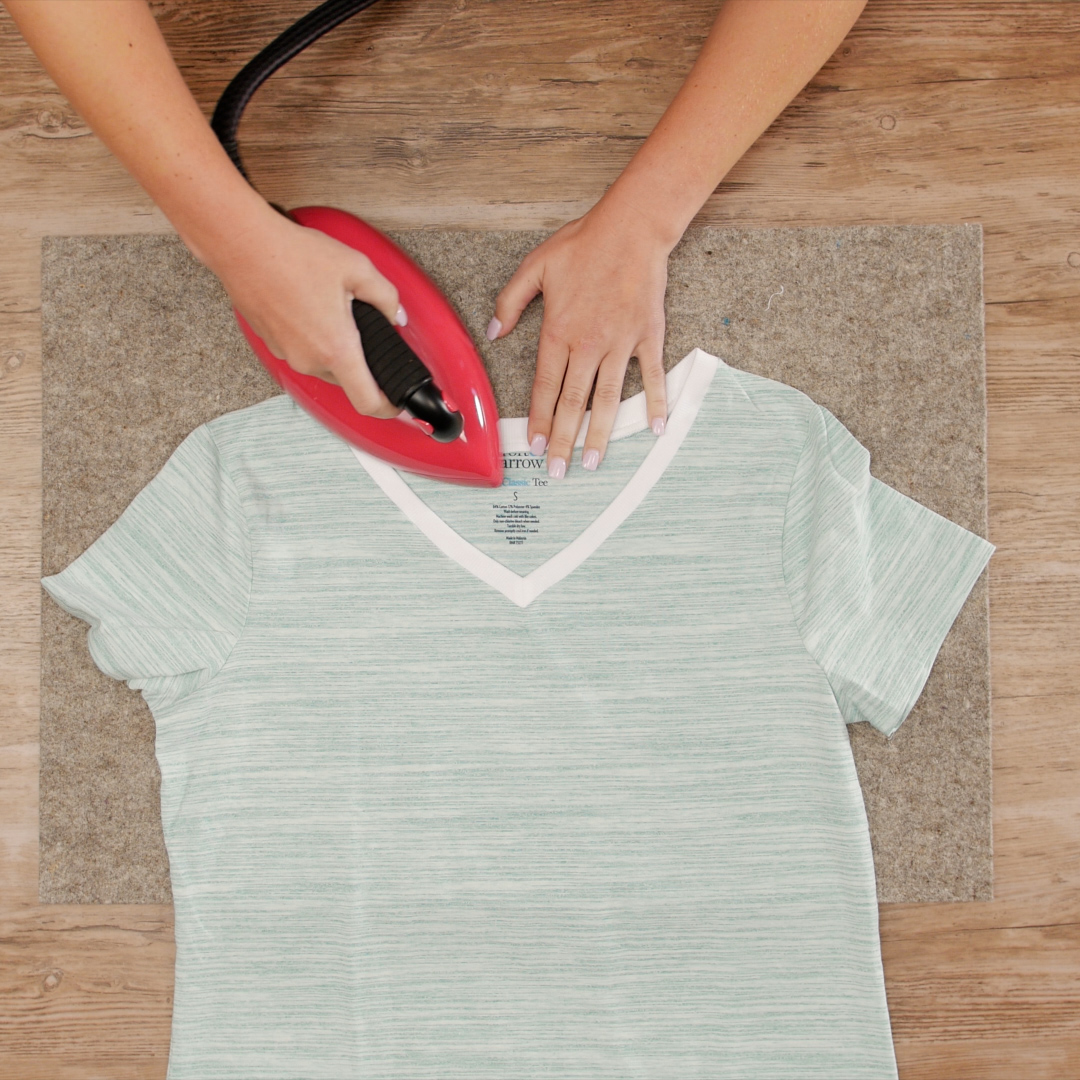
Set the iron to a high heat setting. My favorite iron has to be my LAURASTAR iron, with high heat and clean, dry steam. While that is heating up, clip into the seam allowance of the band in the very center of the angle, but avoid clipping the stitching. This will allow the band to fold in half smoothly at that center point.
Press the seam flat, then open. Finally, press the band in half, wrong sides together. At this point, you can trim the ends of the seam allowance, if desired.
Back at the sewing machine, staystitch around the cut angle of the shirt neckline using a scant ¼” seam allowance. Stitch 3” on both sides of the angle. This is a preventative stitch and will help to make sure that the shirt does not stretch before the rib knit is stitched on.
With the shirt neckline staystitched, clip into the front angle, being careful not to clip the stitching.
Fold the shirt in half again and mark the center front and center back with pins. These points will be used as alignment points for the rib knit band to make sure that it is being evenly spaced as it is stitched.
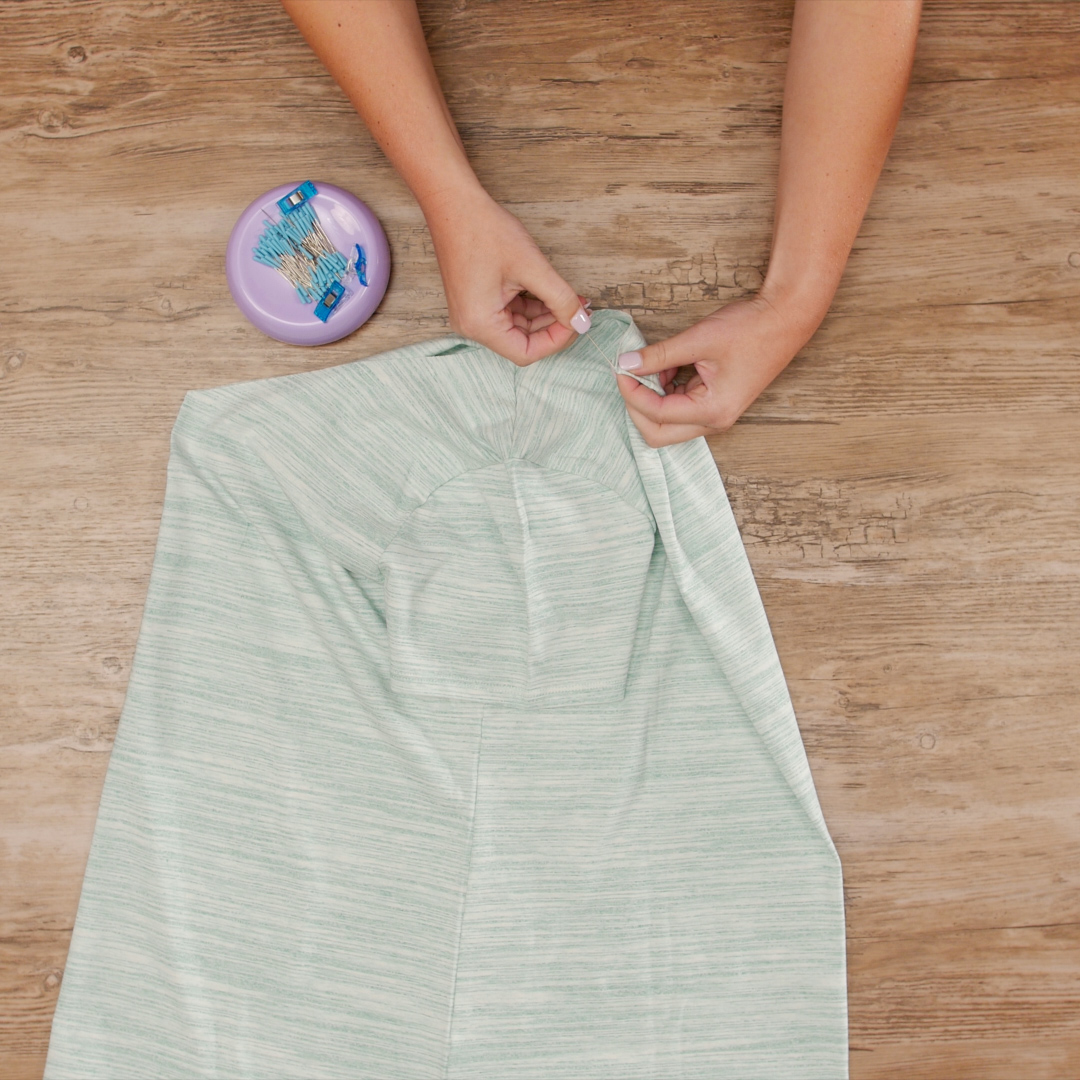
Fold the band in half and mark the center back with a pin. Simply use the angular front as the other alignment point. Fold in half again to find two more centers.
Begin pinning the rib knit band to the shirt, placing right sides together. The center angular fronts should match up first. Move on to matching up the center backs and then match the other two points on the band to the shoulder seams on the shirt. Again, this will keep the band even all the way around the neckline and the stitching will come out smoothly.
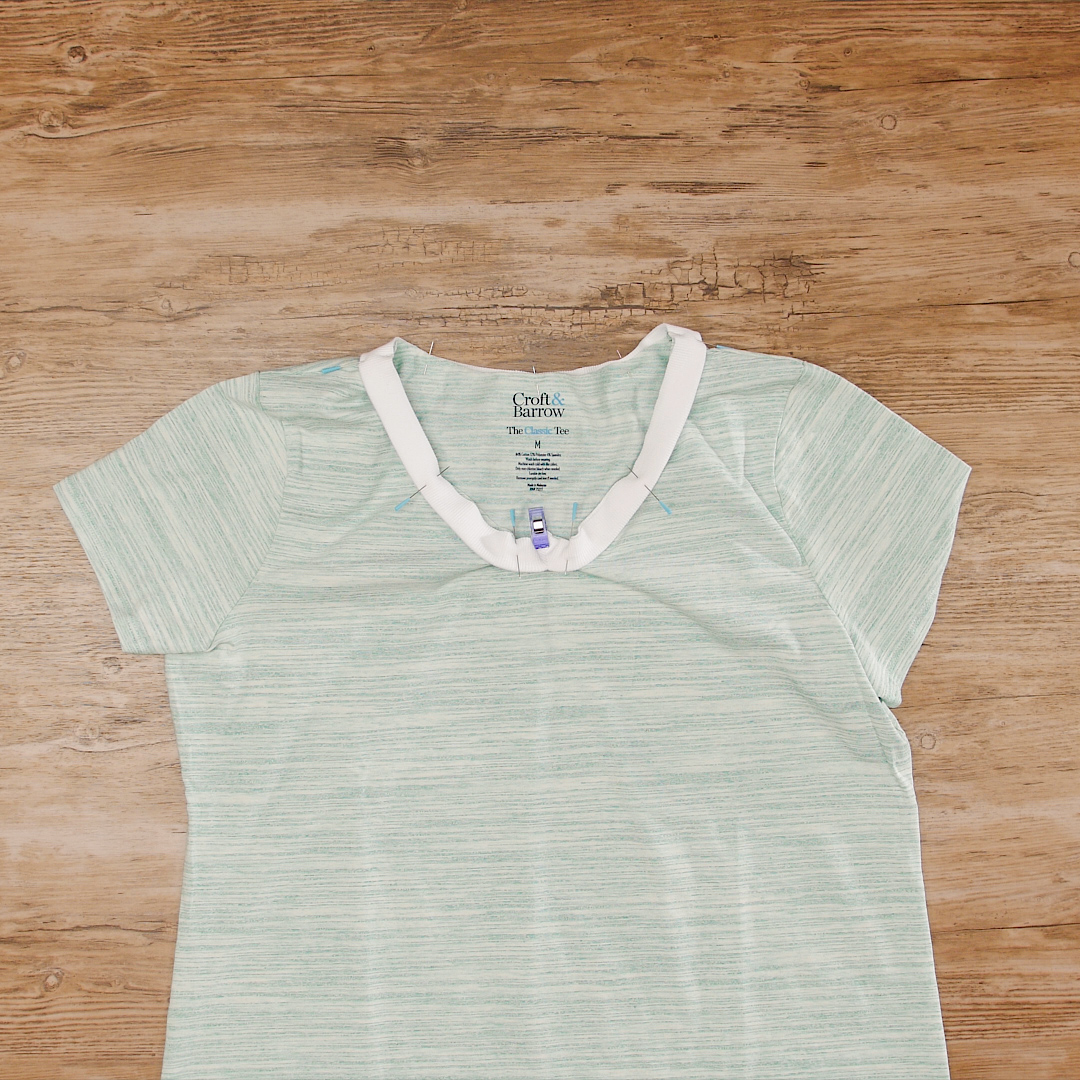
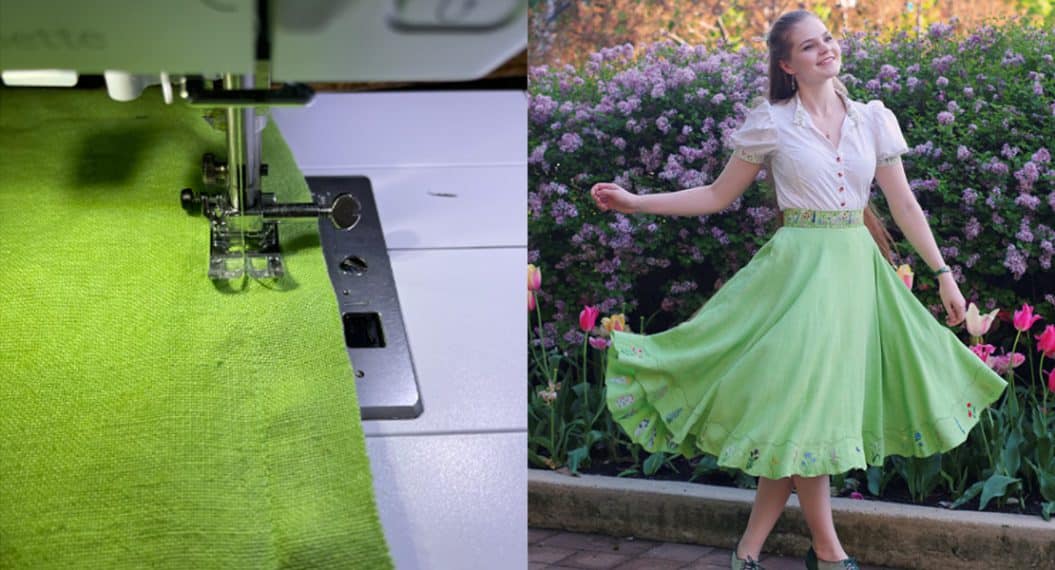
Knits are a different type of fabric than typical quilter’s cotton – it likes to stretch! Rather than sewing with a typical straight stitch, switch to super stretch stitch #11. This stitch creates little V’s, which will allow the rib knit band to stretch to fit the neckline.
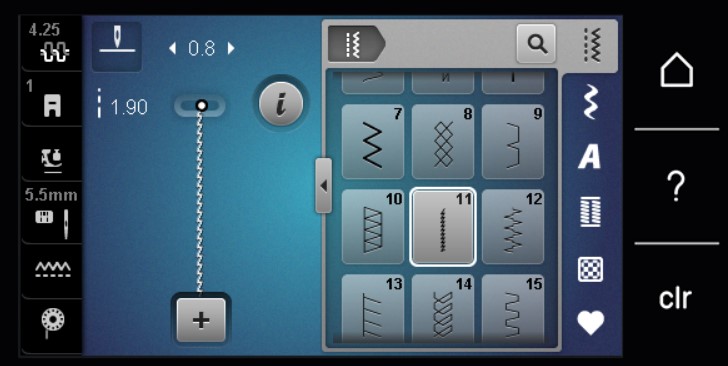
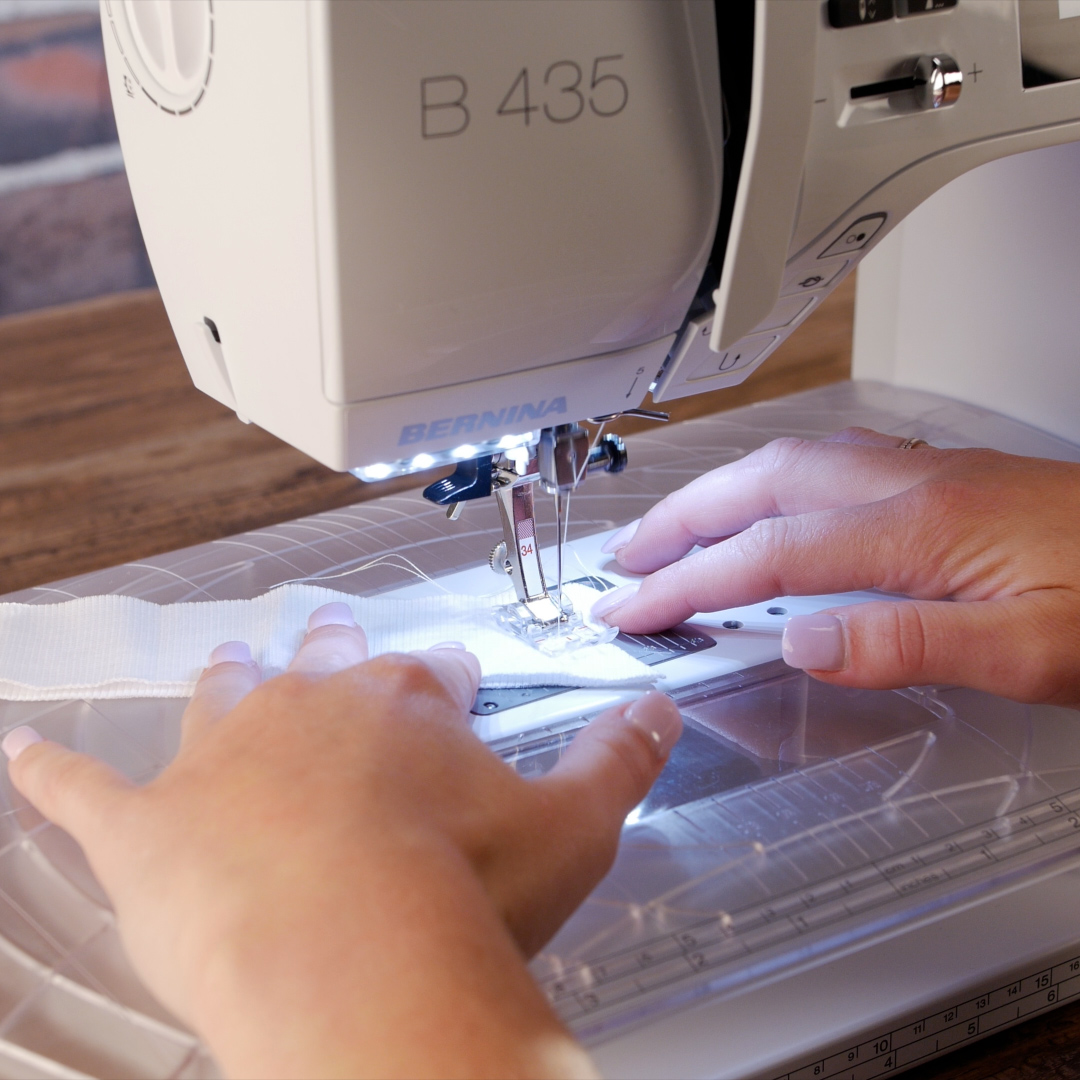
Sew the band to the neckline using a ¼” seam allowance. Begin sewing somewhere inconspicuous, such as the center back or a shoulder seam. Be mindful of the angular front, carefully pivoting as needed.
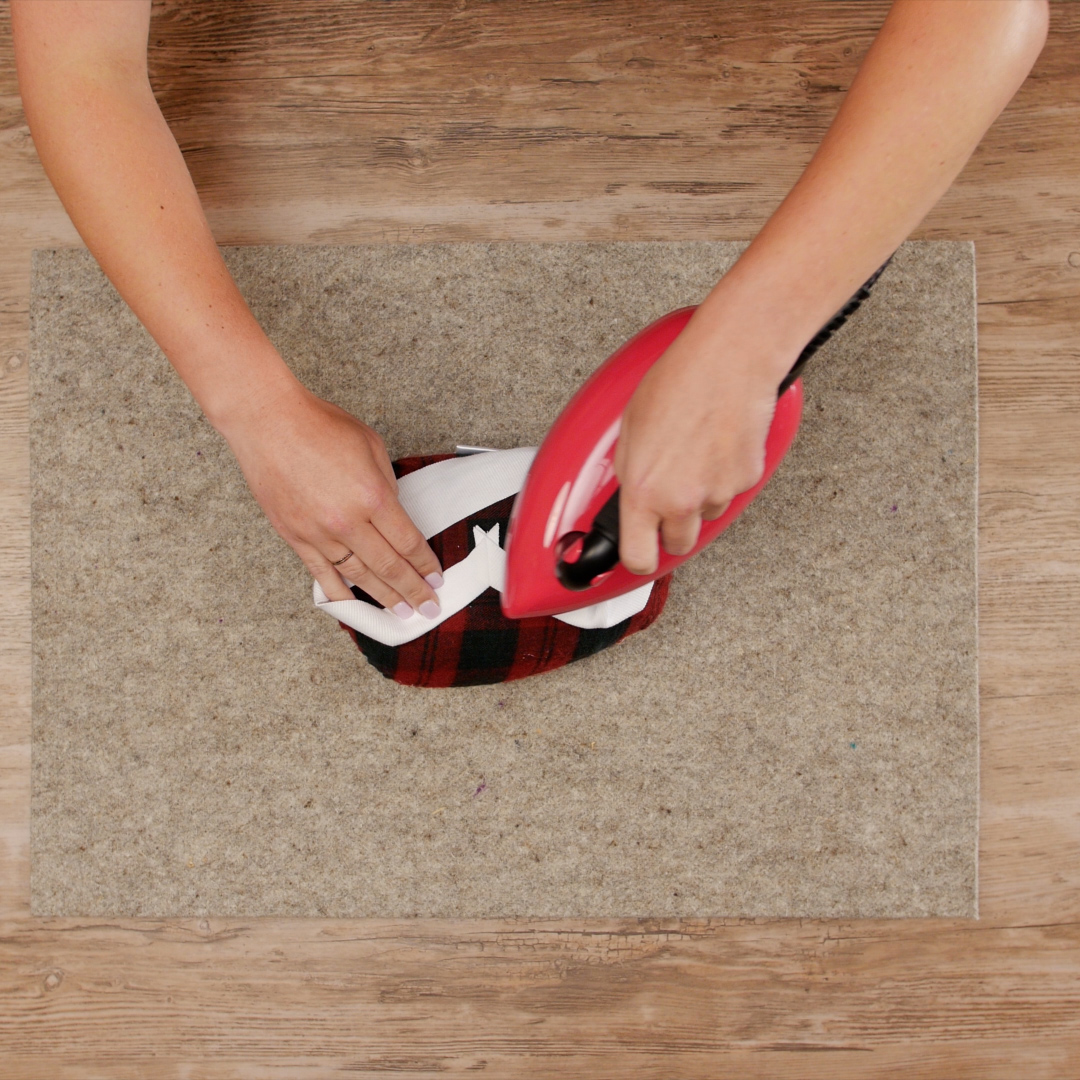
The final step is the press the seam downwards towards the shirt, making the band stand up like a crisp shirt collar.
You can finish the raw edge seam as desired, or topstitch the seam allowance in place using the shirt as a foundation. On my shirt, I topstitched the seam down to the shirt using a straight stitch with a stitch length of 3.15 mm.
Now you are ready to make every crew neck t-shirt into a V-neck! Try using a contrasting rib knit on the next shirt, or upcycle that printed top sitting in the back of the closet.
Used Products

What you might also like


5 comments on “T-Shirt Upcycle: Transform a Crew Neck into a V-Neck”
-
-
Great question! I used a Universal needle to show that it is possible to use this type of needle. You likely have these in your sewing room, and I wanted this to be a project that you could complete without having to make a run to the store for new needles. If you are more comfortable using a ballpoint needle, give it a try with a test sew first. I hope you enjoy creating the project!
-
-
Where to buy the rib I it?
-
…Rib knit..
-
Most fabric and craft stores carry rib knit in their garment fabric sections! Rib knit typically comes in basic colors, such as black, white, and gray.
-
Leave a Reply
You must be logged in to post a comment.

Why would you use a universal needle instead of a ball point on this knit project? Thanks for your upscale idea and directions on how to accomplish it.