How To Make a Sherpa Neck Warmer
Hello everyone! Kymona here to show you how to make a great Sherpa neck warmer. The weather is getting colder, and staying warm is a must, at least for me. I’m not too fond of the cold. Summer is my favorite season. I make sure every part of my body is covered when I step outside during the winter.
Scarves are everywhere, but neck warmers aren’t so much. So today, I will show you how to make one for yourself, your family, and your friends.
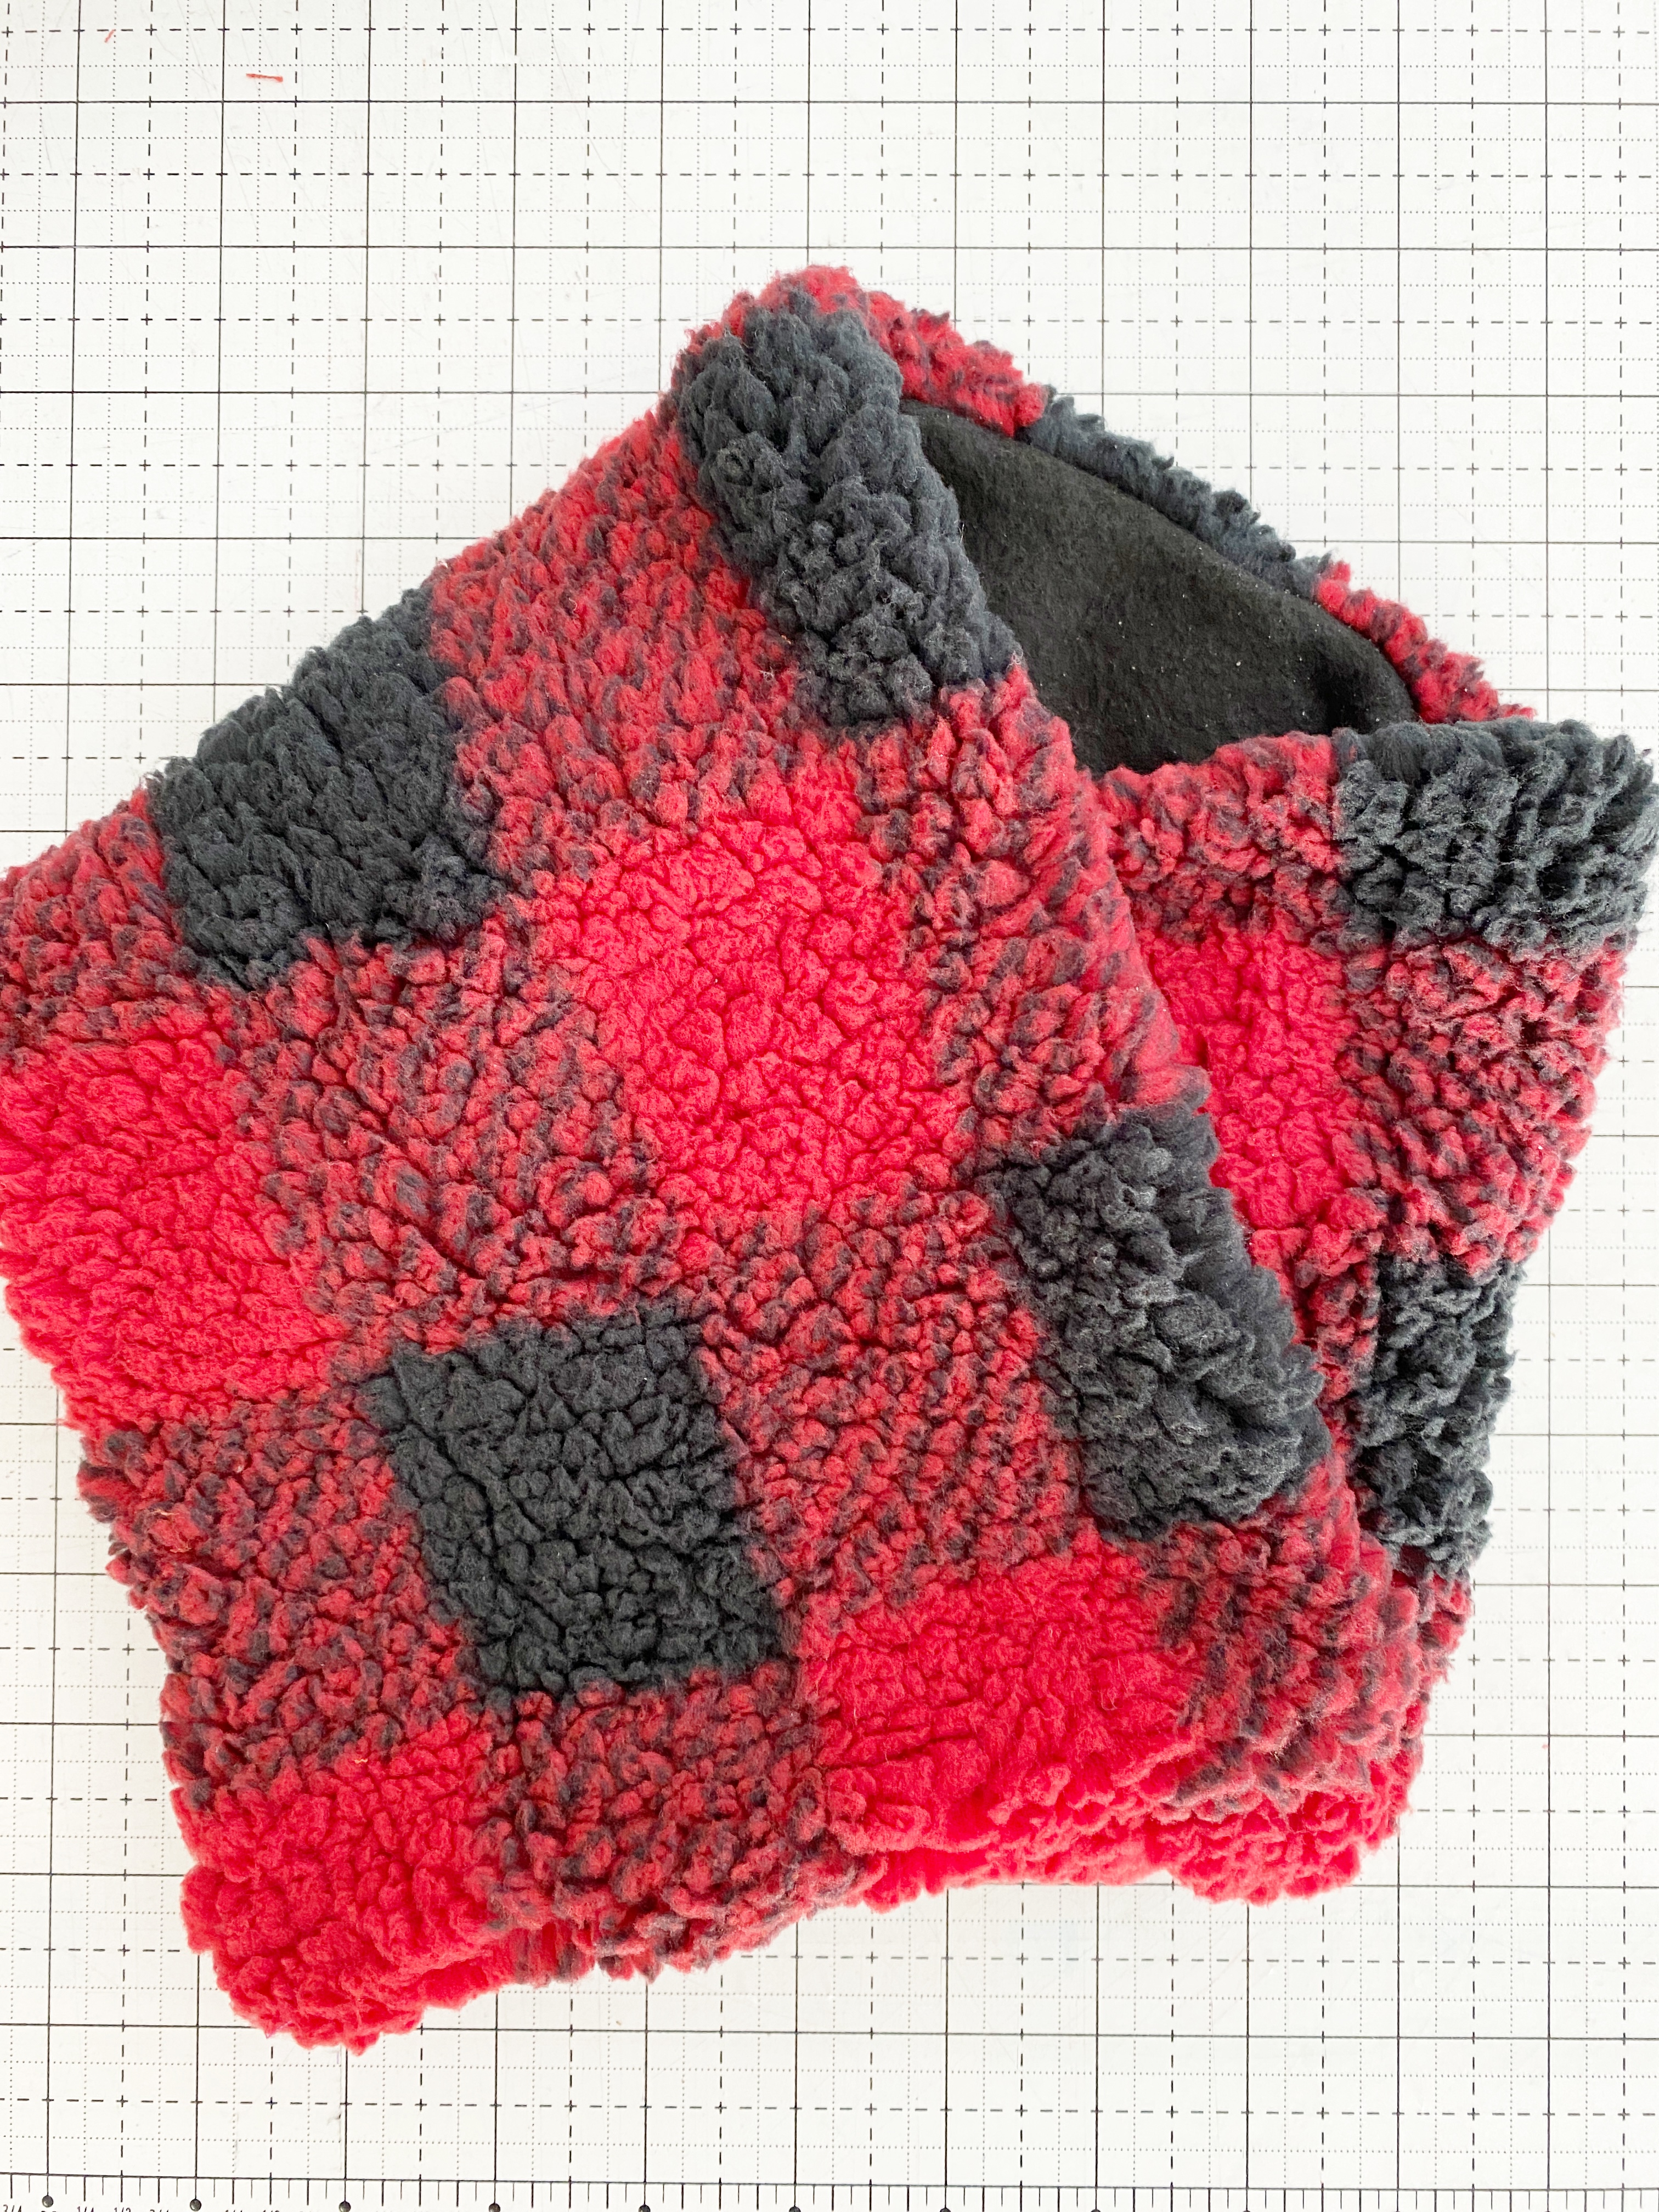
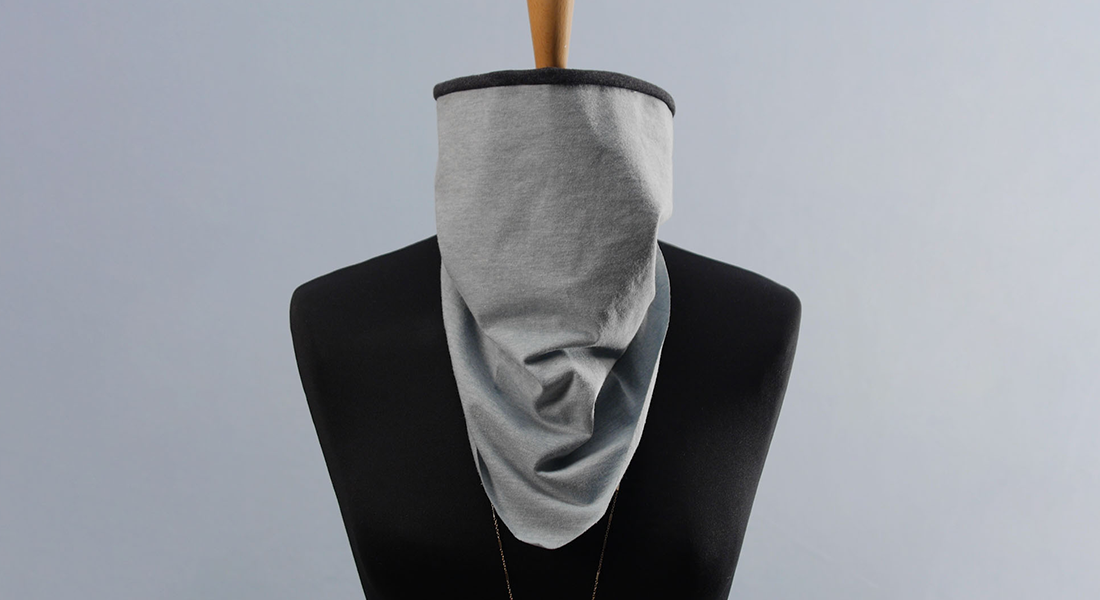
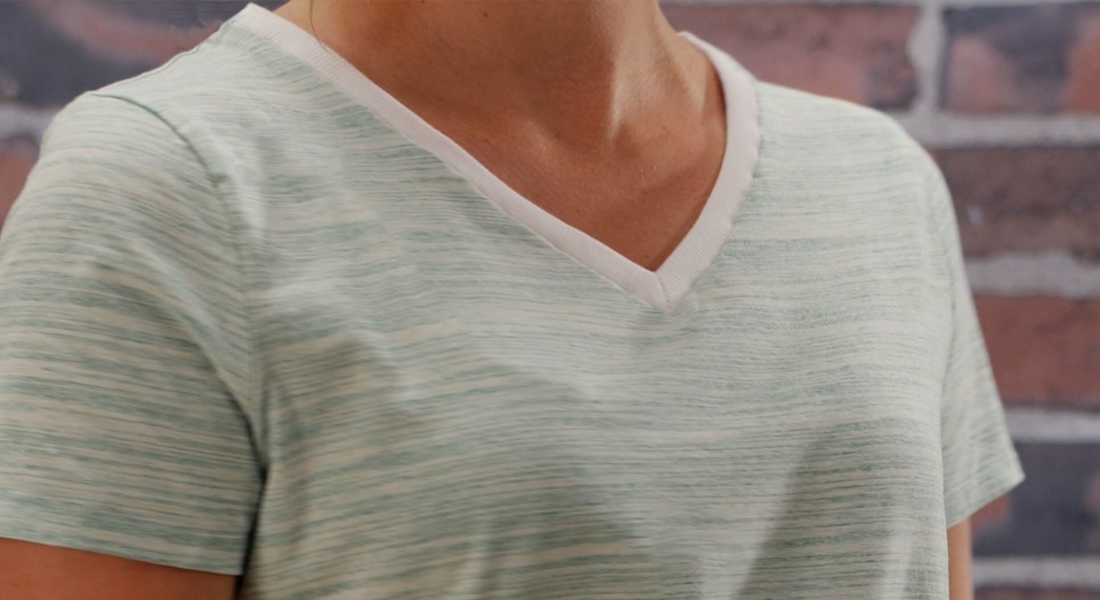
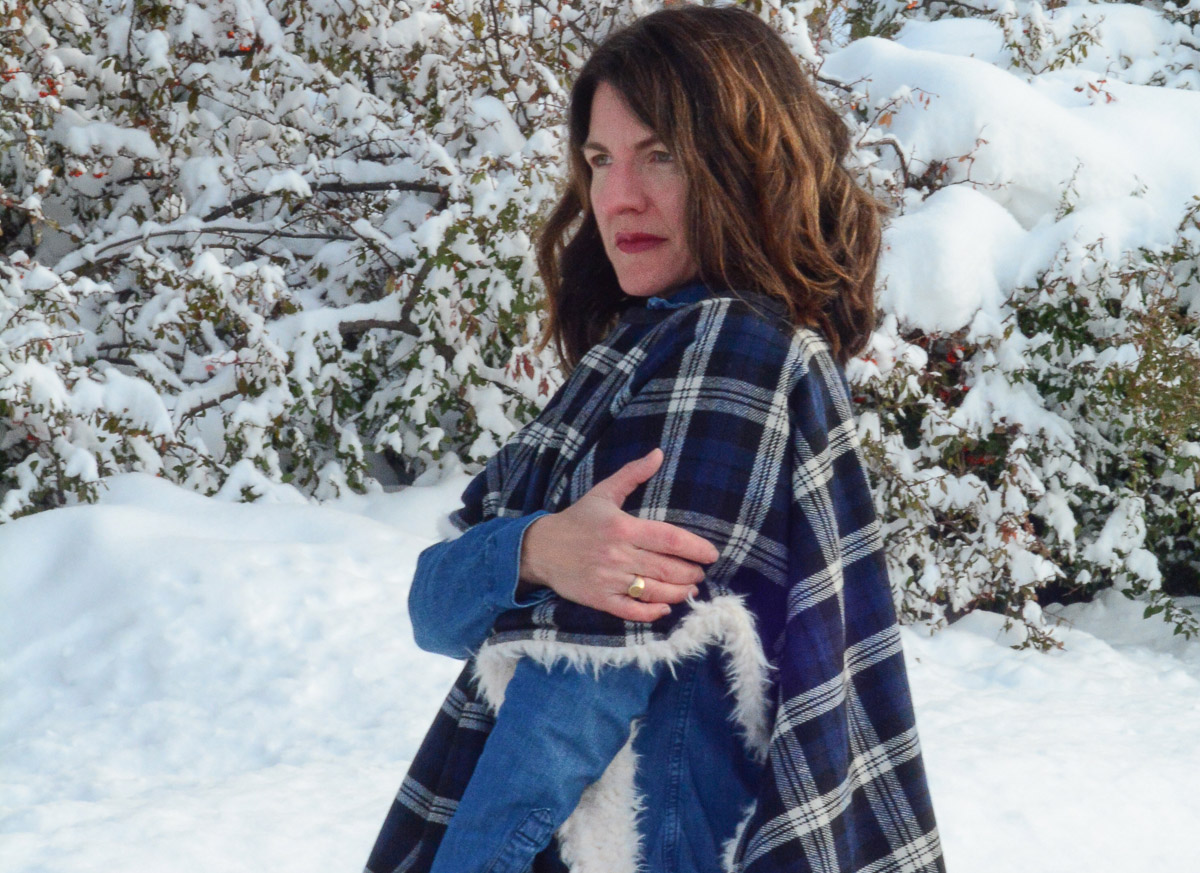
Let me show you a Sherpa neck warmer!
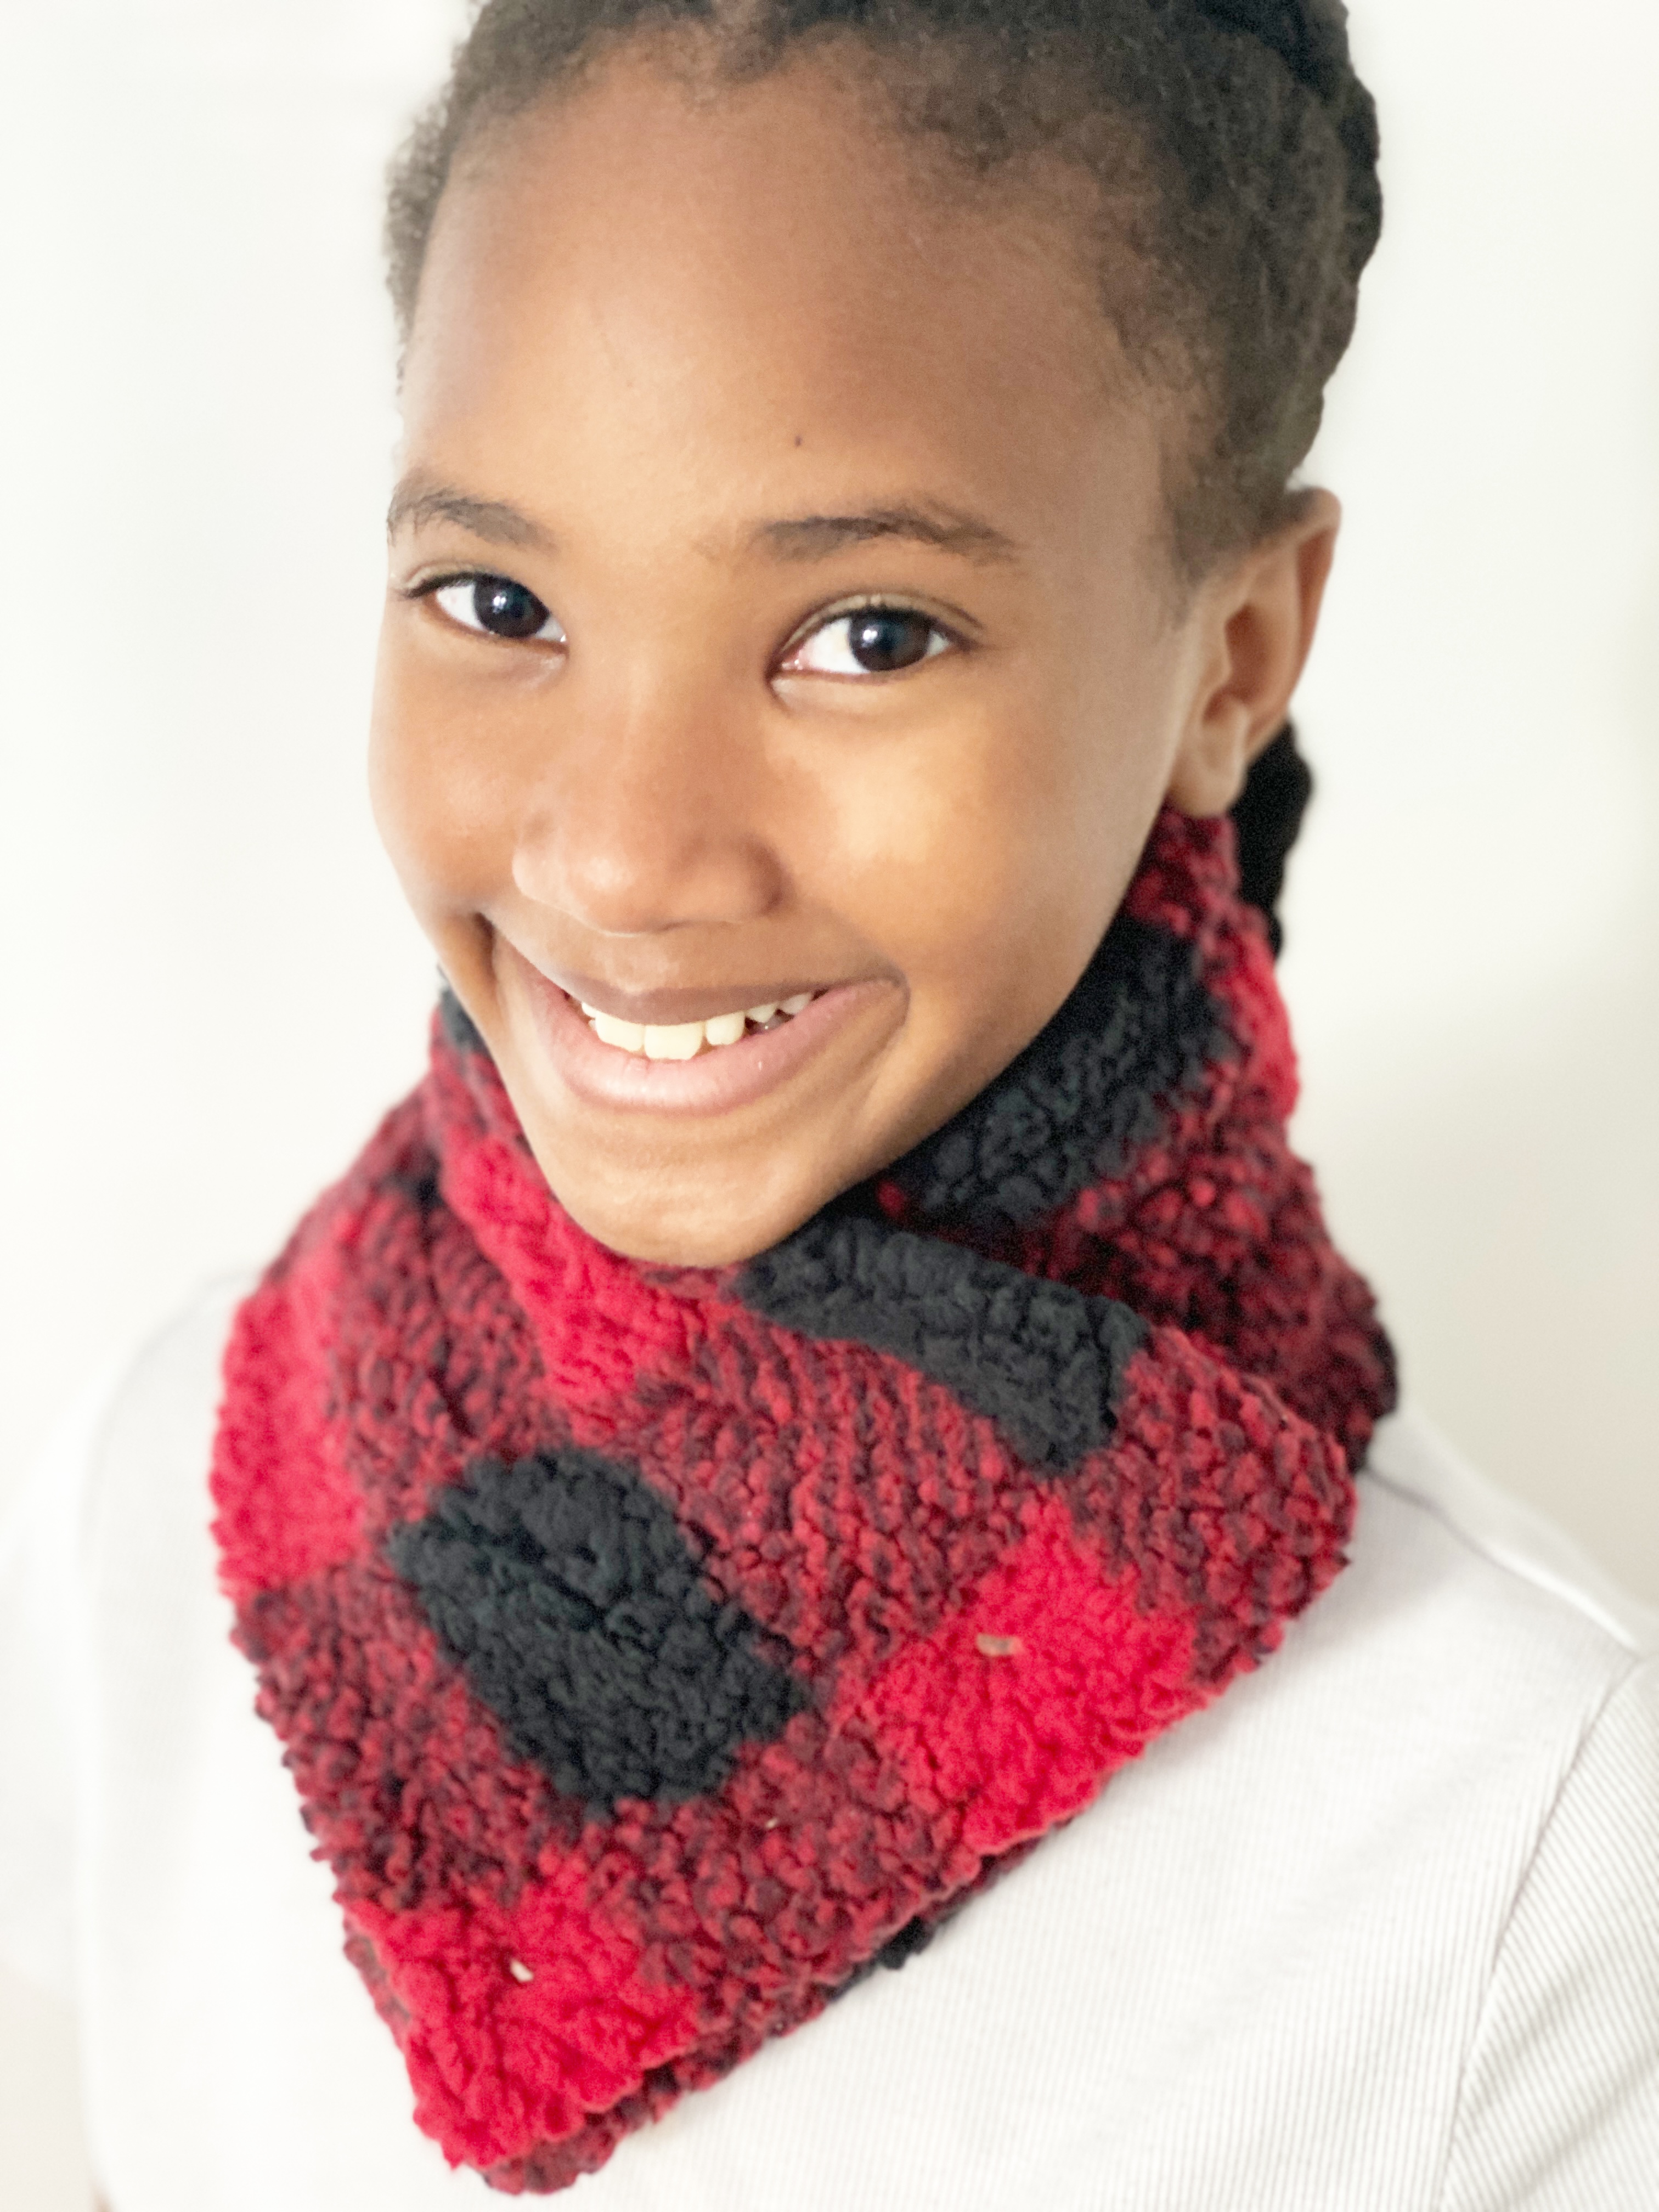
Fantastic right! Now it’s your turn. Let’s sew!
Materials to Make a Sherpa Neck Warmer
- 1/2 yard of sherpa fabric
- 1/2 yard of fleece fabric
- Coordinating Polyester Thread
- Button/Snaps
- Quilting Ruler
- Pins/Clips
- Cutting Mat
- Rotary Cutter
- Sewing Needle
- BERNINA 570 QE
- Reverse Pattern Foot with Clear Sole #34D
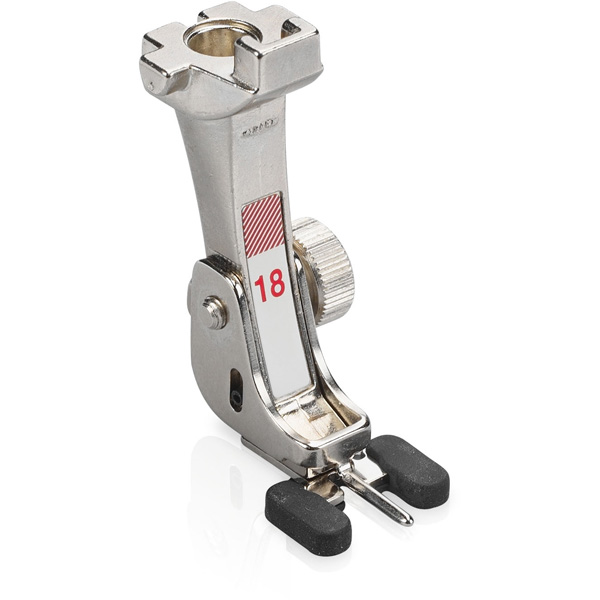
- Button Sew-on Foot #18
Optional Materials
- Elastic cording (if using a button)
Instructions for Sewing a Sherpa Neck Warmer
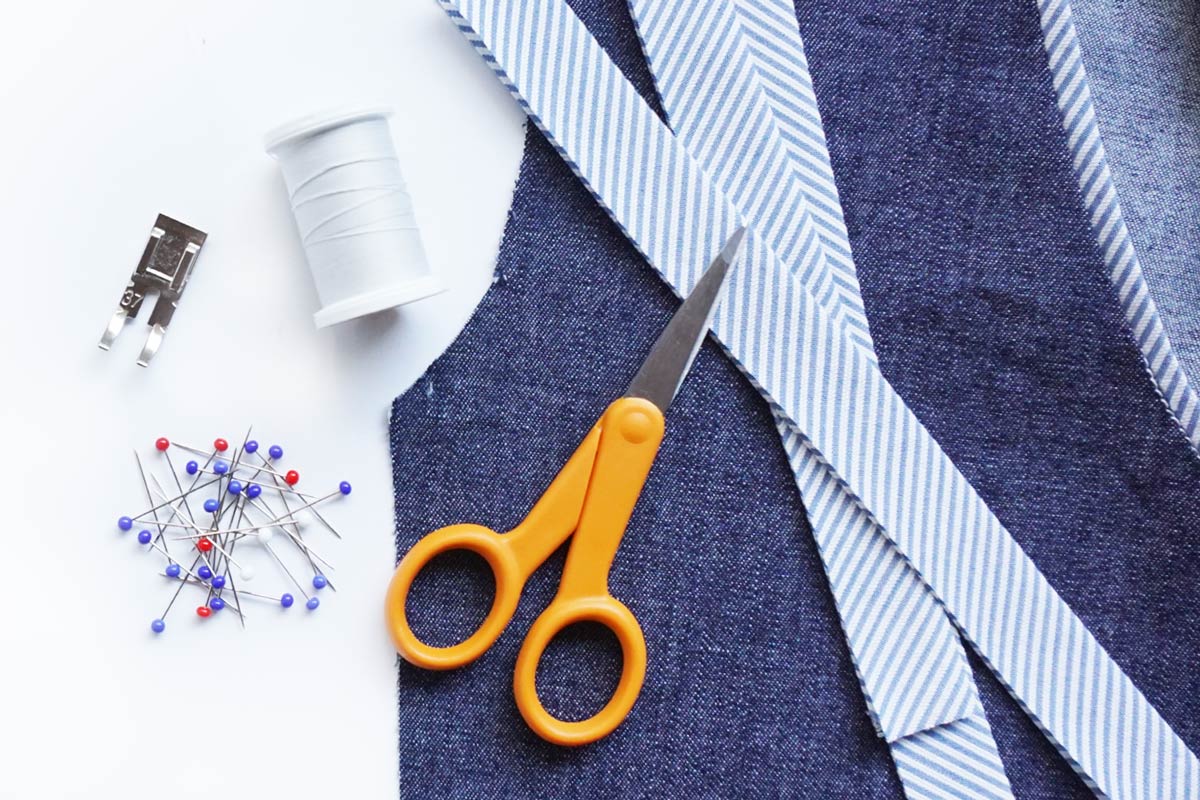
Step 1: Cut the Fabric
Cut one piece of sherpa fabric to 8 inches x 25 inches.
Cut one piece of fleece fabric to 8 inches x 25 inches.
Optional: Trim the elastic cording (if using a button).
Step 2: Prepare to Sew
Optional: If using a button, place the elastic cording on the right side of either fabric on the 8 inches side raw edges together—pin in place.
Place the two pieces of fabrics right sides together and pin.
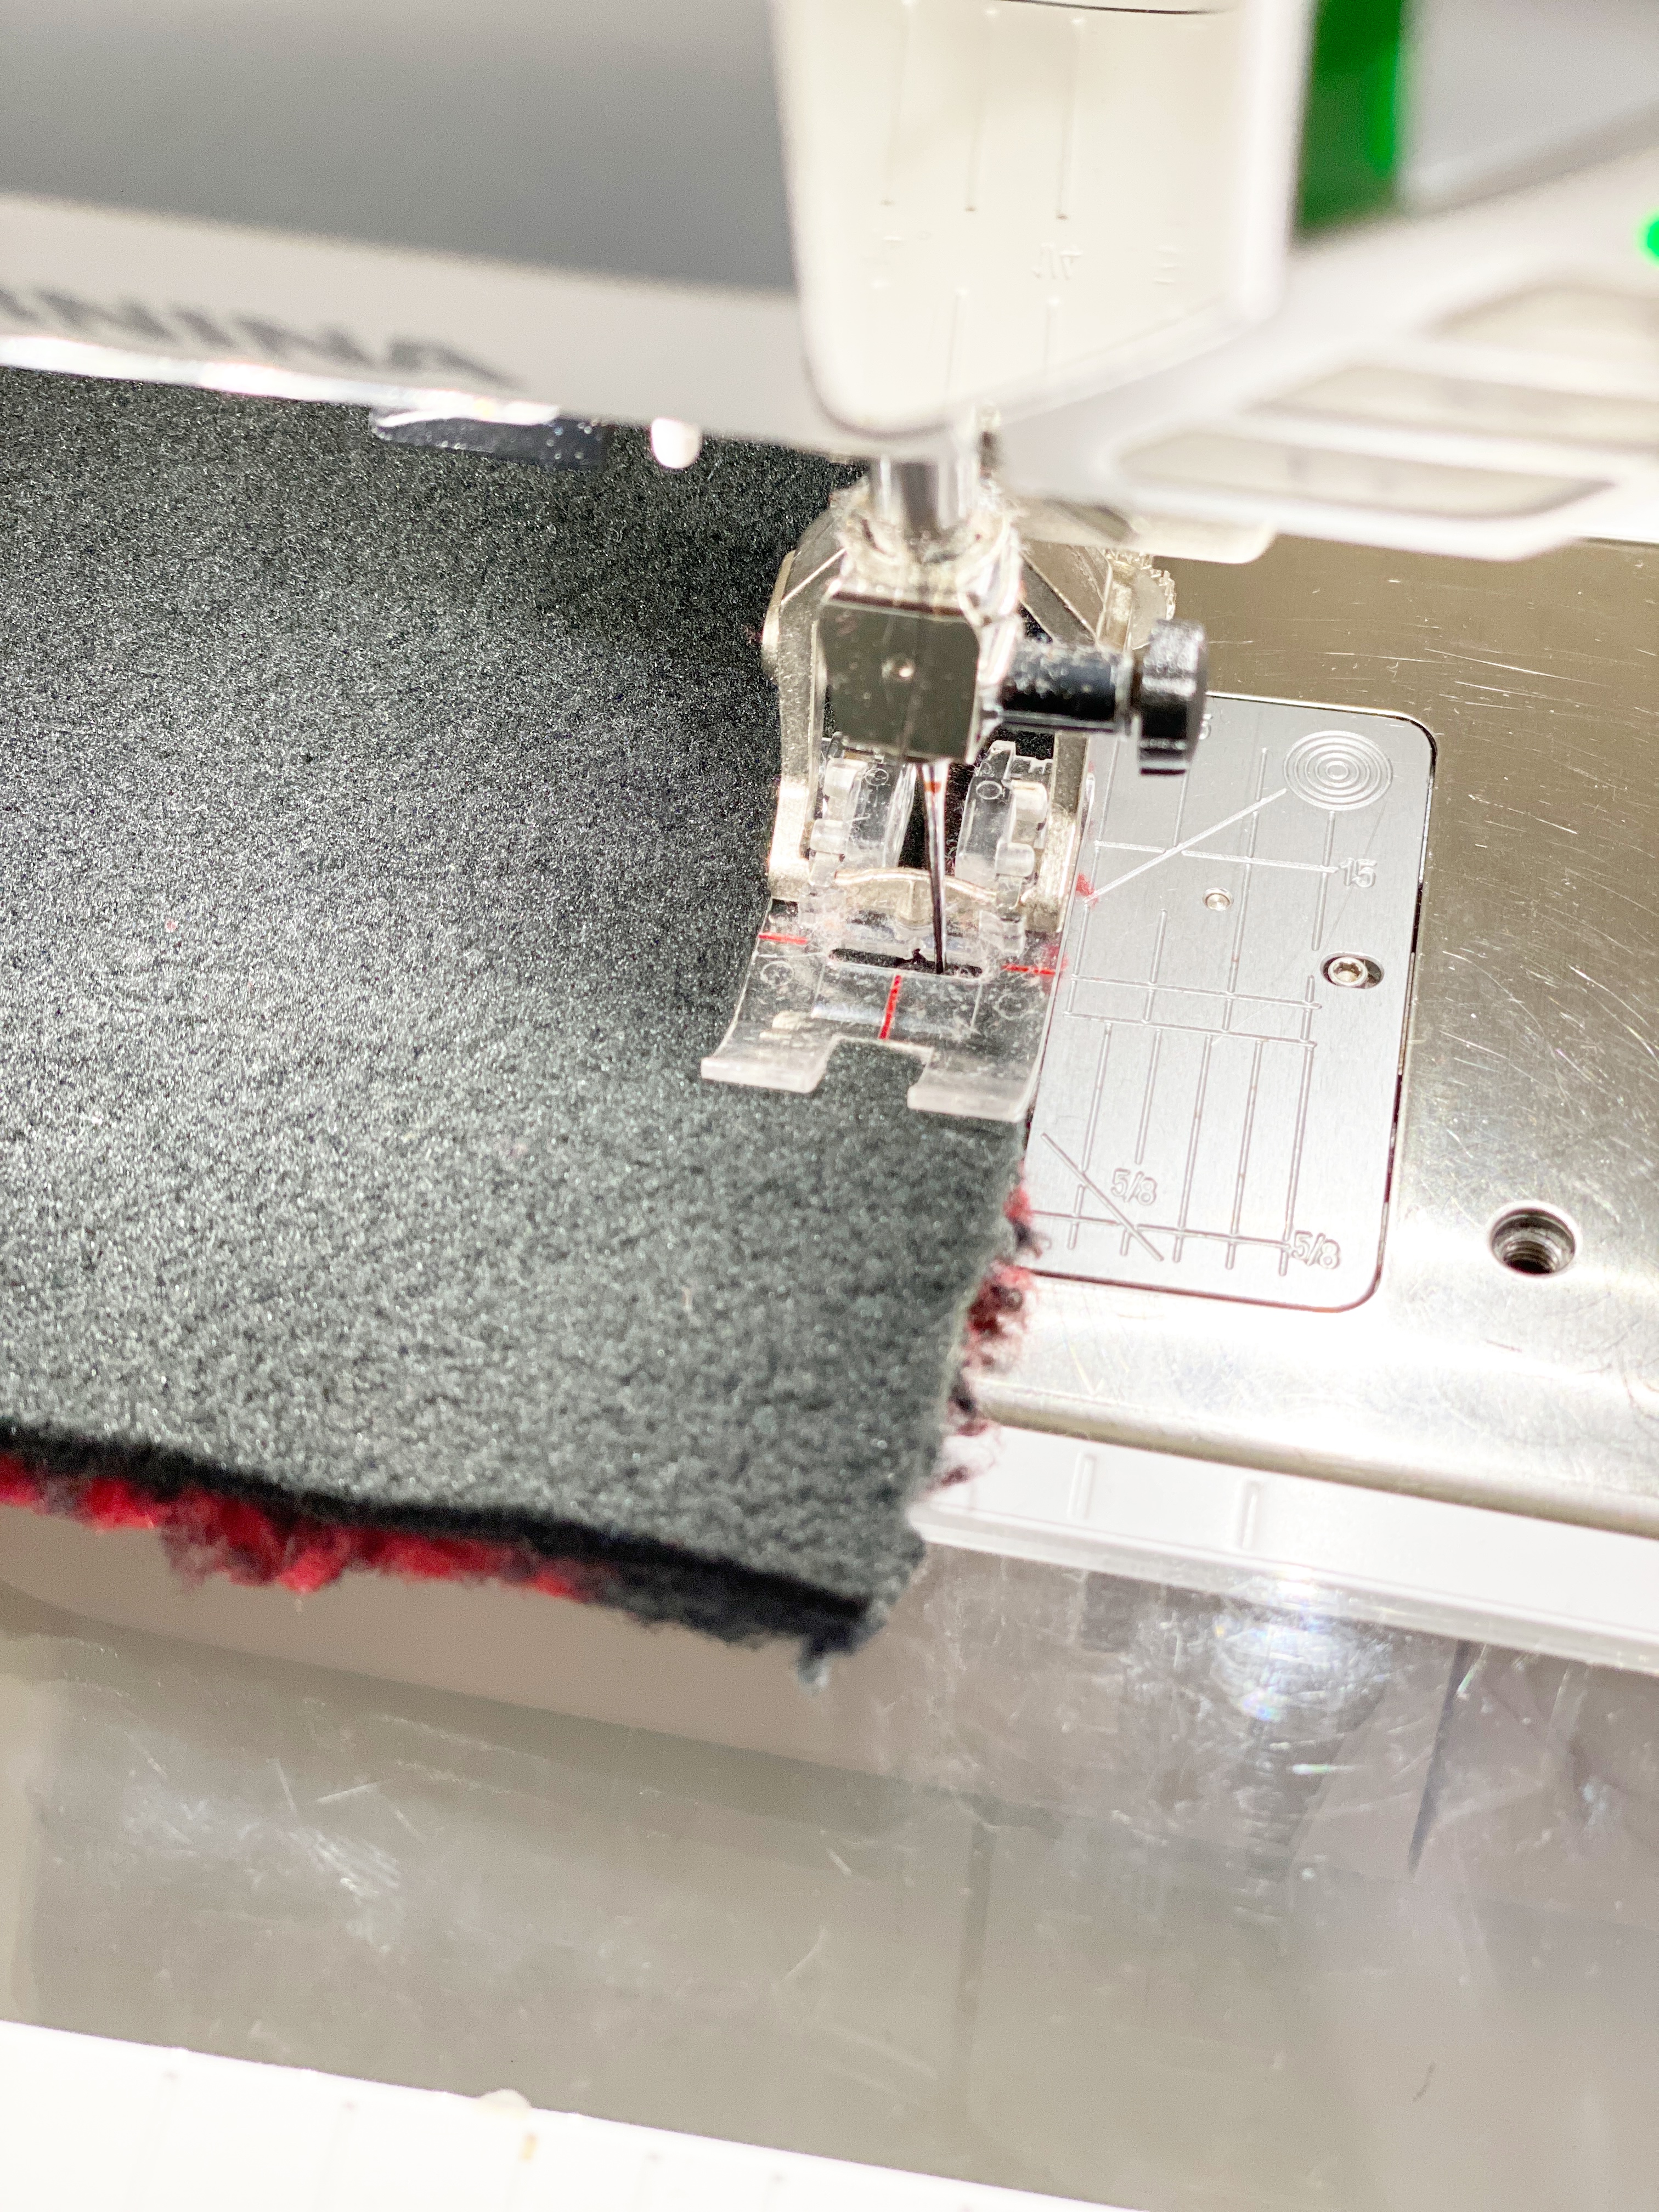
Step 3: Sew the Pieces Together
Using a 3/8 seam allowance, sew the two pieces of fabric together, using a tight zig-zag stitch, backstitch over the cording. Leave a 3 inch opening for turning.
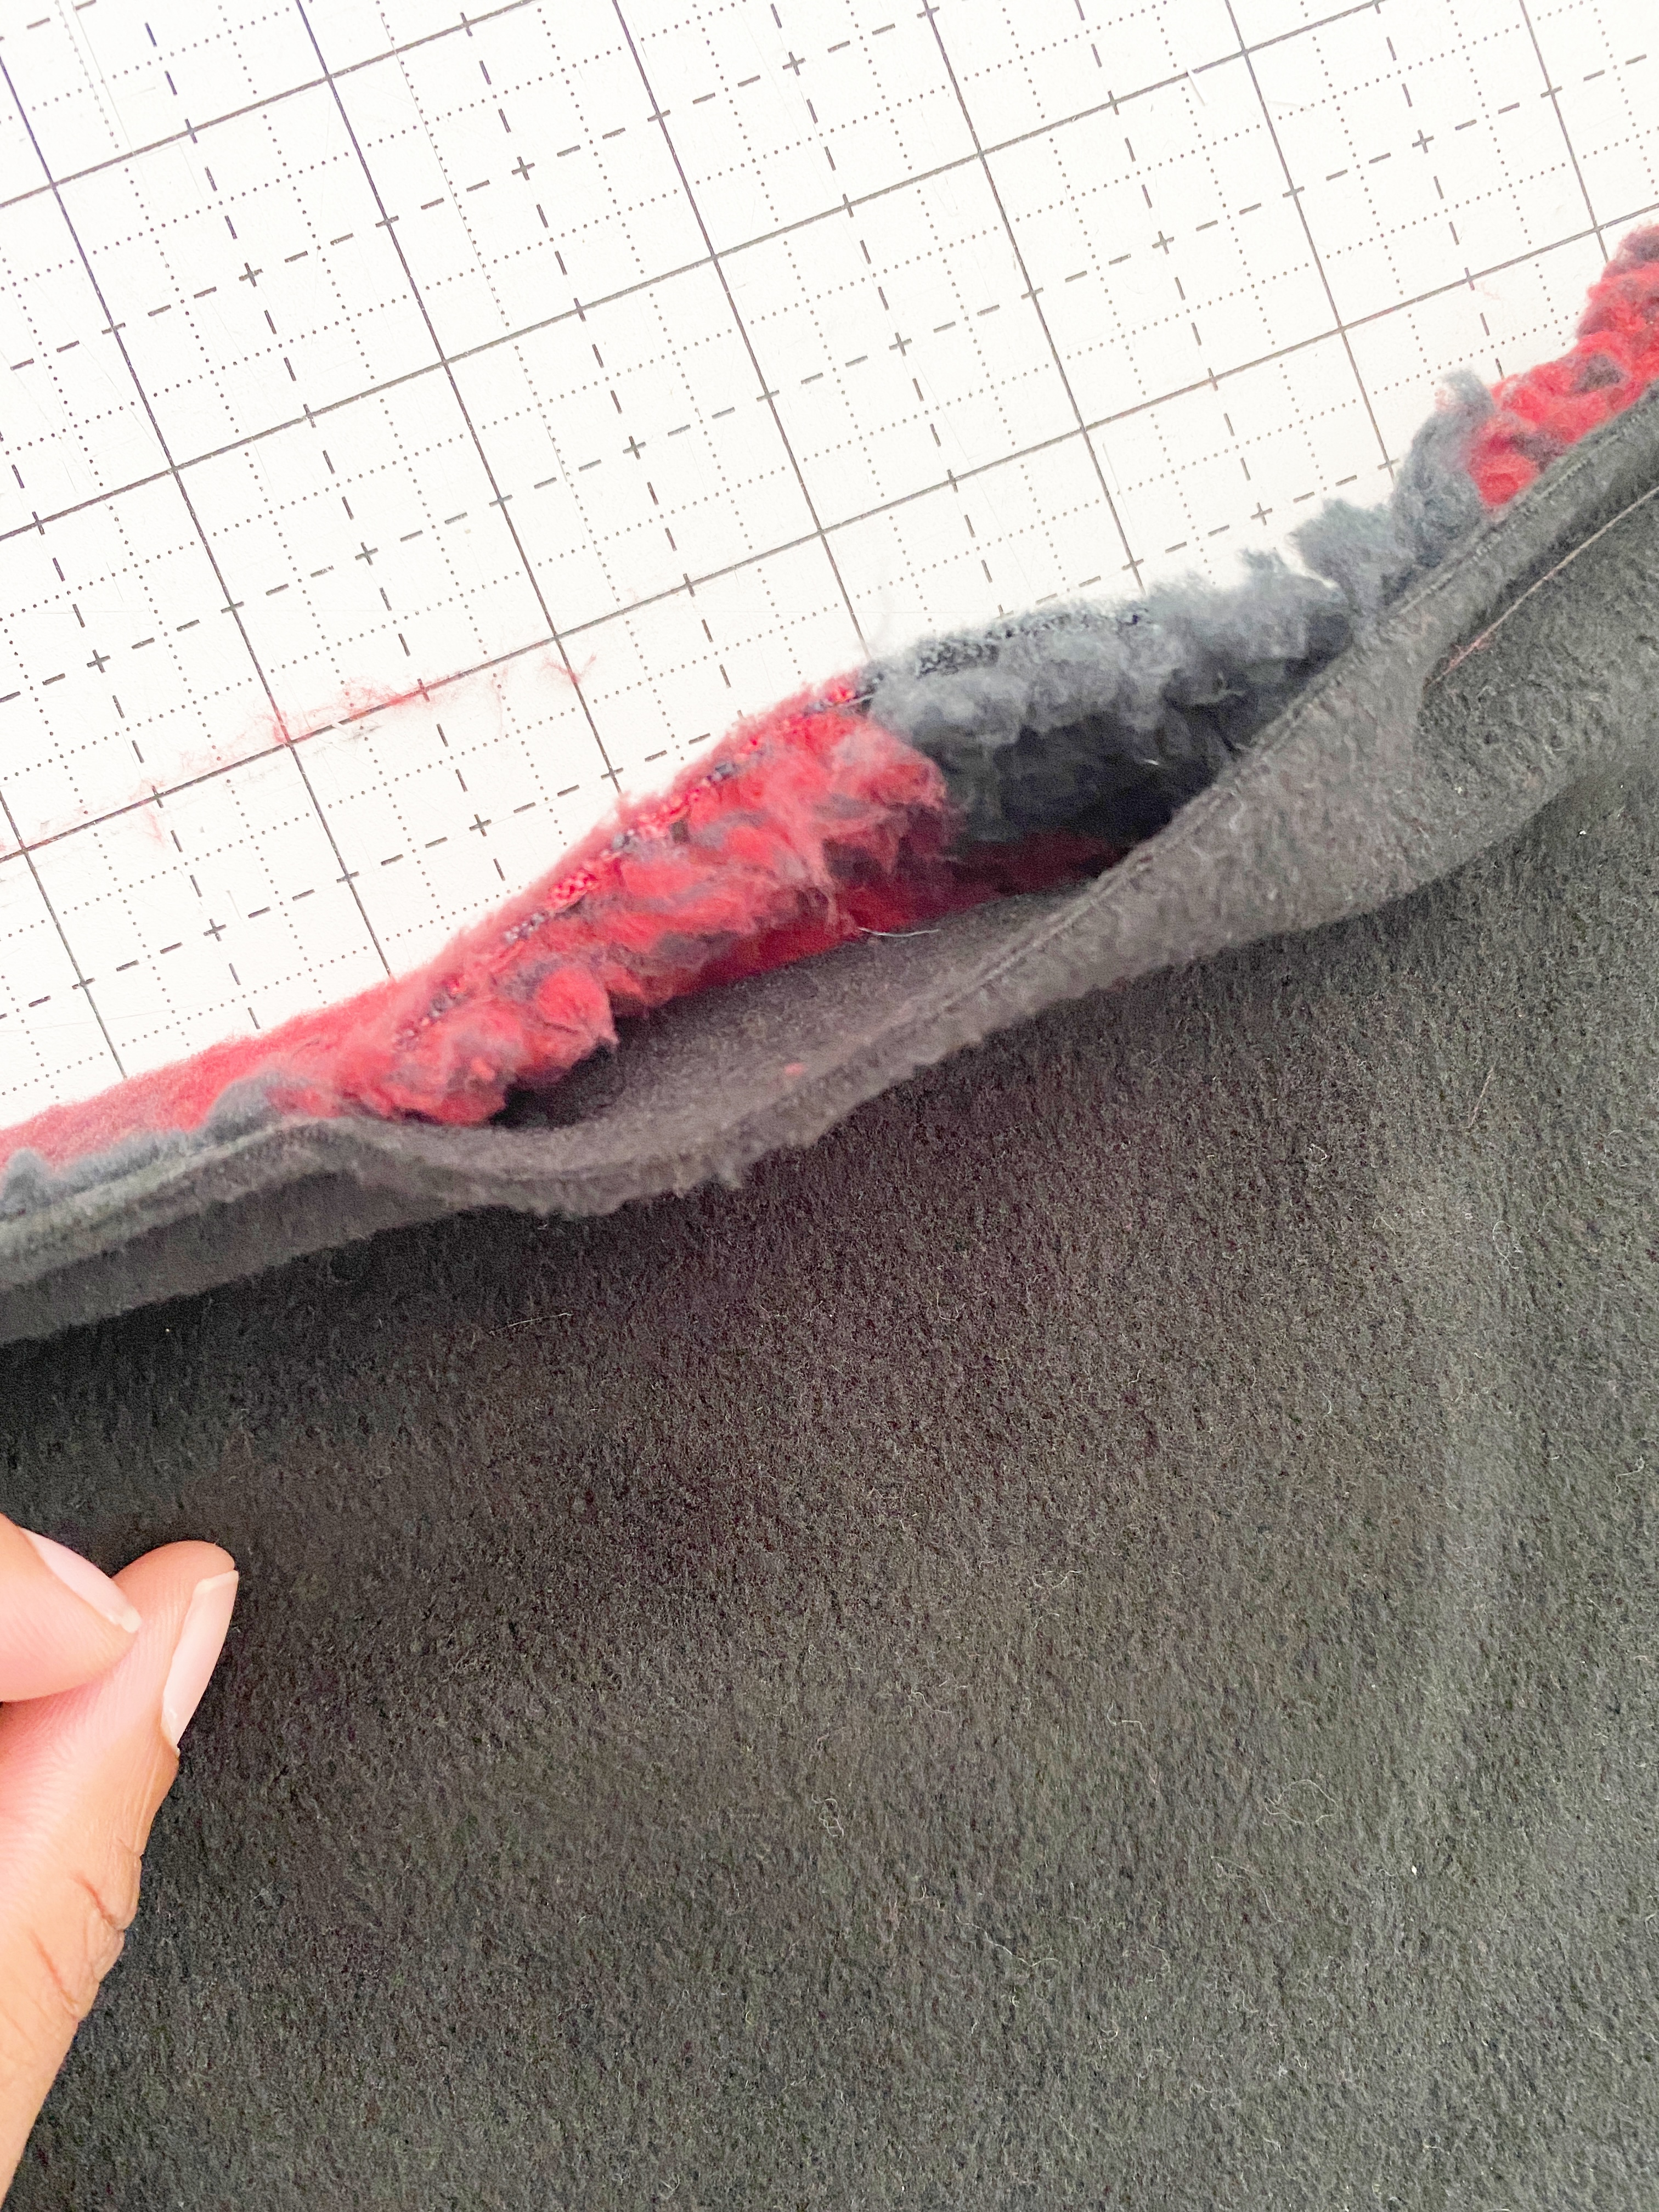
Step 4: Trim and Turn
Trim all of the corners and turn the piece inside out.
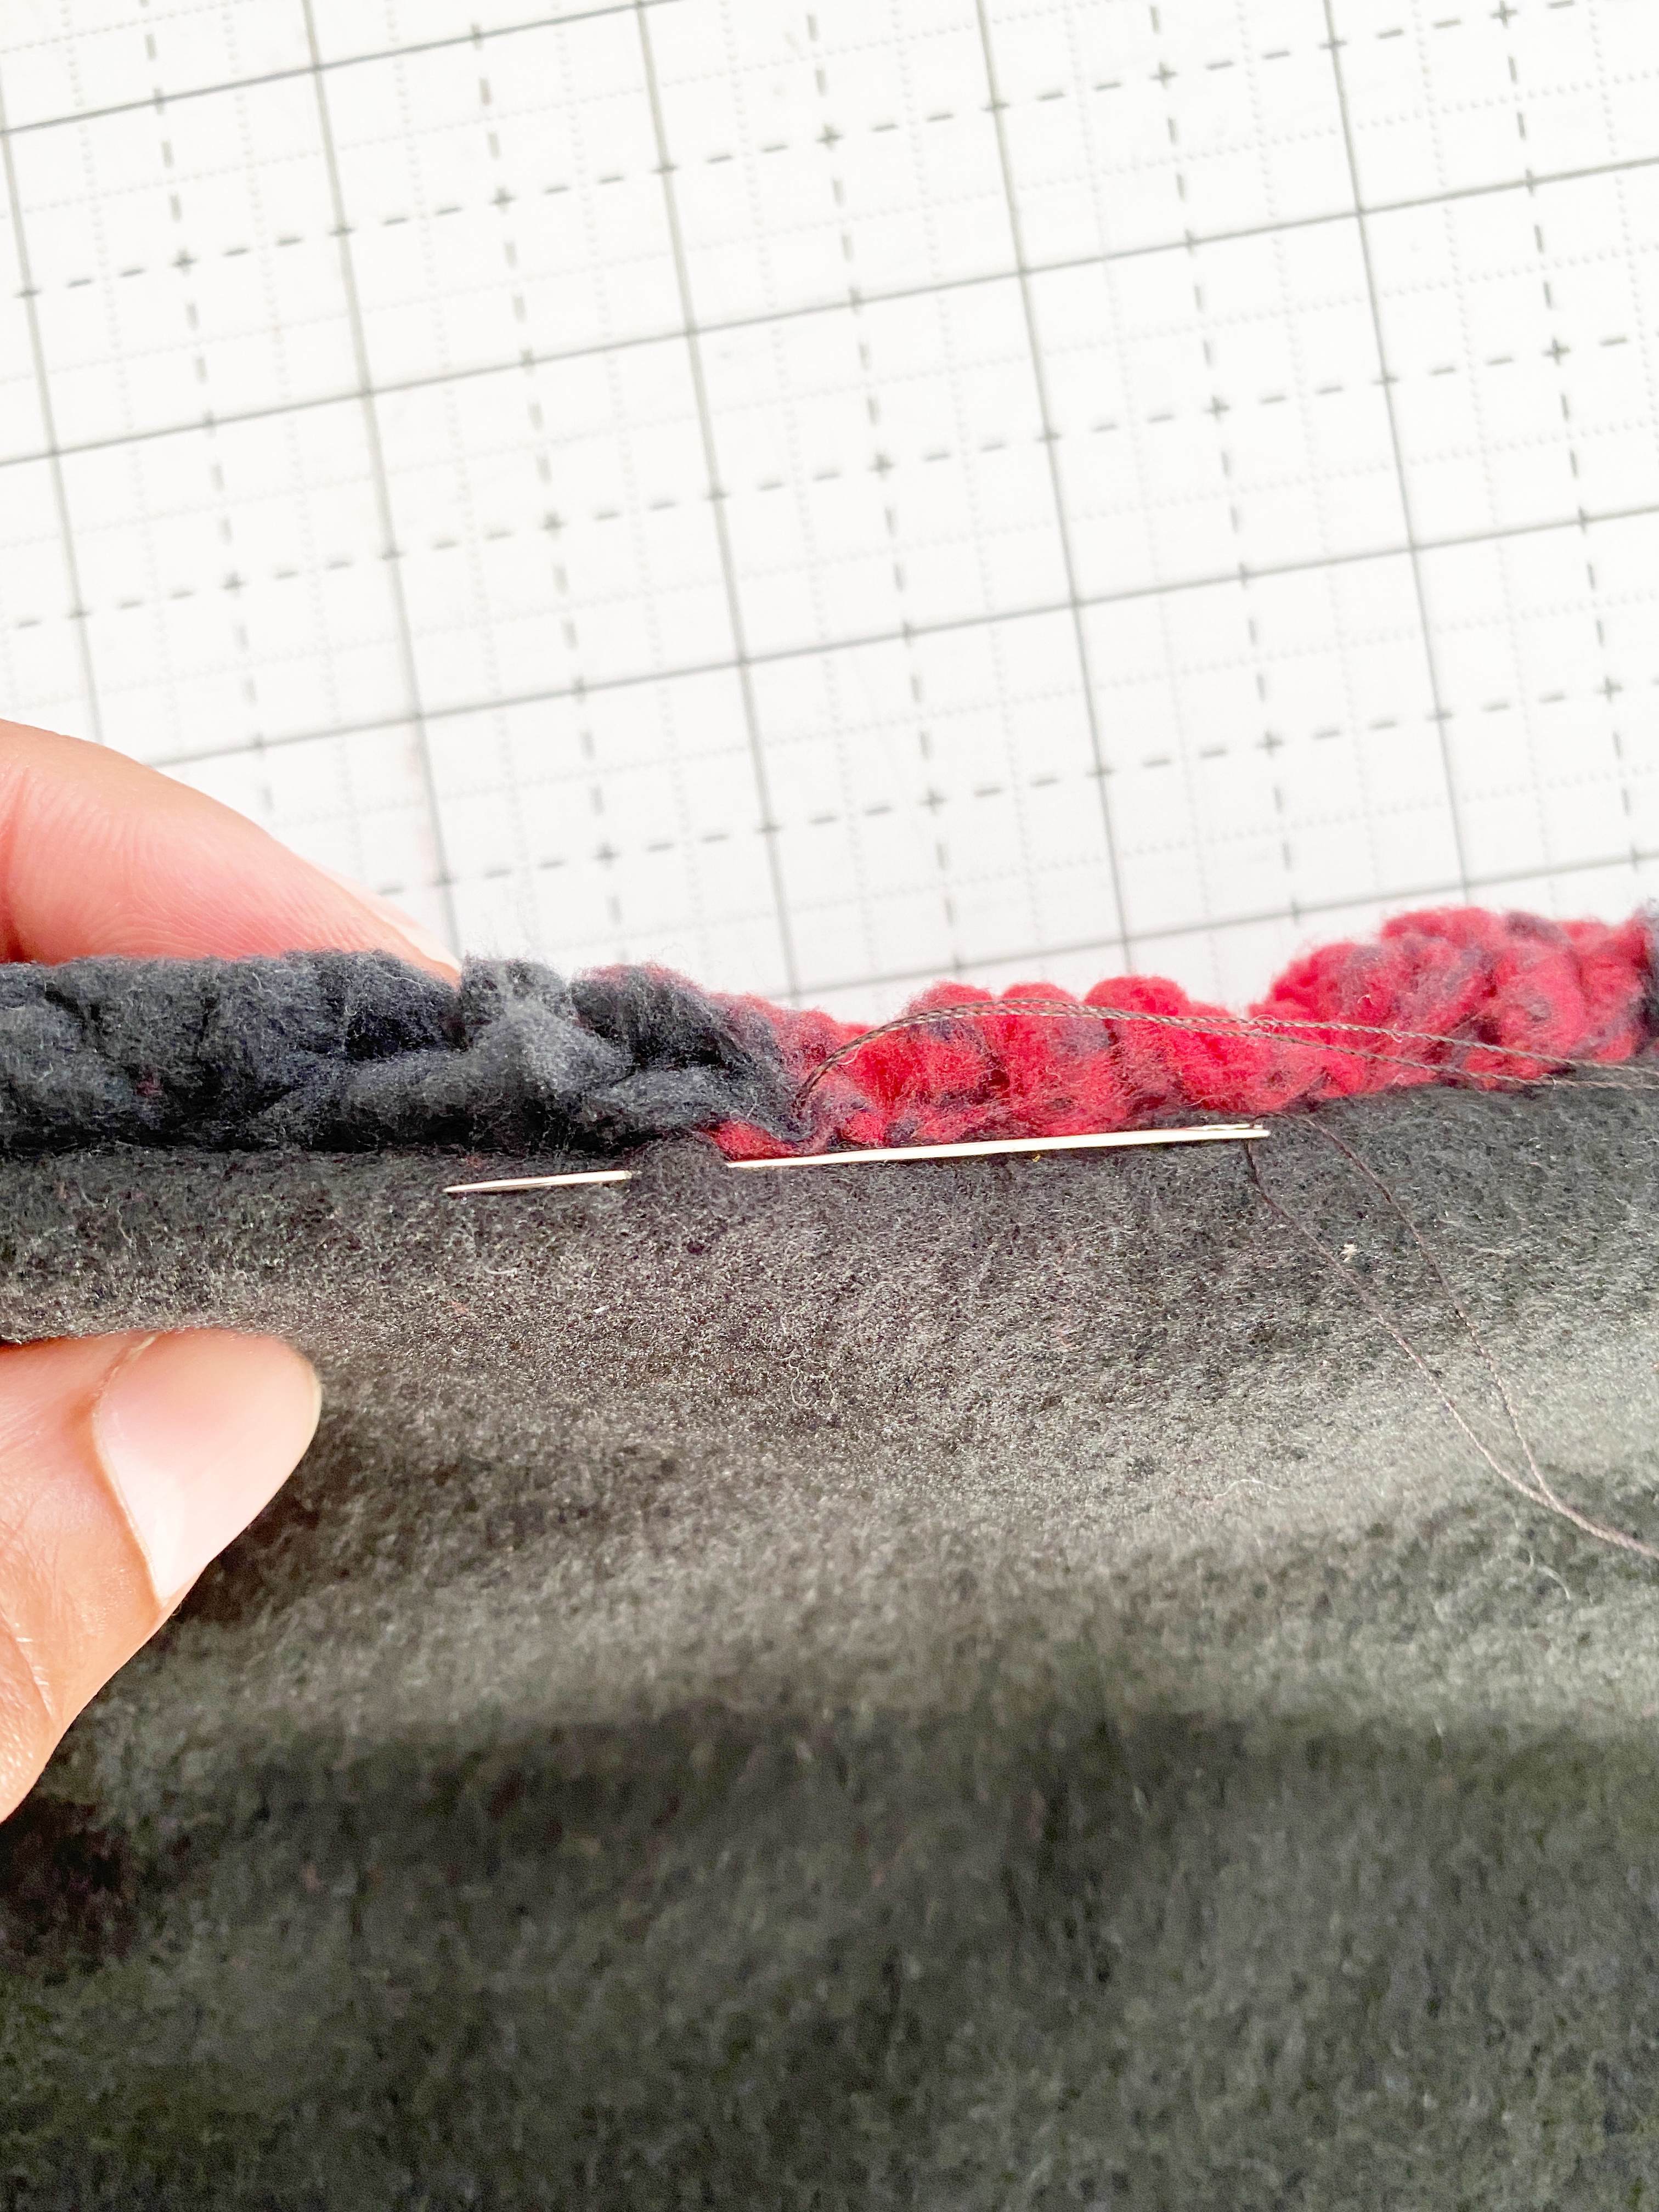
Step 5: Hand Stitch the Opening Closed
Using a sewing needle and thread, stitch the opening closed.
Step 6: Sew on a Button or Attach Some Snaps to the Neck Warmer
Using the Button Sew-on Foot #18, stitch a button on the opposite side of the elastic cording.

How easy and fun was that?
Now you can make some gifts!


What you might also like


8 comments on “How To Make a Sherpa Neck Warmer”
-
-
A picture of elastic cording placement would be helpfull or at least a more specific placement. It looks like there is one in the corner and one half way up side.
-
I like the neck warmer. Where is the button sewn on? Maybe need a few more photos showing the cording and button location.
-
Is there an adult version? Some adults get cold necks too.
-
Hello, kbsews,
This is an adult version. My niece is modeling my neck warmer.
-
-
Definitely could use more pictures and/or better description of the steps. This looks like it is probably relatively easy to make and does state it is for beginners. However, I’m finding it difficult to figure this out. Love the neck warmer though, so maybe consider reposting with more information and pictures, please?
-
I’m confused where do buttons go? And cord. I don’t see them shown.
-
I agree that more specific information for placement of buttons and elastic is needed. On YouTube search for “How to Make a Neck Warmer” by Sew Very Crafty. That gives a photo of one way to do the button placement. Also the length of her fabric is 30 inches. I found the 25-inches in this tutorial is not long enough for me.
Leave a Reply
You must be logged in to post a comment.

Fun project. I think in step 4 there is a typo. It states Step 4: Trim and Turn
Trim all of the corners and turn the piece inside out.
I think you meant turn the piece right sides out.