How to Make a Quilt Wrap

Once in a while, a project will send you right back to your roots as a sewist. When I started sewing, functional projects (aka ‘gear’) for the house, camping, etc., were often the most fun, engaging and satisfying for me. Nothing gave me more satisfaction than designing and constructing a practical piece of gear from scratch. So while the Make Your Own Gear (MYOG) movement is gaining momentum, for me it was always my first love in sewing.
Recently, I needed to make a wrap of some kind to protect my rolled-up art quilts when I take them to a lecture, class or event. I had been using a heavy plastic bag designed for fabric rolls, which worked relatively well, to a point. A bag has a set size and it could become too small (too tight) or too big (too loose) if I rolled up too many or too few quilts together. So I opted to make a ‘wrap’, a flat piece of fabric with ties to cinch it just right (but not tightly) for whatever size of roll I had to protect. Think of a soft protective tarp.
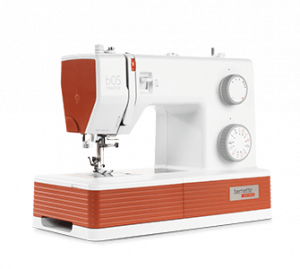
What really sent me back some 30+ years is the fact that I was using a bernette 05 CRAFTER sewing machine. It’s a mechanical model with one sweet feature: it can go 1100 stitches per minute, faster than most machines, including computerized models. It also brought back some muscle memories that had atrophied with the convenience of my computerized BERNINAs…like feathering the foot control to sink the needle in the fabric when pausing stitching. It’s a no-fuss, get-to-work machine that made the long seams of this project not only faster, but easily sewn as well.
The bernette 05 CRAFTER. A robust and capable sewing machine.

Design of the Wrap
- A rectangular piece of rip stop nylon fabric is hemmed on all sides.
- The fabric is abrasion-resistant, not bulky and easy to clean as needed.
- It usually comes in 59-60 inches wide, which made this project easier.
- Long ties are affixed to one long edge to cinch the roll together when wrapped up.
- The long dimension of the rectangle being longer than the quilt roll, so that the ends can be folded back over after rolling and before cinching.

Specifications for Quilt Roll(s)
Note: I planned for a wrap big enough for 3 rolled-up quilts. If rolling only 1 or 2 quilts, the wrap will just be generous in size.
- I use a large pool noodle as the core
- The quilts will be rolled up on the pool noodle one quilt at a time.
- The overall roll is usually 6 feet long (or a bit less) so I planned the wrap to be 9 feet in length.
- This allows for about 18 inches of fold-over allowance at the ends of the roll.
- So allow 3 yards for the main panel of the wrap.
- With 3 quilts rolled up, the overall roll is about 12 inches in diameter.
- So the circumference of the quilt roll is about 38 inches.
- This will affect the width of my fabric rectangle.
- The wrap will be tucked in with the last quilt being rolled by 10 inches to hold it in place.
- Then the quilt is rolled up to its end, anchoring the wrap.
- So add 10 inches to the width of the fabric
- At the end, I allowed an overlap of 12 inches in width to guarantee that the last quilt on the roll would never be exposed.
- So the total width needed is 60 inches, which is the width of the rip stop fabric. Sometimes we get lucky!
Materials Needed
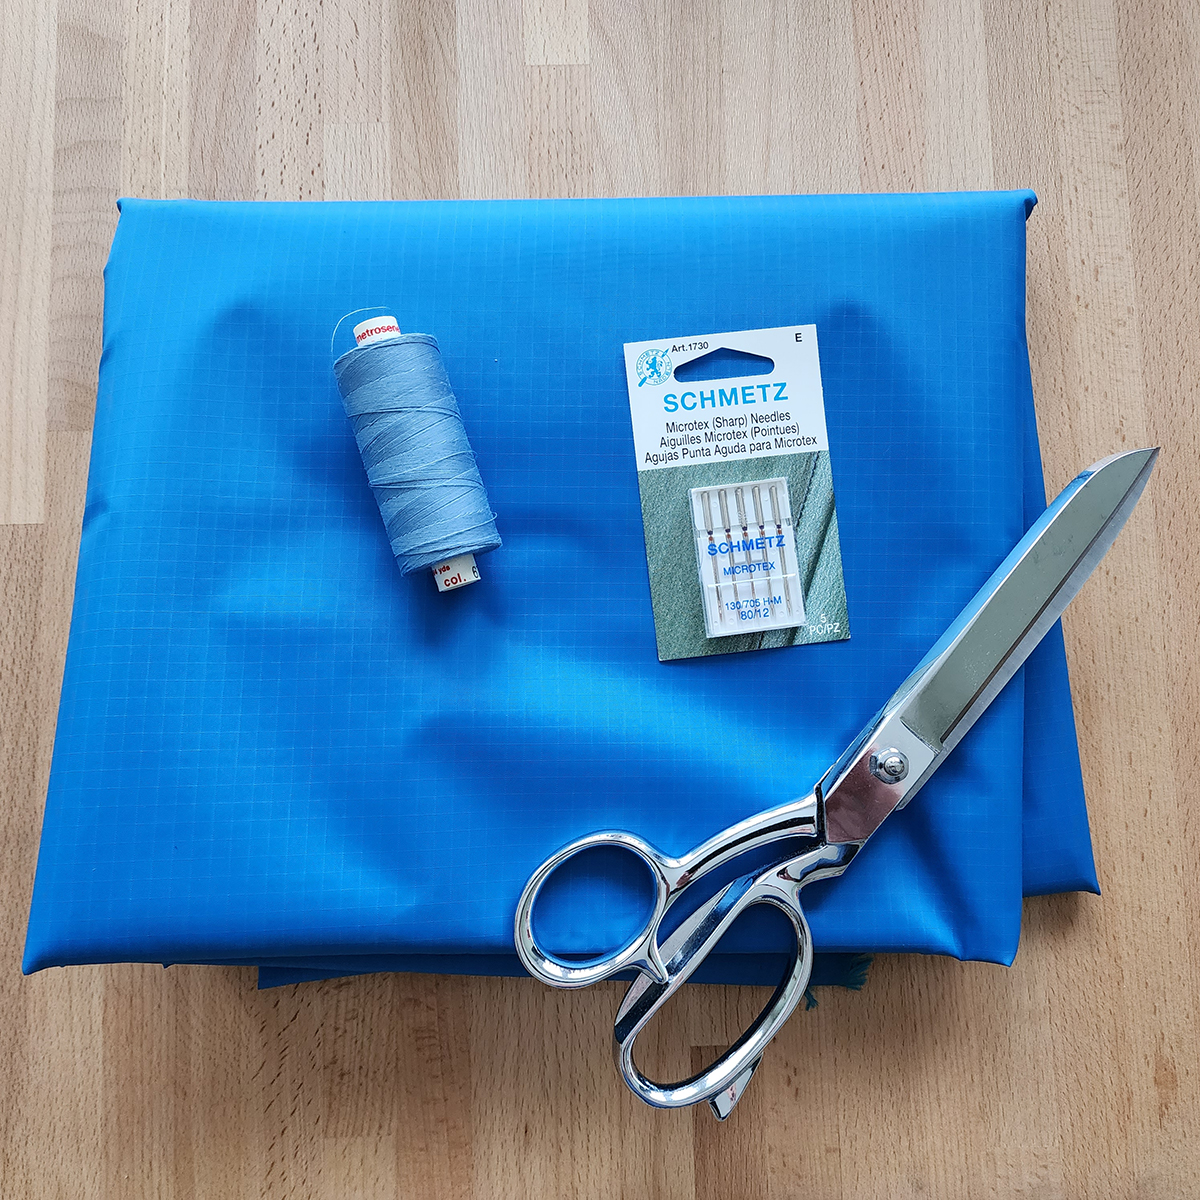
- 3 yards of rip stop nylon fabric for the rectangle + 1 yard to make the ties
- Note: 3 1/2 yards would be sufficient.
- This left me with some extra fabric… more on that later.
Tip for sewing with rip stop nylon fabric, practice taut sewing. It keeps the fabric lined up under the foot and prevents puckering after the seam is taken.
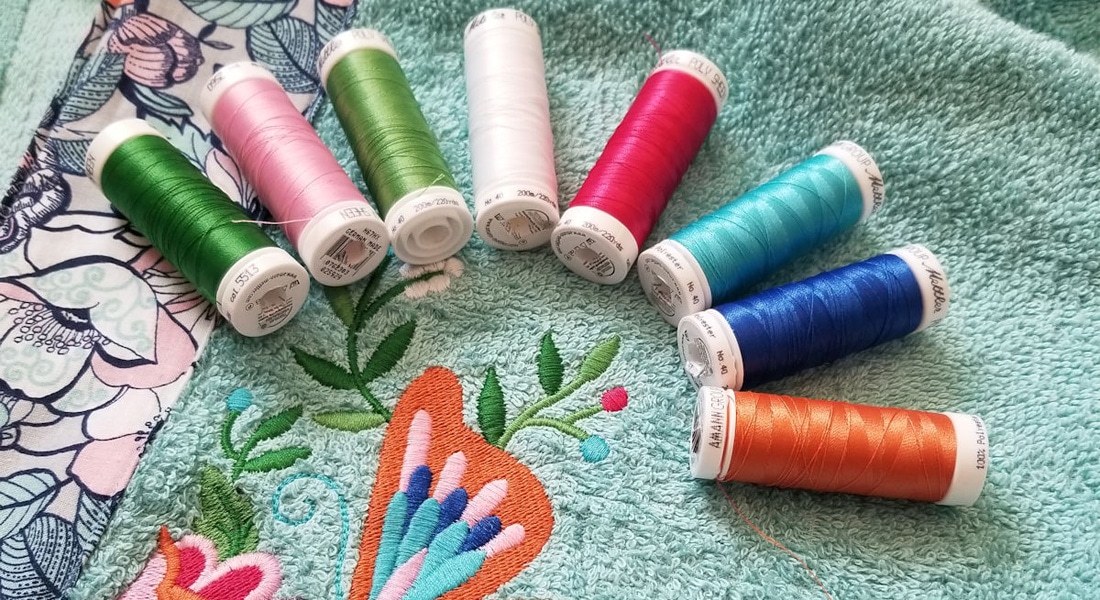
- Mettler Metrosene polyester thread
- Note 1: I prefer using polyester thread in general when making gear.
- It has more elasticity than cotton thread so it will resist a temporary stress (i.e. stretch) without breaking.
- It’s more abrasion resistant and therefore more durable.
- It will tolerate sunlight exposure better than cotton thread.
- Note 2: For articles that will live outside, always use thread that is rated for prolonged UV exposure, not just regular sewing thread.
- Note 1: I prefer using polyester thread in general when making gear.
- Microtex size 80 needle
- The fine point will minimize the holes in the fabric
- A 1-inch bias maker to pre-fold the edges of the strips used to make the ties
- Low temperature iron (lowest setting / Nylon) to use with the bias maker
Cutting the Fabric
I love rectangular projects! Everything below is a rectangle. And better yet, the actual dimensions are not critical as long as the main panel is large enough to cover the rolled-up quilts.
Tip: Pre-wash the fabric in cold water ahead of making the wrap. It removes the usual coating applied to the rip stop nylon. Hang to dry (it dries out pretty fast). No need to press before cutting.
- Main Panel: 9 feet x 60 inches
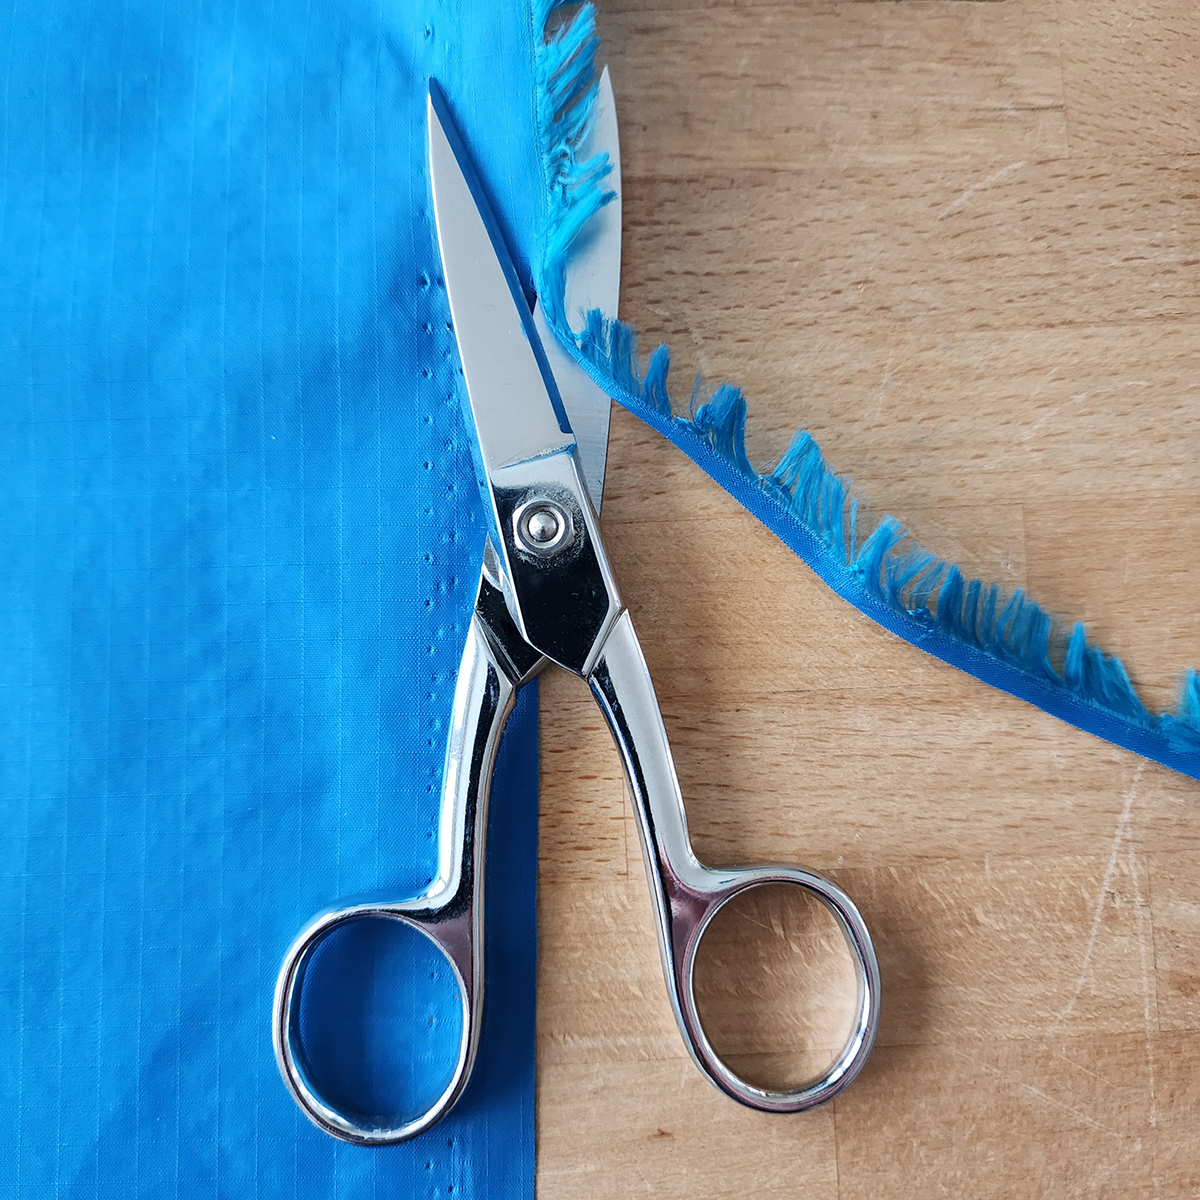
- Note: If the selvages are ‘fuzzy’, simply trim off the fuzzy edge.
- Ties (5 of them): 1 3/4 inches x 60 inches (or the width of the fabric)
Sewing the Wrap
- One (long side) of the wrap will be tucked between the layers of the last quilt at the end of the roll.
That side is the leader. - The other (long side) of the wrap will be the last to be rolled on, forming the outer edge.
Hem the Long Edges
Note: Both hems are turned to the same side
Leader Edge
- Turn in about 1/4 inch of the fabric edge and sew with a straight stitch (Stitch Length = 2.0 mm).
Tip: I turned the fabric as I stitched, without having to press first. The exact hem allowance is not critical here.
- Turn the first hem in again (~1/4 inch) and stitch again.
- This is simple way to double turn the hem on a slinky fabric like rip stop nylon.
- It also gives more body to the finished edge.
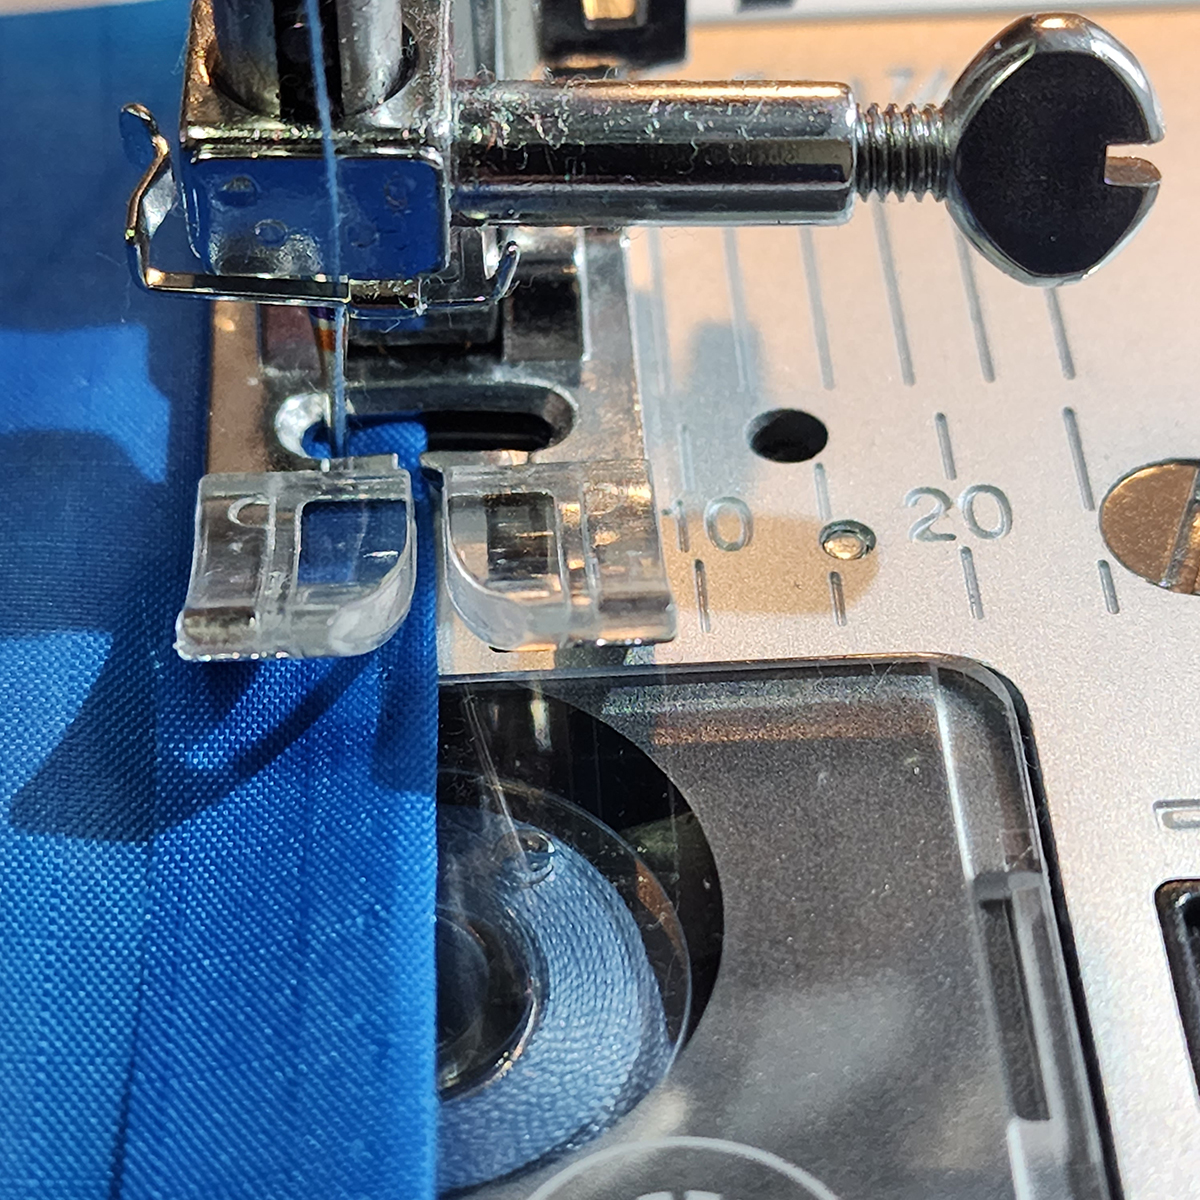
- Tip: The b05 CRAFTER lets you move the needle position on your stitches so you can line up the seam where you need it. Here, I moved it to the left so I could line the fold in the middle of the foot for easier seaming.
Note: The holes in the fabric are from the original selvage and did not compromise the fabric
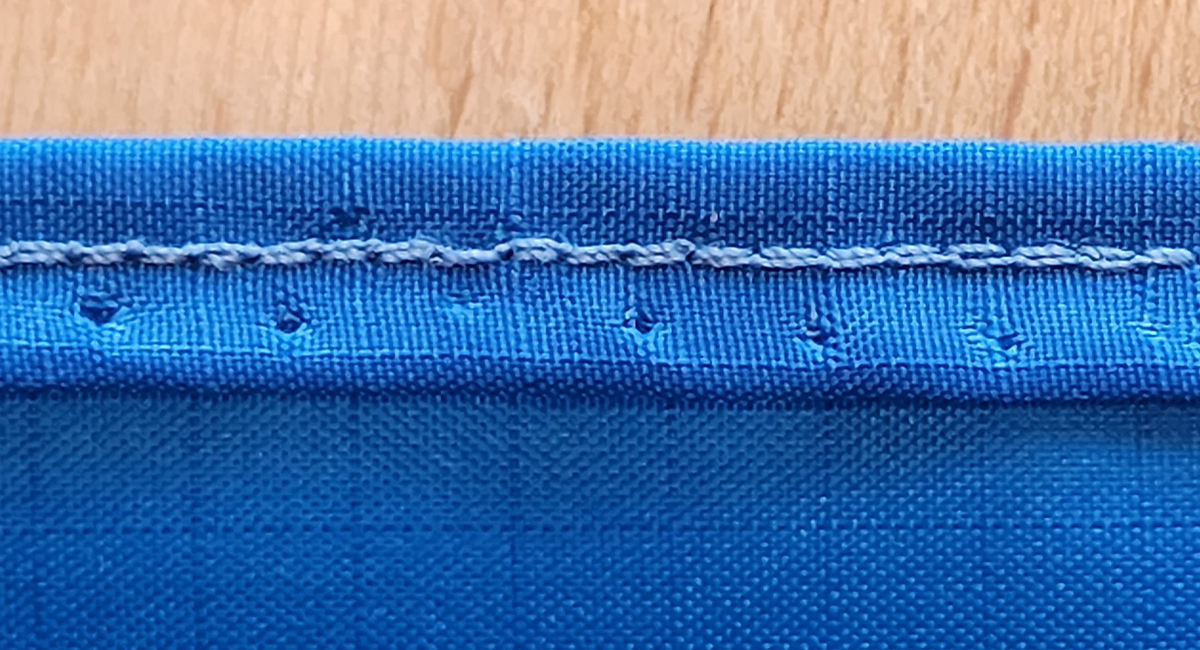
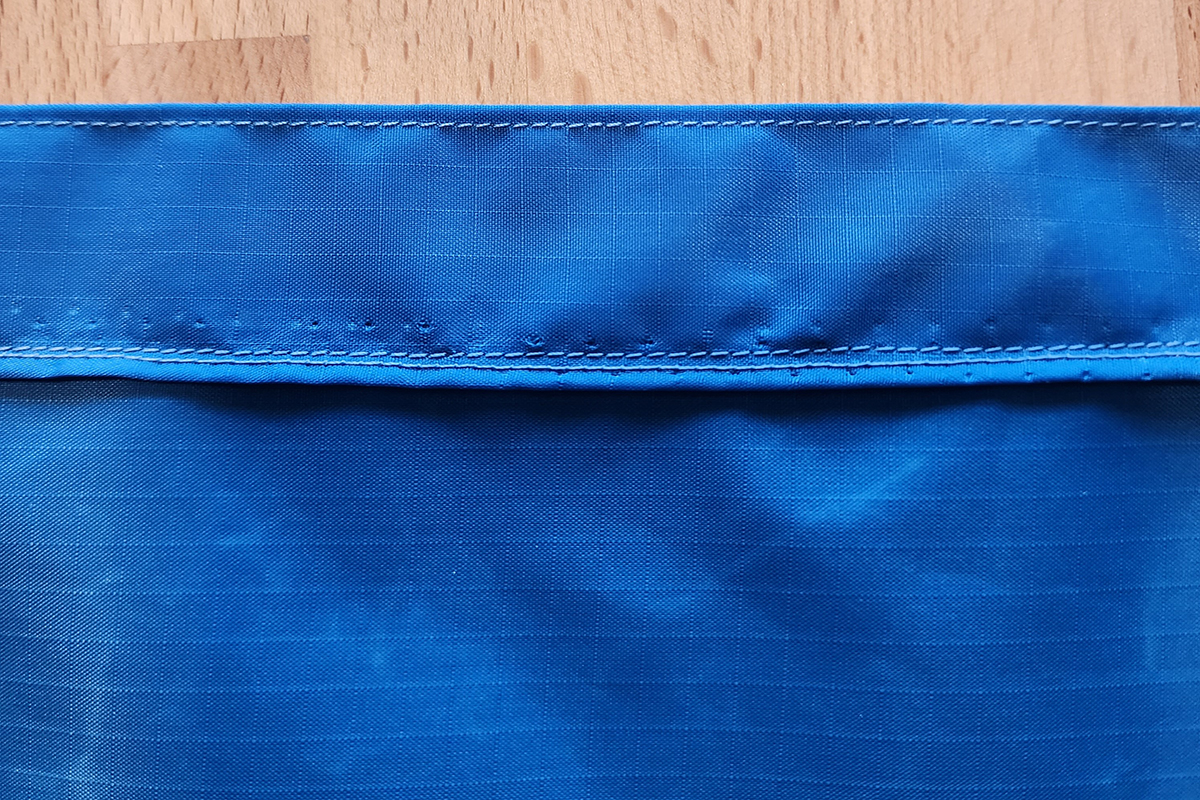
Outer Edge (the other long edge)
- Turn in about 1/4 inch of the fabric edge and sew with a straight stitch (Stitch Length = 2.0 mm).
- Turn the first hem in again to form a 1 inch hem.
- Stitch both over the existing 1/4 inch first hem seam and at the fold of the 1 inch hem.
- This will form a 1 inch leader to which the ties will be attached later.
Finish the Ends
- Turn in 1/4 inch of the shorter ends and stitch.
- Turn over again to form a 1/2 inch hem and stitch at the edge of hem fold.
- Stitch over the first hem seam.
- This 2-seam edging will give body to the ends/edges, making handling easier.
You now have the wrap essentially made. The only part left is to make and attach the ties.
Making the Ties
Note: The ties will be made long enough to accommodate a large quilt roll (e.g., 3 quilts). Once tied, if they have leftover length, aka tails, they can be tucked inside the edge of the wrap.
Make 5 Ties
- Fold the fabric so that you can rotary cut strips of the fabric 1 3/4 inches wide across the remaining fabric (60 inches long). Trim off the selvages.
- Pass through a 1-inch bias maker.
- Press (CAREFULLY!!) with the coolest (nylon) setting on your iron, following the method indicated by the bias maker manufacturer. You can afford to go slow and crease the strips well if your iron is set to the cool setting.
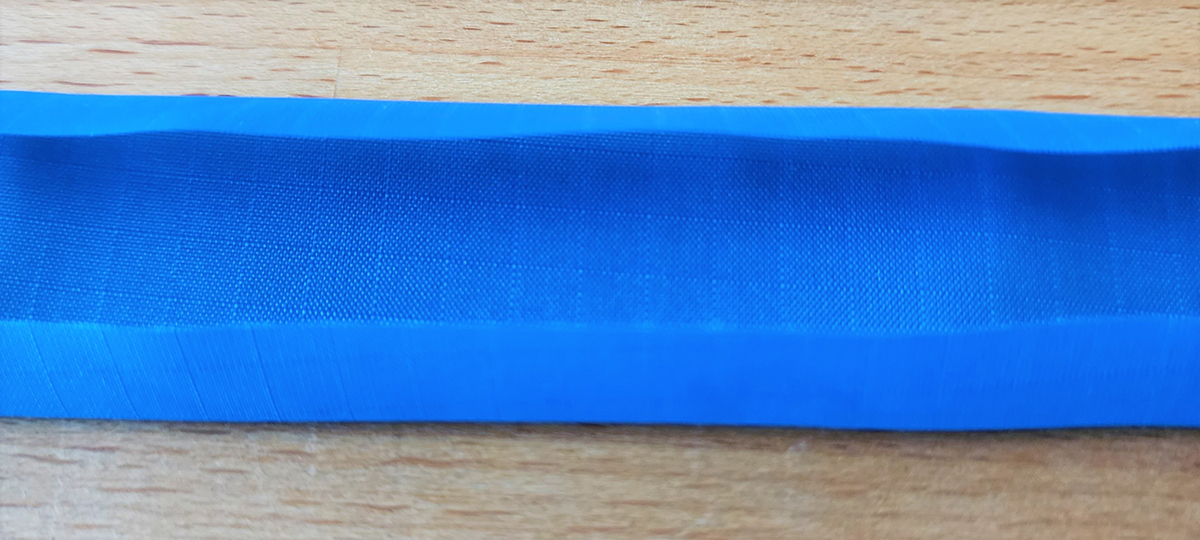
- Once the 1-inch strip is formed with turned in allowances on each side:
- Fold together in half lengthwise.
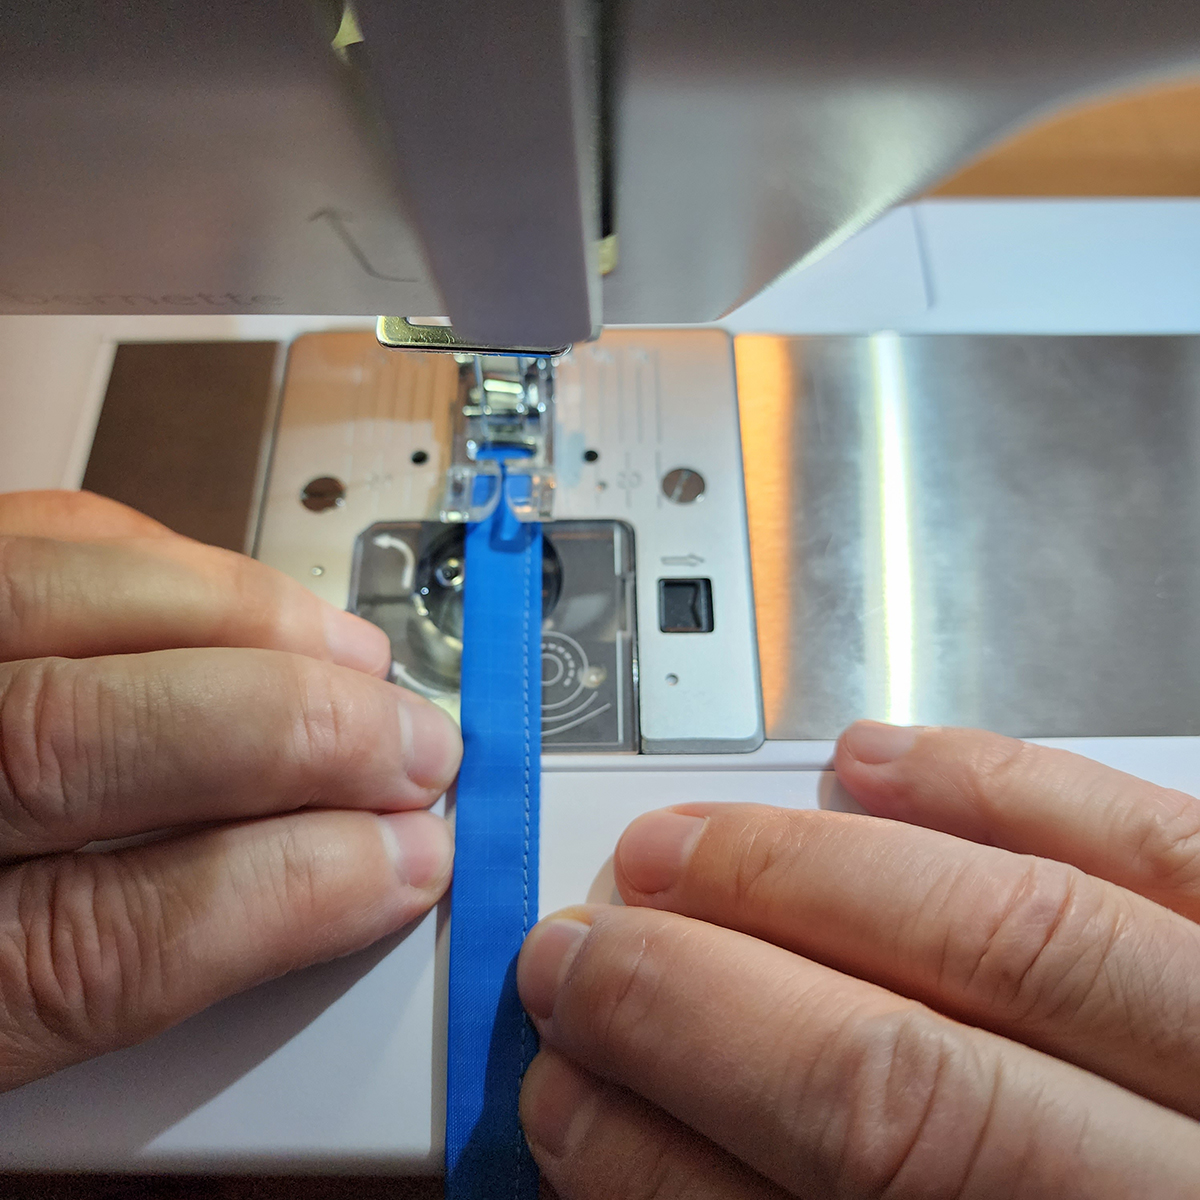
- Stitch along the fold to form a 1/2-inch wide strap
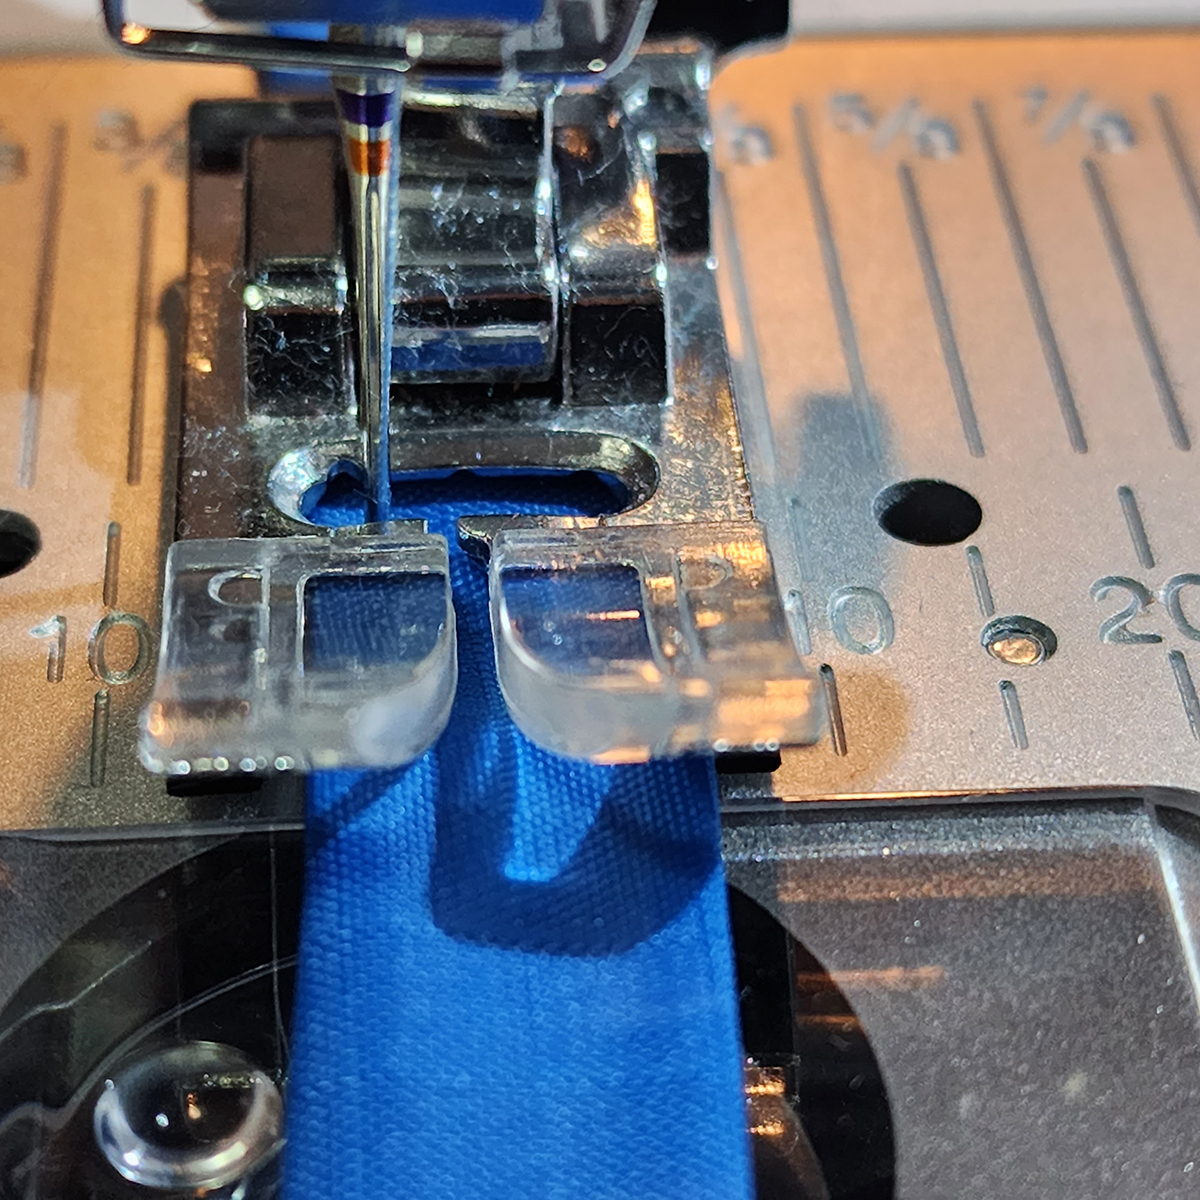
Tip: When sewing long straps like these ties, I use my hands as seam guides. This keeps the straps aligned and I can indulge in the full speed of the machine.
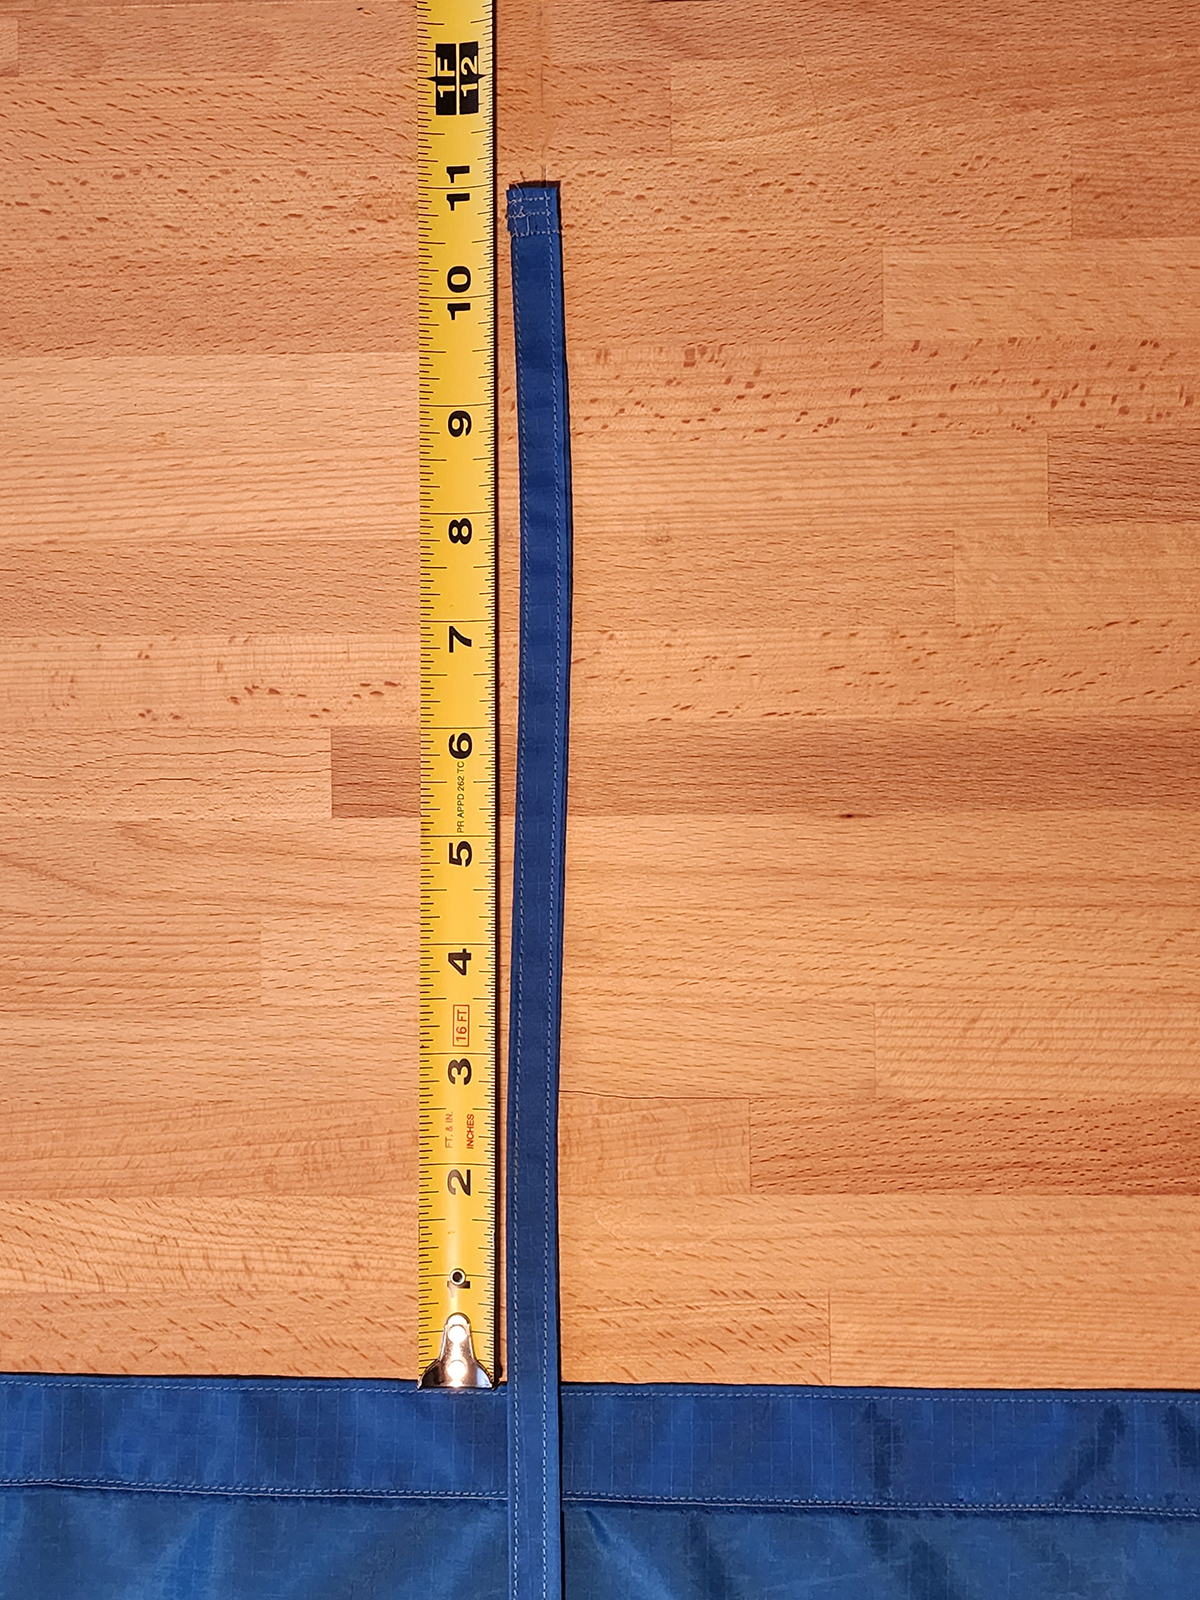
-
- Stitch again along the doubled edge on the other side of the strap.
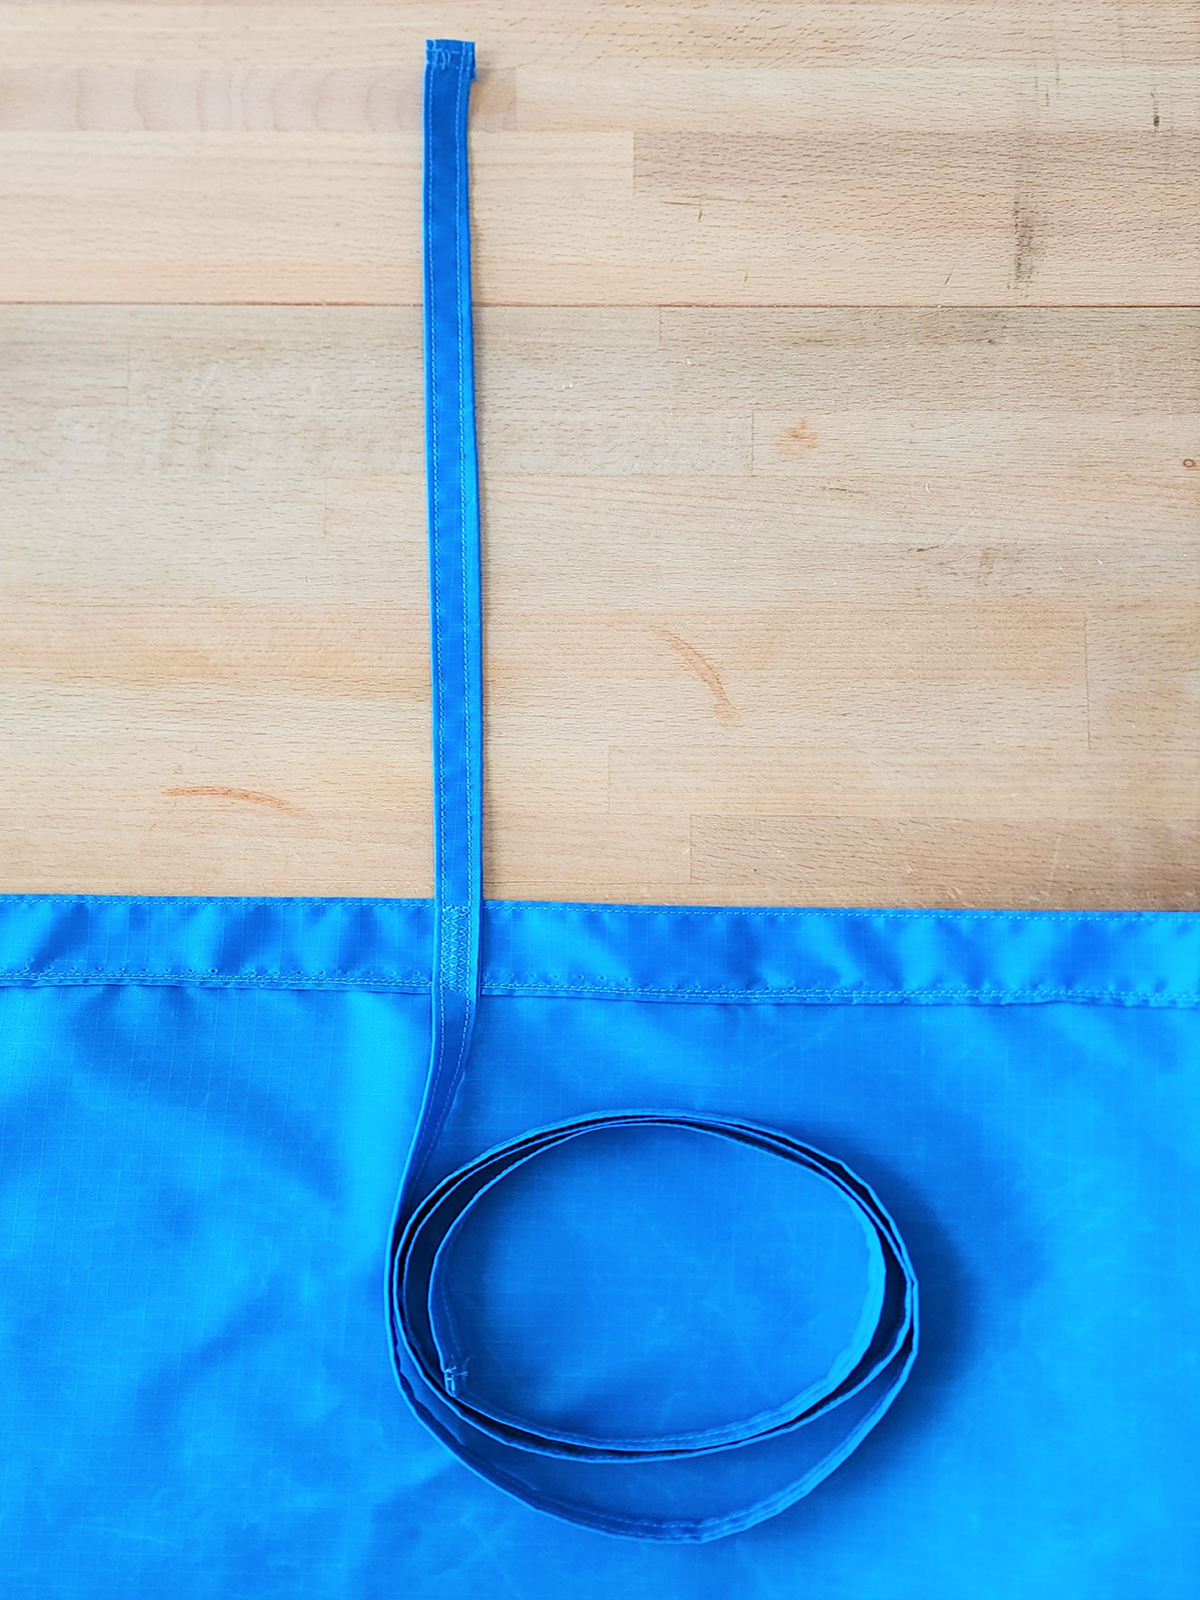
- Tuck in the ends of each strap and stitch down to secure them.
Attaching the Straps to the Wrap
First, it’s important to do a fitting.
- I rolled the hemmed rectangle (without ties still) around the quilts to assess the excess I would have at both ends of the roll.
- Then I folded over the excess at each end and placed the mark for the first tie so it would catch the folded fabric, with excess fabric still past the tie (so it couldn’t slip out) at about 22 inches from the finished ends of the wrap.
- Note that the hemming at the ends took away some of the length of the wrap so it’s now a bit less than 9 feet long.
On the long edge of the wrap that is hemmed 1 inch wide, with the hem allowance up (wrong side up):
- Start about 22 inches from each end and put a mark across the 1-inch hem.
- Measure the distance between these end marks and divide by 3.
- Add these 3 marks to the 1-inch hem.
- I could fit 5 marks total, with about 15 inches between them.
For Each Tie
- Position a tie at the mark so that one end exceeds the edge of the hem by 11 inches (sticking out past the edge/hem).
Note: This will leave just enough of the strip to be able to tie it after wrapping the quilt, allowing the longest portion of the strip to wrap around and come from the other side to tie it to the 11-inch segment.
- Stitch the tie to the 1” hem using a zigzag stitch (SL ~ 2.0 mm). I stitched over the 1-inch length to match the 1-inch hem and then reversed to stitch back to the starting point.
- Repeat with the other ties
You are done making the wrap!
Right near the end, I played a game we all know so well: bobbin chicken!
And for once, I got lucky!!
Using the Wrap
- Roll the quilt(s) on the pool noodle, motif side out to avoid crinkling the quilt top.
- Leave ~ 1 foot of the quilt not rolled up.
- Insert the edge of the wrap without the ties and overlap.
- Place the hemmed side down (right side up), against the quilt backing, so that the smoother side of the wrap will be against the quilt top.
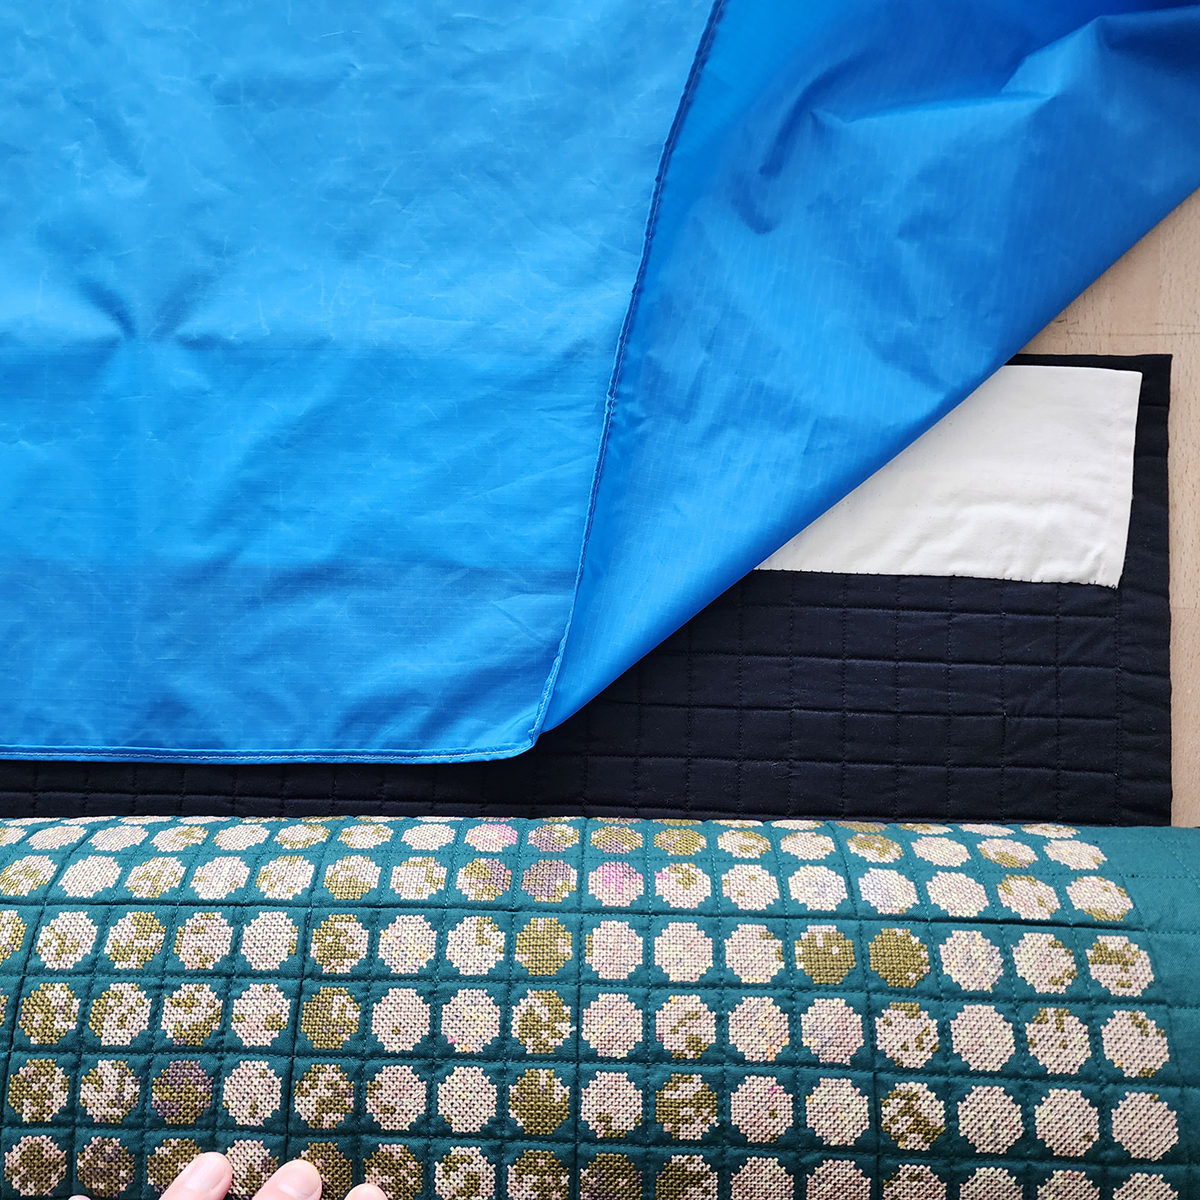
- Finish rolling up the quilt over the wrap leader.
- Keep rolling until the wrap is used up and the ties are on top of the roll.
Tying the Strips
- Pass the long end of the strips under and around the roll and tie with the 11-inch leader.
- Note: The tie should be just snug against the roll but not so tight as to constrict in the roll.
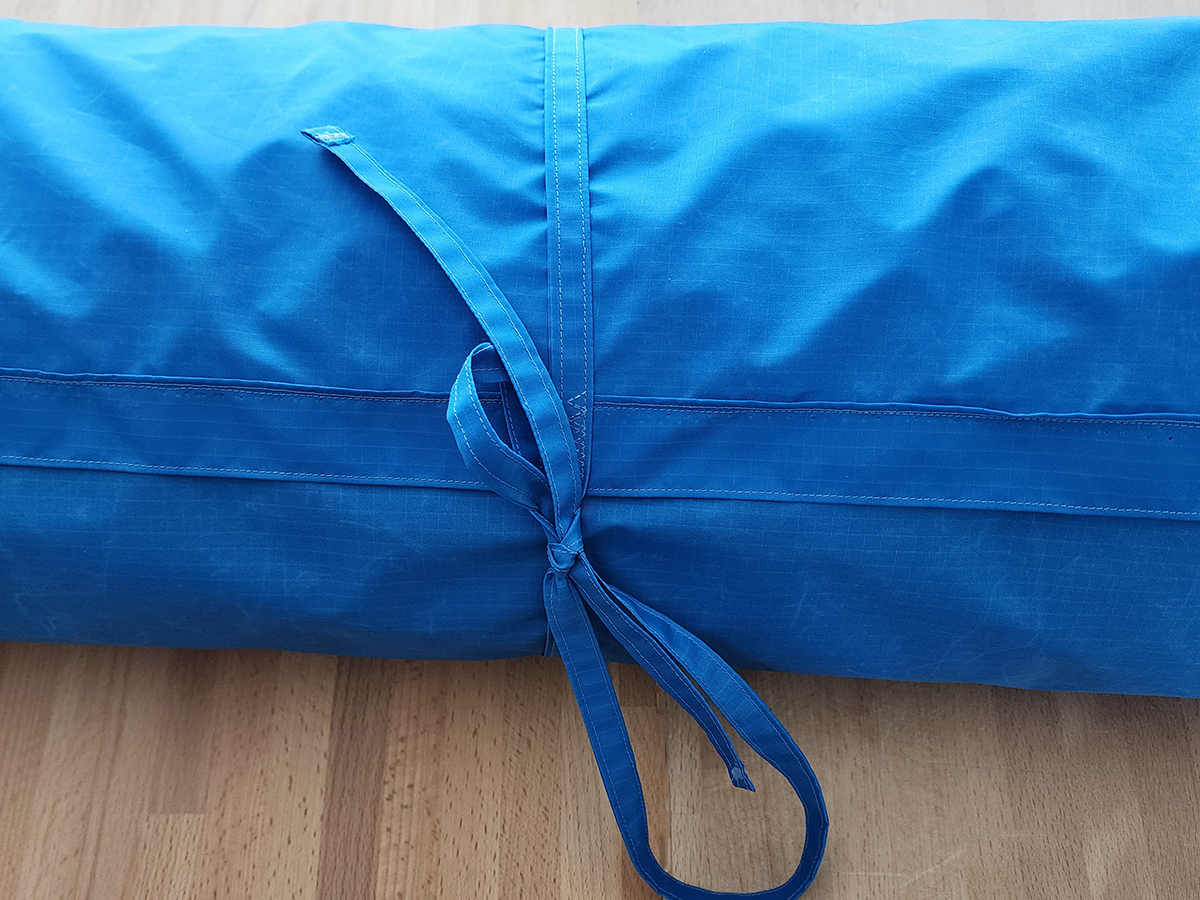
- Start in the middle and work toward the ends.
- For the last ties (at both ends), softly fold the excess length of the wrap up and over the roll and secure with the last tie at each end.
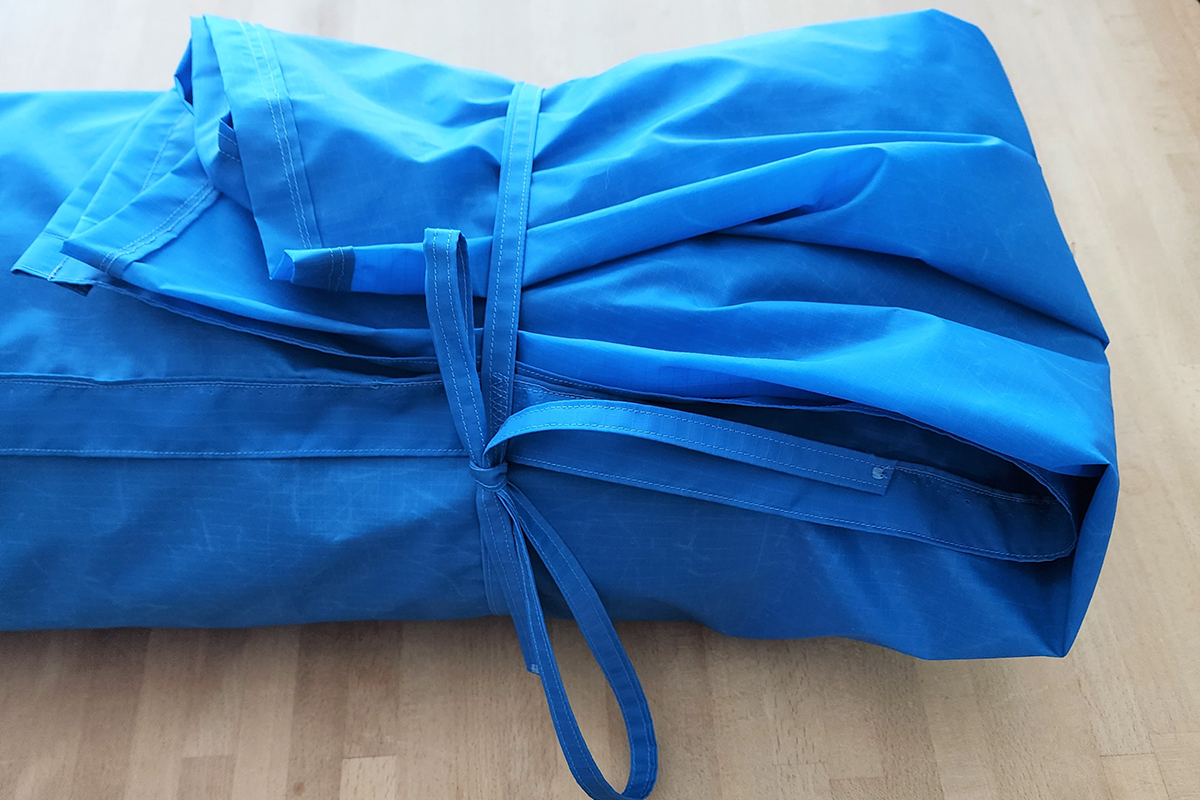
In the end, I have a way to protect my quilts in transport (usually in my car) that is both flexible and practical.
Final Tip: with the 3/4 or so yard of rip stop nylon fabric left over, I will use it to make inside pockets for tote bags. Being thin and slinky, it’s perfect for such pocket (even better, zippered pockets) that can be added to the inside of a bag without adding bulk. The slinkiness makes it easy to put in or get items from the pocket. As my mother would say… nothing goes to waste!