How to Make a Log Cabin Quilt Block Dance!
This “twist” on a traditional log cabin block from Katie Pasquini Masopust – quilt artist, author, and teacher – is a fun example of how just a little change can make a big difference in a quilt block design. Use this Dancing Log Cabin block to create quilts, runners, wall-hangings, and more.
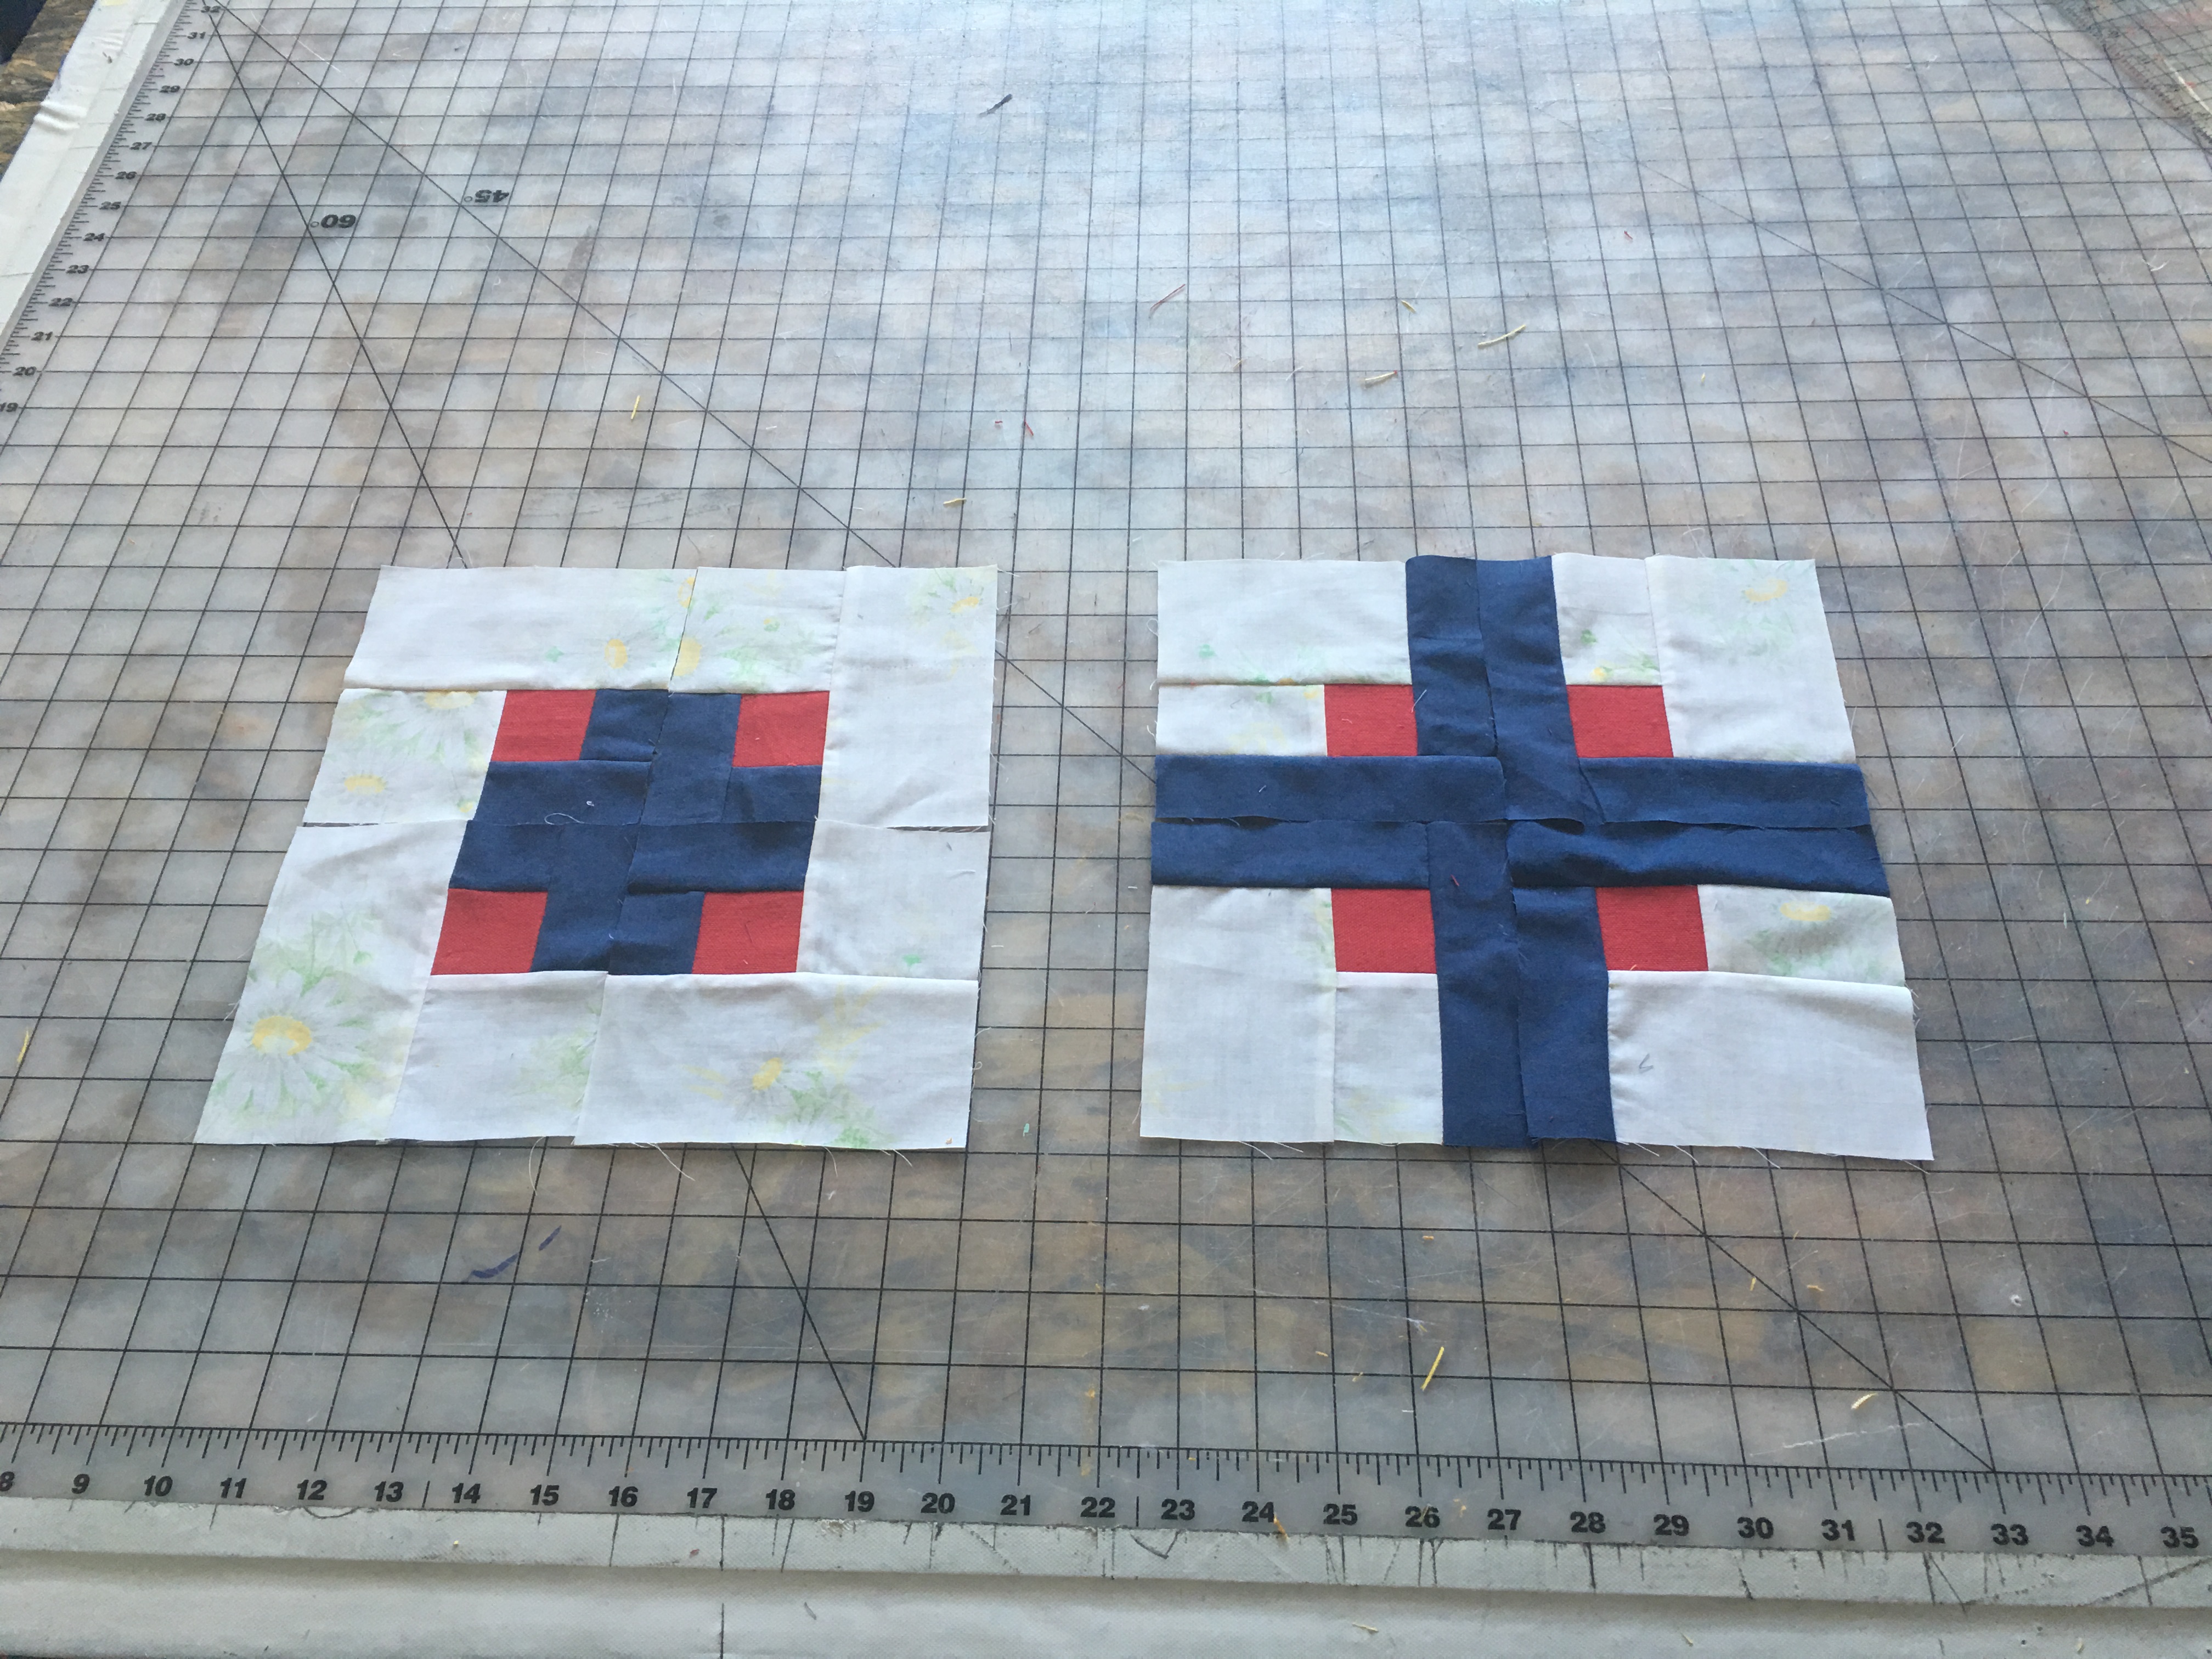
Step 1) Start by making a regular log cabin block.
Cut strips 1-1/2″ wide.
Sort the strips into two value piles, one light and one dark.
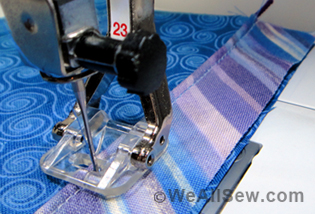
Sew a dark and light strip together, then sub-cut into 1-1/2″ units.

Add a light strip to one long edge.
Then, working in a circular motion, sew a dark strip to the next edge, and a dark strip to the edge after that.
Start again next to the first light and sew a two lights then two darks around and around until you have six strips out from the center dark square. Square up every two rows or so to ensure they don’t get too wonky.
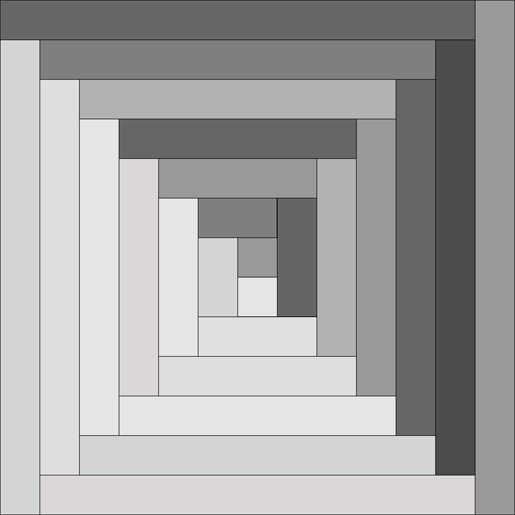
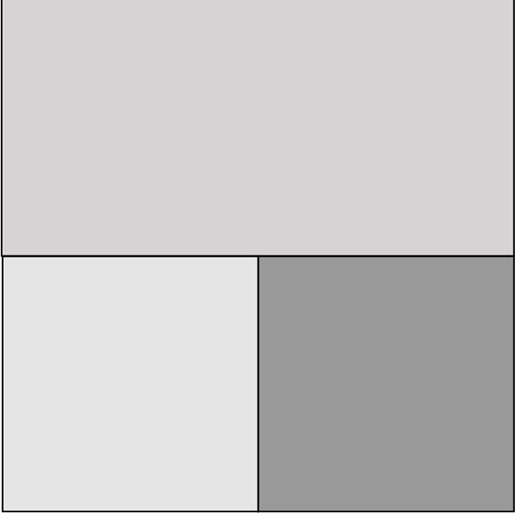
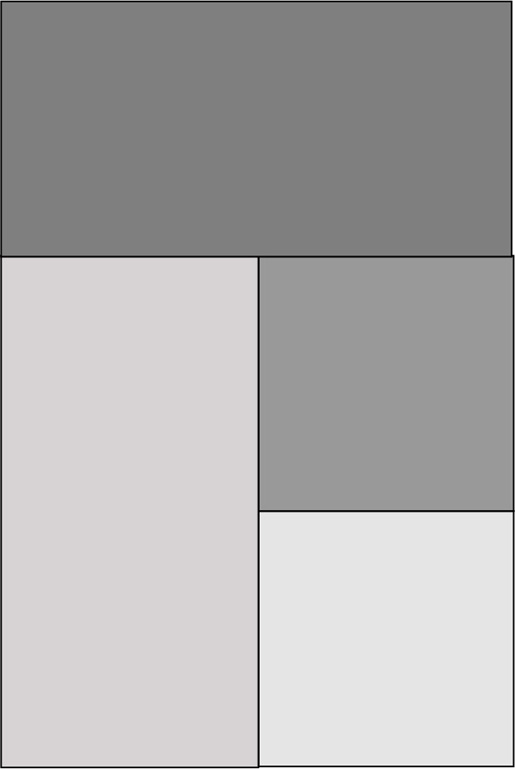
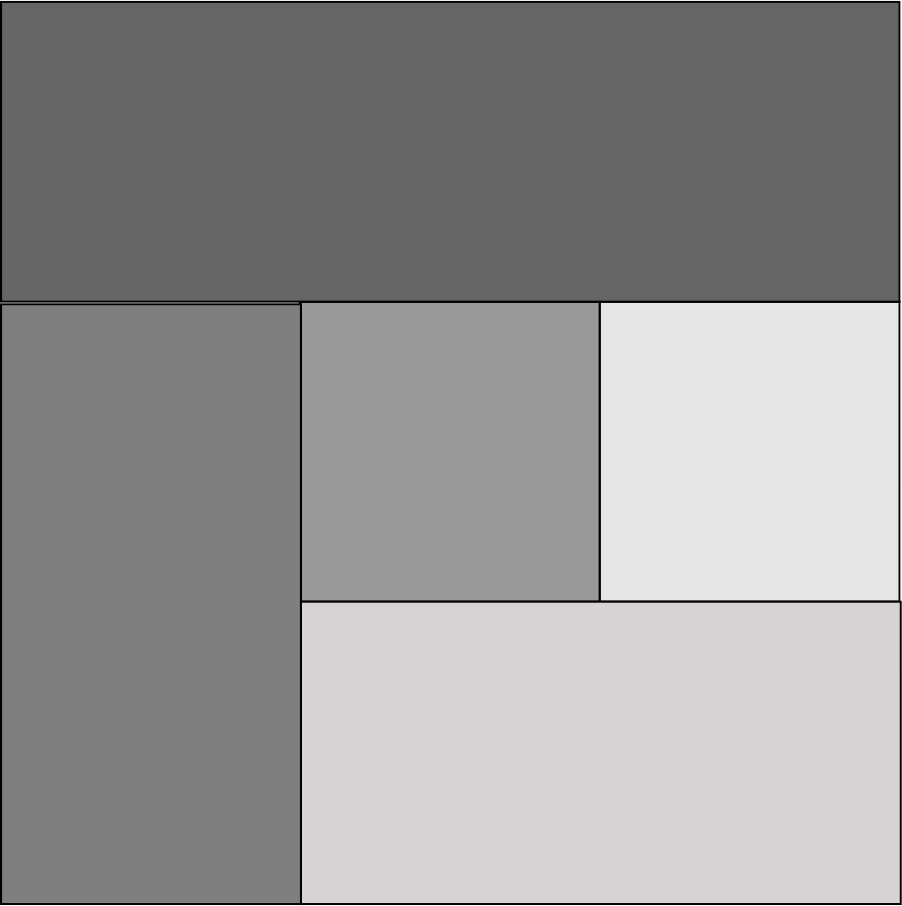
When all strips have been added, square up for a 14” square.
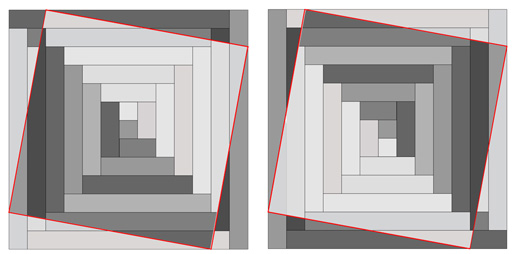
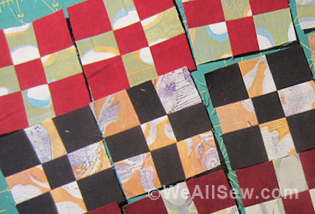
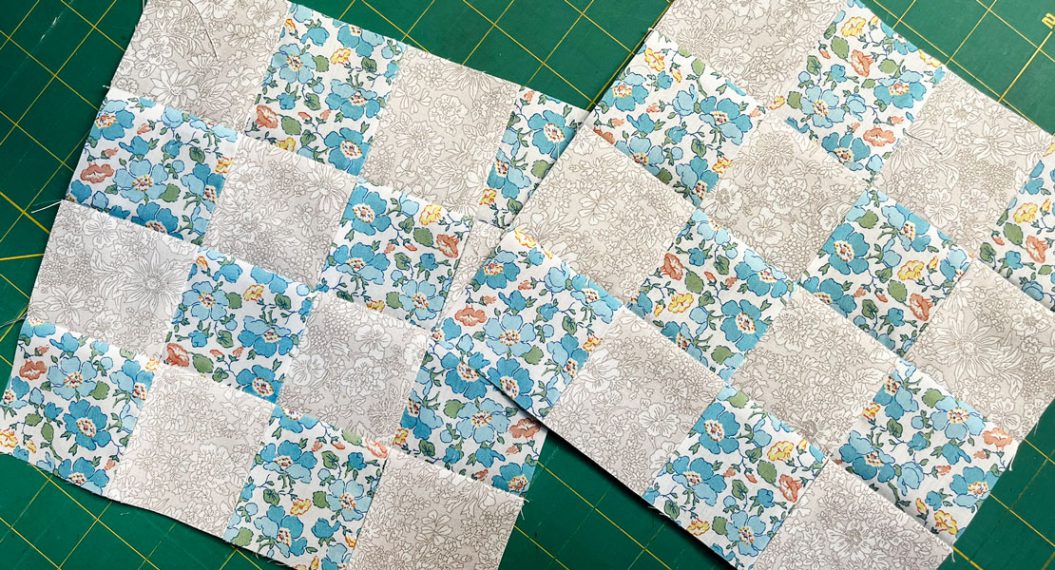
Step 2) Make the squares “dance.”
Cut corners of two blocks as shown, starting 4” from the corner and cutting to the adjacent corner all around. Don’t remove the cut pieces.
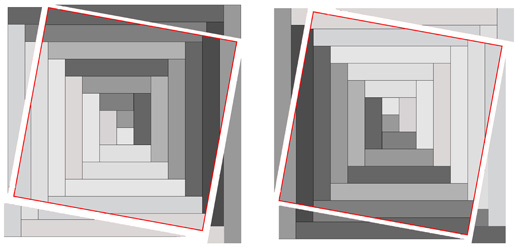
Move the corners from one block to the other and sew them on their new center blocks.
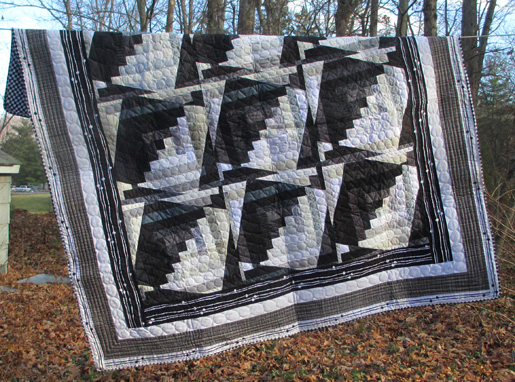
Step 3) Sew blocks into a pillow, quilt, or other project.
Lay all of the blocks out to create the desired pattern.
Add borders and quilt the whole piece to your liking.
We’d love to see what you with your Dancing Log Cabin blocks! Share with us on Instagram using #berninausa – thanks!


What you might also like


One comment on “How to Make a Log Cabin Quilt Block Dance!”
Leave a Reply
You must be logged in to post a comment.

This is a great idea! Thanks, I will have to try some.