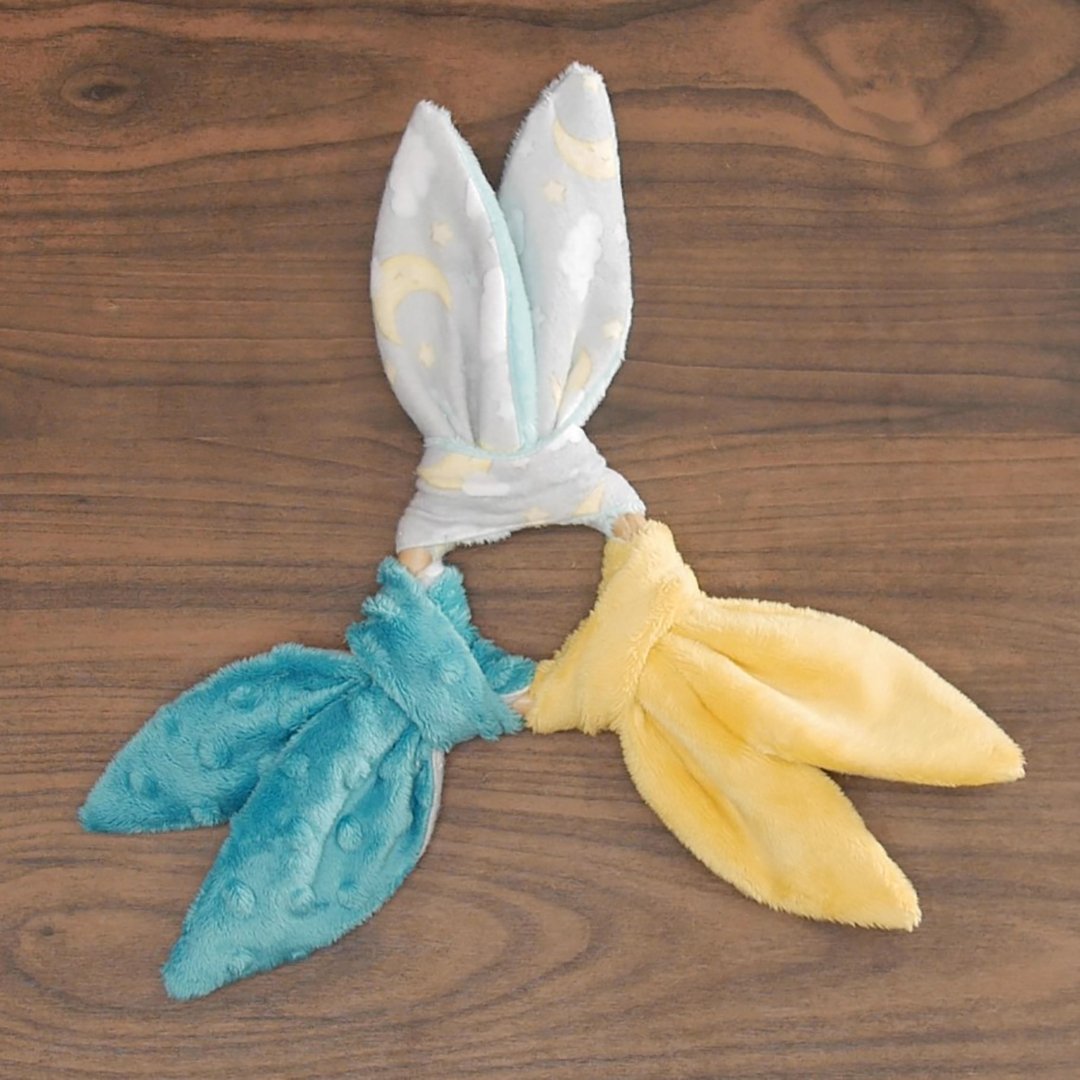
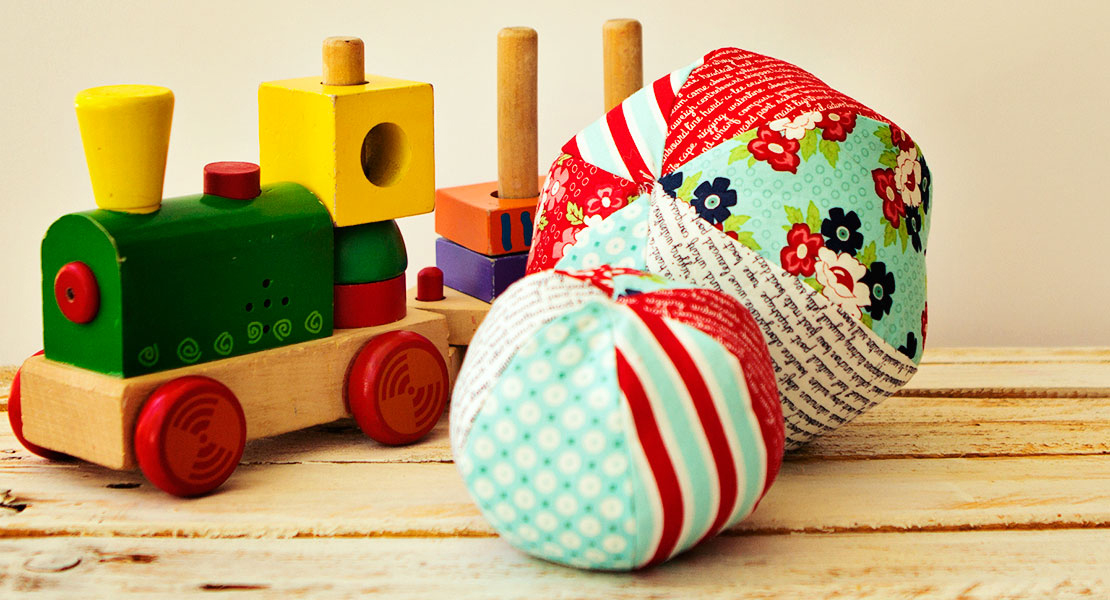
How to Make a Minky Baby Toy
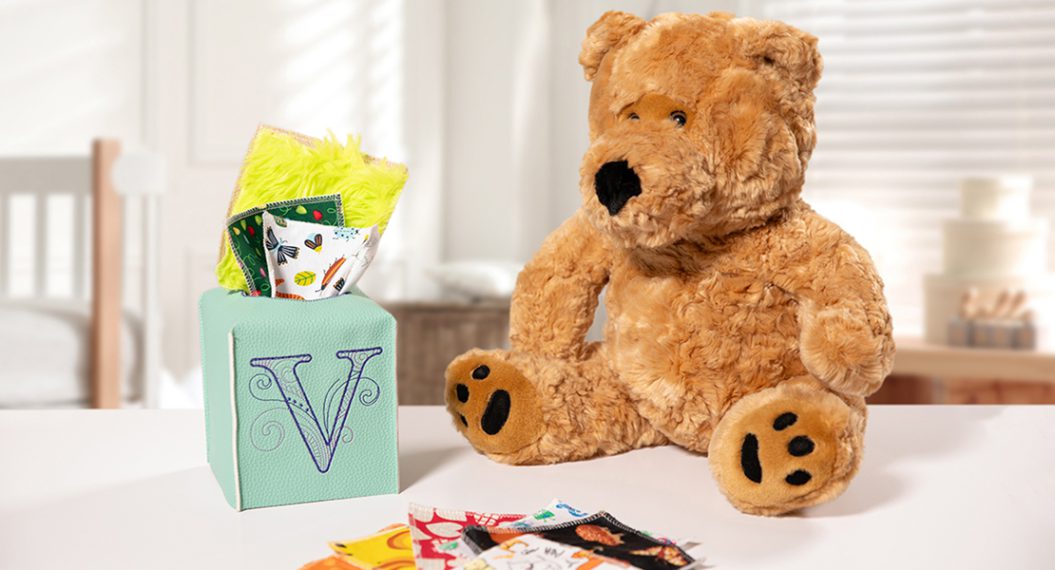
Oh, baby! Let’s make a Minky baby toy! Even a simple project, such as this teething toy, can be packed full of sensory elements.
This project can help aid the development of several sensory areas, including:
- Sight – with the bright colors of the fabric, and unique shape of the toy
- Touch – with texturized Minky, soft flannel, and a wooden ring
- Sound – with the crinkle material on the inside
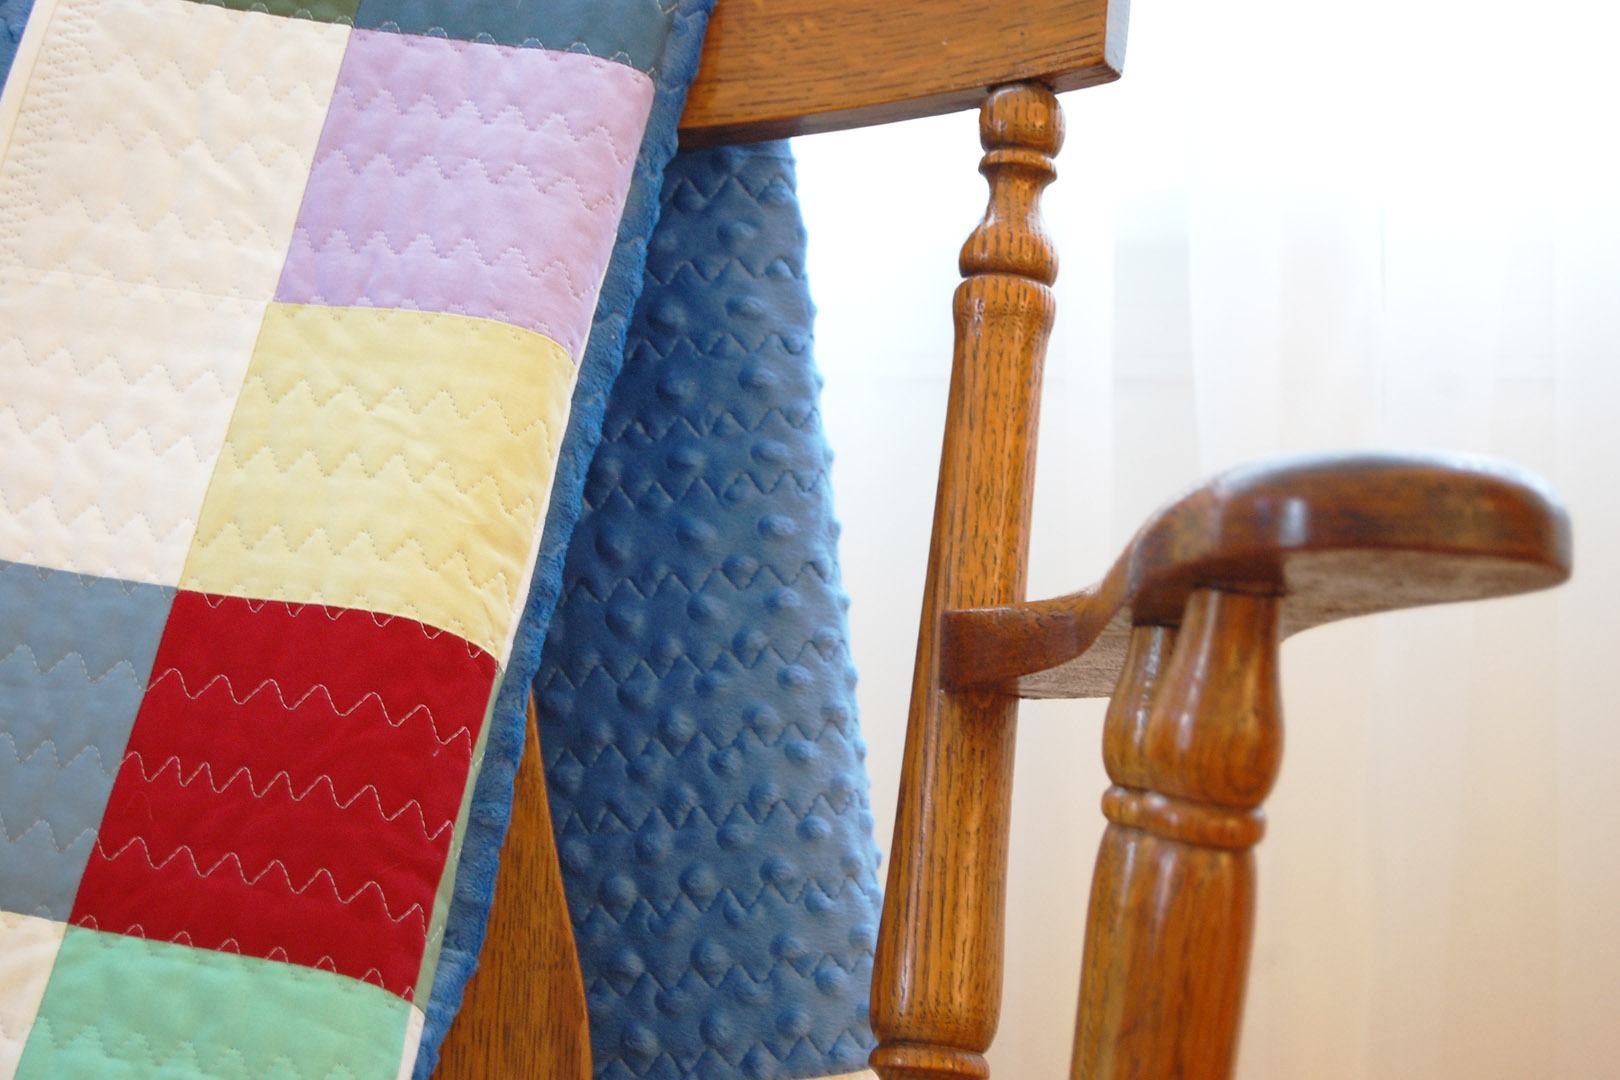
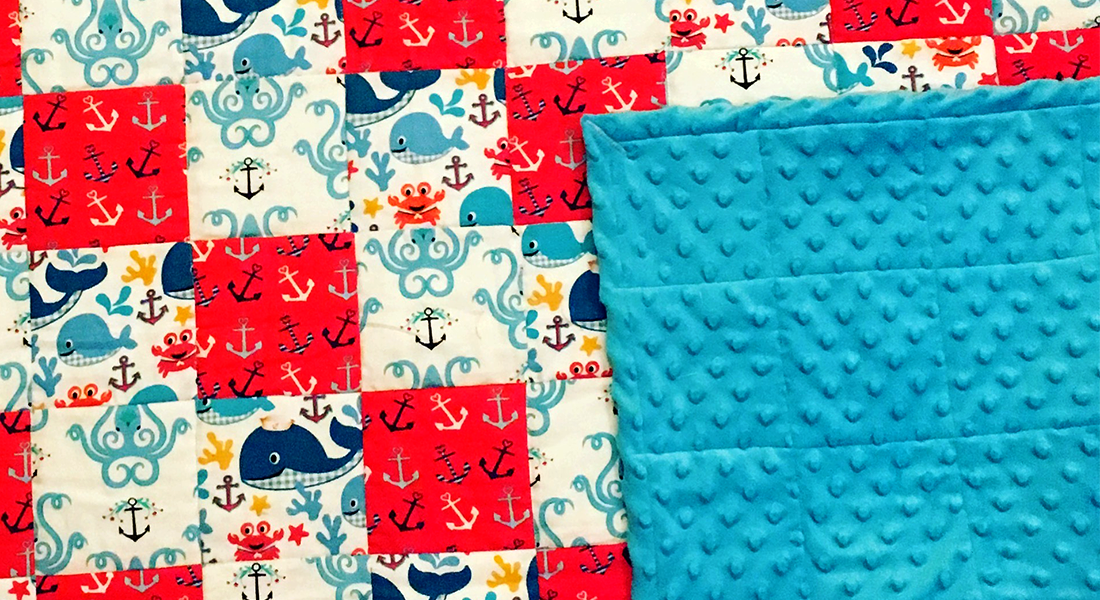
There are several things to consider when preparing to create this project. First, think about the colors and textures that are being used. I chose standard pile Minky and Minky Dot fabric for added texture. I added a soft, printed flannel. And I used a polyester thread for strength. If you want to use different fabrics or thread, consider the durability, as well as care instructions. For the wooden ring, I chose a 3” beech wood ring, but you could also consider bamboo or silicone.
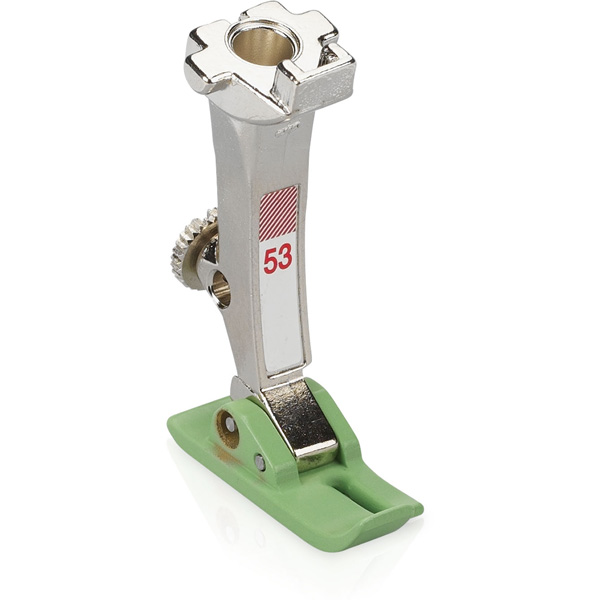
For all the sewing elements, I used Straight Stitch Foot with Non-Stick Sole #53. I love this foot because I am able to use it for several techniques, including seaming and edgestitching, even though it only has straight stitch in its name.

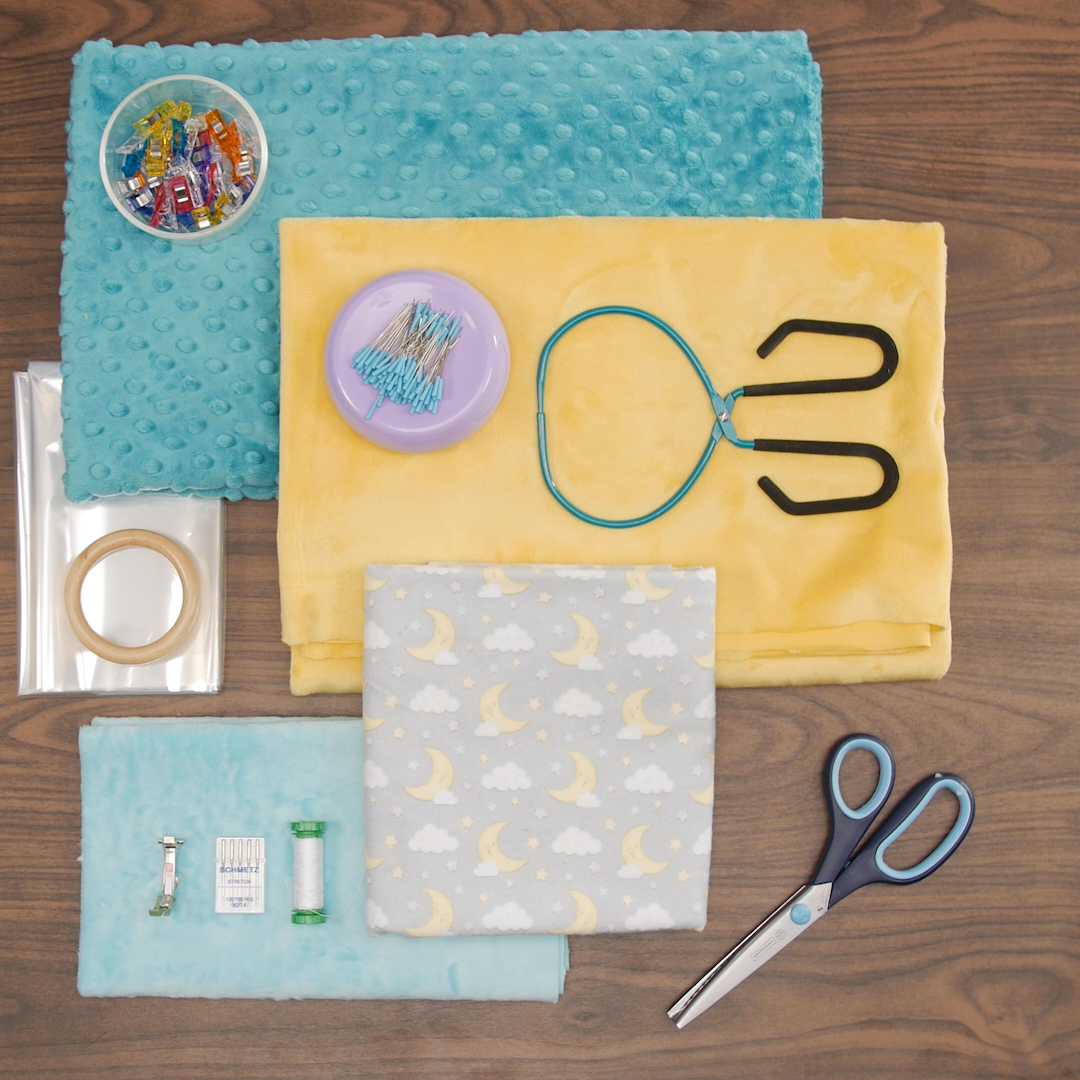
Supplies to Make a Minky Baby Toy
- BERNINA 770 QE
- Straight Stitch Foot with Non-Stick Sole #53
- Straight Stitch Plate
- Minky Baby Toy Pattern
- ¼ yard of Minky (I chose three different colors, one with dotted texture)
- ¼ yard of flannel
- Crinkle Material
- Polyester thread (I used Isacord)
- 3” beech wood teething ring
- EZ Point & Turner
- Schmetz Universal needle, size 80/12
- Pinking shears
- Paper scissors
- Rotary cutter
- Cutting mat
- Cutting ruler
- Permanent marker
- Pins
- Clover Wonder Clips

Steps to Make a Minky Baby Toy
Cutting the Materials
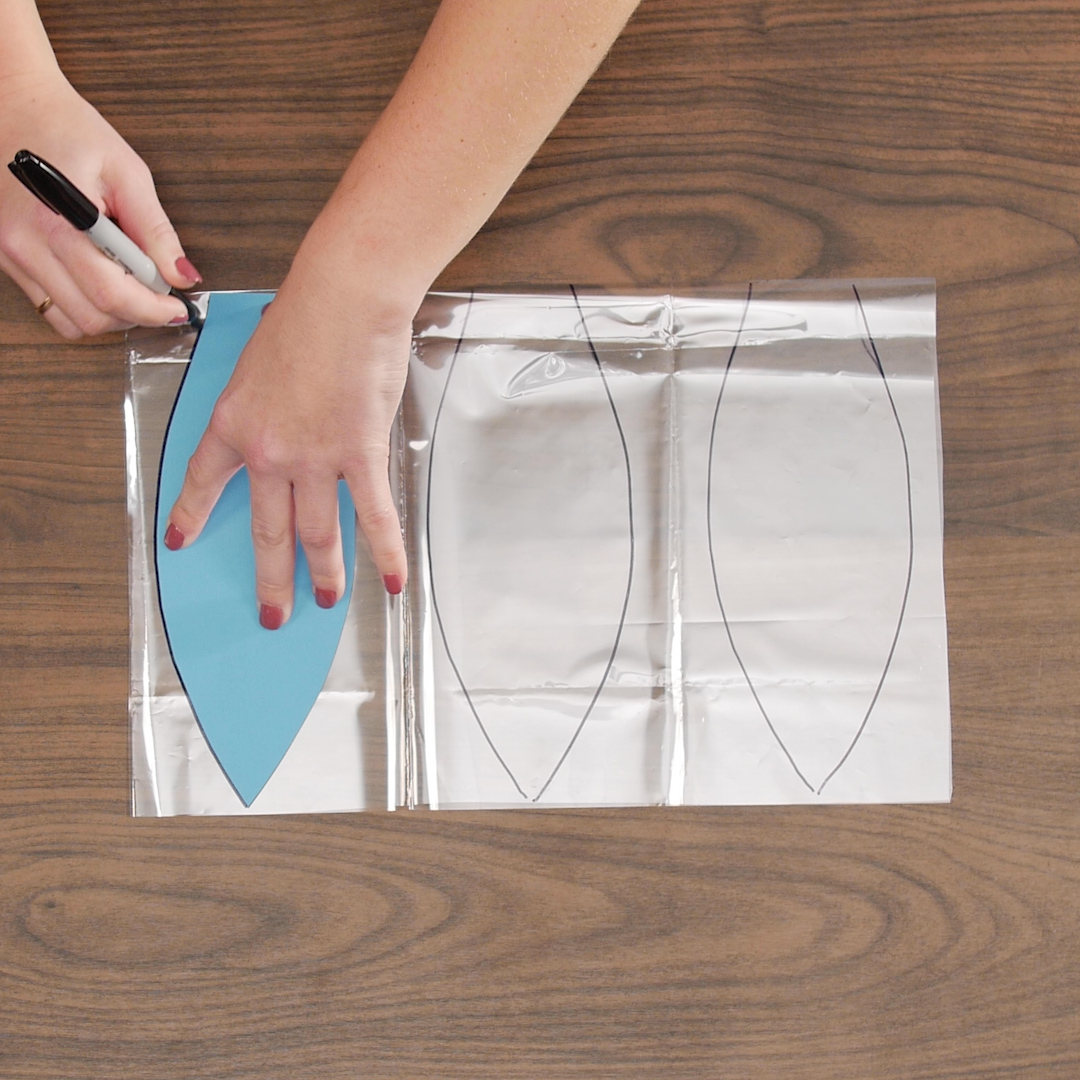
First up is tracing and cutting out the pattern. Print out the free Minky Baby Toy Pattern, making sure that the pattern piece is sized correctly using the 1” measurement square. Cut the pattern piece out using paper scissors.
This pattern piece will be cut out of the Crinkle Material, and already includes the necessary seam allowance. Fold the material to create an area that can fit the entire piece. Align the fold with the marked fold line of the pattern. Trace around the pattern using permanent marker. Mark the material for three pieces.
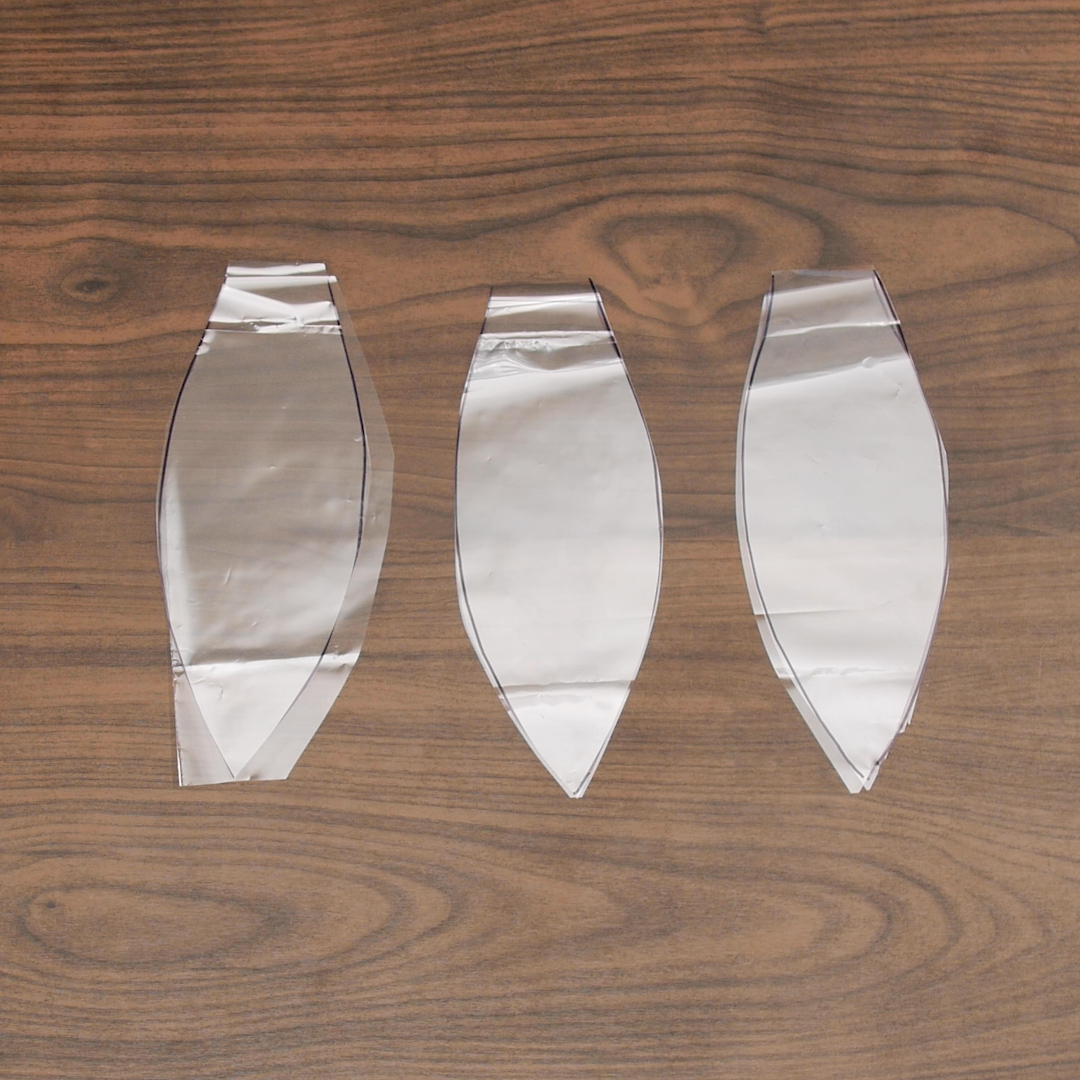
This material tends to shift, so carefully cut out the three marked pieces using paper scissors. No need to worry about the wrinkles – that is the whole point of this material!
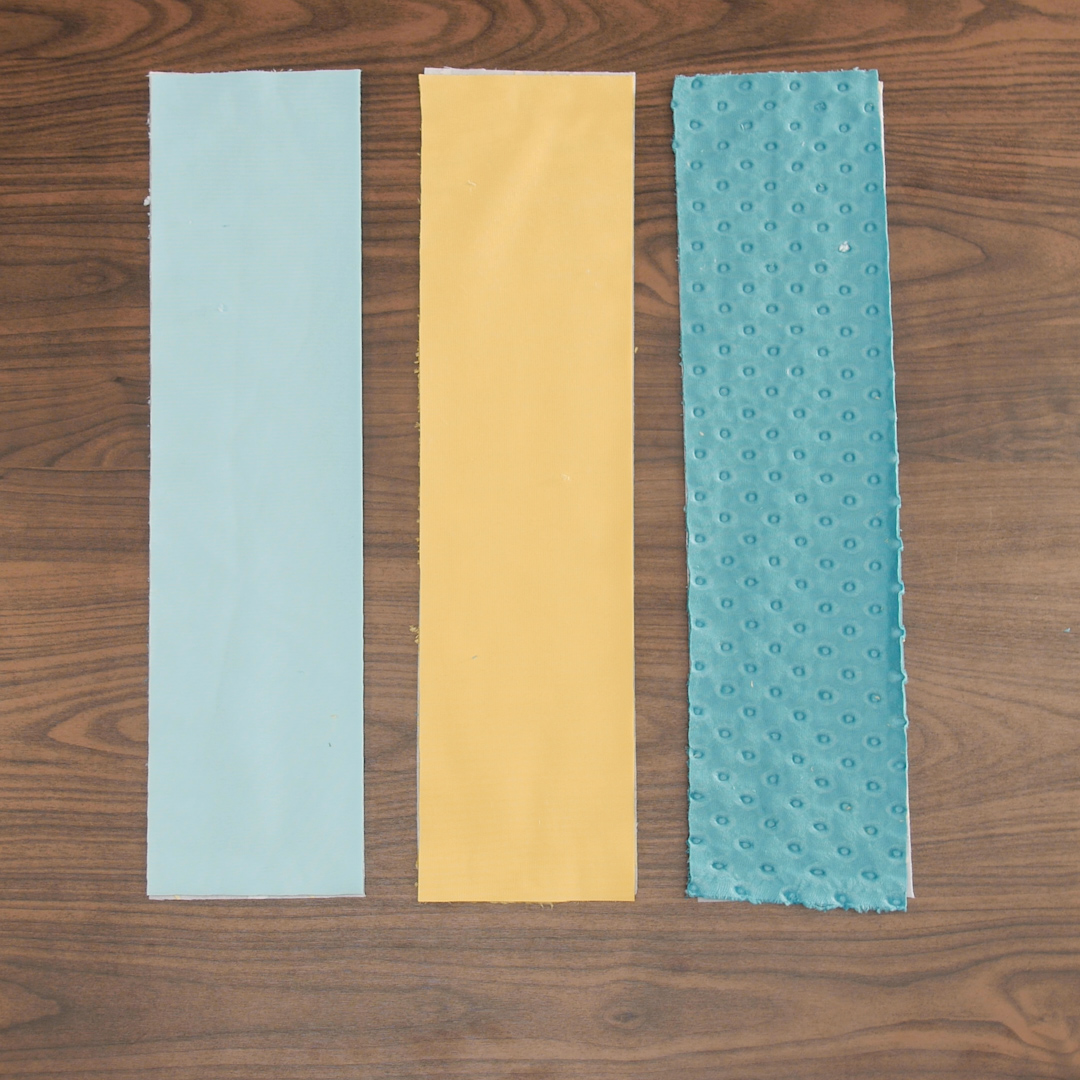
Next, cut three 5” x 19 ½” pieces out of the Minky. If you are using three different Minky fabrics, cut one piece out of each. Be aware that Minky sheds quite a bit! Finally, cut three 5” x 19 ½” pieces out of the flannel.
Layering the Materials
The next step is to layer the materials together. You are probably wondering why the Minky and flannel were not cut out using the pattern piece. I found that it was easier to stitch the crinkle material to the fabric, sandwiching the layers together, and then trimming to size later on.
To layer the project pieces together, start with the flannel strips right side up.

Then add the Minky strips right side down.
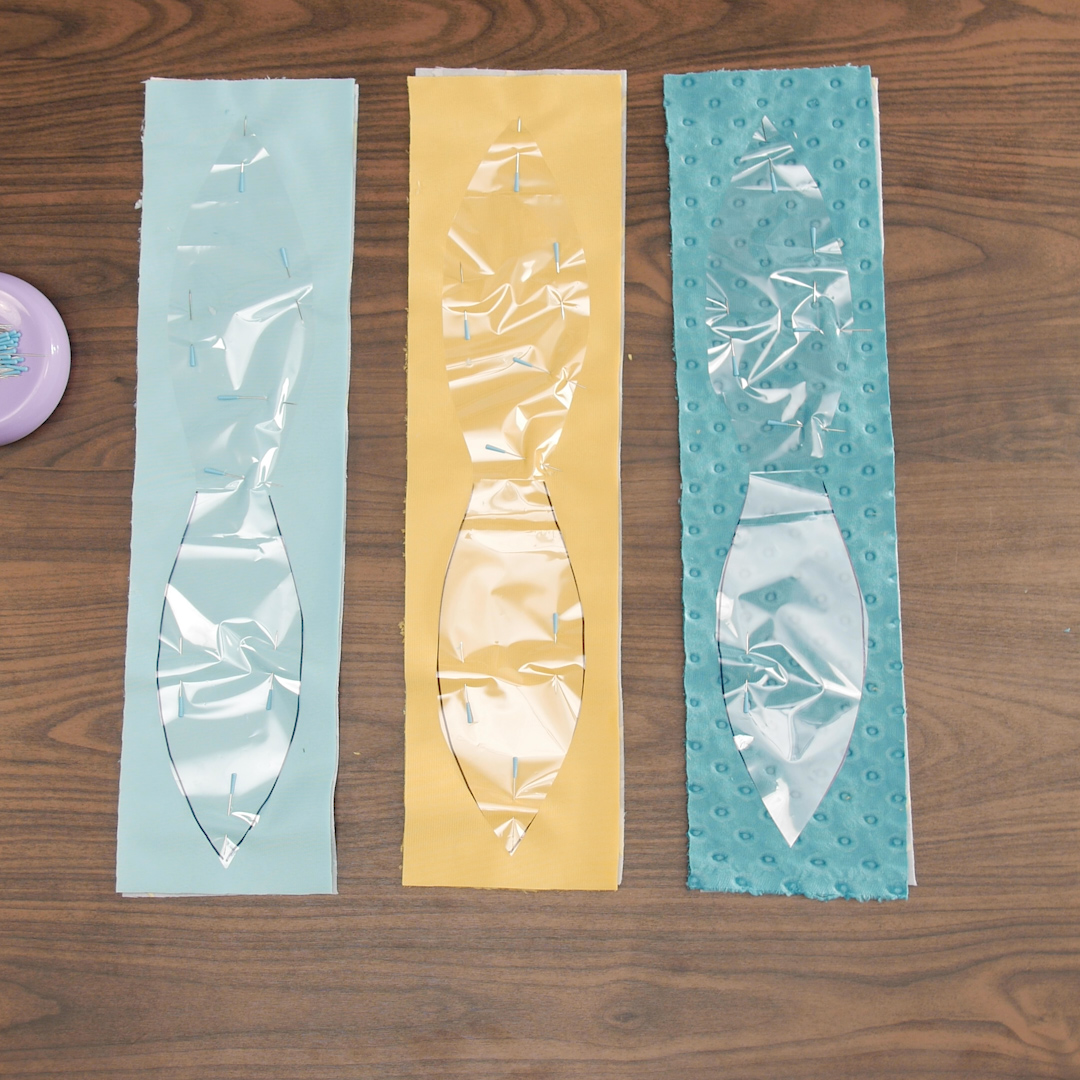
Finally, add the crinkle material pieces. Pin all three layers together using straight pins, pinning parallel to the crinkle material edges. As you are pinning, mark a 2 ½” opening to turn the pieces right side out after sewing. Mark these points near the center of the pieces, but not on the narrowest part.
Sewing the Minky Baby Toy
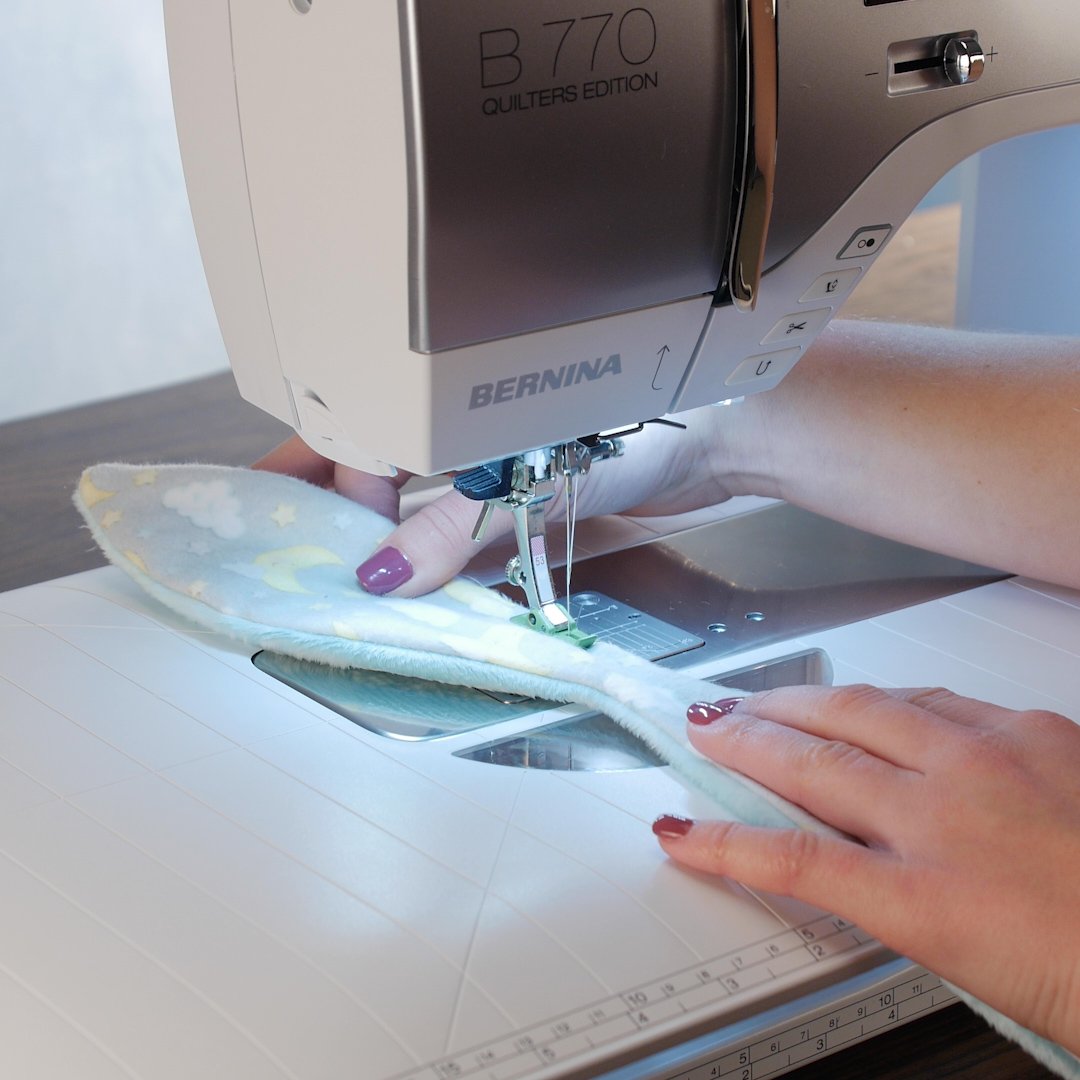
Attach Foot #53 and the Straight Stitch Plate to the B 770 QE. As I mentioned earlier, even though this presser foot is designated for straight stitching, it can still be used for several techniques, including seaming. When guiding to the left side of the foot, a perfect ¼” seam can be created.

With the left side of the foot aligned with the edge of crinkle material, begin stitching at the marked opening. Secure the stitch as desired. Stitch around the crinkle material piece, pivoting in the corners. Stop stitching and secure the seam at the other side of the marked opening. Repeat this stitching on the other two pinned pieces.

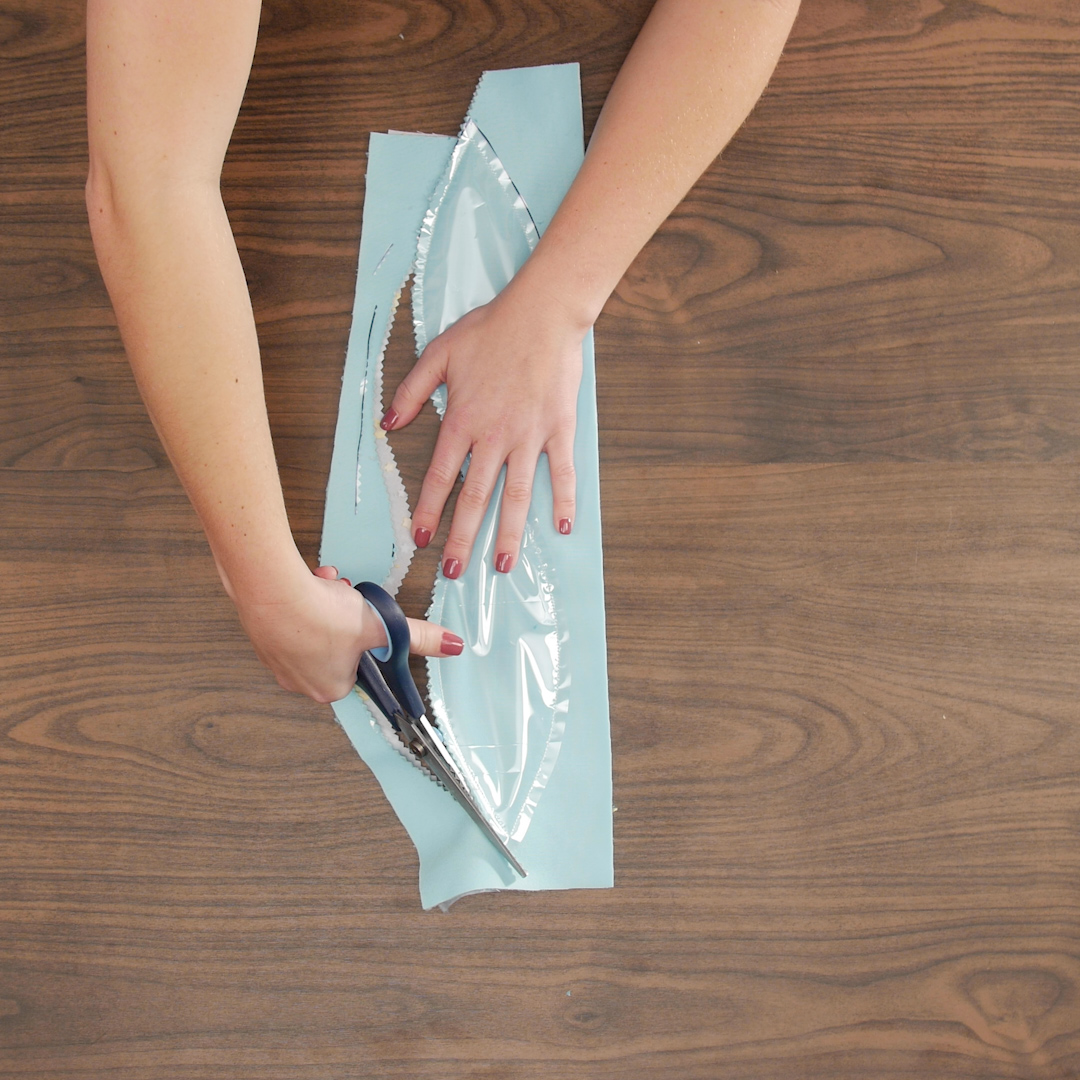
After the sewing is complete, grab ahold of your pinking shears. Using the shears, trim around the crinkle material to create a scant ¼” seam allowance. The pinking shears will prevent the Minky from shedding as much.
Once the edges are trimmed, go back and clip the corner points.

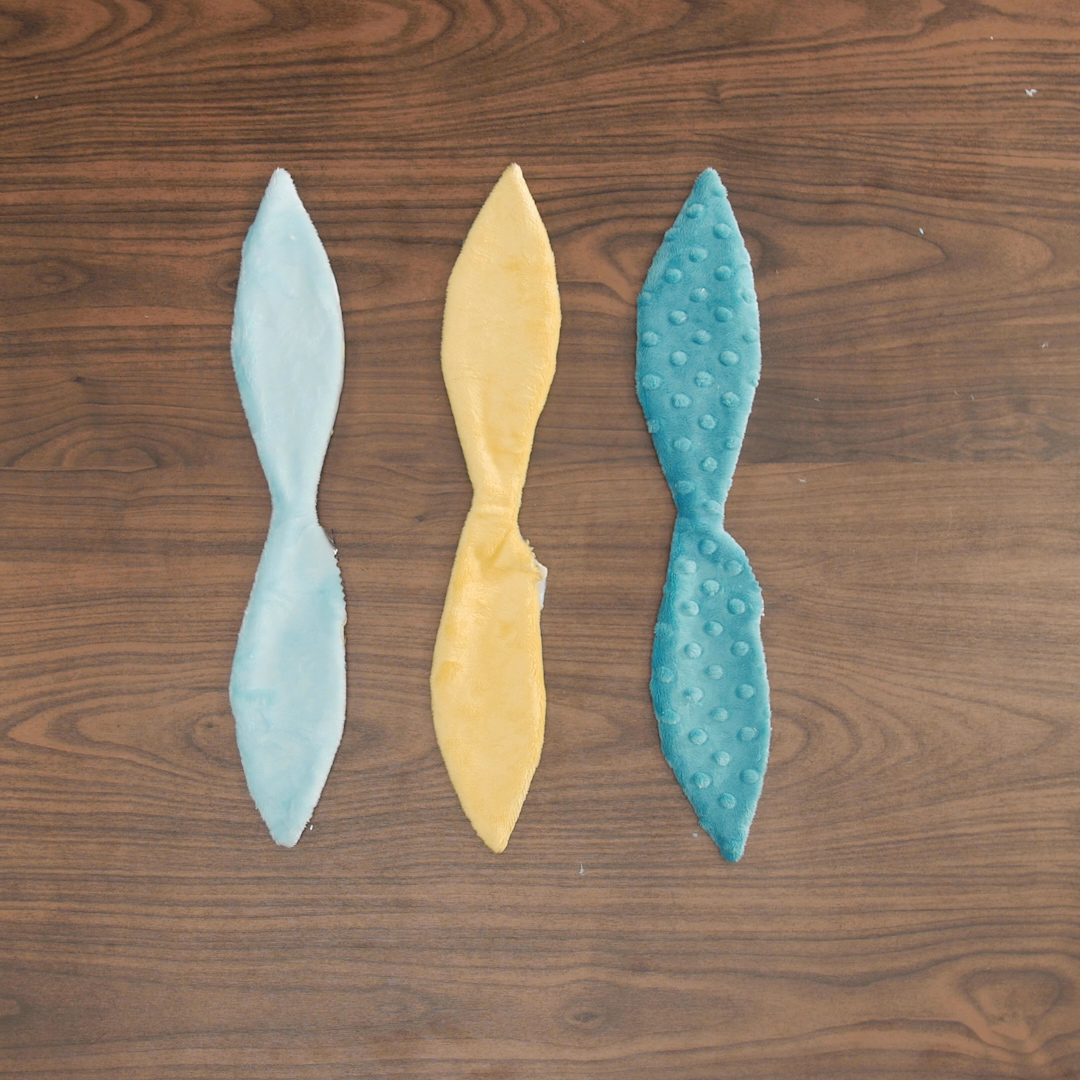
It is now time to flip the pieces right side out. Using the EZ Point & Turner tool, this task can be done with ease. Gently slide the turner through the opening and up into one corner. Squeeze the handles to pinch the corner in place, then slowly pull the fabric towards the opposite side of the turner. The right side of the fabric will emerge from the opening, starting with the corner point. Repeat with the other side of the piece.

Once all the pieces are turned right side out, the openings have to be sewn shut. Fold the edges of the Minky and flannel to the inside approximately ¼”. Hold in place using Wonder Clips.

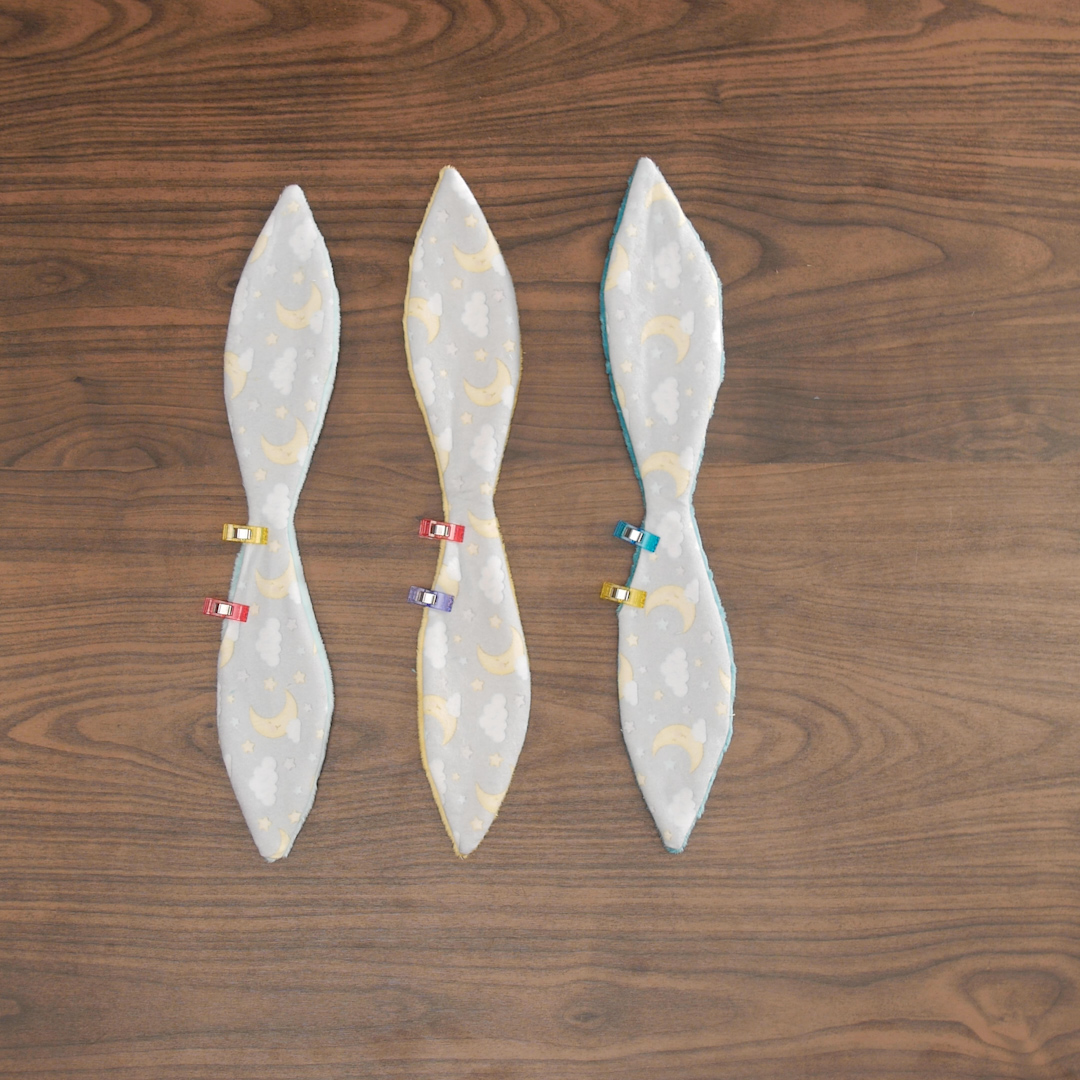
Back at the machine, Foot #53 should still be attached. Instead of guiding to the left side of the foot for seaming, guide to the right side to edgestitch the opening shut. Secure the seam at both ends.

Finishing Touches
The sewing is complete! All that is left to do is attach the pieces to the wooden ring. To wrap the pieces around the ring securely, fold in half to match the two corner points. Place the middle of the piece through the middle of the ring. Bring the points around the ring, and through the opening created by the middle of the piece and middle of the ring. Reference the video to see this step in action. Attach all three pieces, and the Minky baby toy is complete!
For even more fun, try adding more pieces or increasing the size of the wooden ring.

Used Products


What you might also like


4 comments on “How to Make a Minky Baby Toy”
-
-
Hello! Our WeAllSew blog content is posted in an open format. If you wish to print the post, you can easily print your tutorials from the WeAllSew blog by clicking the menu in your browser and selecting “Print,” or by pressing “Ctrl + P” on your keyboard. This should open the print dialogue box where you can print the page. We hope this helps!
-
-
Cool toy. I think the article is missing a couple of the pictures. I tried reloading, and I still get large blank spots and the text seems to refer to more pictures. I don’t see broken image links tho. (It also has notes to Alice remaining in it.)
-
Hello! Thank you so much for your comment. There are images throughout the post showing the process of the project. Please try using a different browser if these are not appearing.
-
Leave a Reply
You must be logged in to post a comment.

Are there printable instructions?