How to Make a Bow Tie
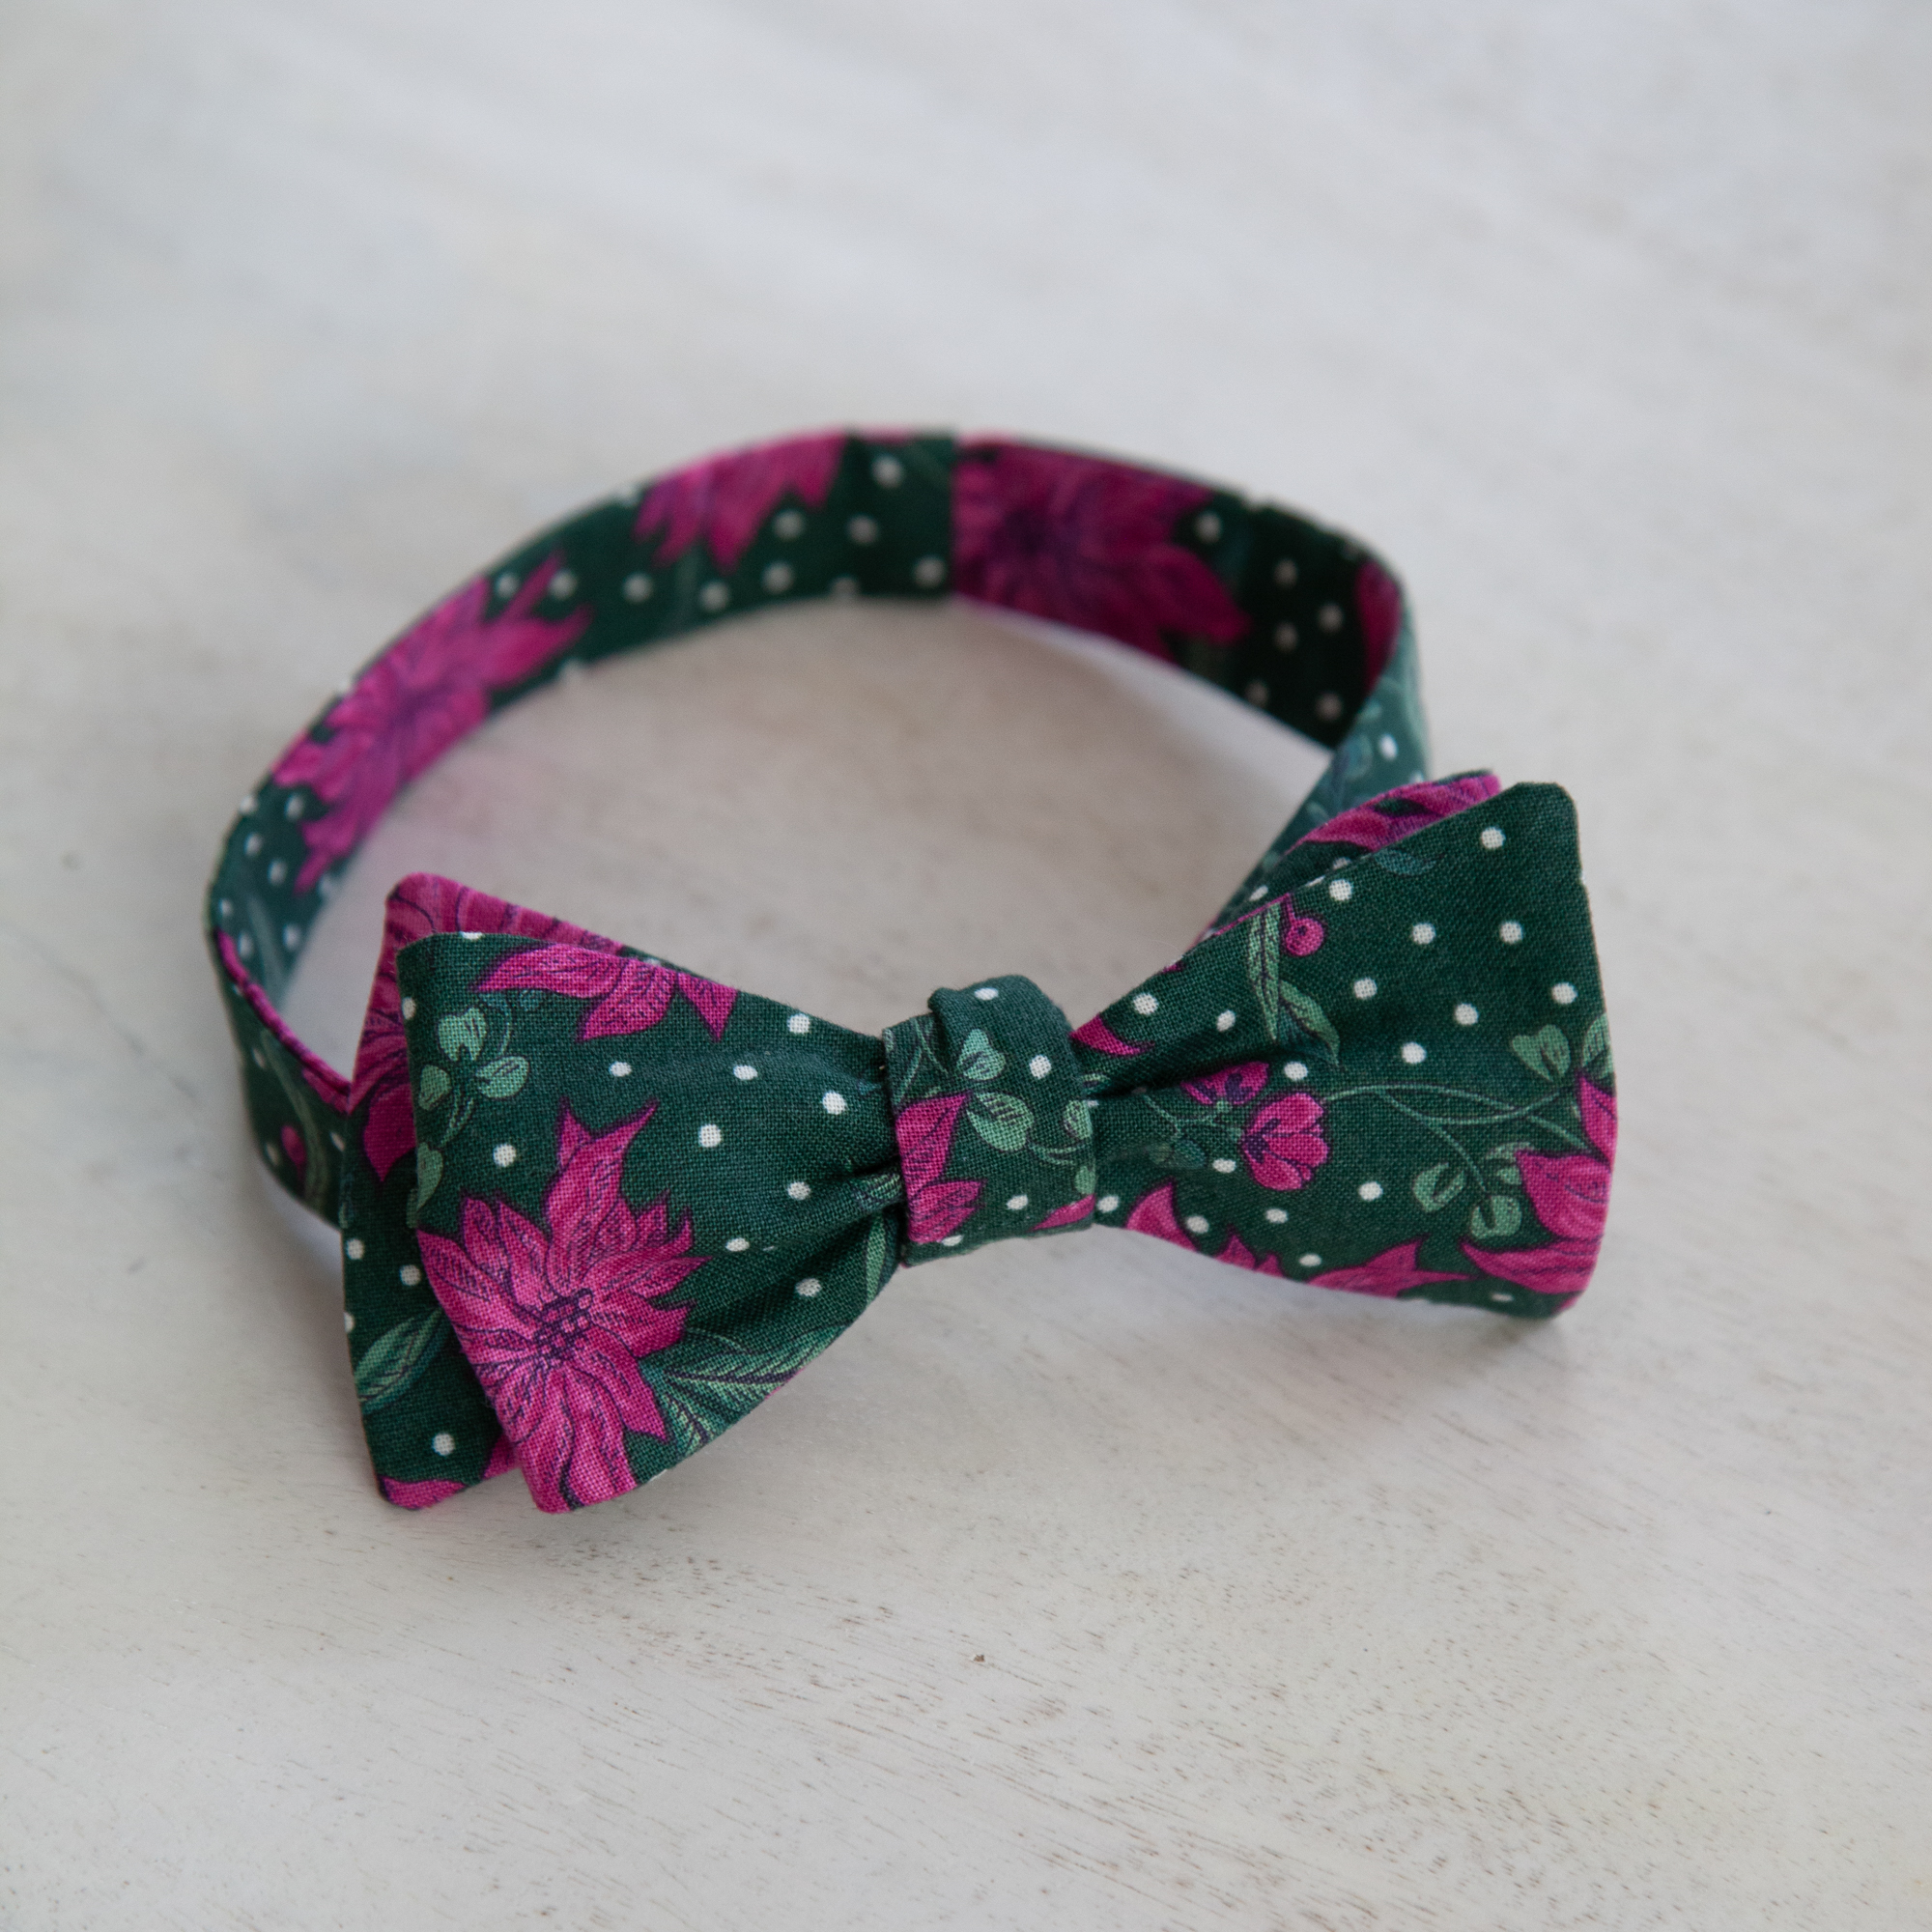
It’s Minki Kim, and you can find me on Instagram @zeriano and MinkiKim.com. I also design fabric for Riley Blake Designs and I have my own line of sewing patterns. I am excited to share this bow tie tutorial today.
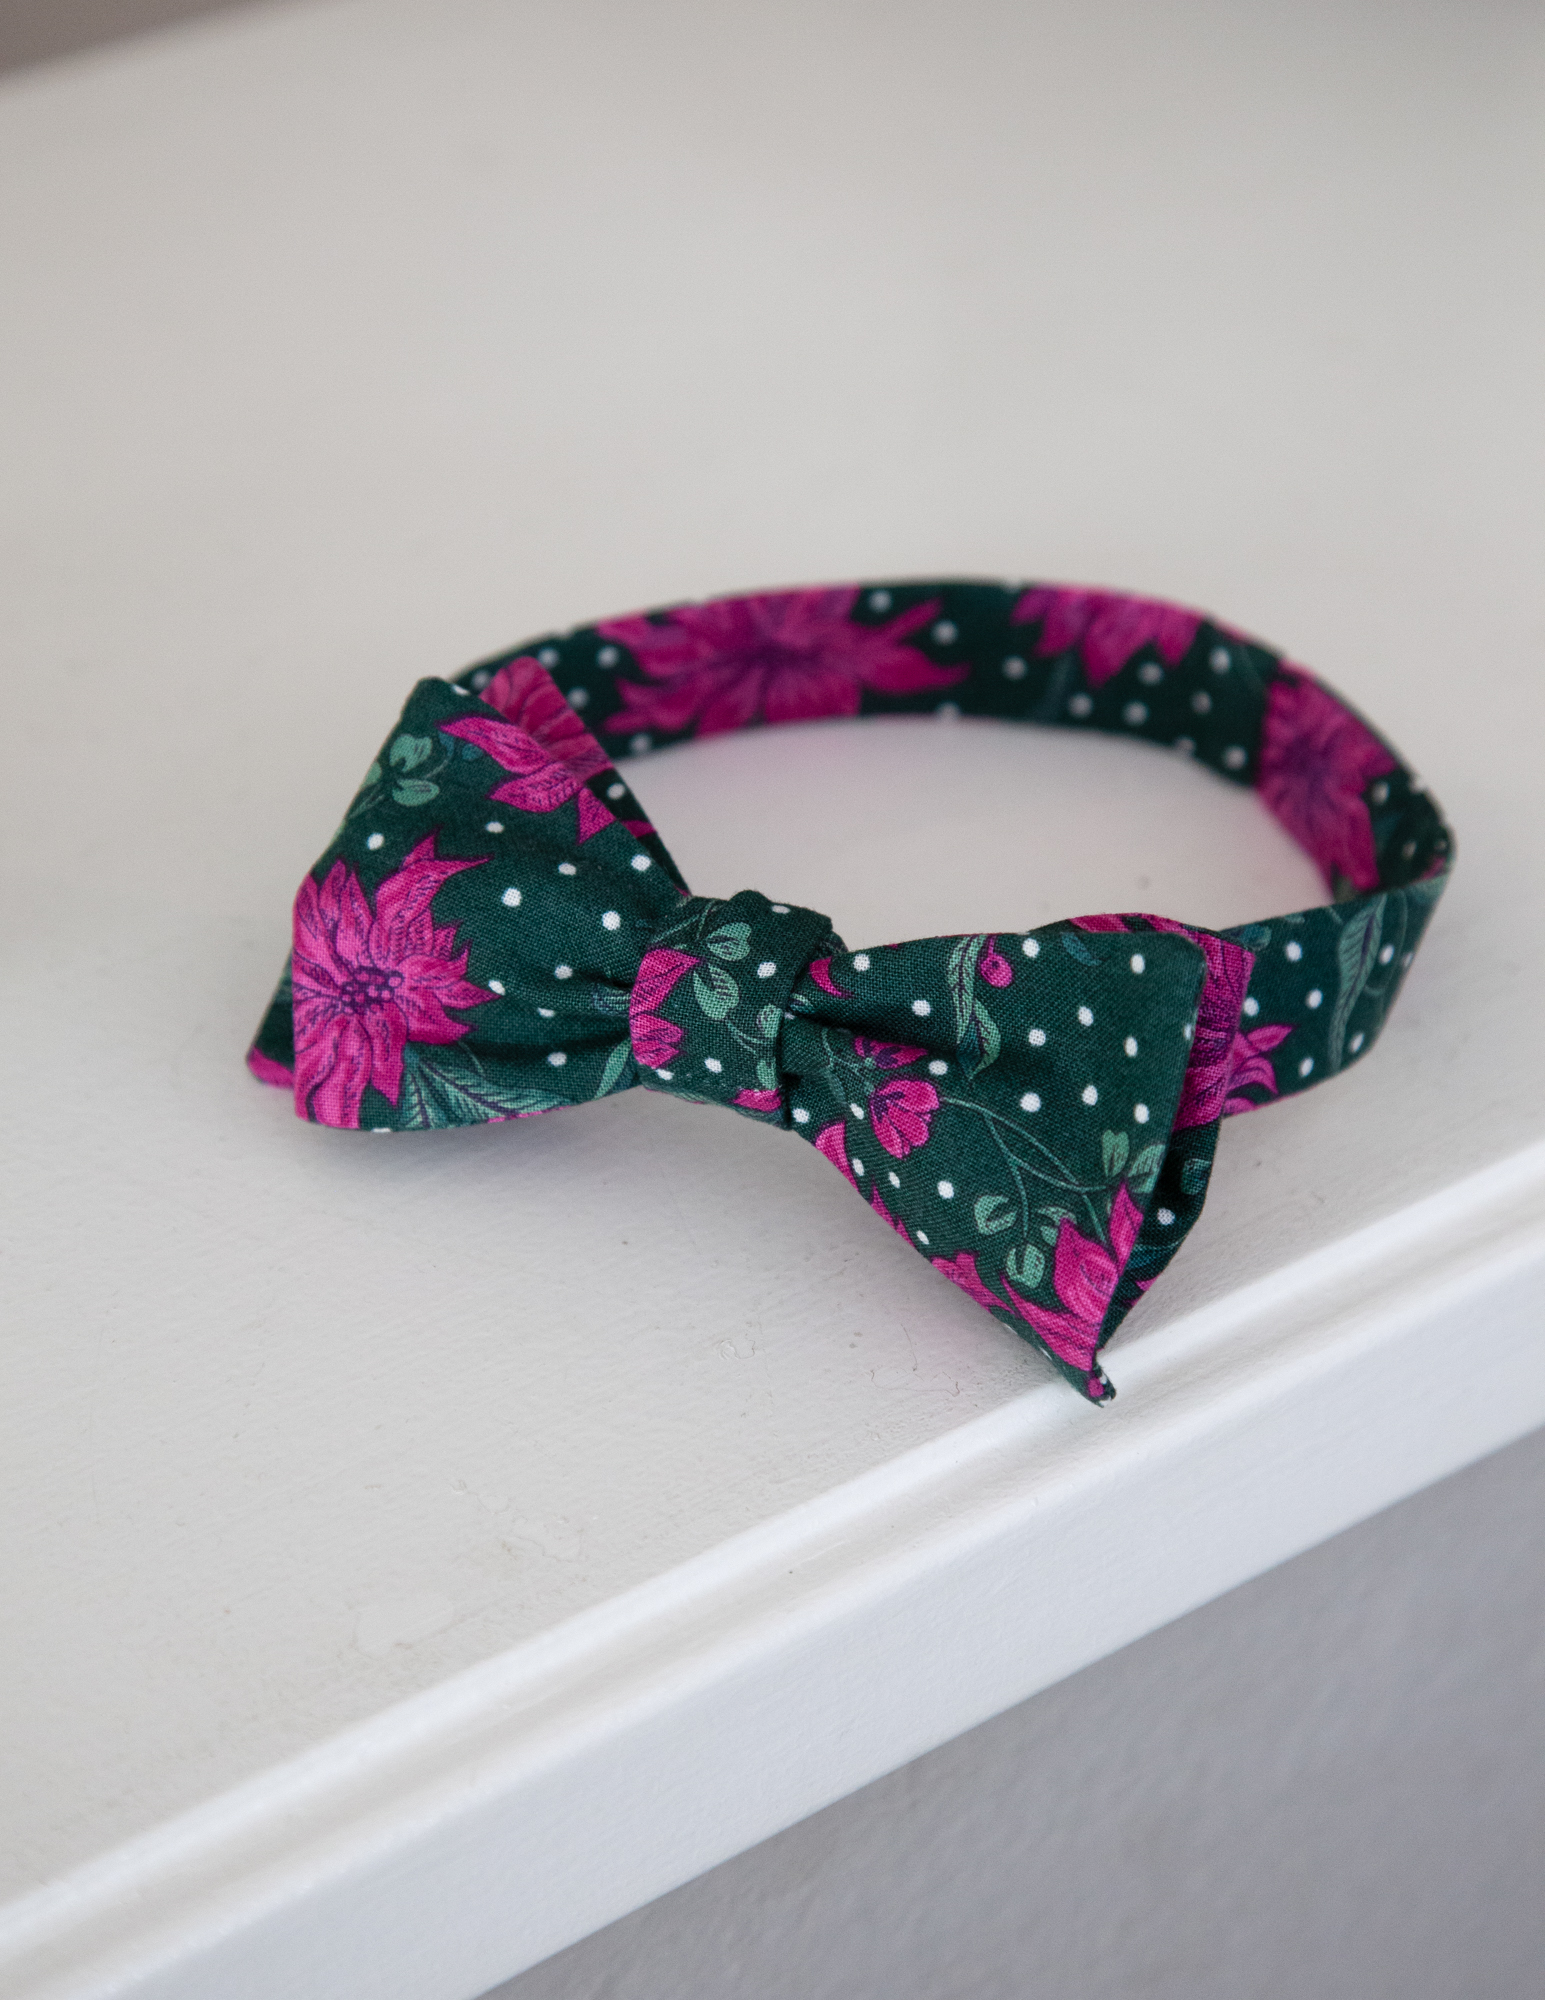
Finished size: 34’’ x 2 1/2’’
Materials to Make a Bow Tie
- Print fabric: 1/4 yard
- Medium weight fusible interfacing: 1/4 yard
- Download the bow tie pattern

Notes
- Seam allowances are 1/4″ unless otherwise noted
- RST = right sides together
- Fabrics used: Liberty Season’s Greeting collection
Steps to Make a Bow Tie
1. Download the pattern and cut it out. *Adjust the length, if it’s necessary.
2. Cut four (4) bow tie patterns and two (2) interfacing patterns each. Fuse the interfacing to the wrong side of the fabric.
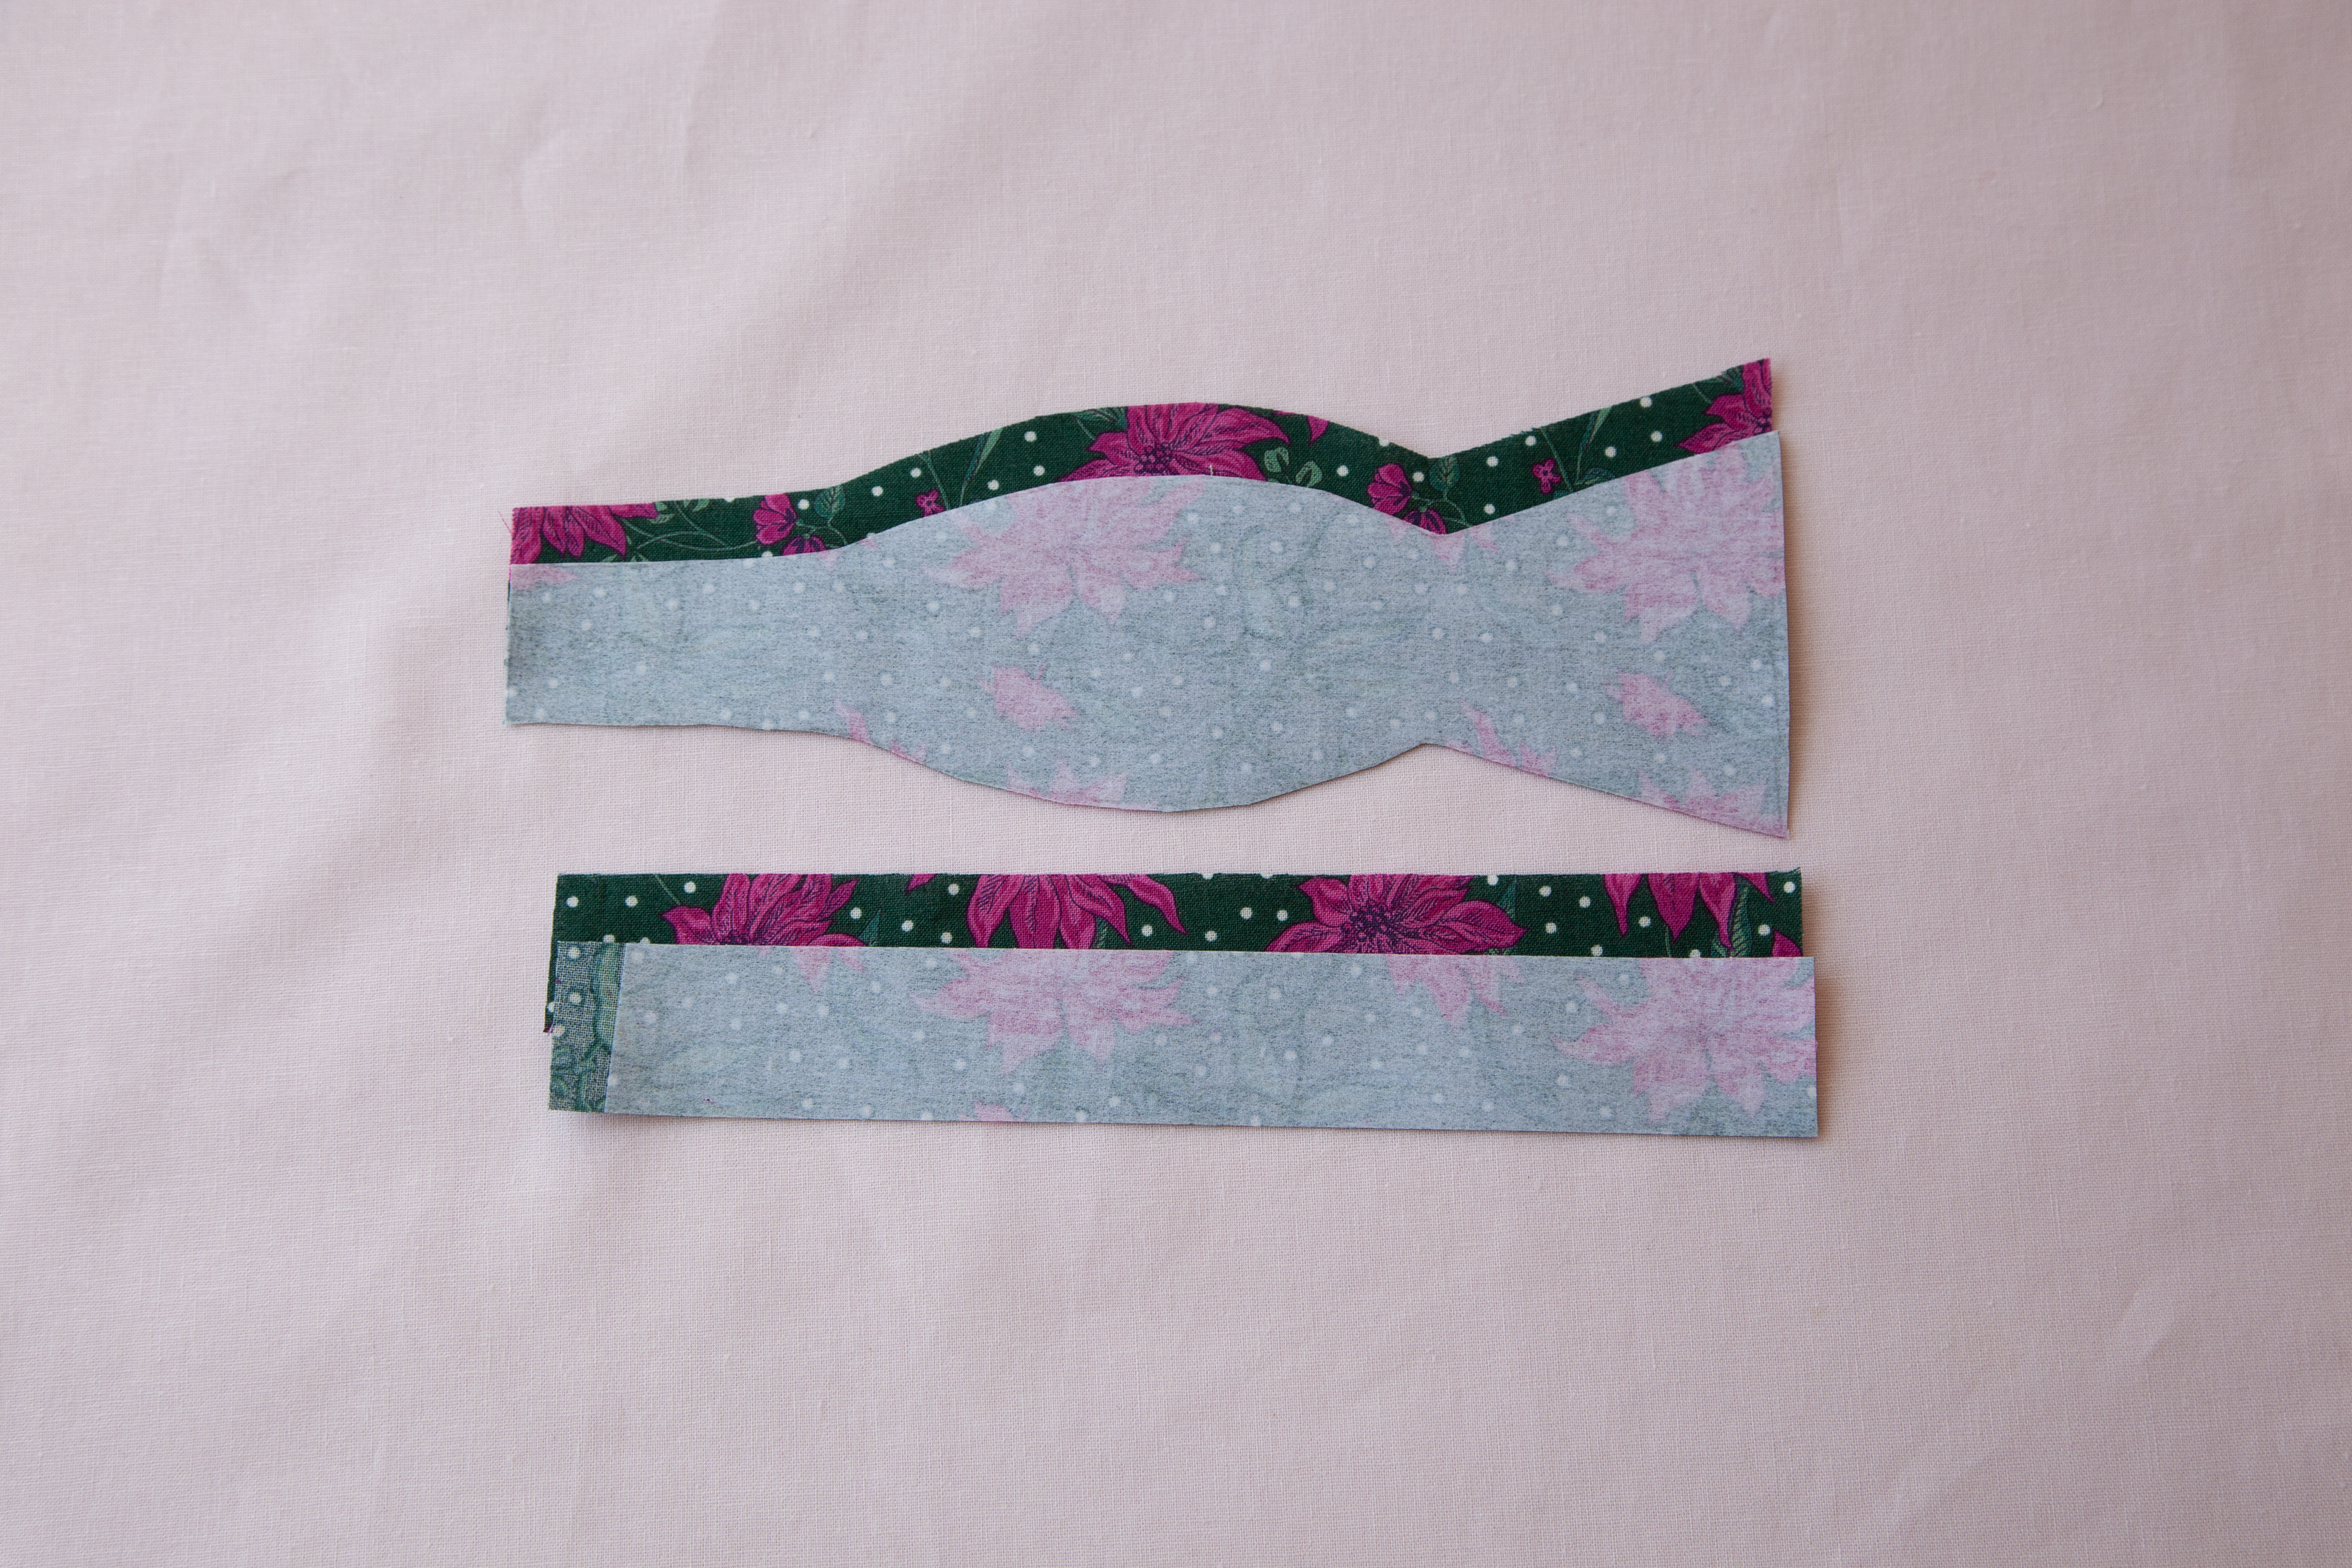
3. Sew the strip to the fabric and press the seams open. Repeat and make four.

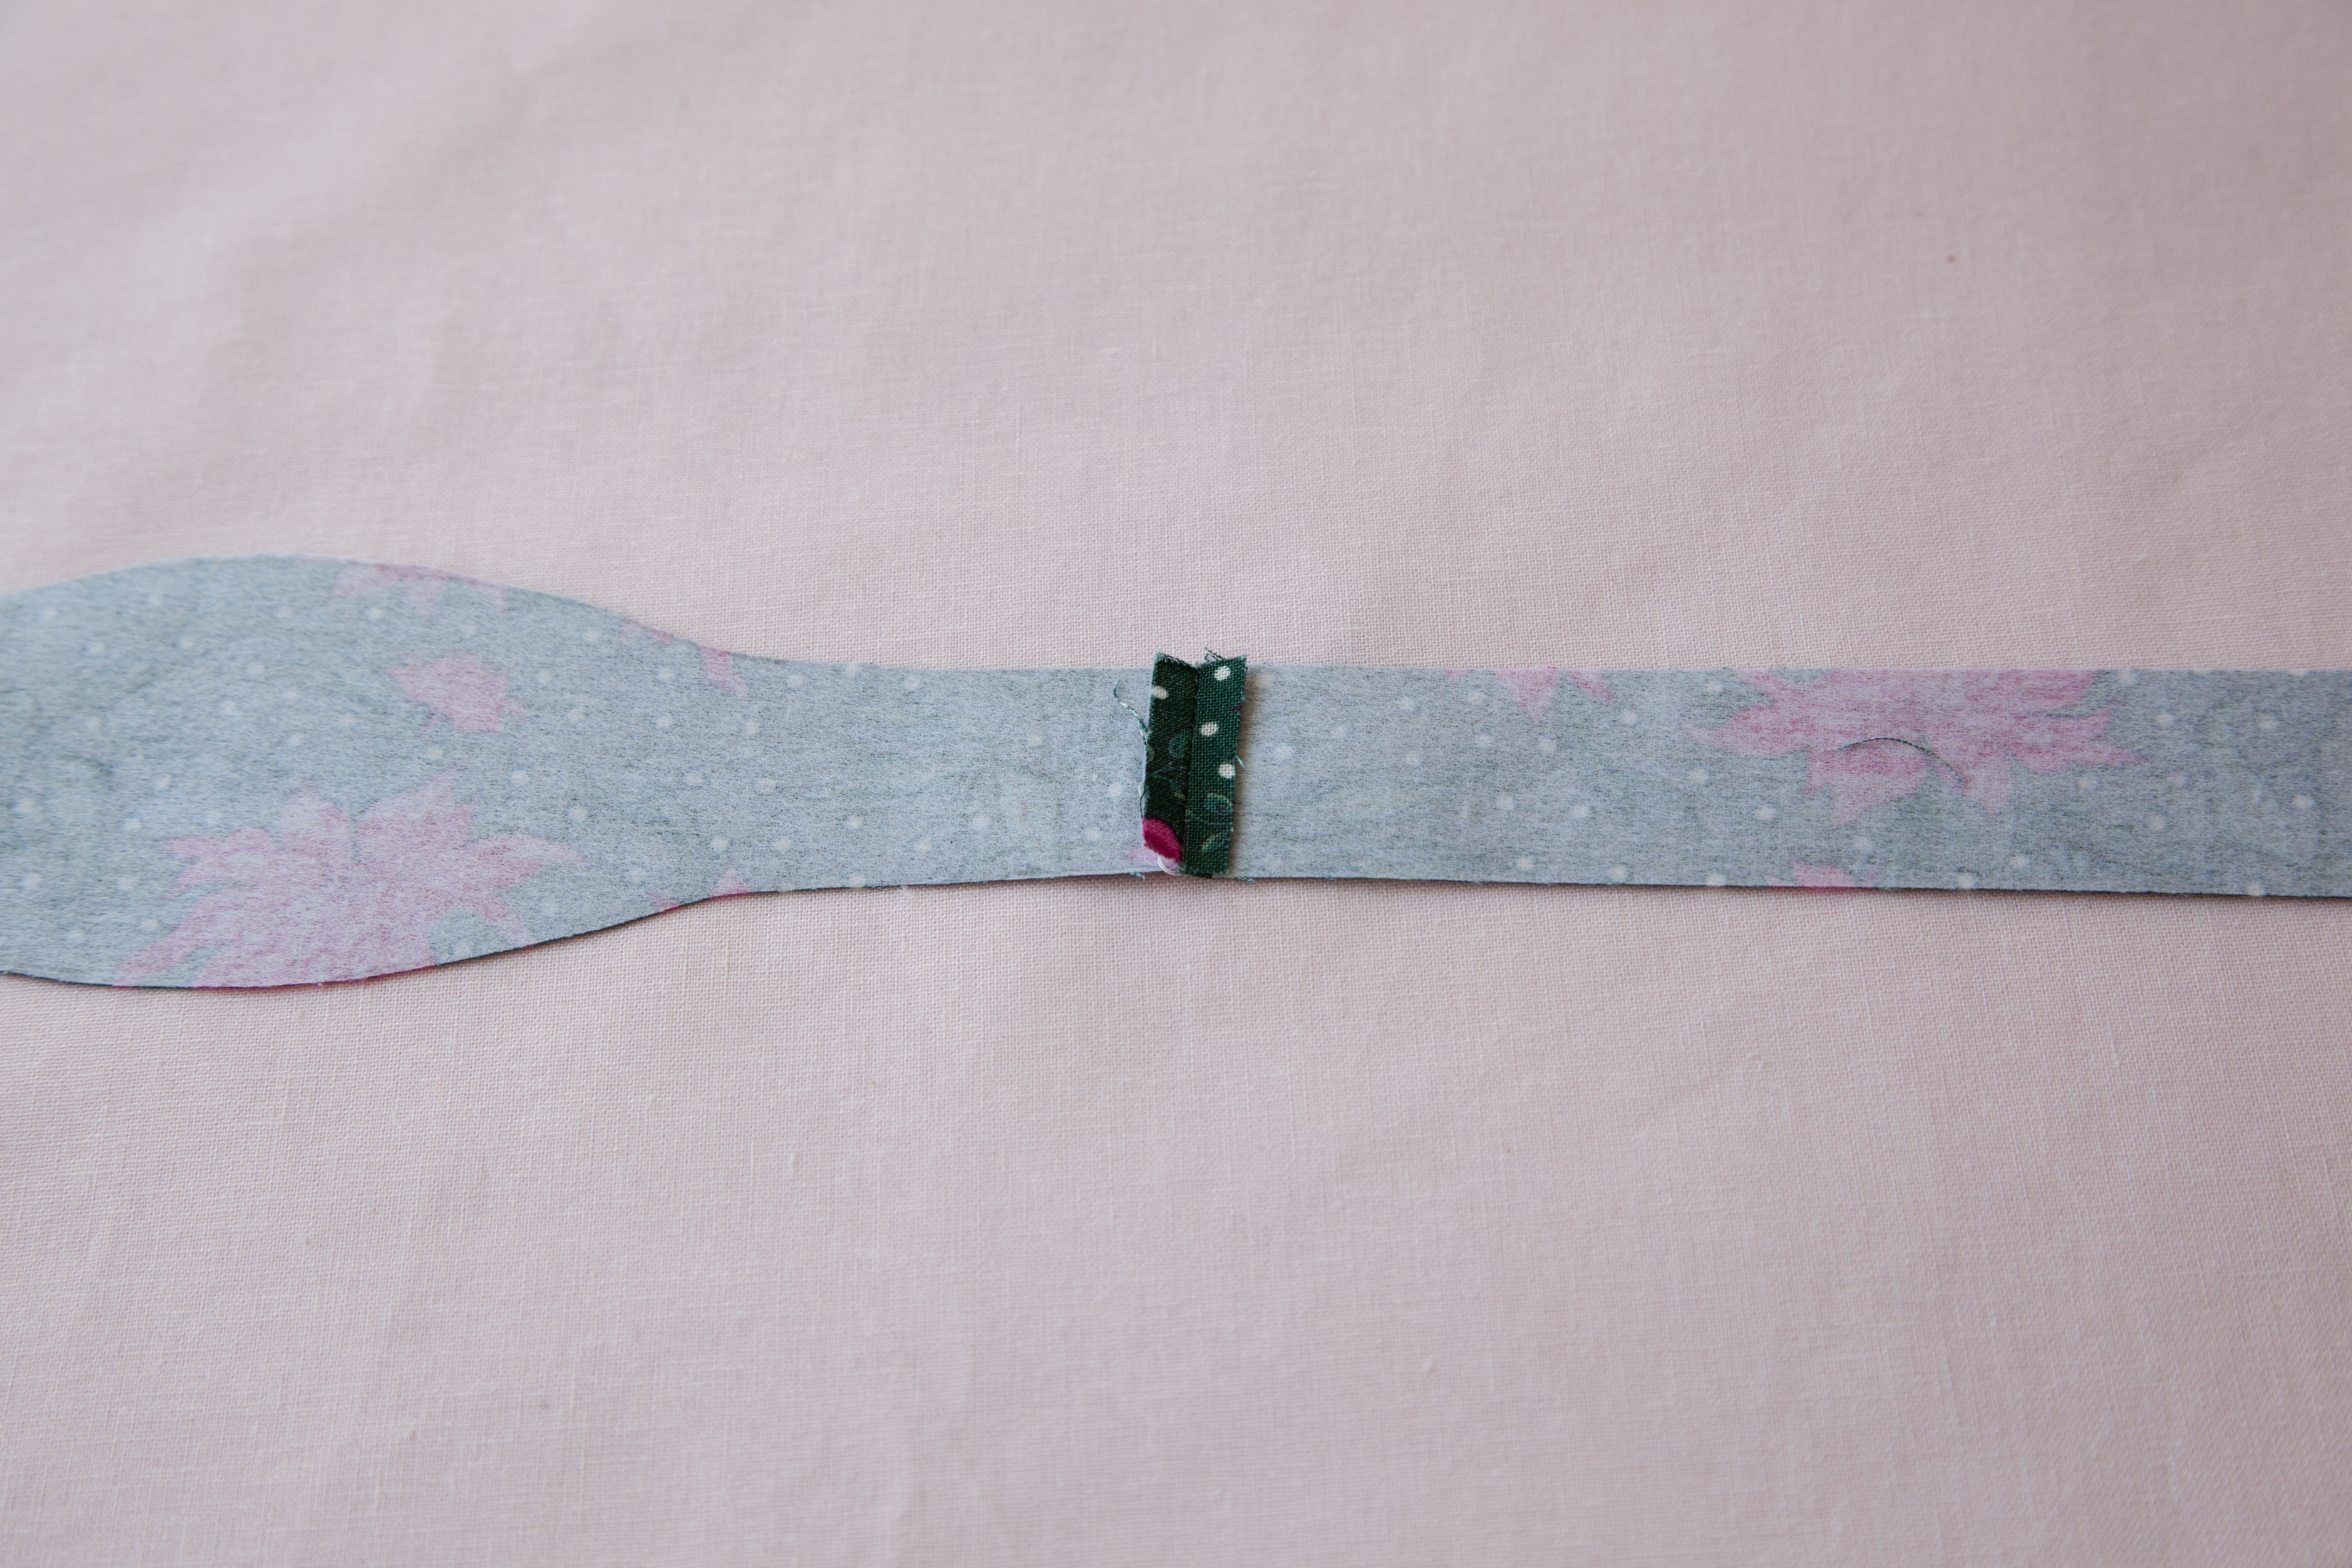
4. Take 2 of the matching pieces, and sew RST, leaving the skinny end open. Clip the corners.
Repeat for the remaining pair.
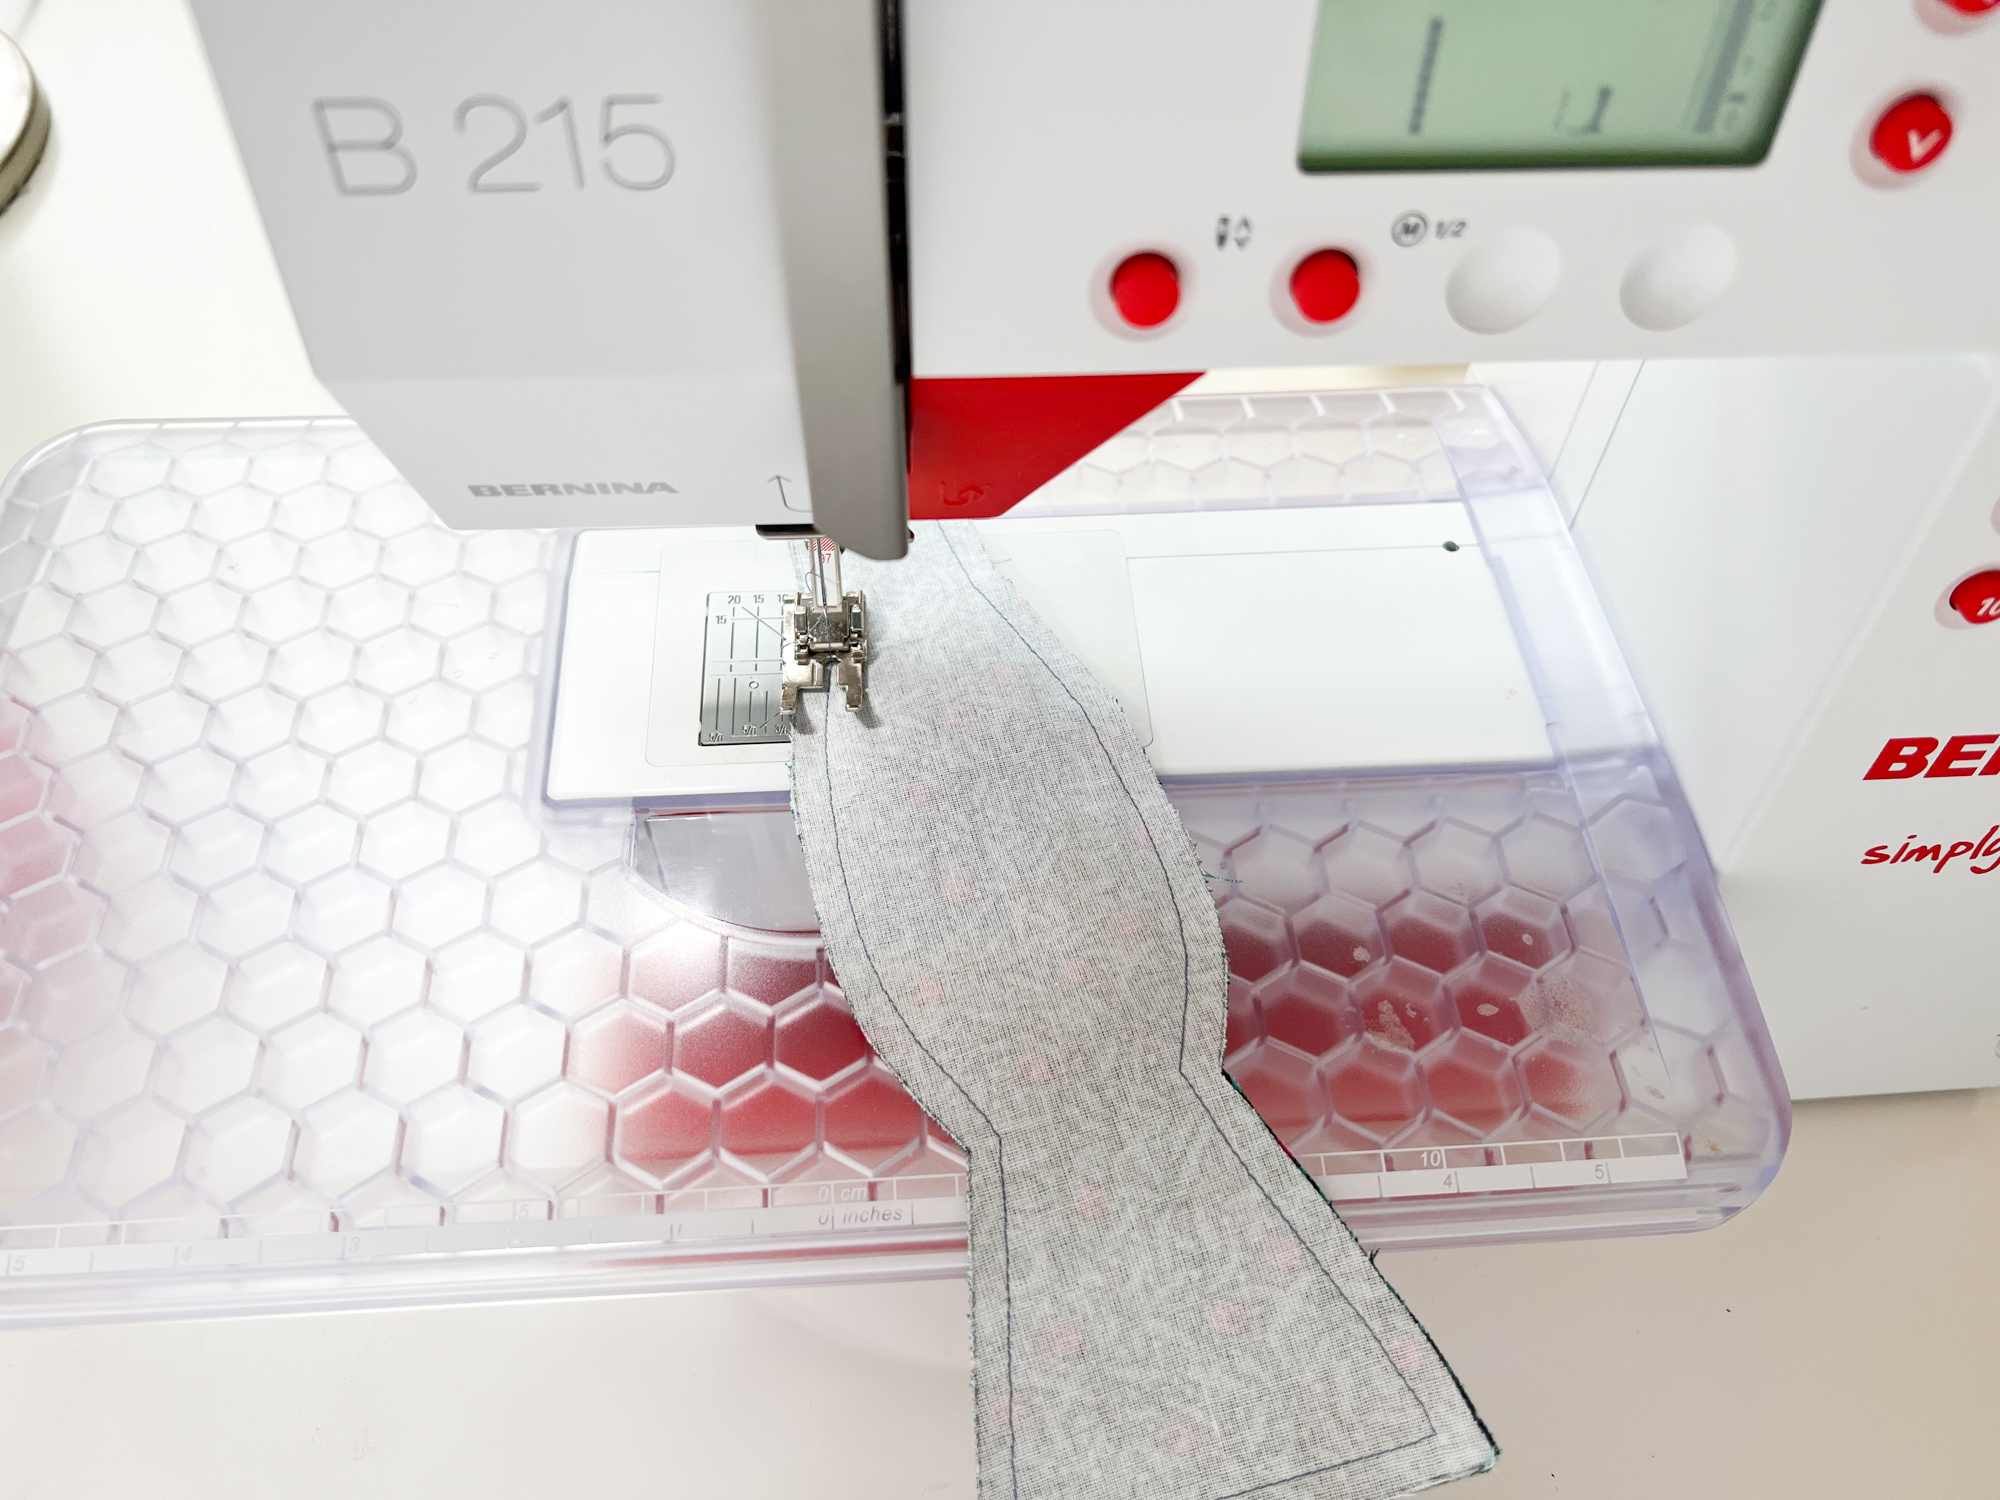
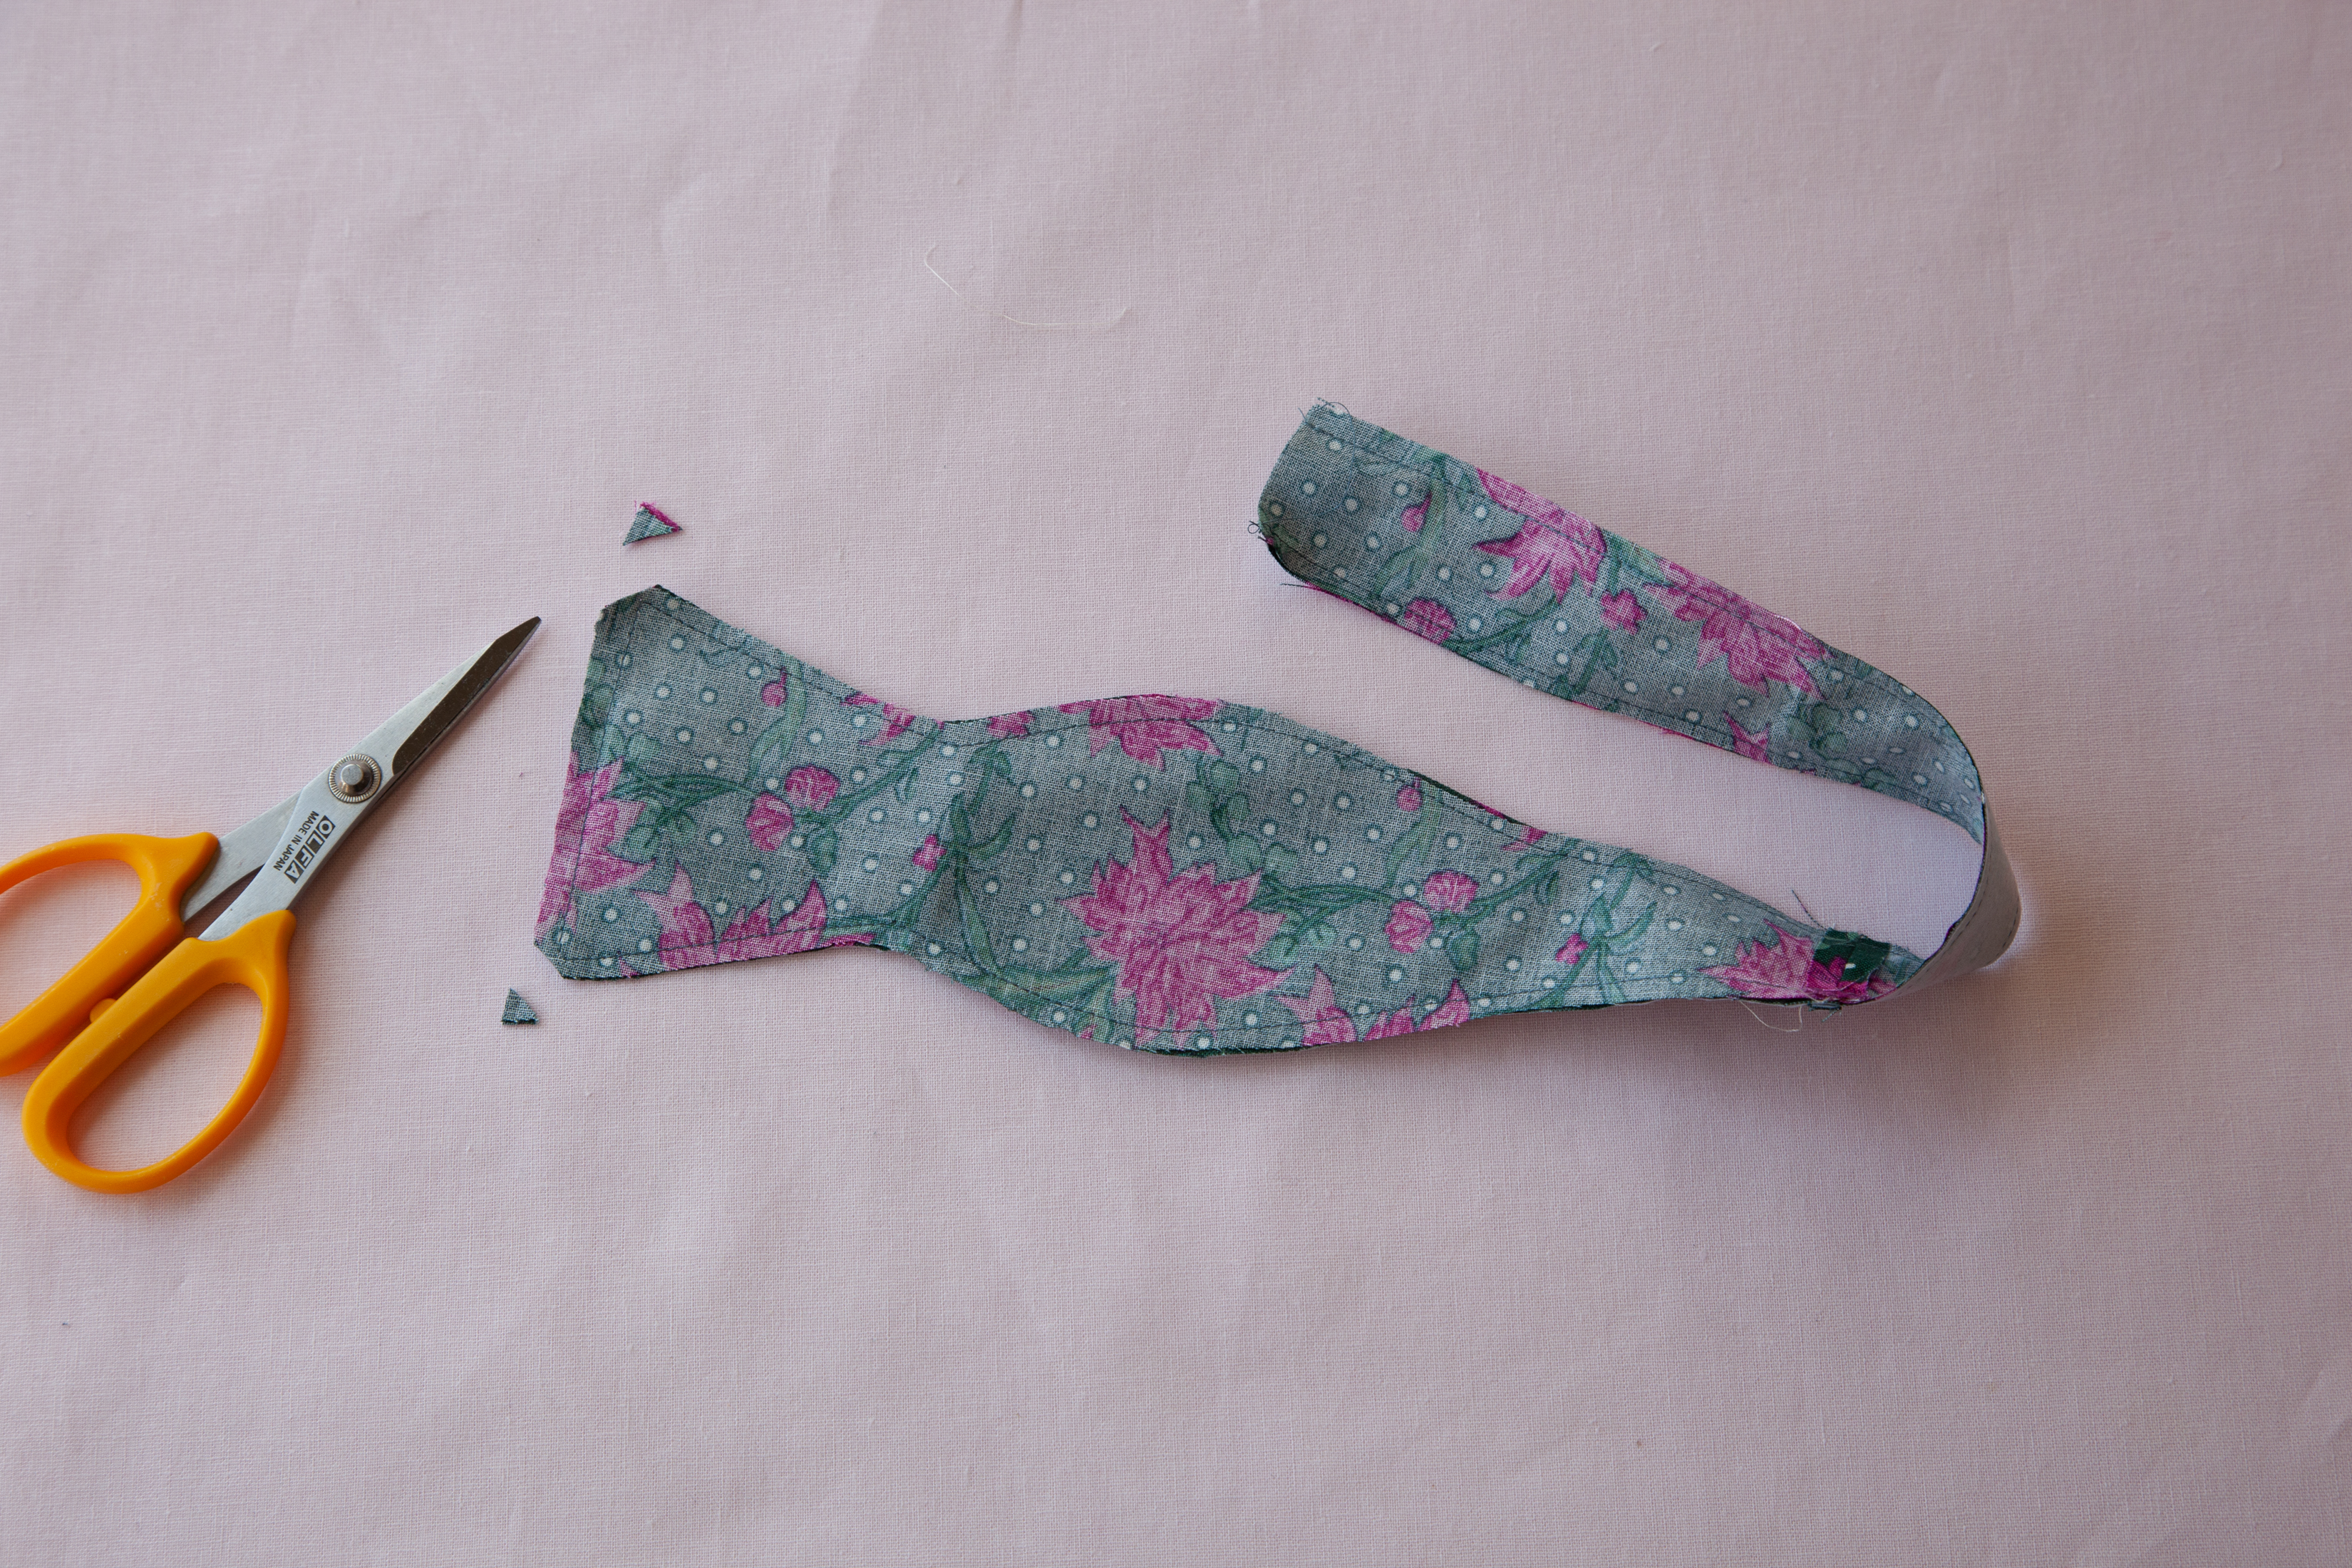
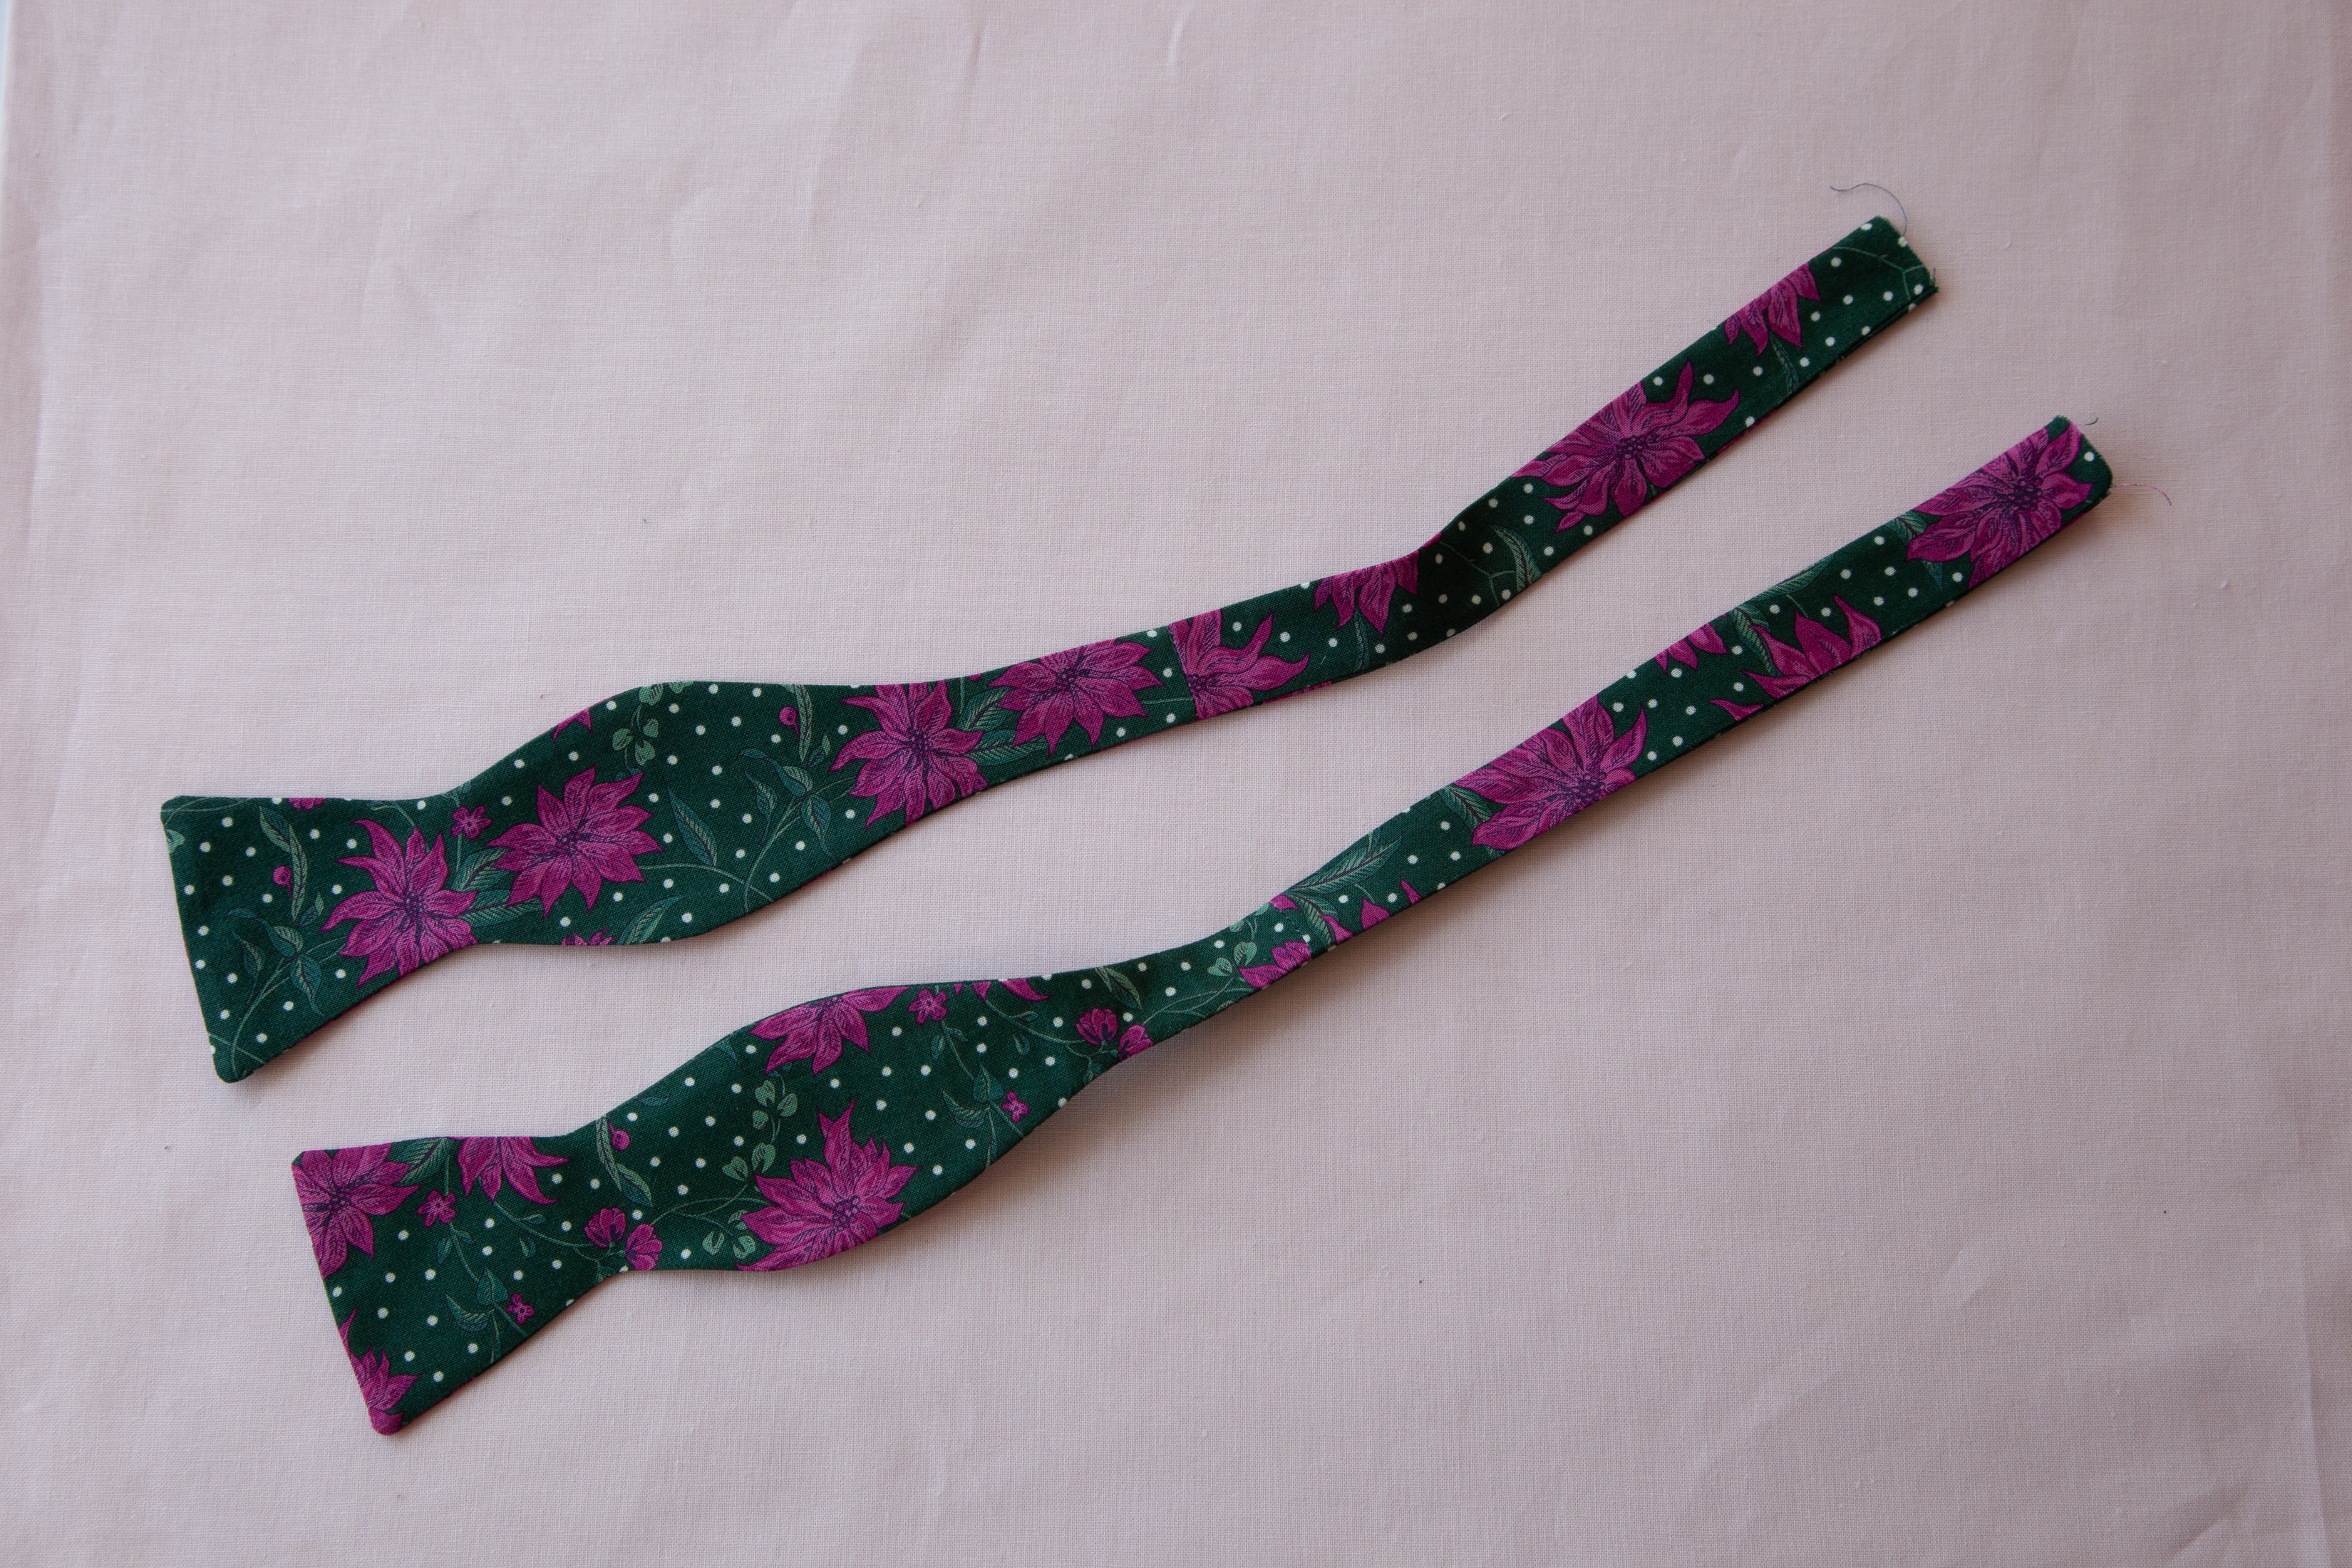
5. Turn the right side out using a chopstick or similar material to ease out the corners. Press.
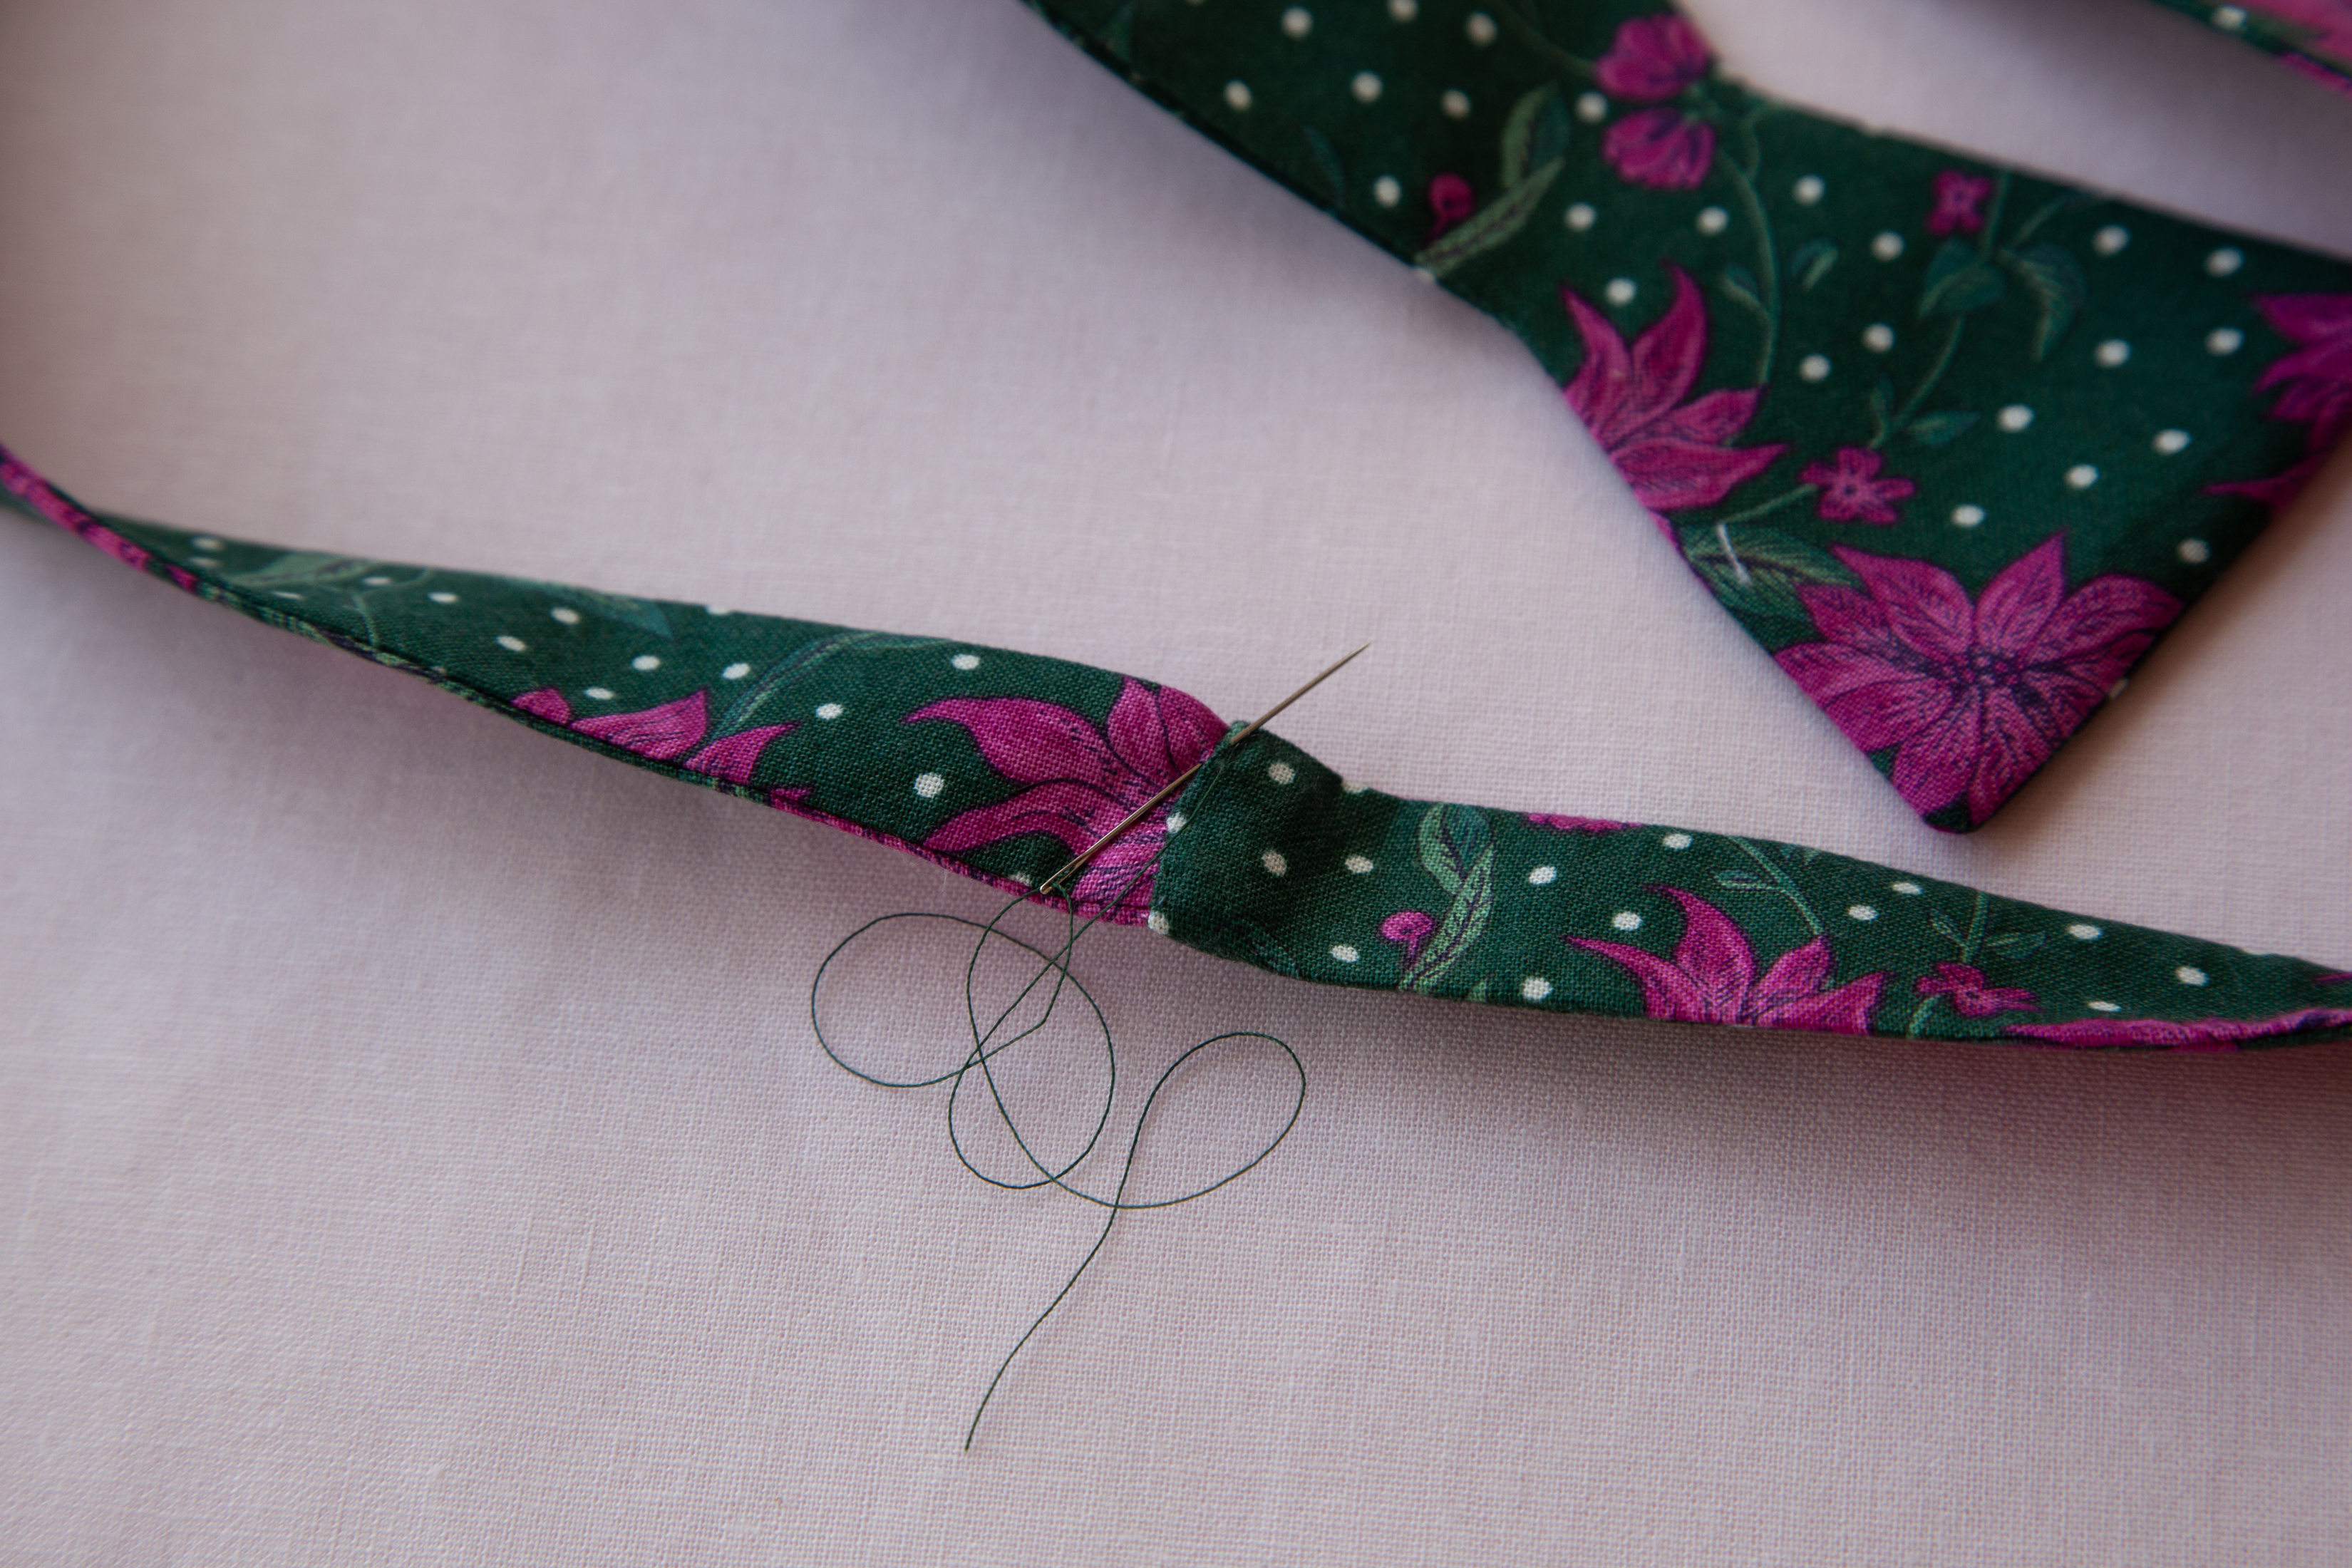
6. Fold one raw edge 1/4’’ inside and slip in the remaining pair. Pin in place and hand stitch to connect two pieces using matching thread.
You can find more tutorials on my Youtube channel.