Tips and Tricks for Sewing a Reversible Quilted Jacket
Quilted jackets have been so popular recently, in both sewing patterns and ready to wear. They are the perfect project to take quilters into garment sewing and to get garment sewists to try their hand at quilting. With all the work that goes into sewing a quilted jacket, why not make it reversible so that you get two jackets in one? In this post, I’ll give you some tips and tricks to make your quilted jacket reversible.
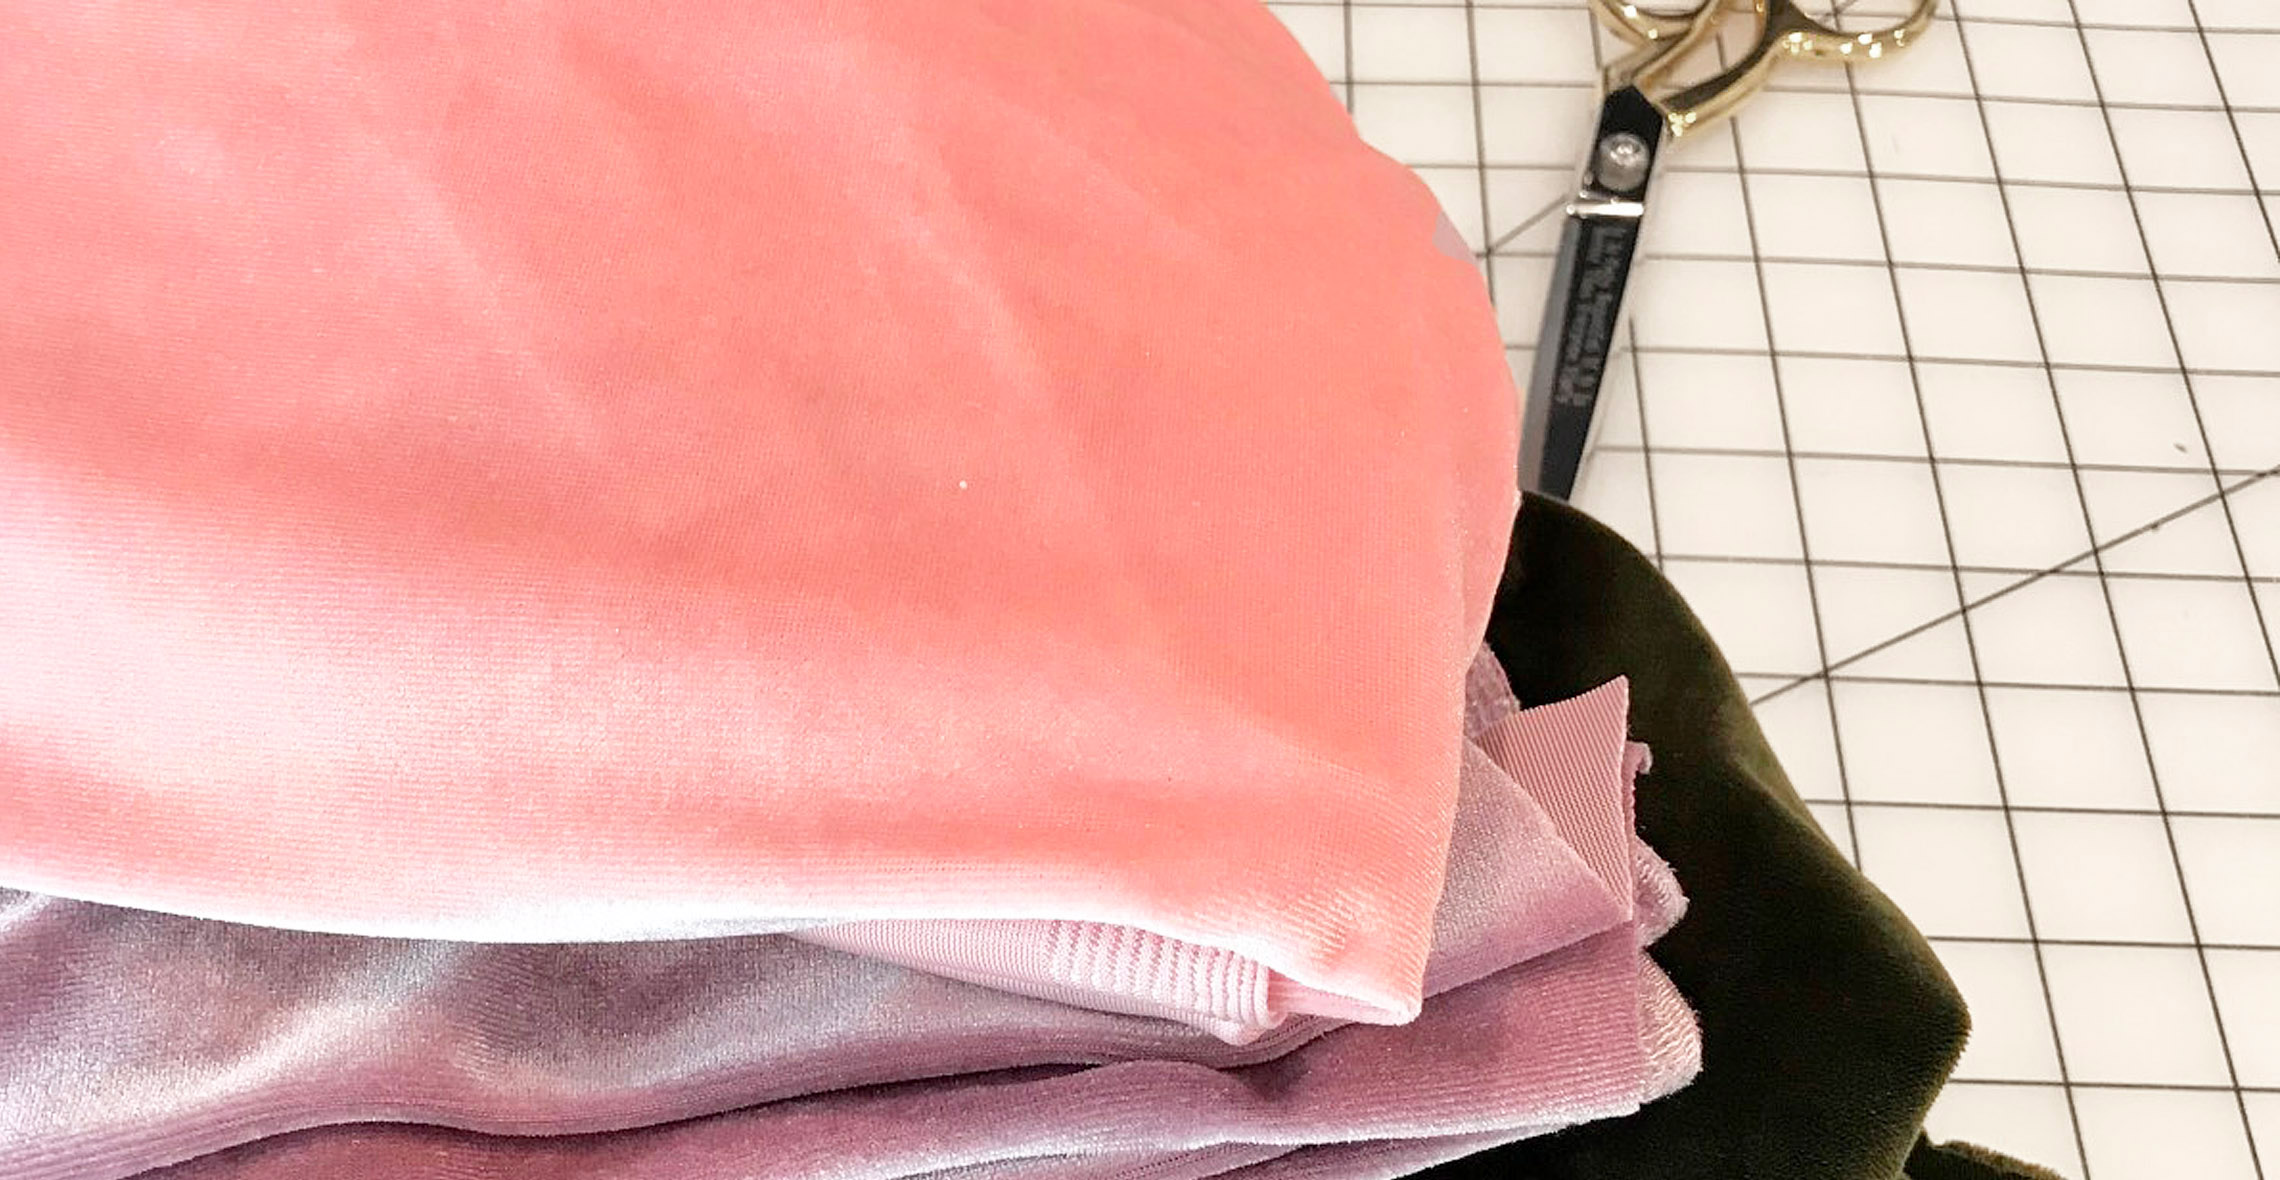
There are many quilted jacket patterns to choose from, all with different elements. When you want to make your jacket reversible, you’ll need to think about how these elements will translate on the “wrong” side as well. (In this post, I’ll call what would normally be the outside of the jacket the “right” side and what would be the inside of the jacket as the “wrong” side.) When picking your pattern, consider the closures, pockets, and collars and think about how they would look from the “wrong” side.
Pattern Considerations to Make a Reversible Quilted Jacket
Closures
The simplest closure for a reversible quilted jacket would be a tie (or no closure at all). This would allow you to reverse the jacket without any altering of the closure. There are quite a few sewing patterns for quilted jackets that are written with options for tie closures and no closures. This would make reversing your jacket very straightforward with little to no modification needed.
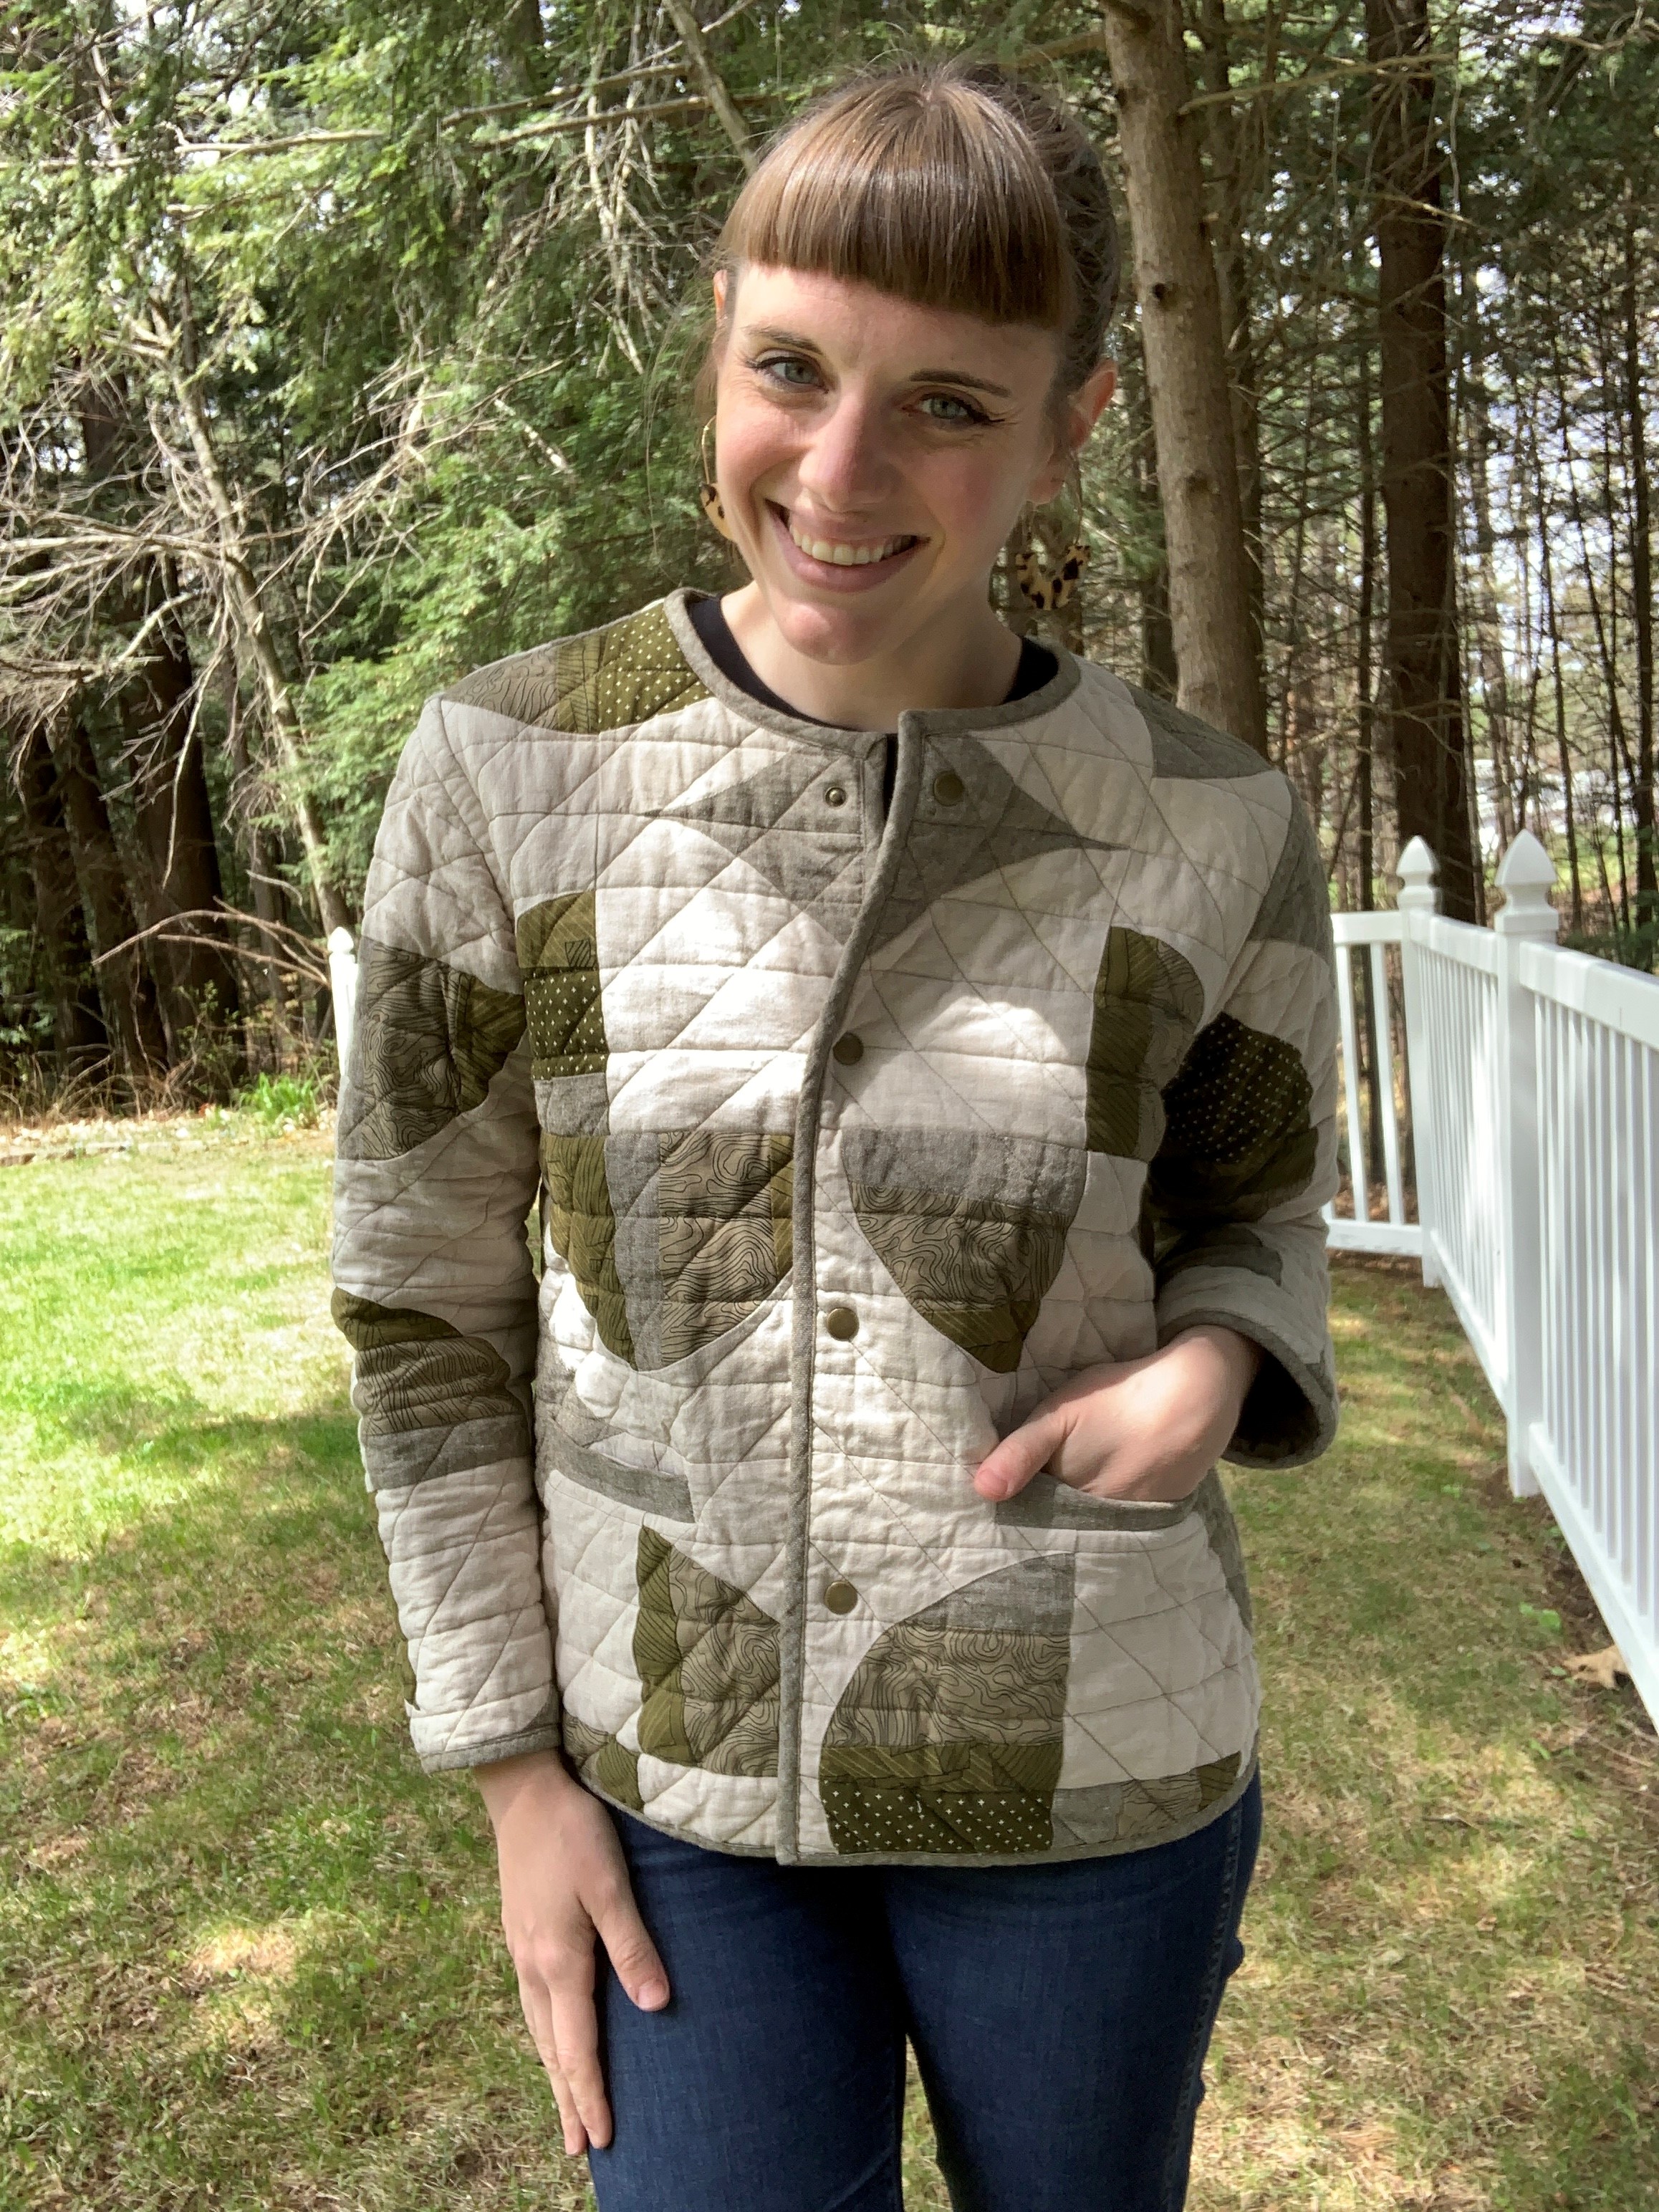
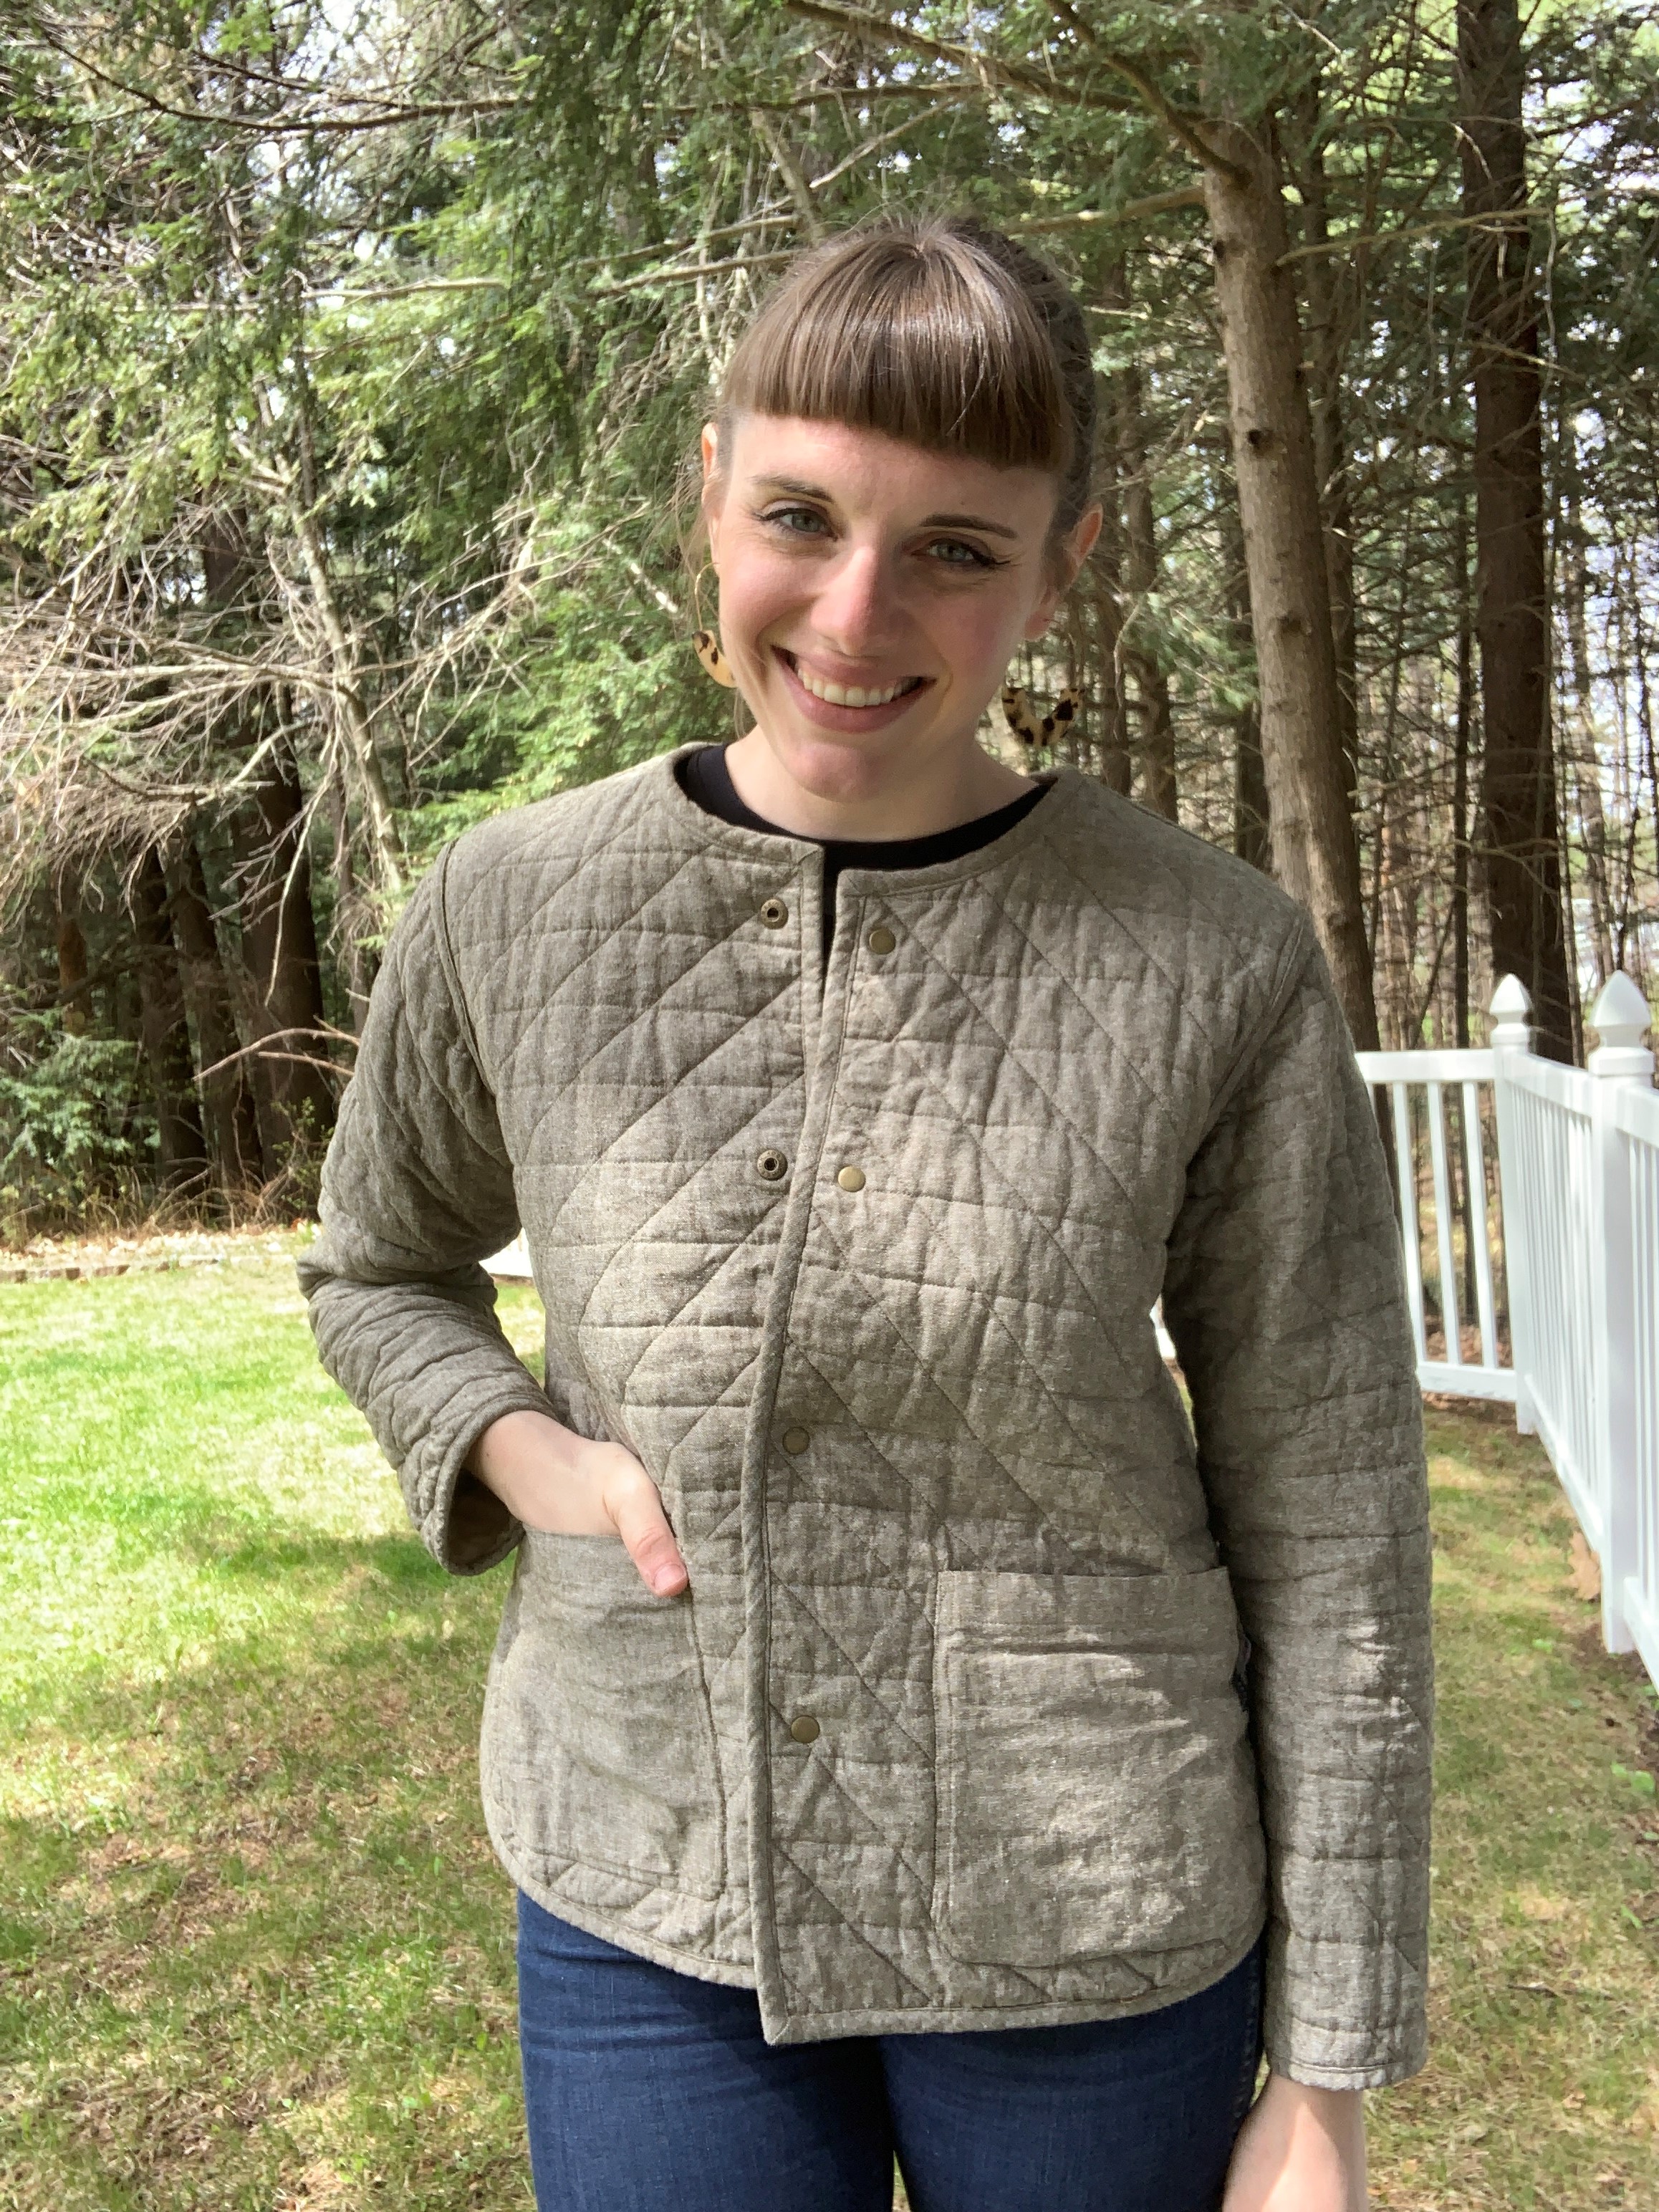
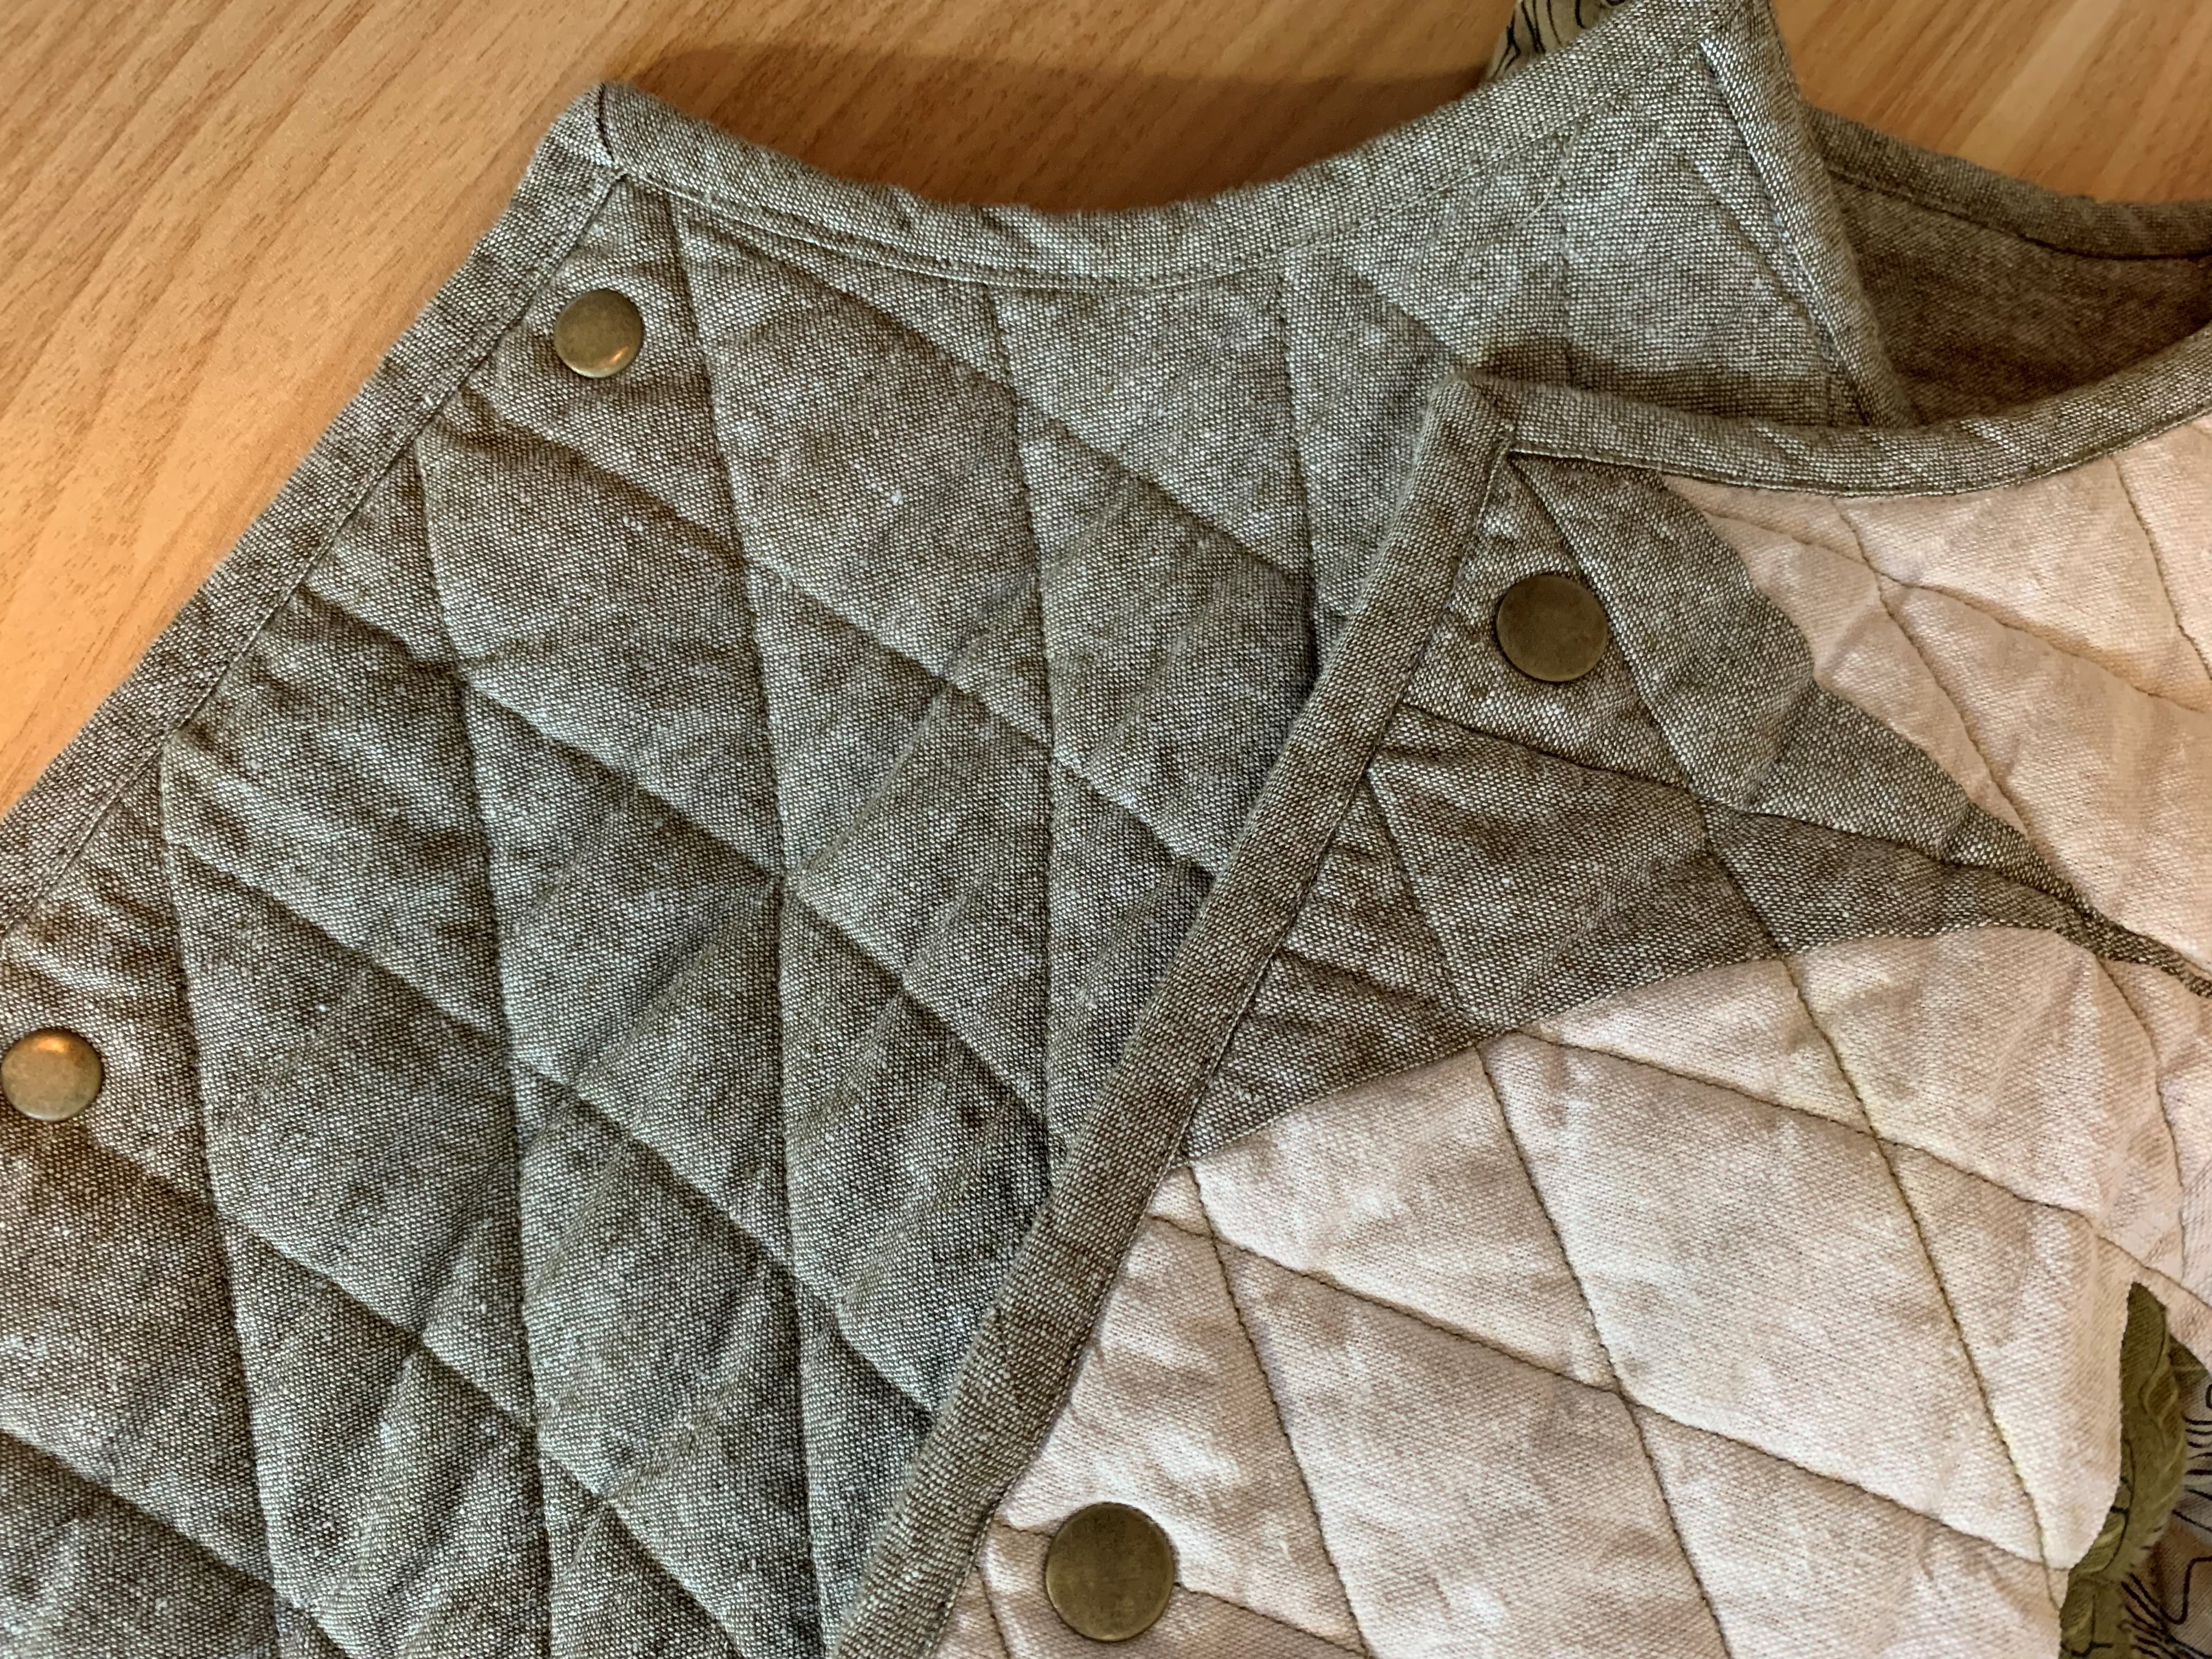
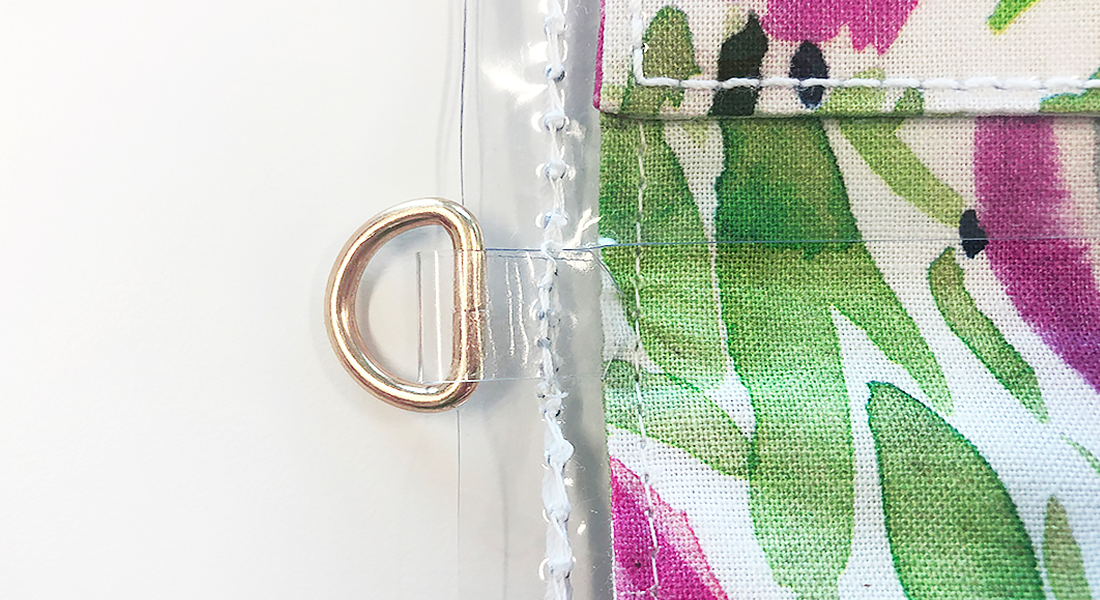
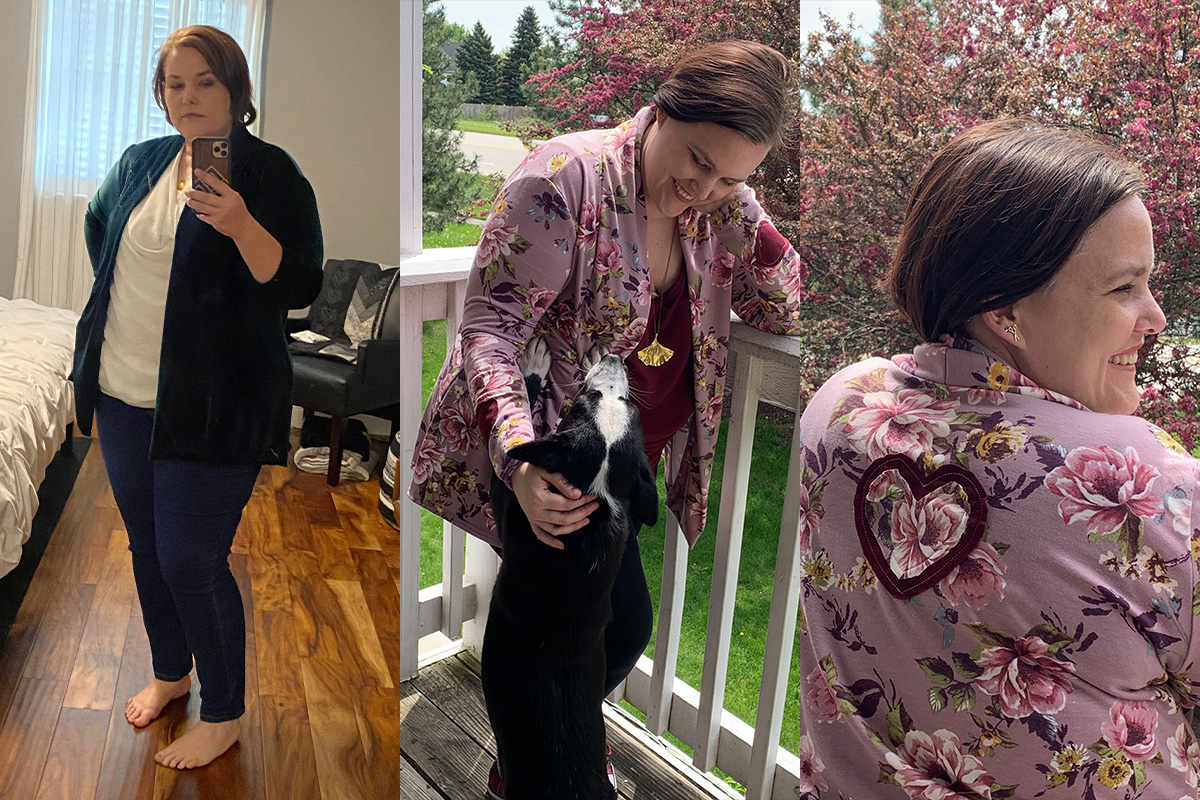
So many quilted jackets have snap closures, which are easier than you’d think to make reversible. Typically, a snap closure has a wrong side that you wouldn’t want visible when you turn your jacket to the other side. Using a double capped spring snap eliminates this issue. These snaps are the same are regular spring snaps, but they have a nice cap on the backside too. I used these on my reversible quilted jacket below.
Pockets
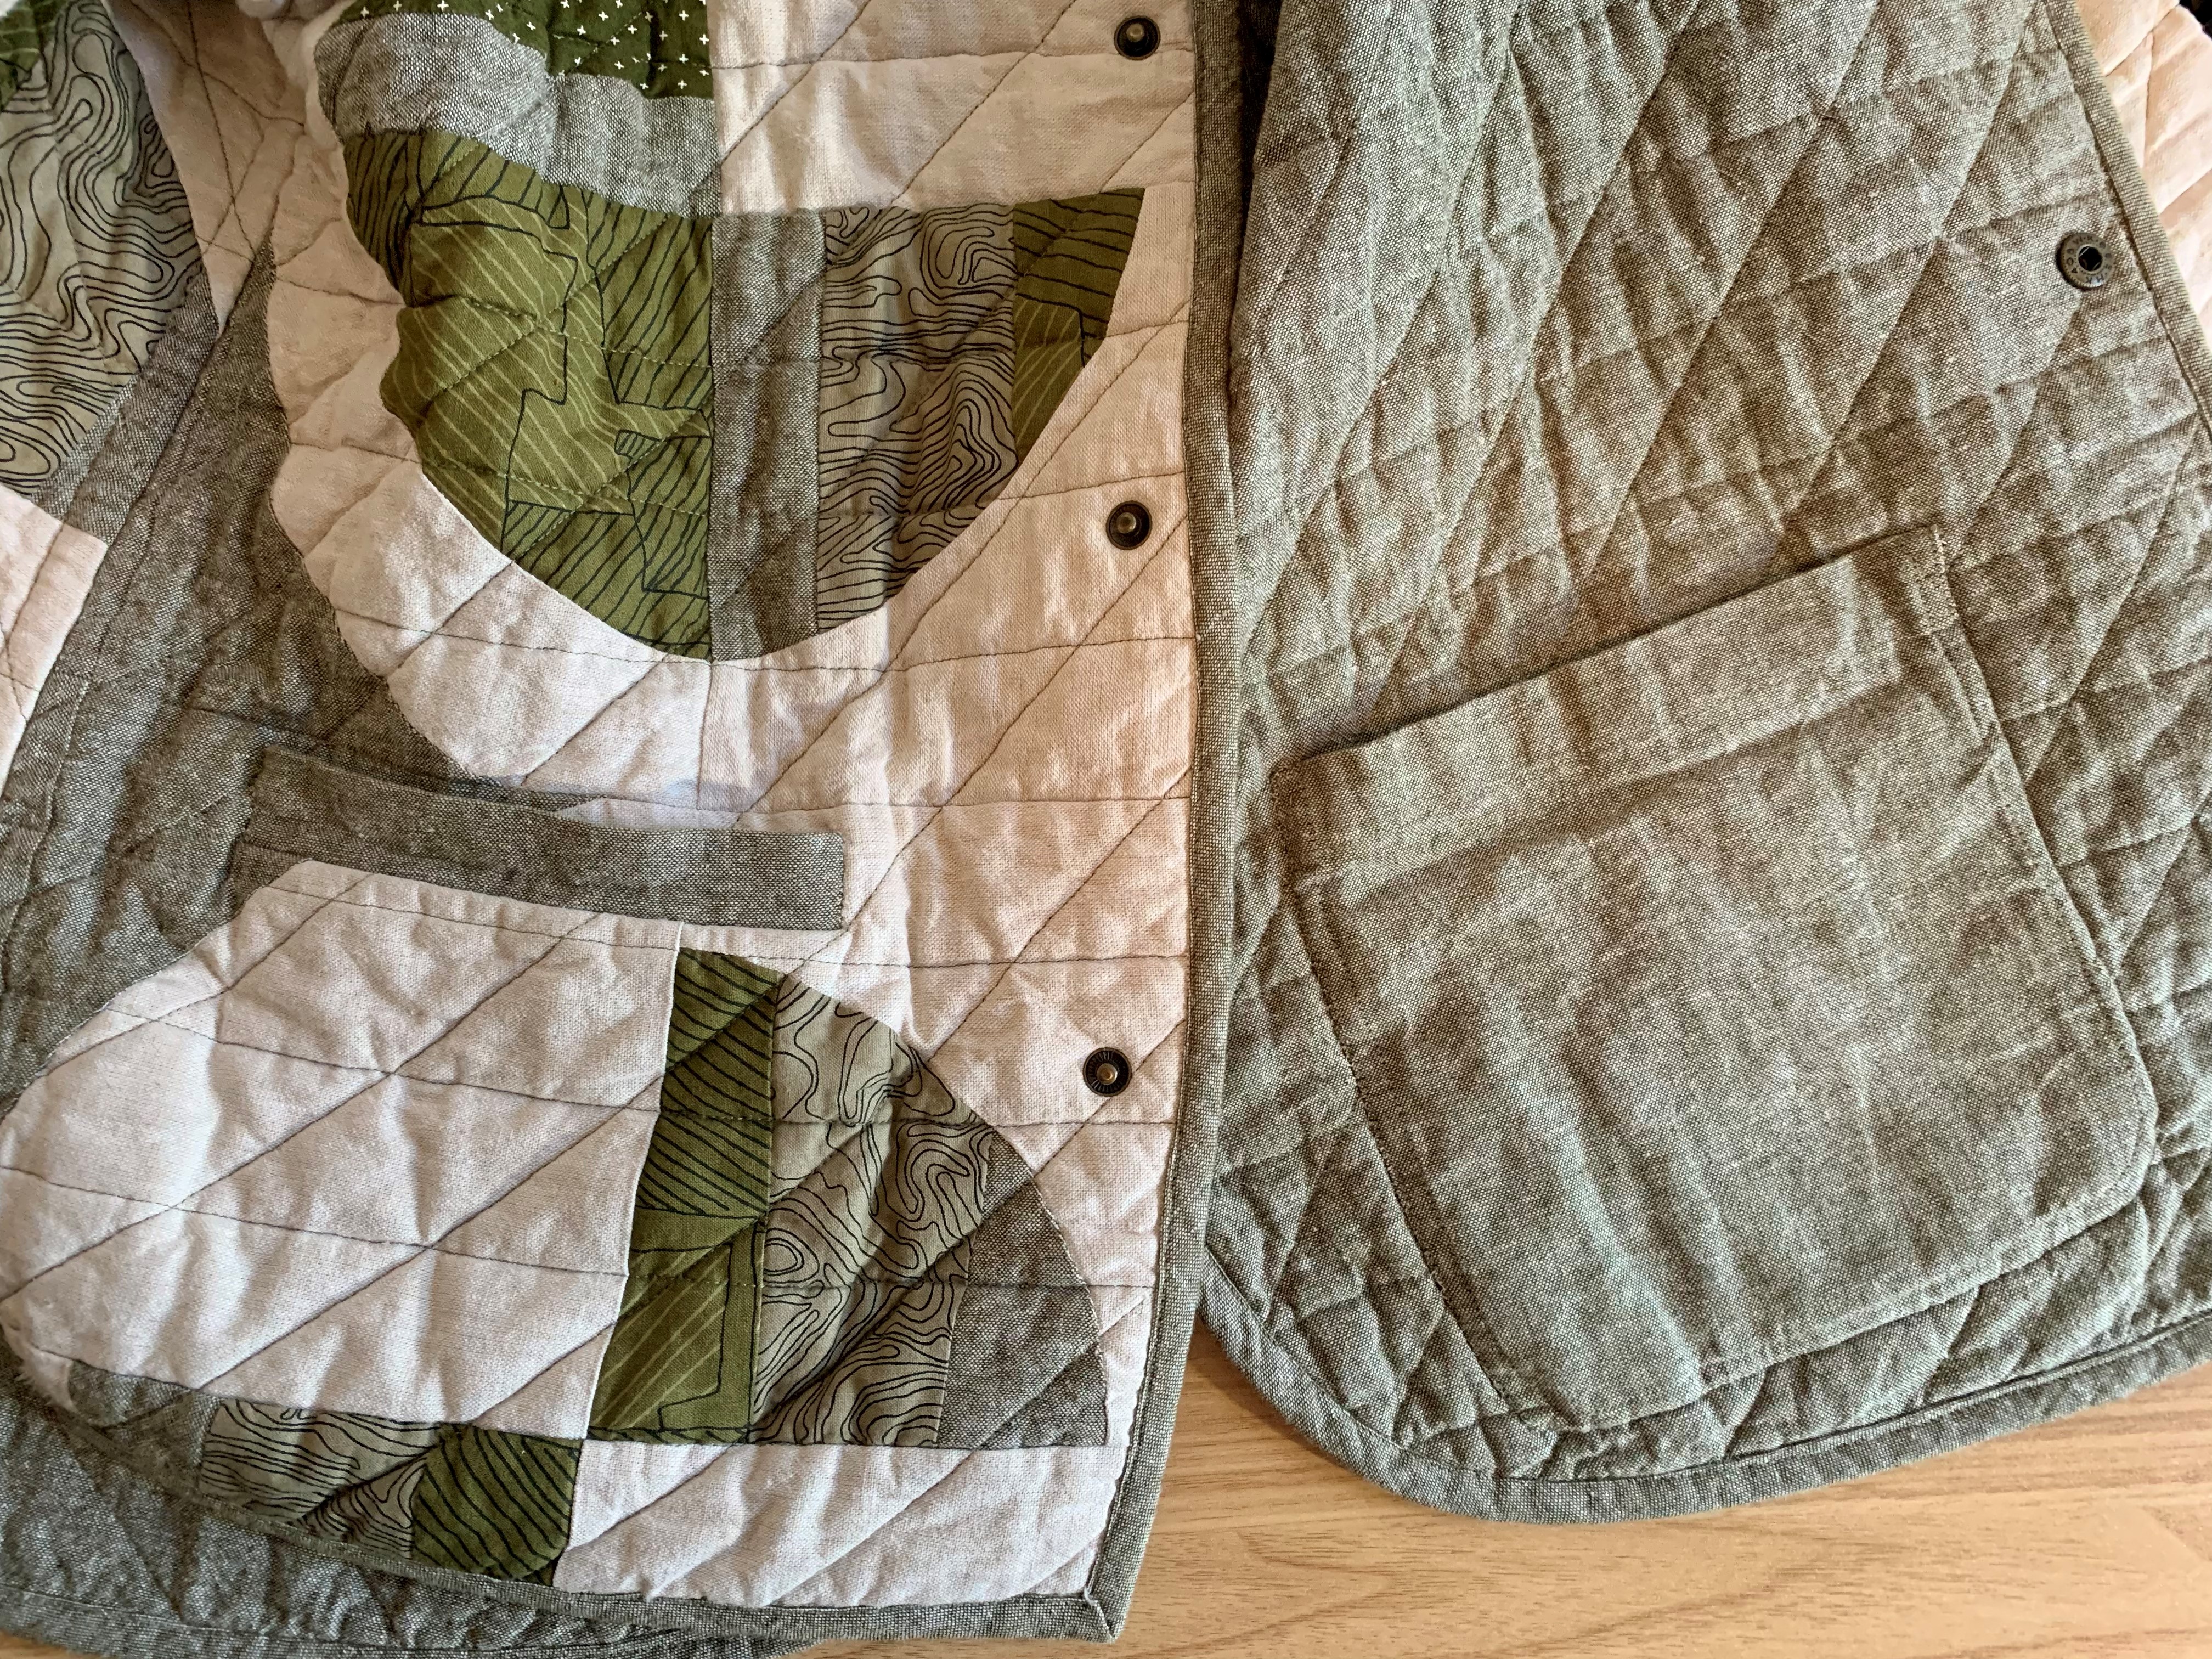
The simplest pocket to make reversible would be a patch pocket. With a patch pocket, you can sew one on each side of your jacket to have one inner pocket and one outer pocket. (Who doesn’t love double the pockets?) If you sew patch pockets on just one side of your jacket, you’ll have a jacket with patch pockets and one that looks pocket-free (but you’ll have secret pockets on the inside!) Keep in mind that if you sew patch pockets onto the “right” side of your jacket, you will be able to see those stitch lines on the “wrong” side. You can eliminate this by sewing the patch pockets on by hand.
Welt pockets look amazing on a quilted jacket, but they are a little trickier to handle if you’re making your quilted jacket reversible. I still wanted welt pockets on my reversible jacket because I didn’t want to cover the patchwork with a patch pocket. To allow for reversibility, you can add a patch pocket on top of the welt pocket bag on the “wrong” side:
- Sew the welt pocket as normal
- Stitch the welt pocket bag to the “wrong” side of the jacket instead of letting it hang free. Sew all the way around the pocket bag by hand, securing it to the “wrong” side of the jacket. Sewing this on by hand without going through the outer layer will still make this invisible from the “right” side.
- Draft a patch pocket that is slightly larger than the welt pocket bag, Hem the top and sides, adding a line of topstitching to the patch pocket piece.
- Sew the patch pocket on the “wrong” side of the jacket by hand without stitching through the “right” side of the jacket.
Other Pattern Features: Collars and Hoods
Does the pattern you’re using have a hood or collar? You’ll want to consider how that will look from the “wrong” side of the pattern too. If the collar or hood is just attached to the top of the jacket, it could easily flip to either side, allowing for easy reversibility. If you used the “inner” fabric for the under collar, you would have a matching collar when you turned your jacket to the other side. A shawl collar is a little less reversible friendly as the part of the collar you see is the front-facing, but this could make for a great, color-blocked look when the jacket is reversed!
The Quilting
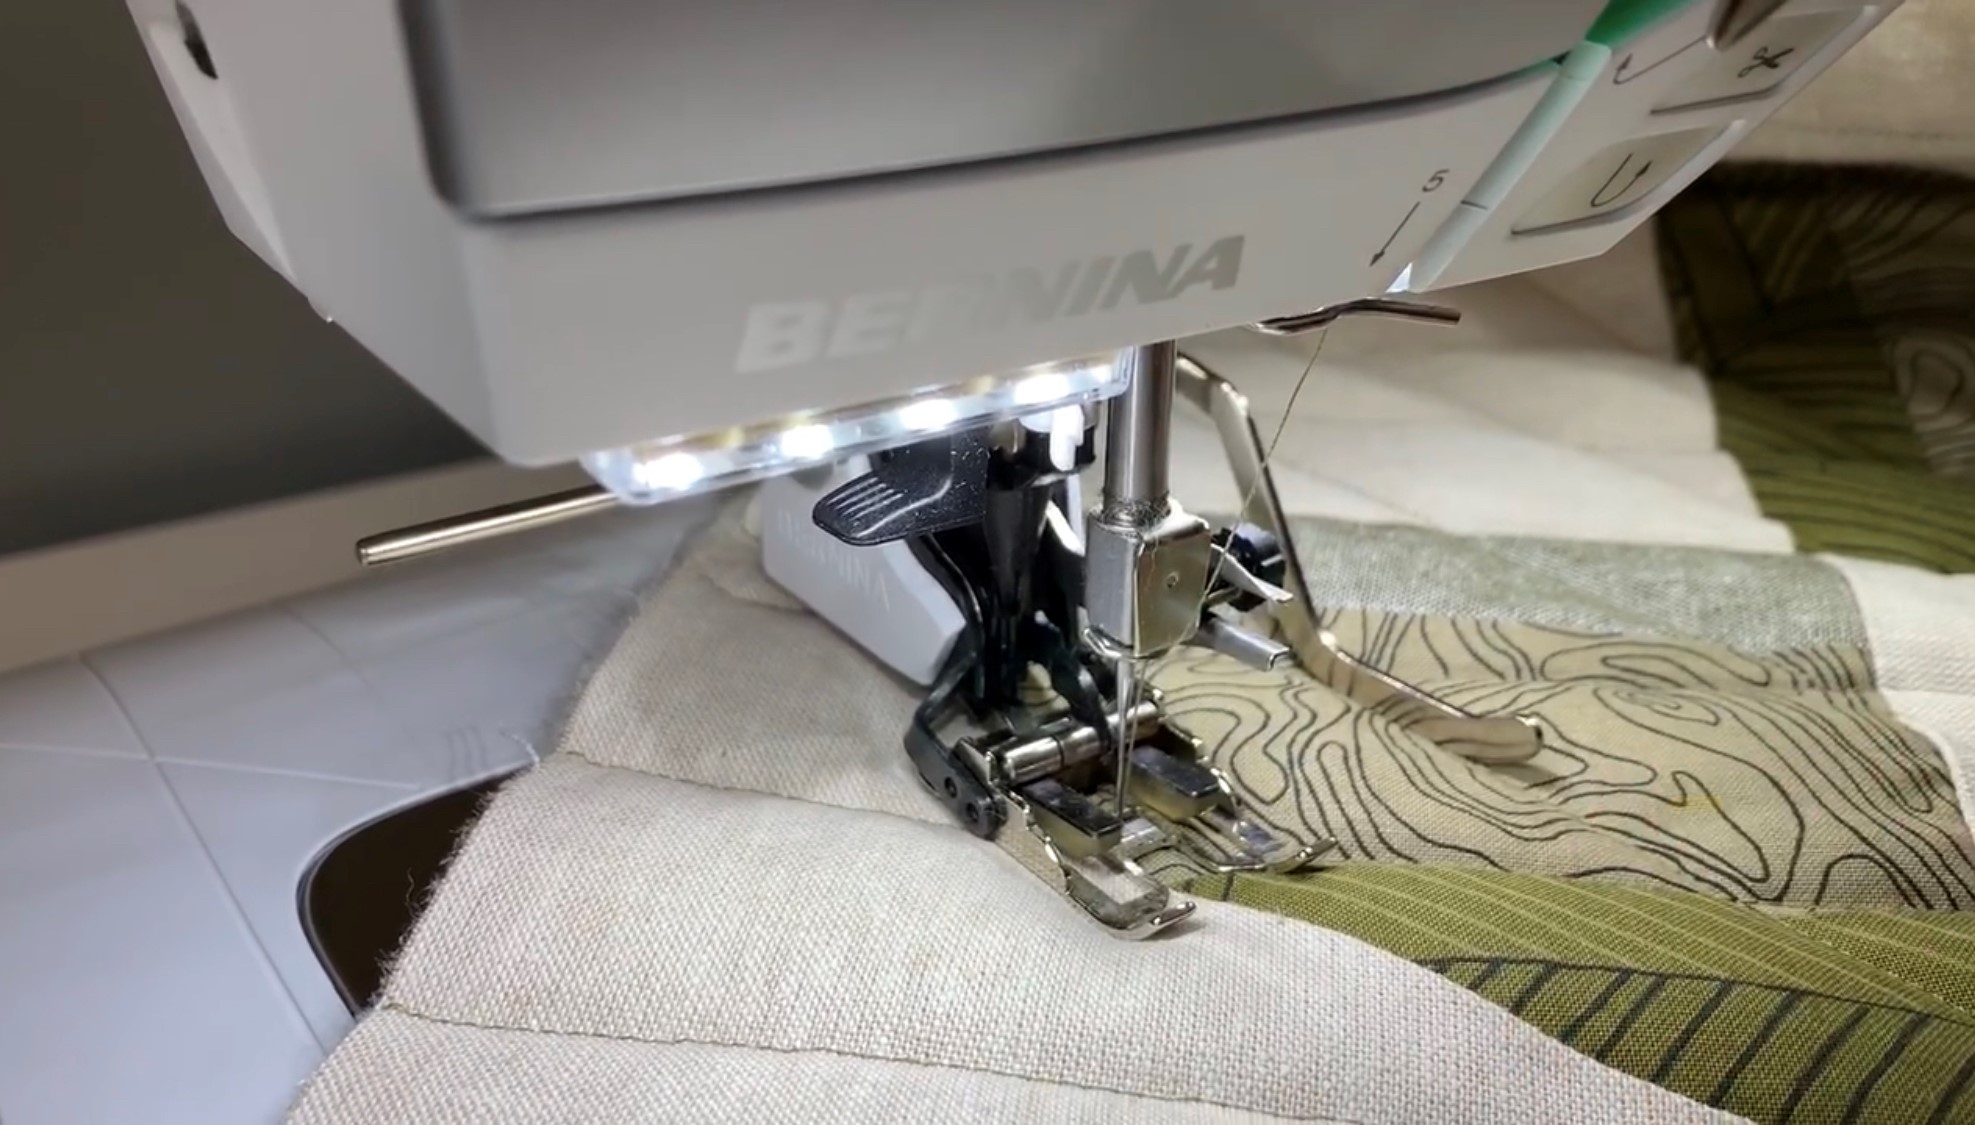
After you’ve picked a pattern, you’ll want to consider the quilting. You’ll see these stitches from both sides of the jacket, so consider how these will look on the fabrics you choose. For the main fabric in my reversible jacket, I created a quilt top. I wanted simple quilting to complement the patchwork, so I tried a few variations of straight line quilting. To do this, I marked the first line with chalk and then used the seam guide on the Three-Sole Walking Foot with Seam Guide #50 to sew the parallel lines. This made straight line quilting so much easier than trying to mark everything out.


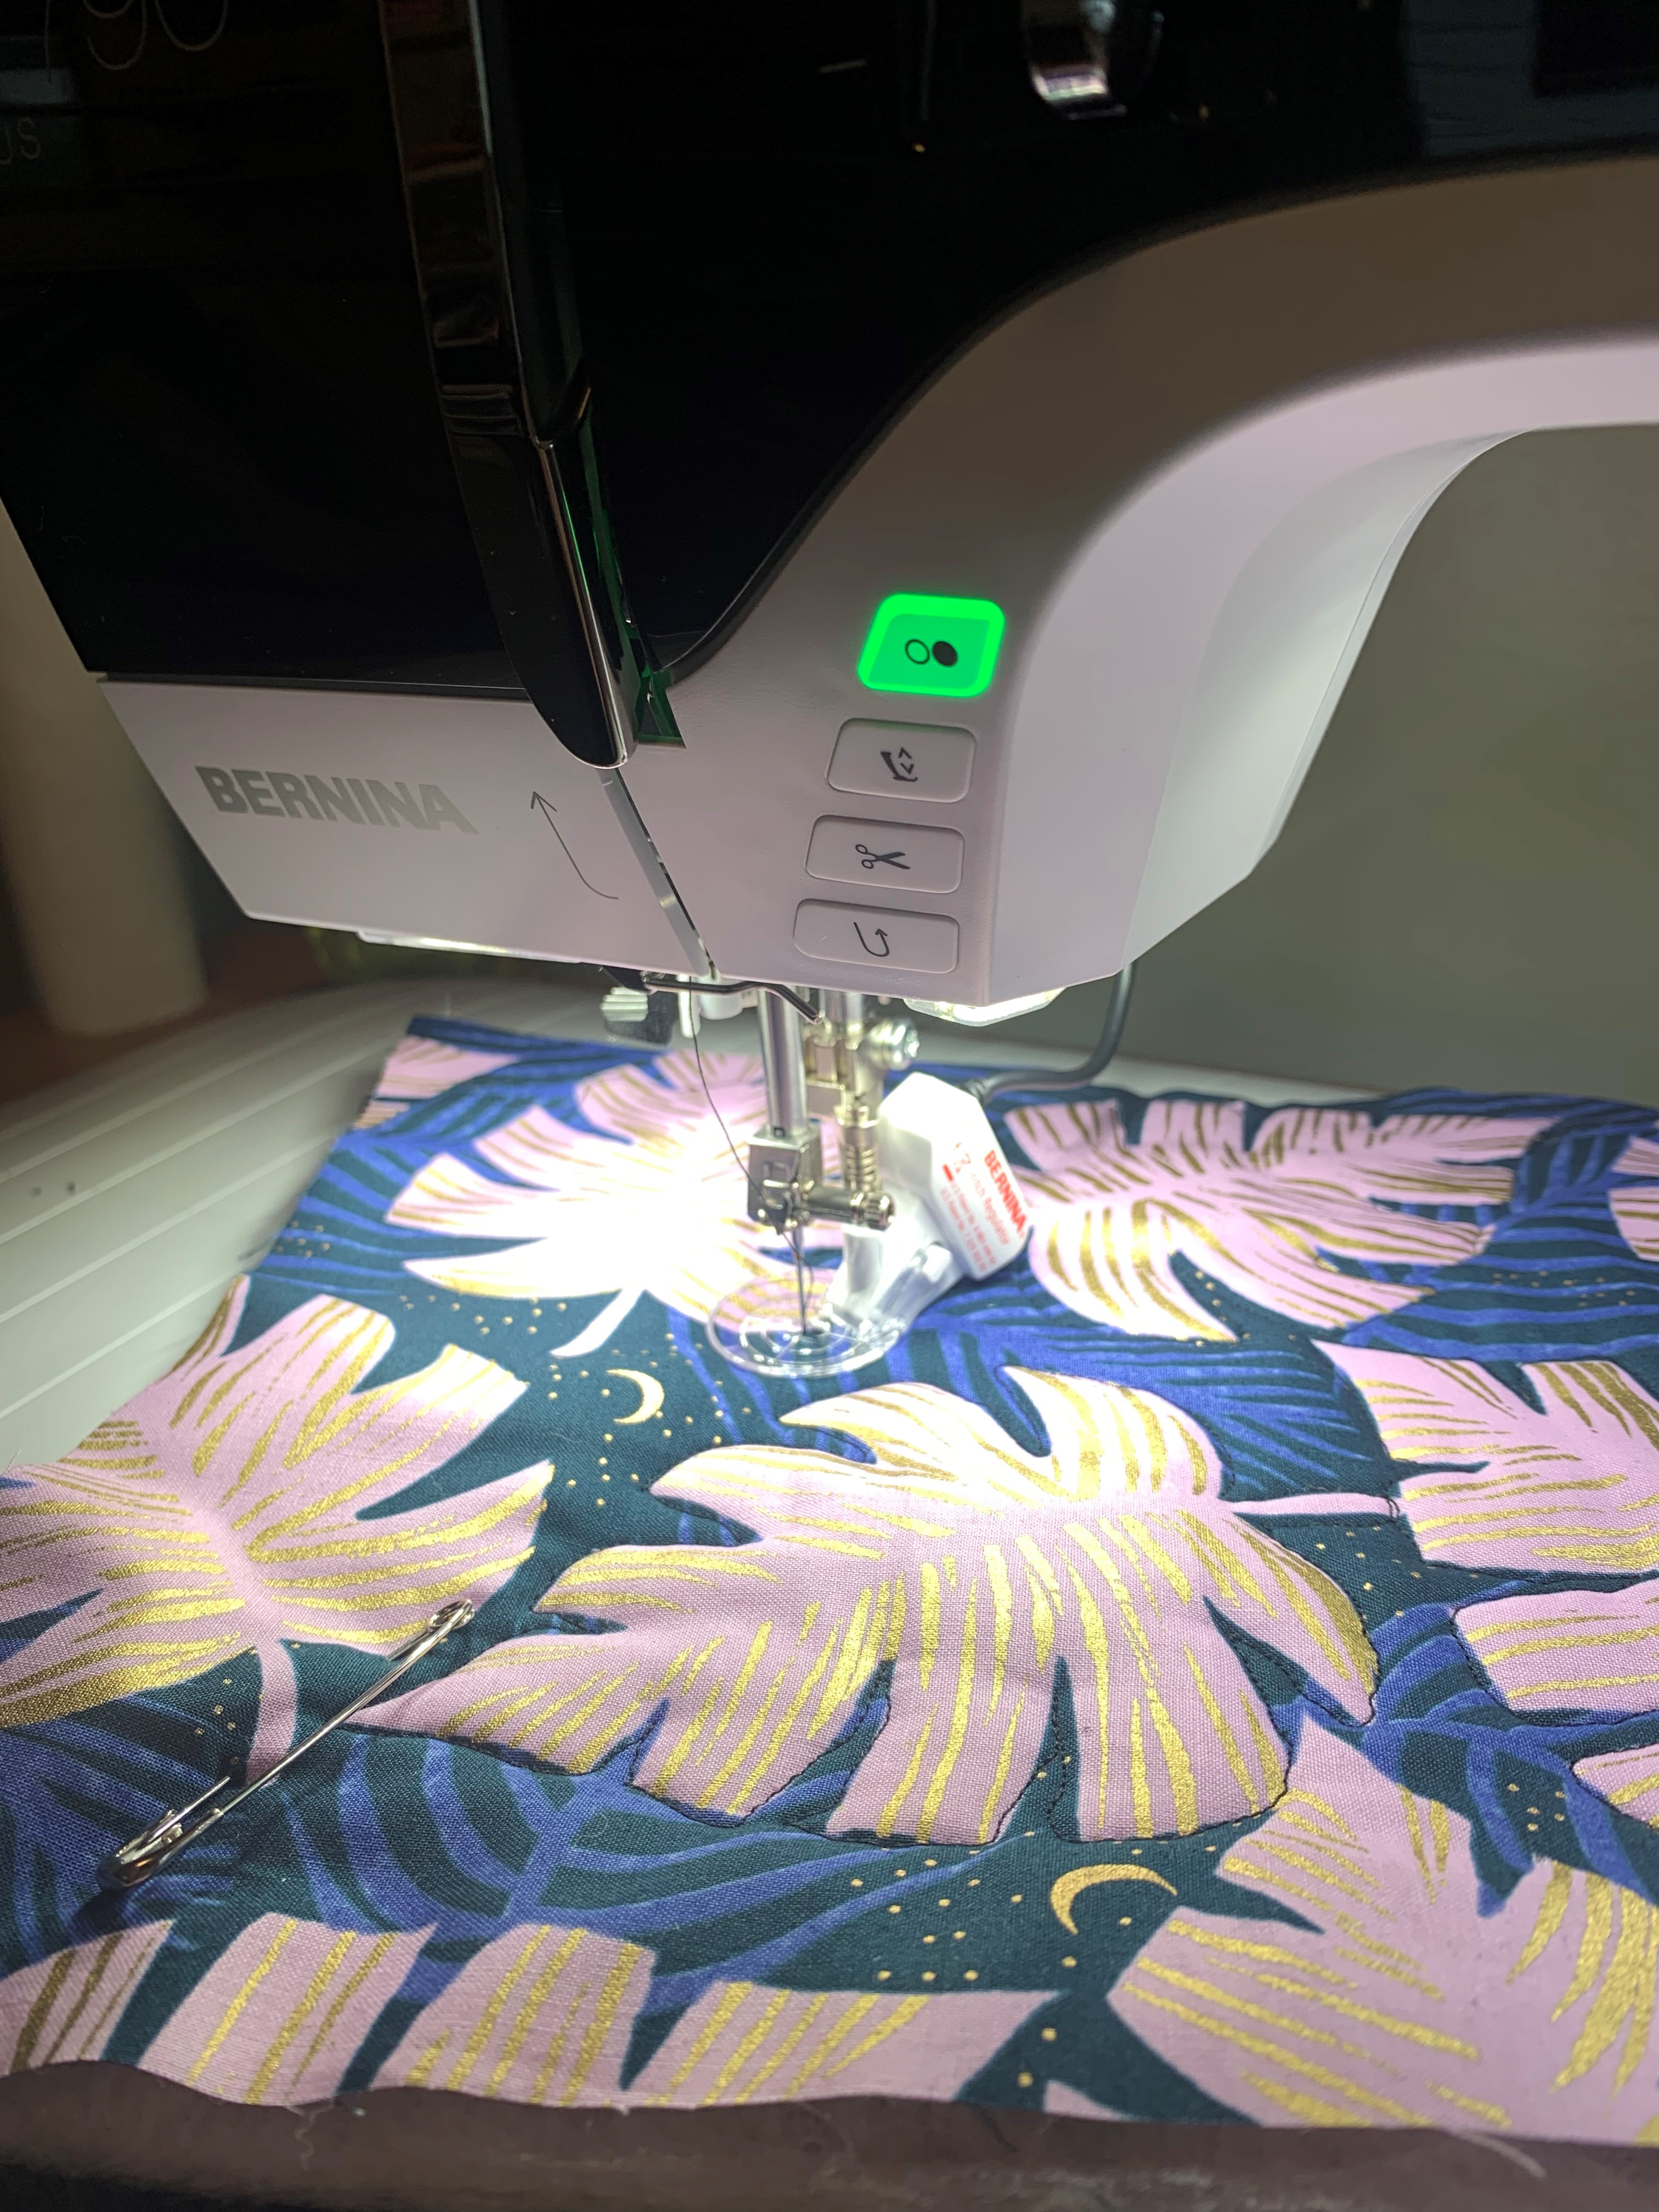
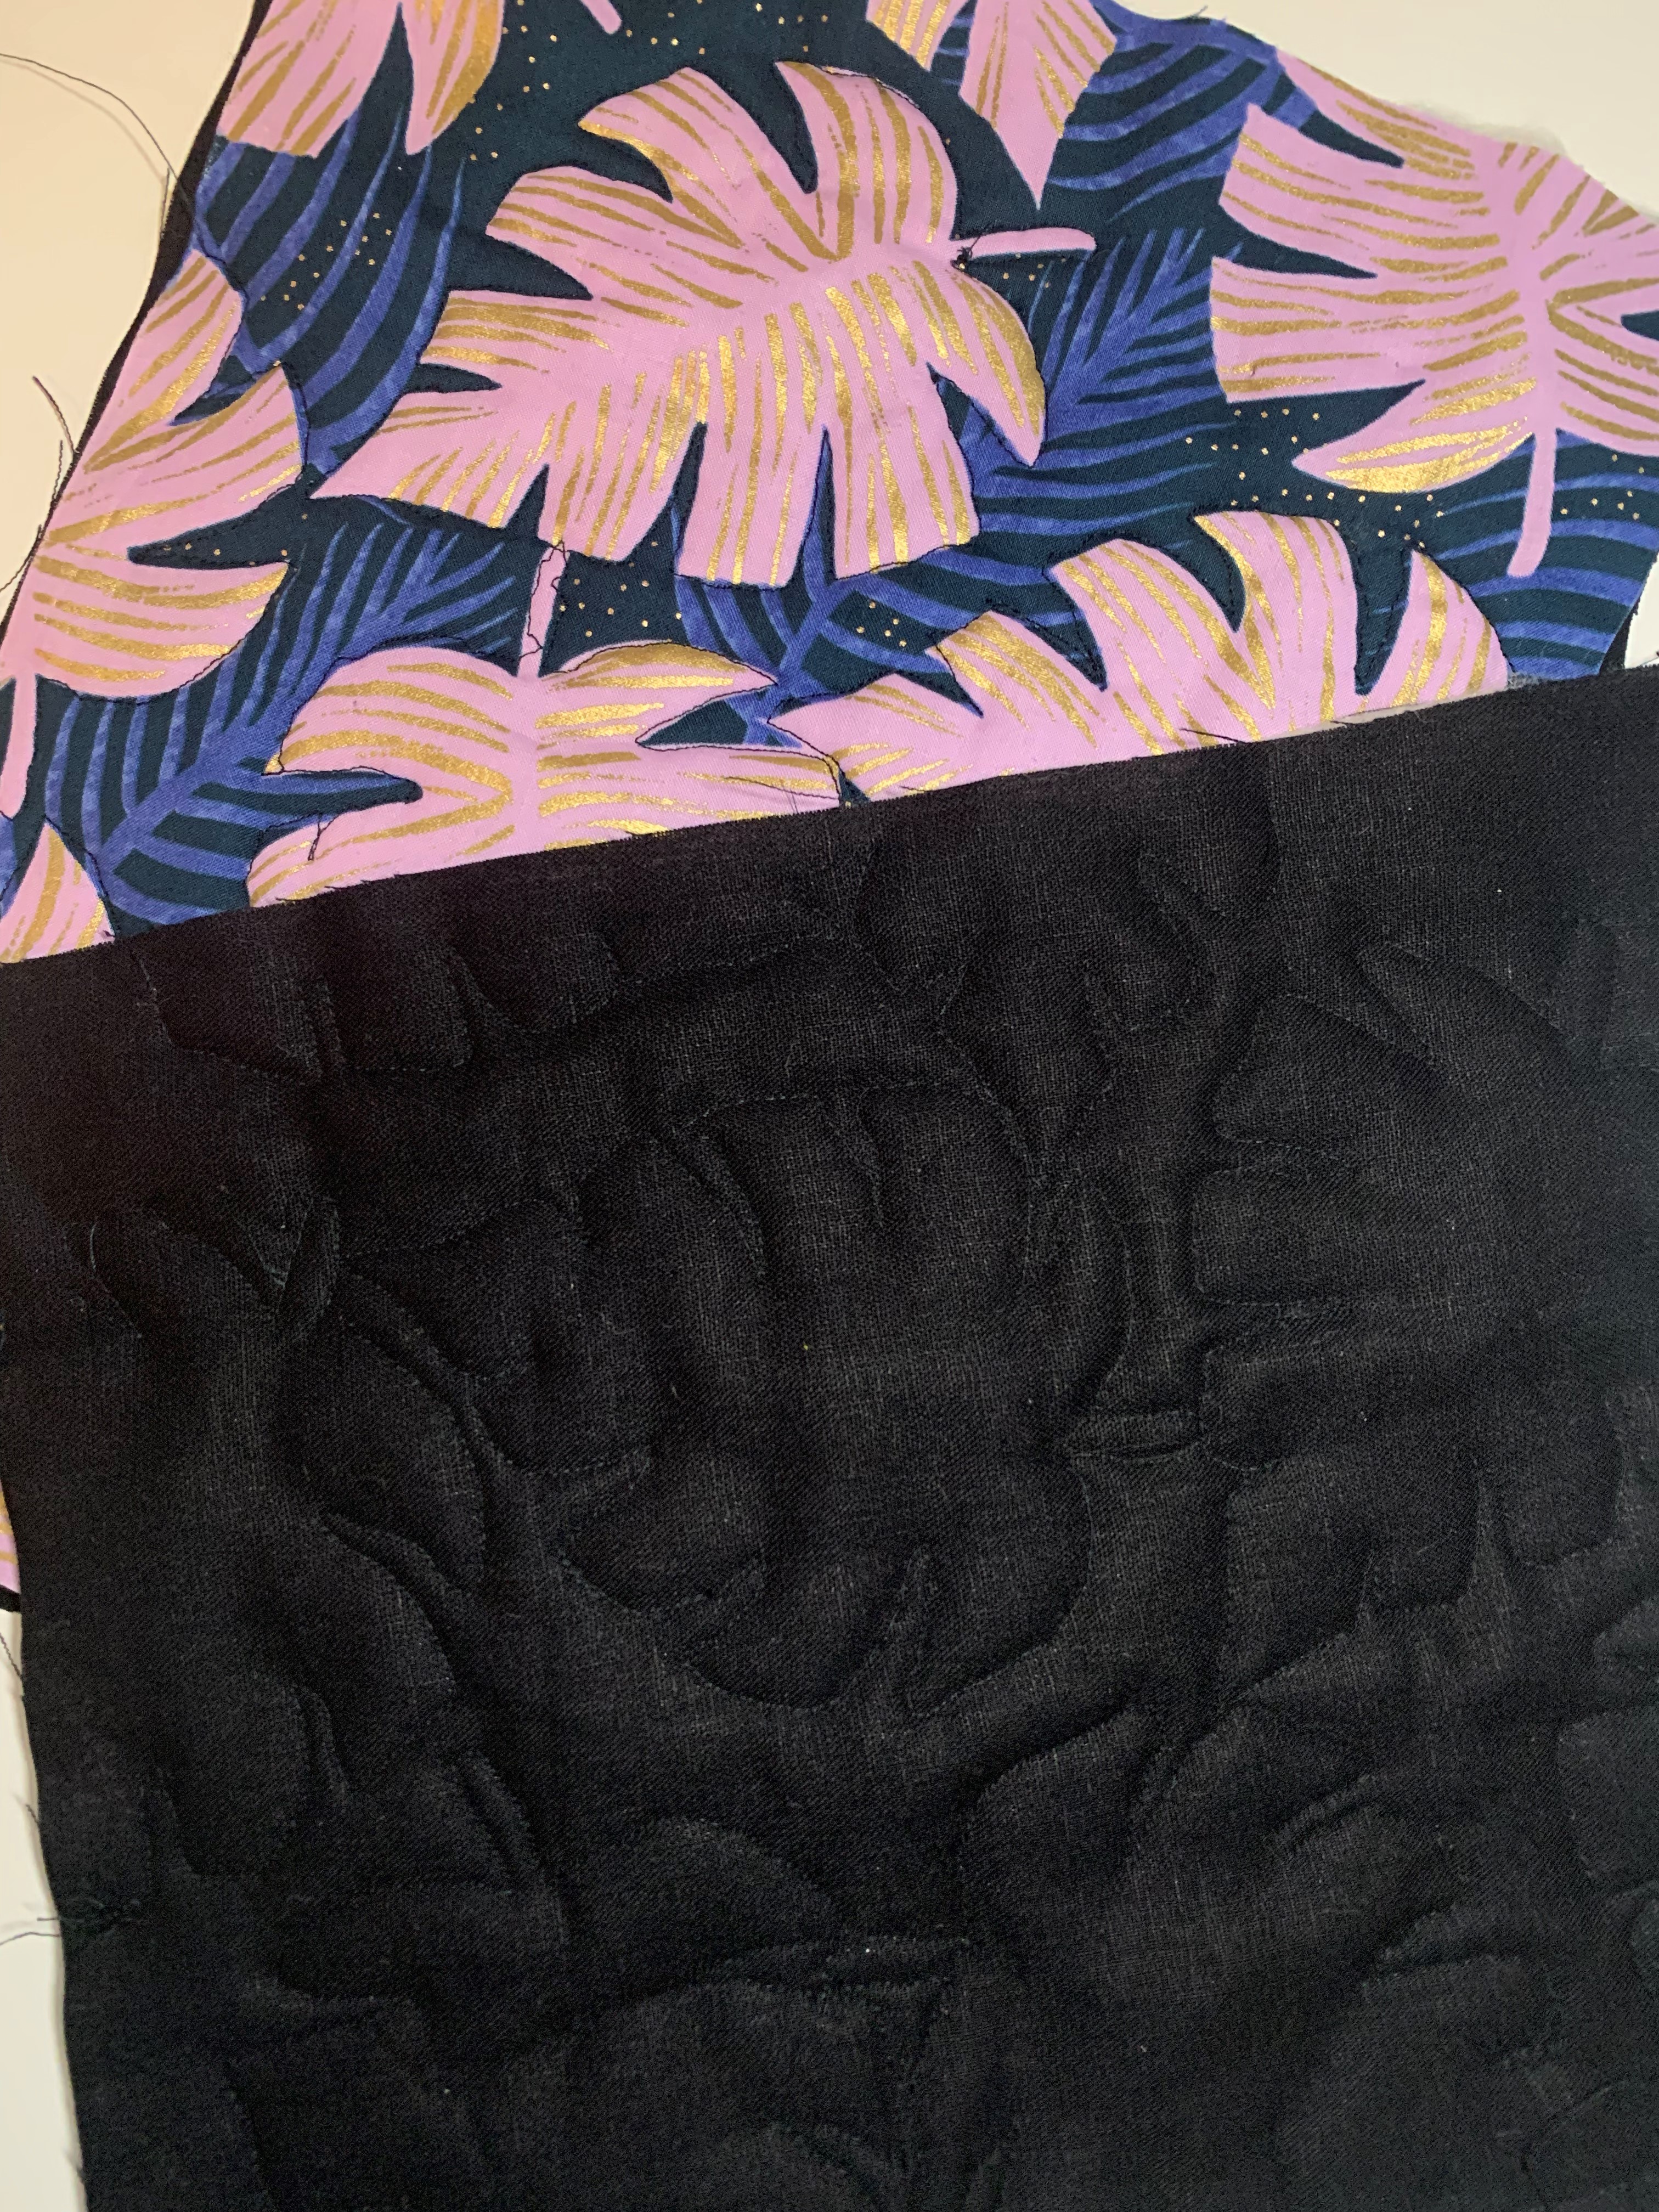
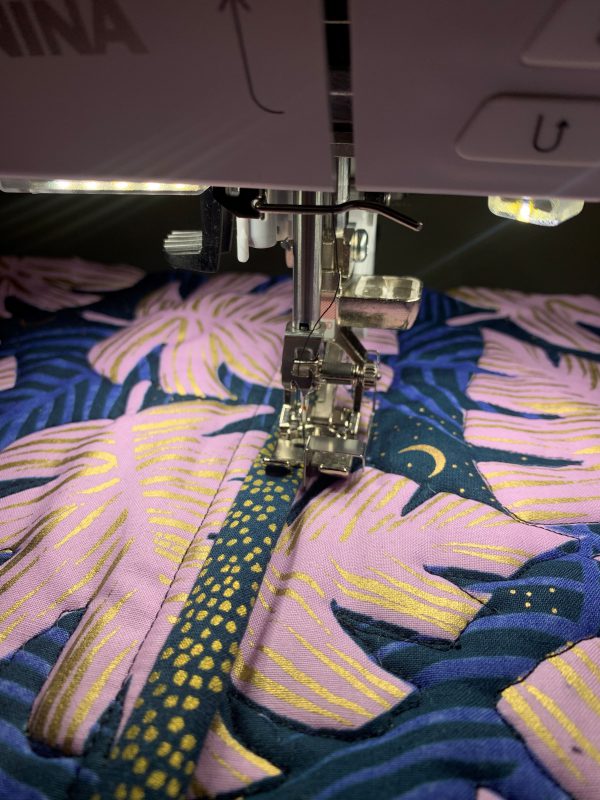
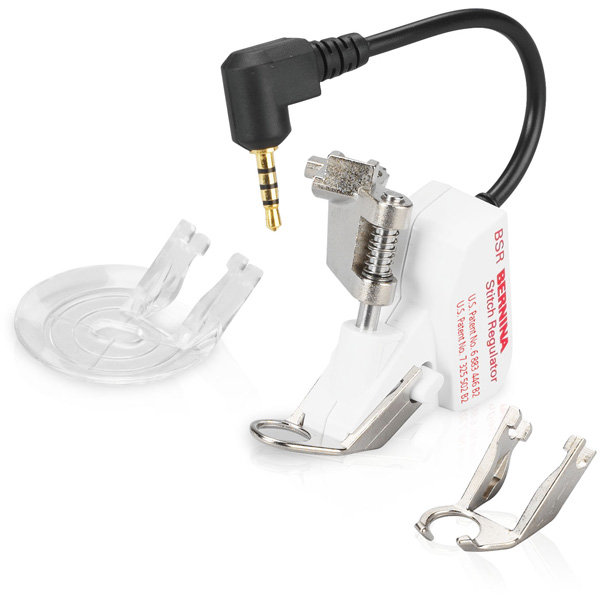
I’m working on another quilted jacket in which I chose a solid black fabric for the outer and a palm leaf patterned fabric for the inner. I’m using the BERNINA Stitch Regulator (BSR) on my machine to quilt around the palm leaves, creating a subtle quilted pattern on the solid black side.
Seams
The final thing to consider when making your quilted jacket reversible is how you finish your seams. Most quilted jackets will have bias-bound seams on the inside. This is a beautiful finish that encloses the edge of your fabric and batting inside bias tape. If you use bias-bound seams to finish the seams of your jacket, you will have bias-bound edges that stick out when you reverse your jacket. To eliminate this, I like to combine a bias bound seam with a flat felled seam to let that bias edge lie flat:
- Sew on one edge of the bias tape to the seam allowance.
- Grade the seam allowance to eliminate some bulk.
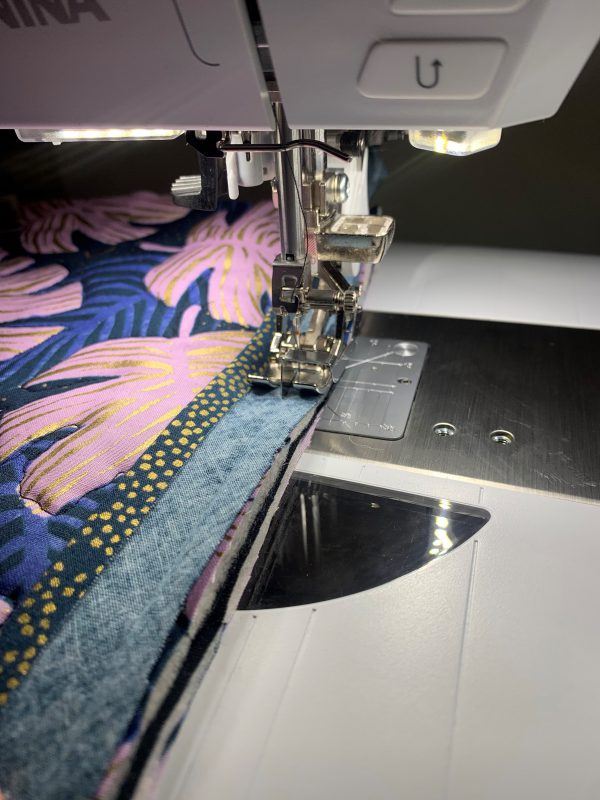
- Fold the bias tape under the seam allowance and edge stitch down to the jacket. (I use the Edgestitch Foot #10D) for this step). This will create a visible line of stitching from the other side of the jacket, similar to a flat-felled seam.
- For the areas of the jacket you can’t reach to stitch the seam allowance down by machine, you can stitch by hand. You can also stitch all of the bias-bound seams down by hand so that there is no visible line of stitching from the other side.


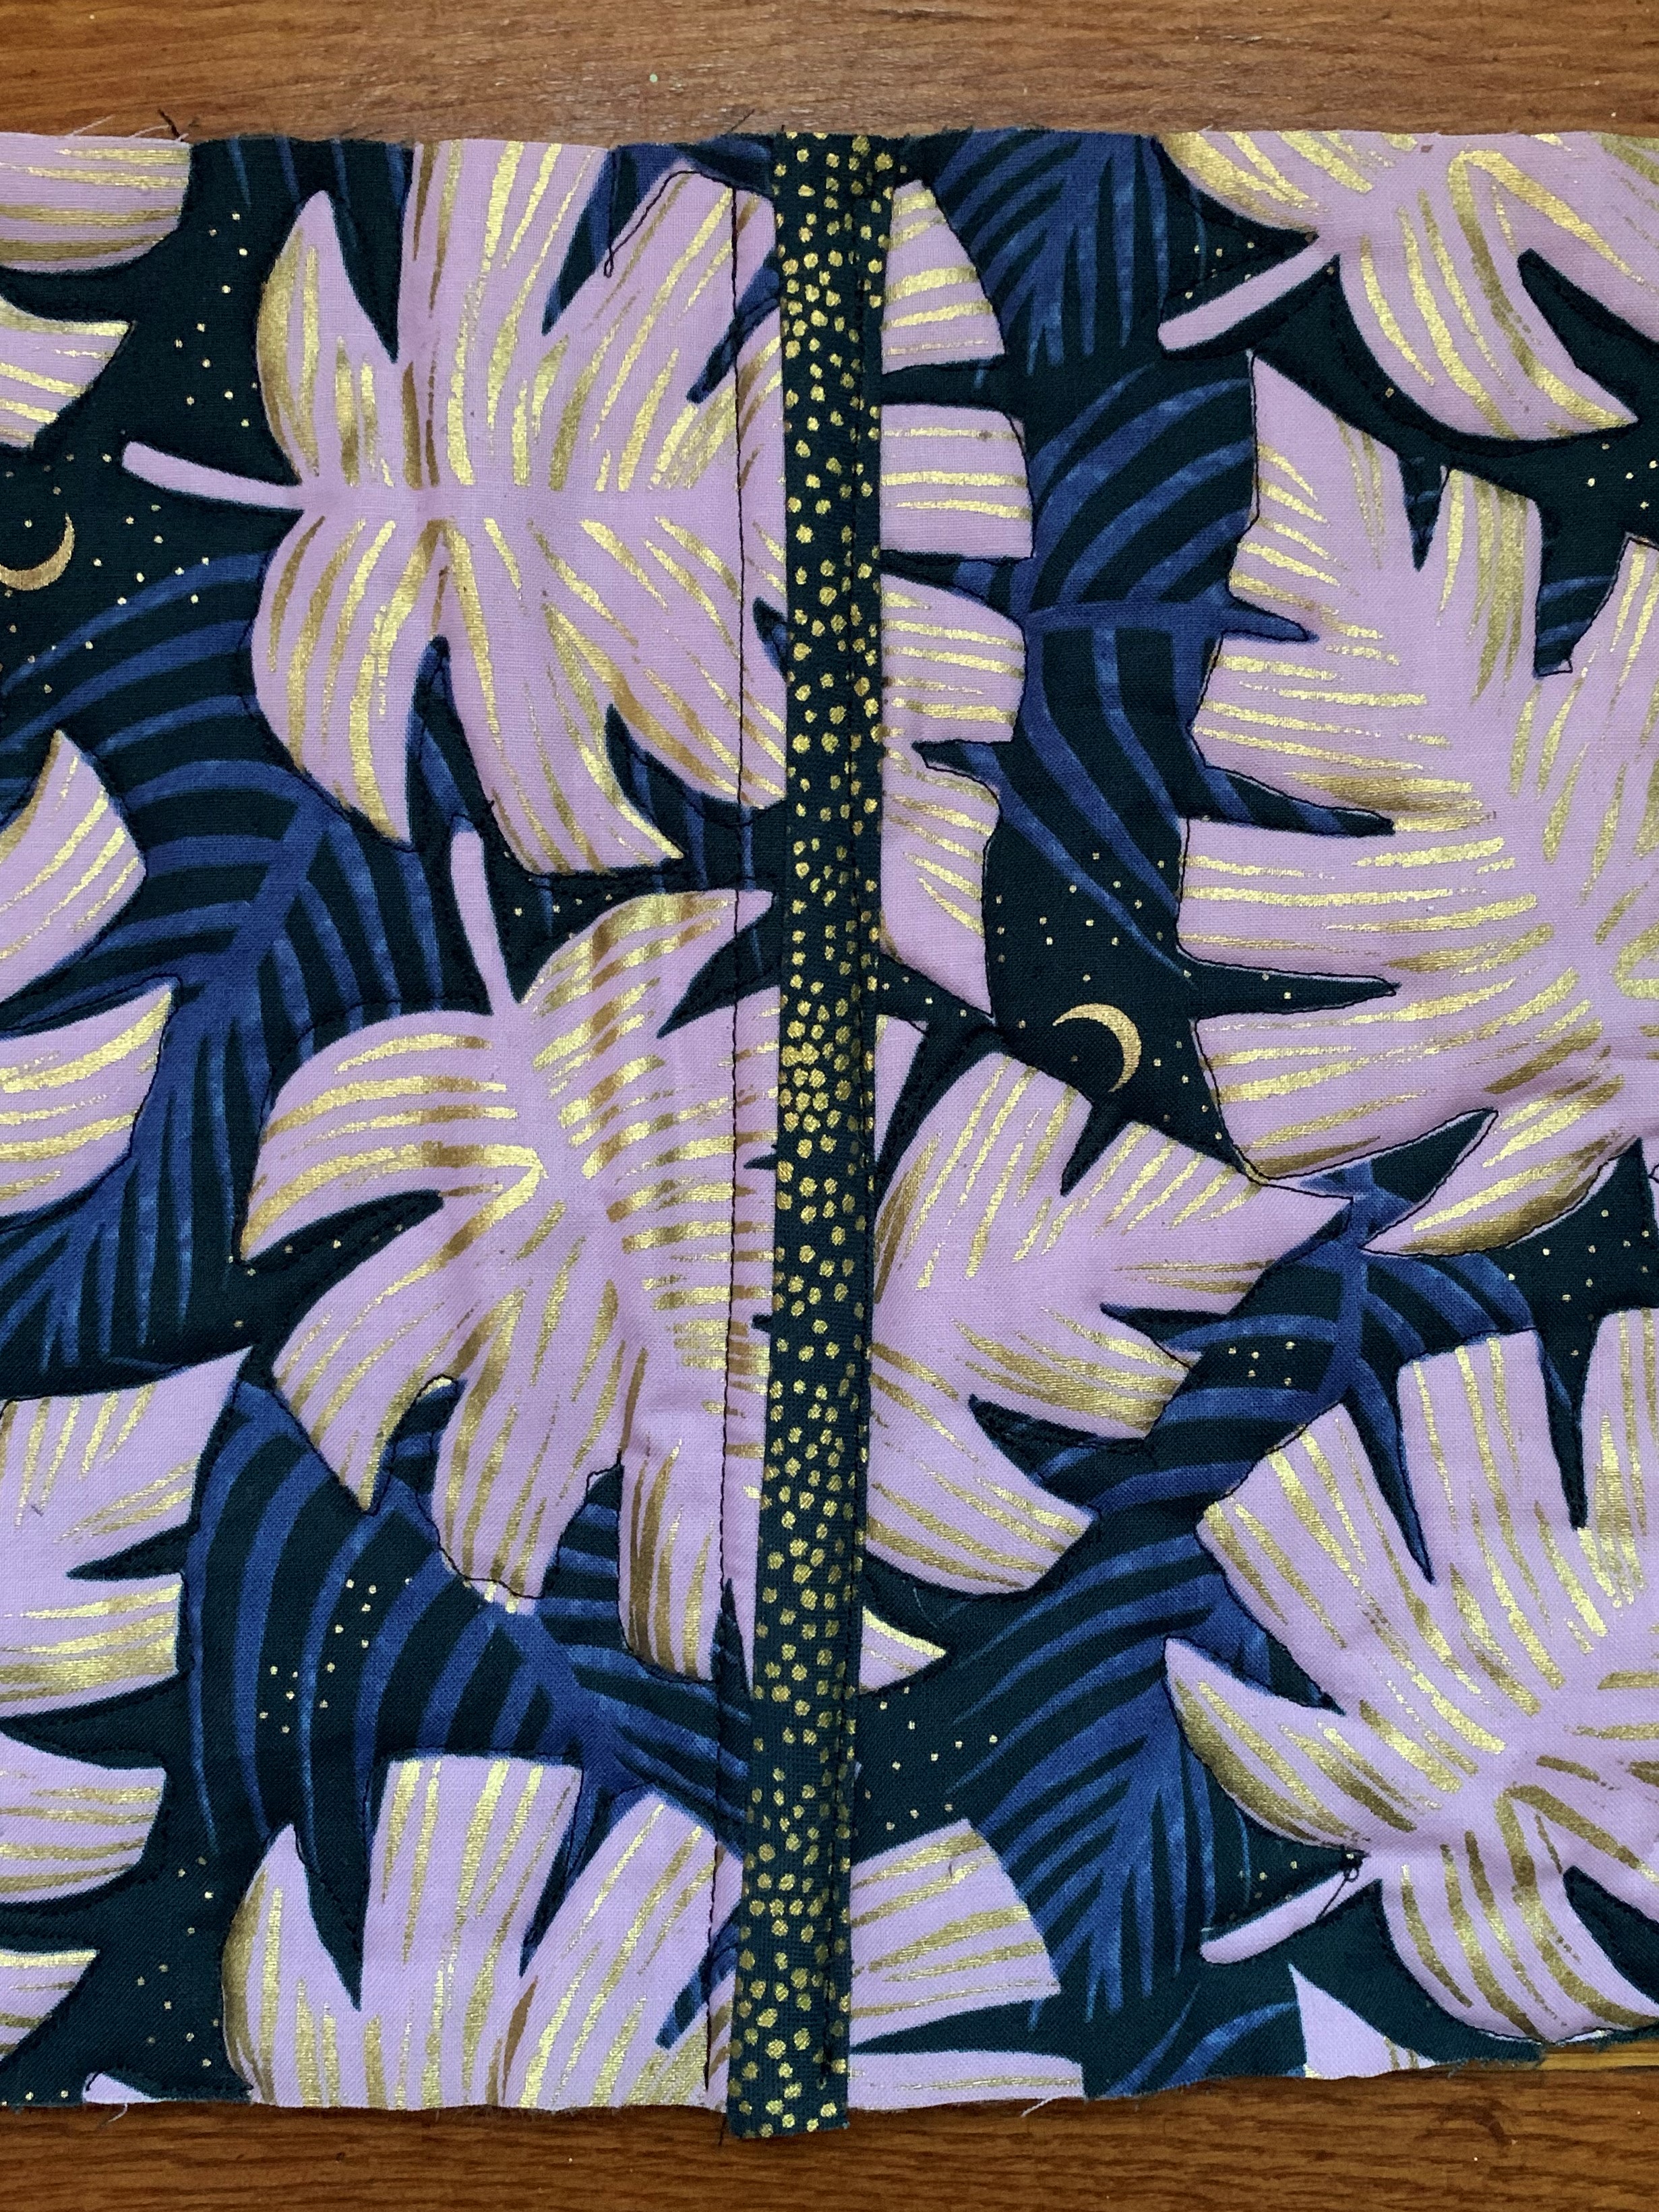
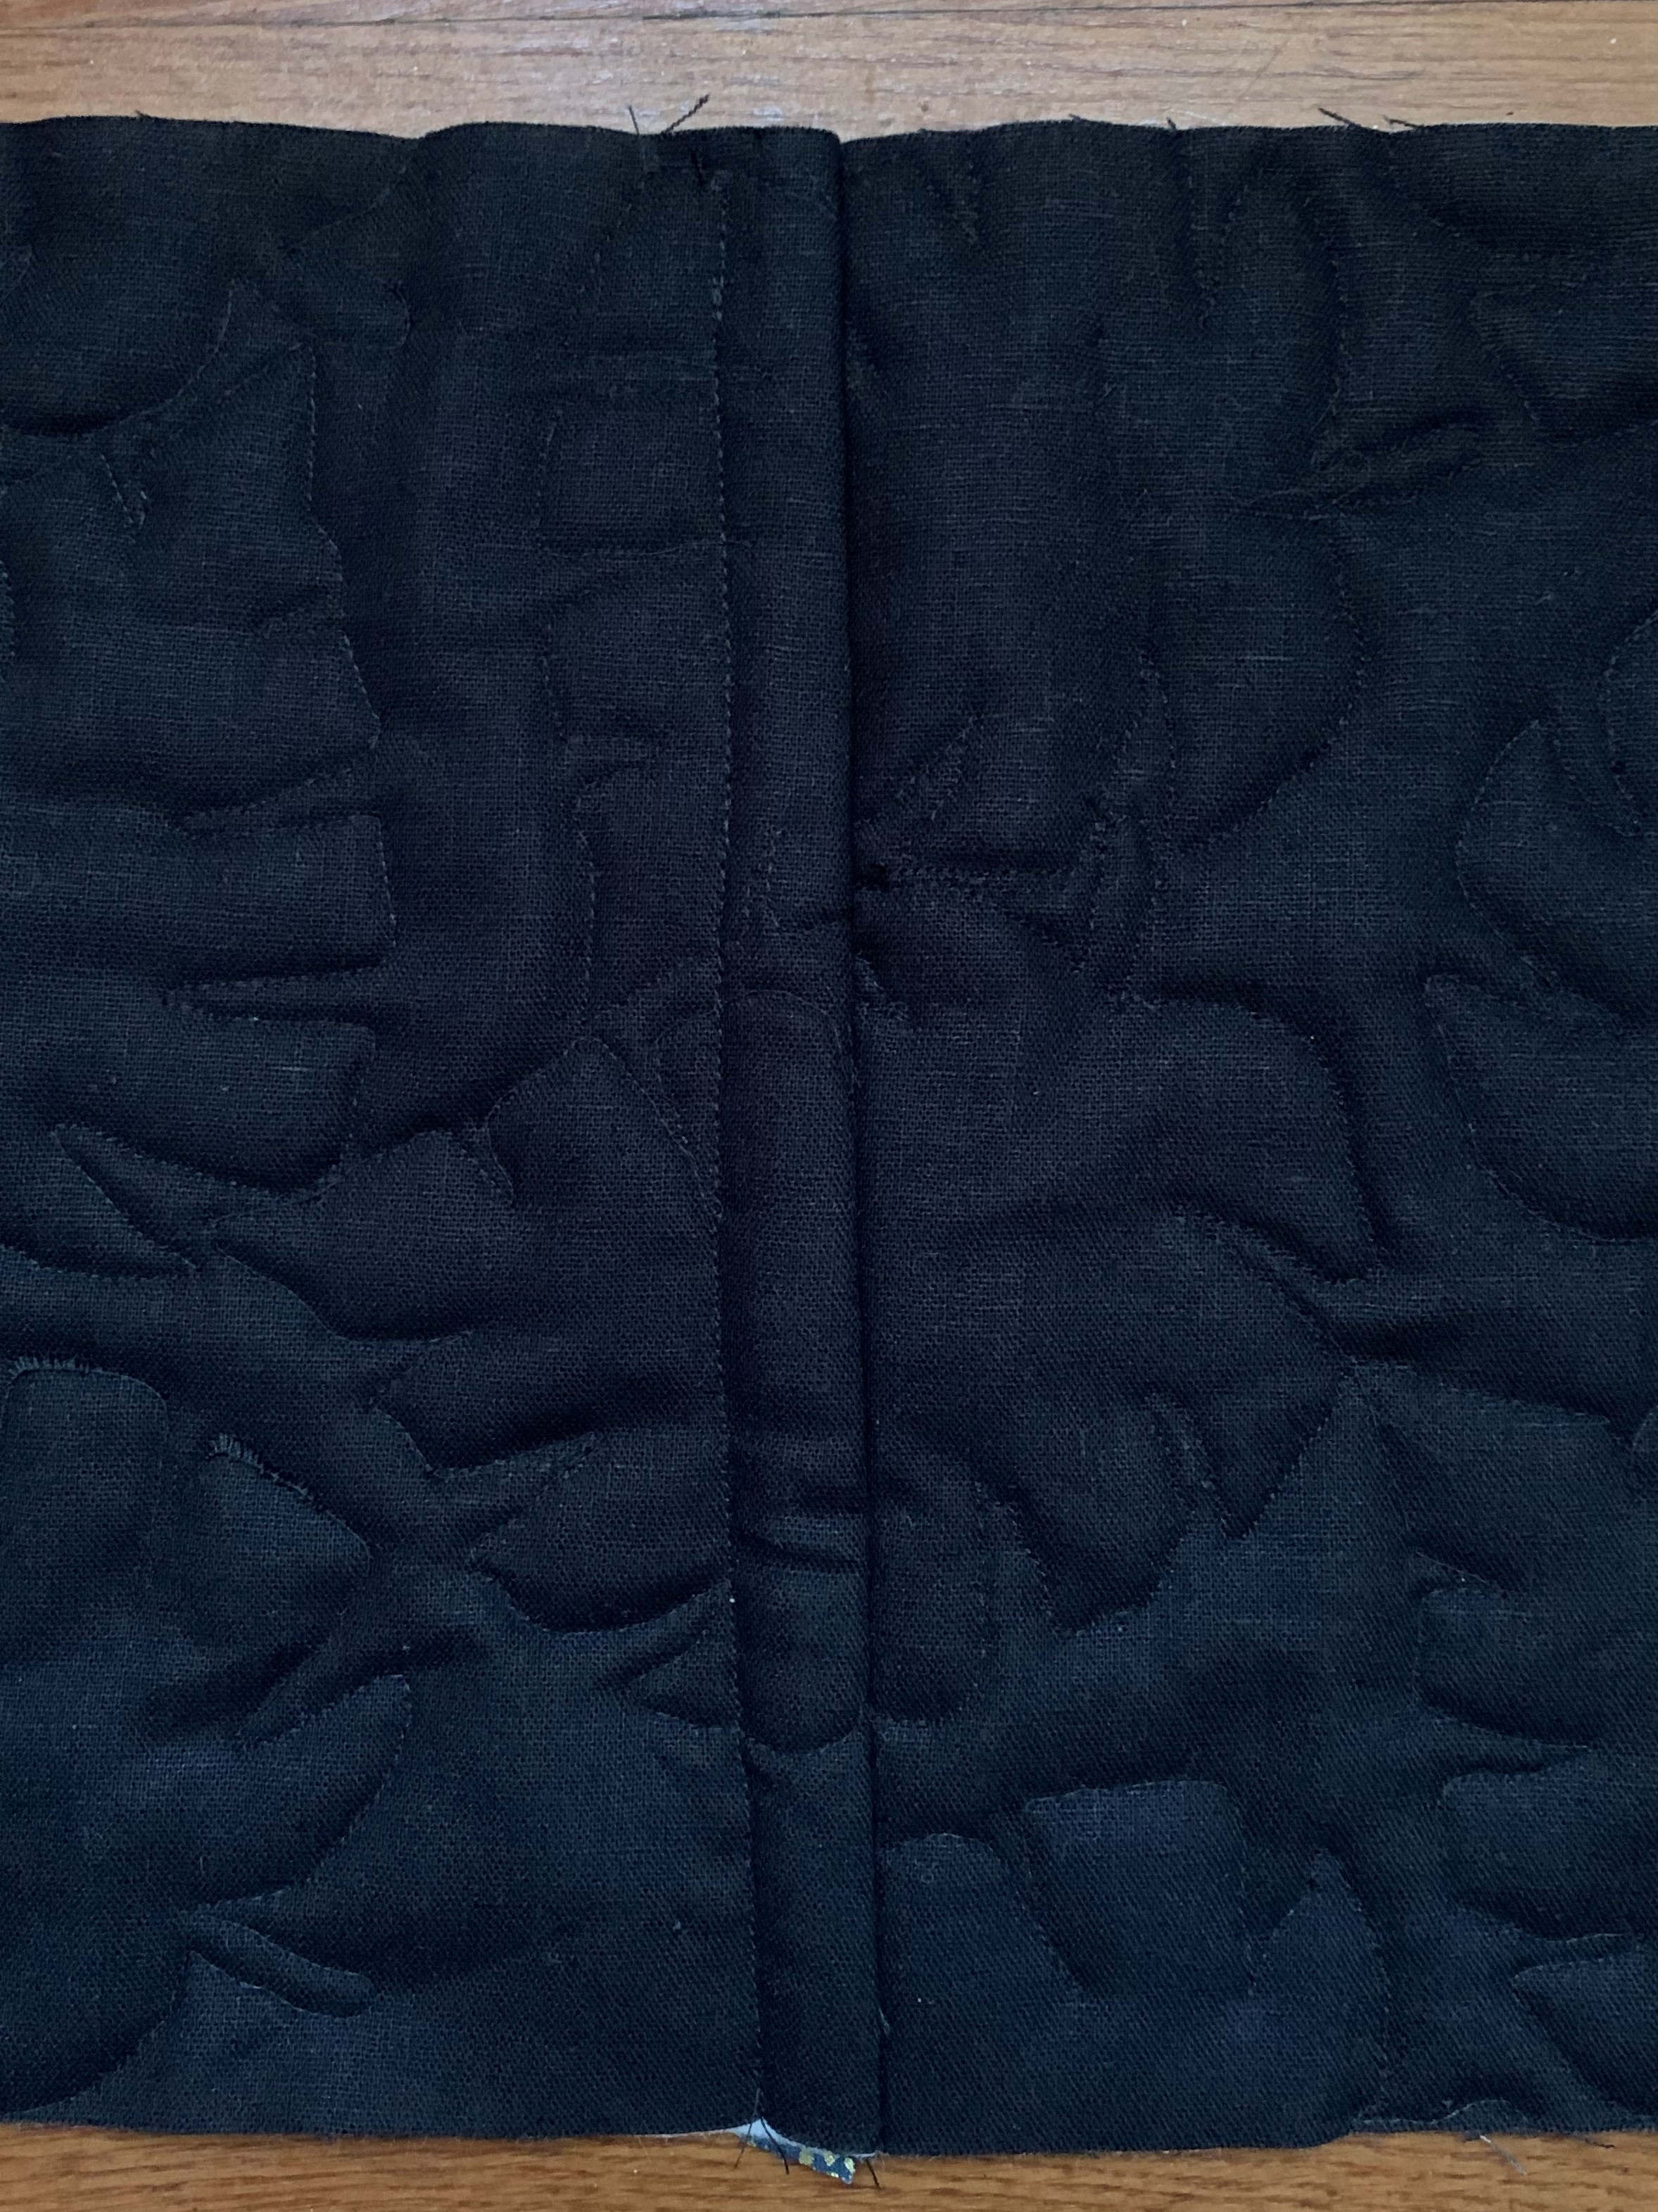
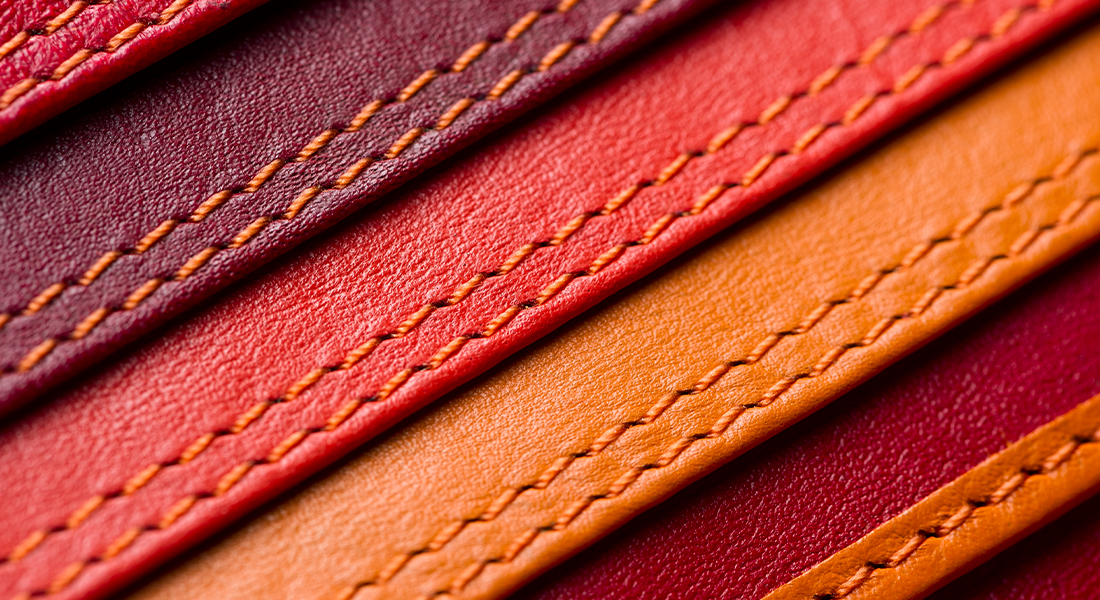
Here’s what the finished seams will look like from both sides when you topstitch the bias tape with your sewing machine:
I hope that this post inspires you to make a reversible quilted jacket of your own!
For more details on how I sewed the quilted jacket and planned the quilt top, you can view the post about it here.
Used Products


What you might also like


18 comments on “Tips and Tricks for Sewing a Reversible Quilted Jacket”
-
-
I’m so glad this was helpful! The walking foot and BSR are so helpful for quilts and quilted garments.
-
Beautiful jacket and tips, what pattern did you use?
-
Thank you! I used the Grainline Studio Tamarack Jacket.
-
I love the quilt top pattern you used in the jacket. Is there a specific name for the pattern.
-
Thank you! I used the Suzy Quilts Modern Fans quilt for the patchwork pattern.
-
-
-
-
-
Love the way you quilted, outlining the palm leaves. Looks great on the other side. I’m going to try your flatfeld/bias tape seam binding on my next jacket.
I fortunately used wool batting on my first jacket. When I found those seam allowances bulky, I remembered that if you iron the batting, it’s bonded scrim melts it flat. I then carefully pressed the seam allowance (only) and presto no bulky seam allowance. This trick would work on polyester batting too but not cotton.-
Thank you so much! That’s a great tip for wool batting!
-
-
Sarah, Thank you for the great looking jacket. I am an avid seamstress and have sewn for many years. Your advice here is spot on. It does my heart good to see that there are young people learn to enjoy sewing.
My question is about the closure. The spring snaps look great. Where do you get them and how do you apply them to the jacket?
Happy Stitching,
Jeanne Hall (from the Settlement<3)
Thrilled to see this.-
Hi Jeanne! 🙂
Thank you so much! Regular spring snaps are a lot easier to find then the double capped spring snaps, but you can find the double capped spring snaps from a lot of different places online (I found a bunch on Etsy). I got these from Goldstar Tool. They also sell setting tools that you can use to install them with a hammer (that’s what I used) and a snap press if you’d rather go that route!
-
-
Sarah,
Did you use a quilting needle or a topstitch needle for finishing the seam with the binding? What stitch length worked for you? I am doing this on a 570QE so I have dual feed. I have yet to take out the BSR and learn how it works. Thank you for all your lessons. Barb-
Hi Barb!
I actually used a 90/14 universal needle, but you could also use a quilting needle. Personally, I’d only use a topstitch needle if I was using a thicker thread. You could experiment on a scrap to see which you like best! I also used a seam length of 2.5 mm. Happy sewing!Sarah
-
-
I use my walking foot 50% of my sewing. Will it ever need to be replaced
-
Isn’t it so handy? Your walking foot shouldn’t need replaced as long as it’s used properly.
-
-
Nice article!
-
Thanks for this helpful guide, I will follow these tips in my undergoing quilting project.
https://sewingseeker.com/-
I’m so glad you found this helpful! I look forward to seeing what you create!
-
-
Leave a Reply
You must be logged in to post a comment.

Thank you for this discussion. As a person who is a little confused about when walking foot or BSR are optimal, I now get that you use the BSR for multidirectional stitching. Now if I could only fit in the differential feed.