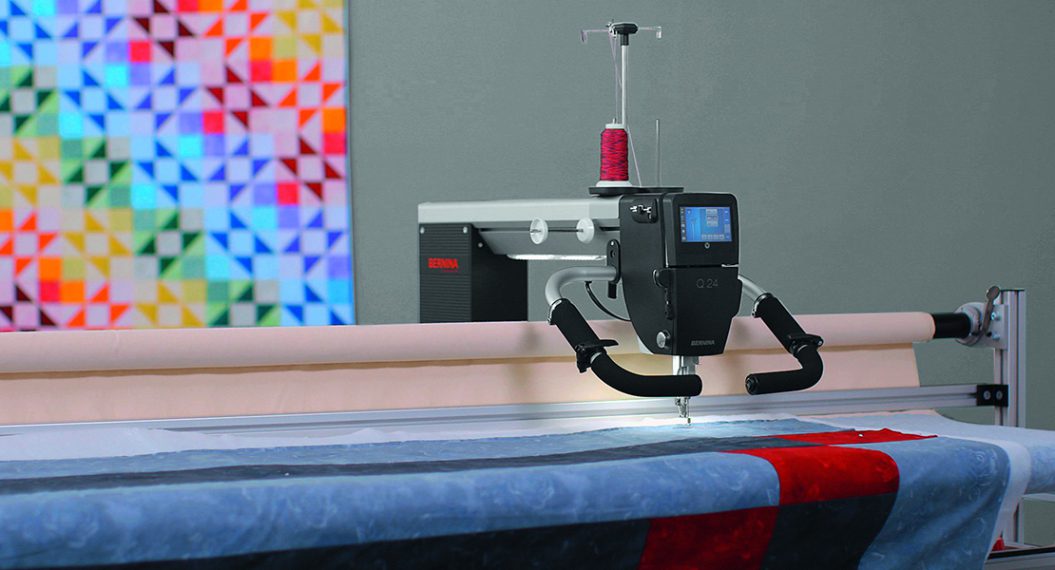
Q-matic Review: 10 Things I Learned After 2 Years of Use
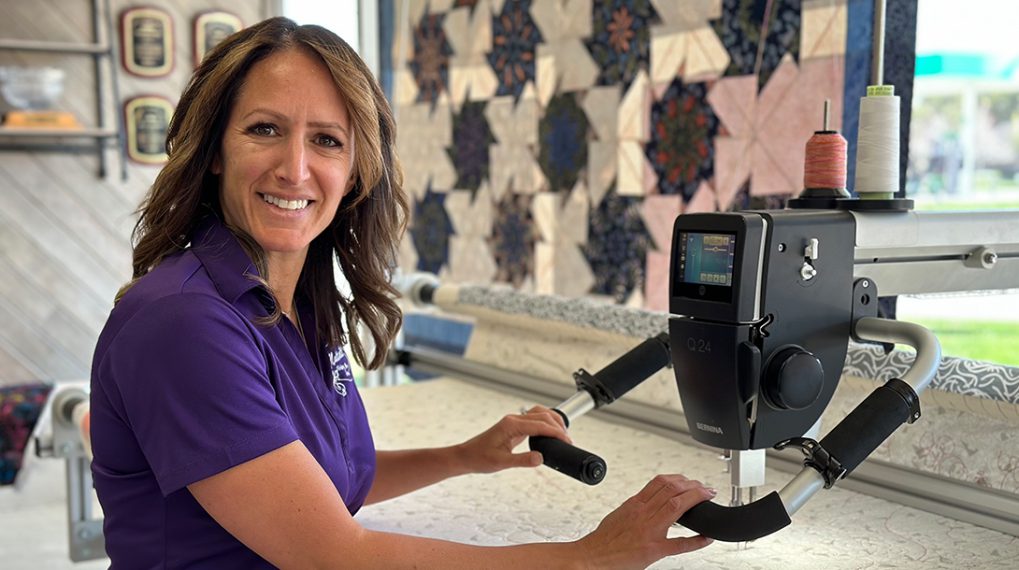
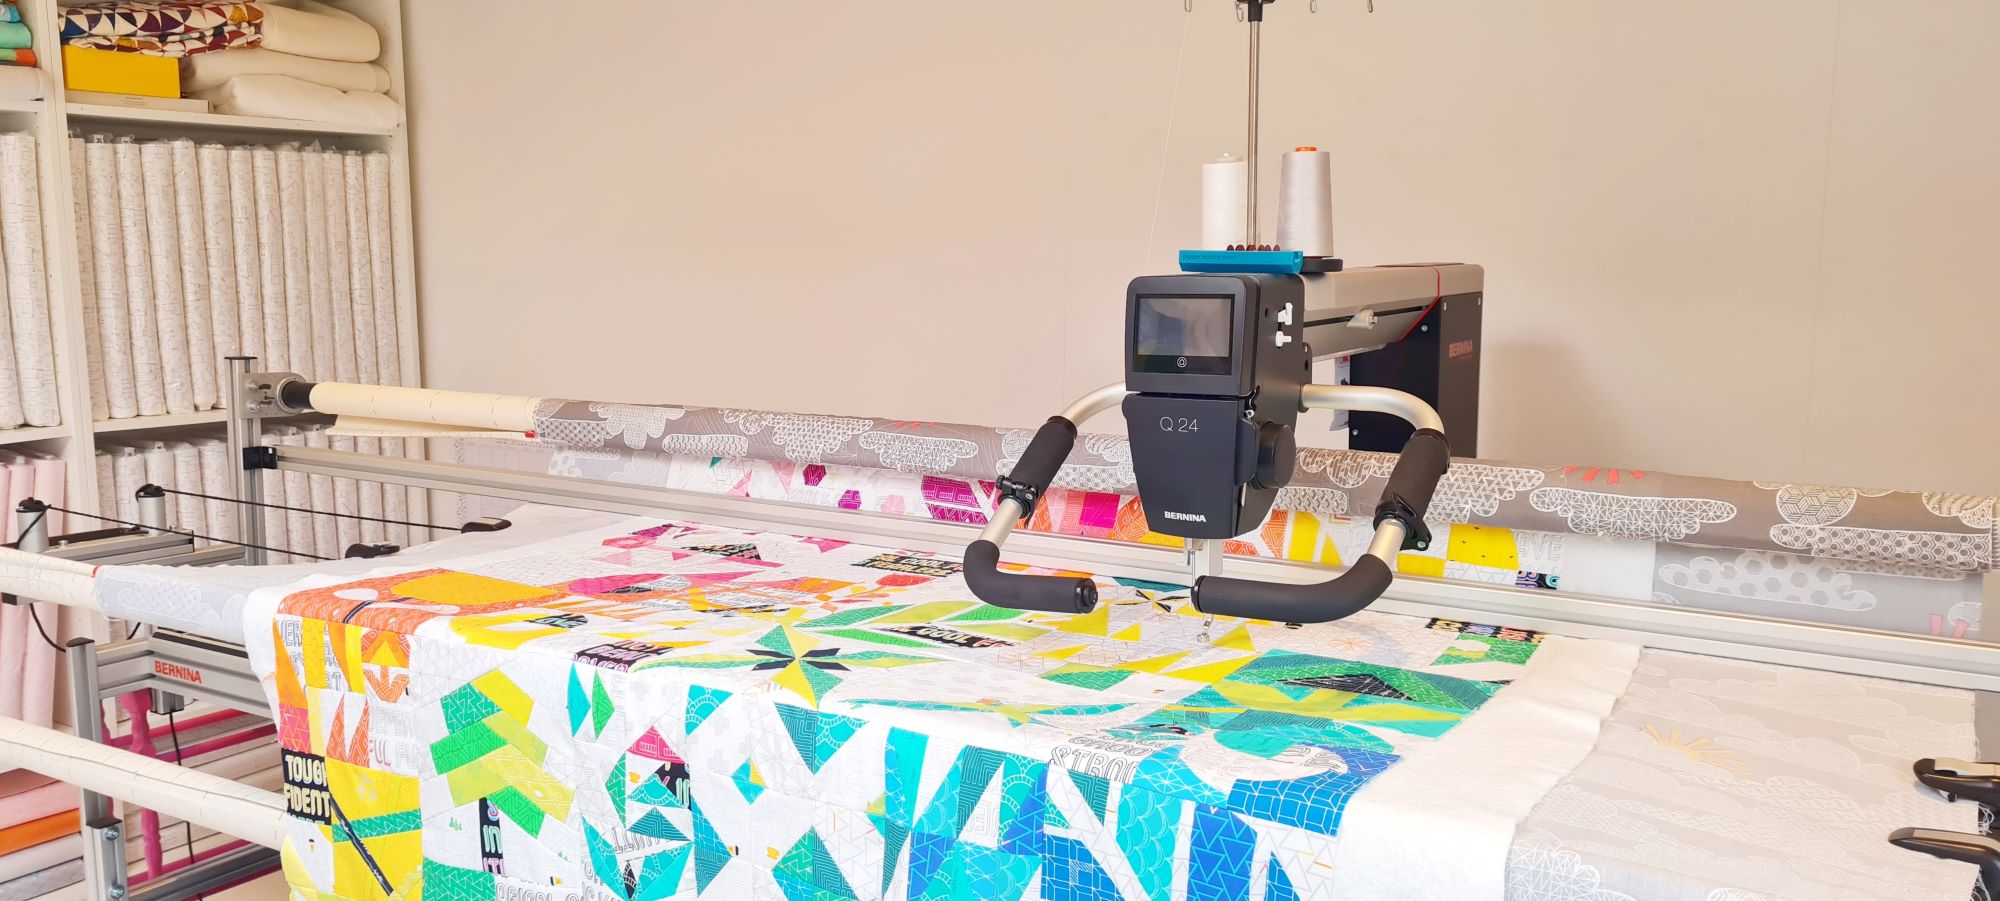
It’s been two years since I first started quilting with the Q-matic system on my BERNINA Q 24. What a journey! There is so much to learn when you start using a new machine, and especially a new system like the Q-matic with so many options.
In this blog post, I’d like to share the top 10 things I learned while working with Q-matic over the last two years.
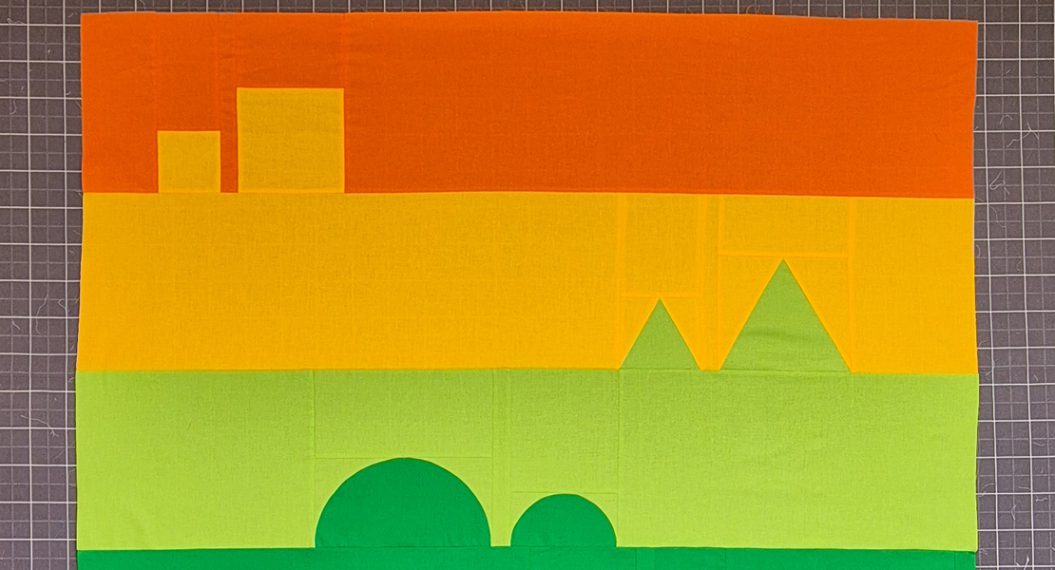
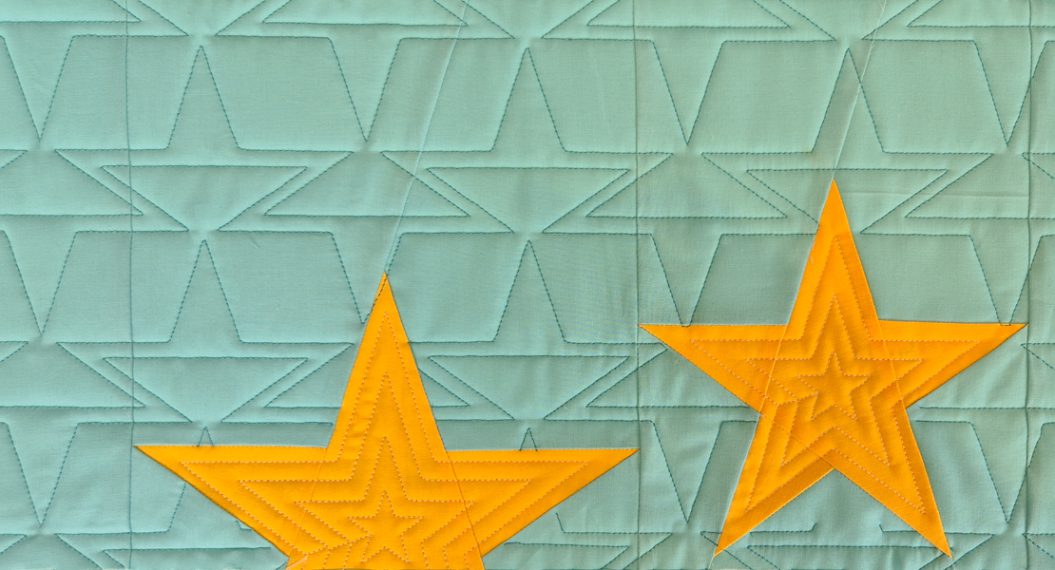
#1: Start with a Neat Quilt Top
Yes, it sounds simple, but it does make all the difference. The Q-matic system is an automated system that quilts your quilts for you. Especially when quilting edge-to-edge on a bigger quilt, you need your quilt top to be straight, smooth, and without bumps or bulky seams.
A quilt top with nice straight edges and without too many wobbles and bobbles will give you such a perfect result!
#2: Loading the Quilt is Half the Work
In the beginning, I was so eager to start quilting that I sometimes rushed the loading of my quilts. Turns out, that doesn’t save you any time in the end! The better you load your quilt on the longarm frame, the prettier your quilting will turn out. Take your time to square up the backing and load it evenly. The batting and quilt top will then be much easier to place on top. And don’t forget to stitch around the edge of the quilt top to prevent your foot from getting stuck under it when quilting an edge-to-edge design.
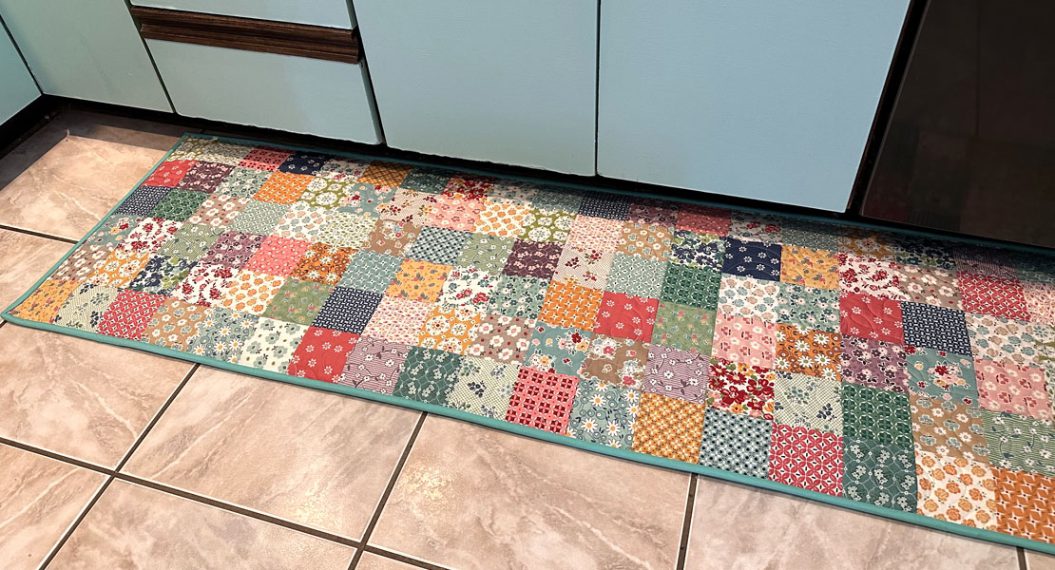
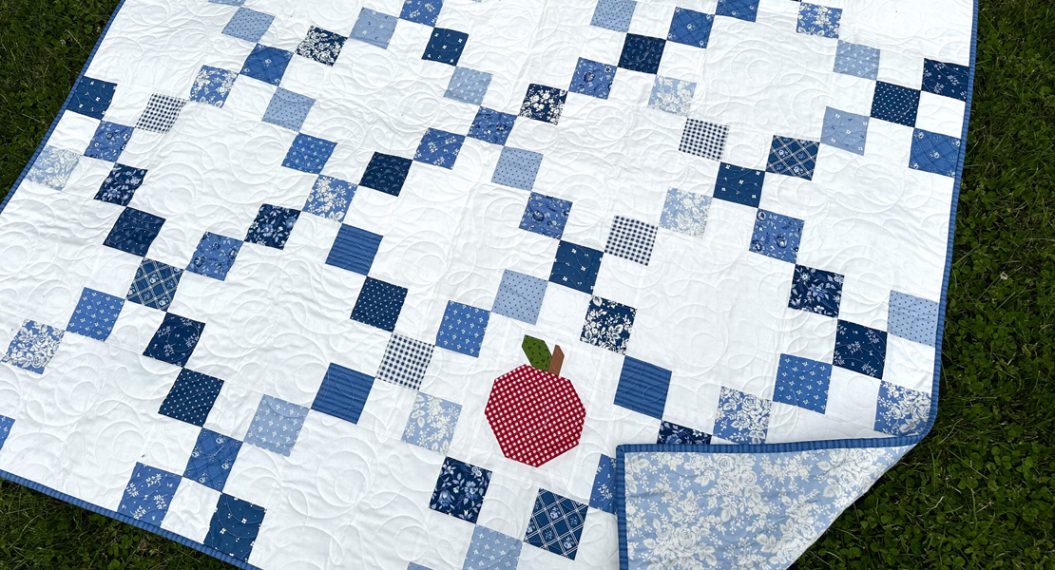
#3: Your Backing Needs to Be Bigger Than You Think
Yes, it does. When your backing is too small, the machine will run into the clamps at the sides of the frame that hold the backing fabric in place. Take a generously big backing for your quilts when quilting them on a longarm. Aim for at least 4-6″ extra on each side.
This quilt was placed on a double-wide piece of backing, so overdoing it a little bit 😅 But you get the point!
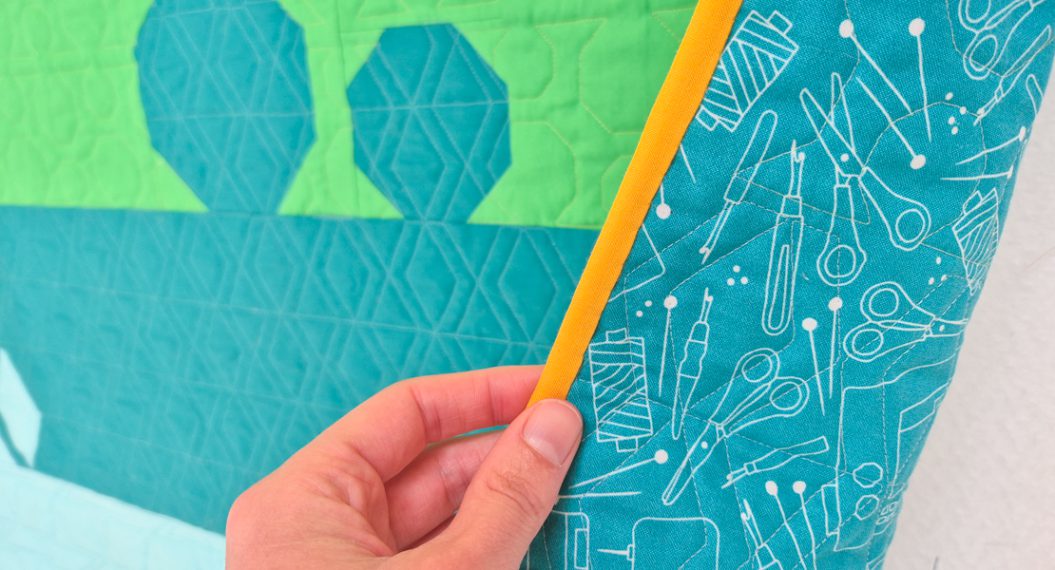
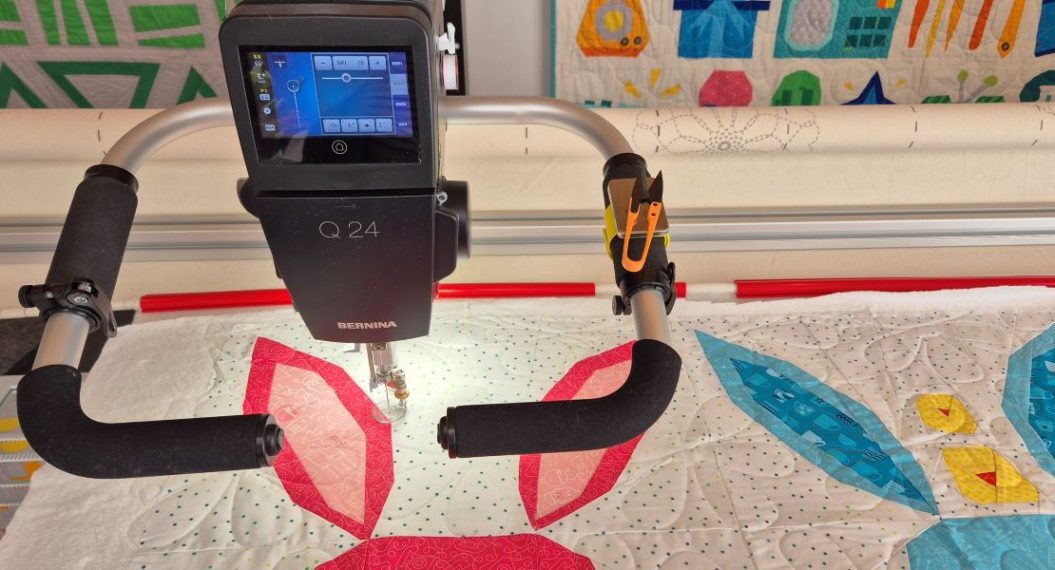
#4: Remove the Ruler Base
When quilting with the Q-matic, it helps to remove the ruler base. When I quilt without the Q-matic, I like to combine ruler work and free motion quilting, so then I have the ruler base on the machine the whole time. But it does take up more space.
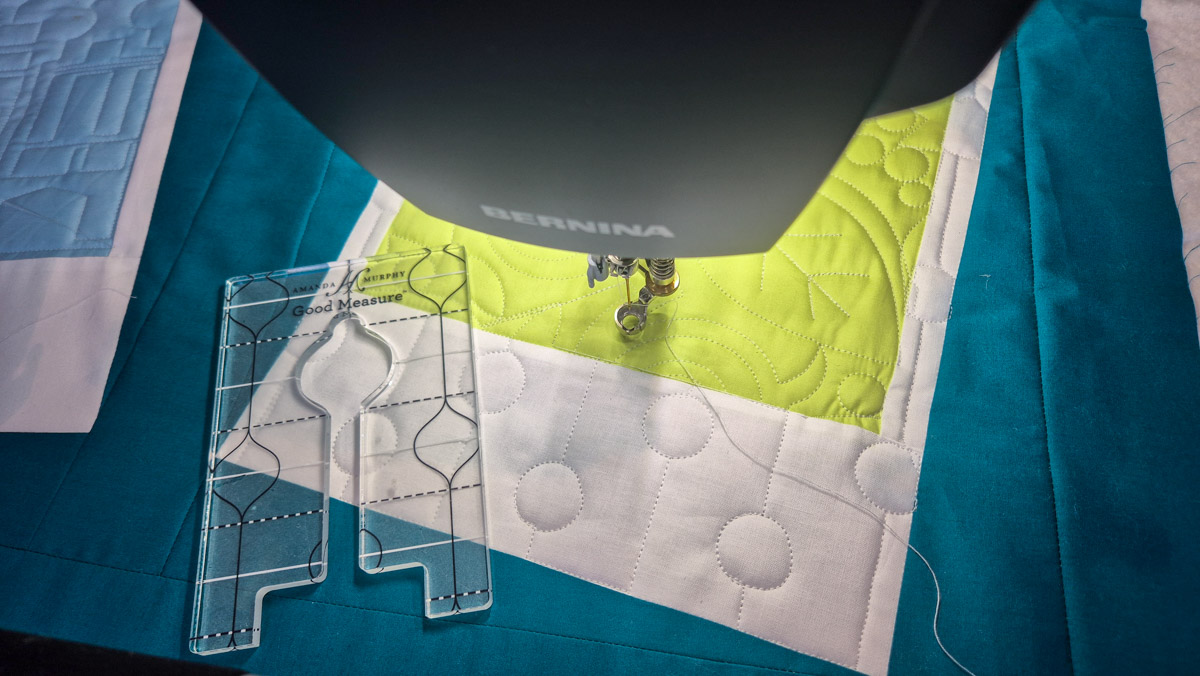
Removing the ruler base will give the machine a bigger range of motion, which means it can quilt bigger designs with the Q-matic or can quilt more rows in one go.
#5: Why the Adjustable Gliding Cup #74 Is My Go-To for Q-matic Quilting
As I mentioned in tip #2, it’s good practice to secure the quilt top around the edges. The Adjustable Gliding Cup #74 also helps prevent the foot from getting stuck at the edge.
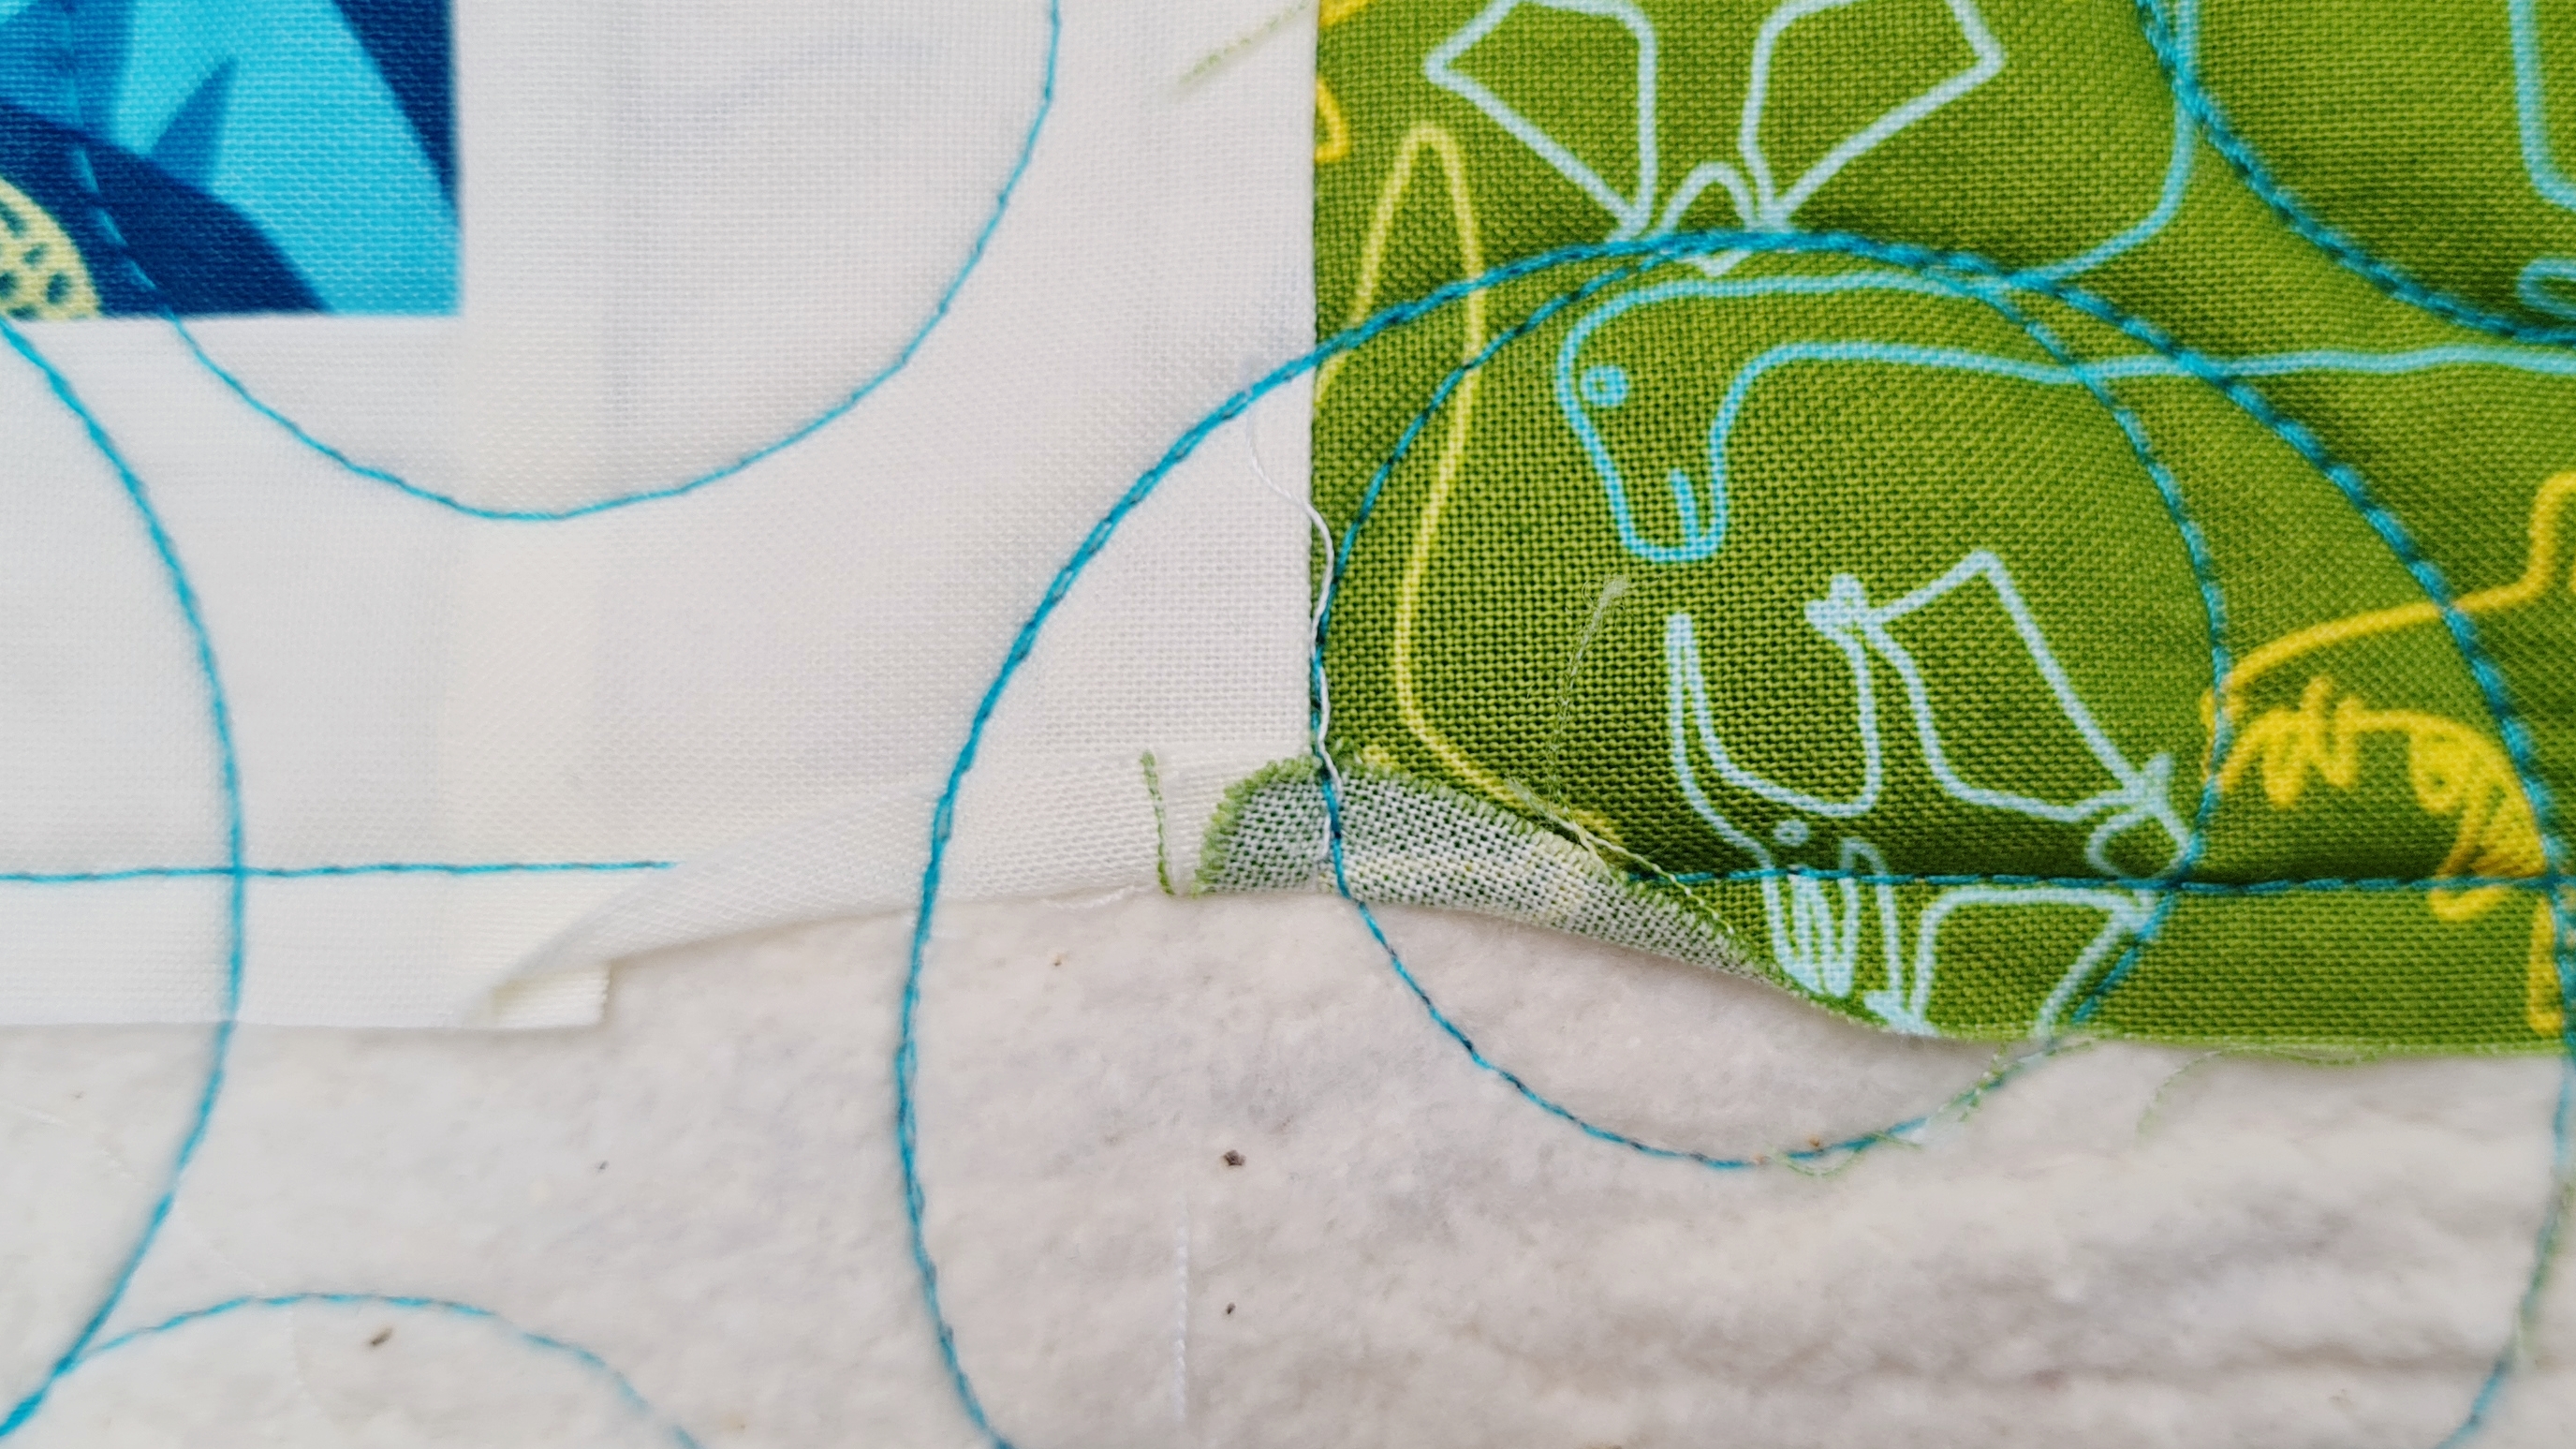
I find that using this foot helps the machine glide over the edges more easily and prevents those little oopsies like the one in the image above.
More of my favorite tools are listed in this blog post.
#6: Thread and Tension Matter More Than You Expect
Getting the right thread for your project and using it with the correct tension settings is really a game-changer. It can prevent so much frustration when everything is set up correctly. Fewer thread breaks, a pretty stitch on the back as well as the front, no loops or eyelashes.
In this blog post, I share much more on thread tension when quilting with the Q-Matic.
#7: The Sew Head Can Come Loose, and That’s Okay
When it happened to me, I was a little worried because I didn’t know yet how to fix it. But it turned out that a sew head that loses its connection to the rails can be easily fixed. Just stay calm and read all about it in this blog post. Then you will know exactly what to do when it happens to you.

#8: Listen to Your Machine
This one might take a while to get used to, but over time, you will learn to recognize the sounds your machine makes.
The clunky sound when you really need to oil the machine, and the smooth sound it makes when it’s freshly cleaned and oiled. Or the change in sound when your bobbin thread runs out while you aren’t looking, and the Q-matic is stitching away a beautiful design for you.
Just keep your ears open and get to know the sounds your machine makes!
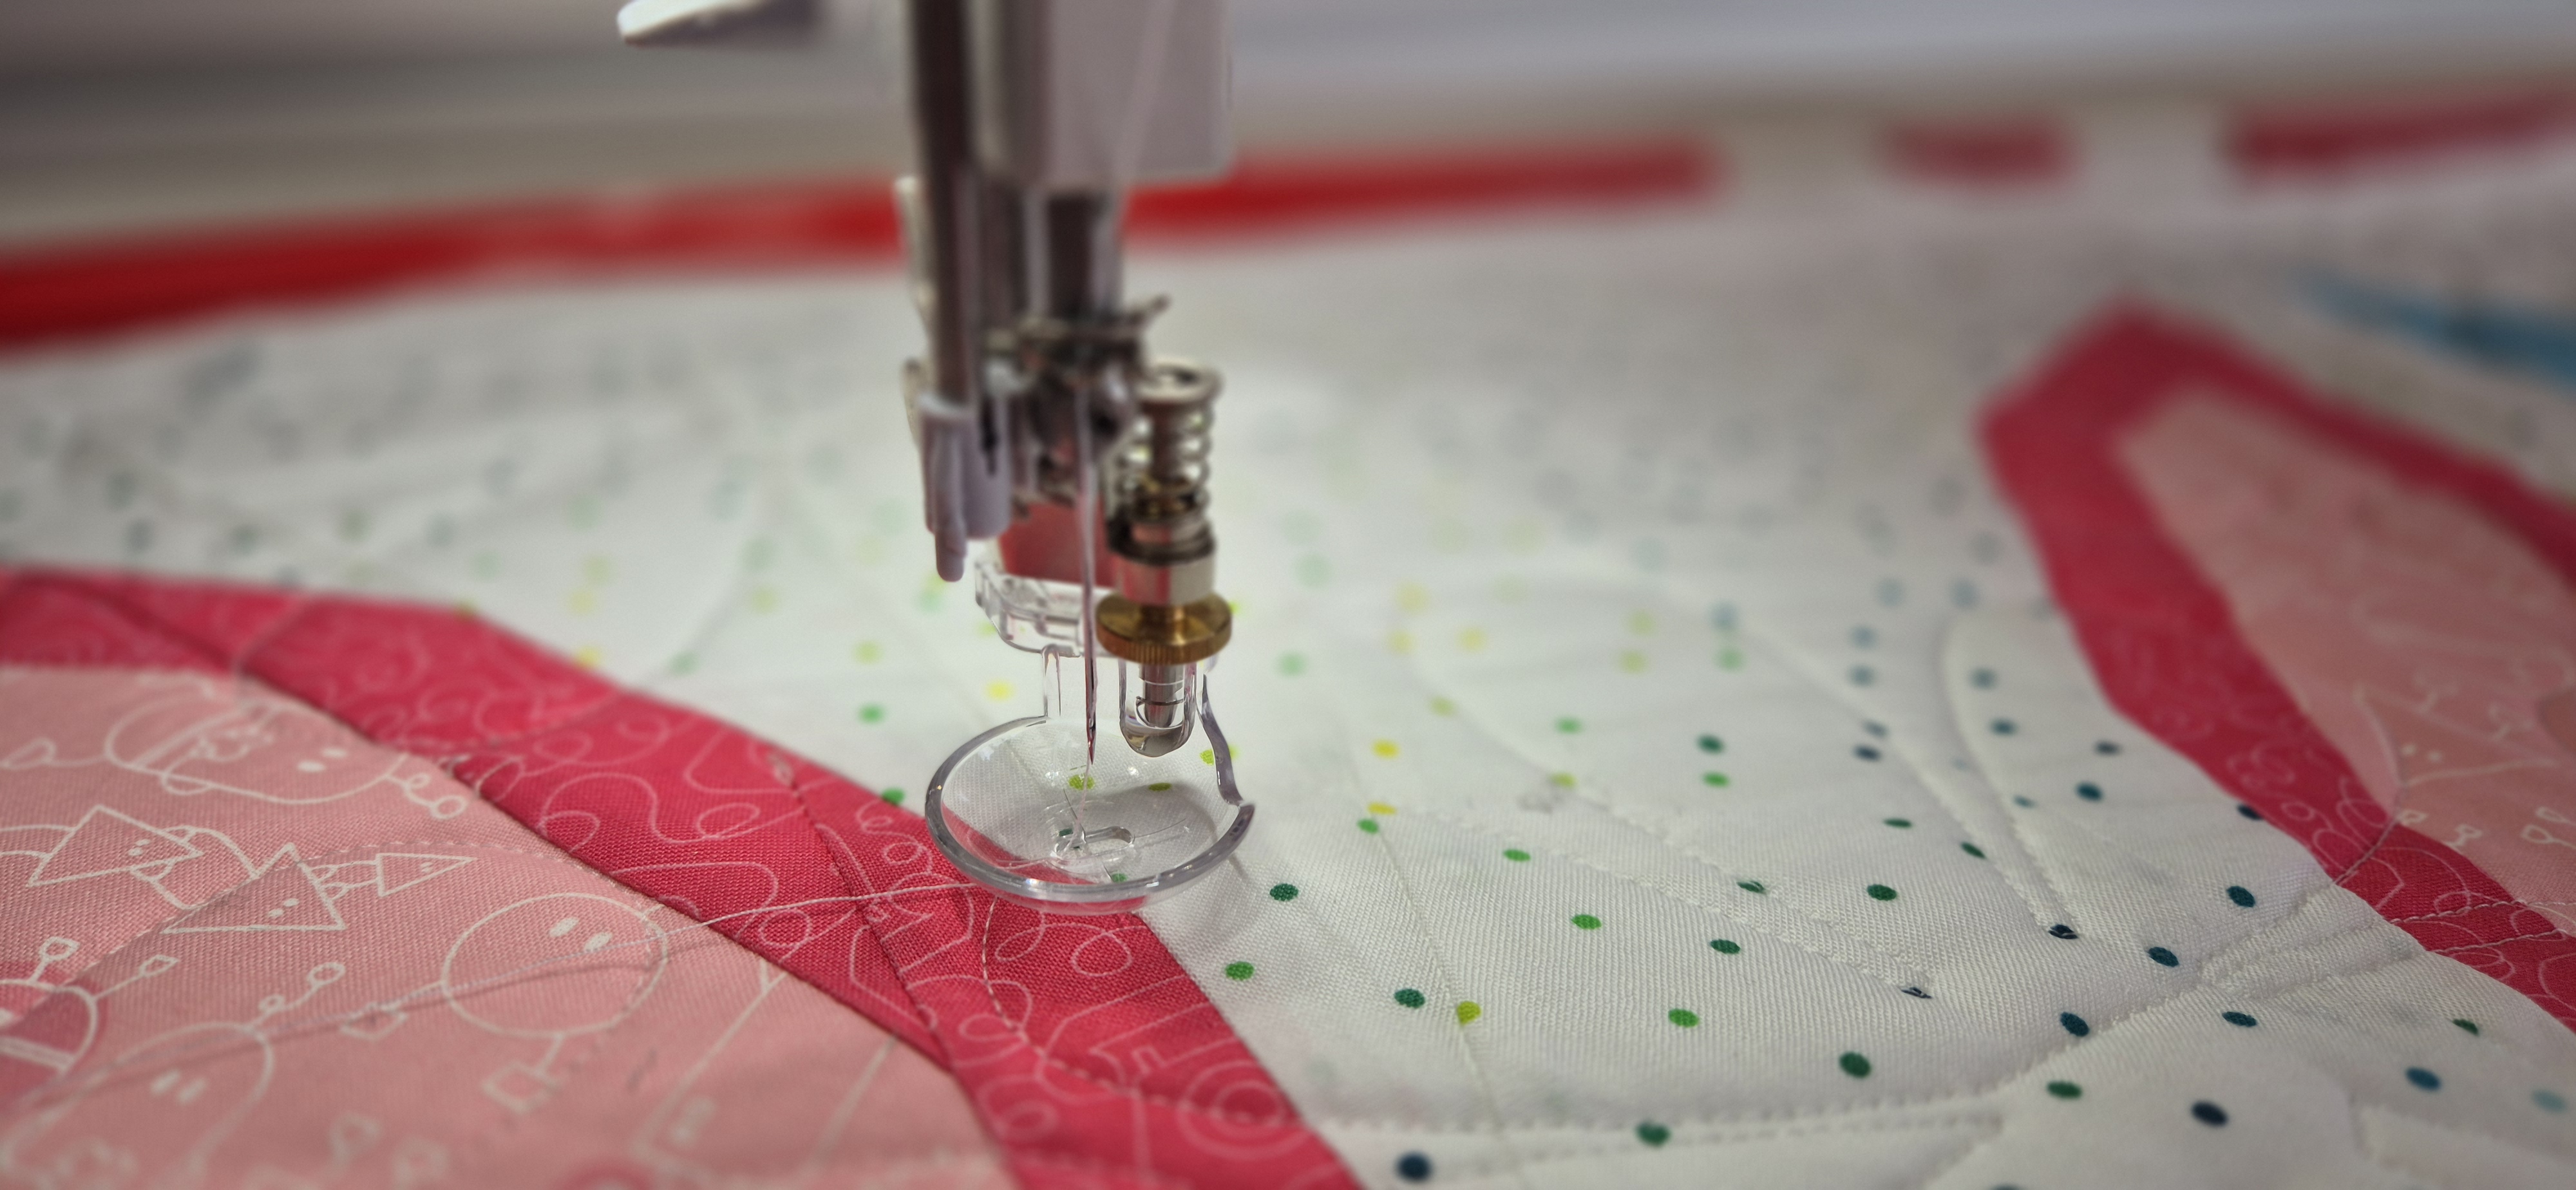
#9: The Needle Point Laser Is a Game-Changer
The Needle Point Laser is such a great tool to add to your BERNINA longarm, especially when you’re quilting with the Q-matic. It helps me with positioning the sew head when I realign the safe area, and with placing markers on the quilt when masking an area of a design.
The laser gives a red dot exactly on the spot where your needle will land, so there is no guessing or manually rotating your needle to find the correct spot on your quilt.
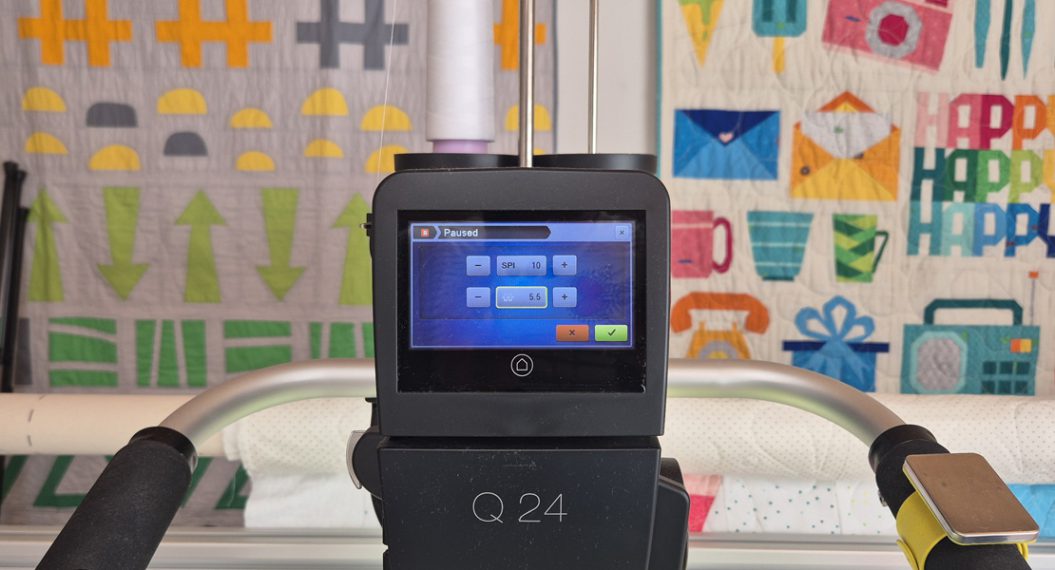
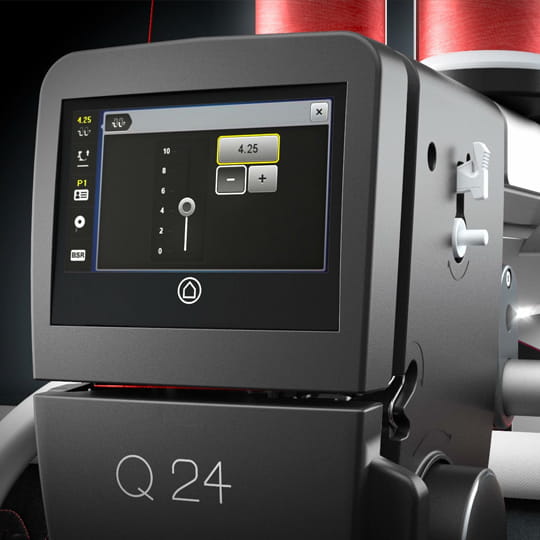
#10: The 1:1 Function
And finally, an option in the tool center to view your design on screen at actual size. The 1:1 option in the menu scales the design to match its real dimensions.

I love using this for a final check to make sure the scale is right. Sometimes I take a ruler, measure a part of the design on screen, and then hold the ruler up to the quilt top. That helps me get a feel for how the design will look once quilted.
Thank You
Thank you for reading along with all my quilt adventures on the Q-matic here on the WeAllSew blog.
Happy Quilting!
Irene