Quilted Anti-Fatigue Mat Cover
Good Morning! My name is Jessica Dayon and I’m so happy to be here today to share a fun project that I recently made.
I have an anti-fatigue mat in my kitchen by the sink because I’m in my kitchen very often doing dishes and cooking. These mats are so nice because they are made from a thick cushion that helps relieve pressure on muscles and joints when standing for long periods of time. I got mine a few years ago and it is still in great shape. Recently though I painted the cabinets in my kitchen and my anti-fatigue mat, which is brown, wasn’t looking as nice as it could look next to the updated cabinets. So, I decided to make a quilted cover for it.
Quilted Anti-Fatigue Mat Cover
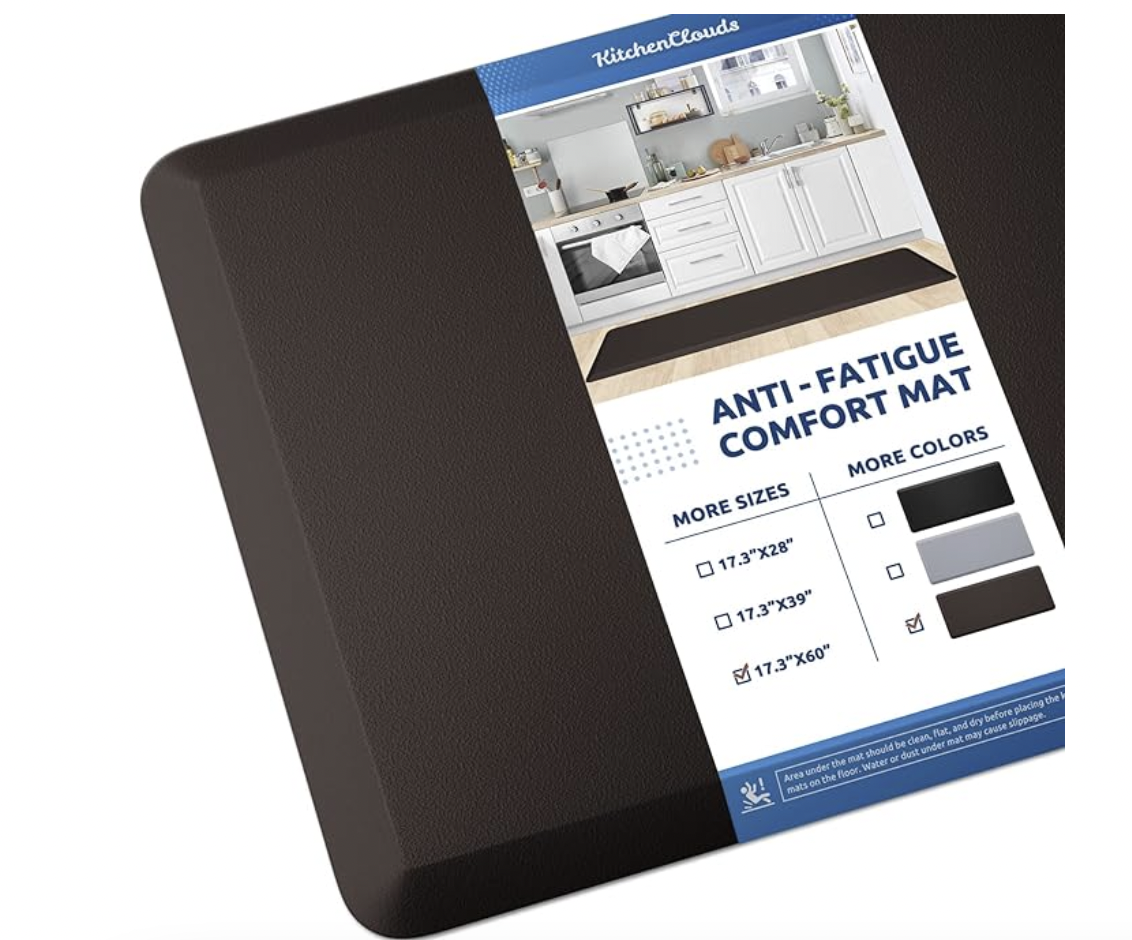
My anti-fatigue mat measures 17.3″ x 60″ so I am making my cover to fit that. However, you could easily adapt this to whatever size mat you have.
Preparing the Fabric
I had some beautiful fabric by Lori Holt and I chose to use that for this project. I decided to cut my squares at 3.5″.
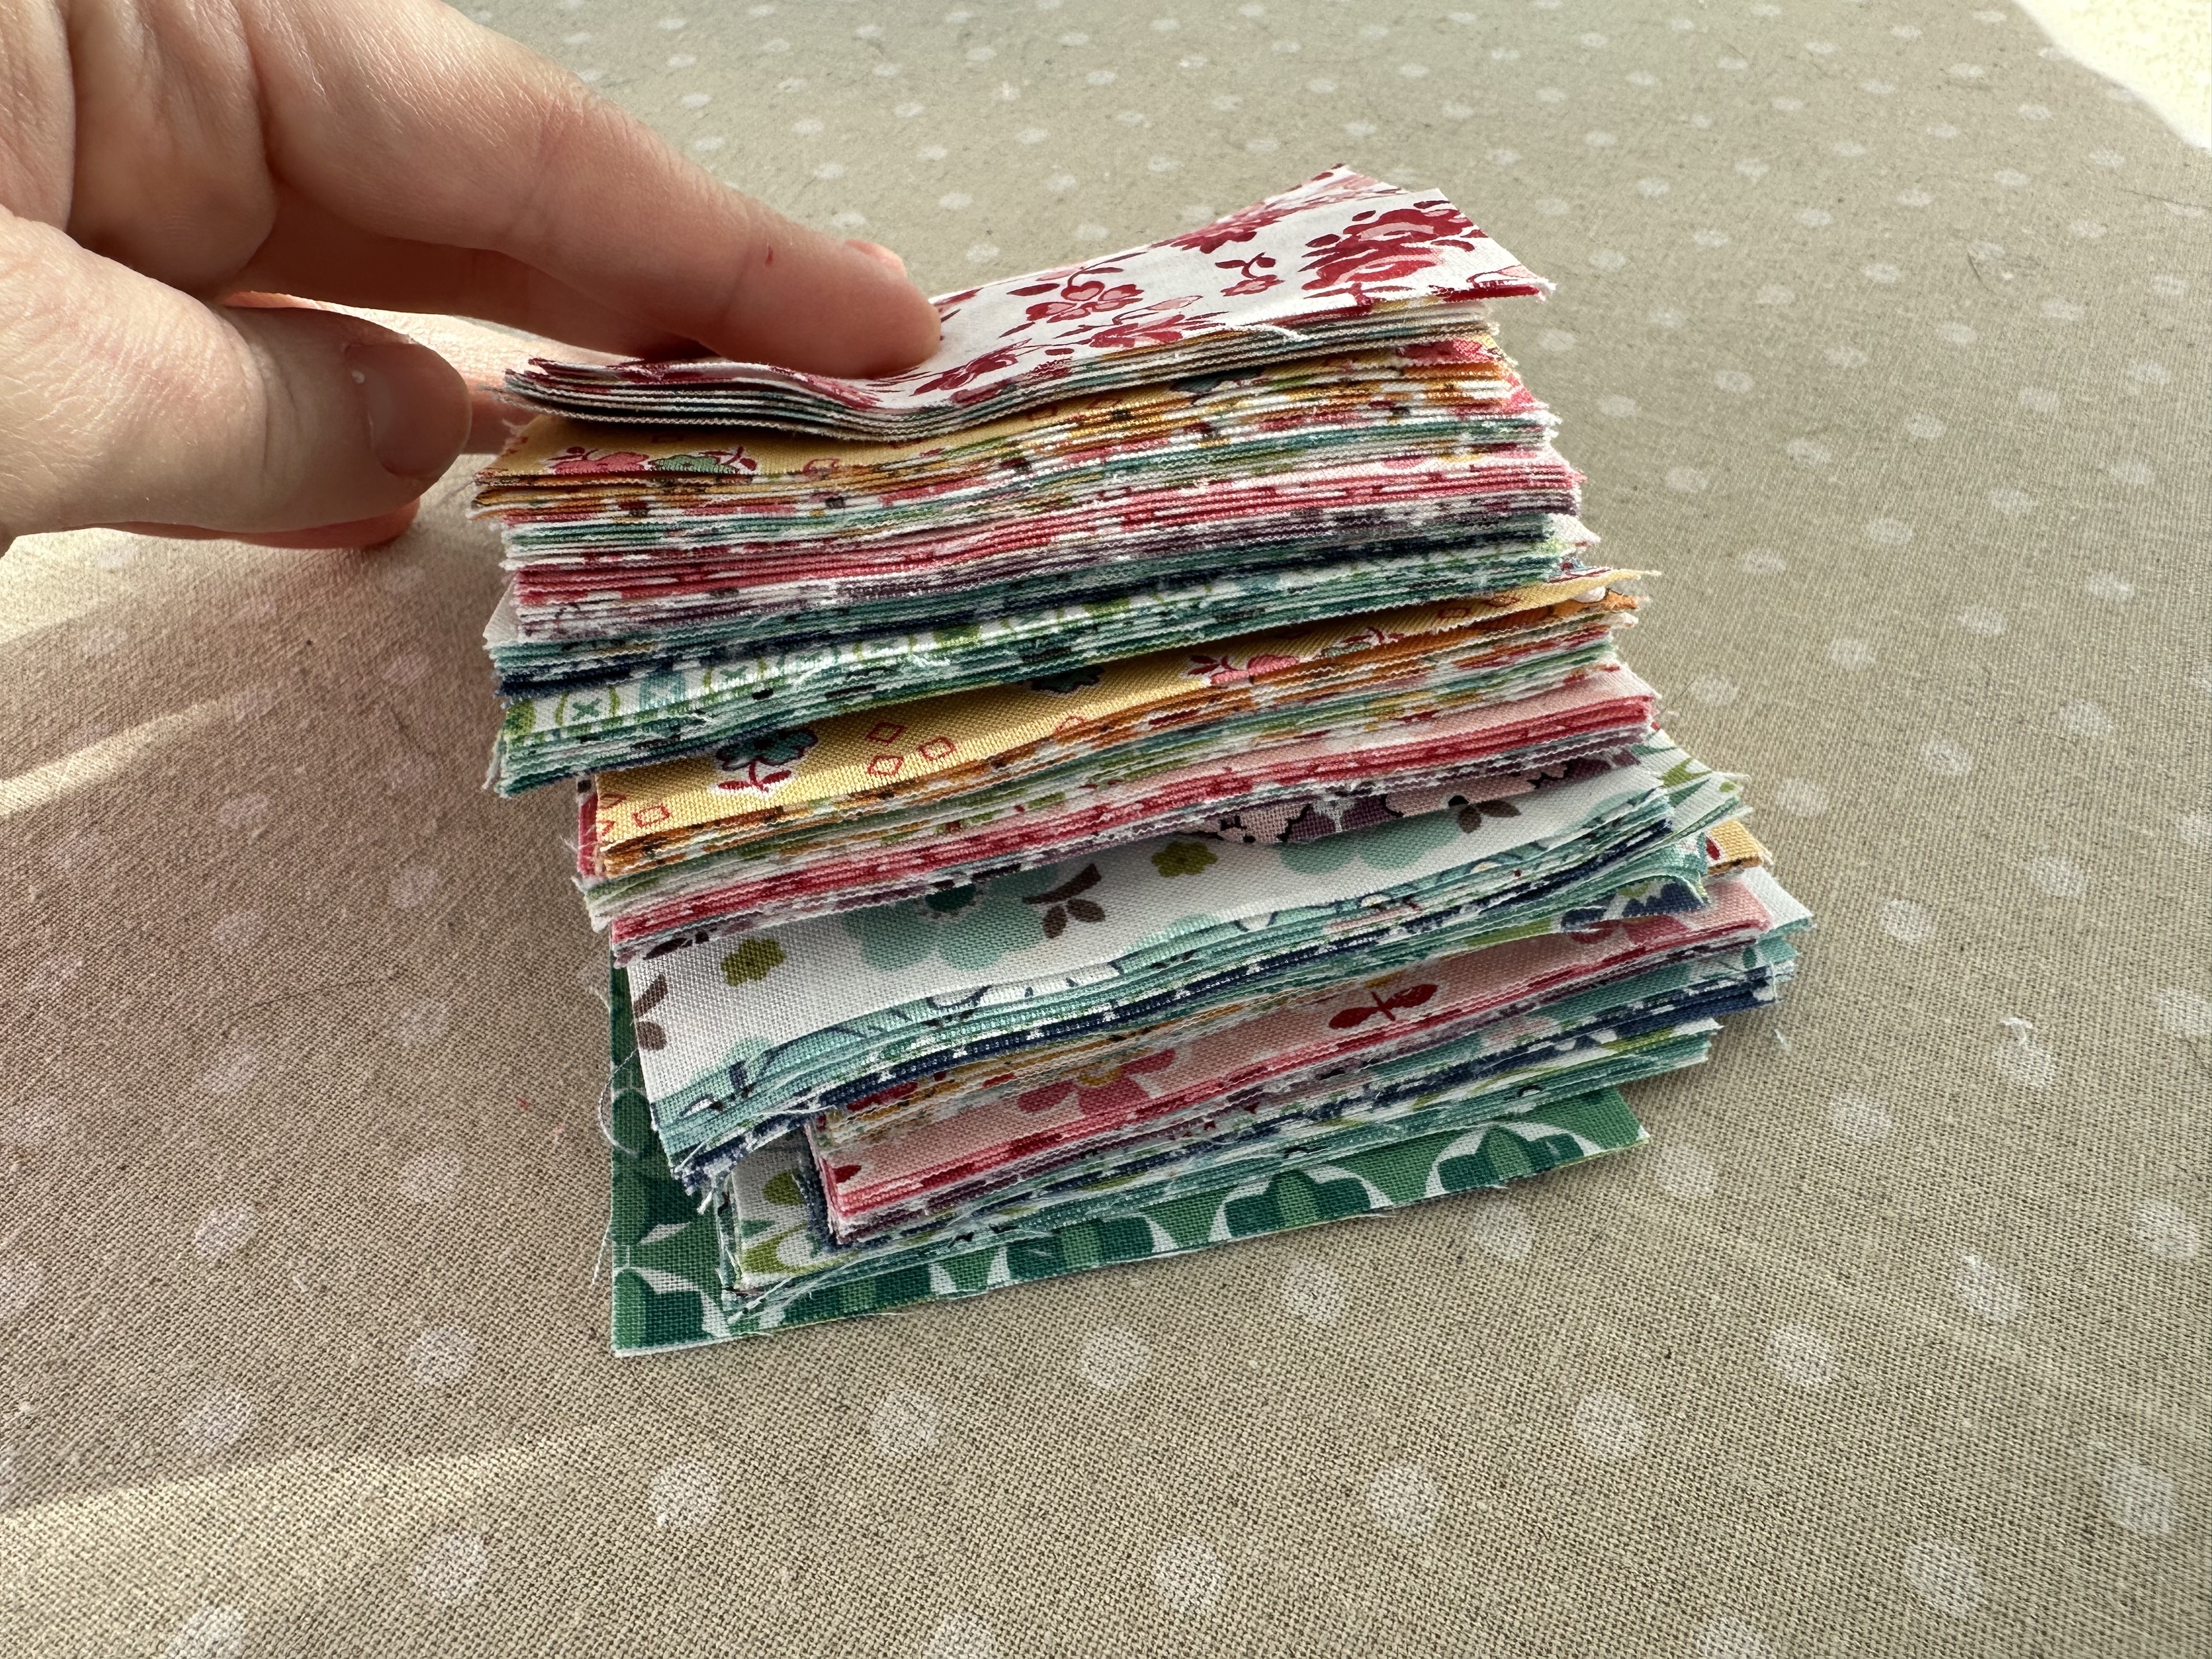
I have this anti-fatigue mat.
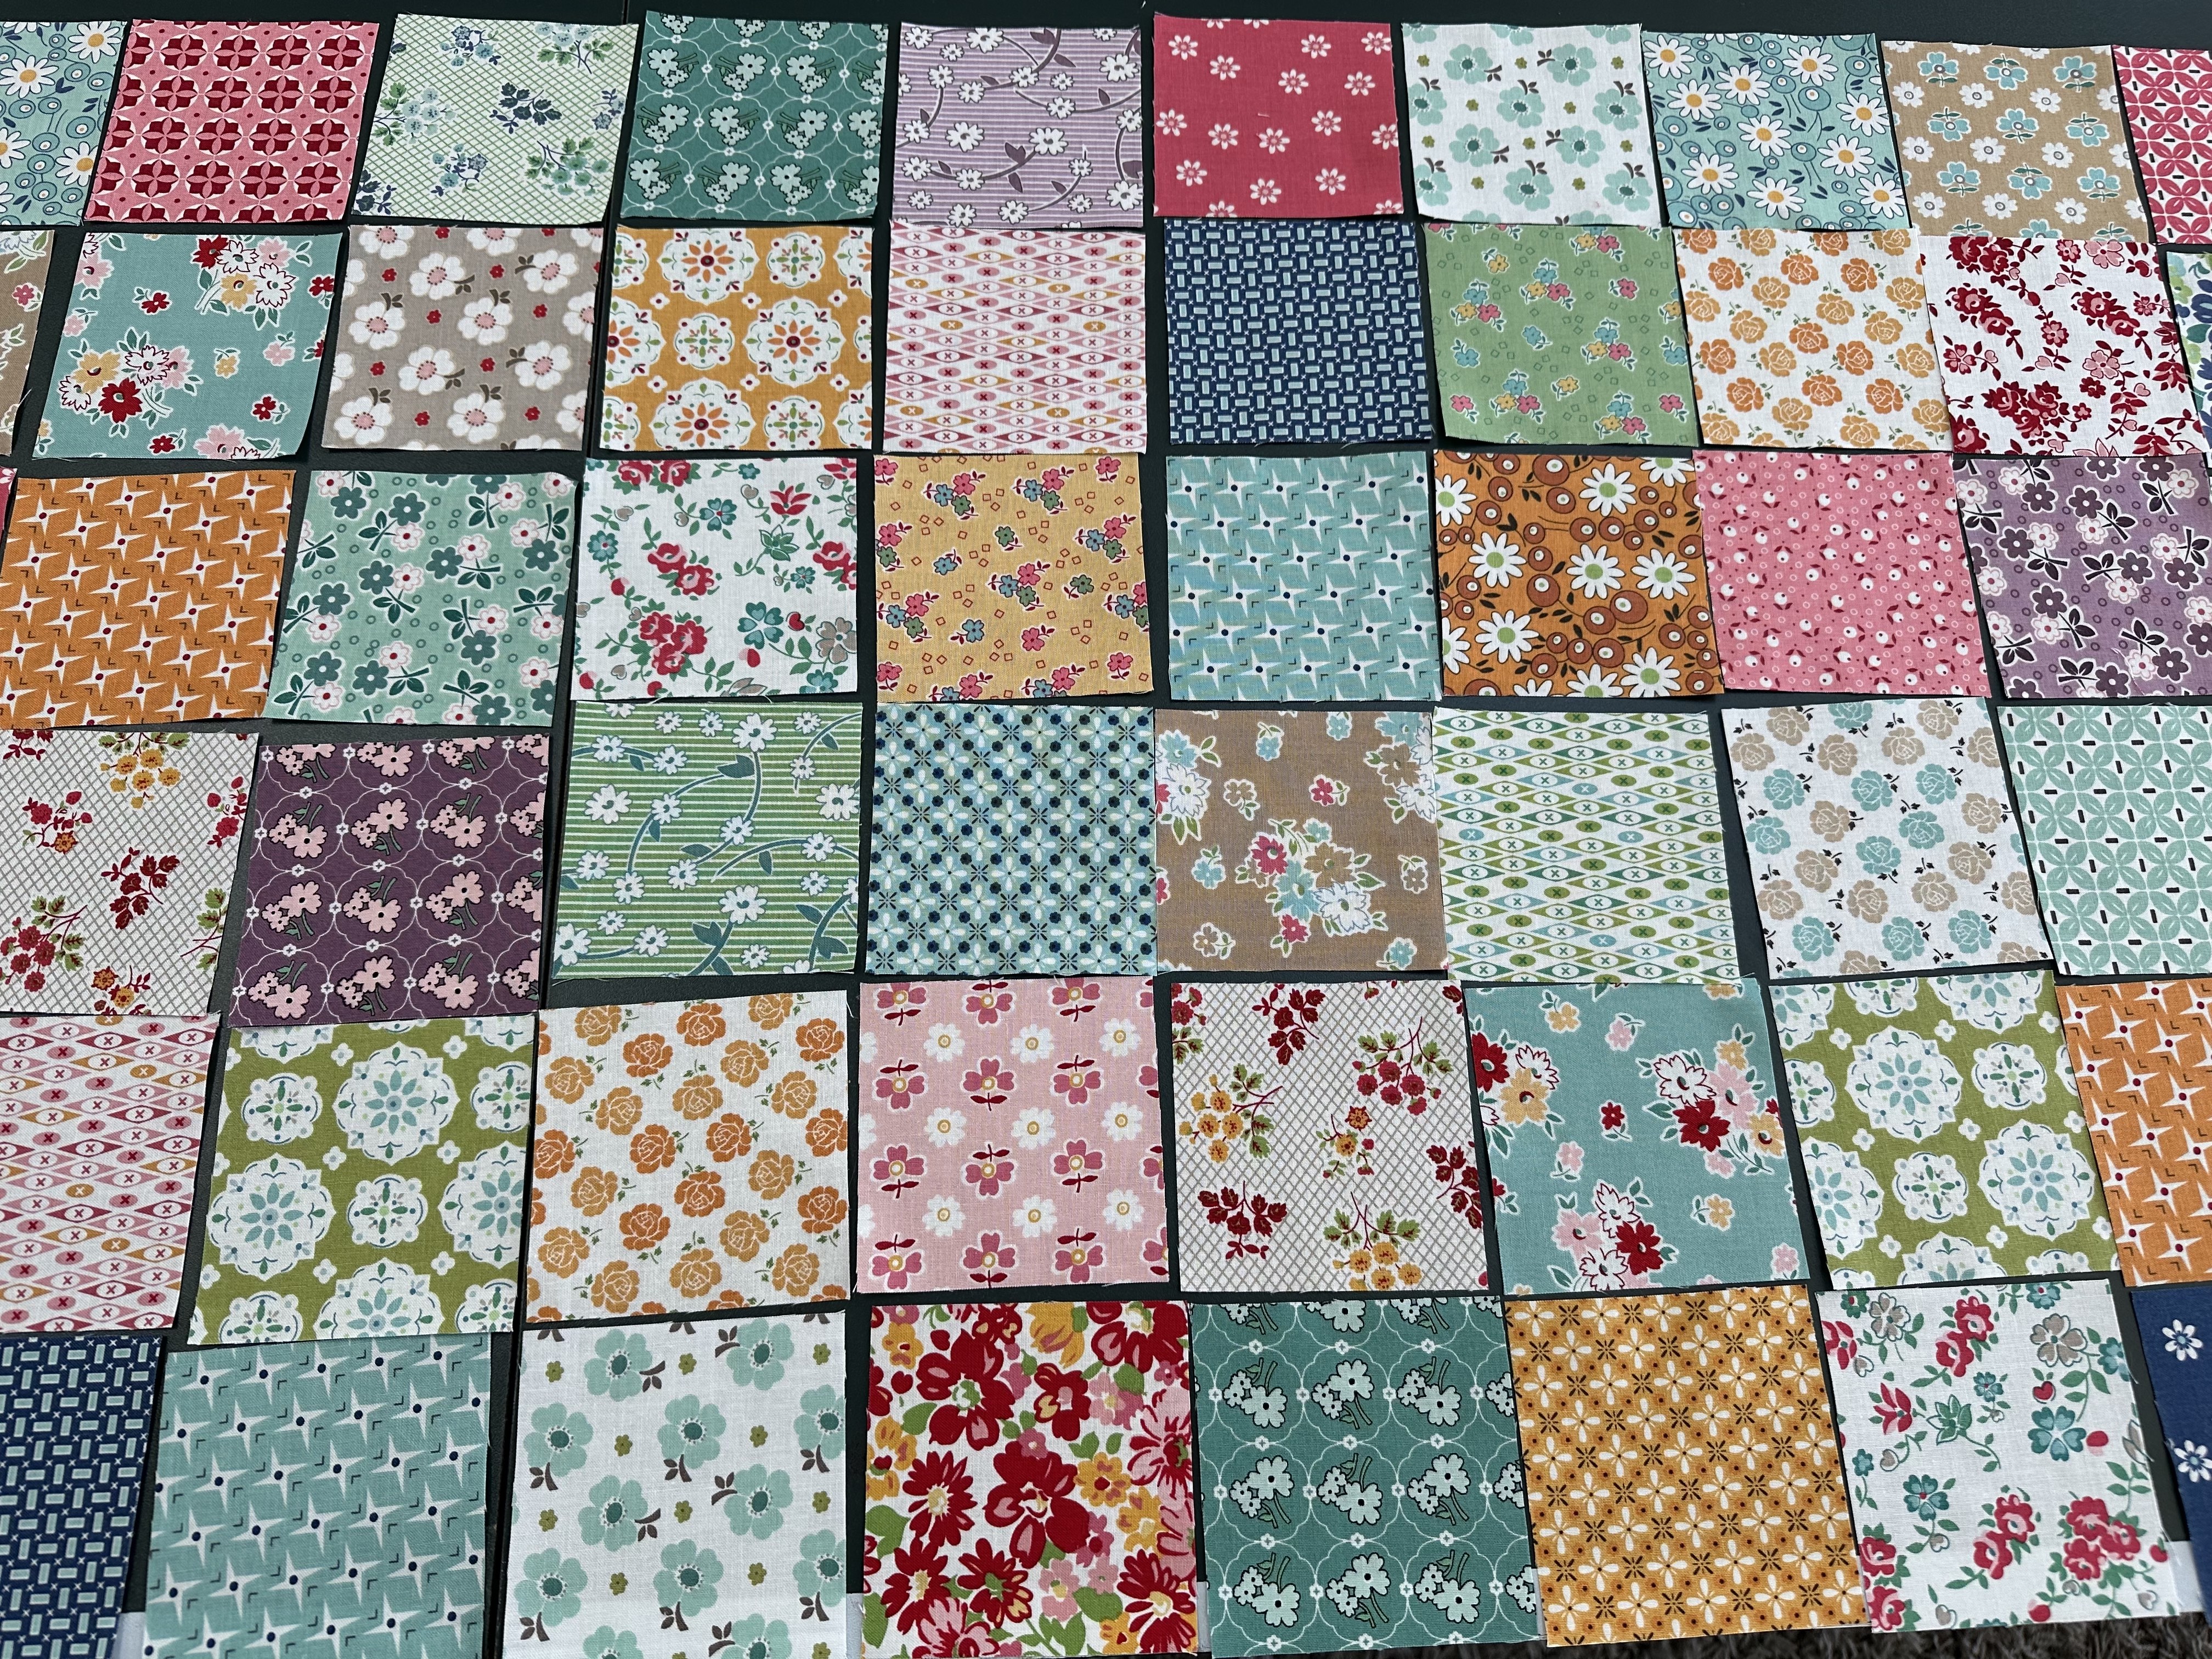
To fit my size mat, I am doing a layout of 6 squares by 21 squares which comes out to a total of 126- 3.5″ squares. I laid the squares out so that I could choose how to arrange them.
Piecing the Mat
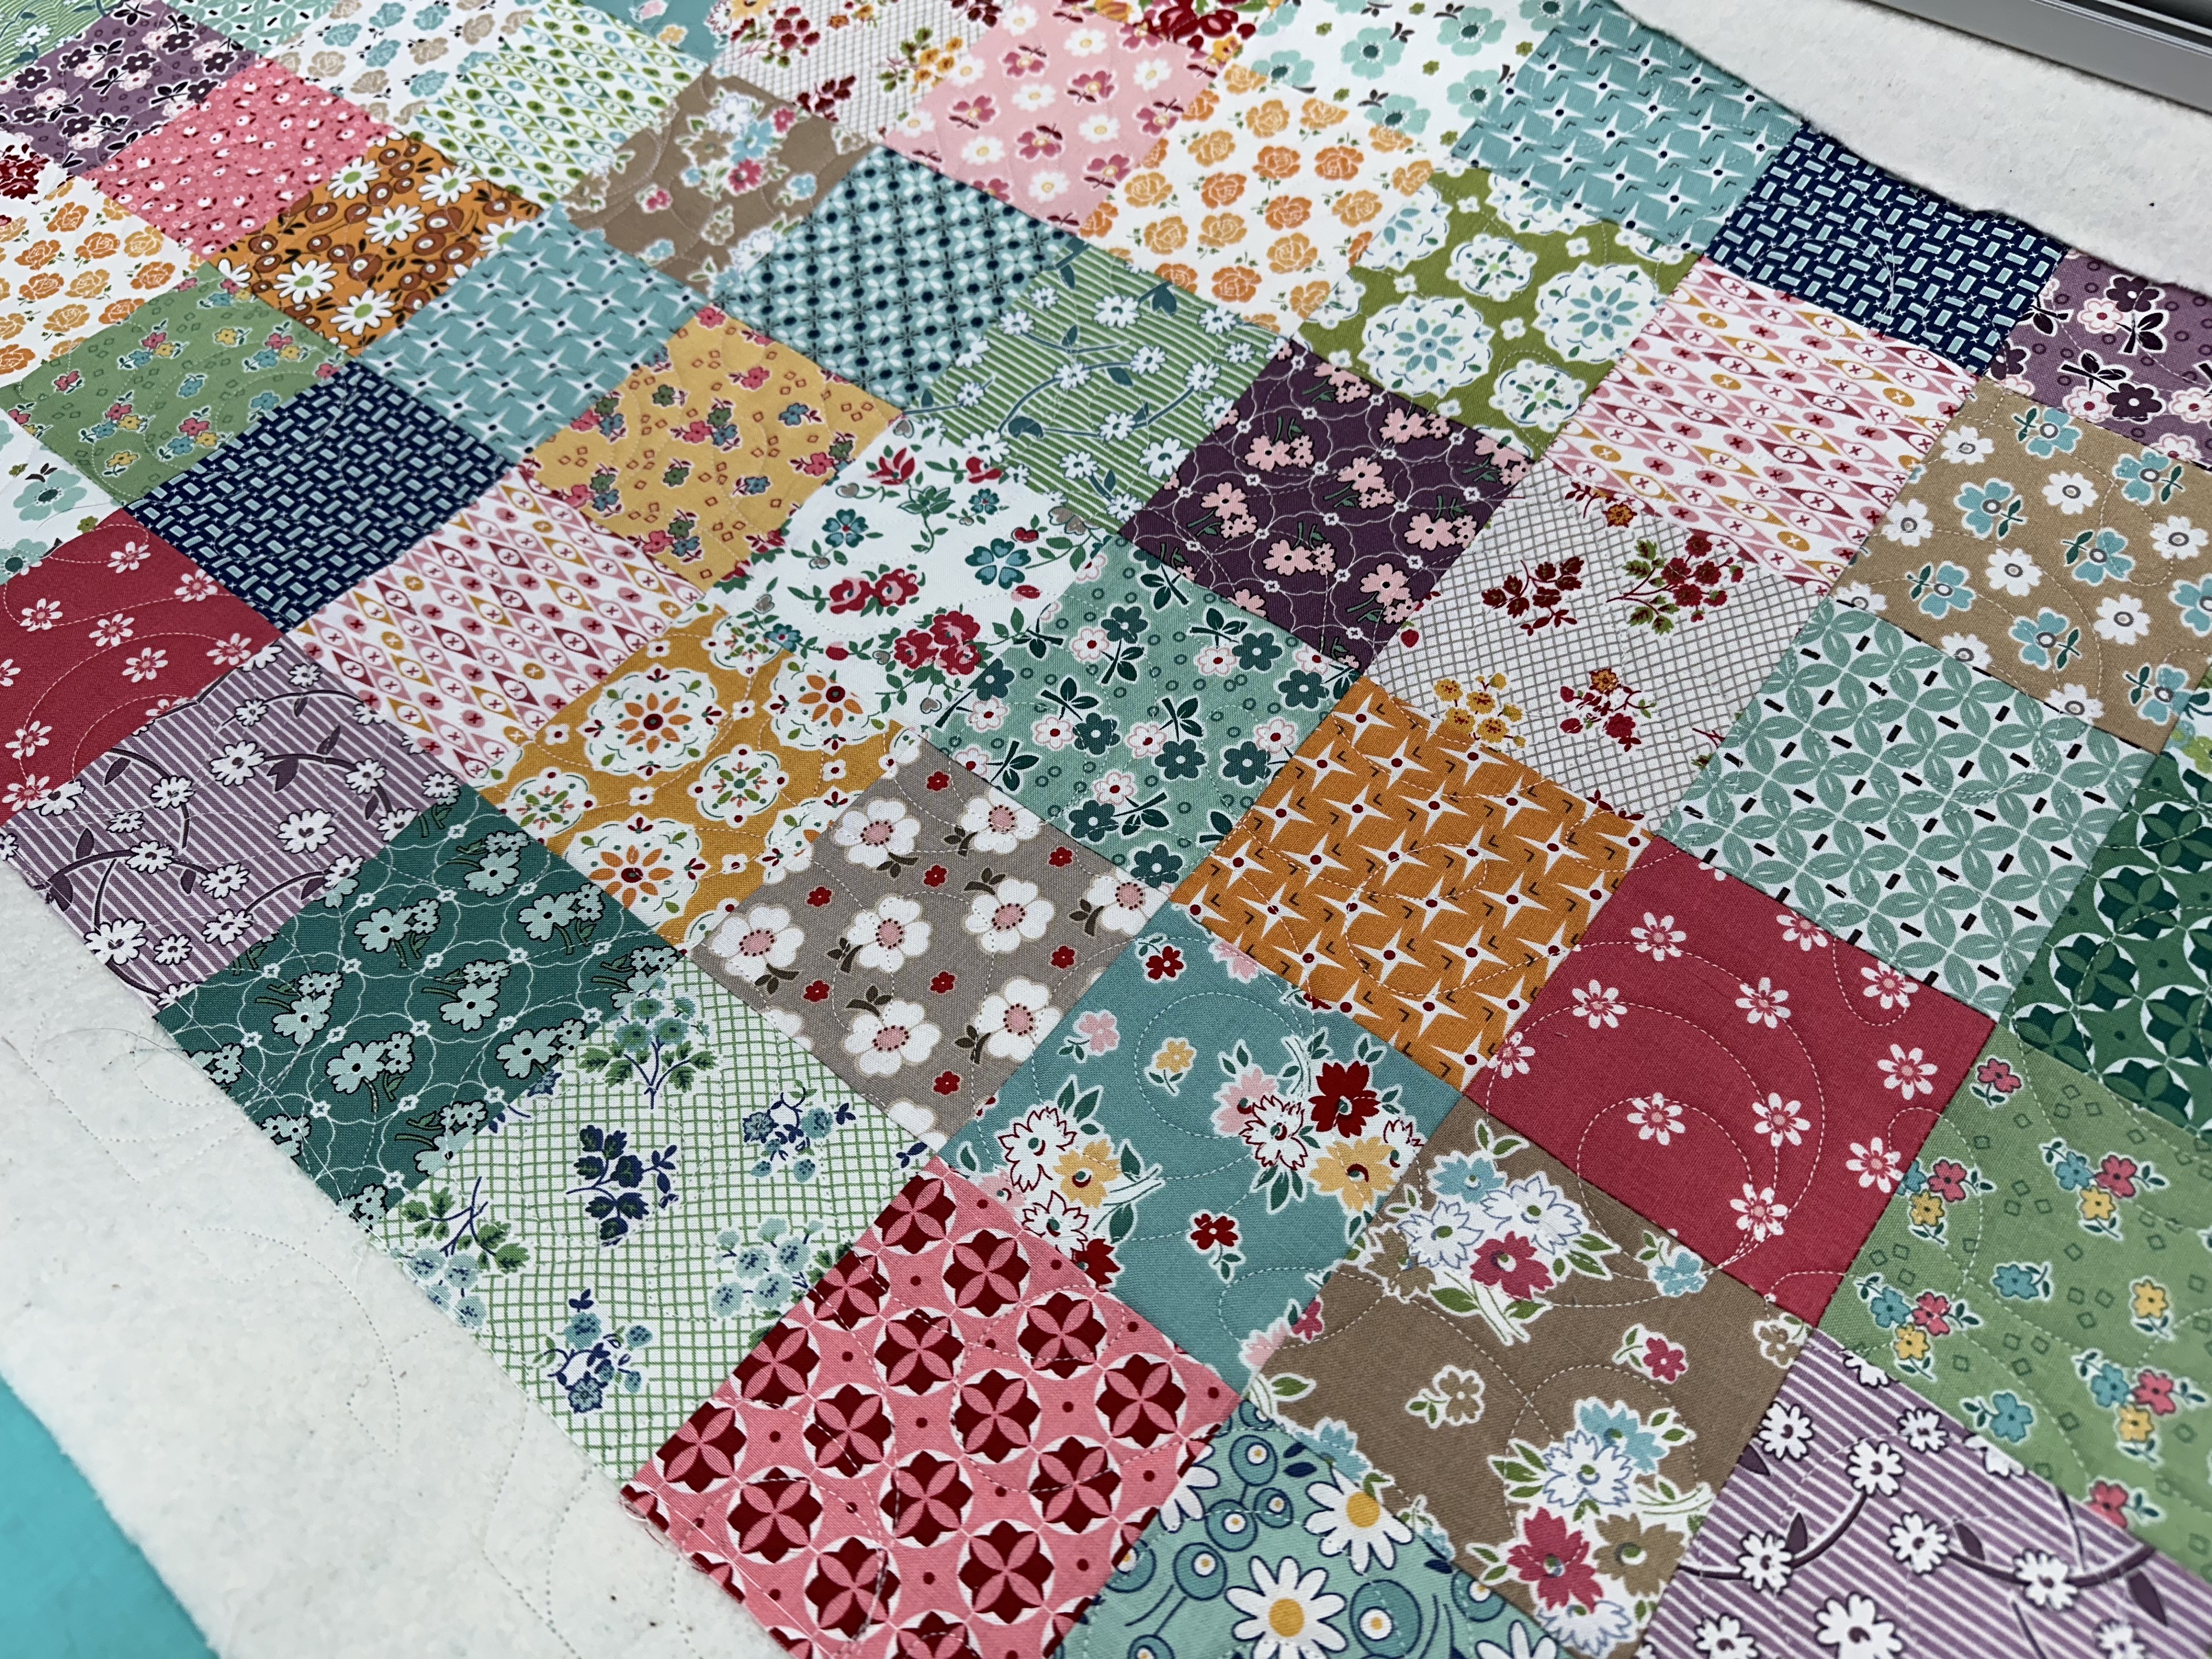
Once the squares are laid out, sew them into rows and then sew the rows together into the top of the mat. Press the pieced top.
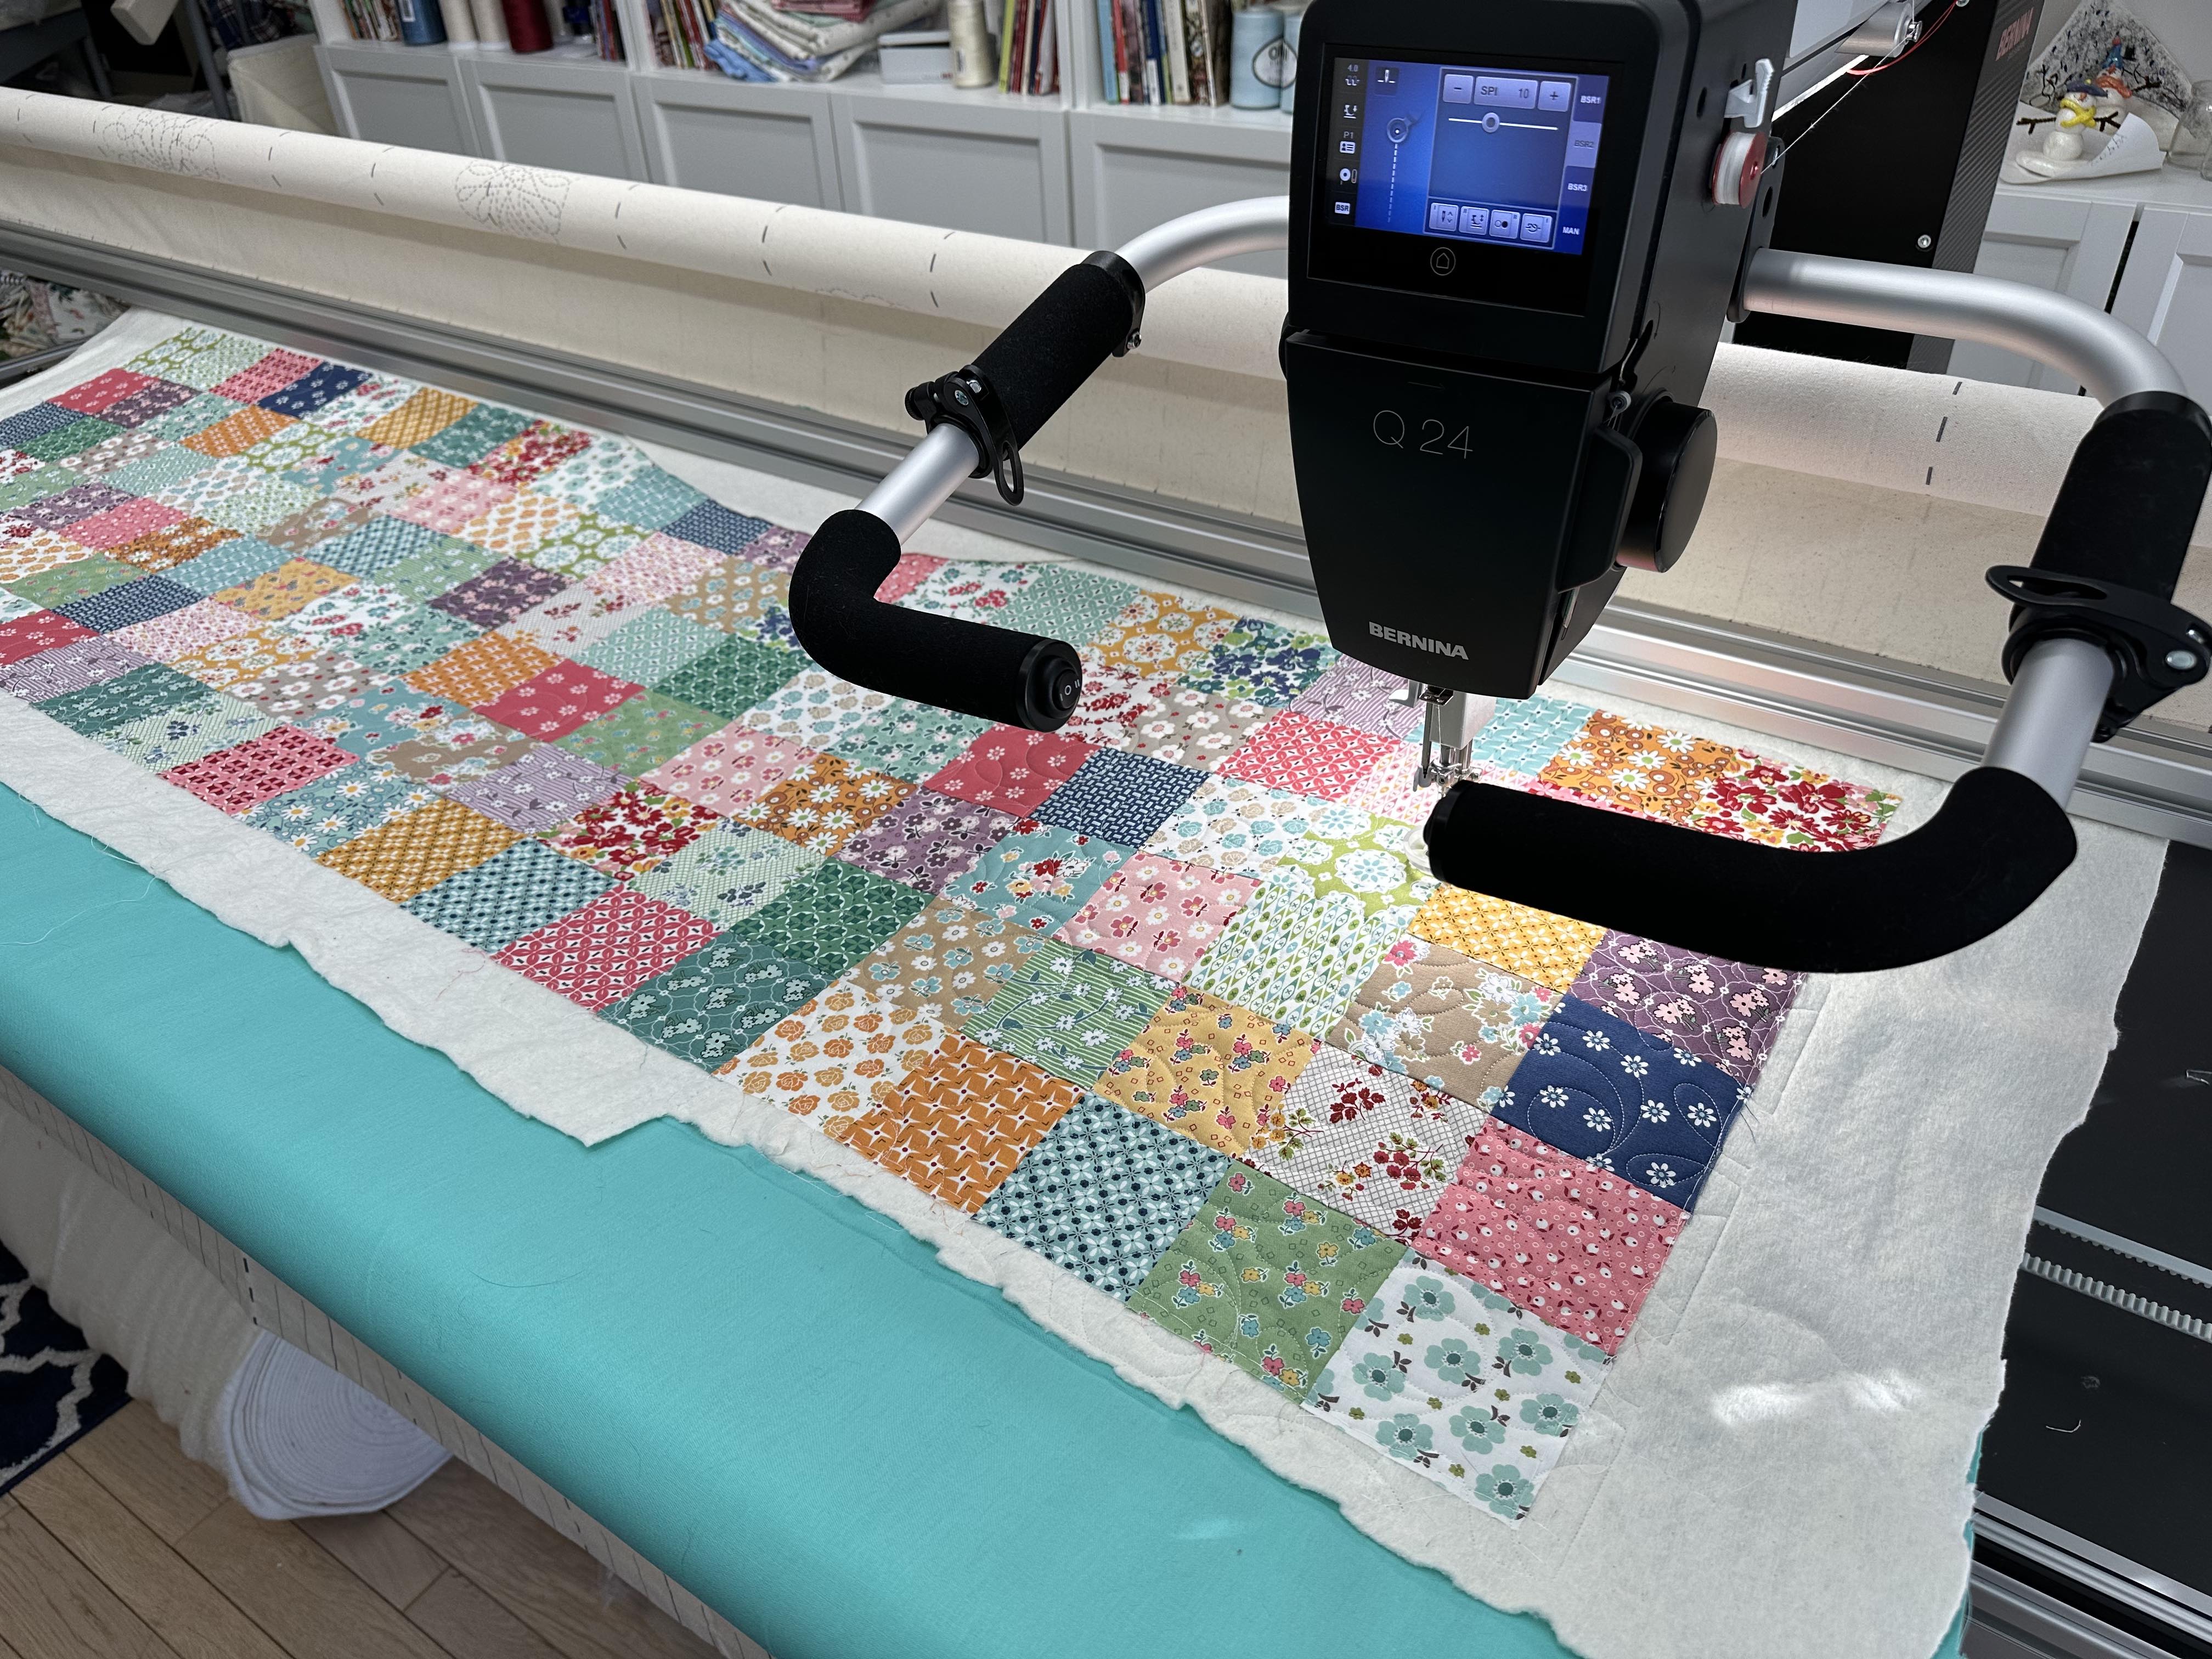
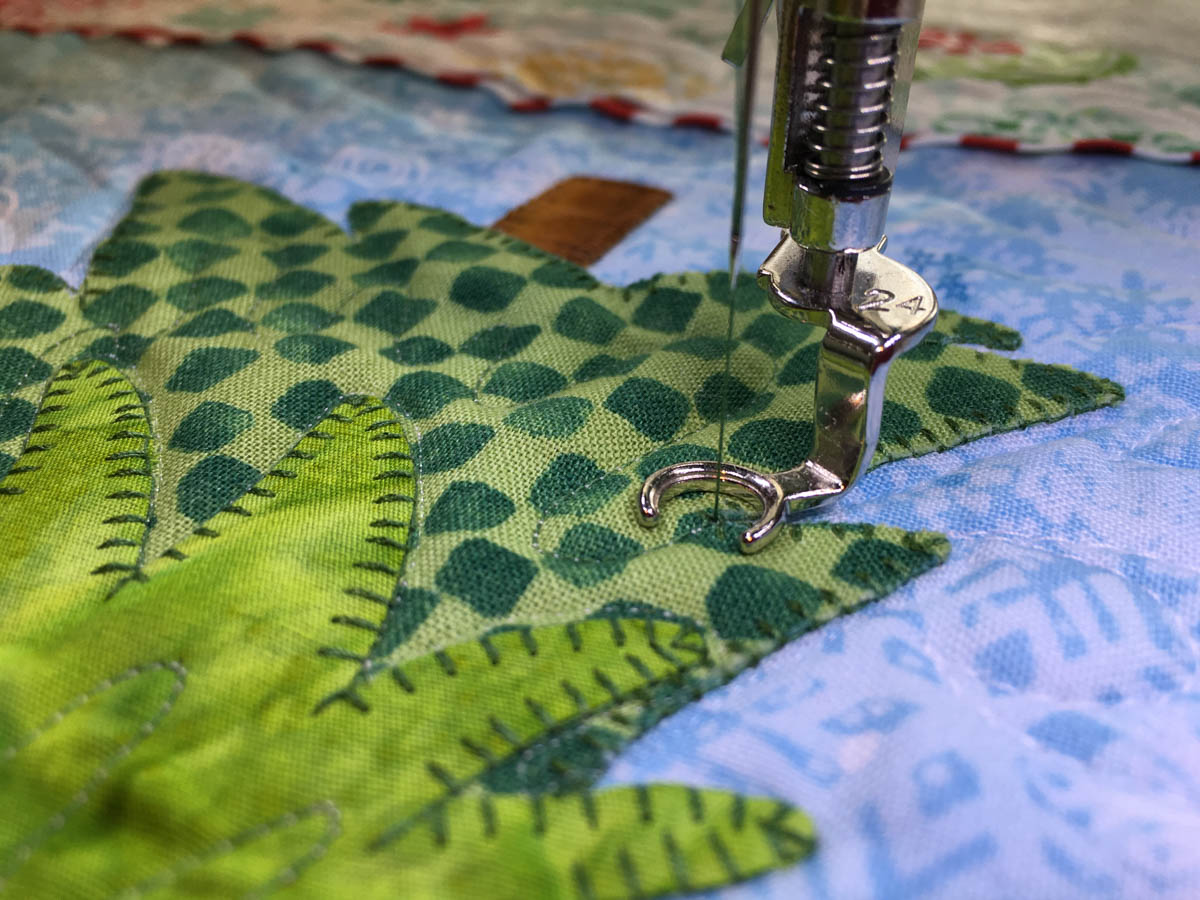
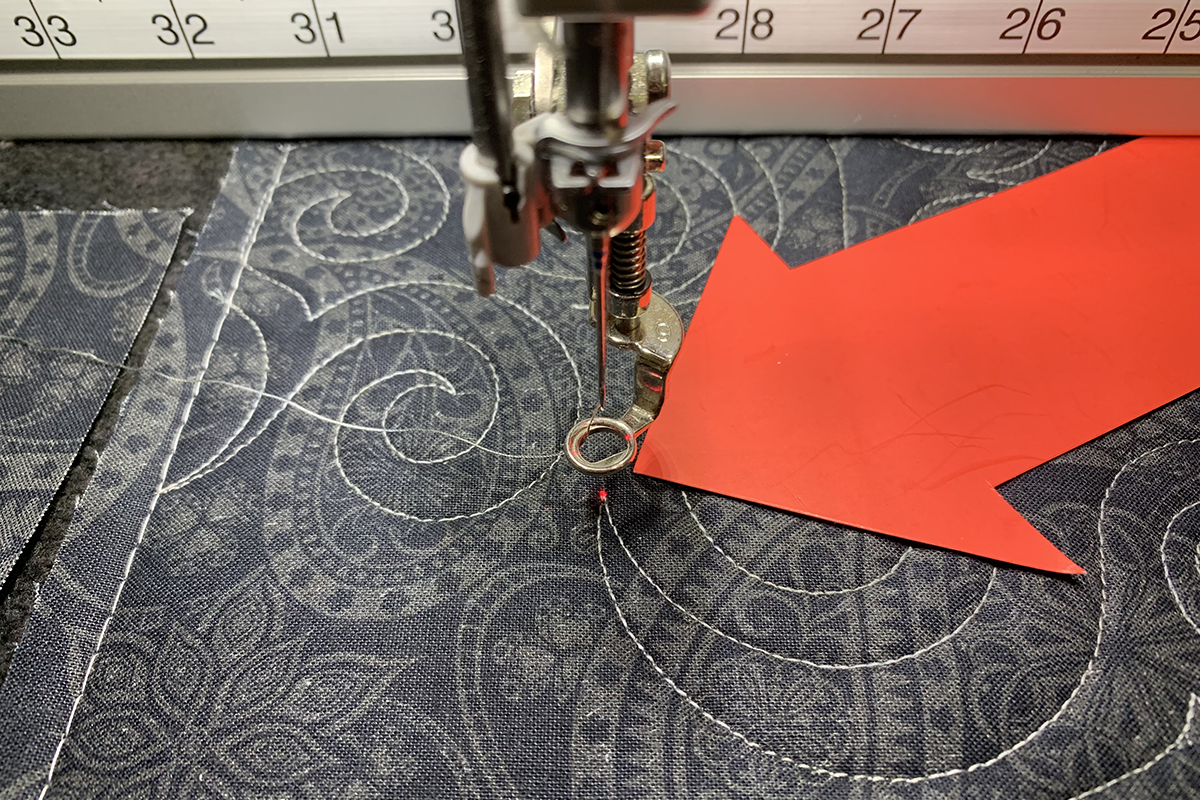
Quilting the Mat
To make this mat extra special, I quilted it on my Q-24 with Q-matic. I got my Q-24 with Q-matic about 1 year ago and I am so in love with it! I’ve yet to become good at free motion and ruler work but I’m still practicing. One thing I have perfected though is working with Q-matic to quilt a pantograph. For this project, I picked the Gingersnap pantograph.
I used solid turquoise fabric for the backing and 100% cotton batting. When I loaded the pieced top, I made sure to load it close to the selvage because I am going to use the extra backing fabric to make the envelope backing for the anti-fatigue mat to be inserted in.
Make the Envelope Backing
After the quilting was finished, I trimmed away the excess batting and backing.

Then, I took the extra backing and laid it on top of the back side of the quilted top. I cut the extra backing vertically about 3/4 of the way across the mat.
I took that piece and on that short edge that I just cut, I marked 1/2″ from the edge and then 1/2″ from that line.

I folded it 1/2″ in and pressed it. Then I repeated that one more time, completely enclosing the raw edges. I sewed along that fold to secure it closed and then sewed another line right along the edge.
I took that piece over to the back side of the pieced mat and laid it on top, with the finished edge laying about 3/4 of the way across the mat cover.
Next, I took the remaining extra backing and repeated the steps above to make a completely finished edge on one short side of it. Once the edge was finished, I laid it on top of the larger backing piece with a finished edge and the quilted mat. How much the two backing pieces overlap is a matter of preference but I had mine overlapping about 8″.
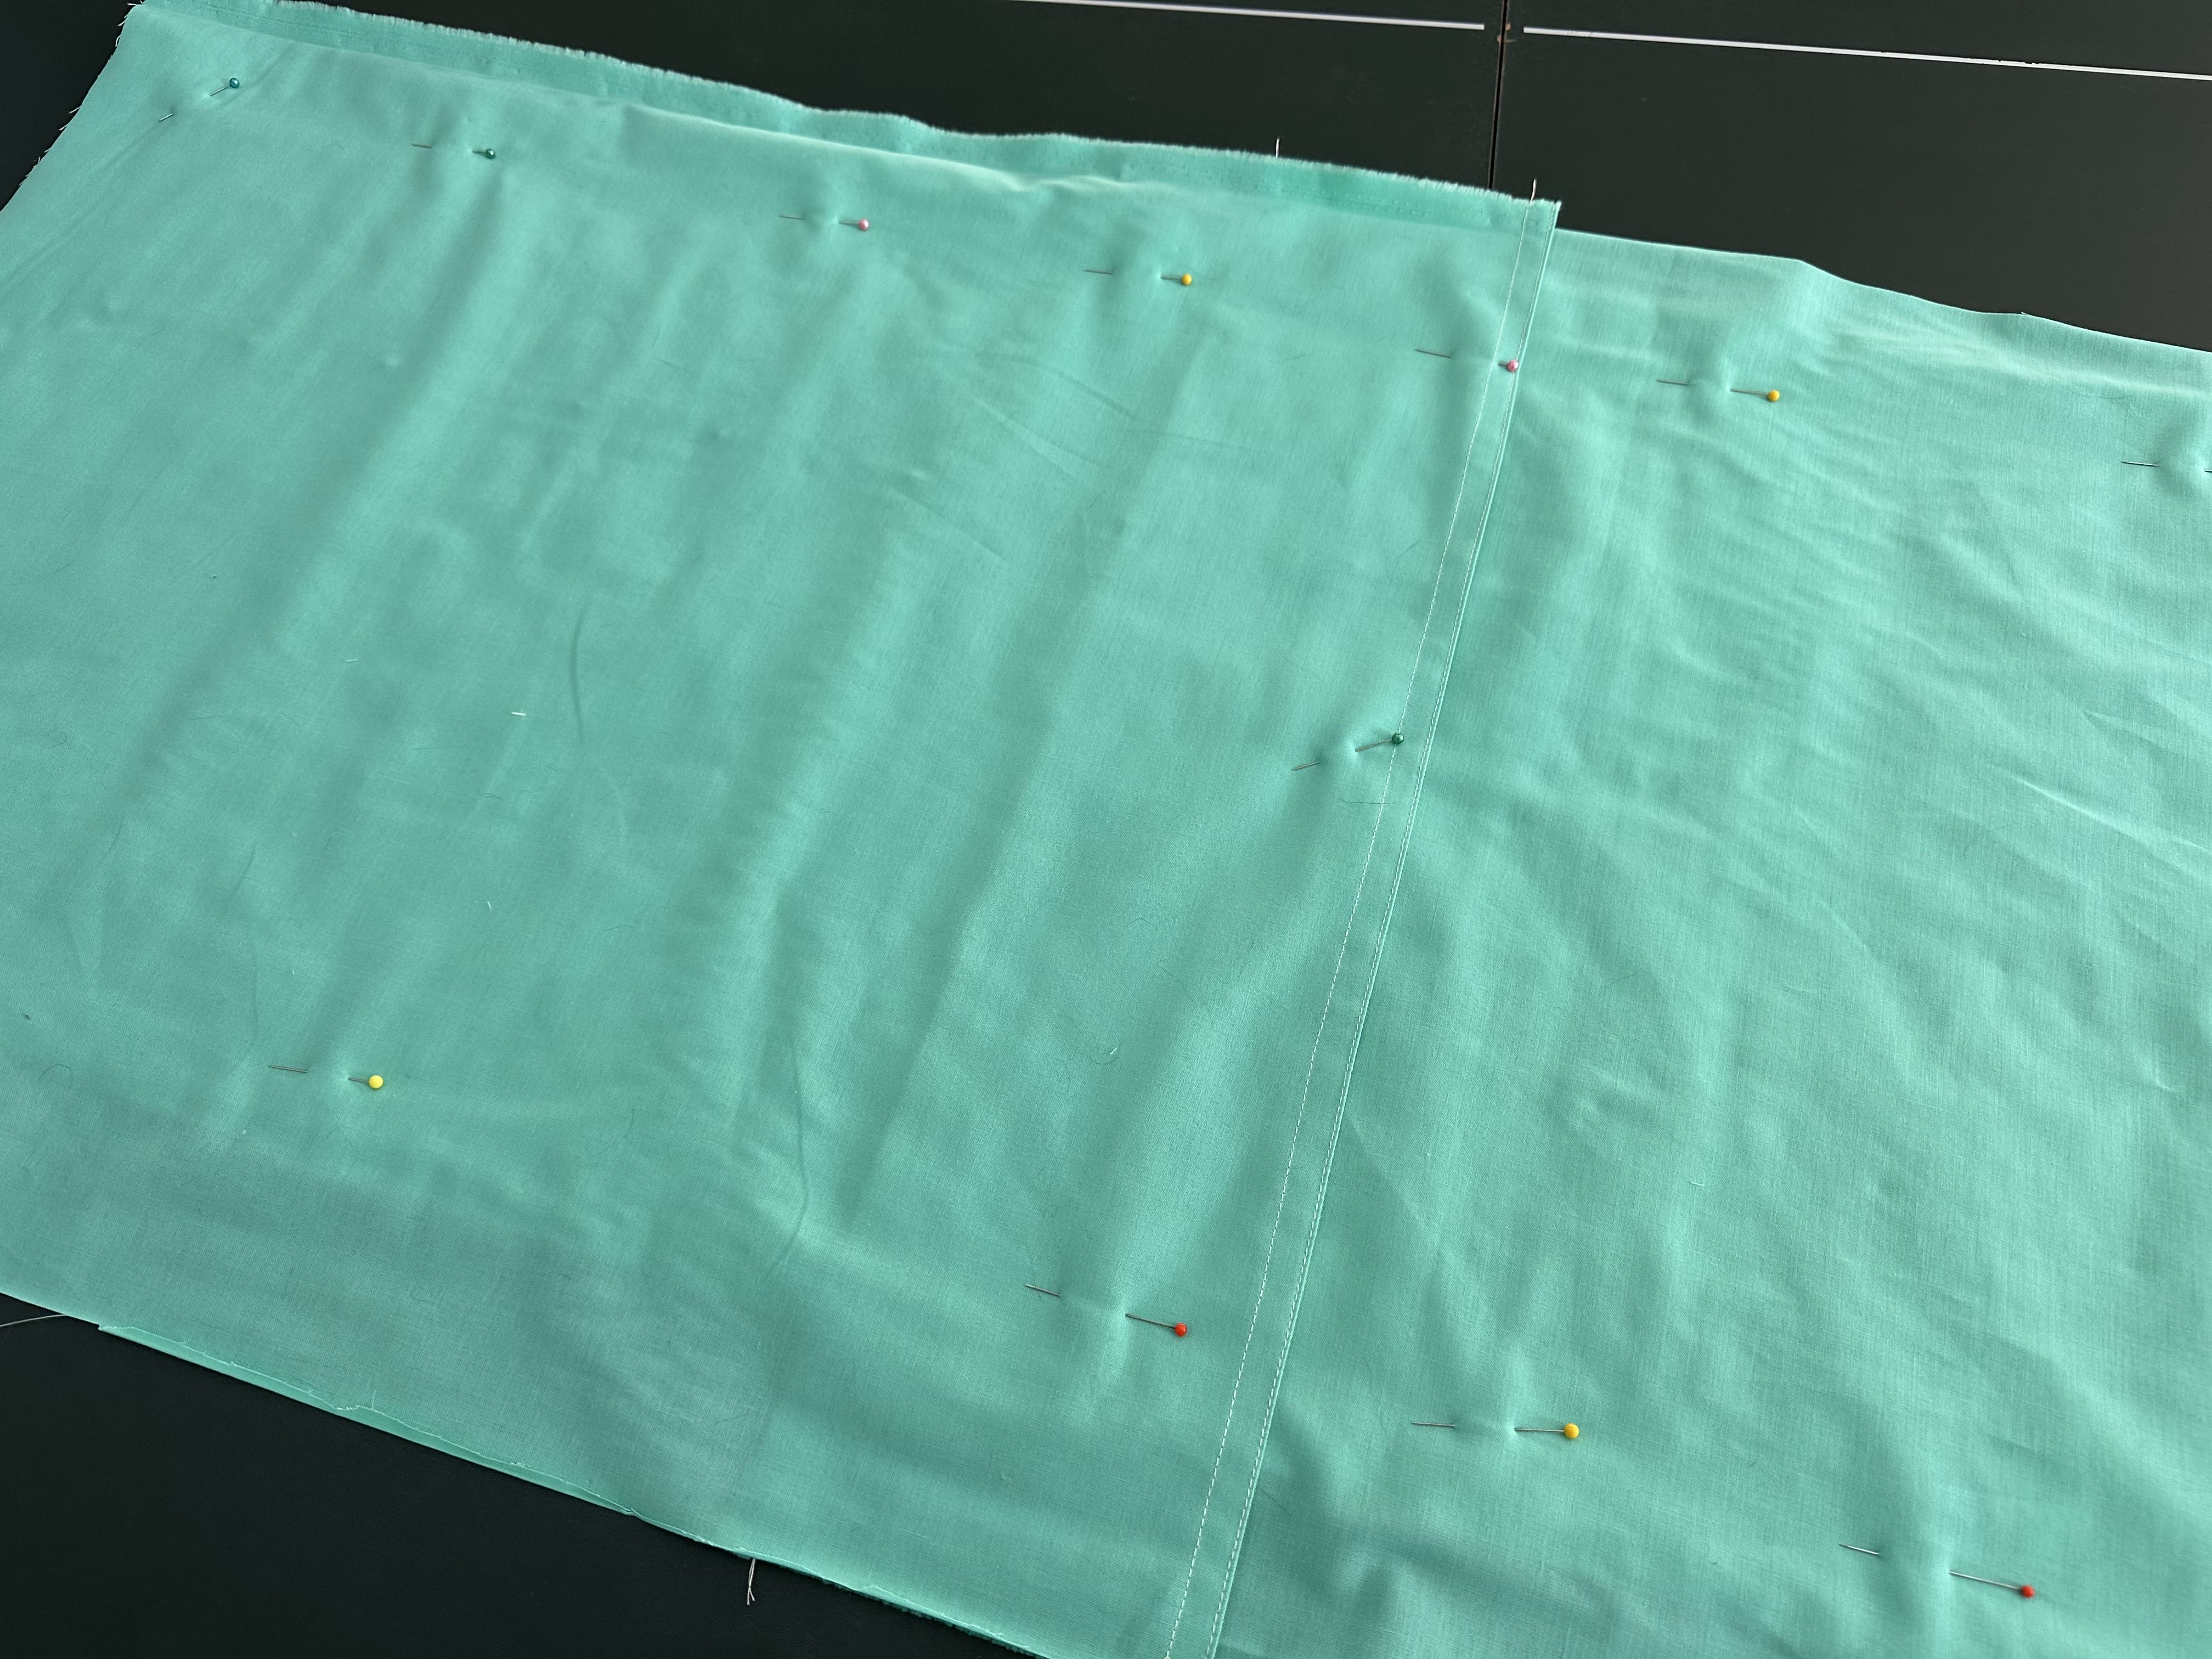
I pinned the layers together to secure them. I took them to my sewing machine and sewed around the whole thing about 1/8″ from the edge.
I removed the pins and trimmed the extra backing fabric away.
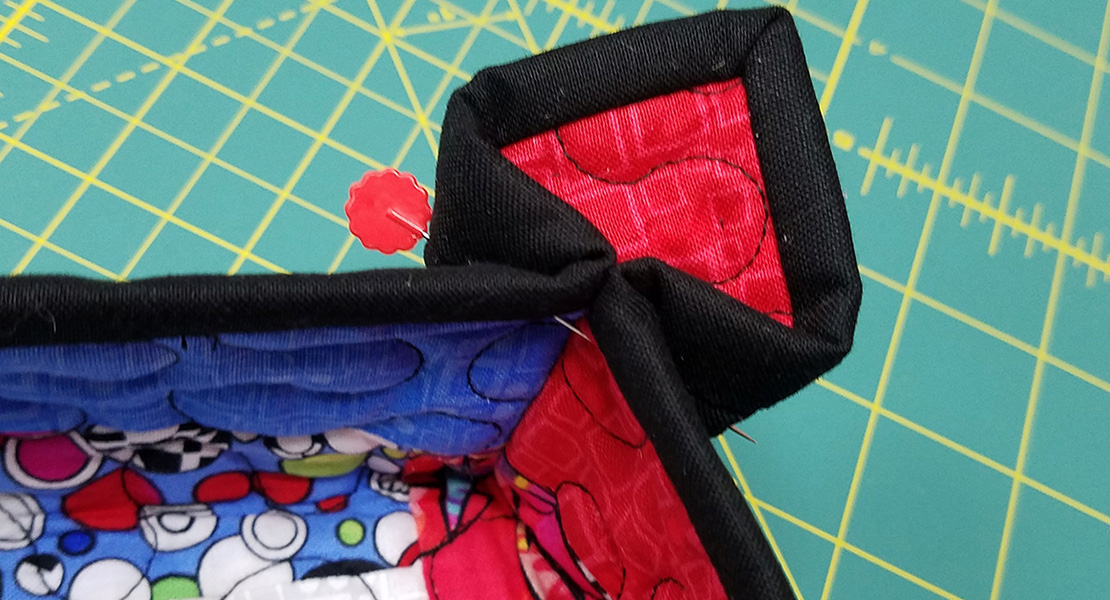
Binding the Mat Cover
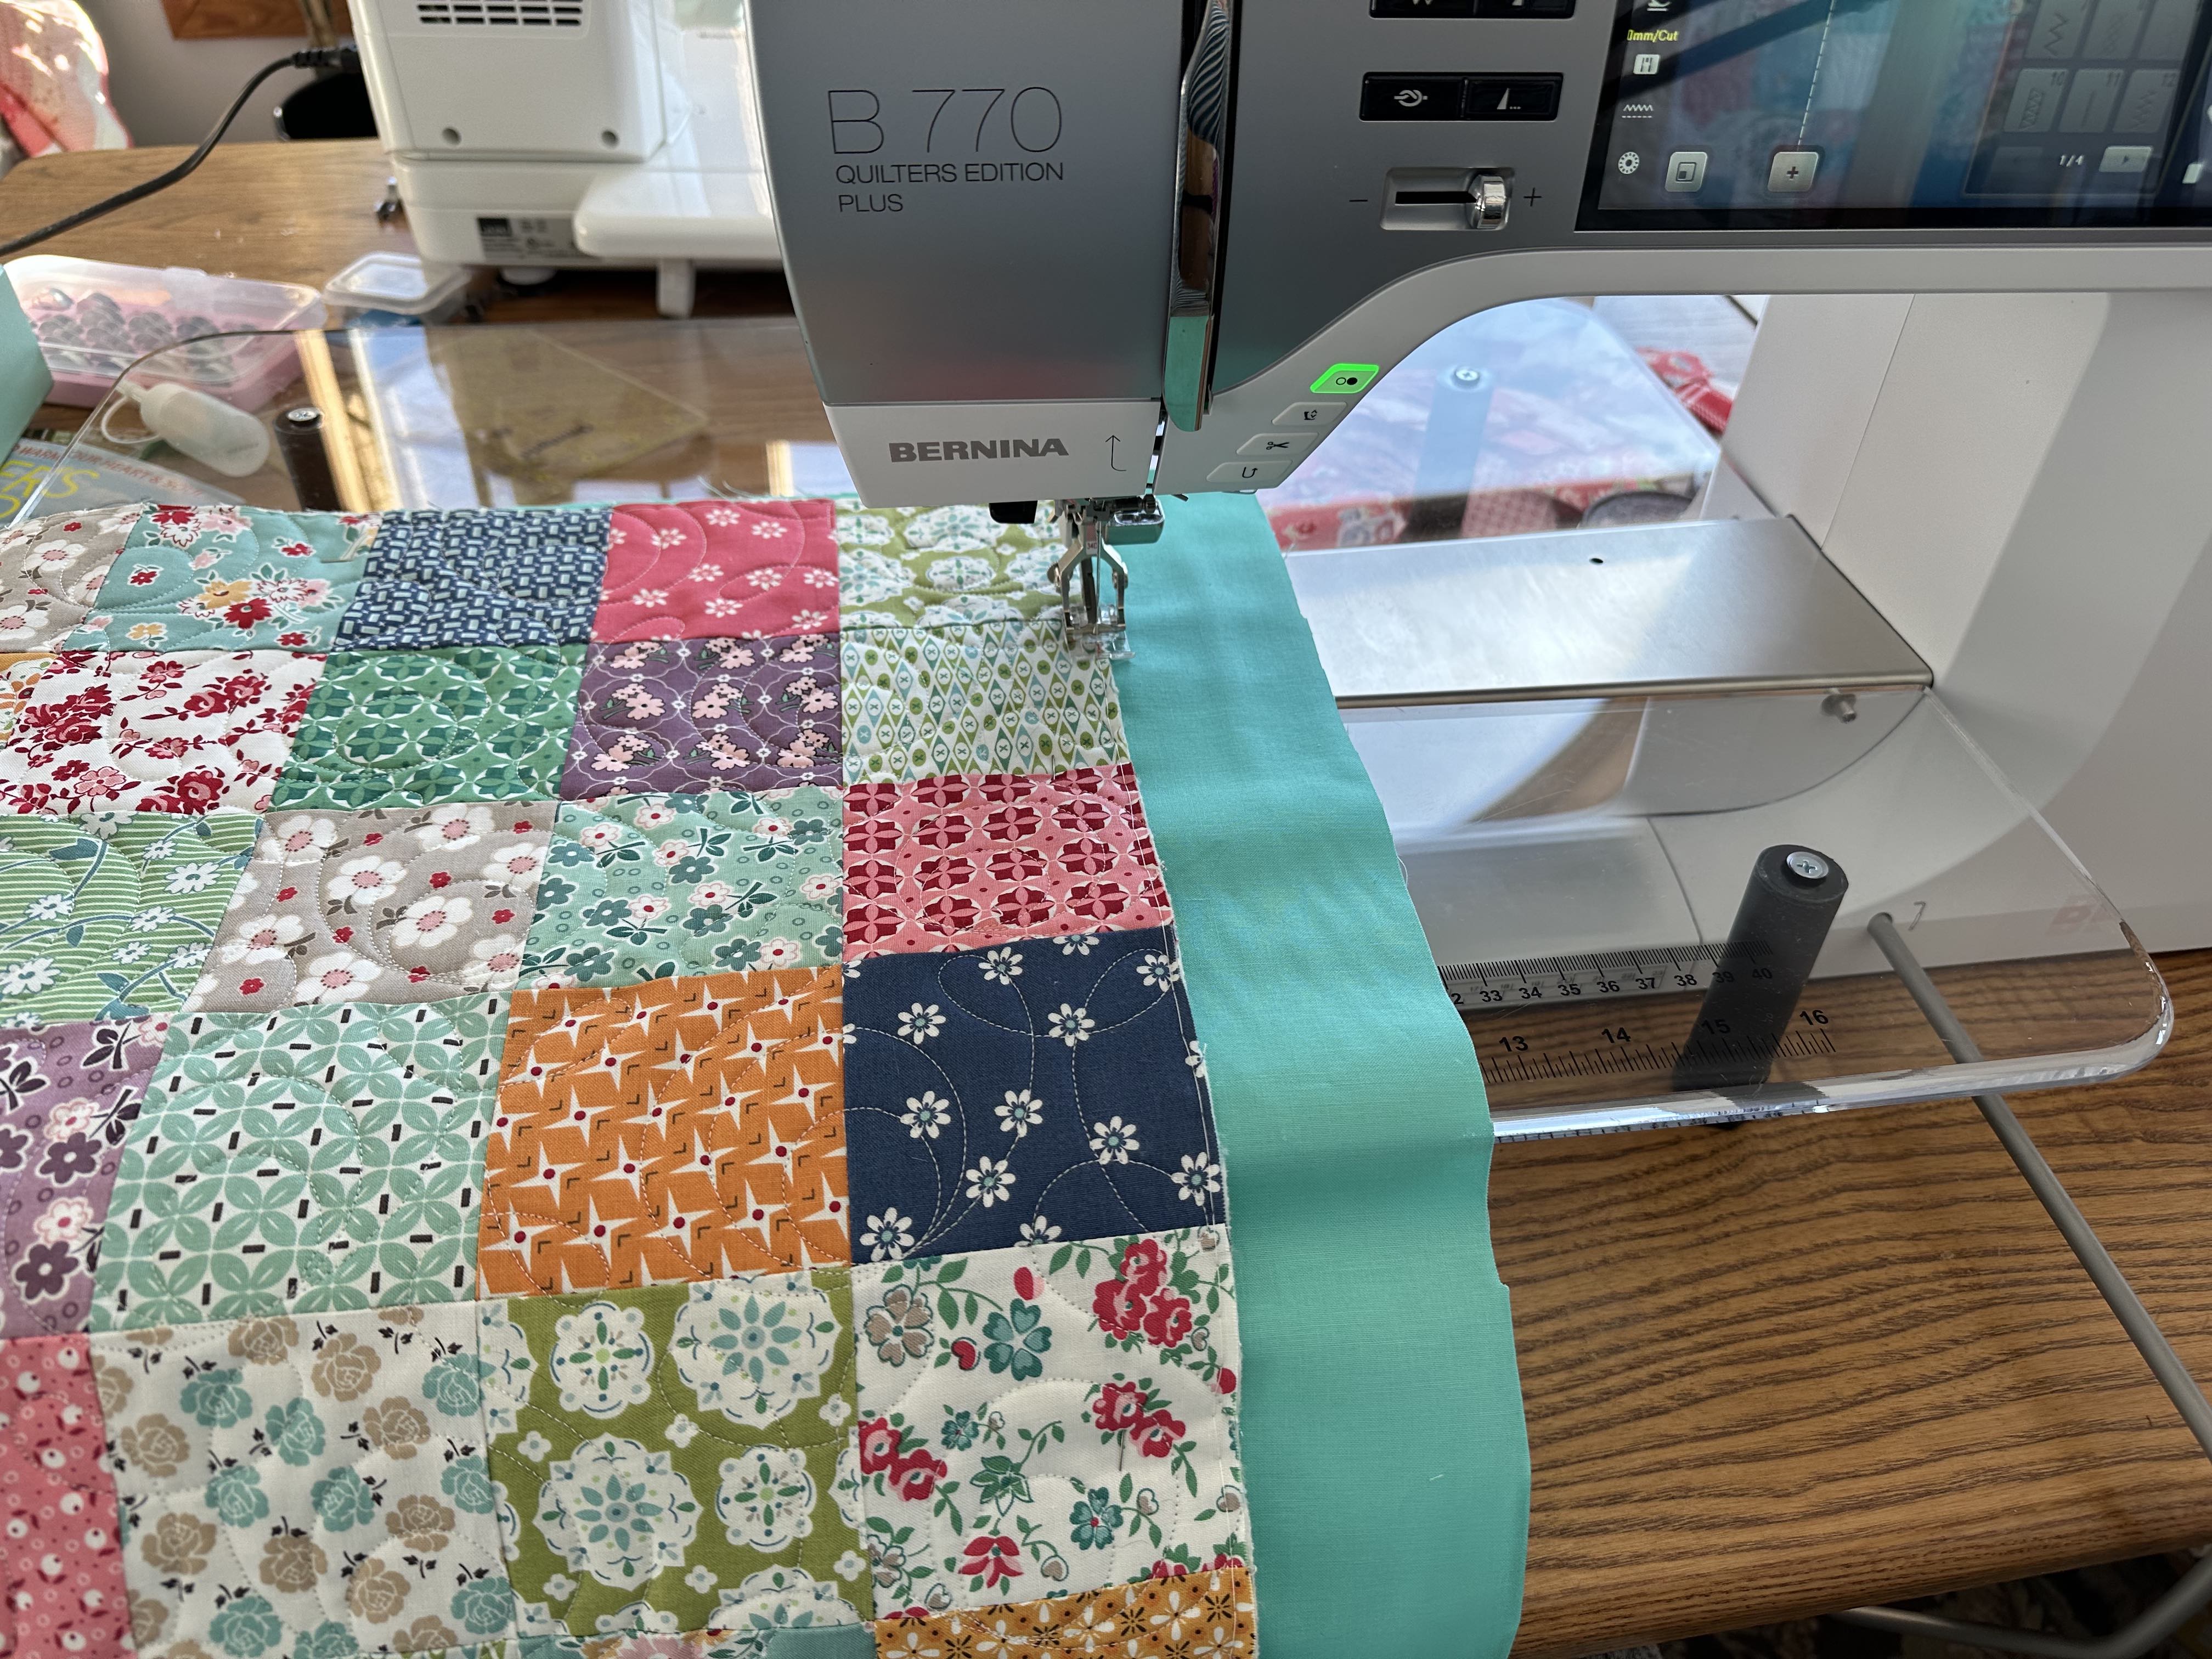
I made the binding by diagonally joining my strips of binding fabric. Then, I sewed the binding onto the front of the quilted mat cover.
Please note: the sizing on this mat cover exactly fits the mat without extra wiggle room because of this, I sewed my binding on with 1/8″ seam allowance (instead of a 1/4″ seam allowance). Then I machine sewed the binding onto the back of the quilted mat cover, staying as close to my original seam line as possible so I didn’t take any width away from the inside of the mat.
If you don’t want to take these precautions while sewing on your binding, I’d recommend cutting the outer squares for the quilted mat into 3.5″ x 3.75″ rectangles instead. That will give you extra wiggle room in your mat so that you can use a regular 1/4″ seam with the binding. I did it as I mentioned above because I wanted the cover to fit the mat very snuggly.
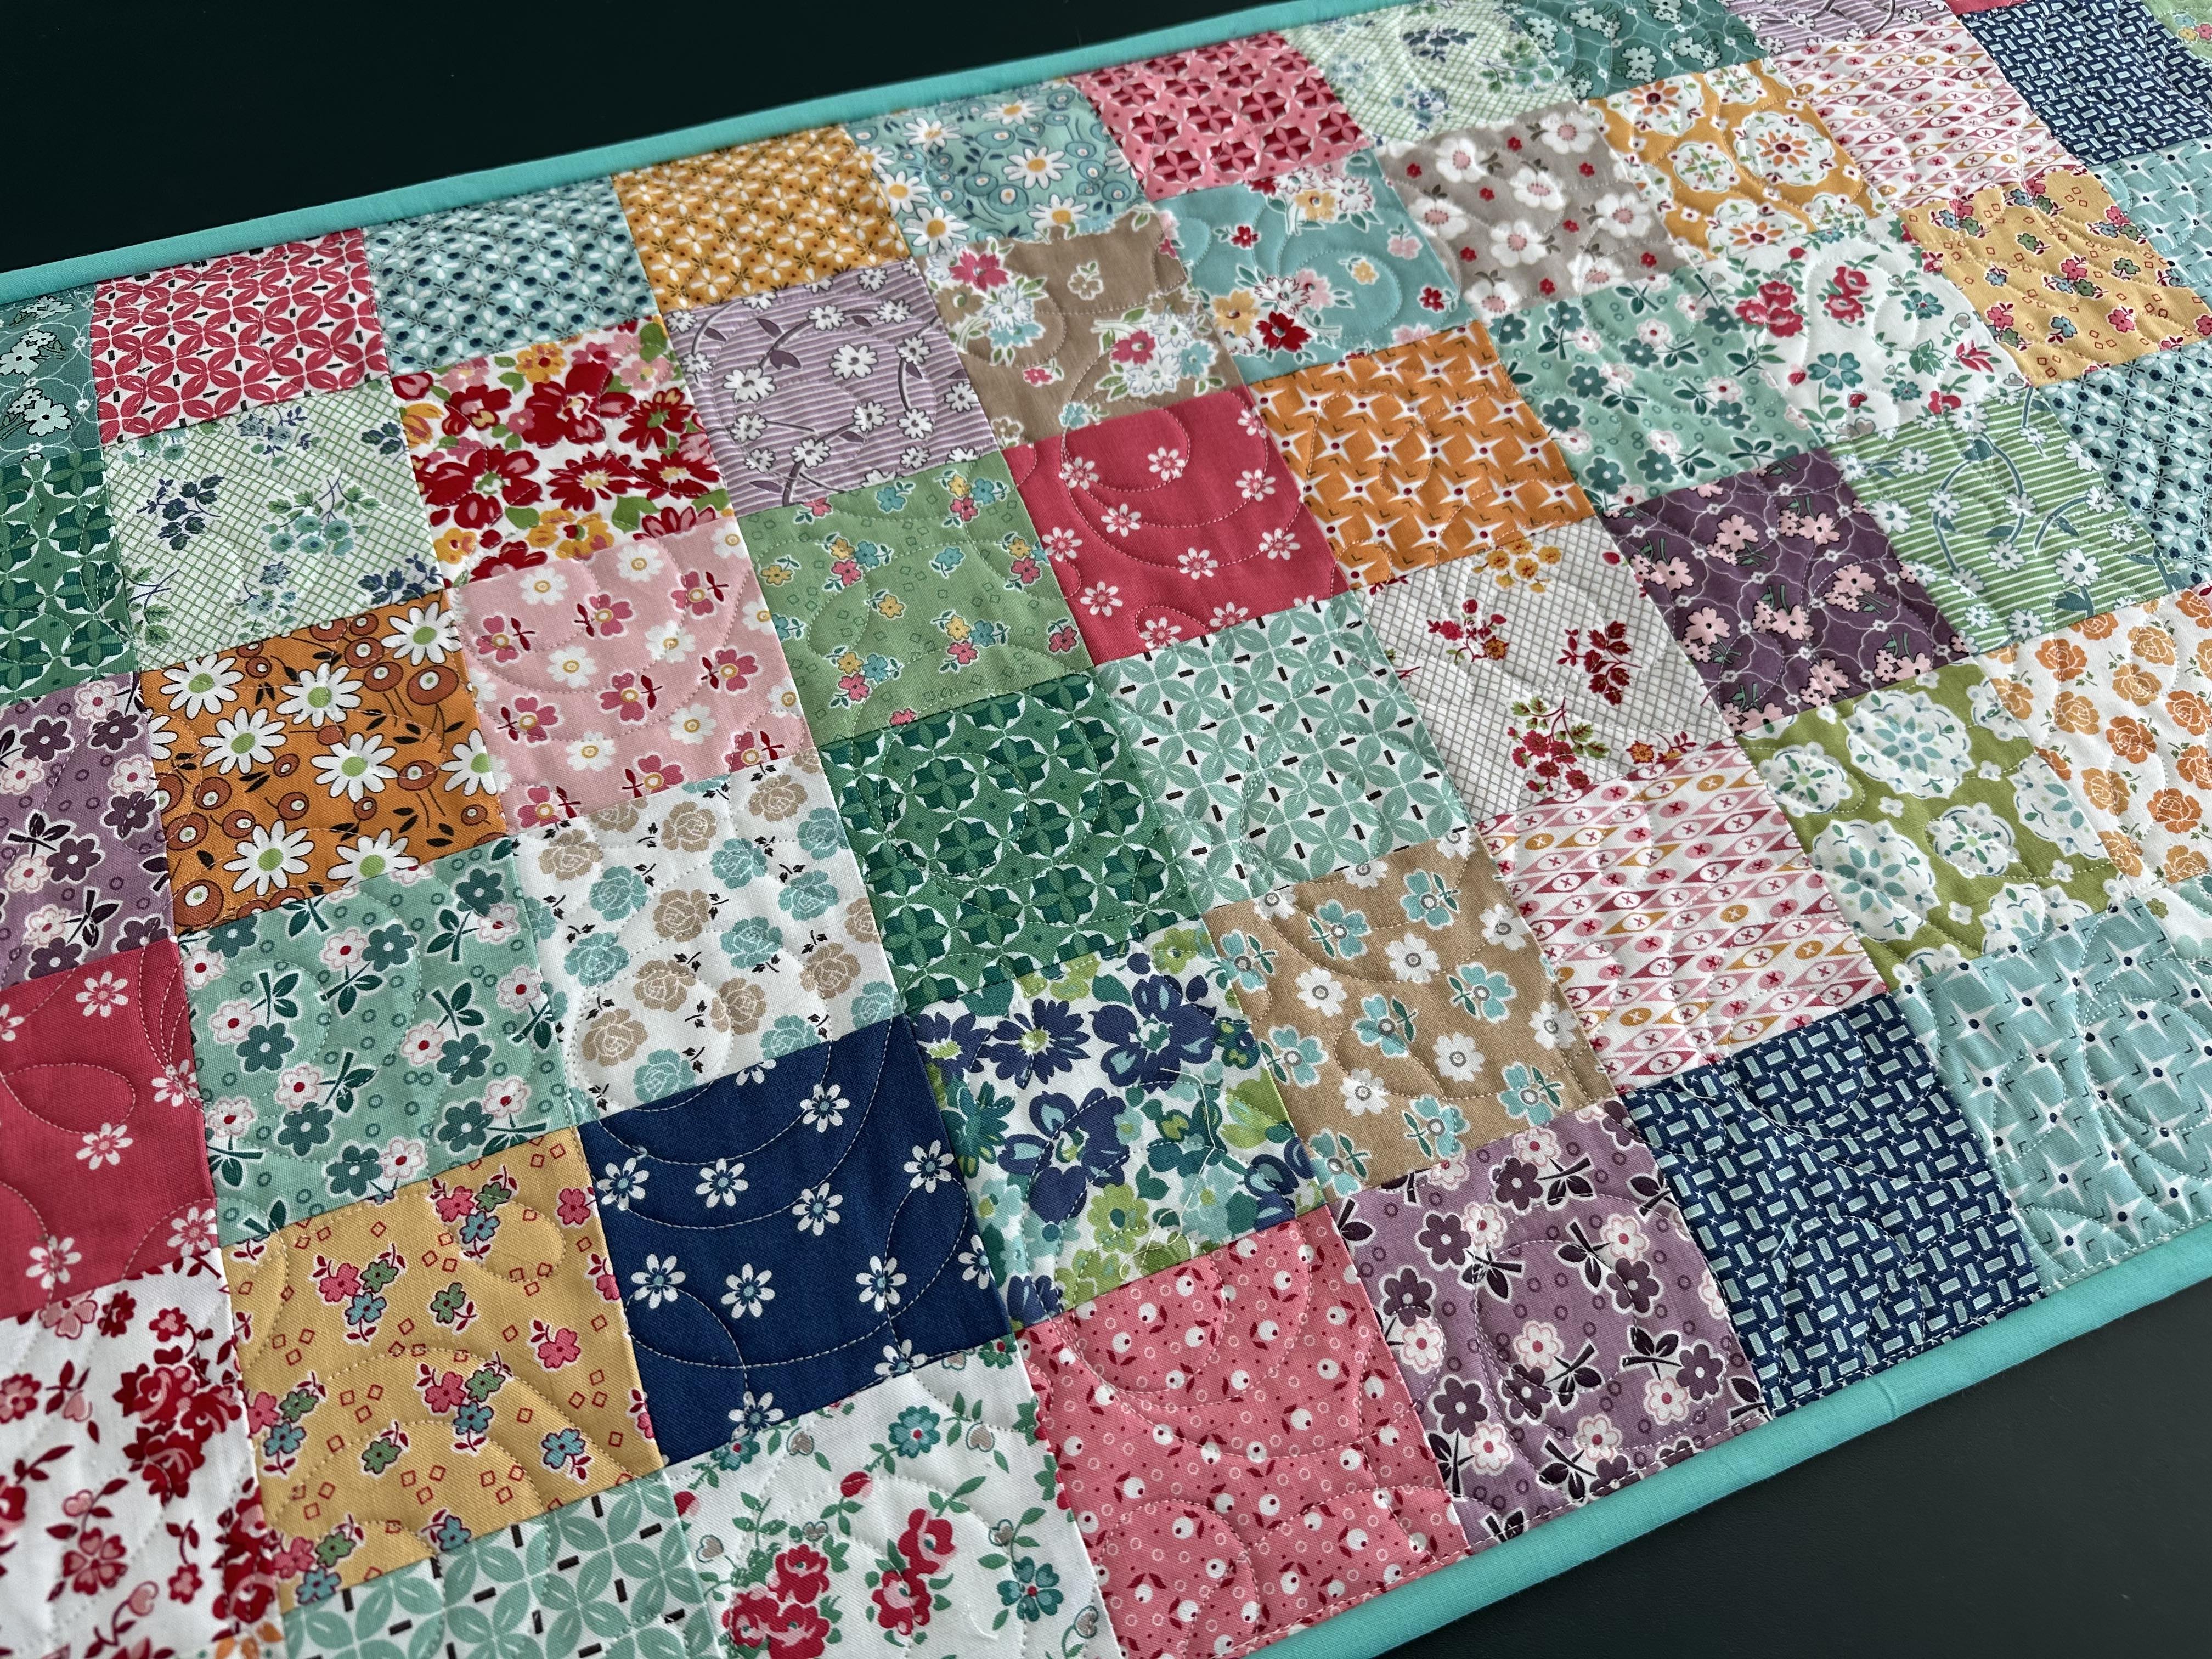
Completed Mat Cover
After completing the binding, I inserted the anti-fatigue mat into the quilted mat cover.
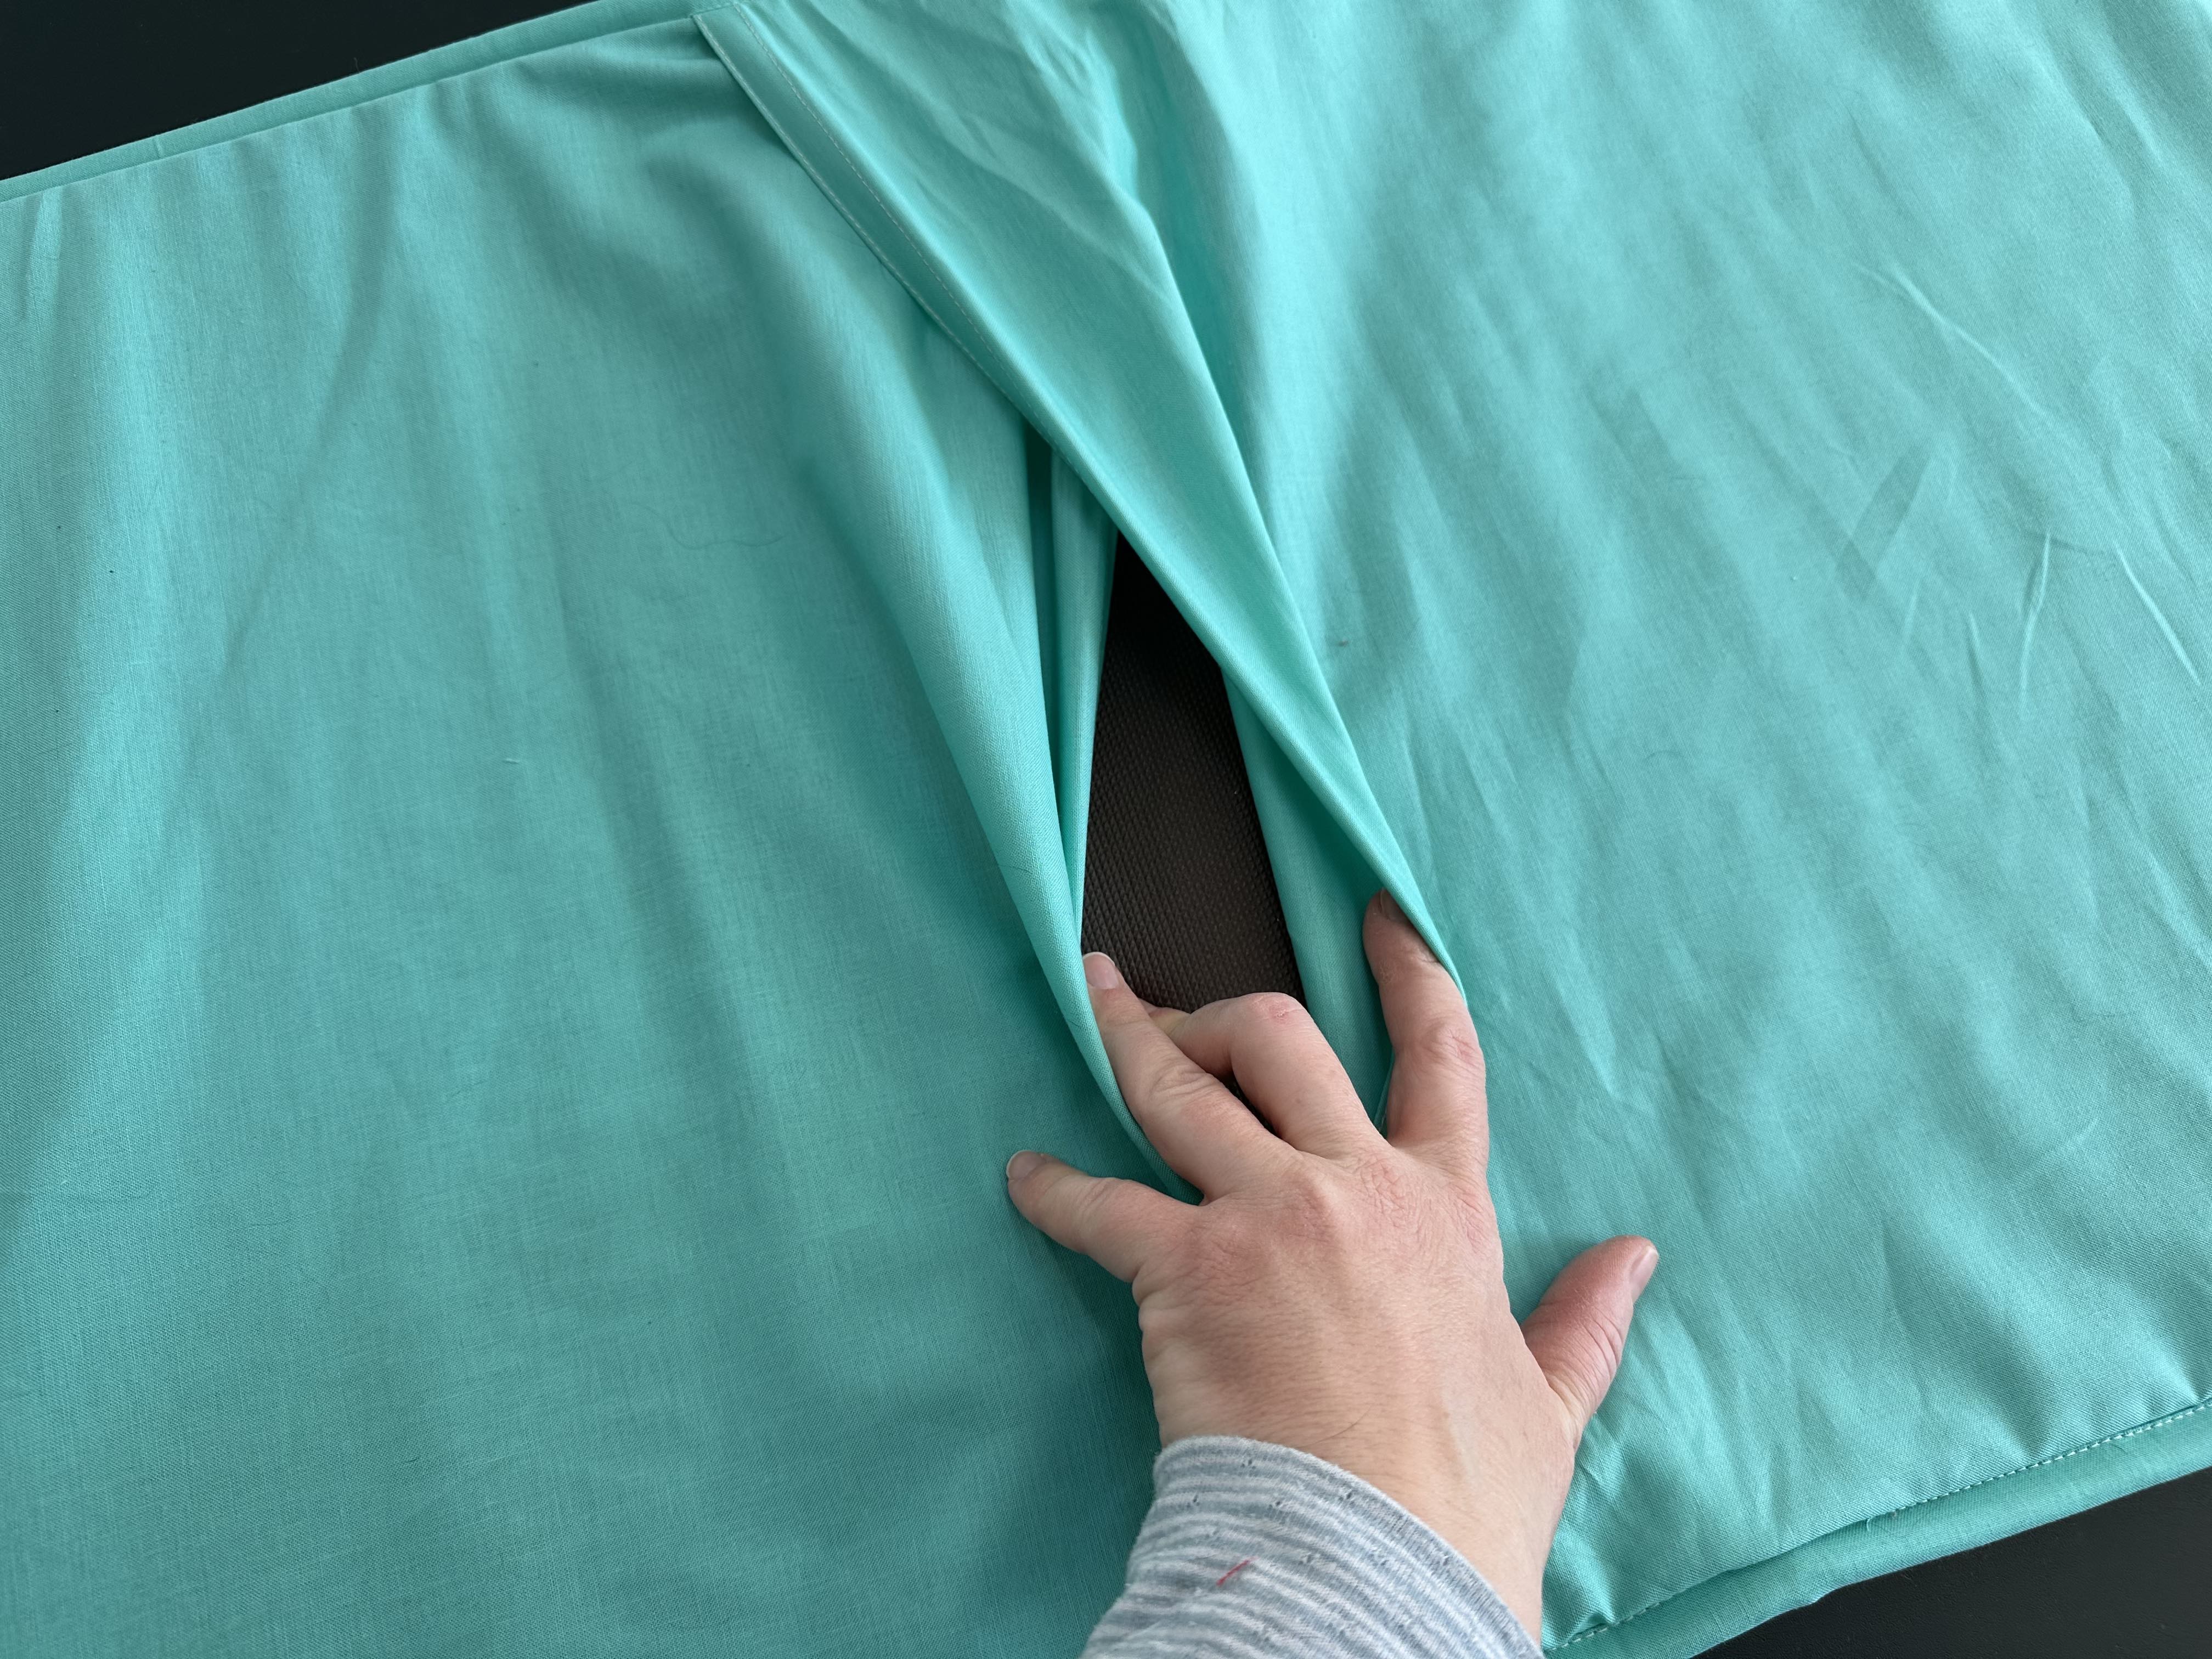
Completed Mat Cover
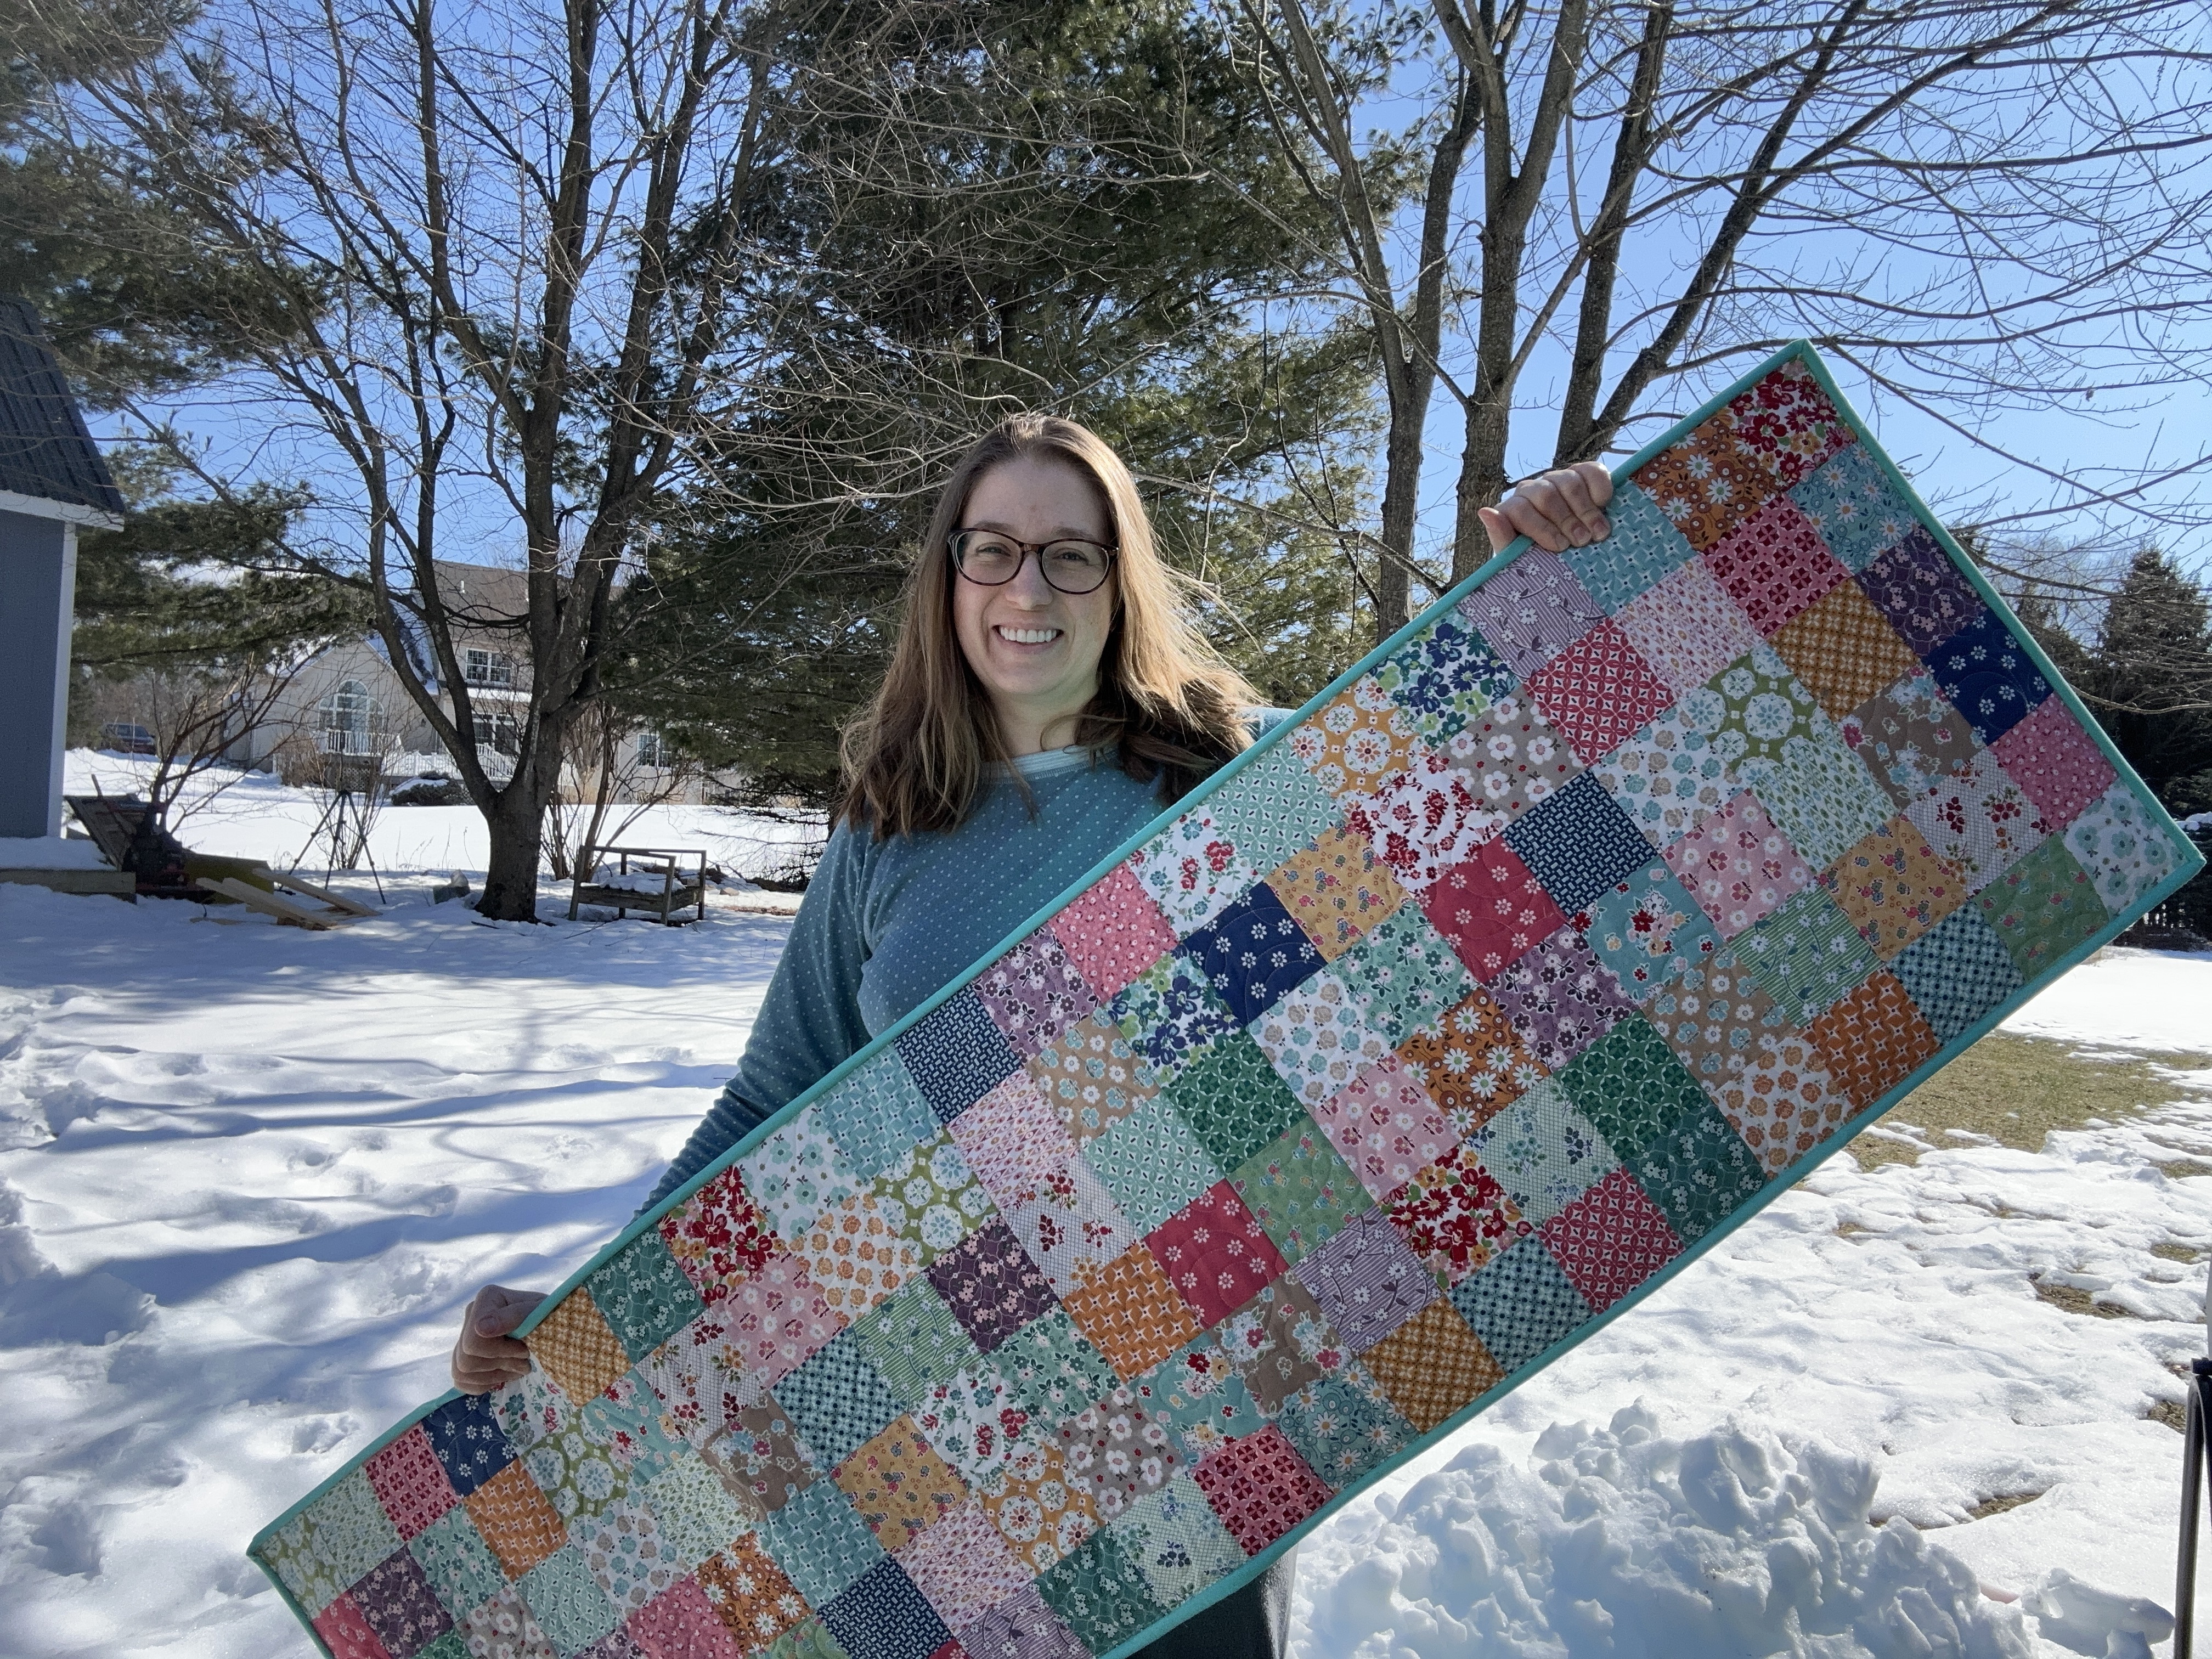
I’m so excited about how this quilted mat cover turned out! I absolutely love it and love how it looks in my kitchen.

Now that I have made one of these successfully, I’m definitely in for making more in other colors and designs.
Share Your Projects
If you make this project, you can share your progress and completed project on Instagram using the hashtags #quiltedmatcover #jessicadayonpatterns #berninausa #madetocreate
Used Products


What you might also like


One comment on “Quilted Anti-Fatigue Mat Cover”
Leave a Reply
You must be logged in to post a comment.

I love this idea. I have an old anti fatigue mat that is looking a little sad so this would be a fun useful project, but i am worried it would slip around on the tile floor