Christmas in July: Regency Gown Sewing Tutorial, Part Two

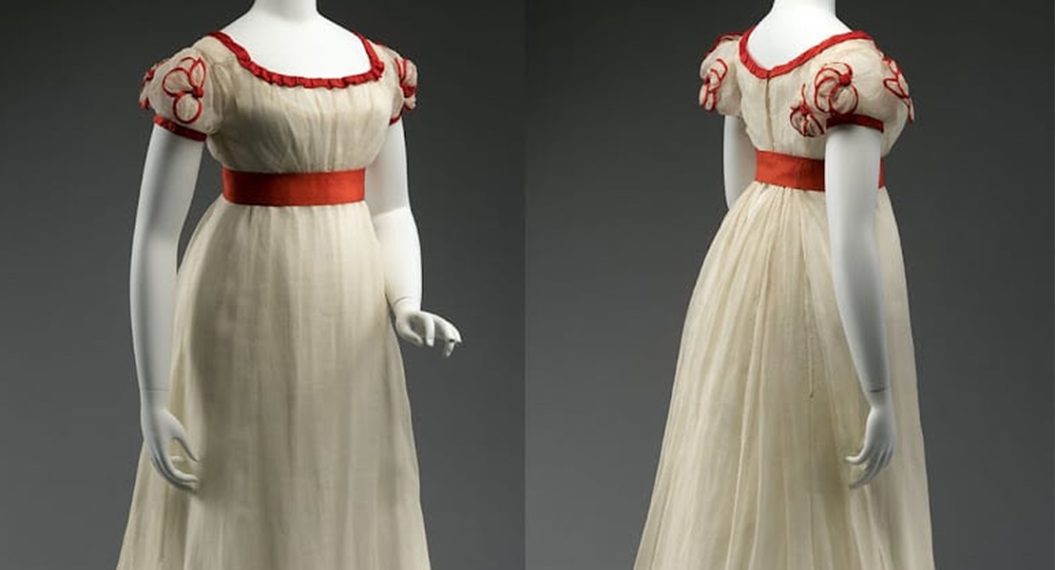
Hello Everyone! We are back, and let’s just jump right in to how I embroidered the bottom hem of my Christmas Regency Gown, inspired by this beautiful Evening Gown from the Met Museum’s Collection.
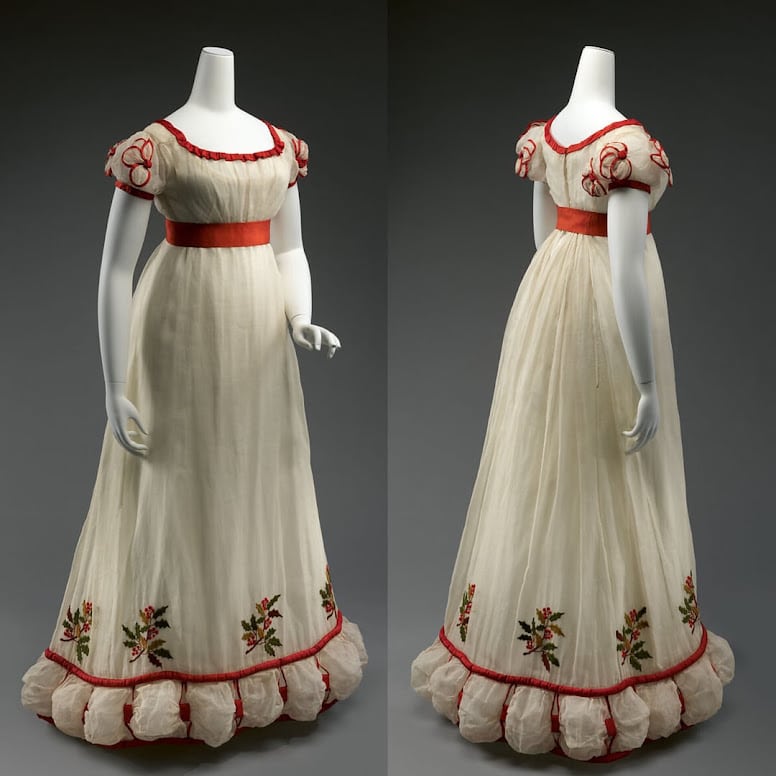
So, with my gown, I wanted to have the large Holly embroidery set around the hem, similar to what we see above. I particularly like this detail, and for this project specifically, I wanted to challenge myself to do repeat embroidery–and this is how I did it.
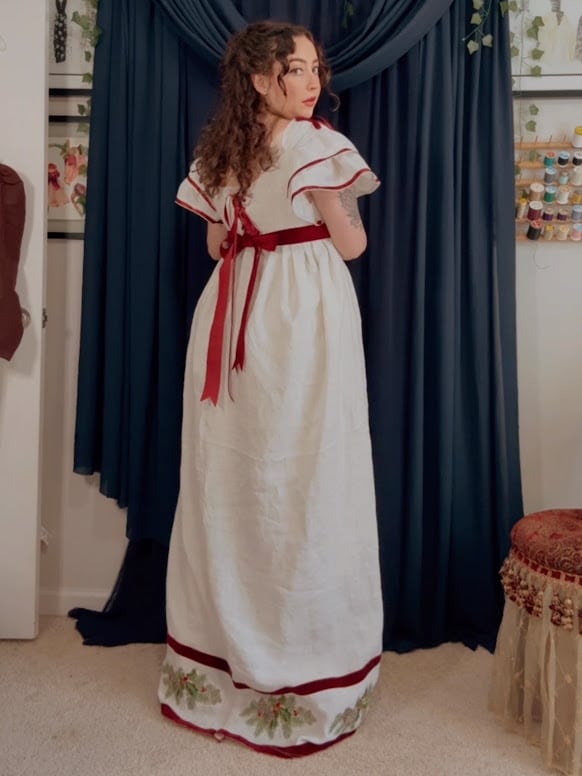
Embroidering the Christmas Regency Gown
First, you are going to figure out where on your sewing pattern you want the repeat embroidery to go. Then, depending on that pattern piece, you should trace it onto your fabric–either with chalk, an erasable marker, or with thread, but do not cut out your pattern piece. We embroider first, then check the pattern piece and make sure the placement and grain lines are good, we make any adjustments, then cut. For me, my placement was on the hem, so I had to make sure I had enough fabric to make the skirt happen.
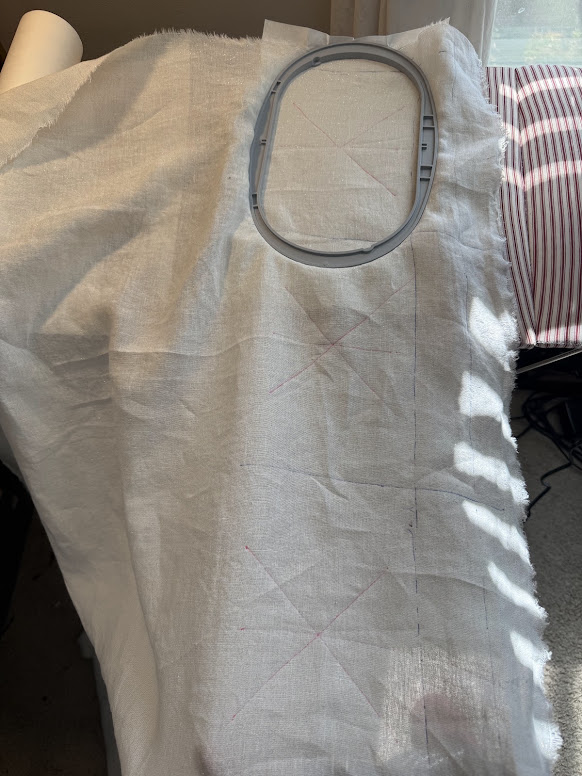
Here you can see that along the edge of the fabric, I marked where the hem would end, plus seam allowance. I gave extra room so I could appropriately hoop the fabric too.
I also drew a line where I would put my red ribbon trim, as I was planning on using it to frame either side of the embroidery, and then I marked my embroidery squares. This is where it is important to know your game plan BEFORE embroidering.
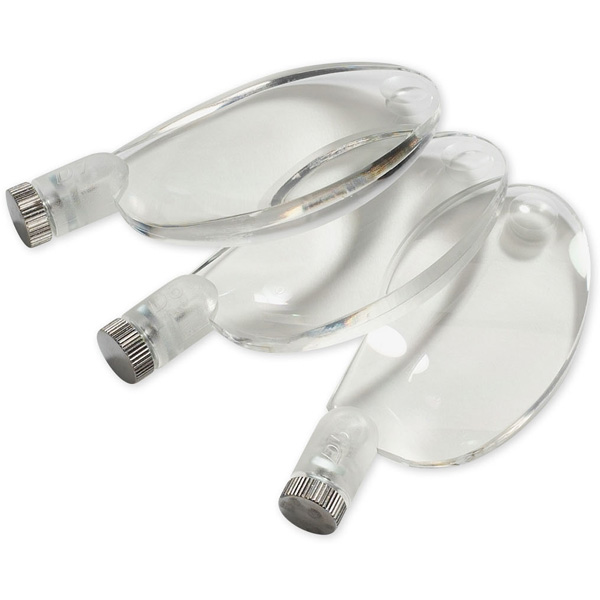
Each embroidery square is equidistant from each other, and I marked out a cross for the frame of the hoop using the hoop grid that came with it. I used this plastic hoop grid each time I hooped my fabric to make sure the embroidery was level with the hem and in the same alignment as the others.
This is honestly the hardest or most tedious part–figuring out the ratios within a given space, but if I can do it, so can you! And making sure this is all set up, once that is done, you are good to go!
Hoop your fabric with your stabilizer and place it into the machine with your embroidery pattern all set up, and you are ready to go.
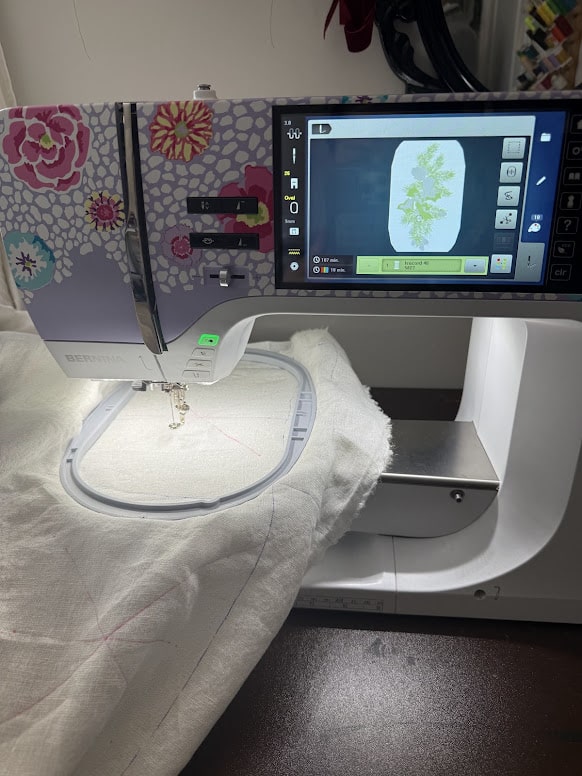
Thread up the machine and make sure your alignment is where you want it, then once you are ready, press the green button!
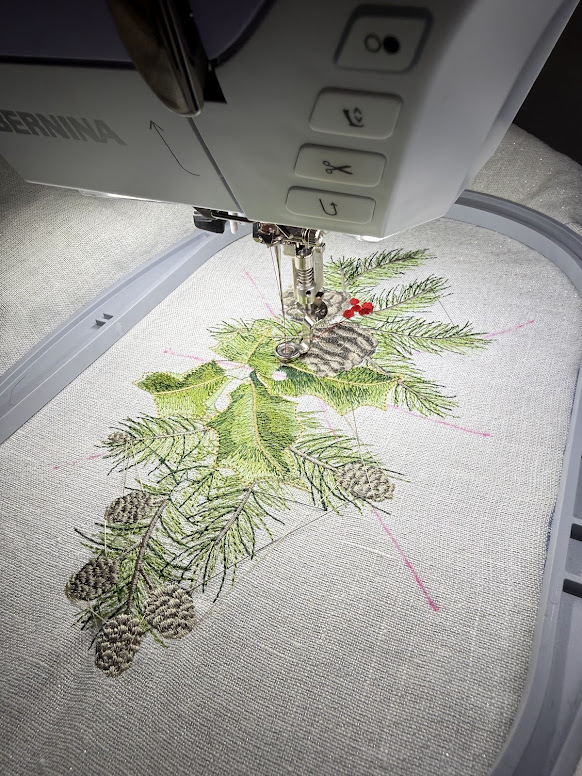
Consistency Is Key
Once you have perfected it for the first time, you get to do it over and over again, haha! What I love about the B 770 QE PLUS is that when the embroidery is finished, the little finish flag icon comes up, and once you press done, it goes right back to the beginning of your embroidery set. So if I trust my placement and I check my alignment, I can get pretty identical embroidery placement every time, which was the best part about this project. Once I had three and four embroideries stitched out, I was starting to see this dress come to life!
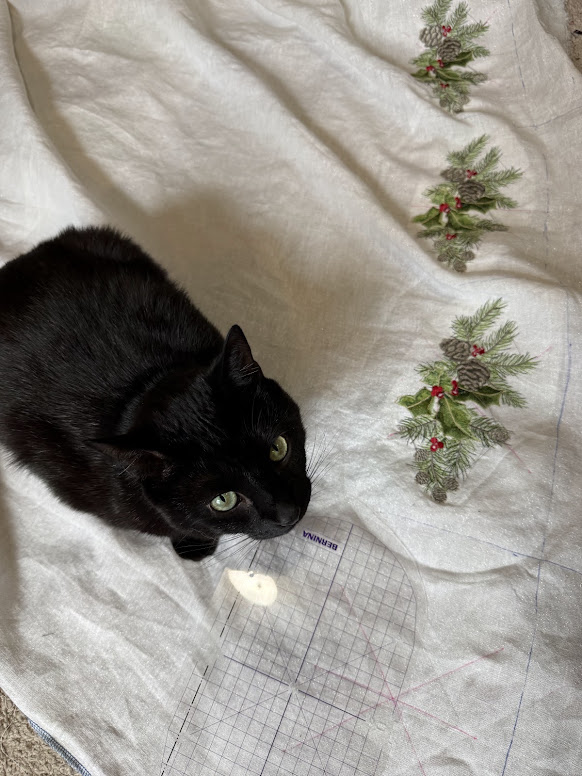
Honestly, I do not remember how long this took, but I think pretty much two days, because I would get distracted walking away for other things, but that’s okay–I had the bodice and sleeves to prep as well, so I tried to use the time while the embroidery was stitching up wisely. And if I’m honest, I just sat there half the time–I love sitting and watching the machine stitch out these designs. It was really satisfying to watch!
Overall, I thought the embroidery turned out so beautiful, and what would have taken me months of precise handwork, the B 770 QE PLUS turned it into a two-day stitching extravaganza, and I’m so happy with the results!
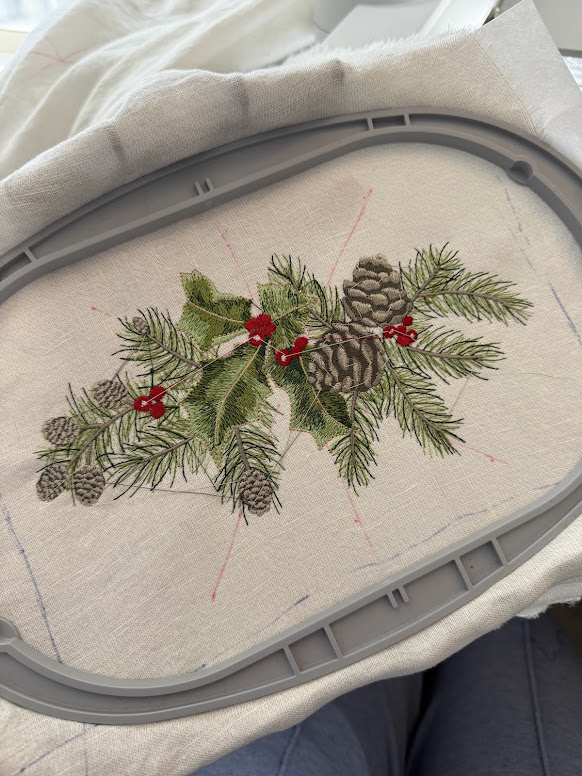
Alright, come back for part three, where we put the whole dress together! I hope you are enjoying this series as much as I am and are excited for the outcome!
Jessica Cronin is a costume designer and historical fashion enthusiast. If you want more projects like this, you can find her on YouTube, Instagram, Facebook, and TikTok (@jesscronindesigns)
What you might also like


One comment on “Christmas in July: Regency Gown Sewing Tutorial, Part Two”
Leave a Reply
You must be logged in to post a comment.
This is such a special tutorial from an inspiration perspective, applying techniques to other projects and enhance overall sewing skills.