Winter Garland, Part Two
In Part 1 of Winter Garland, I showed you how to make many snowflakes using BERNINA Embroidery Software 9, the BERNINA CutWork Tool and your embroidery machine. Now it’s time to string them together to make some garlands.
I seem to have accumulated quite a thread stash and I decided to use my overlocker to combine these pretty threads to make the cording to string my snowflakes together. The cording is also useful for making tassels or to couch onto a sewing or quilting project for some texturized pizzazz.
Materials and Supplies
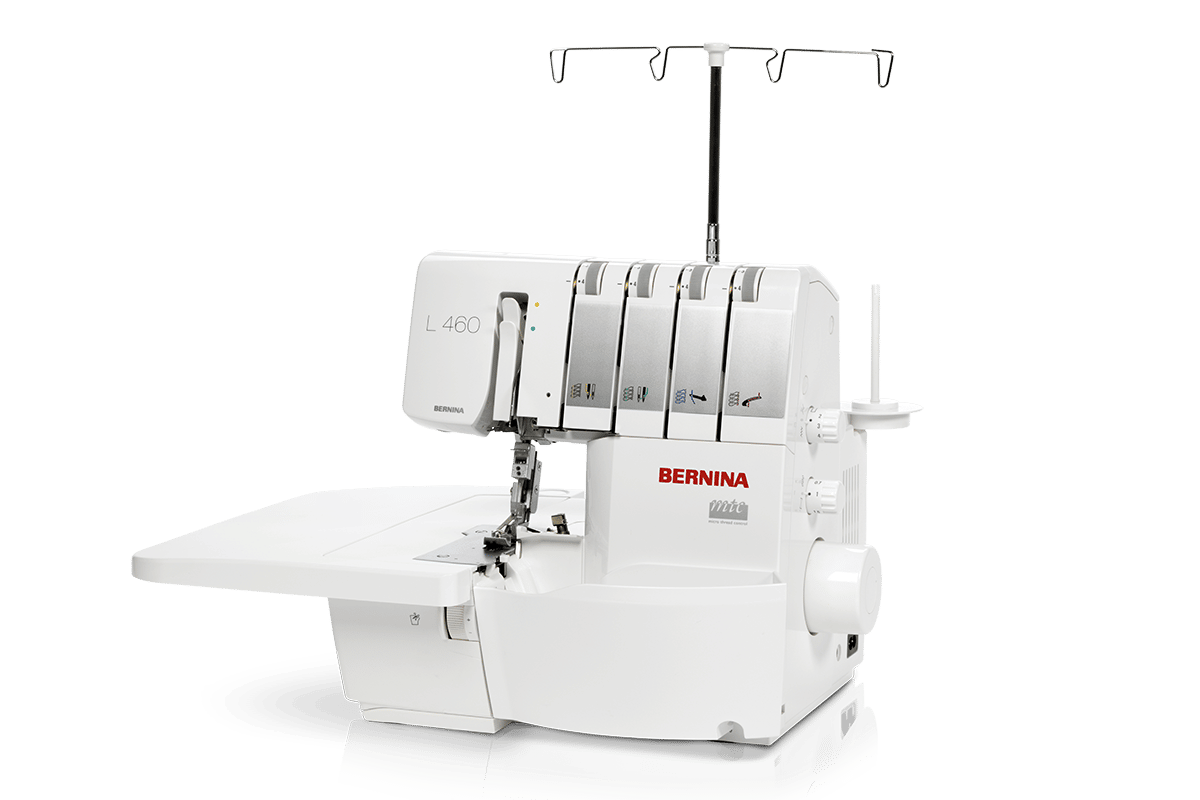
- Overlocker (I used the L 890)
- Cording Foot (I used Cording Foot #C17)
- Assorted decorative threads
- Serger cone thread and embroidery thread
- Large eyed sharp needle, such as a chenille needle
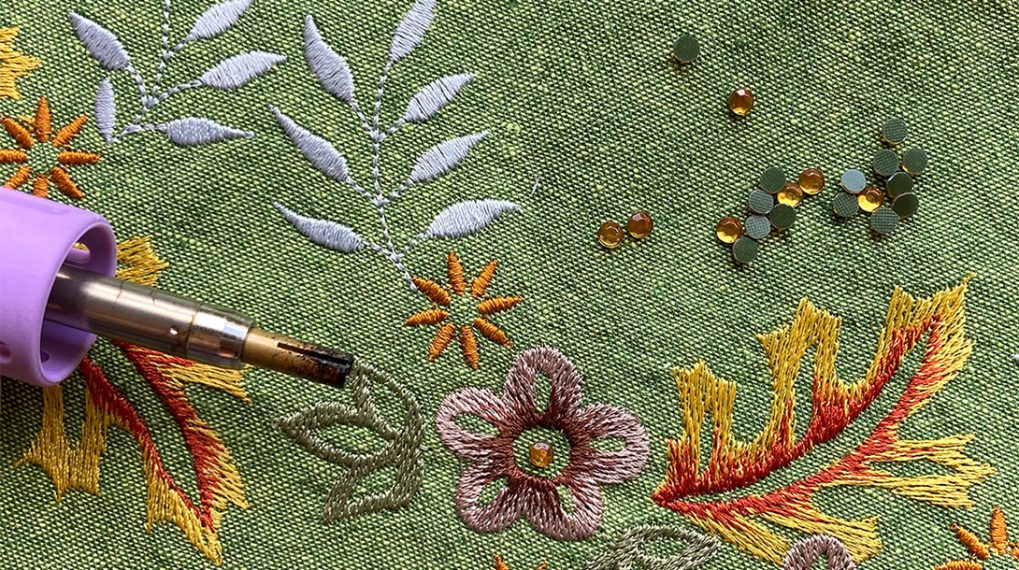
- Cut snowflakes
- Basic serging supplies
Making the Decorative Cord
On the overlocker, you can use a rolled hem stitch to make custom cording. If you have a Combo machine or a Chain-/coverstitch Machine, you can also use the chainstitch.
BERNINA L 460
BERNINA L 890
bernette 62
If the thread can fit through the eye of the looper you can probably stitch with it. But you definitely want to test. Adjust tensions and/or install a Decorative Thread Guide as needed. A thread cradle is helpful for threading multiple strands through the loopers. If you are using an air-threading machine, you might want to circumvent the threading nozzle when working with thicker threads. Consult your machine manual for information on how to do this.
You will need to apply slight tension to the finished cord as it exits the foot, as there isn’t any fabric to help feed it through. When making chainstitch cording, it is best to start on a scrap of fabric to bring up the thread in the chain looper.
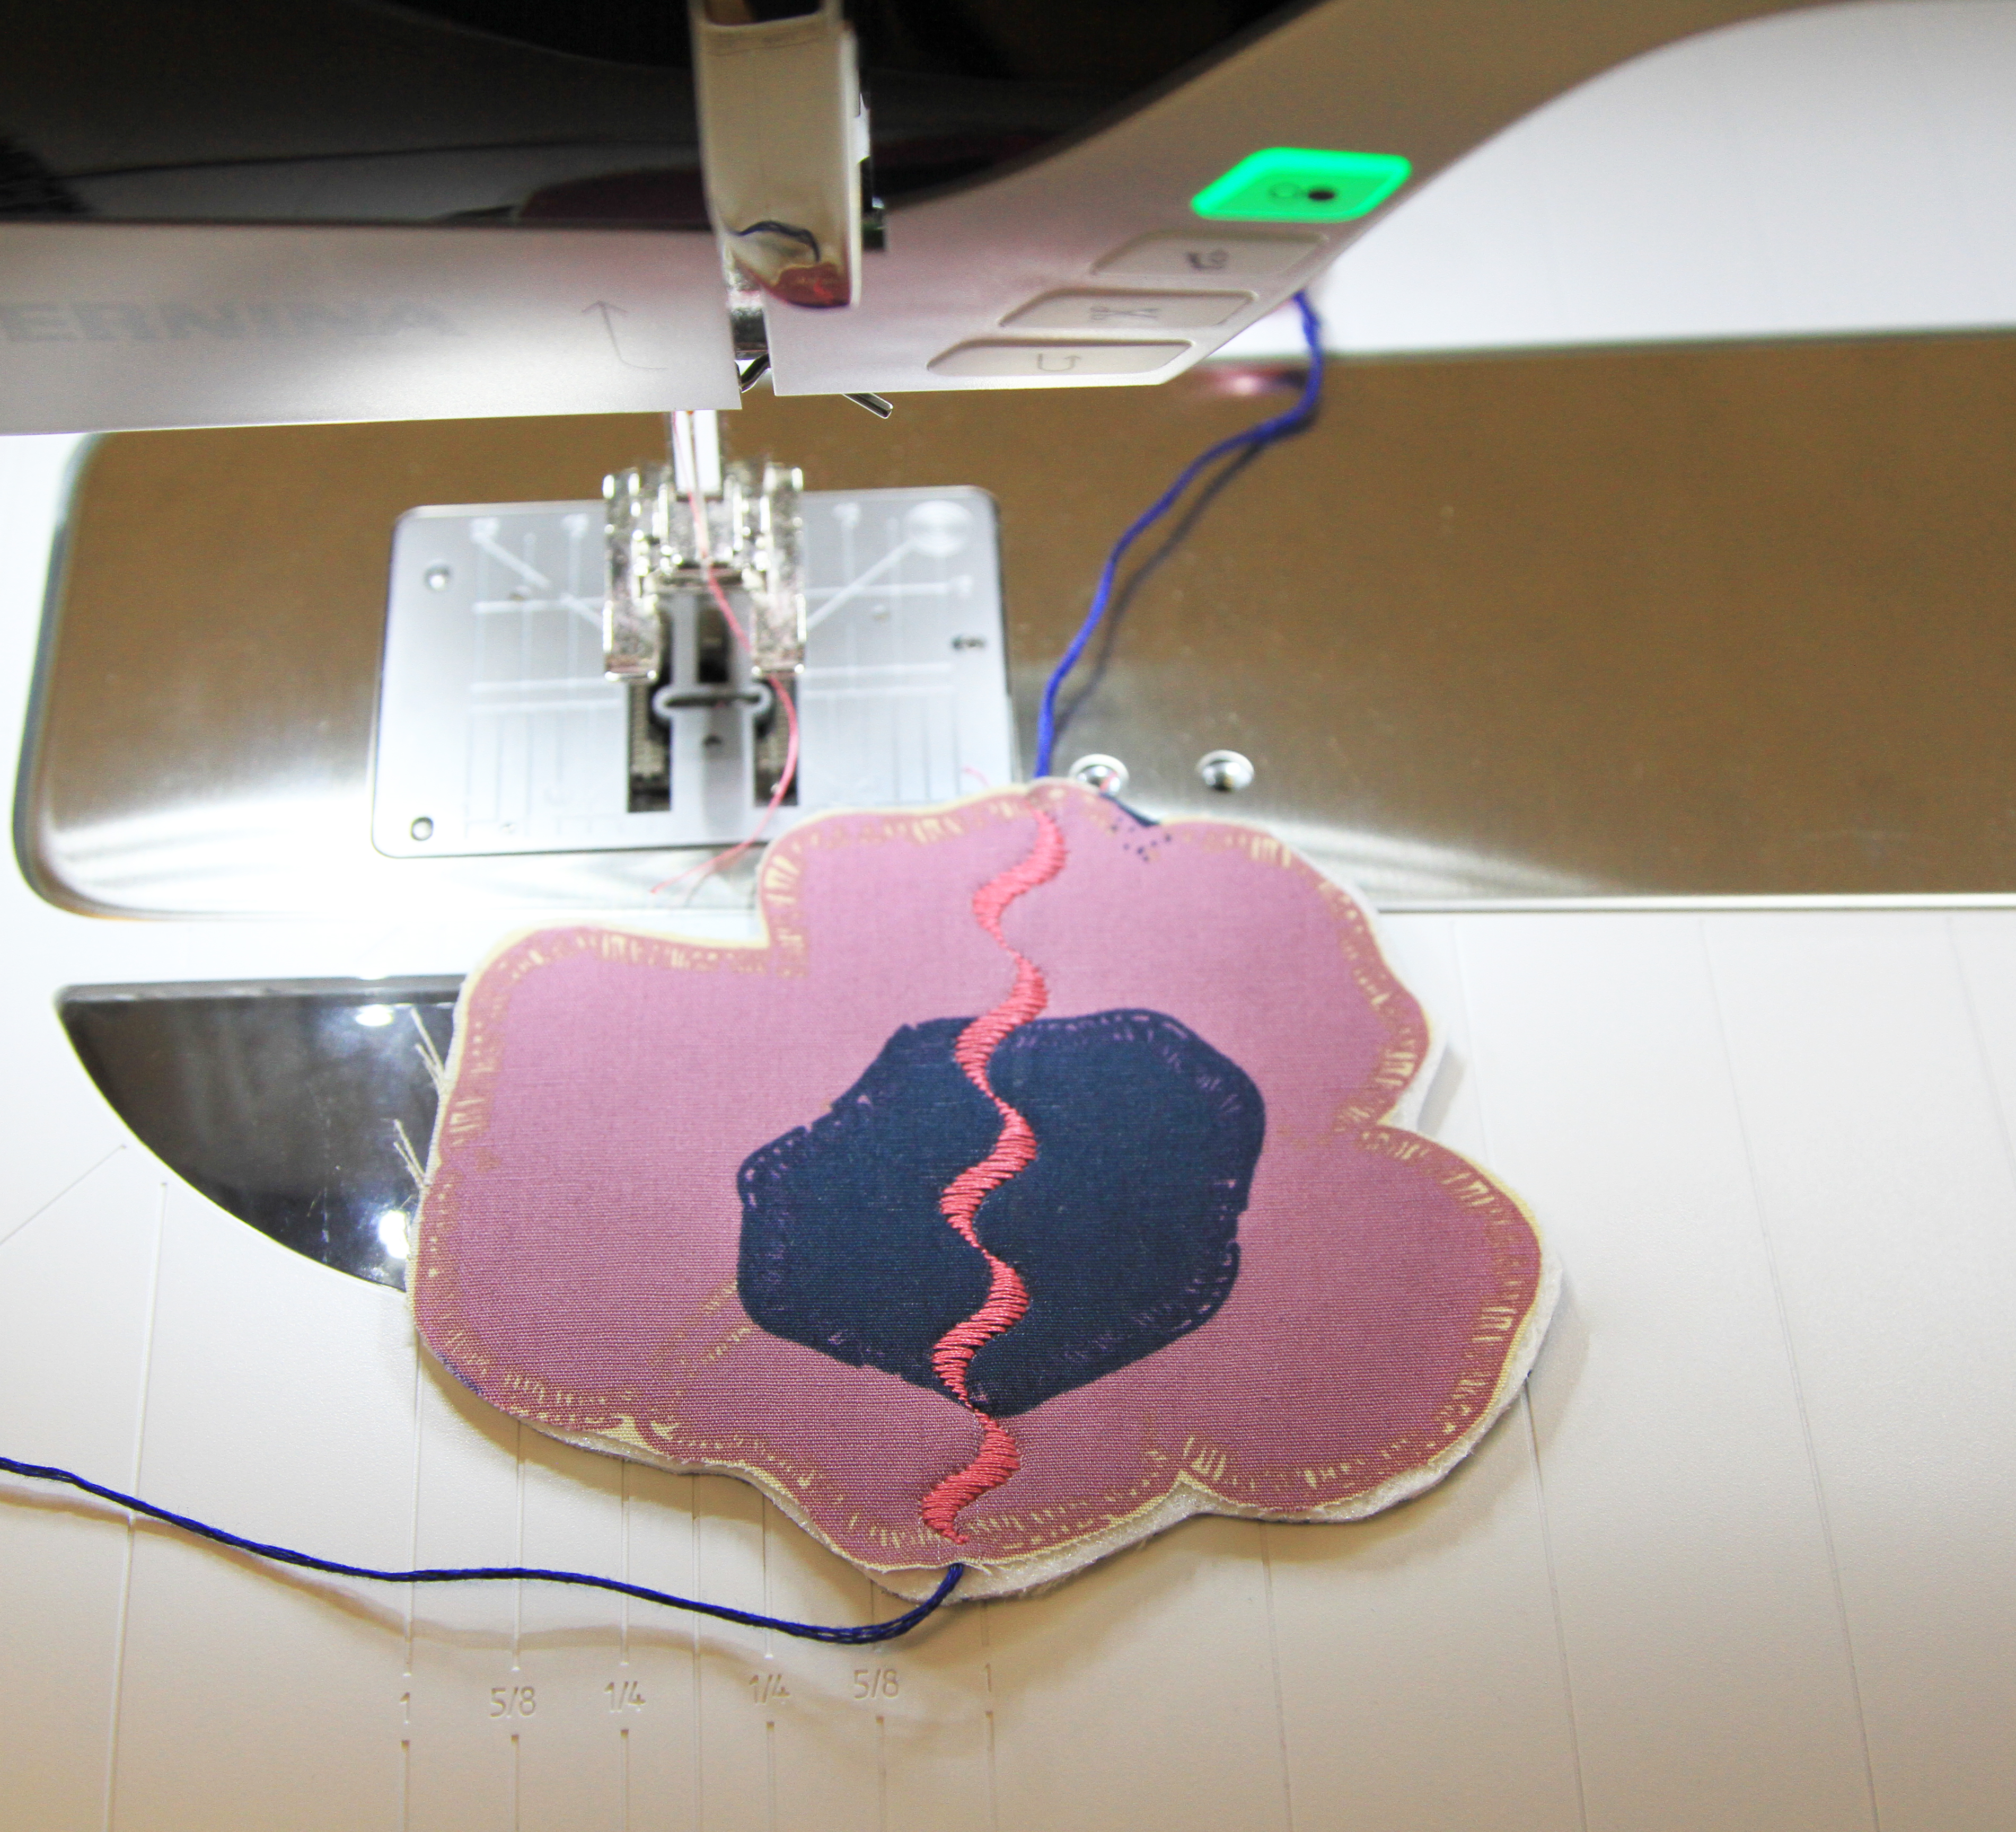
I like to use a cording foot when stitching rolled hem cording. It has a groove on the bottom of the sole that allows the cord to move smoothly under the foot. On the L 8 Series overlockers, this is foot L17/C17.
L 8 Series Cording Foot
There is also a new cording foot for the L 450 /L 460.
L 4 Series Cording Foot
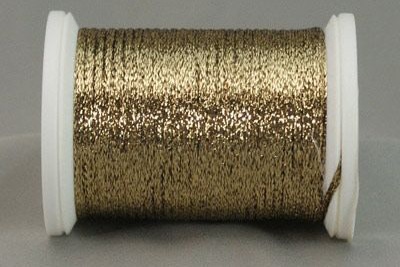
I tested a variety of WonderFil threads (Spagetti, GlaMore, Razzle, Dazzle and Eleganza 5wt on a spool). I also tried out a spool of YLI Quilt Highlights Metallic. This thread is actually more of a braid and it worked very nicely in the chain looper. I used either coordinating Seracor serger thread or Isacord embroidery thread in the needle.
Spagetti
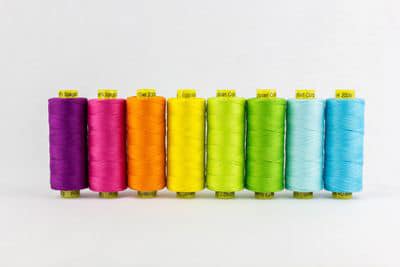
GlaMore

Quilting Highlight
One thing I learned was that lowering your sewing speed is very important. This applies any time you are using decorative threads, whether serging OR sewing.
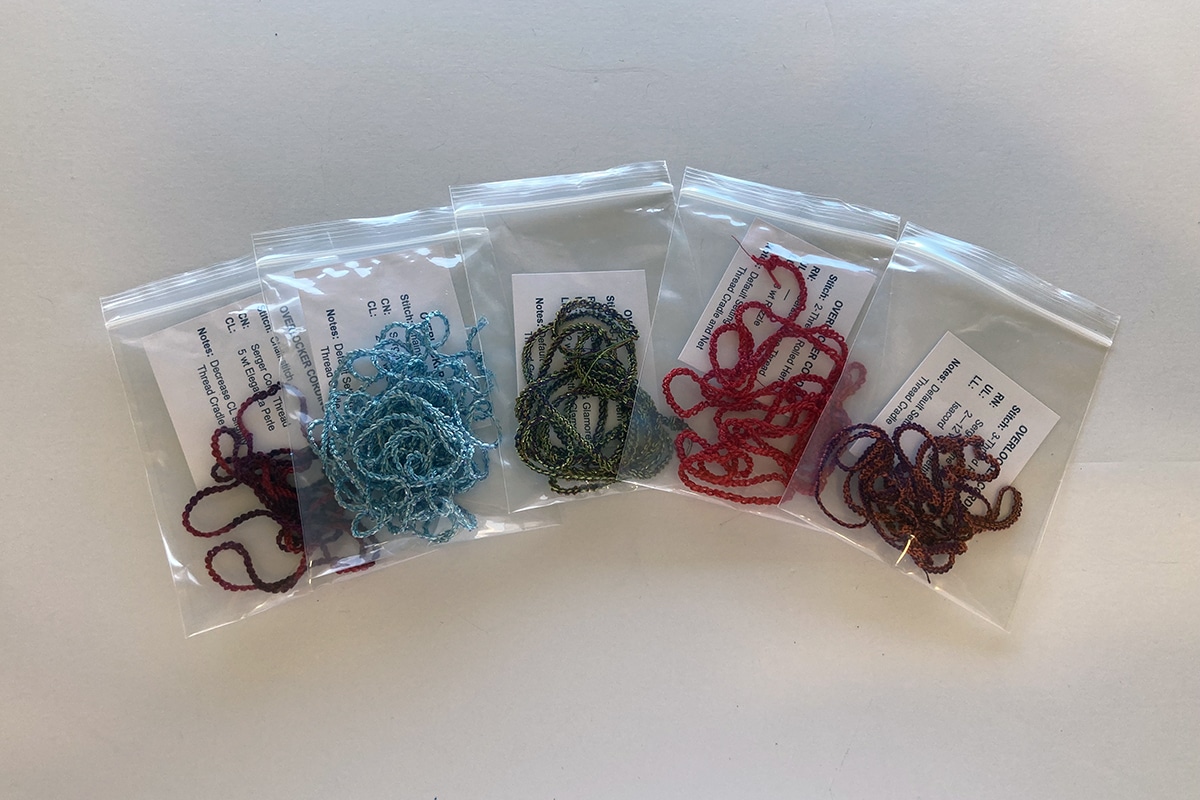
I ended up with a nice assortment of samples. I decided to make notes about settings and sorted them into small baggies. Now I have a reference library for the next time I make cording!
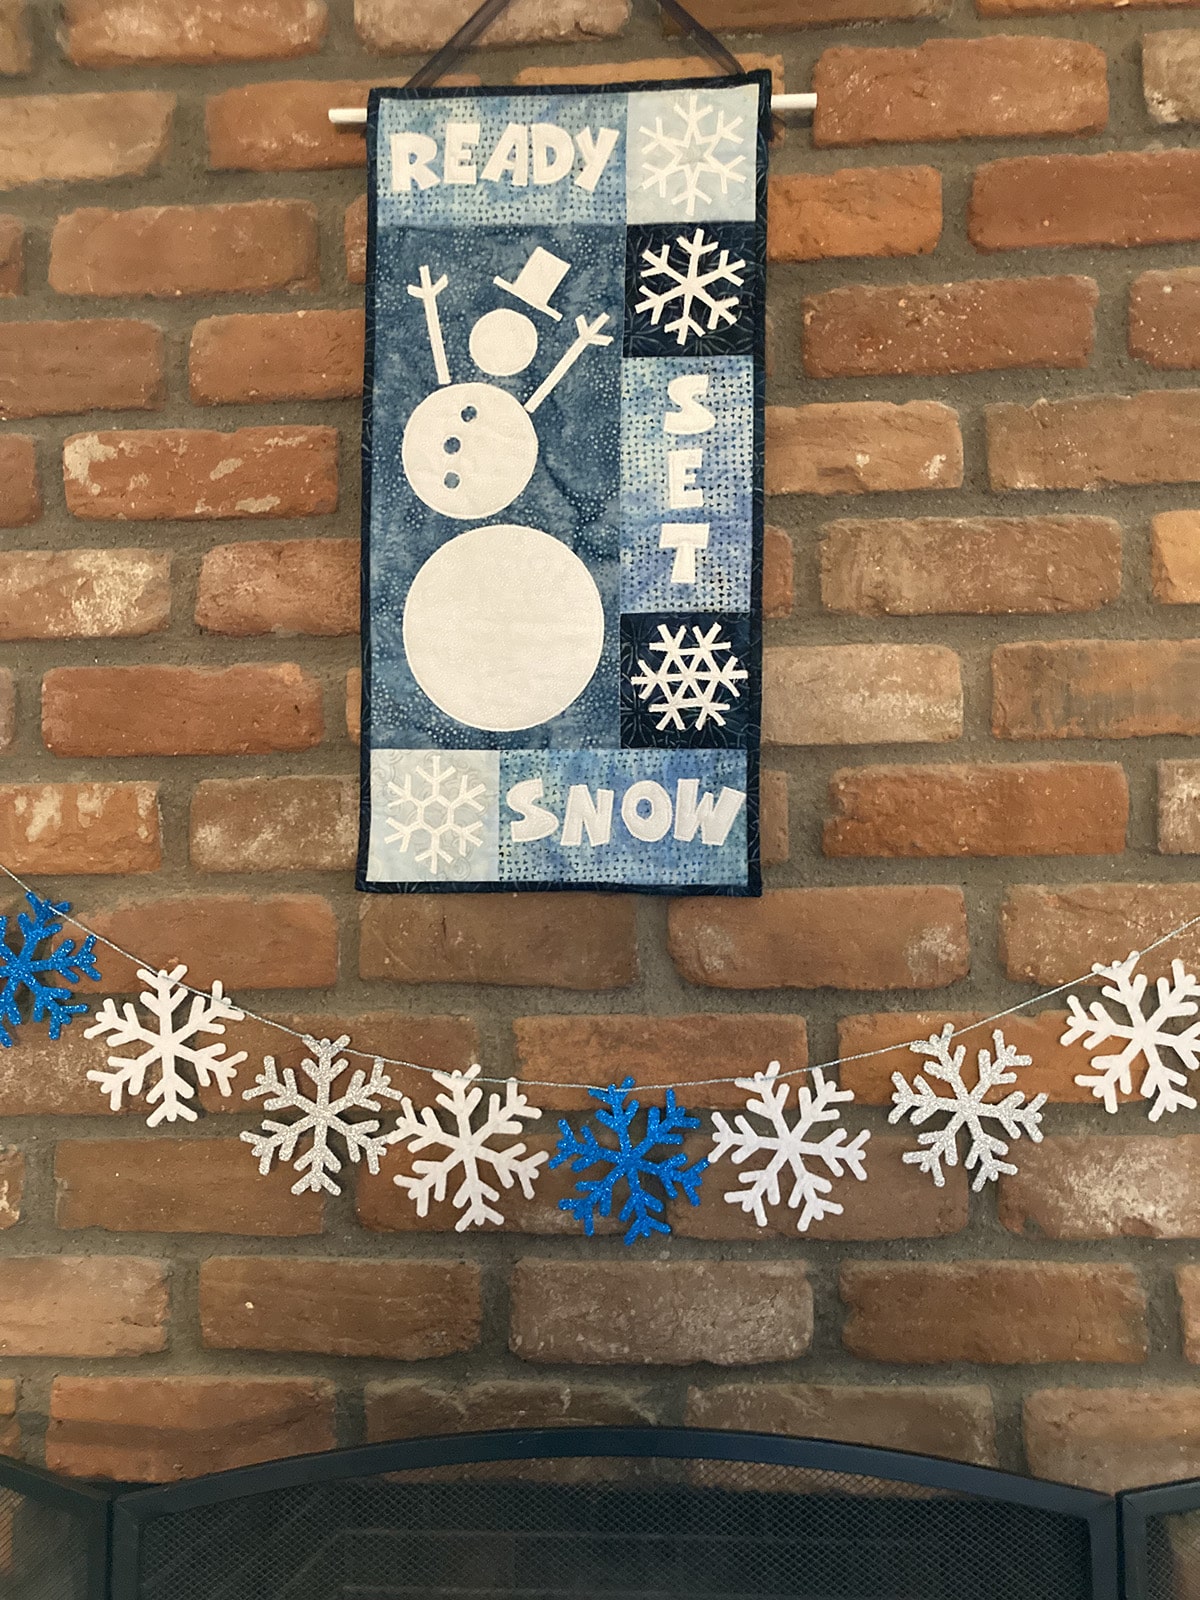
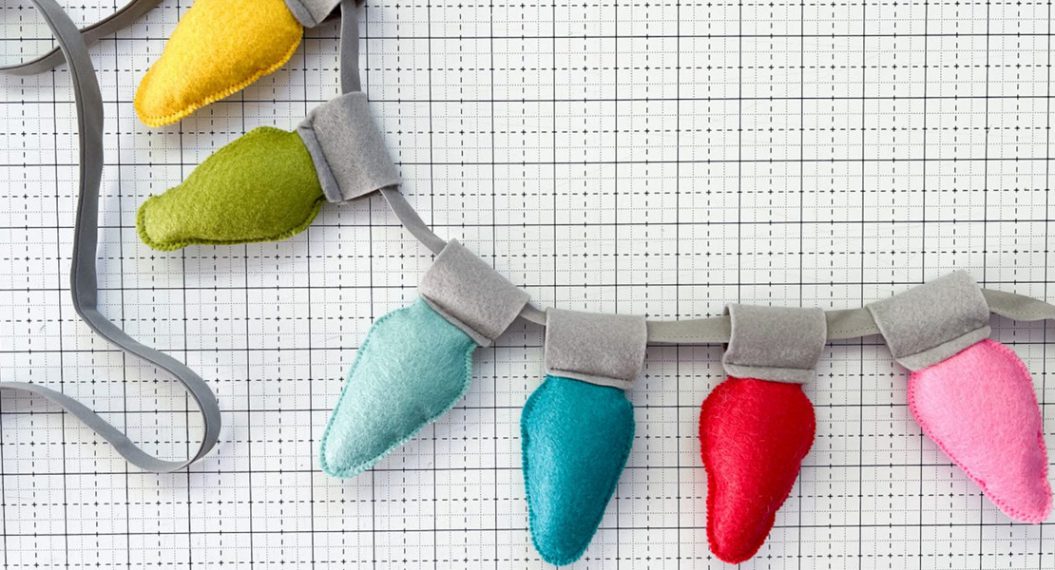
Making the Garland
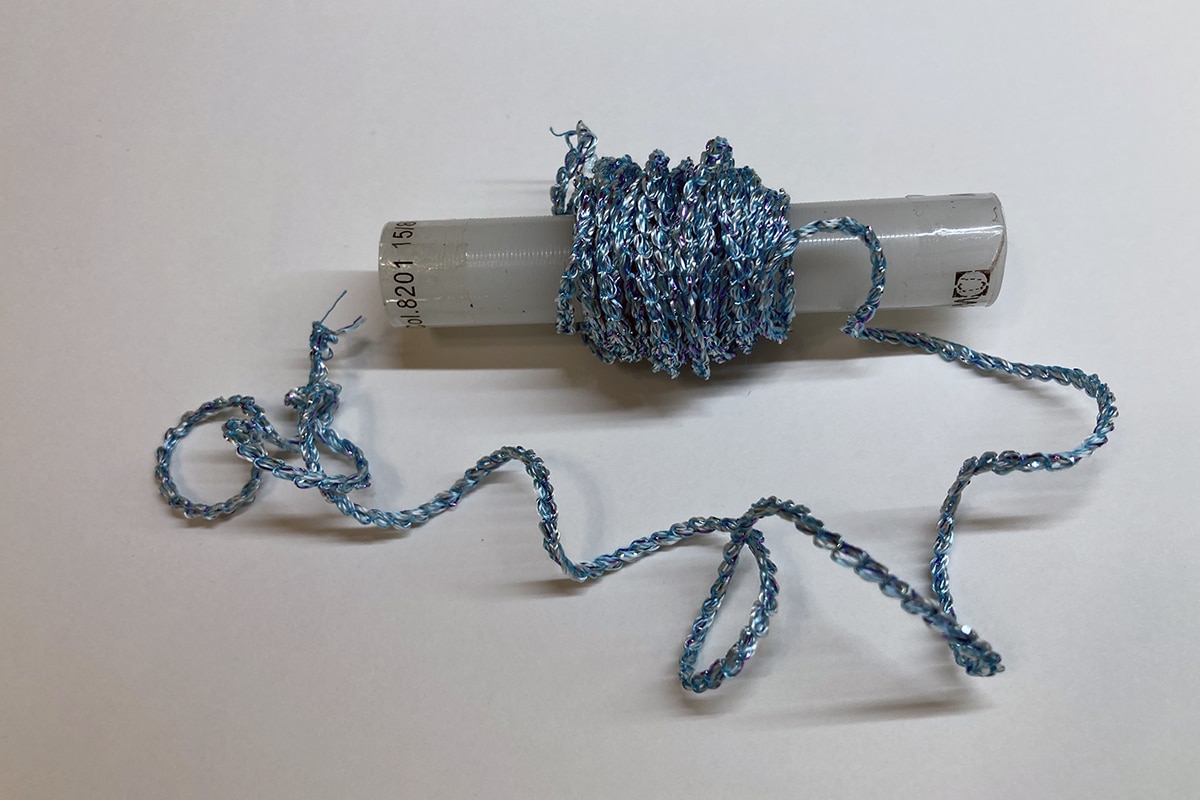
Now that you have tried out making different kinds of cording, choose your favorite. Mine turned out to be a chainstitch using two strands of Glamore thread in the chain looper. Chain off a length of cord that is longer than your planned finished garland. It’s better to have more than not enough! I wrapped it around an empty spool to keep it from getting tangled.
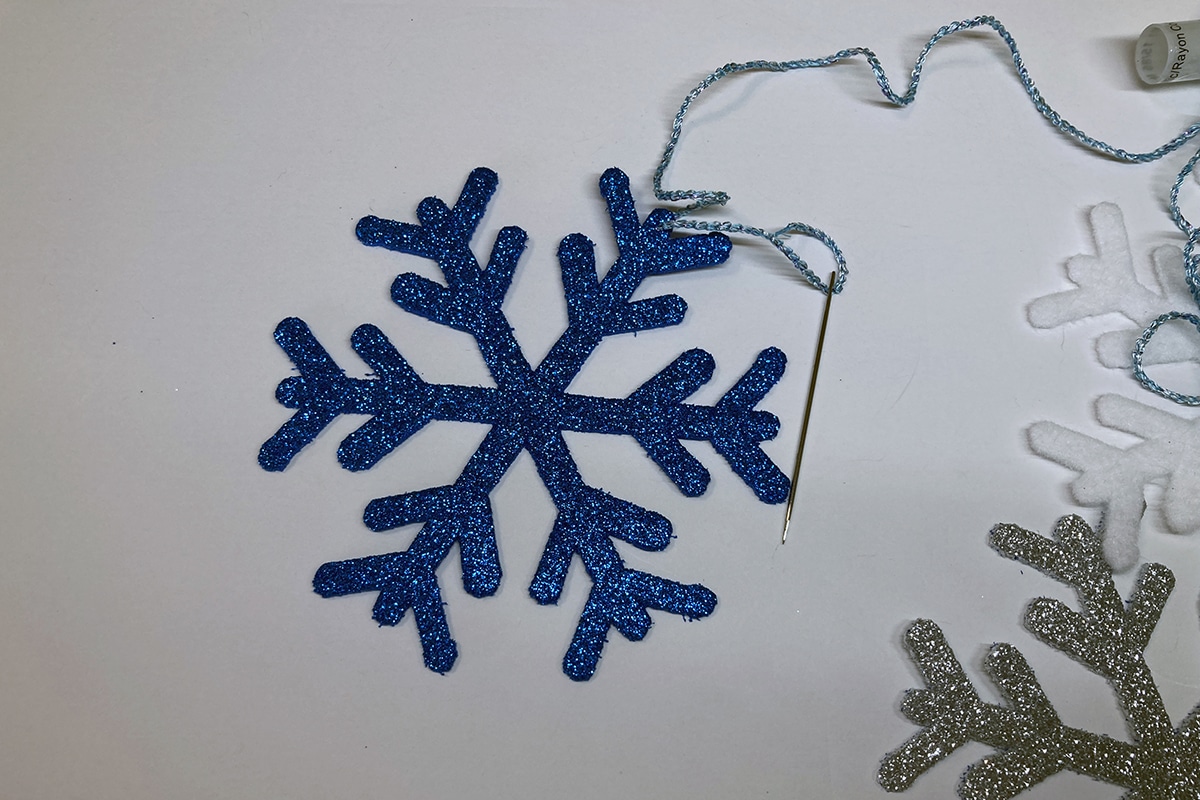
Thread your cord onto a large eyed needle (chenille works great) and sew through the tip of one branch on each of your snowflakes. Make sure you plan to leave a long tail of thread at the beginning and the end. Once you have enough snowflakes for your garland, adjust their spacing.
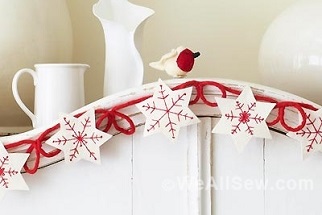
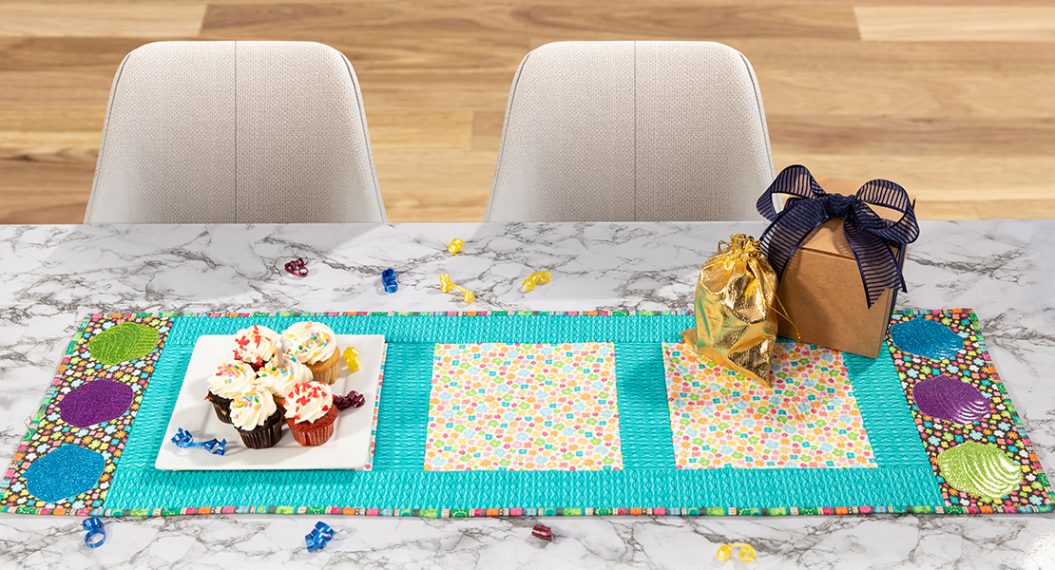
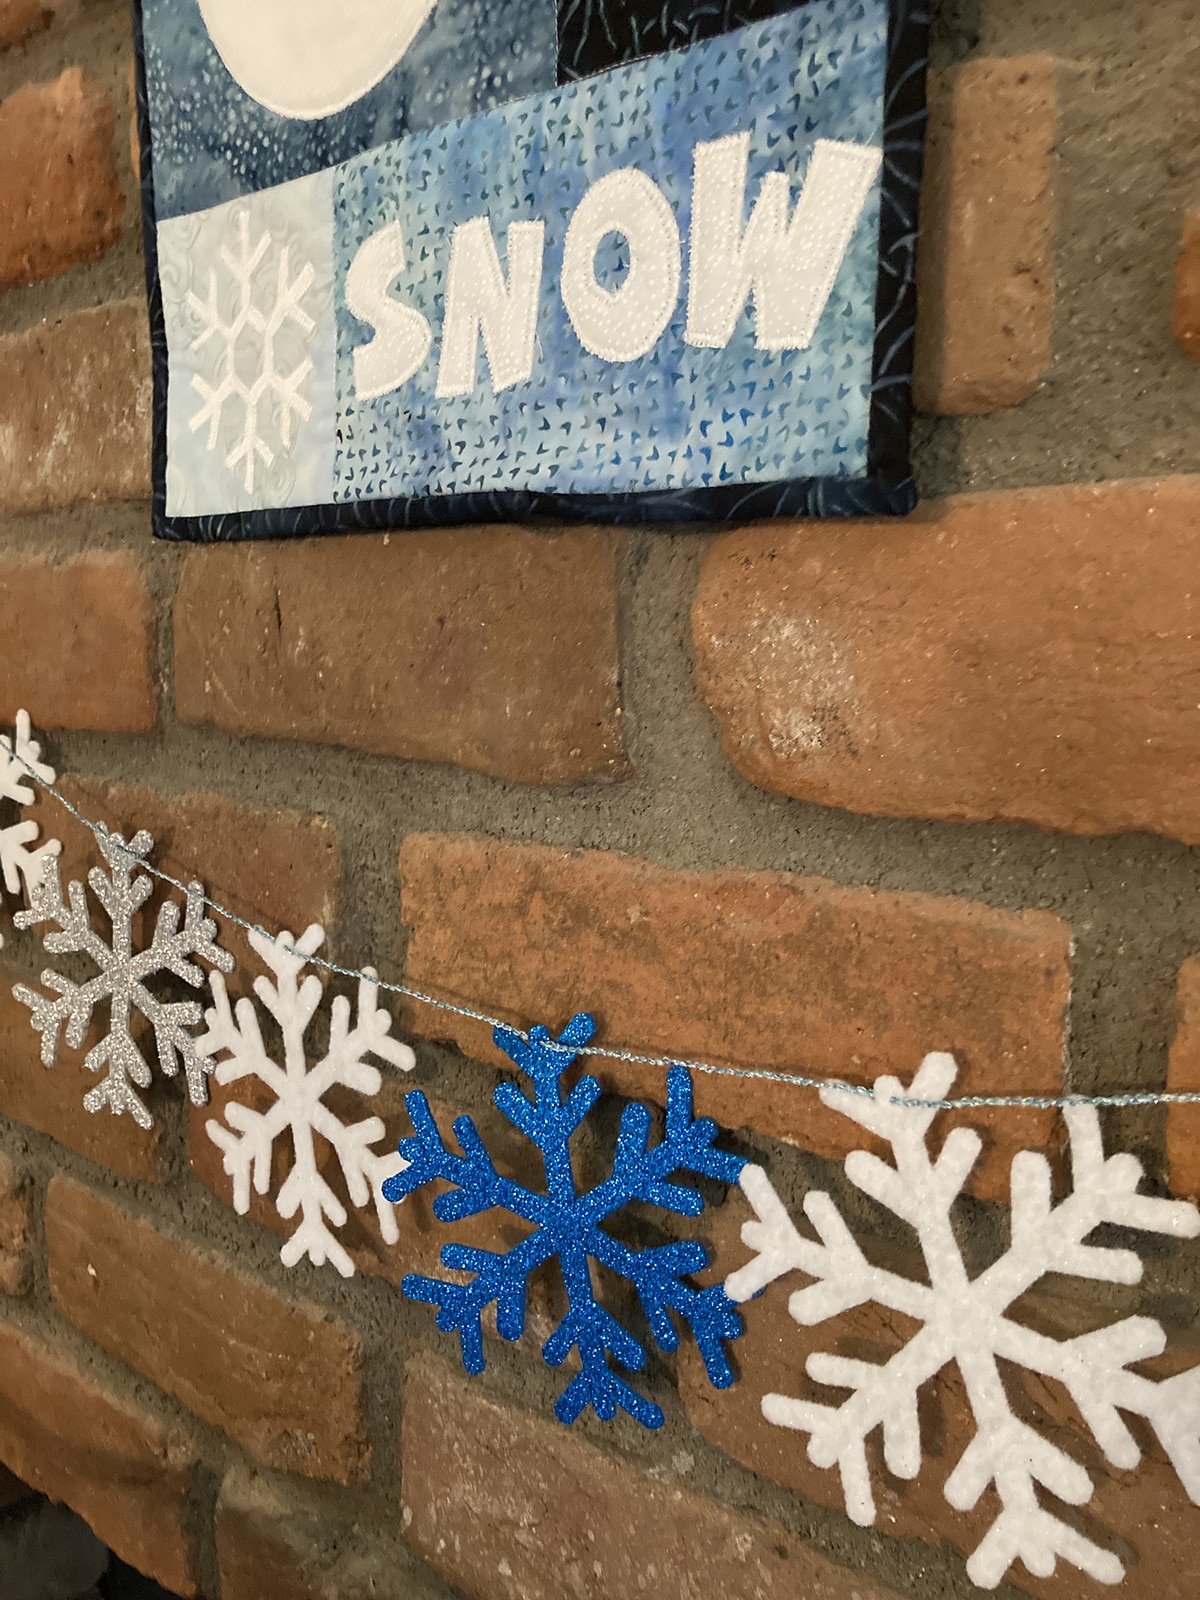
And now you have a completed winter garland! I hope you enjoyed crafting with your software, embroidery machine and overlocker!
I would love to see your mini-blizzards! Be sure to tag us at @BERNINAUSA when you post on social media.
Happy stitching!