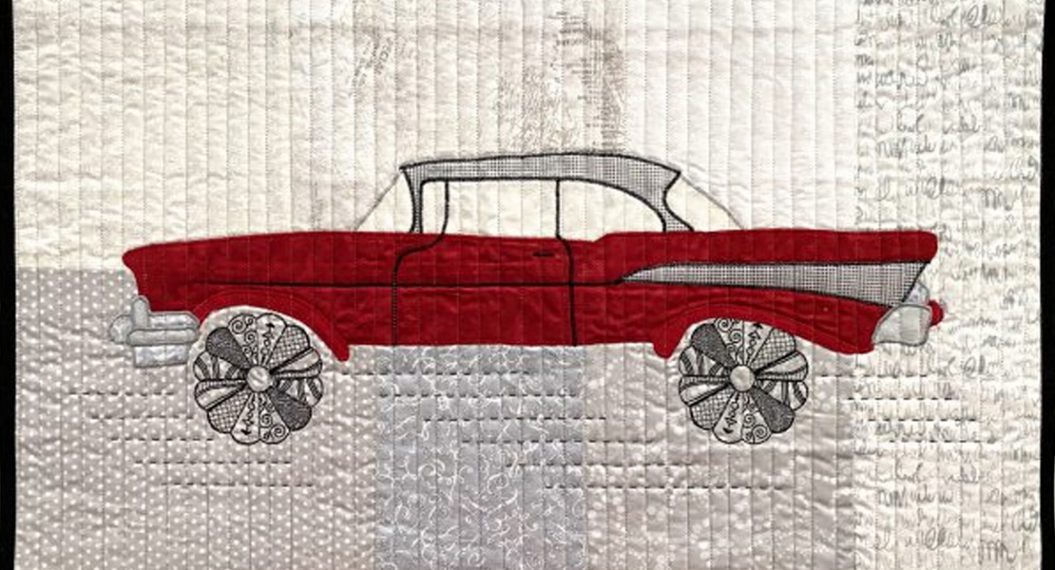
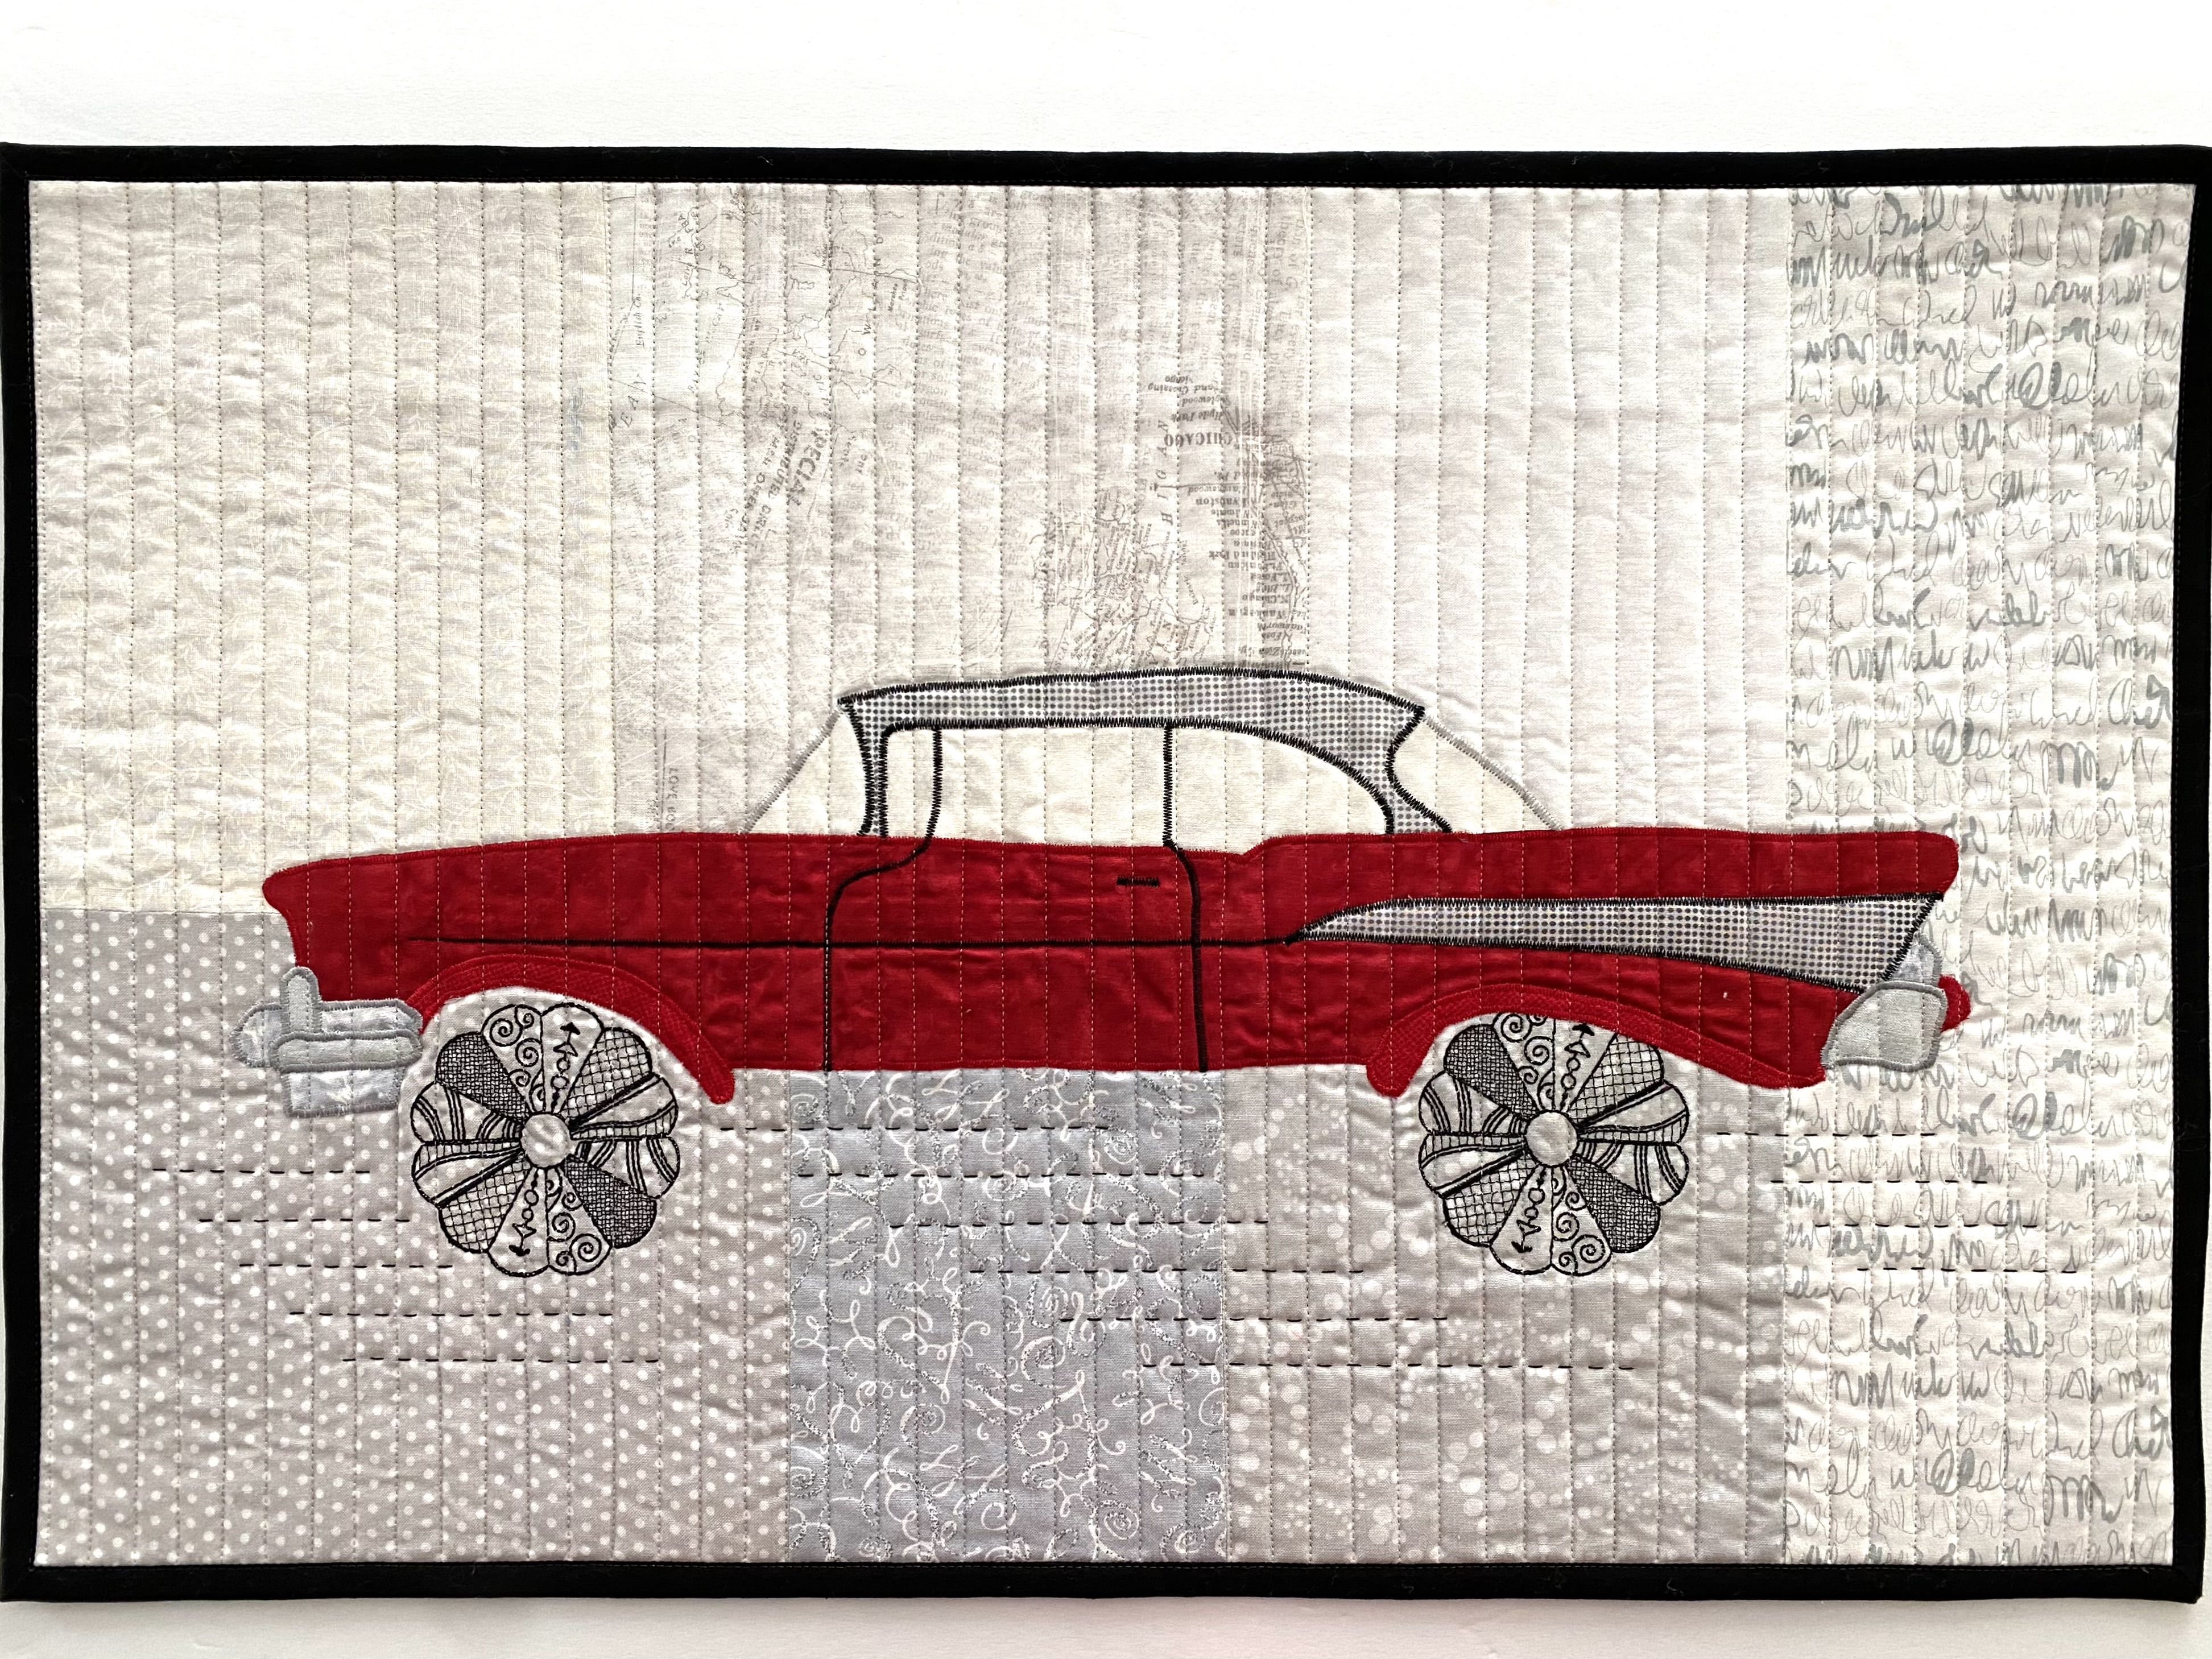
That Old ’57 Chevrolet, Part Two
This is part two of a four-part Quilt Along which includes a free downloadable pattern for this ’57 Chevy art quilt and the free downloadable Dresden Daisies 82028 embroidery design from BERNINA. Finished size is approximately 16 inches by 25 inches.
If you missed the previous post, you can find it here:
That Old ’57 Chevrolet Art Quilt continues with the fused appliqué of portion. From fabric selection to fusible webbing to freezer paper pattern pieces, this section creates the actual car.
Materials for Car Body
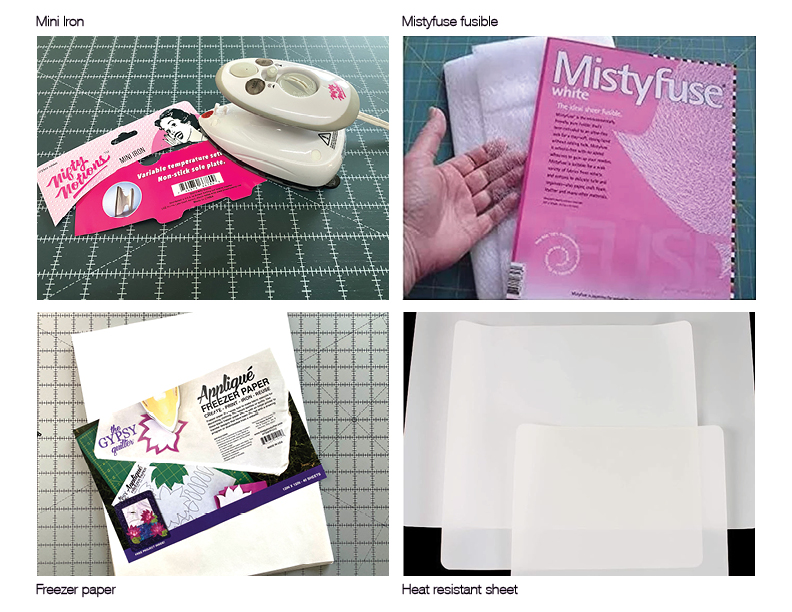
• Mini Iron
• Mistyfuse fusible webbing
• Freezer Paper
• Heat Resistant Sheet or Parchment Paper
Assembly of Fabrics and Patterns
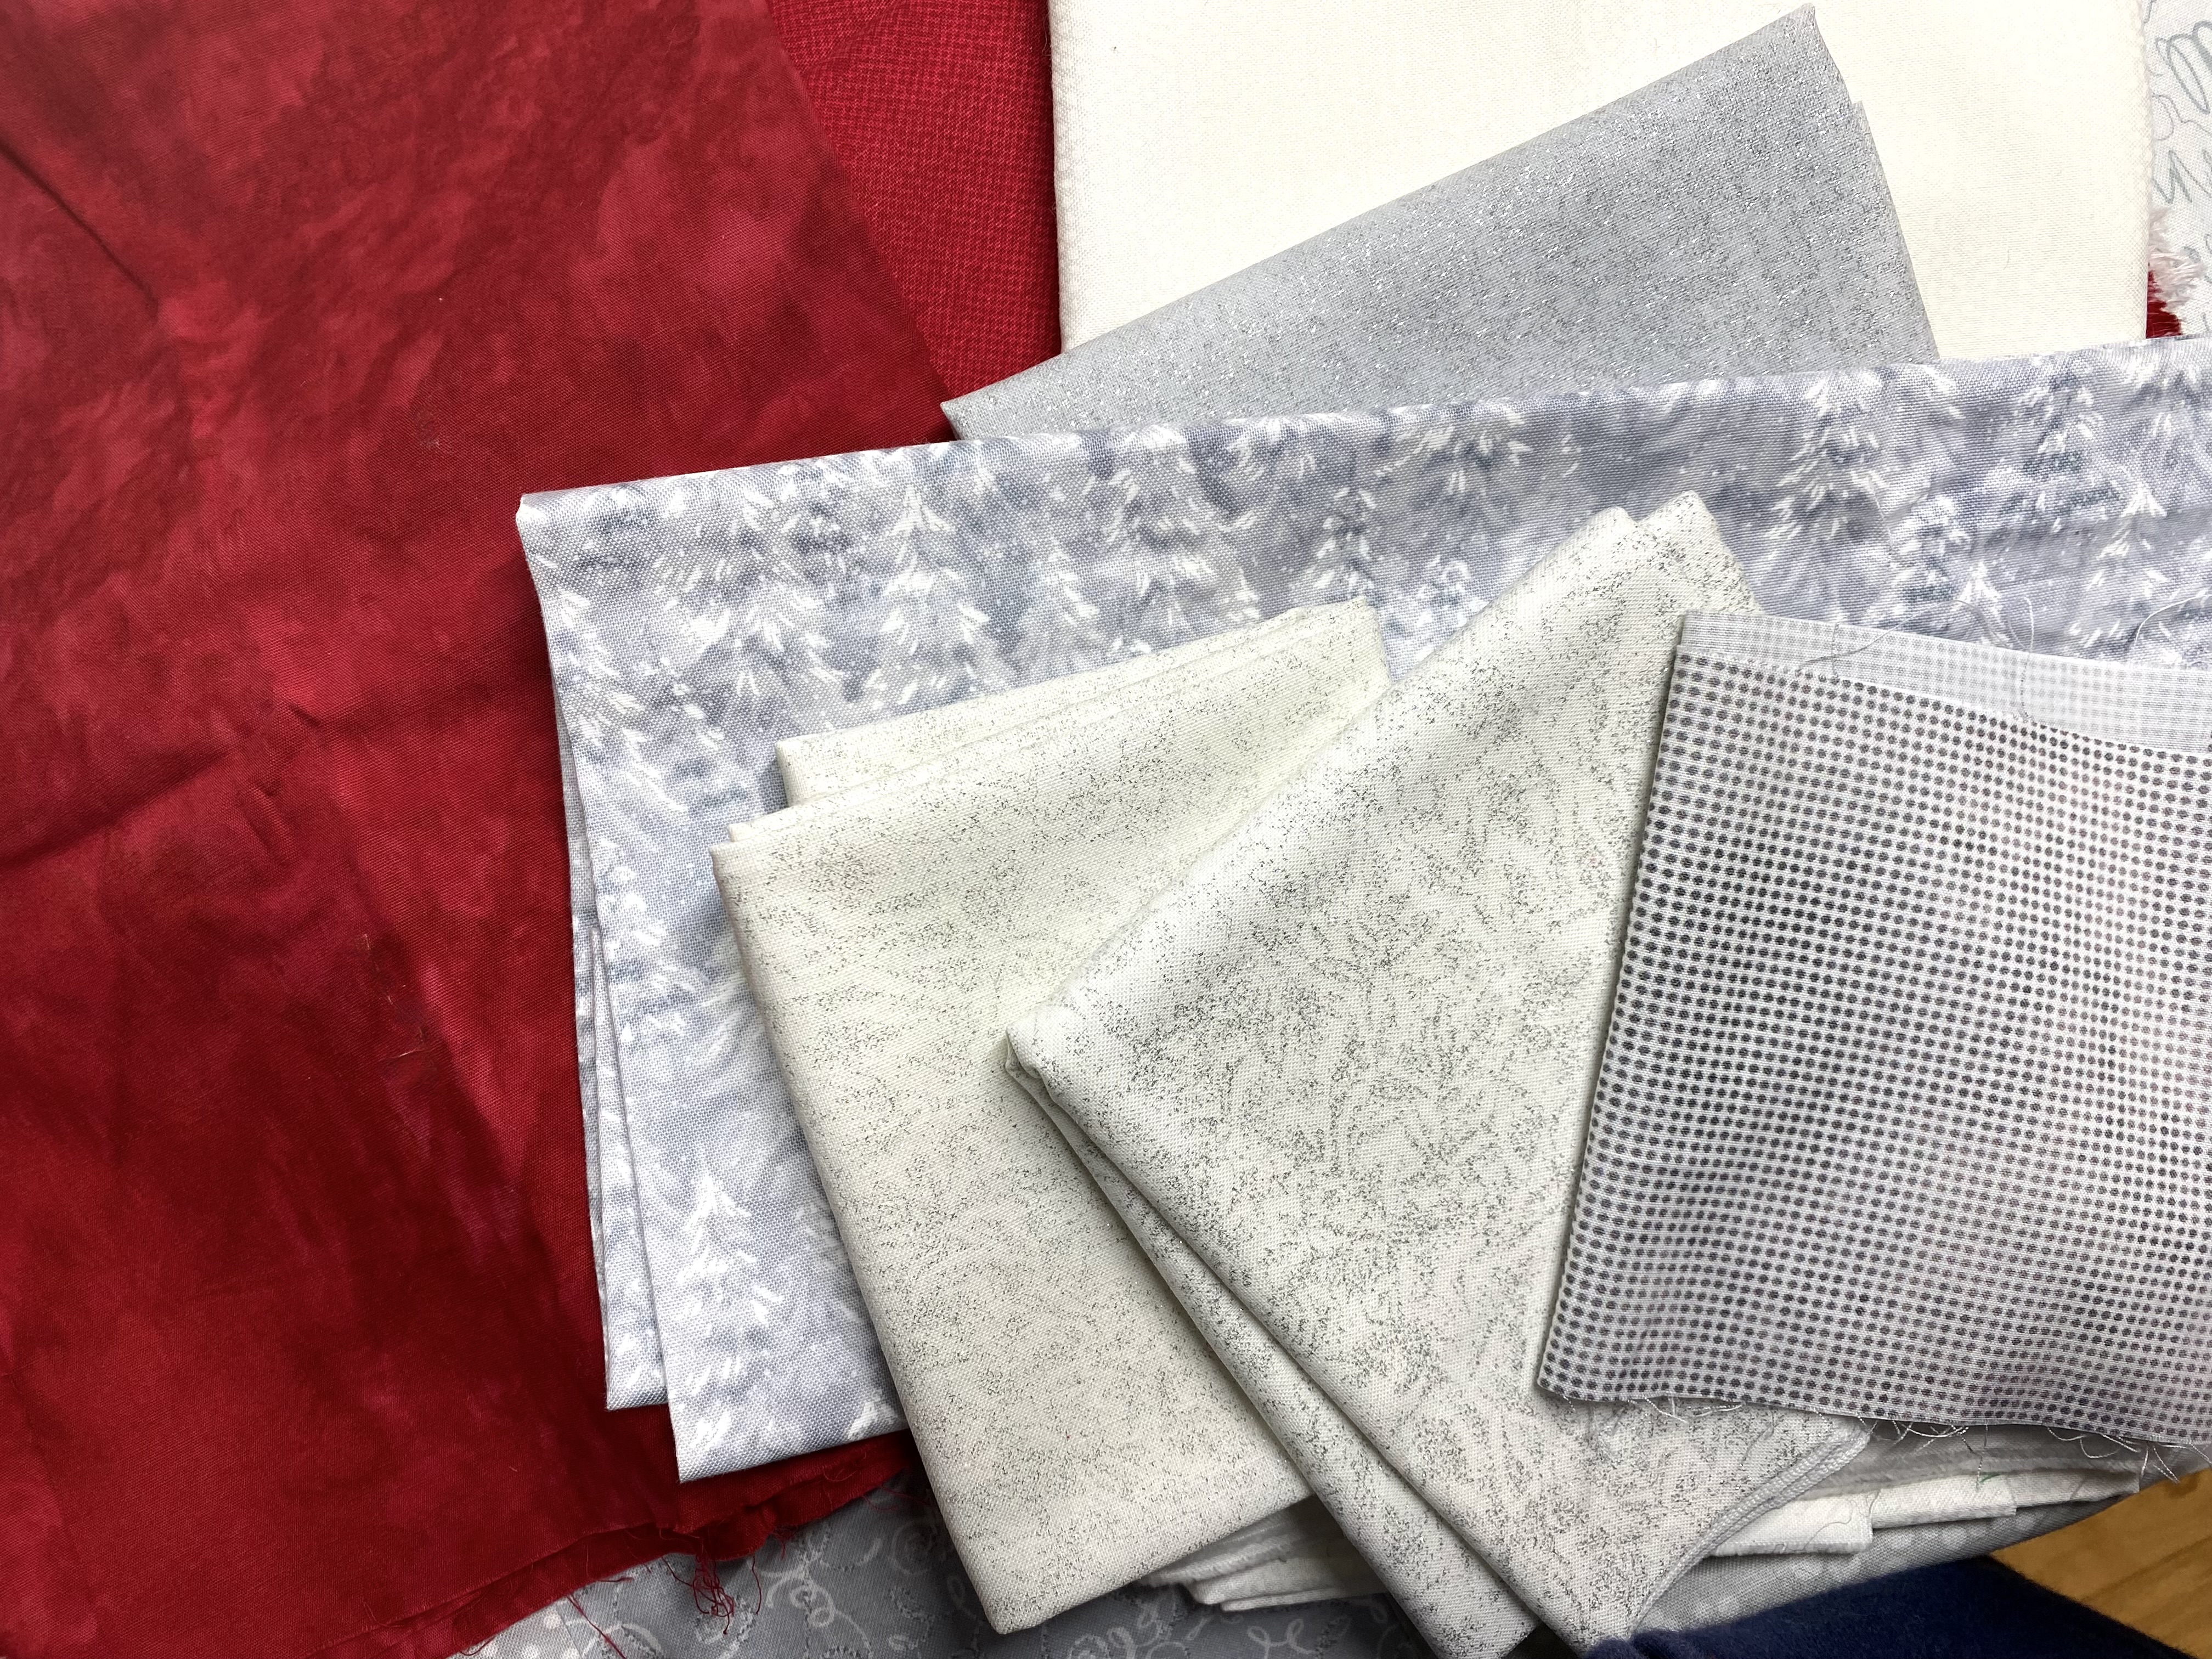
Selections from your fabric stash is the ideal place to use for the car body. The largest piece needed is approximately 10 inches by 4 inches so those scraps you just couldn’t throw away will work. Choose two colors for the car body and wheel covers. one or two fabrics for roof and fin, one for windows and two for bumpers, headlight and taillight.

• Download both PDF files with Chevy car parts from above.
• Print both pages.
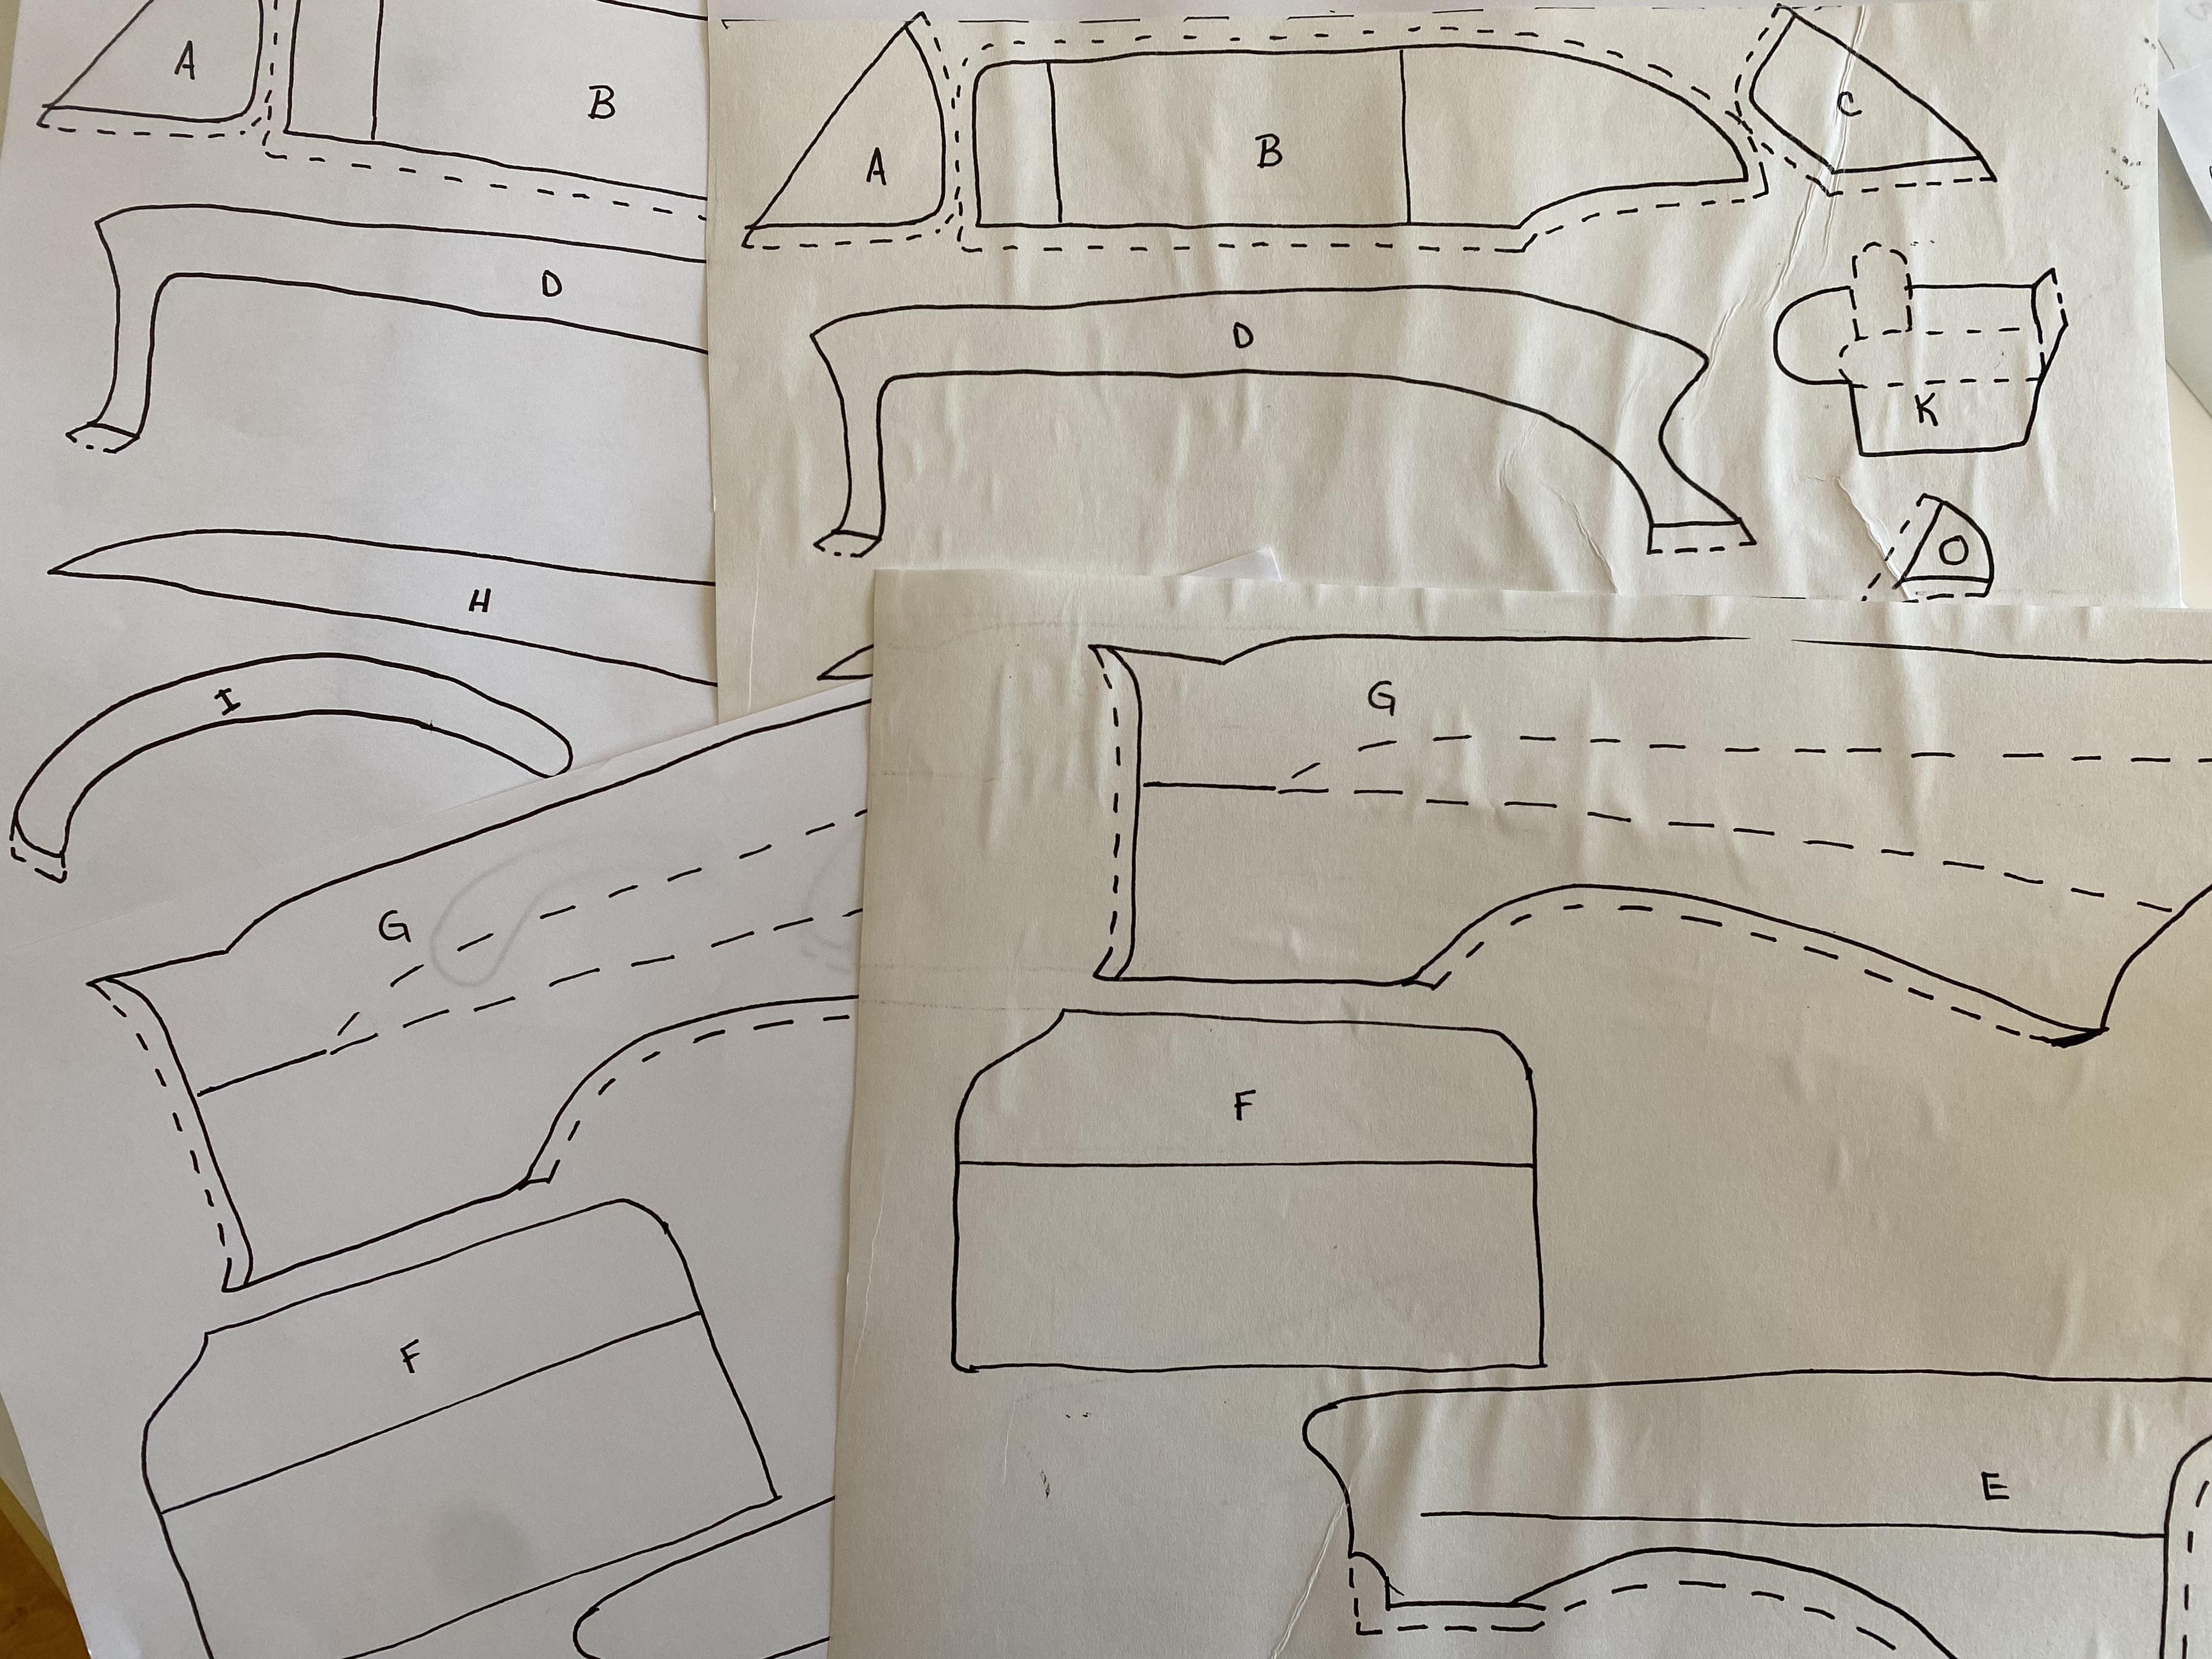
• Trace pattern pieces by hand to freezer paper with use of a light table (or window) or print with ink jet printer. (Laser printers use heat to set ink which will affect freezer paper.)
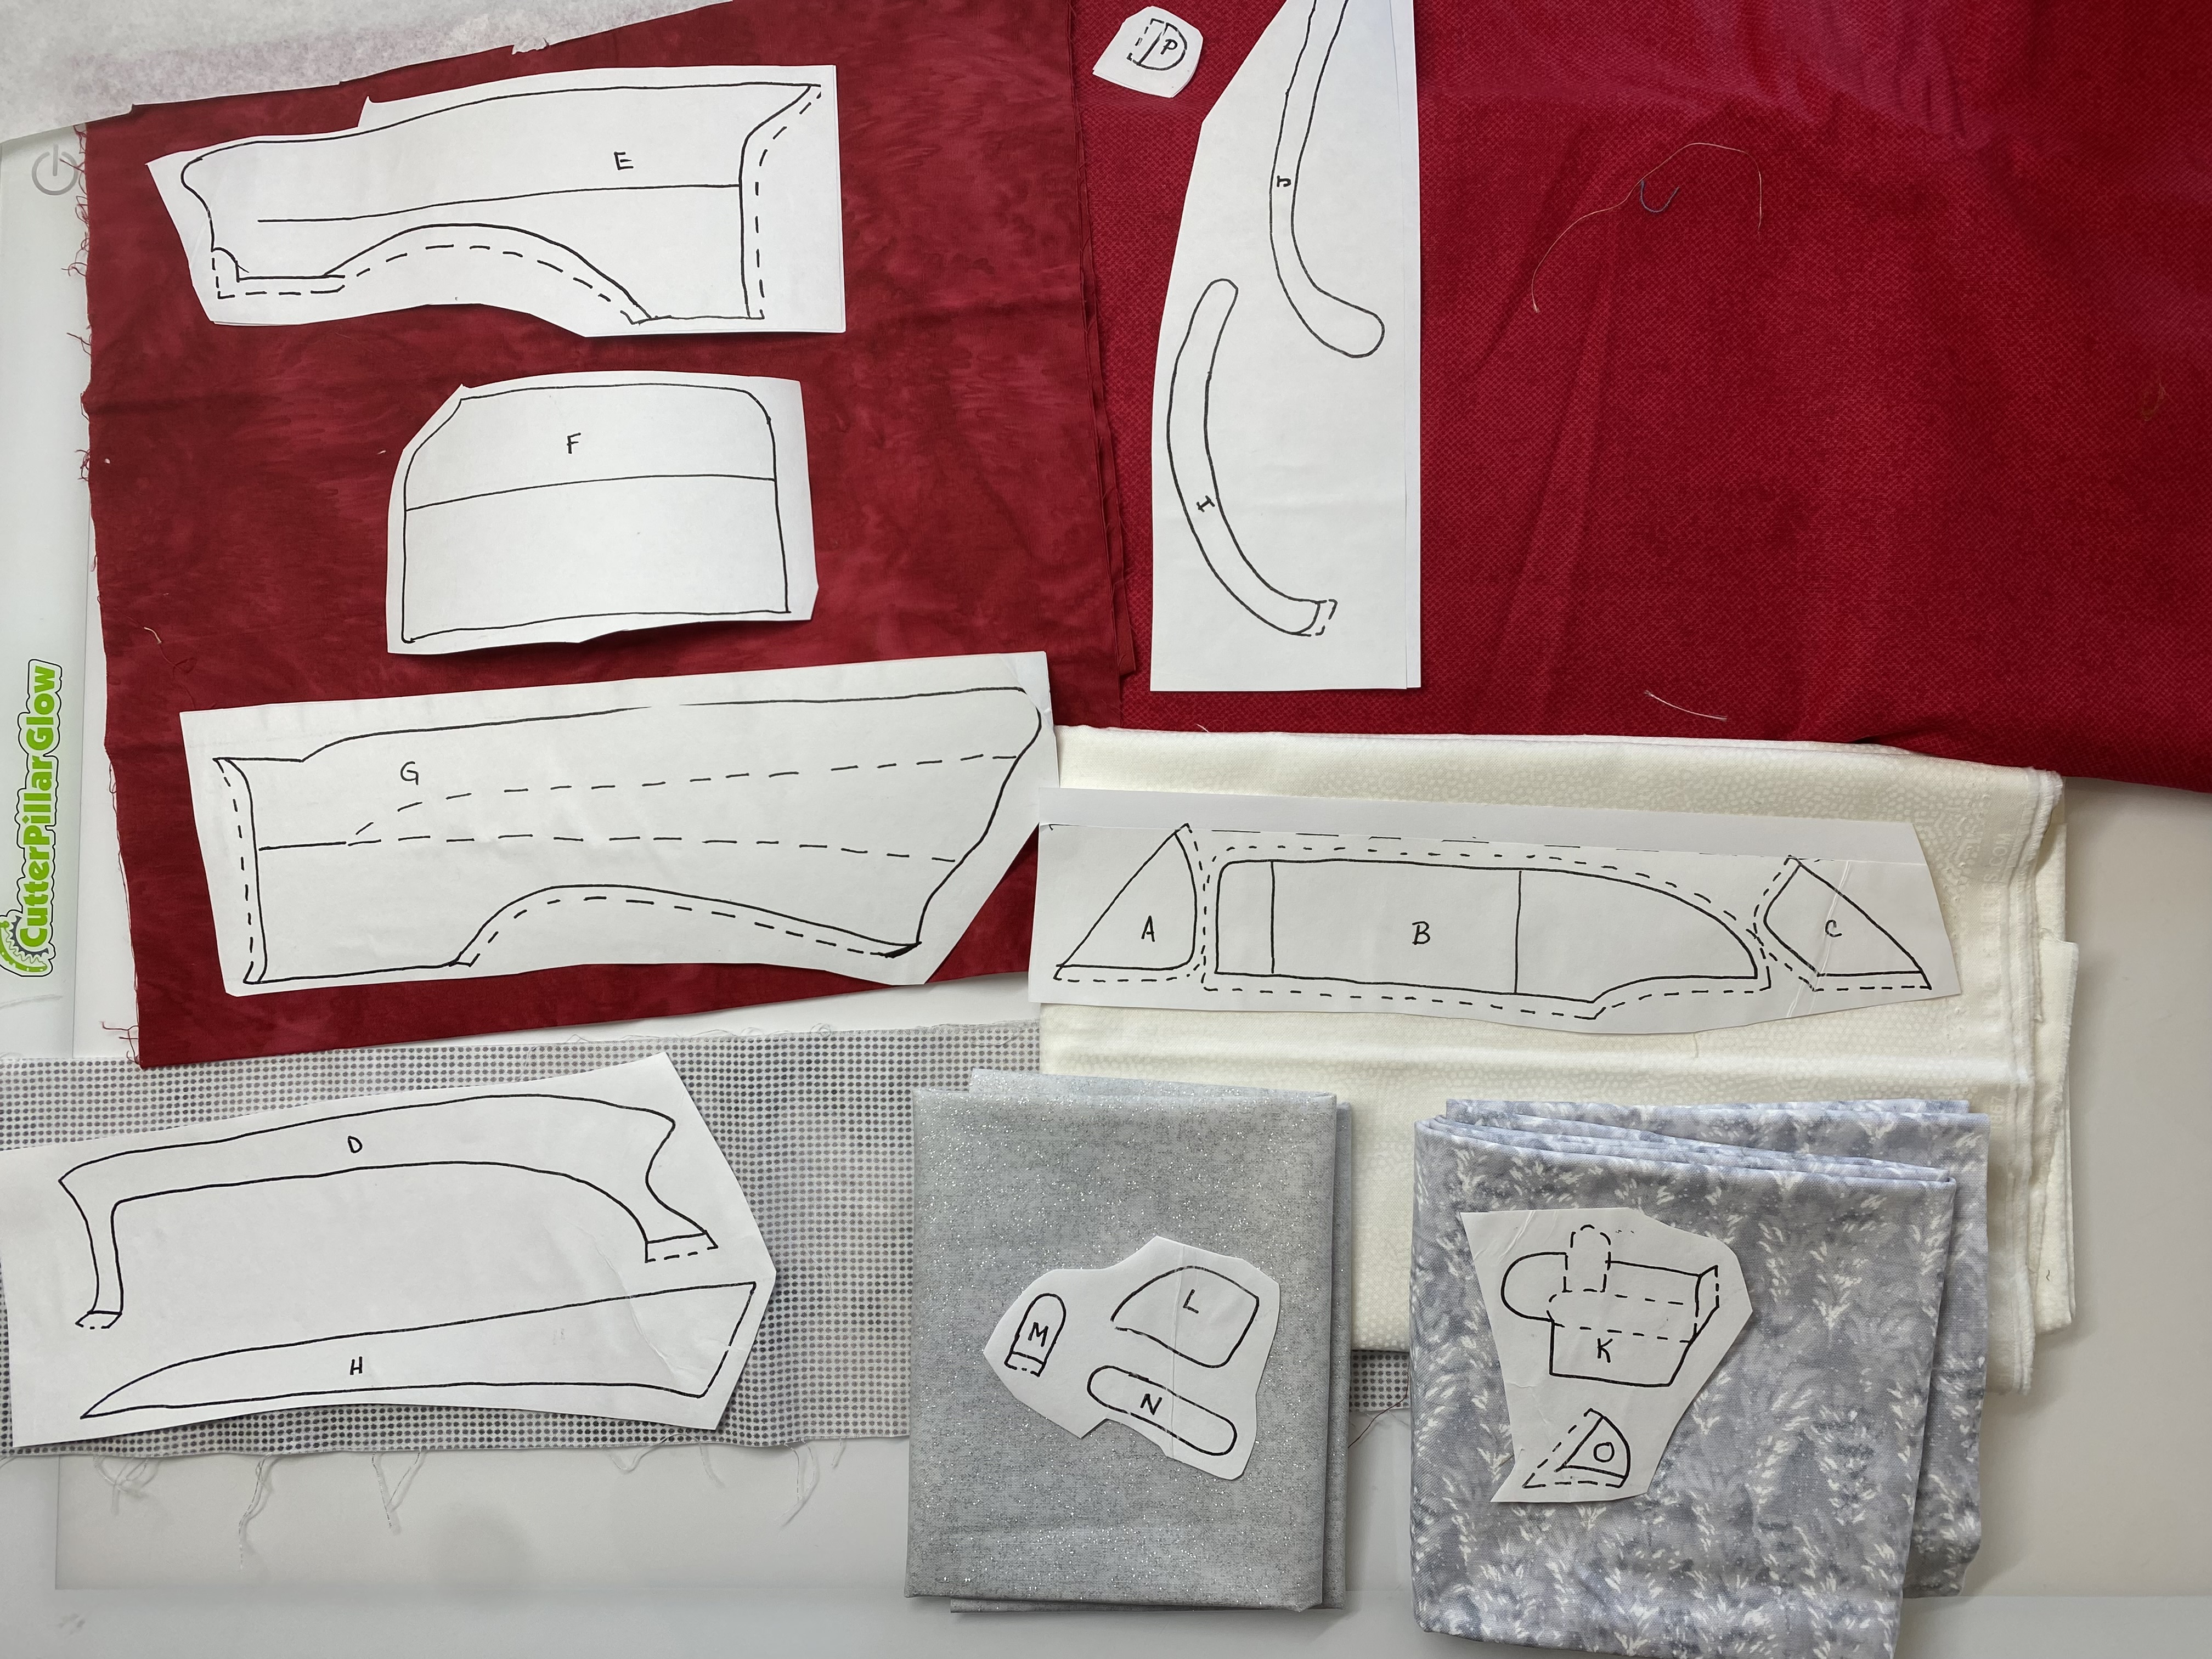
• Select fabrics for each pattern piece considering contrast and value. Audition colors on background fabric also.
• As we learn from each project, the next project will have more contrast between the car body color and the wheel fenders.
• Cut selected fabrics generously larger than pattern piece with at least 1/2 inch extra on all sides.
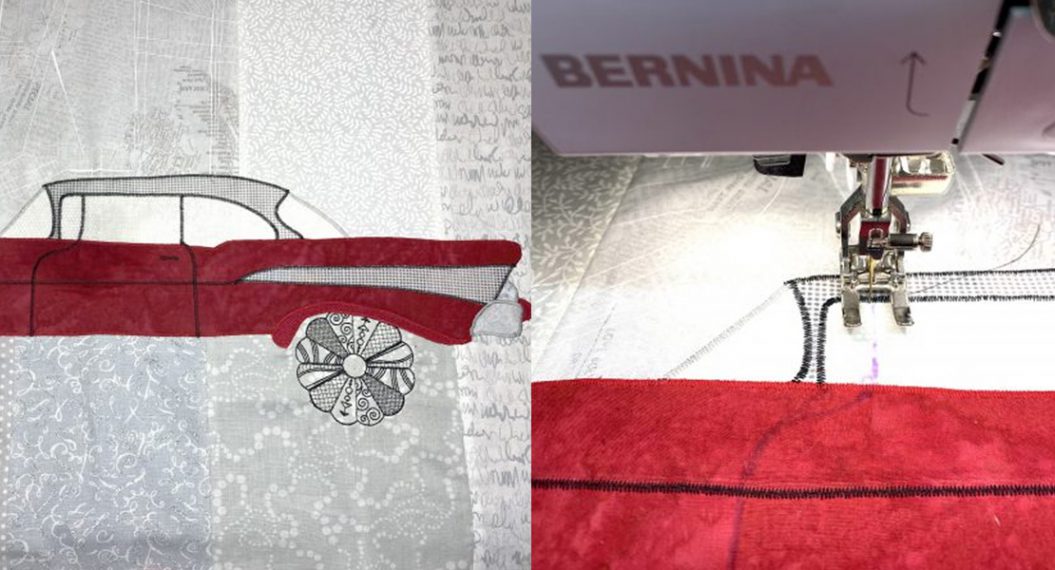
Applying Fusible and Cutting Pattern
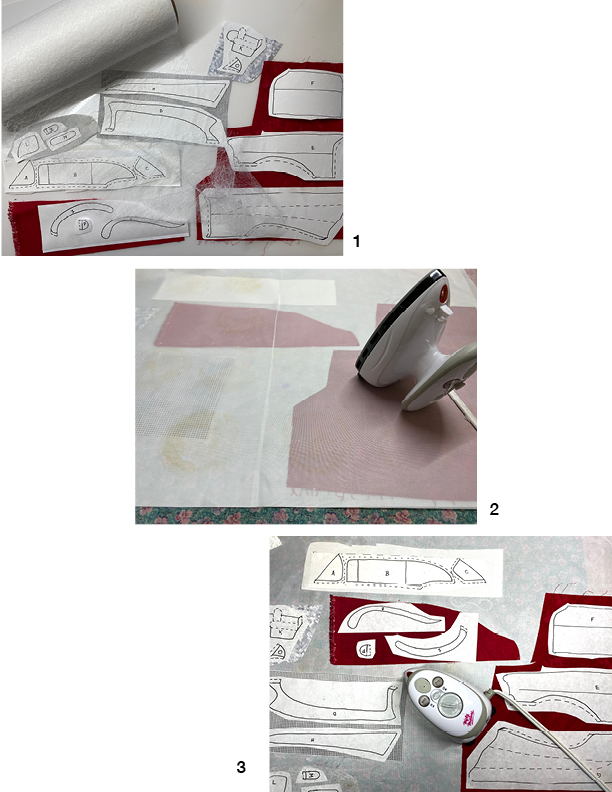
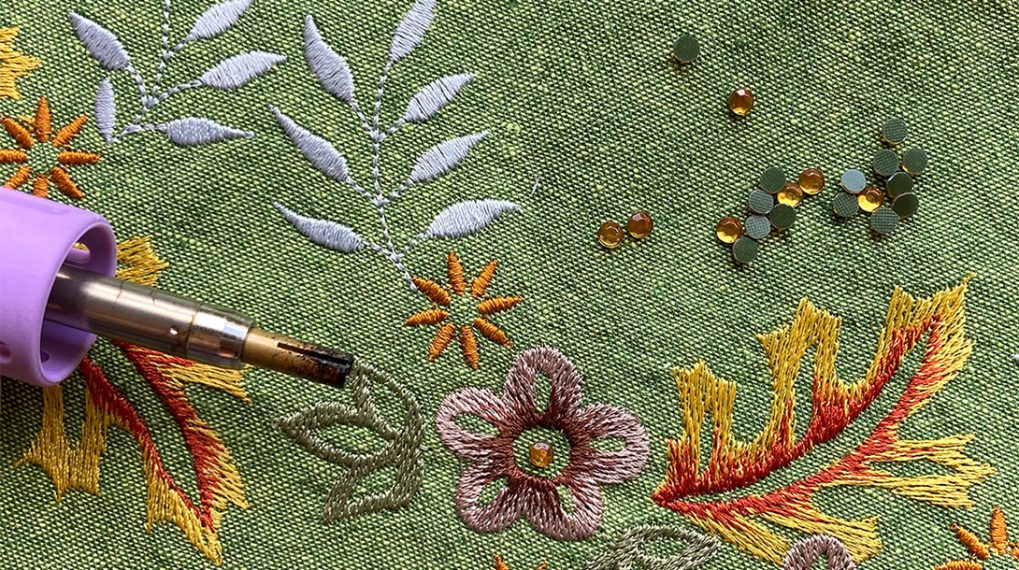
- Gather fabric selected for each section and fusible webbing. Other fusible are available however I prefer the lightweight, non gummy qualities of this brand.
- Cover ironing surface with heat resistant silicone sheet or parchment paper. With Mistyfuse on silicone sheet, place fabrics wrong side down over it. Cover with a second sheet of silicone before fusing with iron following direction for fusible.
- Place freezer paper pattern pieces shiny side down on right side of fused fabrics. Press with iron to adhere pattern. Nifty Notions Mini Iron has a no stick ironing surface which makes clean up a snap if the fusible gets on ironing surface.
- Cut out each pattern piece but don’t remove freezer paper pattern from fabric.
Assembling Pattern and Car
Remember the song by Johnny Cash titled “One Piece at a Time“? Perhaps I’m dating myself but the title to this section caused his song to pop into my head. His was a Cadillac while this is a Chevy and will go together much better and more quickly.

• Download and print both pages of “57 Chevy Pattern above.
• Check the One Inch Square cube for accuracy. Adjust printer if needed.
• Using a light table (or window), match the broken lines, B and F and tape sheets together.
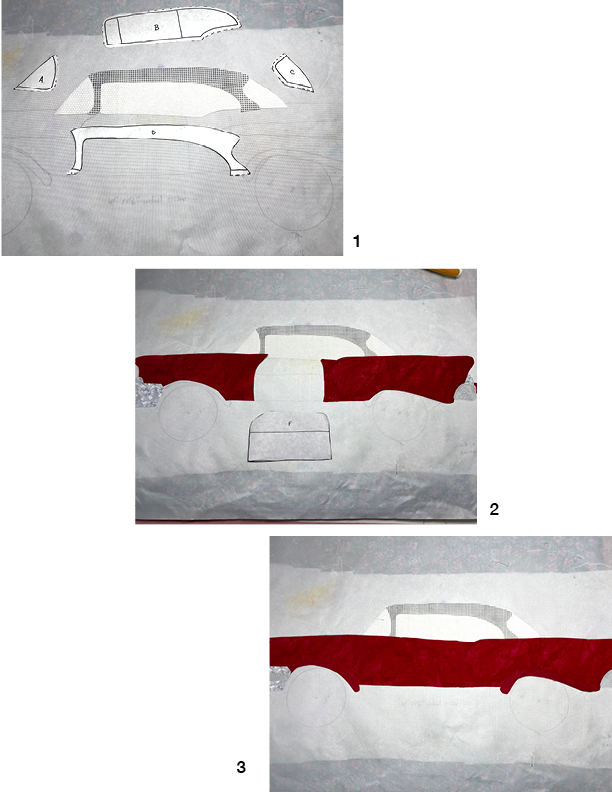
- Place the pattern on an ironing surface then cover with silicone sheet. Remove paper pattern from fabric on pieces A through D. Using pattern as a guide fuse windows to silicone followed by car roof.
- Continue using pattern as a guide fuse front a back fenders adding door and fin next.
- Continue fusing remaining car parts until complete. Cool and carefully peel car unit off silicone.
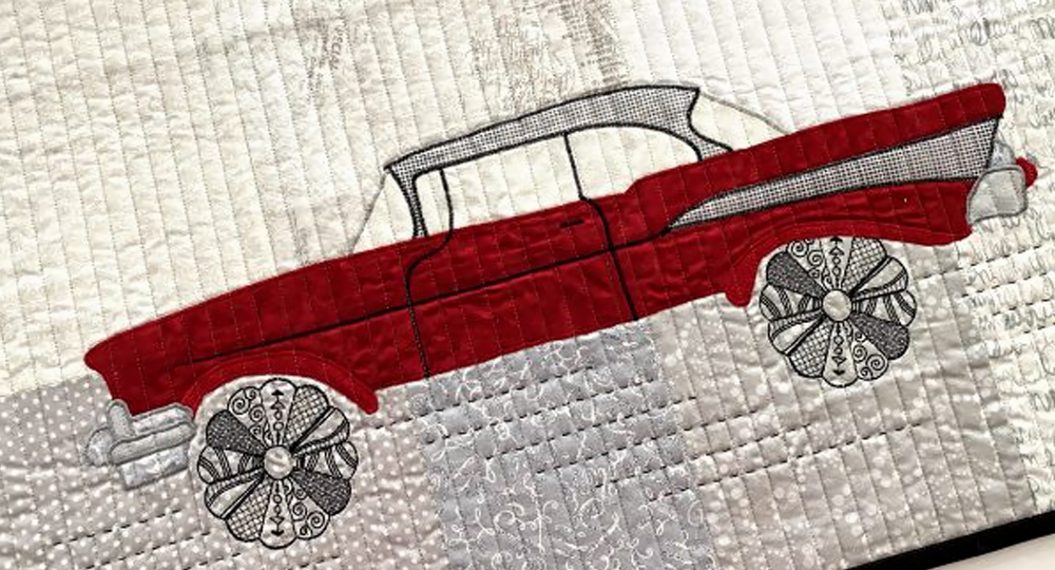
Fusing Car and Background Fabric
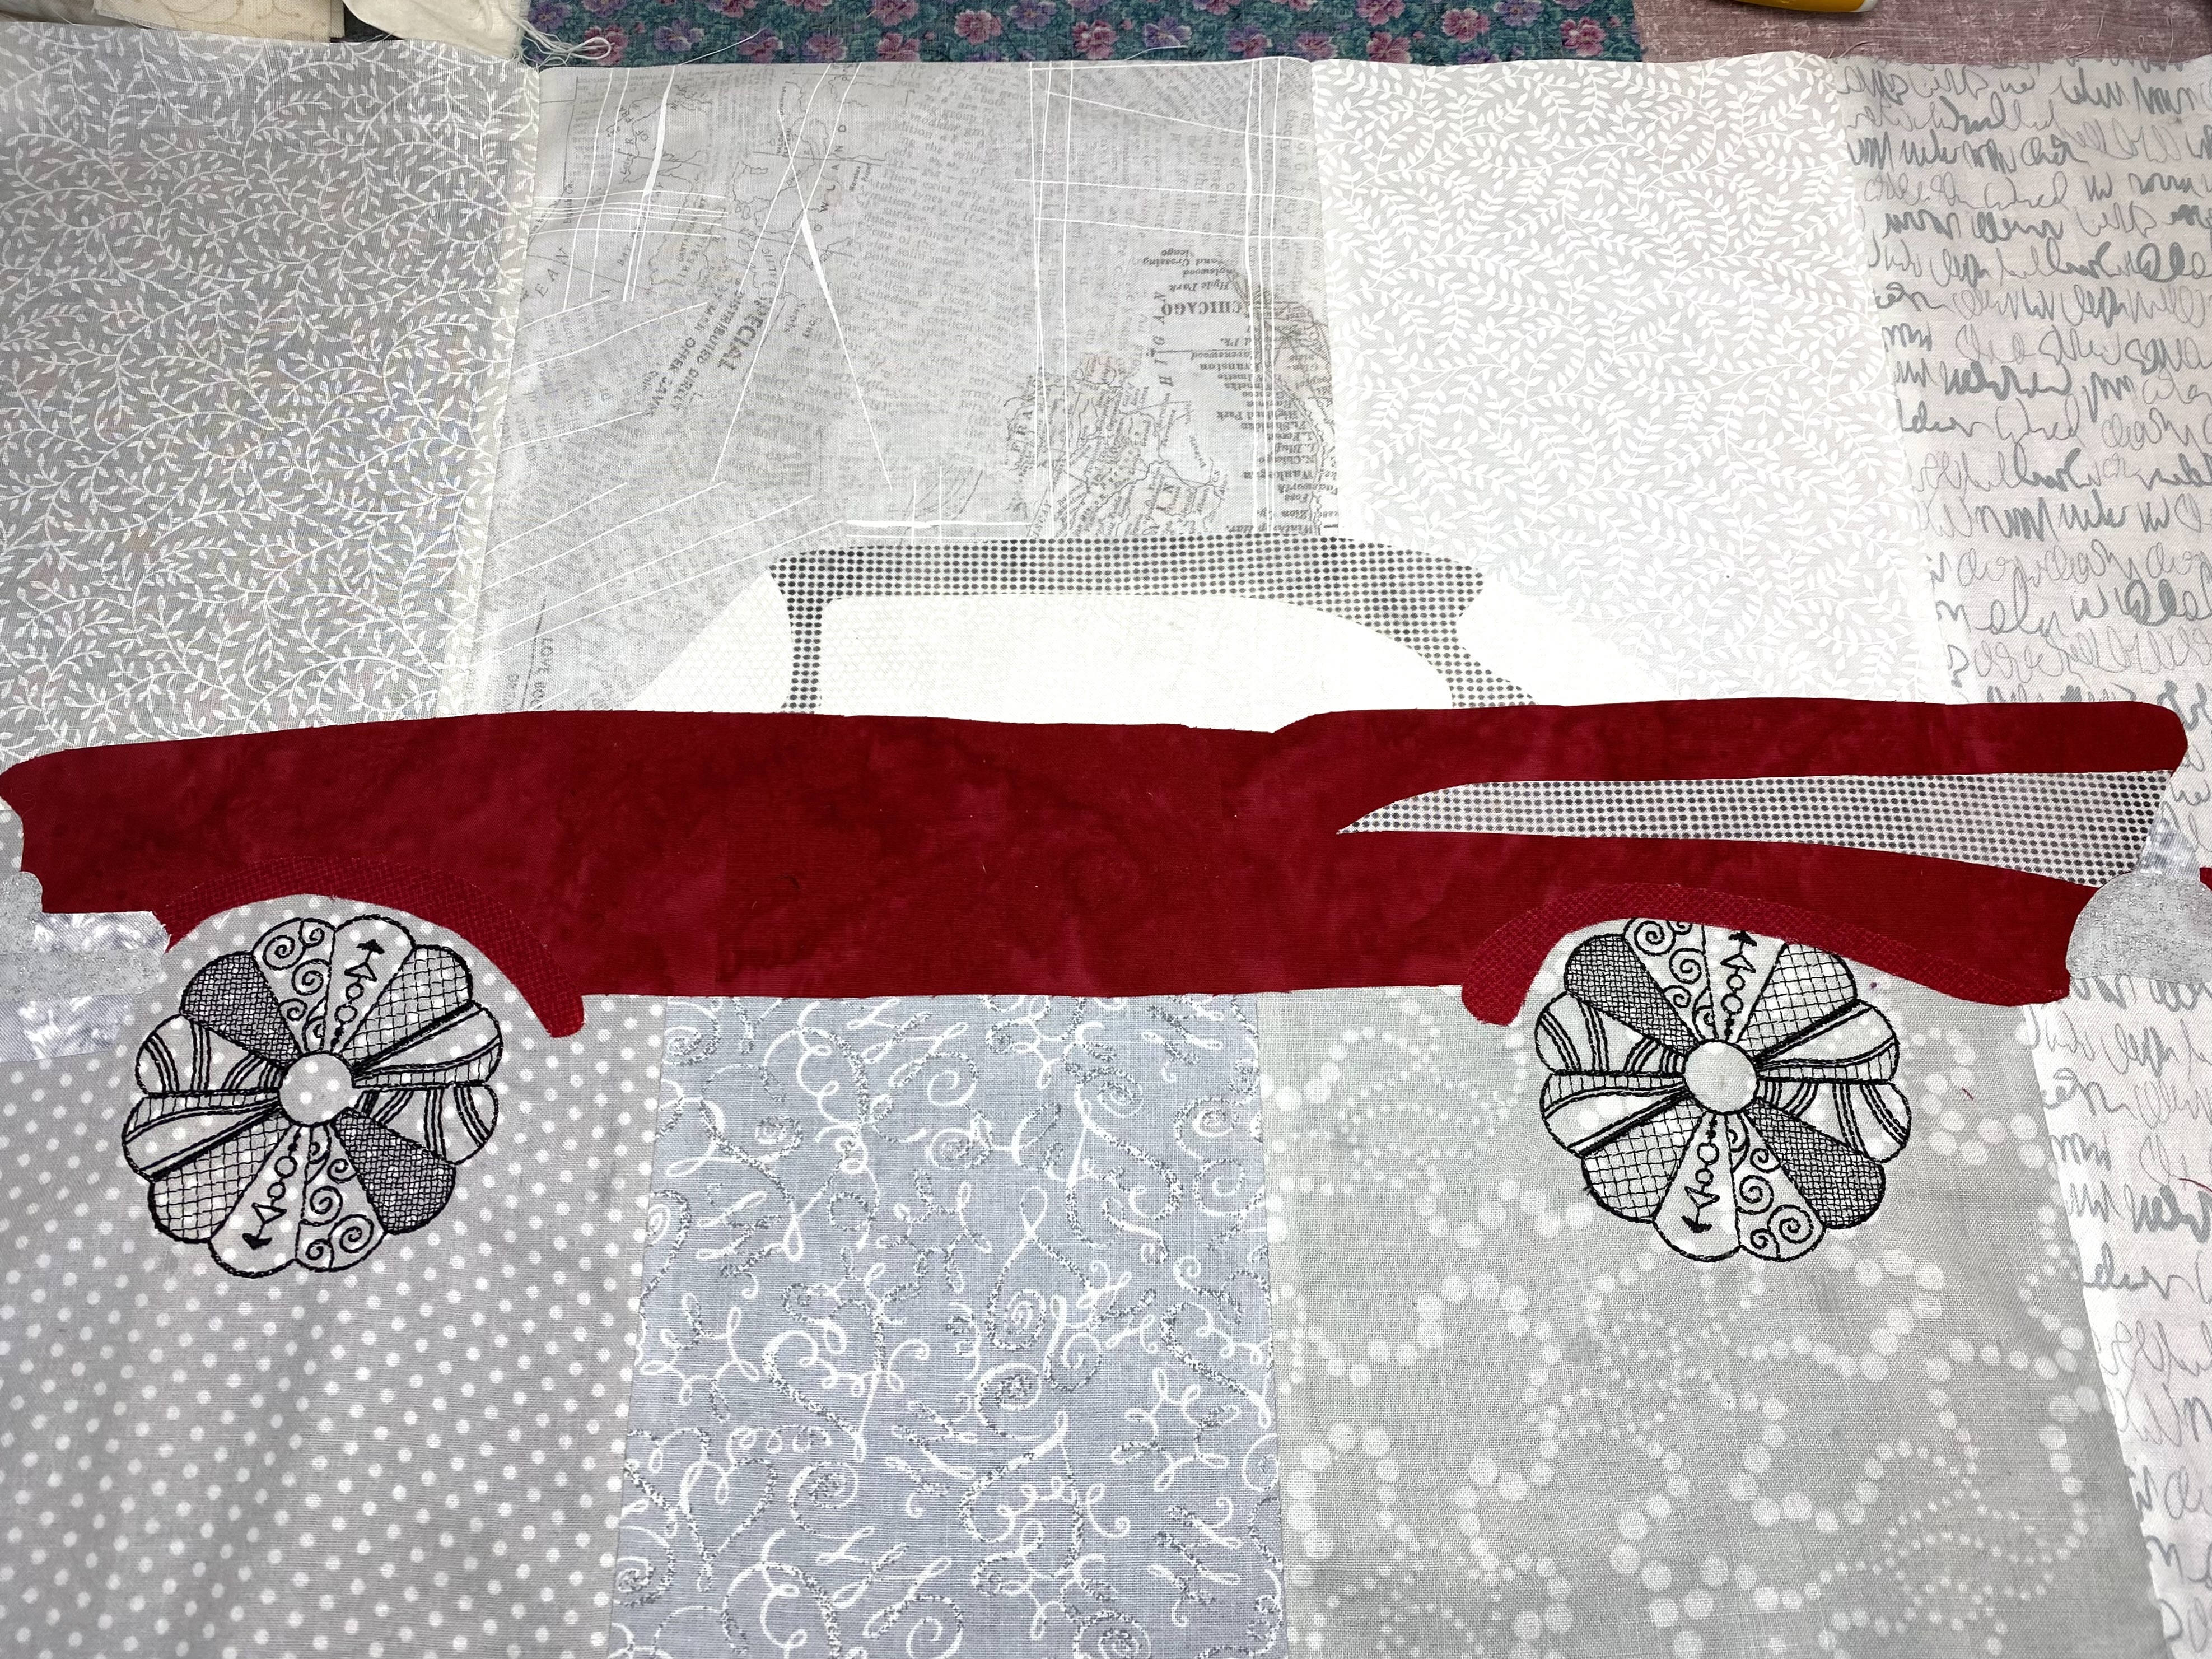
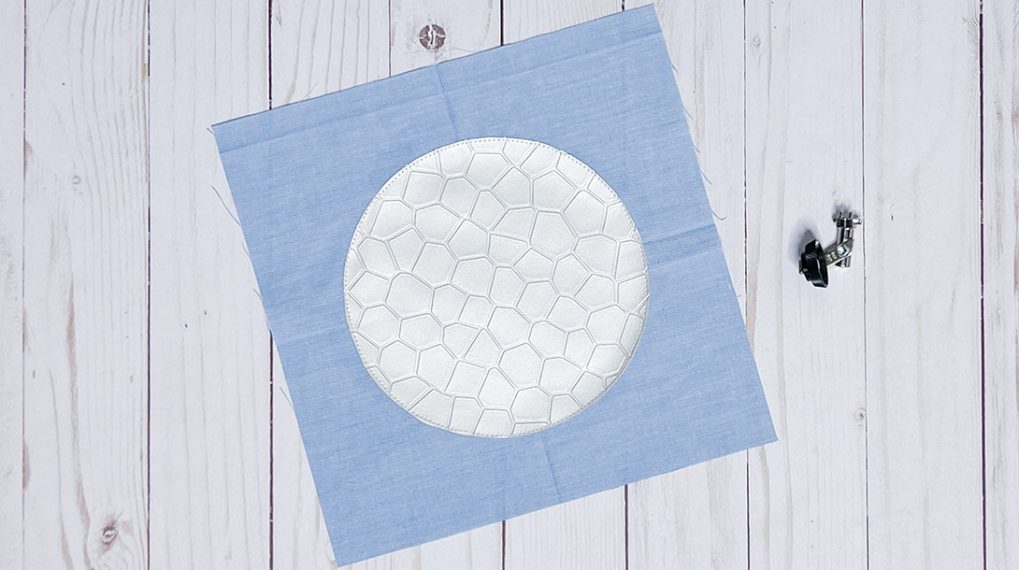
• Place prepared background fabric on ironing surface right side up.
• Arrange fused car on background fabric with placement of rear wheel fender covering a small portion of embroidered wheels and allowing 1/8 to 1/4 inch space between front wheel fender and wheel.
• Fuse car to background fabric.
That Old ’57 Chevy Art Quilt is making great progress. Stay tuned for part three for machine appliqué and quilting tips.