That Old ’57 Chevrolet, Part One
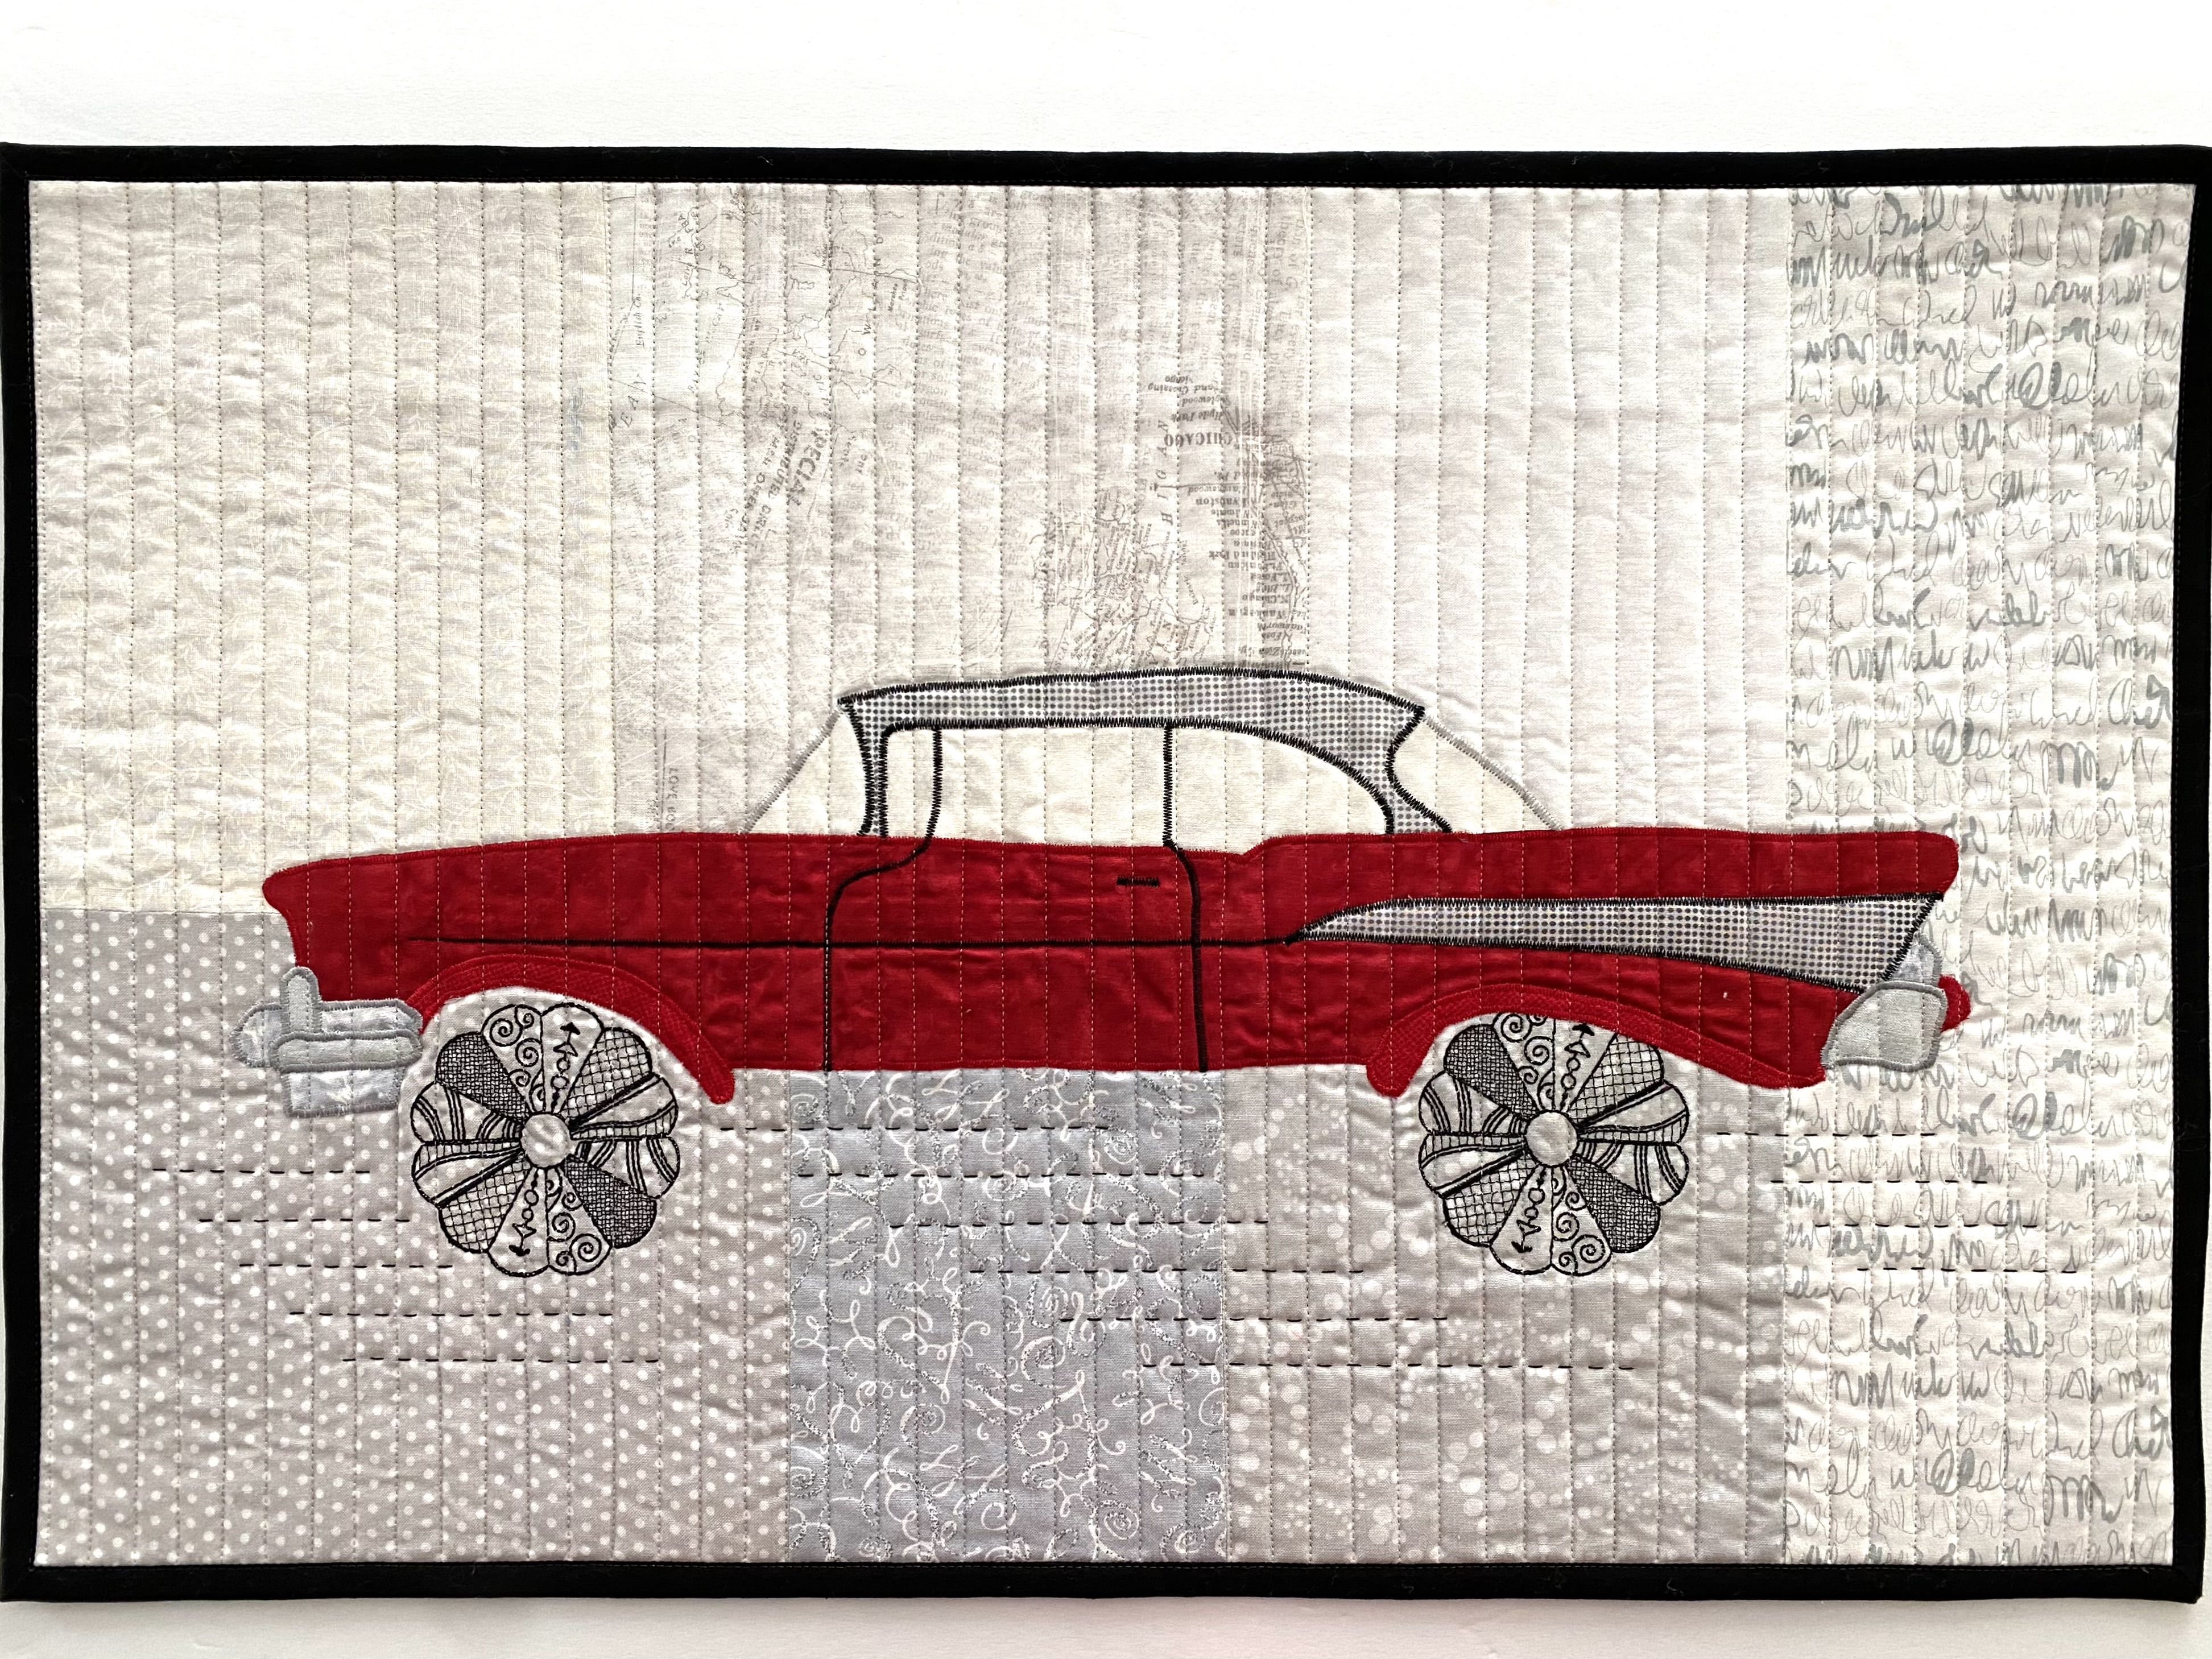
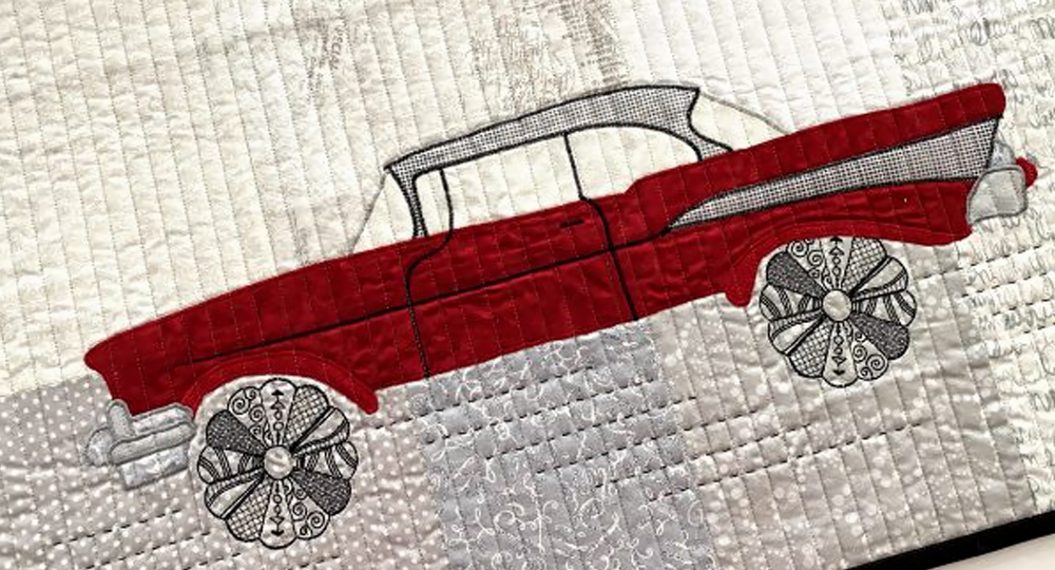
This is part one of a four-part Quilt Along which includes a free downloadable pattern for this ’57 Chevy art quilt and the free downloadable Dresden Daisies 82028 embroidery design from BERNINA. Finished size is approximately 16 inches by 25 inches.
I continue to find myself creating quilting projects and patterns that combine new quilting techniques with vintage designs. This project is no exception. A series of ’57 Chevy cars were a part of my high school life in the early ’70s. Those memories and the BERNINA 790 PLUS embroidery module were the inspiration for this art quilt.
Materials for Background & Dresden Wheels
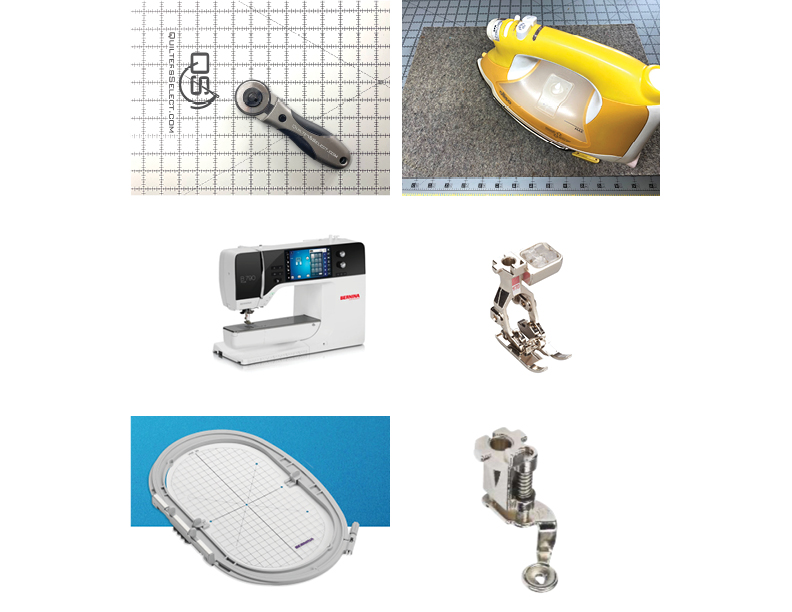
• Rotary Mat, Cutter & Ruler
• Iron & Ironing Matt
• Sewing Machine with 1/4 inch Foot
• Embroidery Hoop and Embroidery Foot
Creating Pattern
Like most creative projects, after inspiration strikes it is necessary to work through the process. I do this with paper, pencil and measuring tools to make decisions about techniques, scales and the steps to completion. Stitching the background and completing the embroidery will be addressed in this installment.
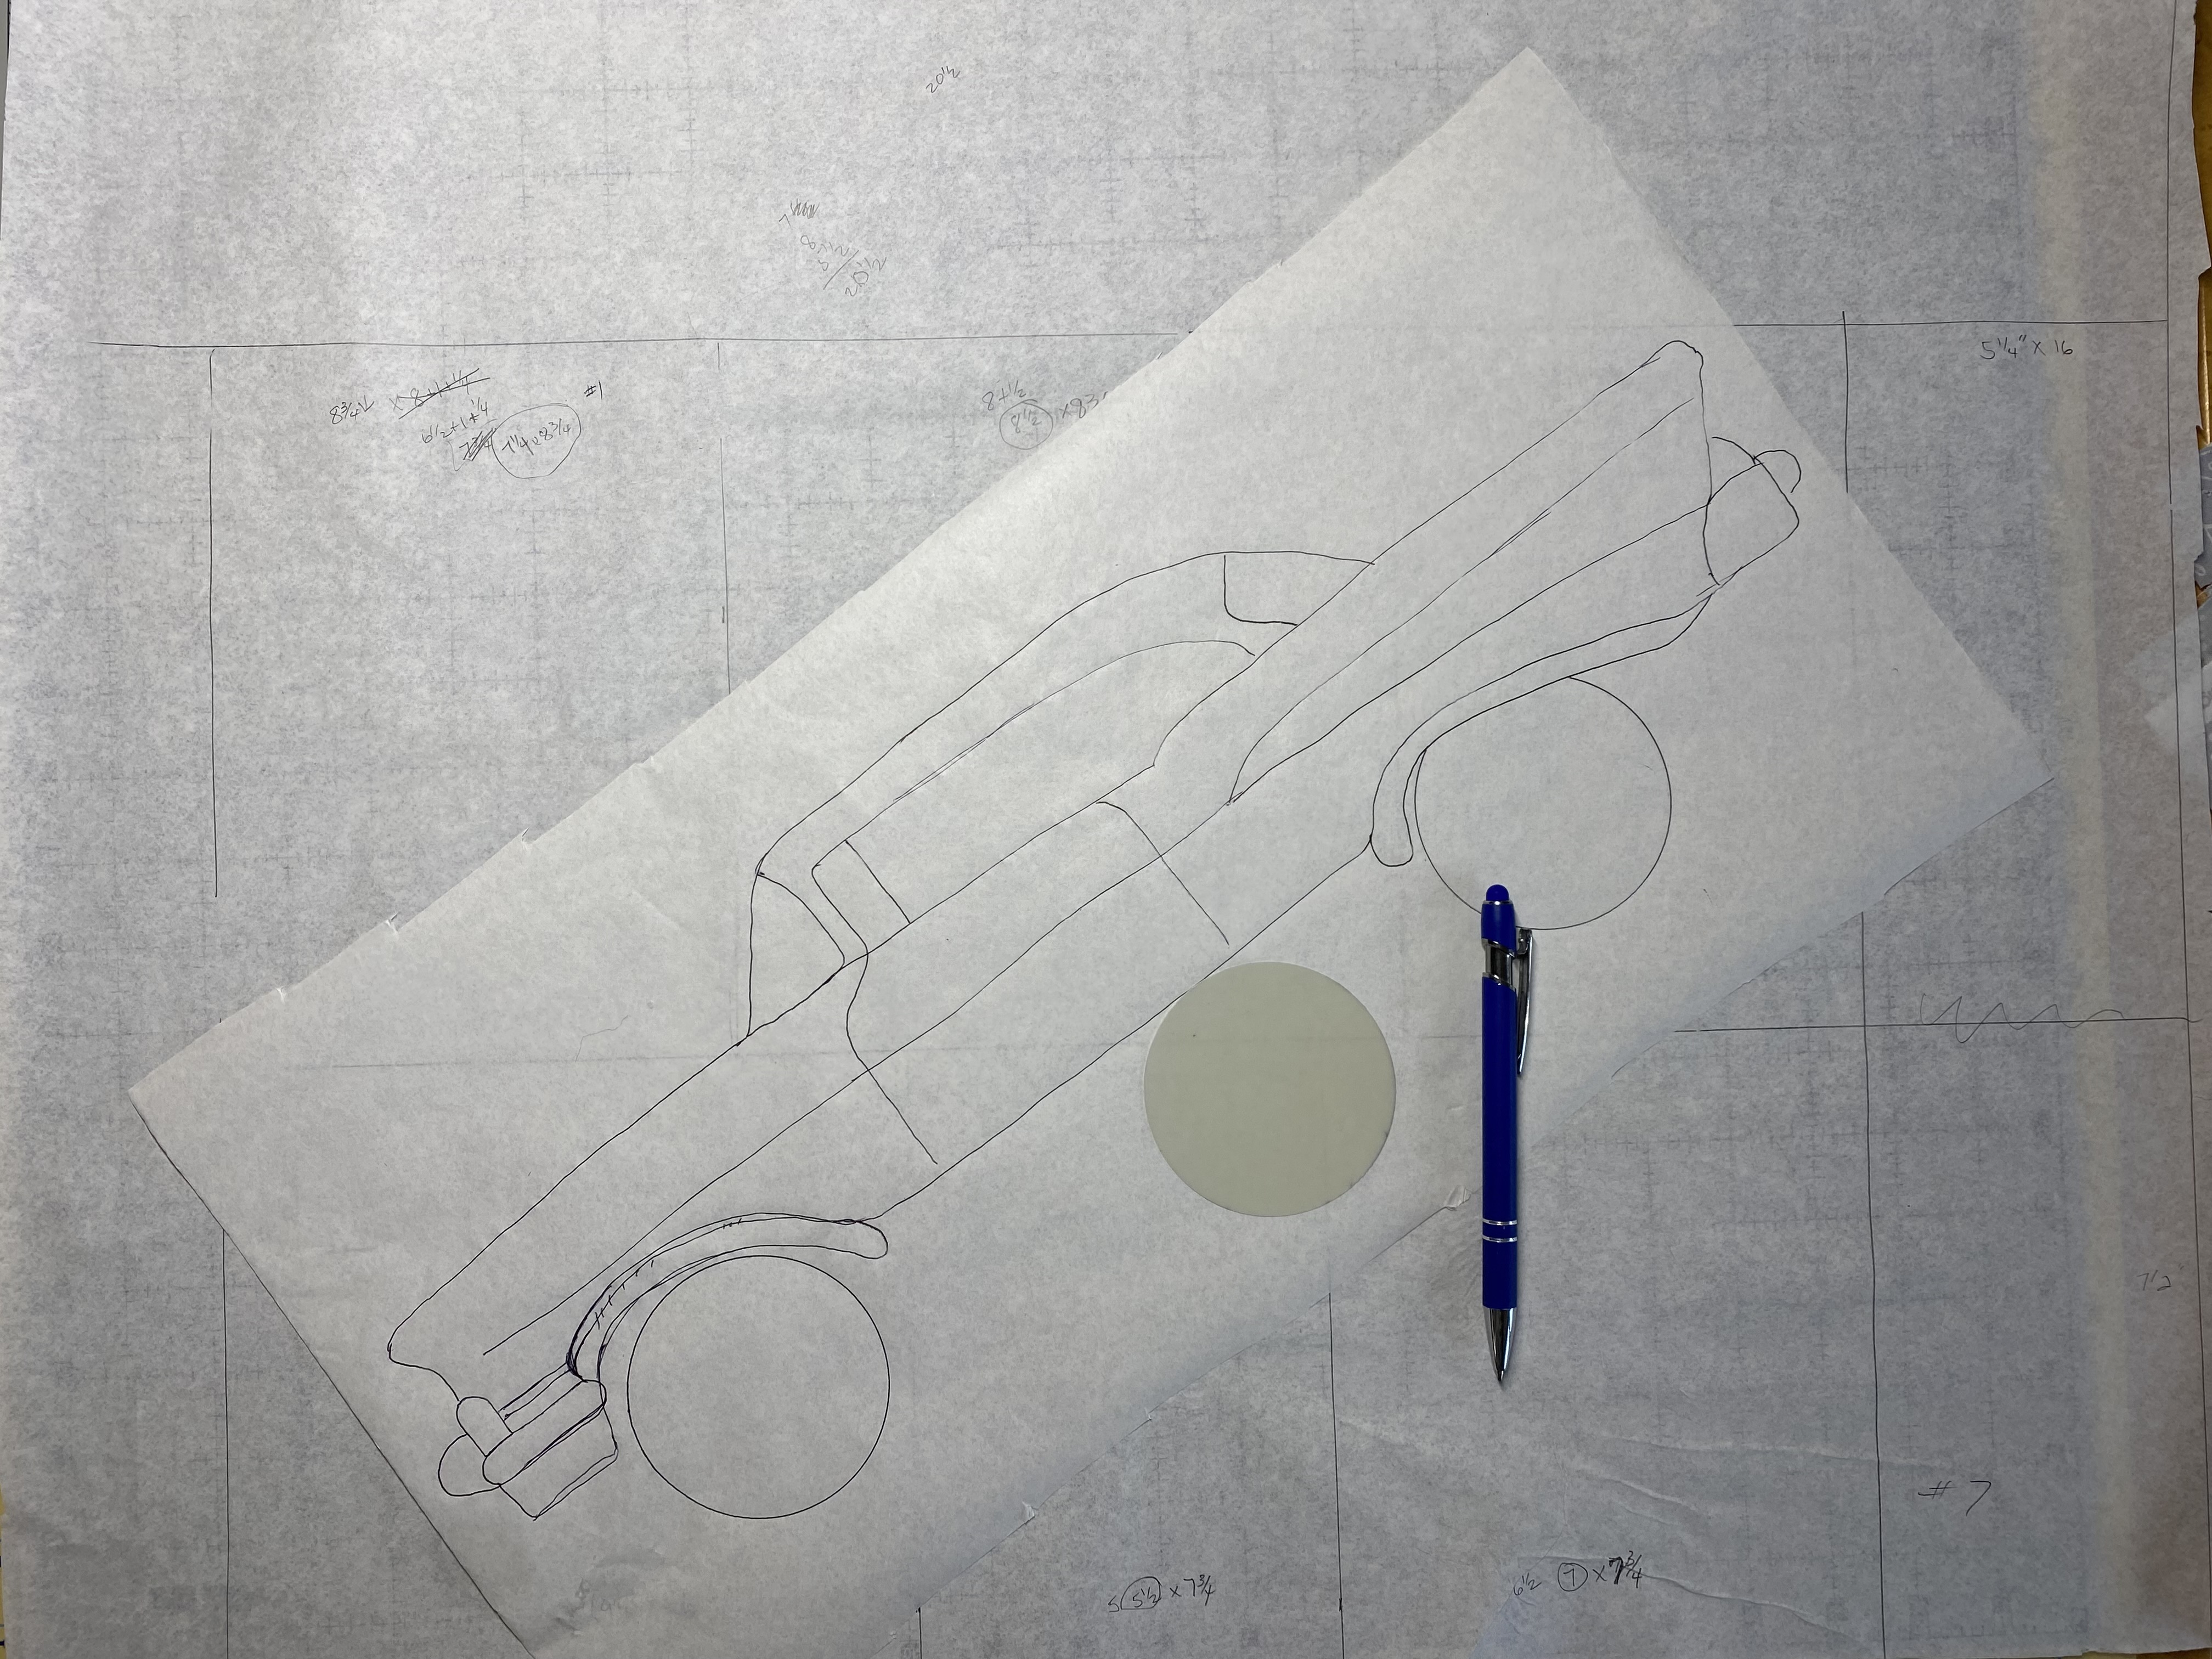
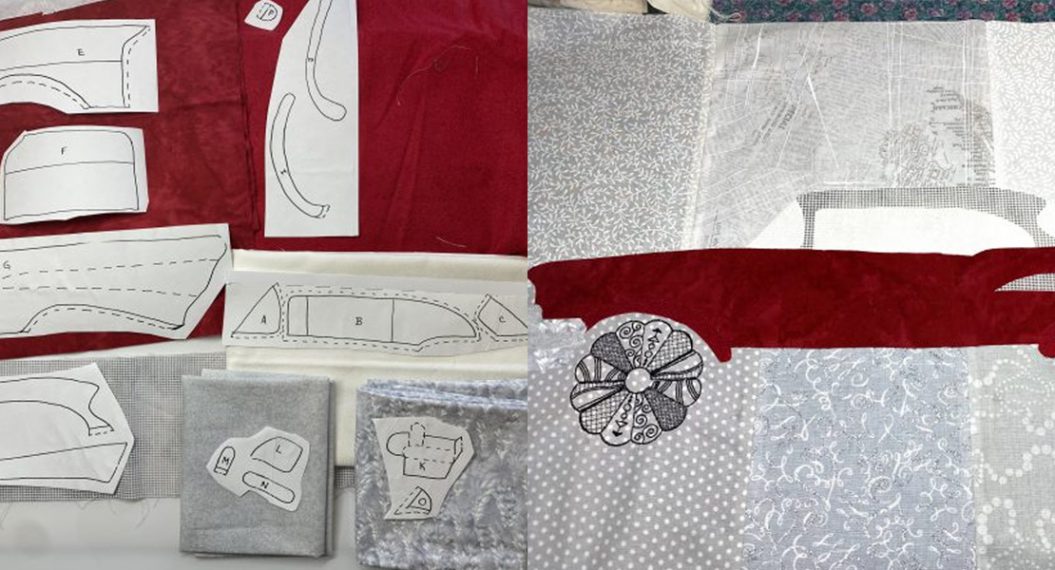
Art quilt background fabric is pieced with low-volume fabrics. Using a variety of background fabrics adds interest, depth and stability to the finished project. Appliqué car is scaled to size for placement on background.
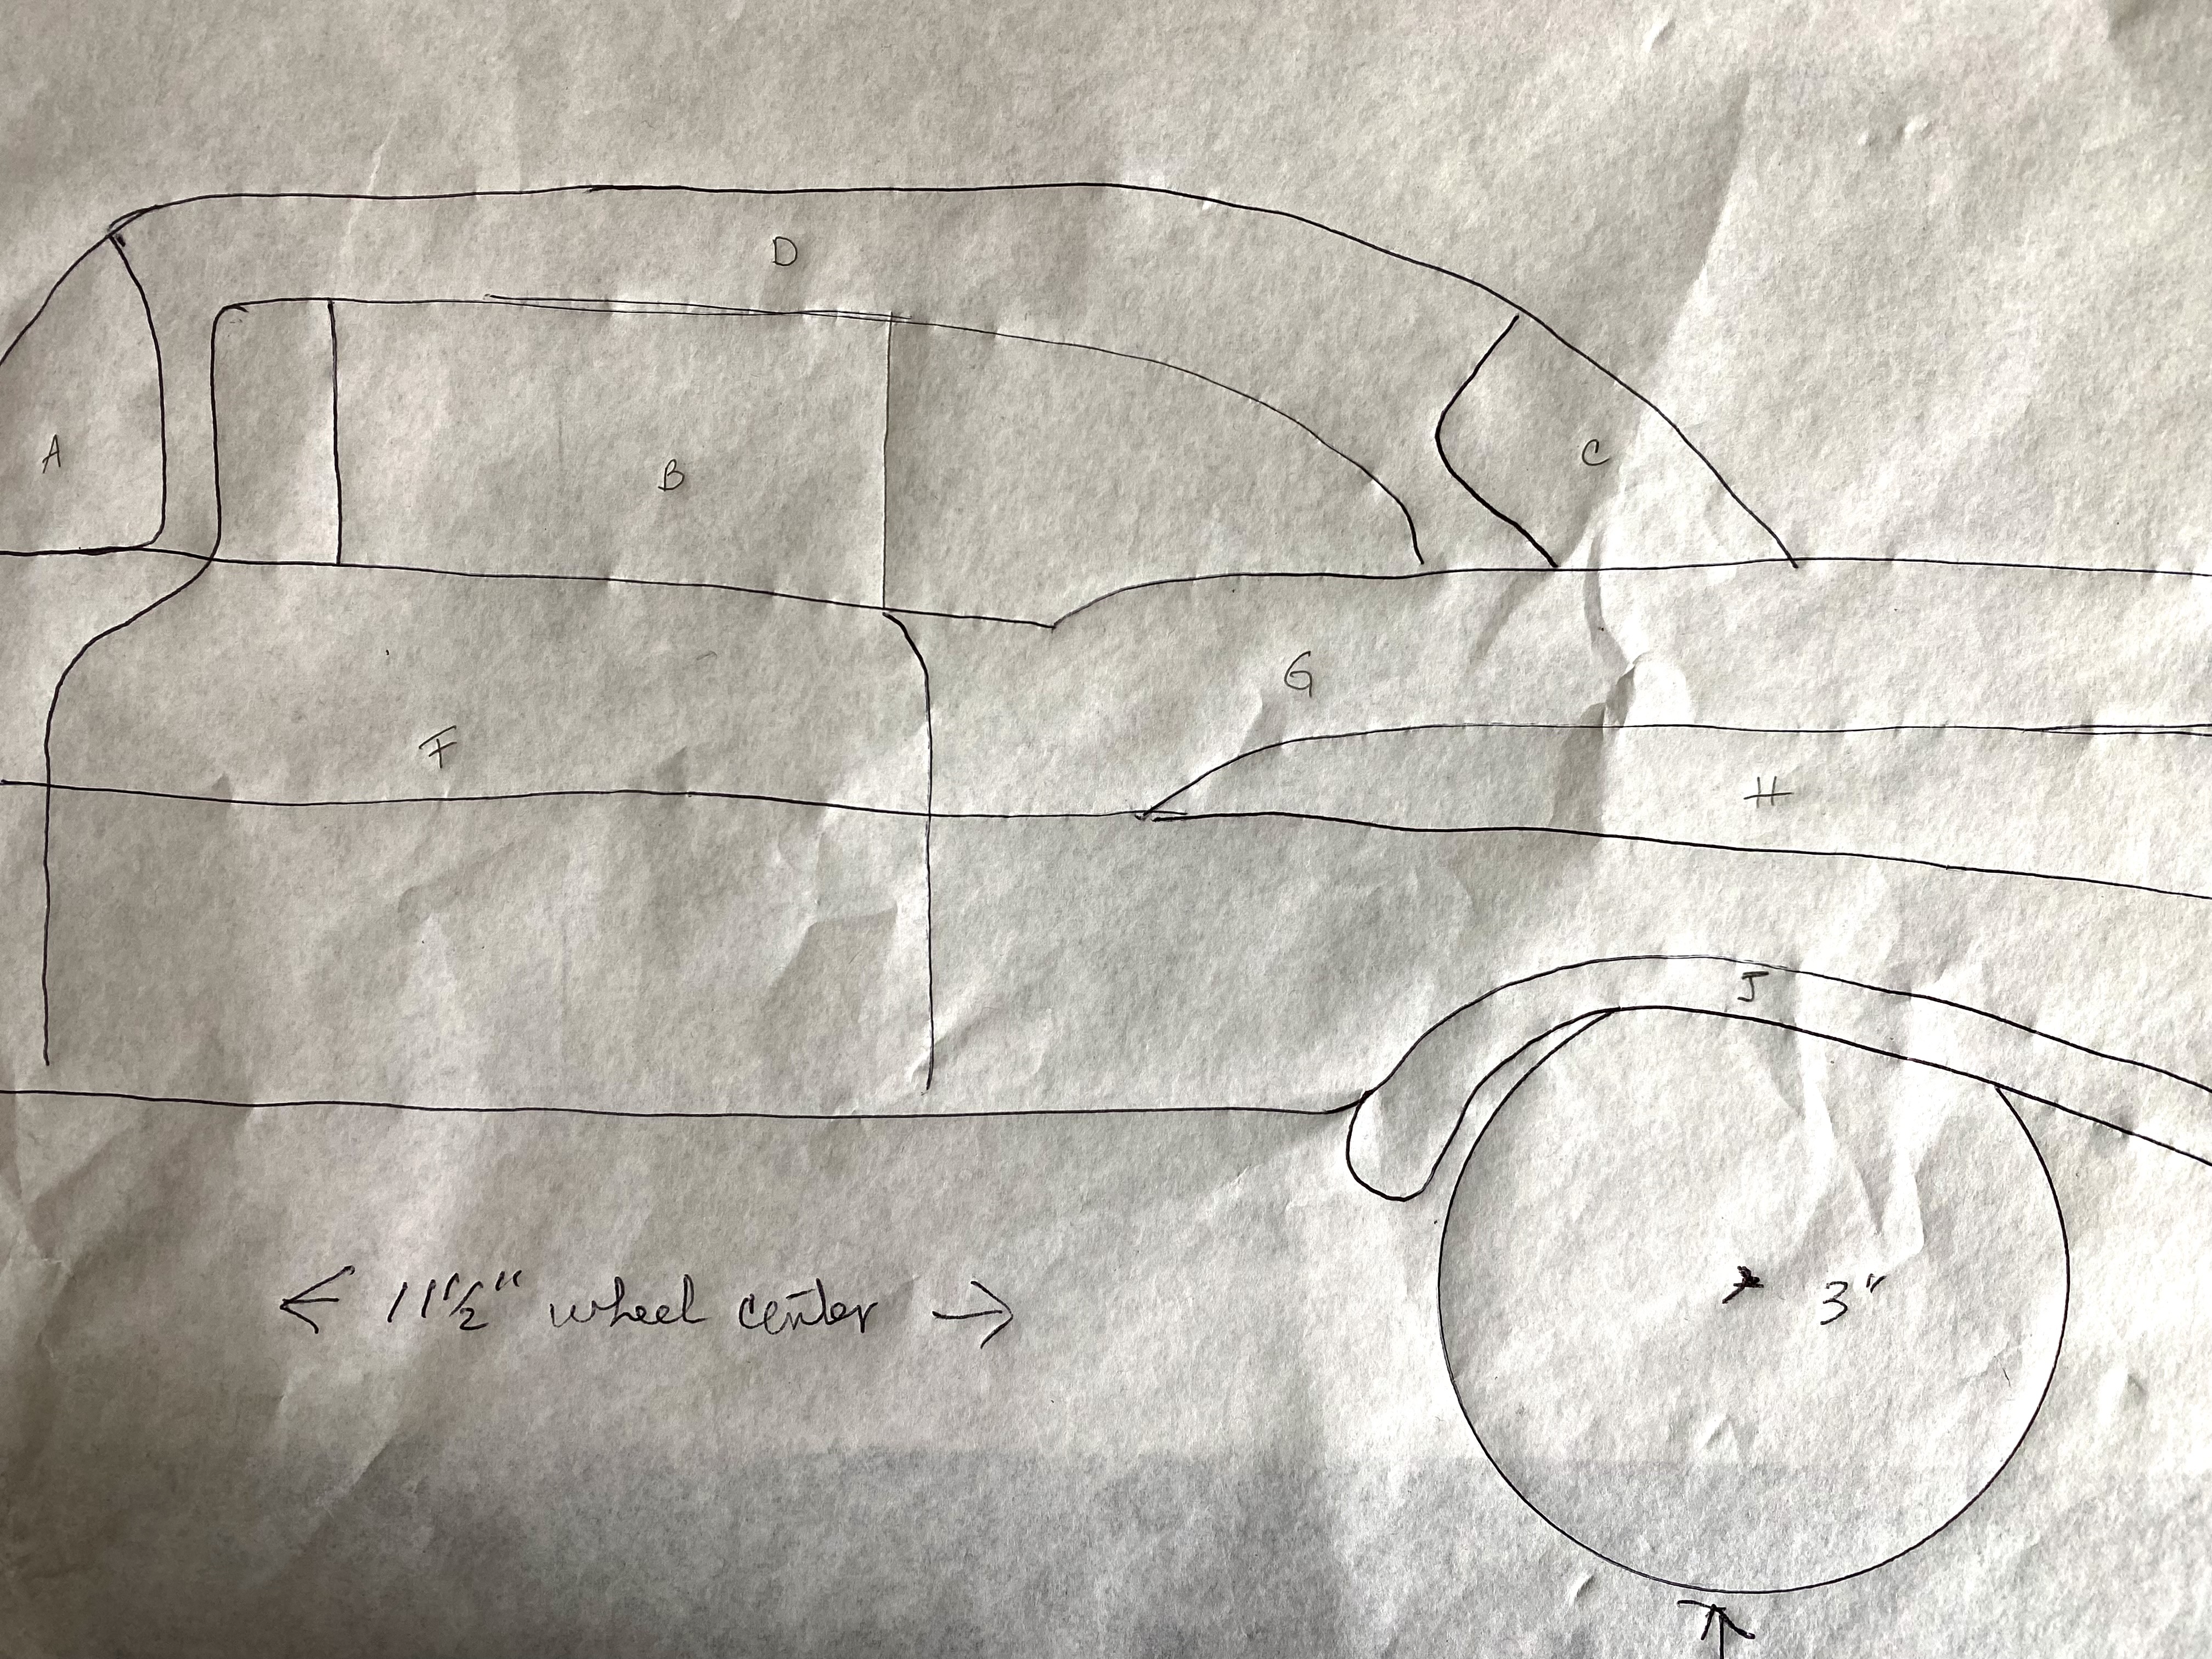
Each piece of fused applique is labeled on rough draft of pattern. Measurements are taken to size and position embroidered wheels. Appliquéd car design needed to be complete before embroidery is placed on background.
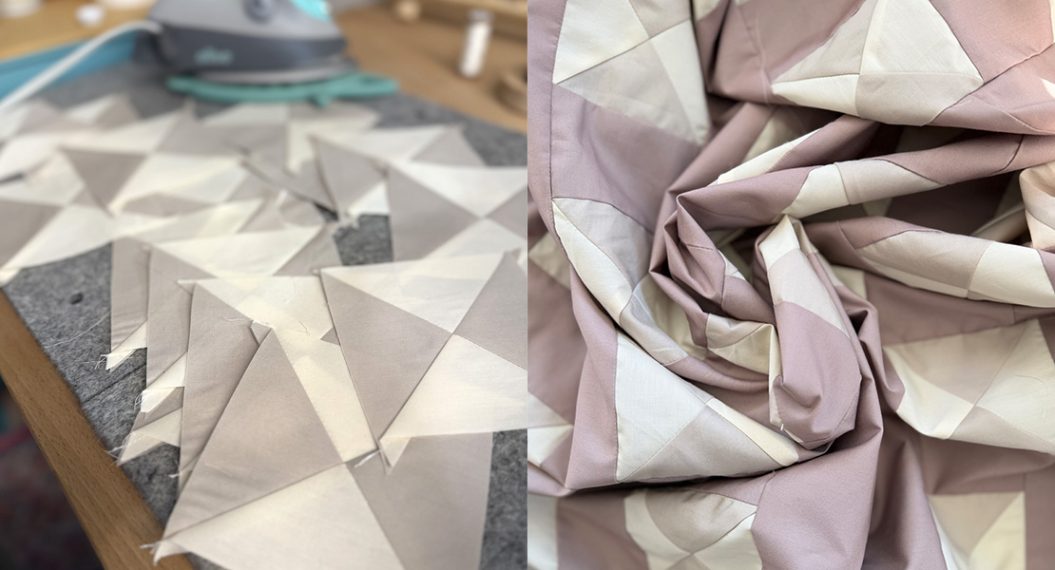
Creating Background
There is a stash of low-volume fabrics on my shelves. This is why I save every little scrap from projects. Red, black and white have been selected for the appliqué and embroidery suggesting crisp whites and grays for the background.
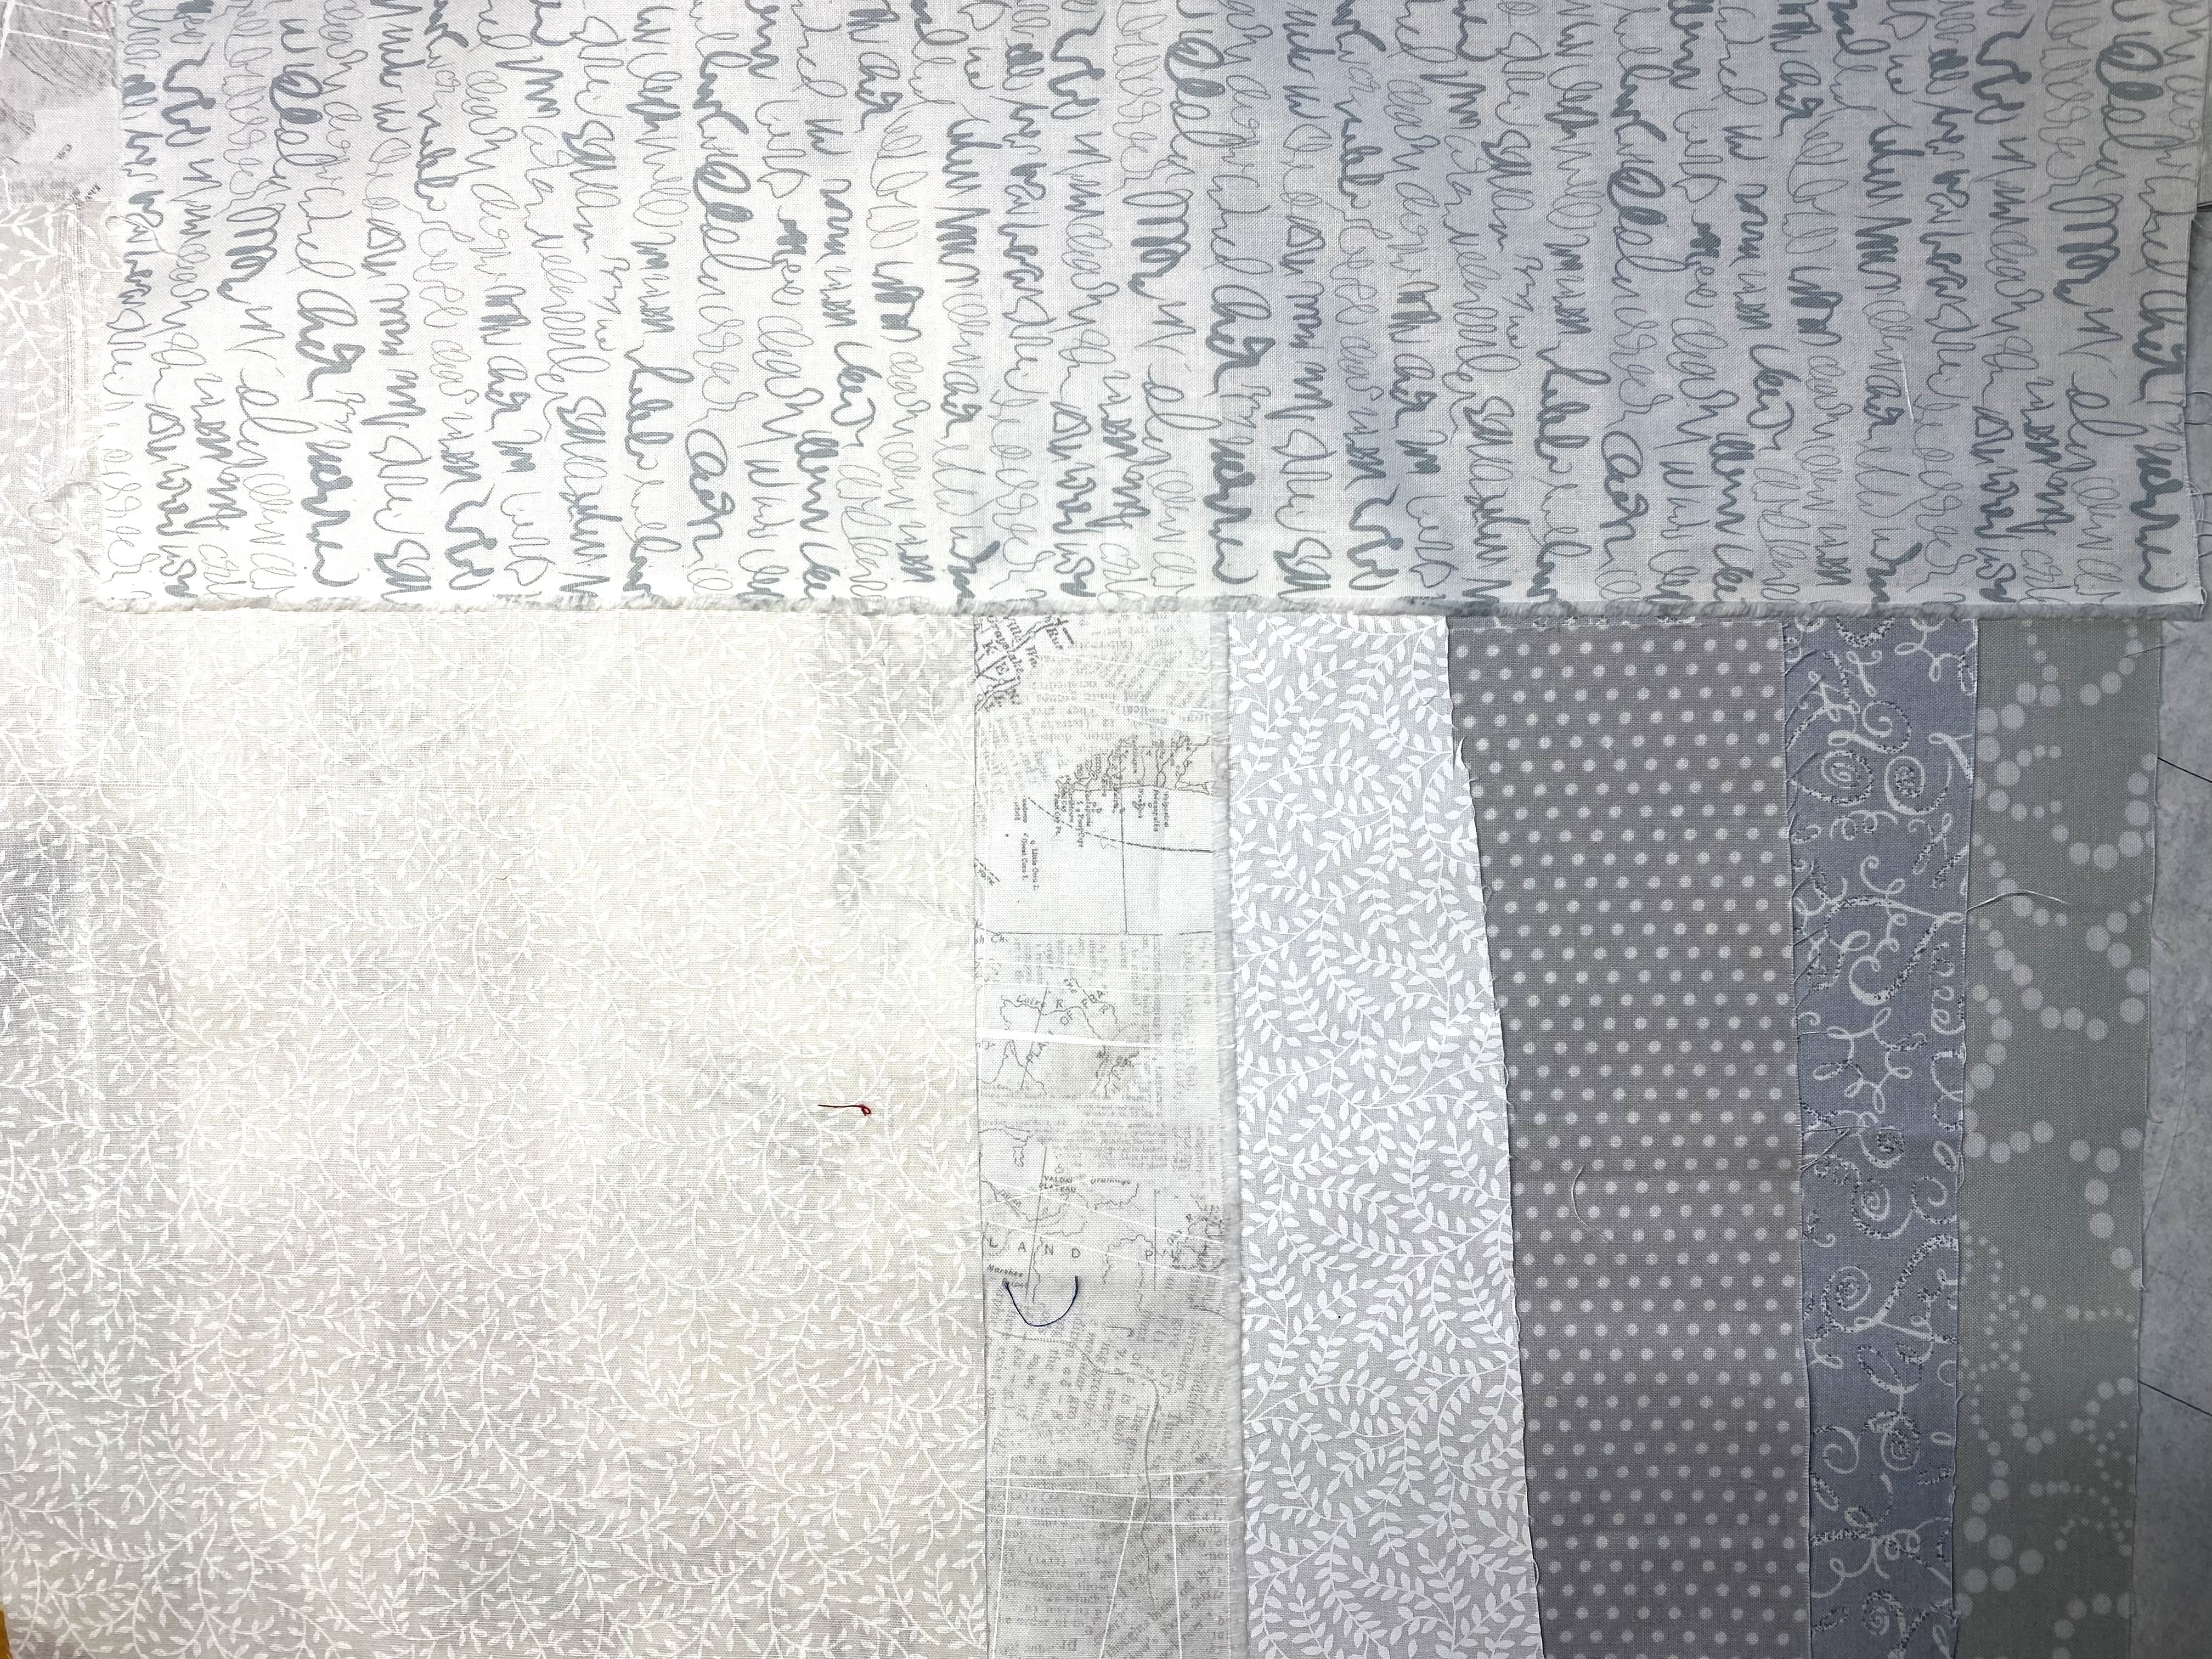
Pulling more fabrics than the seven needed for the background allows more flexibility in your design. After auditioning your choices, if some don’t play well together they can be saved for a future project. Selecting extra fabrics at the start allows you to keep moving forward rather than going back for more choices.

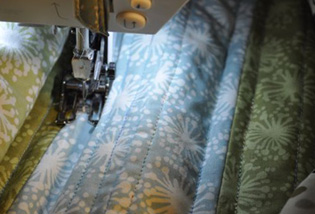
Use the diagram above to cut background fabrics. Stitch following the bulleted directions. Pressing the seams open illuminates bulk during later steps.
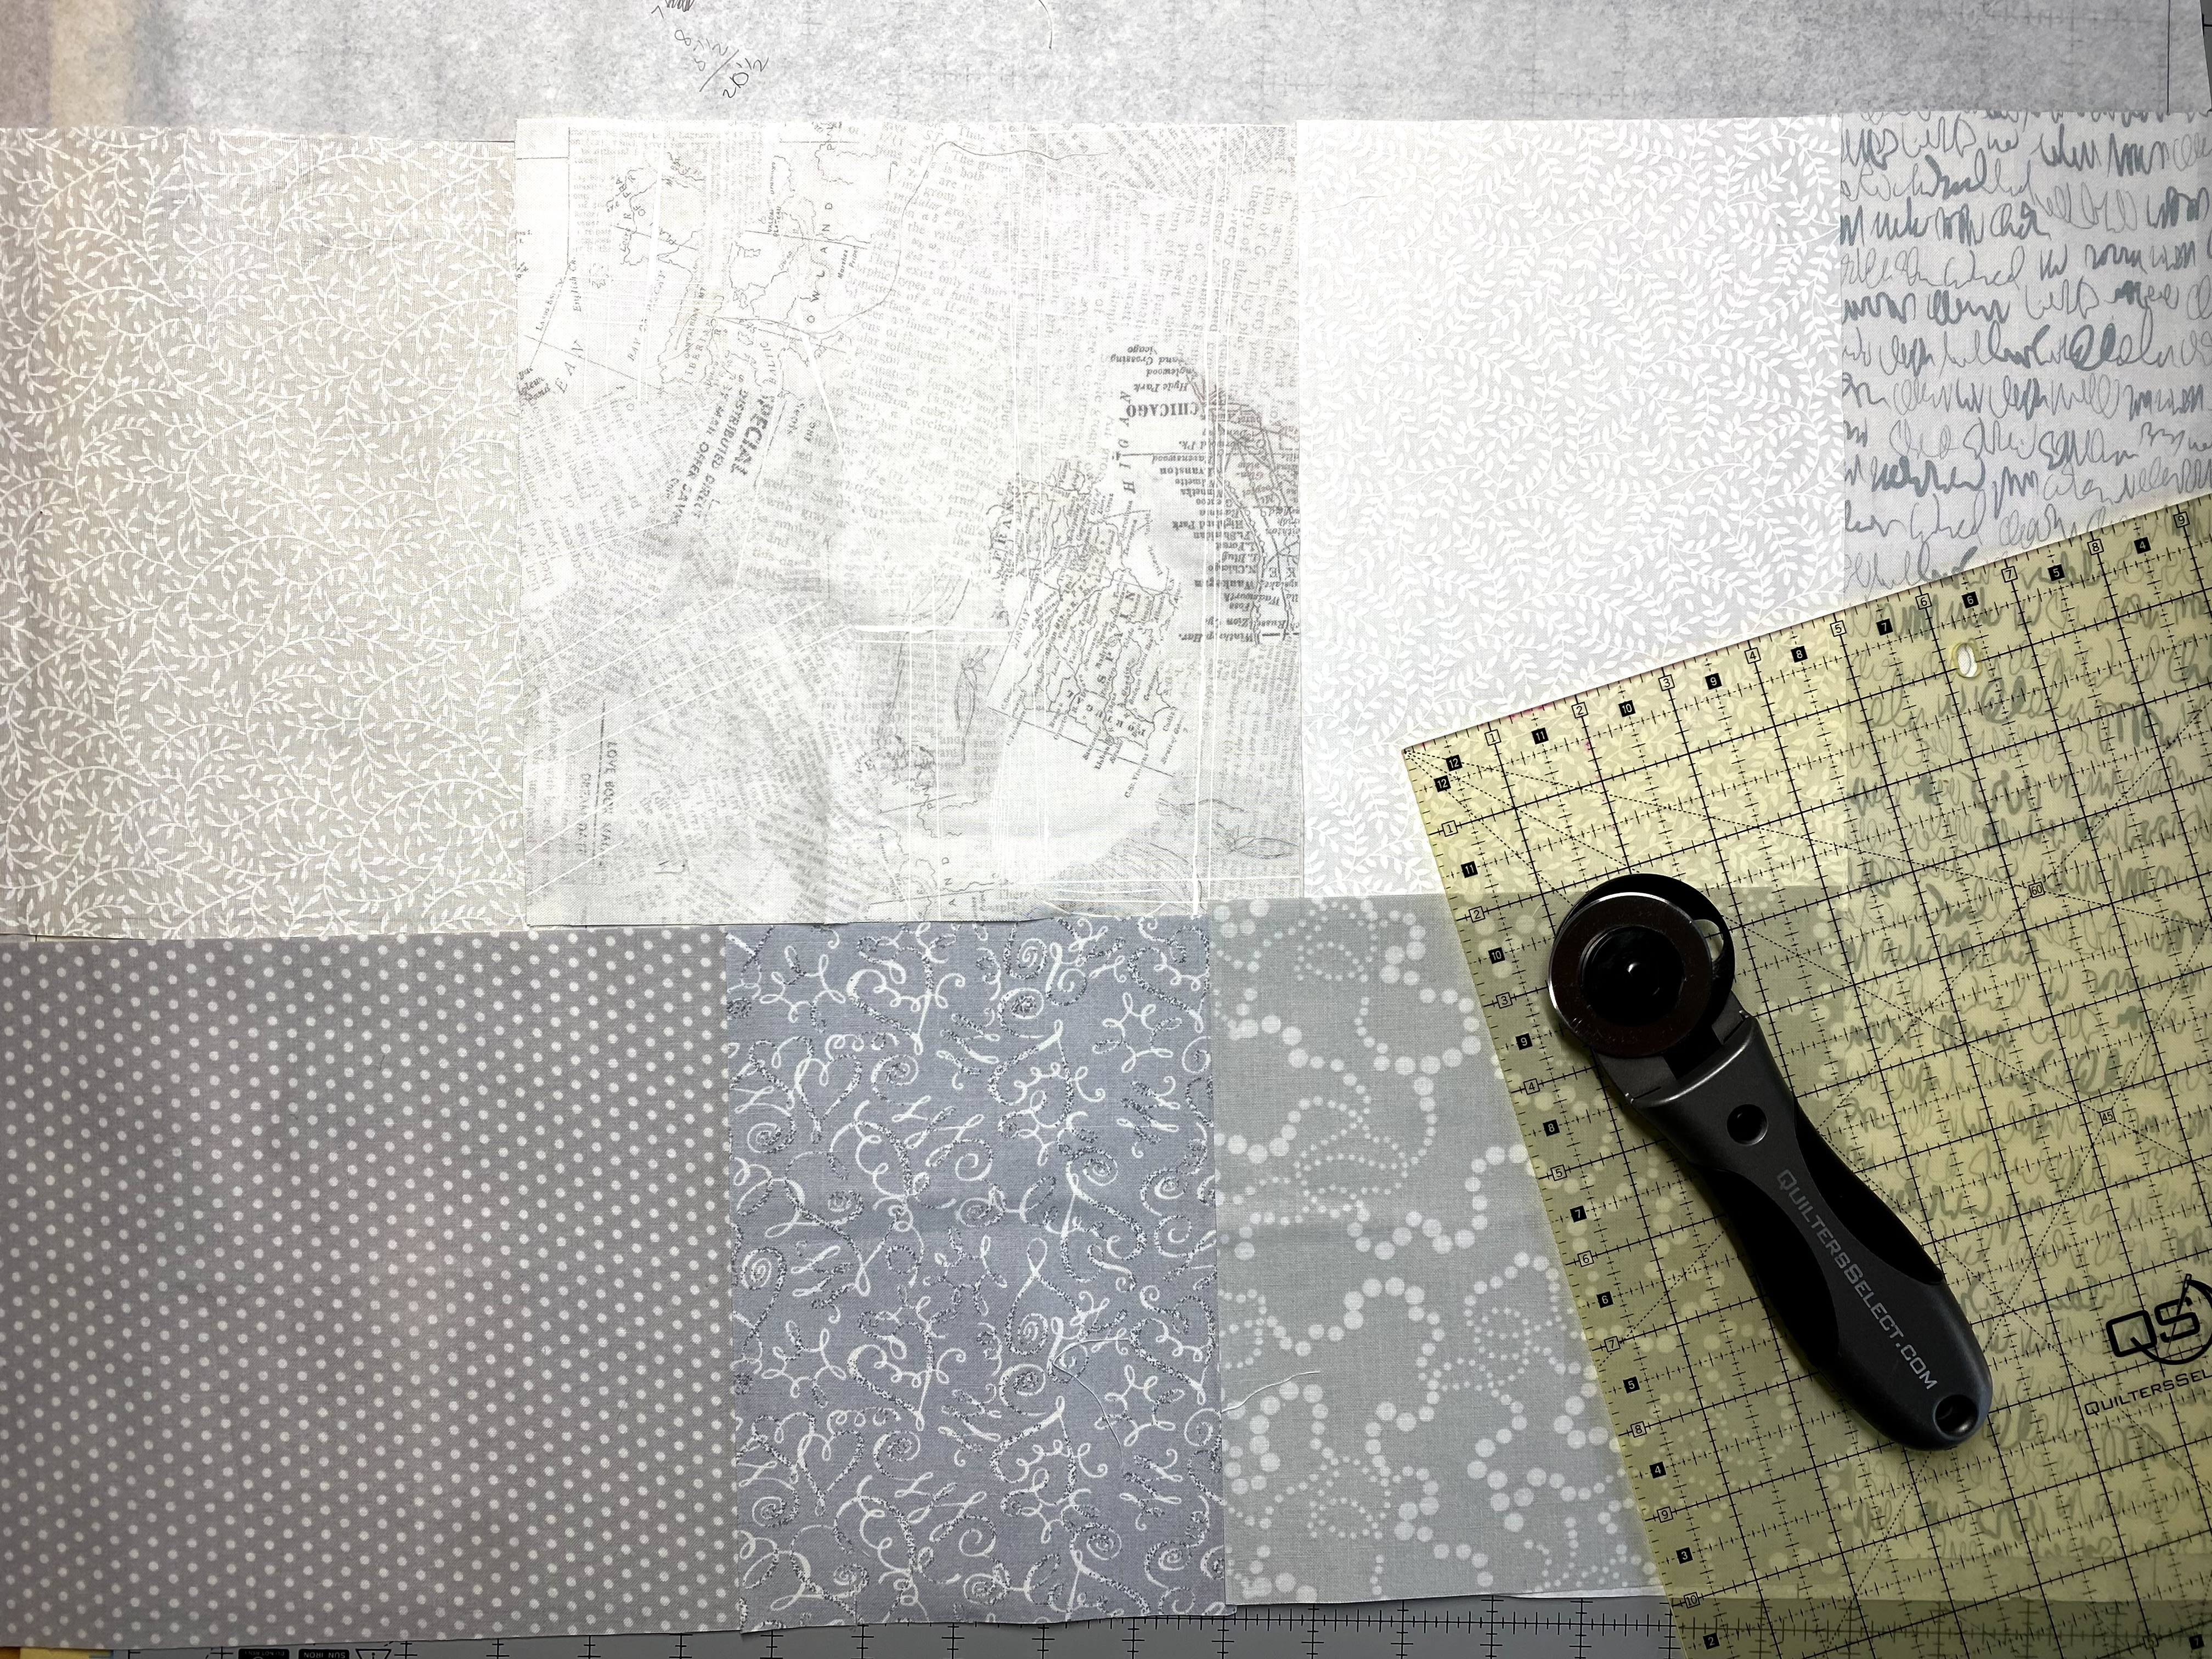
Note that there are no seams to match using this layout. This allows you to stitch it together quickly and keep bulk out of the background piece.
Dresden Embroidered Wheels
Dresden blocks of all sorts keep finding their way into my pattern designs. From the 36-point traditional block used in the Whimsical Bicycle and Penny Farthing Bicycle patterns to the rounded edge raw edge in the Whimsical Wheelbarrow pattern to the fused edge wheels on the Mini Whimsical Bicycle to the split blade version on the Blooming Windmill pattern, if it is round and turns, the Dresden seems to fit.
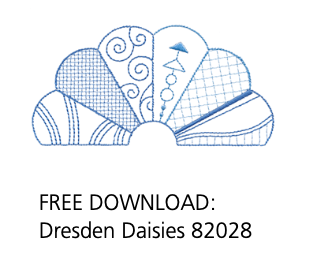
1. Download Design, Duplicate, Reposition, Resize & Center
• Download BERNINA’s free Dresden Daisies 82028 and transfer to your sewing machine embroidery feature.
• Open the design on your machine then copy and paste so there are two of the same design.
• Select the pasted design and reposition it to first flip vertically then flip horizontally to create wheel top and bottom.
• Reposition the flipped section to align with top section, creating a full Dresden wheel.
• Resize the entire unit to three inches.
• Center design in work area.

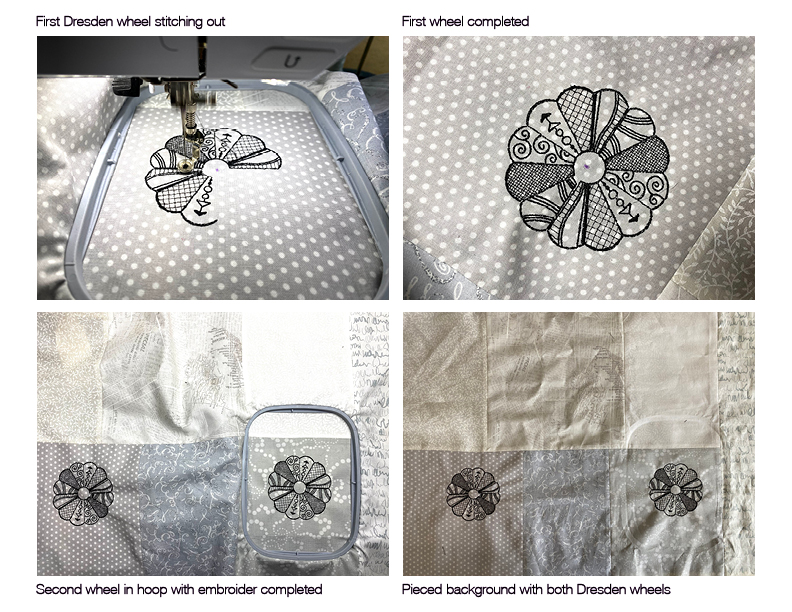
2. Wheel Placement & Embroidery
• Mark center point for each wheel on prepared background fabric. Points should be five inches from bottom of fabric, approximately seven inches from each edge and exactly eleven and one-half inches apart.
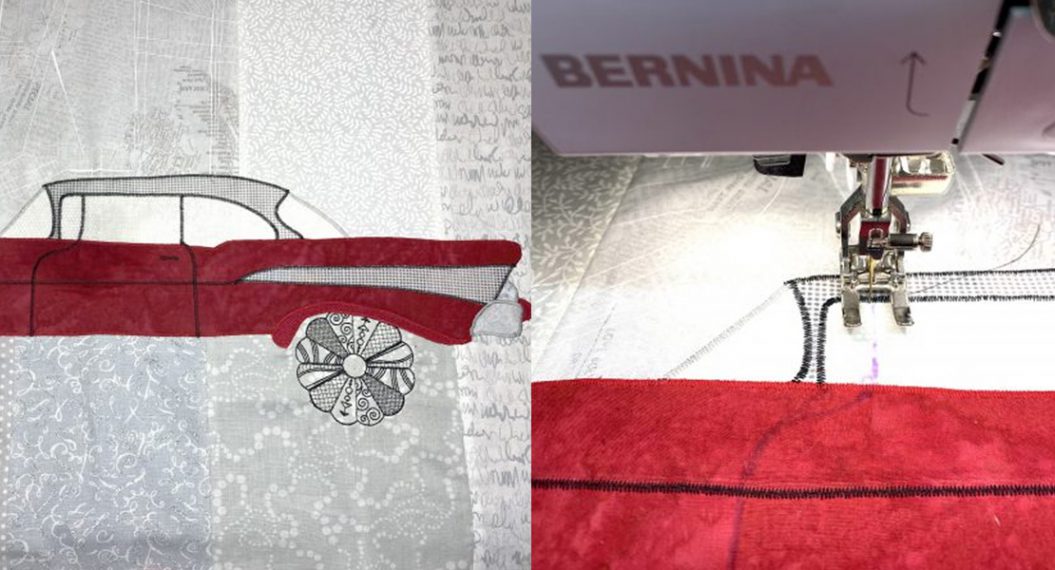
• Insert background fabric and stabilizer of your choice in hoop aligning marked wheel center with center of hoop.
• Stitch out Dresden in thread color of your choice. I used black for entire design.
• Repeat for second wheel.
Careful preparation of the background fabric and accurate placement of the Dresden wheel complete the first segment of the quilt along. Time to create the appliquéd ’57 Chevy.
Used Products


What you might also like


2 comments on “That Old ’57 Chevrolet, Part One”
-
-
Hello…what fun for you to own a great vintage car. I’m replying to you via the email you sent to my web site I hope we can work something out. Sally
-
Leave a Reply
You must be logged in to post a comment.

I gather that the car pattern is coming in the future. Do you have any suggestions as to how the car pattern could be altered into a 56 Bel Air Convertible? (I failed art in school!!!)
Thank you.