Doable Dresden, Part One: Blades
Making its debut in the 1920s, the Dresden plate quilt block was first published as a pattern in the 1930s. Over the one-hundred-year history, the block has had a wide variety of uses from traditional, hand-stitched projects to modern, machine-stitched designs. Wedges were originally created with paper or cardboard templates but rotary cutters and specialty rulers or even paper piecing makes allows for more accuracy and speed during construction.
Quilters may hesitate to tackle a Dresden project due to the many seams, pointed wedges, and circular center. These easy steps and tips will take the fear from creating this versatile block. Breaking a project down into smaller steps gives the opportunity to bask in success multiple times during the project. Let’s start with the wedges.
Materials for Dresden Block Wedges
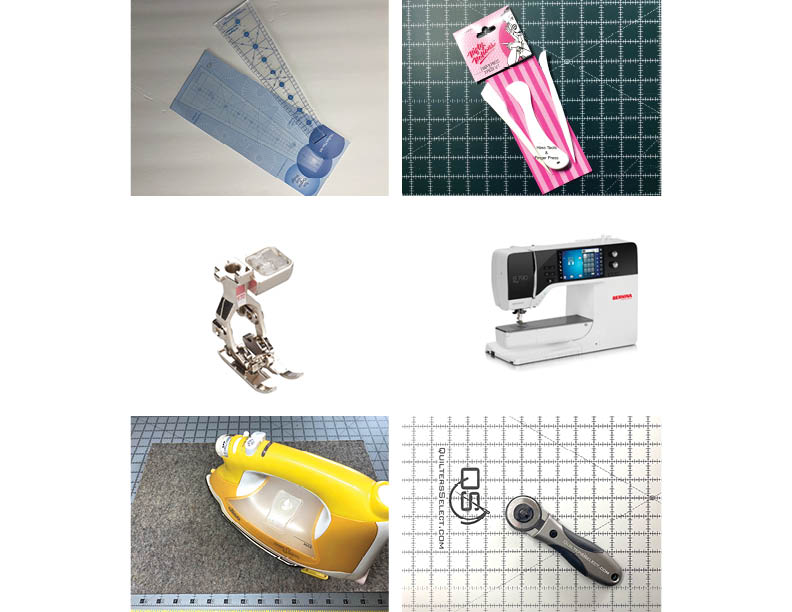
- Wedge Ruler
- Rotary Cutter & Mat
- Hera Tool
- Iron and Ironing Mat
- Sewing Machine with 1/4″ Foot
Cutting the Wedges
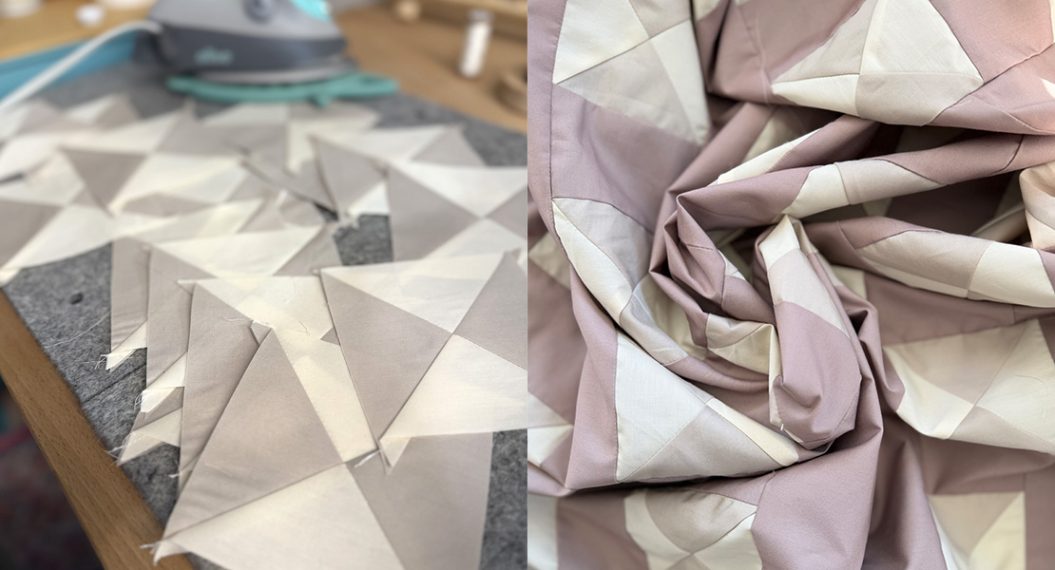
Accuracy is important very important in the cutting process. Check the pattern for the length of wedges then cut a fabric strip that size. The pattern I’m using requires a 4-1/4 inch strip. Use painter’s tape to mark the ruler with that same 4-1/4 inch. Optional ruler grips can be placed on rulers that have a tendency to slide.

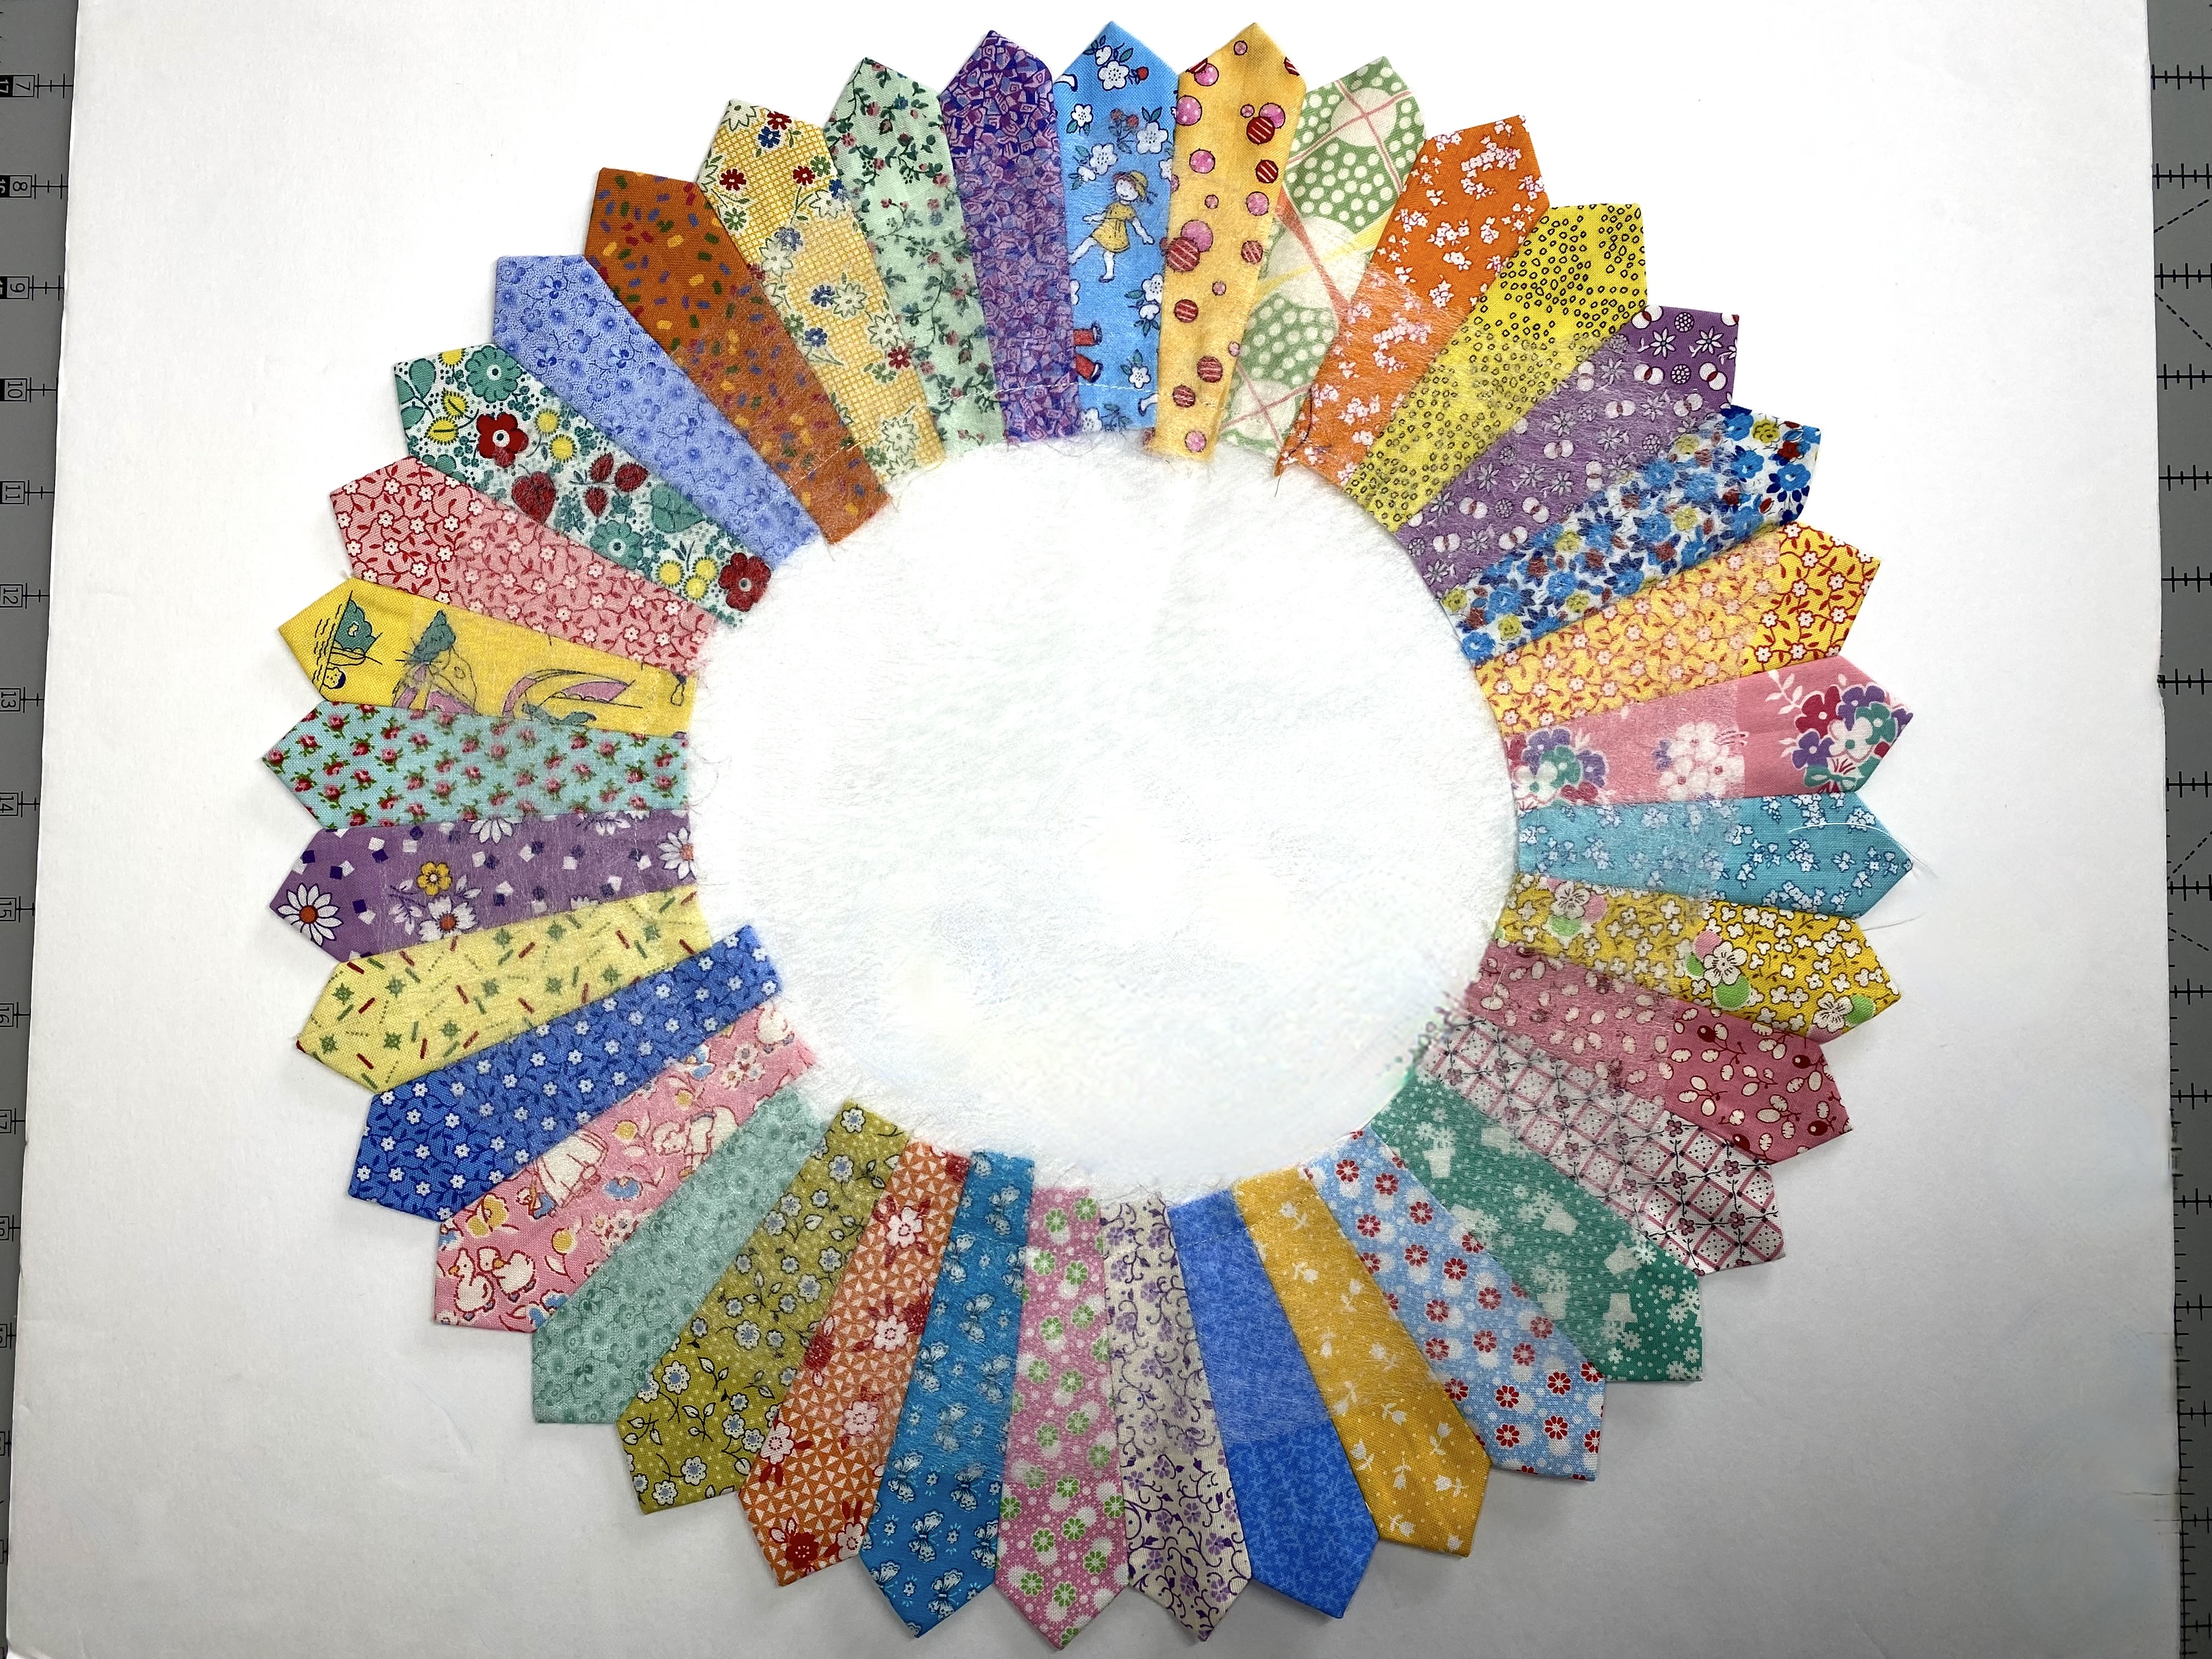
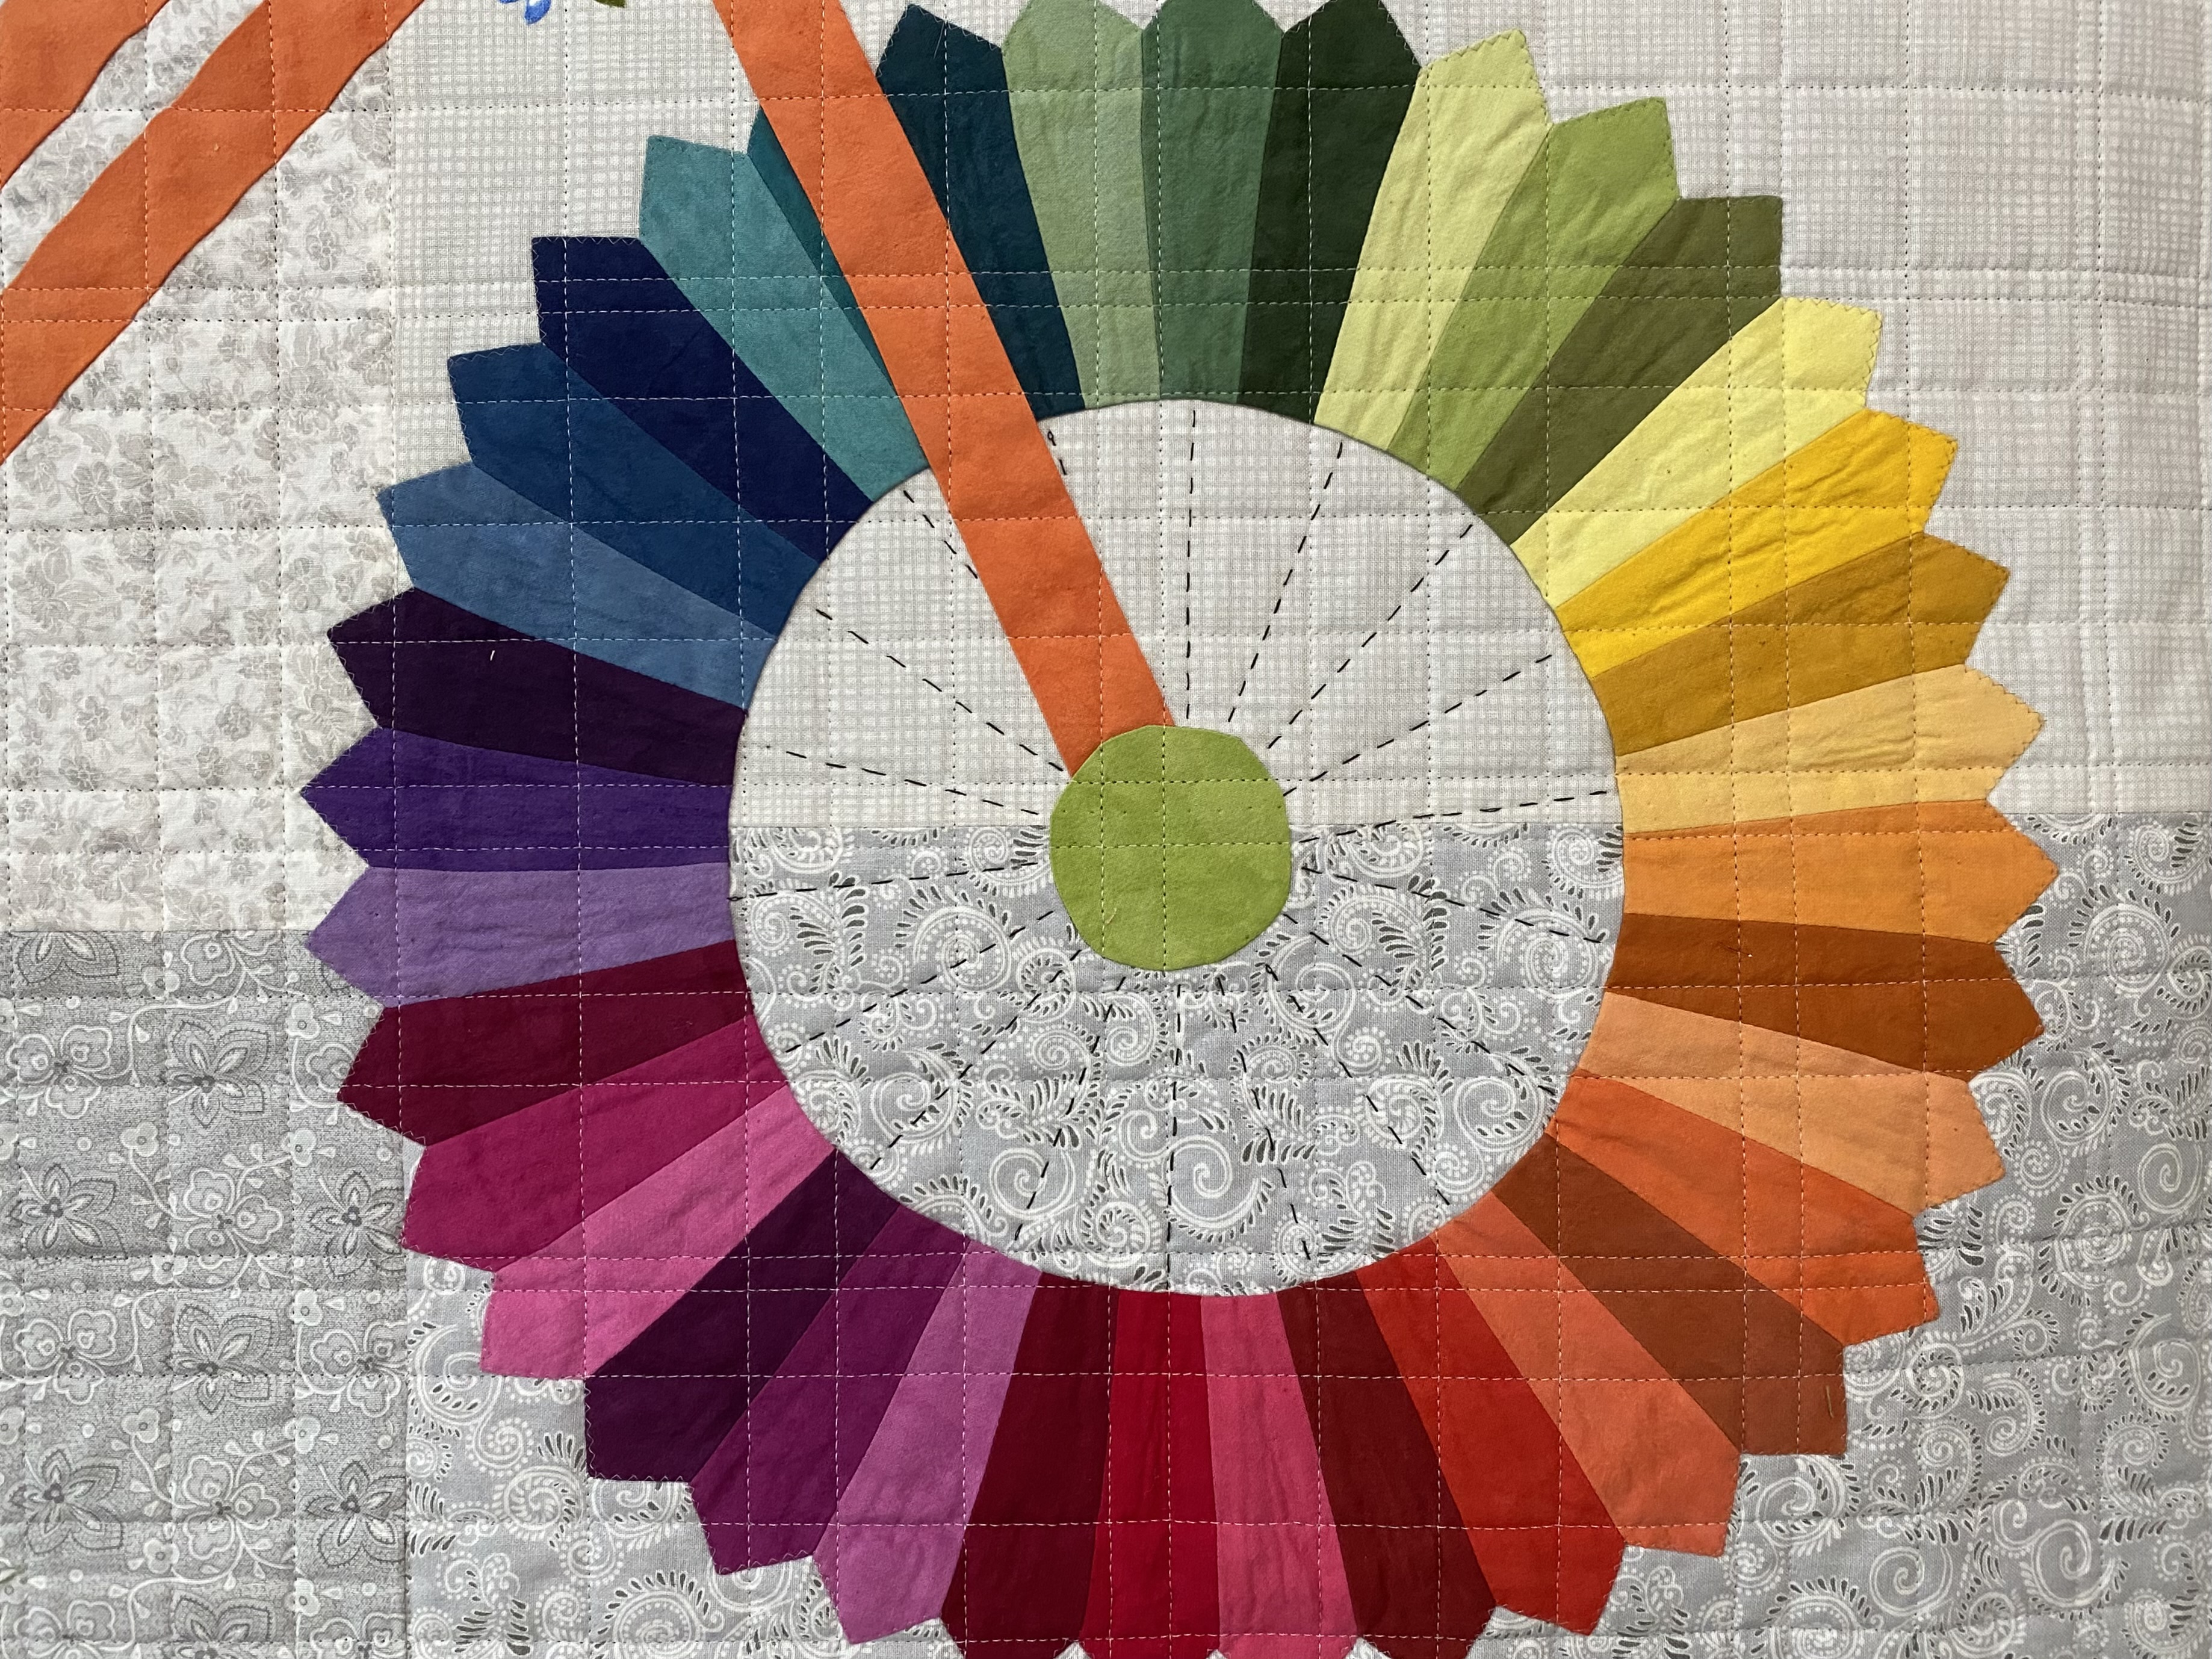
This Dresden block will have 36 wedges cut with a 10-degree ruler. This allows for a larger variety of fabrics to be used giving the block a scrappy feel. Wedge rulers are available in a variety of degrees requiring different numbers of wedges to complete. An 18-degree ruler, for example, would require 20 wedges to complete the needed 360-degree circle.
Stitching Wedge Points
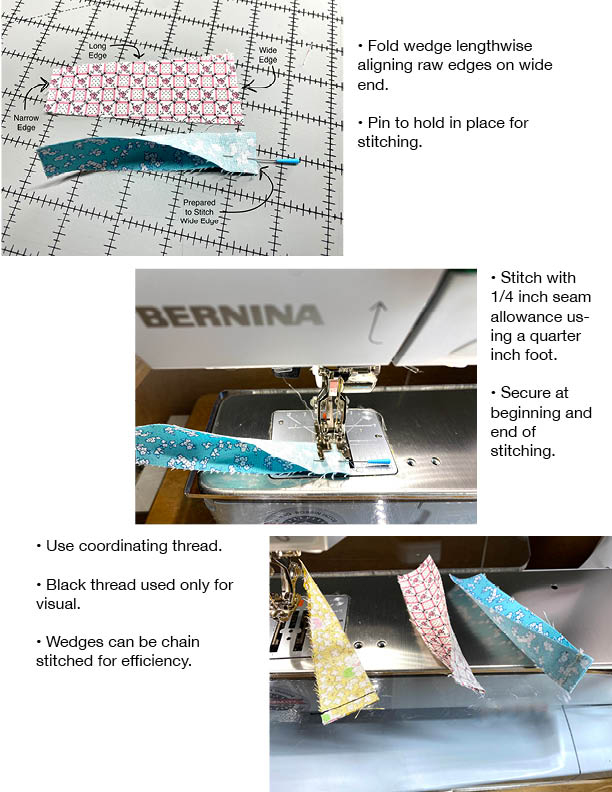
A sharp, finished edge is created on wedge points with a short, secured 1/4 inch seam.
Pressing Wedge Points
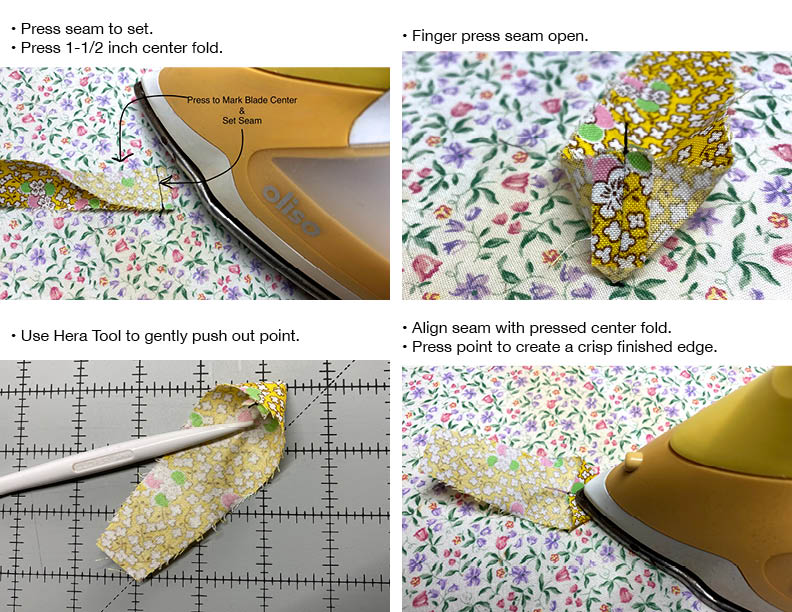
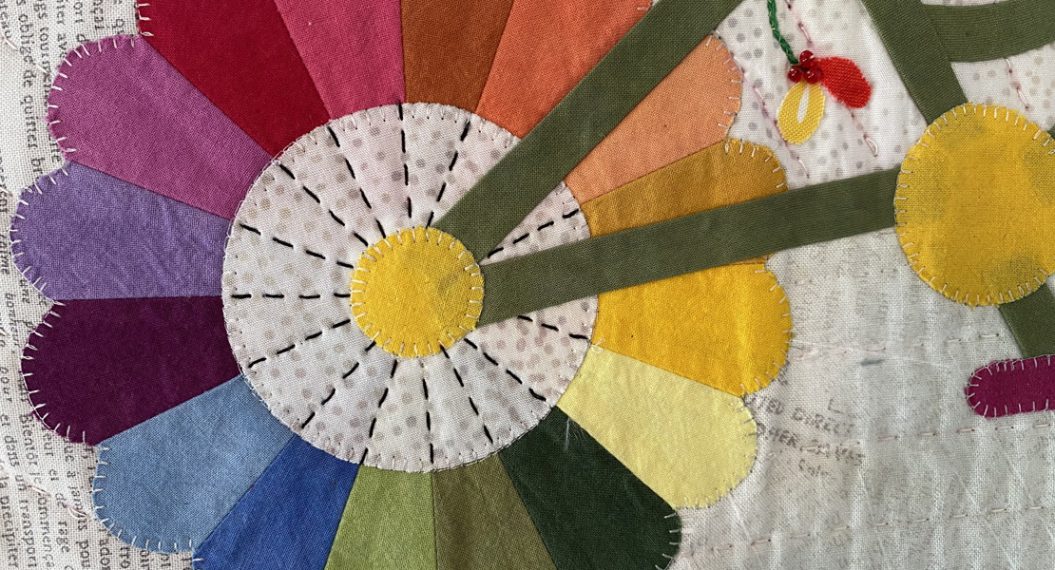
Proper pressing will perfectly center the point on the wedge creating an even, balanced Dresden block. The first pressing step adds a pressed fold to align the seam during the final press in this step. That center line is highlighted here with a fabric marker as a visual cue.
Stitching One-Quarter of Block
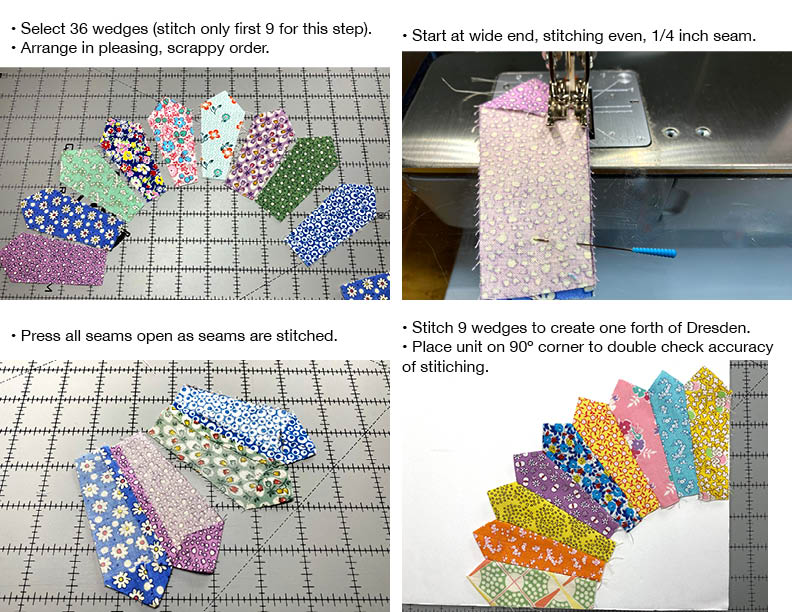
The Dresden block will be sewn in four sections to check stitching accuracy. After arranging 36 wedges in the order to be stitched, nine are stitched together on the long edge, pressing seams open as they are stitched. Stitching starts at the pointed, wider end and is secured at the beginning and end. Using a larger square ruler, a cutting mat, or any 90-degree angle, place the nine-wedge unit so that it touches the square corner. If it lays perfectly flat, all is well and life is good. Continue to construct the three remaining units, checking for accuracy as you work.
Join the four sections together pressing the seams open. It should lay flat.
If they do not form a 90-degree angle, see below.
Troubleshooting
You’ve followed the directions to the letter and cut out your Dresden blades precisely. The quarter-inch foot was on your machine and you’ve sewn them together ever so carefully and STILL, your nine-wedge unit doesn’t pass the 90-degree check.
Because you are working with 36 blades with seams on both sides, that’s 72 edges that can affect the final result. The smallest difference in seam allowance from one end of that tiny seam can cause issues in the finished project.
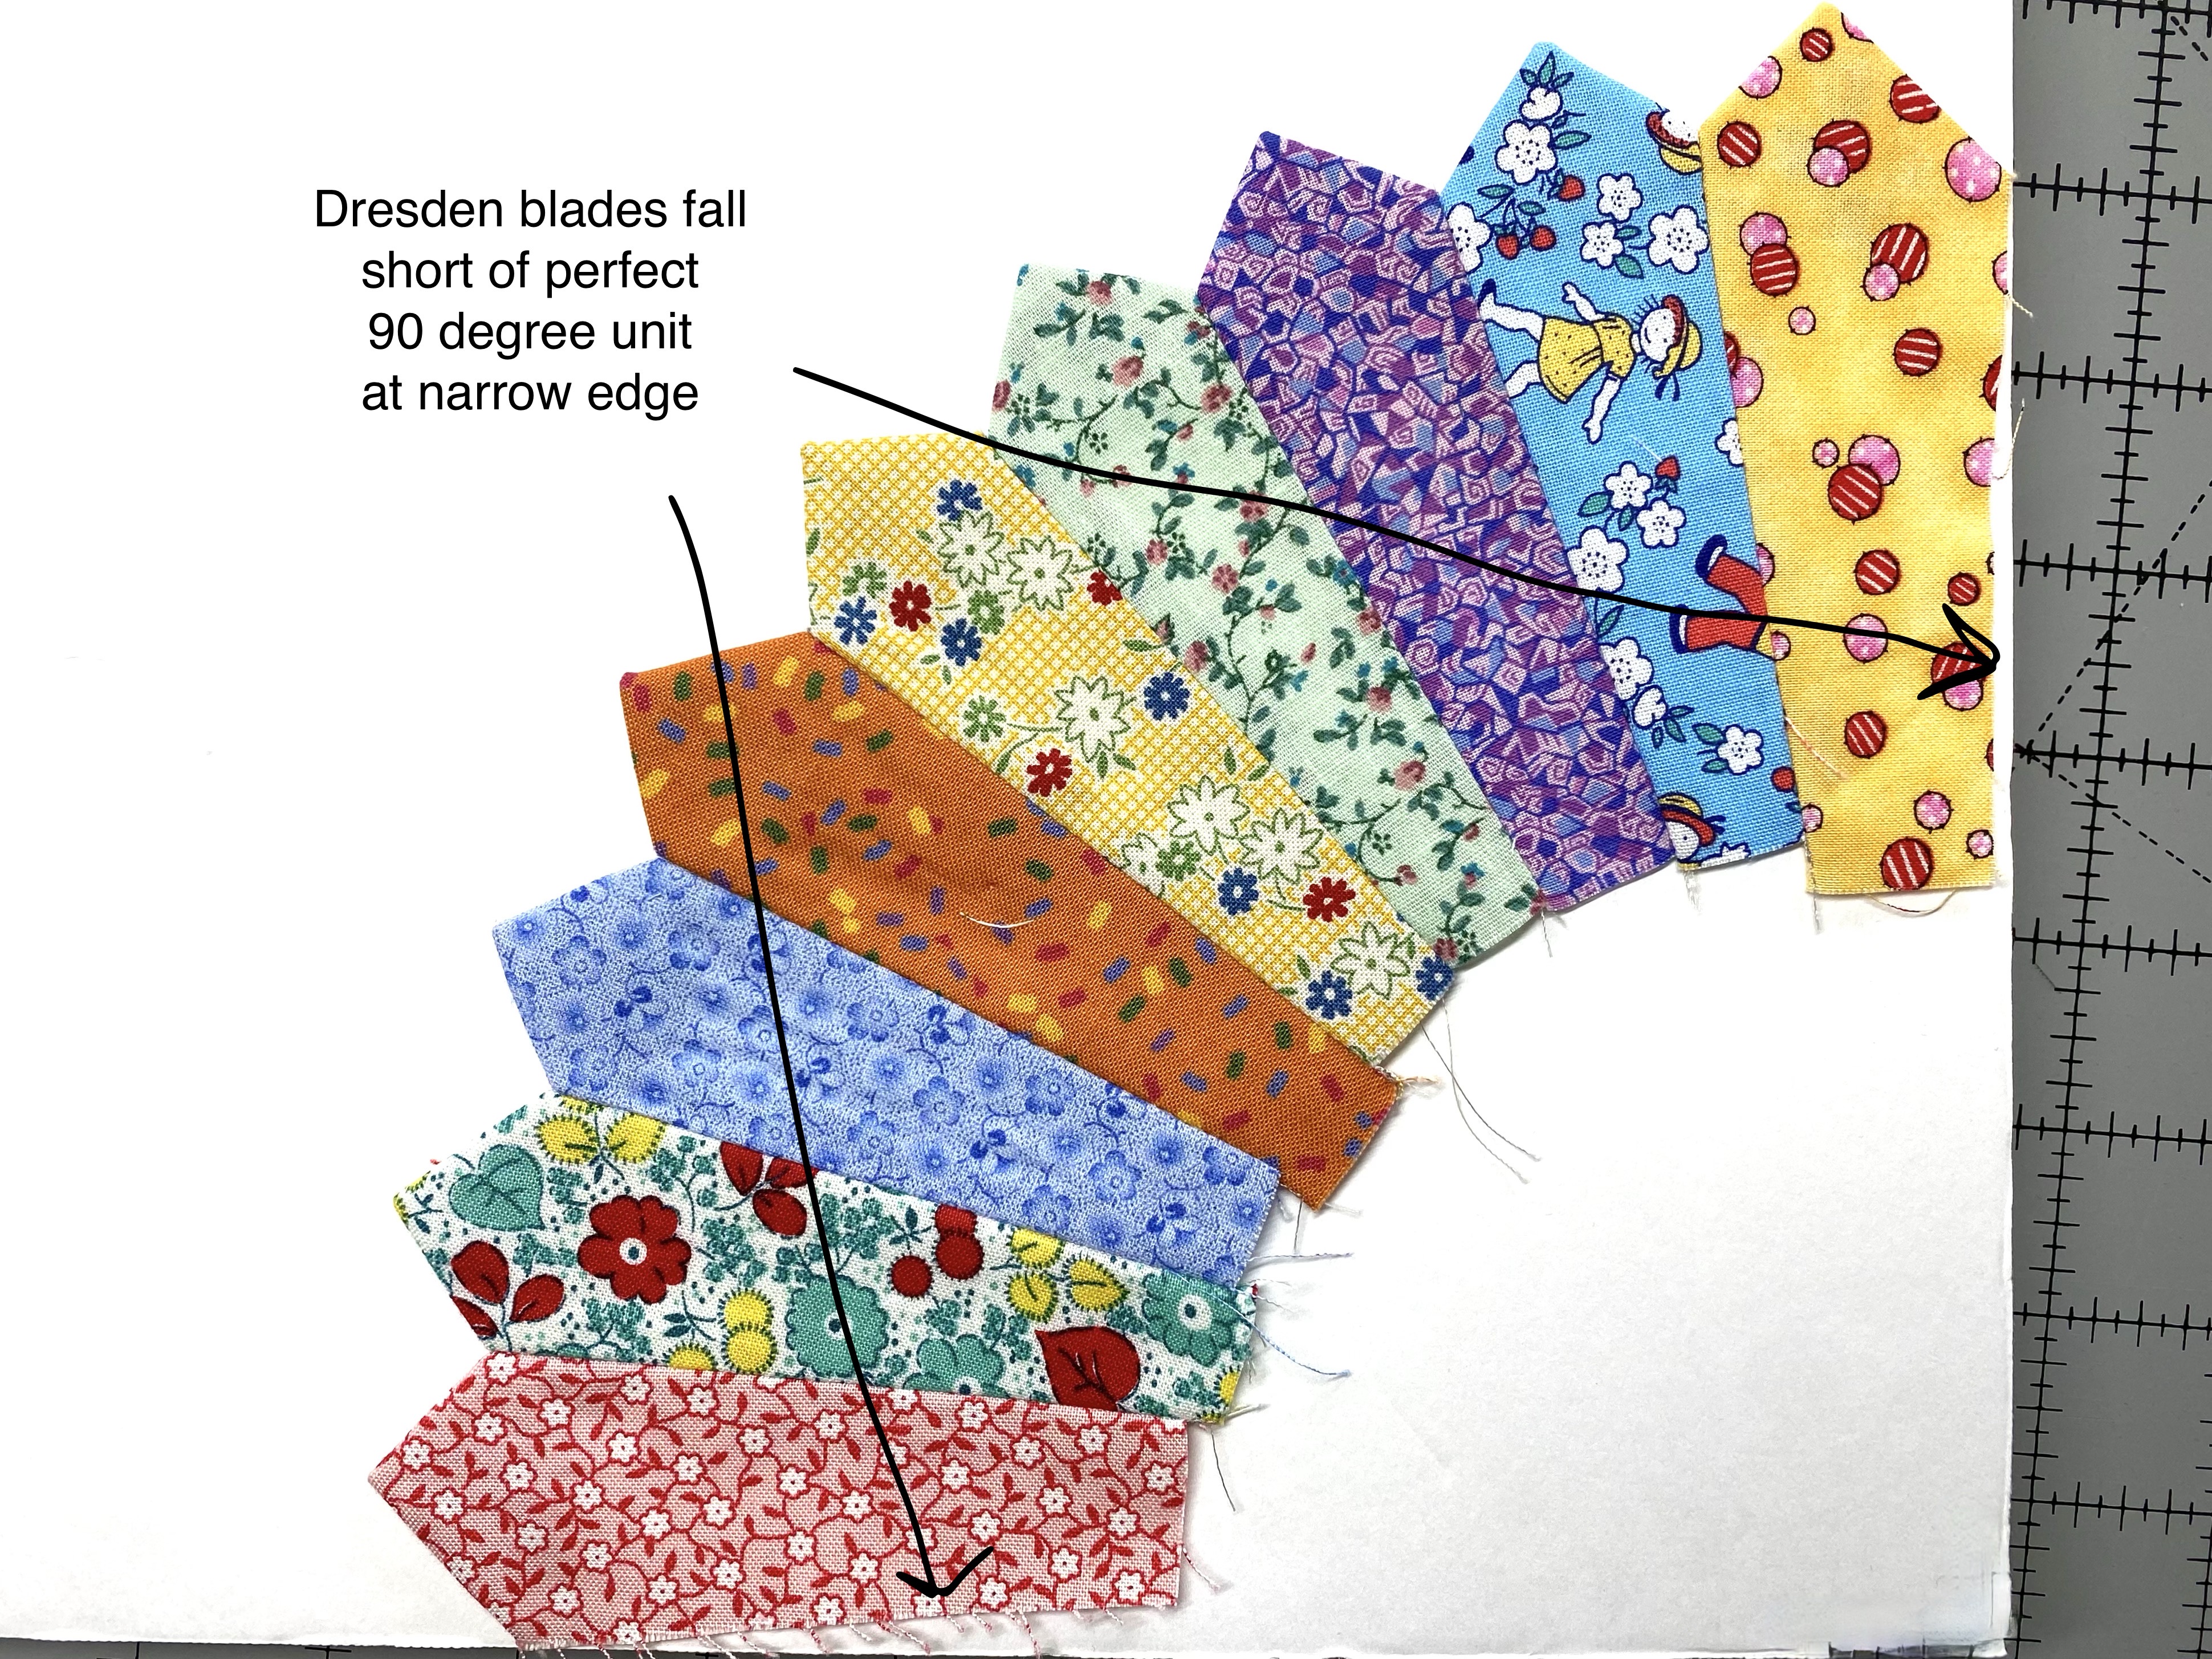
Dresden stitched too tightly at the narrow edge will cause the block to pull away from the background on the outer edge. The background block will pucker or the Dresden will bunch together at the outer points.
This can be easily corrected with very little unsewing. Select the third and sixth seam from one edge. Partially remove these two seams from the pointed end towards the center. STOP about 1/2 inch from the end of the seam at the narrow end. Restitch both seams just a bit deeper from point tapering to meet the original seam at the narrow end. Press. Check with 90 degree corner again.
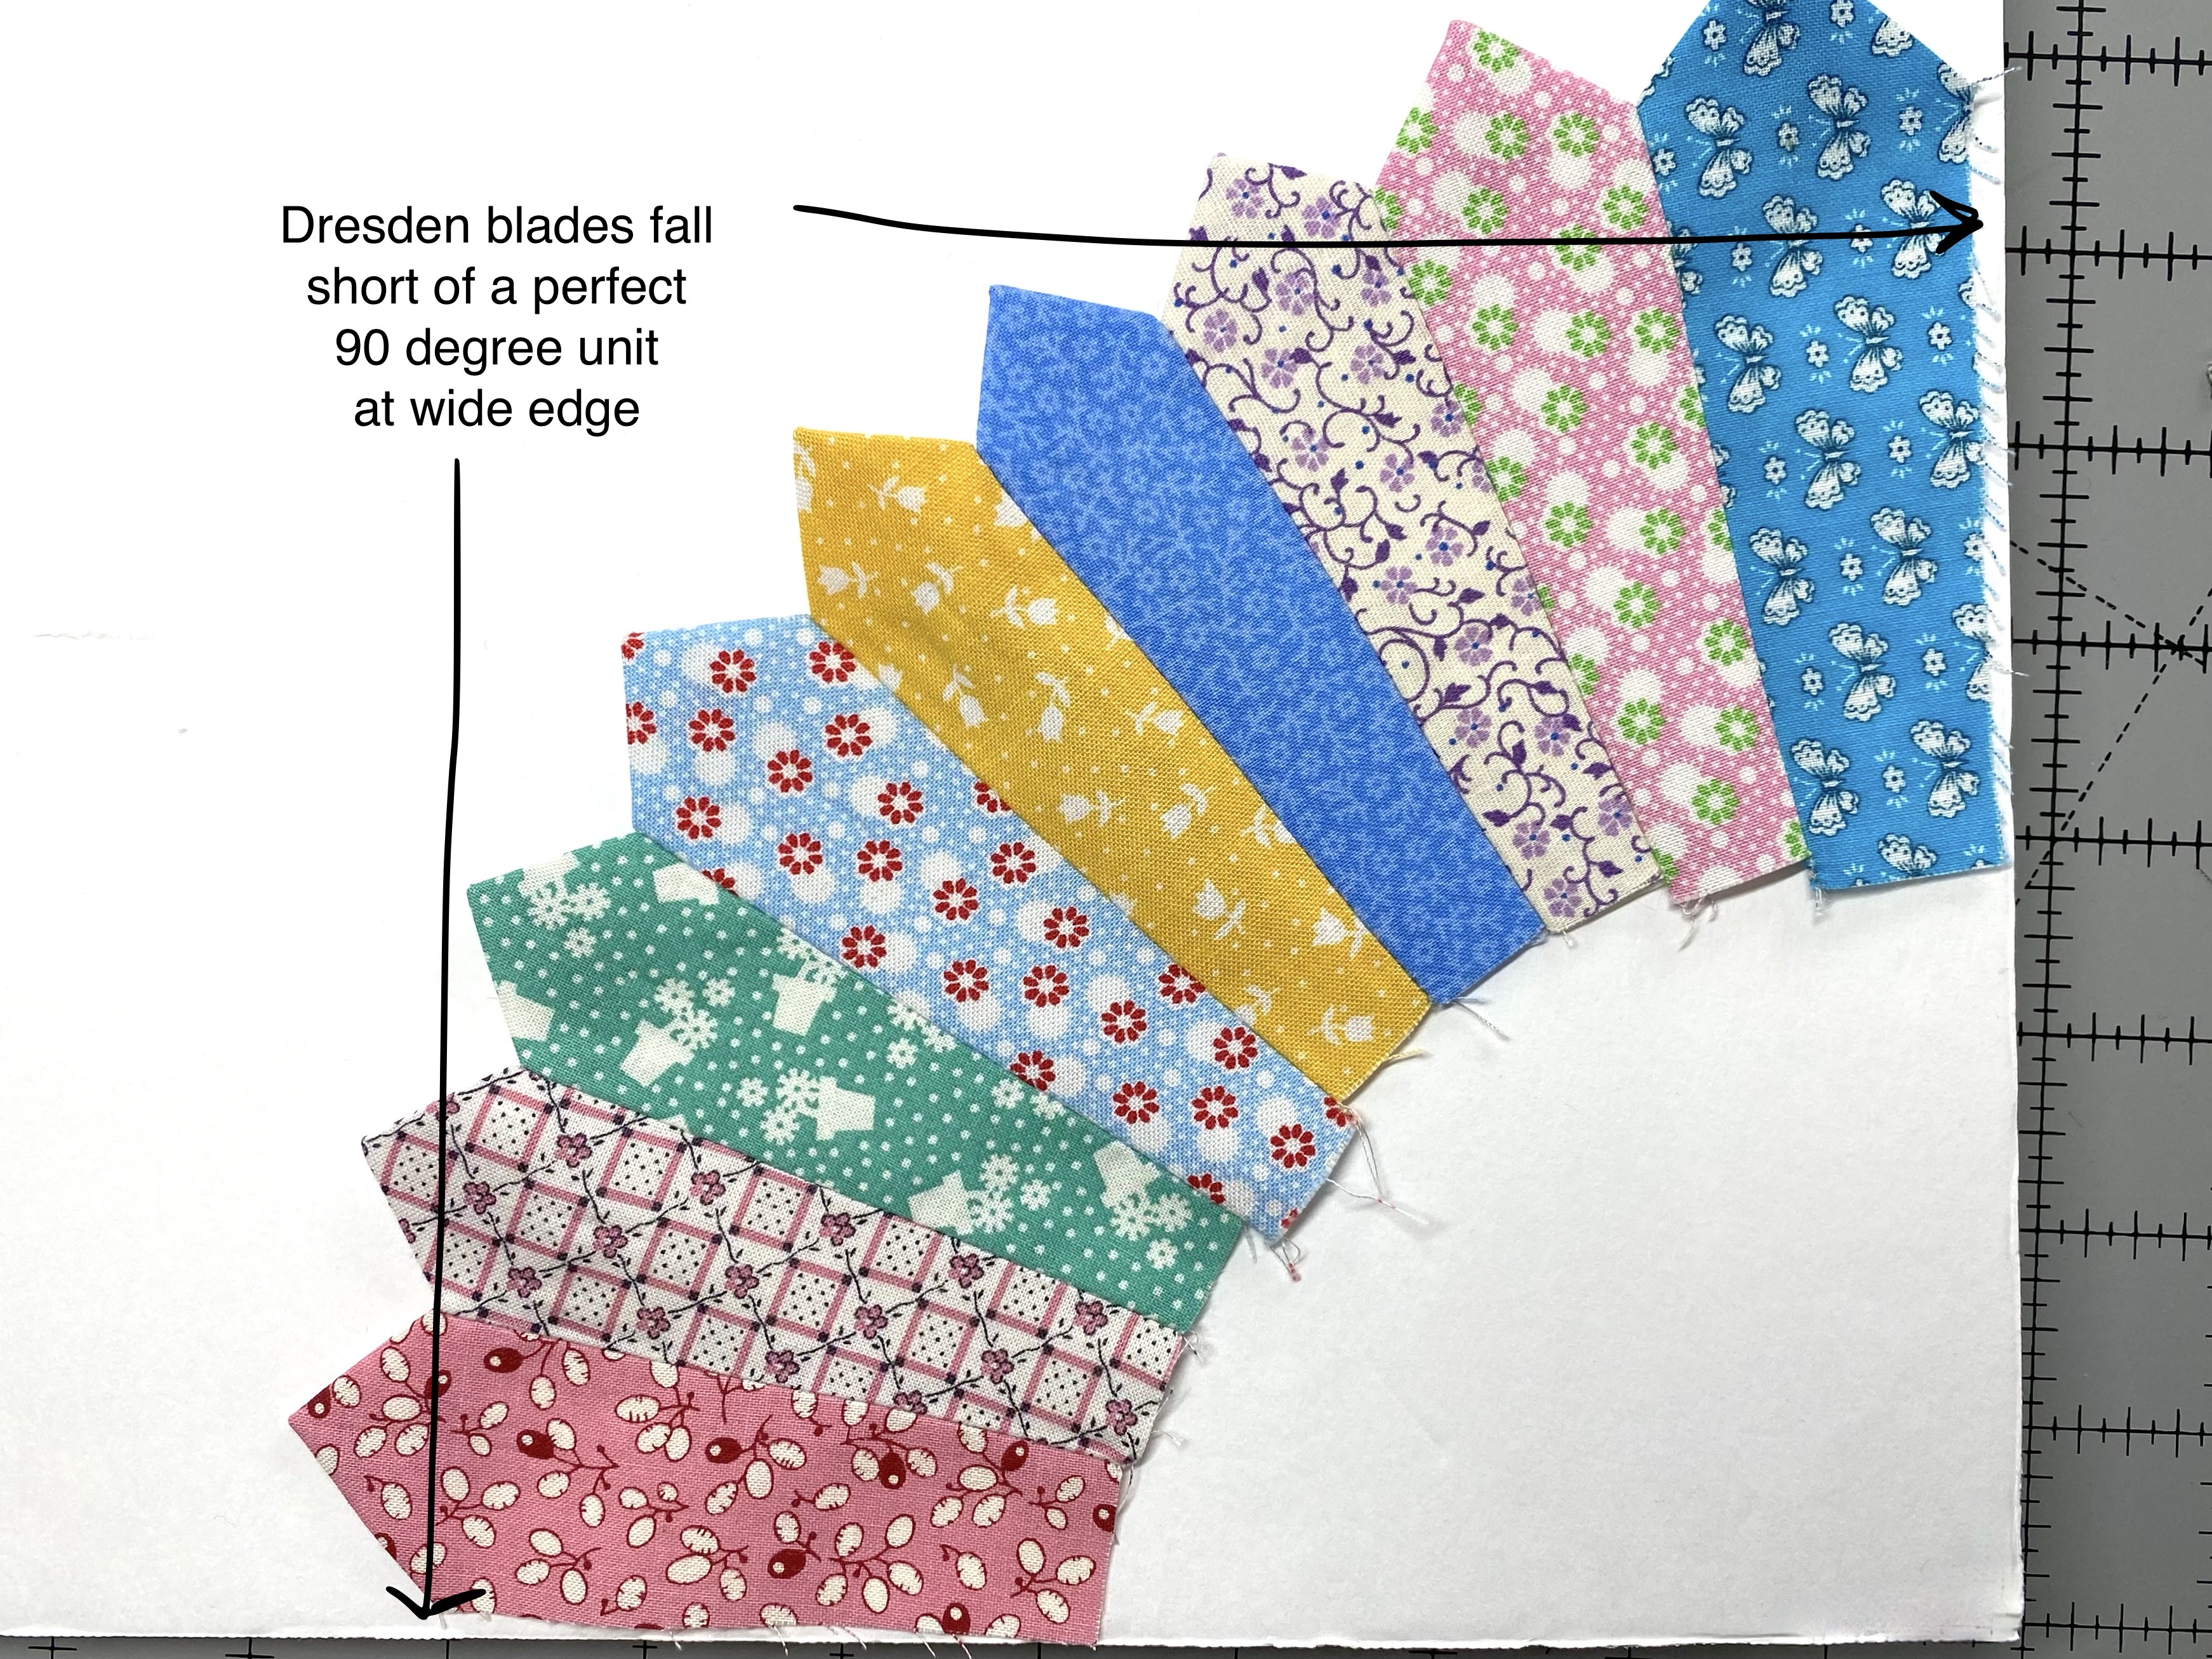
Dresden stitched too tightly at the wide edge will cause the block to pull away from the background on the inner edge. The block will not lay flat and pucker and bunch at the center of the wedges.
This too can be easily corrected with very little unsewing. Select the third and sixth seam from one edge. Partially remove these two seams from the narrow end towards the pointed end. STOP about 1/2 inch from the end of the seam at the pointed end. Restitch both seams just a bit deeper from point tapering to meet the original seam at the pointed end. Press. Check with 90-degree corners again.
Stay Tuned
Be sure to keep an eye out on WeAllSew for Doable Dresden, Part 2: Attaching Dresden to Background Fabric and Doable Dresden, Part 3: Finishing the Dresden Center!
Used Products


What you might also like


5 comments on “Doable Dresden, Part One: Blades”
-
-
Hello Dorann
I’m so glad the Dresden block feels doable!
The fabrics used color wheel Dresden in the example are from Cherrywood Hand Dyed Fabrics. Their colors are richly saturated and have a lovely feel. You can find them online through their store or in your local quilt shop. Additionally, I have packets of the 36 colors available in my Etsy Shop.
https://www.etsy.com/listing/1530187249
Feel free to contact me if you have additional questions.
Sally
-
-
Hello Dorann
I’m so glad the Dresden block feels doable!
The fabrics used color wheel Dresden in the example are from Cherrywood Hand Dyed Fabrics. Their colors are richly saturated and have a lovely feel. You can find them online through their store or in your local quilt shop. Additionally, I have packets of the 36 colors available in my Etsy Shop.
https://www.etsy.com/listing/1530187249
Feel free to contact me if you have additional questions.
Sally -
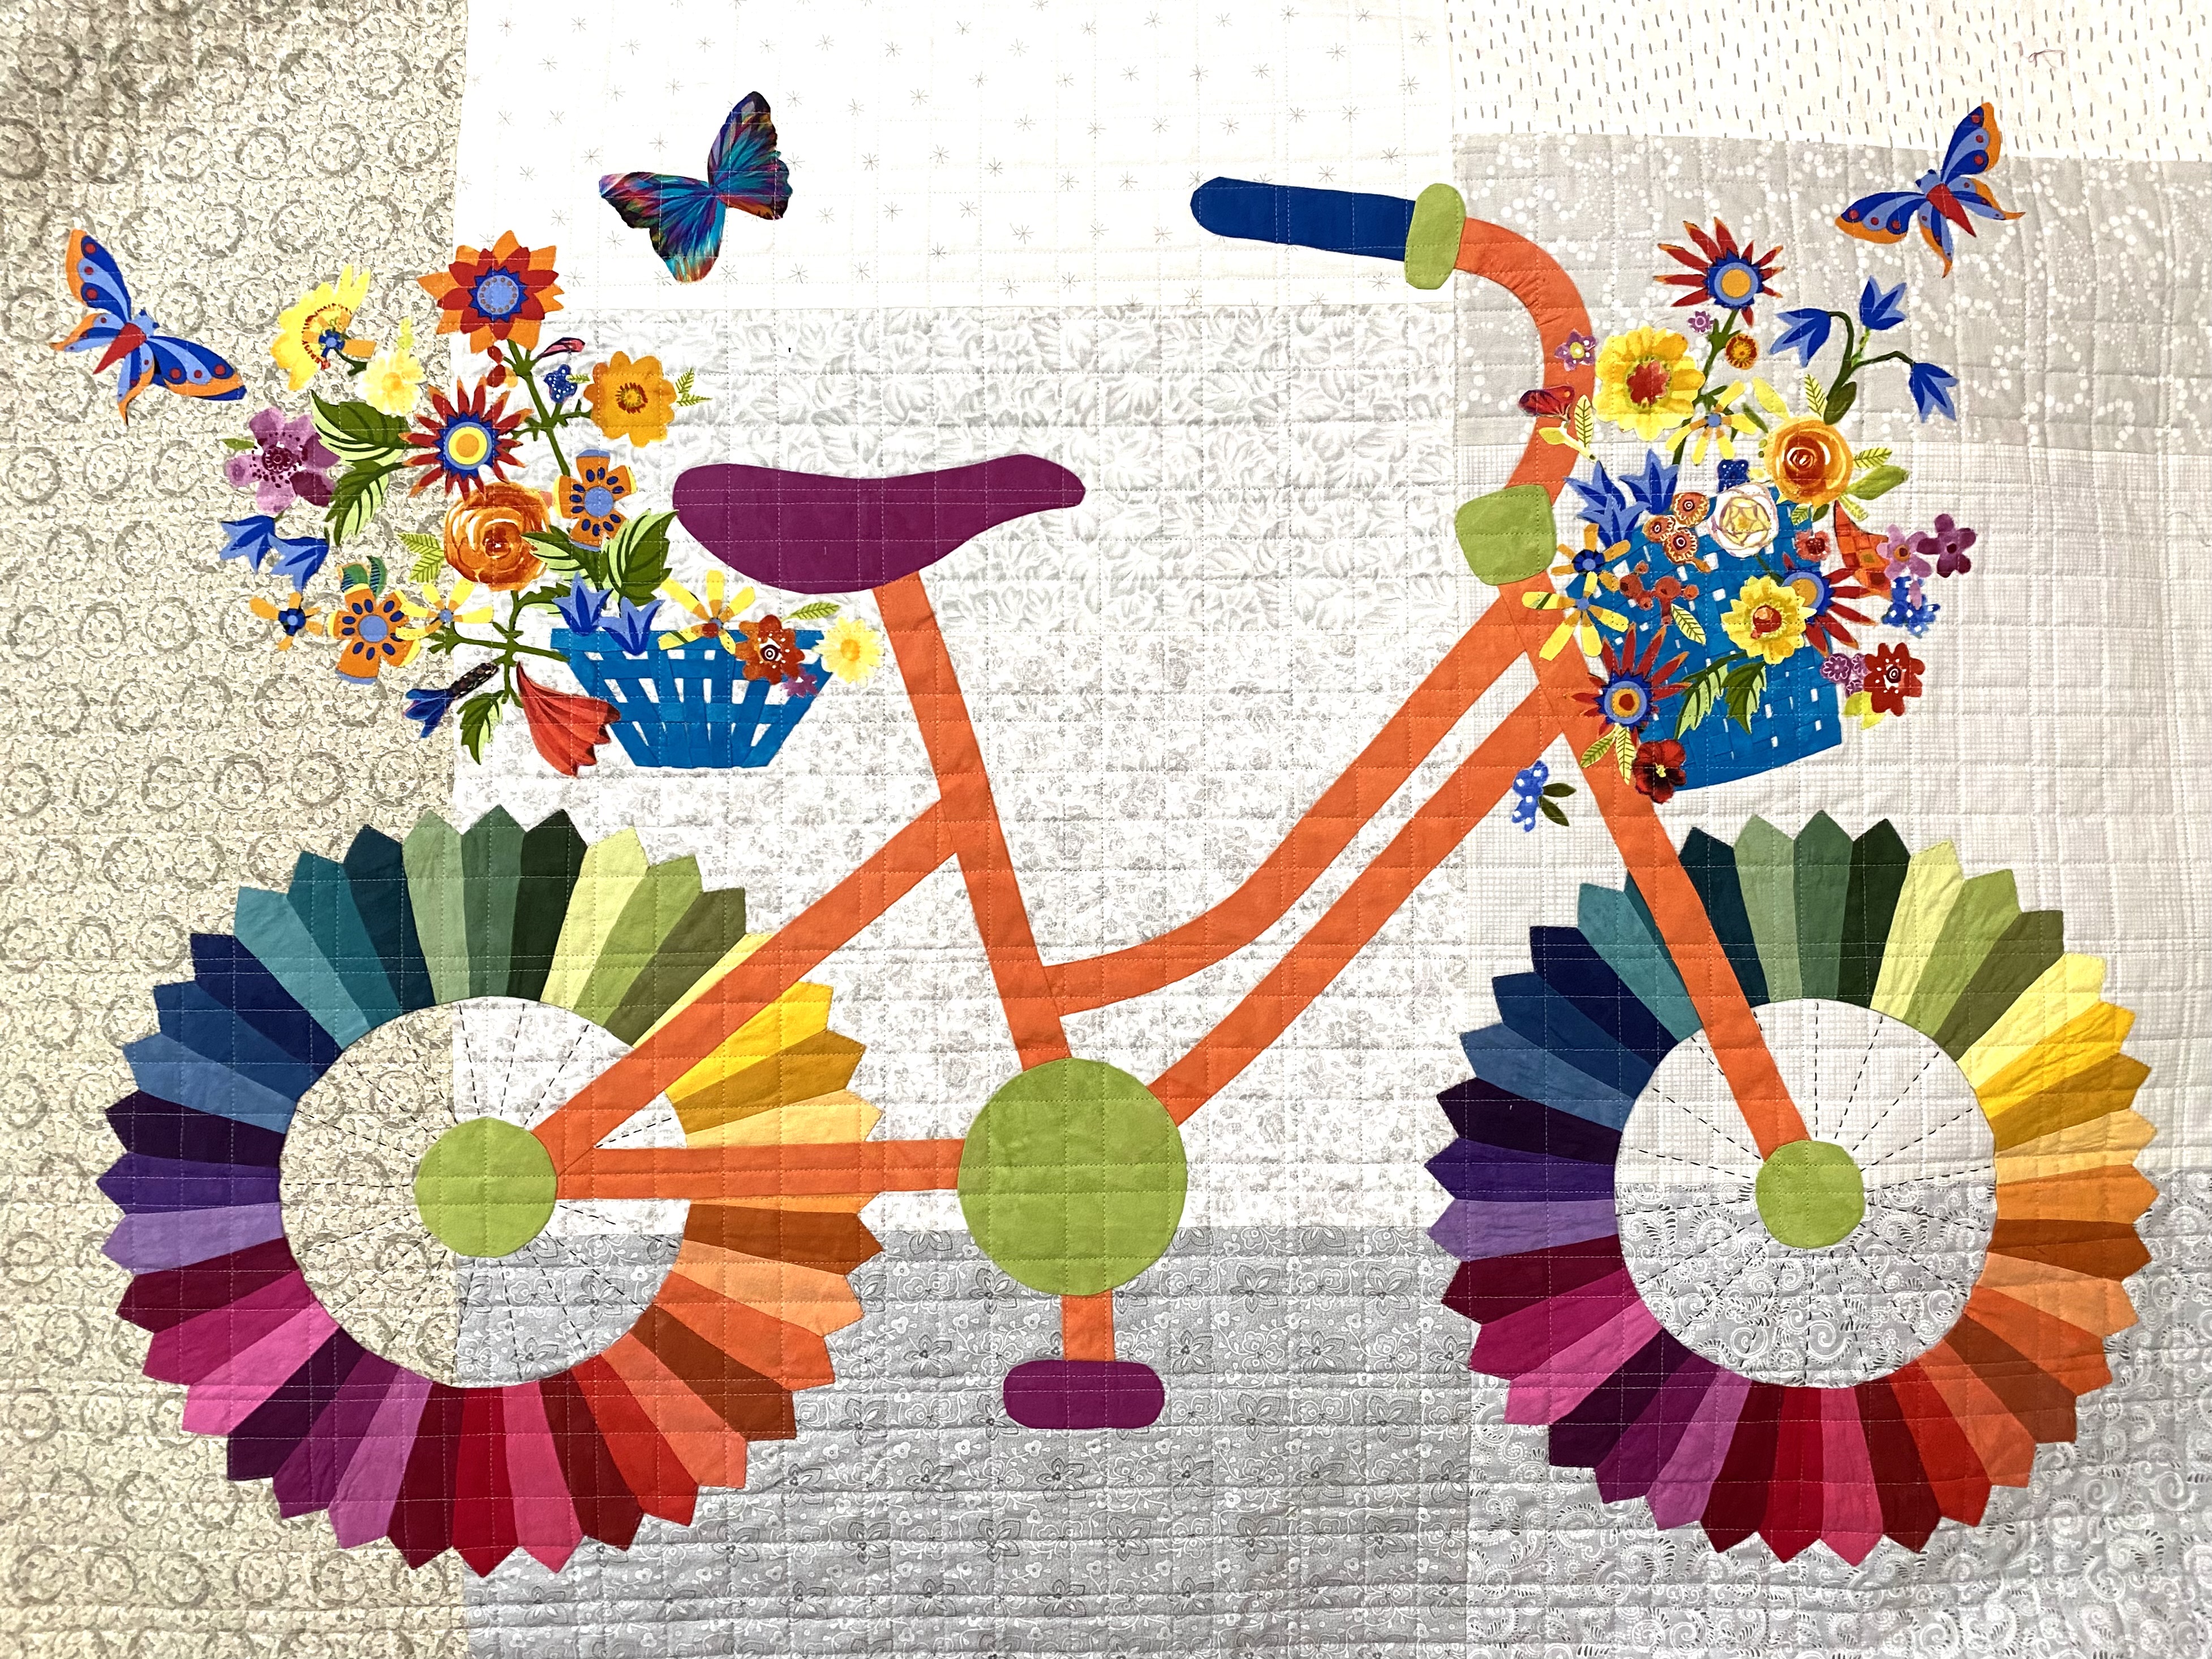
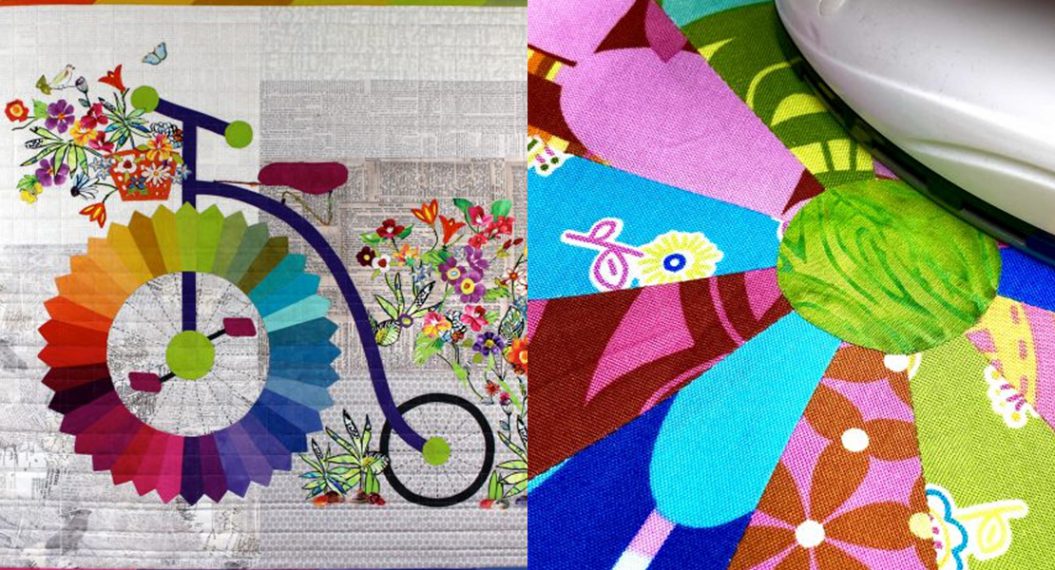
What is the name of the bicycle pattern?
-
Thanks for asking Filamena. The pattern is titled, “WHIMSICAL BICYCLE ART QUILT” and is available in my Etsy Shop at this link. https://www.etsy.com/listing/1028219735
-
Leave a Reply
You must be logged in to post a comment.

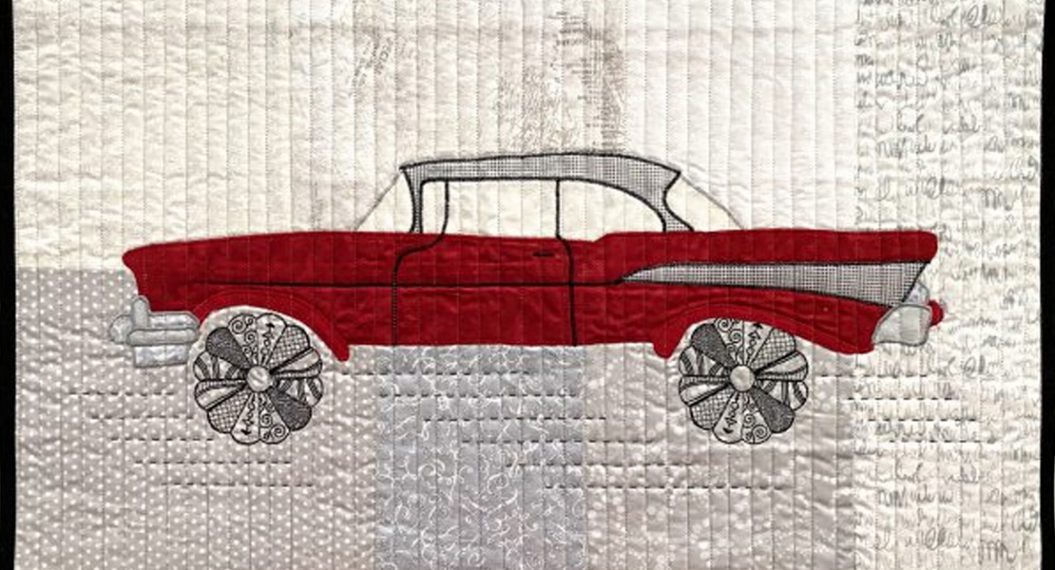
I love the Dresden pattern and your explanation made it sound so doable. I’d like to make a color wheel similar to the bicycle wheels in your example. Do you know a fabric company that uses “true colors” so it could be a comparison to a color wheel? I was thinking possibly Robert Kaufman solids. Thank you for the tutorial and any fabric suggestions will be appreciated.
Dorann