Draping a Custom Dress, Part One: Overview
If you are a sewist wanting to take their skill to the next level, this Draping a Dress Design series is for you! In this five-part series, I will be taking you on a journey where I will be draping a dress. I will demonstrate how you can do this too! We will cover all areas of this detailed process. Draping is something that is near and dear to me and I hope to pass this love on to you! Let’s get started!
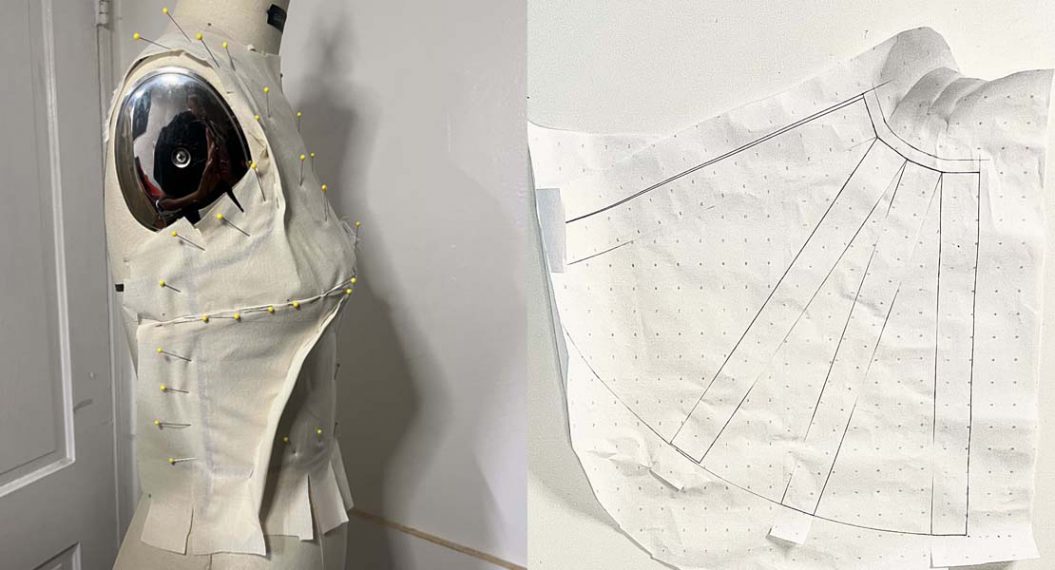
When I talk about draping a dress design, I am not referring to curtains. Draping allows you to develop a pattern right on your dress form. You may already be aware of flat pattern making where we draft a pattern from a basic sloper/block. Sometimes flat pattern making is not ideal for a special design you may be thinking of. Draping requires you to use muslin on a Dress Form and shape it to the body. You are sculpting your design and breathing life into it.
Overview
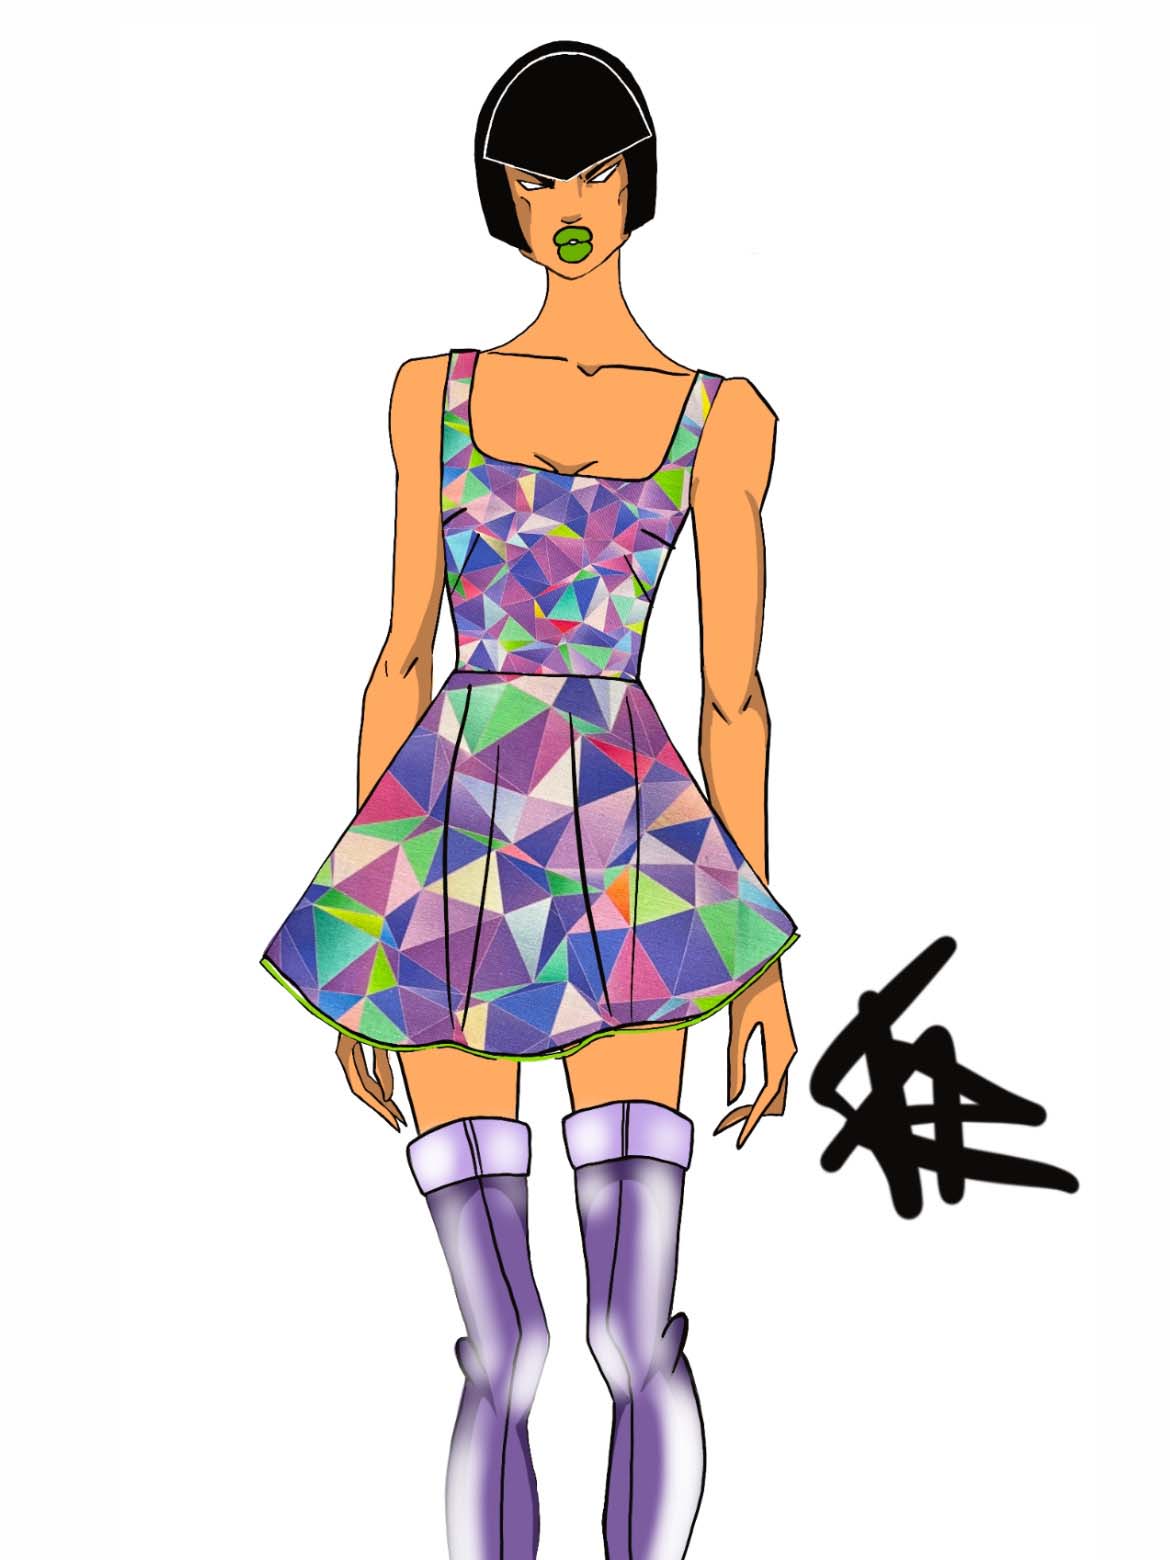
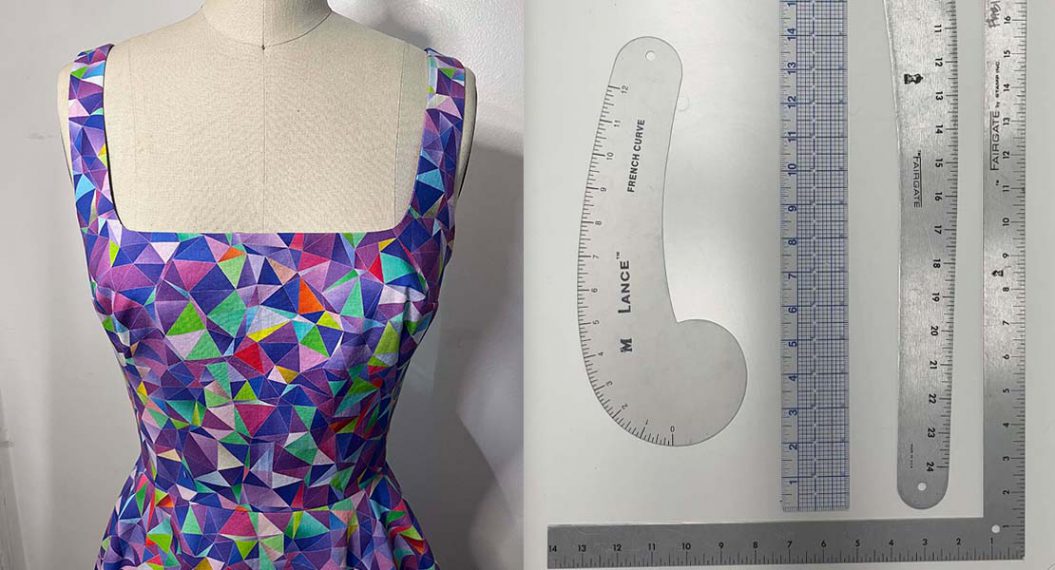
The purpose of this series is to show you how you can take a design that is yours, and bring it to life through draping. As you can see from my Illustration, I am keeping the silhouette simple and using a printed fabric. It is best to start simple if you have not done this before. Once you master the basics, the sky is the limit for what you can create. It is best to sketch out what your design is prior to getting started. This is helpful so you are aware of the goal you are trying to achieve. Once you are well into the process, you can make any changes you see fit for your design.
Think about how you will construct this design, consider your current skill level, or if this is going to be an experimental piece for you. What is the final fabric you intend on using? How much difference is there in the body measurements versus the Dress Form? There are many items to consider when designing.
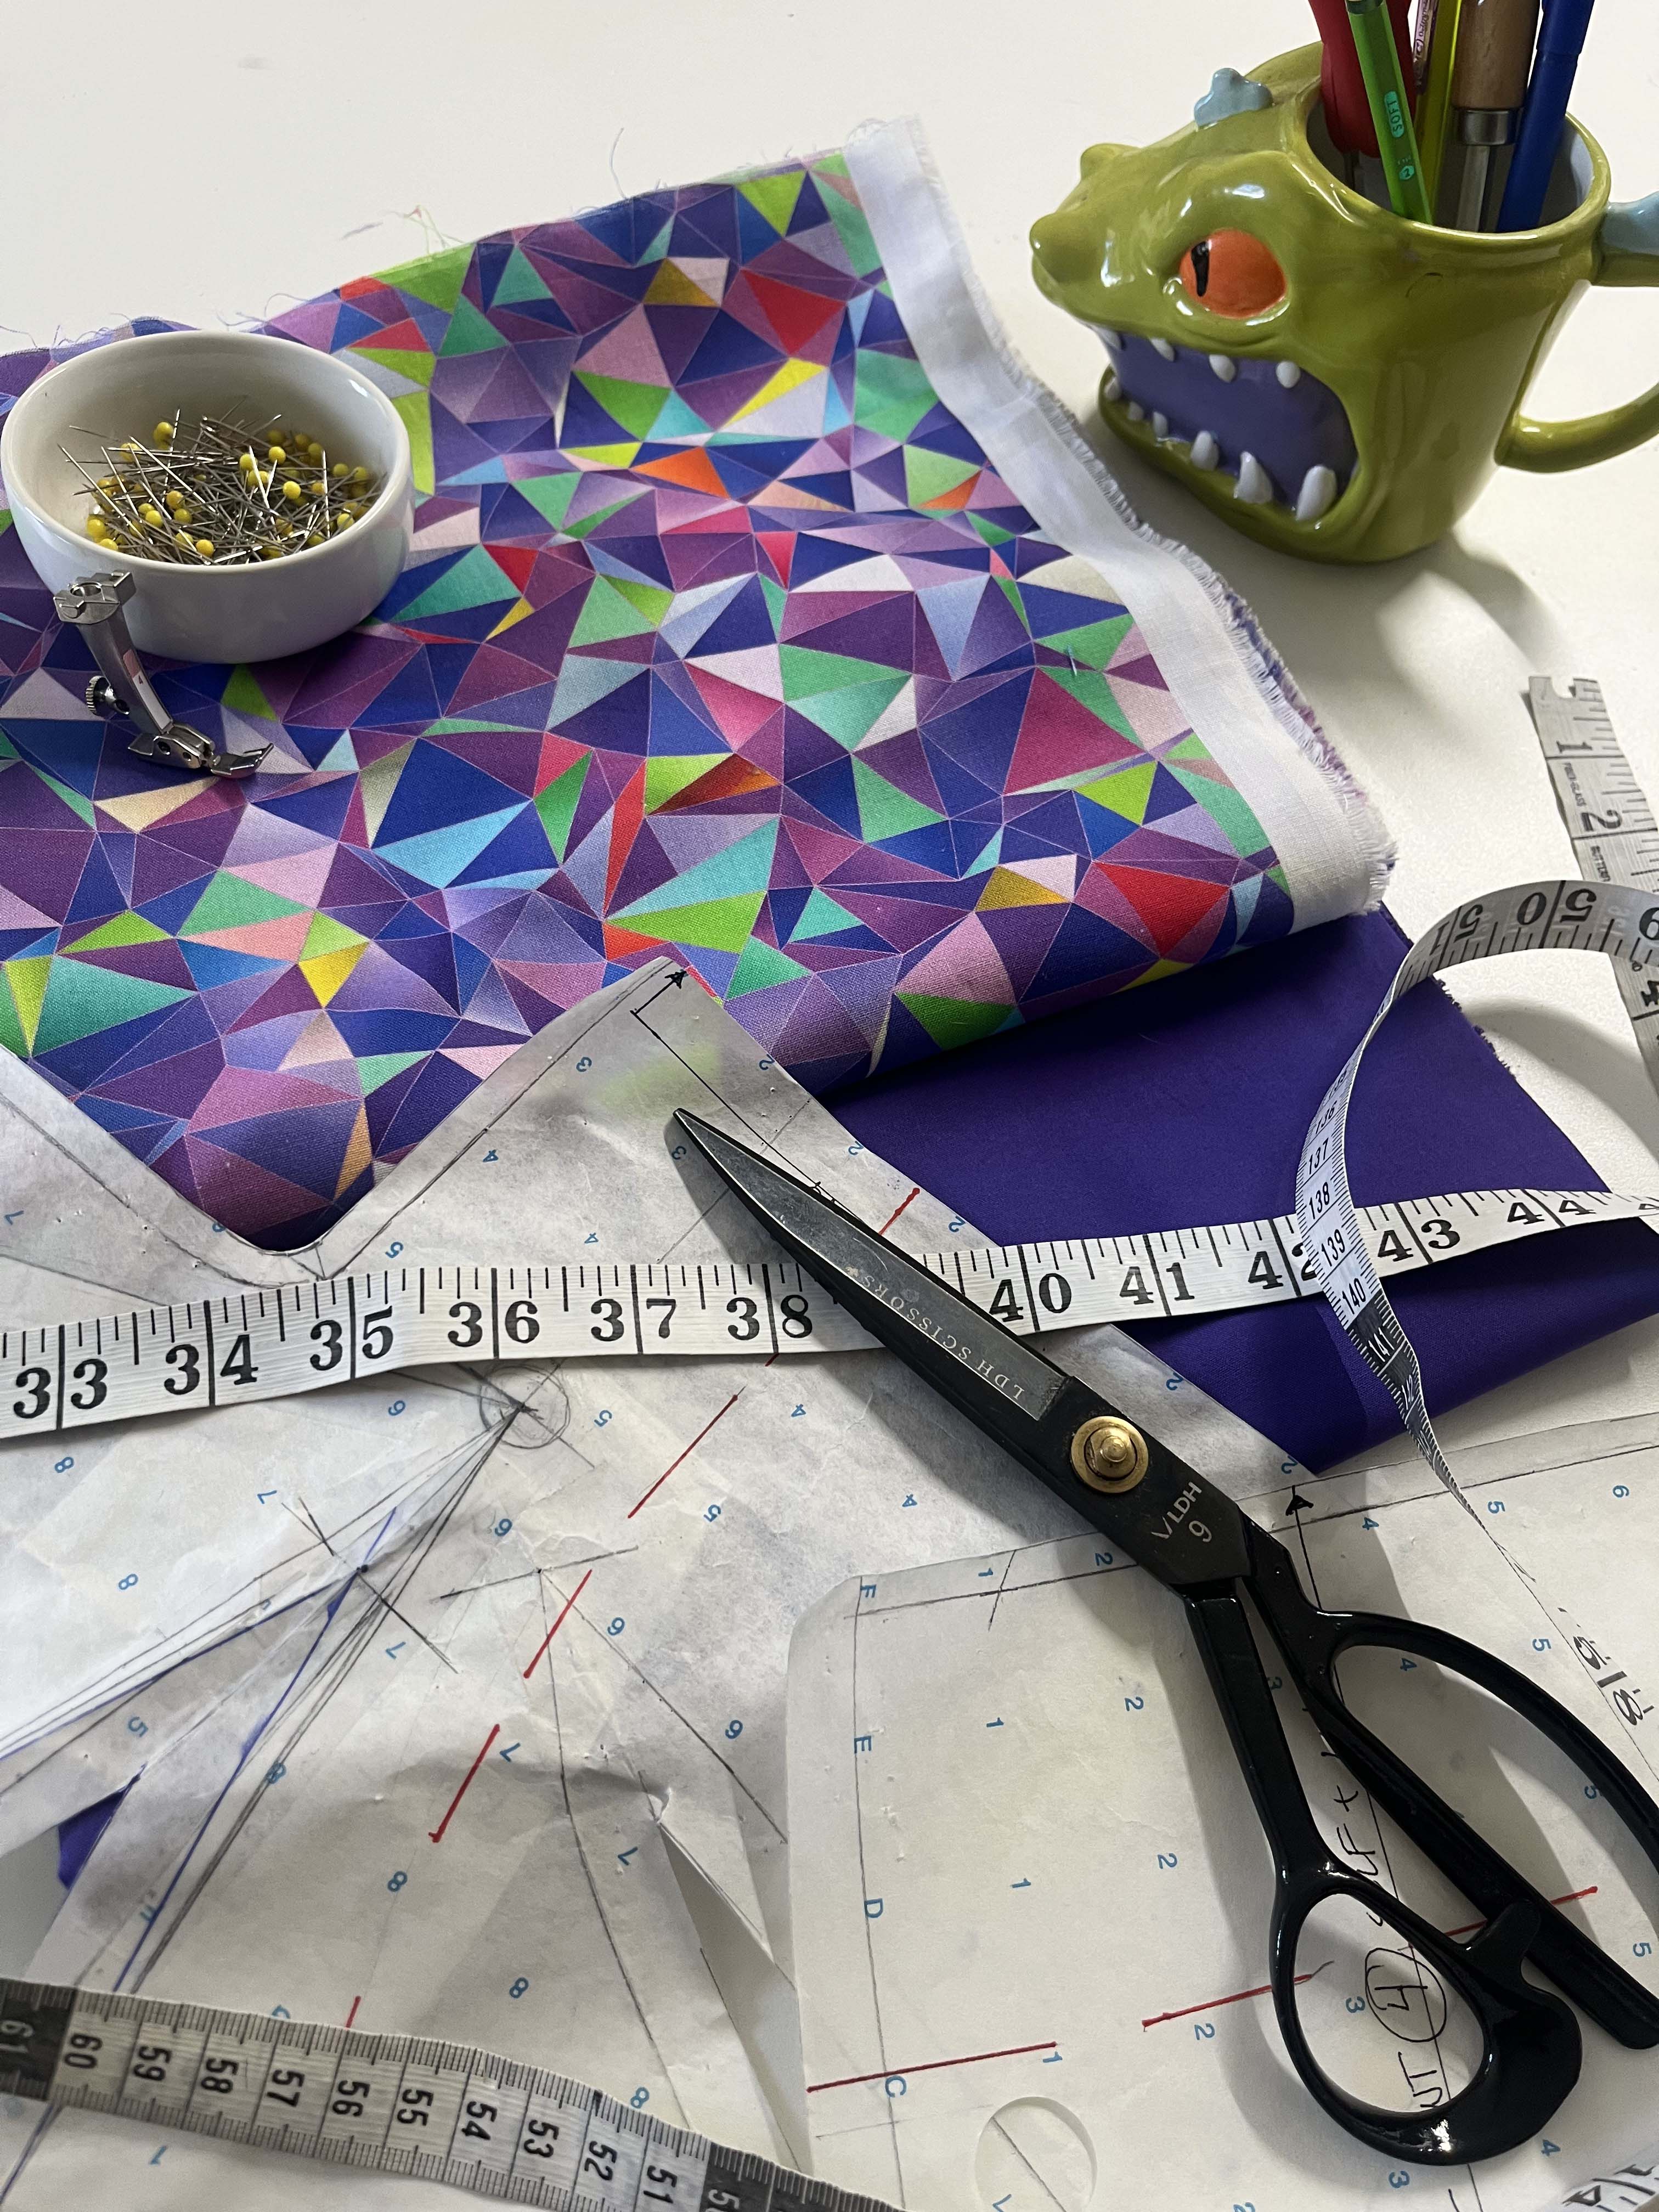
Tools For Draping a Dress Design
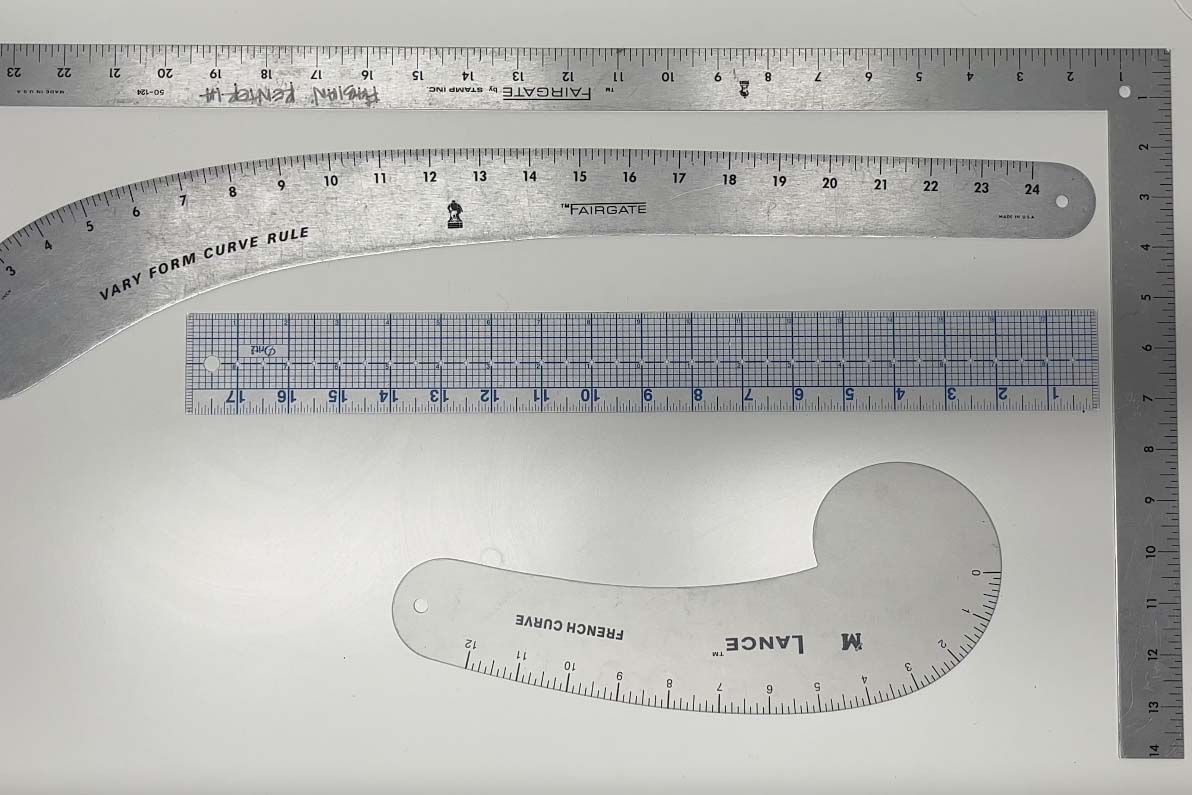
All tools needed to be successful in Draping will be covered in this series. It is important to have your tools close by. You never know when you will need that last-minute adjustment. These rulers were given to me during design school but you can get these all online or at any shop that specializes in pattern making equipment. These are only a few of the tools needed.
Most importantly, you will need a Dress Form to drape on. I will discuss this more in the tools segment of this series. Adjustable Dress Forms will not work for this. They do not have the markings that a professional Dress Form has but you can make it work with what you already have.
Draping a Bodice for a Dress Design
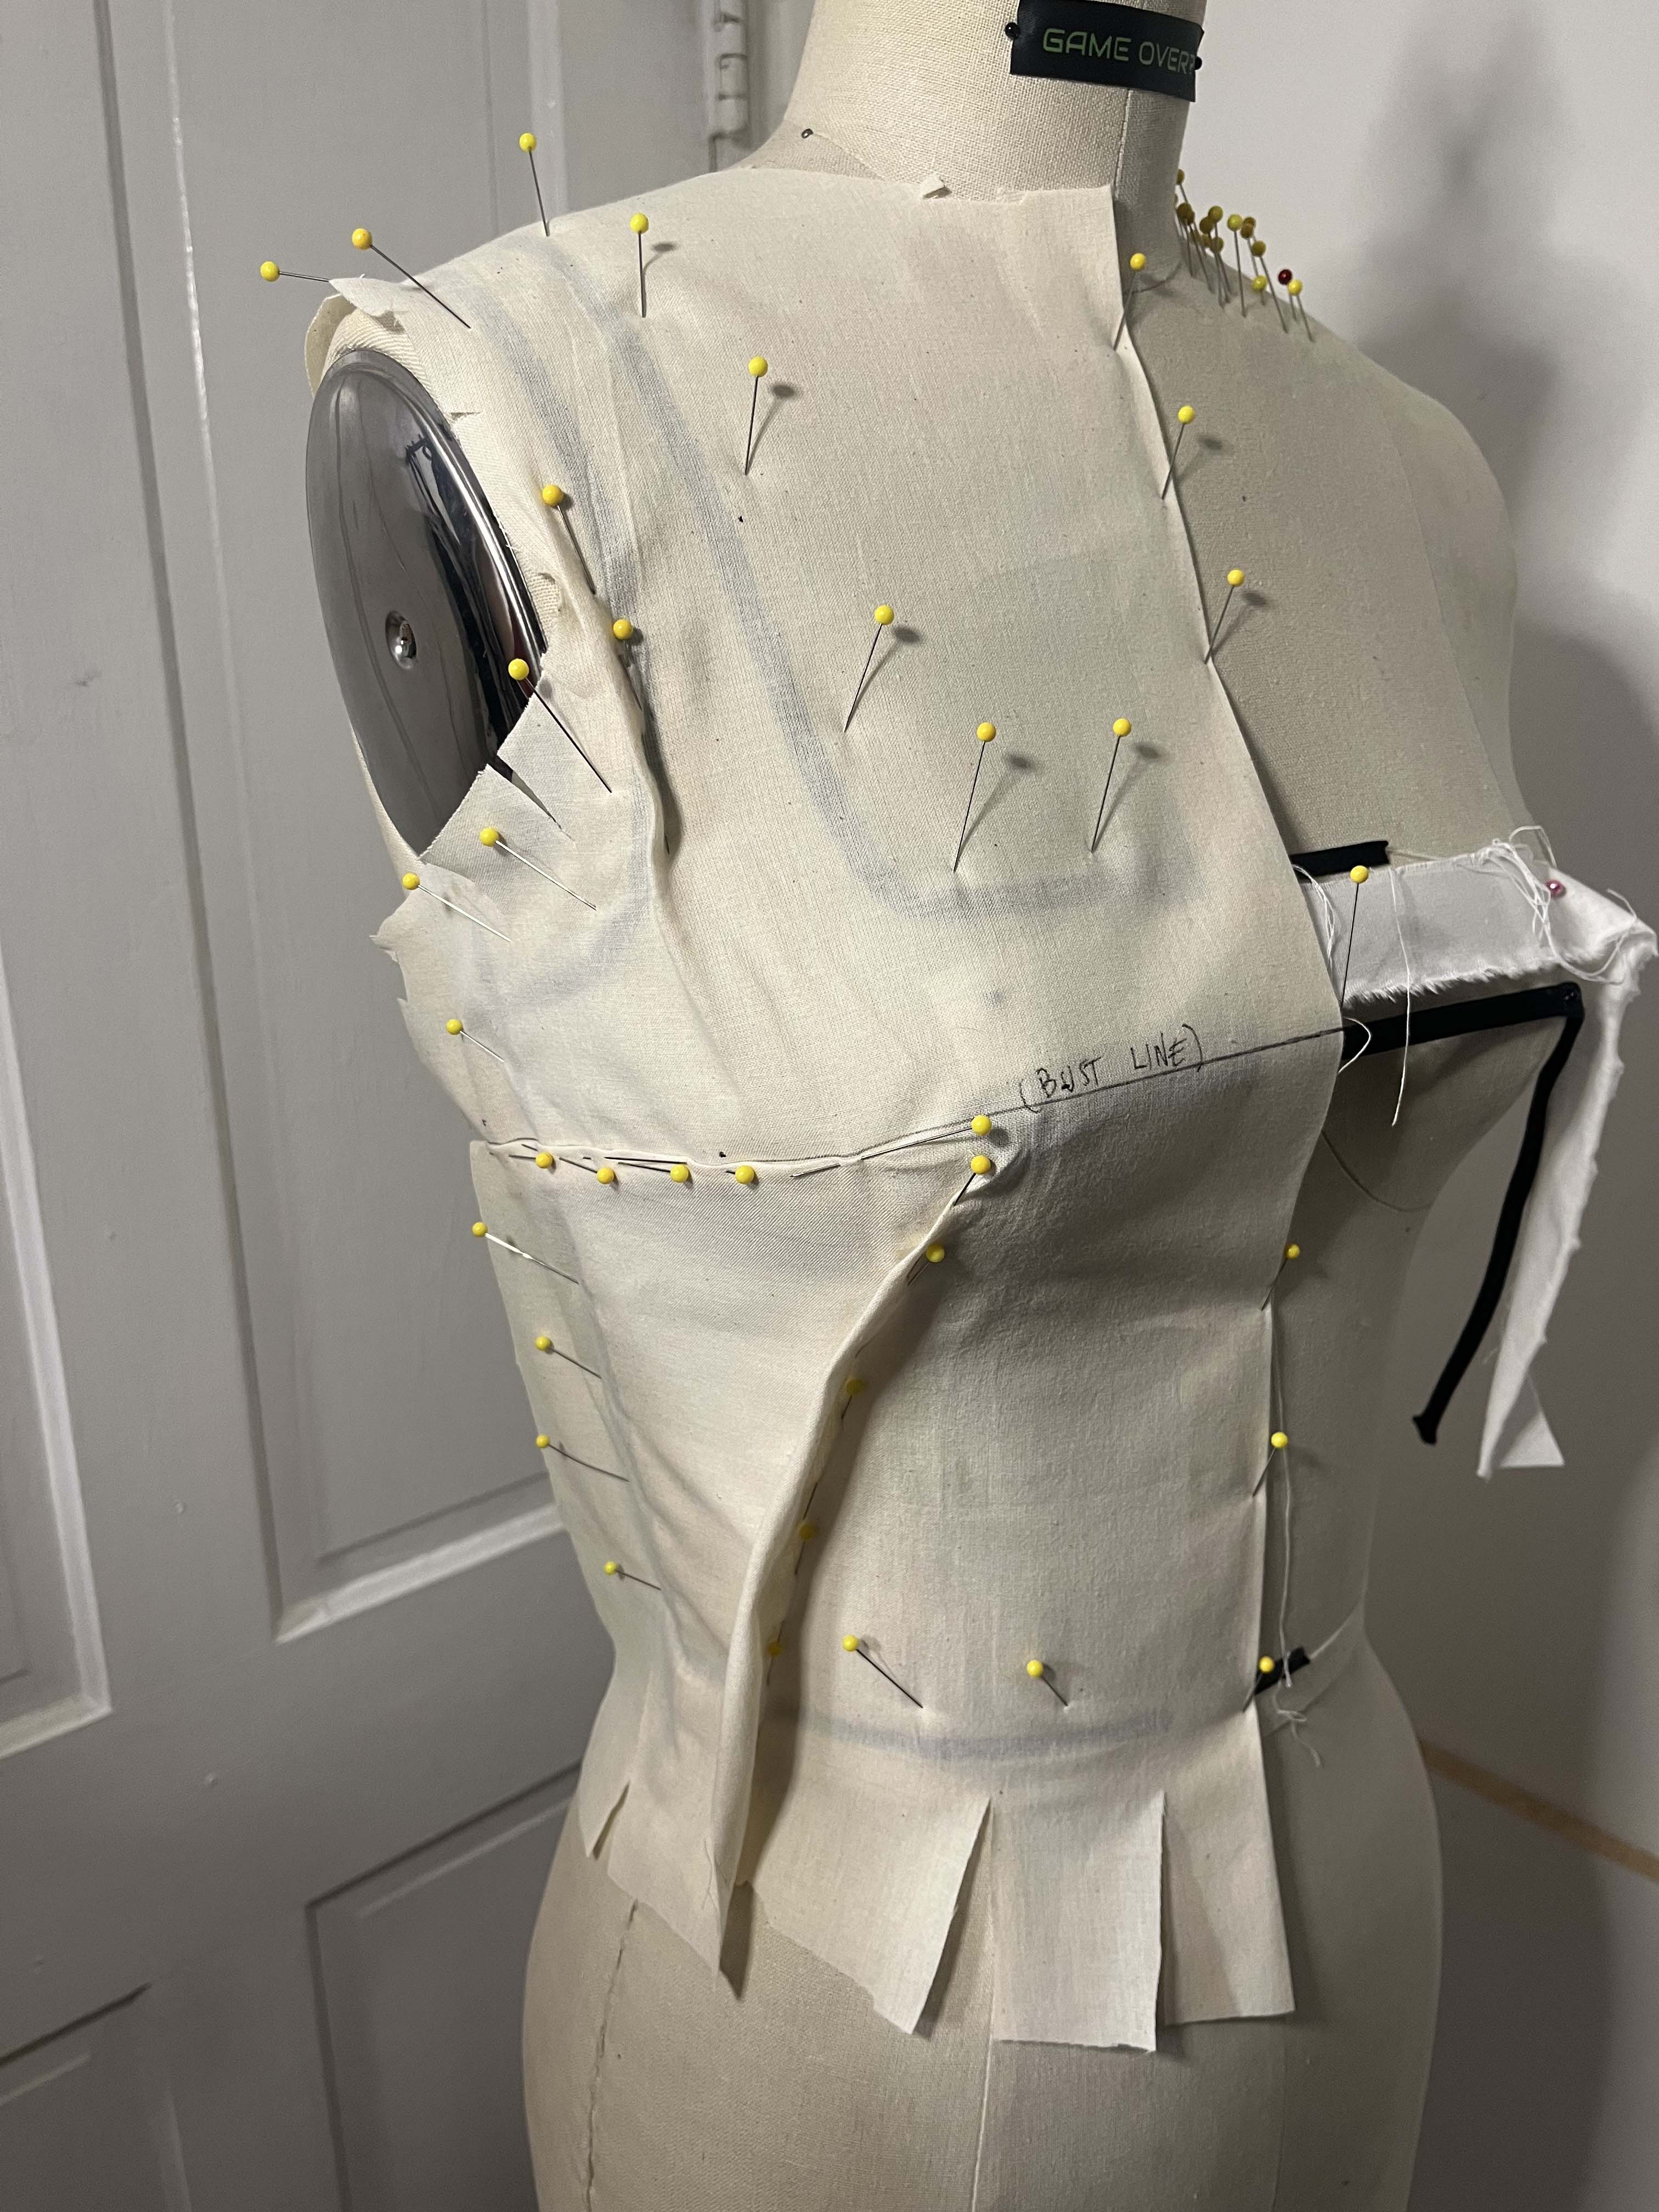
Of course we will cover the detailed process of draping your bodice design. Once that process is complete we will transfer the drape onto paper to create a paper pattern for you to use as many times as you like. I will also be including a step-by-step guide for how I drafted my flared skirt to go with my bodice.
Final Garment
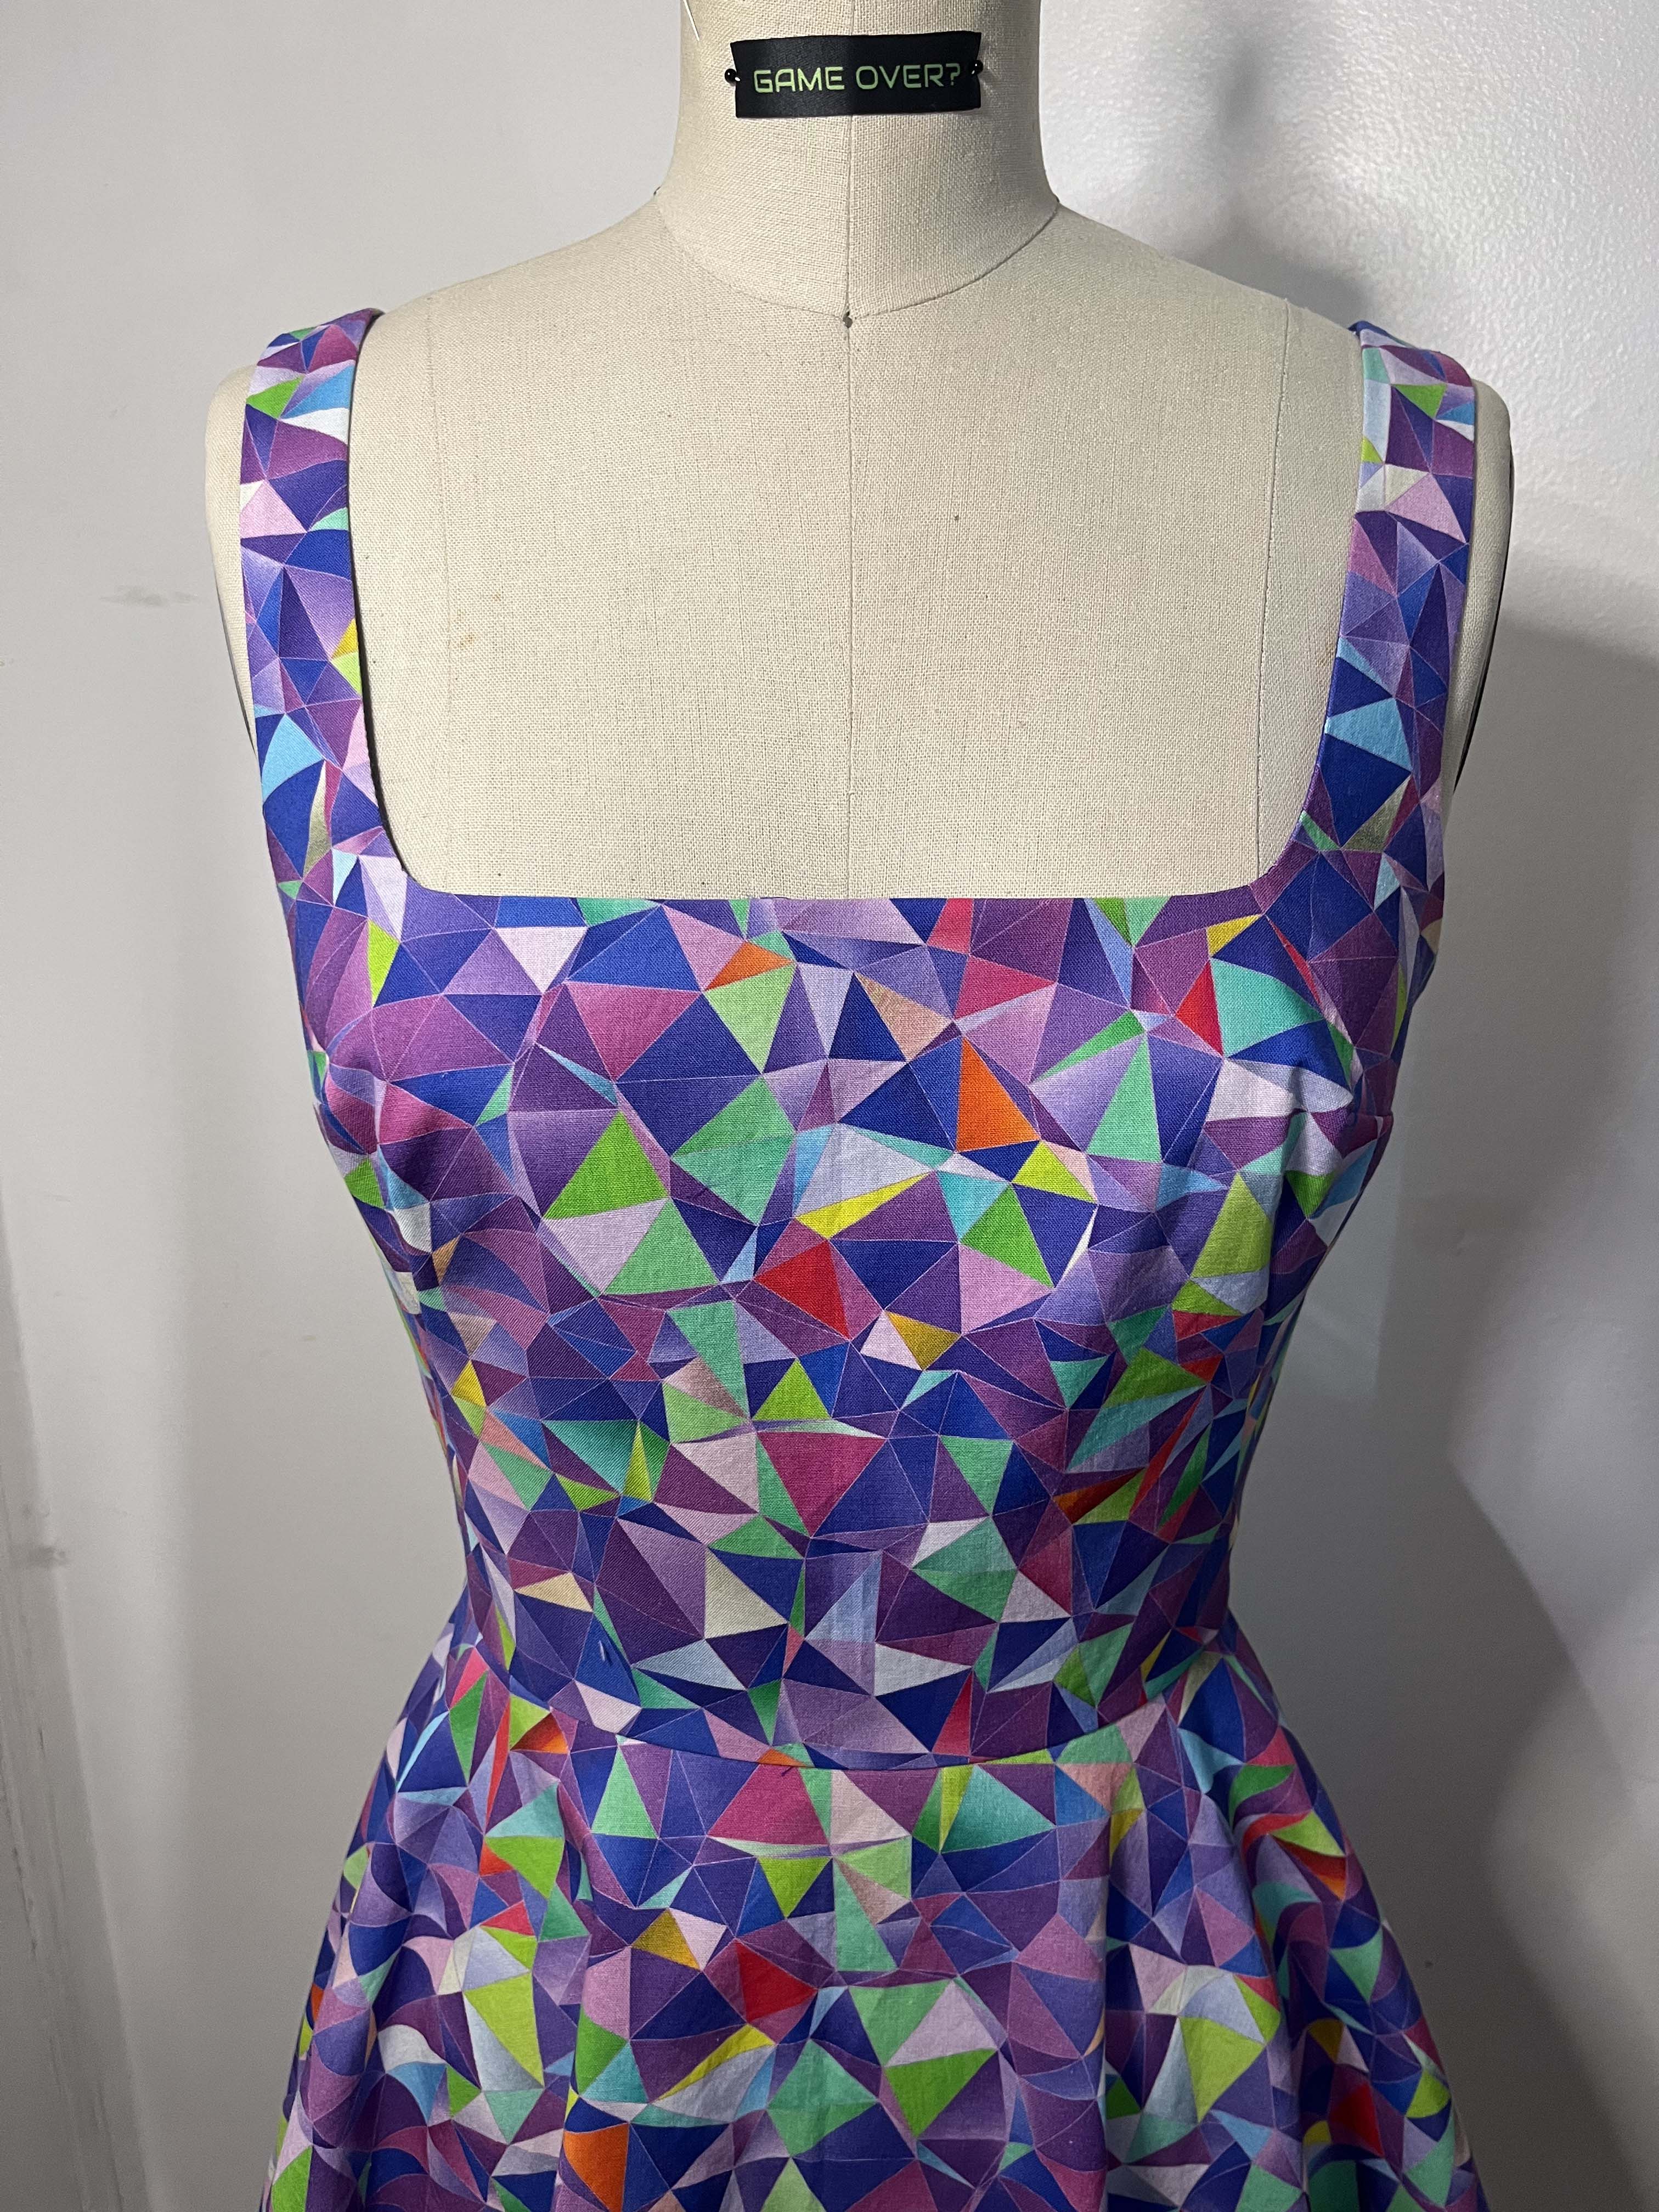
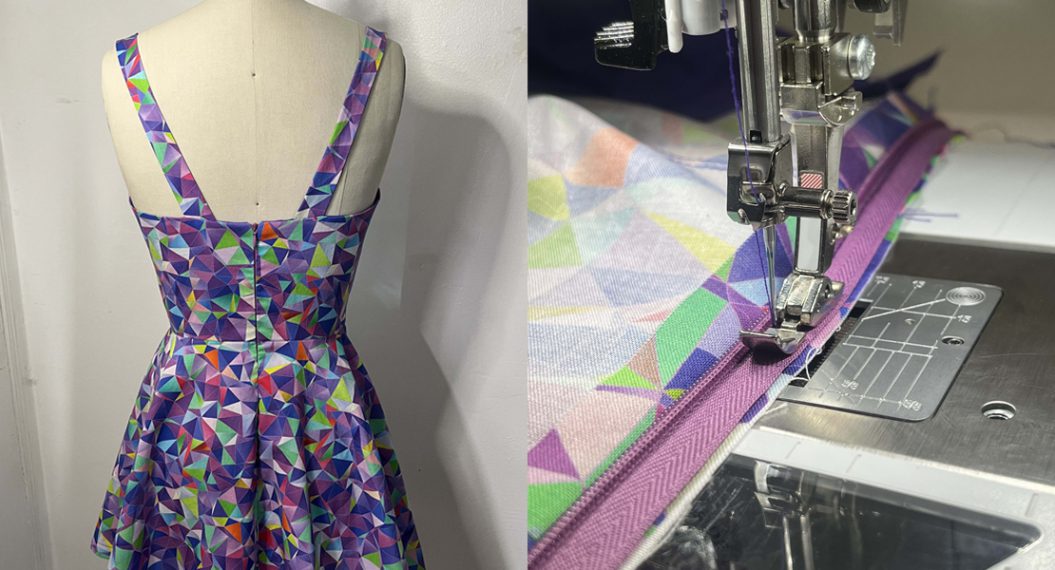
The final part of this series goes over my process for constructing the final sample of my design. I will also share my favorite hem finish for flared/circle skirts using bias tape. You can use this as a guideline for your own design. Your construction may differ from mine unless you are following this exactly.
I hope this series inspires you to want to develop a new skill. Draping is one of my favorite skills and I use it on a daily in my creative process.
Happy Draping!!