WeAllSew Coats! Lined Coat Sew Along, Part Two: Sewing the Coat Shell
Thanks for joining me for part two of this lined coat sew along! Are you ready to start to sew your coat? Sewing a coat is such a rewarding experience, whether it is your first one or you’ve made many. I love that you can get so much use out of a coat and wear it daily when the weather is right. So, let’s get to sewing the outer shell of your coat for the #weallsewcoats Sew Along!
Before sewing, you can check out this post if you are unsure of some garment sewing terms. This post outlines them all and what they mean, so it’s a good glossary!
And, in case you missed the previous post:
We All Sew Coats! Sew Along Outline
Part One: Fabric and Inspiration
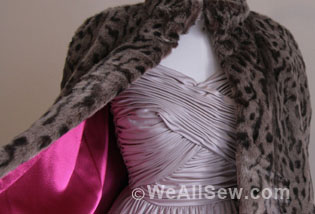
In this post, we discussed coating fabrics, lining fabrics, coat notions, and some pattern inspiration. Make sure you check it out if you haven’t yet!
Part Two: Sewing the Coat Shell (That’s this post!)
In this post, I’ll talk about tips and tricks for sewing the shell of your coat. While all our patterns might be different, there are elements to each coat that will be really similar. Instead of a specific step-by-step, I’ll keep this general so that you can follow along no matter what coat pattern you decide to use.
Part Three: Lining the Coat
The final part of our sew along will focus on sewing the coat lining and lining our coats. I’ll walk you through bagging the lining and give you tips for sewing slippery lining fabrics. At the end, you’ll have a coat to wear for many seasons to come!
Preparing The Pattern Pieces
The first step to sewing a coat, like so many other garments, is to apply interfacing to the pattern pieces. A lot of the time, a coat will have a lot more interfacing than other garments. Sometimes the entire front piece will be interfaced to give it more structure. I talked about what type of interfacing to use in the first part of this sew along. Before we start sewing, you’ll want to apply the interfacing according to the manufacturer’s instructions. Remember to hold your iron down on your fabric and pick it up to move it rather than slide. This will help prevent your interfacing from bubbling. If you are using a sewn-in interfacing or other fabric, you should base your interfacing to your pattern piece within the seam allowance.
Adjust Your Stitch Settings
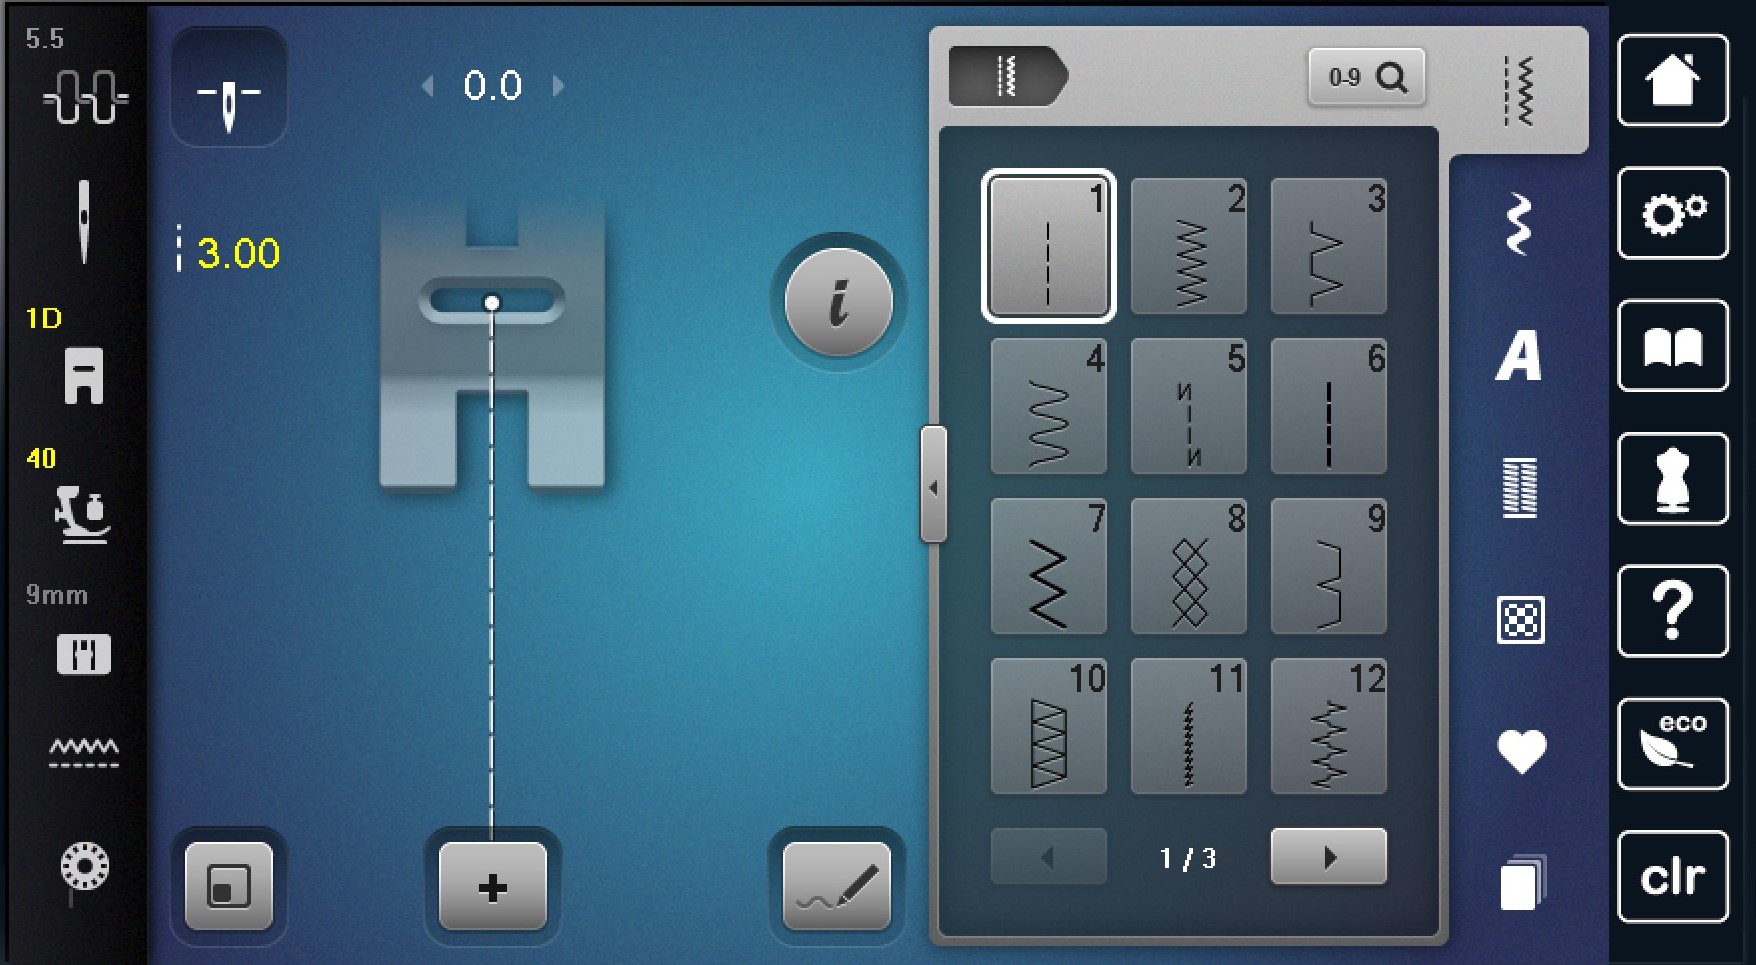
No matter what your first seam is, getting your stitch settings right is an important first step. You might want to lengthen your normal straight stitch and/or adjust your presser foot pressure. Try a stitch out on a scrap of your coating before sewing the first seam on your coat.
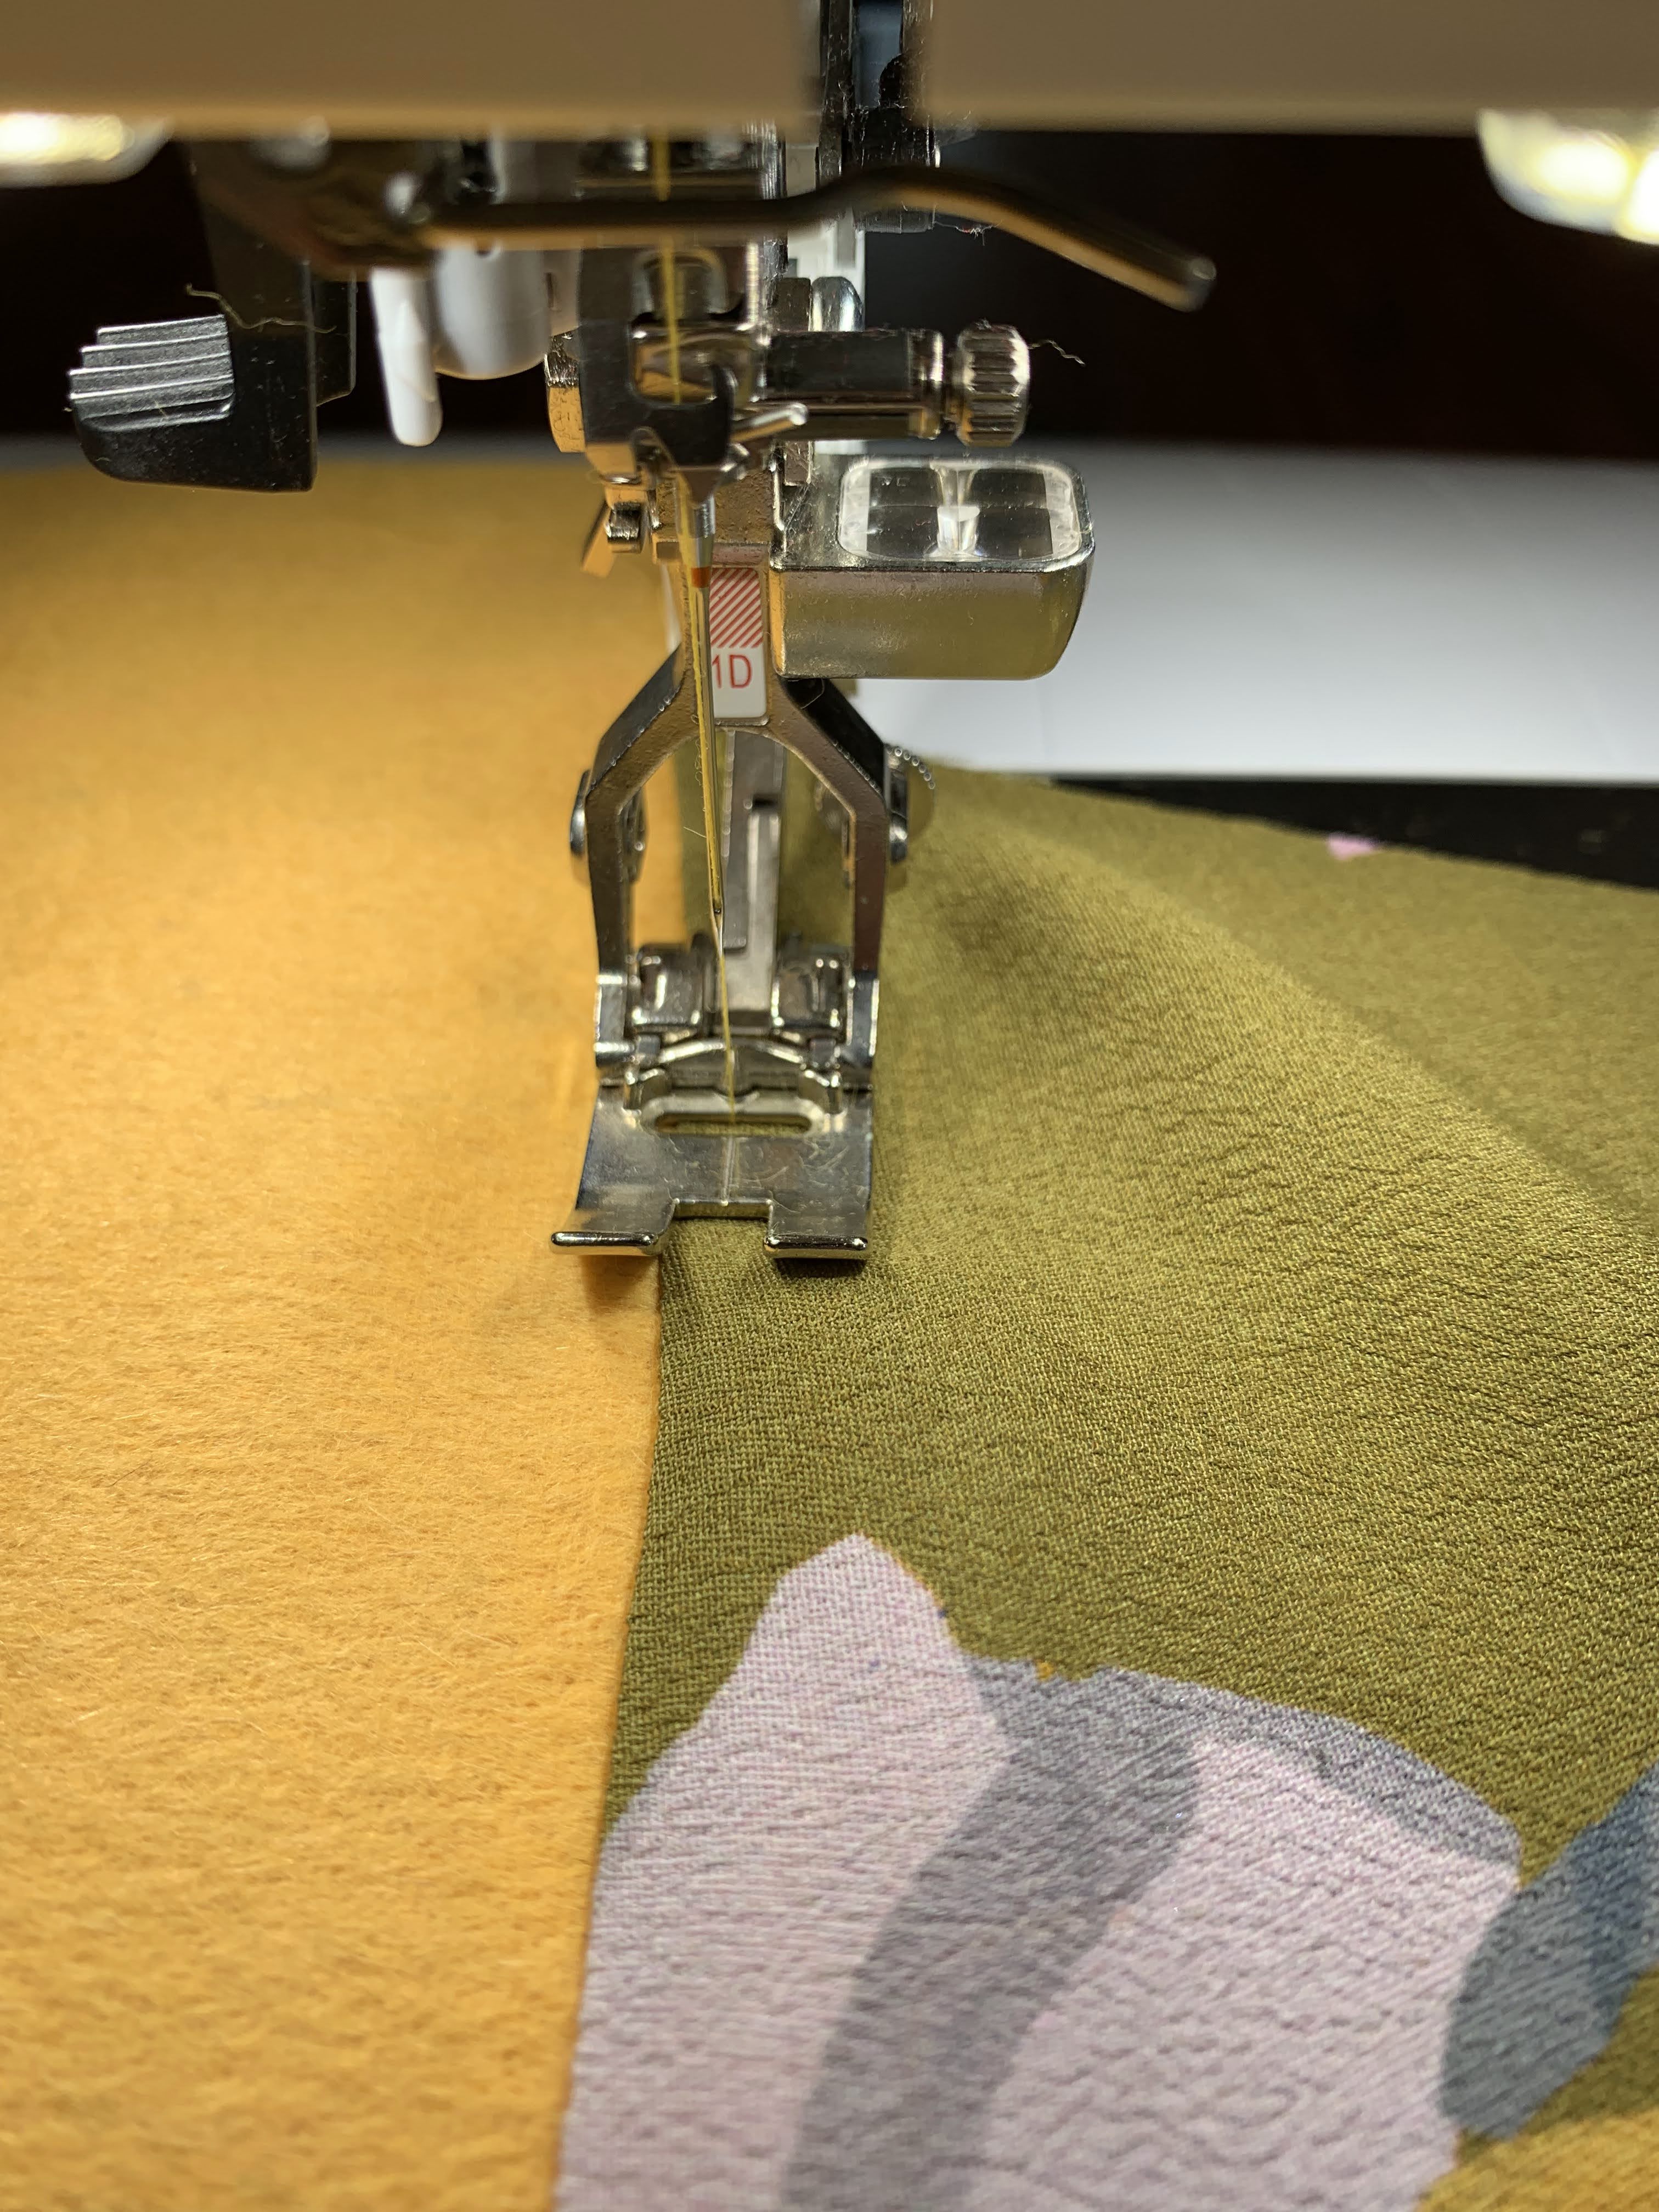
If you have a machine with Creative Consultant, this is an amazing tool for adjusting your stitch settings. Use Creative Consultant to adjust the stitch settings for your coating fabric:
- Select the Creative Consultant (dress form) Icon
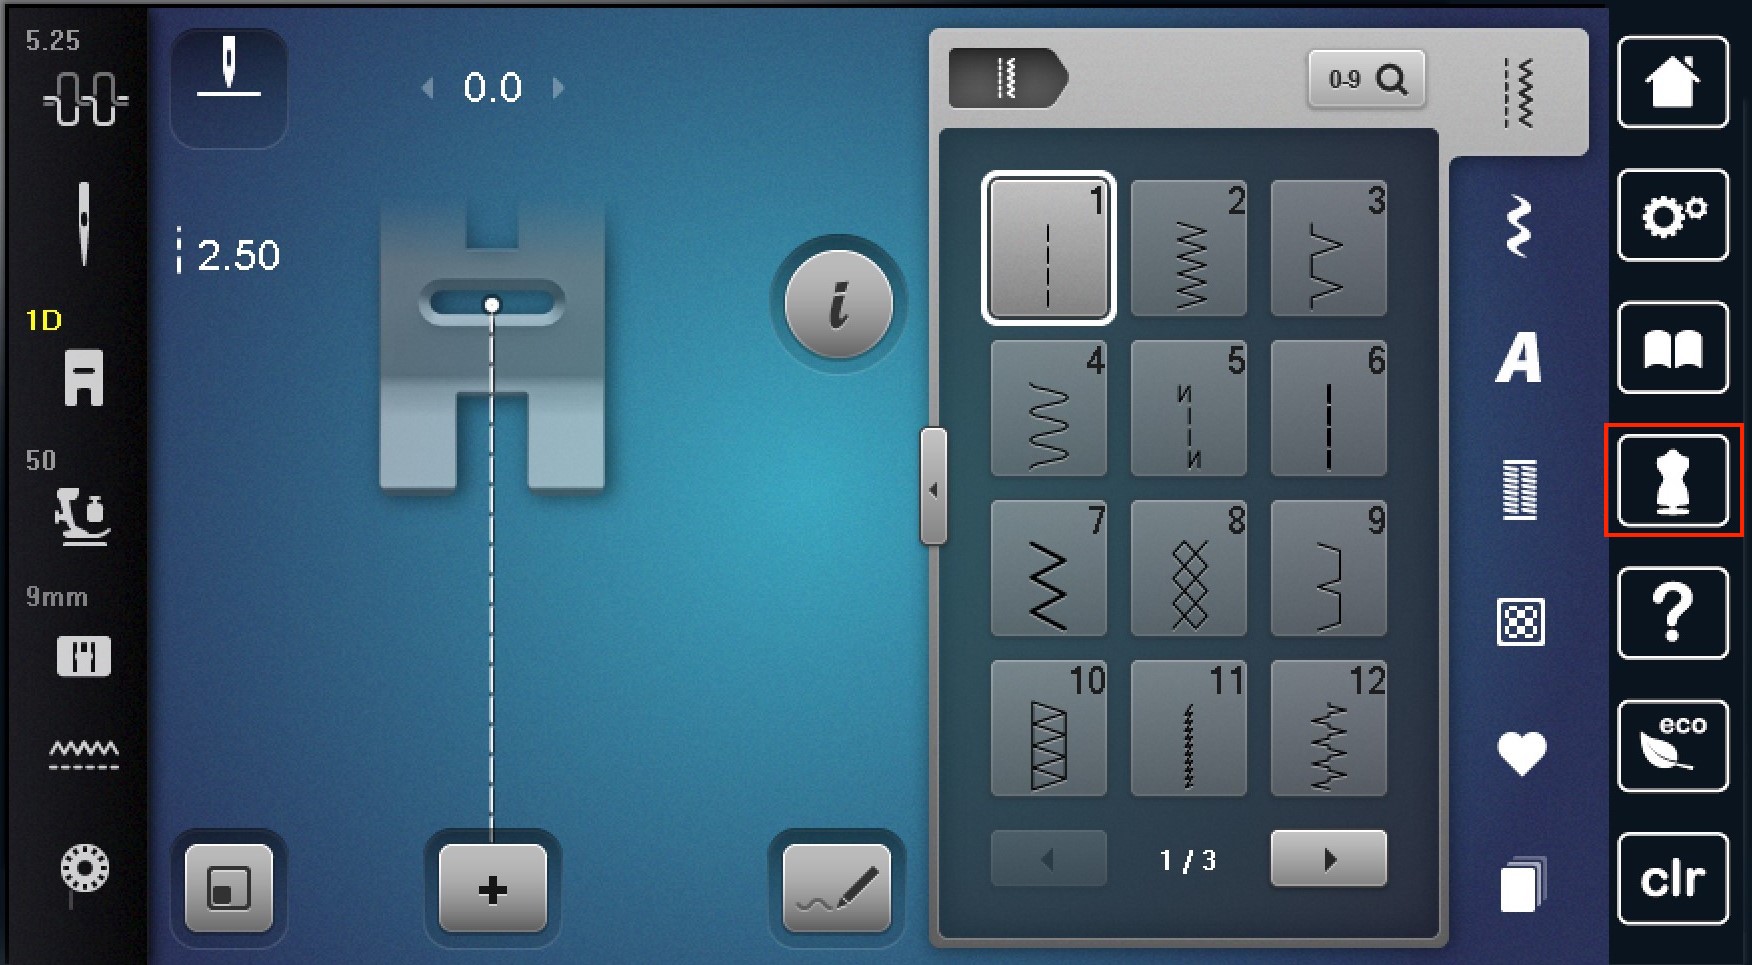
- Choose heavy woven fabrics
- Select seaming and confirm your stitch
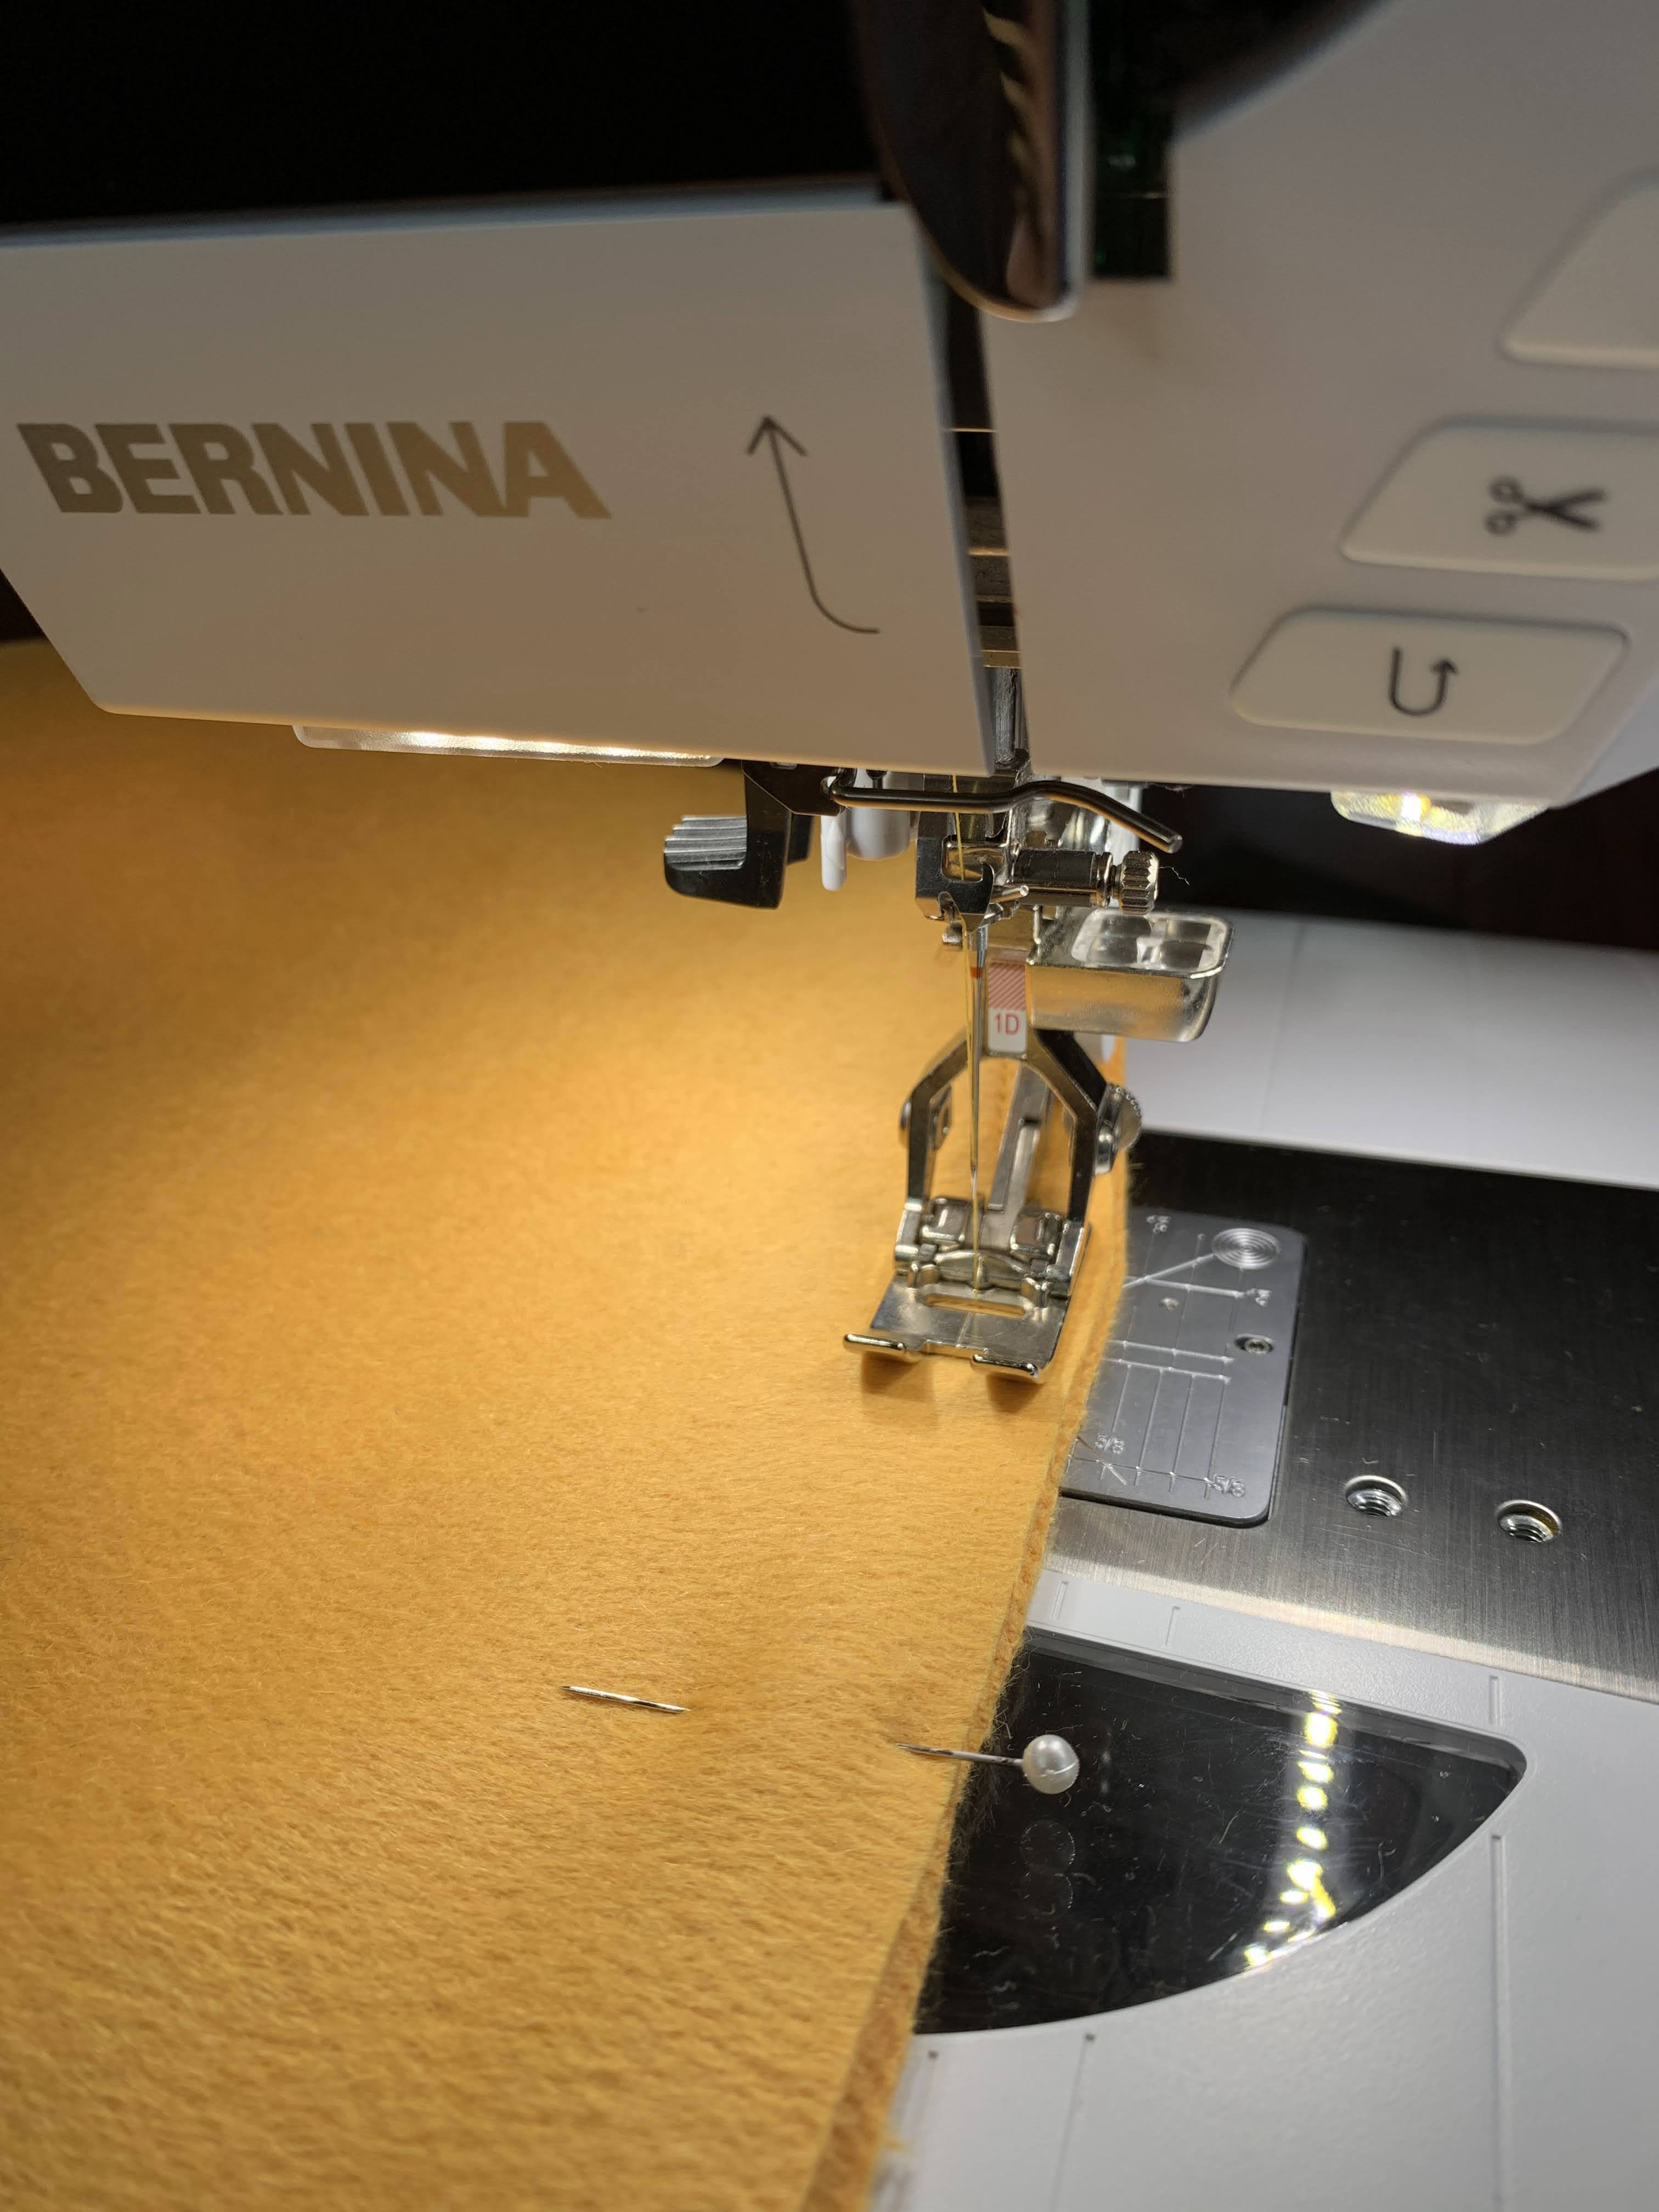
This will adjust your stitch settings for the fabric you are using and let you know what size needle will work best. It will also tell you what presser foot is recommended, in this case, I used Reverse Pattern Foot #1D. If you have a machine with Dual Feed, definitely use that for your coating fabrics; it will help your fabric feed through your machine so easily!
You can also check out this post if you want to read a little more about sewing with wool.
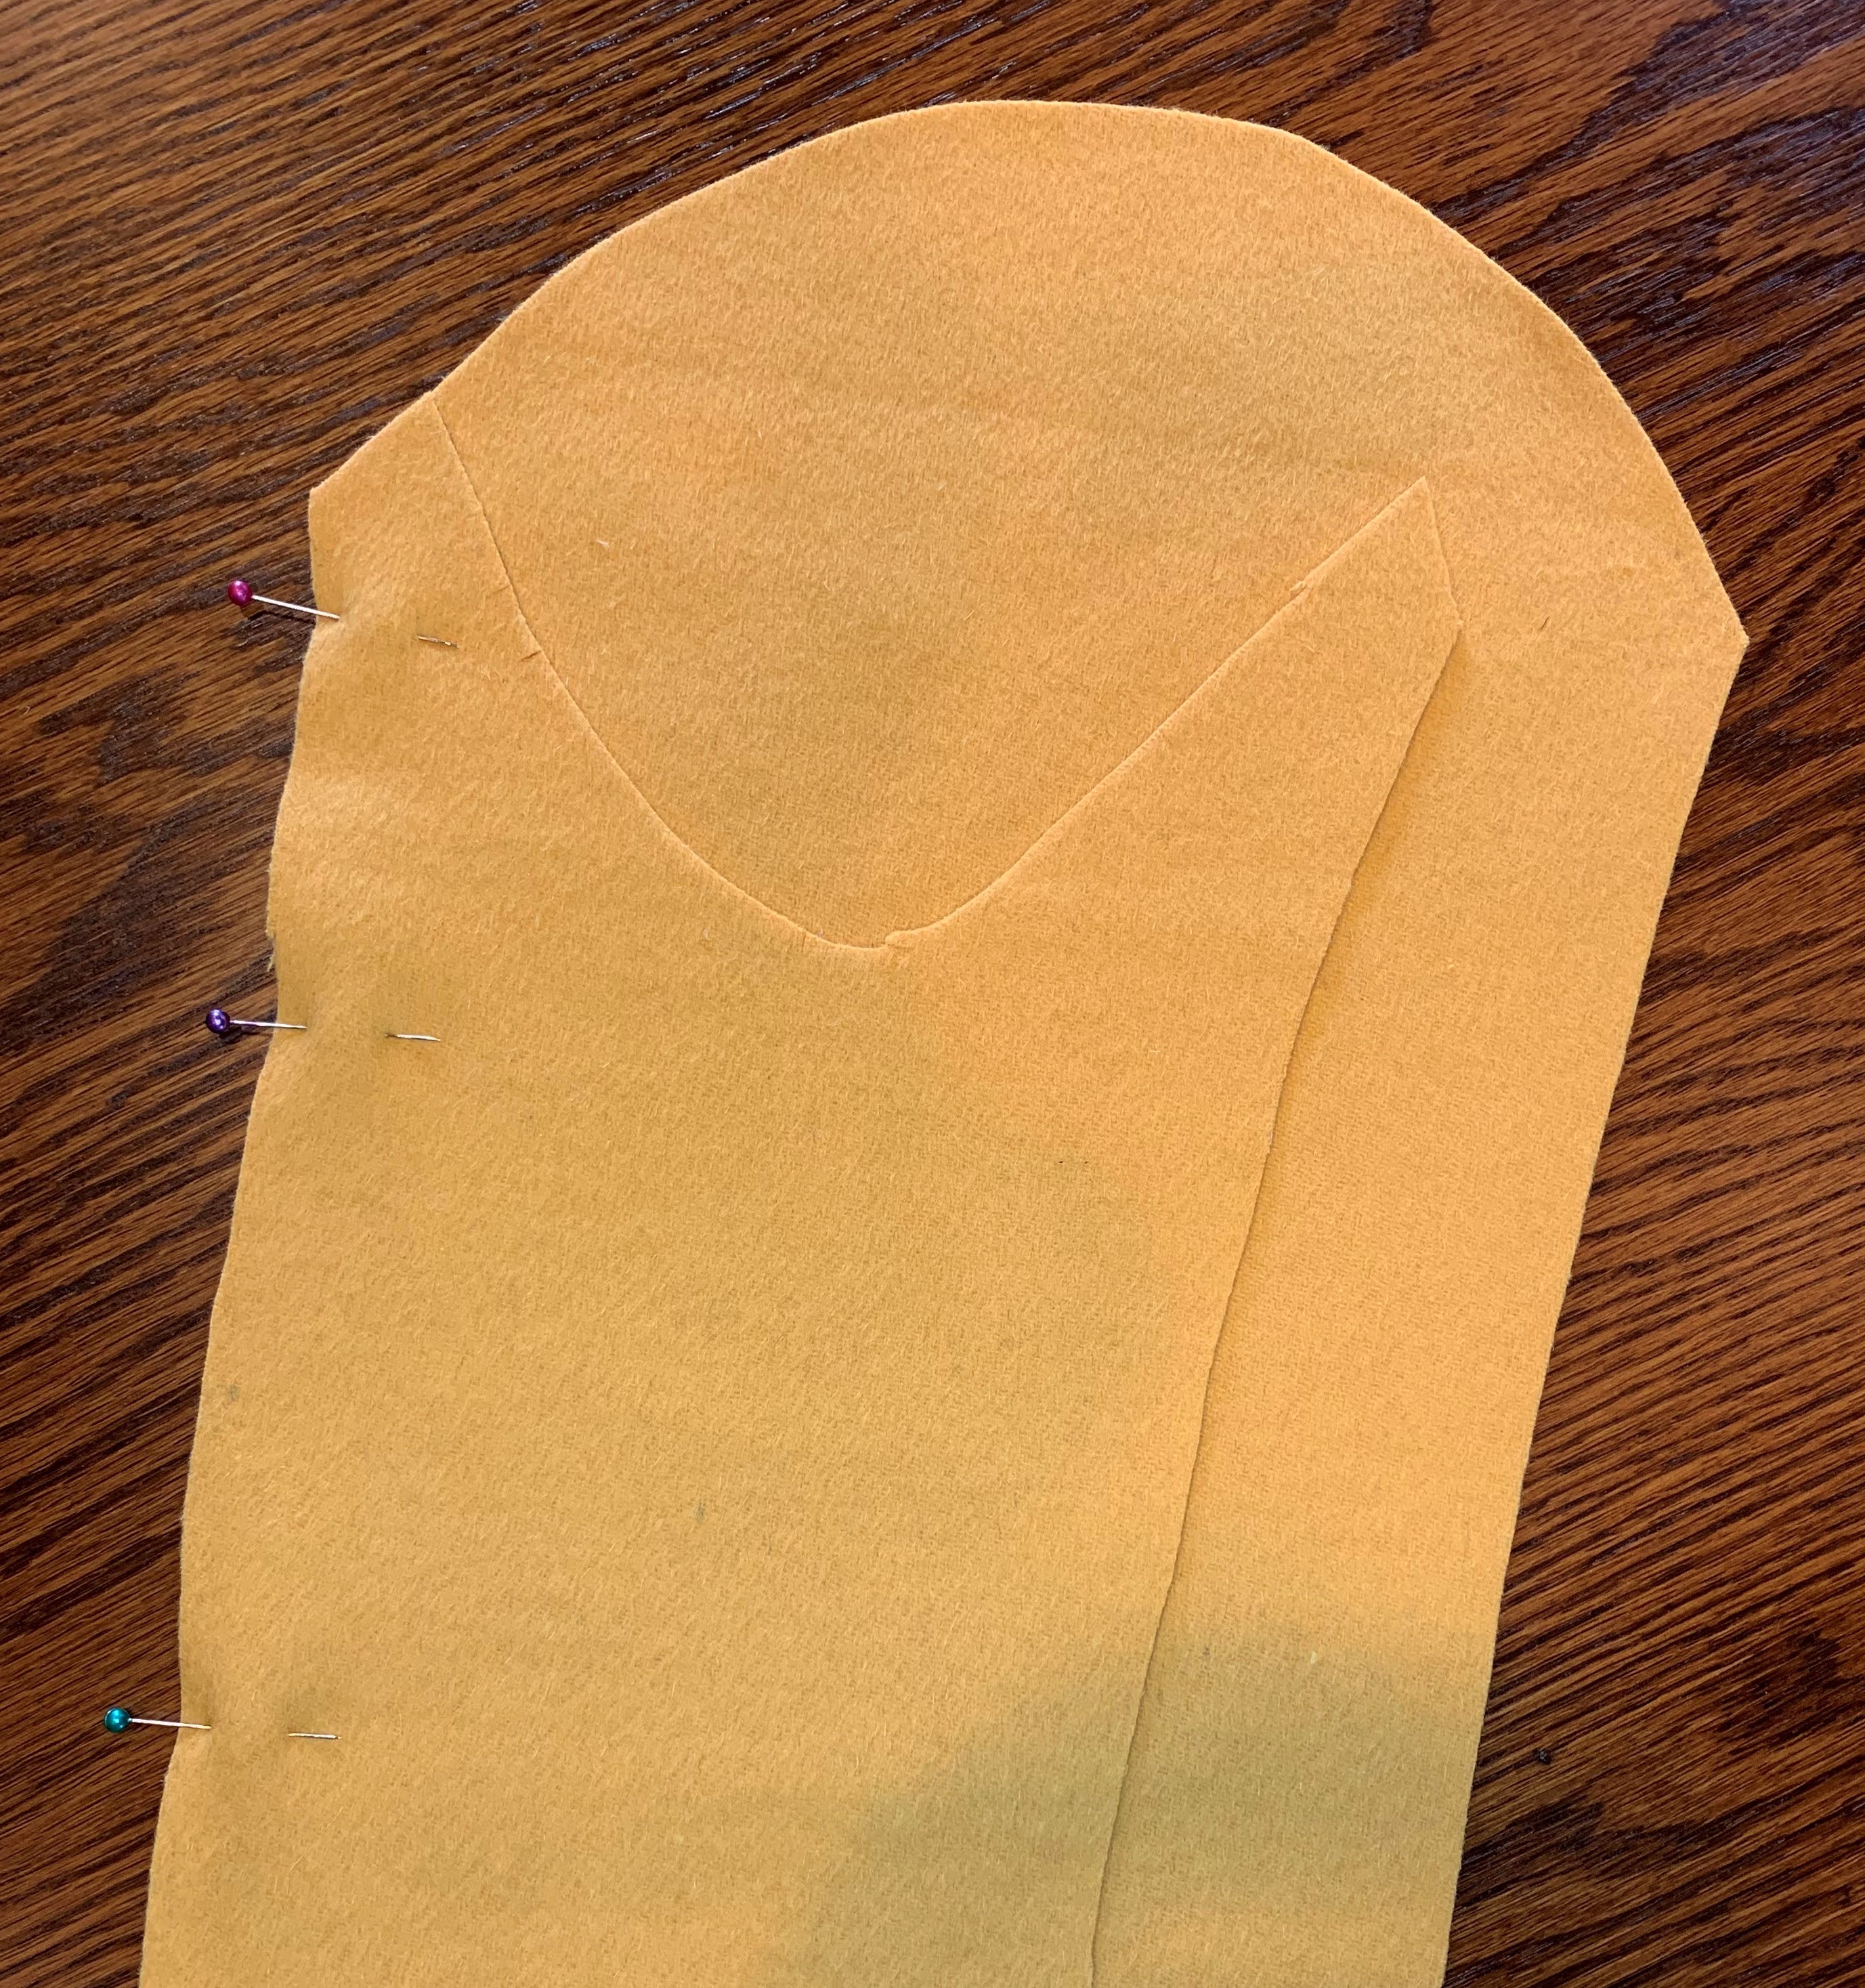
Assemble The Front and Back Coat Shell
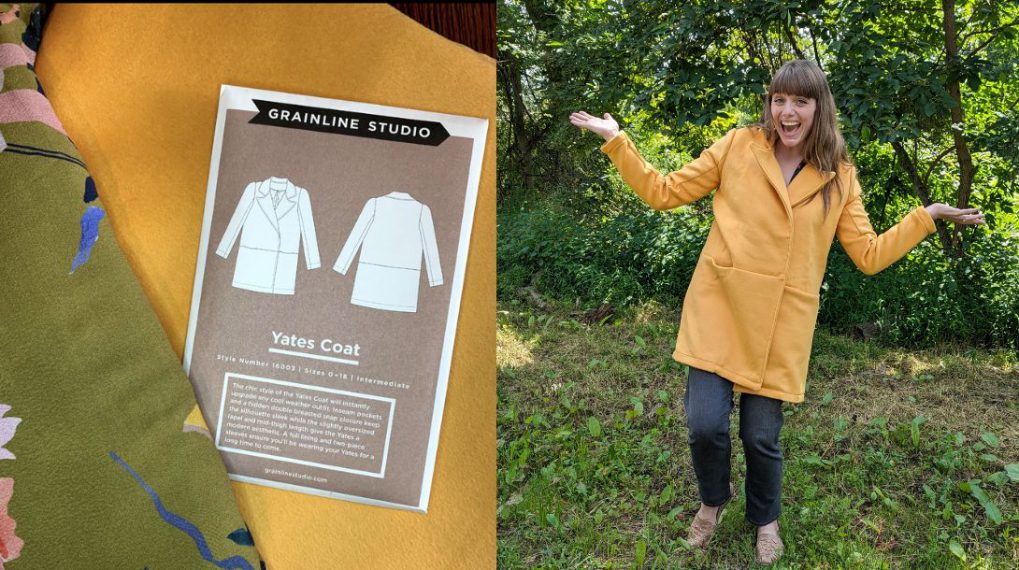
You’ll start assembling your coat by sewing the front and back shell pieces. I’m using the Grainline Studio Yates Coat pattern for my coat. This coat has two pieces to the front and back, creating a seam at the waist. The first step is to attach these pieces. You might not have this seam in your pattern, so your coat shell pieces will be one step closer to being finished right away!
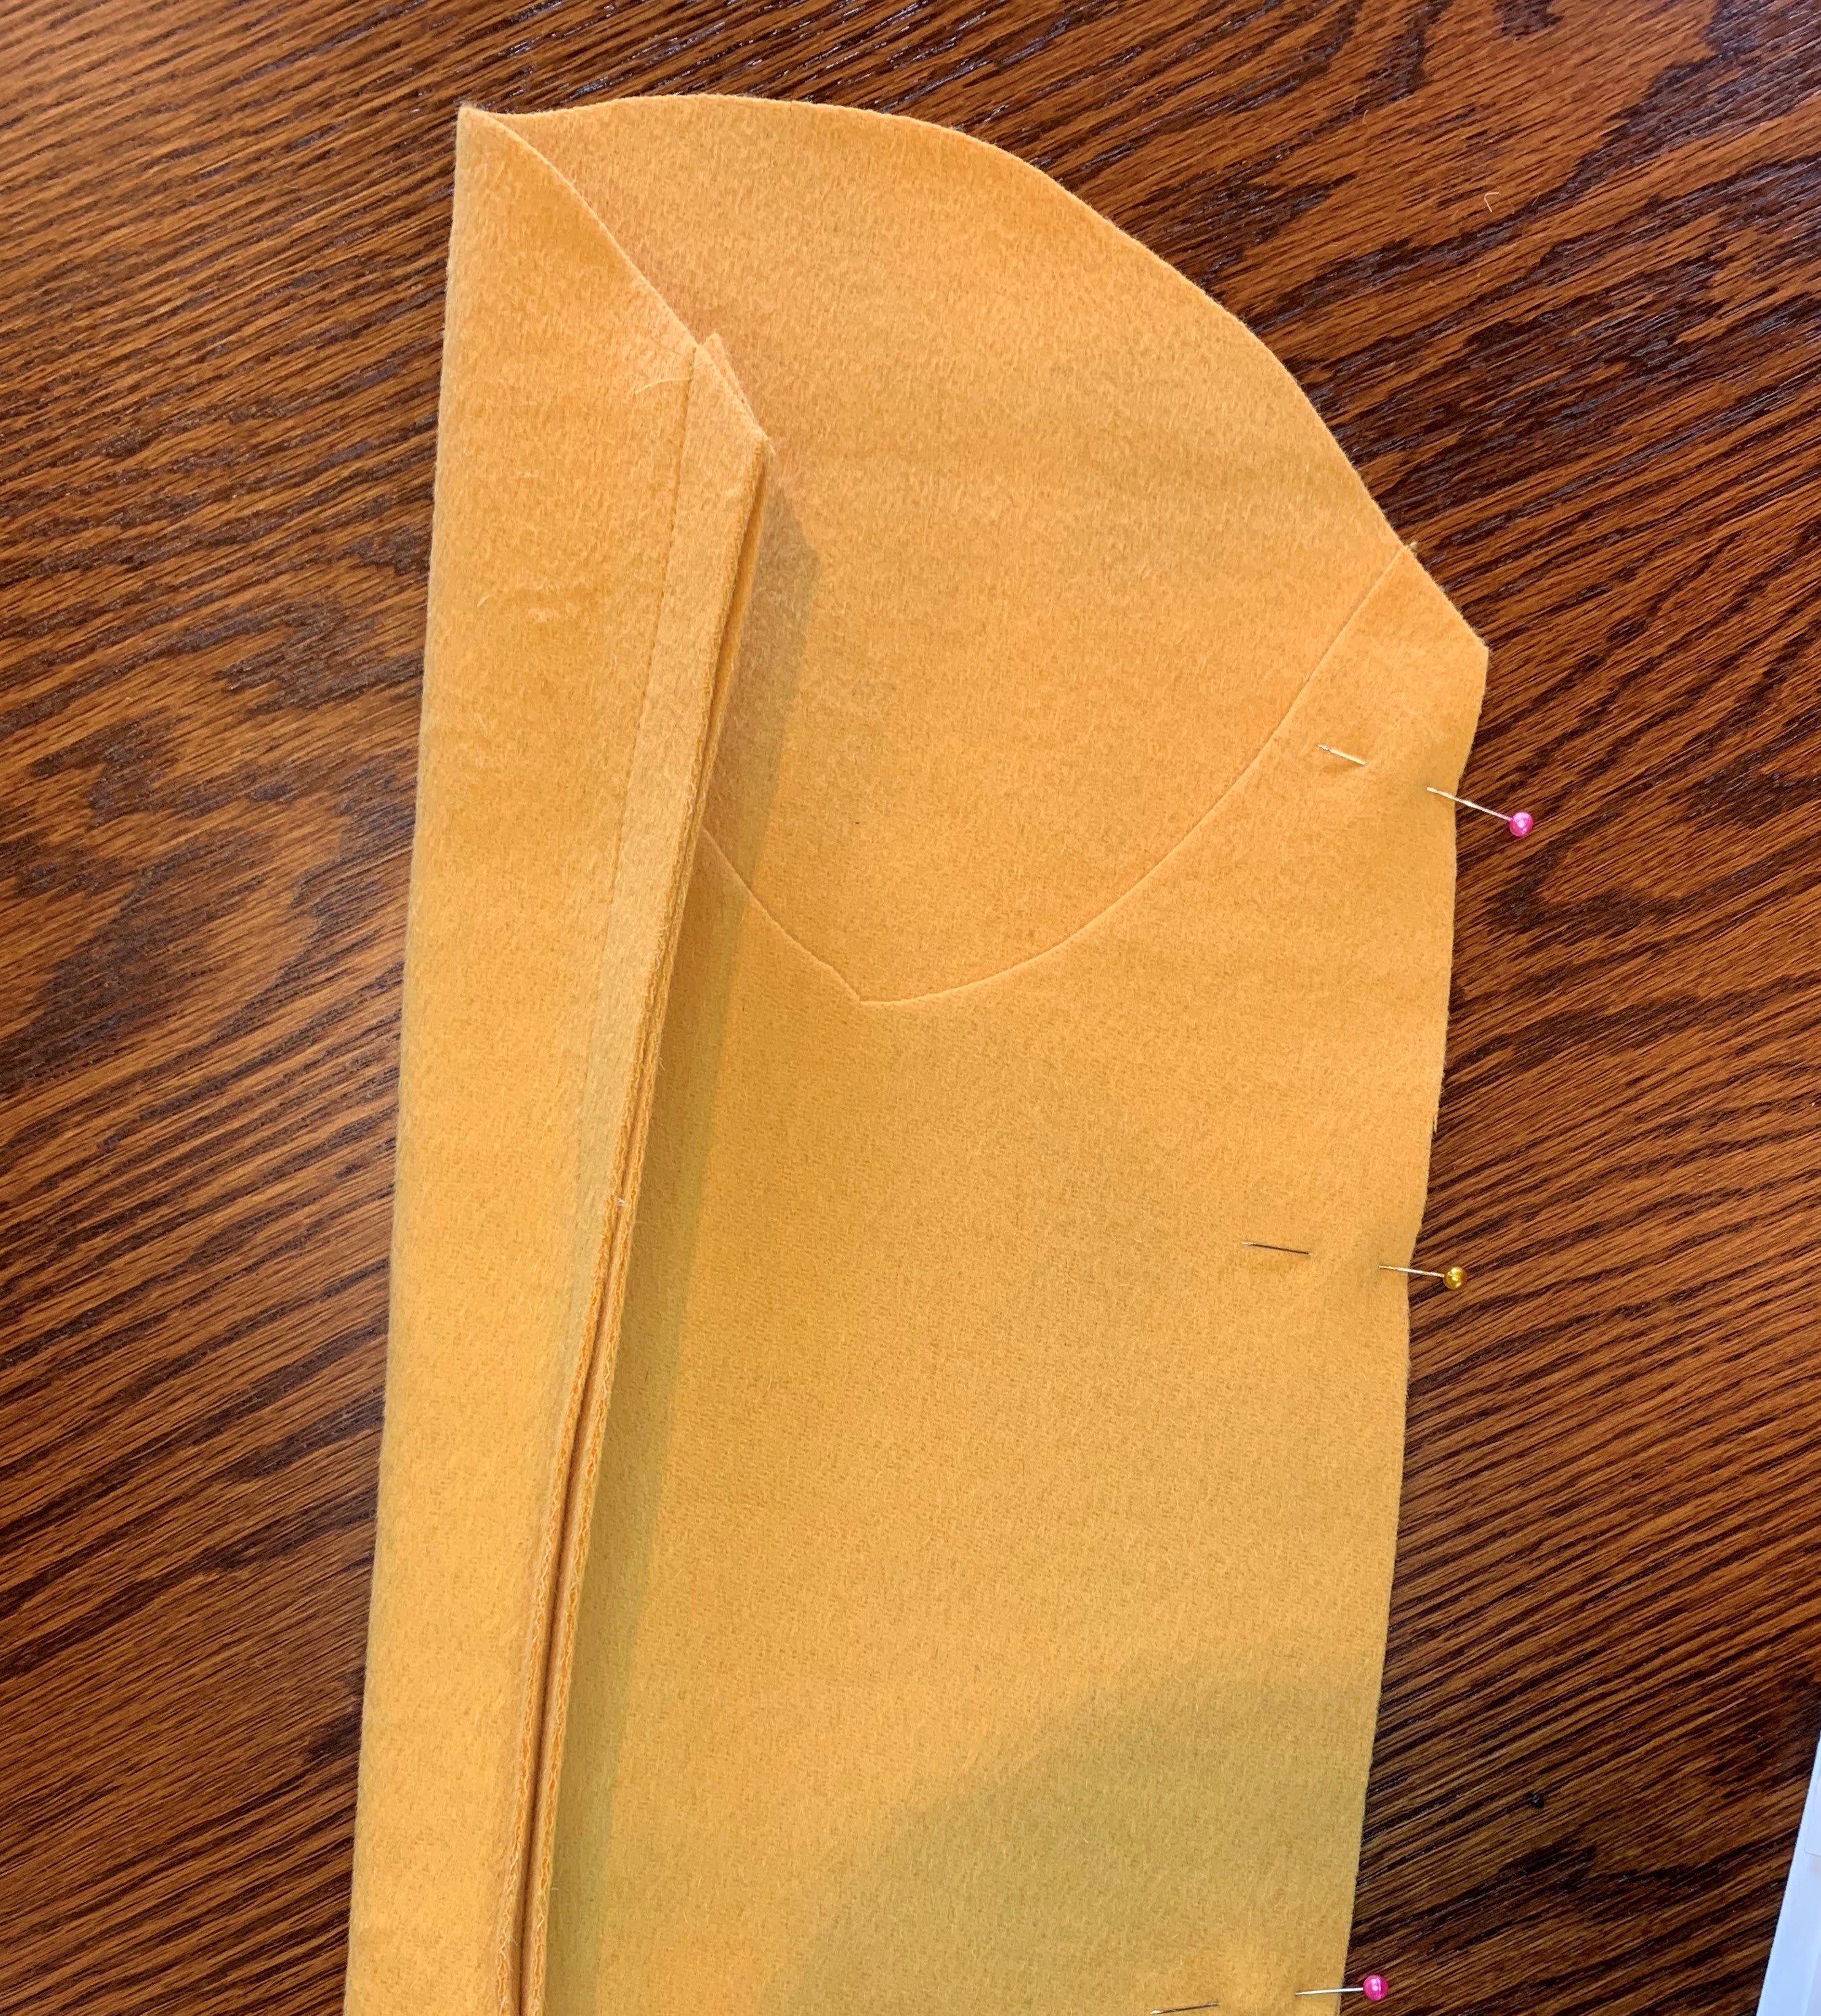
Pay attention to the seam allowance included in your pattern (this one is ½”) and sew the required seams of the front and back. This might include a dart or princess seam.
With each seam you sew, make sure you grade the seam where recommended by your pattern. This will help eliminate a lot of the bulk of your seams. You also want to press each seam really well (with steam if your fabric can handle it). You can also use a wooden clapper to help flatten those seams out.
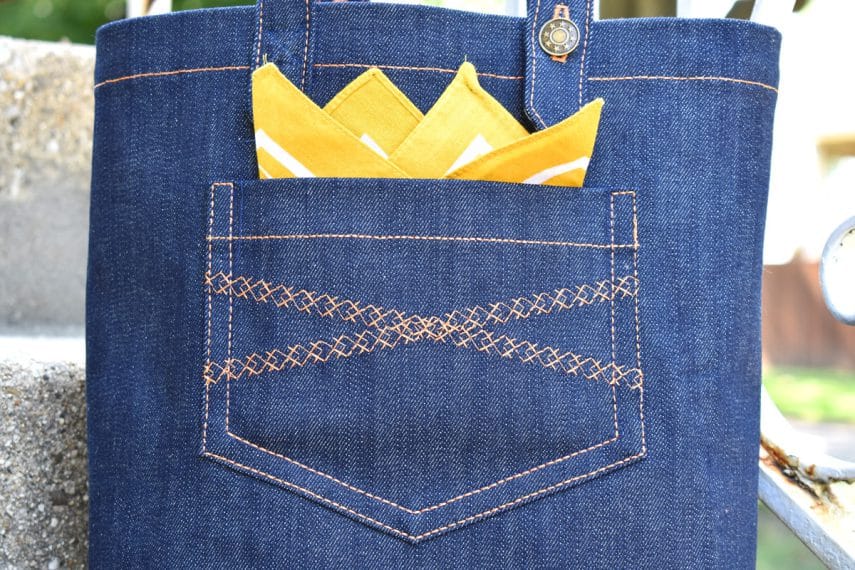
Sew Coat Pockets
Your coat will likely have pockets on the front shell piece. The Yates Coat has pockets within the front waist seam. These are sewn with a layer of lining fabric to eliminate some bulk. You’ll want to understitch any pocket linings to make sure they don’t peak out.
If your coat has patch pockets, you’ll pin them on and sew along three sides. I like to use an Edgestitch Foot #10D for this.
If your coat has welt pockets, check out this post for some tips on making those look really professional!
Sew the Front and Back Coat Shell Together
After your coat front and back pieces are assembled, you’ll want to sew the coat front and back together at the shoulder and side seams. This is done just like your other seams. I like to press the seams open to help distribute the bulk more evenly.
Sewing the Sleeves of the Coat
A lot of coat patterns have a two piece sleeve. You might not have sewn a sleeve like this if you have not made outerwear before. Instead of just sewing the underarm seam of the sleeve, you’ll sew two seams attaching the upper sleeve to the undersleeve. There will be notches to help make sure that you attach these correctly. There will be one wide longer than the other, so they aren’t interchangeable. Start by sewing one side of the upper sleeve and lower sleeve.
After one side is sewn, press the seam and then pin and sew the other side. This will create your sleeve to insert into your coat. If your coat pattern has a one-piece sleeve, you will just sew the underarm seam before inserting it into your coat.
Inserting the Coat Sleeves
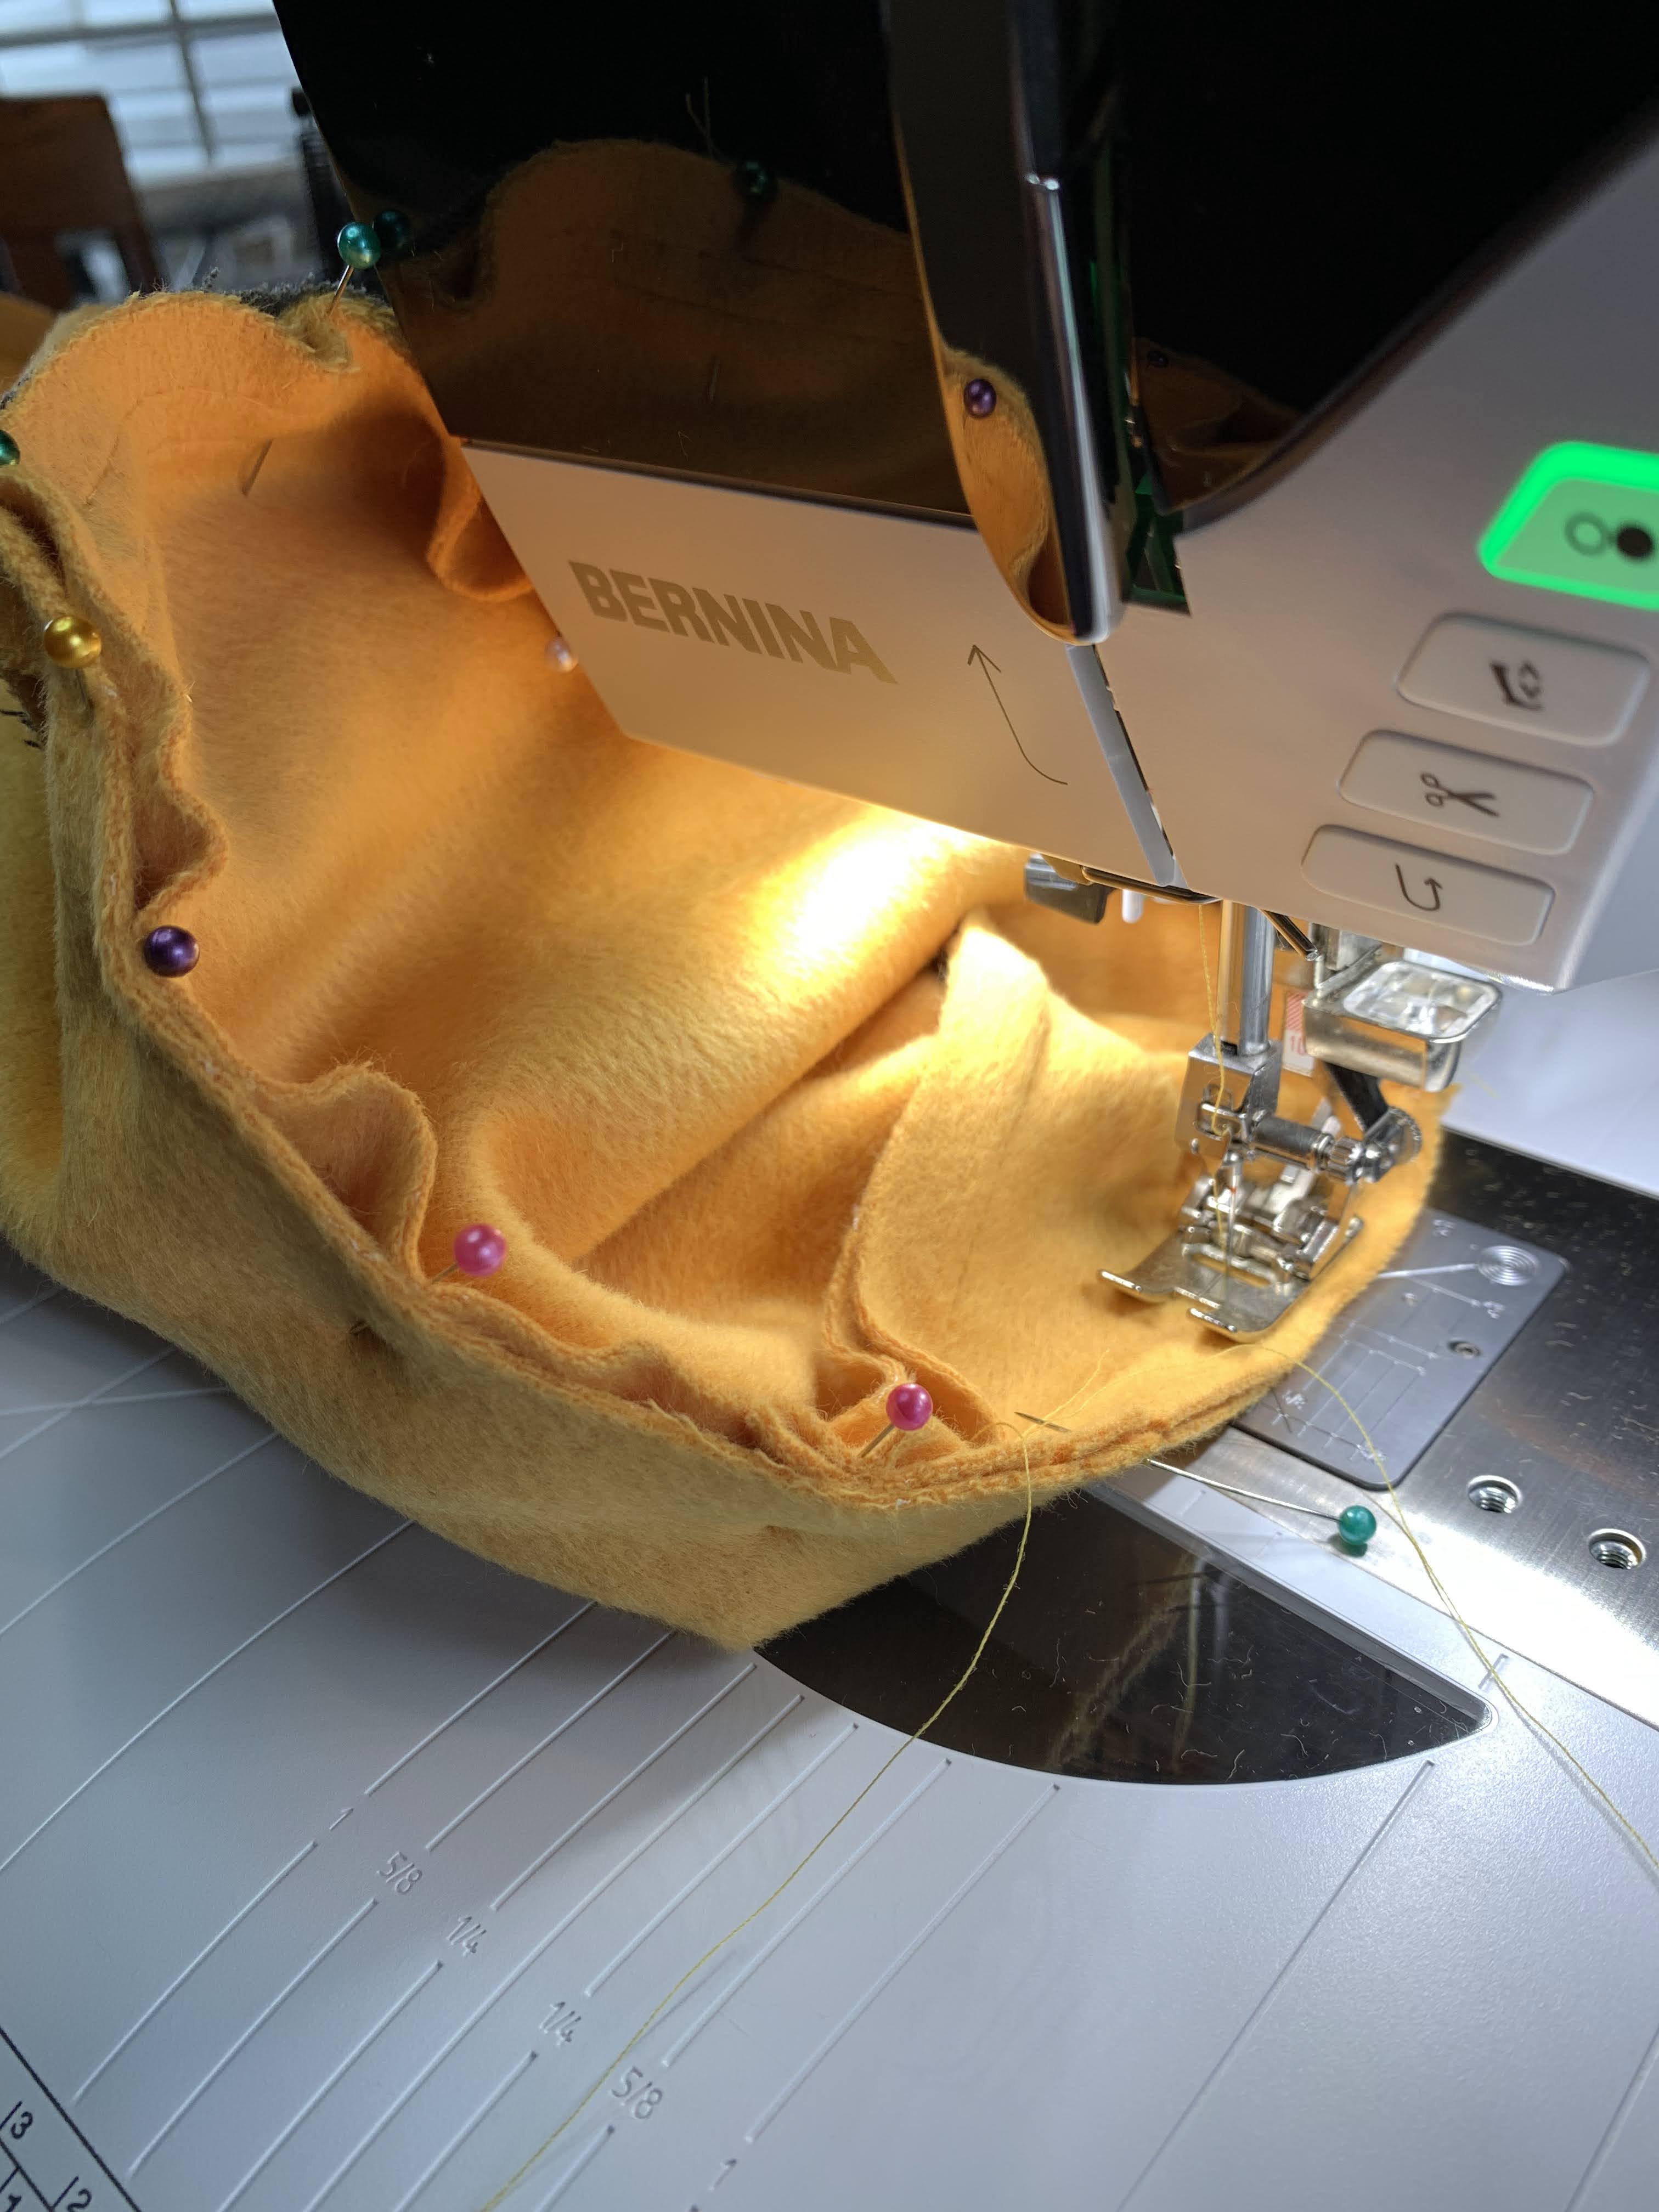
Inserting the coat sleeves is the same as setting sleeves into any other garment. It may seem tricky because the fabric is so thick, but I actually think that helps me in eliminating any puckers. Start by sewing two lines of basting stitches along the sleeve cap. These lines should be parallel with long thread tails on either end to help you gather the cap. When basting on this heavy fabric, I like to use the longest basting stitch my machine will allow. This makes it a little easier to gather.
When inserting the sleeve into the coat shell, I like to turn the coat wrong side out and the sleeve right side out. I then insert the sleeve into the coat shell and pin, matching all the notches, and using those basting stitches to help the sleeve gather to fit.

To sew the sleeve to the coat shell, sew with the bulk of the fabric above the machine and keep the sleeve facing up. I find this is the easiest way to sew while preventing any puckers. Set your machine to stop sewing with the needle down and use the knee lift to lift the presser foot slightly while manipulating the fabric. This will make it easy to sew the perfect sleeve.
If your coat has raglan sleeves, you’ll likely insert them flat and then sew the side seam and underarm seam at once. This is a great, beginner-friendly, way to construct a coat sleeve!
Assembling the Collar
Many coat patterns have a collar piece (you might even have a collar stand). To assemble the collar, you’ll want to interface the upper collar and then sew the upper collar to the under collar with the right sides together along the outer edges.
After sewing, trim your seam allowances and clip the corners to help eliminate bulk.
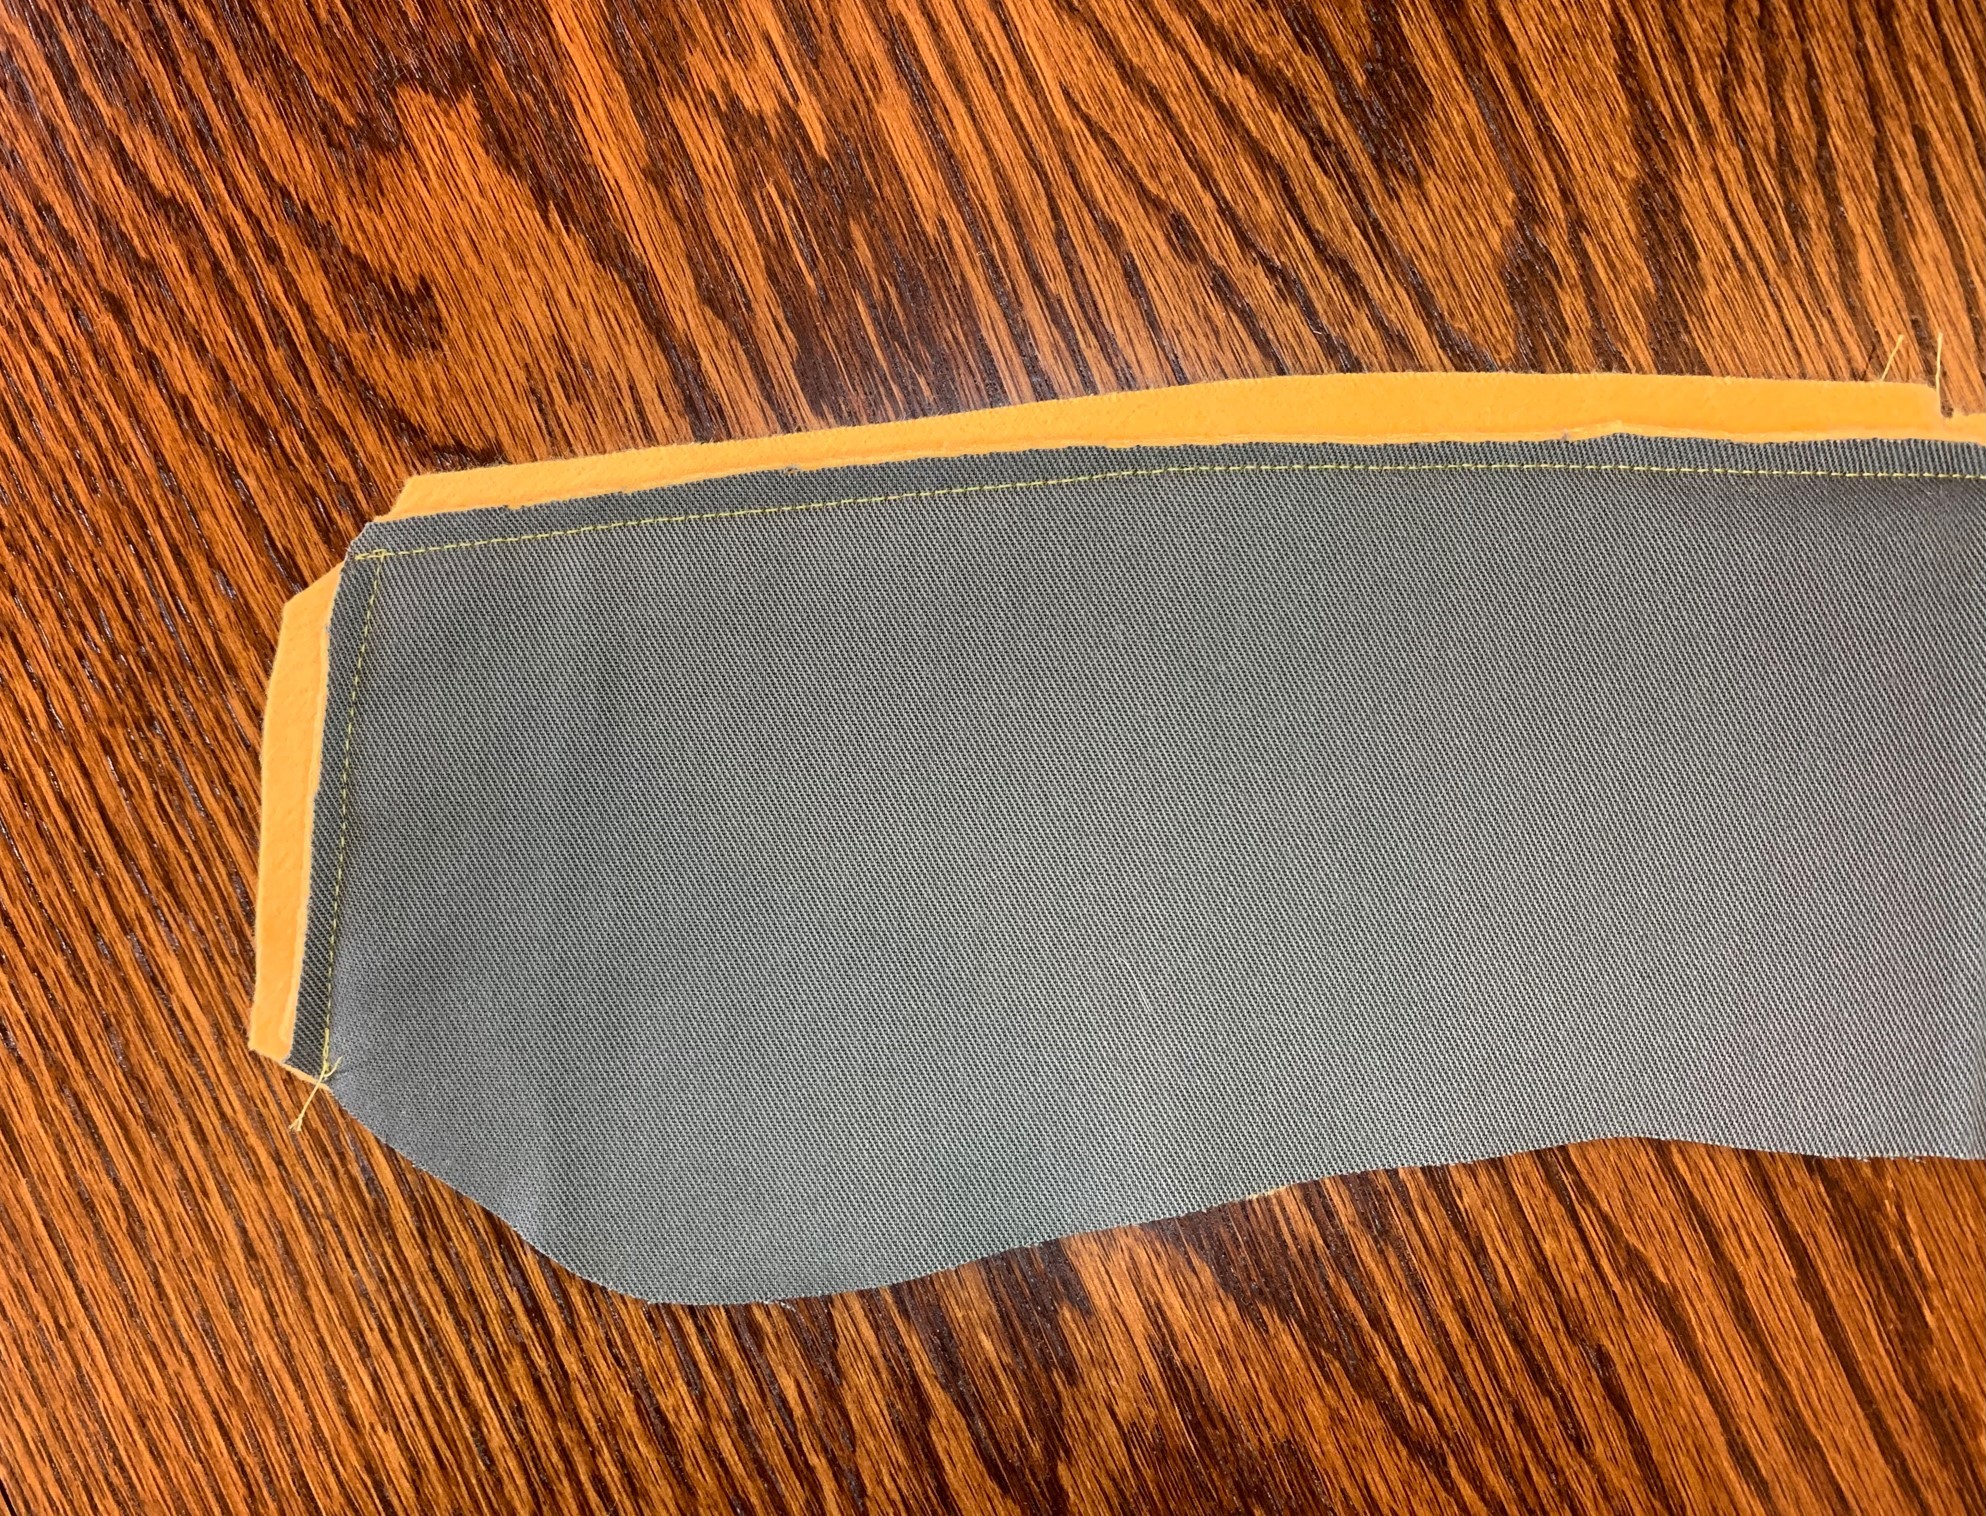
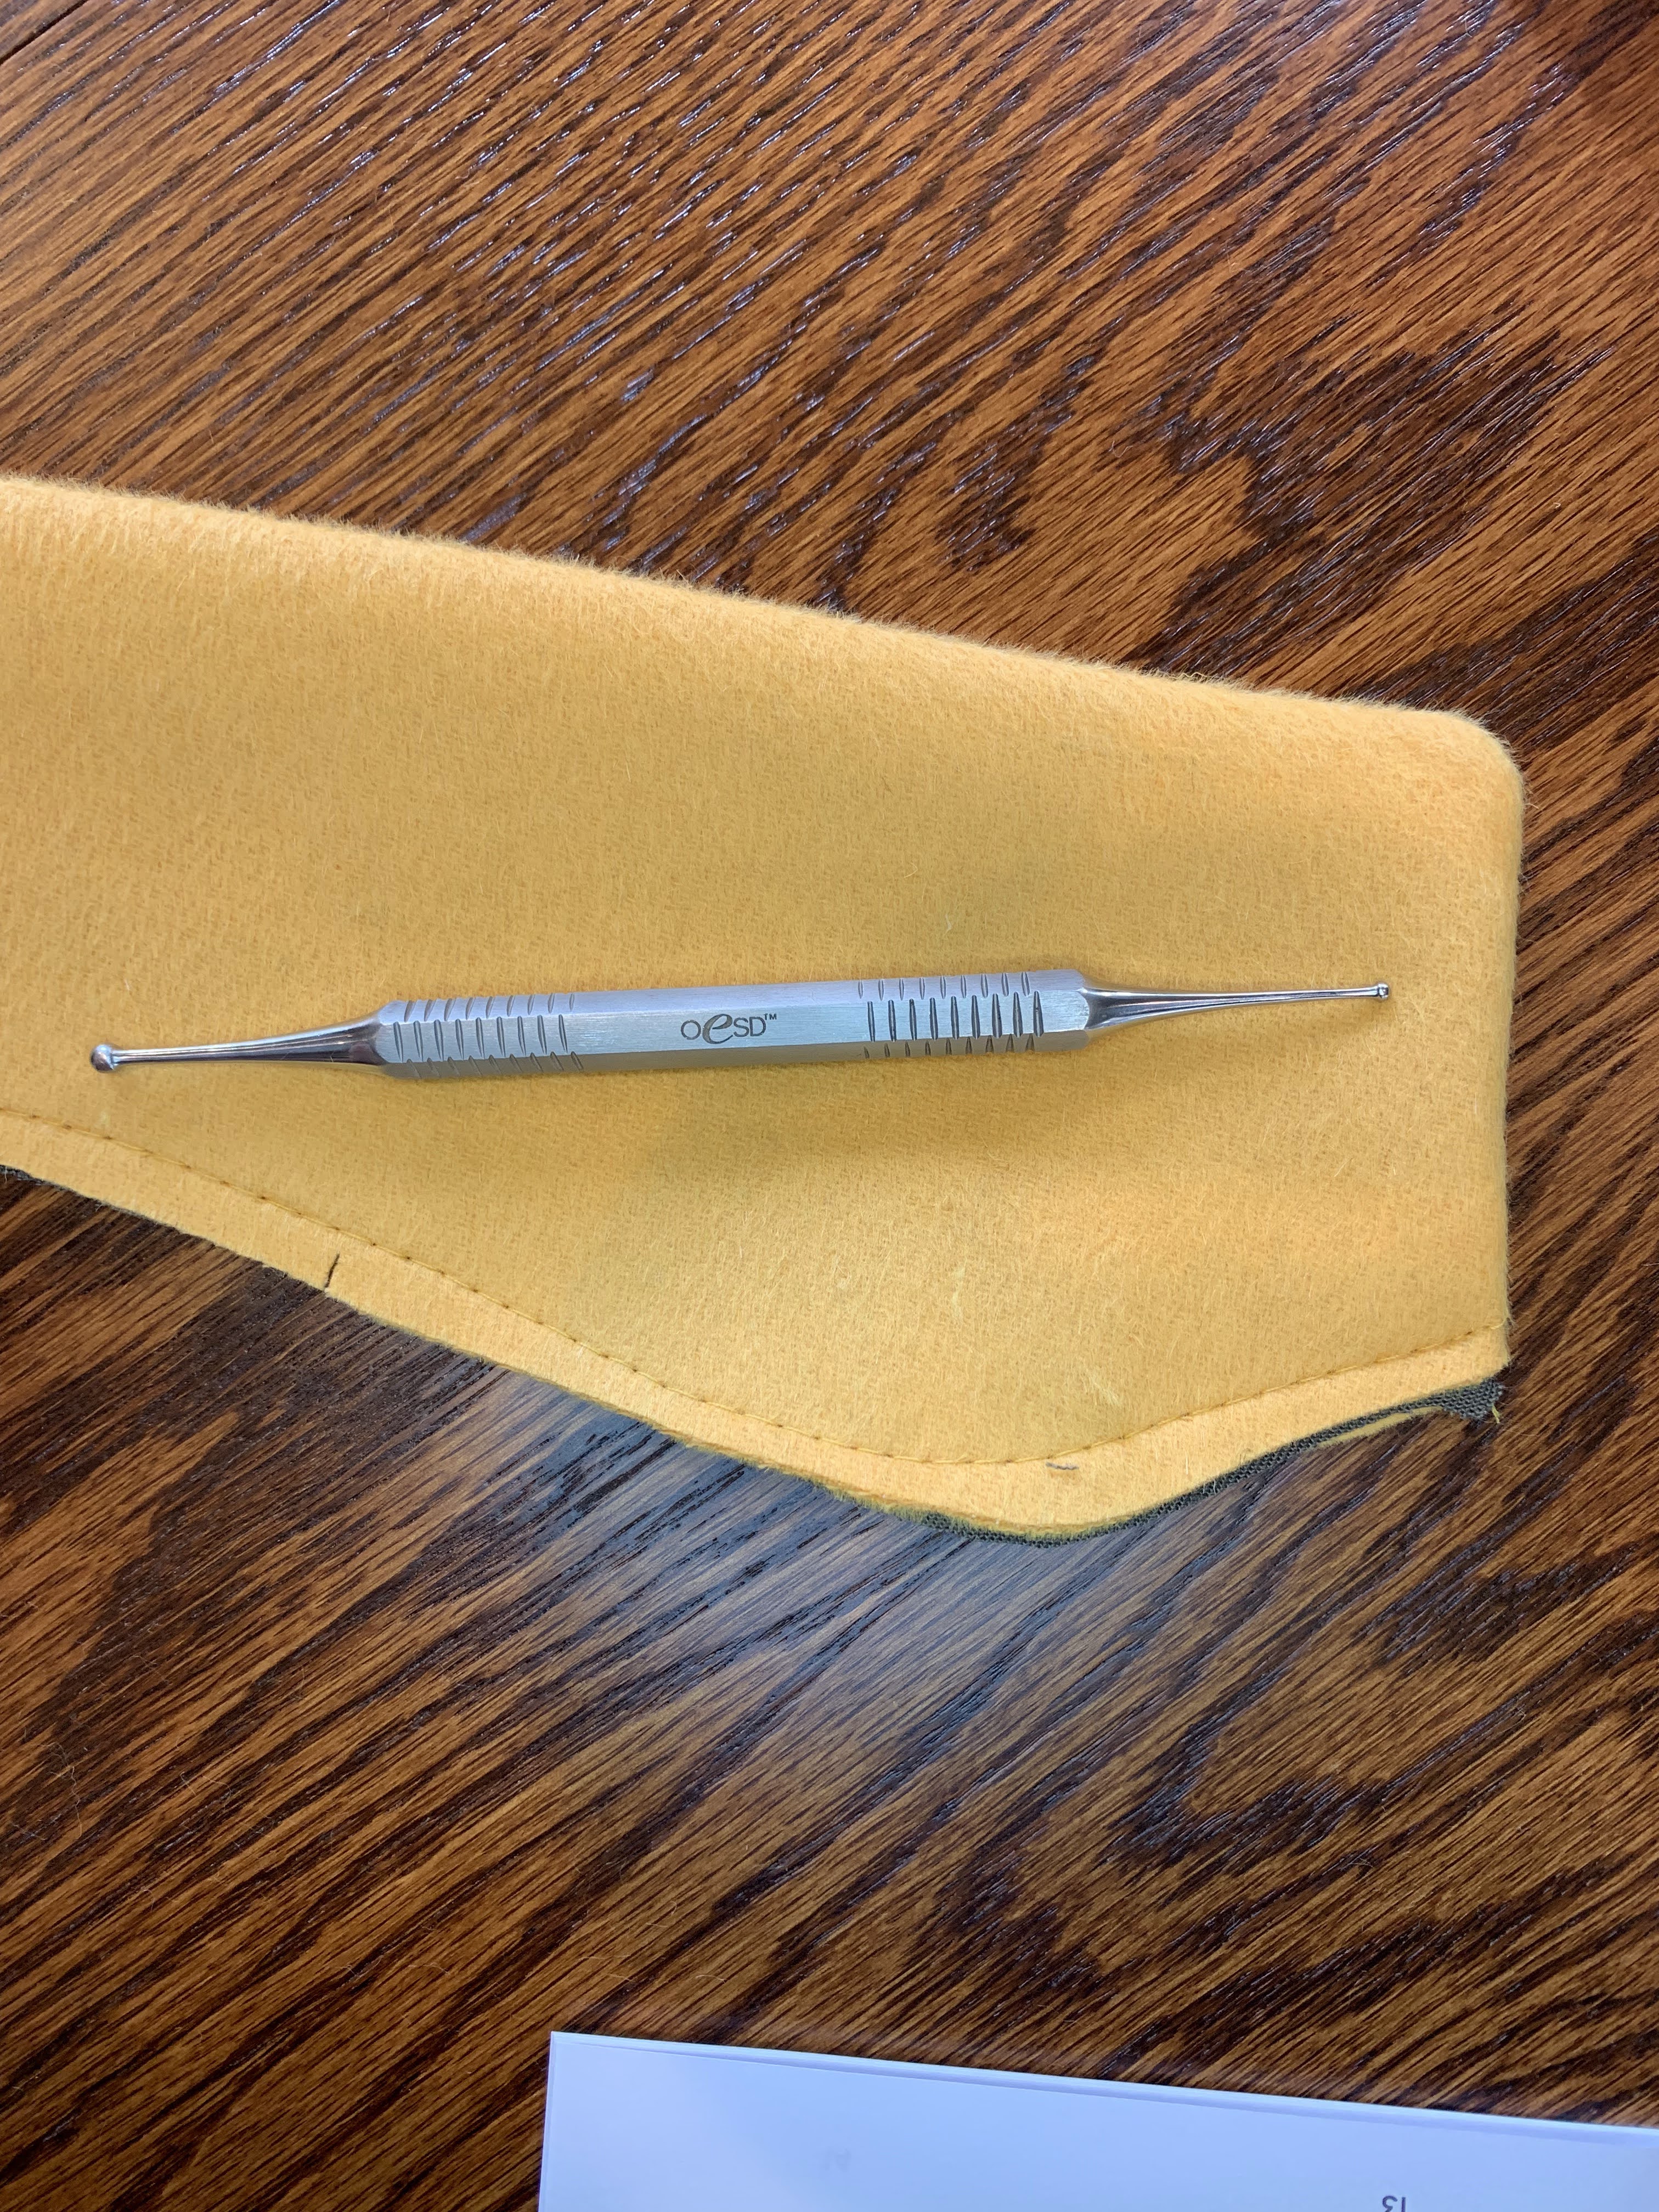
Turn the collar right side out and press. I like to use the OESD Expert Point and Press Tool to help get a nice point at my corners. You can then baste the bottom edge to hold the open sides together.
Topstitch and Attach the Collar to the Coat
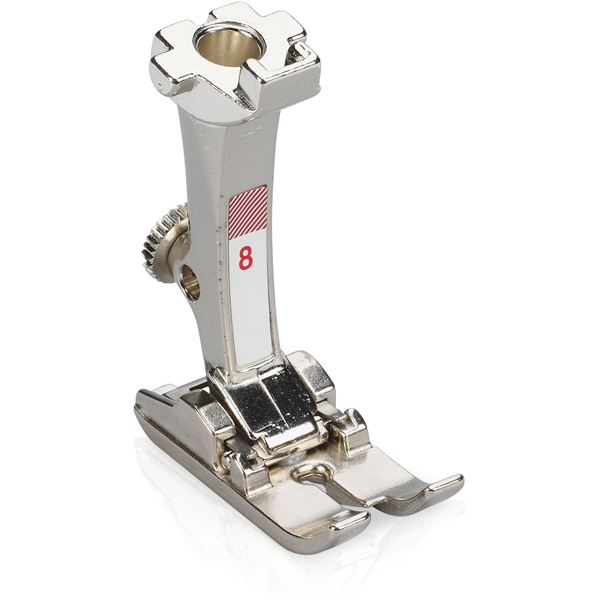
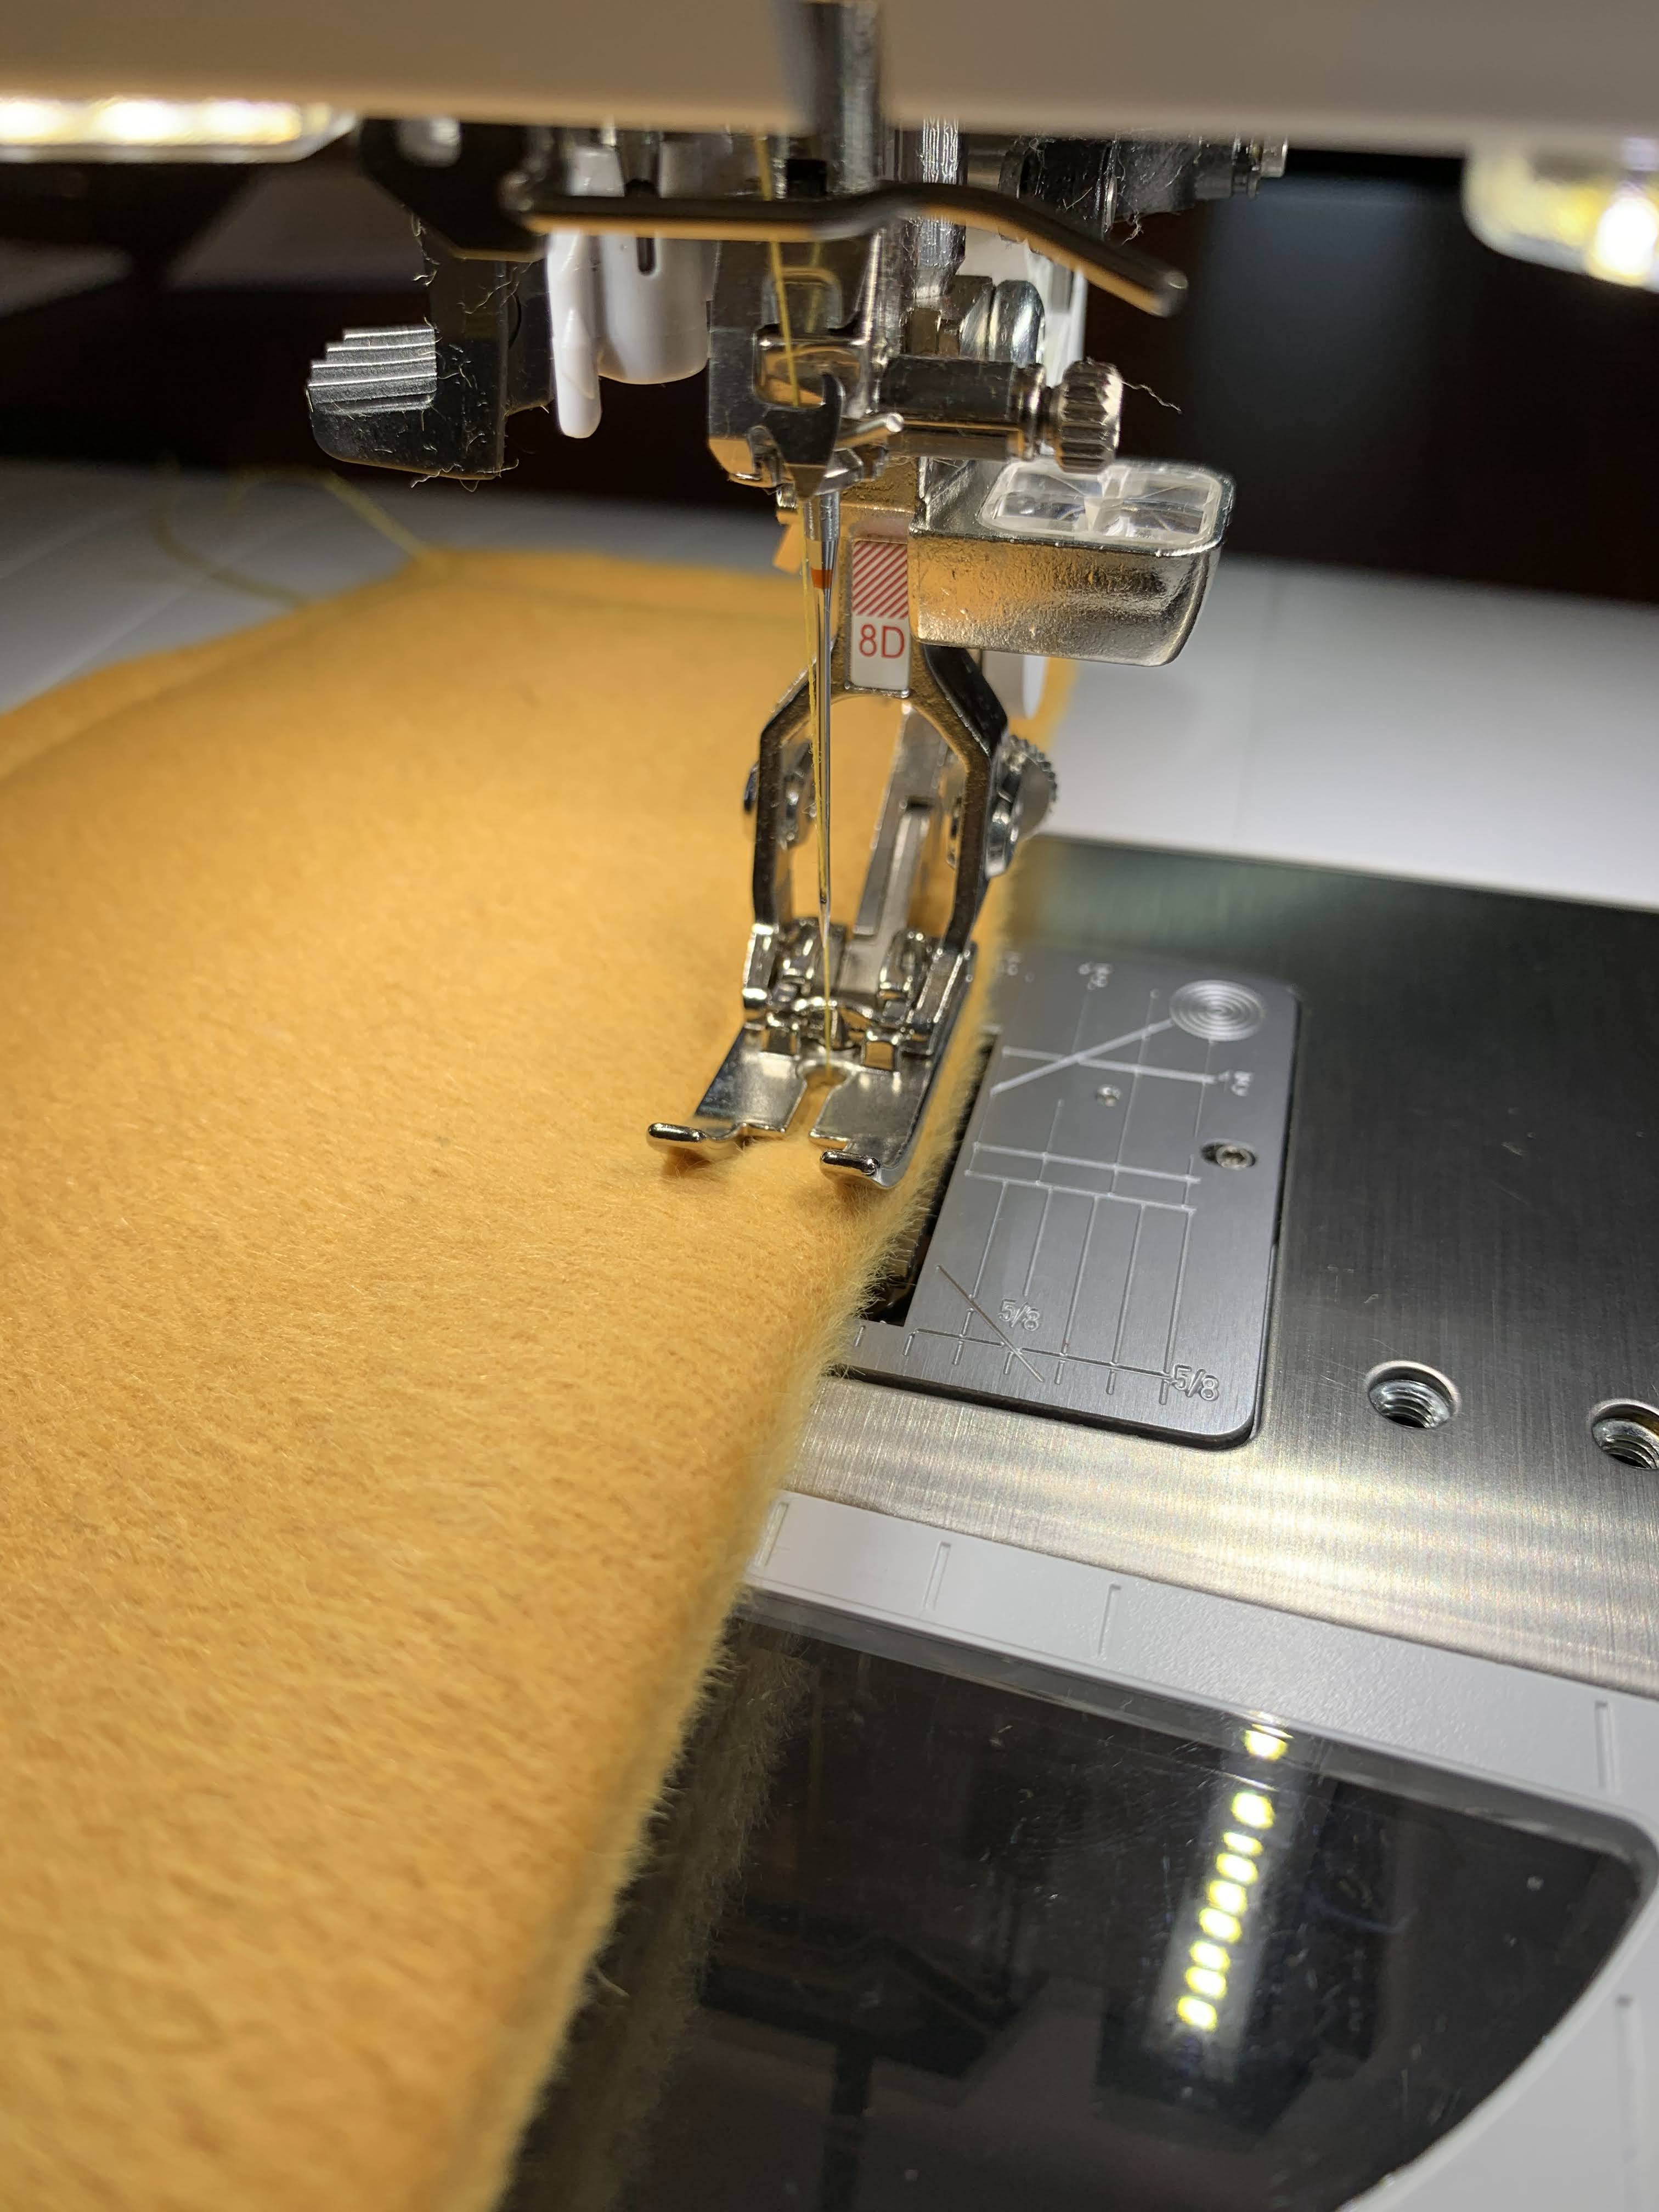
If desired, topstitch around the outer edges of your collar piece. Jeans Foot #8D works really well for this as it is meant to sew over bulky fabric and helps you keep a straight line of stitching ¼” from the edge of your fabric. You can also use a straight stitch plate with this foot to help the seam look even better!
After topstitching, you’ll attach your collar to your coat shell. This will make your coat shell ready for lining, which we’ll talk about in the next post! Make sure you share your progress of this sew along using #weallsewcoats and post any questions in the comments. I can’t wait to see what you create!