WeAllSew Coats! Lined Coat Sew Along, Part One: Fabric & Inspiration
When I first started sewing garments, making a lined coat was one of the things that felt too complicated and out of reach. Along with jeans, bras, and swimsuits, it is one of the things sewists tell me is intimidating to them, but they want to learn how! I’ll be the first to tell you that, while it might seem intimidating, sewing a coat is actually pretty easy once you get over the hurdle of picking fabric. The steps to sewing aren’t too complicated and coating fabric is so nice to sew and press. I wanted to host this lined coat sew along on WeAllSew to inspire you to make a coat for yourself this season. Whether it be your first or just your latest of many, sewing a coat is so rewarding! So, I hope you’ll join me for #weallsewcoats
WeAllSew Coats! Sew Along Outline
Part One: Fabric & Inspiration (That’s this post!)
In this post we’ll discuss coating fabrics, lining fabrics, and coat notions. I’ll also share some patterns as inspiration, but please feel free to use whatever coat pattern speaks to you and your style. Share what coat pattern you’ll be using in the comments of this post so others can get inspired too!
Part Two: Sewing the Coat Shell
In part 2, I’ll talk about tips and tricks for sewing the shell of your coat. While all our patterns might be different, there are elements to each coat that will be really similar. Instead of a specific step-by-step, I’ll keep this general so that you can follow along no matter what coat pattern you decide to use.
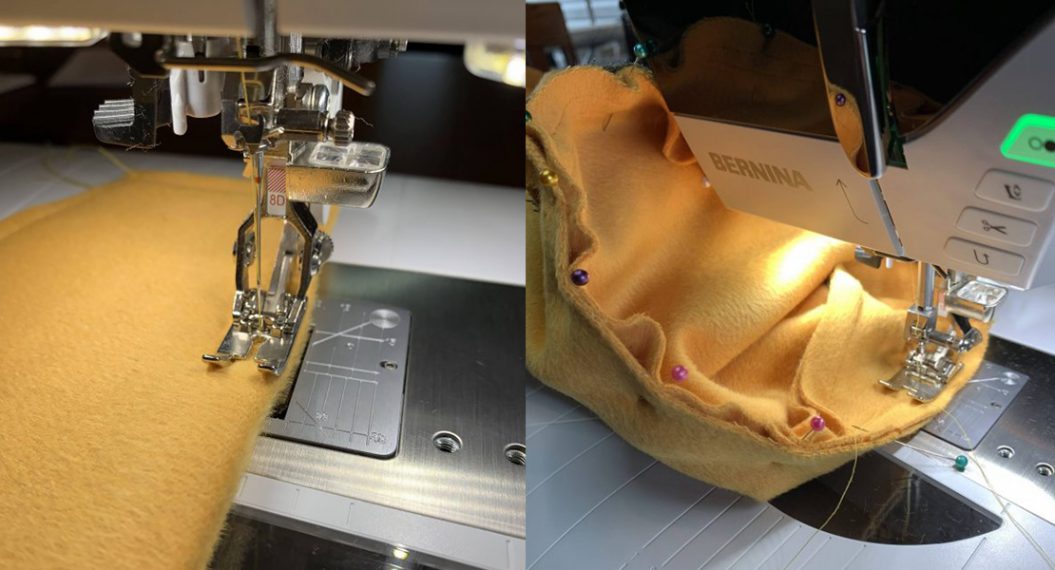
Part Three: Lining the Coat
The final part of our sew along will focus on sewing the coat lining and lining our coats. I’ll walk you through bagging the lining and give you tips for sewing slippery lining fabrics. At the end, you’ll have a coat to wear for many seasons to come!
All About Coating Fabrics
A lot of online fabric stores have specific “coating” sections to their websites now, which makes shopping for fabric for your coat easier than ever. There are lots of options for coating fabrics and what they all mean can be a little intimidating at first. Shopping in person makes it easier to feel the differences, but if you’re shopping online and are unsure, I would see if you can order a swatch to feel the fabric before you purchase enough for your whole coat.
The most common type of fabric to think of when it comes to a coat is wool, but even with wool, there are so many types! Wool can come from sheep (like merino wool) or alpacas, or goats (cashmere) and will be woven into different types of fabric. These fabrics might be 100% wool or might be a blend. To make sure the wool fabric will work for your coat, make sure the wool you are looking at is a coating fabric and not a wool suiting (unless you want a lighter weight, more drapey appearance to your coat). When looking for a coating fabric, I would look for something that is between 9 and 12 oz per square yard.
Some of the different types of wool you might see are:
- Melton: Melton is densely woven with a brushed texture. It doesn’t fray much or at all and is very easy to sew and press. I highly recommend it for a first coat!
- Boiled wool: Boiled wool is a dense, felted fabric that is made from shrinking wool fabric in water. It has a great texture, doesn’t fray. It also has a little stretch.
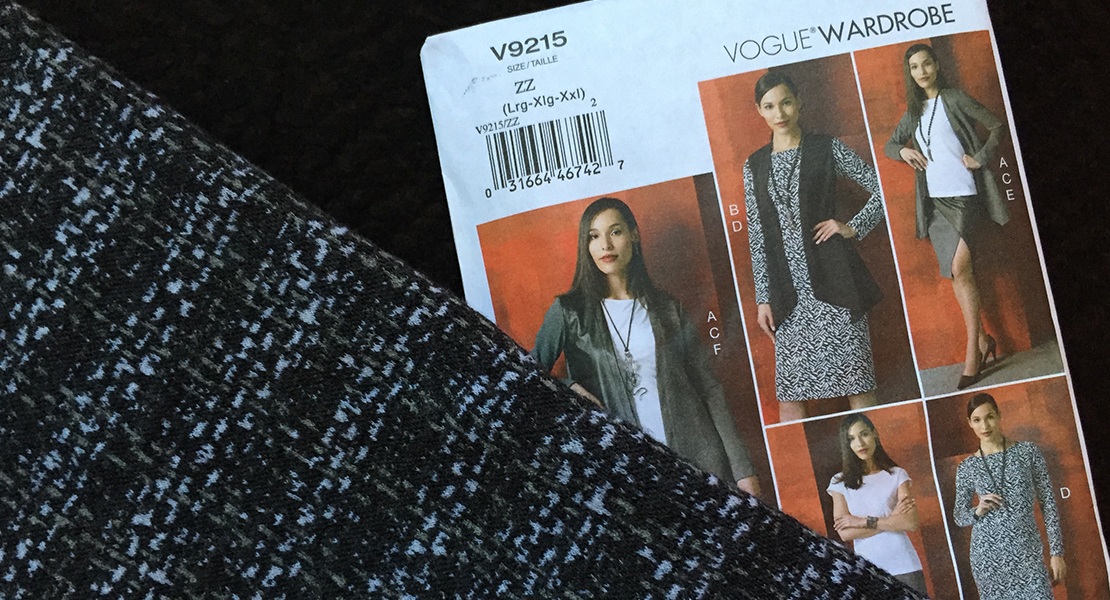
- Tweed: Tweed coarsely woven wool fabric. It’s going to be more rough to the touch than a Melton wool.
- “Coating”: A lot of fabric stores will just mark wool as something like “Wool Coating” or “Wool/Cashmere Coating” or “Wool/Polyester Coating”. These are probably a twill weave and may or may not have a brushed texture.
Does wool not appeal to you for one reason or another? Maybe you’re allergic or vegan or just don’t like the way it feels. There are alternatives to wool when it comes to coating fabrics too!
- Polyester: Polyester coatings are really common. Look for something labeled as a coating fabric. Polyester tweeds and brocades would work great for a coat and give you a similar look to wool.
- Heavy Weight Twill: A heavy weight twill is a great fabric for a coat. You can find this in different substrates like polyester and cotton. This will look more like a trench when finished and less like a traditional pea coat.
- Upholstery Fabric: Don’t forget to check the upholstery fabric section or your local fabric store! You can often find some great, heavy weight fabrics there that will work well for a coat.
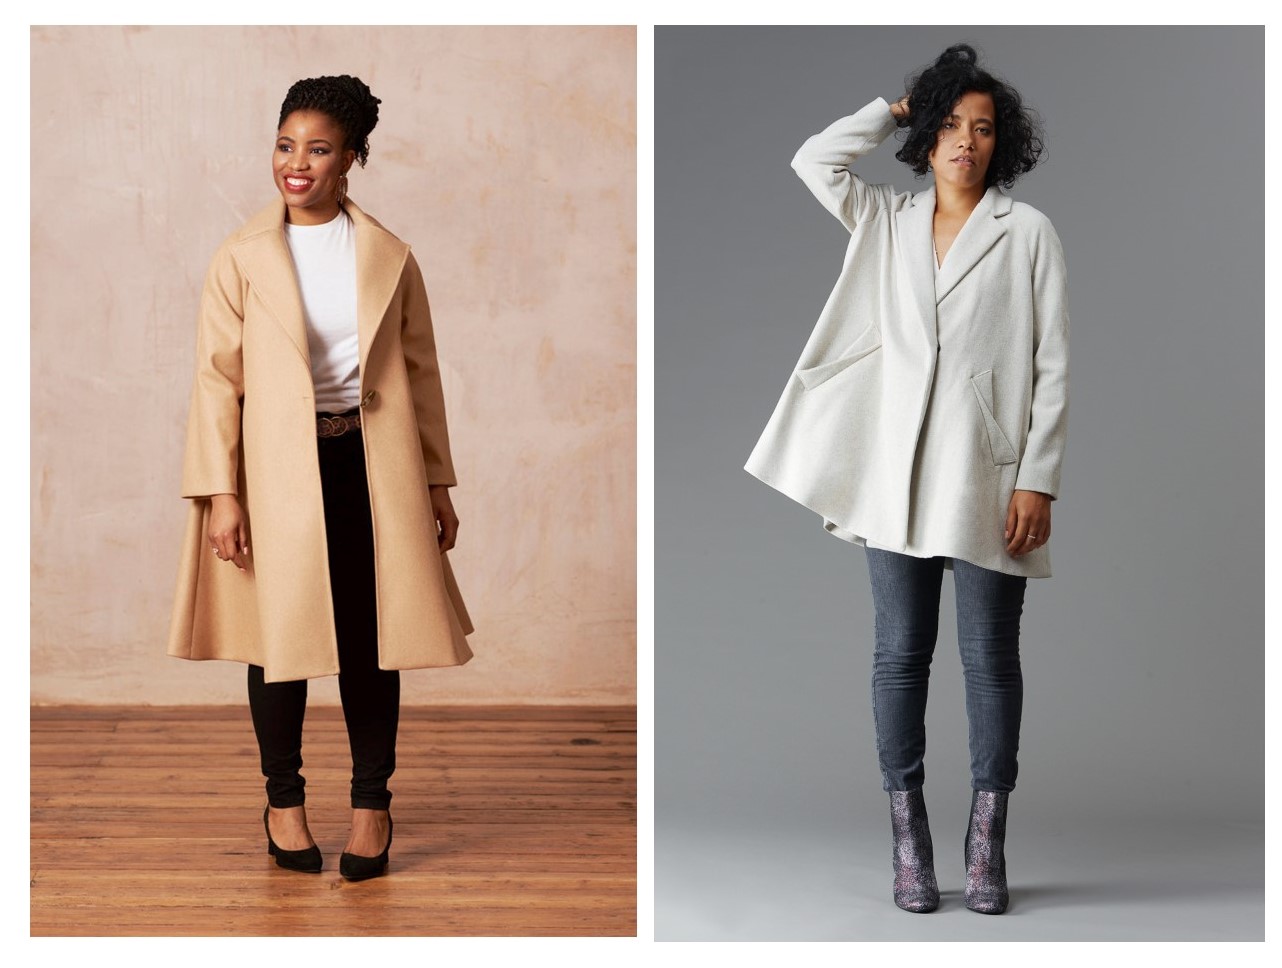
I wanted to include some examples of what these fabrics would look like in a finished coat. From left to right, I am wearing a red Melton wool Deer and Doe Opium Coat, a green cashmere coating By Hand London Rumana Coat, a brocade Charm Patterns Princess Coat, a cotton canvas Closet Core Kelly Anorak lined with flannel, a boiled wool Named Clothing Gaia Quilted Coat.

Lining Fabric Options
Lining your coat is a place where you can really let your creativity shine! A bright pop of color or pattern is so fun in a neutral coat. Something that matches your coat shell is a classic way to go. Ultimately, you want a lightweight fabric that is a little slippery. This will make it so much easier to slide your arms in and out of your coat. If you wanted to line your coat in something warmer, like a flannel, I would just recommend using one of these more slippery fabric options for the lining of the sleeves.
Some common lining options are:
- Rayon Bemburg: Rayon bemburg is my choice for affordable, breathable lining option. It comes in so many colors and is sold at lots of fabric stores.
- Silk habotai: Silk habotai is a great option if you want a 100% silk lining for your coat. There is little more luxurious than that!
- Satin: Satin fabrics work well for linings and can be purchased in a variety of substrates, like polyester and silk. A crepe back satin works really well for a more substantial coat lining.
- Rayon, polyester, silk, or cotton prints: There are so many beautiful printed crepes, challis, and lawn fabrics that work great for a lining because they are light weight. If you find a print you love, don’t be afraid to use it! If your fabric doesn’t slide over itself easily, consider using one of the above options for the sleeves. (You can’t see those when your coat is on anyway!)
Interfacing for Coats
Coats typically require quite a bit of interfacing. This helps to give a coat it’s structure. When picking an interfacing, the most important thing to keep in mind is that it feels like fabric and not paper. My favorite type of interfacing for coats is a fusible weft interfacing. You can find this in black and white and it is typically wider than standard interfacings. This is a nice weight for coating fabrics without making them too stiff. If you want a little more structure or cannot find weft interfacing, Pellon SF 101 also works well and comes in black and white options.
When applying interfacing, make sure you set your iron down and then pick it up to move it rather than slide. This will prevent your interfacing from shifting and forming bubbles.
If you don’t want to use interfacing and instead want to get rid of a little of your fabric stash, you can also use some fabric to interface your pieces. You could use some muslin or light weight twill and treat this like sewn-in interfacing.
Coat Pattern Inspiration
Because this sew along will provide more general tips and tricks, you can use whatever coat pattern suits your specific style. There are so many to choose from, each unique, and your coat should be a reflection of you! Here are some patterns that I found for this sew along, but please feel free to choose another that I haven’t listed if you’d like. Make sure you share what coat pattern you’ll be using in the comments so we all can be inspired by your choice!
Trench Coat Style with A Belt:
Mood Fabrics Caladium Trench (FREE!), Vicki Sews Martina Coat, Know Me ME2001
Traditional Pea Coat Style:
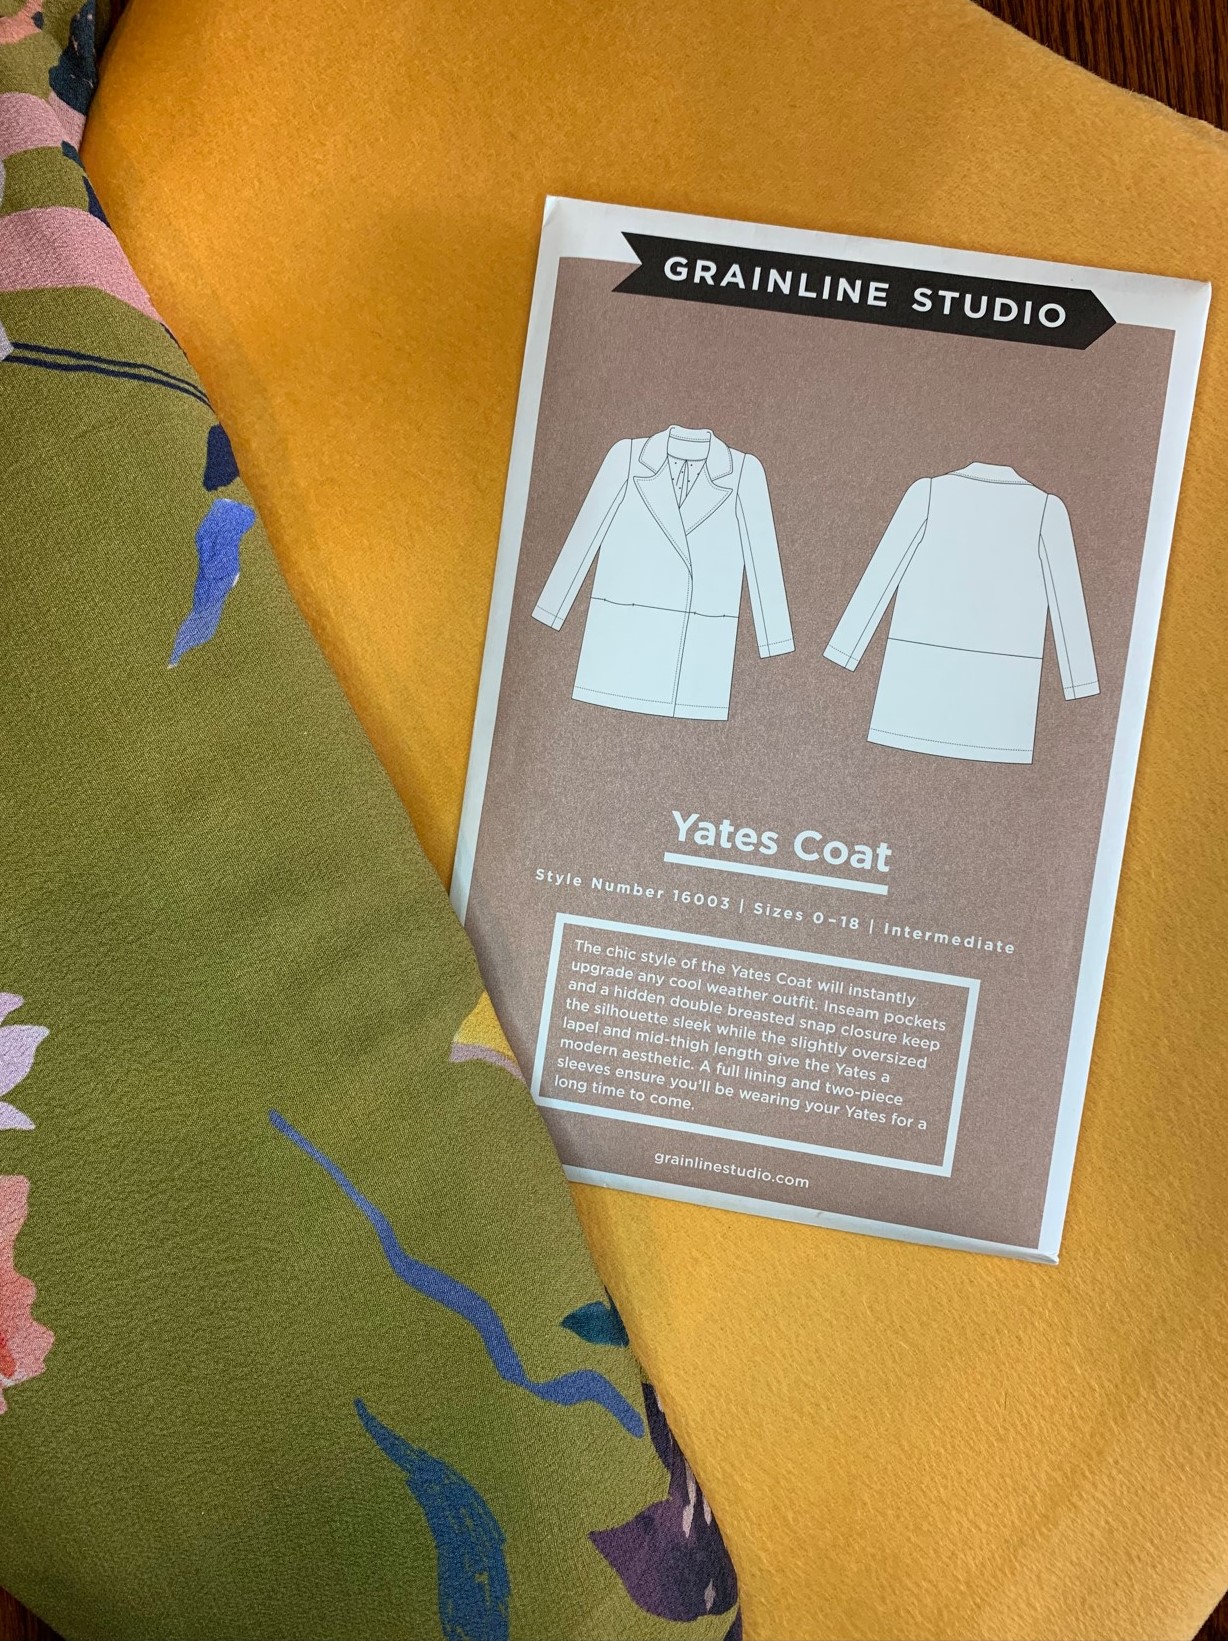
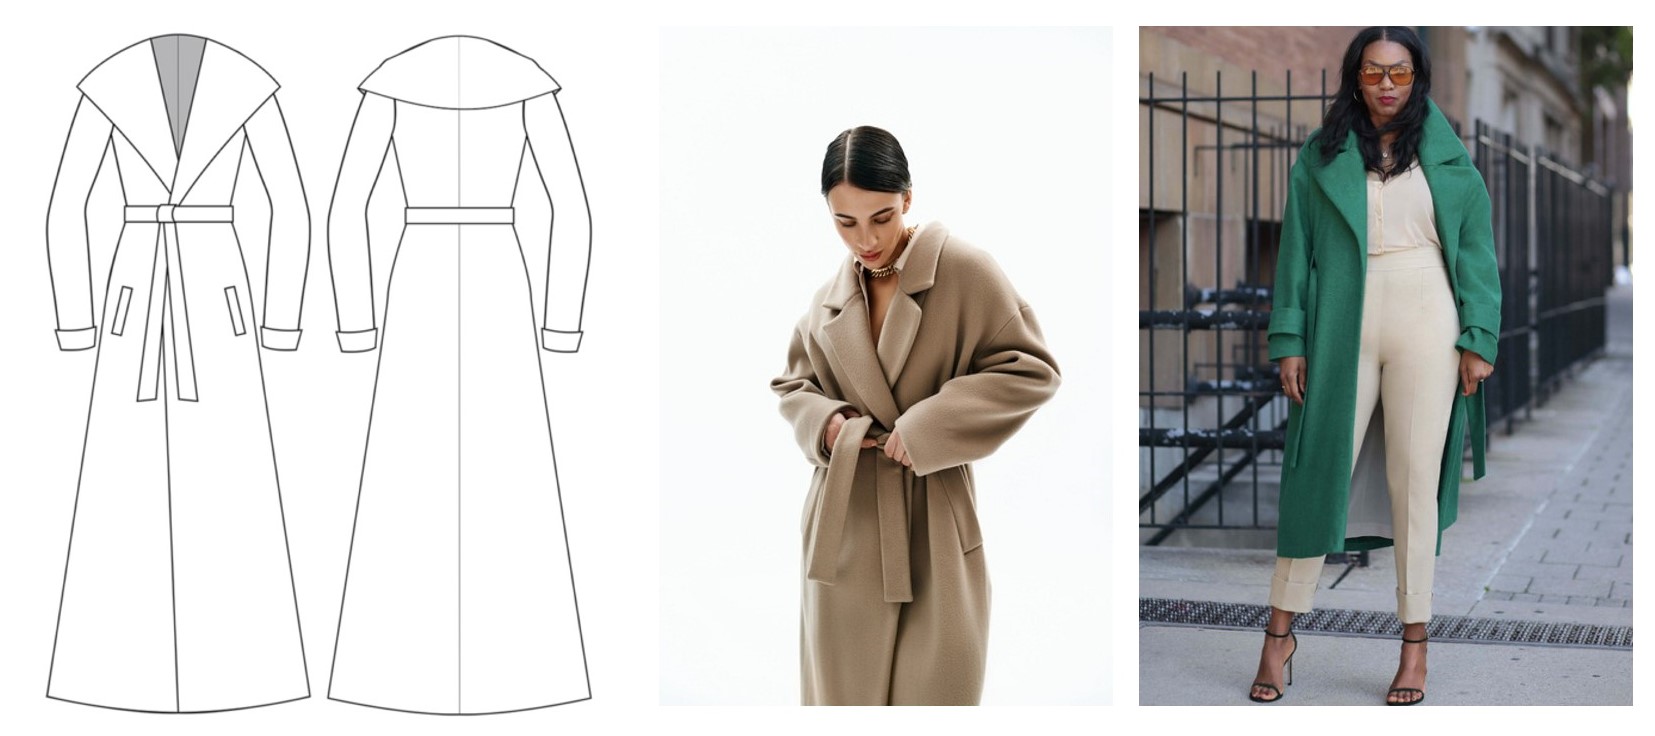
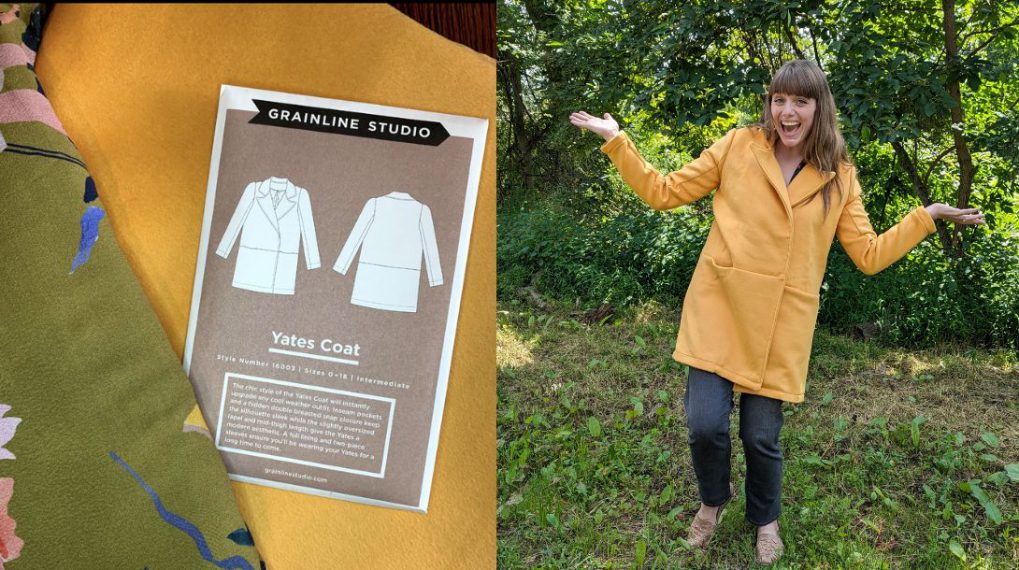
StyleArc Beatrice Peacoat, Grainline Studio Yates Coat (This is what I’ll be sewing!), The Maker’s Atelier The Pea Coat, By Hand London Rumana Coat

Modern Takes on a Classic:
Mood Fabrics Blackthorn Coat (FREE!), Vicki Sews Hayden Coat, Fibre Mood Carmen Coat, Seamwork Denise

Swing Coats:
By Hand London Juliet Coat, Deer and Doe Opium Coat
Preparing Your Fabrics for Sewing
Before sewing a garment, I always recommend pre-washing your fabric… with the exception of coating! If you are using a wool coating it will shrink, but you do NOT want to put your wool coating in your normal wash and dry cycle with your laundry. You can pre-shrink your wool in a dryer, but I, personally, have not done this. I typically use a steam iron and hover it over my fabric prior to sewing. I also commit to not washing my wool coats, these are spot clean and occasional dry cleaner trips only for me. If you are using a polyester coating, you can prewash it as you normally would, but this isn’t needed if you aren’t working to machine wash your coat. For your lining fabric, wash and dry this as normal.
Cutting Out Your Coat Pieces
After you’ve chosen your fabric and pattern and pre-treated your fabric, it is time to cut your coat out! Cutting out a coat is no different then any other garment. Check the size chart for your pattern to choose the size or sizes that are right for you. When you cut your fabric out, you want to pay attention to the orientation of your pieces. A lot of coating fabric will have a subtle nap, so you just want to make sure that all of your pieces are facing the same way from top to bottom. Flipping the direction of your fabric pieces will change the direction of the nap, causing a texture and color change.
In the next part of this sew along we’ll go over tips and tricks for sewing the coat shell! Thanks for joining me in this #weallsewcoats sew along!


What you might also like


16 comments on “WeAllSew Coats! Lined Coat Sew Along, Part One: Fabric & Inspiration”
-
-
How wonderful! The sew along is at your own pace, so I hope you’ll join in when you have the time!
-
-
This month finish a child’s charity quilt started 18 months ago at a guild workshop.
-
Wonderful! Perhaps a coat is in line next! 🙂
-
-
I am going to make the lined coat. Have to travel 120 miles to pick out fabric and lining. Thinking about a wool or wool blend.
-
How exciting! I can’t wait to see what you pick out!
-
-
Hi Sarah! I have some beautiful corduroy in my stash…would that be too fussy for the Yates Coat?
-
This would absolutely work! Just make sure you pay attention to the nap of the fabric while cutting!
-
-
can you recommend some websites to buy melton wool coating fabric?
-
There are so many options! I would look at your favorite fabric stores first. Many are getting new coating fabrics right around this time for fall sewing. If you are unsure I’d recommend ordering a sample first!
-
-
I would like to make a moto jacket. Any suggestions for patterns.. I am an advanced seamstress.
-
I love the Canton Moto Jacket by Cashmerette!
-
-
I purchased the Yates pattern last March, lol. This might give me the “push” I need to make the jacket. I have my fabric, a Harris Tweed, my grandfather brought over from England in…1953. It was for my mom to make a coat, she never did and I have had the fabric all these years.
-
The perfect push! I can’t wait to see your coat!
-
-
I need and would love to sew my own barn coat preferably with a hood. Have you any experience with waxed canvas and is it hard to find? Would it work with the closet Core’s Kelly Anorak or should I stick with the cotton canvas you show? The winter sun makes you warm but the winter wind is brutal. This article was very informative on fabric and I am looking forward how to use my Bernina 570 to sew a coat. Looking forward to part 2. Thank you.
-
Waxed canvas would be perfect for a Kelly Anorak!
Some tips:
Don’t iron, finger press instead so you don’t melt the wax.
Pins will leave marks, so use Wonder clips instead.I can’t wait to see your finished jacket!
Leave a Reply
You must be logged in to post a comment.

This month I will concentrate on finishing a quilt for my grandson! This is #3 so I’ll have one more to go for my 4th grandson and will have made one for each and be free to join more classes!!