Passiflora Quilt Along, Part 1: Fabric
Welcome to the Passiflora Quilt Along! We’re excited to bring a new quilt-along series to weallsew.com. In the coming months, I’ll be walking you through how to construct this new quilt pattern and sharing helpful tips along the way.
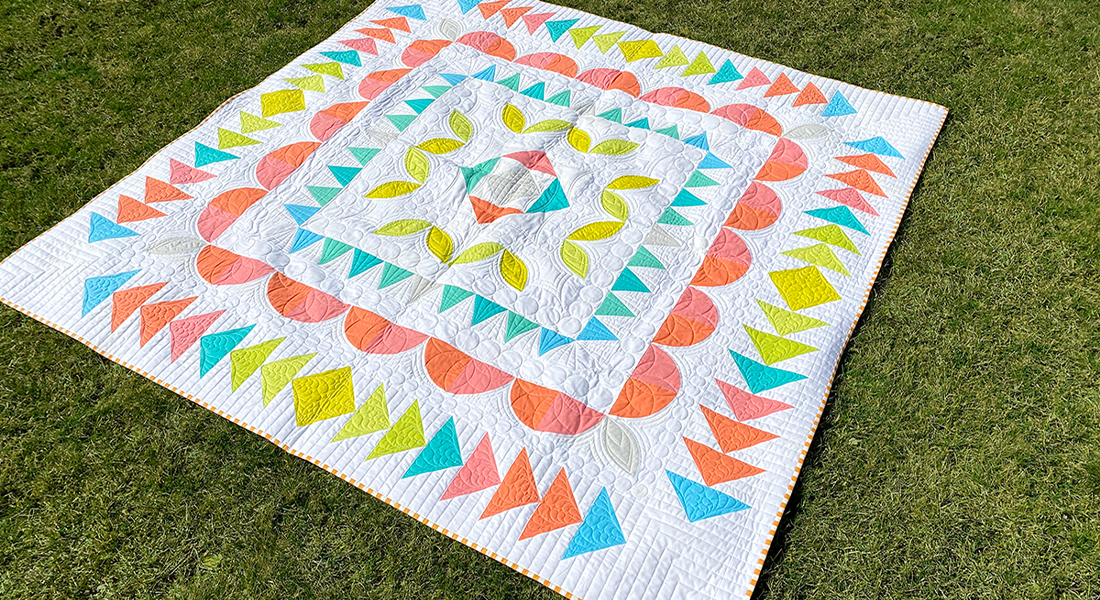
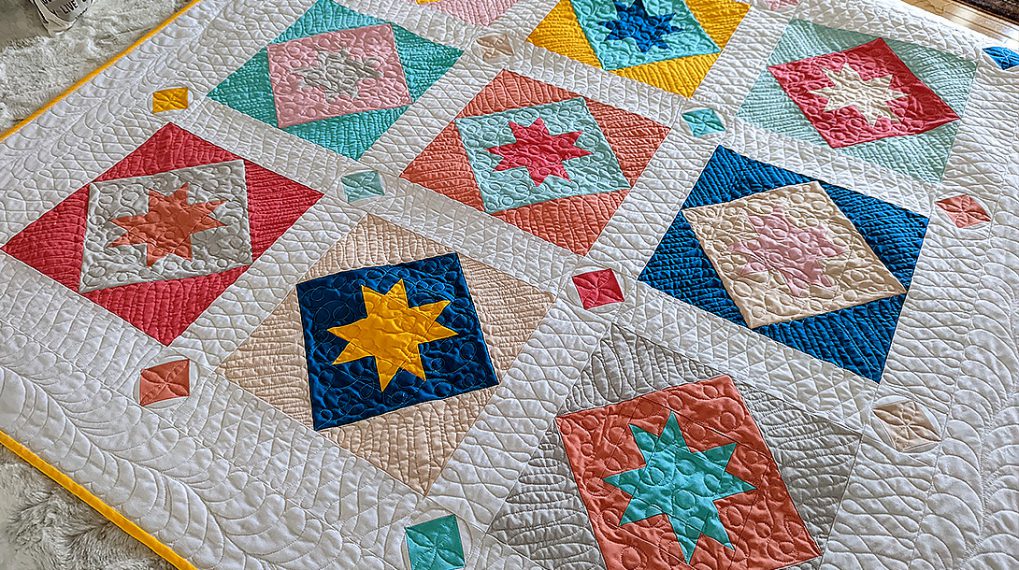
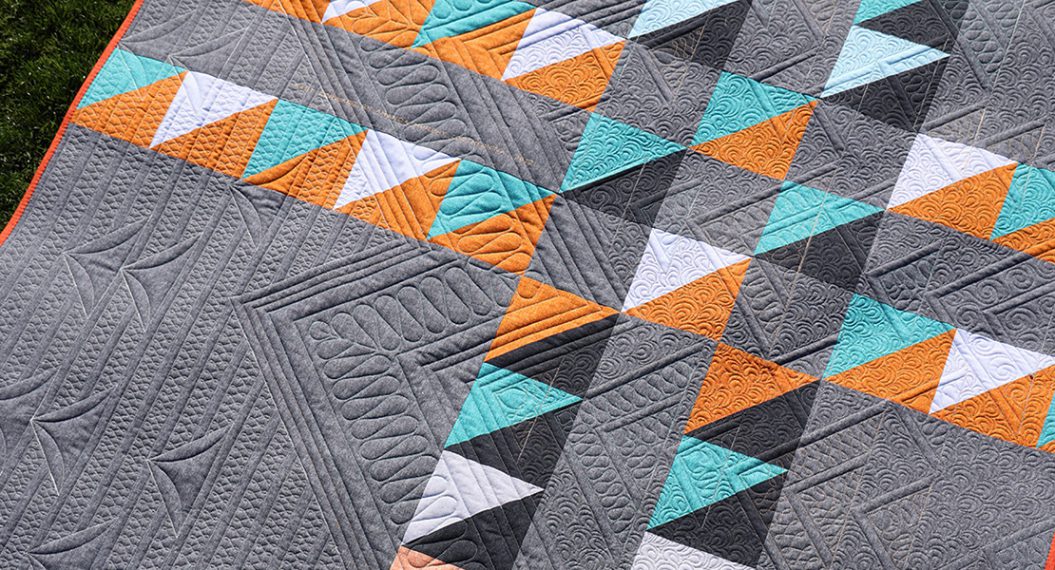
This month is a simple introduction and kickoff so we all have an opportunity to get our ducks in a row before we actually start sewing next month. We’ll quickly go over general techniques this quilt uses, talk about fabric requirements, and some tools that may help you in the process. First things first—let’s take a look at the Passiflora quilt!

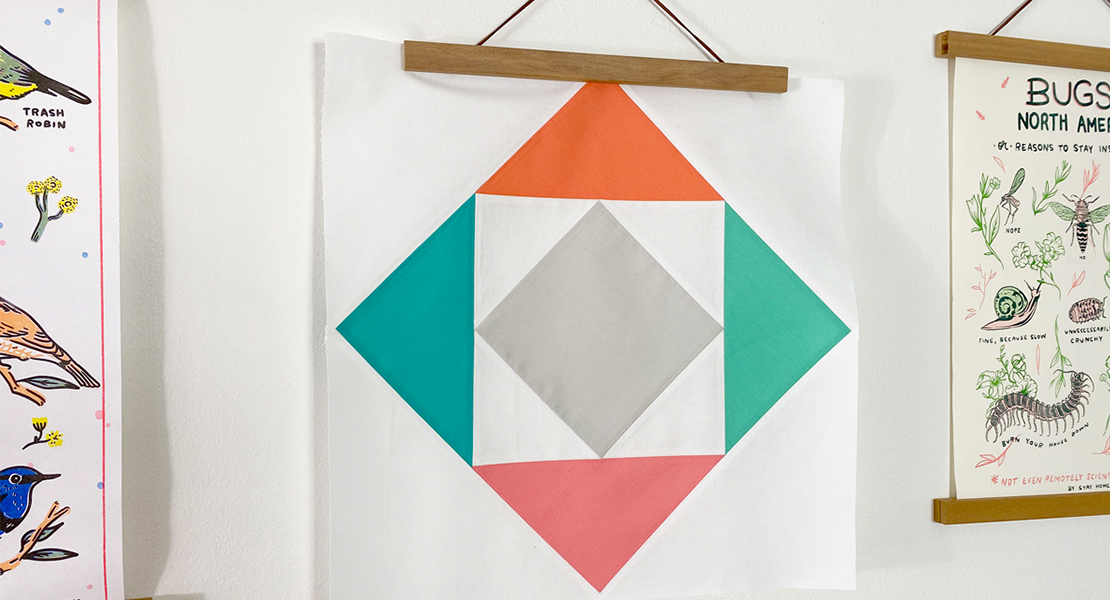
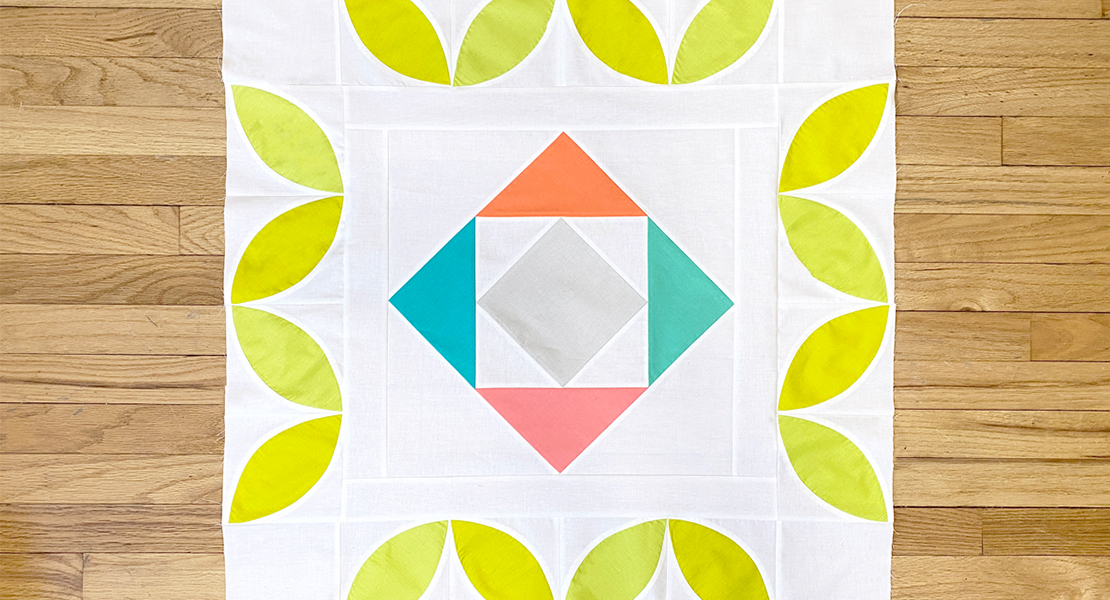
I designed the Passiflora quilt to be a skill-building project. It is a medallion quilt, so we will tackle techniques working in rows from the center out. There are some great, simple techniques here as well as a few that are a little more challenging (hello, curves!) The quilt finishes at 84” x 84”, so it’s a great oversized throw or couch quilt.
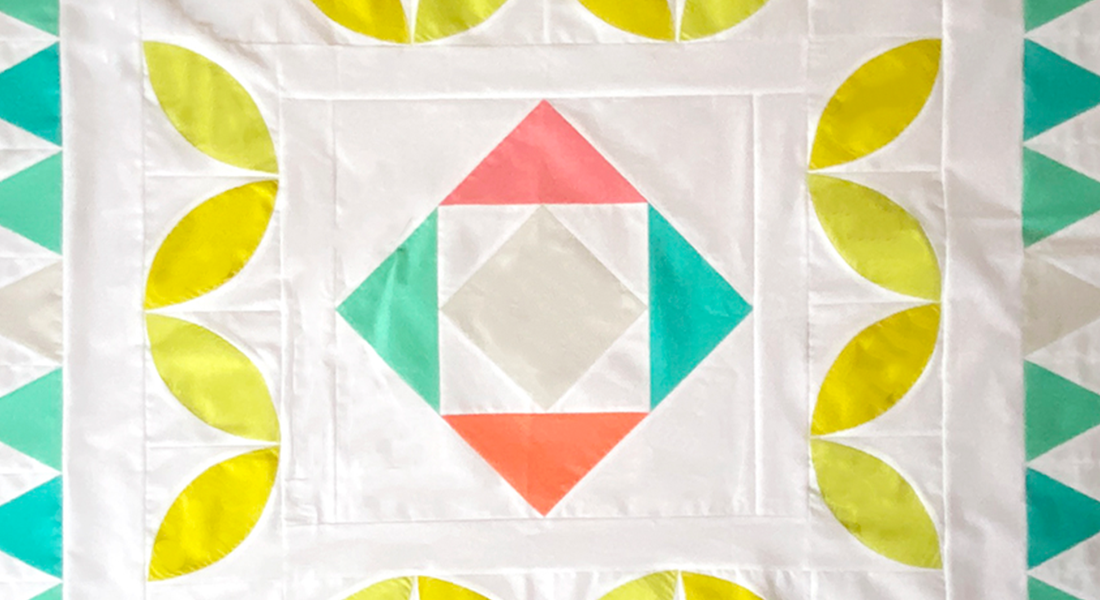
Techniques covered in this quilt include: square-in-a-square blocks, equilateral triangles, flying geese, drunkard’s path, and orange peels. There’s a healthy mix of simple, straight piecing and curves. If you are a quilter who is experienced and comfortable piecing curves, then this quilt should be a breeze! If you are new to curves, or maybe have attempted them in the past without success, fear not. I will have plenty of helpful tips to walk you through the process.
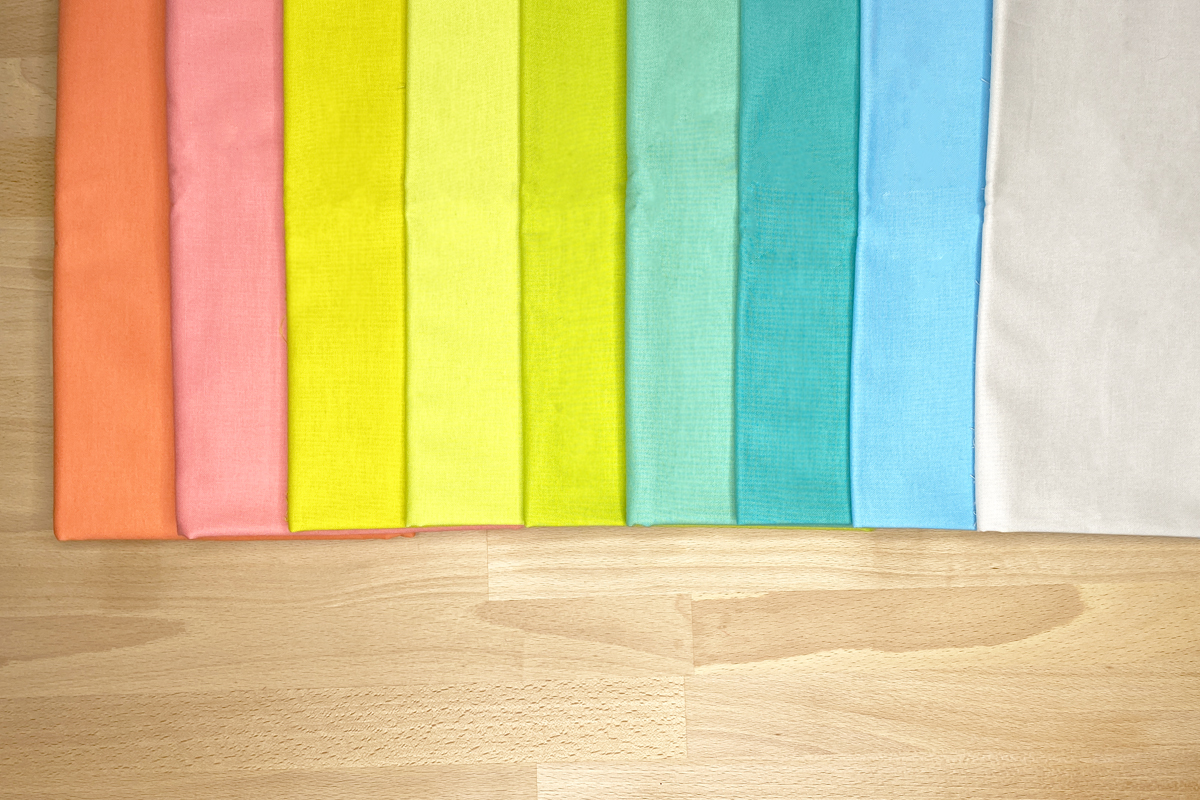
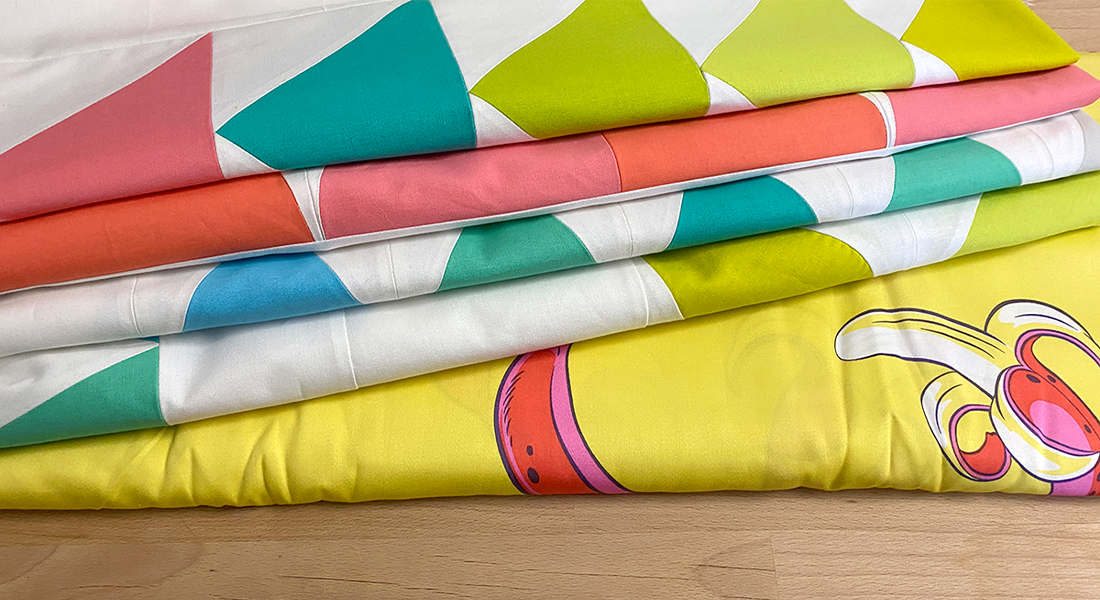
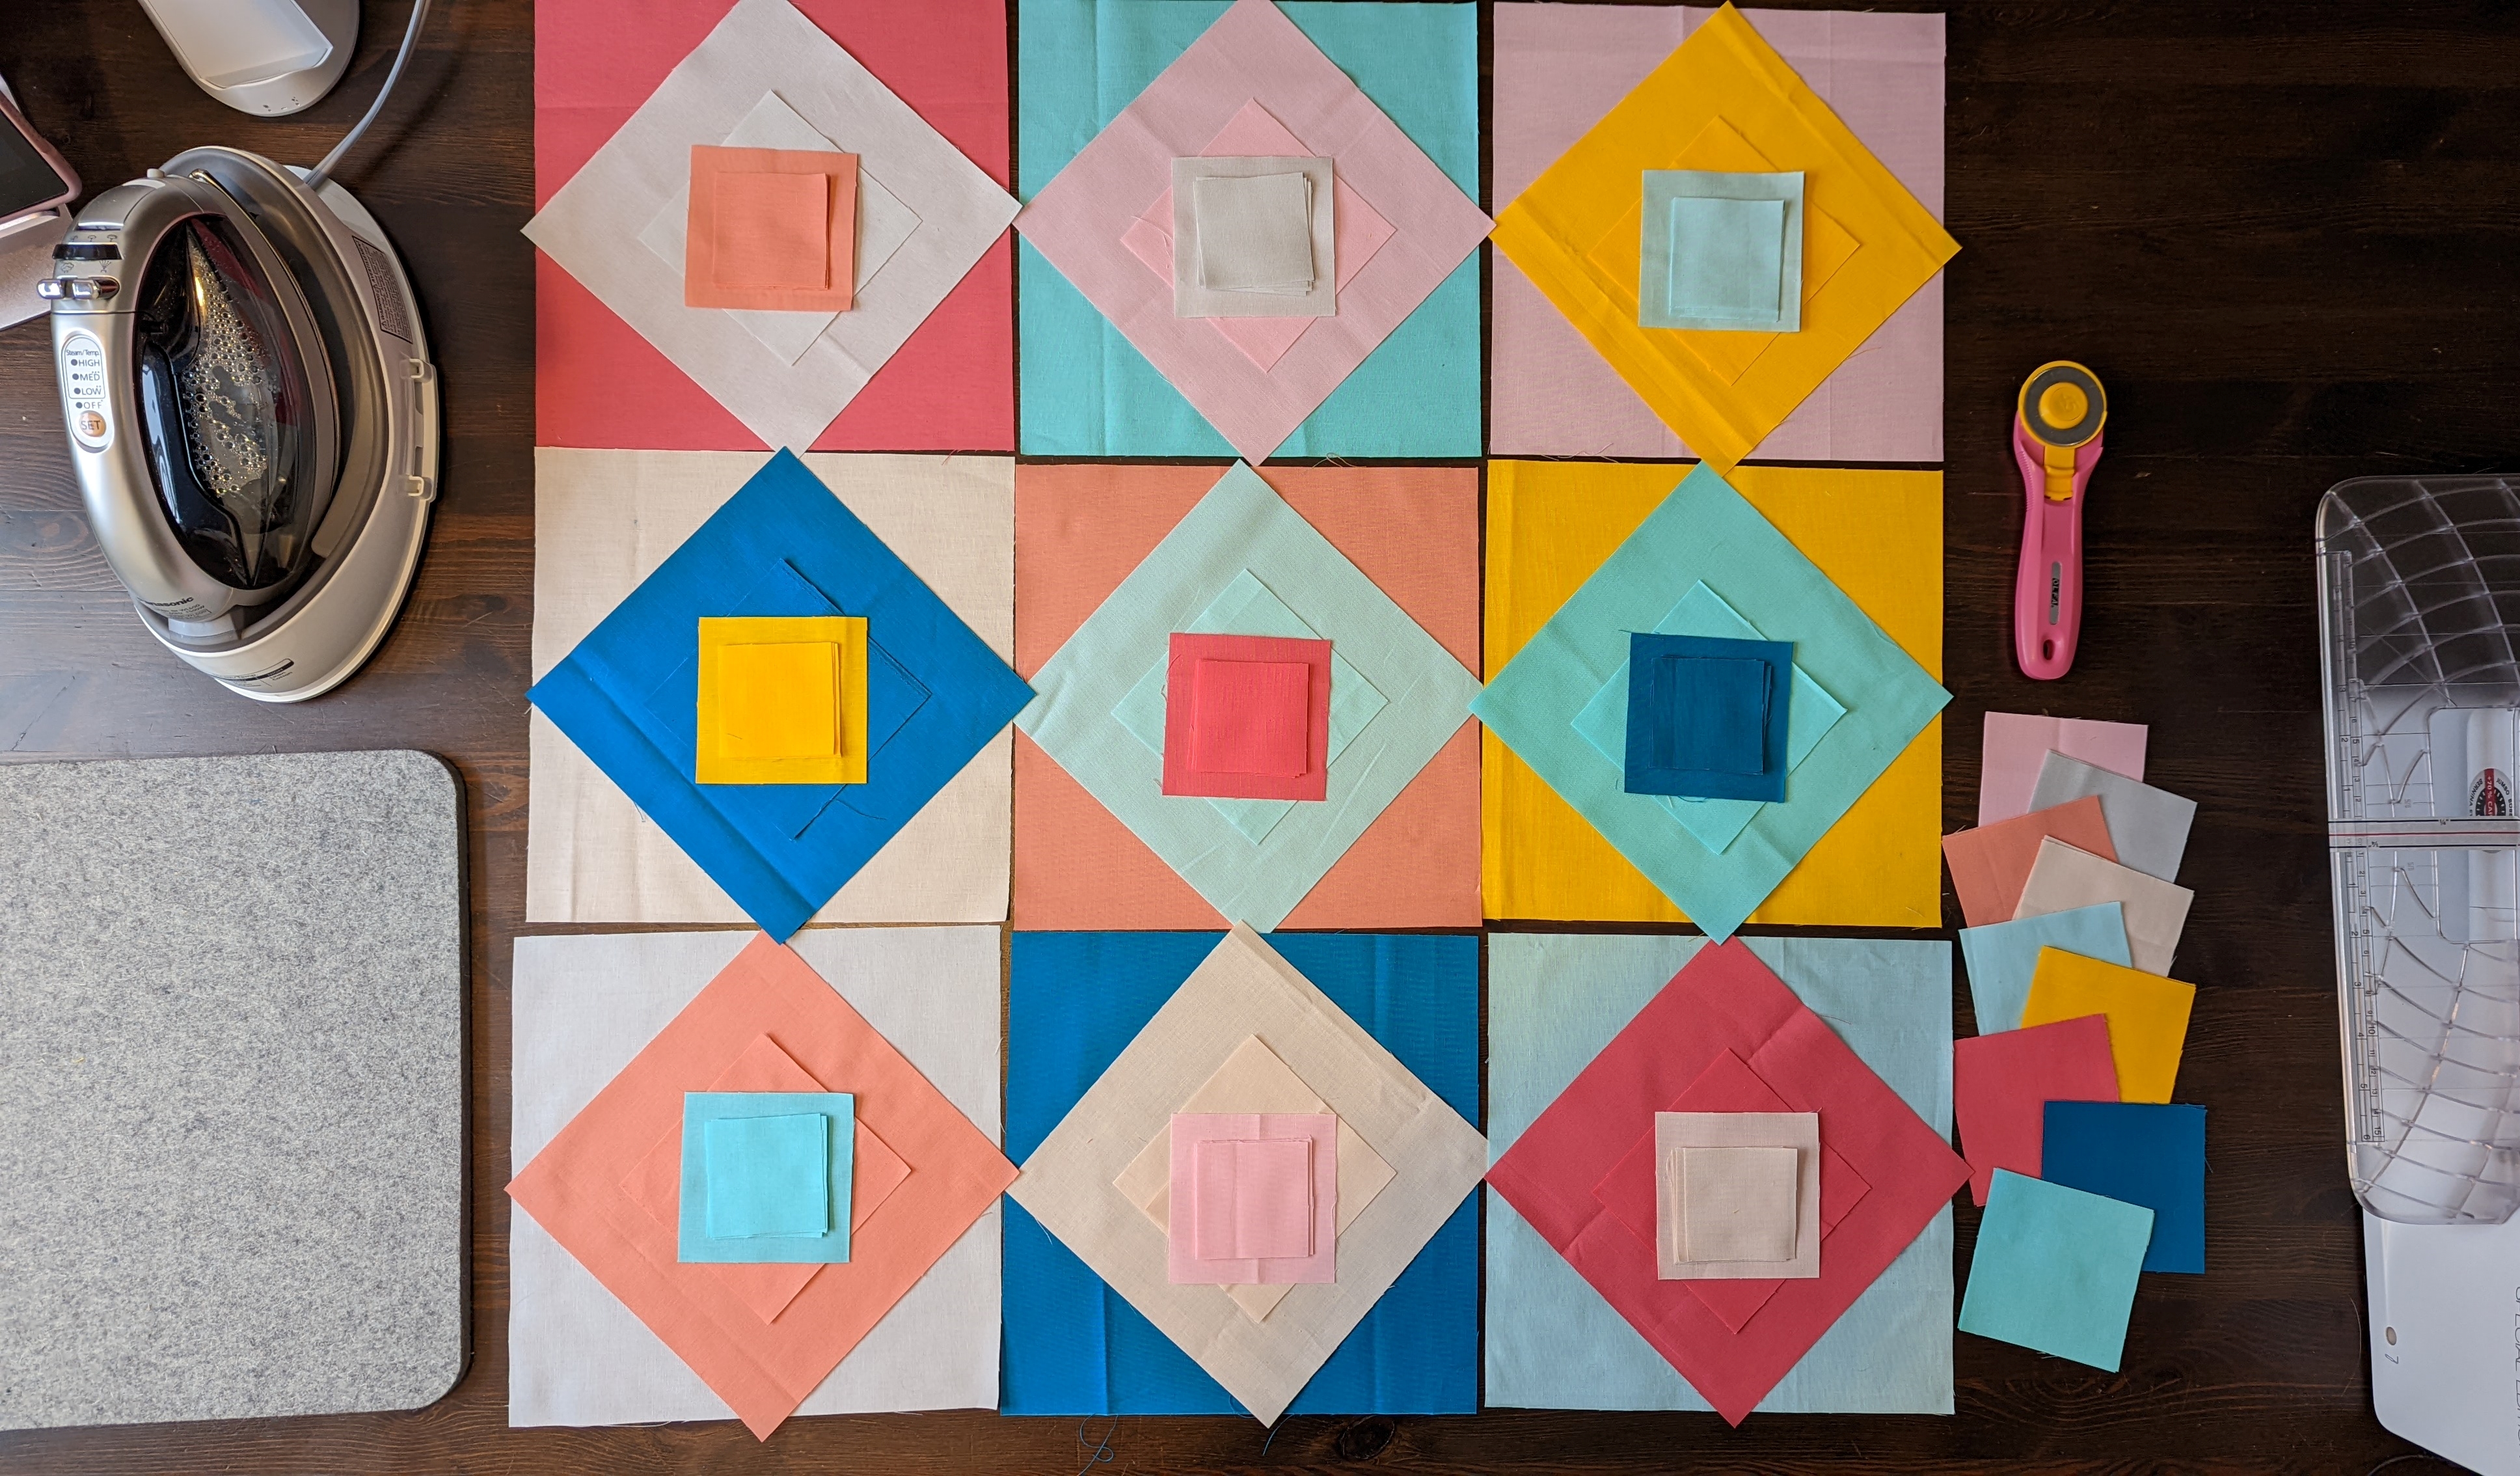
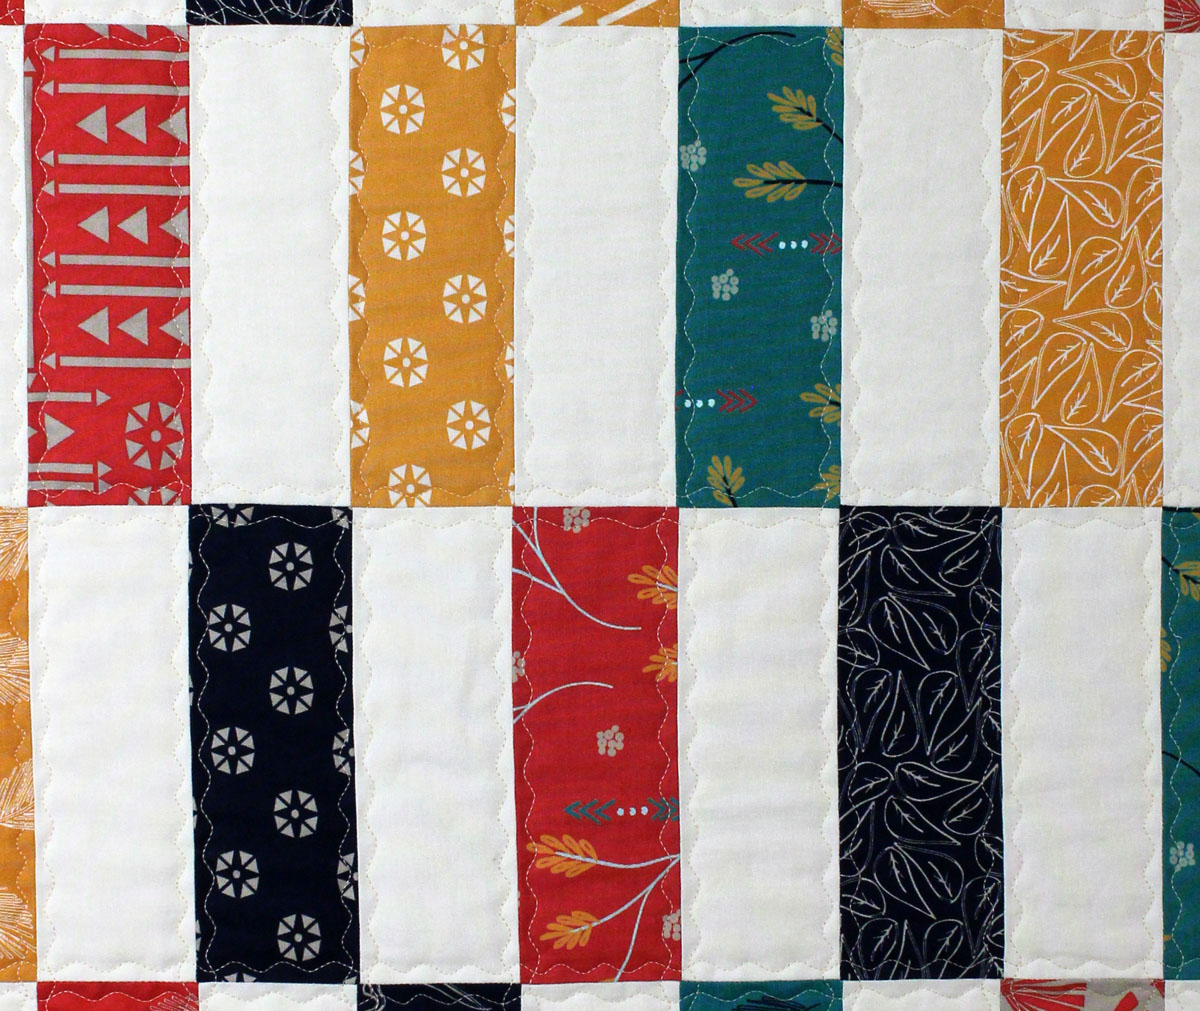
Let’s talk fabric! I will be using Tula Pink’s Designer Solids for my quilt. The quality of Free Spirit’s solids is outstanding and Tula’s color palette is so much fun. Some of these shades are so incredibly bright that they almost look neon! I chose a few of my favorites from her range and the result is a fresh, citrusy rainbow. I’ve chosen another Designer Solid for my background color, Winter White. This white is really clean and neutral, not too warm or cool toned.
When you’re choosing fabrics for your quilt, you are more than welcome to design your own color palette. You may prefer different solid colors, or maybe you’d rather shop your stash or use recycled fabrics! To help you in this process, I’ve created a couple of handy tools for you.
First, is a paint-by-numbers style outline of the quilt. You can use this to map out color placement for your fabric pull.
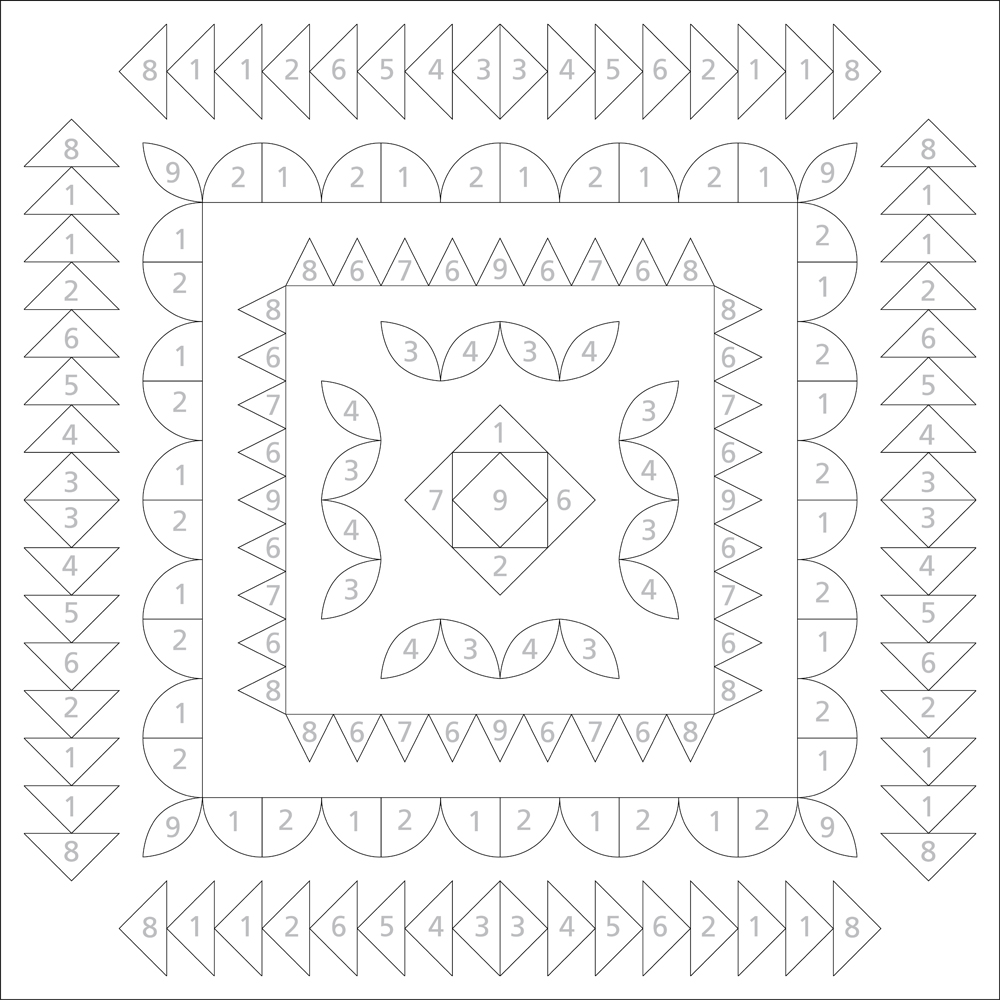
In the chart below, I’ve listed fabric requirements each color. I have the color I’ve chosen listed as well as a blank area for you to color in your choice for that color!

Download the Passiflora Color Mapping Worksheet here
Everything is scaled for you to print easily at home. The first page of the document is the outline—you can print off as many copies of that page as you need to audition different colors! The second page is the chart with fabric requirements. On that chart, you could either color in the boxes for each color choice or even cut and paste small swatches of your actual fabrics. The third page is just a reference for the colors I’ve chosen, so you can see how the color placement comes to life.
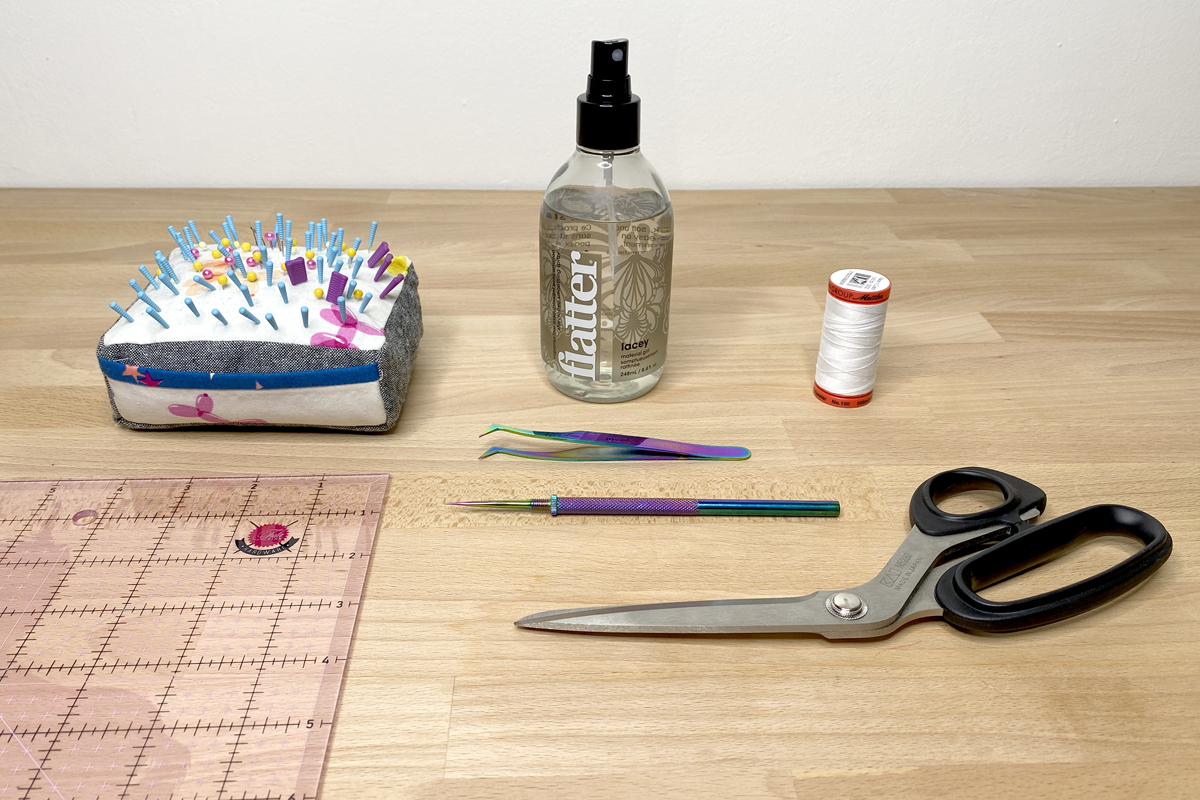
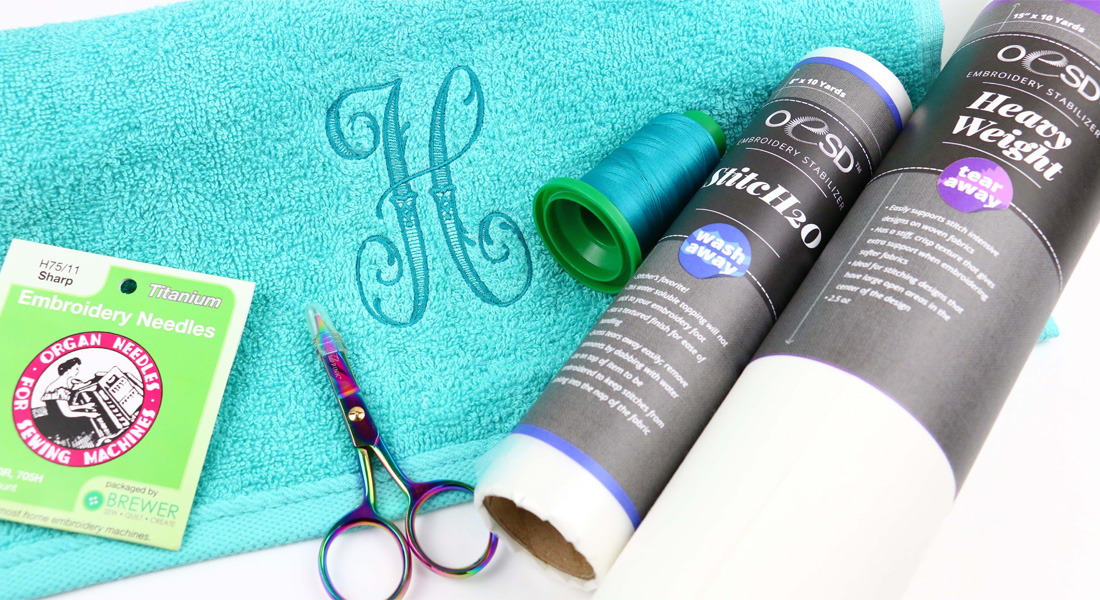
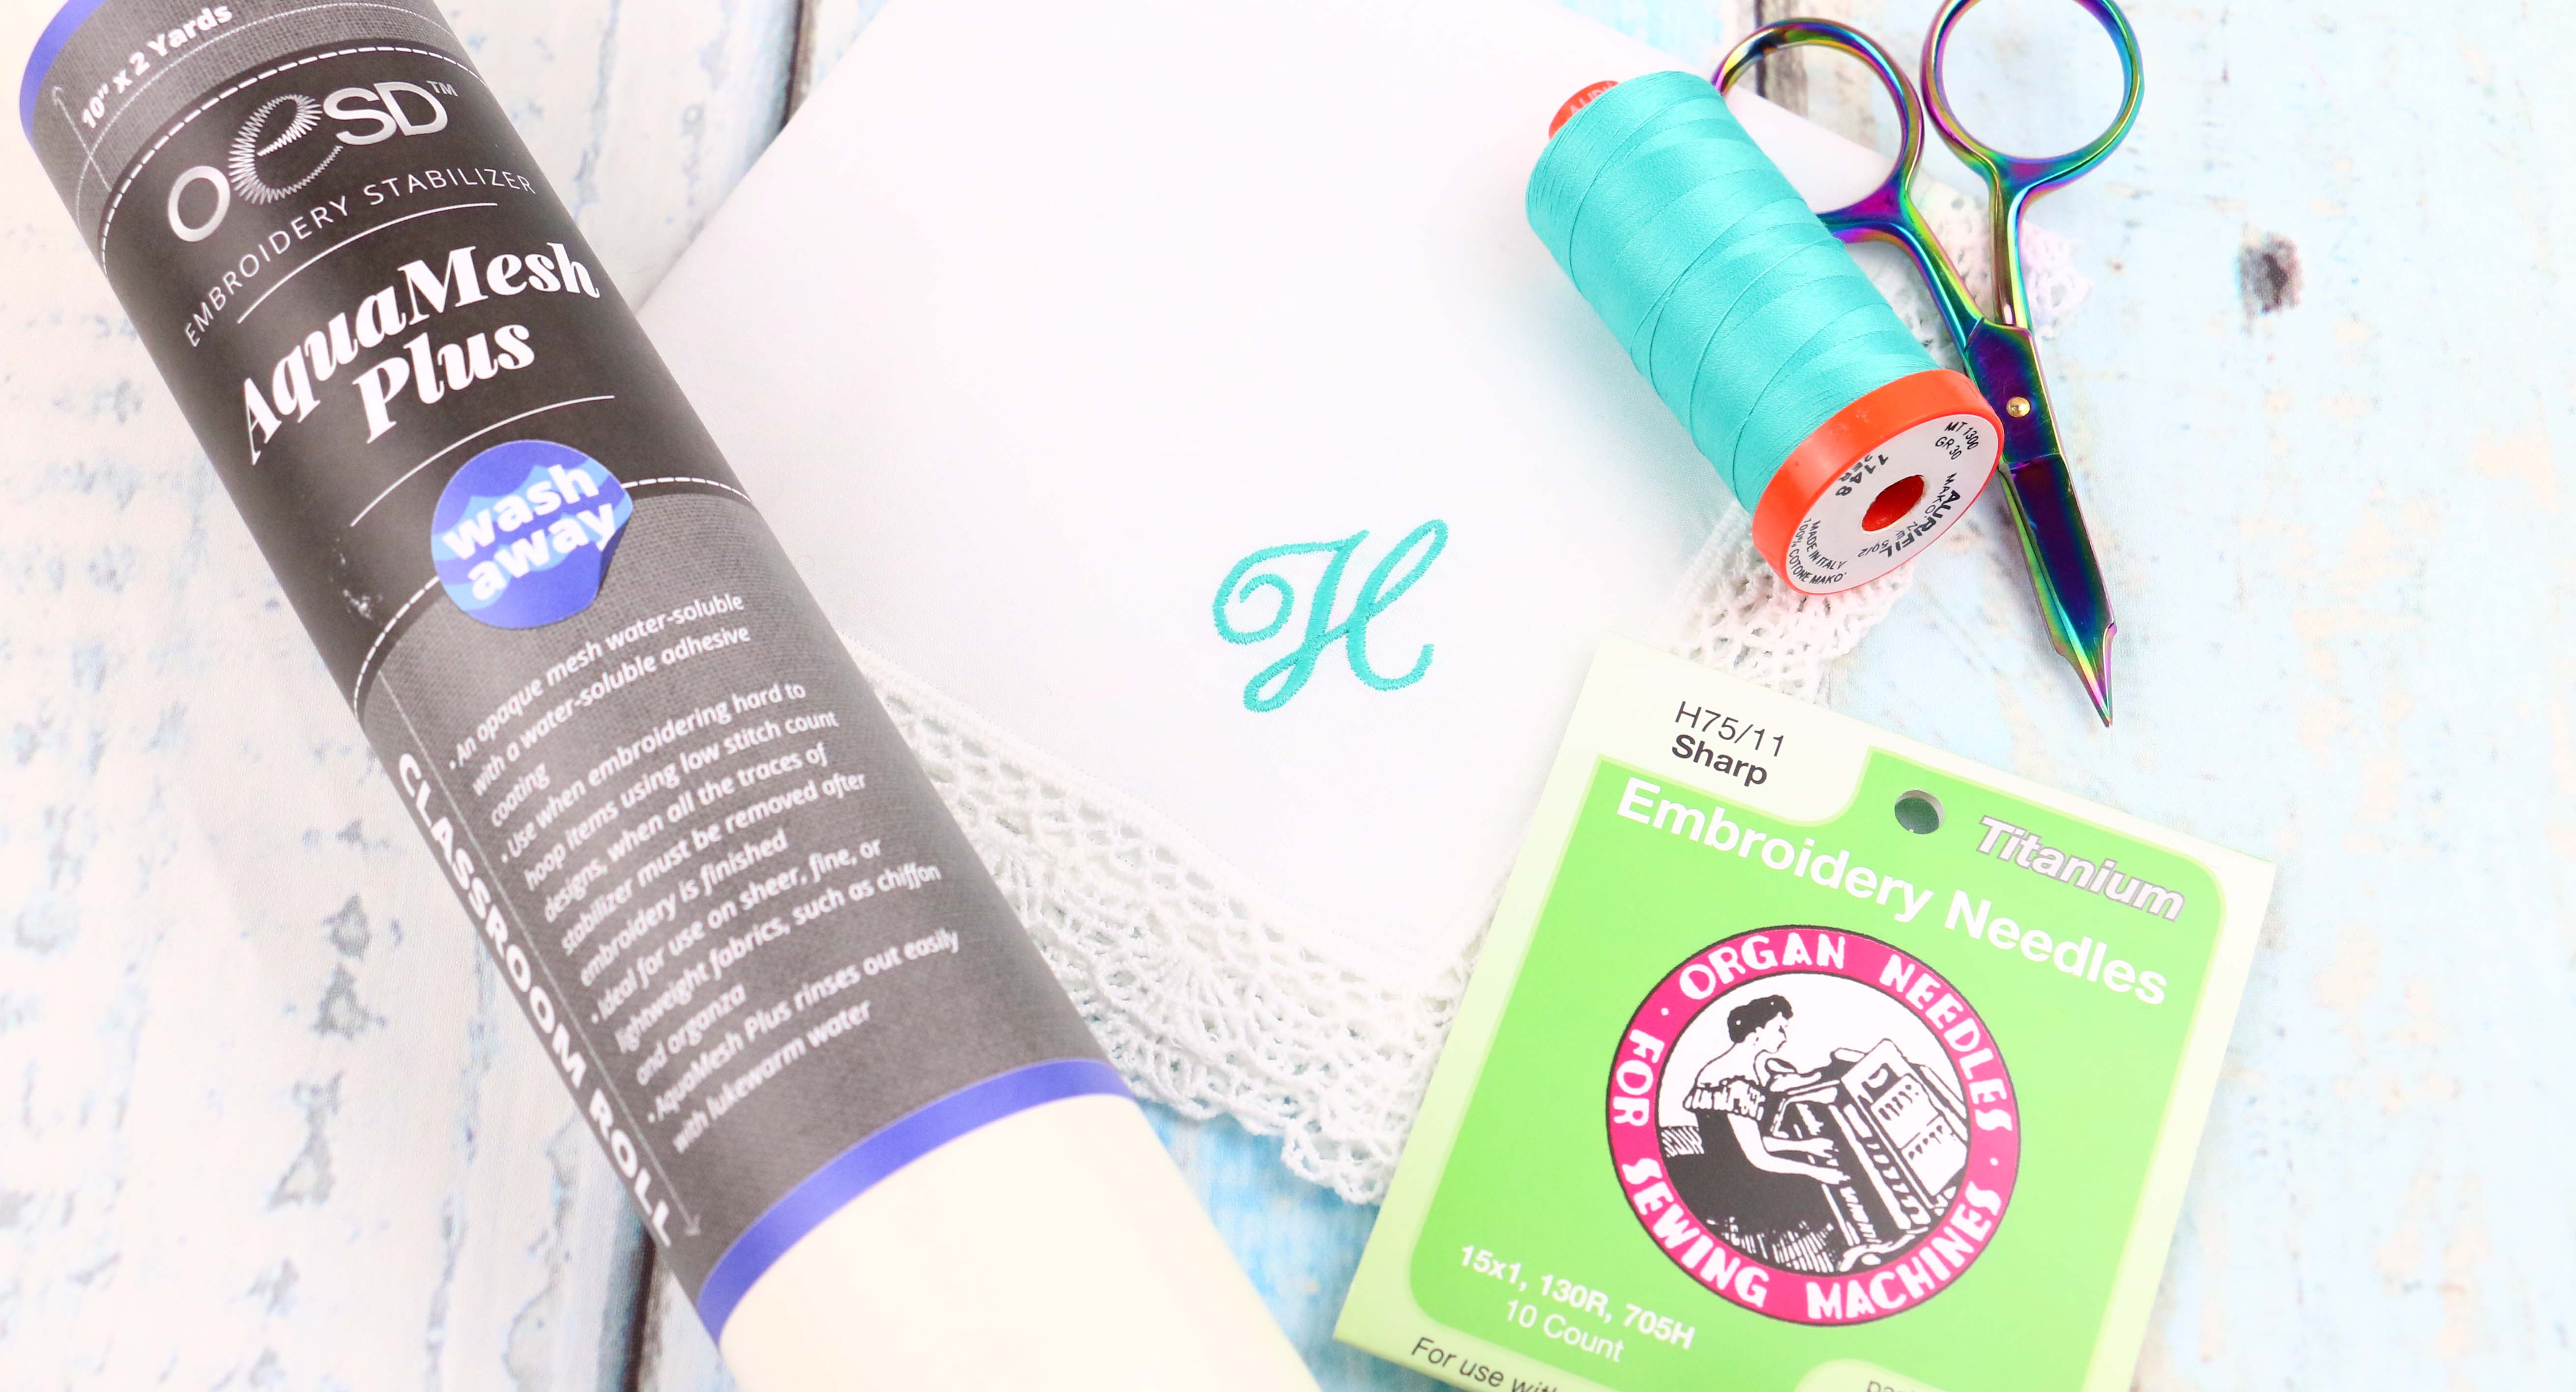
Here are a few notions and tools I recommend for the coming months as well. You will of course need plenty of your preferred piecing thread—I like Mettler’s Metrosene. It is an all-purpose polyester and I find it is fine enough for precise piecing, but I can also use it for garment construction. This is the thread I stock up on! Make sure you have a few fresh needles on hand as well. I prefer Microtex needles for my piecing. Choose the size that best suits your thread.
You’ll need your favorite cutting tools, of course. A rotary cutter, acrylic quilting ruler, and cutting mat are always necessary. But for cutting some of these curved pieces, I also suggest using either good fabric shears (like these KAIs) or a smaller 28 mm rotary cutter.
A good iron and some pressing spray, like Flatter, is important for any quilt piecing but especially with curves! I like to press with a dry iron and use a starch-alternative spray as needed. I also recommend using a clapper. These wood blocks are held over seams immediately after pressing and they help set the seam for a super flat, crisp finish.
I suggest using cardboard or a sturdy template plastic for our curved pieces. In the months when we’re piecing curves, there will be downloadable PDF templates for those pieces. Transferring that template to something heavier like cardboard or plastic will ensure your template holds up through lots of tracing and trimming.
Finally, I recommend having a stiletto and tweezers on hand. Both of these can be particularly useful when we get into piecing curves or keeping bias edges from stretching as we sew.
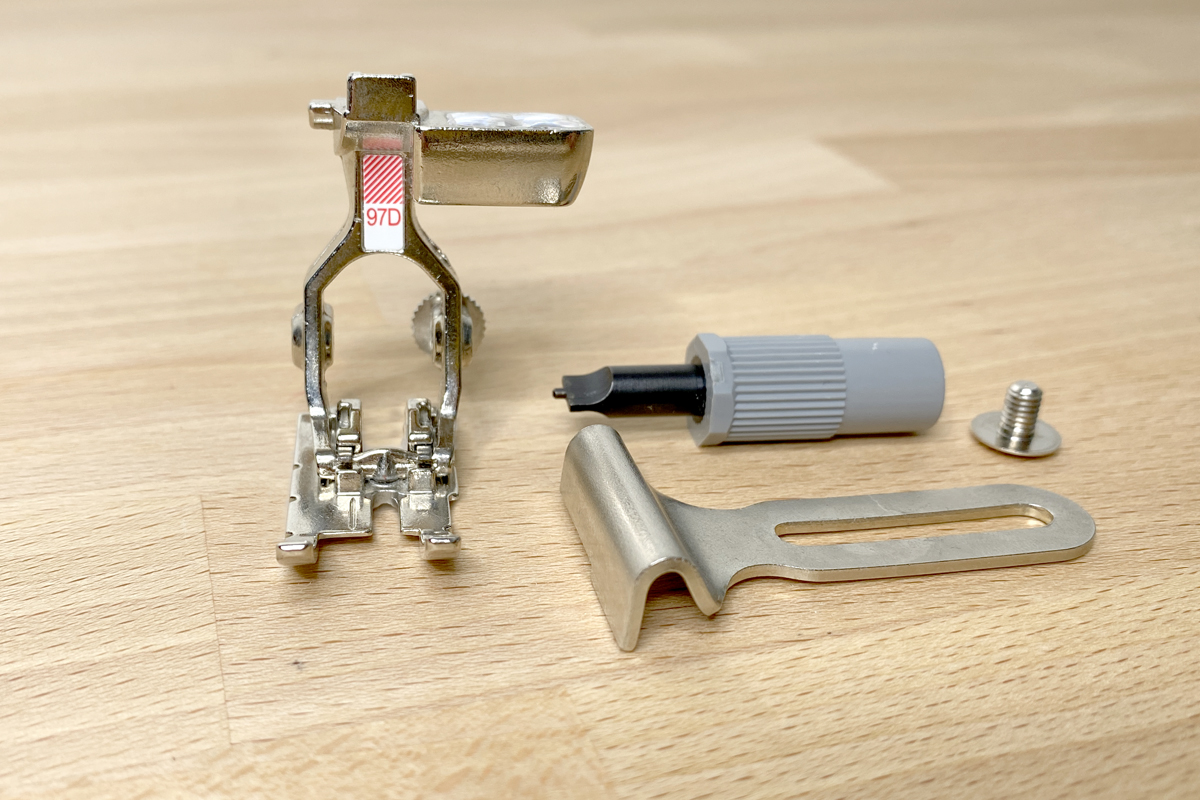
Maybe the most important tools are your sewing machine and presser feet! I will be sewing up my Passiflora quilt on my BERNINA 790 PLUS using 9 mm Patchwork Foot #97D. The #97D comes with a seam guide that screws into the freearm on the machine which is particularly handy when we get to sewing curves. If you’re working on a 5.5 mm machine, or just don’t have the seam guide, they can be purchased separately and I highly recommend asking your local BERNINA dealer about it!
Before we even get started, let’s have a mini lesson! BERNINA has a few 1/4″ patchwork feet in their lineup— Patchwork Foot #37/37D, Patchwork Foot with Guide #57/57D, and 9 mm Patchwork Foot #97/97D. The foot you choose depends on two things: the machine you’re using and your personal preference.
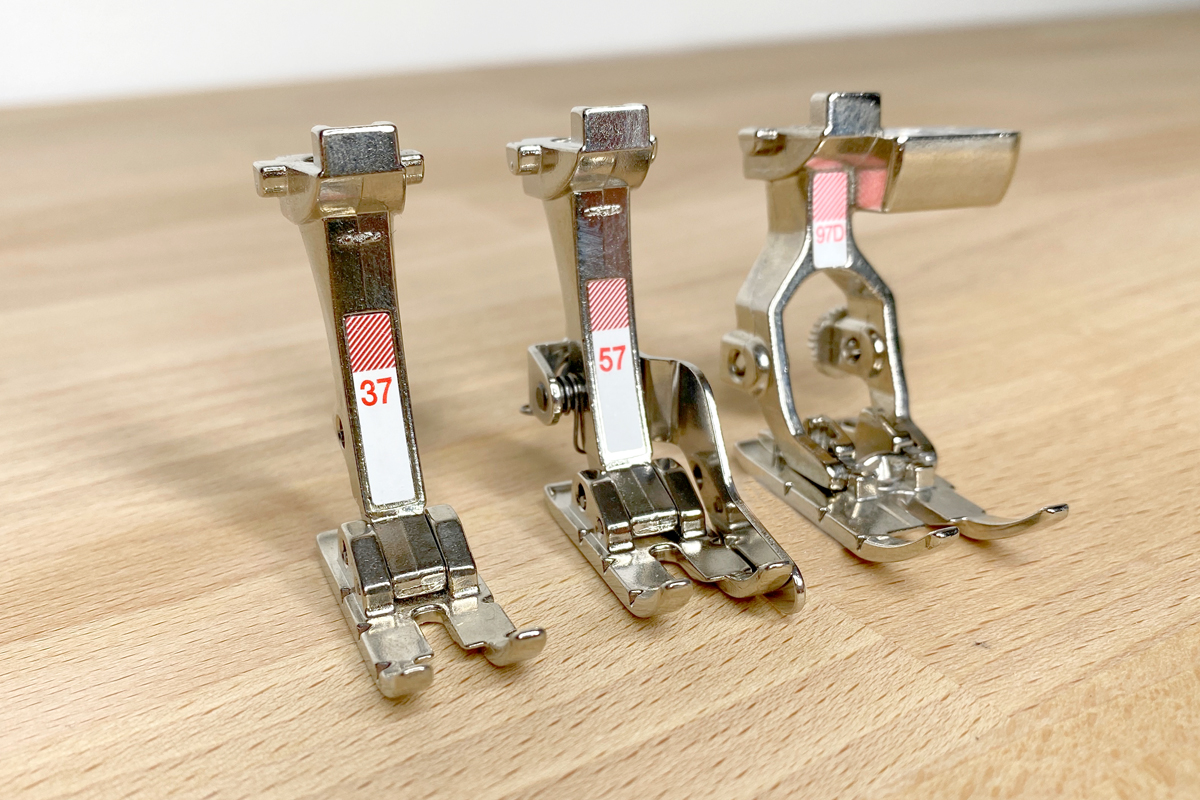
For 5.5 mm machines, opt for the #37 or #57. The #37 is a simple, straightforward 1/4″ foot. The #57 is very similar, but it features a small flange on the right side of the presser foot for you to guide the raw edge of your fabric. The choice between these two would be your personal preference.
For 9 mm machines, I suggest the #97 or #97D. This presser foot is engineered with a wider base in order to properly make contact with the wider feed dog on 9 mm machines. If your machine also has Dual Feed, I suggest using the #97D. Using Dual Feed in tandem with your 1/4″ foot makes for the most precise stitching, especially when working on stretchy bias edges or when you really need the rows on your quilt lined up perfectly.
Next month we will actually begin the quilt, starting with the center block! New techniques will post here to weallsew.com the first week of each month.
I’d love to see your fabric pulls and sewing progress! Add the hashtags #passifloraquilt and #passifloraQAL on Instagram to share with the community. Let us know in the comments if you’re excited to join in on making the Passiflora quilt!
Passiflora Quilt Along


What you might also like


10 comments on “Passiflora Quilt Along, Part 1: Fabric”
-
-
Is it possible to give the metric requirements as well?
-
Thank you so much
-
This sounds like fun! But I believe I missed your timelines. How often are you posting and giving lessons and assignments? What is the completion time? I realize I can do it at my own pace, but following your timeline generally means I get it done. 😉
Best wishes,
Kelly-
Ha ha, same re following the timeline! 🙂
-
Hi ladies! We’ll be making this like a block of the month so each new technique/round will post here the first Monday of each month. If you’re following along with me, you’ll have 4-5 weeks to complete each part. With a center block, four “rounds” on our medallion, and some extra finishing tips at the end, the whole thing wrap up in the springtime 🙂
-
-
-
This came along at the perfect time. I just decided to give quilting another try and a skill building quilt is just what I need! Excited to get started, and love the pattern.
-
Looking forward to making a medallion quilt. Color palette will be a challenge for me
-
Excited to start this! Like that you are using various techniques, including rounded piecing. I look to your expertise to get me through this! Thank you!
Leave a Reply
You must be logged in to post a comment.

Nice quilt and I like how modern it presents. Looks like the quilt-along will be fun; will go thru my stash & see which colors I like for this project. Let the fun begin