Take a Big Step Baby Quilt-Along: Part I

For this quilt-along, I thought I would combine two of my favorite things to make: baby quilts and blown up traditional blocks. I love making baby quilts for two reasons. Of course the first is that they are usually smaller projects, so I can take them off my to do list quickly. But more importantly than that, what’s better than making a quilt for a little one and seeing its parents eyes light up when they see it. Of all the quilts we make, in my opinion, baby quilts are the most important. See how I made the quilt top in today’s Part I, come back next week to see how I finish off the Big Step Baby Quilt in Part II.
One of my favorite things to do when making quilts is enlarging traditional blocks to the size of an entire quilt. I think it’s always visually interesting and it’s a terrific way to show off fabrics with larger prints in them.
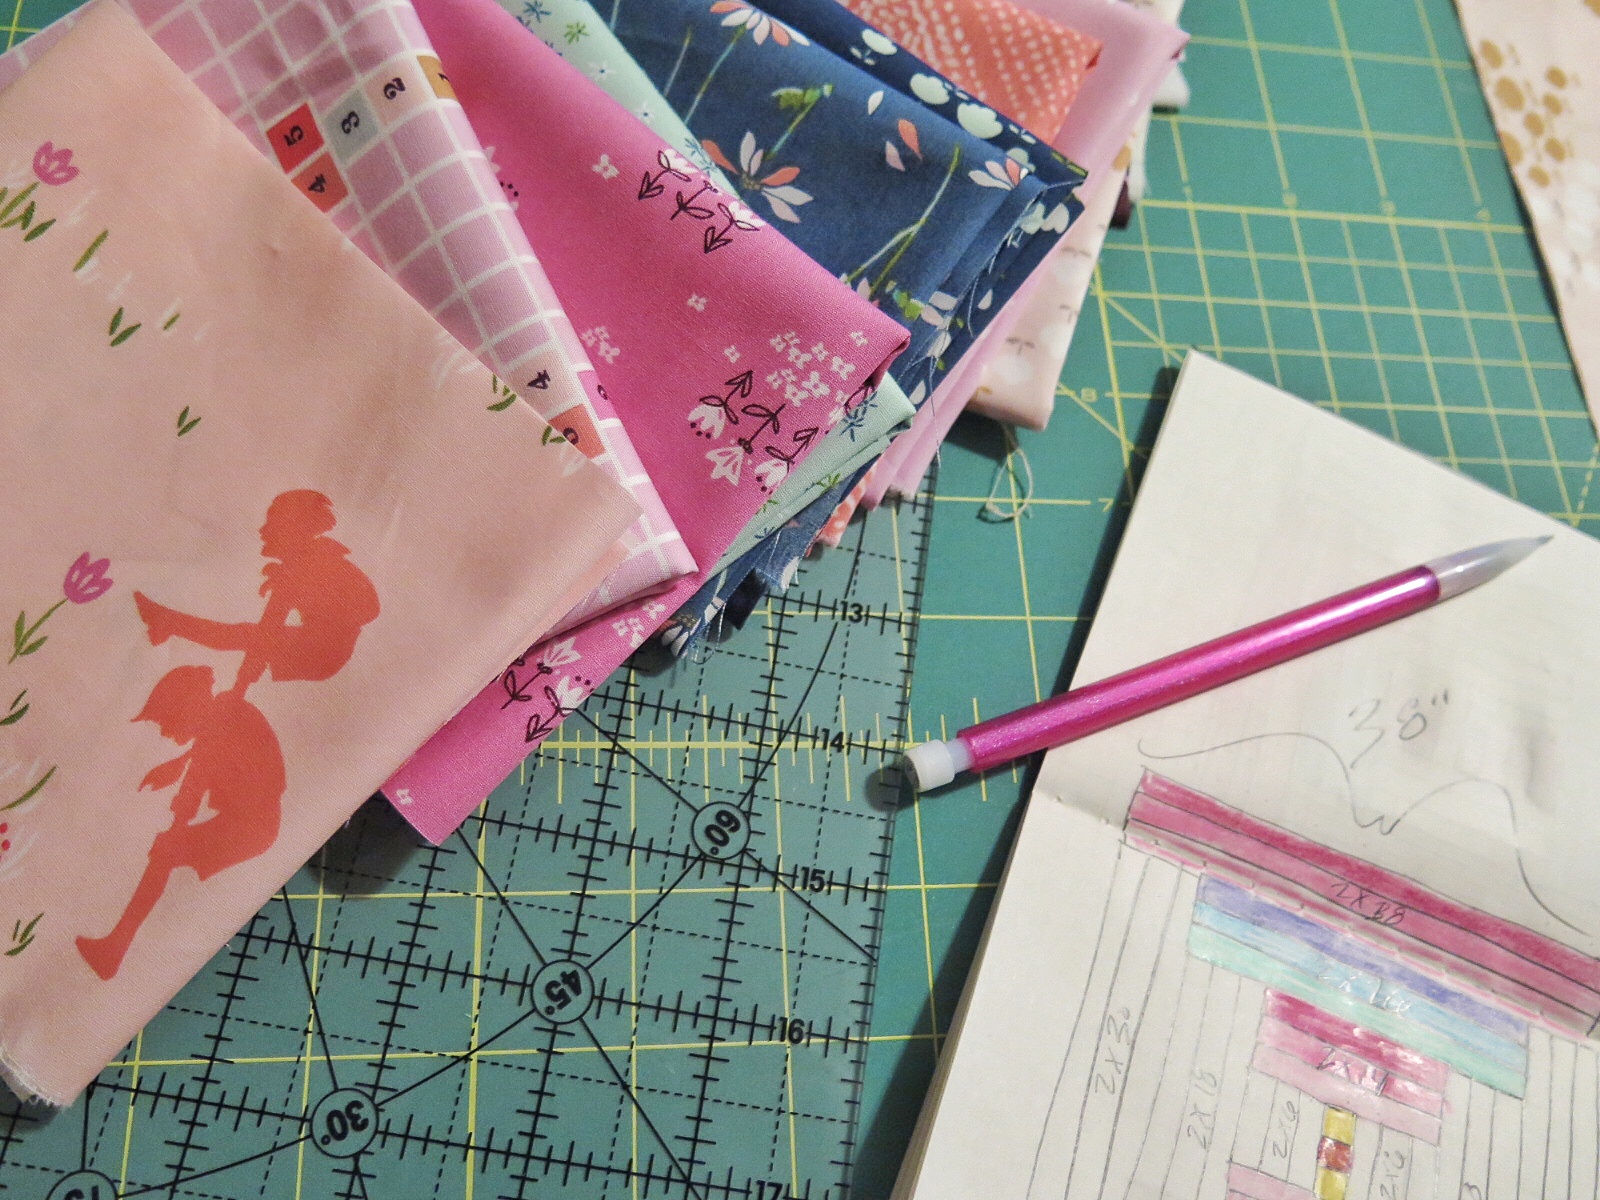
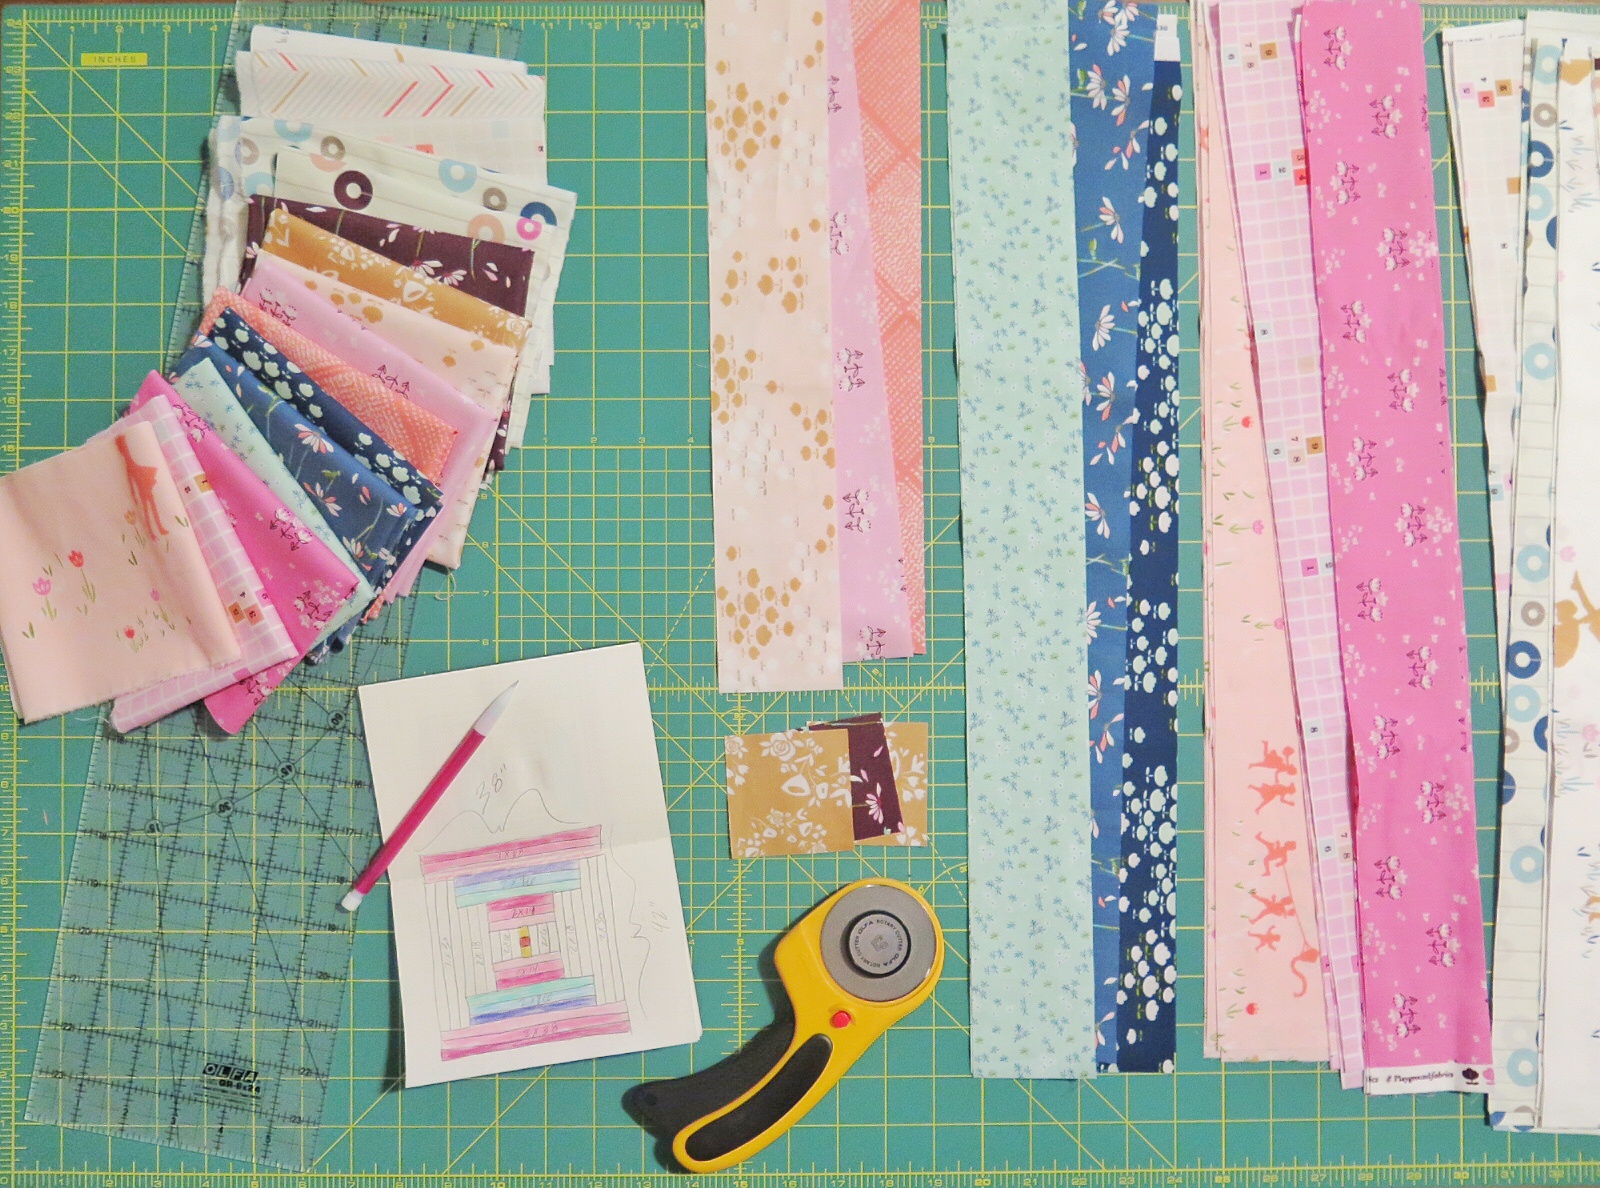
It is so easy to create a pattern from your favorite traditional block. I just figure out the proportions of the block and draw it out on graph paper. I then think about how big I want the quilt to be, then divide the size of the quilt by the amount of boxes I’ve drawn in my graph paper sketch. The number you get is the amount of inches each square in your graph paper sketch is equal to. Then you know how big to cut the pieces for your quilt!

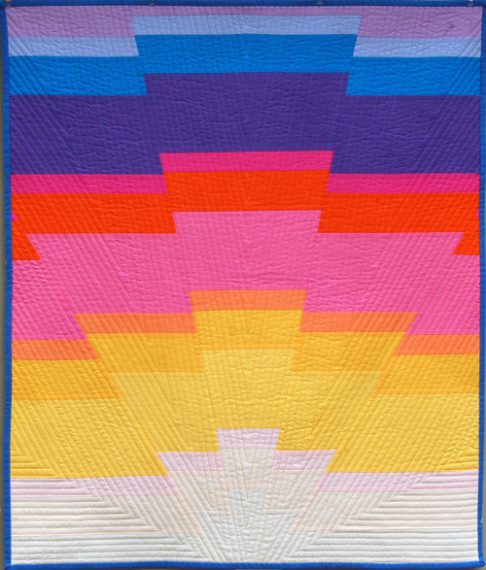
For this project, I decided to modernize one of my absolute favorite traditional blocks: courthouse steps.
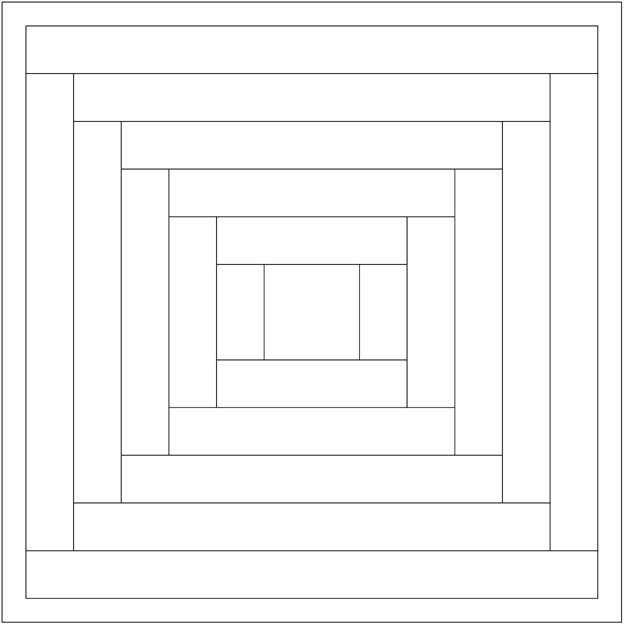
Instead of adding one row to each side, then adding one row to the top and bottom, like you would traditionally, I’ve decided to add three to each side at a time, making a big step.
Materials to make a Take a Big Step Baby Quilt:
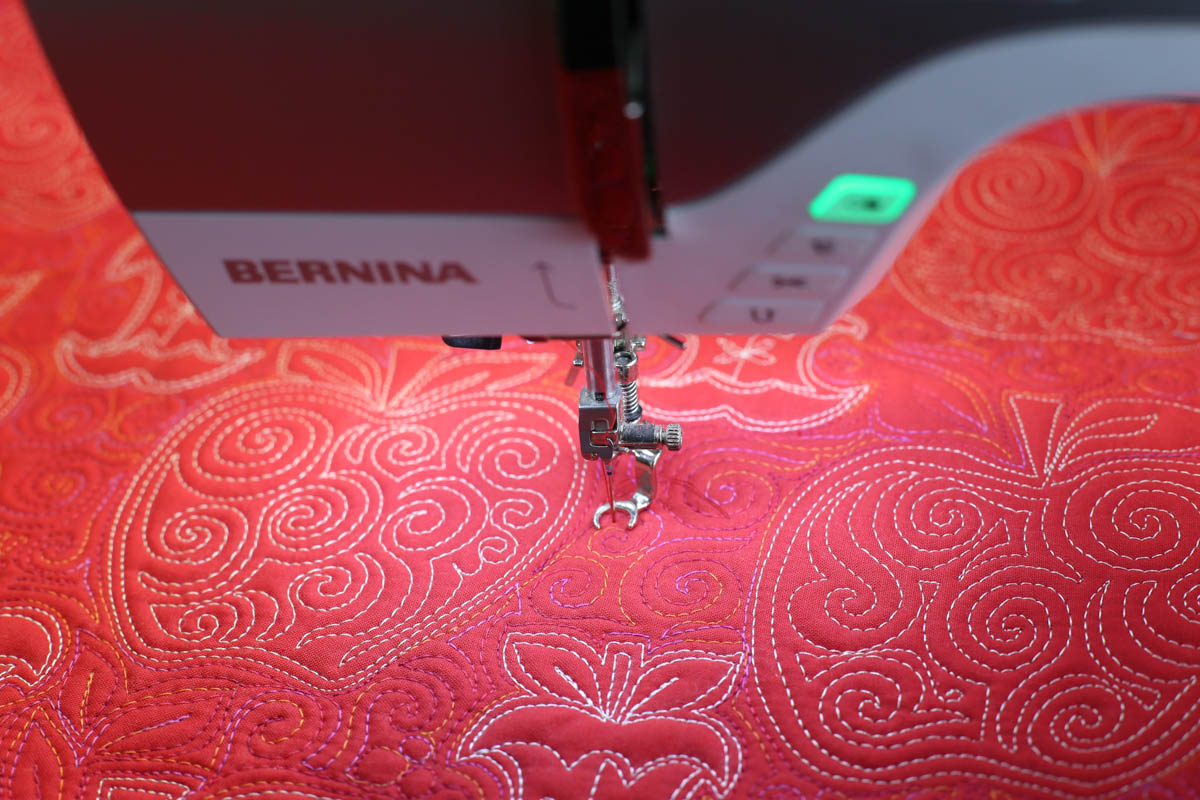
- BERNINA 770QE
- Patchwork foot with seam guide #97D
- Assortment of fat quarters or jelly roll strips in light and medium colors
- Thread
- Rotary cutter
- Ruler
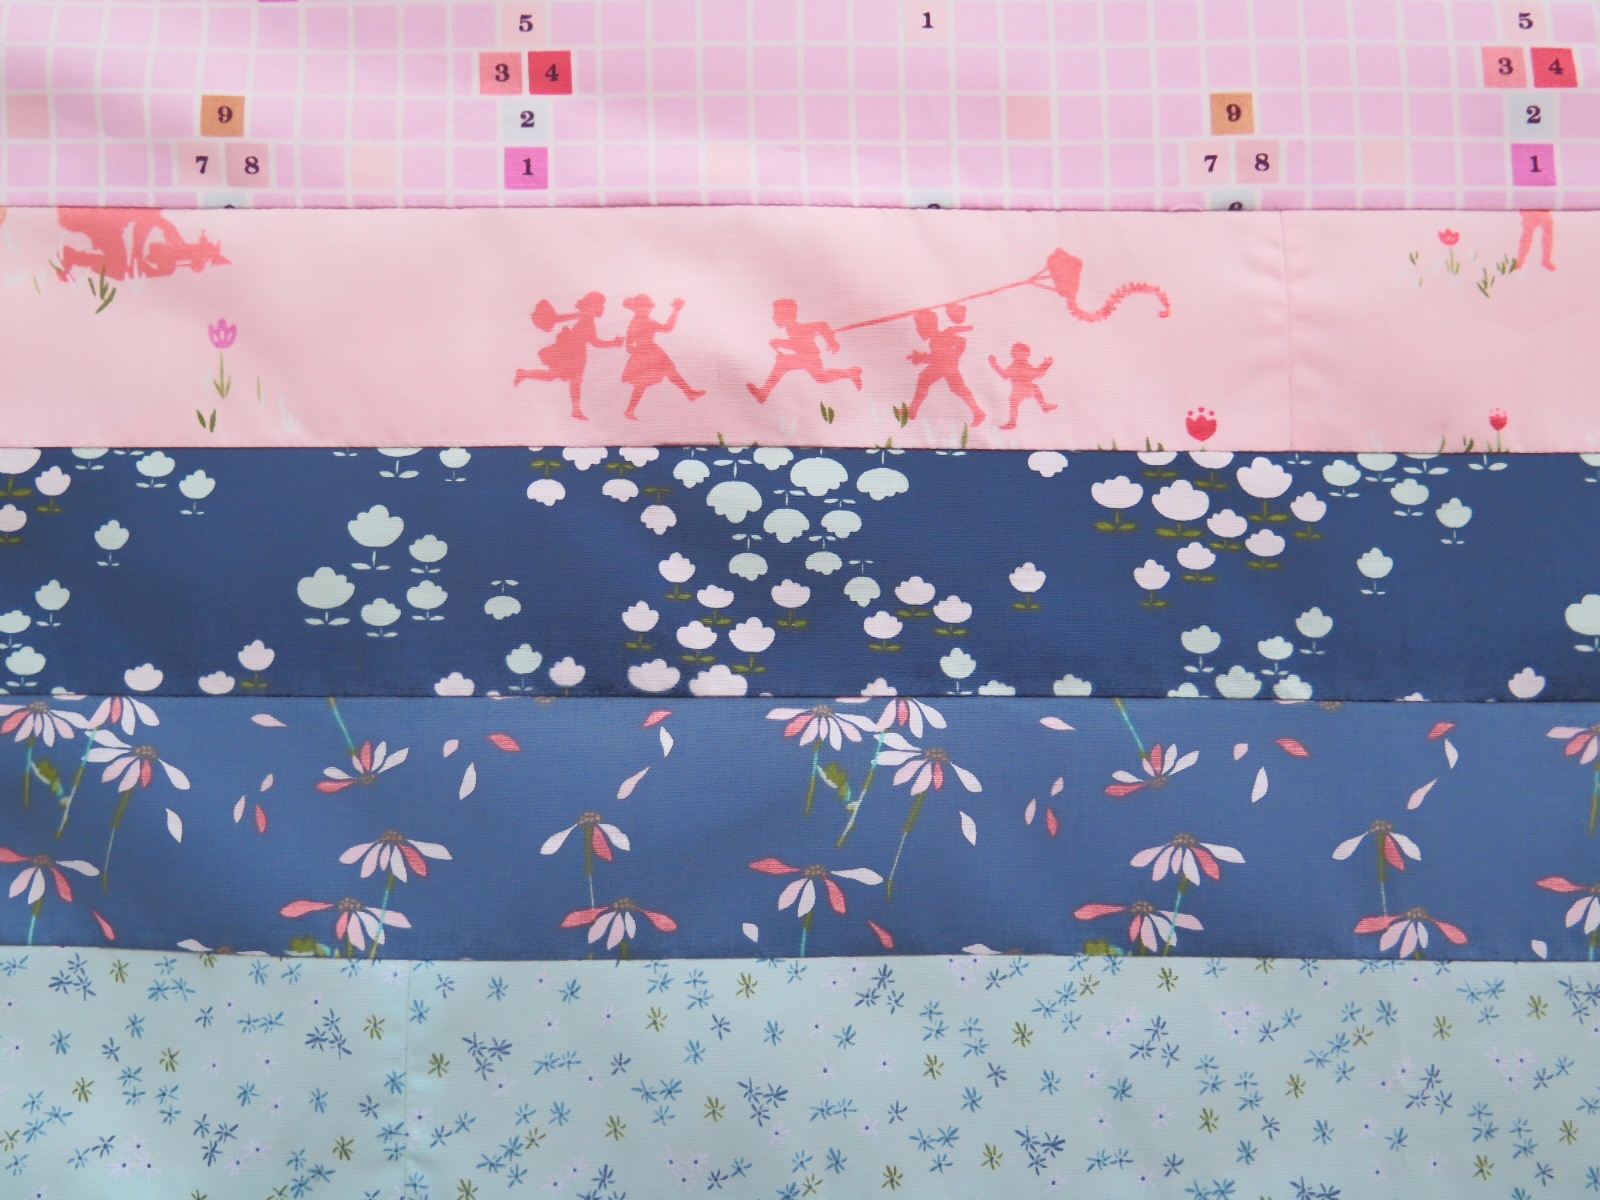
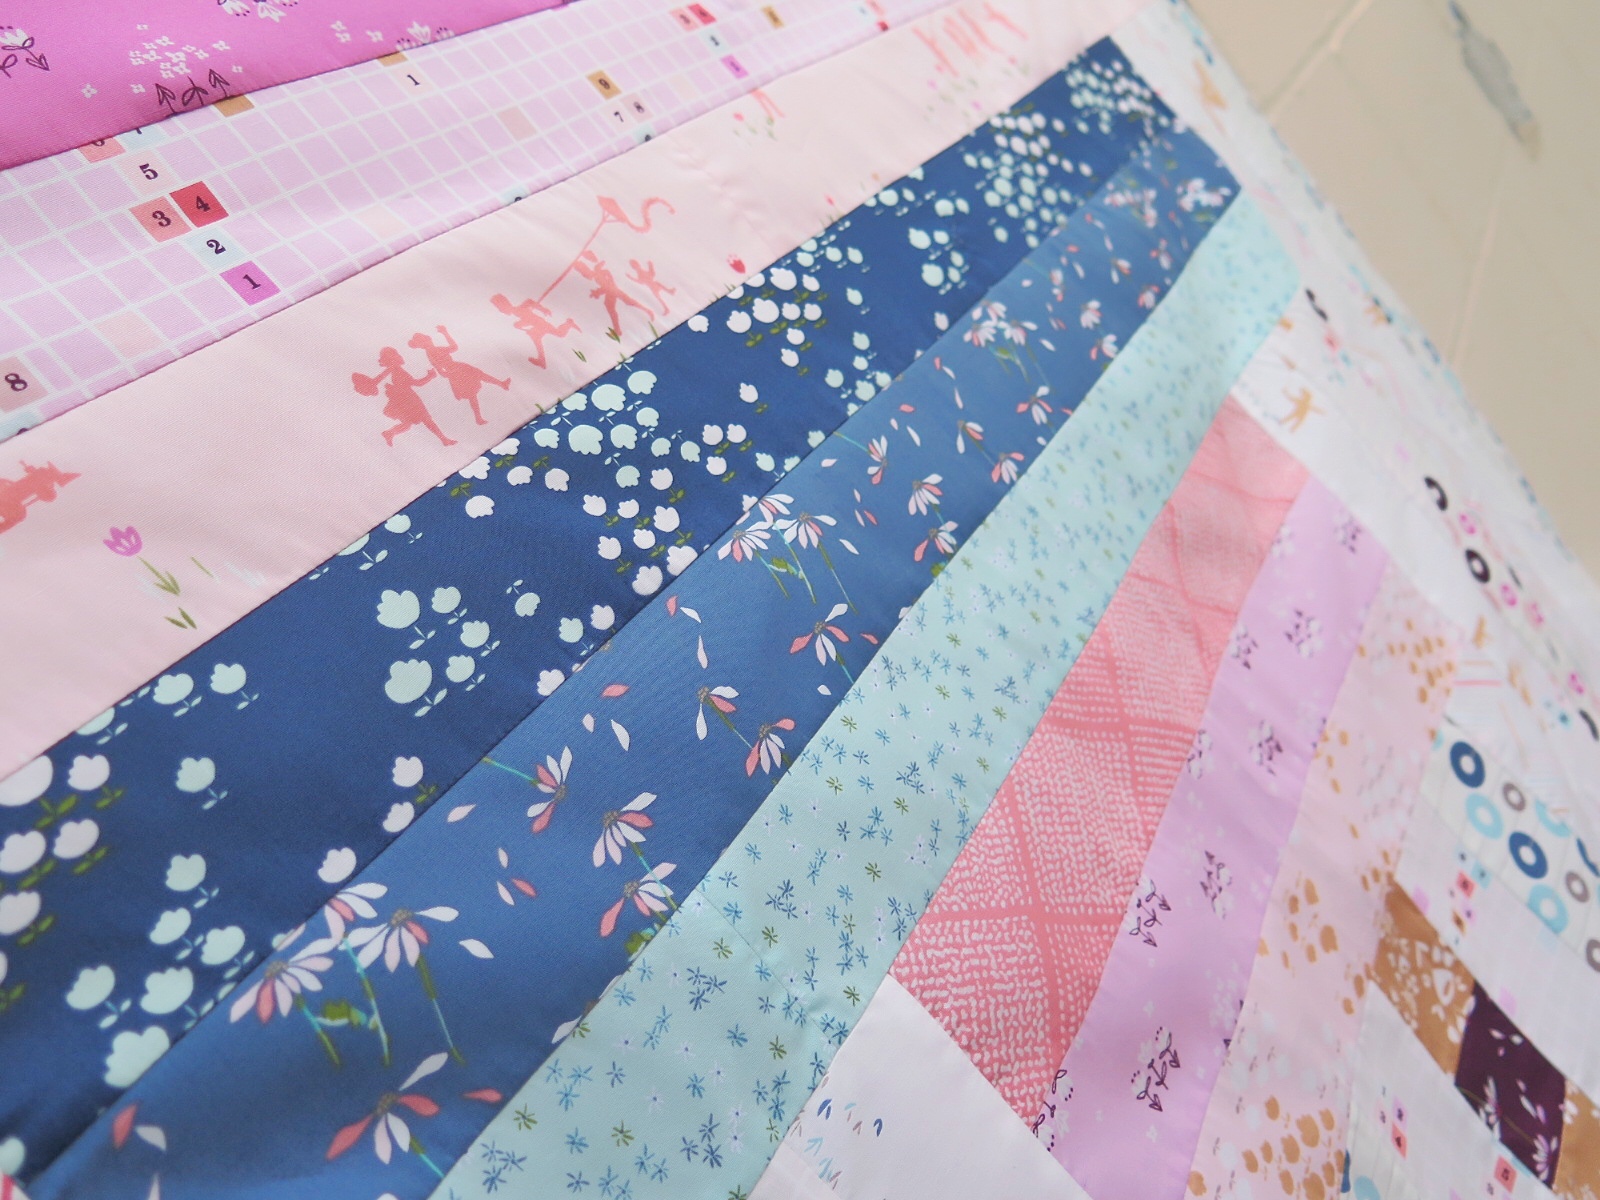
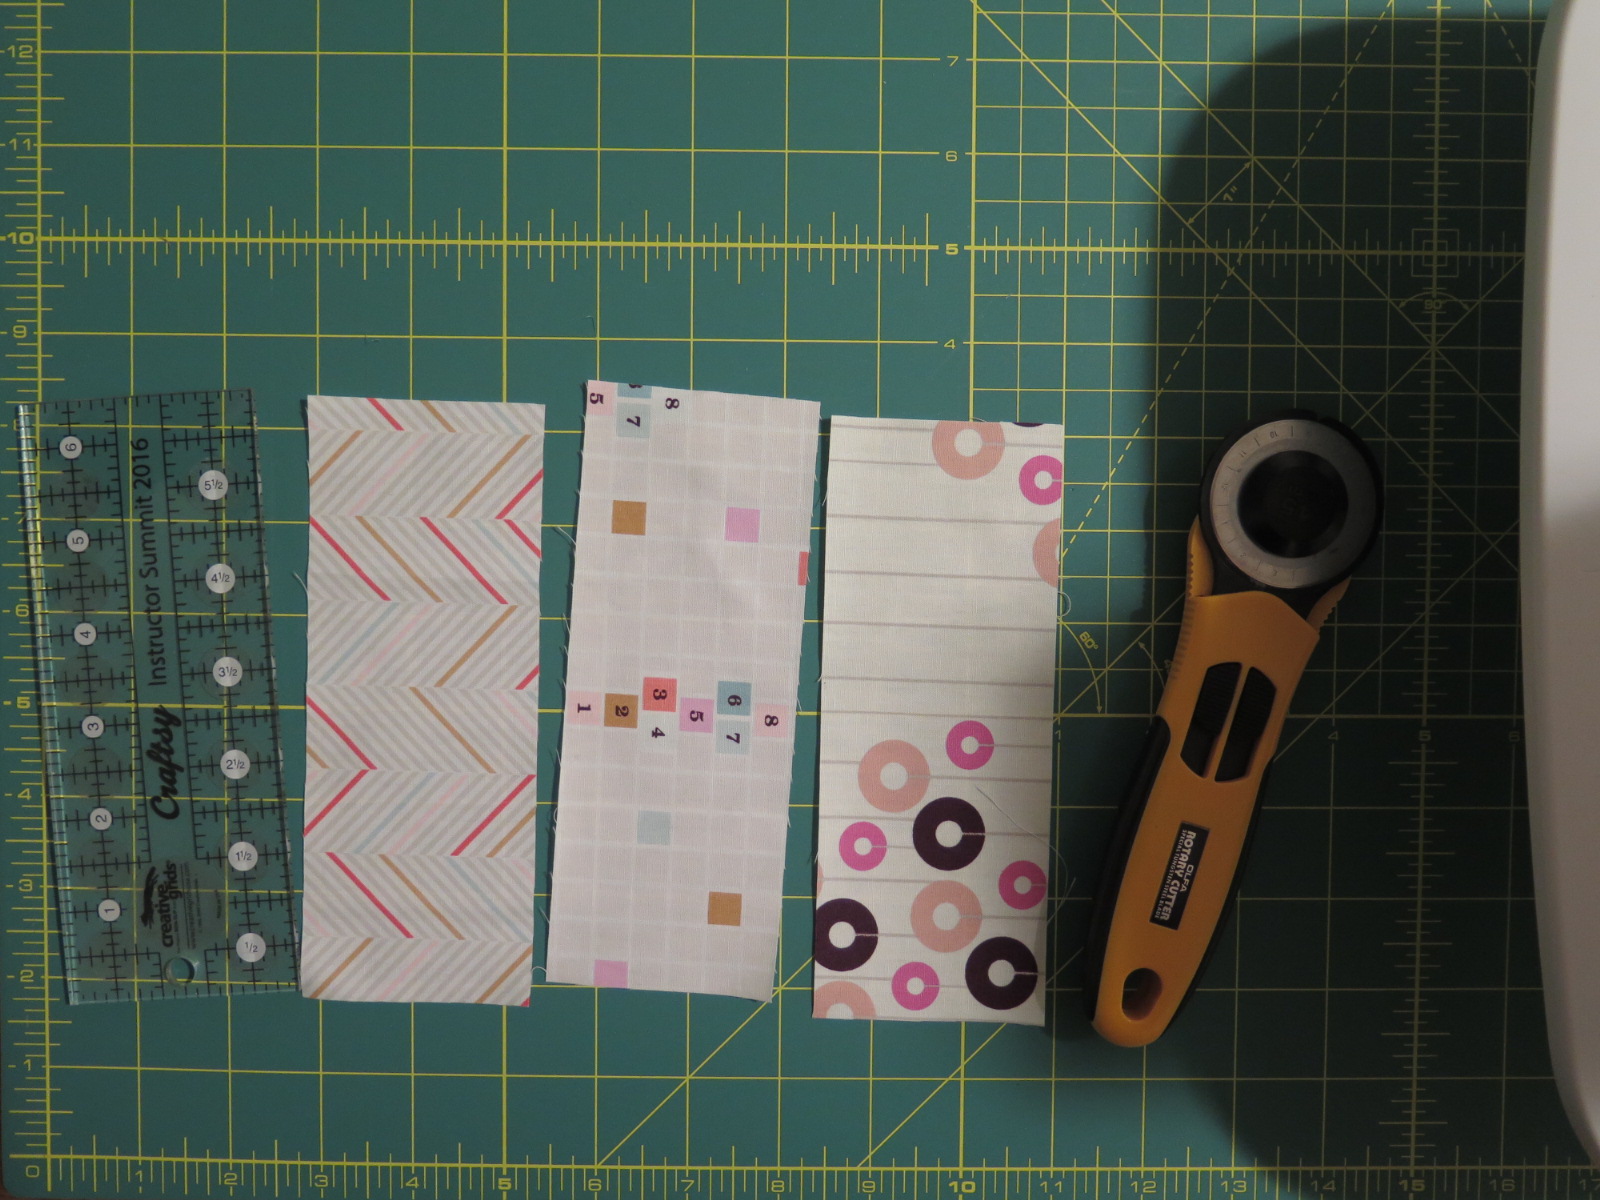
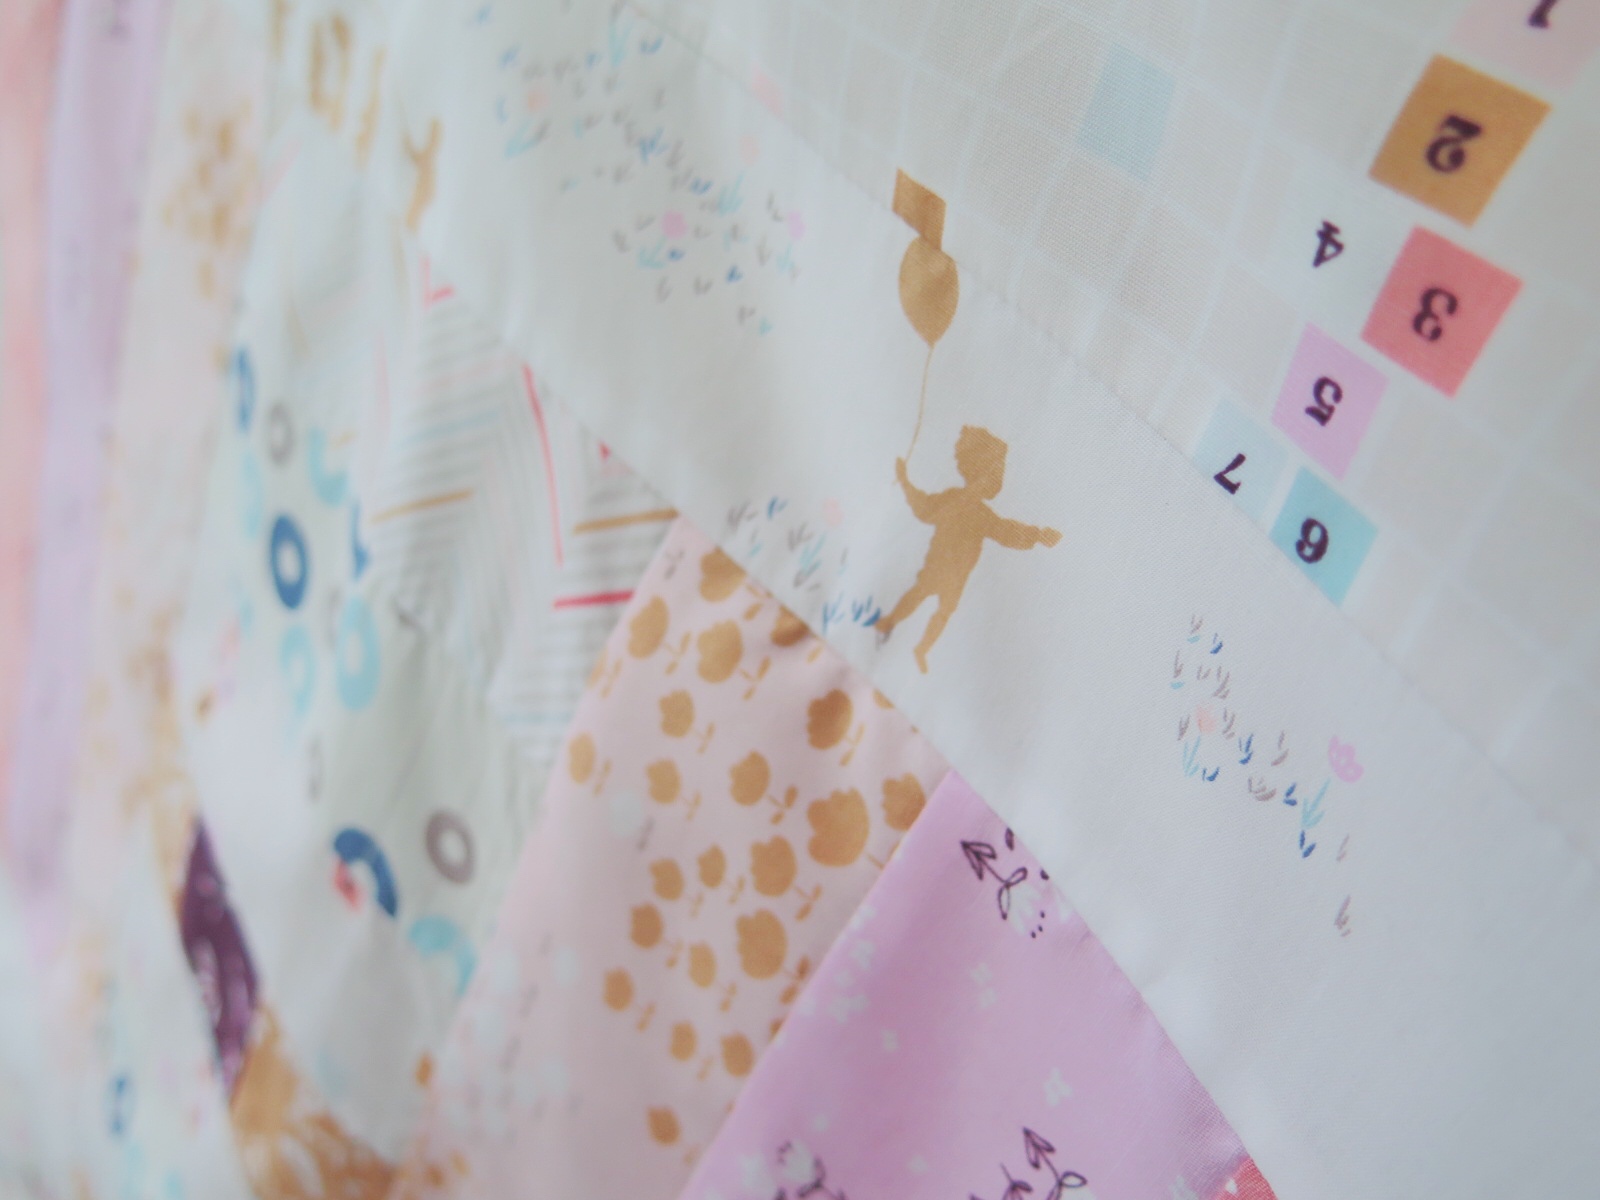
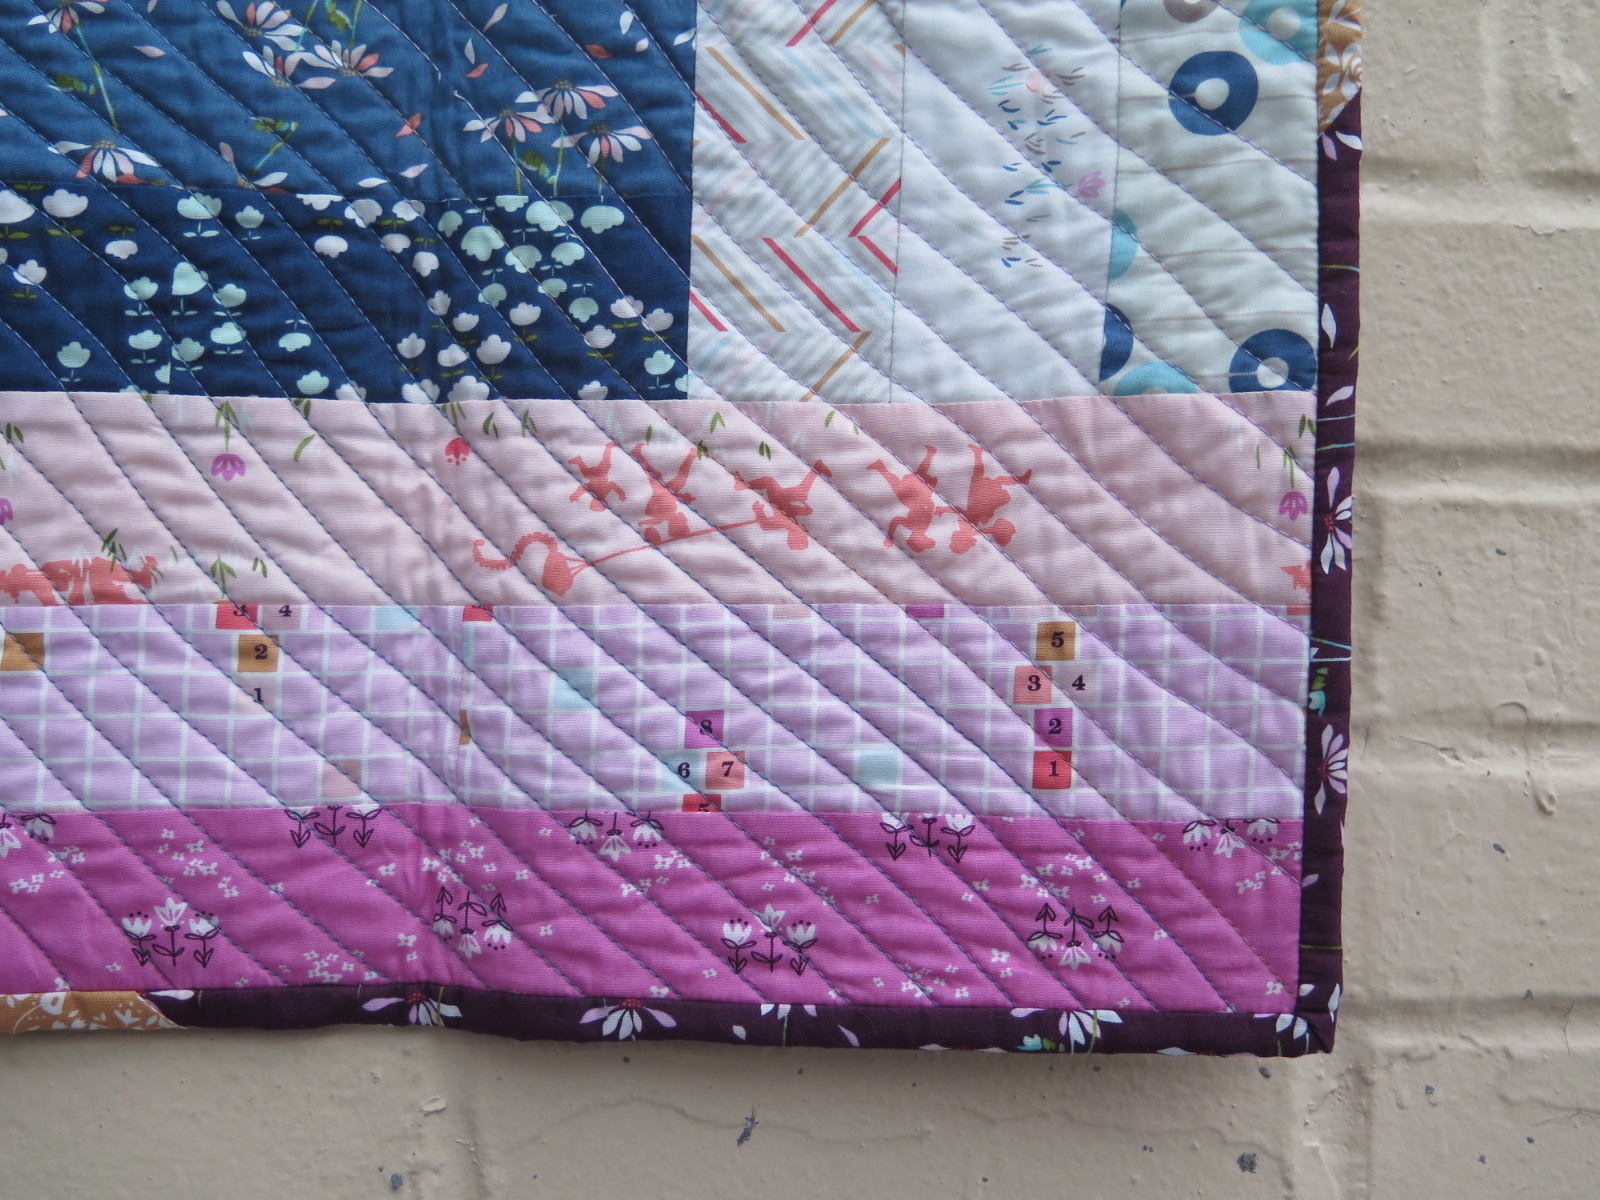
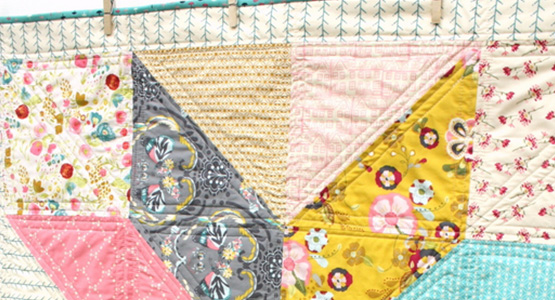
The quilt is made up of 2 1/2″ strips, perfect for jelly rolls if you have them laying about. In picking my fabric, I knew right away I wanted to work with Amy Sinibaldi’s Playground. The scale is absolutely perfect for this quilt. I fussy cut a lot of my strips, particularly the darling print of little ones flying kites, playing leap frog, and jumping rope.
I chose to lay out my fabrics specifically, mirroring the rows on each side. But you could definitely go scrappy for a different look. Of course you’ll want to make sure that the rows running east and west are a high contrast from those running north and south to get the look of the courthouse step.
Start by cutting your fabric. For the sake of making it easy to follow along, I will call the east and west running borders “medium” and the north and south running borders “light”.
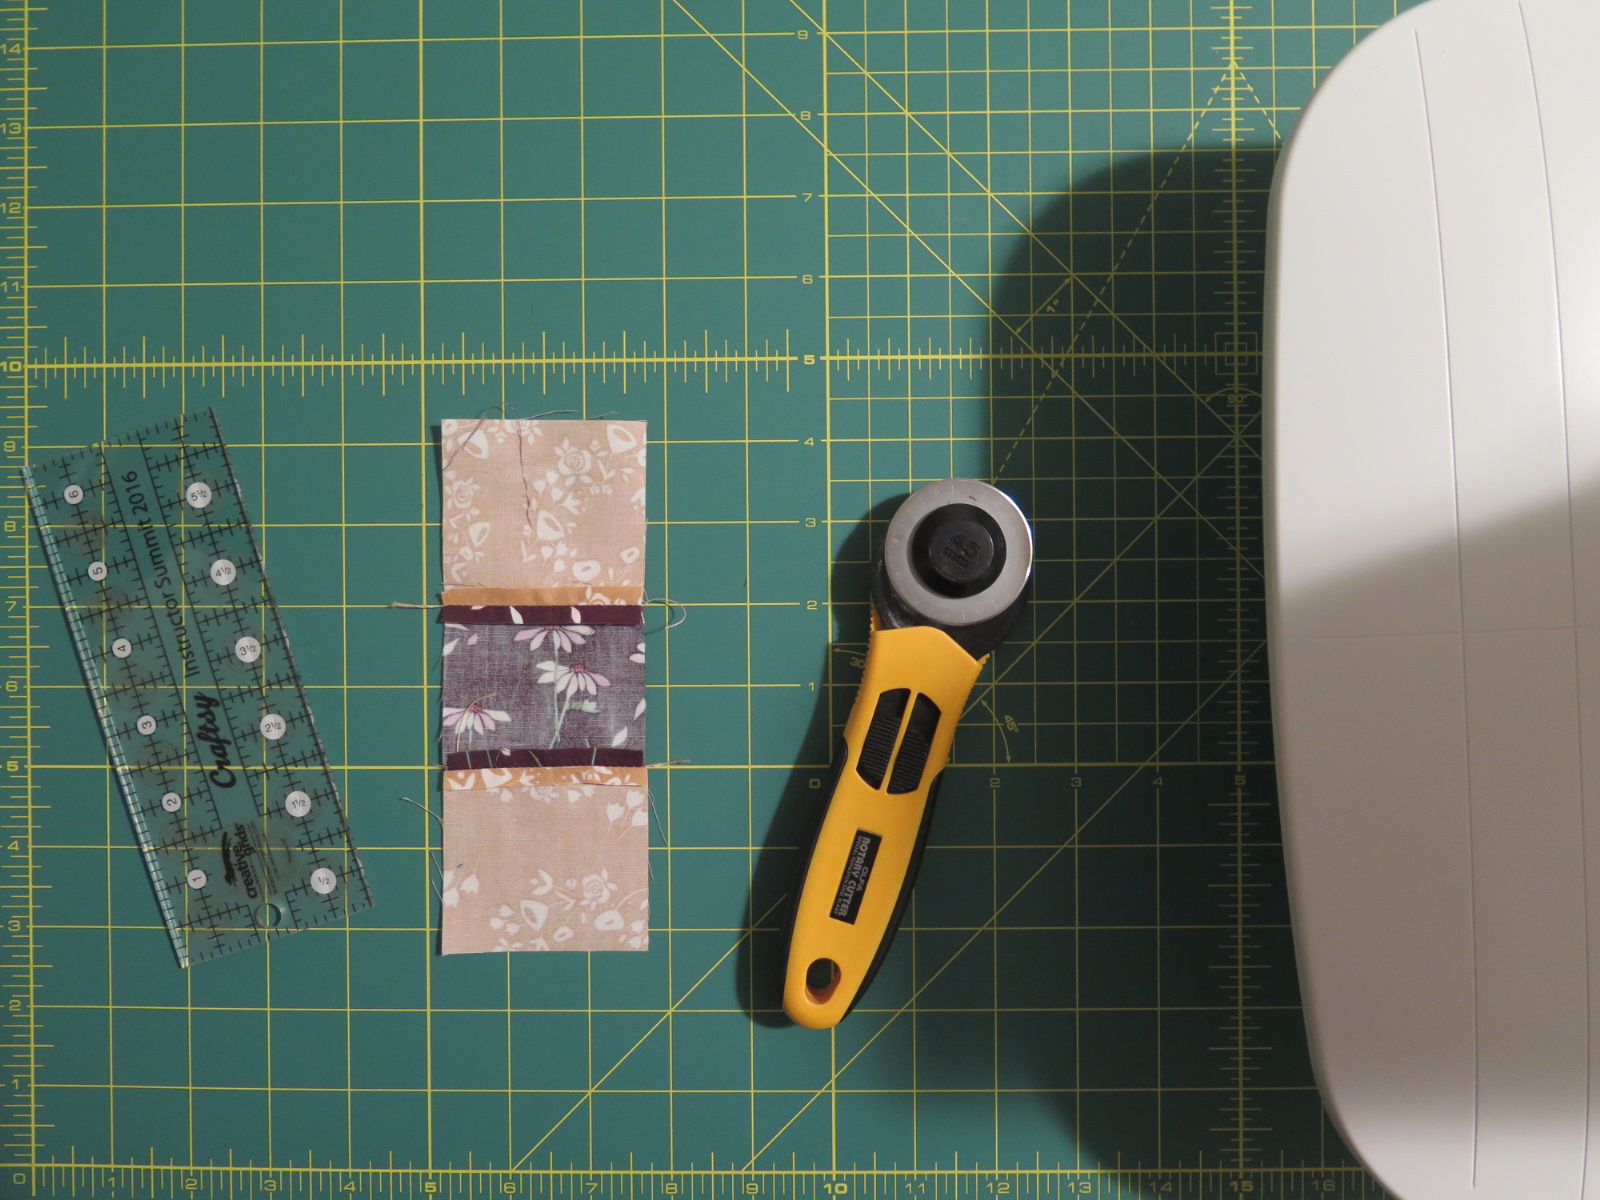
For the center row, around which all the other rows are placed, you’ll need:
- 3 different medium 2 1/2″ squares
For the borders, you’ll need (working from the center outward):
- 6 light 2 1/2″ x 6 1/2″ strips
- 6 medium 2 1/2″ x 14 1/2″ strips
- 6 light 2 1/2″ x 18 1/2″ strips
- 6 medium 2 1/2″ x 26 1/2″ strips
- 6 light 2 1/2 x 30 1/2″ strips
- 6 medium 2 1/2″ x 38 1/2″ strips
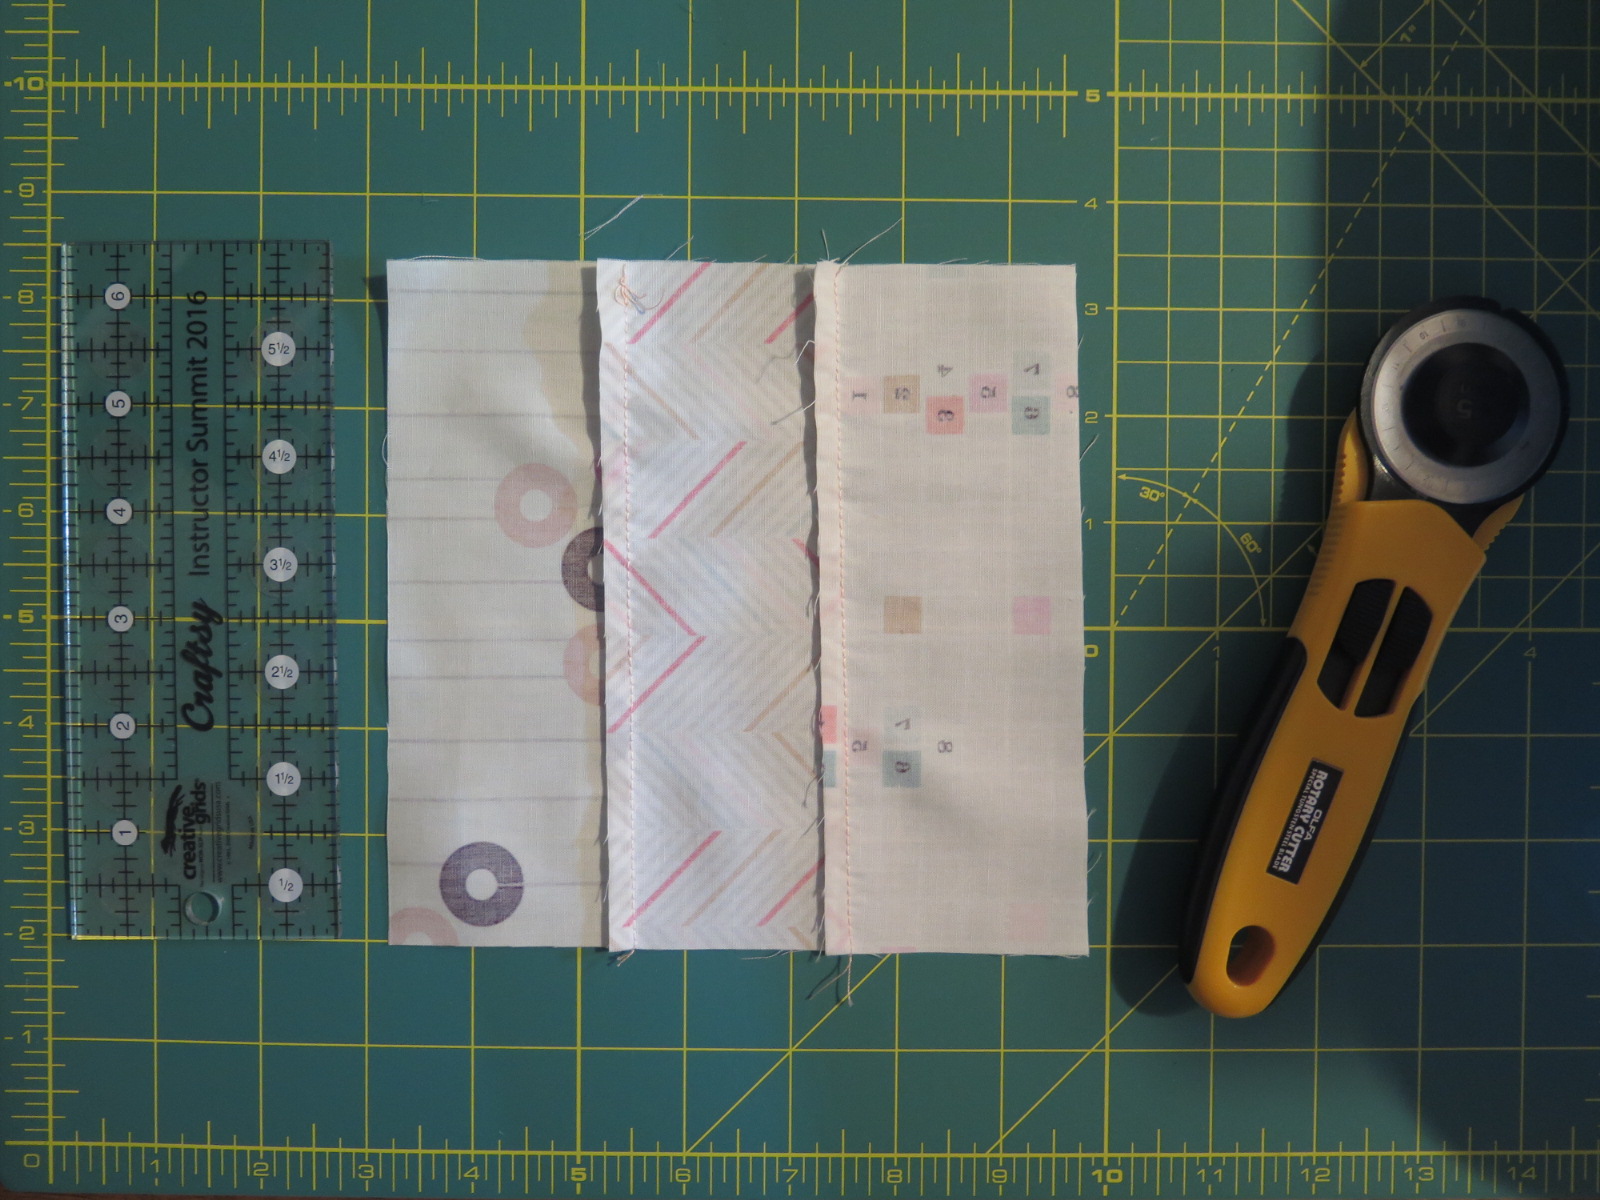
Time to start sewing! Begin by sewing your center row of squares together with a 1/4″ seam. Press open.
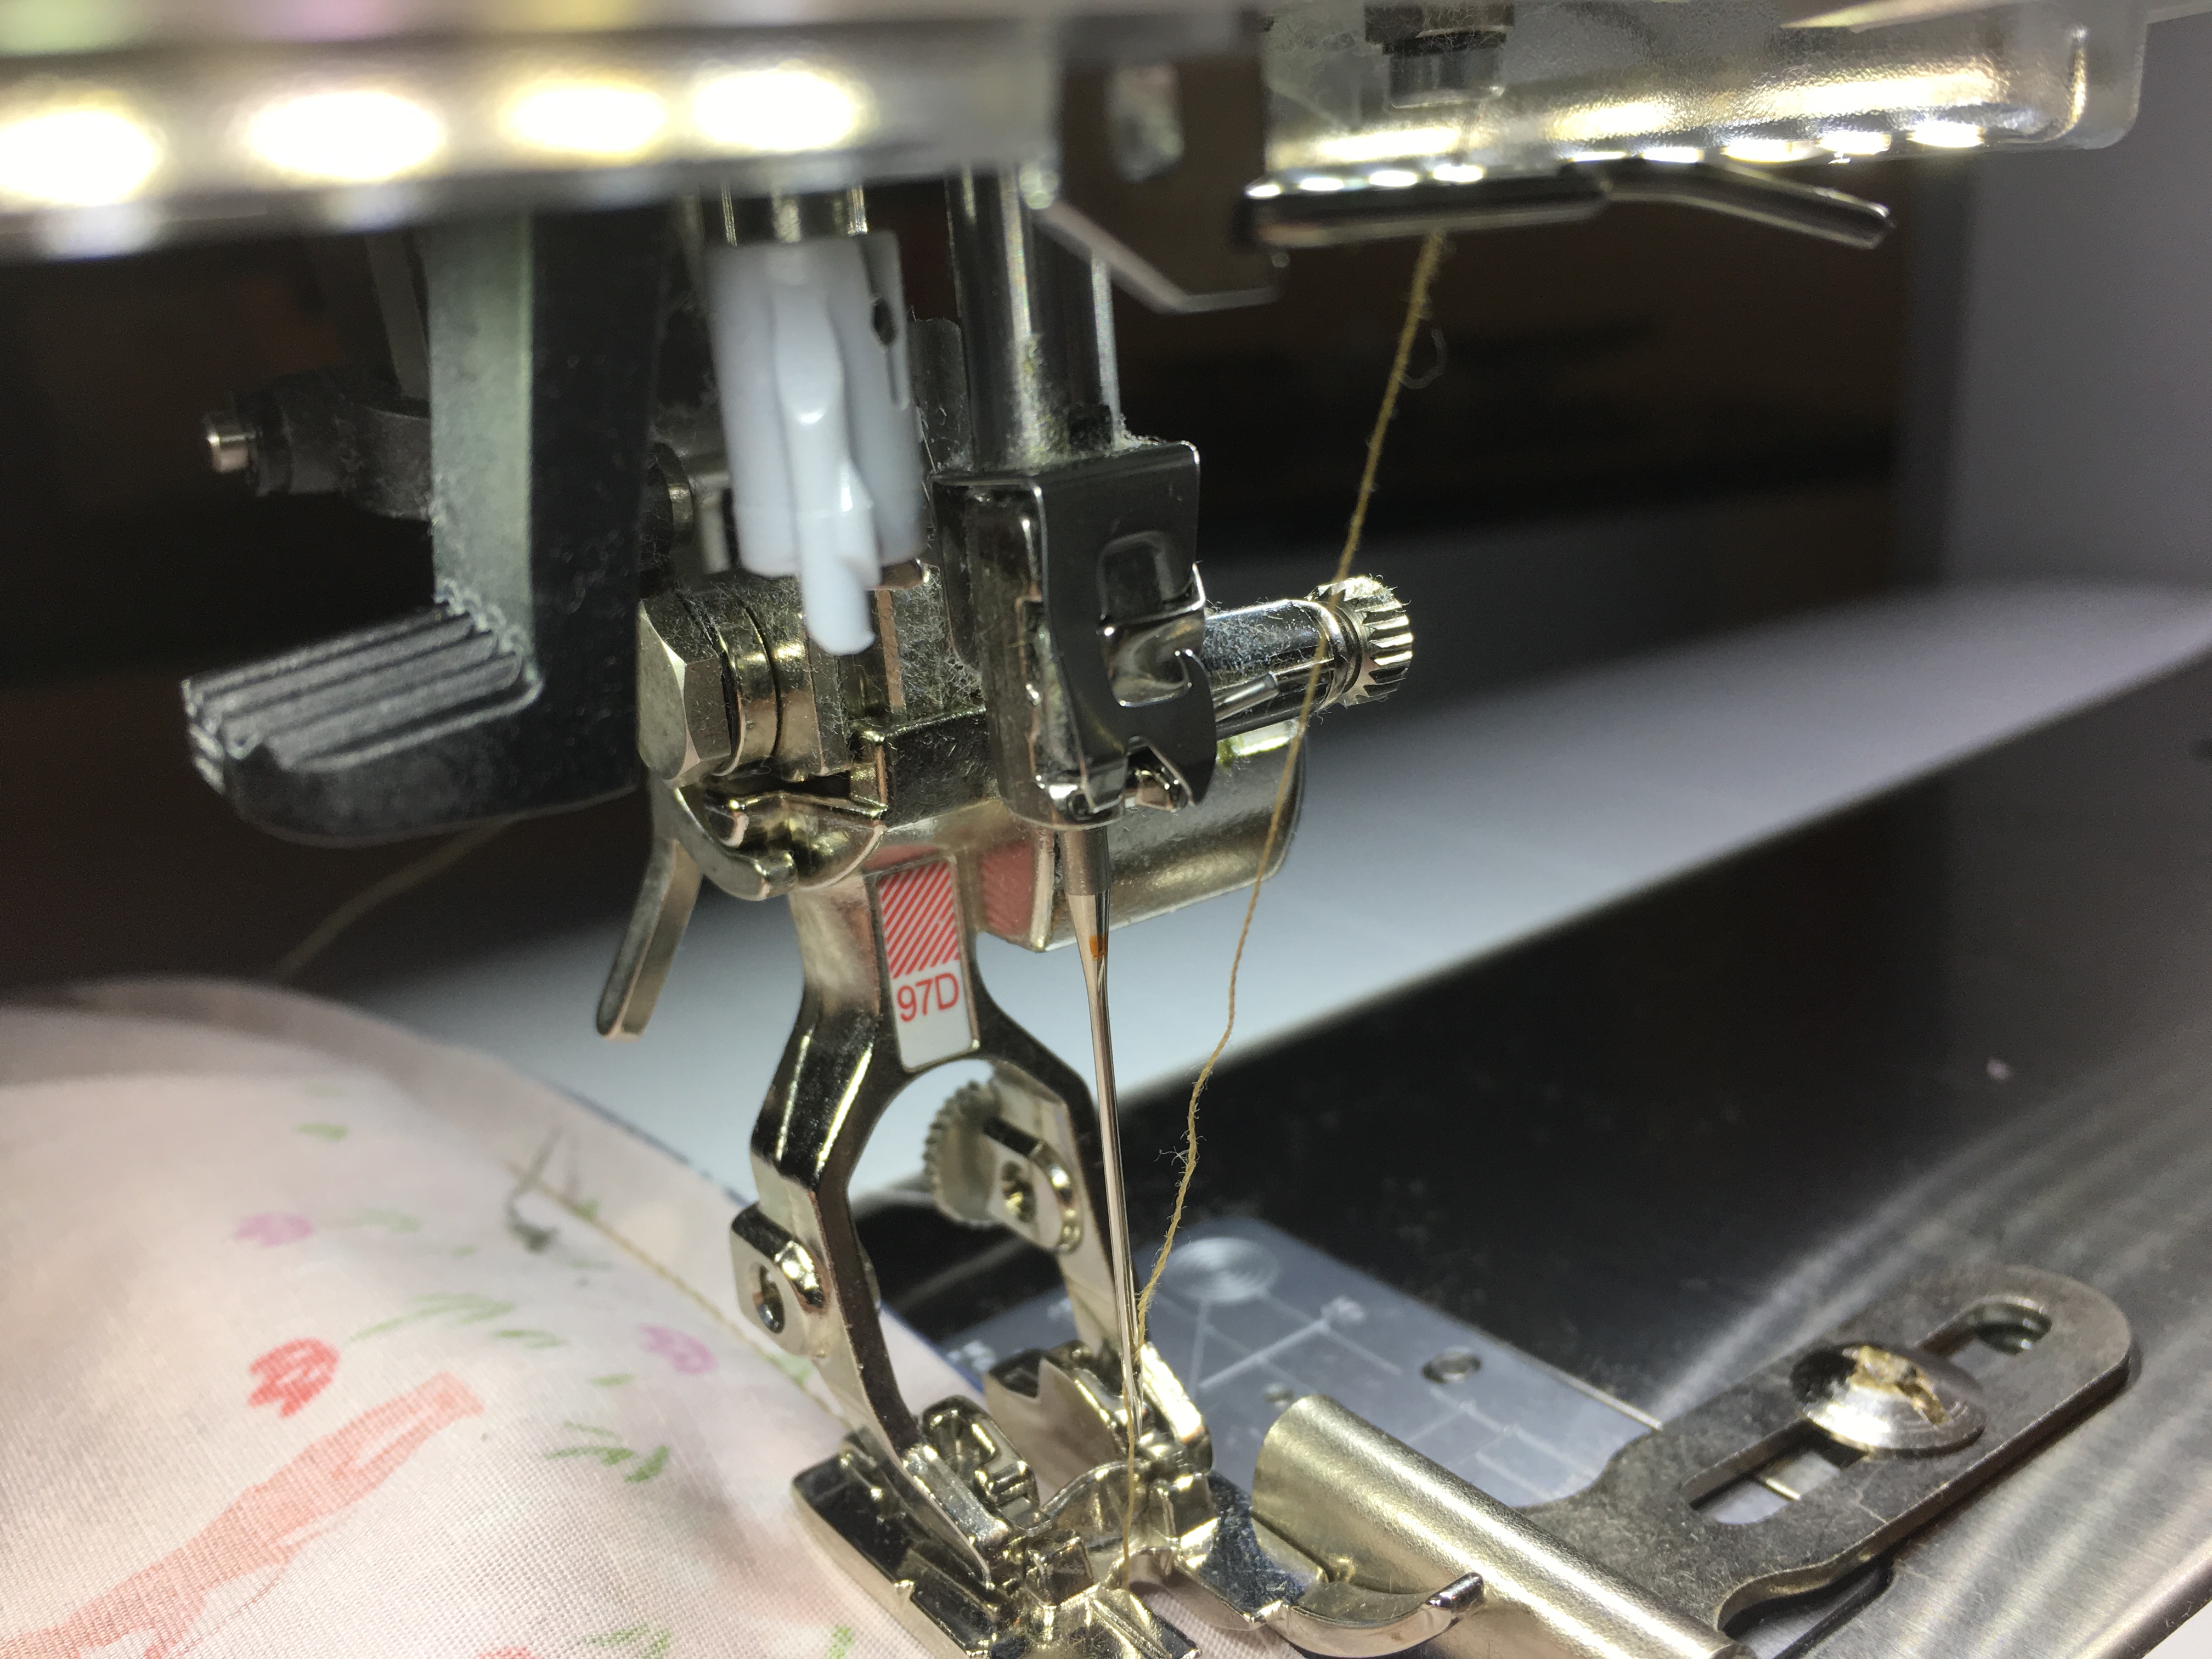
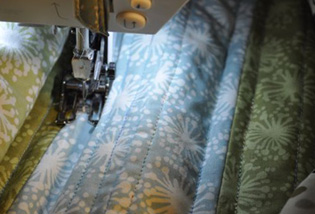
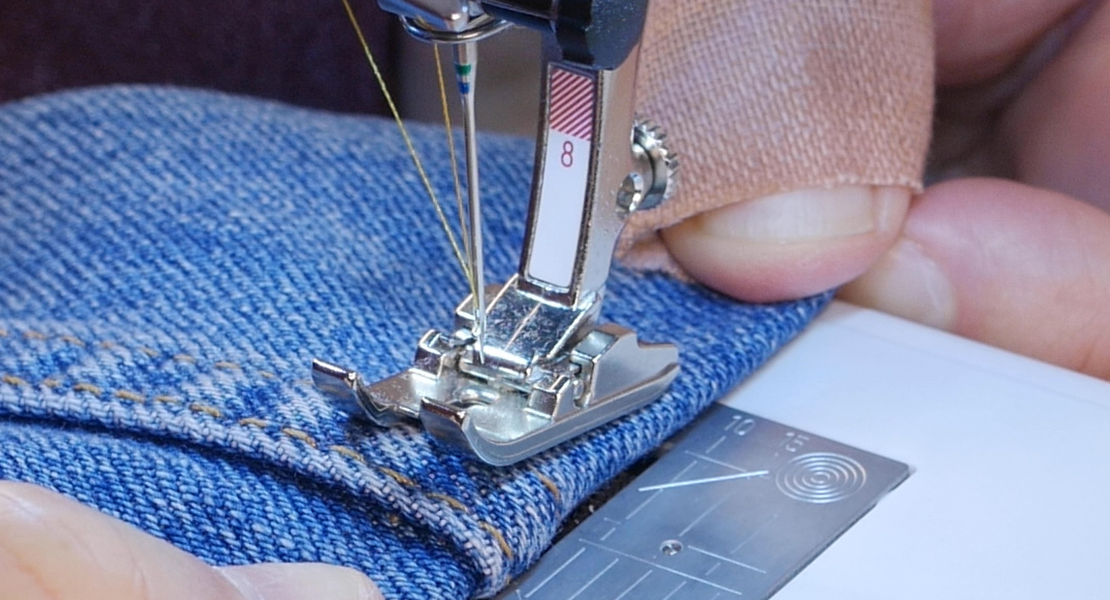
I always use my Patchwork foot with seam guide #97D when piecing to guarantee accurate seams. I use the factory settings on my machine when piecing: stitch length 2.5 and center needle position 0.
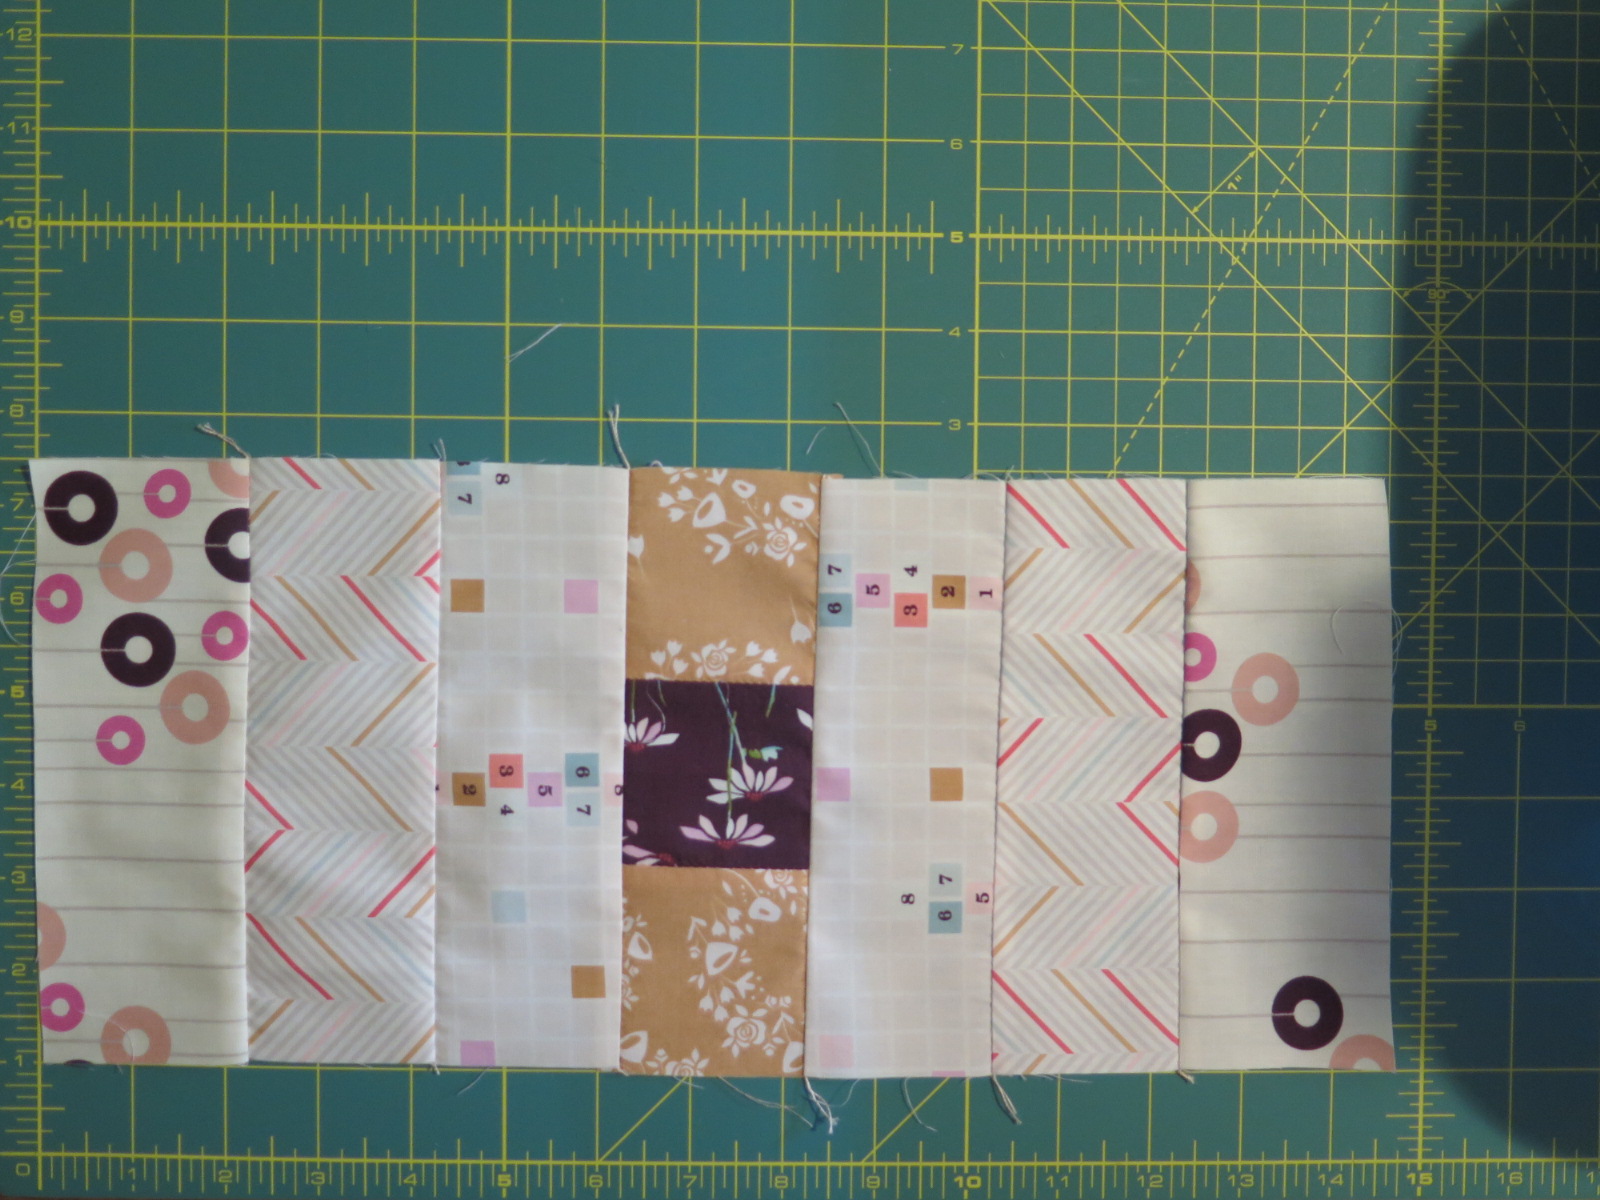
The construction of the quilt is very simple. For each set of strips that you have cut, sew together two sets of three each color length-wise. For example, take your 6 light 2 1/2″ x 6 1/2″ strips and sew three together lengthwise, then repeat for the other three.

Do this for all of the strip sets. Press your seams anyway you desire (for the borders I pressed them outward.)
When you are done, you will have 12 sets of three strips, 6 medium and 6 light.
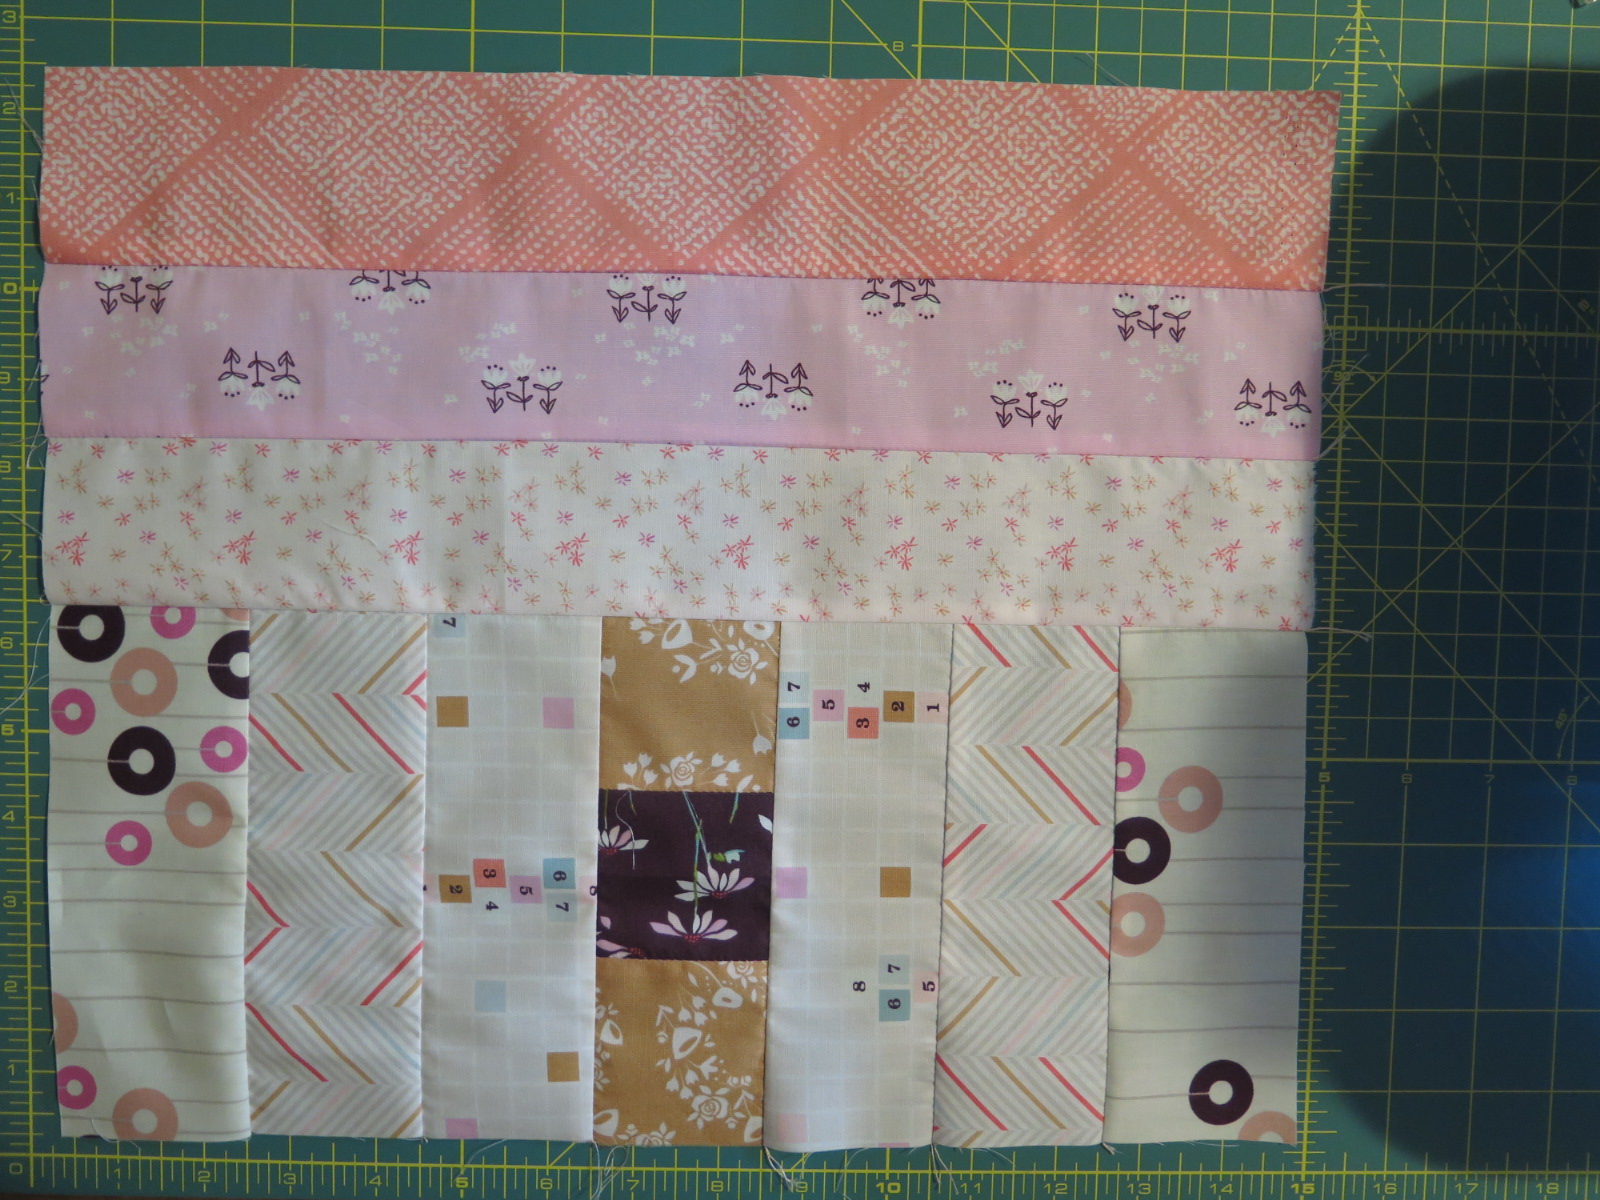
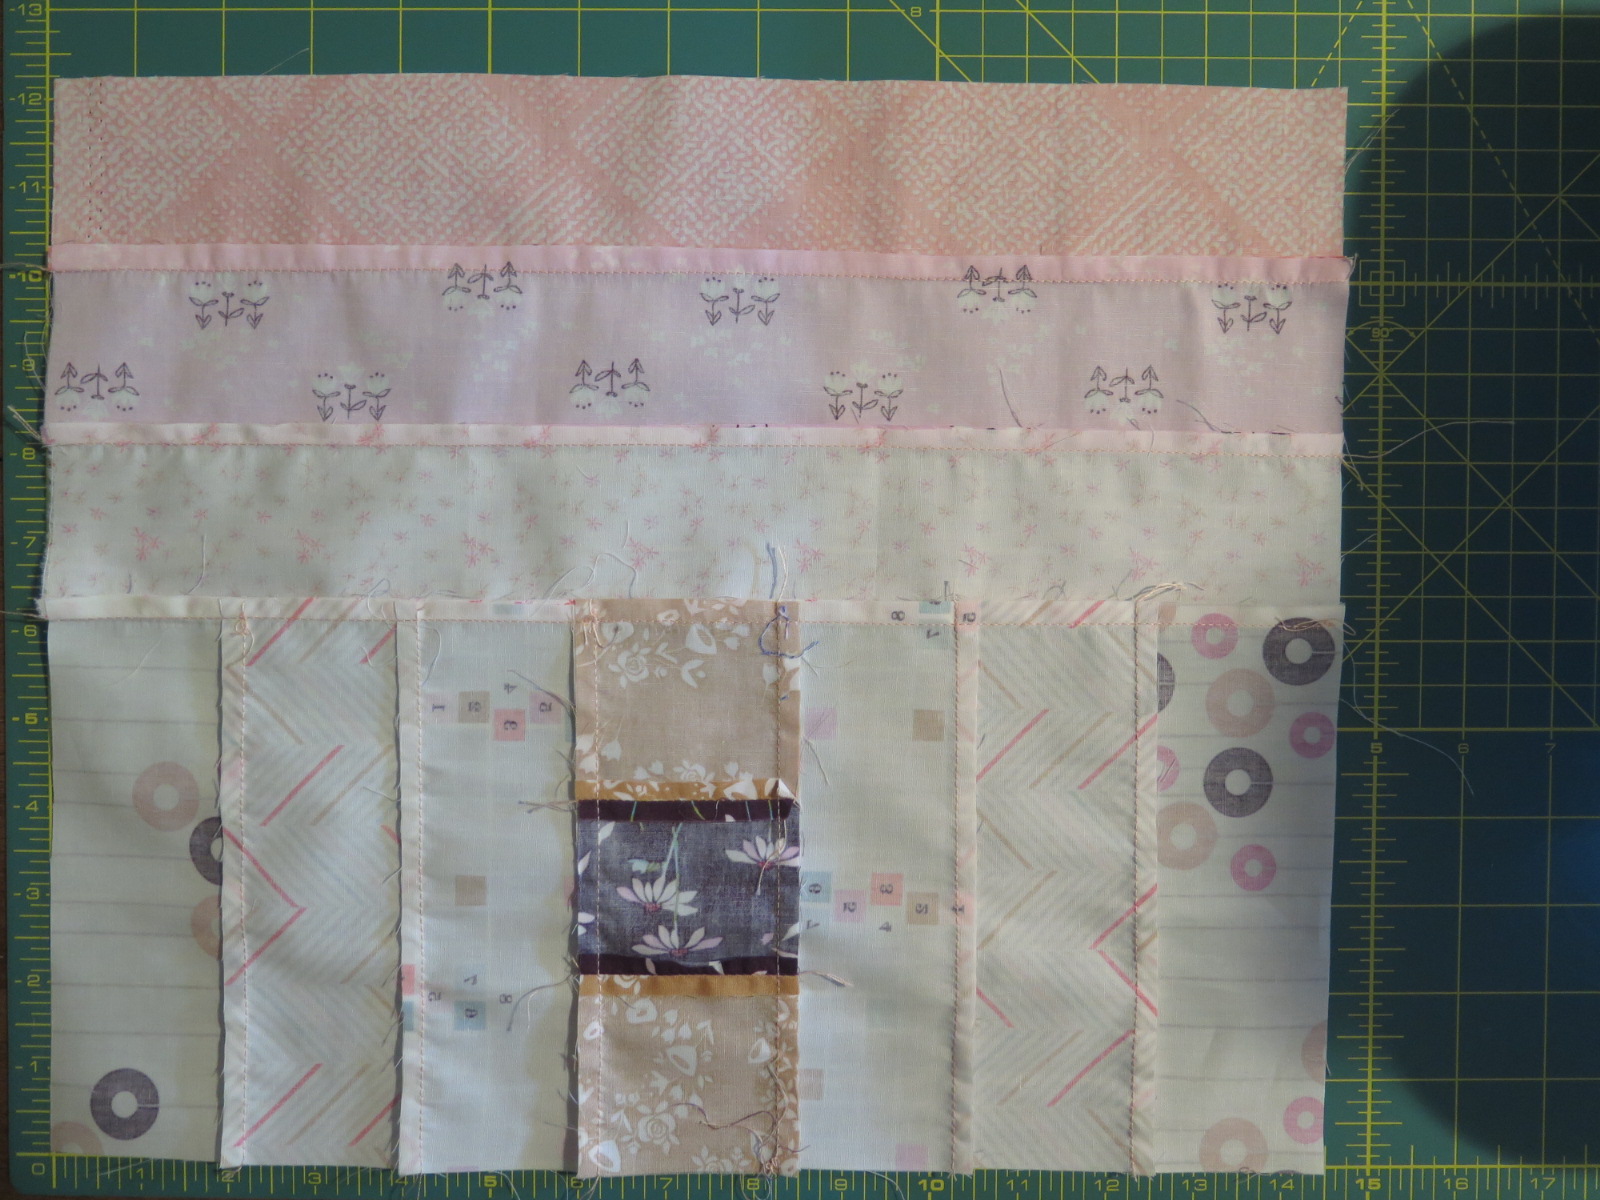
Start by adding your two sets of light 2 1/2″ x 6 1/2″ sewn strips to either side of your pieced center lengthwise. Press your seams.
Now you will add your medium 2 1/2″ x 14 1/2″ strip sets to the top and bottom of the piece you have sewn. Press your seams outward.
You will continue as such:
- Add light 2 1/2″ x 18 1/2″ strip sets to light side of strips then press.
- Add medium 2 1/2″ x 26 1/2″ strip sets to medium side of strips then press.
- Add light 2 1/2″ x 30 1/2″ strip sets to light side of strips then press.
- Add medium 2 1/2″ x 28 1/2″ strip sets to medium side of strips then press.
And you’re done! The piece will measure approximately 38″ x 42″. Perfect size for a baby quilt.

IMPORTANT TIP: When piecing in this manner (adding borders to a center block), it is important to constantly measure your work and add your borders in the correct size. See, everyone’s quarter inch is a little different. So maybe your center piece ends up being a little shorter than mine. When adding your borders, adjust the size of the border to match the size of your center. That may mean trimming a tad bit off if you have a little extra.
Come by next Thursday, October 13 for my next tutorial on how to quilt this lovely little quilt!


What you might also like


One comment on “Take a Big Step Baby Quilt-Along: Part I”
Leave a Reply
You must be logged in to post a comment.

Such a sweet quilt, and using three strips in place of one is a great idea for a “refreshed” courthouse steps block. To me, the way the dark and light colors are arranged appears to form a giant spool of thread! If the central rectangle group were all-horizontal strips, it would look even more like thread. Hmm…