Take a Big Step Baby Quilt-Along: Part II

Thanks for checking out Part II of my Take a Big Step Baby Quilt-Along. Click here to check out Part I and learn how I made this quilt!

I am in the piecing camp. I like nothing more than putting together fabrics, cutting them up, and making something new out of it. Now that is not to say that I don’t like quilting. While I don’t enjoy the quilting process as much as I enjoy piecing my quilt tops, I certainly do appreciate what quilting does to put the finishing touches on a quilt.
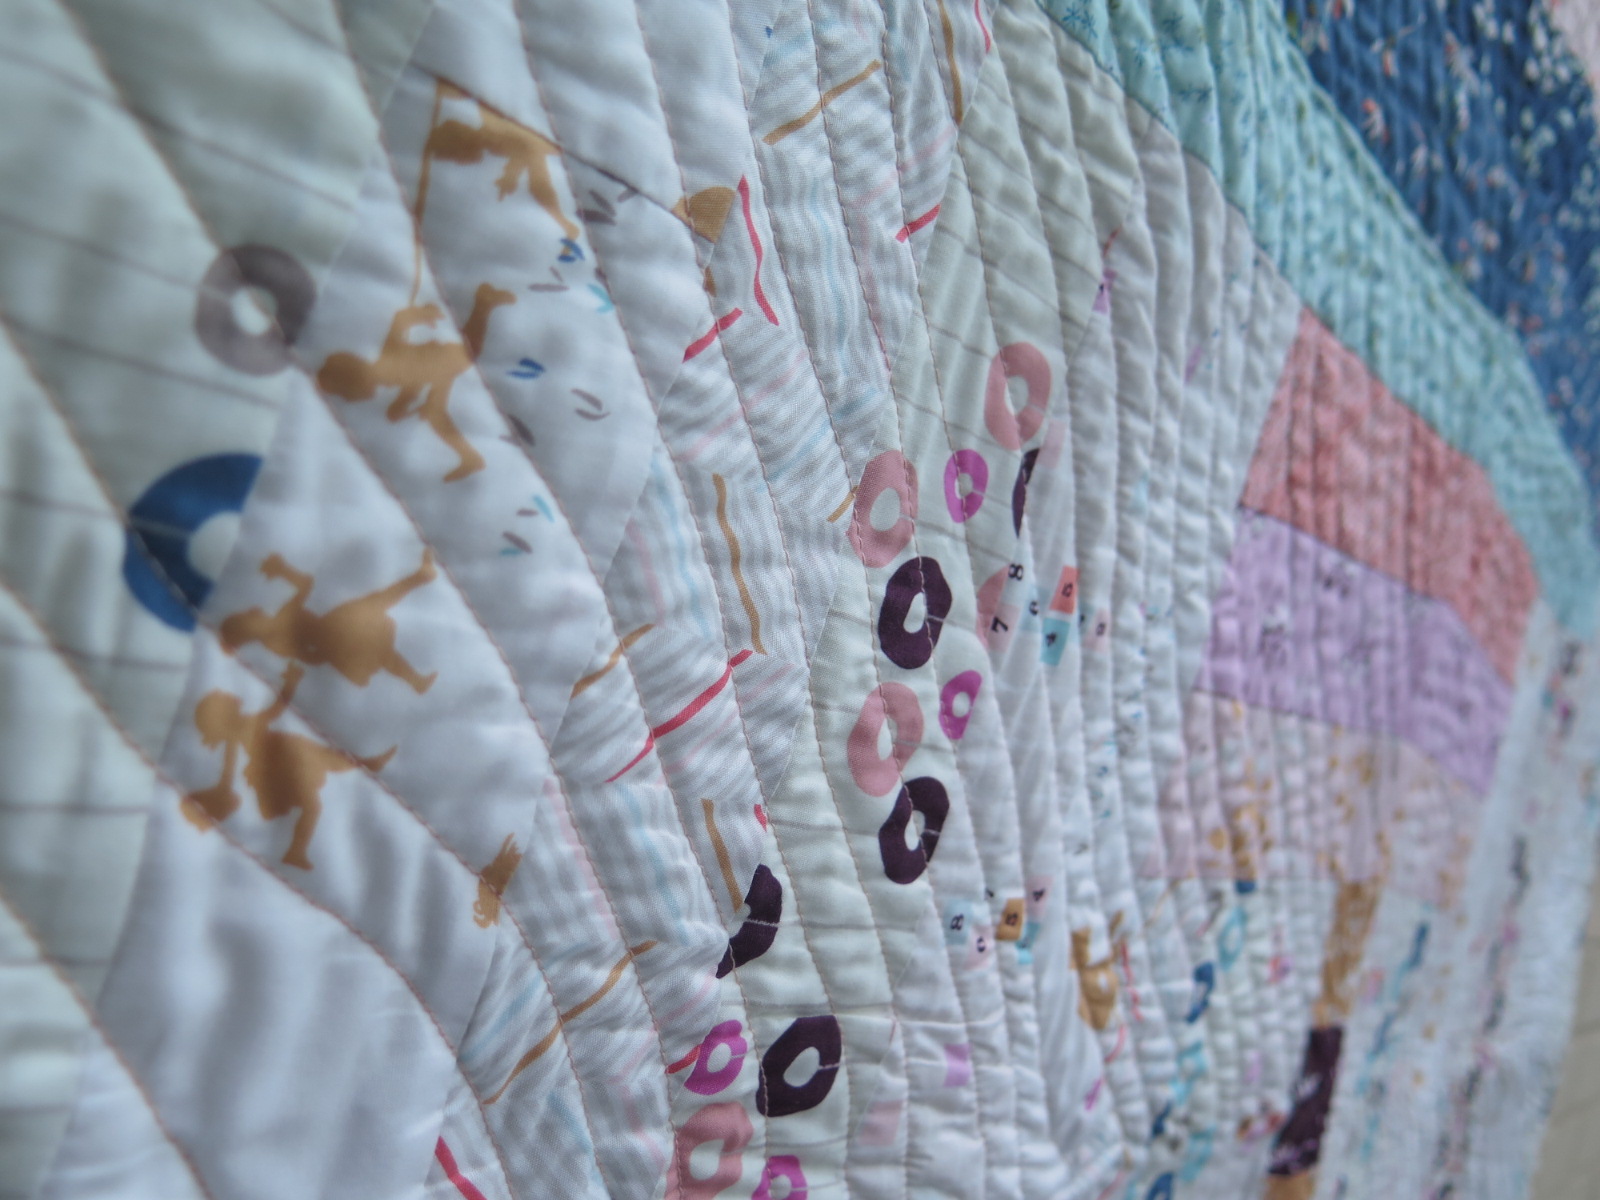
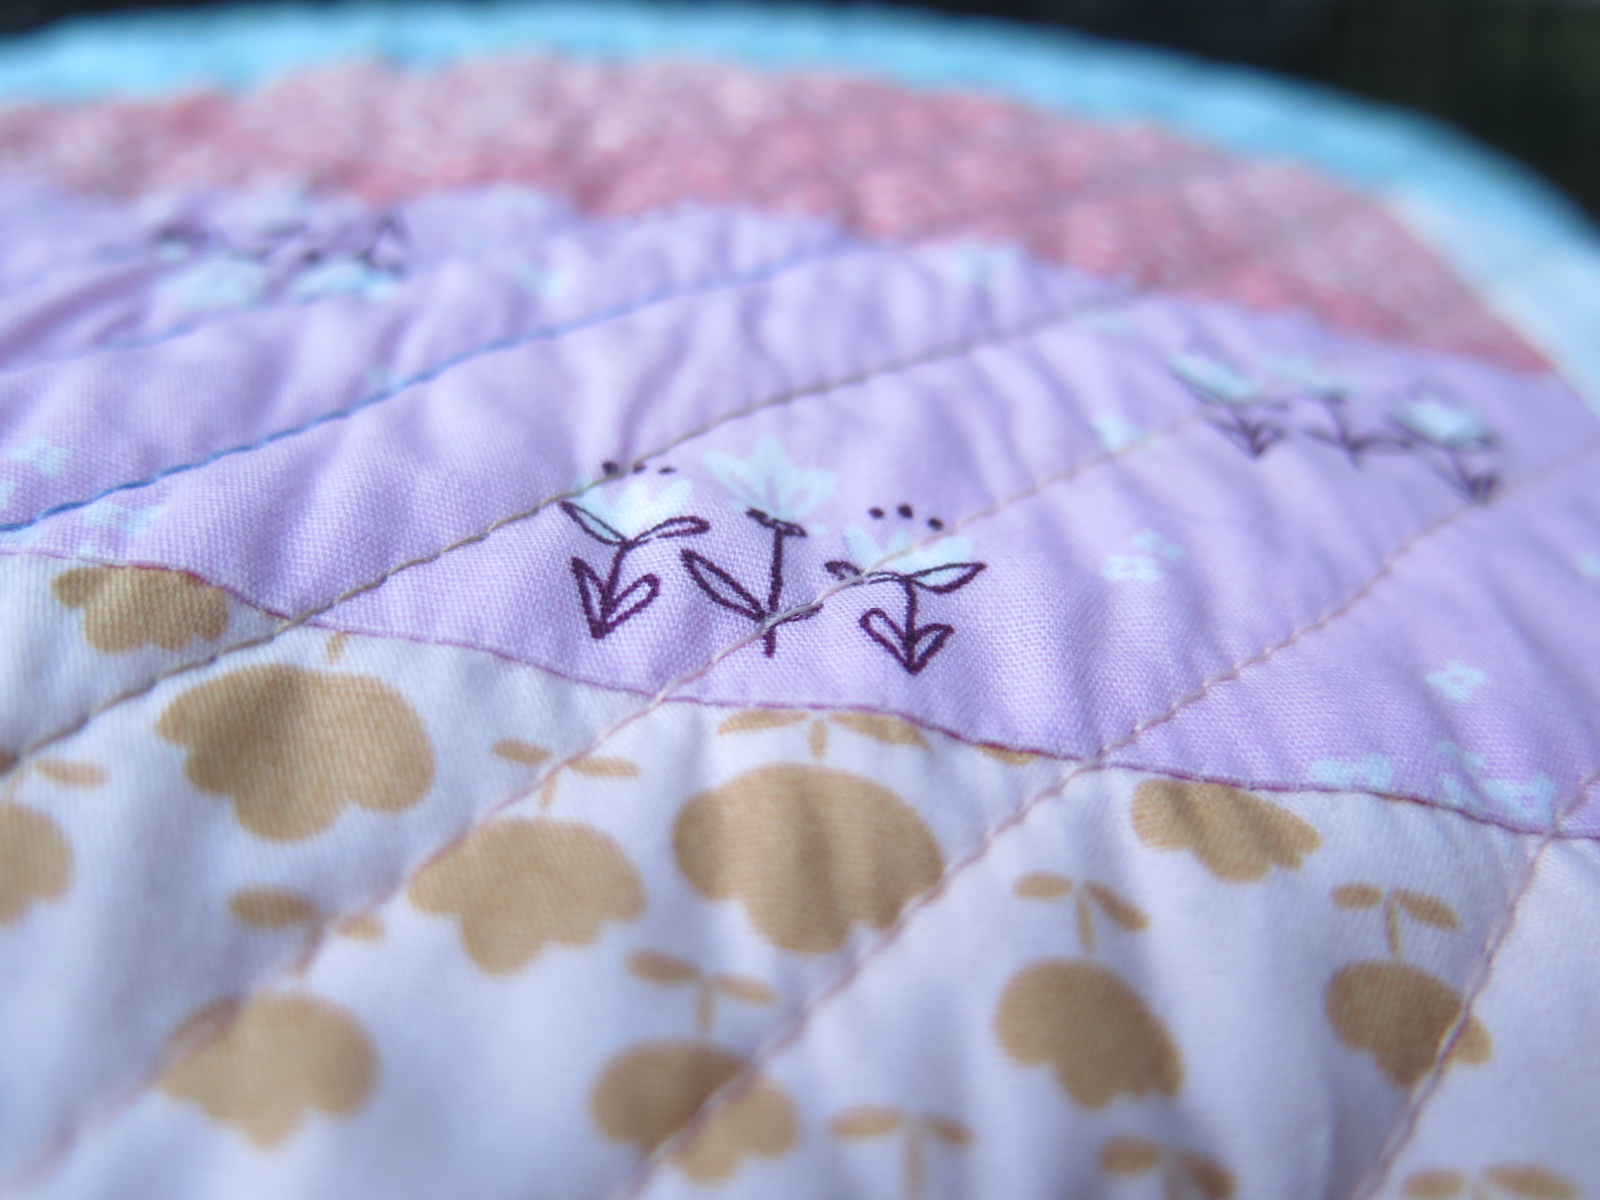
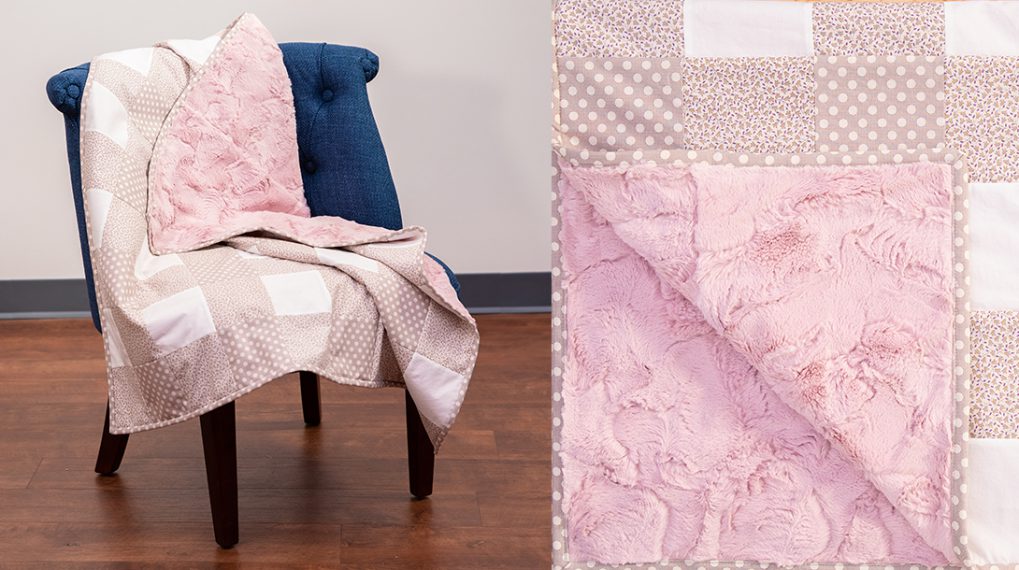
For me, the element that quilting brings to a project that I absolutely adore is texture.
I love the crinkly goodness of a handmade quilt. The design of the quilting comes secondary to me personally. I never make anything with a quilting design in mind. When I start making a quilt I am only thinking about the piecing part of the project. When I finish the top is when I start to wonder about how I’ll quilt it.
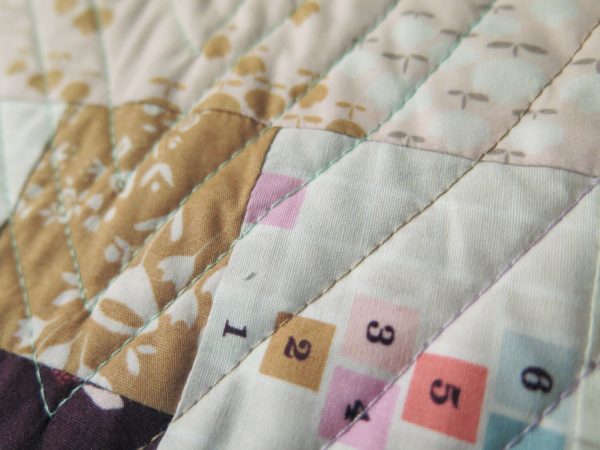
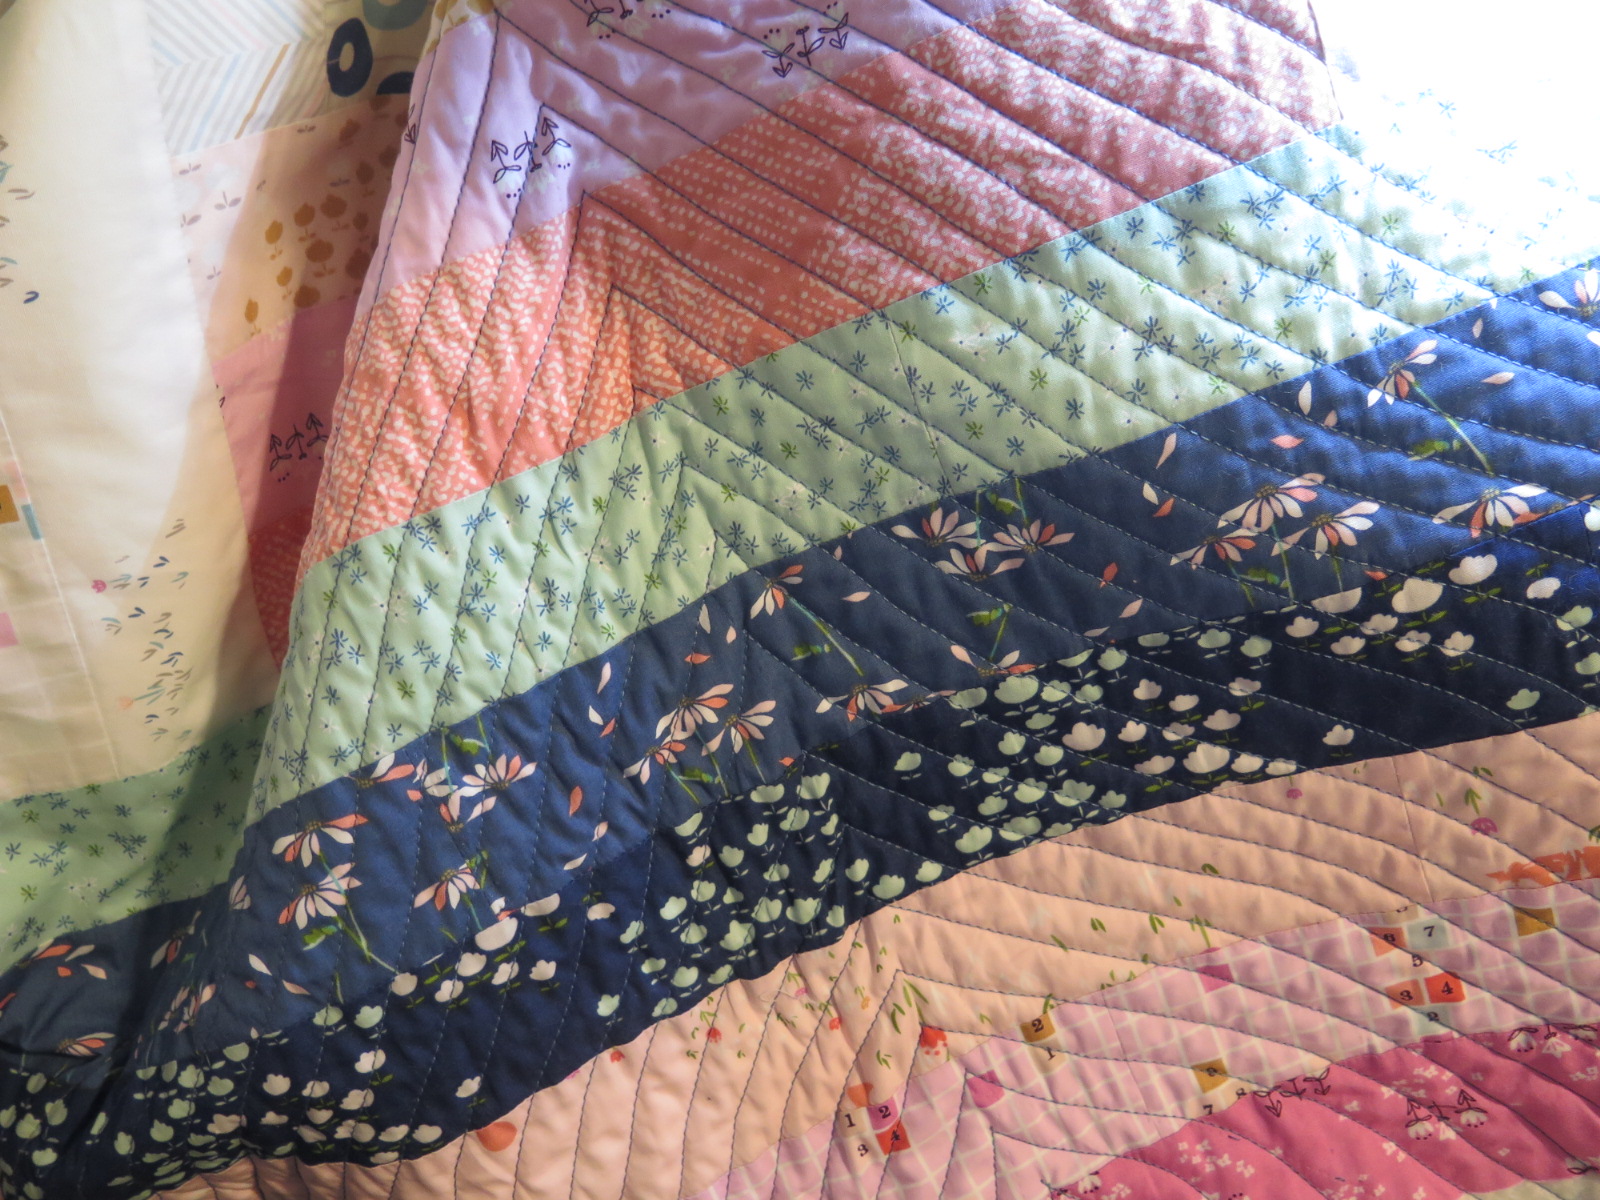
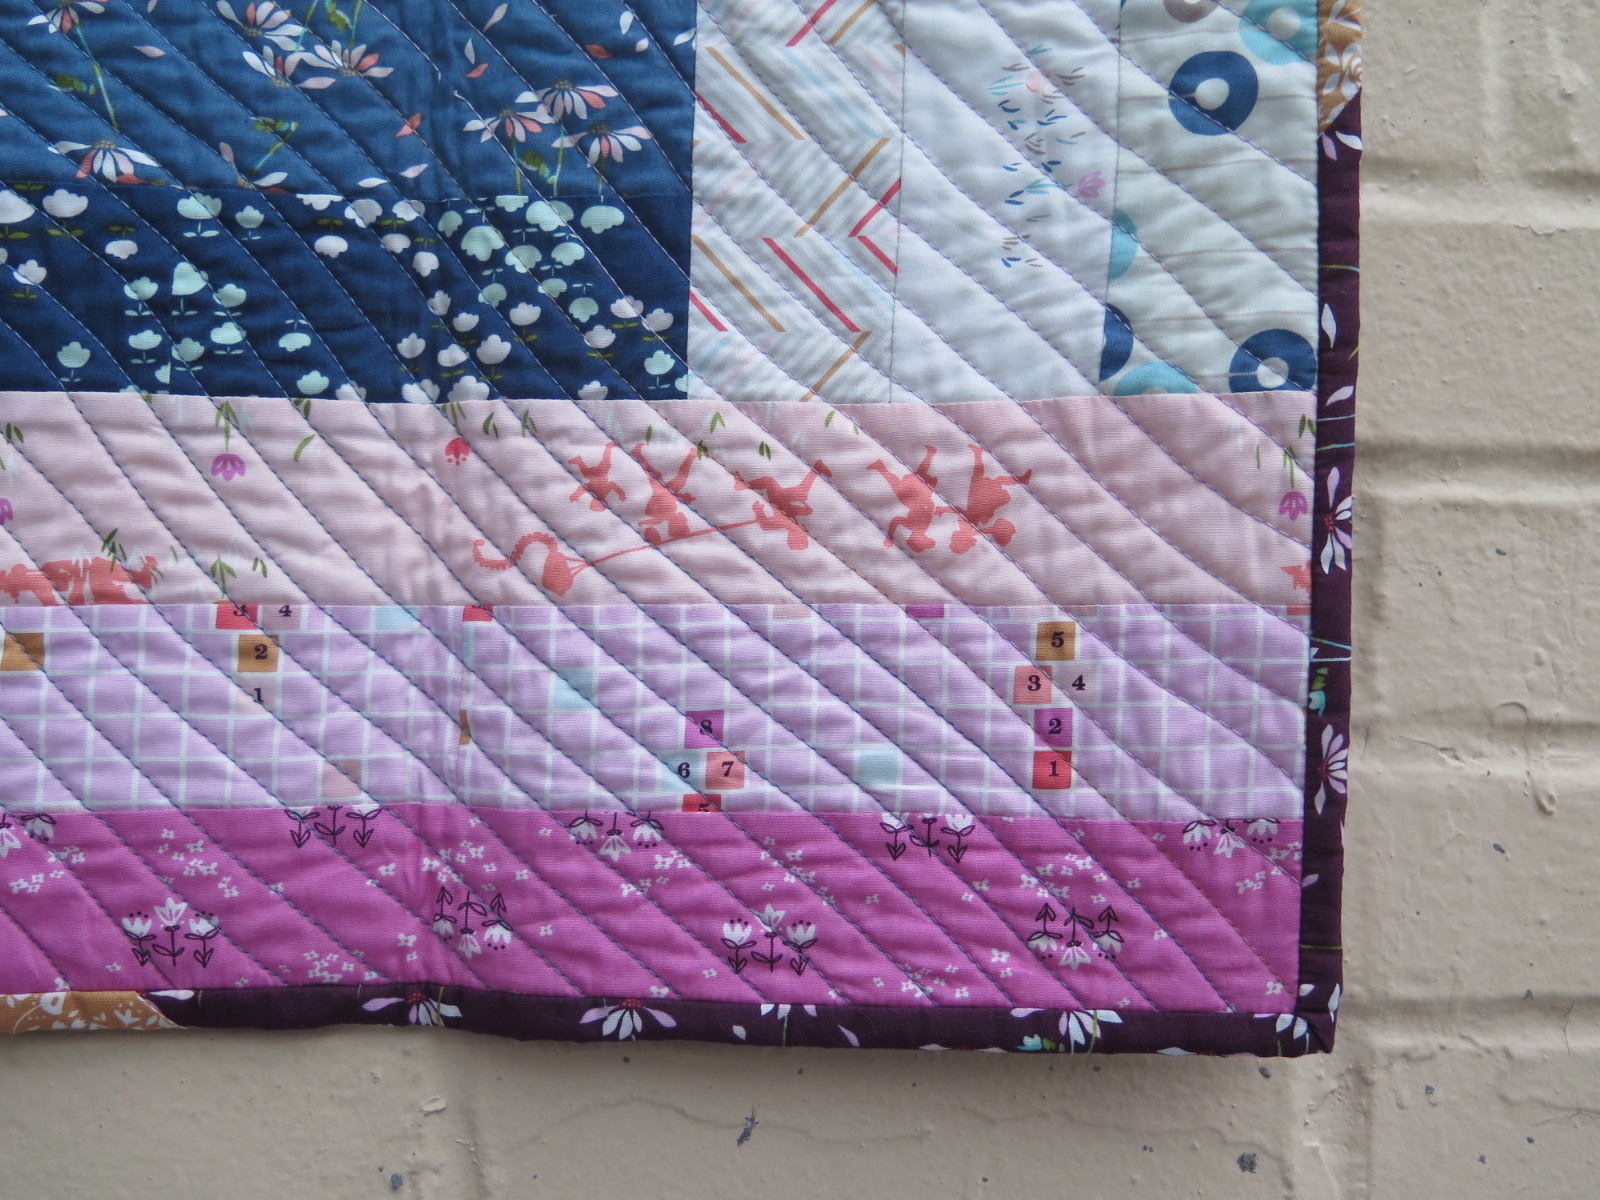
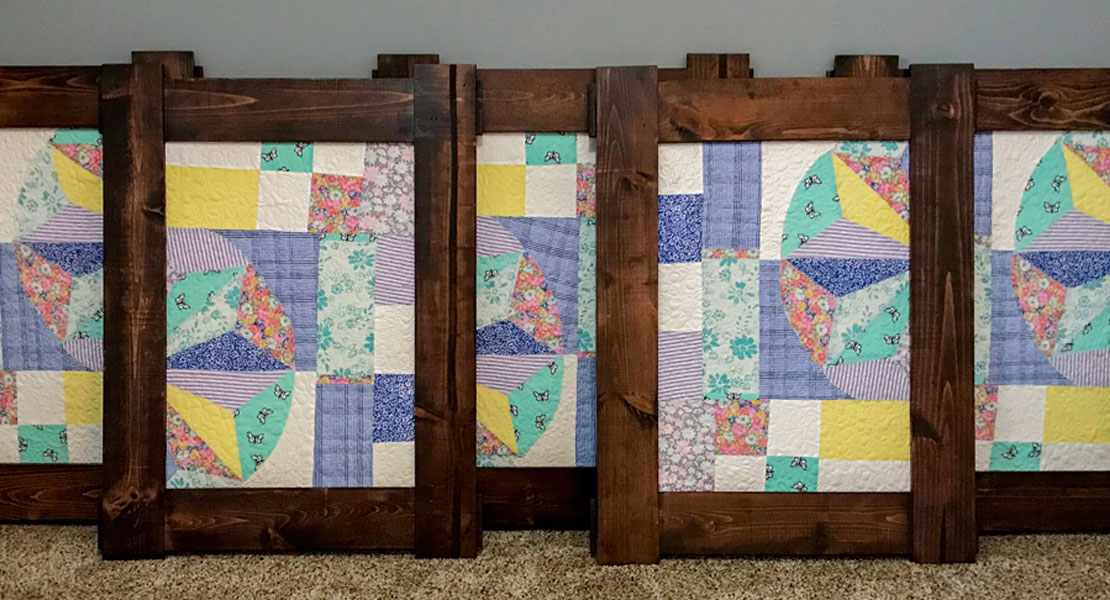
Lately I’ve been very drawn to straight lines with just a little “wonk” to them. I like to call them “drunken lines.”
From a distance, the lines appear pretty straight. But when you get up close, you start to see the wonkiness. To me, that’s part of giving it that handmade look. I see quilts that are perfectly structured, ones that look like they were made by machine. While they are beautiful and awe-inspiring, I like mine to look a little rough around the edges. It gives it personality, if you ask me.
Materials to quilt a Take a Big Step Baby Quilt:
- BERNINA 770QE
- Reverse pattern foot #1D for use with Dual Feed
- Threads in various colors (I used an assortment of Auriful threads)
- Fabric for binding
- Rotary Cutter
- Ruler
- Hand-sewing needle
- Batting
- Backing fabric
- Pins for basting
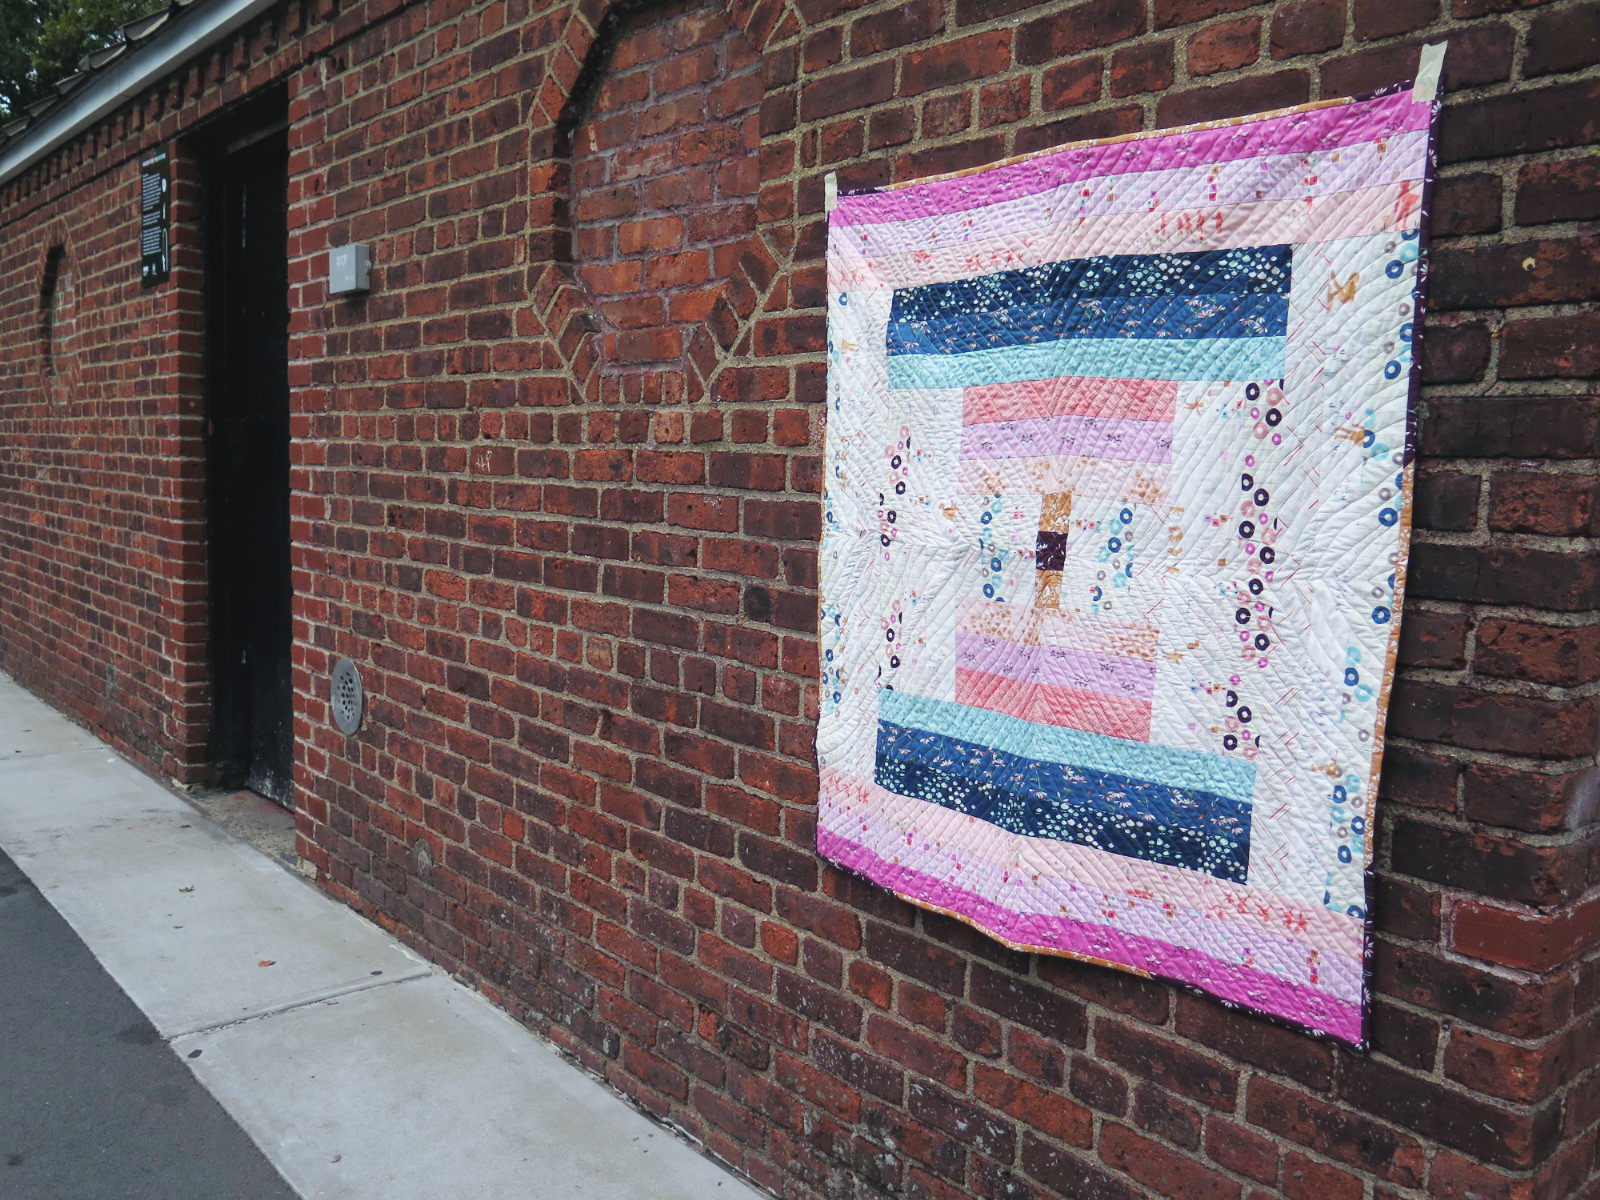
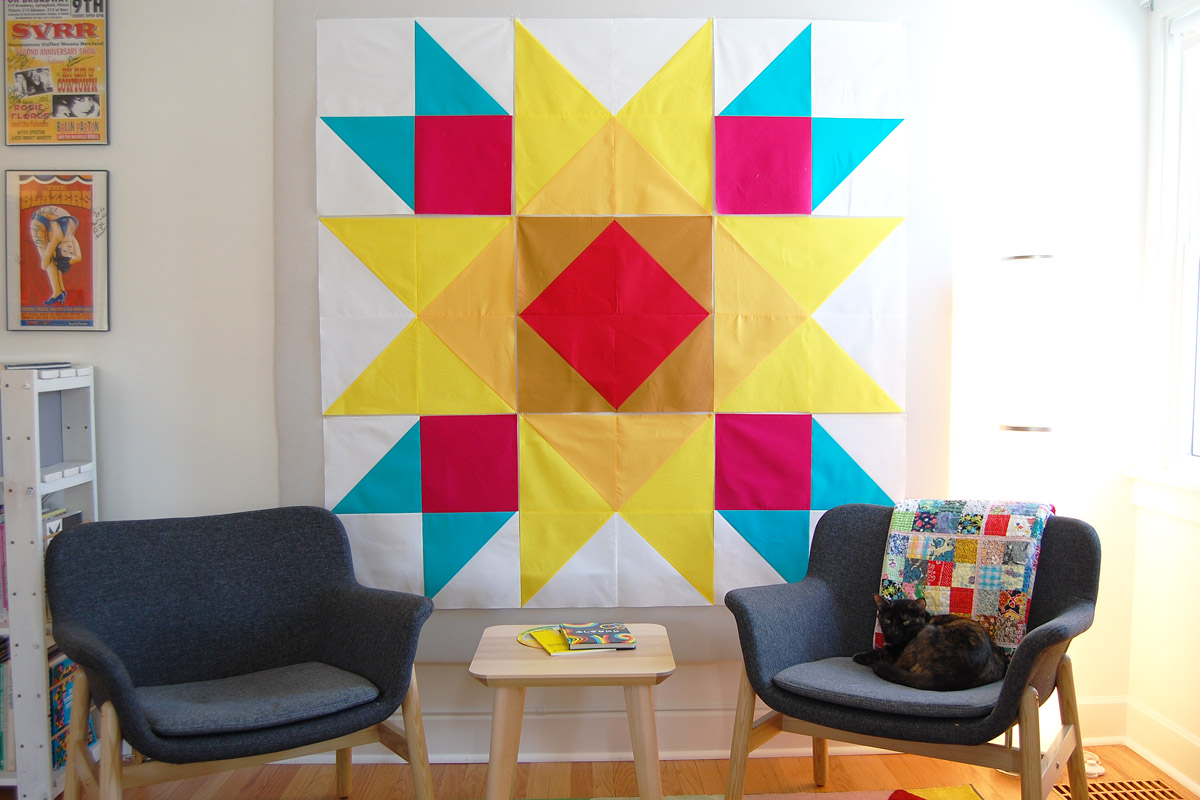
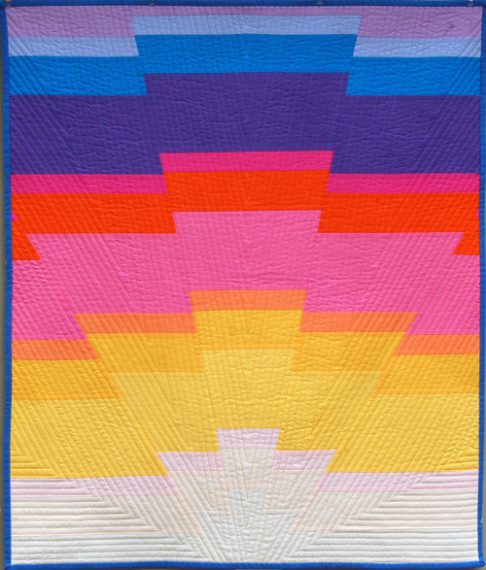
When I am deciding on a quilting pattern, I try to do a couple things: highlight the design I have pieced and juxtapose it a bit. For this particular quilt, I wanted to play against the rigidity and boxiness of the design with some sharp angles.

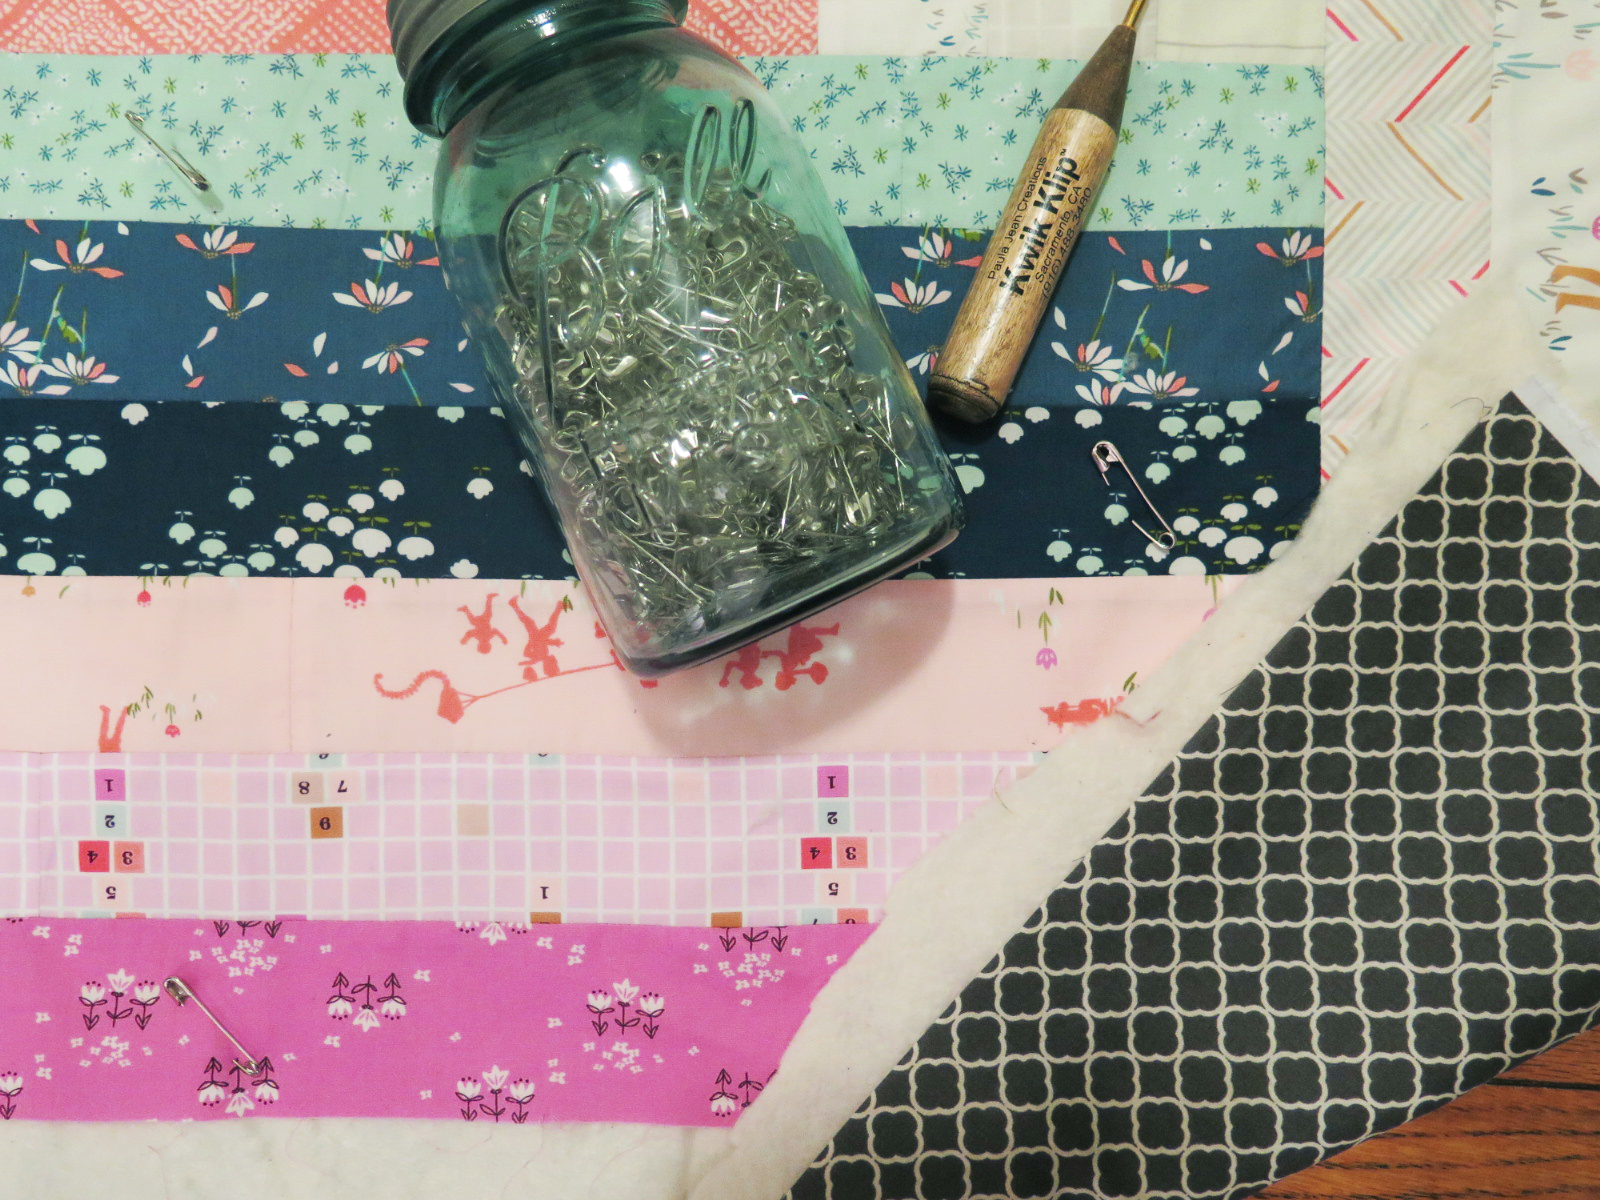
First thing’s first. Baste your quilt. I laid my backing down, then my batting, then my top. I like for the batting and backing to be about three inches wider than my quilt top. Pin your three layers together so they don’t shift during the quilting process. I didn’t use too many pins to baste my quilt as the piece is rather small. When I am basting a larger piece, I place my pins about 5″ apart. When basting smaller pieces like this, usually I place the pins about 8-10″ apart.
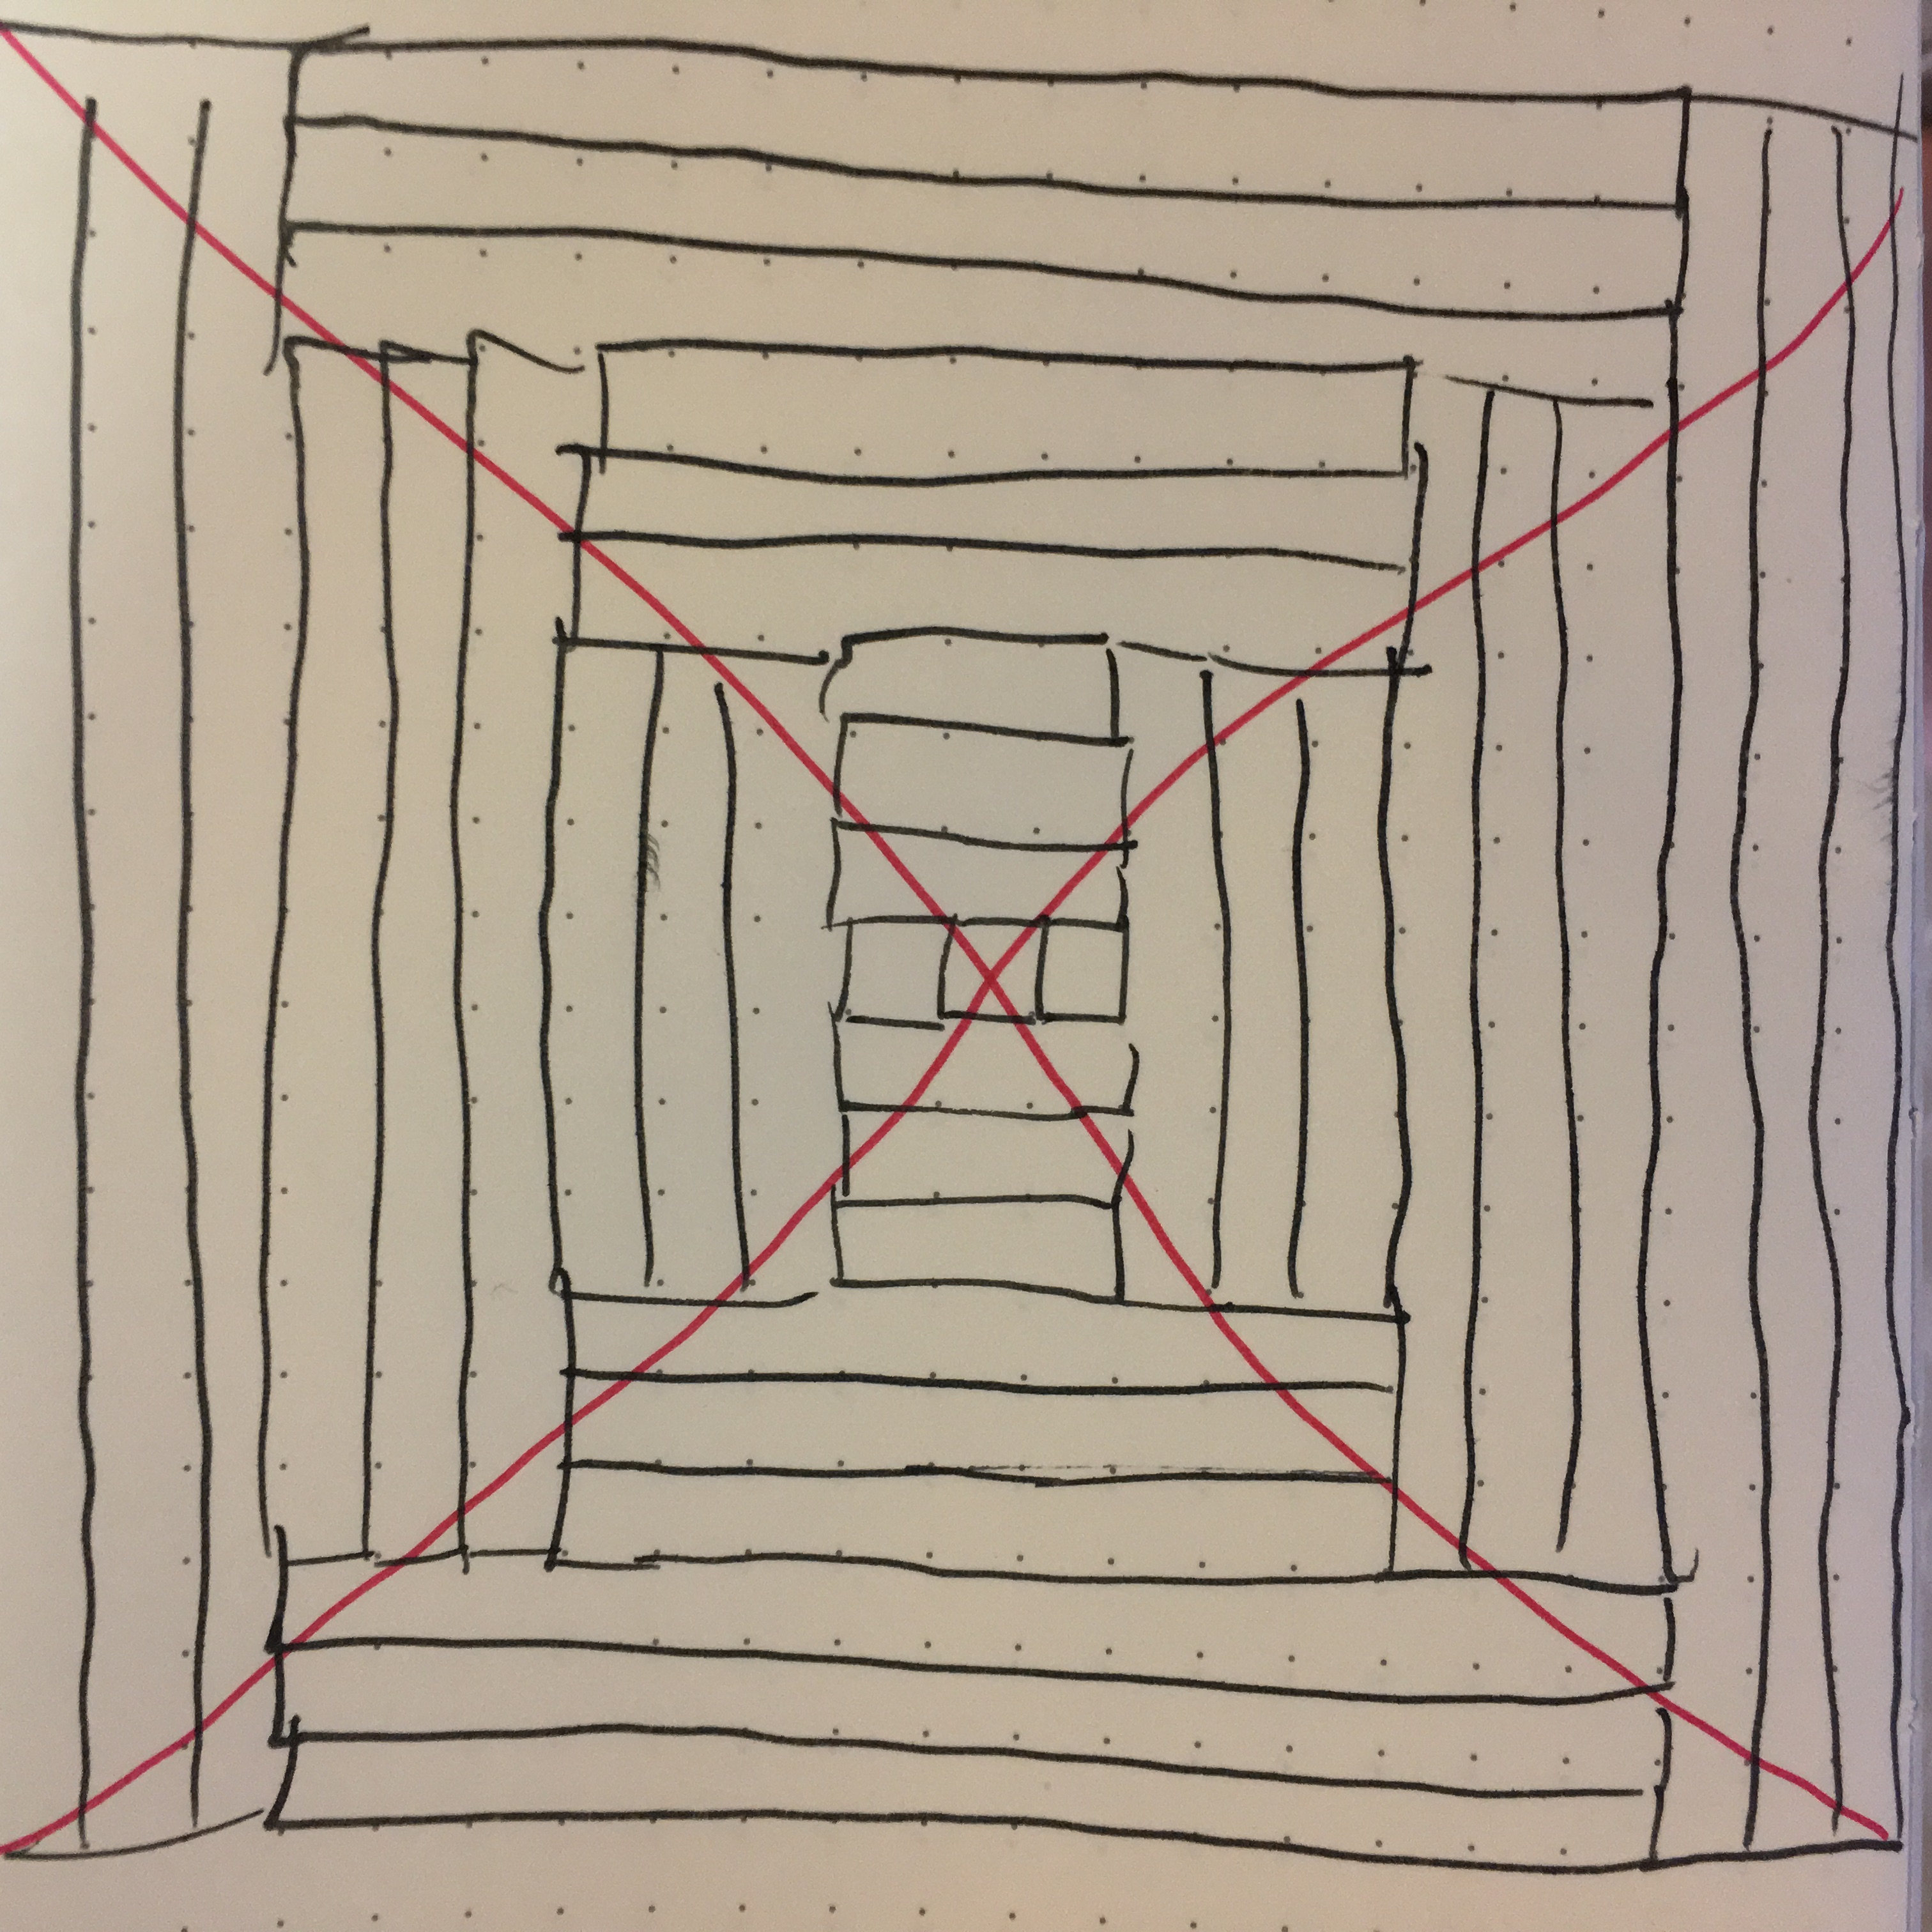
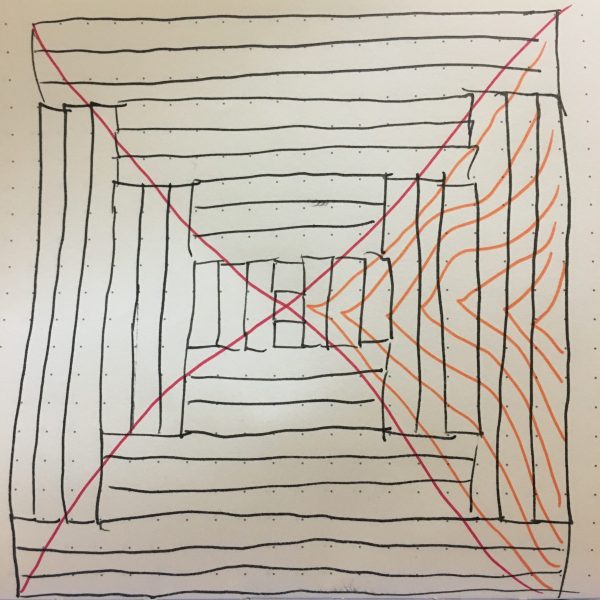
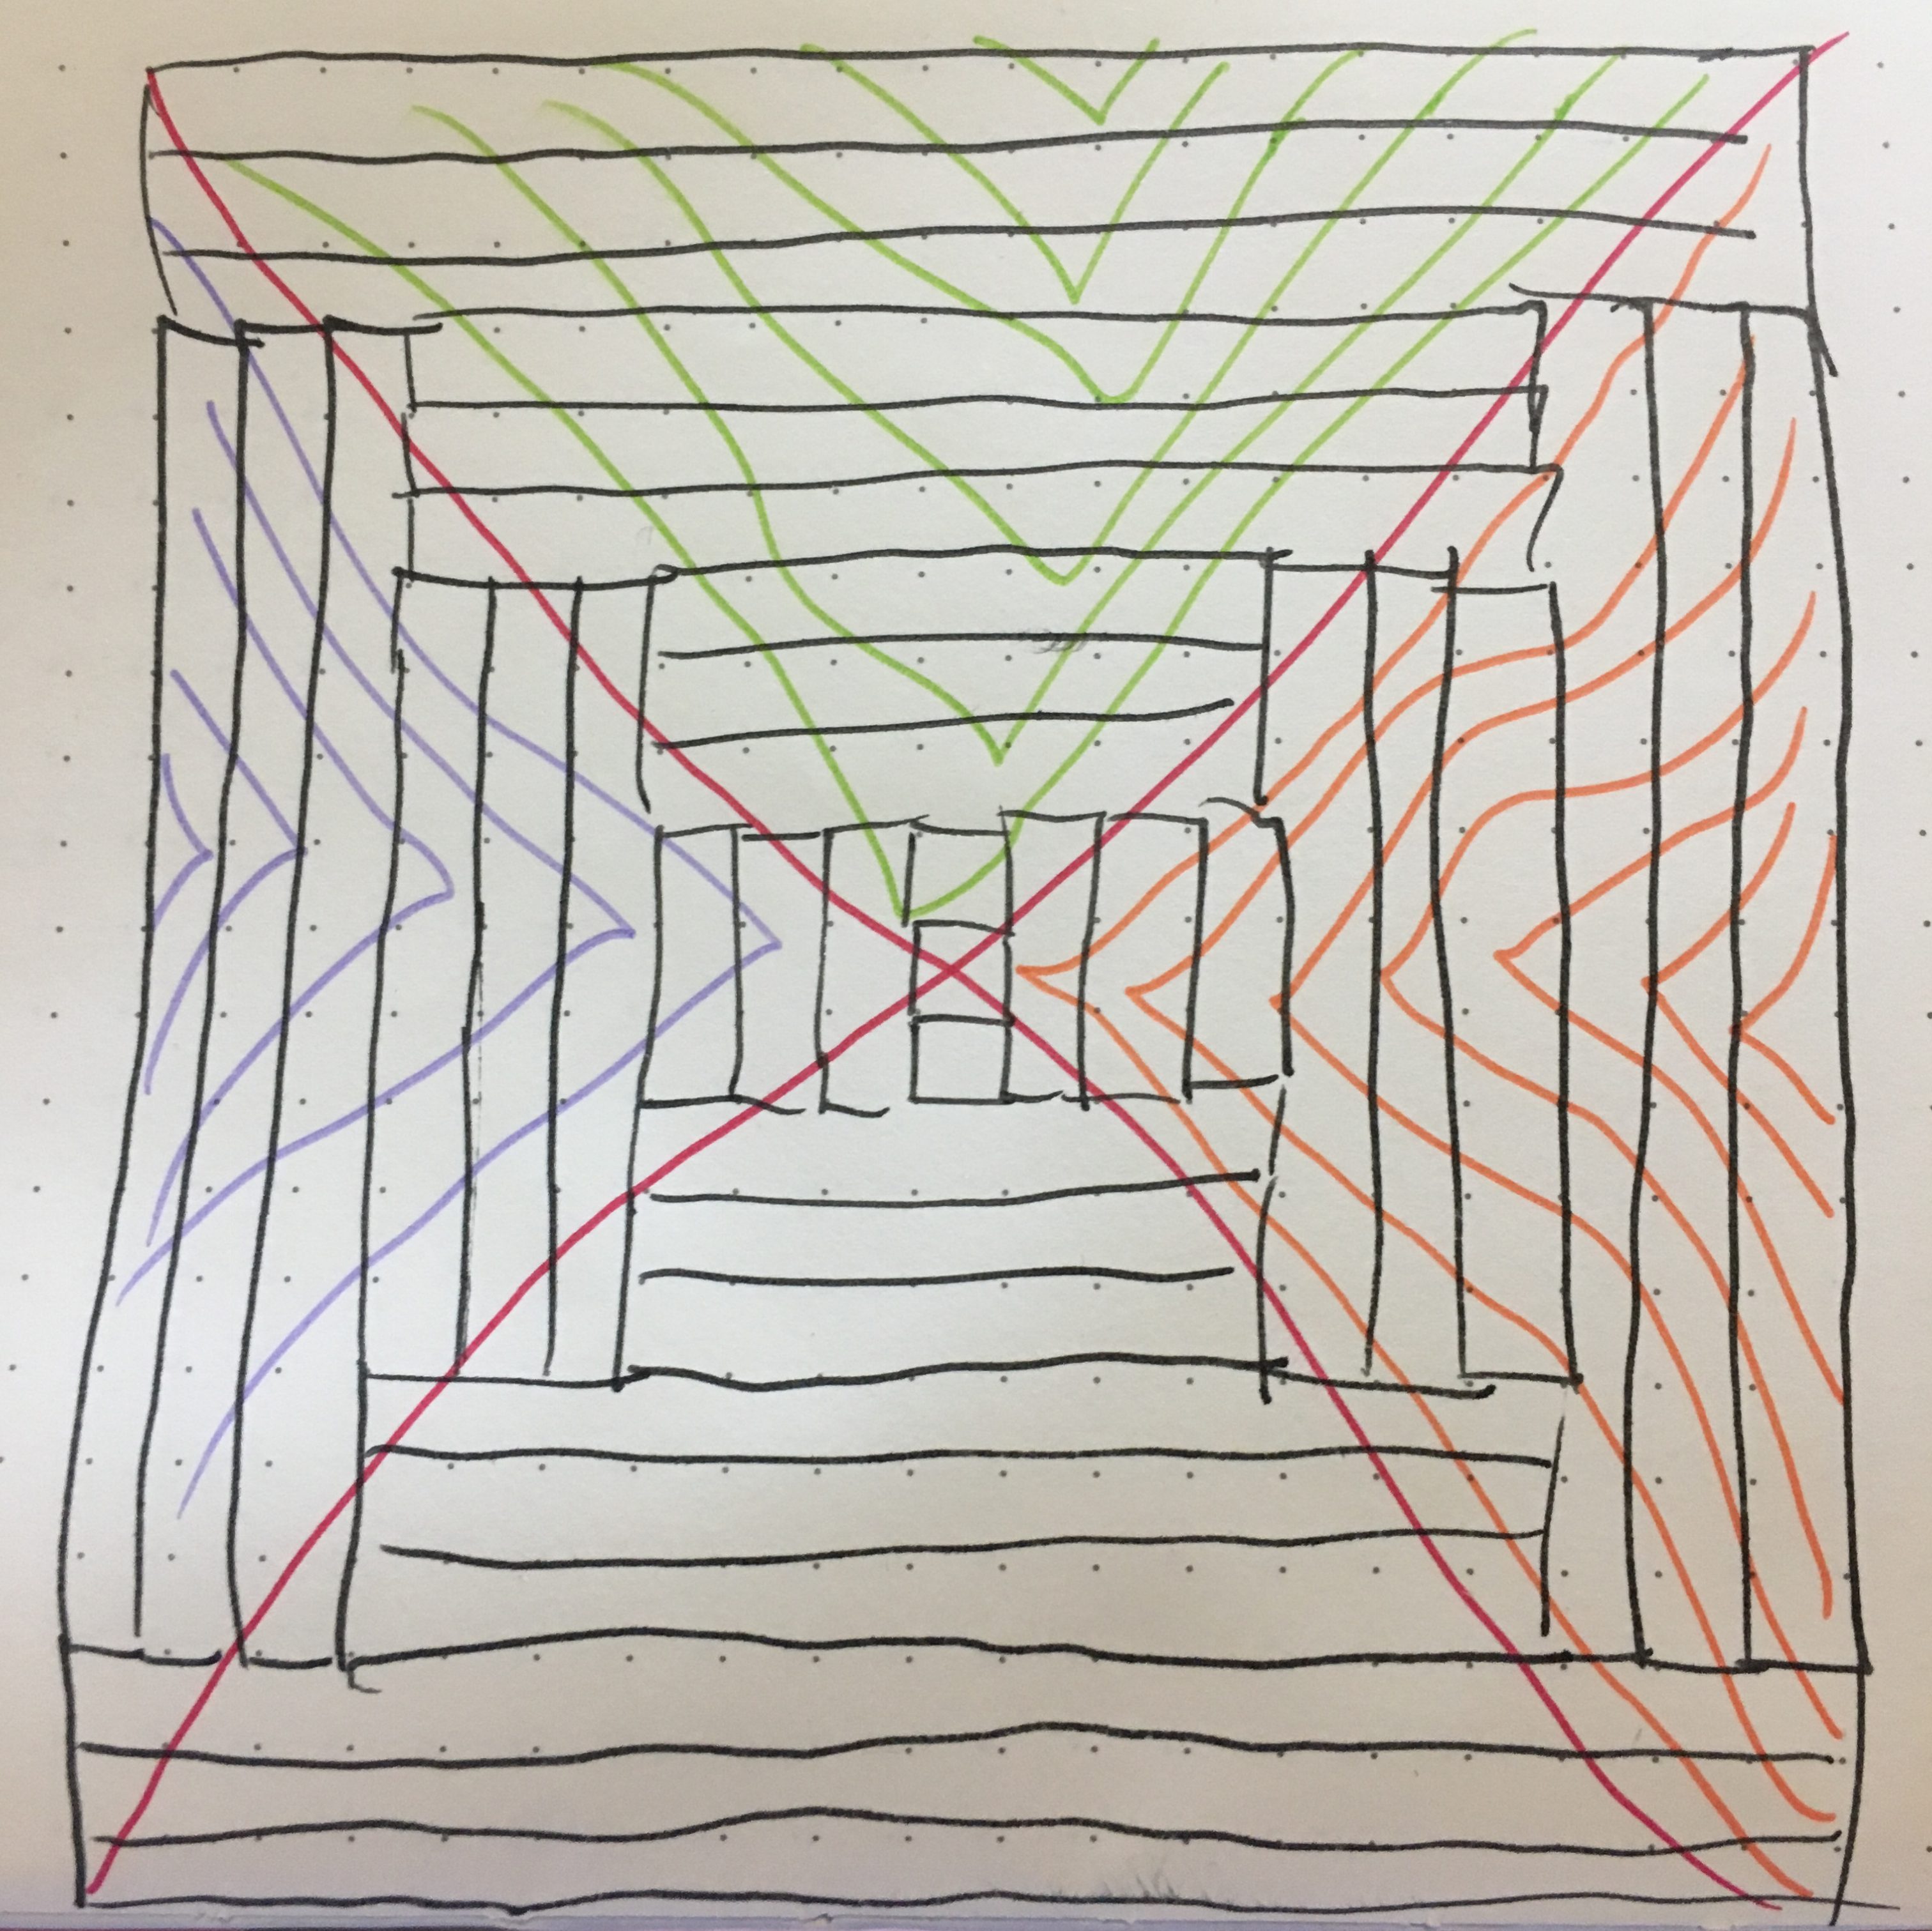
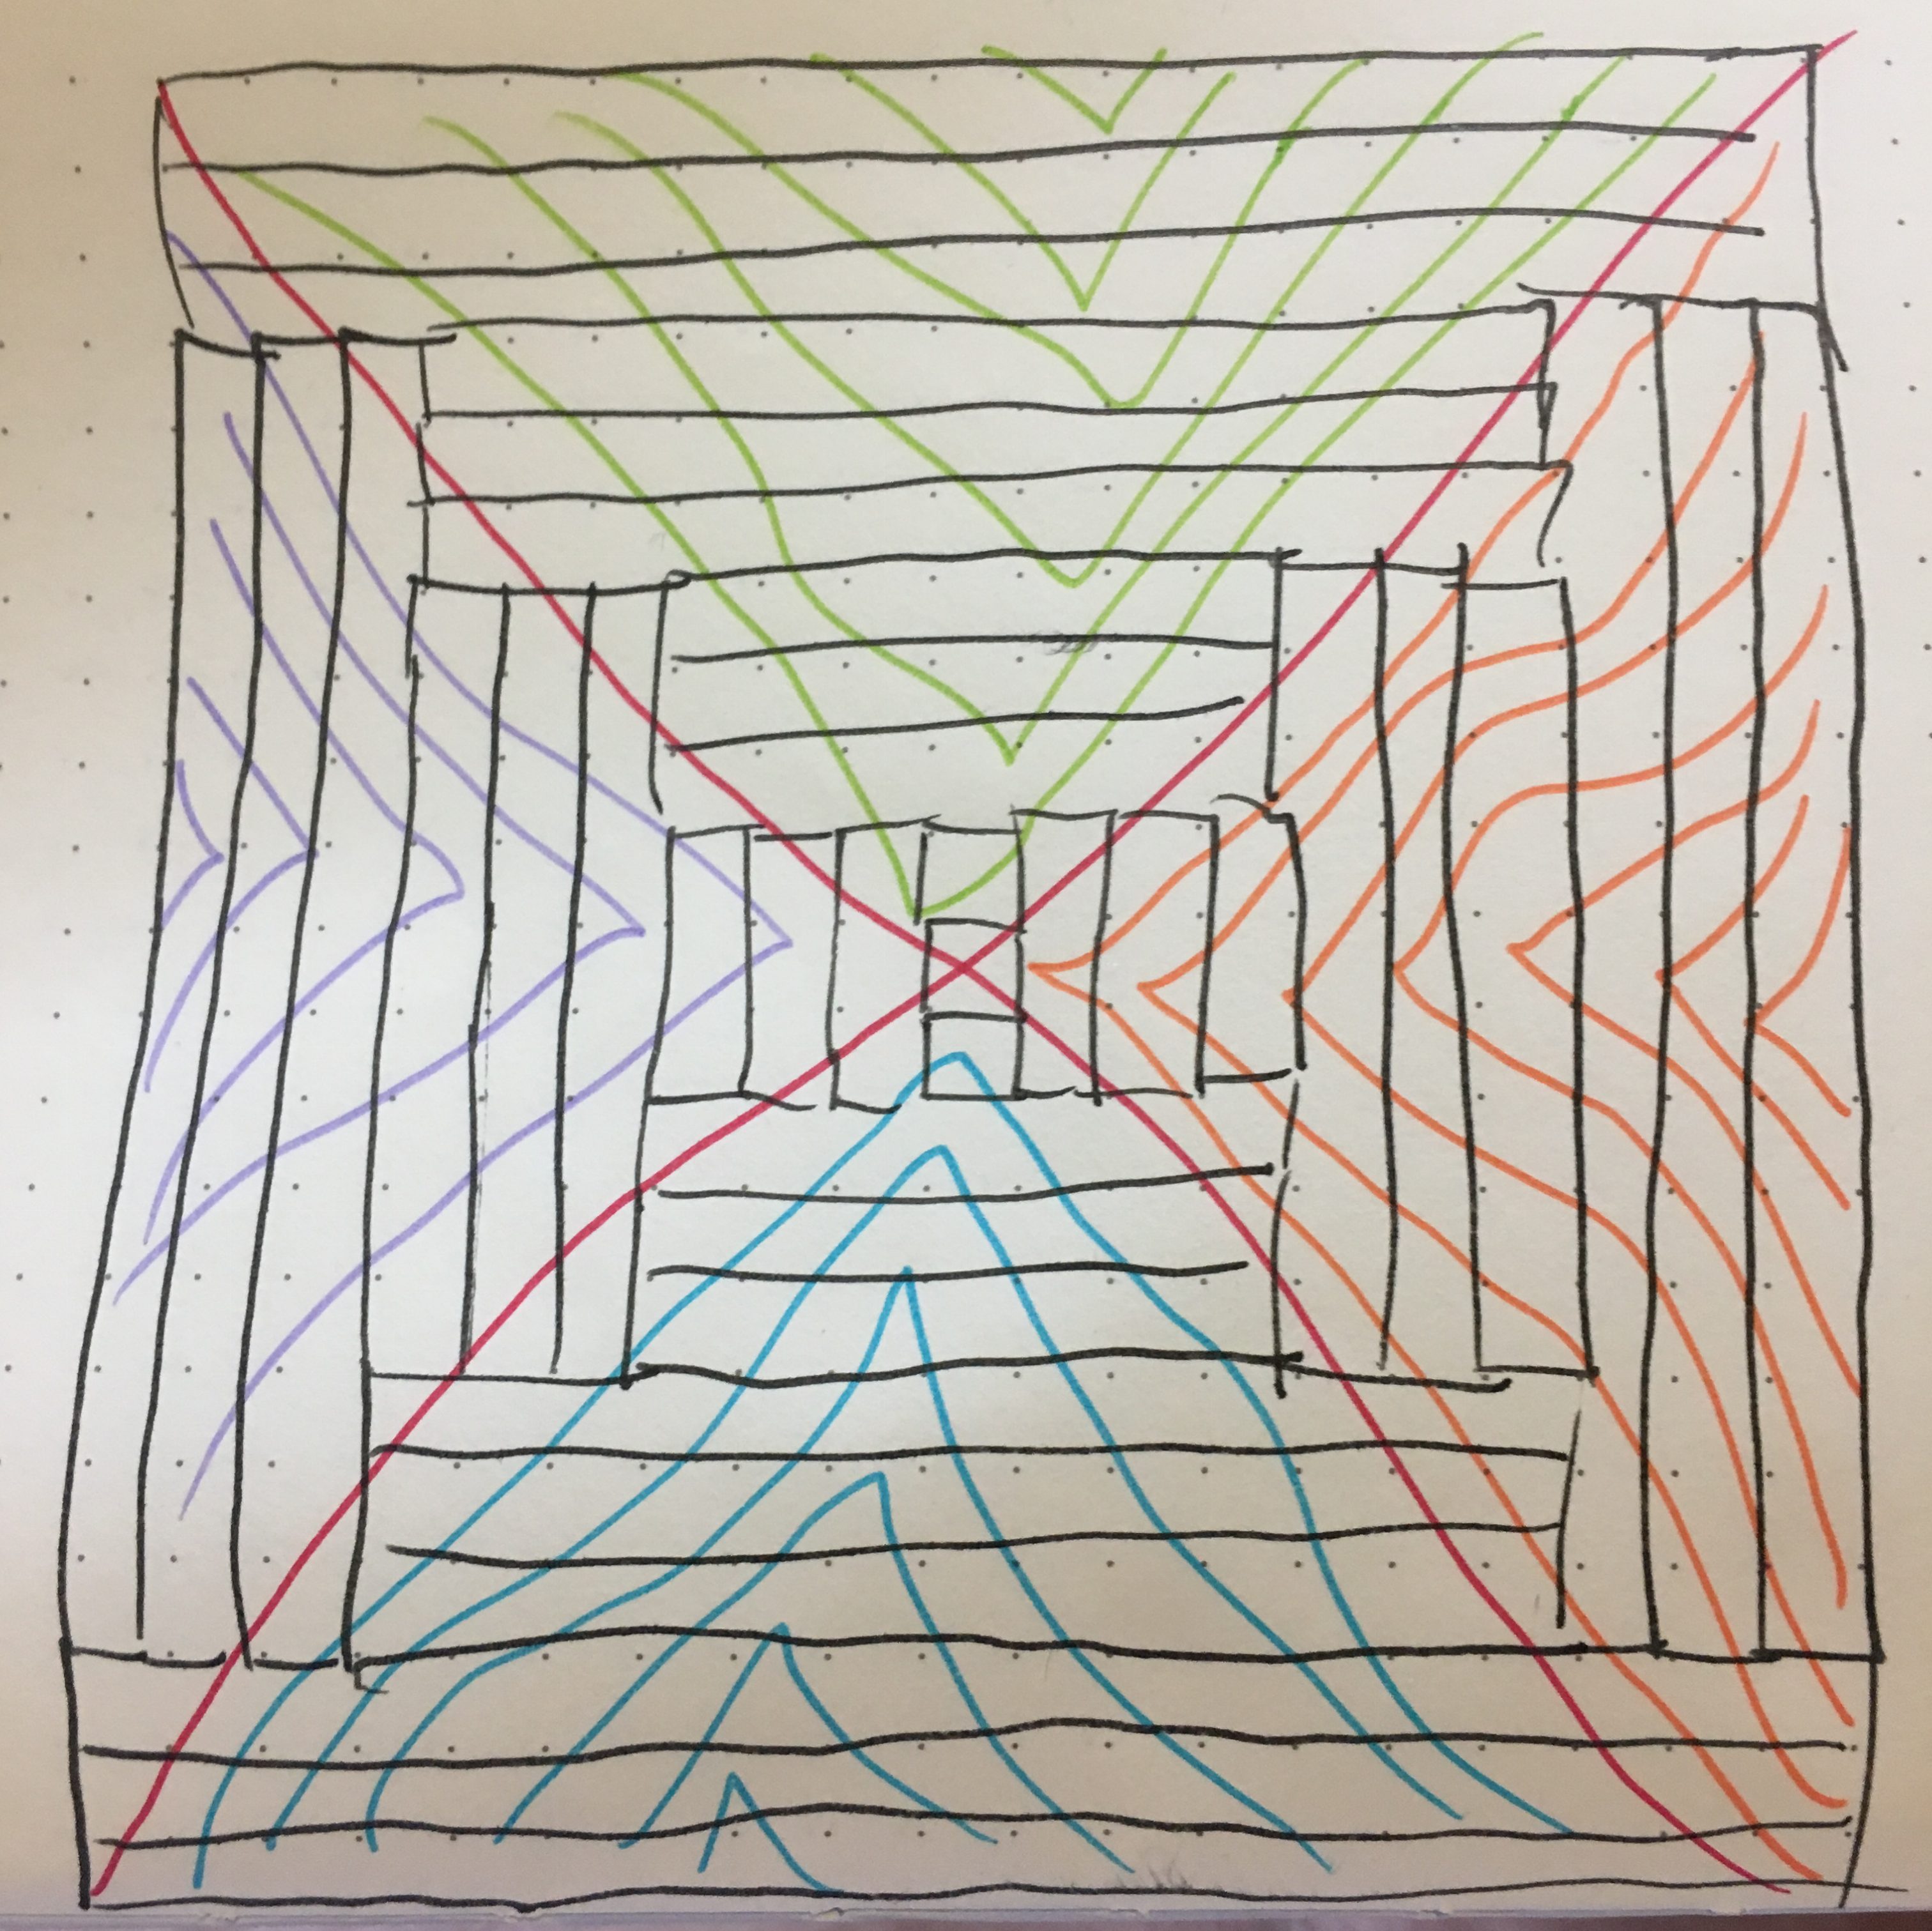
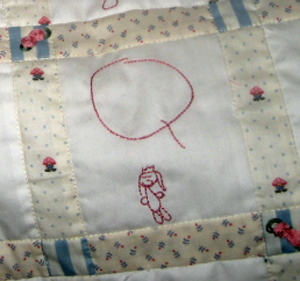
Once you have basted, it’s time to quilt! I broke the piece into four 45º quadrants as shown below (pardon the crude drawing… I can sew, but I can’t draw). Sometimes, when I am deciding on what quilt design to do for a project, I’ll draw a quick sketch of the quilt pattern and draw out my quilting lines in a contrasting color. It just helps to give me a better sense of what the finished project will look like.
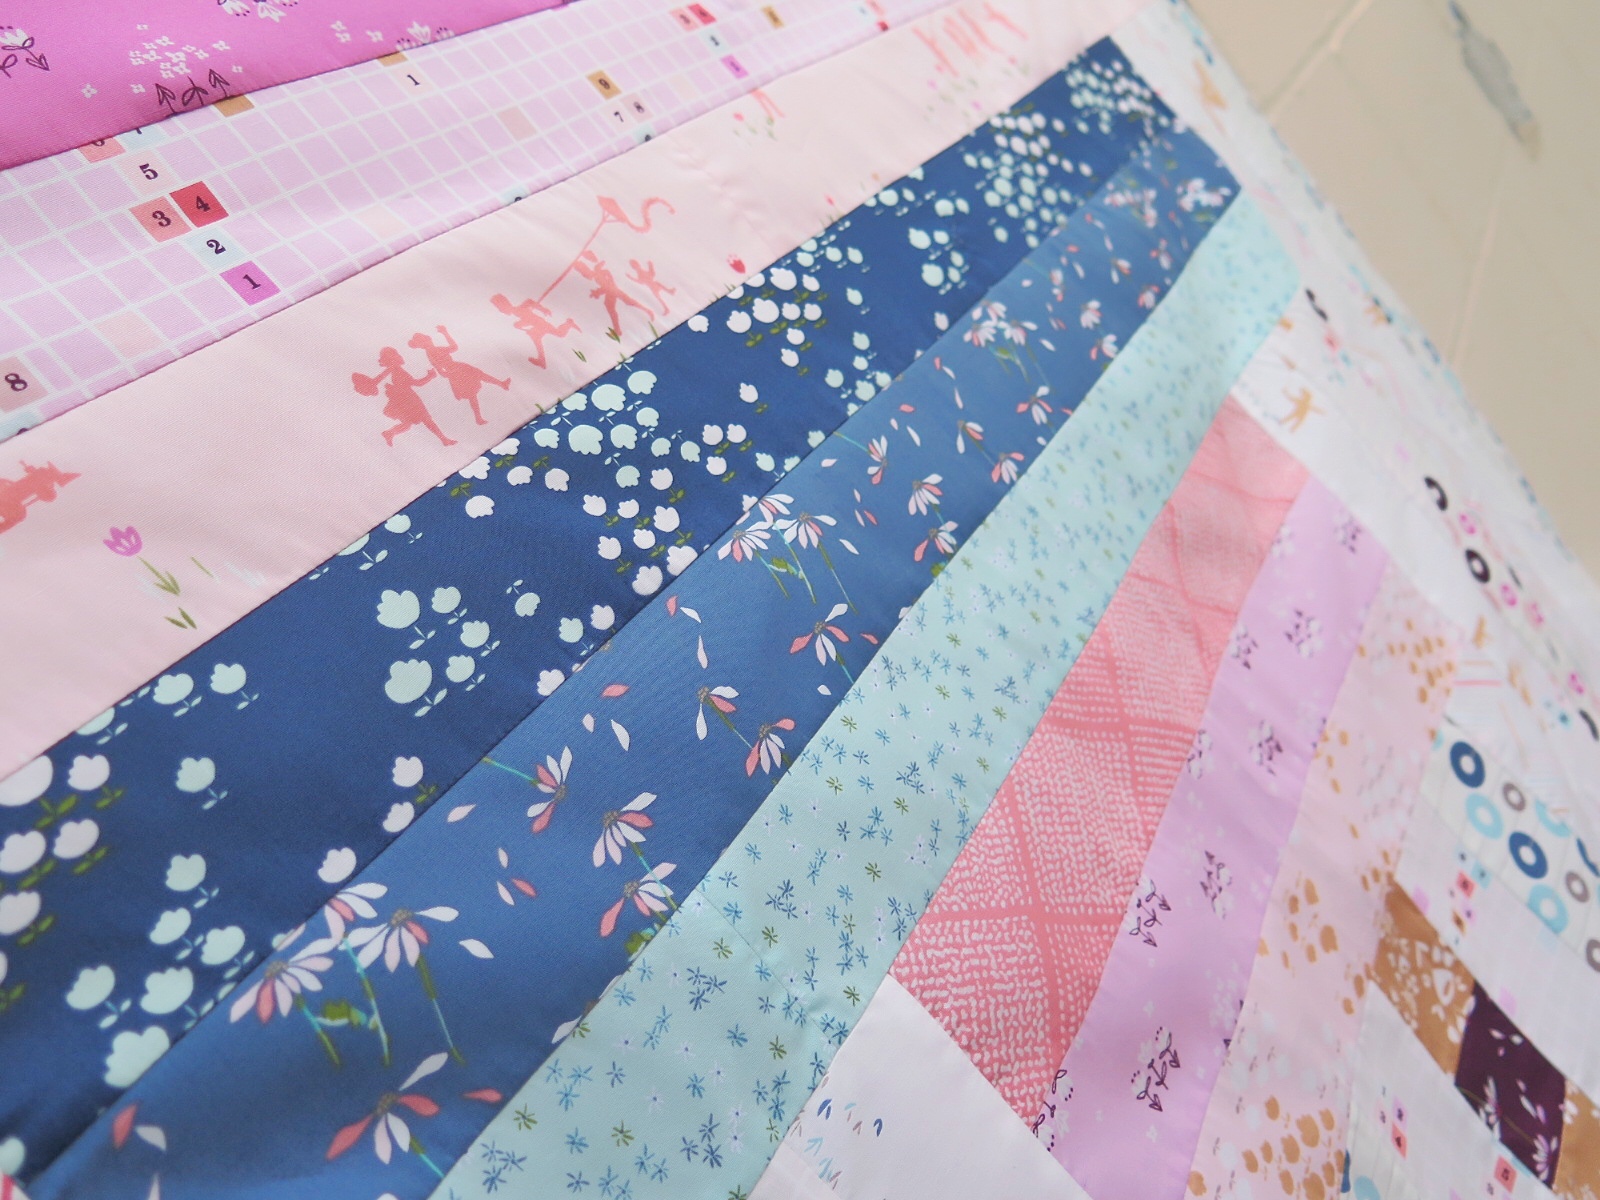
For some added visual interest, I decided to use different colors for each quadrant as well as a different color for the thread that would designate the sections.
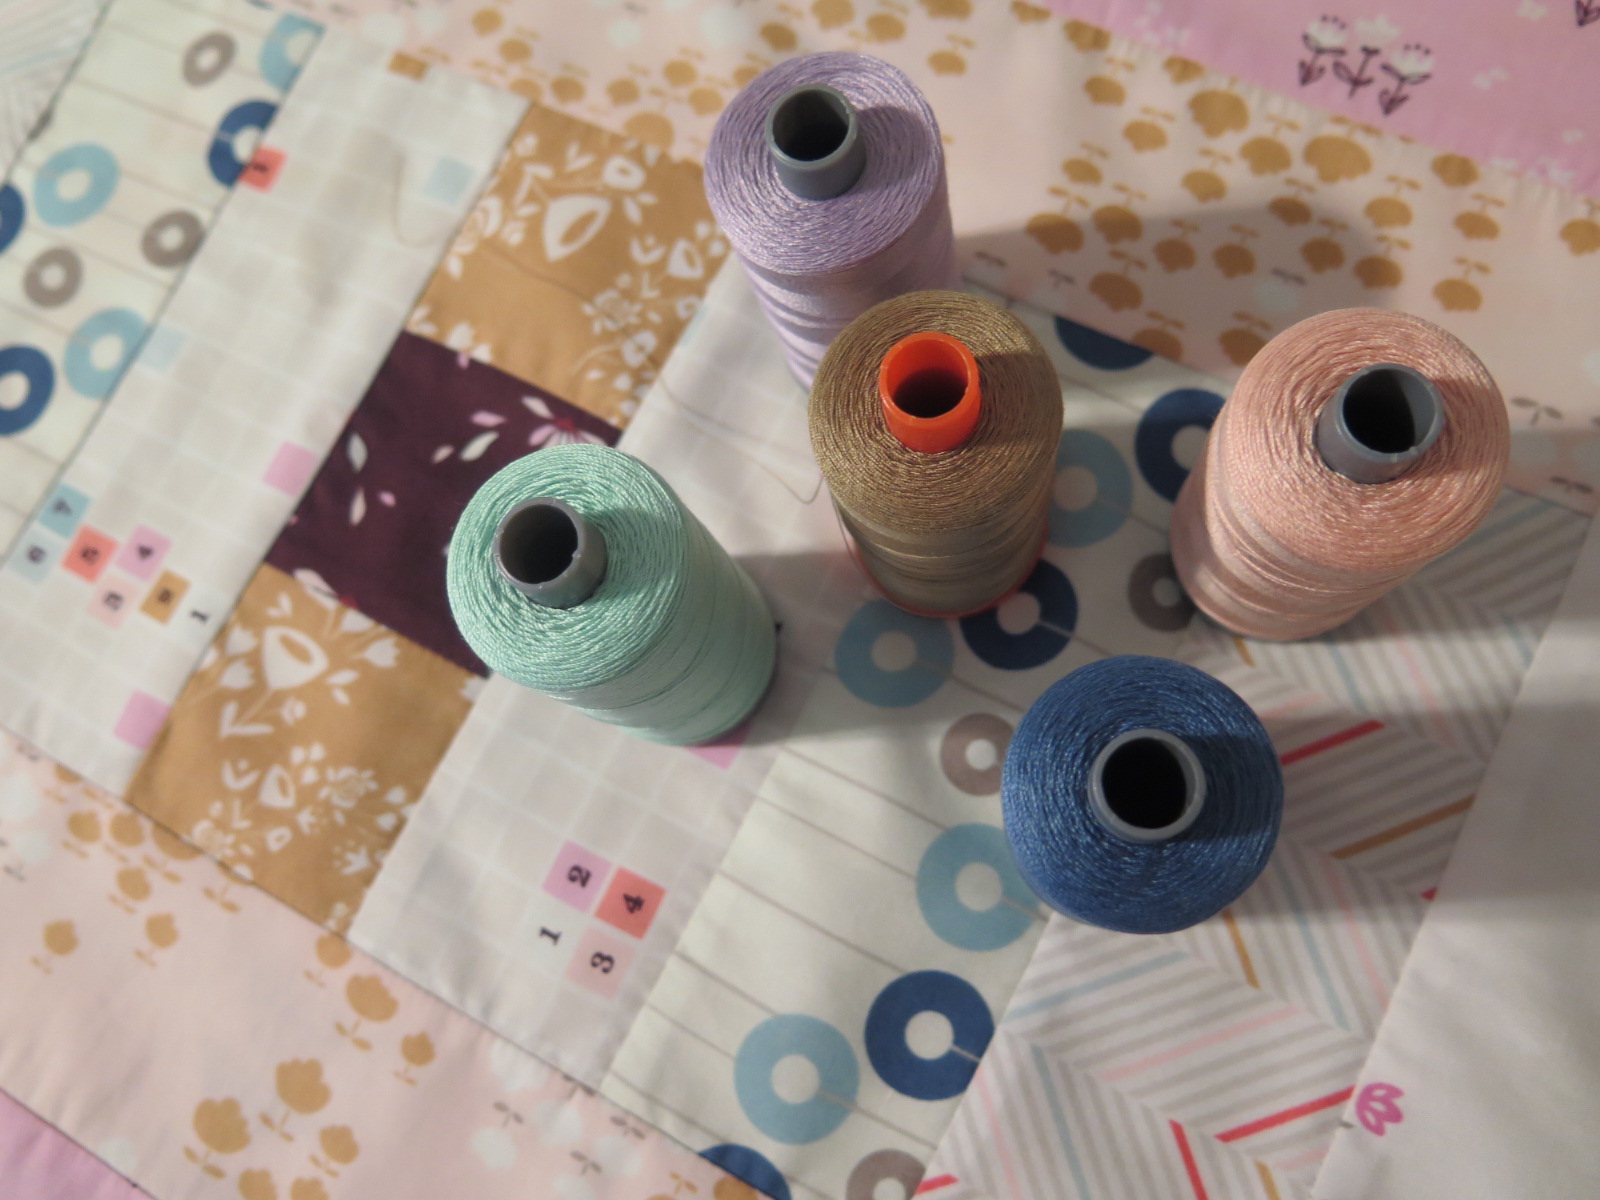
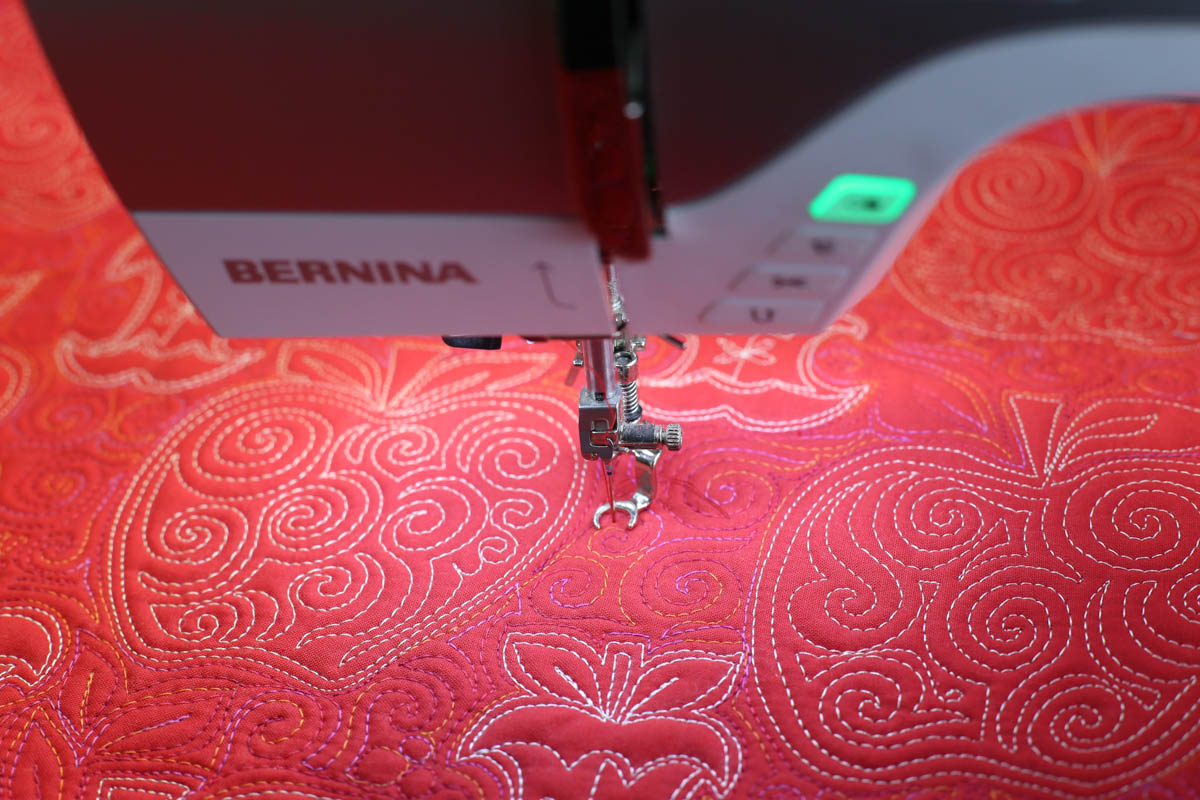
I used 40 weight in a wheat color to divvy up my sections, then I used 28 weight thread in pink, lavender, mint, and blue for each section. I wanted to use 28 weight thread for the majority of the quilt because it’s a bit thicker and I wanted the quilting to show a little more.
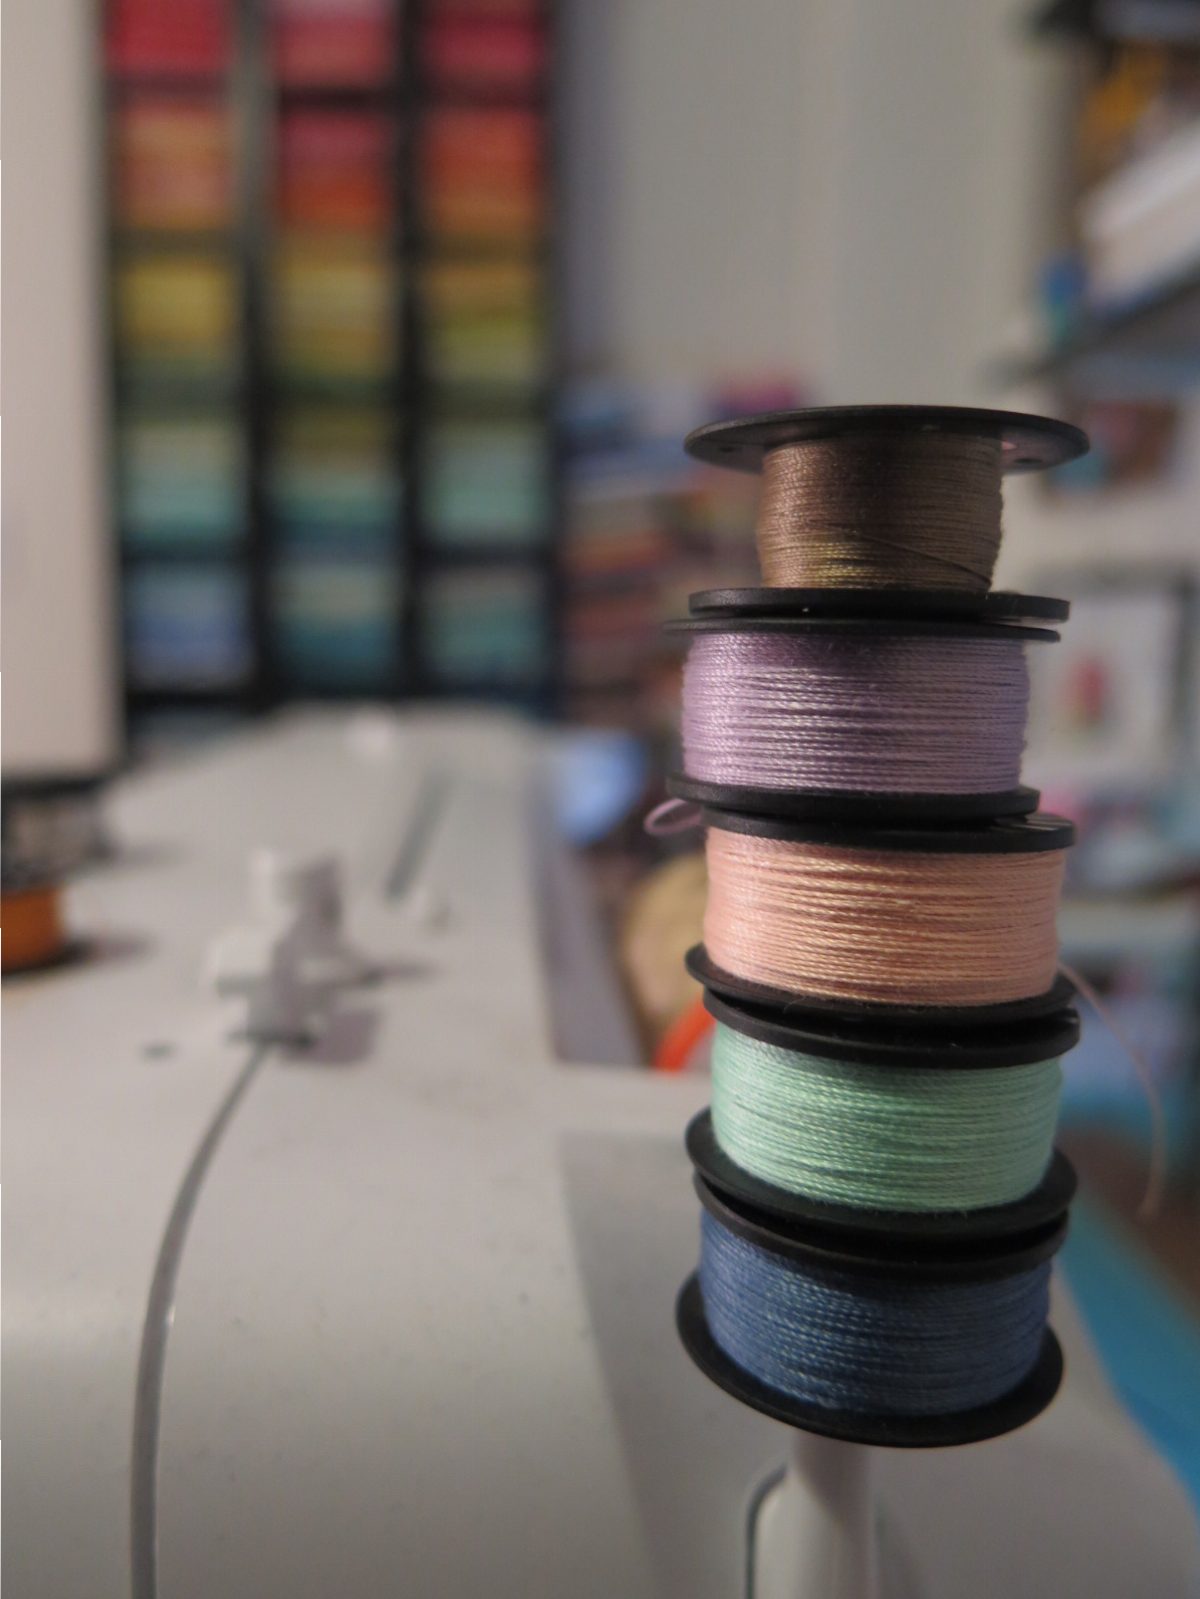
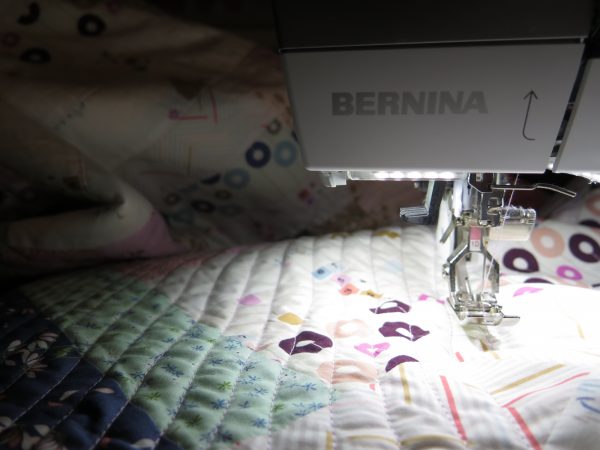
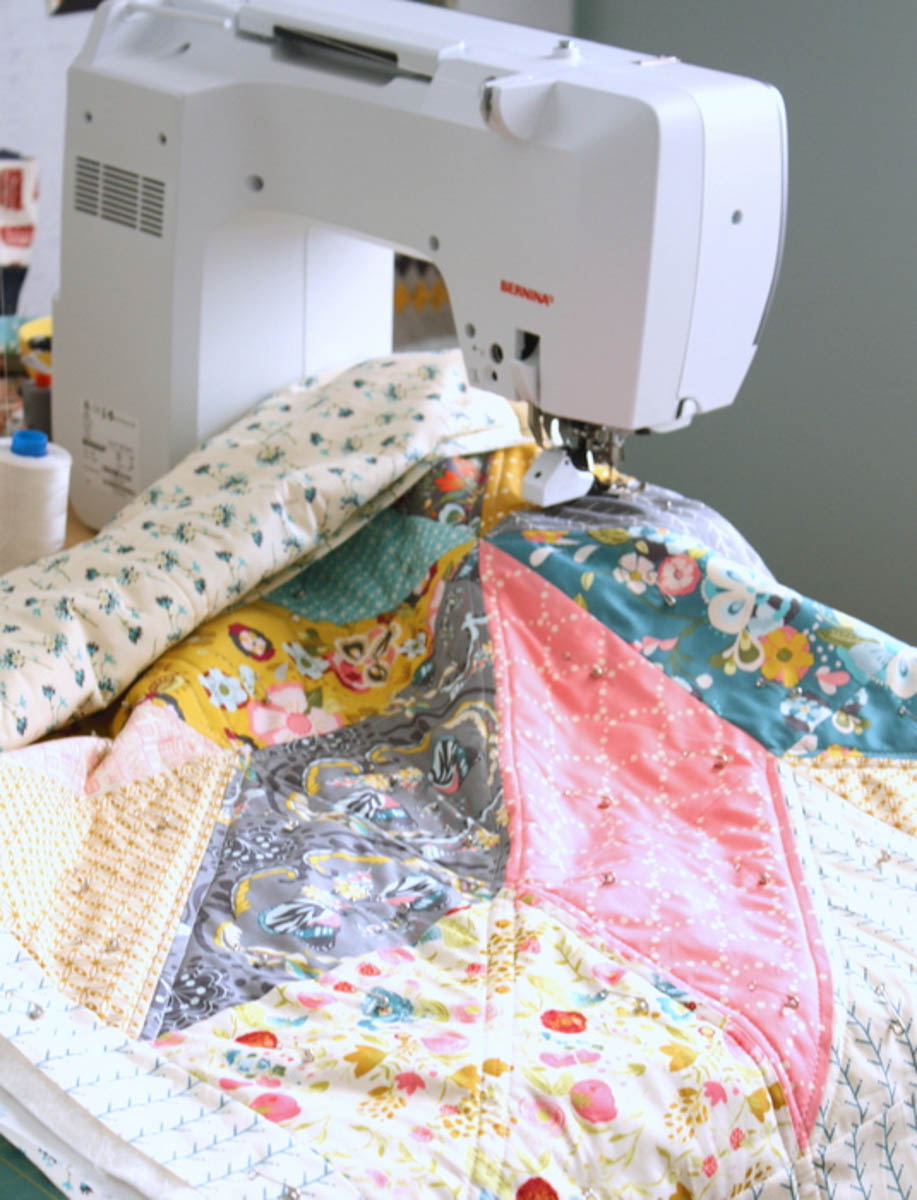
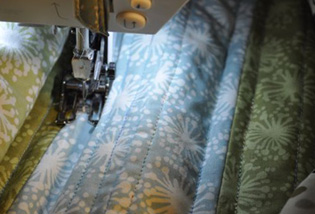
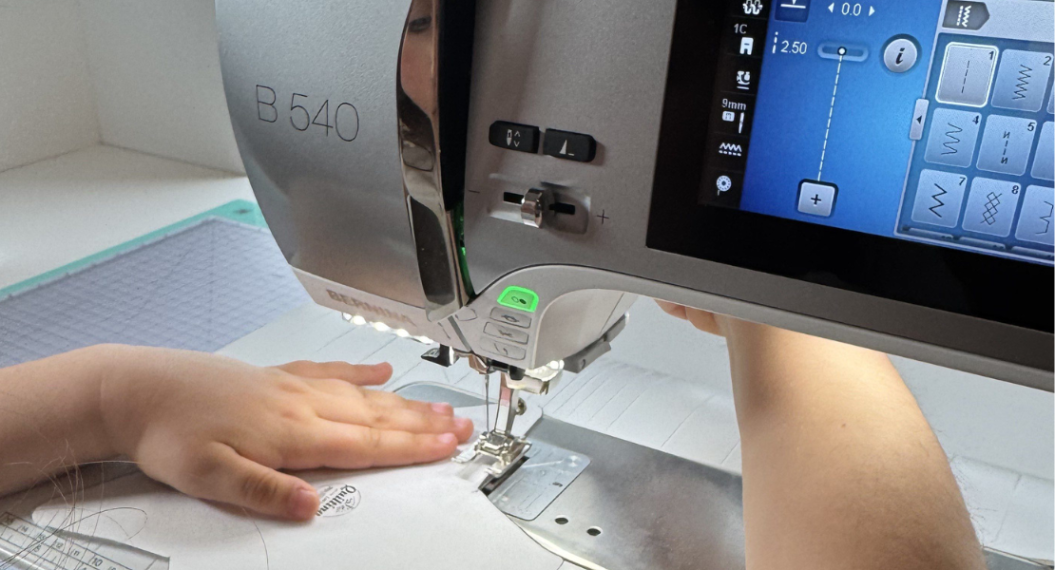
Once I wound up my bobbins, I used the BERNINA Dual Feed feature to quilt out my quadrants. If you don’t have Dual Feed, you can use a Walking foot #50 with your BERNINA. With my stitch length set to 3.45, I used one color thread (the wheat color) to organically make a giant X across the quilt top (as shown above). Be sure that your two lines intersect in the center square.
Once my sections were divided I started in on quadrant one. I changed my thread color and set my needle position to 5, all the way to the end. Staying within the first quadrant, I followed the lines that I had quilted, keeping my presser foot lined up against my preliminary organic line. When I was an inch away from the center, I stopped with my needle in the down position, lifted my presser foot, turned my work, then continued down the organic line.
When you have reached the end of your first line, go back to the start, following the new line you have just quilted.
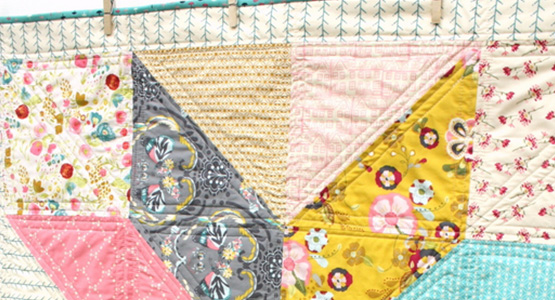
Continue this until you have quilted the quadrant all the way through. You section will look something like this.
Now continue this process for each quadrant. Change your thread color and move onto the next part.

I don’t think to hard about making it match perfectly. As long as the lines look fluid. Every so often I’ll ebb in a different direction, making a new undulation.
Onto the next section, changing your thread for another color.

Now onto the last section. Change your thread color one last time and quilt your last quadrant.
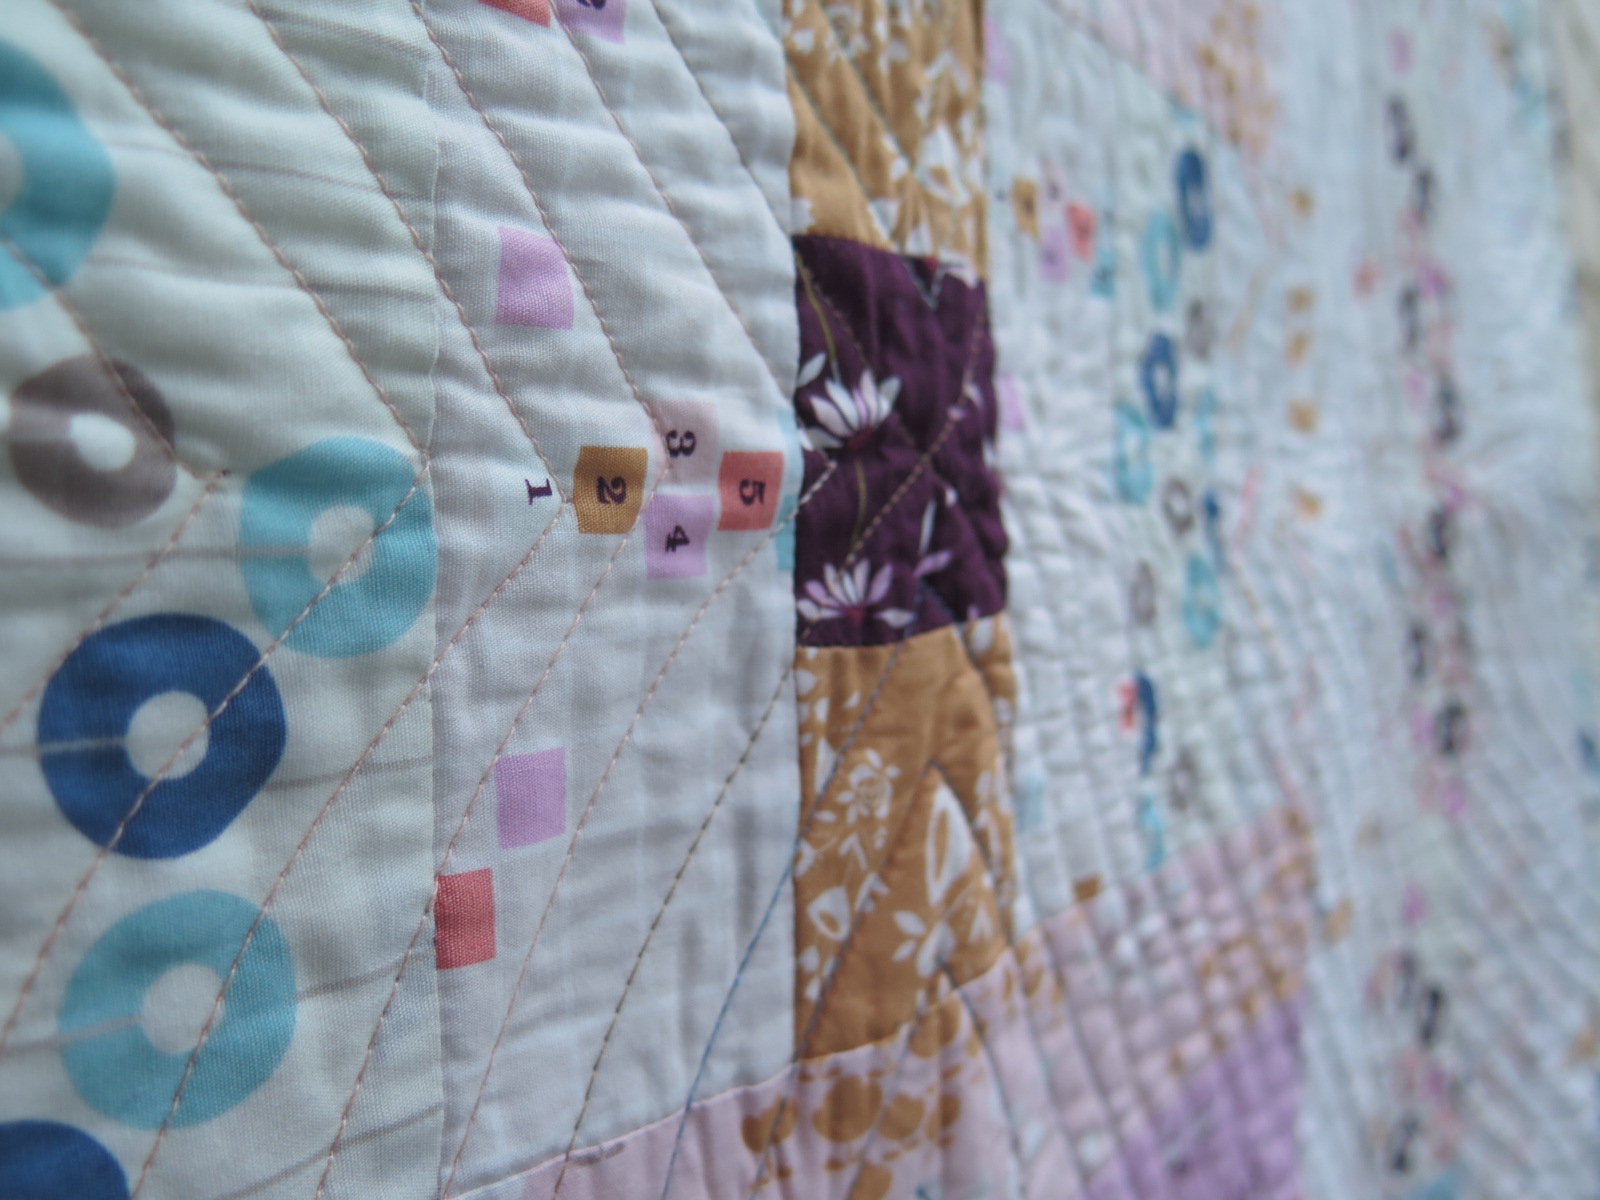
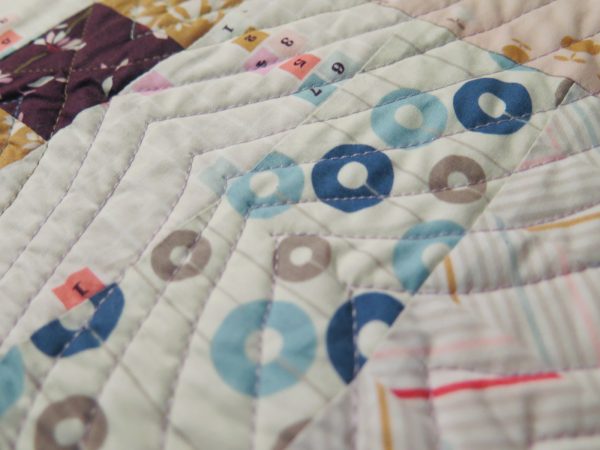
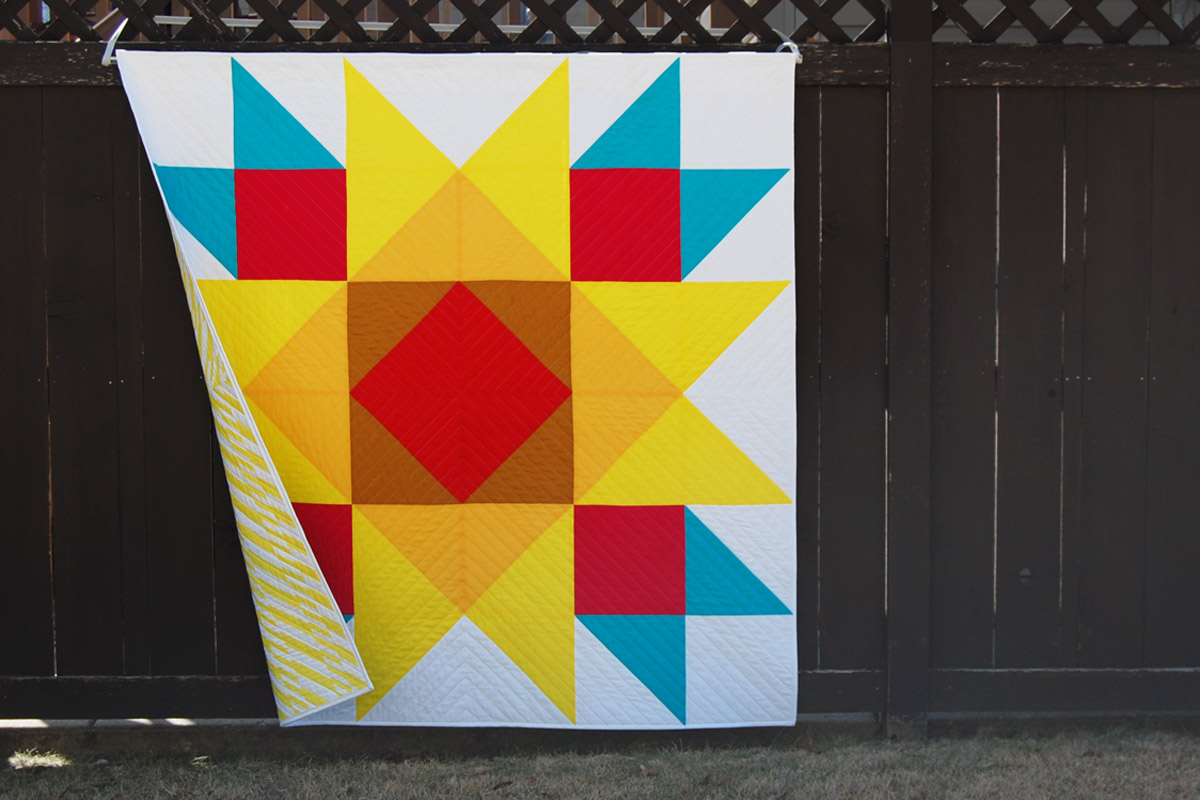
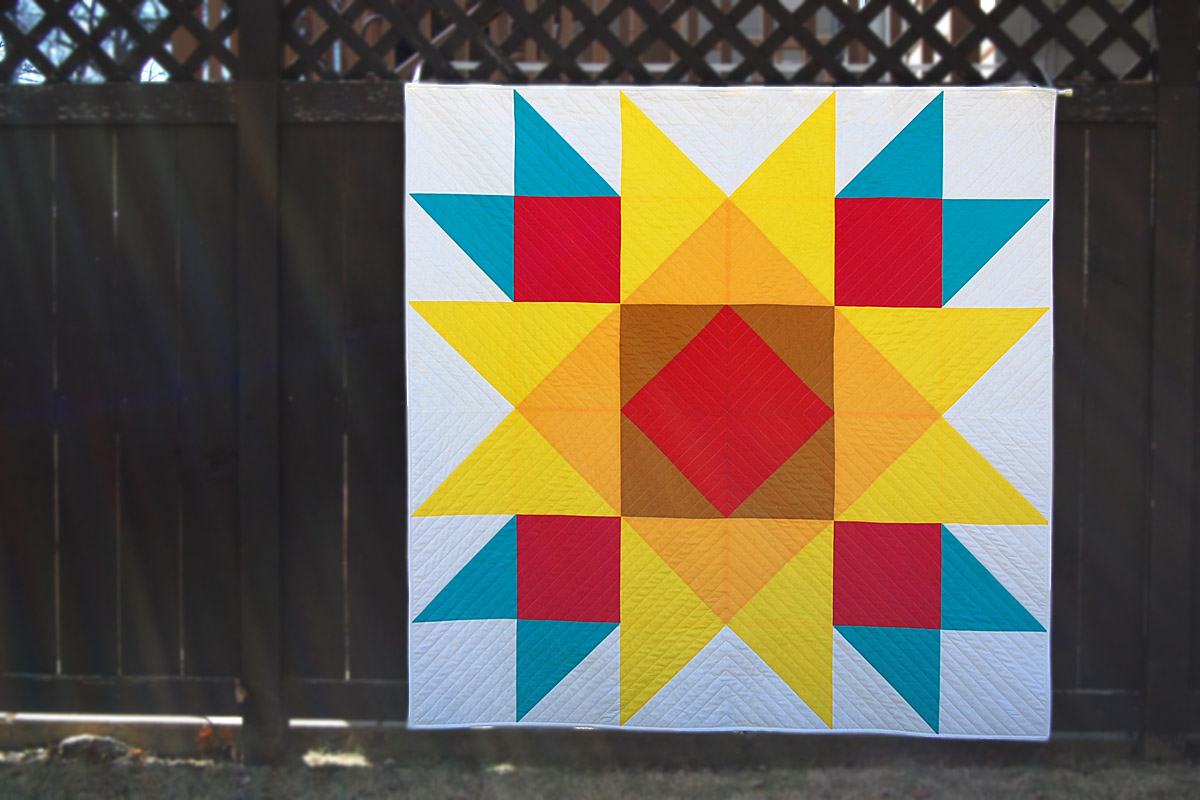
You’re done quilting. I love the subtle variations in the thread color. It gives it just a bit of dimensionality. For me, all it takes in one person noticing something like different thread colors to make the additional added bit of effort worth it.
Now let’s move onto binding. First, trim off your excess batting and backing, squaring up your quilt. Set that aside. It’s time to make binding. Since the quilt measures approximately 42″ x 38″, you’ll need at least 160″ of binding. I like to add another 12″ of binding to whatever the perimeter of my quilt is so I made 172″ of binding.
I cut my binding at 2 1/2″ wide because I like it a bit thicker. Cut enough 2 1/2″ strips to to equal a length of 172″. The amount of strips you’ll need will vary depending on the width of your fabric. For instance, if you are cutting from fat quarters like I did, you’ll need more strips than if you were cutting from yardage that is 44″ wide.
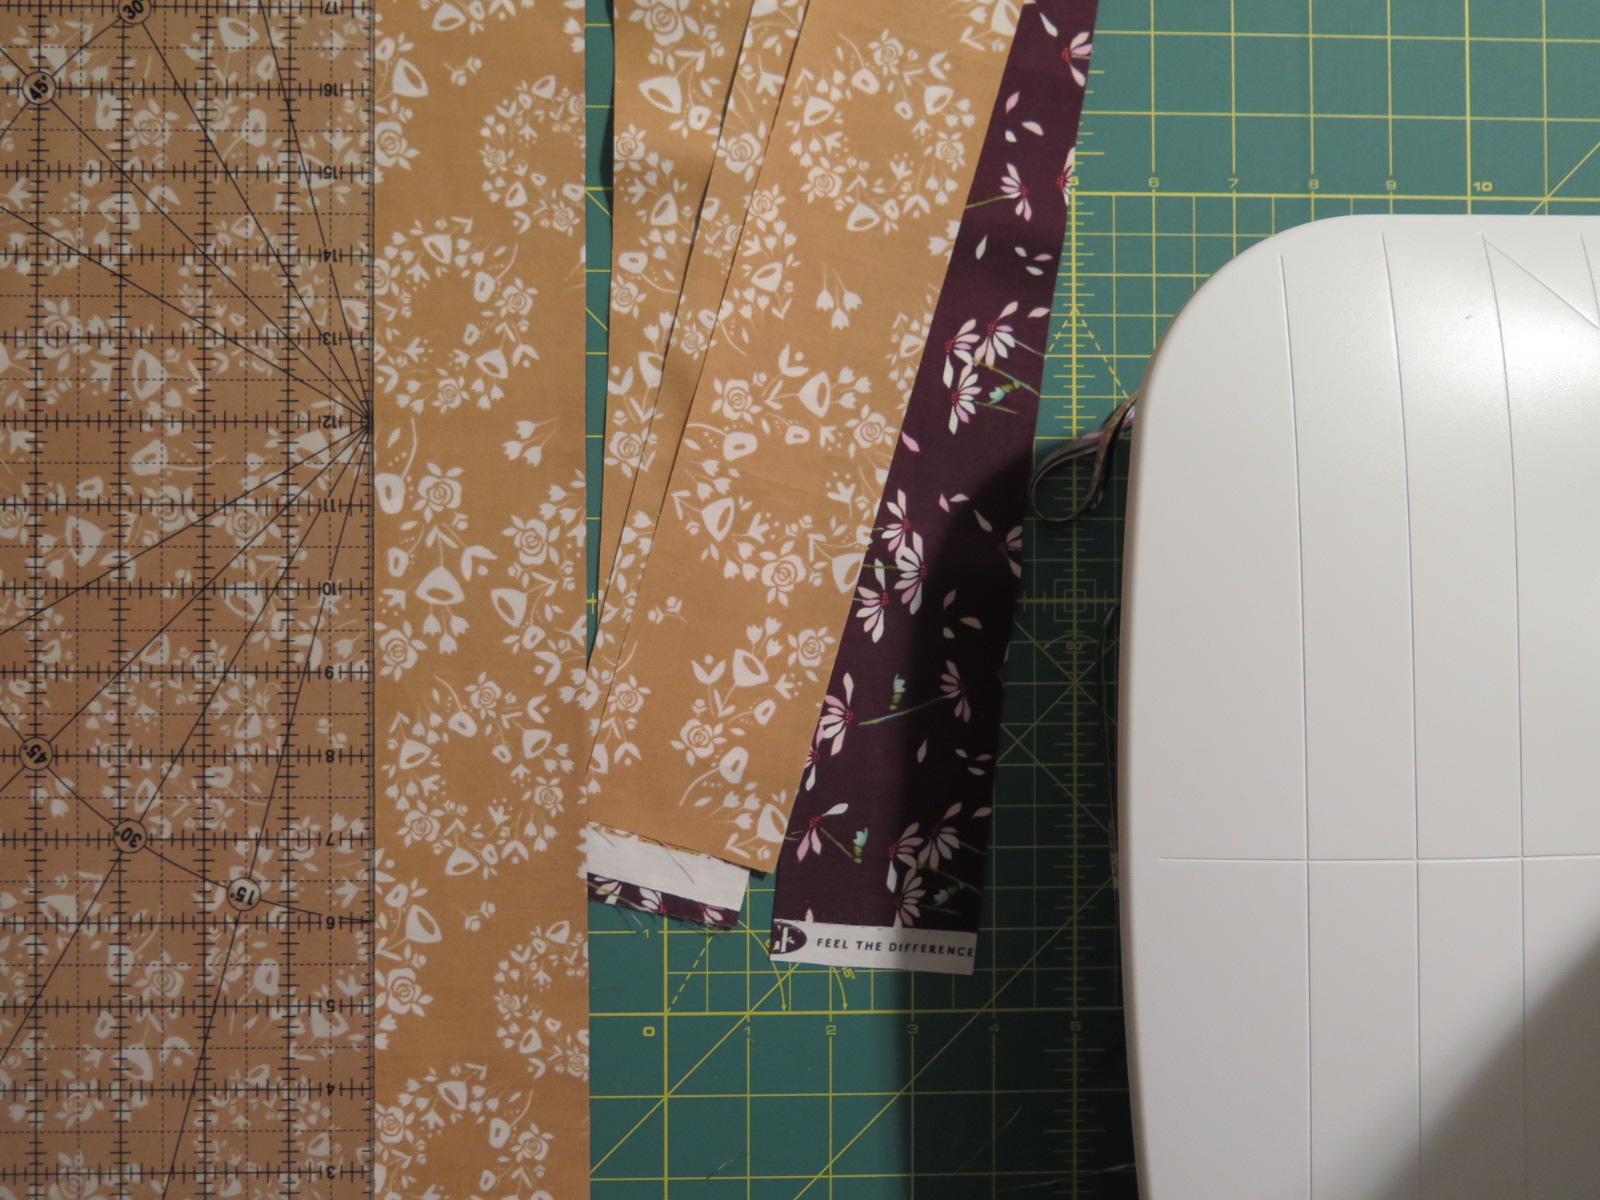
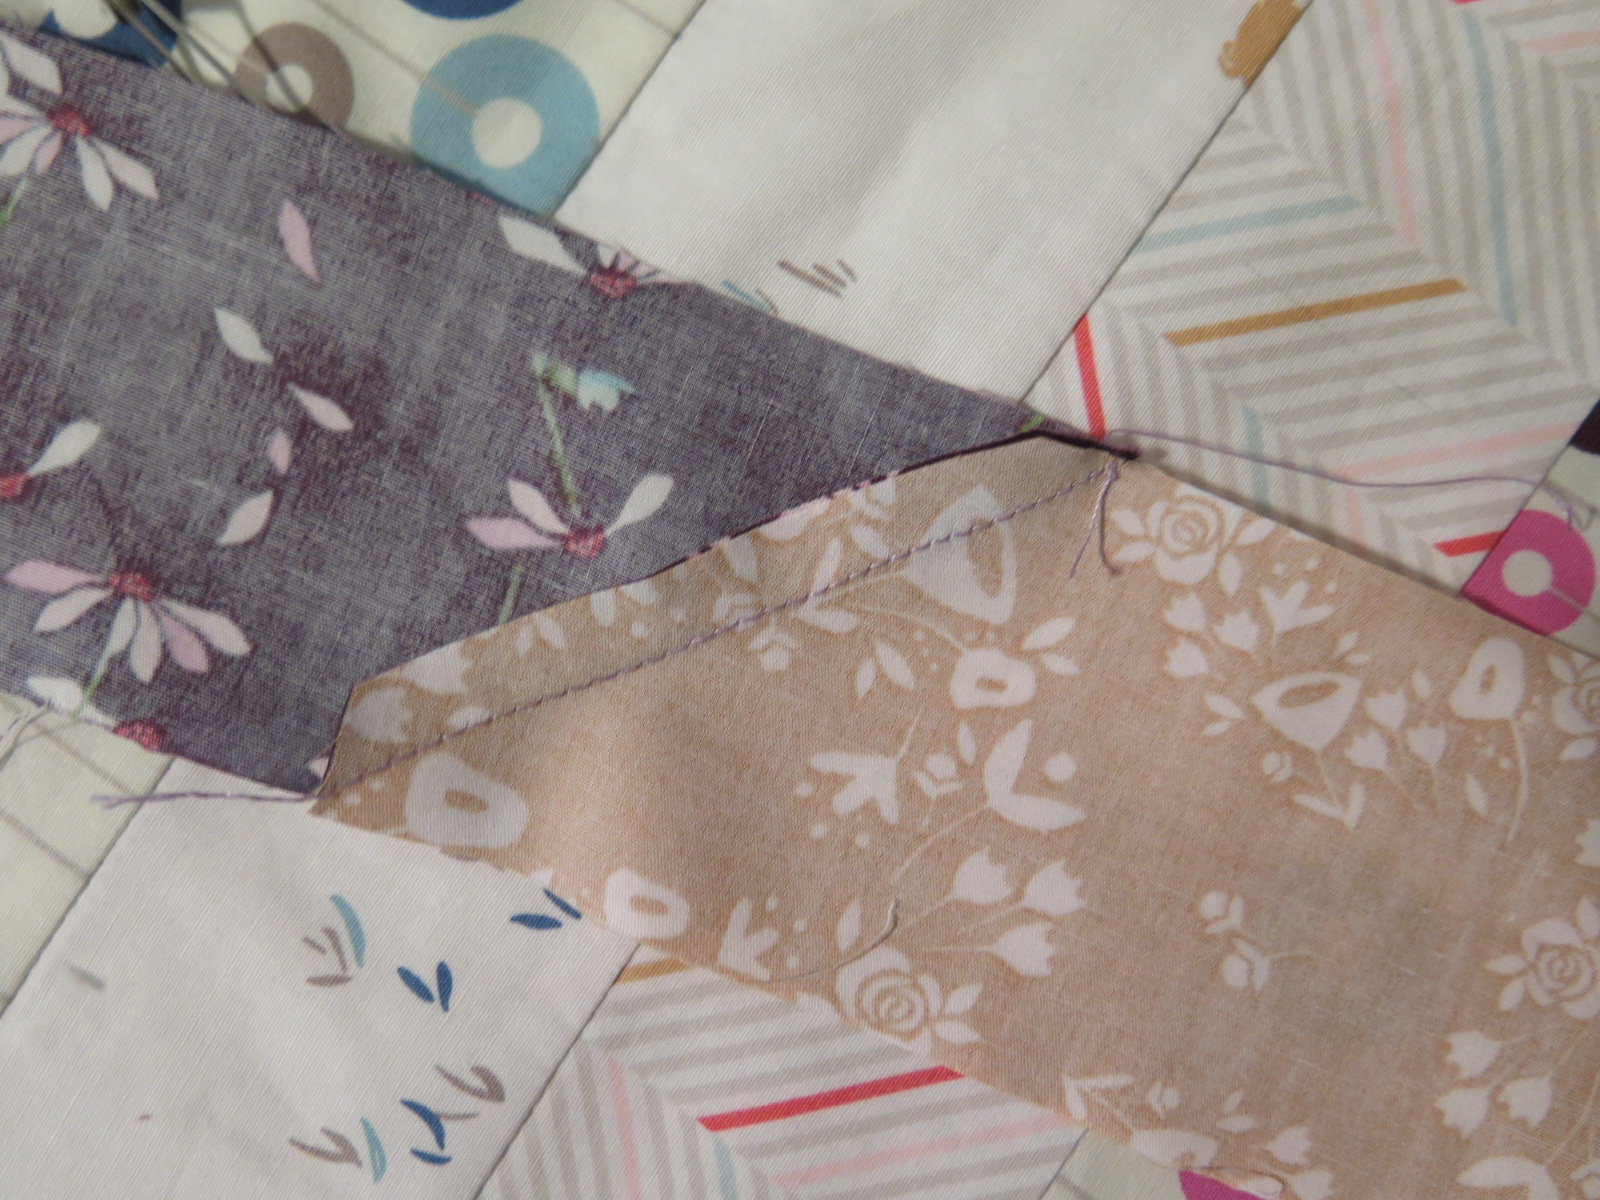
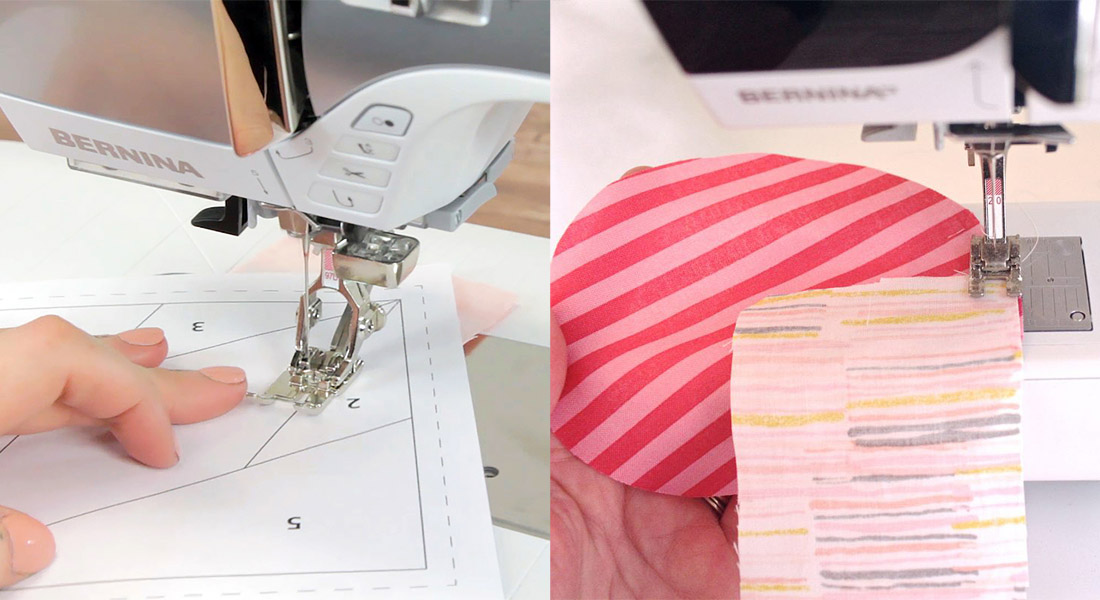
Once your strips are cut, you’ll join them together. Place the ends of your strip, right sides together at a 90º angle and sew across the fabric.
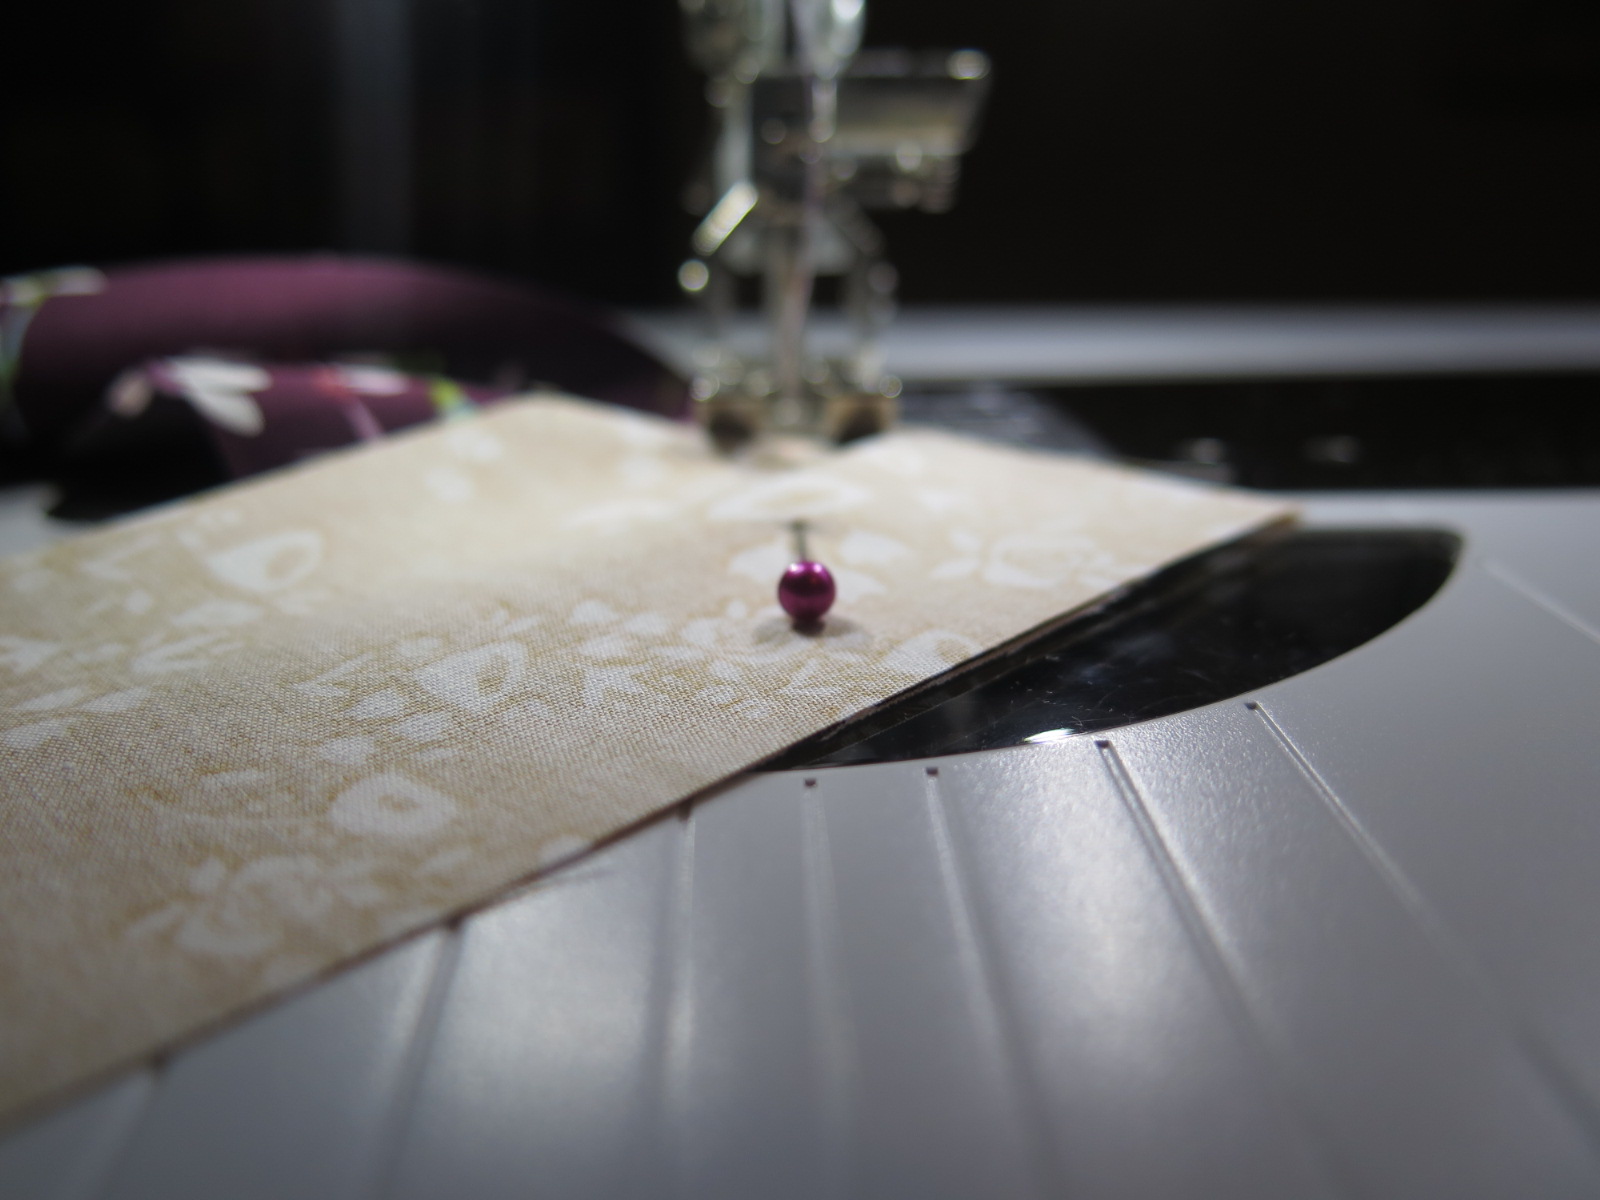
Trim off the excess fabric with a 1/4″ seam allowance.

Press your seams (I like to press mine to the side).
Press your binding in half, wrong sides together.

Binding is done!

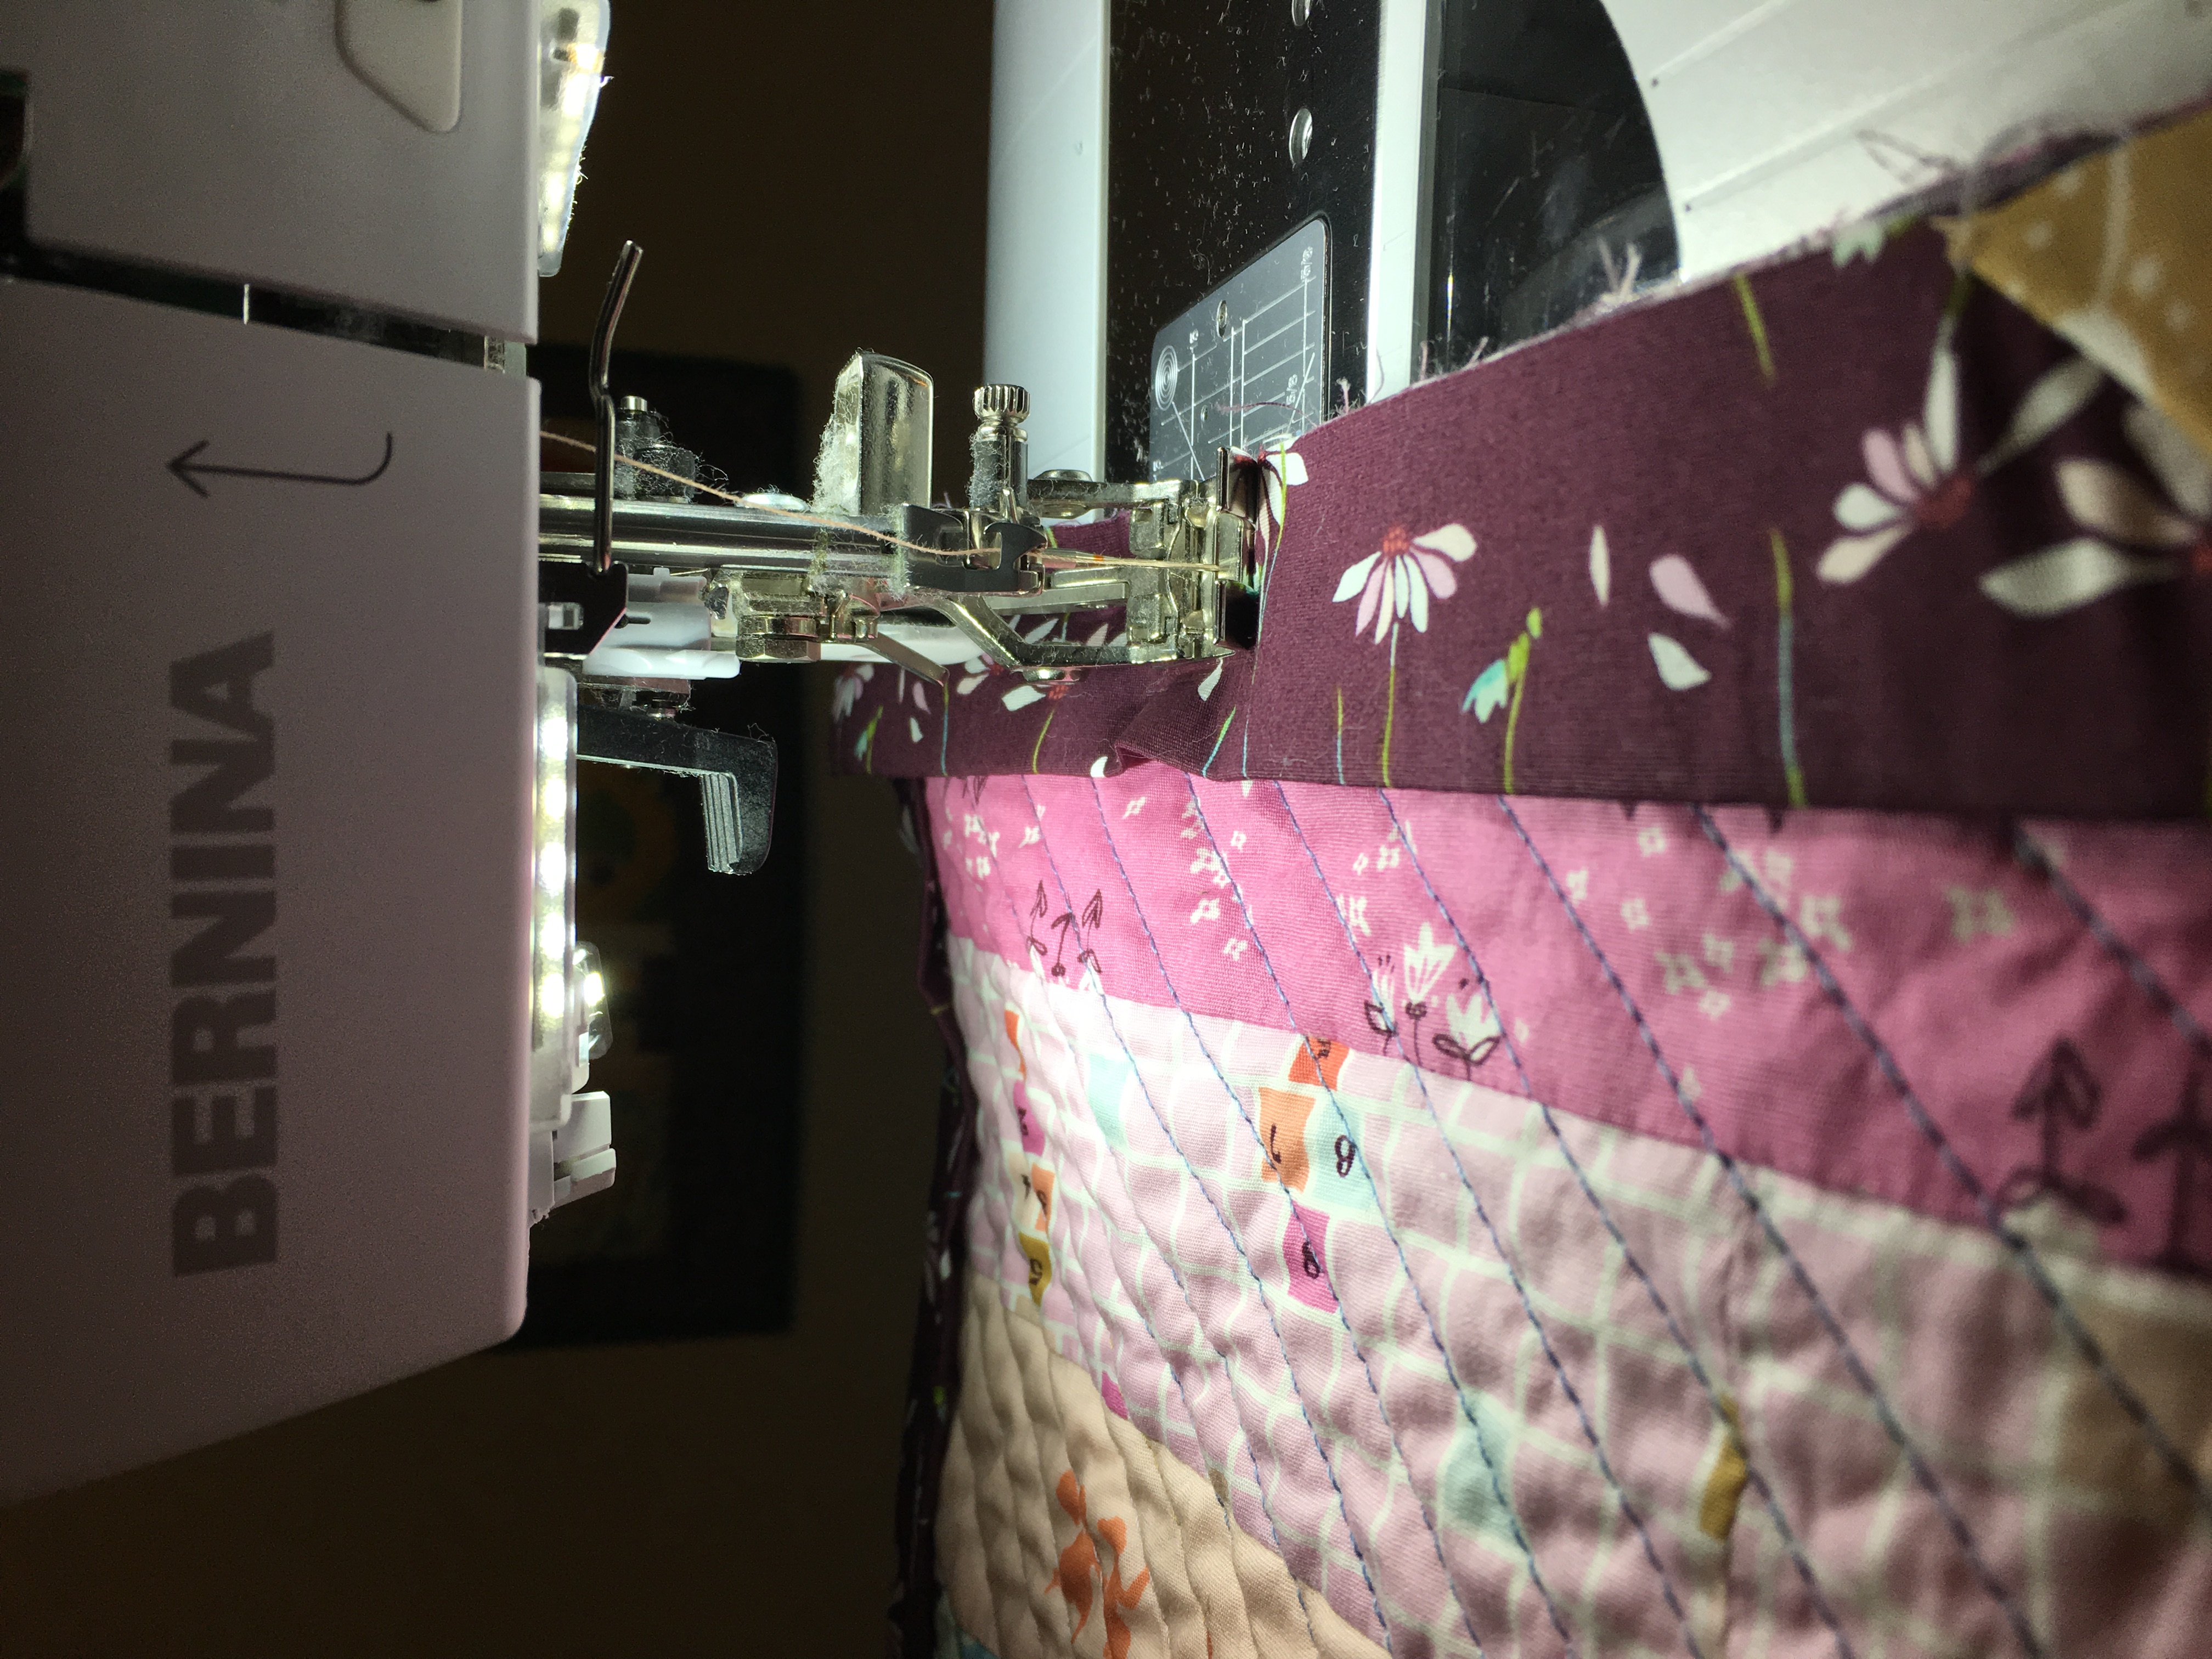
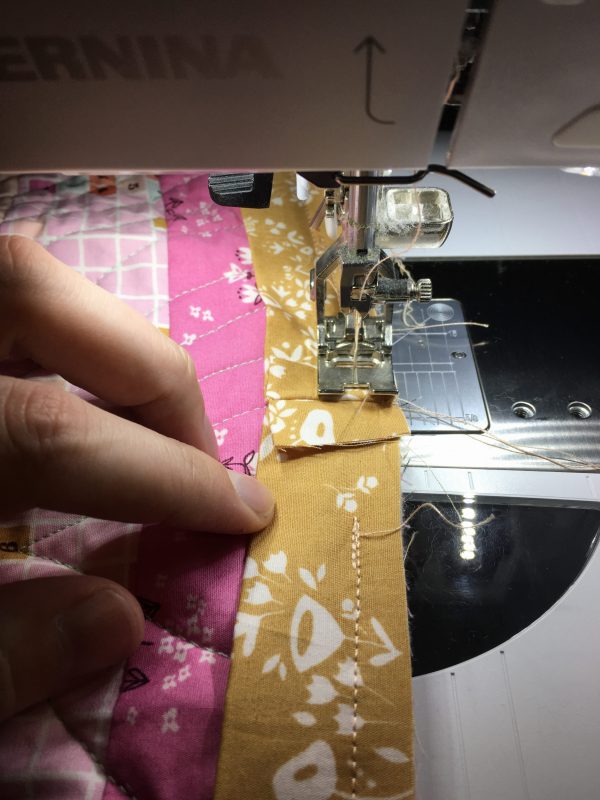
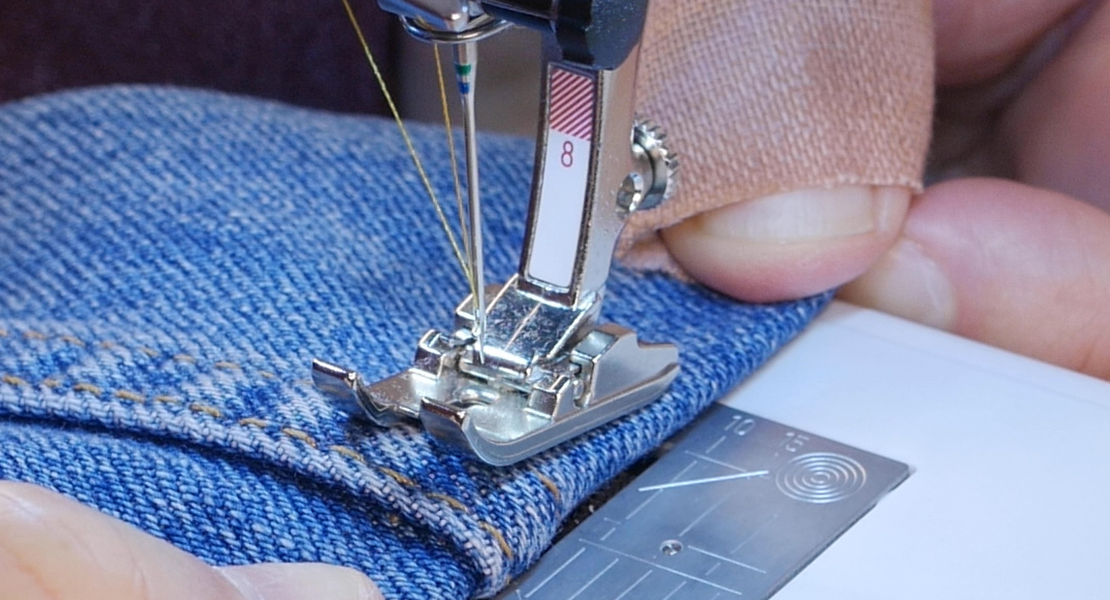
Starting at the bottom of the quilt, place the raw edge of the binding against the raw edge of the quilt. Continuing using the BERNINA Dual Feed or the Walking foot #50, adjust your needle to 3 position. Sew the binding down.
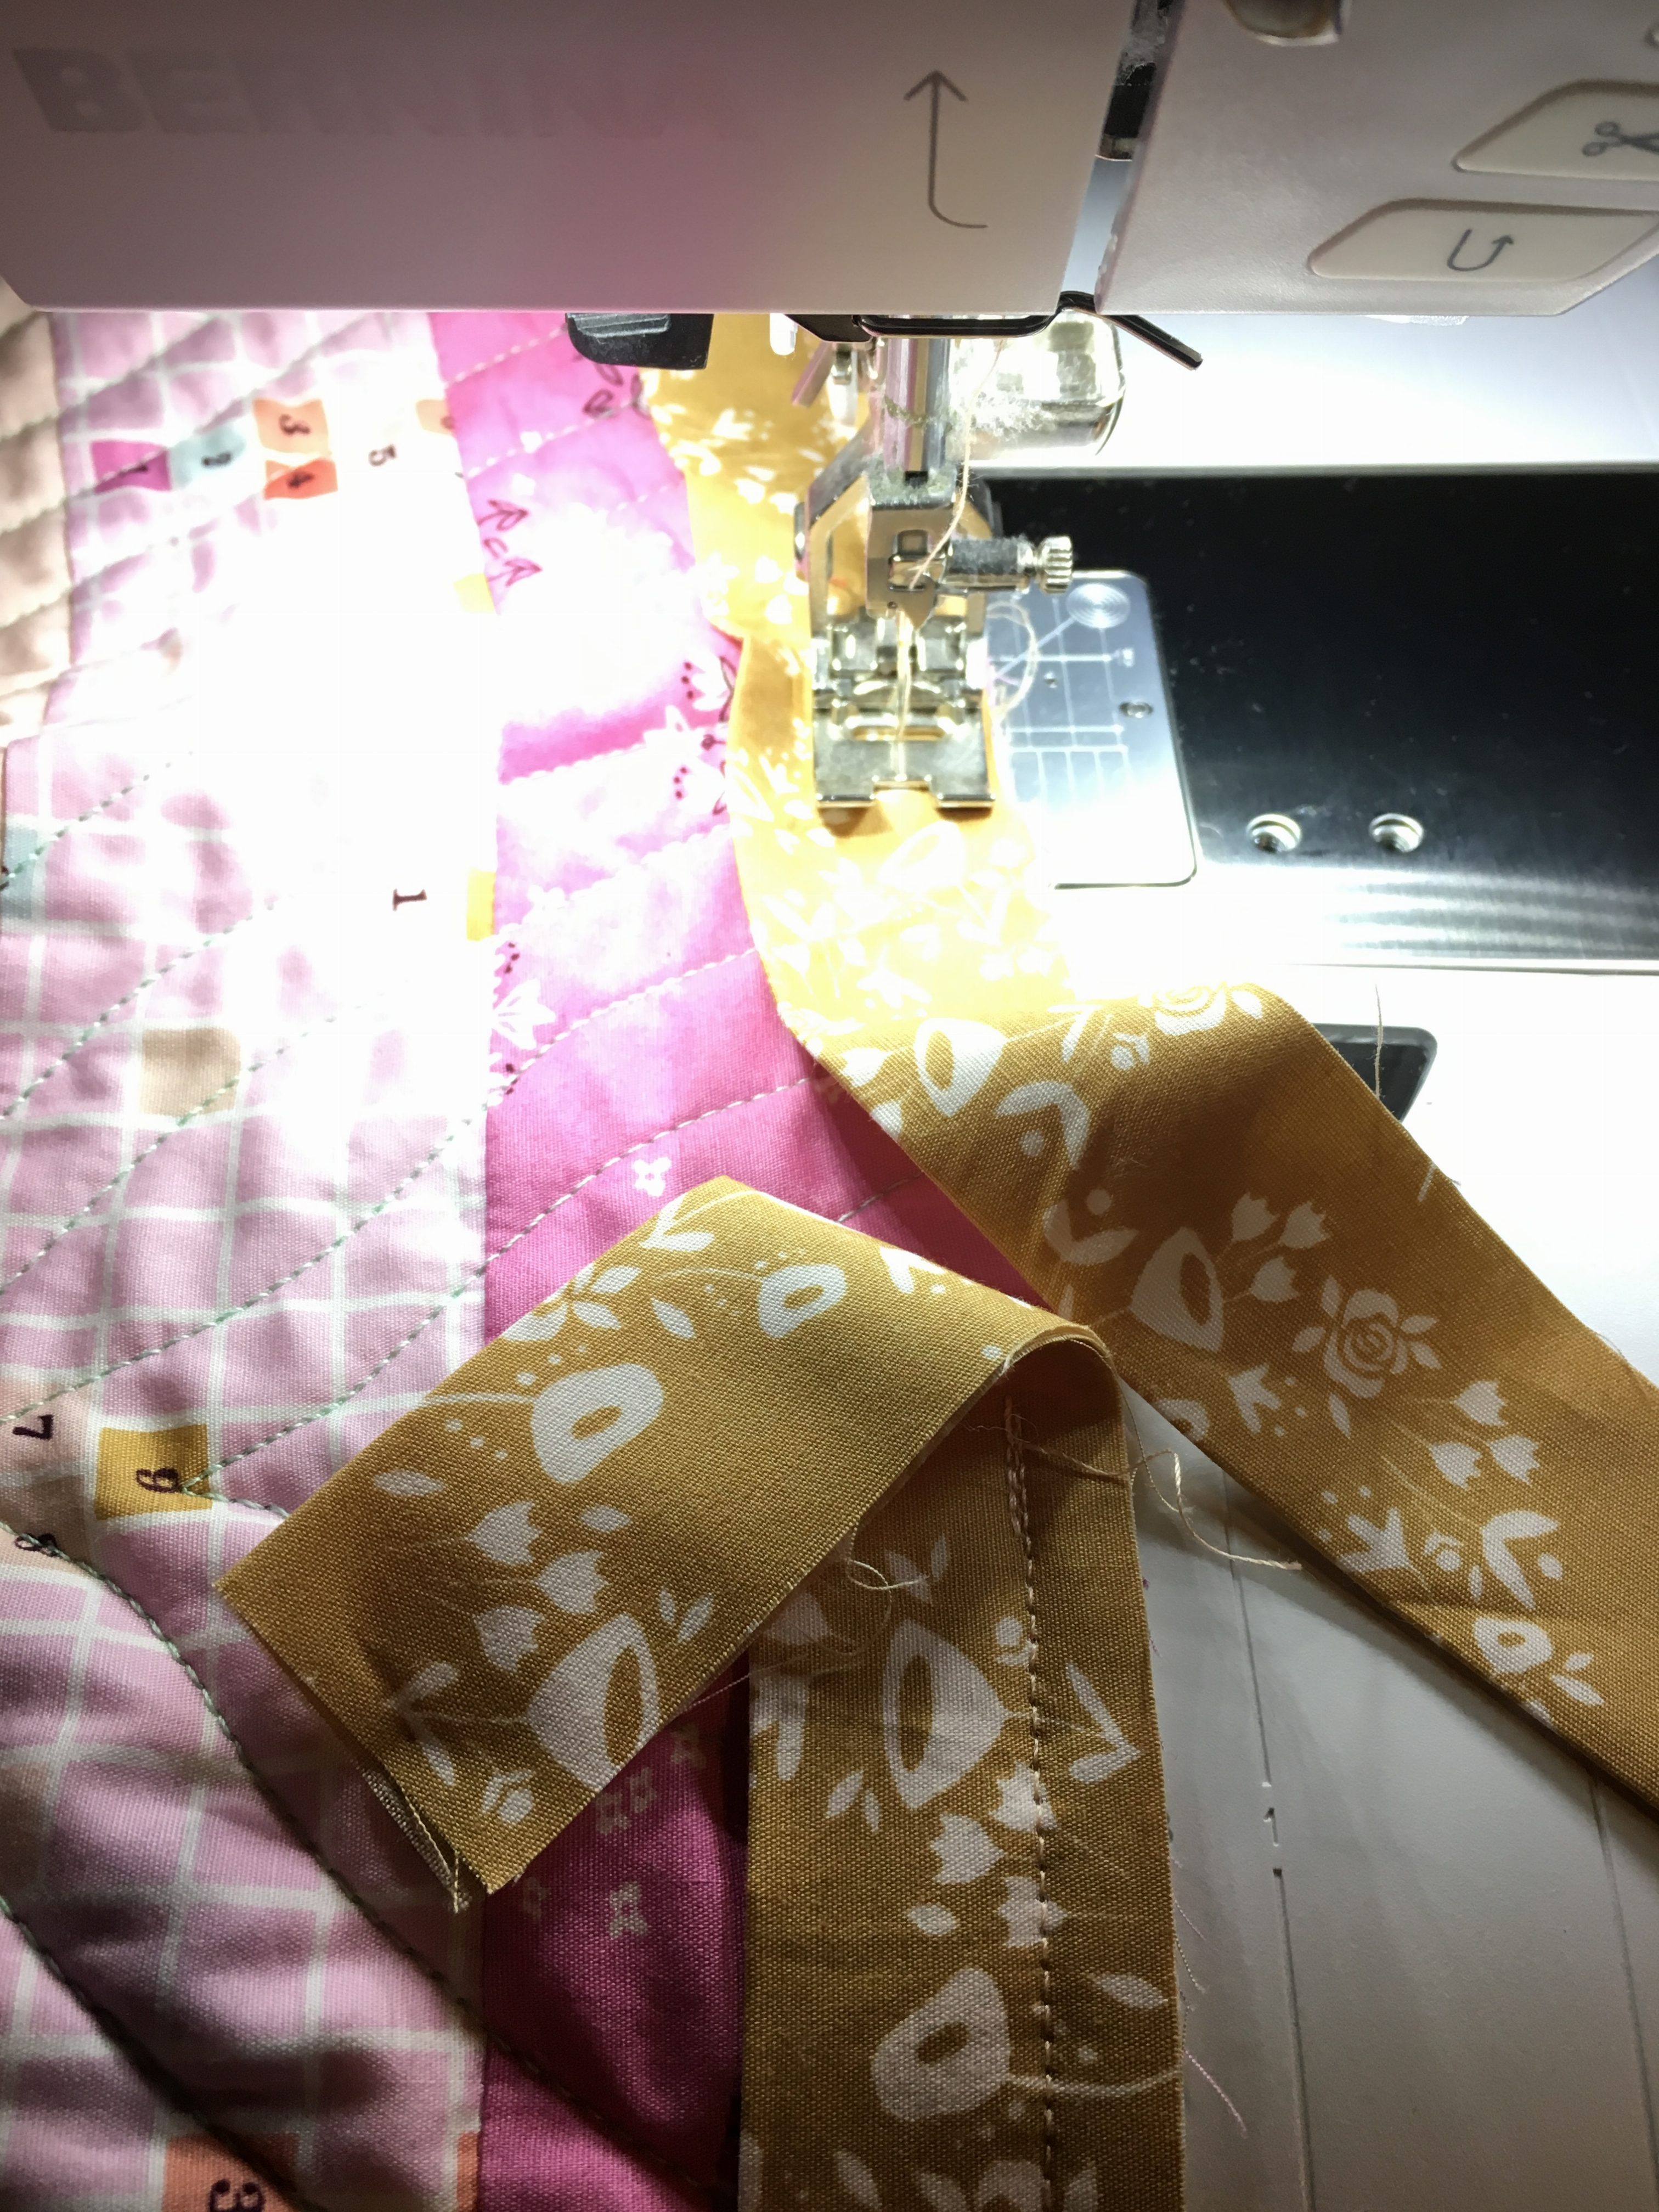
Sew until you are a quarter inch from the end of the quilt. Backstitch and cut thread. Turn your piece. Take the binding and fold it up at a 45º angle.

Then fold it like in the image below.

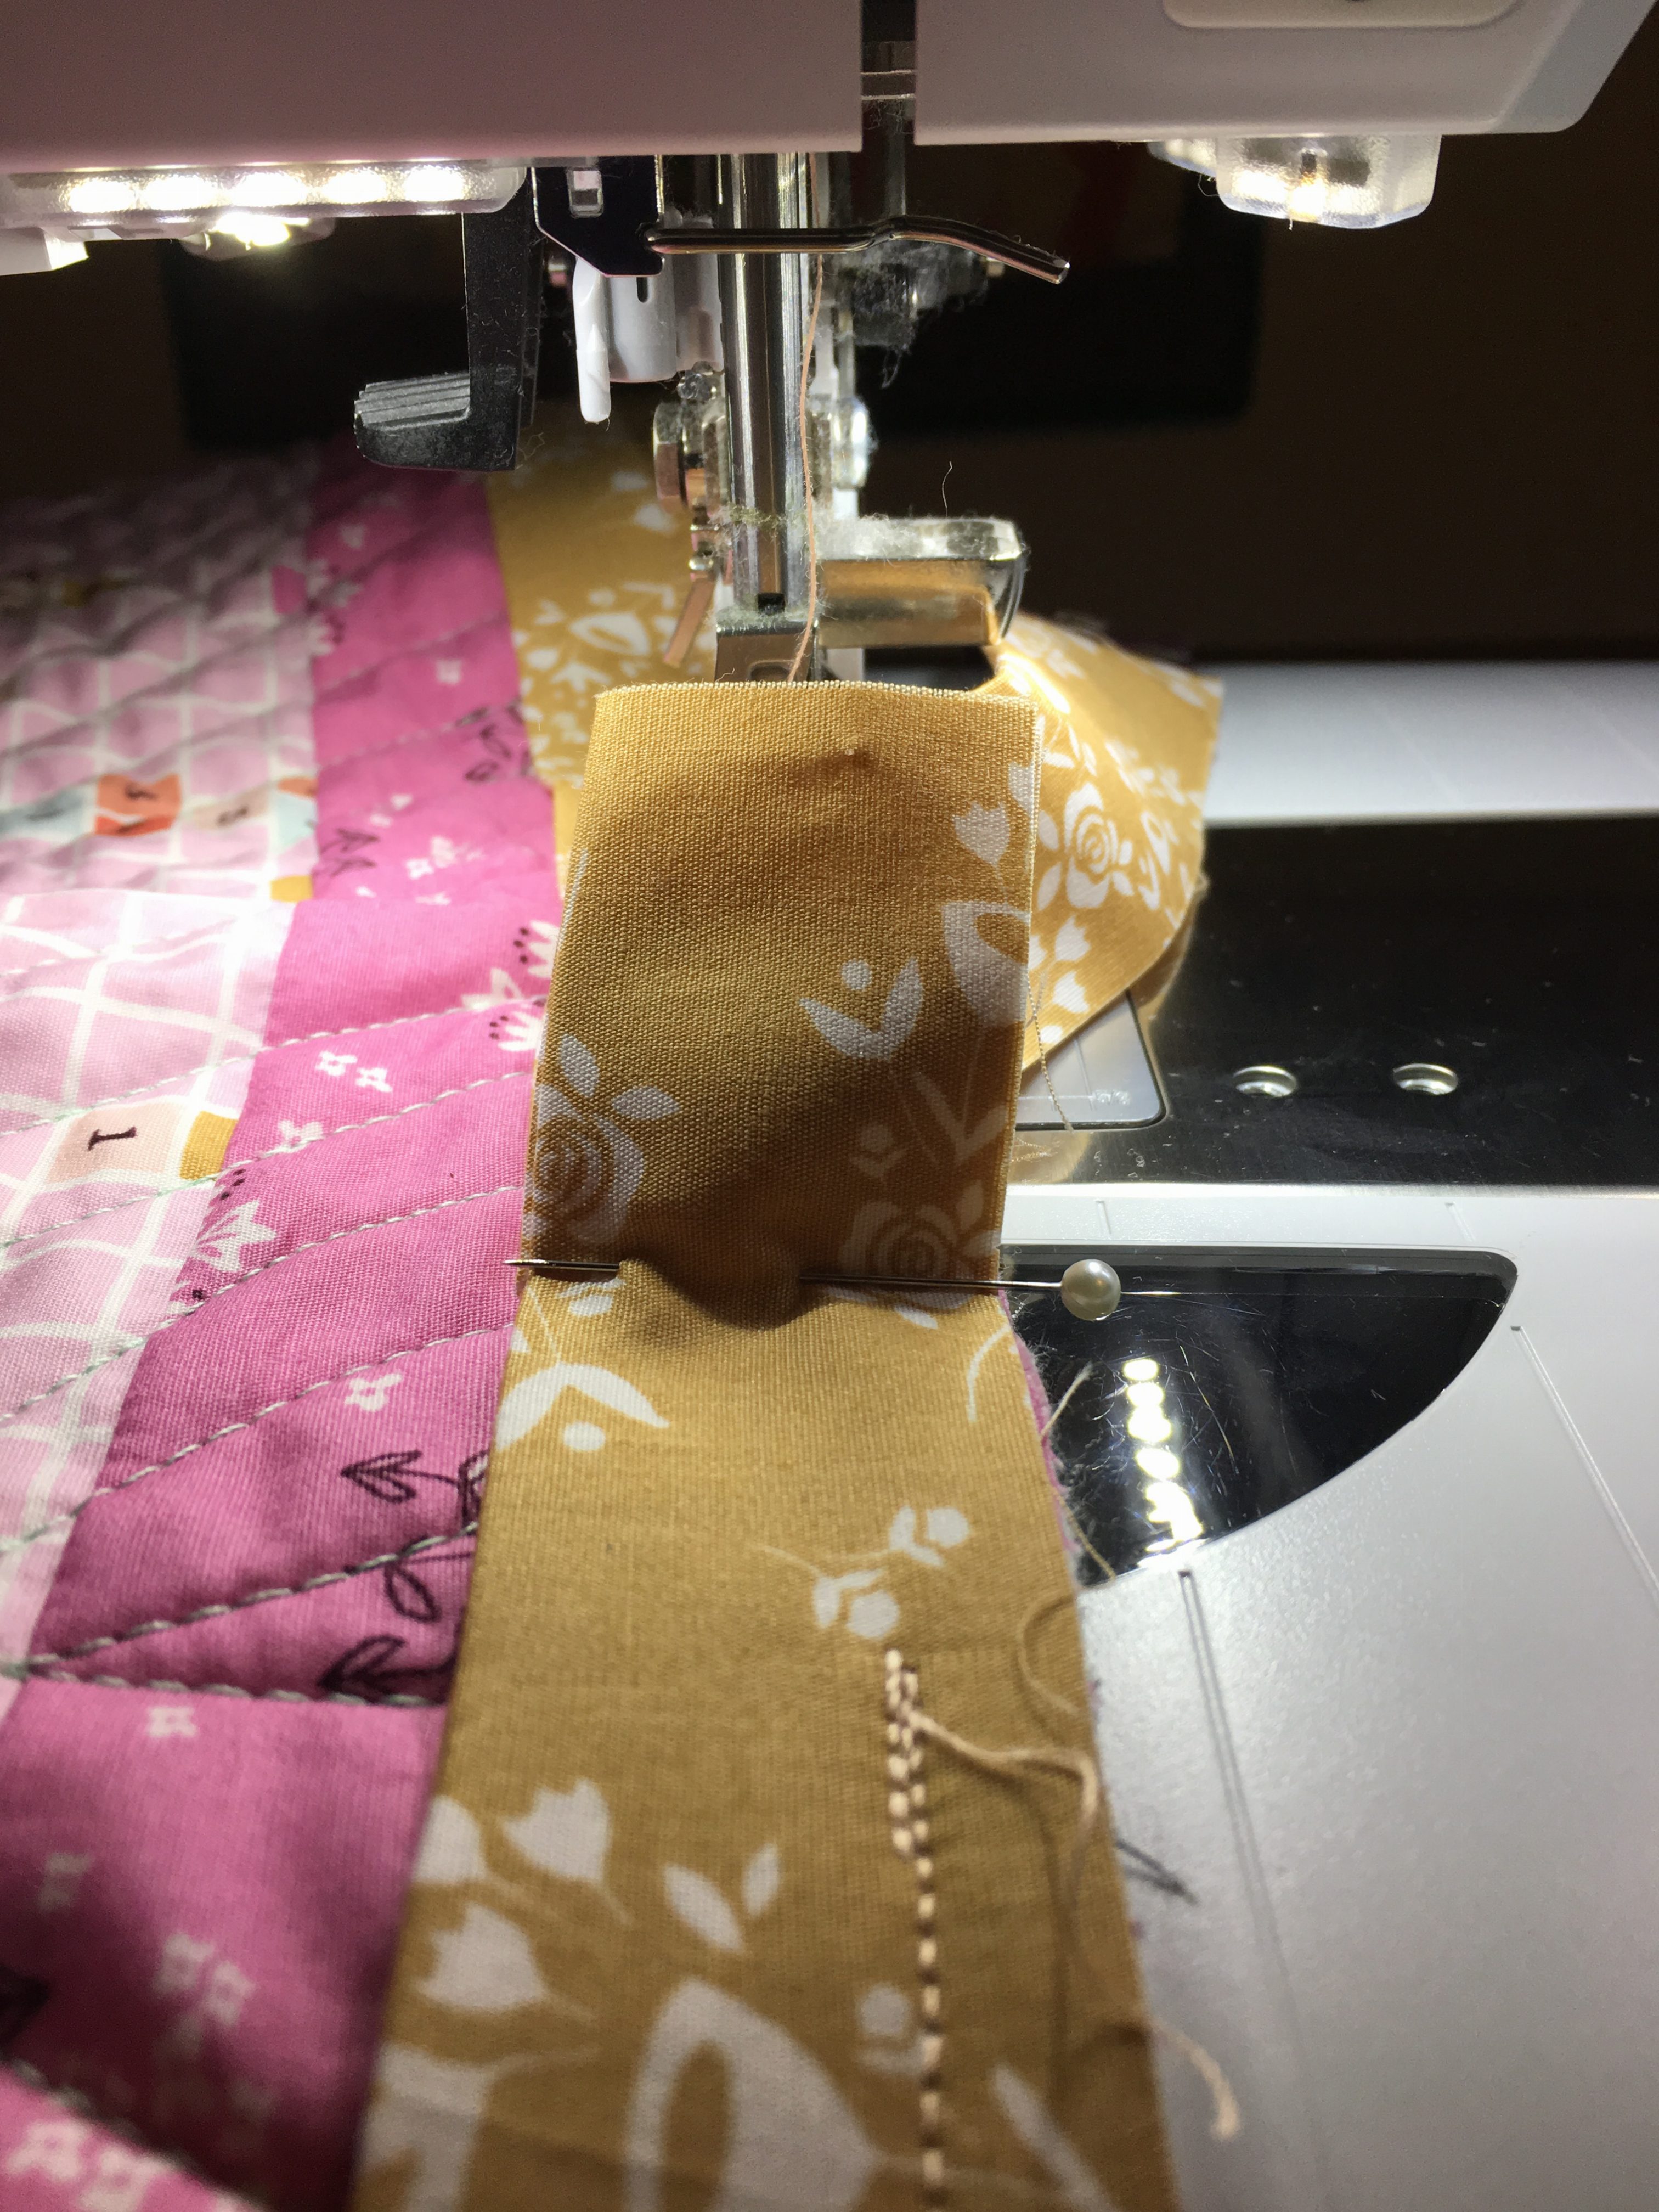
Starting from the top, sew down the length of the quilt again, stopping a 1/4″ from the end. When you go to tack down your binding, this will give you a perfect mitered corner.
Continue sewing in this manner until you are about four inches from where you started.
Join your two loose ends together and pin so that the binding lays flat. Trim off excess binding leaving 1/2″ seam allowance.
Sew down the last stretch of binding.
Now I know a lot of people machine sew their binding. If that is your thing, then go for it! But I’m a hand-binder. Yes, it’s a lot more time consuming, but you take your time with everything else in the quilting process, so why skimp on the binding?
To bind, I start where I began my binding at the back of the quilt. Traveling to the left, around the quilt, I stitch like so…
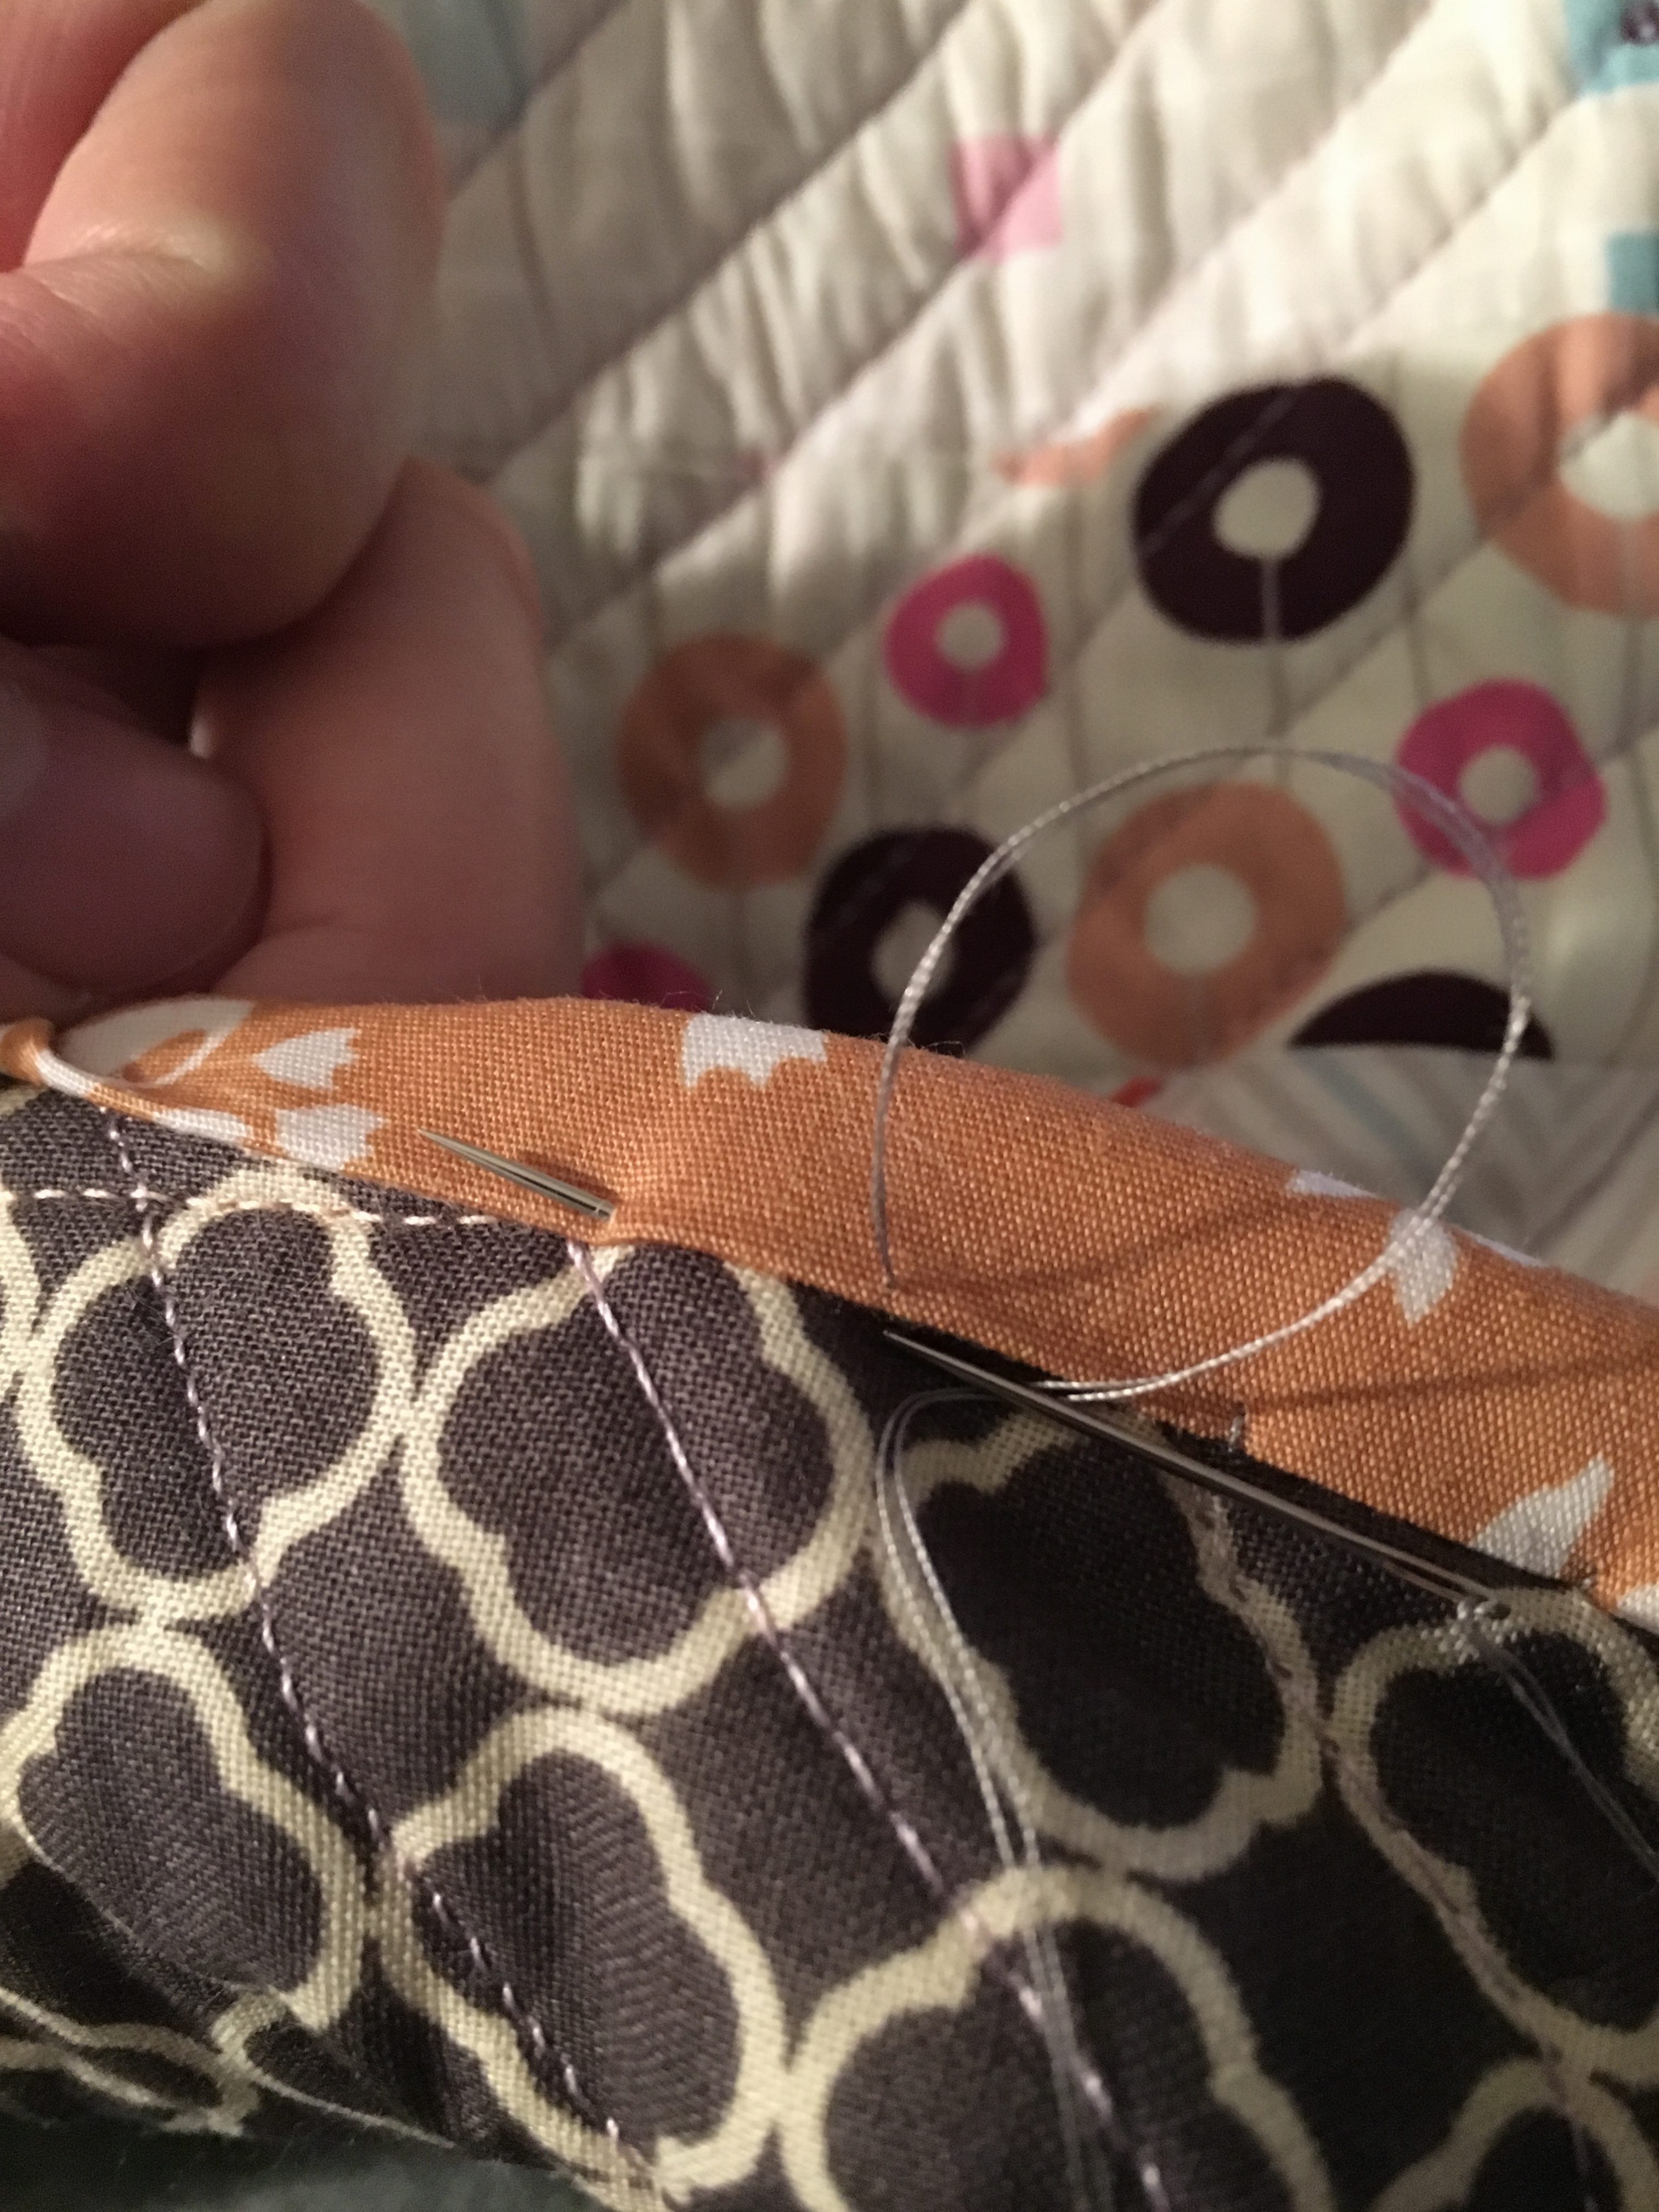
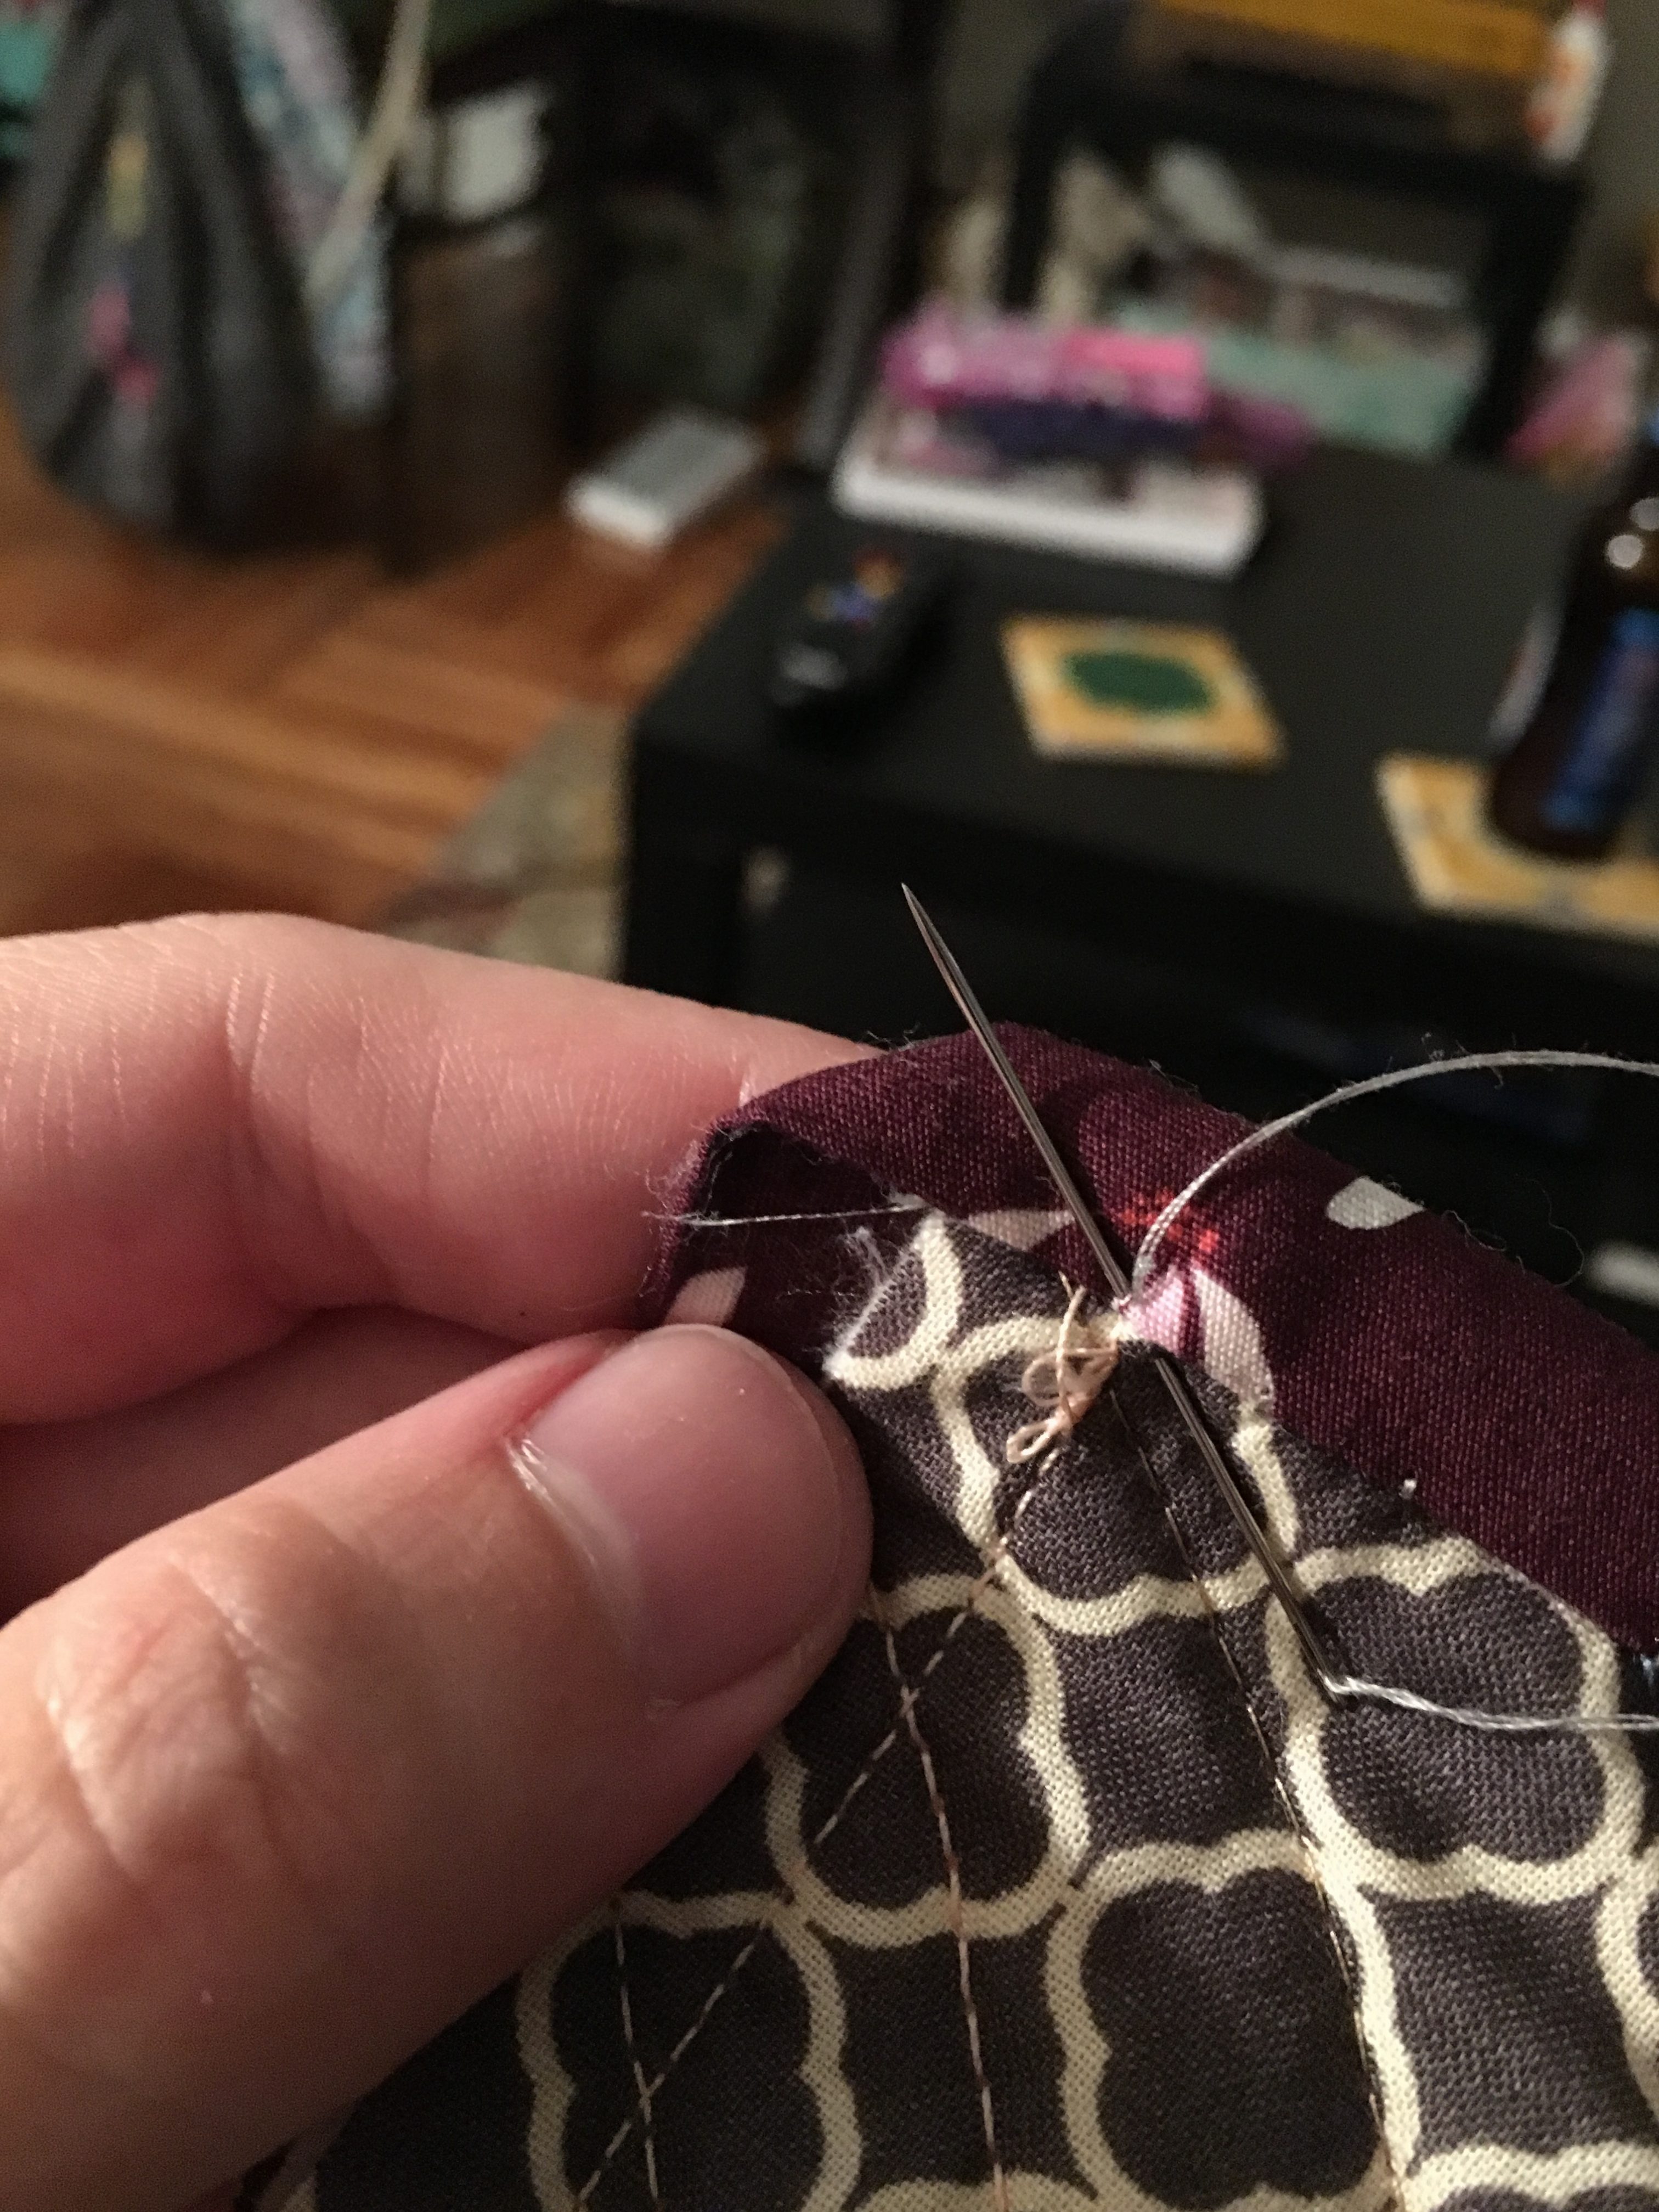
I pick up just a tiny bit of binding and swoop right through the backing and batting (being sure not to sew through the top), every half inch or so. When I get to a corner, I stitch in place once…
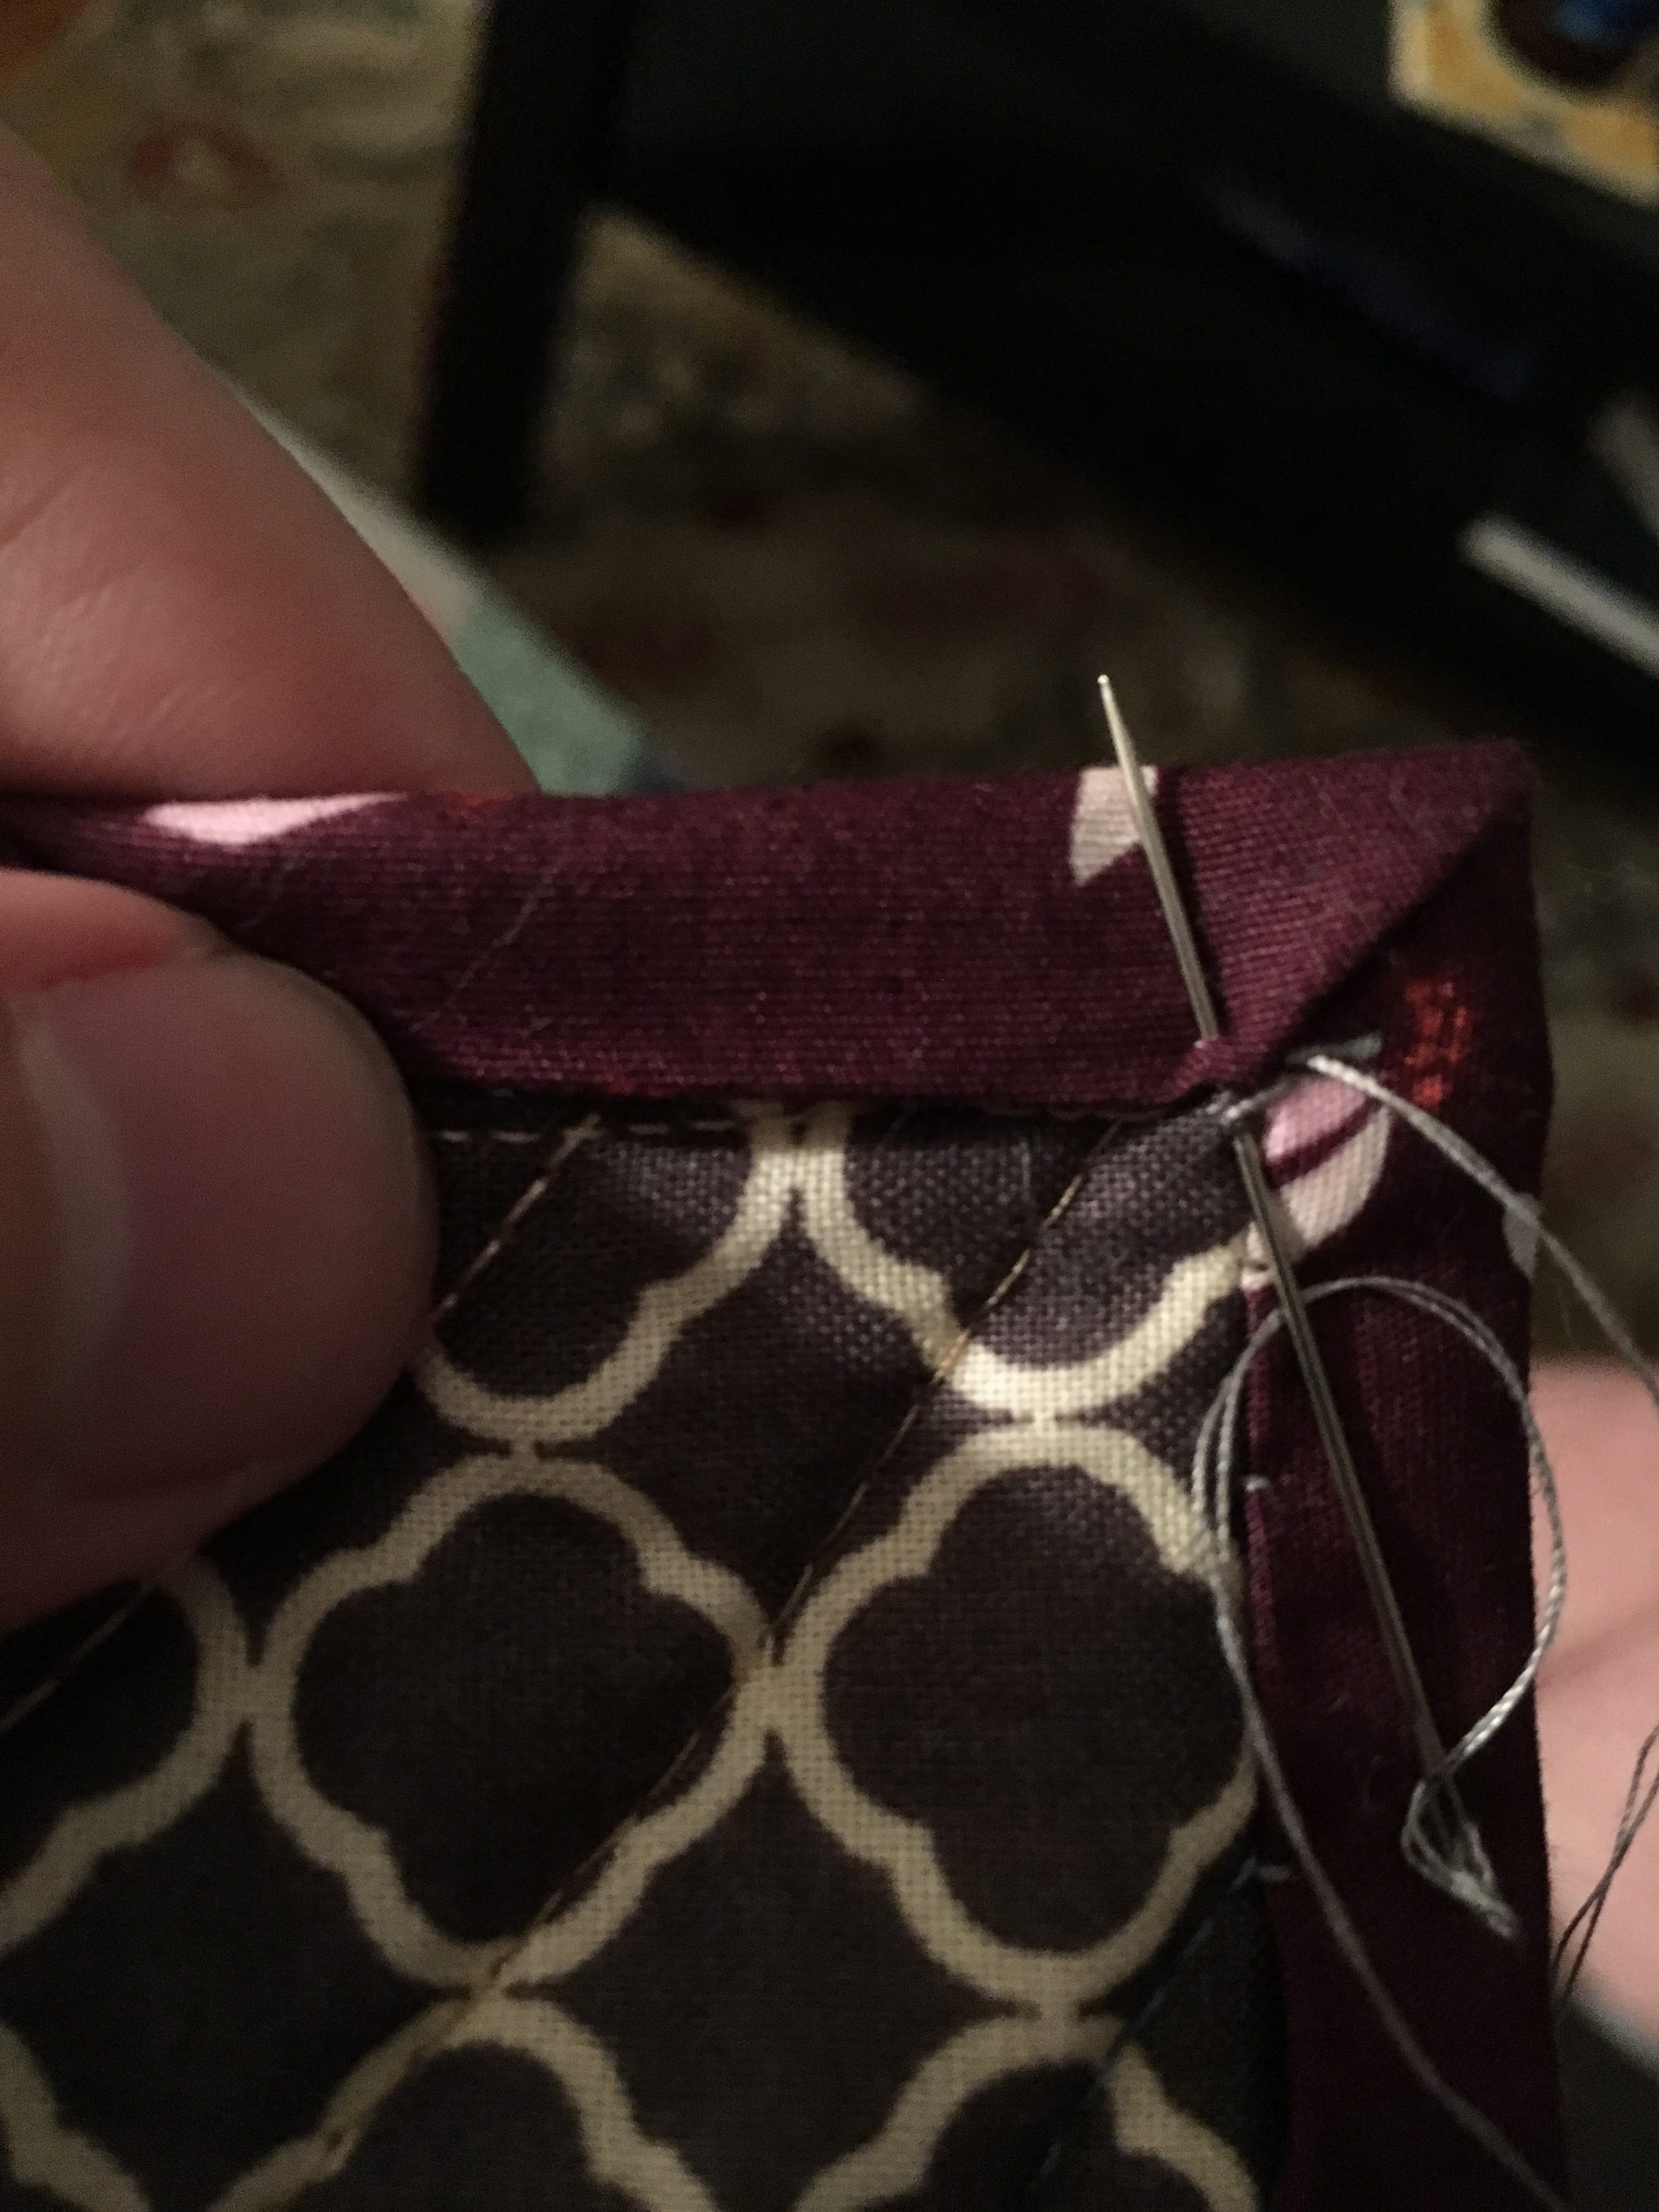
…then fold the corner down, stitching it in place once before continuing.
Sew all the way around and you’re done!


