Baby Quilt Serger Series, Part Three
Today we’re finishing the quilt with machine binding! Let me introduce Charlotte’s Fusible Thread by Superior Threads. It’s a fusible thread that is magical in the right setting. When used in the lower looper, the fusible thread is perfect to keep the binding in place for machine stitching. Lastly, we’ll get out the sewing machine and Edgestitch Foot #10/10C/10D. The Edgestitch Foot is one of my favorites; I use this foot for several different sewing techniques. Between the fusible thread and Edgestitch Foot, your sewing skills will soar!
If you missed Part 1 and 2, click on the following links to start making your baby quilt! You’ll learn some exciting, new techniques!
Machine Set Up
- BERNINA L 890
- Standard Overlock Foot #C11
- Cover/Chainstitch Foot #C13
- Optional: Clear Standard Foot #C27
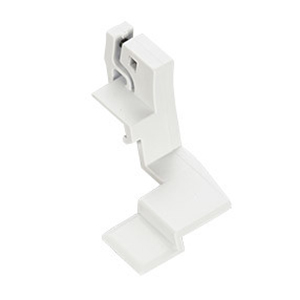
- Right Seam Guide
- BERNINA 790 PLUS
- Edgestitch Foot #10/10C/10D
Supplies
- 1/2 yard dark fabric
- 1/2 yard light fabric
- 3/4 yard medium fabric
- 1/2 yard – binding
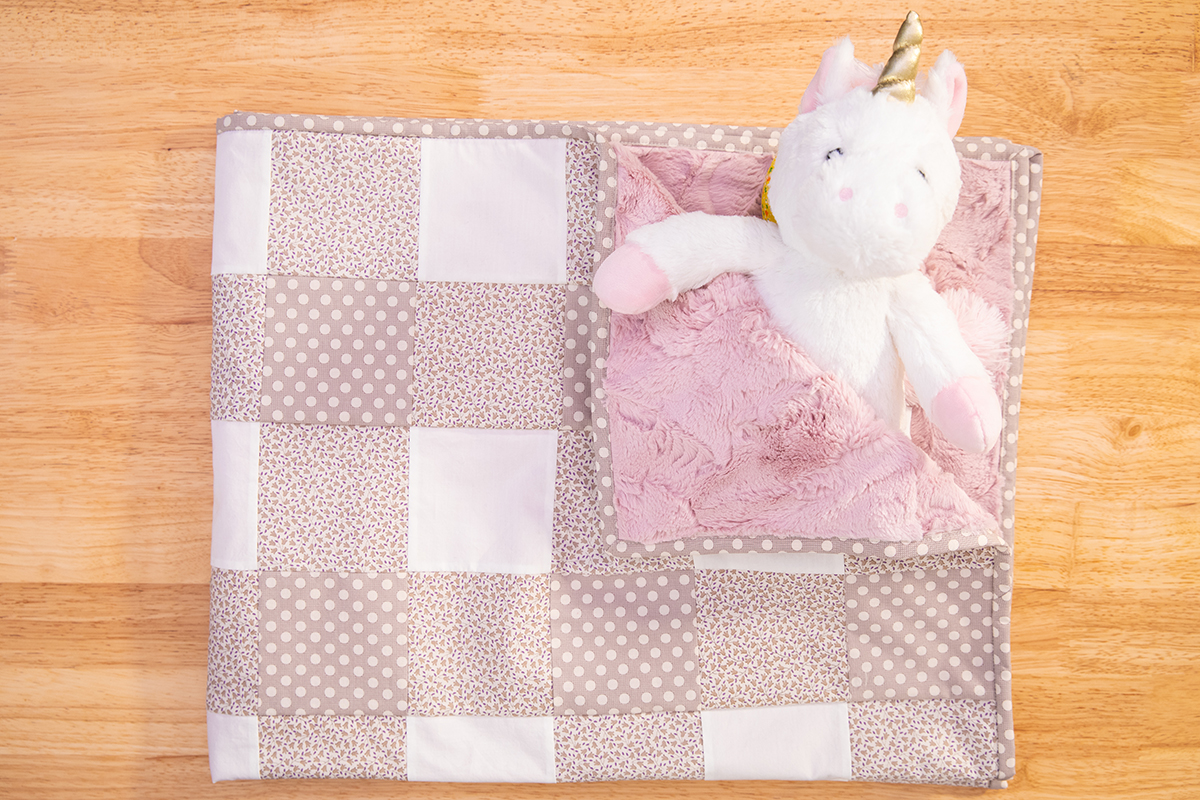
- 1 1/4 yard Cuddle® fabric – I am using Luxe Cuddle® Hide in Rose Water
- Mettler Seracor Thread
- Charlottes Fusible Thread
- Rotary cutter and ruler
- Optional: Xacto Knife
- Wonder Clips and/or large pins
- Iron and pressing mat
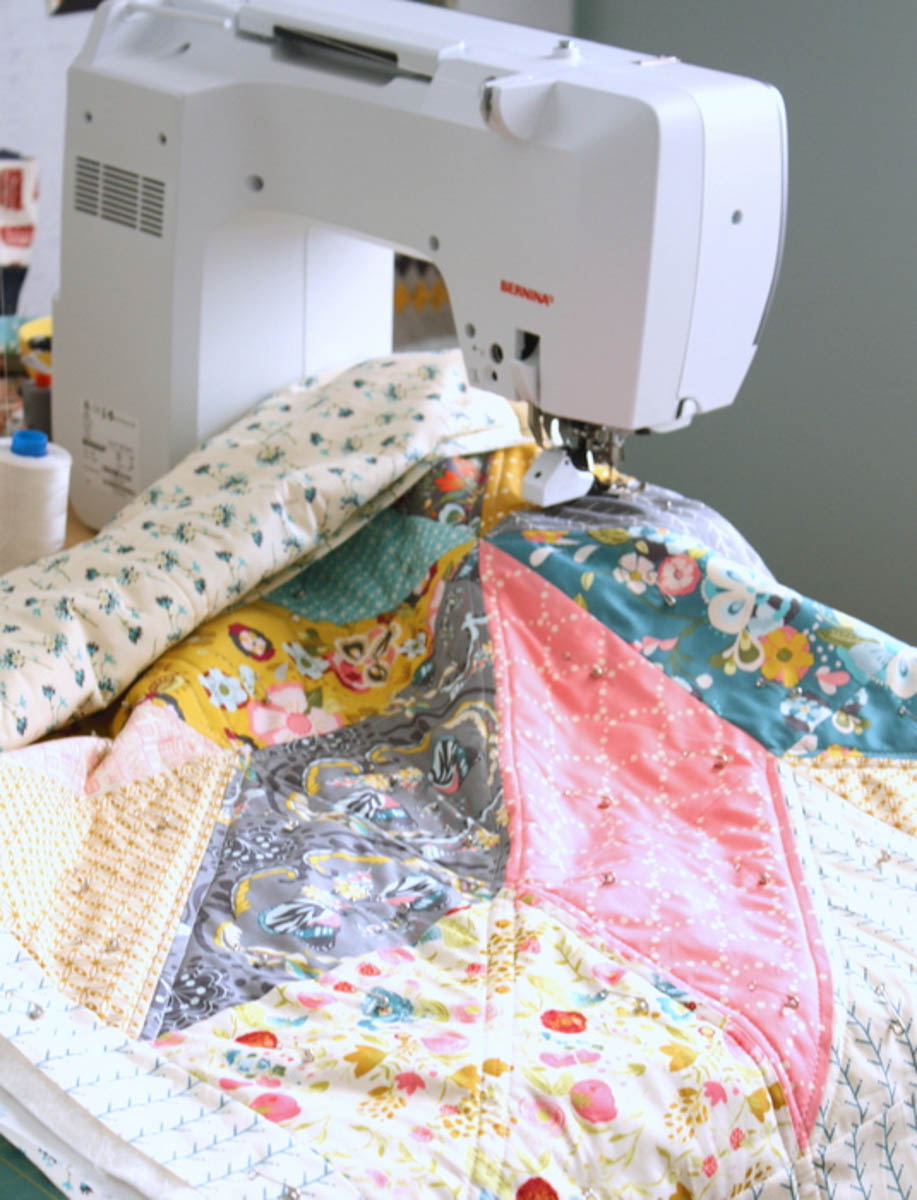
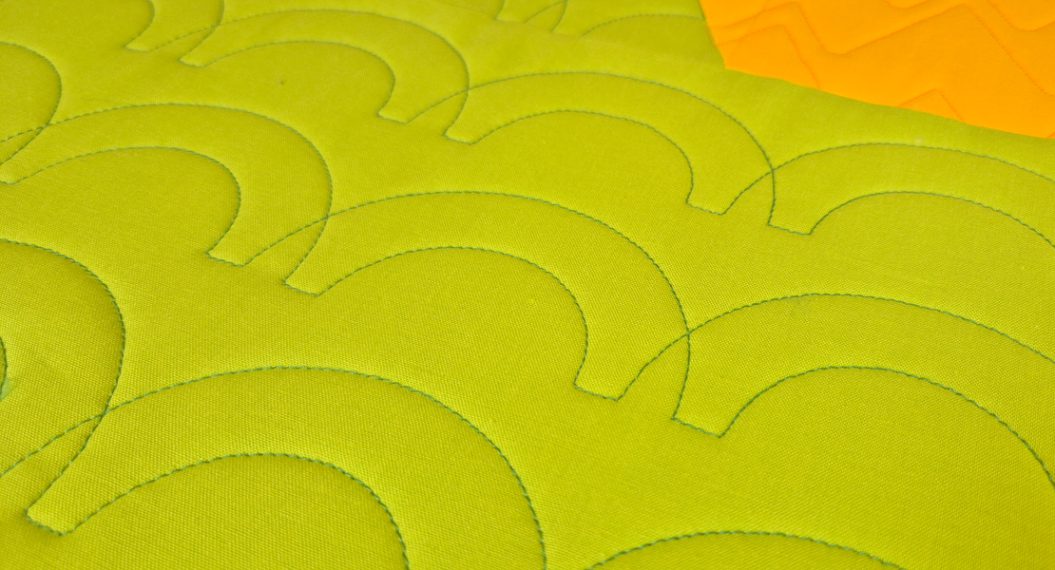
At this point, the quilt top and backing are together. I found it helpful to spray baste the outside sections with an adhesive spray and use large pins to keep everything in place.
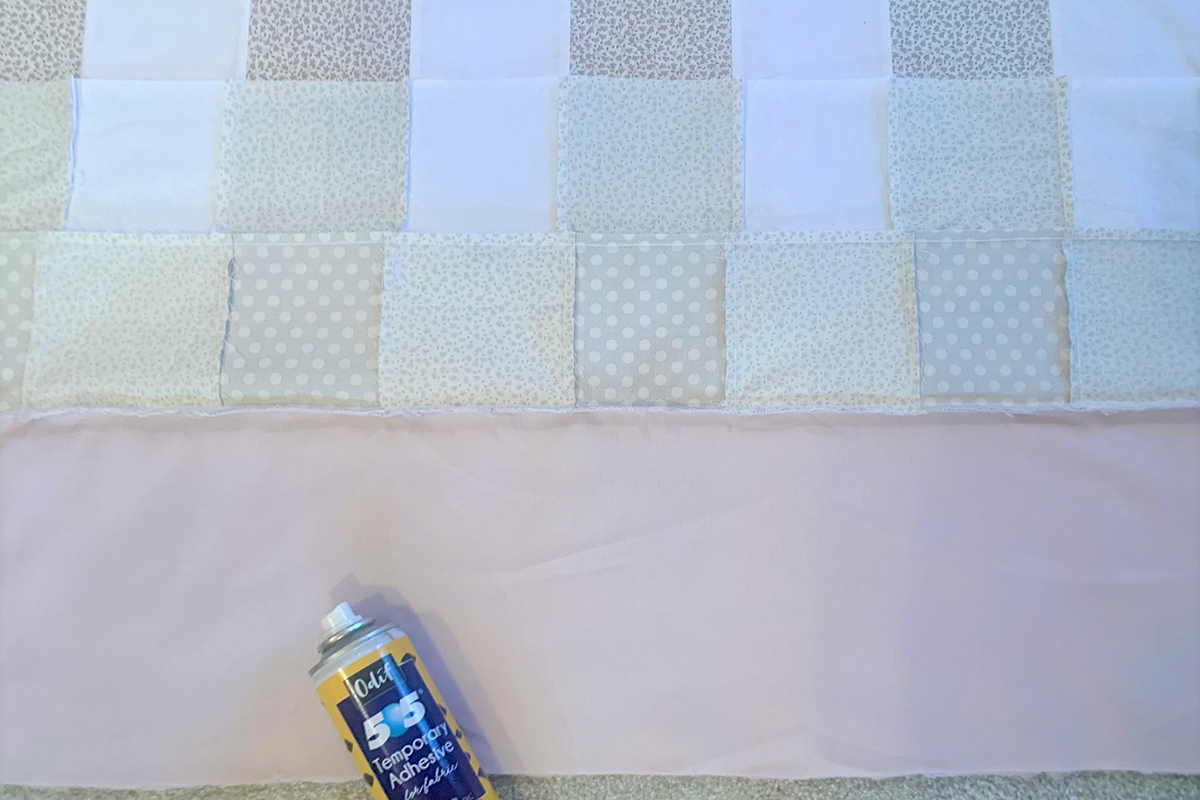
You can add more quilting if desired, such as stitch-in-the-ditch using the Three-Sole Walking Foot with Guide #50 and the Center Guide Sole. For me, I like soft baby quilts with lots of drape so I’m leaving the quilt as is.
Binding Prep
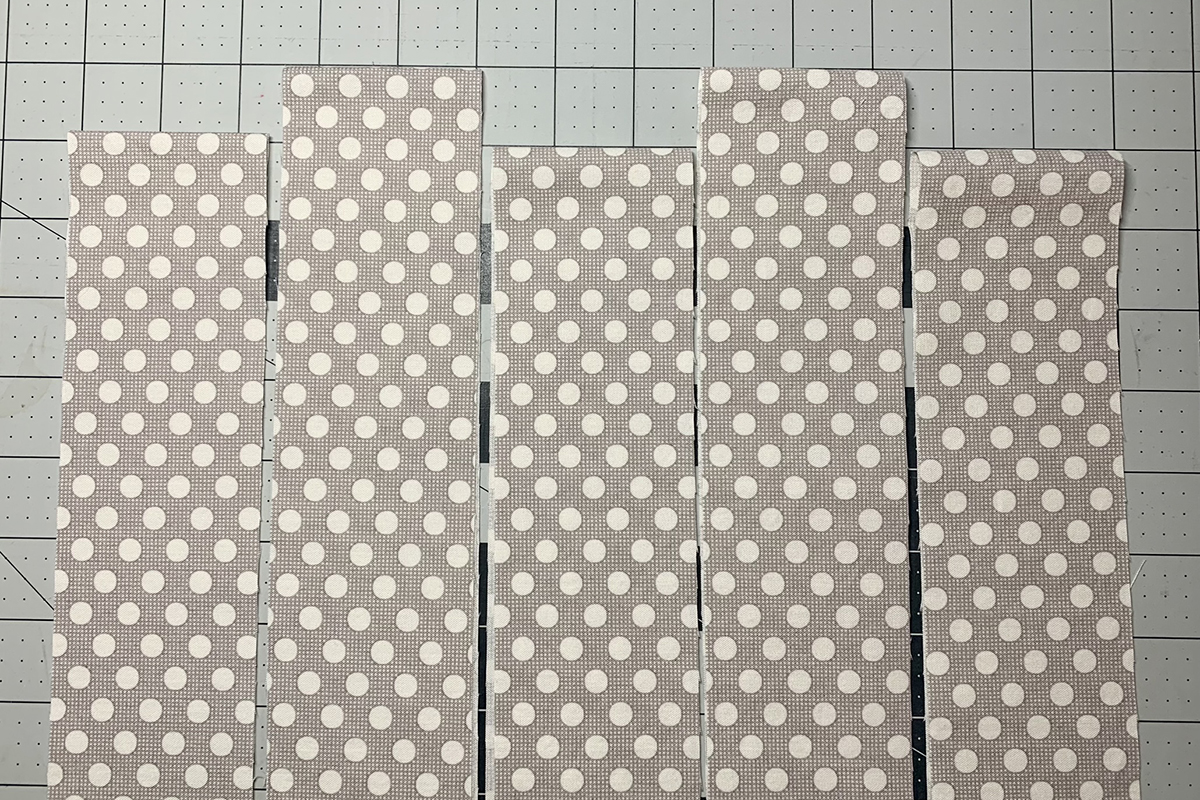
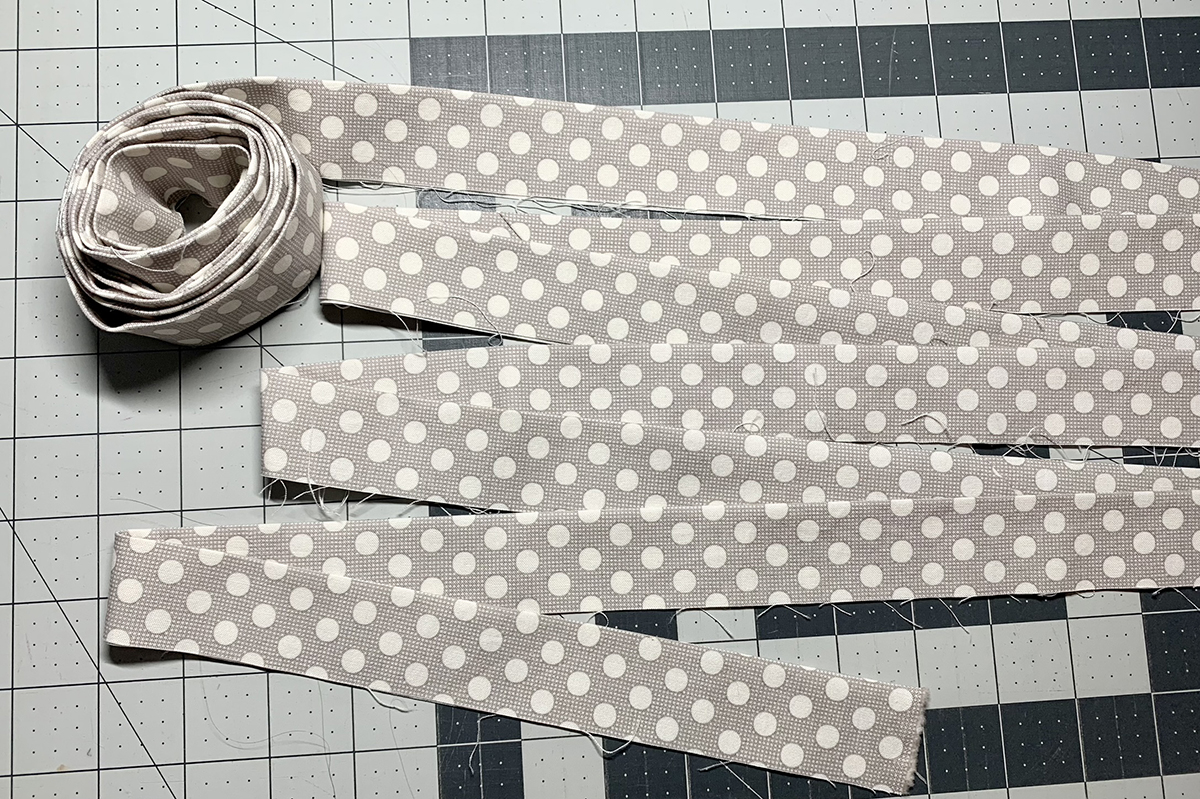
Measure the perimeter of your quilt and add 20” to that number. My total is 182”. Divide this number by 42 (the width of fabric) to get 4.33. Round up to 5. Cut five binding strips 2 1/2″ x width of fabric.
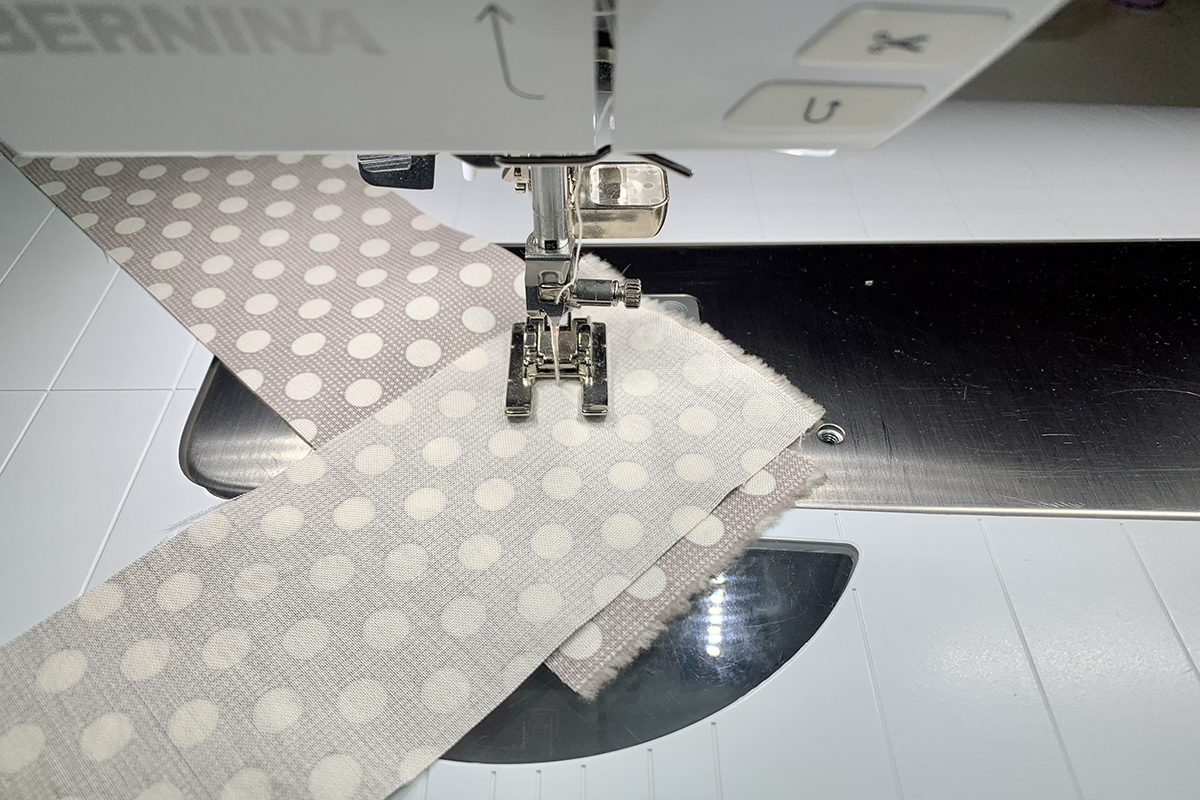
Join binding strips on the diagonal and trim excess.
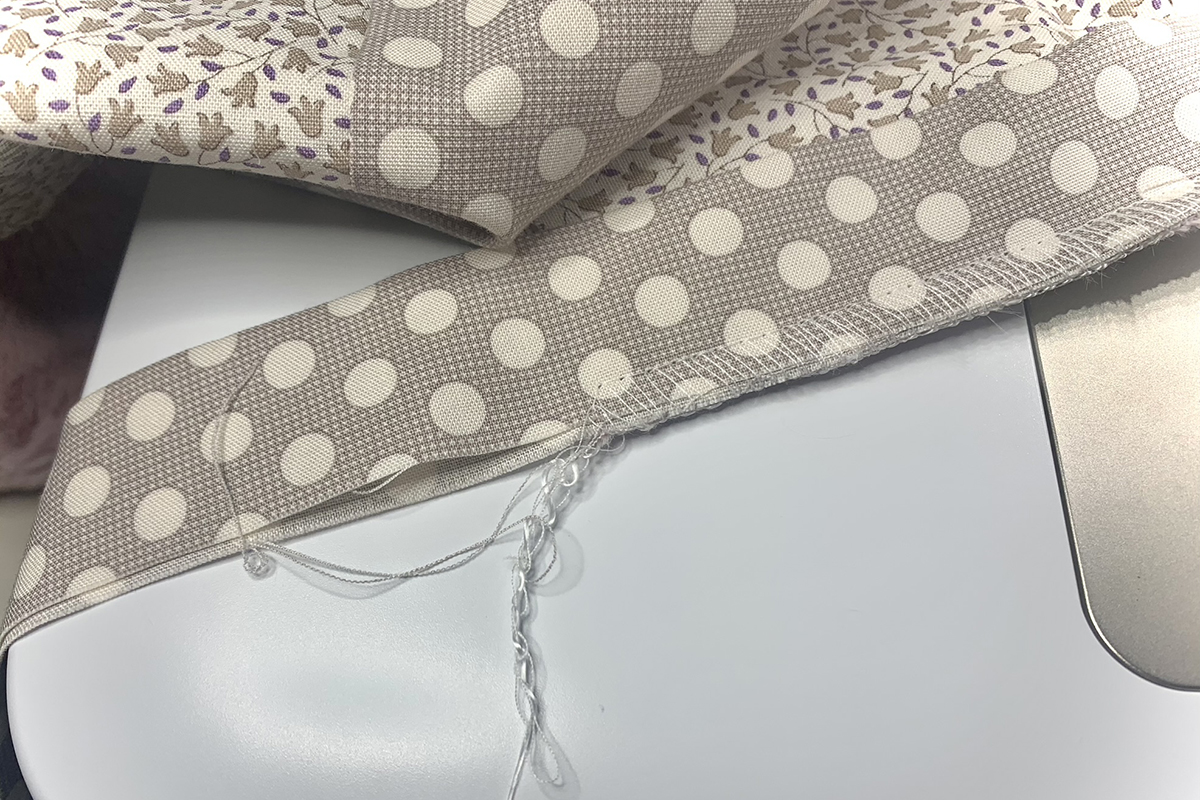
Cut one tail end at a 45° angle and press under 1/2″. Press the entire length of the binding strip in half.
If you need a refresher on how to make continuous binding, here’s a post from one of our quilt alongs showing the process in detail:
Stay Gold Quilt Along: Binding
Machine Prep
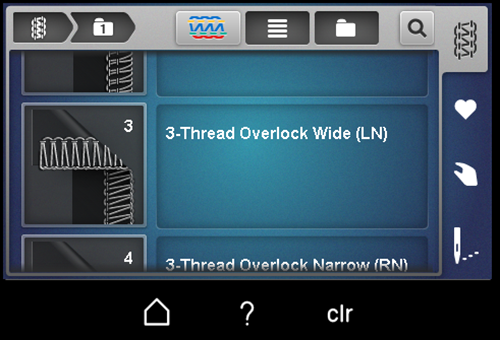
Select 3-thread Overlock Wide #3.
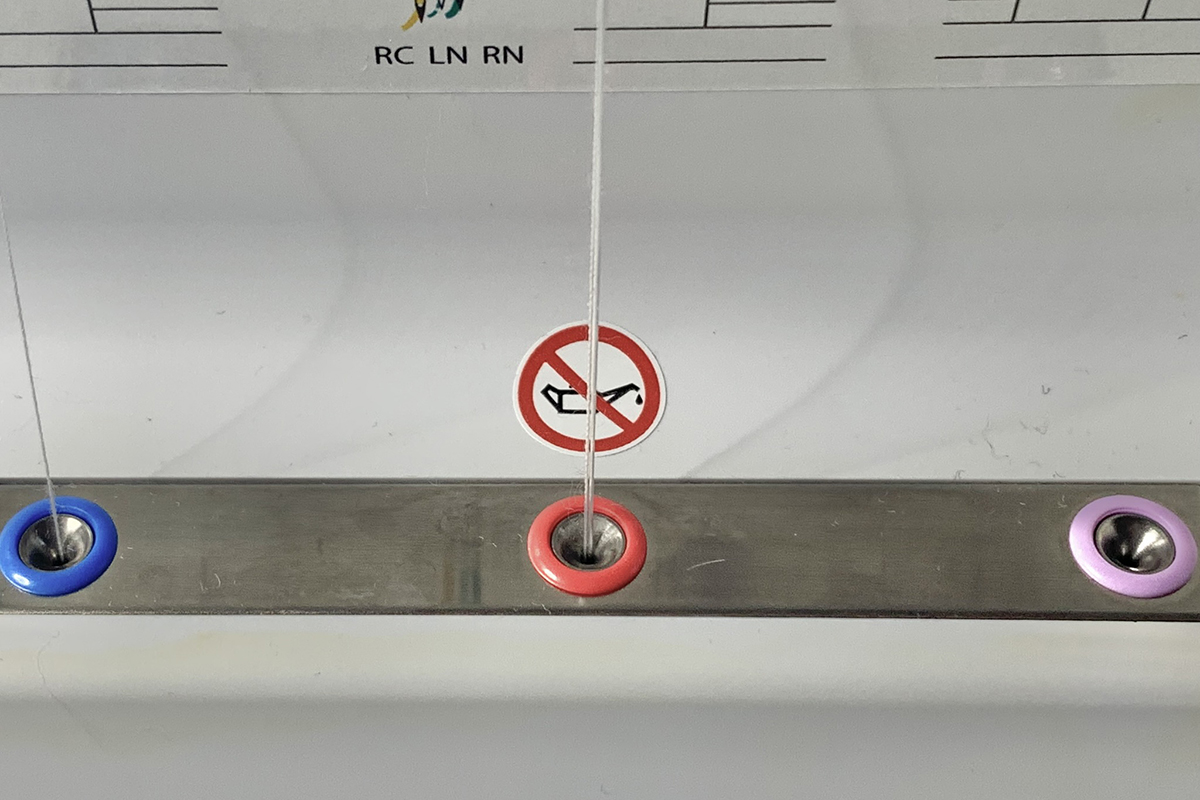
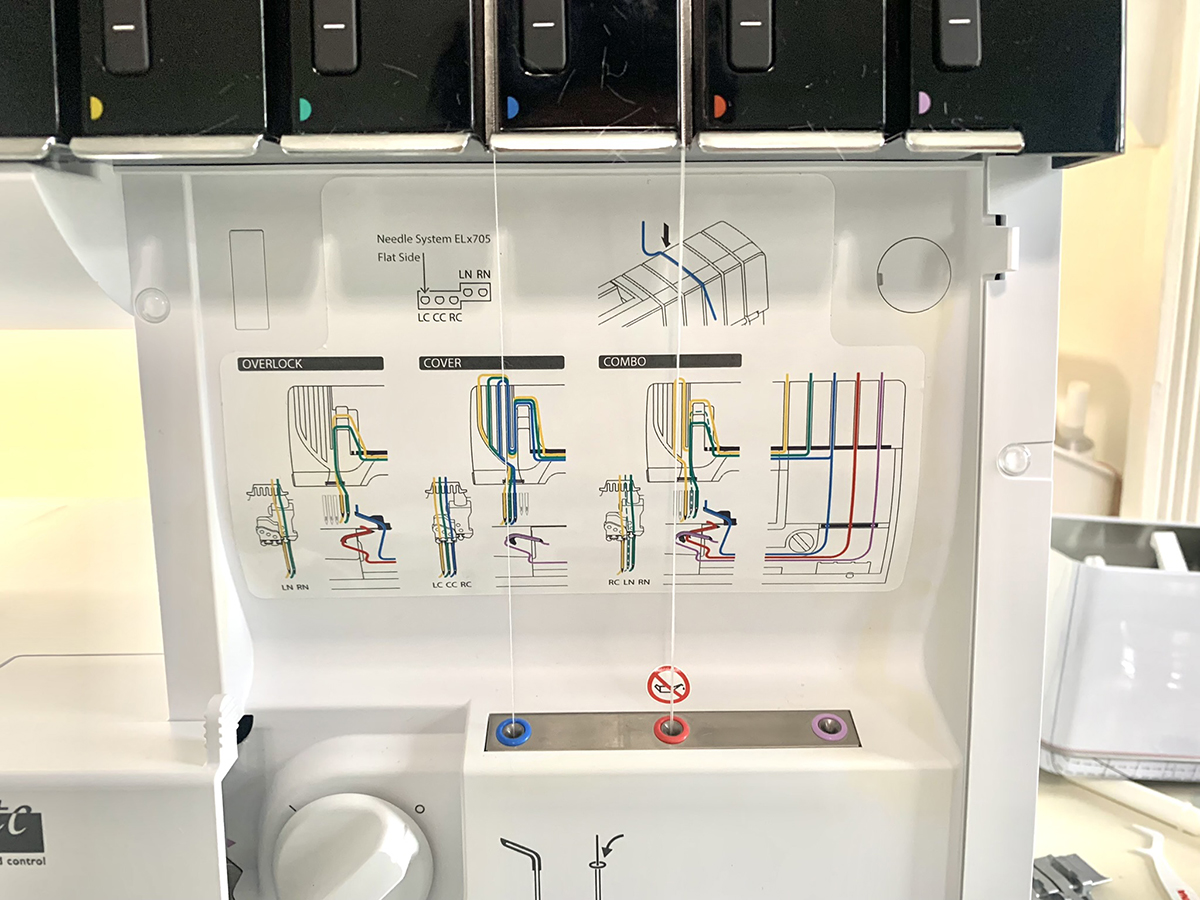
Follow prompts in Guided Mode. Add Seracor thread in the Left Needle and the Upper Looper. In the Lower Looper, thread Charlottes Fusible Thread and Seracor thread as one. The Seracor thread will maintain the structure of the stitch after fusing the fusible thread.

Increase Stitch Length to 4 mm. A longer stitch length uses less fusible thread but still works.
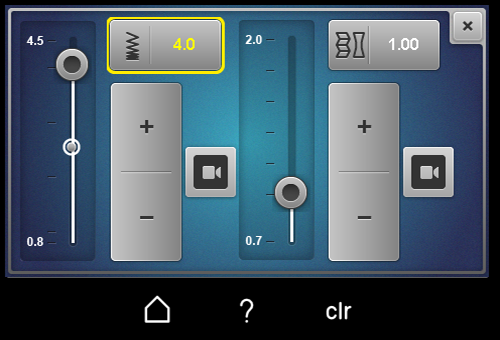
Increase Upper Looper tension to 4.5.
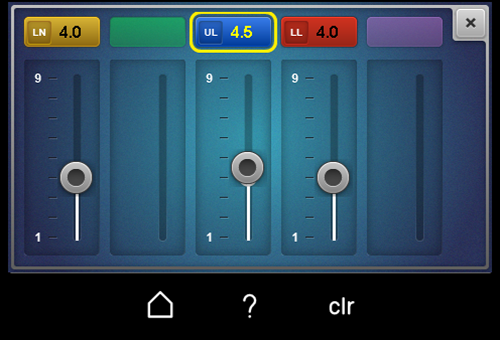
Notice changes are highlighted in yellow.

Adjust MTC to +1.
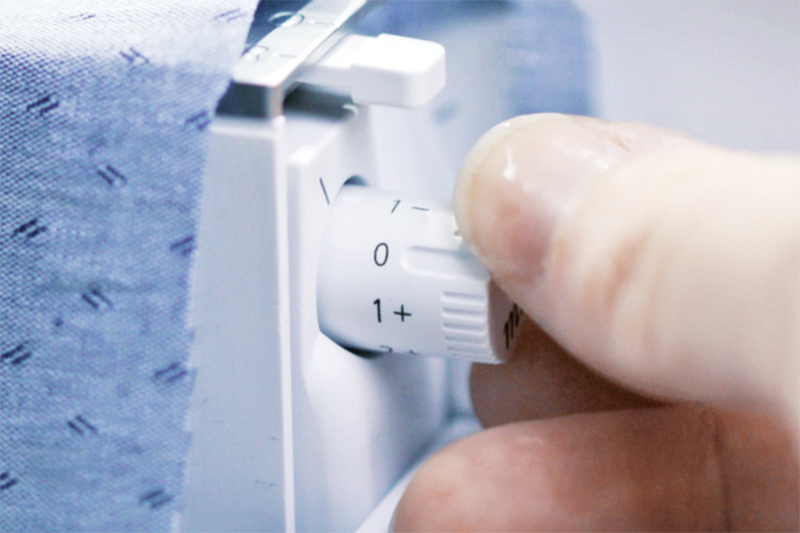
Adjust the Presser Foot Pressure Dial to 3.

All these adjustments are what worked for me to get a really nice overlock stitch. Your adjustments might be slightly different. Always test sew before starting on your actual project. BERNINA has Total Stitch Control that allows you to get your best stitch!
Stitch Binding to Front
Place binding around perimeter of quilt making sure a binding seam doesn’t land in the corner. When you’re happy with placement, pin the starting point. Leave about 6” excess at the start.
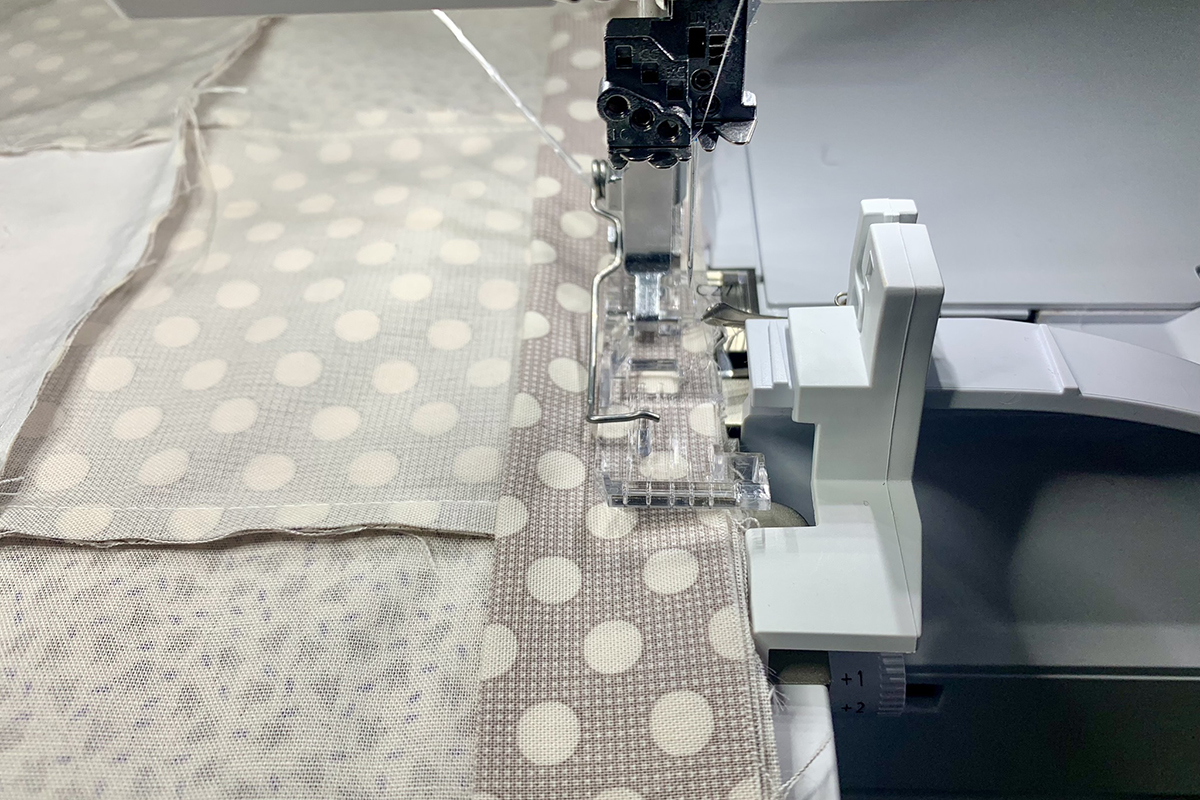
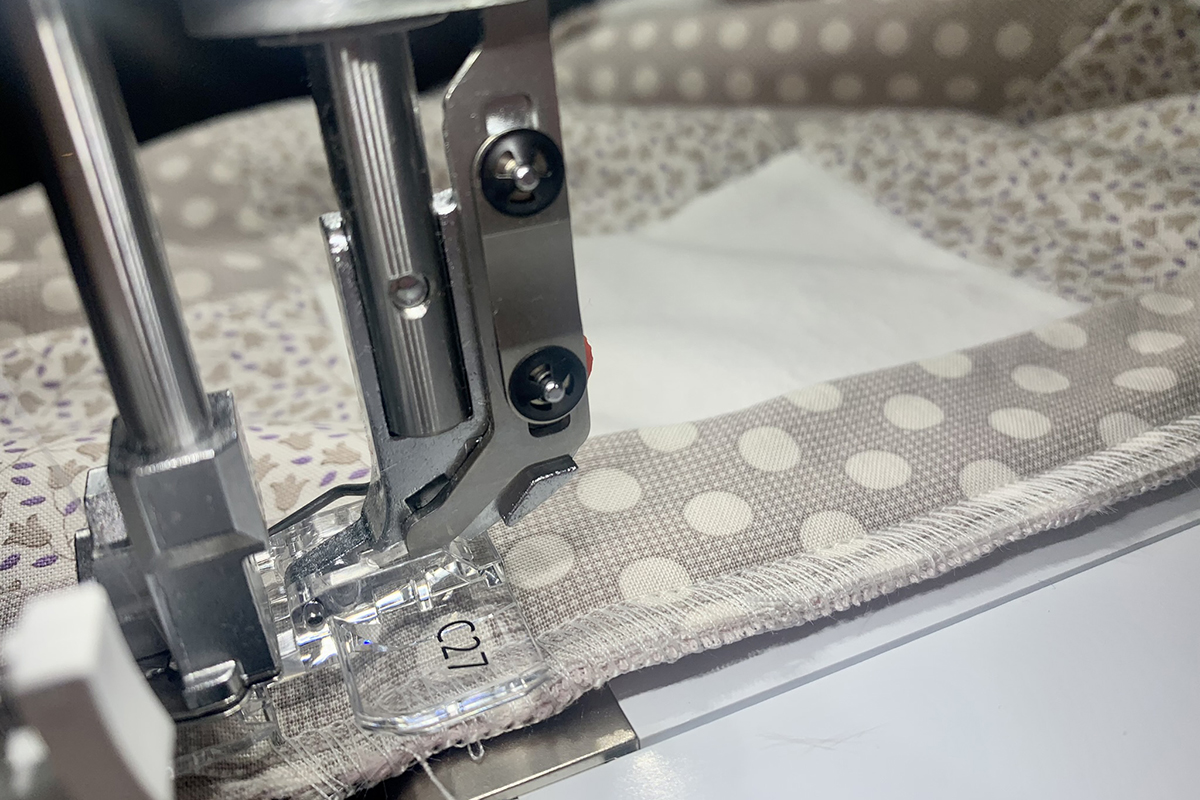
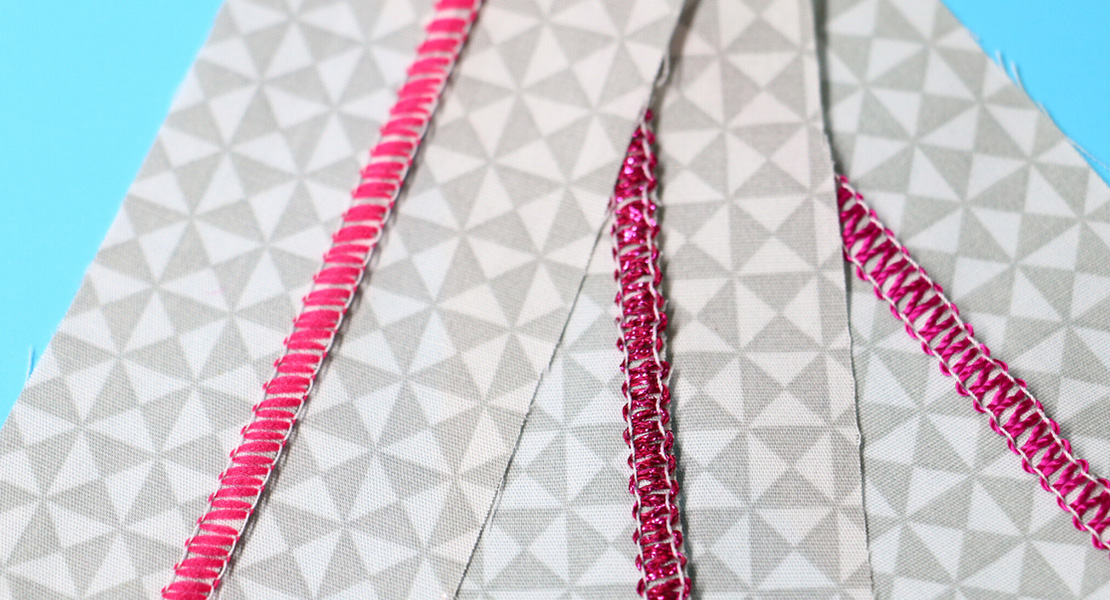
This is a good time to use Clear Standard Foot #27 if you like the visibility when stitching. Here are images with Standard Overlock Foot #11 and Clear Standard Foot #27.
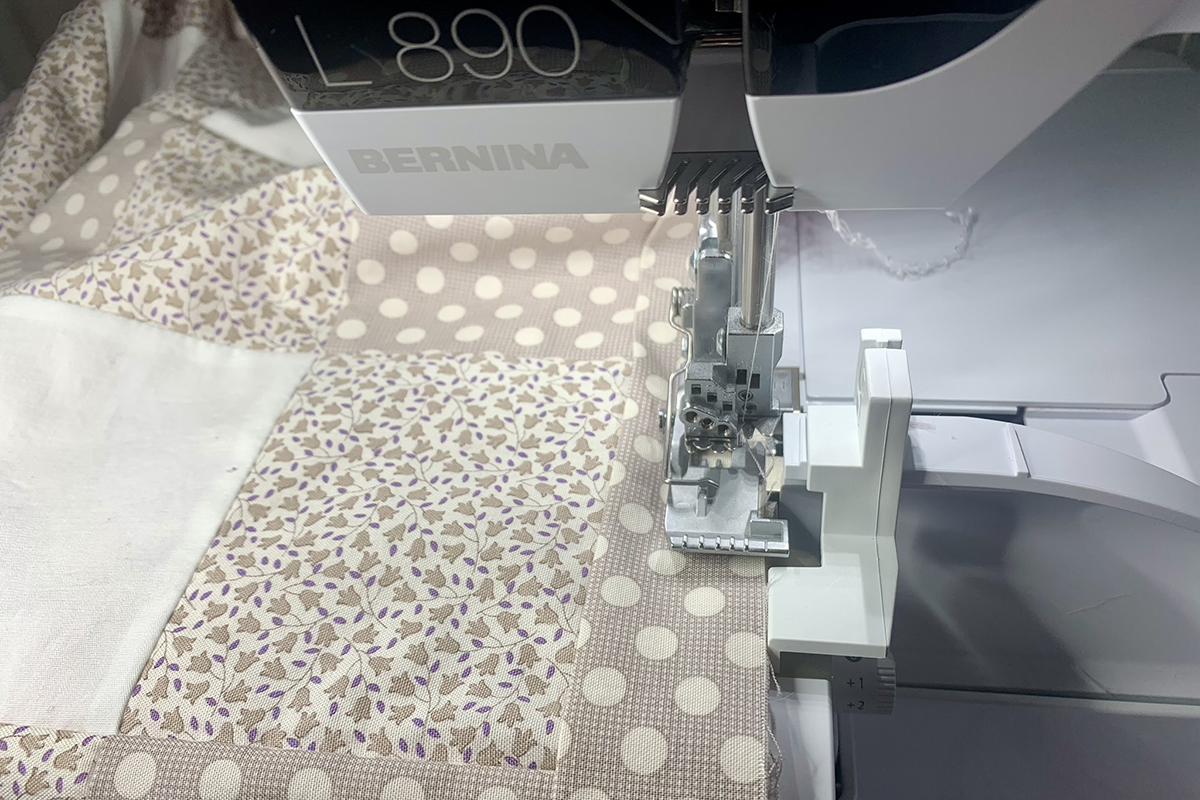
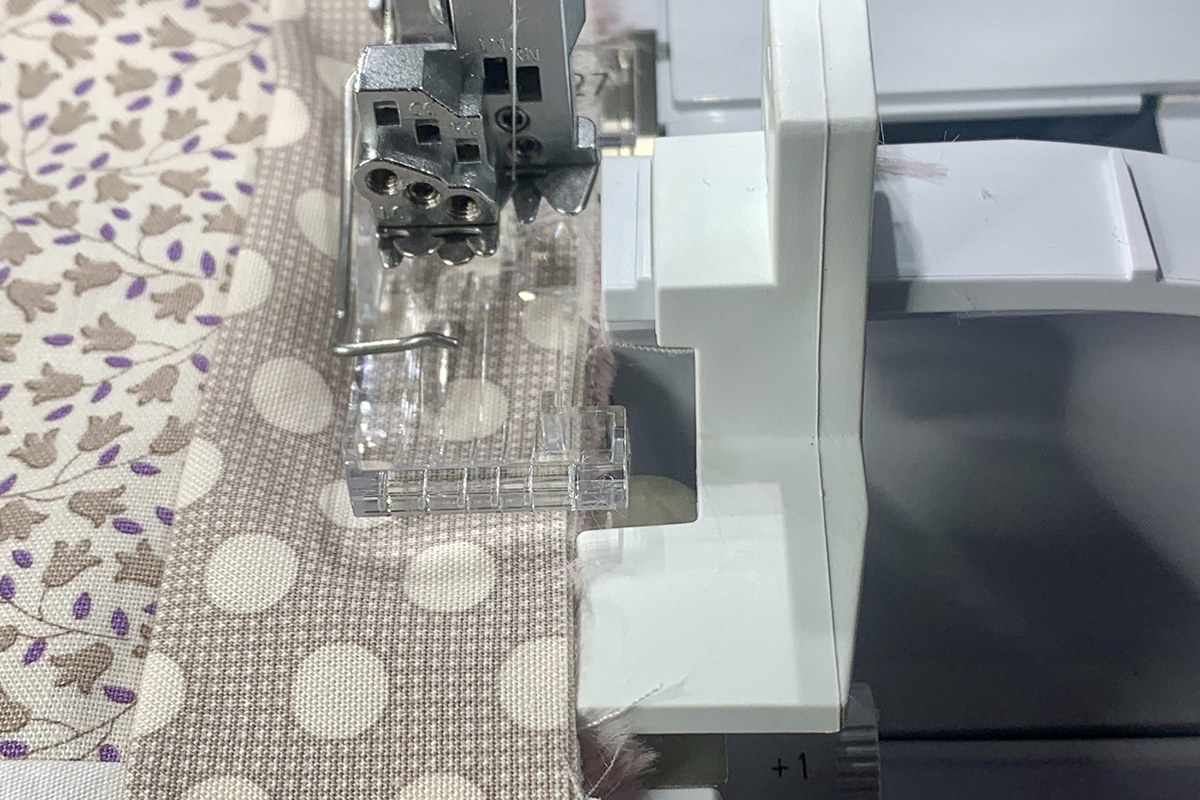
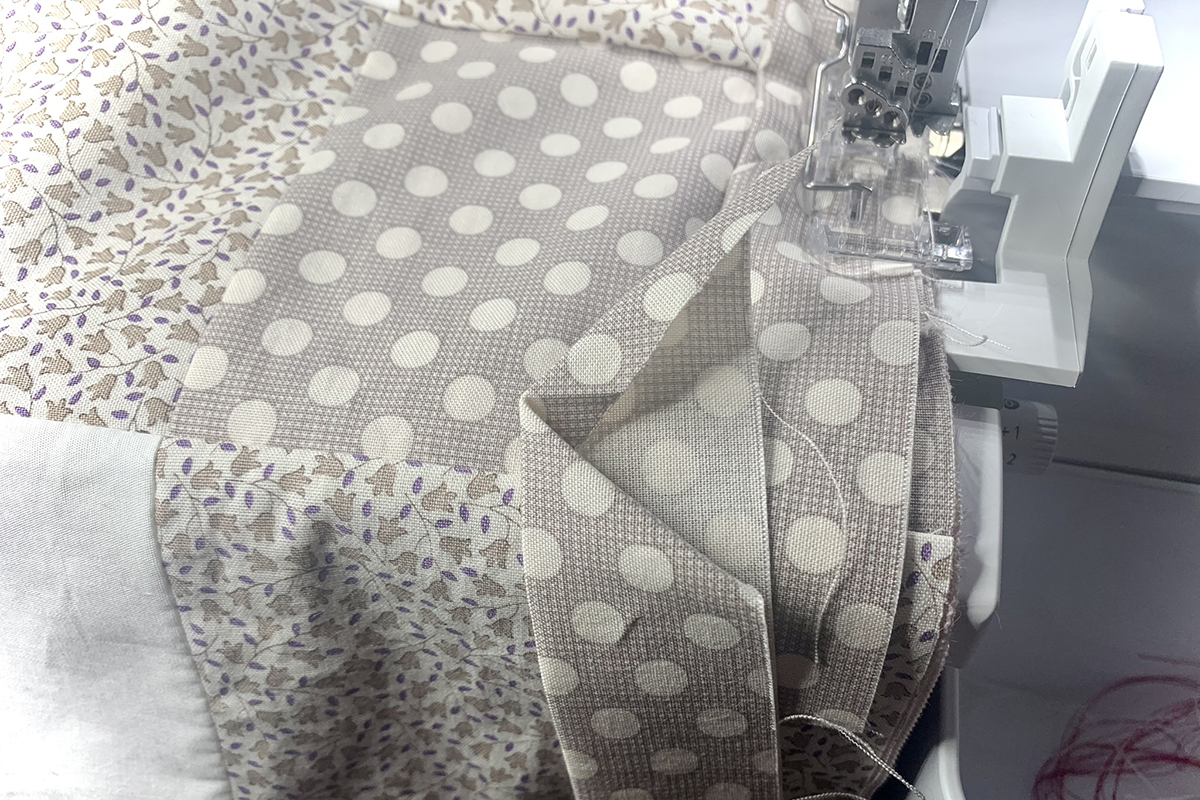
Attach the Right Seam Guide aligning it with the far right marking on the foot. Place quilt under foot with raw edges even and up against guide.
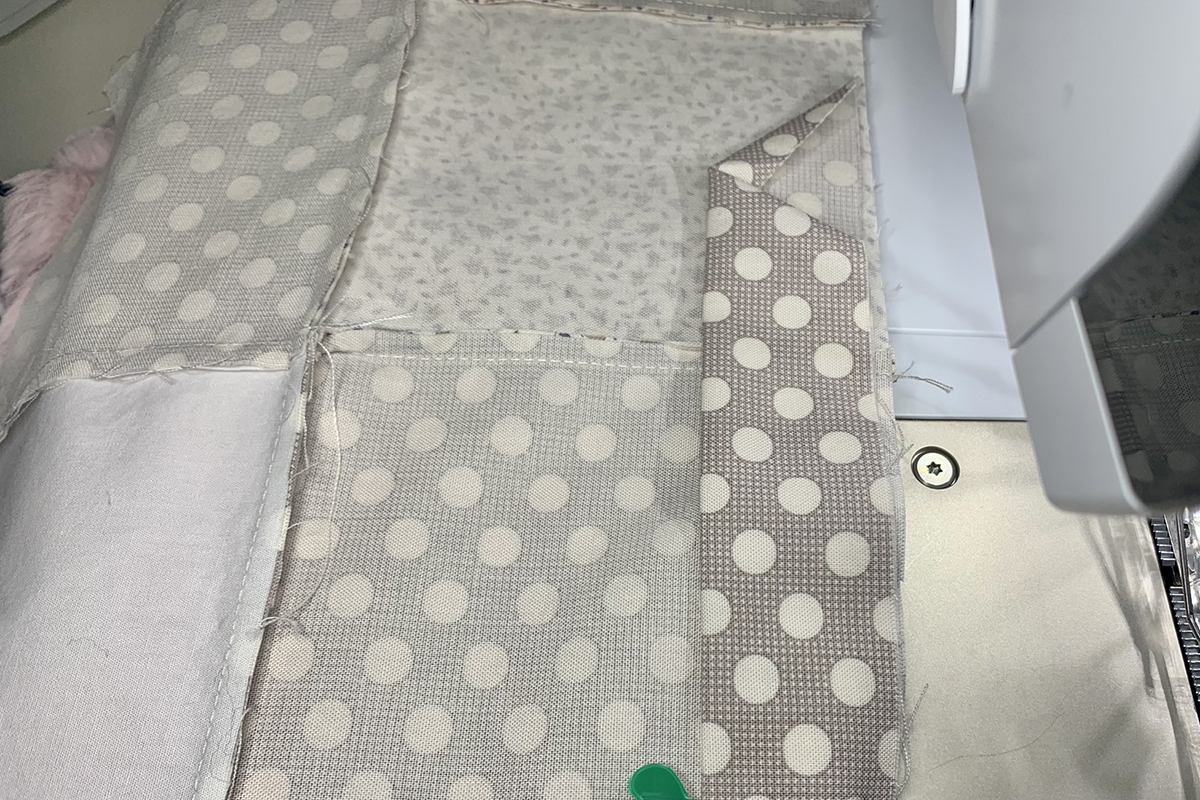
Here are the layers you want to keep aligned from top to bottom – 2 layers of binding, the pieced top and the Cuddle® back.
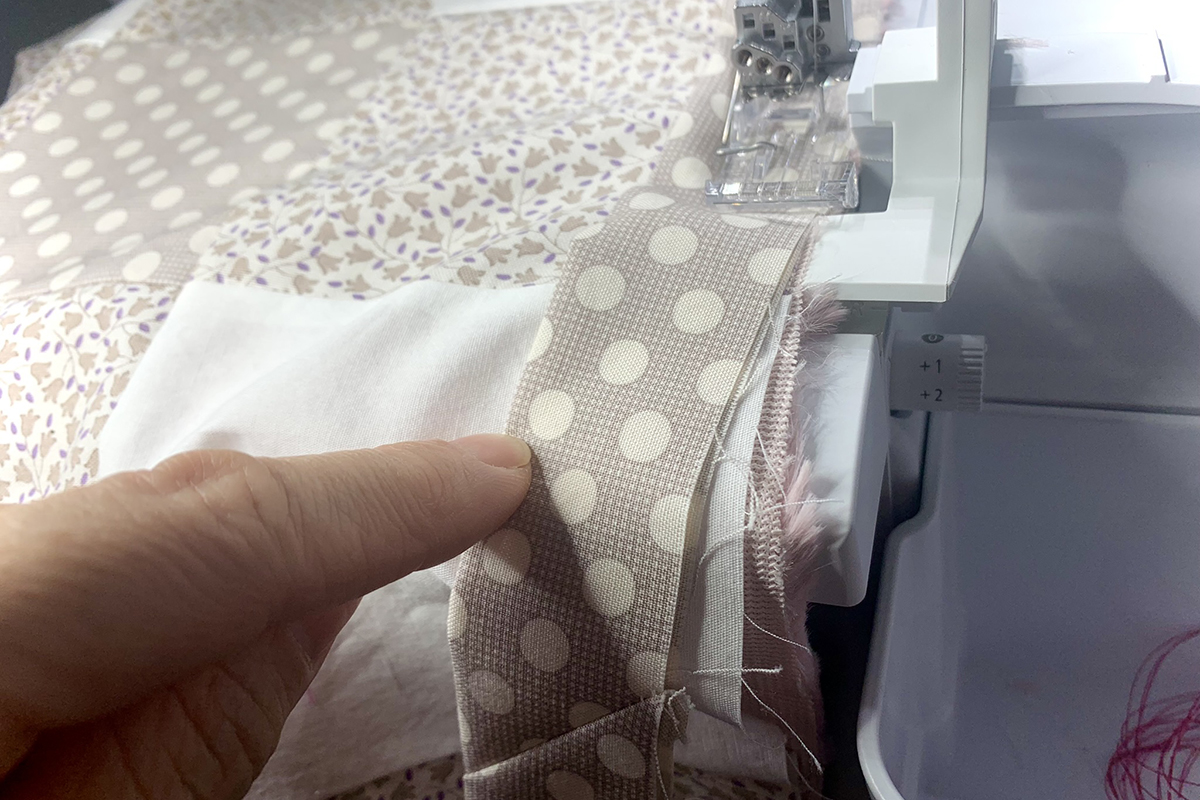
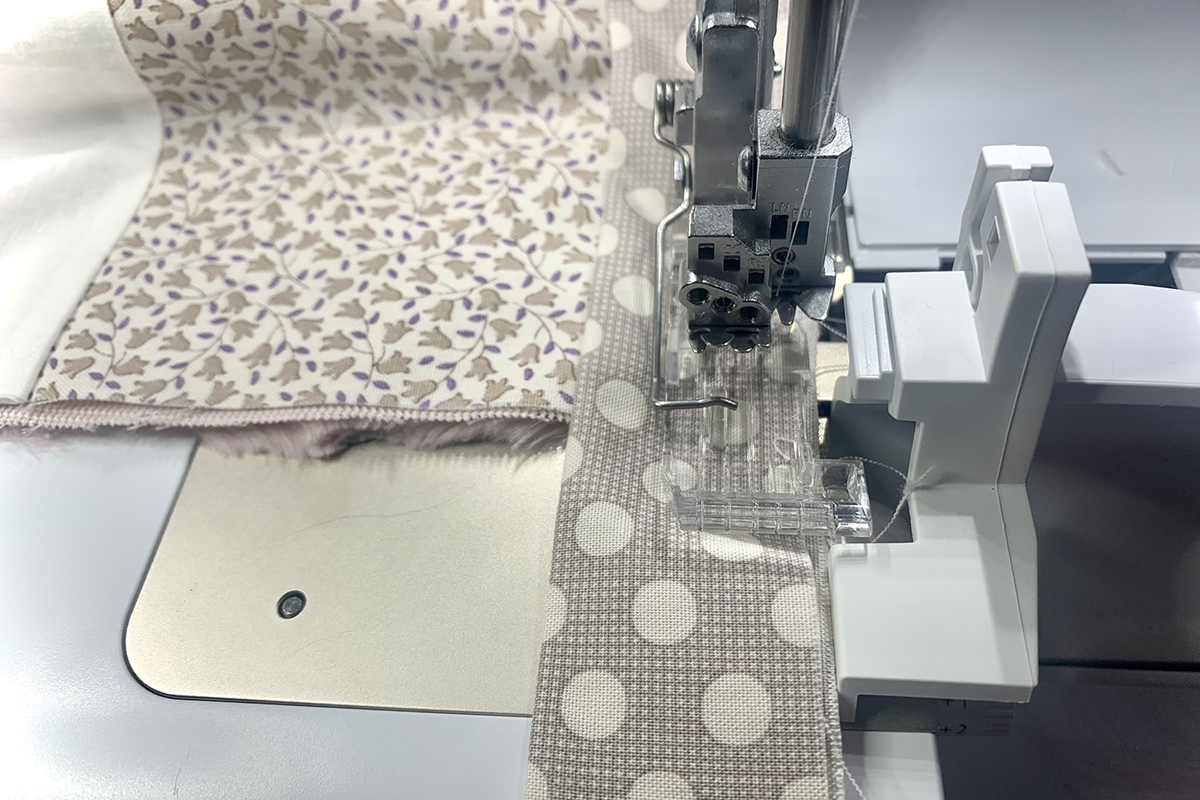
Stitch keeping raw edges aligned. Watch out for the Cuddle® fabric – it’s slippery!
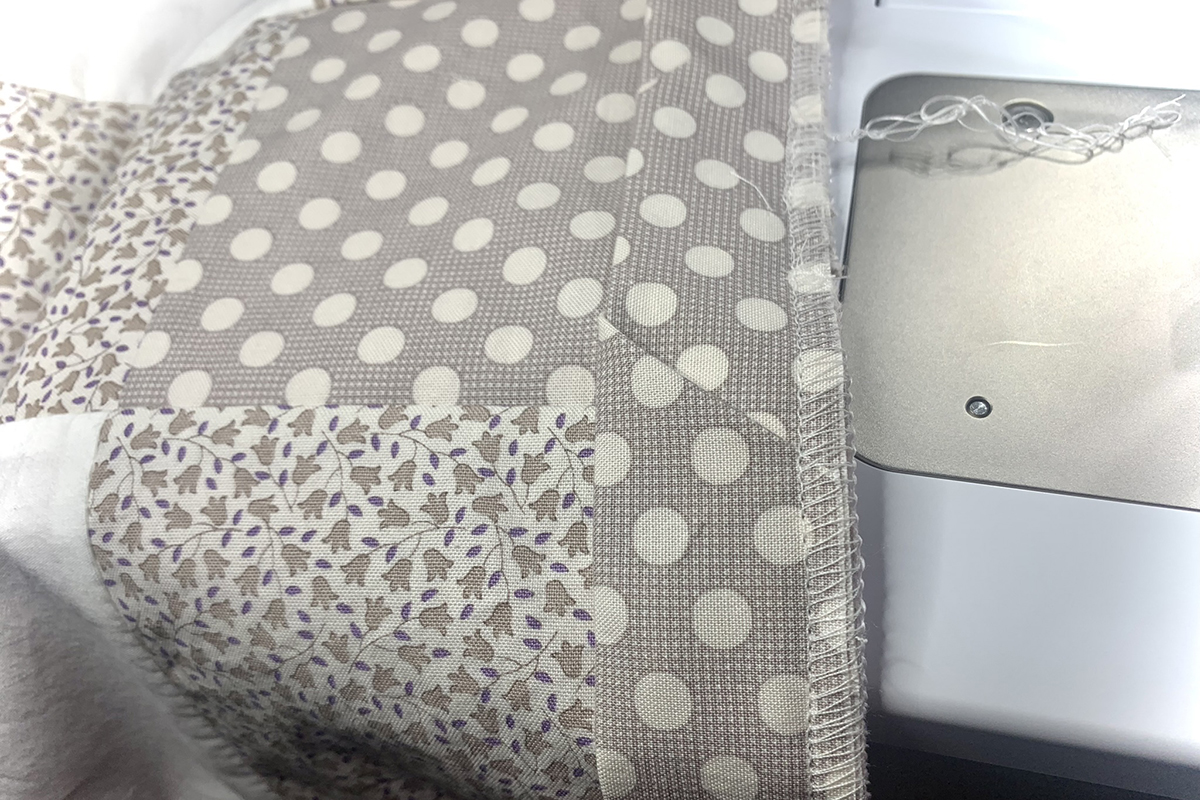
Here is a view of the stitching at the backside of foot. Beautiful!
The corners are mitered exactly the same way as on a sewing machine. Stitch almost to the end of one side.
Pivot quilt at a 45° angle and stitch off fabric.
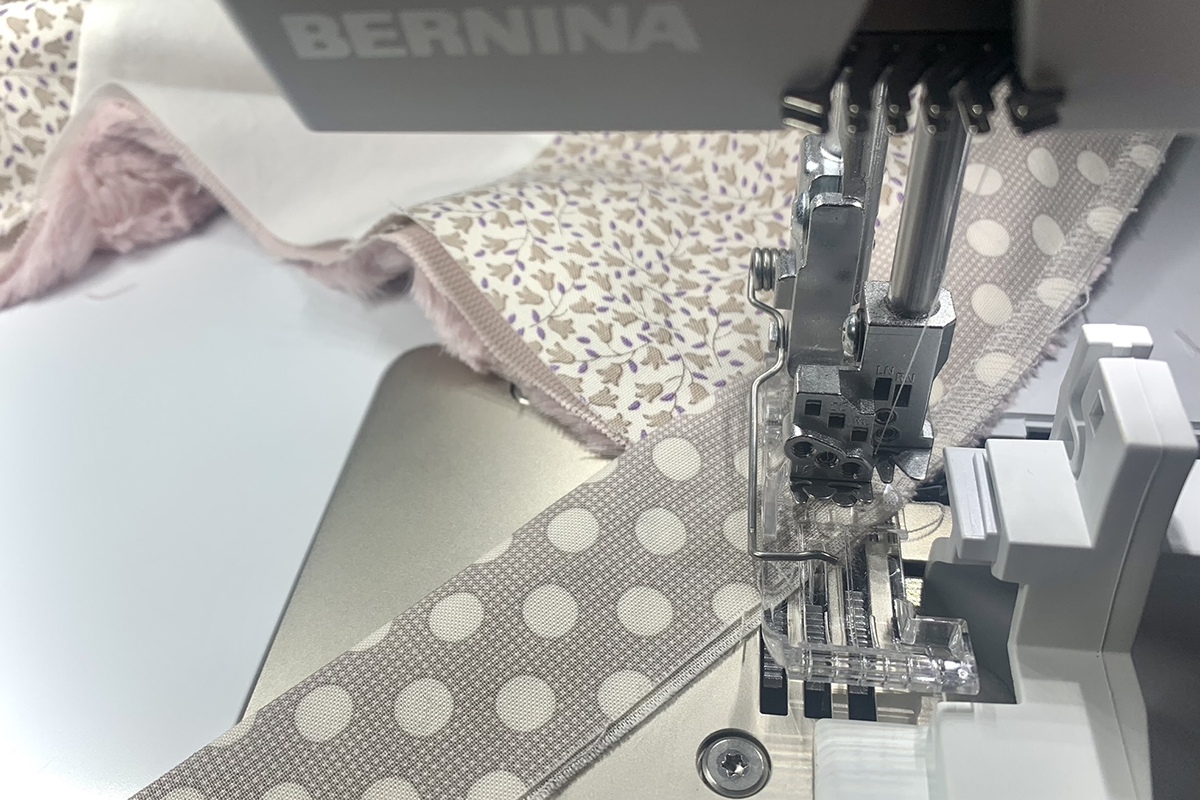
Fold mitered corner, place quilt under foot with raw edges aligned and stitch next side. Here is a weallsew.com link that includes a video using the L 480 to add binding.
Speedy Binding with an Overlocker
Here is a weallsew.com link that includes a video on folding mitered corners: How to Sew Mitered Corners
Stop stitching about 8” from where you started. Overlap end of binding with the beginning. Cut end of binding so there is a 2” overlap.
Tuck the end into the diagonal fold. Finish stitching.
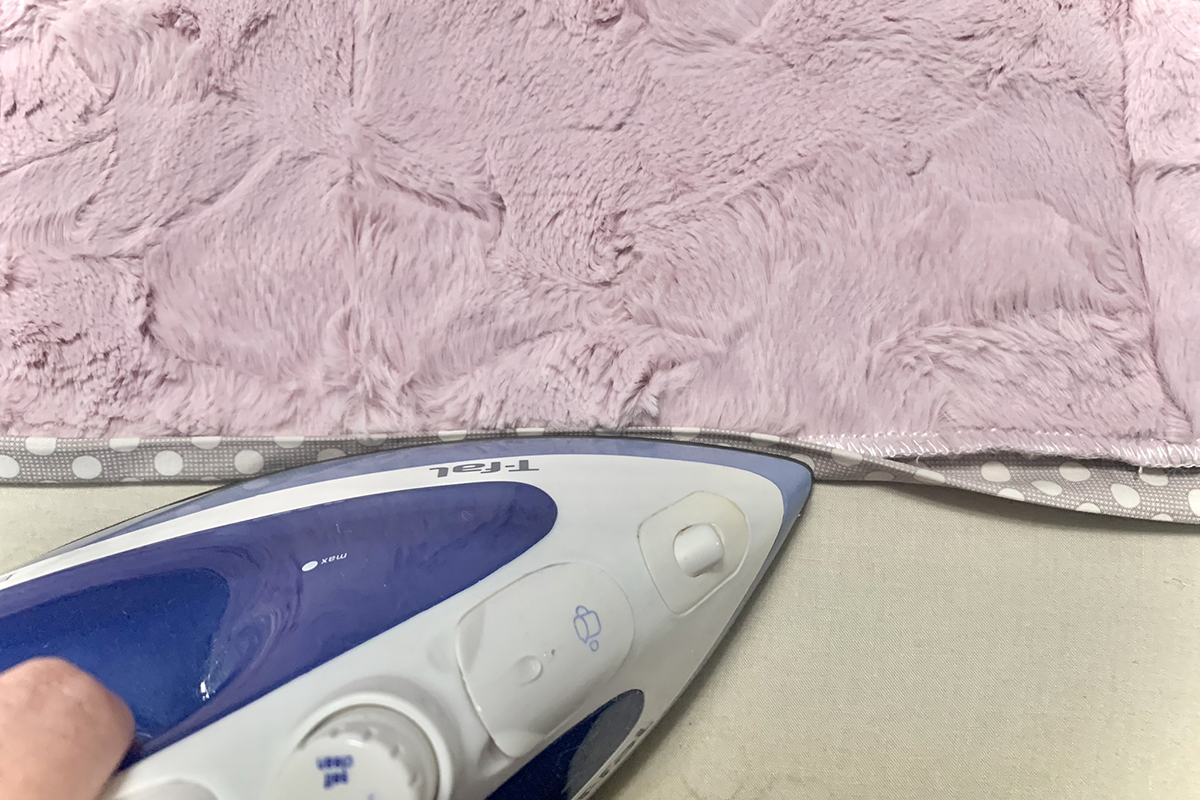
Pro tip: With quilt right side up, press binding towards outside edges. A light press here helps to easily wrap binding to other side in next step. With fusible thread on other side, be careful not to melt the thread. Place the piece over a non-stick pressing sheet to ensure that there is no chance of the thread melting onto the surface of the ironing board.
Secure Binding to Back
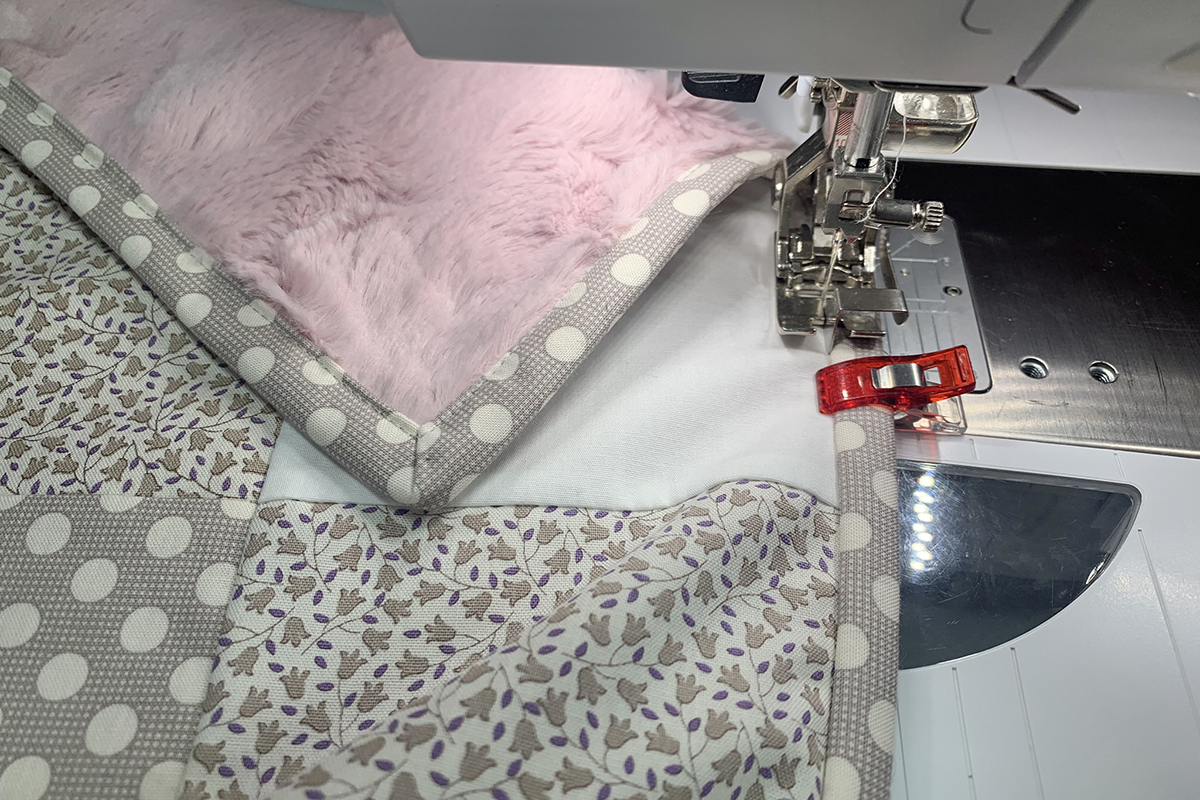
Place quilt on ironing board with Cuddle® back right side up and binding closest to you. Fold over binding and press to fuse in place. Keep your iron off the Cuddle® fabric. It sounds difficult but the weight and edge of the iron makes this step simple.
As you fuse the binding, add Wonder Clips every 3” – 4”. Like any adhesive, the sticking power is strongest after it cools off.
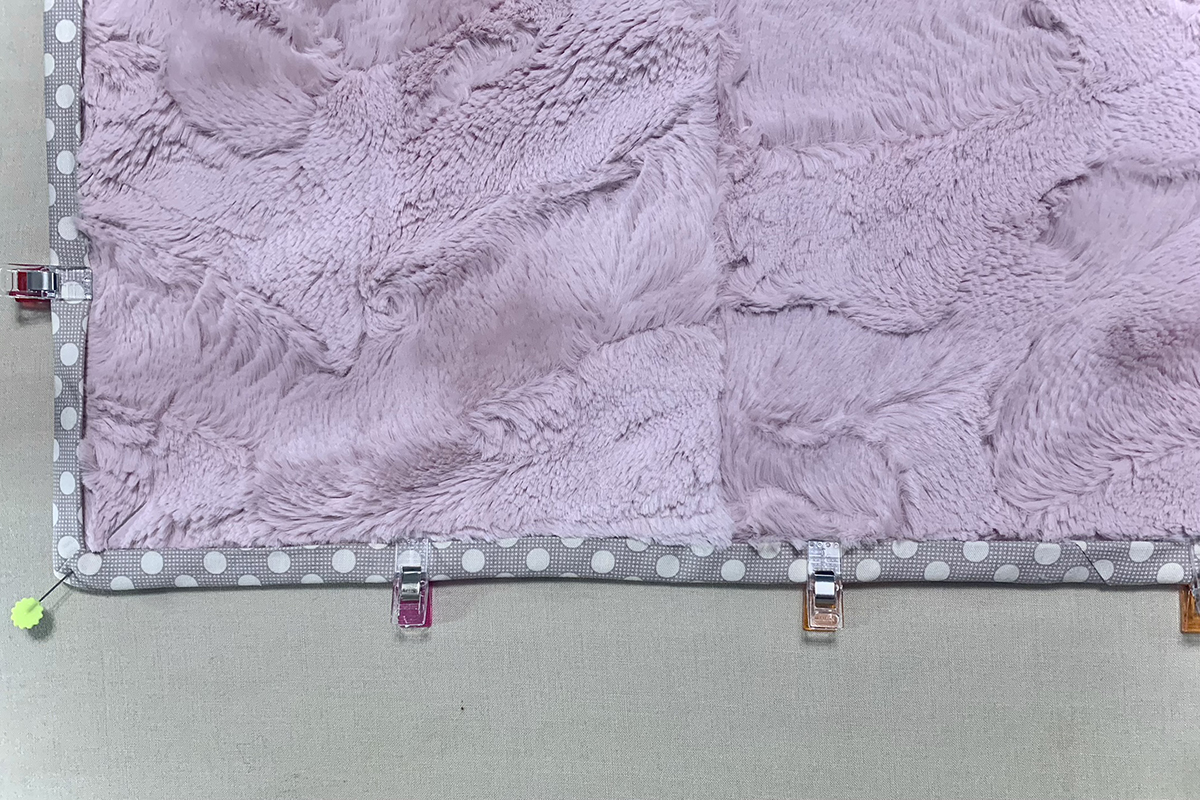
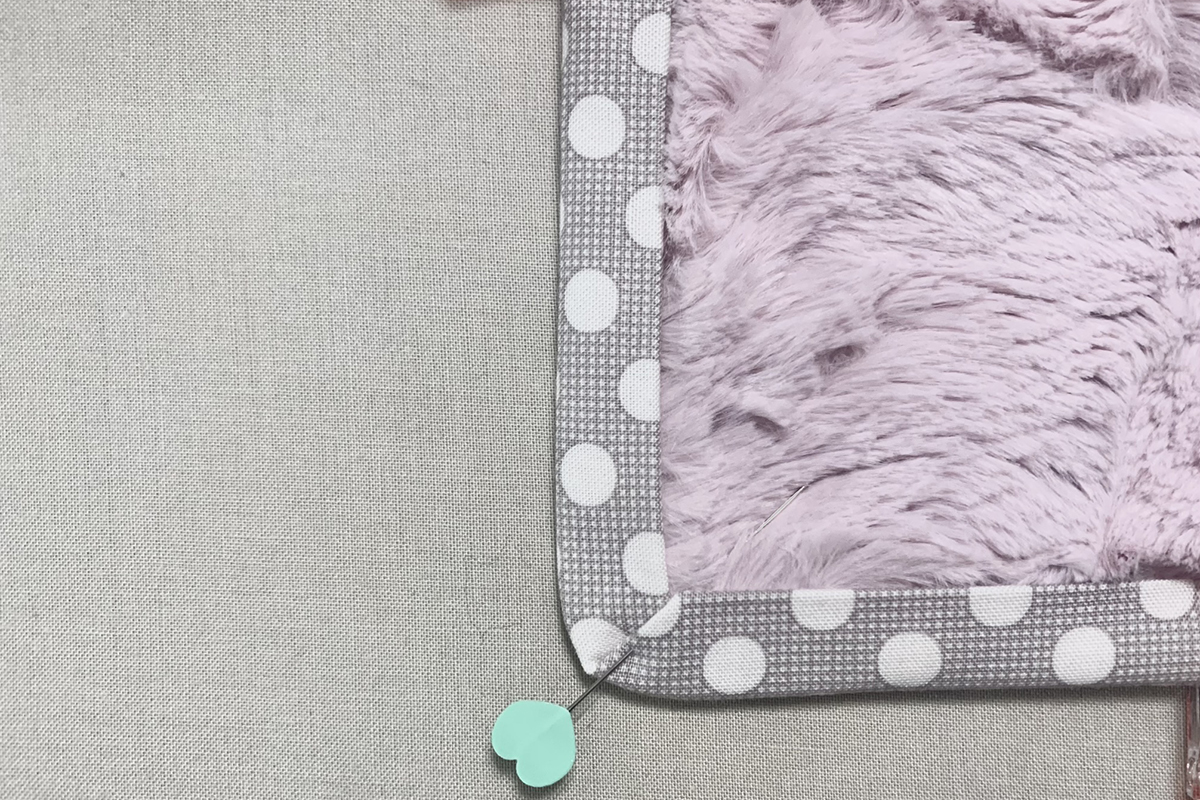
At each corner, create a nice miter and pin in place.
Final Stitch
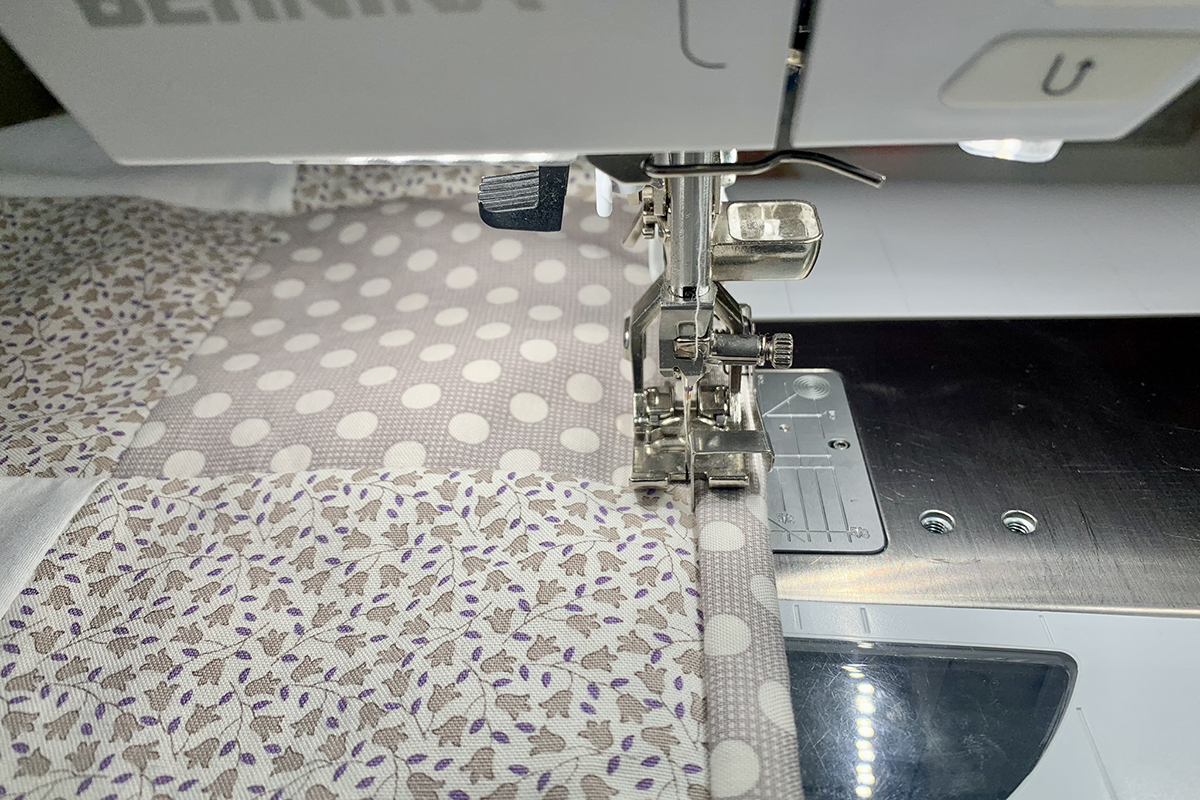
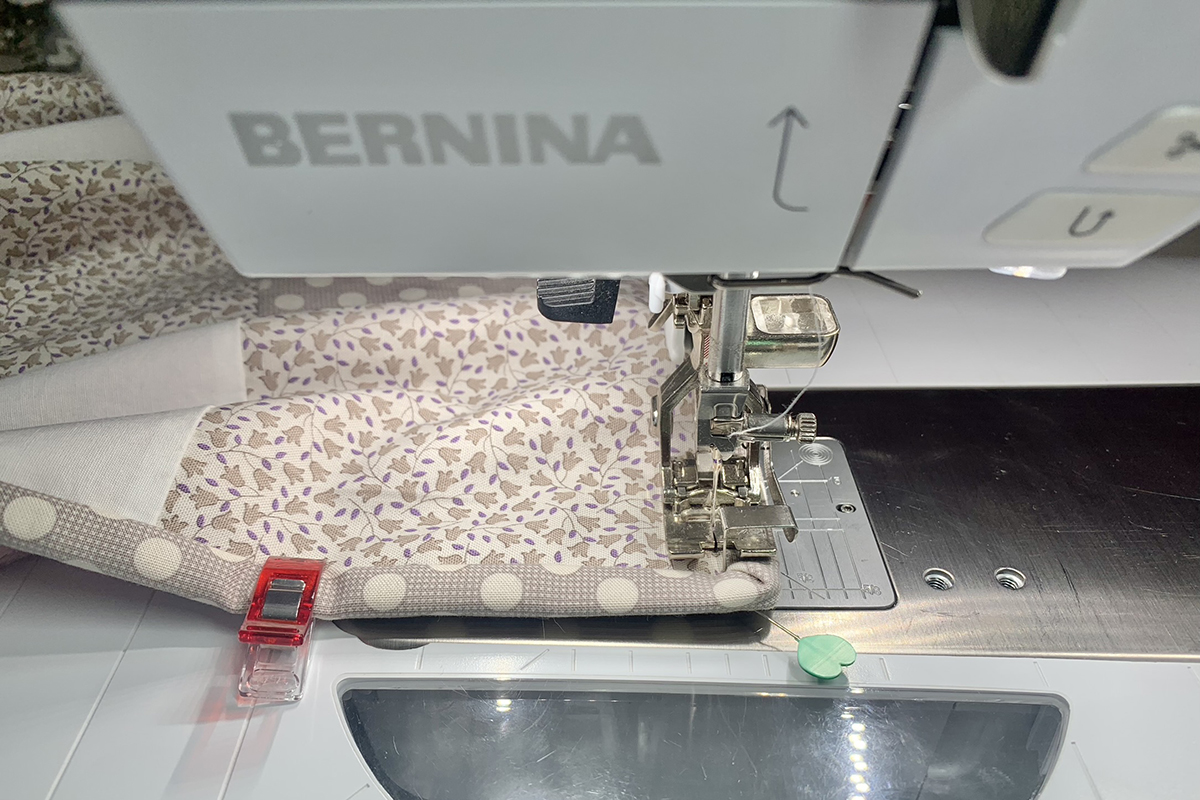
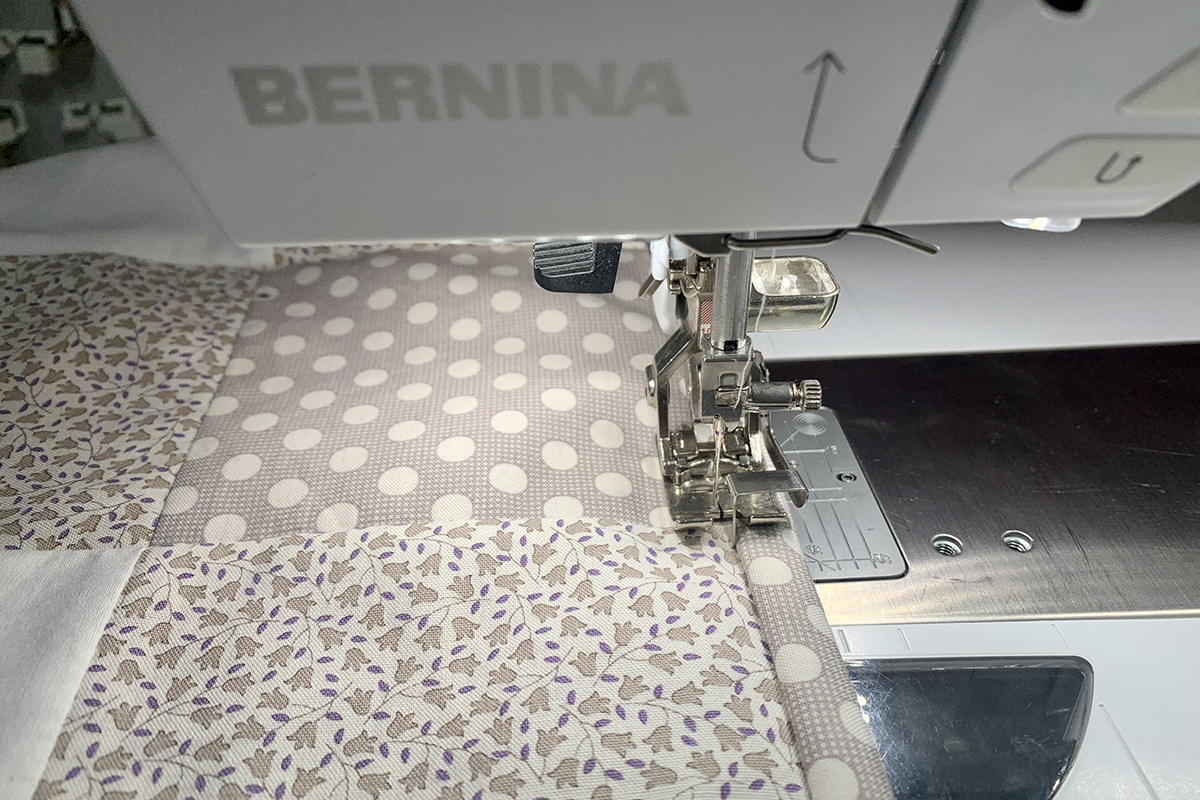
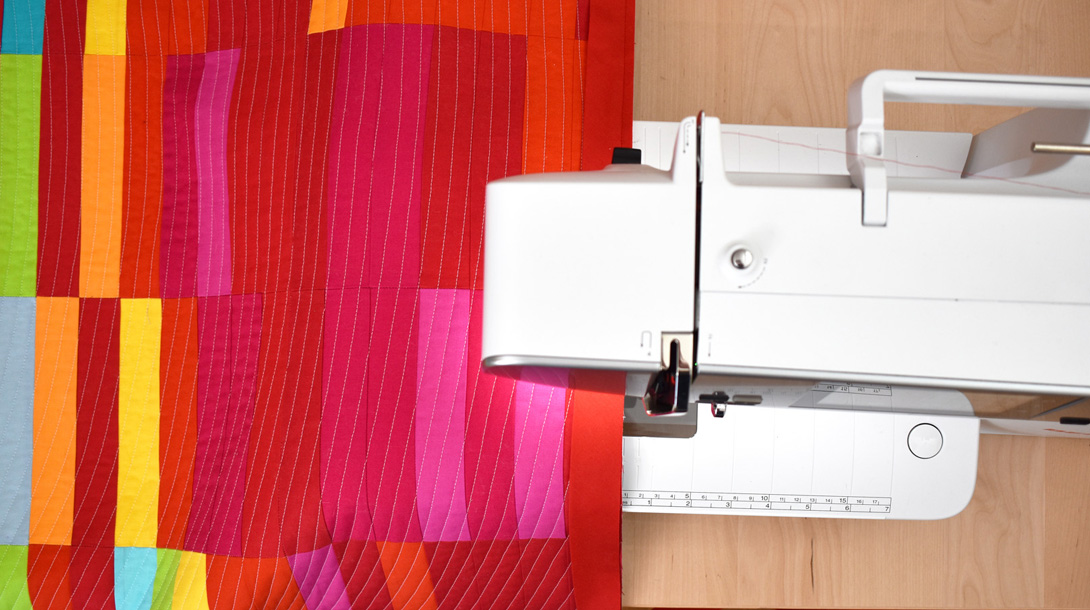
The fusible thread creates a nice bond but I doubt this will hold after several washings. We need to secure this in place with one final stitch! Set up your sewing machine with Edgestitch Foot #10/10C/10D. Select Straight Stitch #1 and increase stitch length to 2.75 mm.
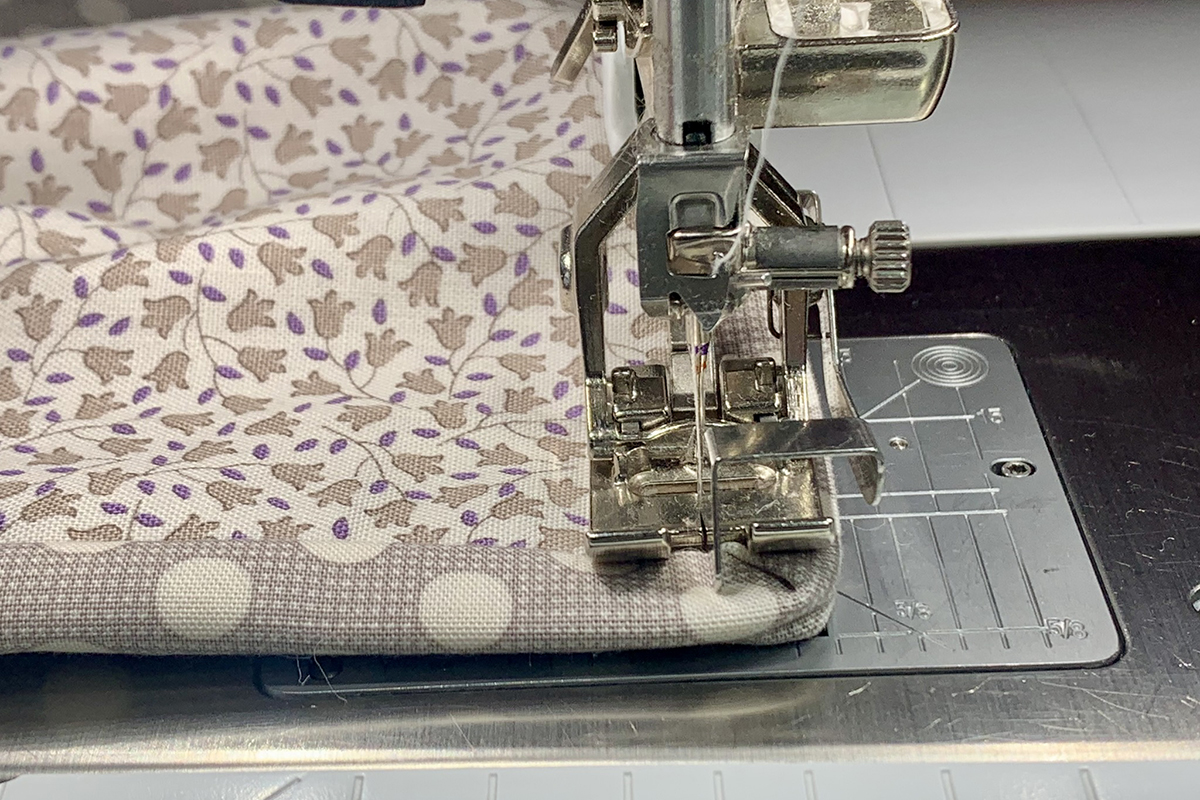
Place quilt under foot with the left side of binding against the center guide of foot. The needle is directly behind the center guide so the stitch will form in line with the guide.
I’m stitching on the front side of the quilt so I can’t see what’s happening underneath. I want to make sure the binding on the back is not shifting on me while sewing. This is why it’s so important to secure the binding on the back. Every so often, check the back of binding to make sure the stitches look good.
As you near a corner, slow down.
Use your Freehand System to lift the blade over the binding. Stitch until the needle is next to the binding but not in the binding. With needle down, you can lift the presser foot to check the needle placement.
Rotate quilt 45° and stitch the next side keeping the center guide up against the binding.
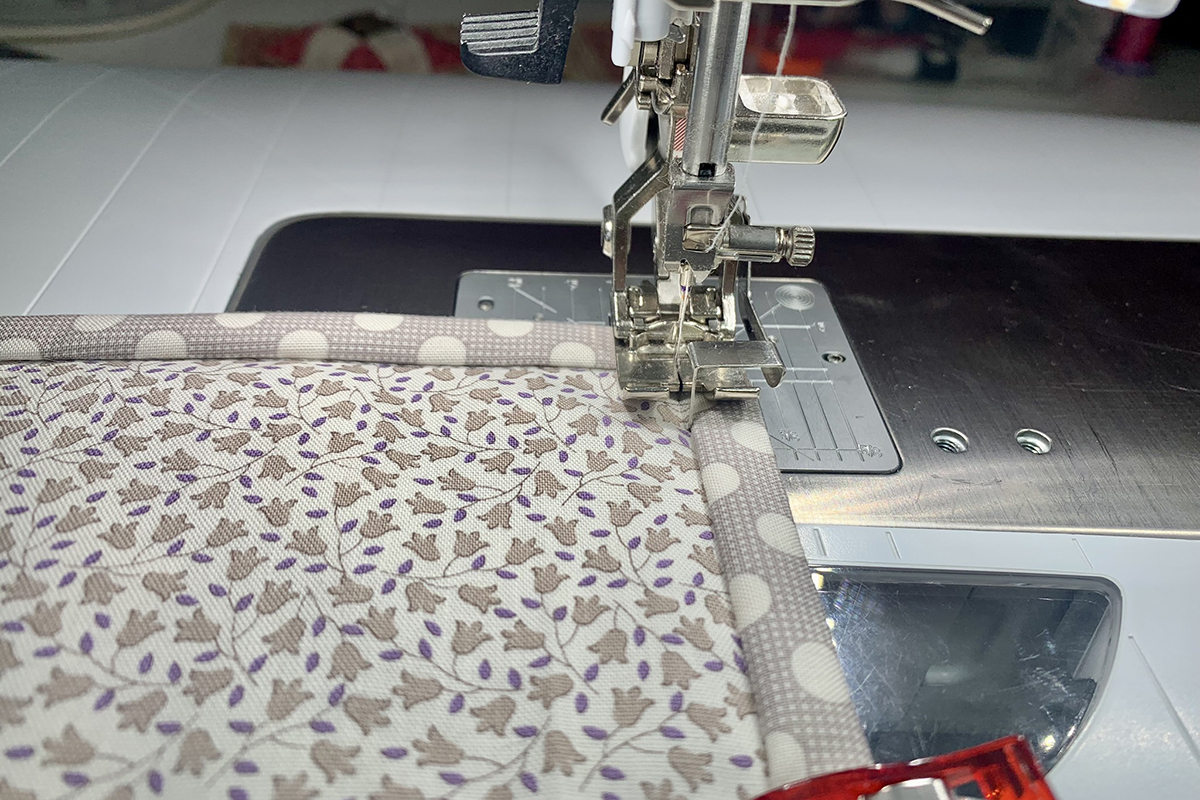
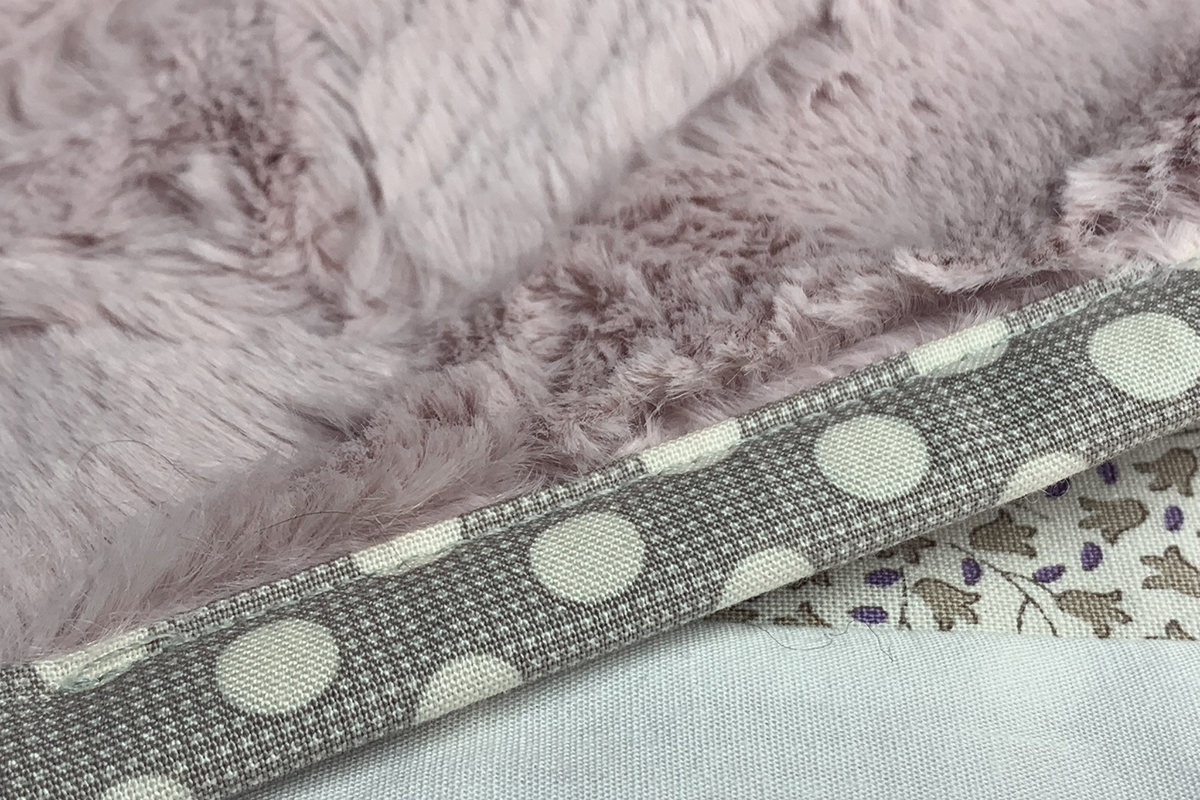
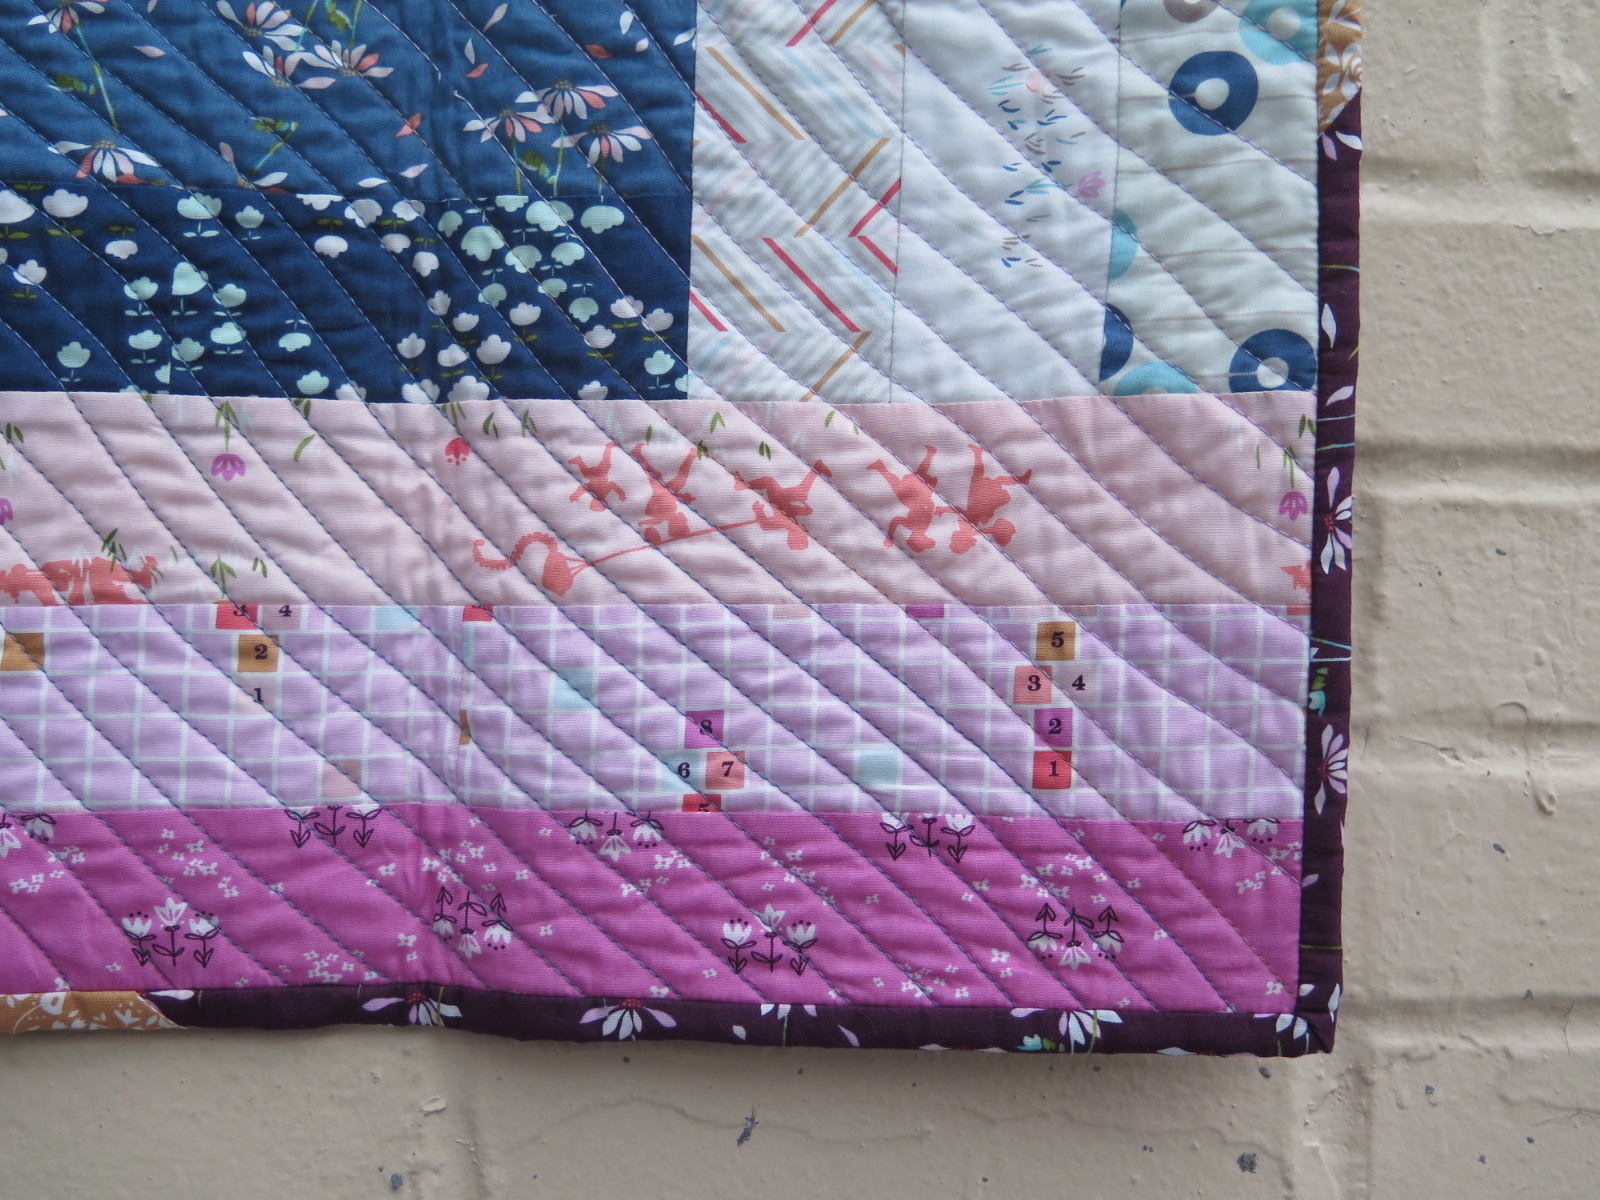
What a beautiful corner! The stitching is great!
Stitch until you are back where you started. Secure your stitches and you’re done!
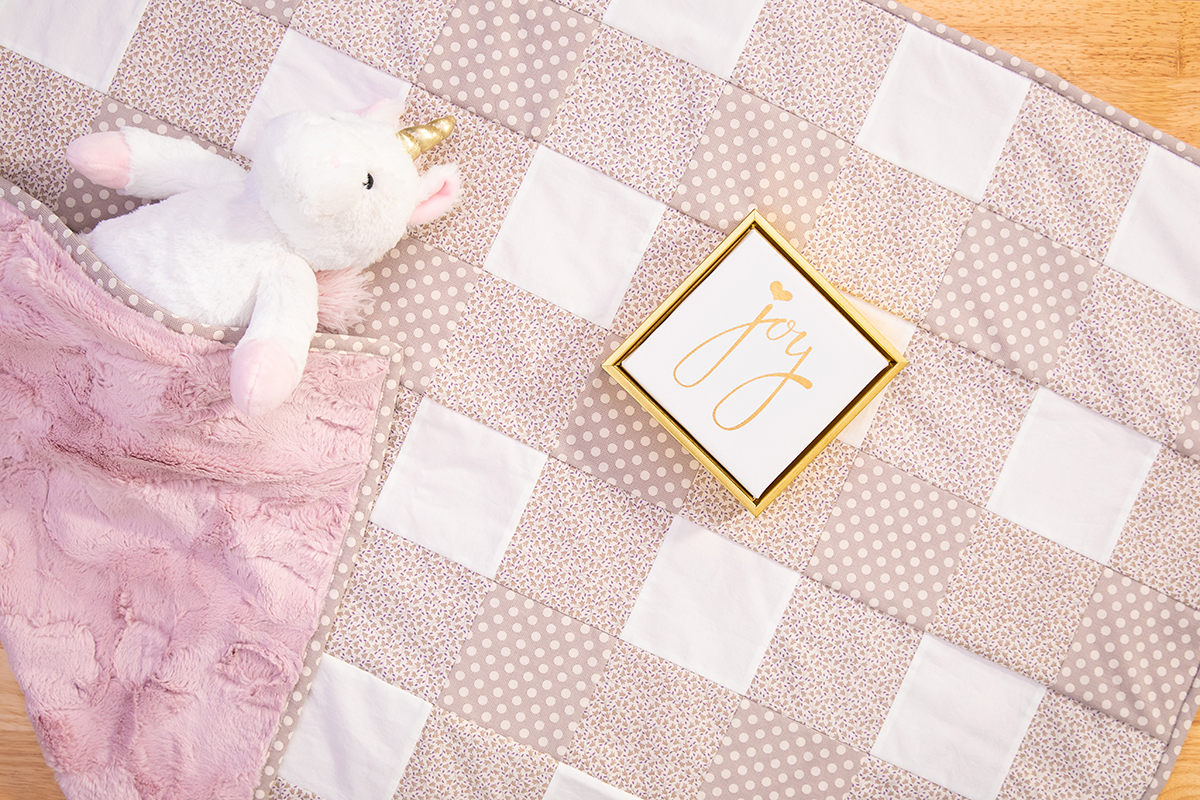
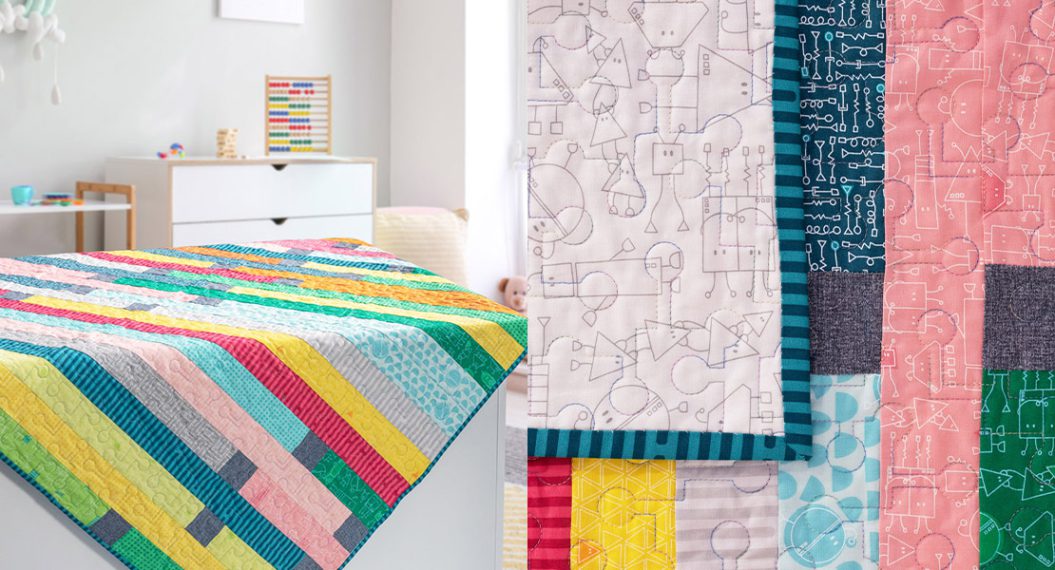
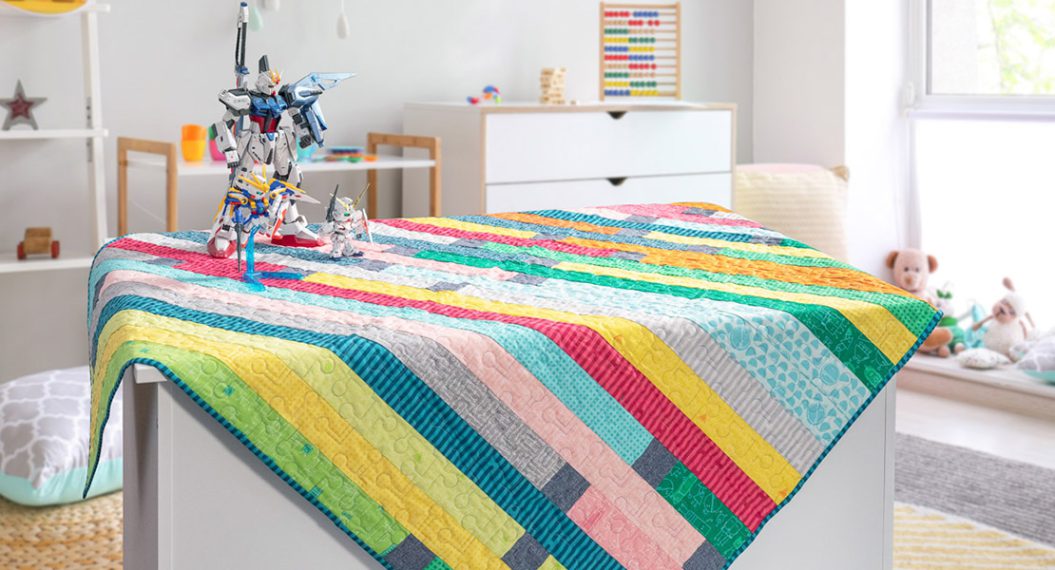
I love this baby quilt! This is my go-to pattern for baby quilts – it’s quick and always gets oohs and aahs. And I love a reason to play with Shannon Cuddle® fabrics!
Used Products

What you might also like


3 comments on “Baby Quilt Serger Series, Part Three”
-
-
How exciting! You are so welcome and yes, we will continue to share ideas for sergers!
-
-
This tutorial i so so so helpful!! I make a lot of baby blankets and use Cuddle frequently for backing. I cannot wait to try these techniques on my beautiful, wonderful L890 serger. Thank you!!
Leave a Reply
You must be logged in to post a comment.

This project is perfect for a little girl who is expected to join us in a few days. I’m excited for this to be my first out of class project on my new 890 serger. Thank you for the wonderful instructions and close up photos. I hope you will continue sharing ideas for our sergers.