Union Square Big Block Quilt-along Part 3
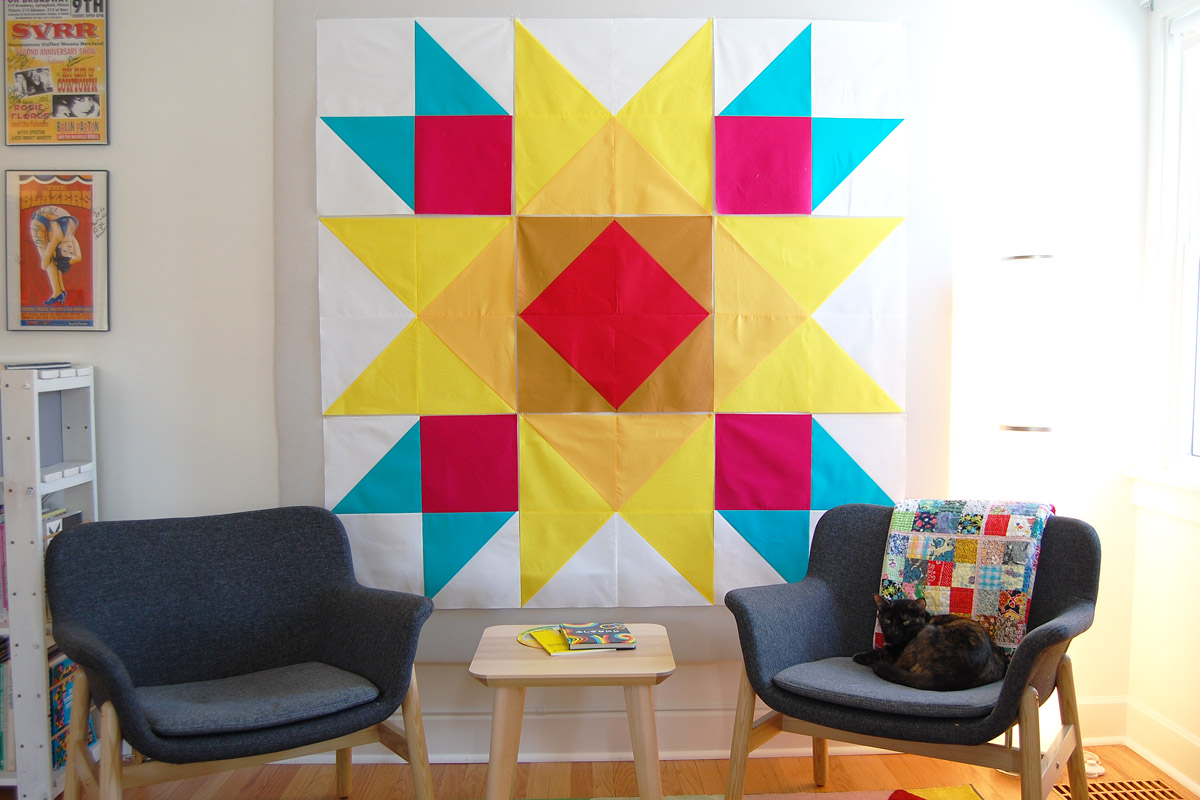
Welcome to Part 3 of the Union Square Big Block Quilt-along! Last week, we sewed the quilt top and prepared the backing, and now we’re ready to baste, quilt, and bind it all up. If you’re interested in joining us, click over to Part 1 to get the full materials list and cutting instructions.
Union Square Big Block Quilt-along Schedule
- February 28, Week 1: Materials list and fabric cutting guide
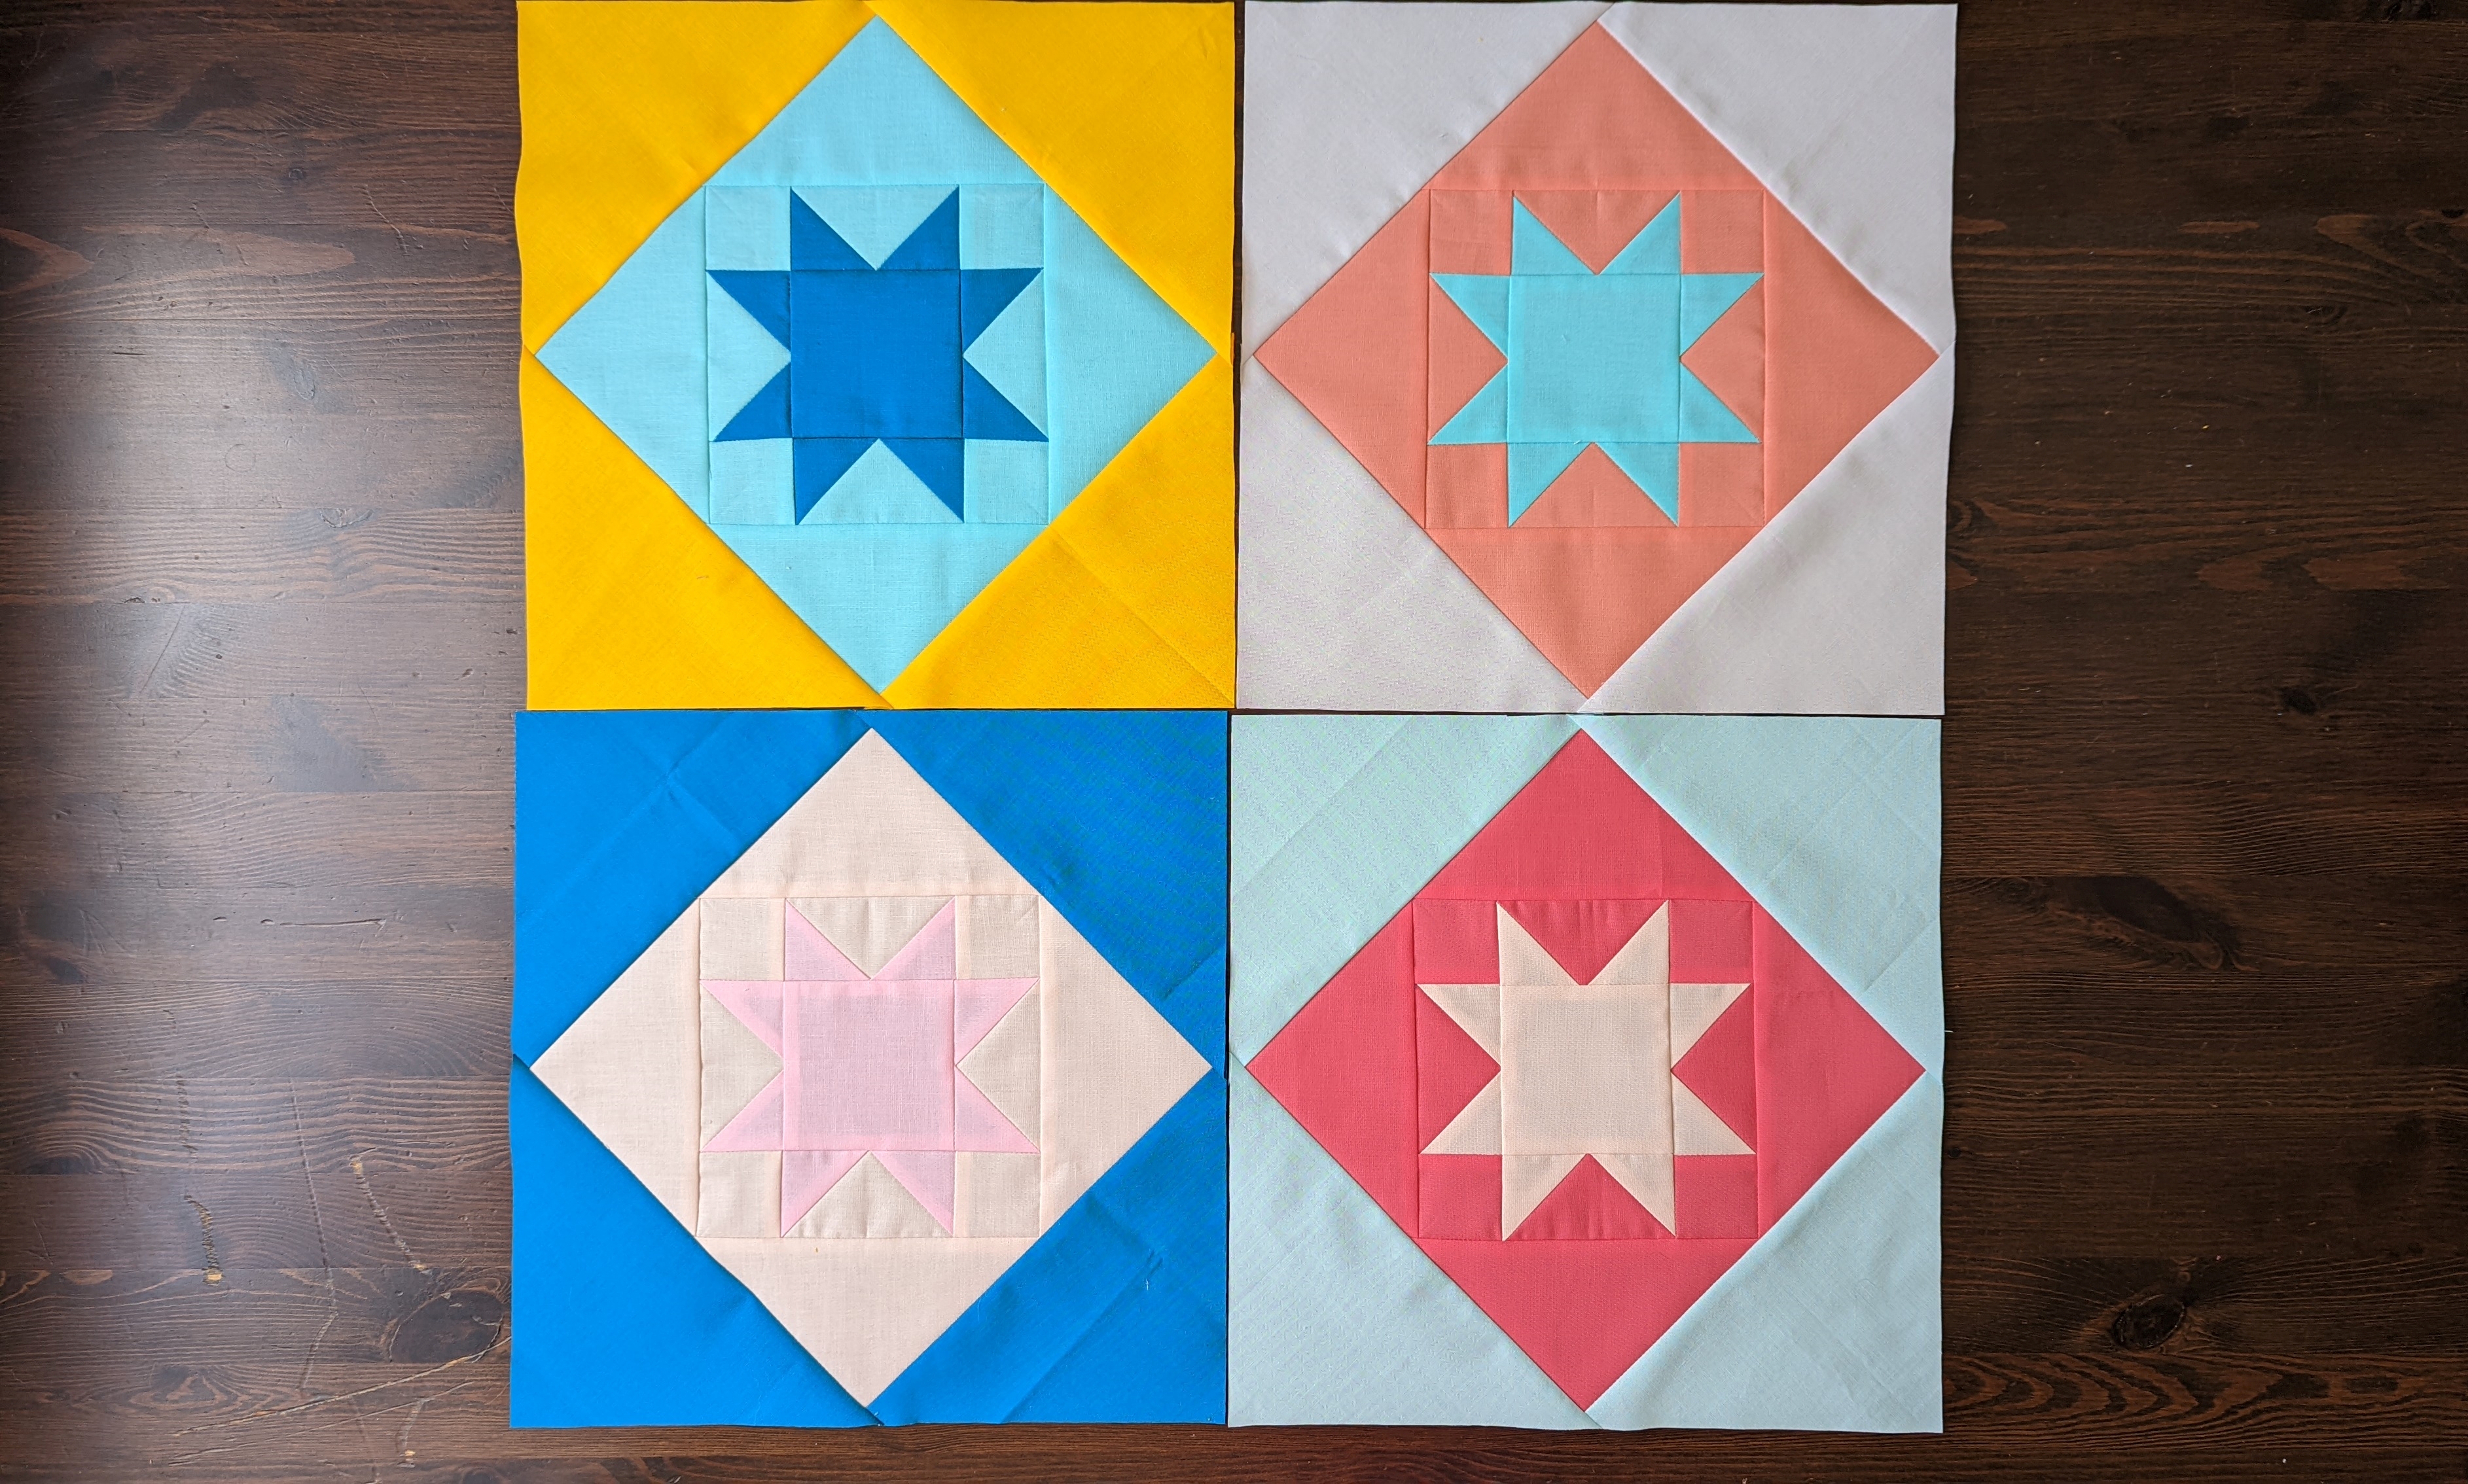
- March 7, Week 2: Half-square triangle block construction and piecing the top
- March 14, Week 3: Quilting and binding
The first step is to baste your quilt backing, batting, and top together. I use the pin basting method, and will show just a few of the basic steps. You can find a full step-by-step tutorial for this method here at WeAllSew.
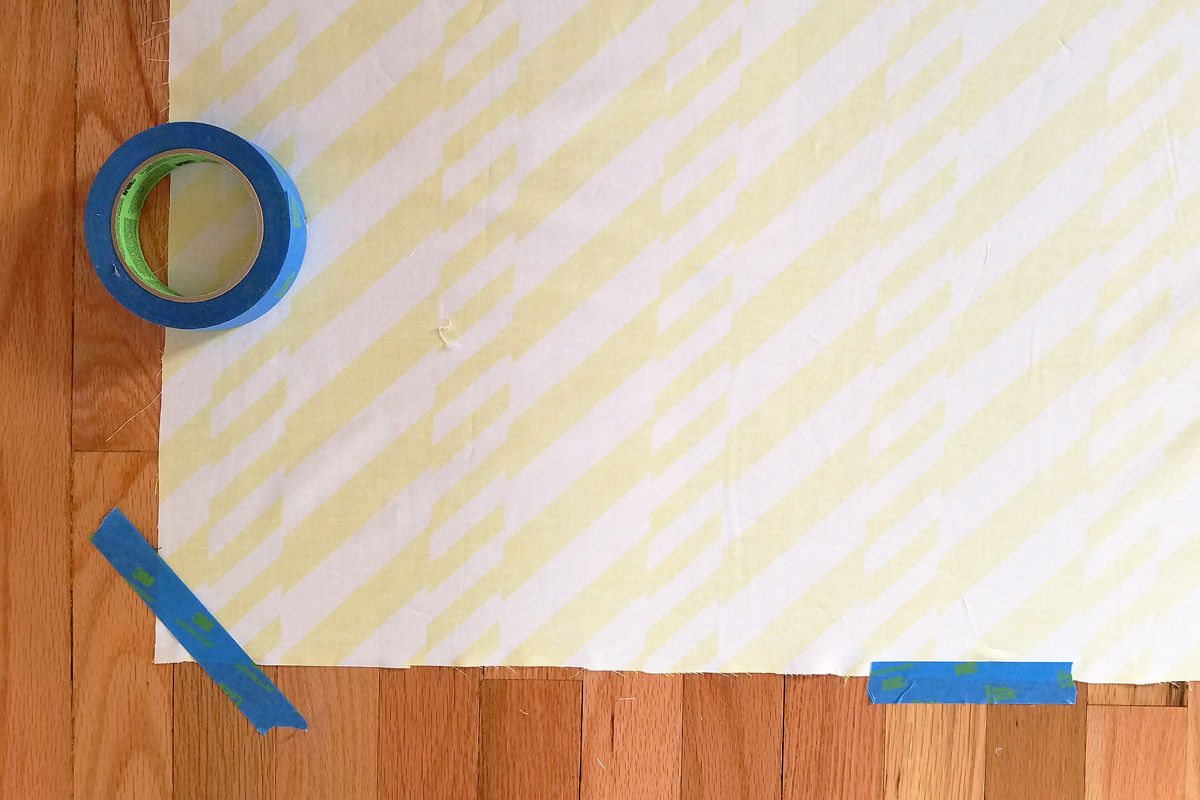
First, I use painter’s tape to secure the backing on the floor. This keeps the backing from slipping or shifting around while pinning. Tape the fabric nice and flat without stretching it too tightly or pulling it out of shape.
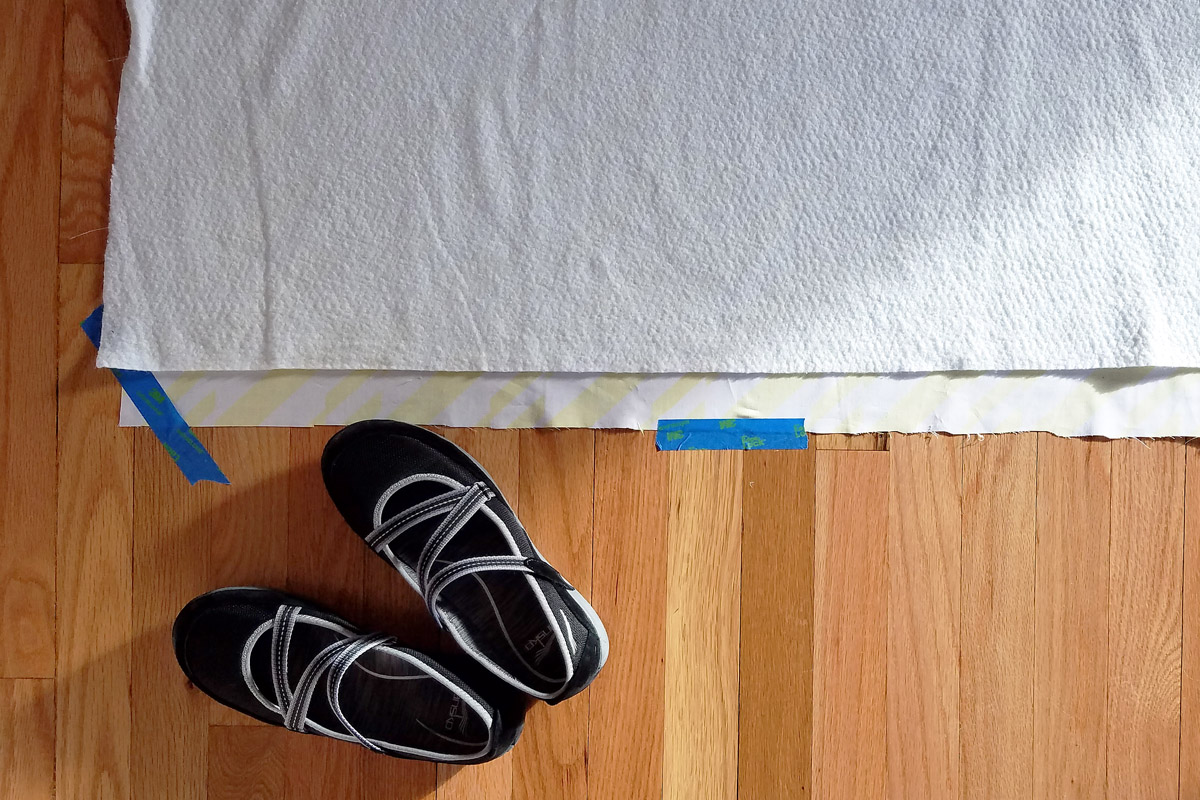
I take off my shoes for the next step of layering the batting so I can walk to the middle and carefully smooth out all the wrinkles. The trick with this step is to smooth the batting out evenly across the entire backing without trying to pull it too tightly.
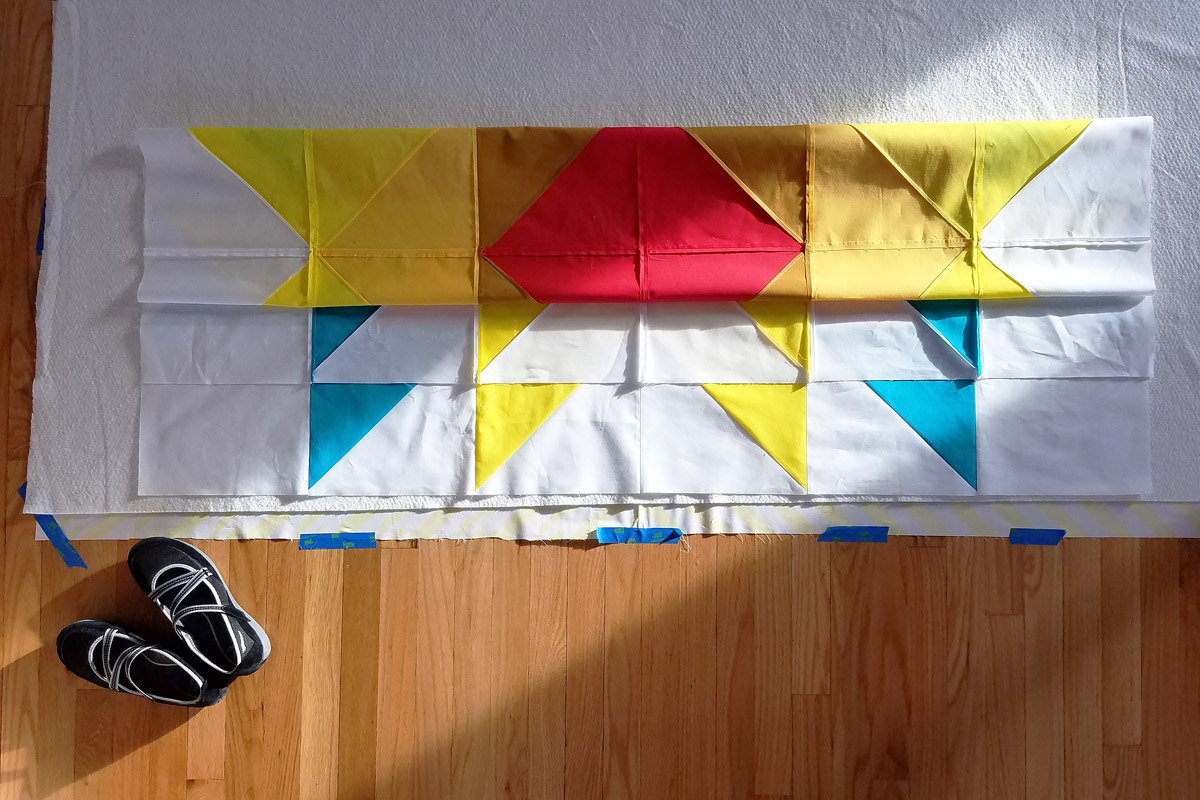
The next step can be difficult! Layer the top on the batting and smooth it out without pulling or stretching the top. I carefully fold the top in half, then fold it again in middle down towards one end. I can lay the folded up quilt top at the edge of the batting and unfold it slowly without pulling the top and moving the batting layer underneath.
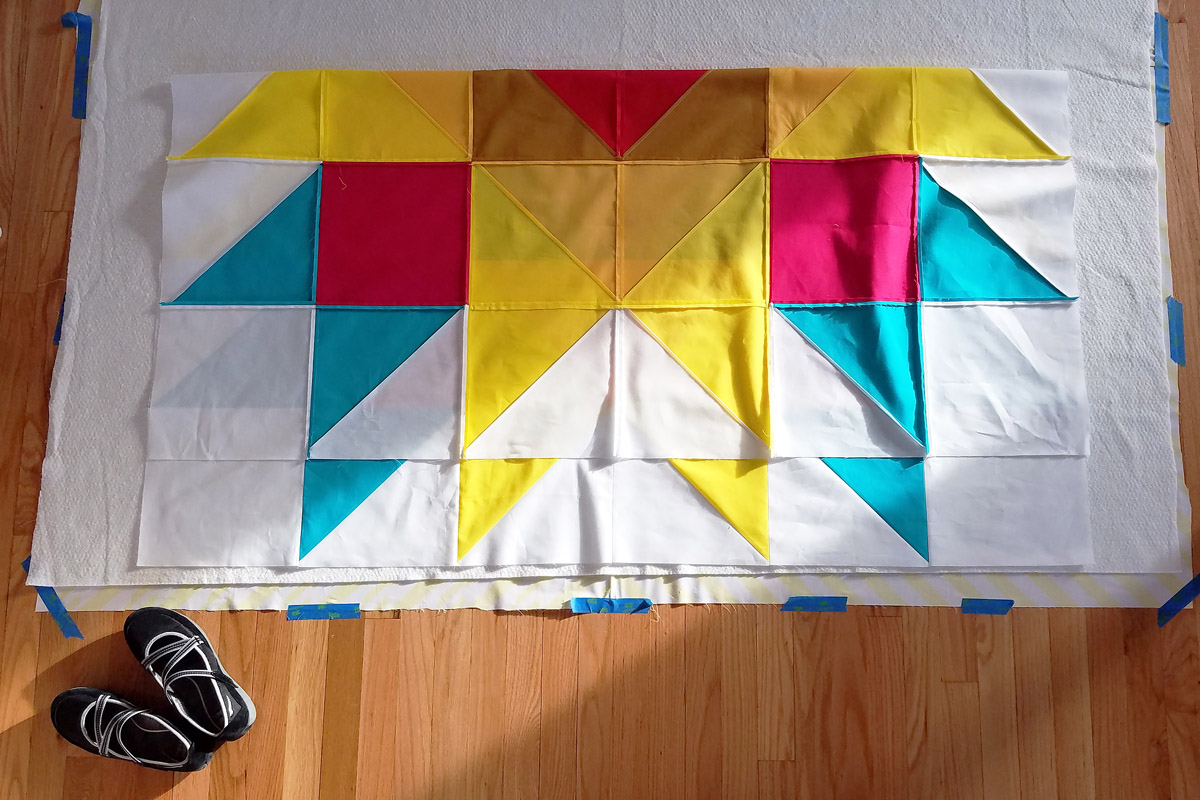
When the top is centered on the batting take time to carefully smooth it out, starting in the center and working to the outside edges.
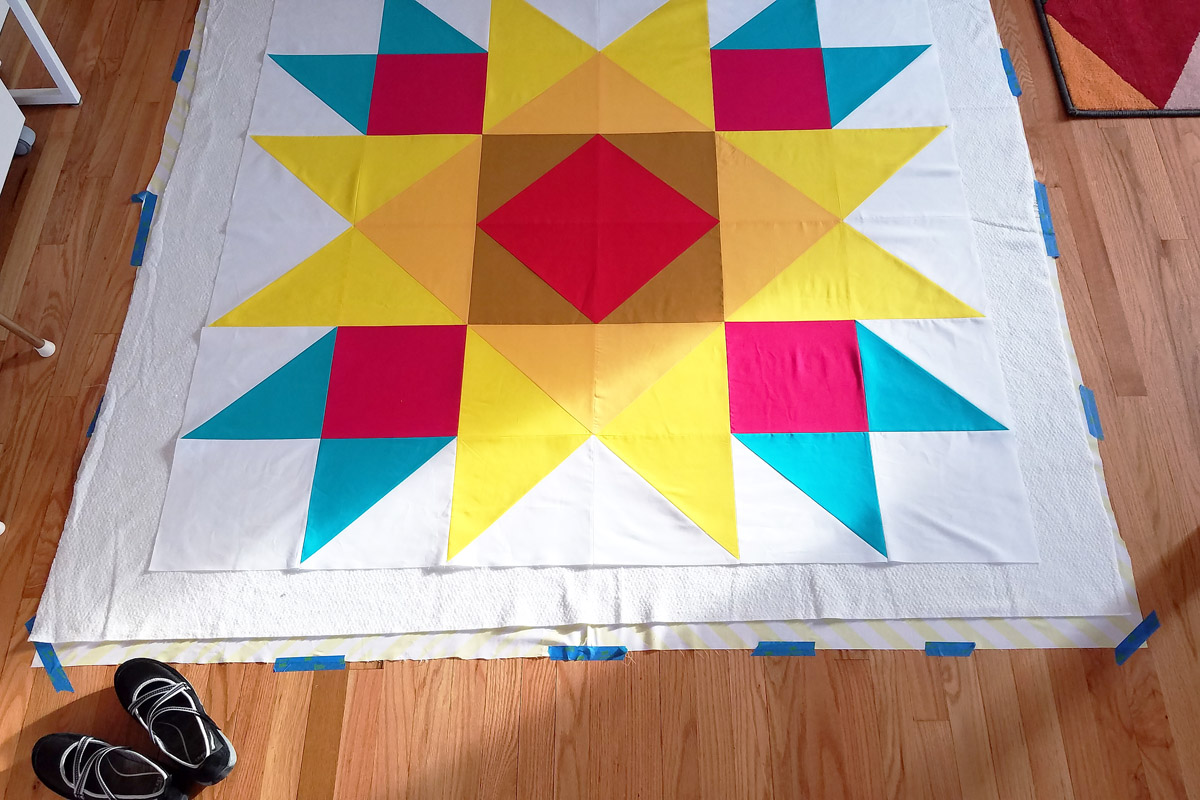
Make sure that your seam lines are nice and straight before you start to pin. Sometimes I will use a long ruler to triple-check the seams before pinning.
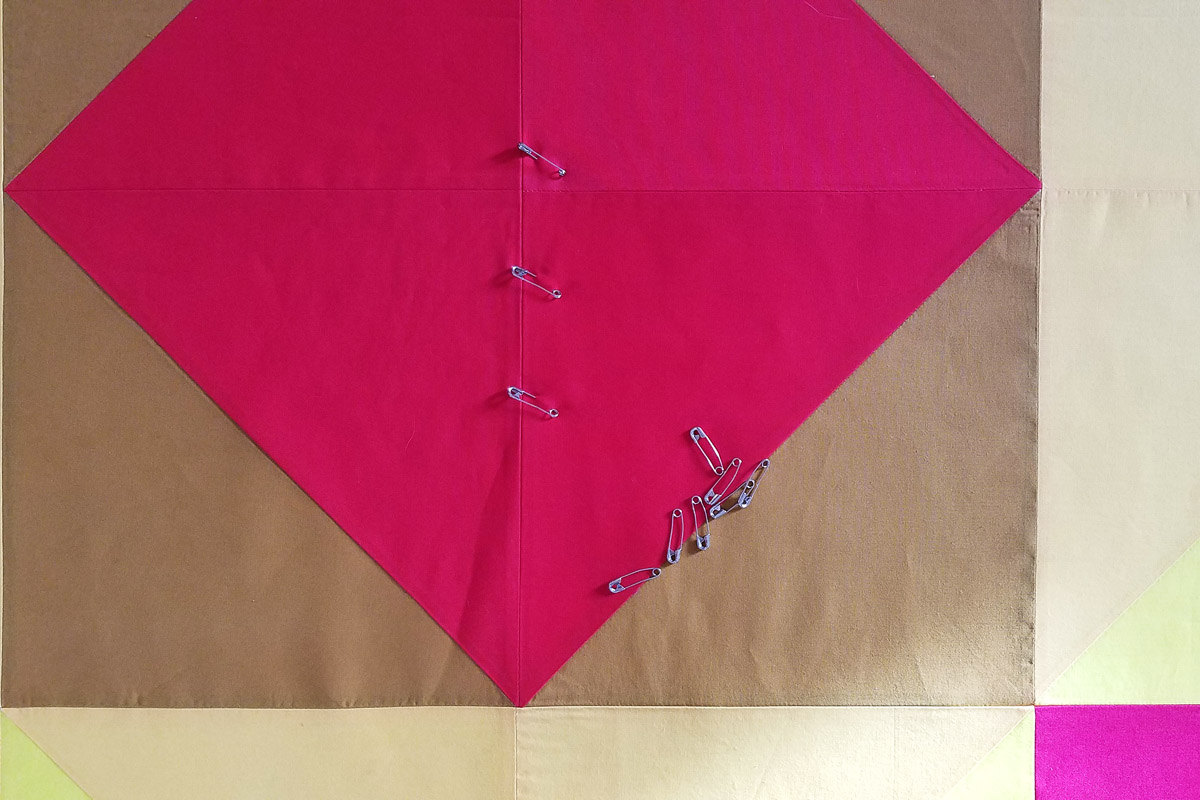
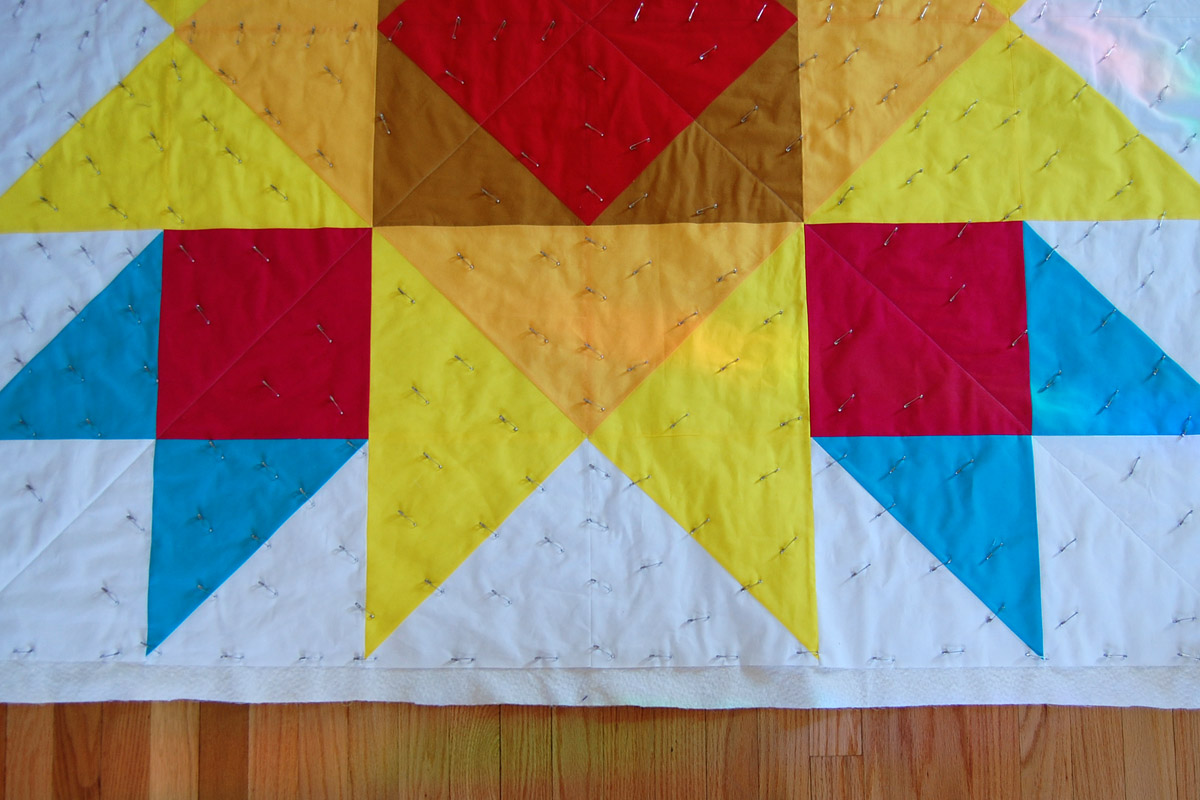
I always start right in the center and work out to the edges, pinning through all layers about every 4″ or so.
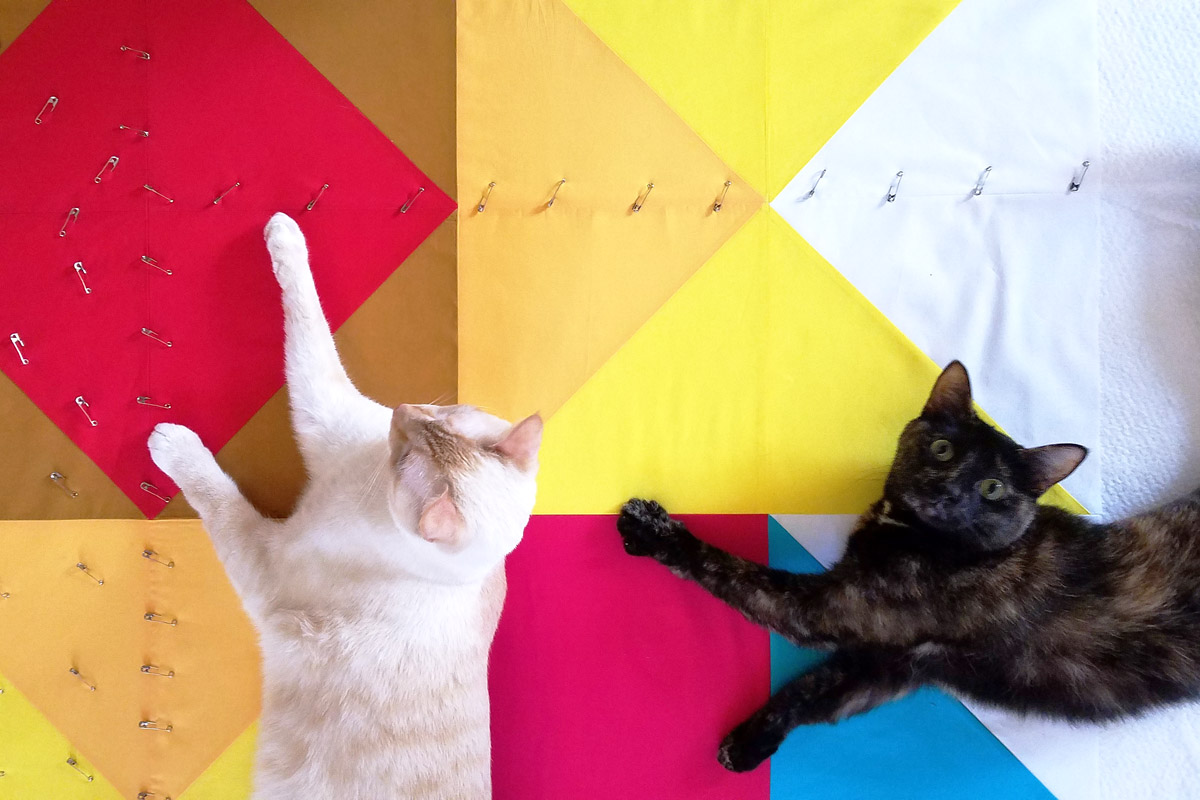
This job always goes faster if you have help! Unfortunately, my helpers can’t lend a hand with pinning, but they are really good at reminding me to take a break and stretch once in a while.
When your quilt is fully basted, you are ready to begin quilting!
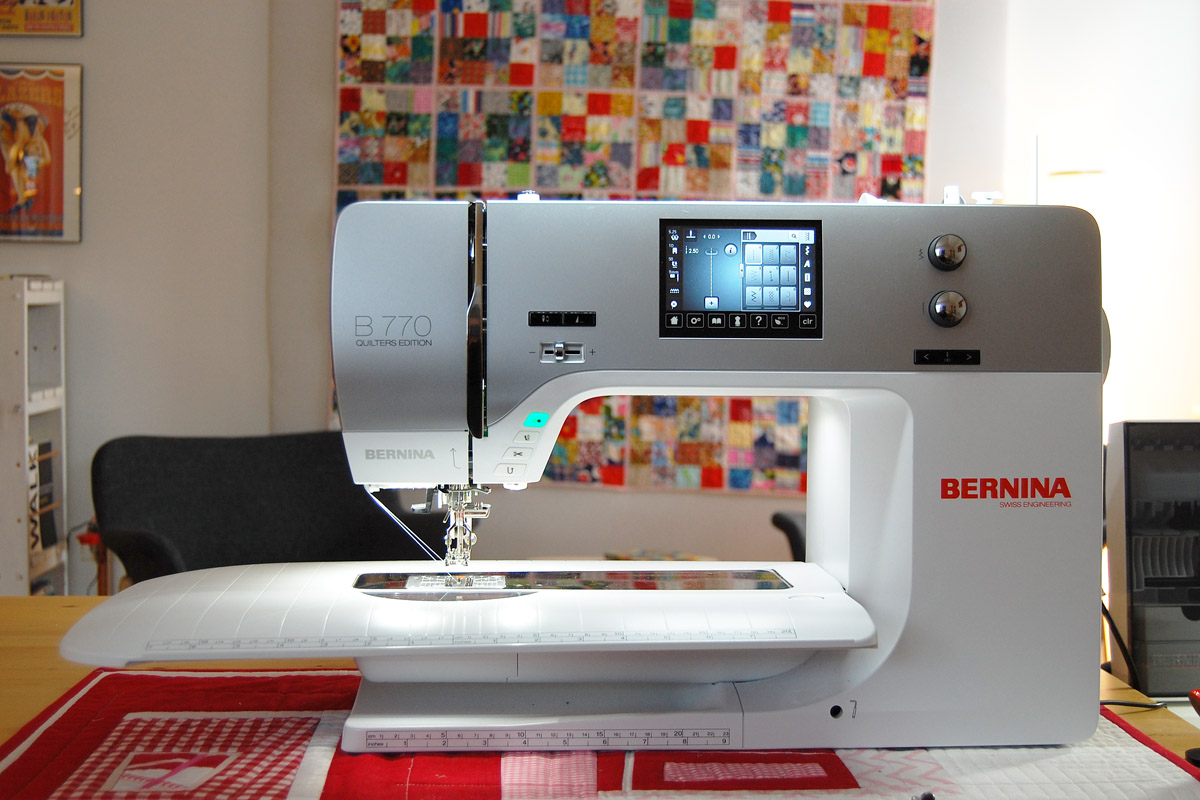
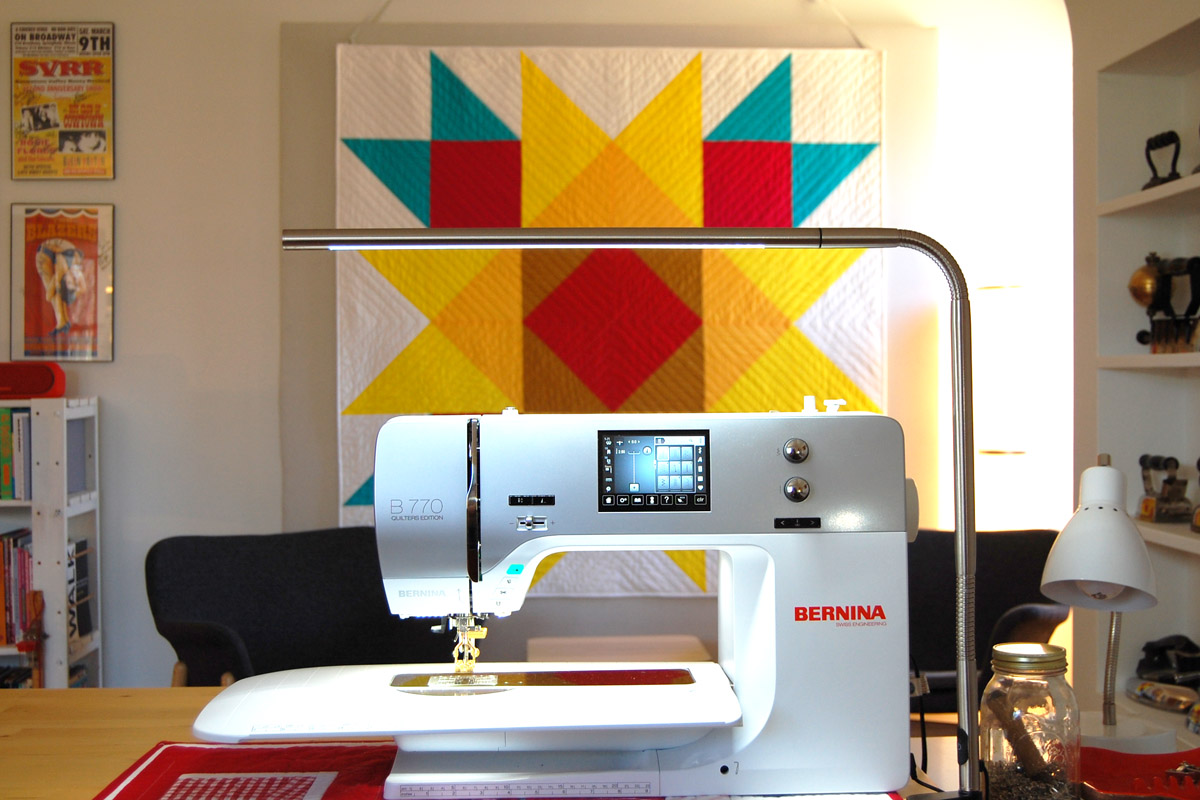
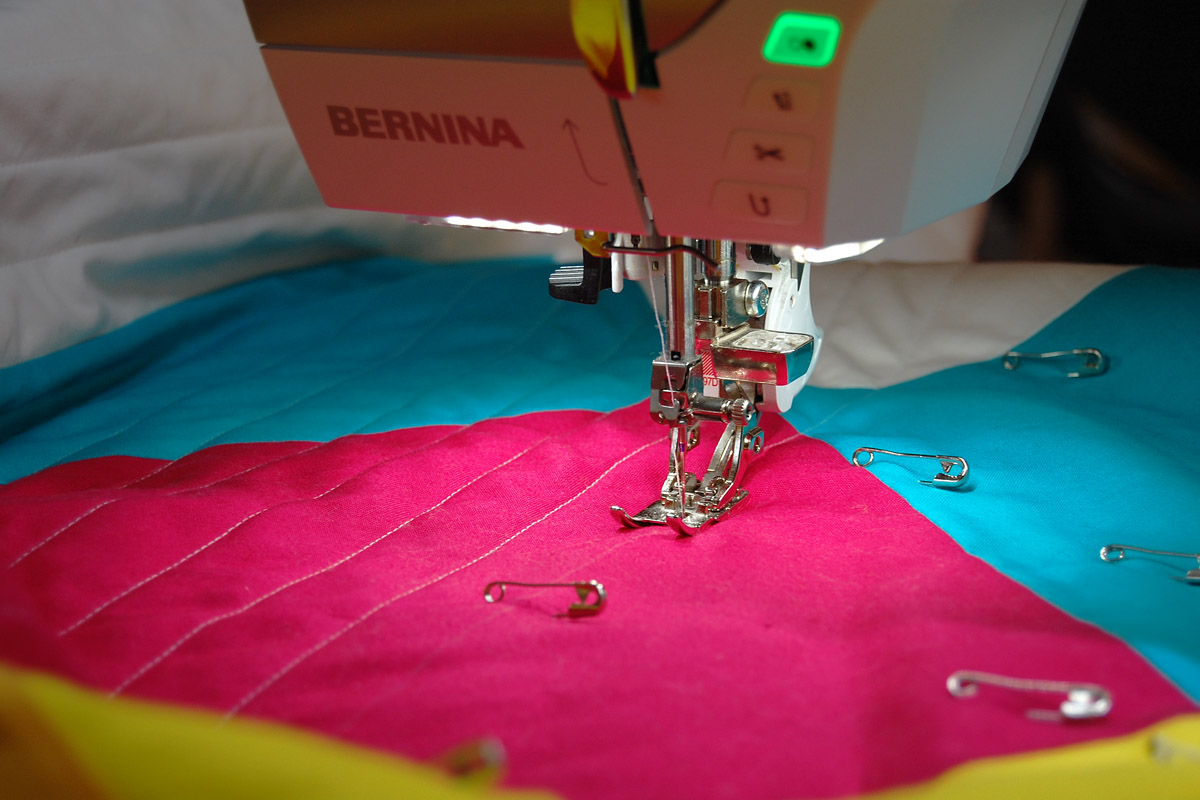
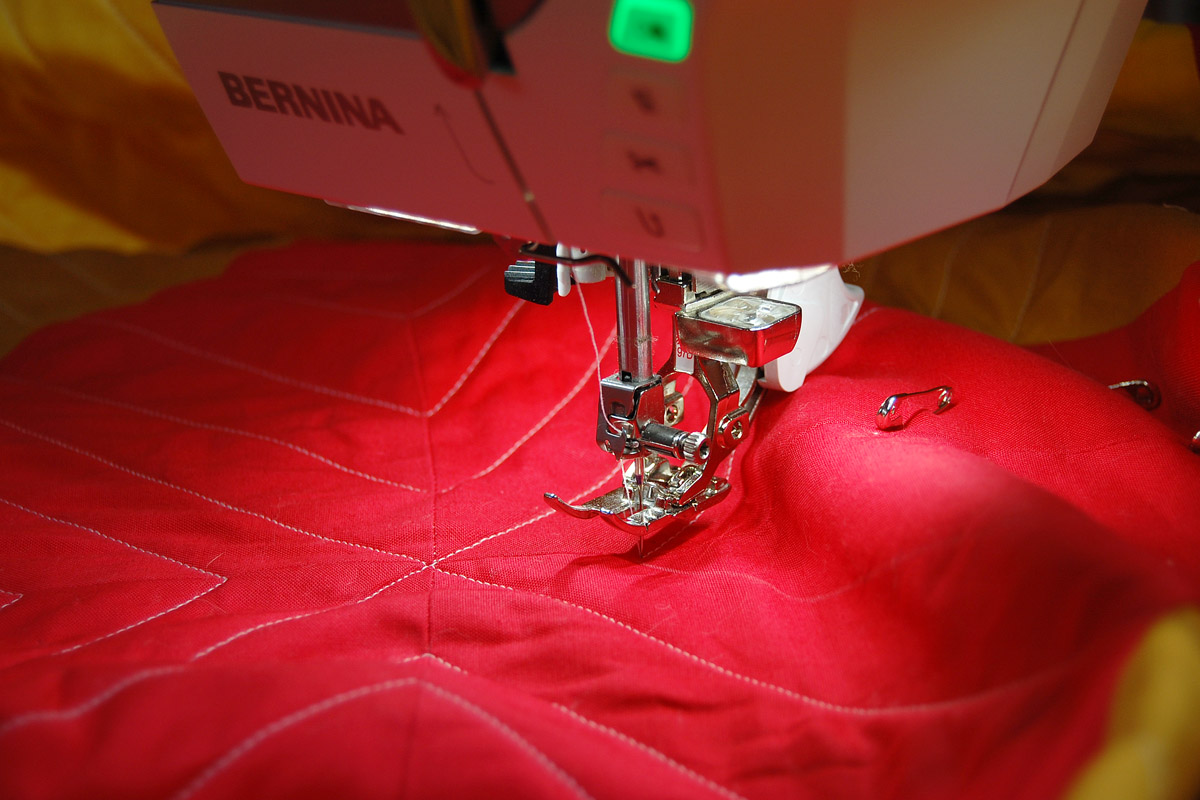
I use the Patchwork foot #97D with Dual Feed engaged. If you do not have Dual Feed on your machine you can use the Walking Foot #50. I leave the default settings for the straight stitch, with the exception of the presser foot pressure. Watch the quilt when you begin to stitch, and if it looks like the quilt top is starting to bunch or pucker a lot, decrease the presser foot pressure from the default setting of #50 down to about #40 or less—this helps the foot from pressing down so hard that it forces the fabric to bunch up. (Of course, not basting the quilt layers together well will also cause puckers, but no amount of lowering presser foot pressure will help with this. The only thing to do if you find major puckering from not basting well is to stop, rip out any stitches, and baste the layers over again, ask me how I know!)
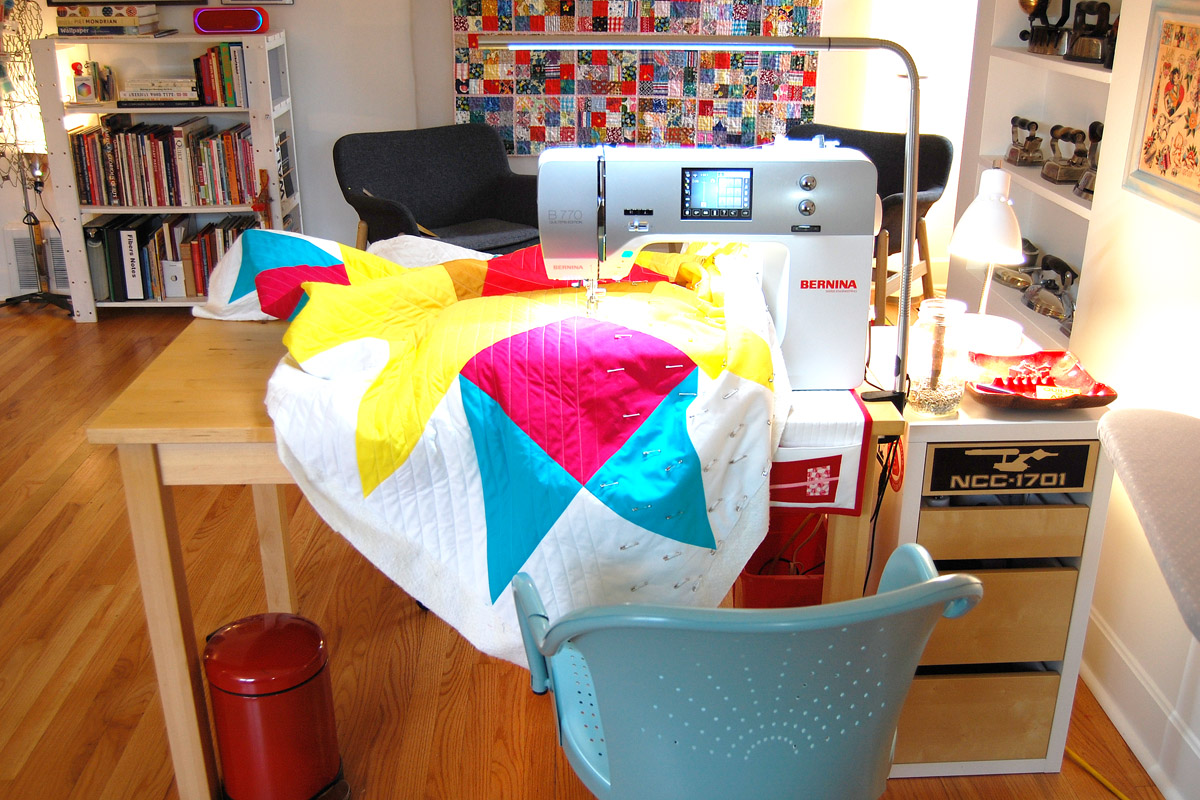
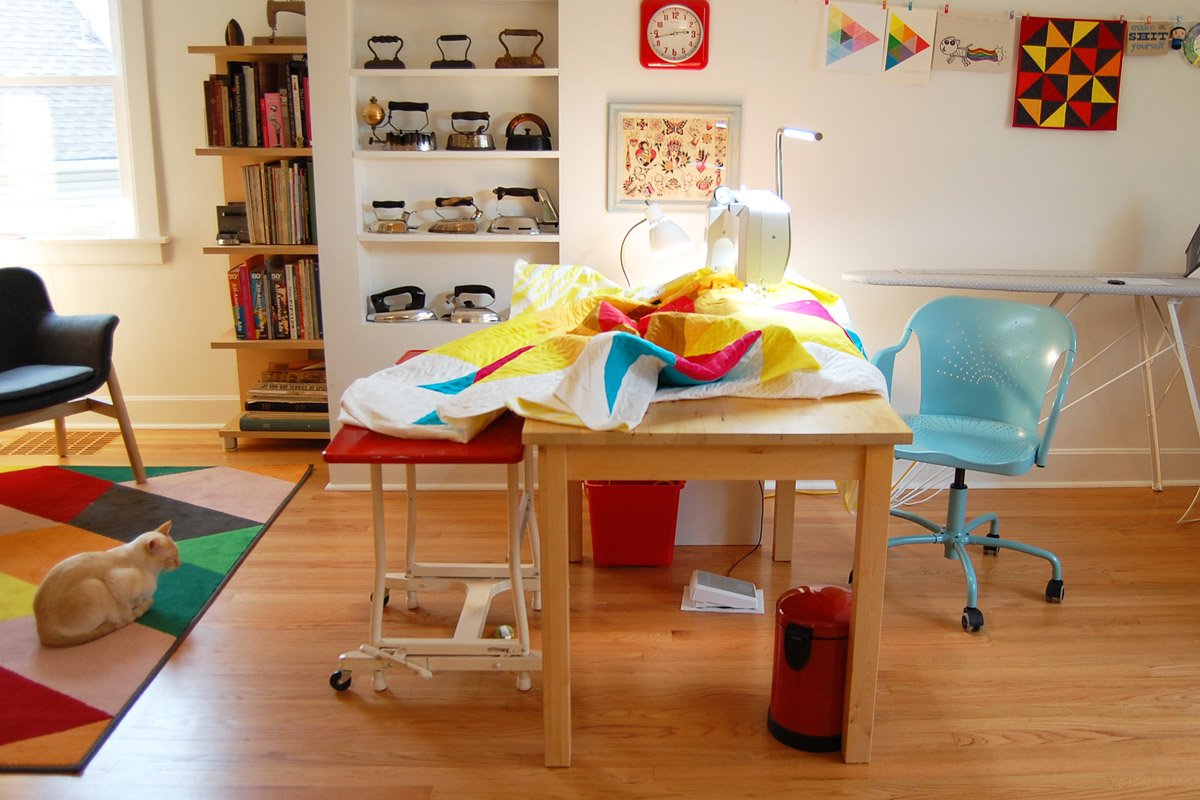
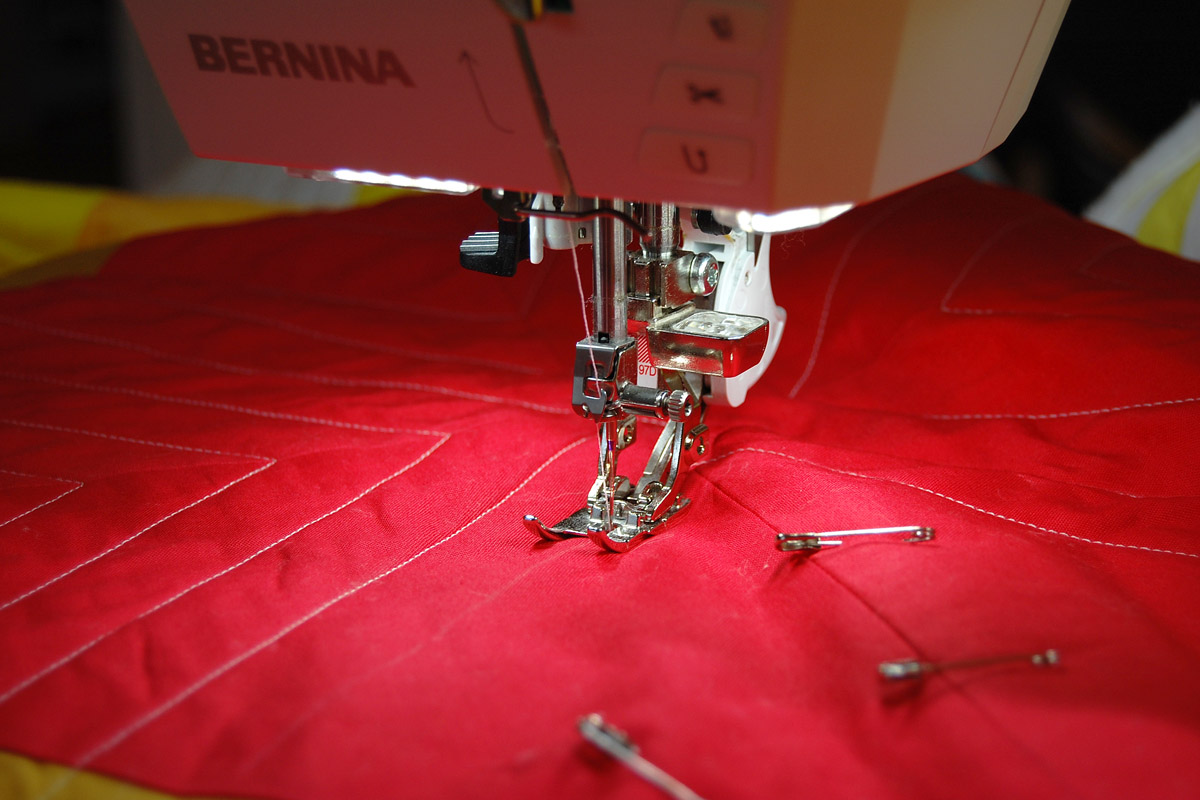
I also make sure that there is plenty of space to the side and behind my machine to support the weight of the project while I am quilting. Here’s a few in-process quilting photos from my work table. If your quilt is not supported, you may experience wonky stitches as the weight of the quilt falls off the side or back of your work table.
I have enough space to the side of my machine to support this quilt, but my work table is too short to support the back end. So, I use a smaller table set right behind my work table to support the quilt at the back. I use a little portable table with two leaves that pop up, and you can read more about it at this post about my sewing space here at WeAllSew.
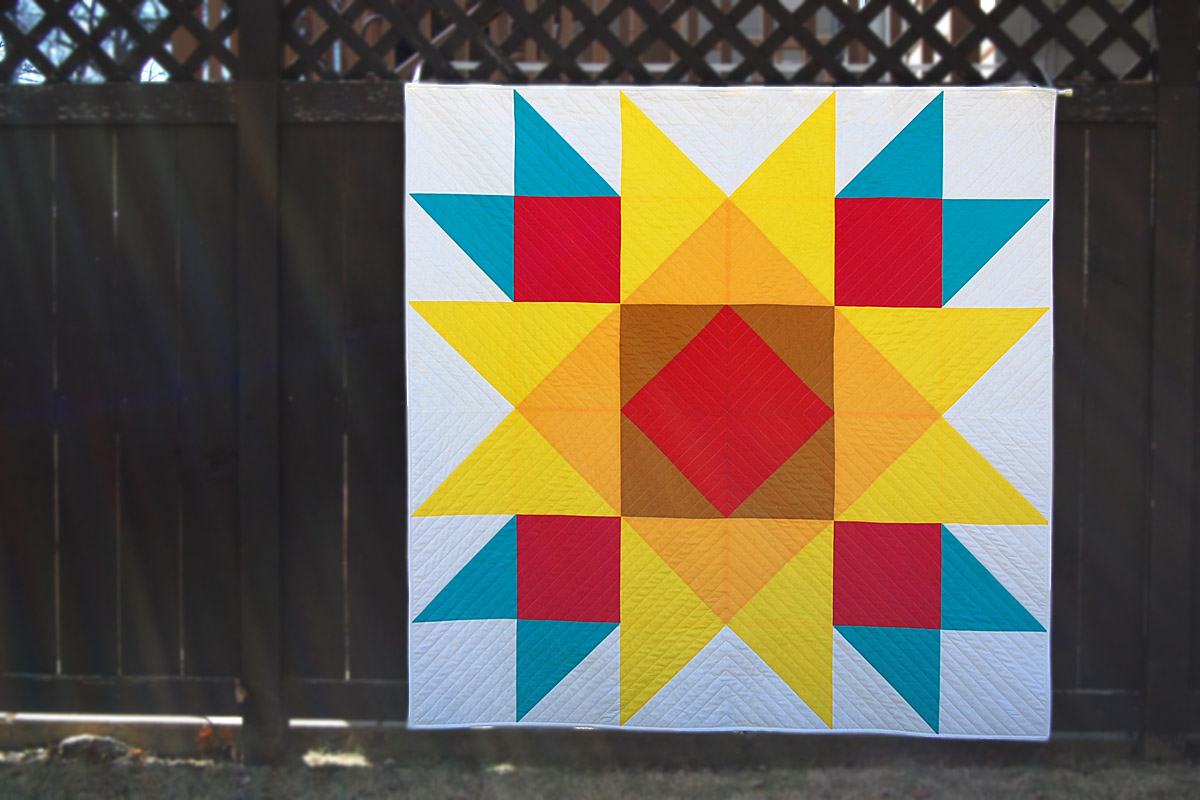
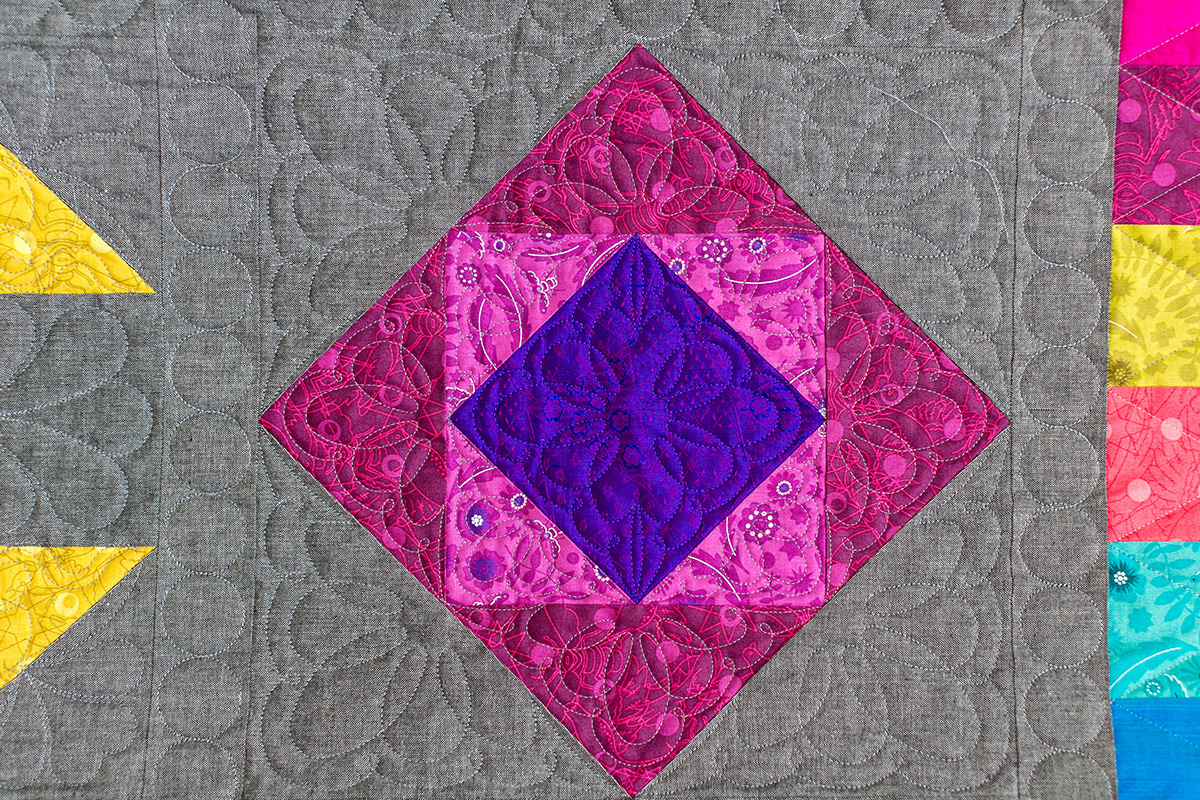
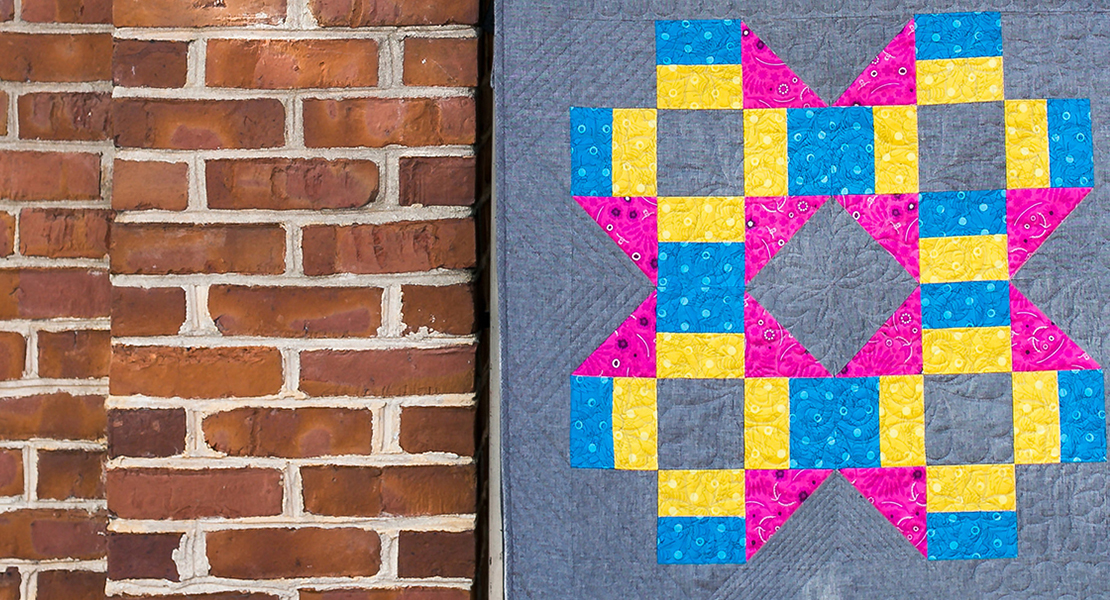
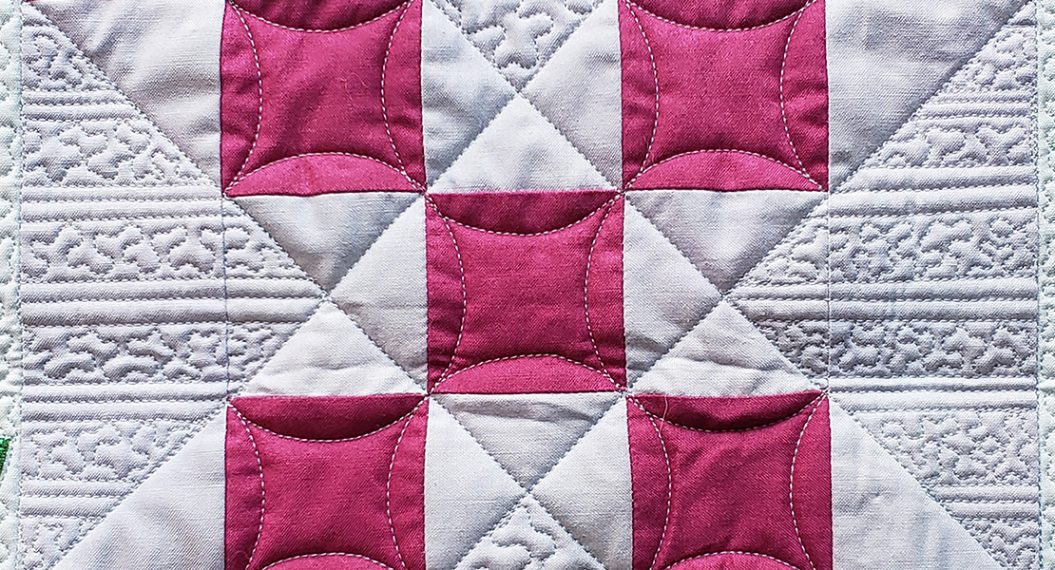
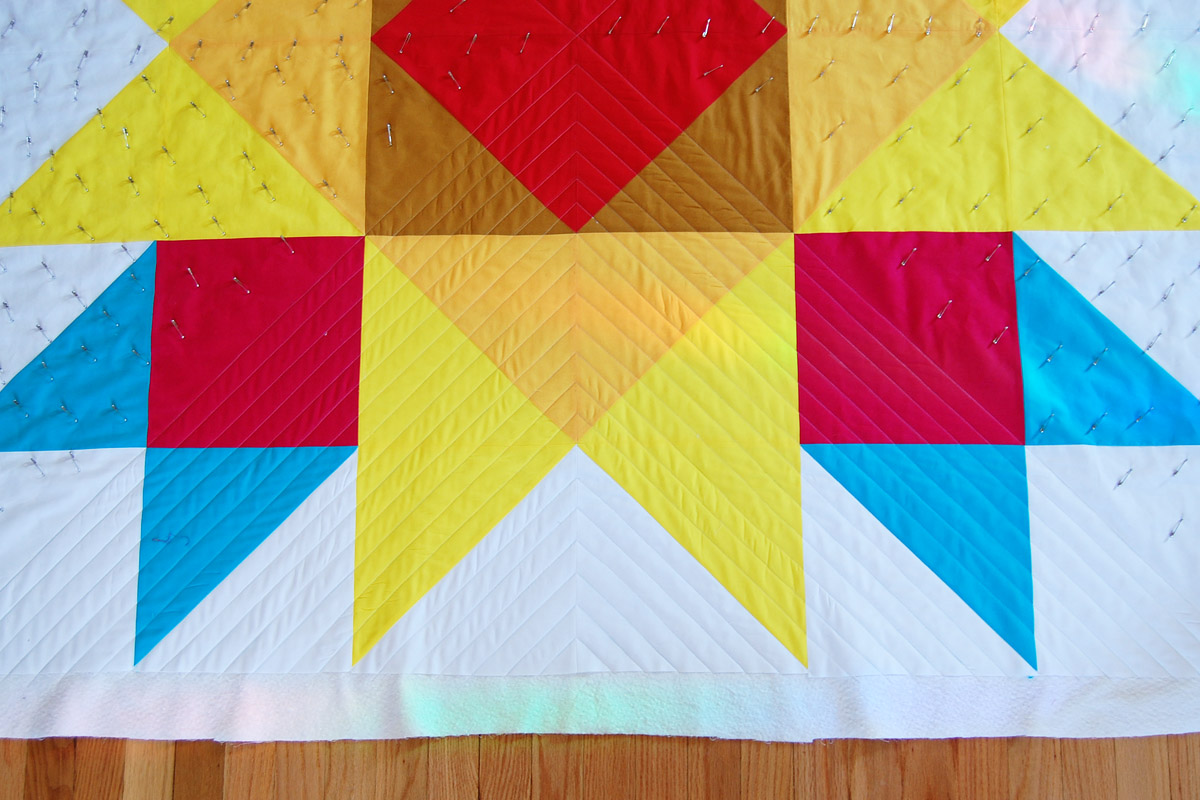
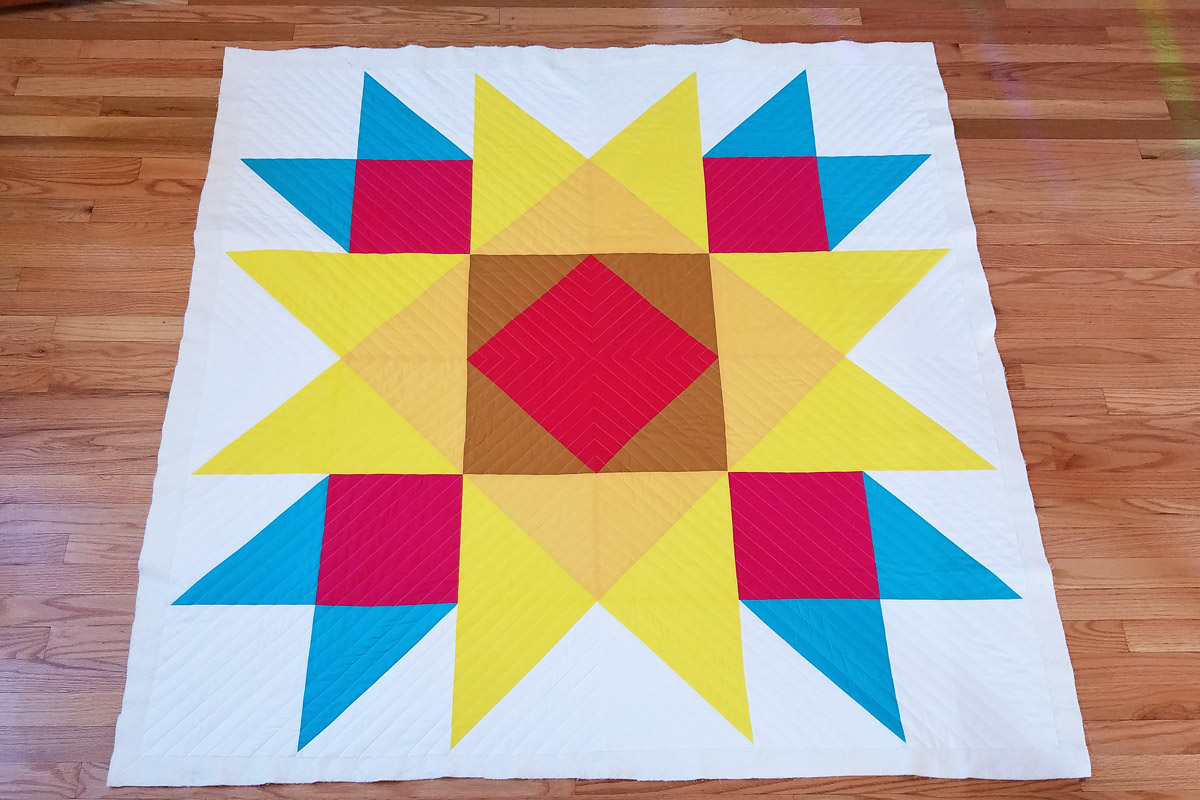
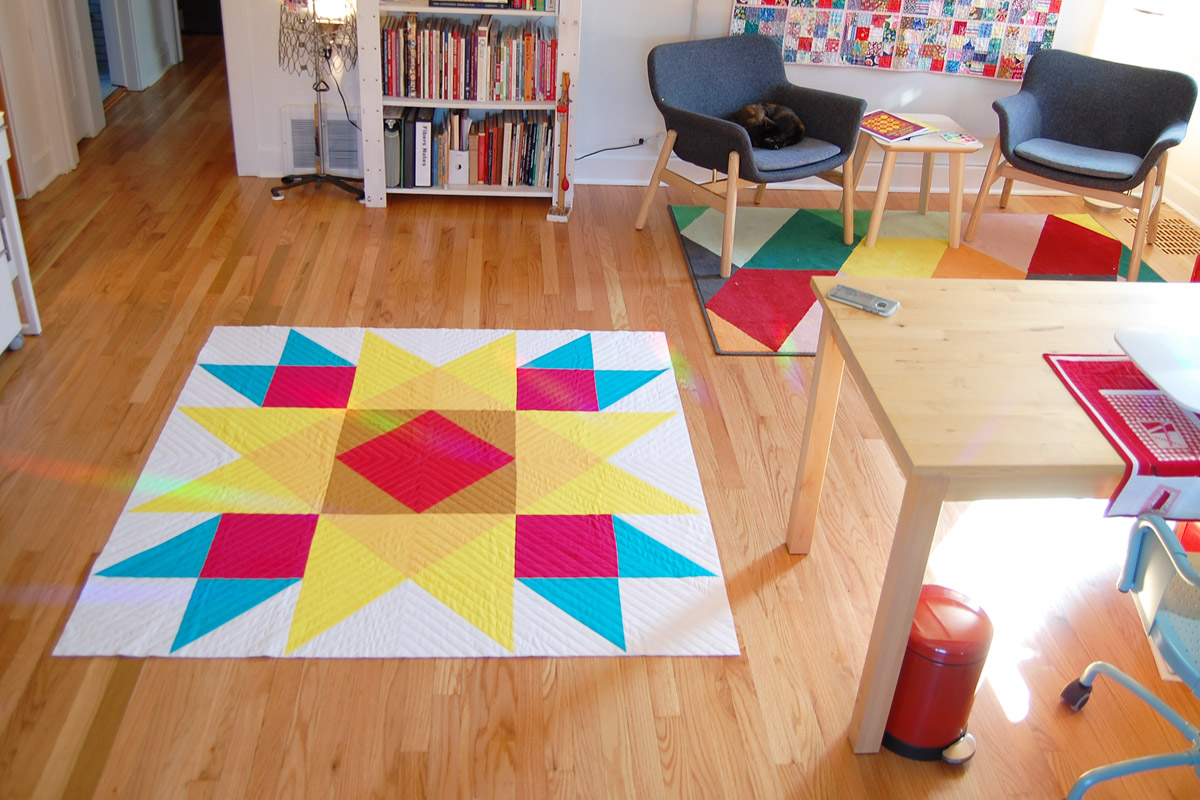
When it comes to the quilting design, you may choose to quilt your Union Square Big Block any way you wish! I chose to create straight line quilting radiating out from the center block. There are several ways you can create straight line quilting, such as marking lines with painter’s tape or fabric marking pencils, or using a seam guide set to stitch at 1″ intervals. Here is how I made 1″ straight line quilting on the Union Square Big Block Quilt.
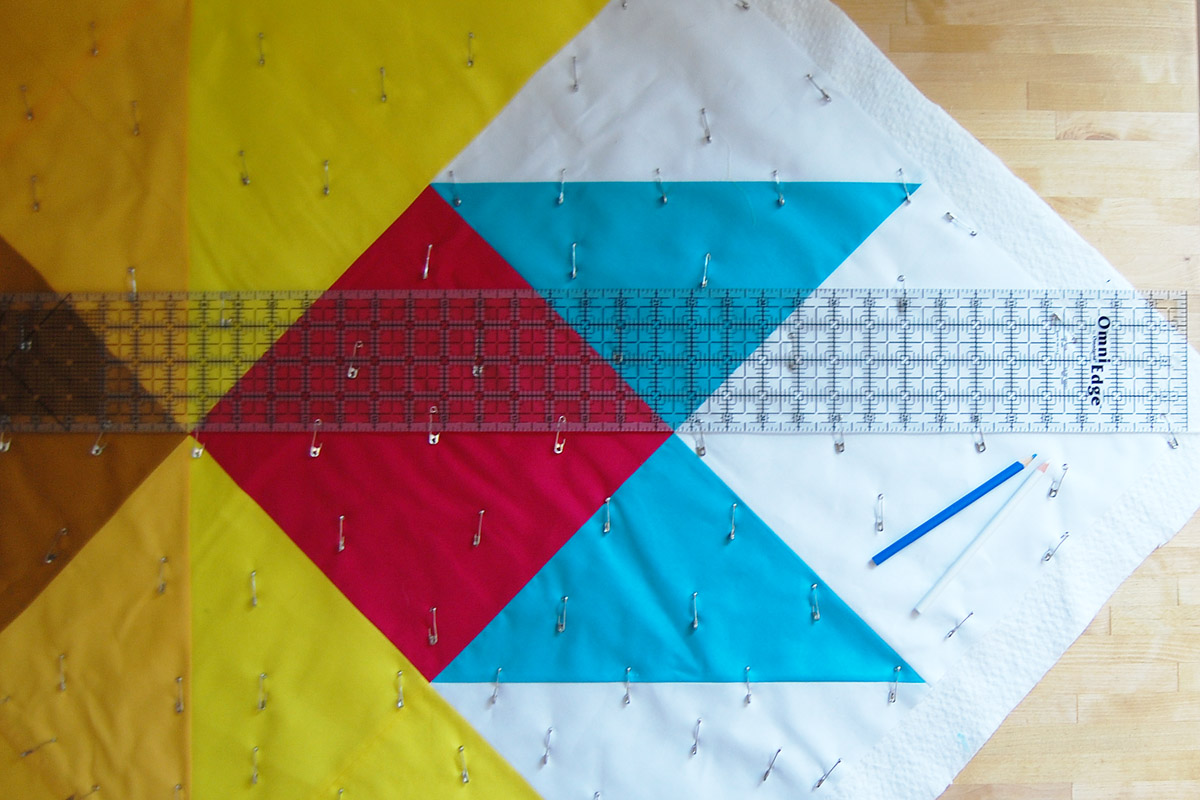
The first steps to creating the straight line quilting is to stitch across the quilt from corner to corner in both directions. I chose to use a fabric marking pencil to mark my quilting lines, but you can use whichever method you prefer.
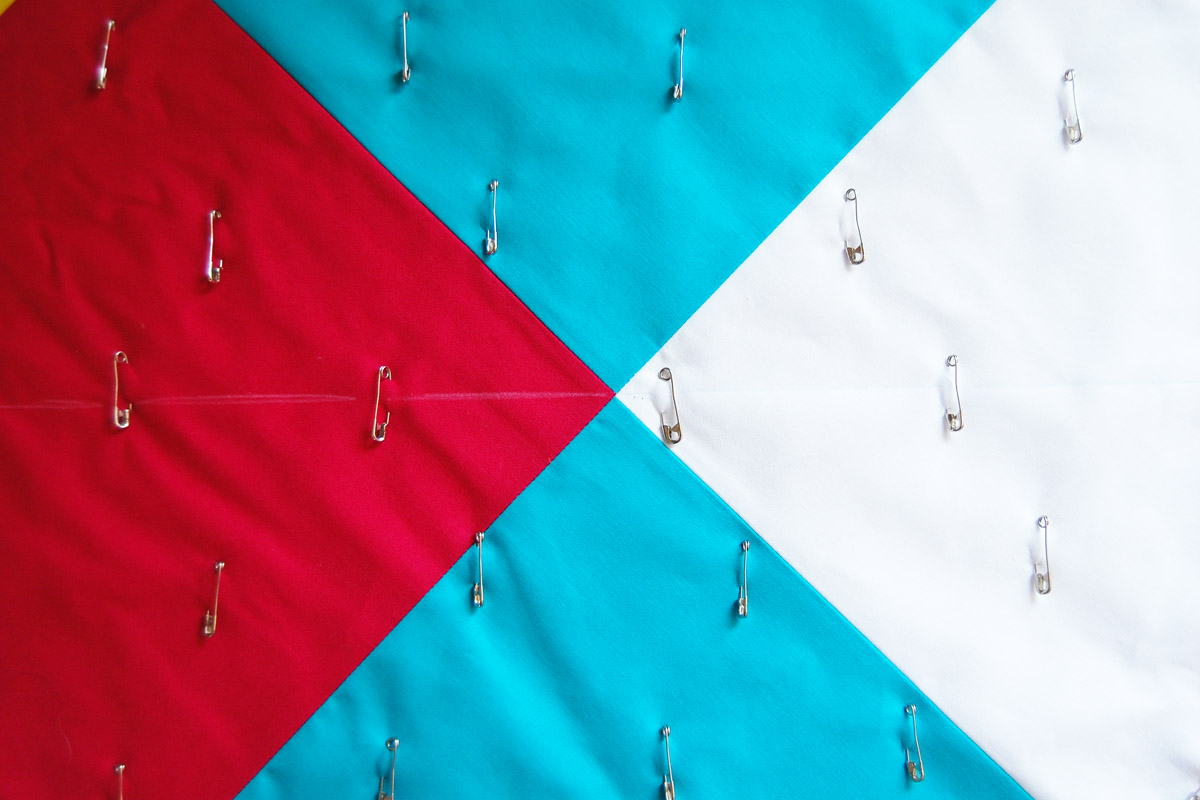
I make the lightest marks possible that I can still see and follow to quilt. I use white pencil on the dark fabrics and blue pencil on the light fabrics.
After stitching from corner to corner in both directions, your quilt will be divided into four equal parts. You can now quilt one section at a time.
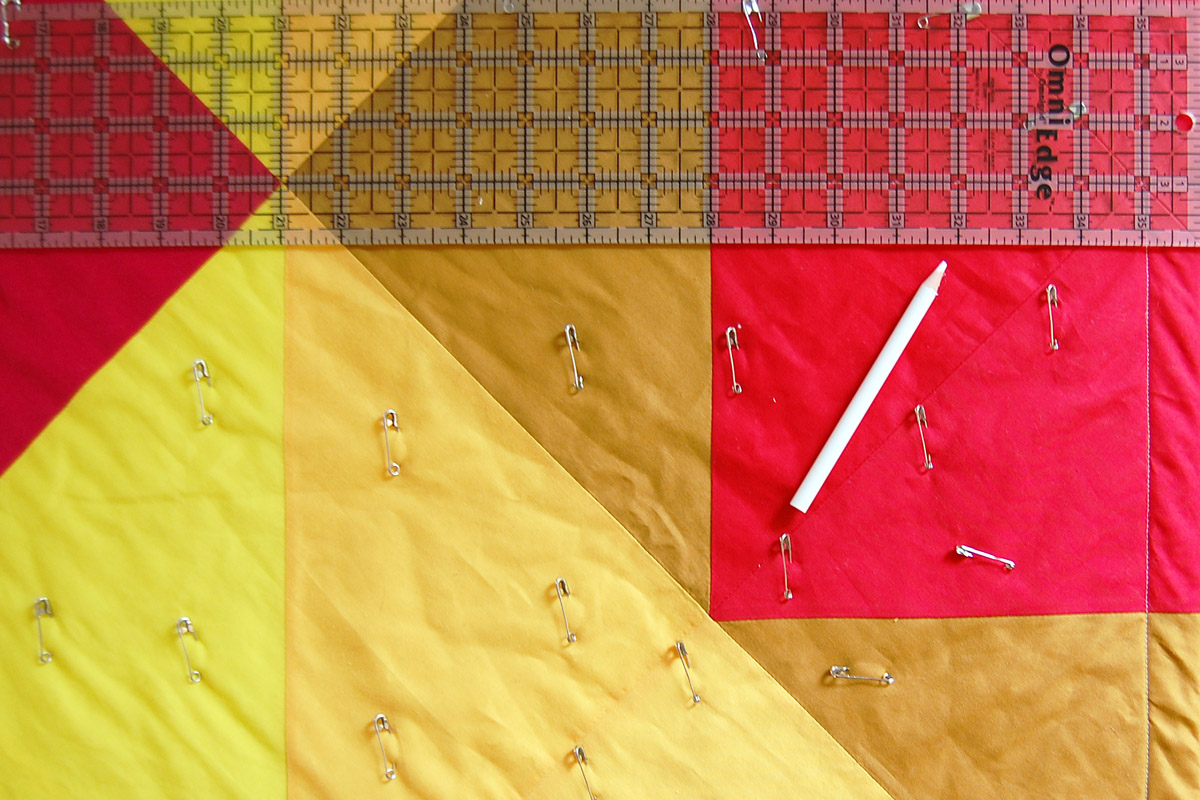
I used my long 36″ x 4″ quilting ruler and fabric marking pencils to mark a 1″ line from the first line of stitching. I return to my machine and quilt along this line. Then I mark the next line and stitch again.
Keep on stitching in this manner until one section is completely quilted with 1″ lines. After finishing one section you can move on to the next.
TIP: Use the settings in your sewing machine to help keep the quilting straight when re-positioning or pivoting around corners. I set the needle to stop in the down position, and do not use the hover feature (this setting can lift the presser foot when the needle is down in the fabric).
With these settings I can stop to re-adjust my hands, the quilt, or to remove a pin with minimal shifting since both the needle and presser foot are holding the quilt in place.
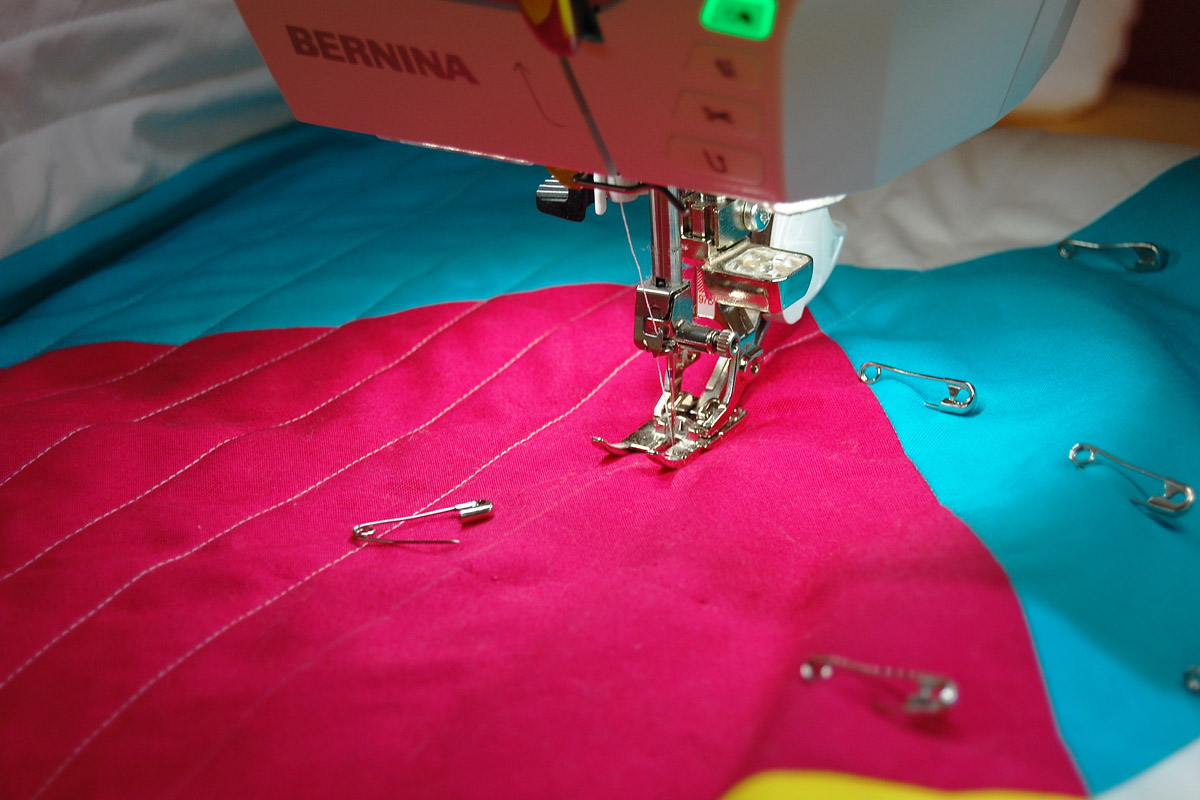
And then I can start to sew again knowing that my stitching will be straight.
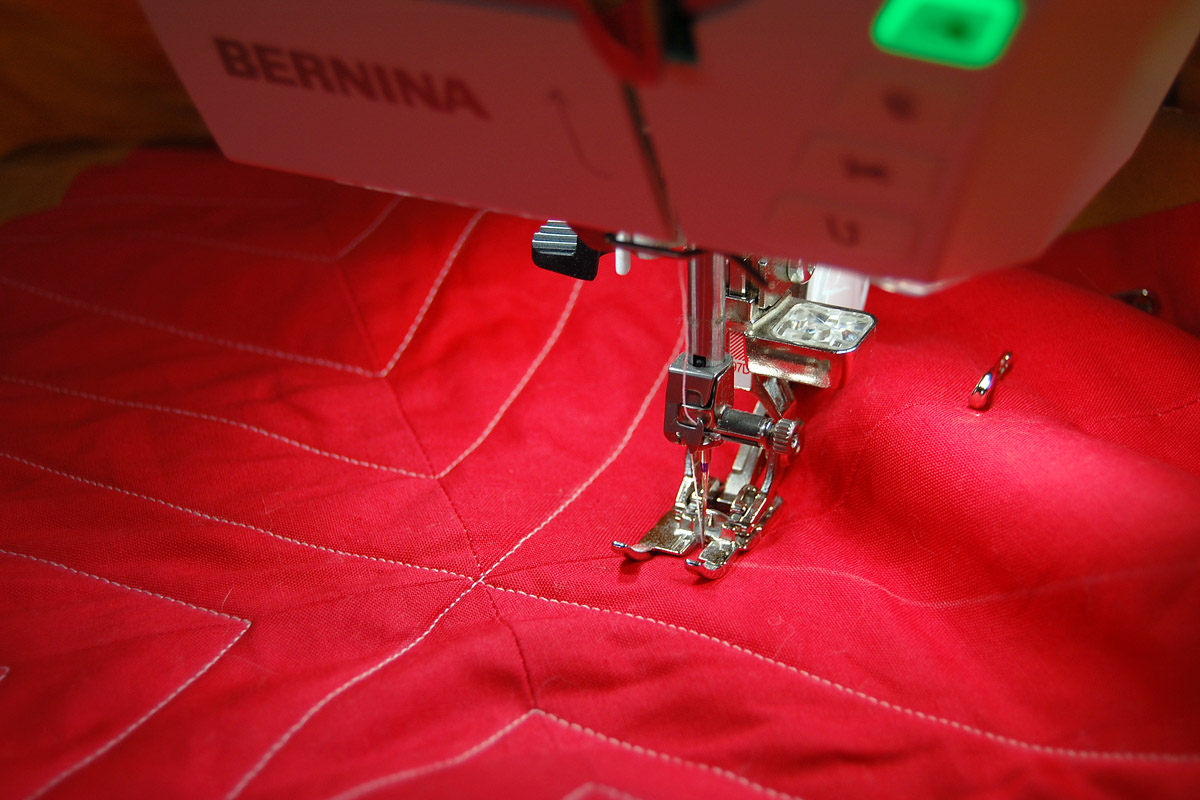
When I reach the corner, I stop with the needle down exactly at the pivot point.
I can use the Free-Hand System to lift the presser foot, or use the presser foot lift button on the front of the B 770 QE.
With the needle down and presser foot up, I can easily pivot the quilt around and re-adjust to stitch around the corner, and I will avoid any wonky lines or skipped stitches.
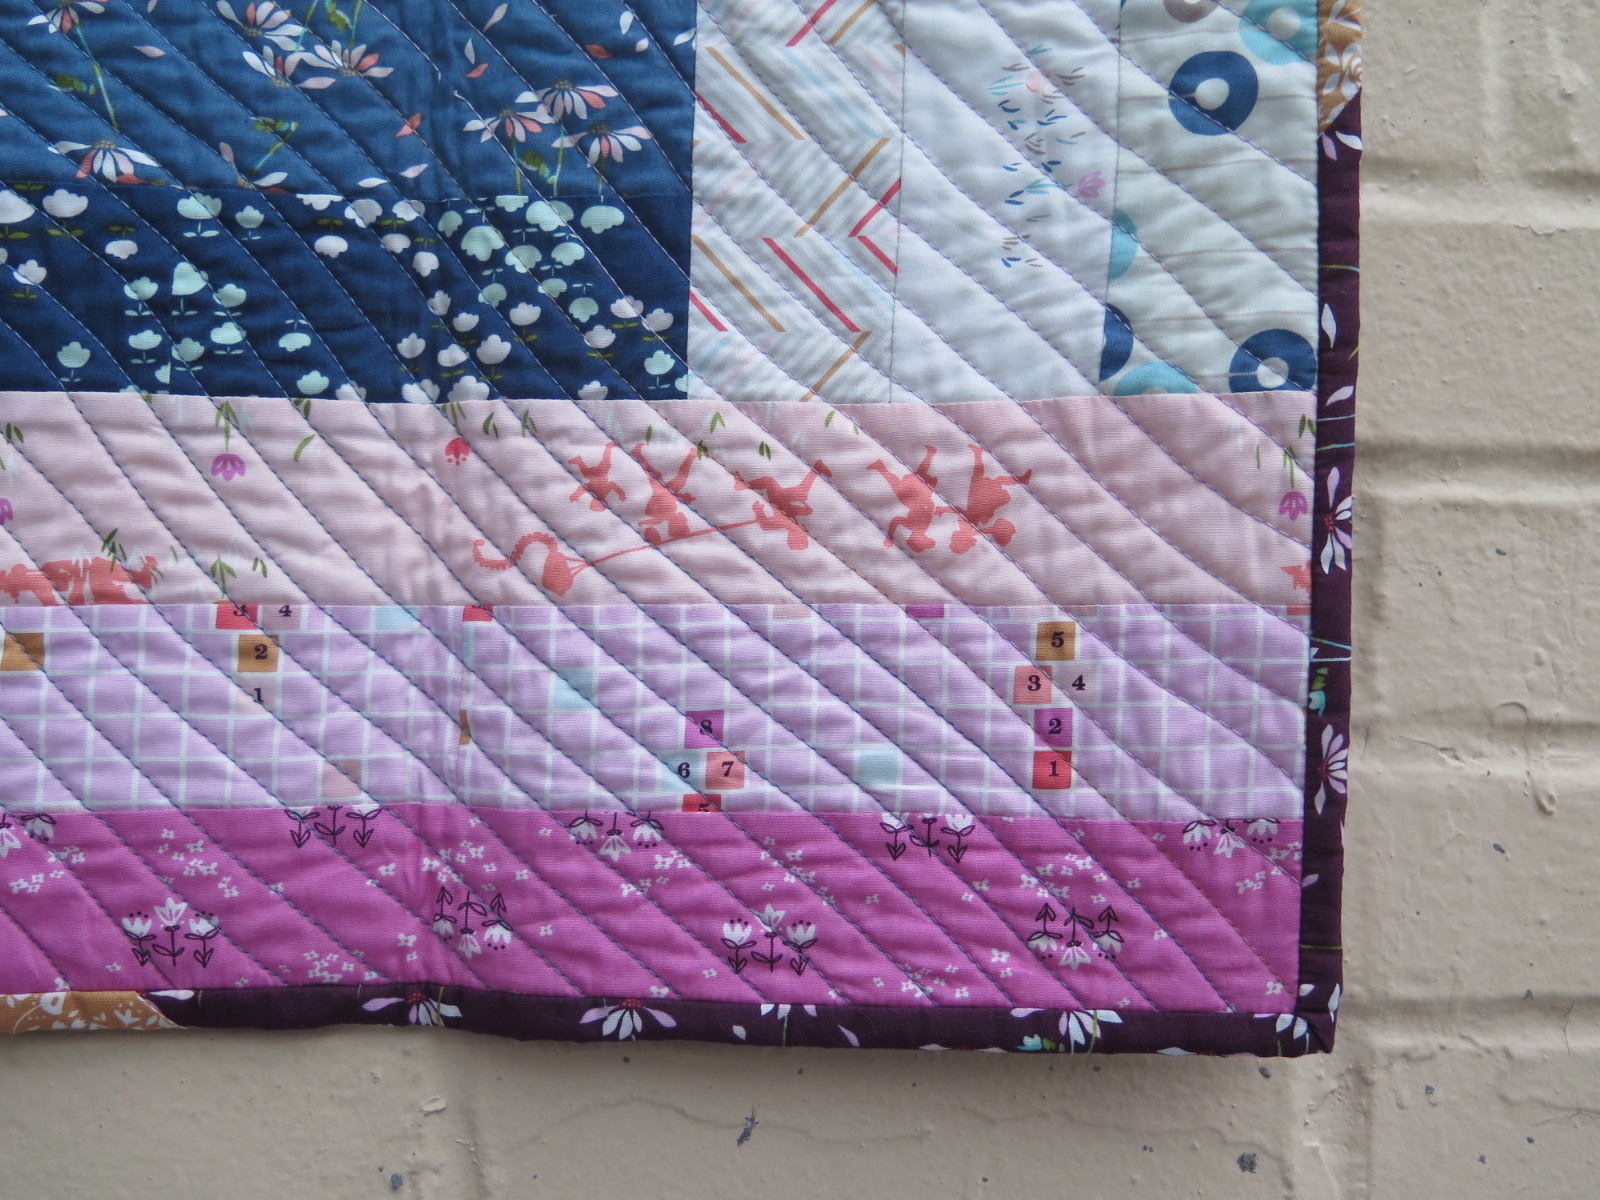
Keep on stitching continual lines at 1″ intervals in each section until you are finished quilting the entire surface.
The next step is to cut the extra batting and fabric from the quilt while making sure it is cut as squarely as possible. Before beginning this step I let the quilt lay on the floor and relax, smoothing it from the center out to the edges. For this step I use a 15.5″ x 15.5″ quilting ruler, a 36″ x 4″ quilting ruler, a large 36″ x 24″ cutting mat, and rotary cutter.
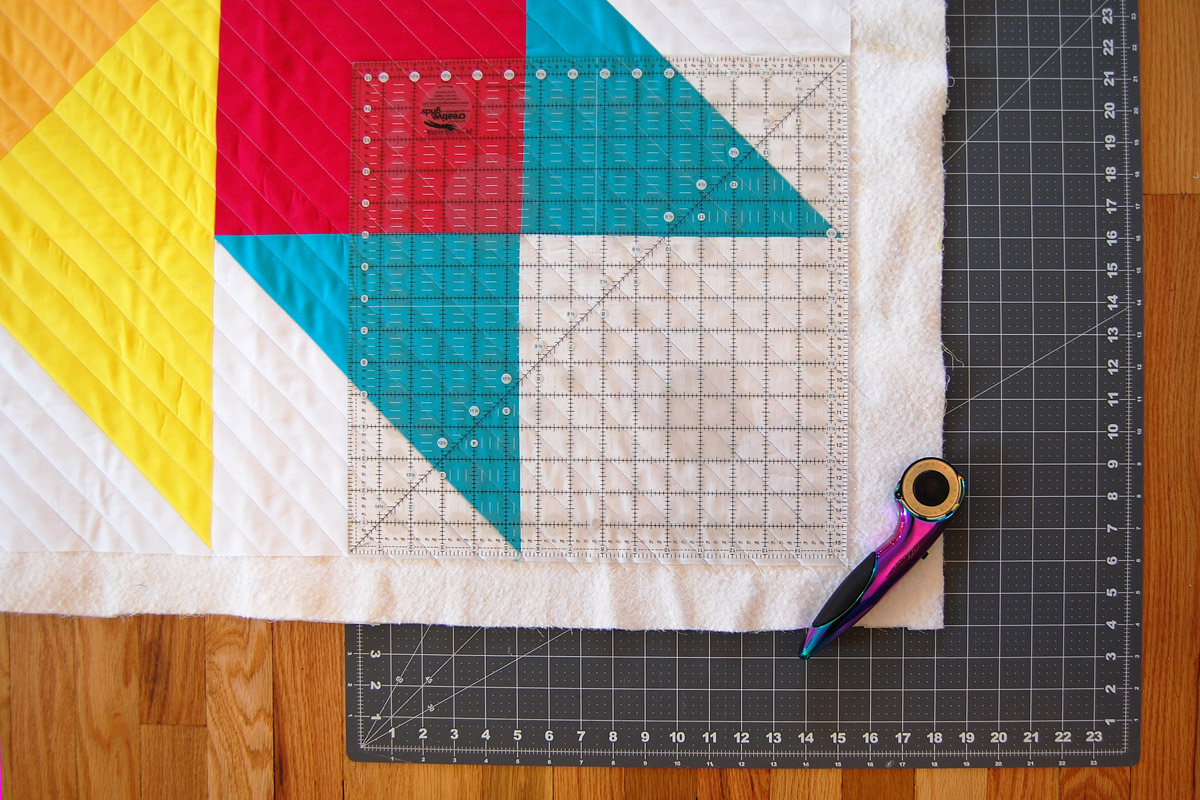
Beginning with the corners of the quilt, carefully line-up and trim the extra batting and backing fabric. If you have a 45 degree line on your ruler, align it with the diagonal seam ending at the corner to make sure the corner is square.
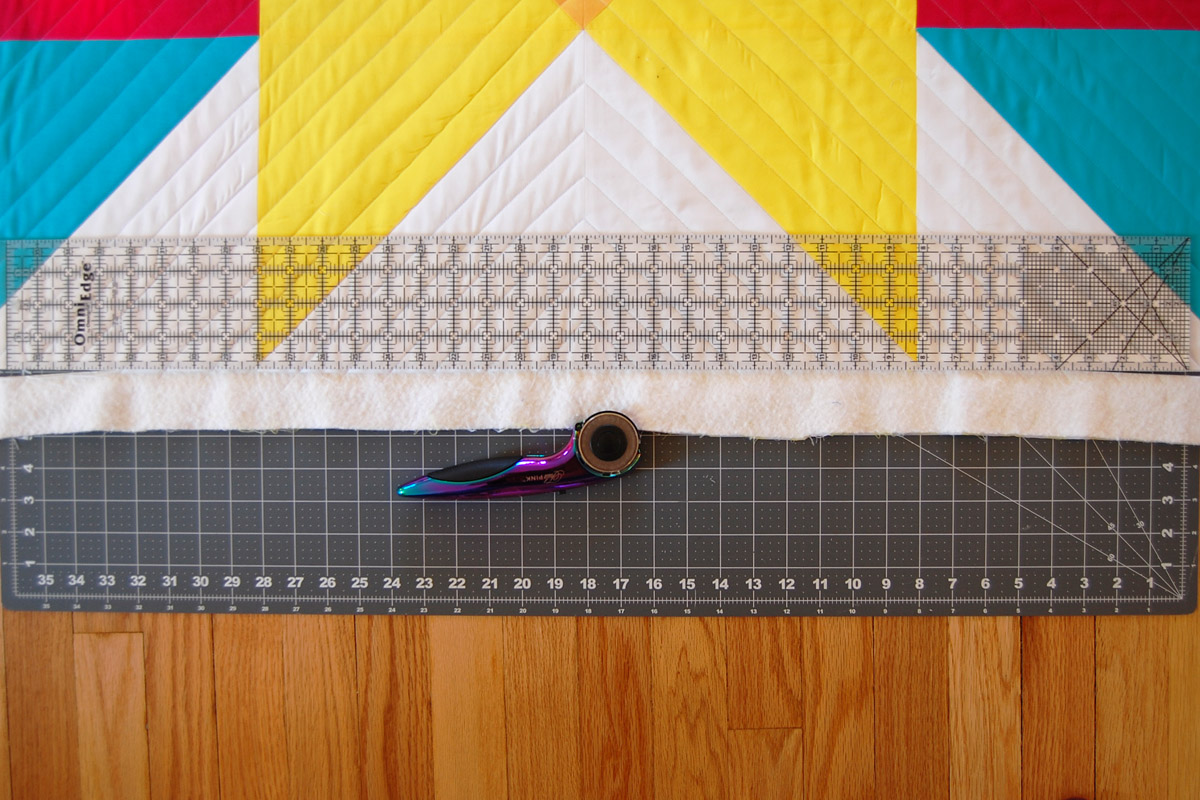
After trimming corners, use a long quilt ruler to cut the sides.
Just one step left to finish the quilt!
I use the double-fold binding method and share a few of the steps. You can click on the tutorial here to find all the details about creating double-fold quilt binding.
As mentioned in the tutorial, you can cut your binding on the straight grain or on the bias. I choose to use bias binding for this quilt because I plan on using it (a lot!), including an occasion trip through the washer and dryer. Bias binding will flex and move with the edge of the quilt, even if the quilt experiences some shrinkage from the washing process. However you choose to cut your binding, create a continual double-fold bias strip about 260″ or longer.
Use the same settings on your machine used for quilting. I have my B 770 QE set up with the Patchwork foot #97D and Dual Feed engaged (you can also use the Walking foot #50).
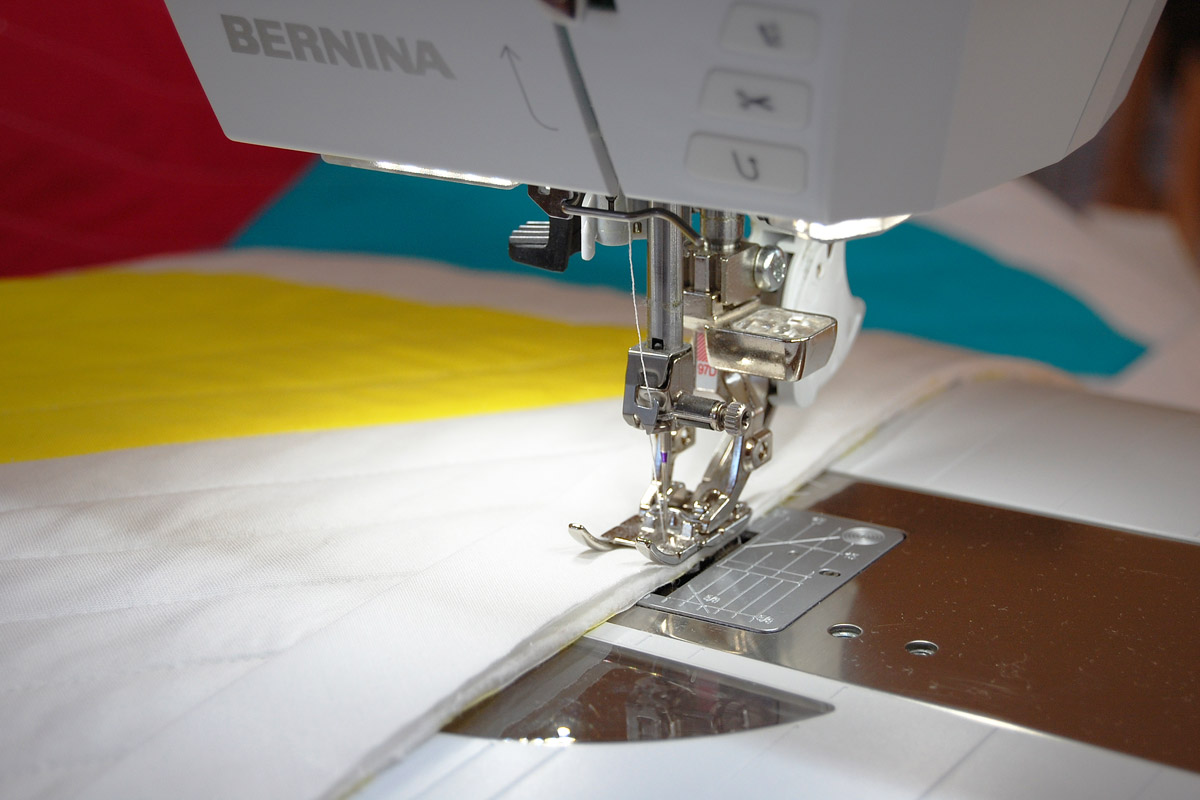
Leave about a 10″ tail on one end of the binding, and begin to attach the binding along one edge of the quilt. Line-up the raw edges of the folded binding to the raw edges of the quilt. Use the edge of your 1/4″ patchwork foot (or the markings on your Walking foot #50) to sew an exact 1/4″ seam. Follow directions in the double-fold bias binding tutorial above to finish sewing binding to the quilt edge. I choose not to pin or clip the binding to the edge to try and reduce stretching the binding too much as I sew. I line up the binding as I go, sewing a few inches at a time.
After sewing the binding to the top of the quilt, take the project to a large table or work surface for the next step.
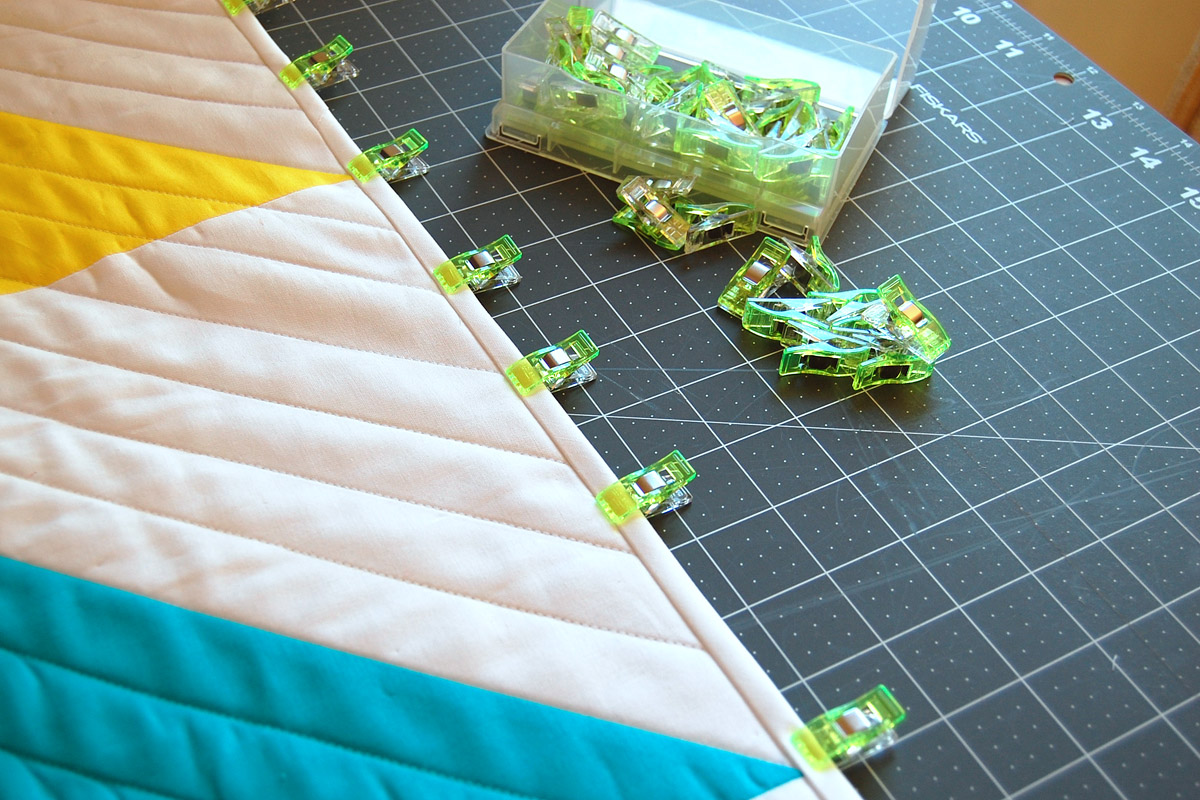
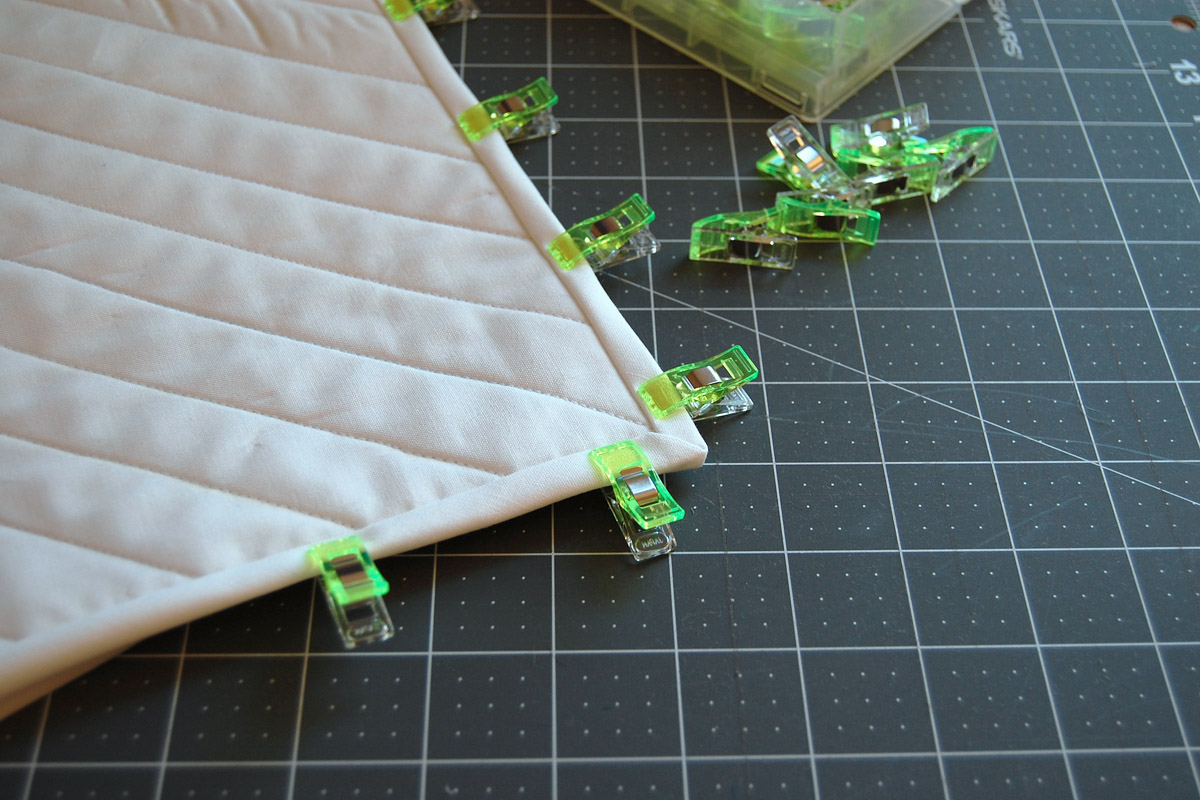
Fold the binding over the edge of the quilt and secure with clips. The binding should fold over easily to the back side and lay flat without pulling the binding over so hard that it might distort the front of the quilt.
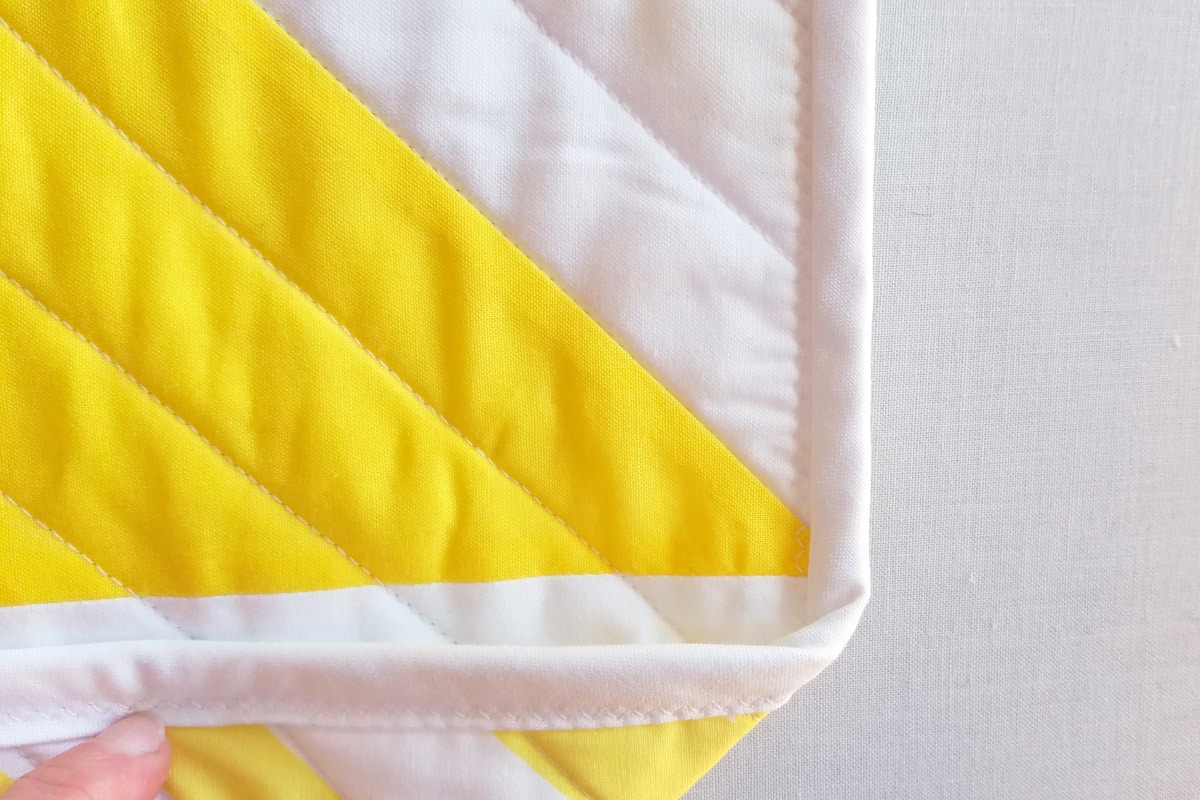
Carefully miter each corner. I find that a light pressing with a steam iron helps the corners stay folded and flat while finishing the binding.
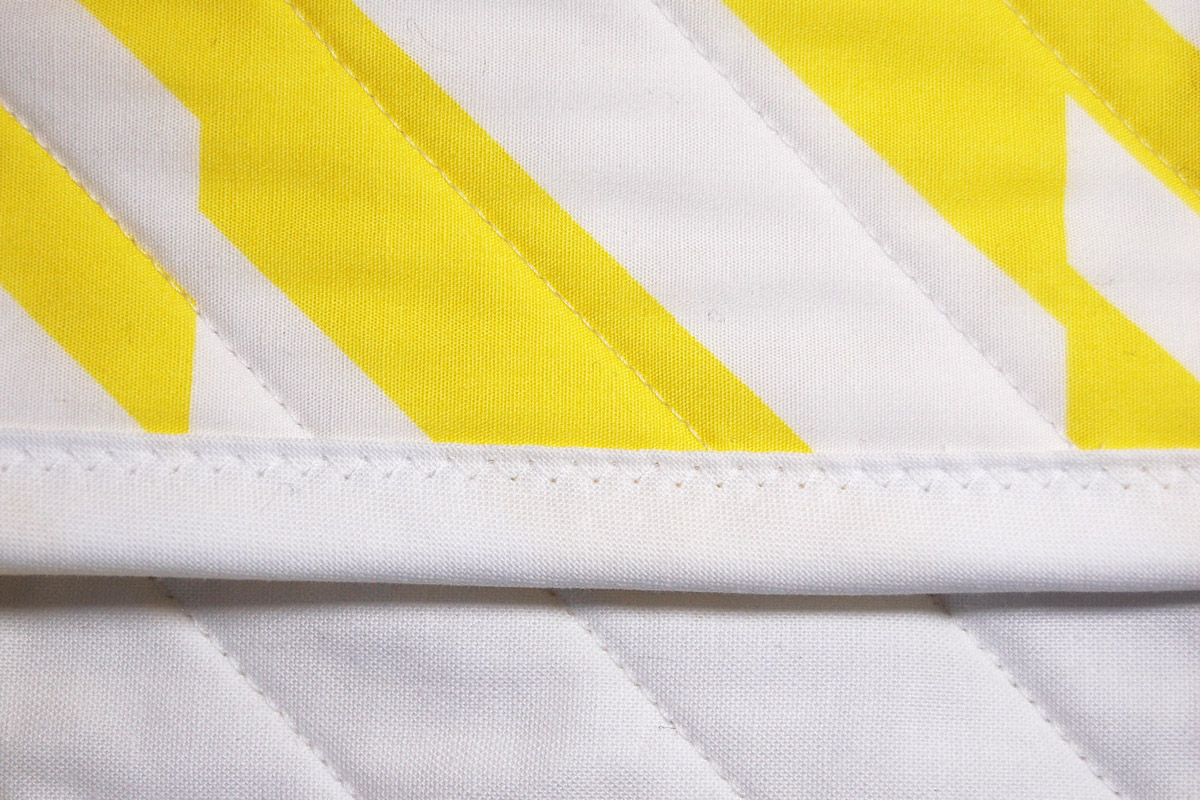
You can finish stitching the binding to the back side of the quilt by hand if you choose. I finished stitching the binding by machine using a narrow zigzag stitch from the front of the quilt to secure the binding to the back. This very narrow zigzag stitch will allow for some shrinkage in both the quilt and binding during frequent washing, but still be hard to spot from the front of the quilt.
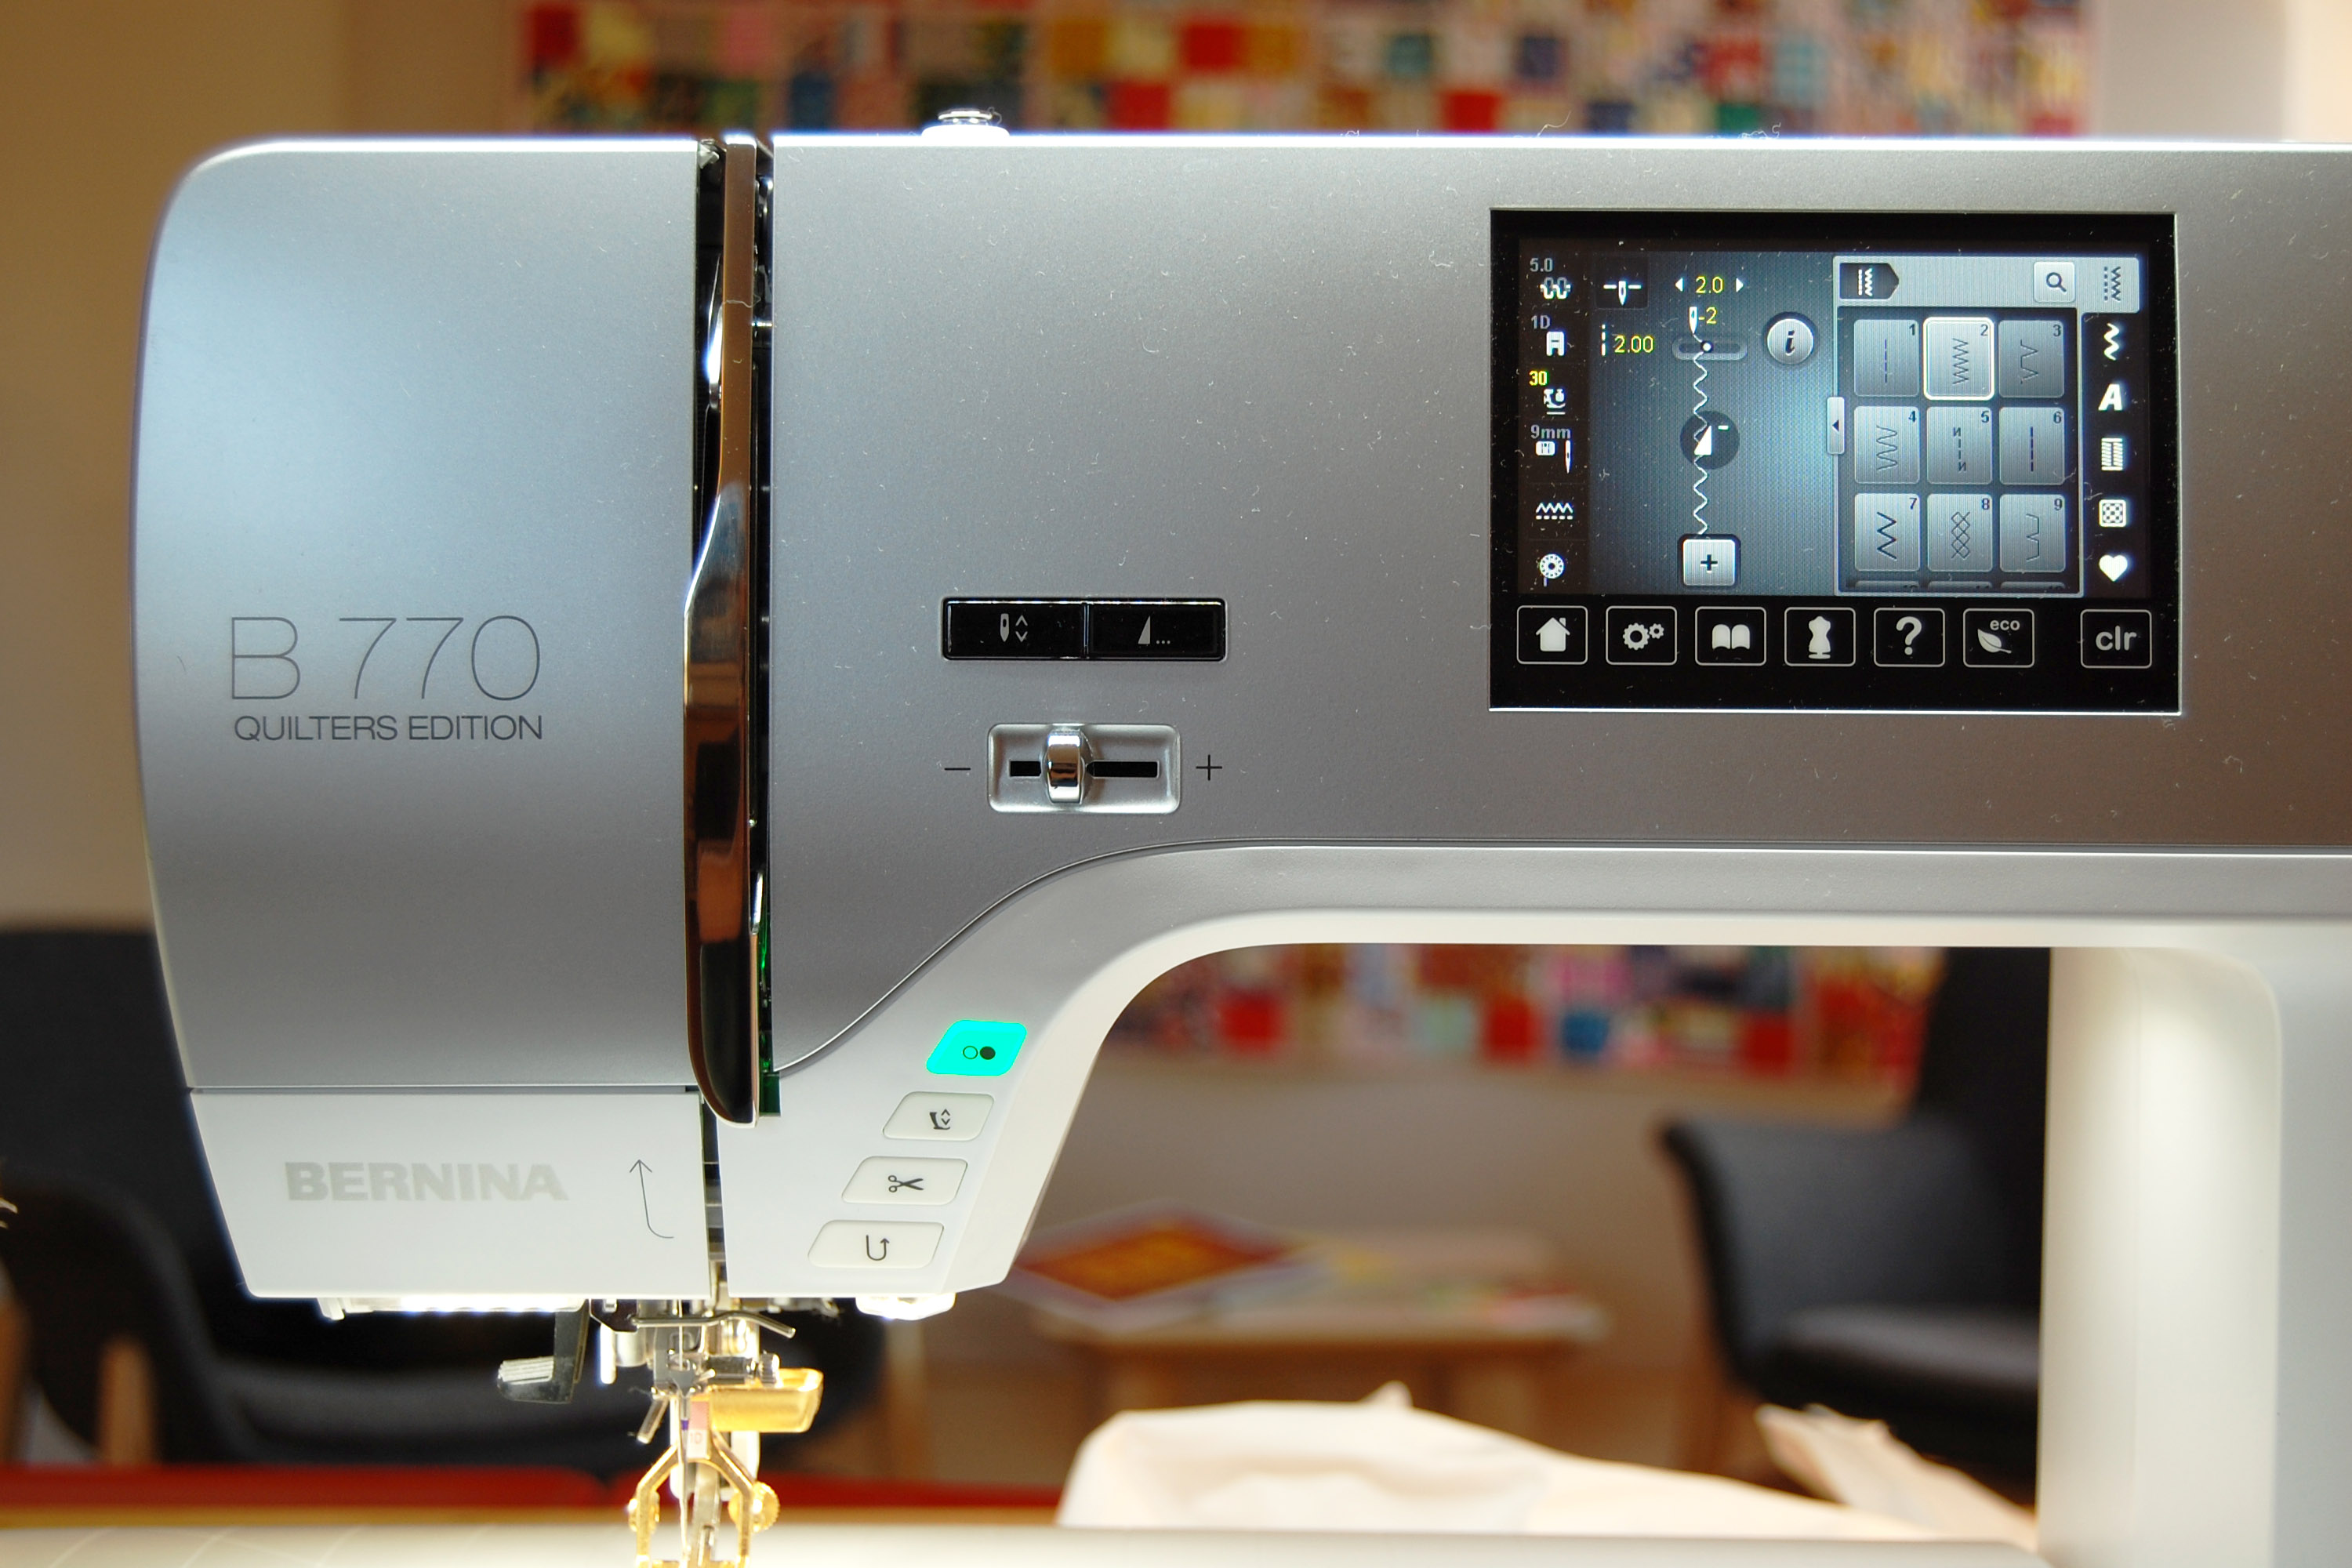
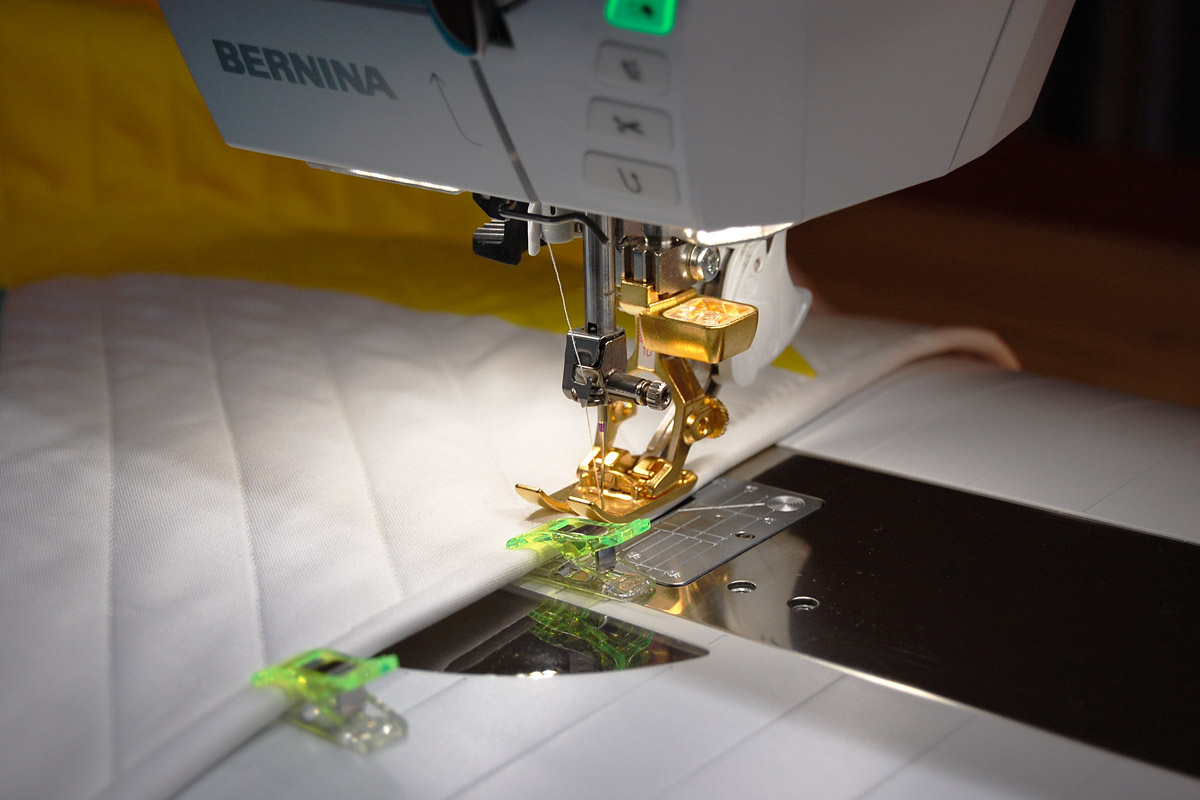
To stitch the binding by machine, set up your sewing machine with the Reverse pattern foot #1D with Dual Feed engaged, or use the Walking foot #50. (Did you notice my special golden foot? Read all about it here!)
Make the following changes to the settings on your machine:
- Use a narrow zigzag stitch set at 2.5mm width and 2.5mm length
- Reduce presser foot pressure to between #40-#3o, enough to keep feeding the fabric through the machine without creating puckers or tucks
- Move the needle position to the left by two positions (two clicks to the left)
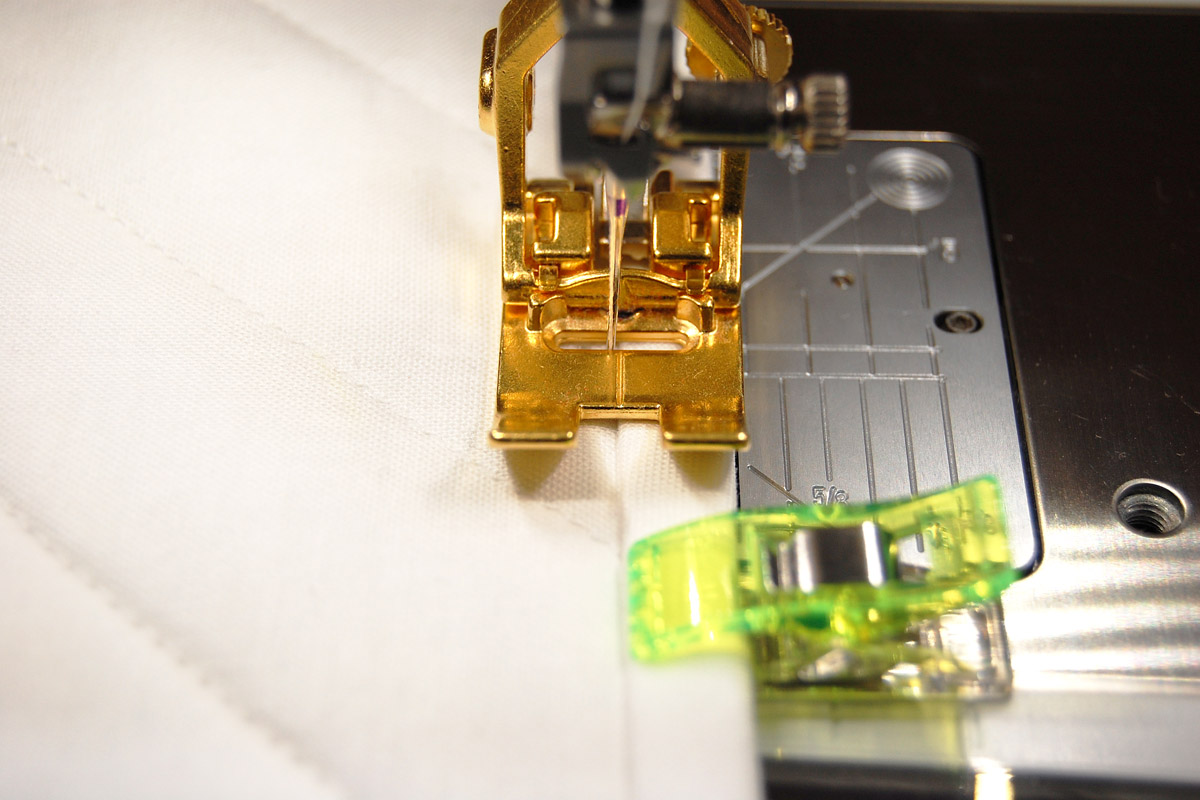
Pick a starting place on one side of the quilt, and line-up the center mark of your foot with the binding seam. Because the needle is moved over to the left, the zigzag will stitch exactly next to the seam if you alight the center mark on the seam as you sew.
This will catch the binding folded over to the back side nicely, and help to avoid missing some spots as you are sewing.
Make sure to sew slowly and evenly, going right into the corners. If your zigzag isn’t matching up perfectly with the very corners, you can raise the needle above the fabric, raise the presser foot carefully, and set the needle down into the corner before you pivot to turn the corner. Overlap your starting point slightly and back-tack to secure the stitching.
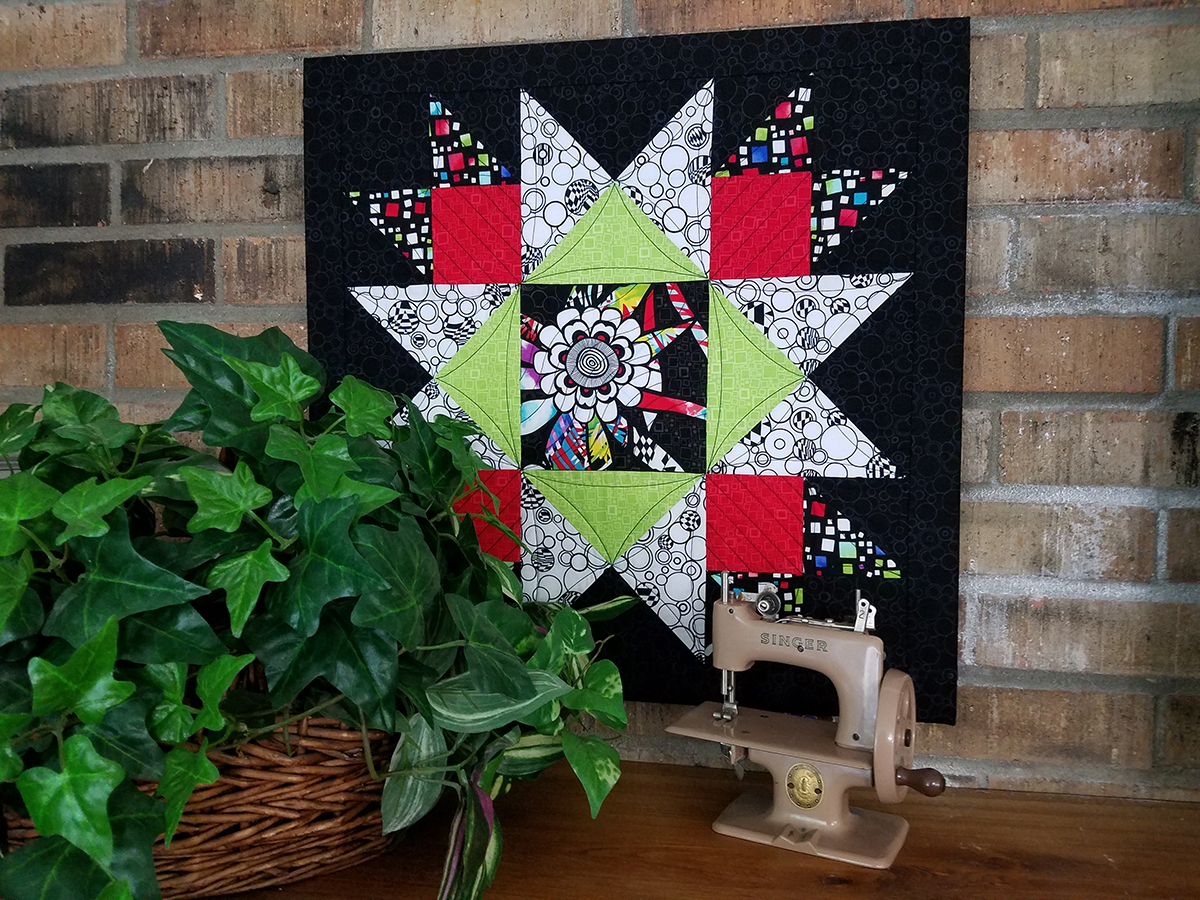
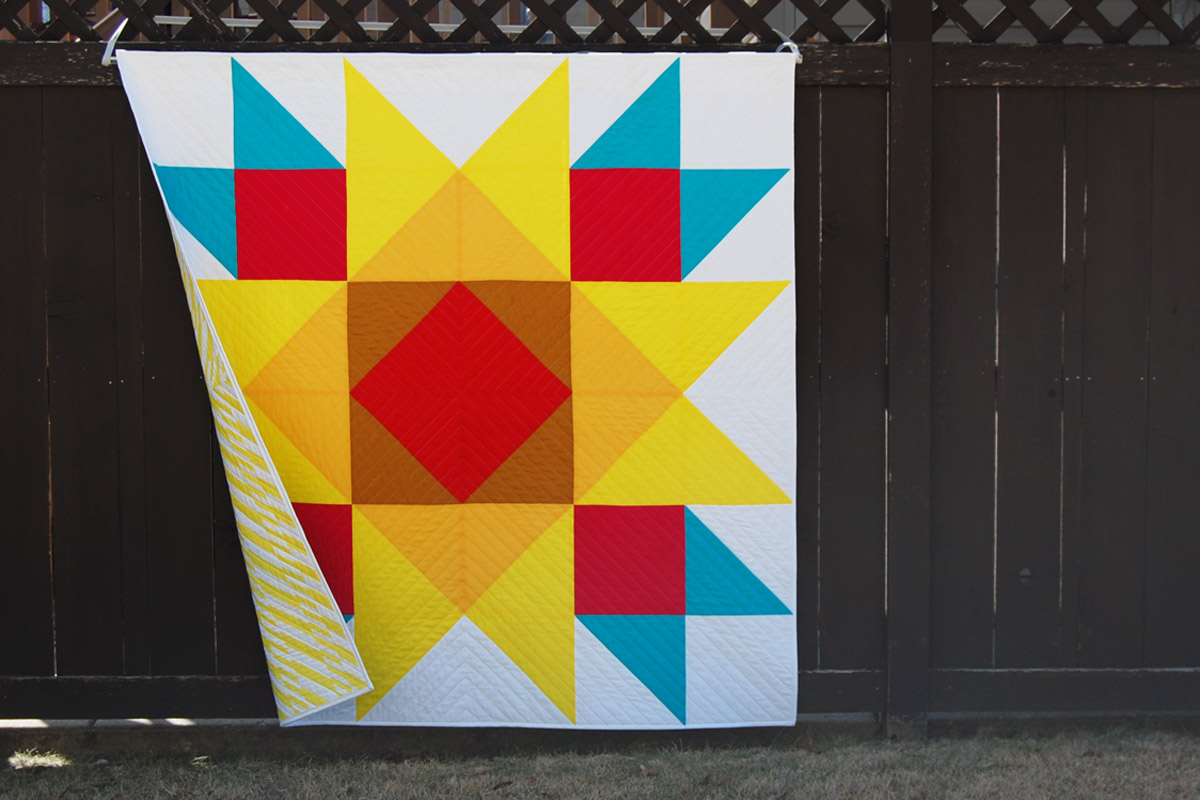
Congratulations, you have finished your Union Square Big Block Quilt! Shake it out and enjoy your new, colorful quilt.