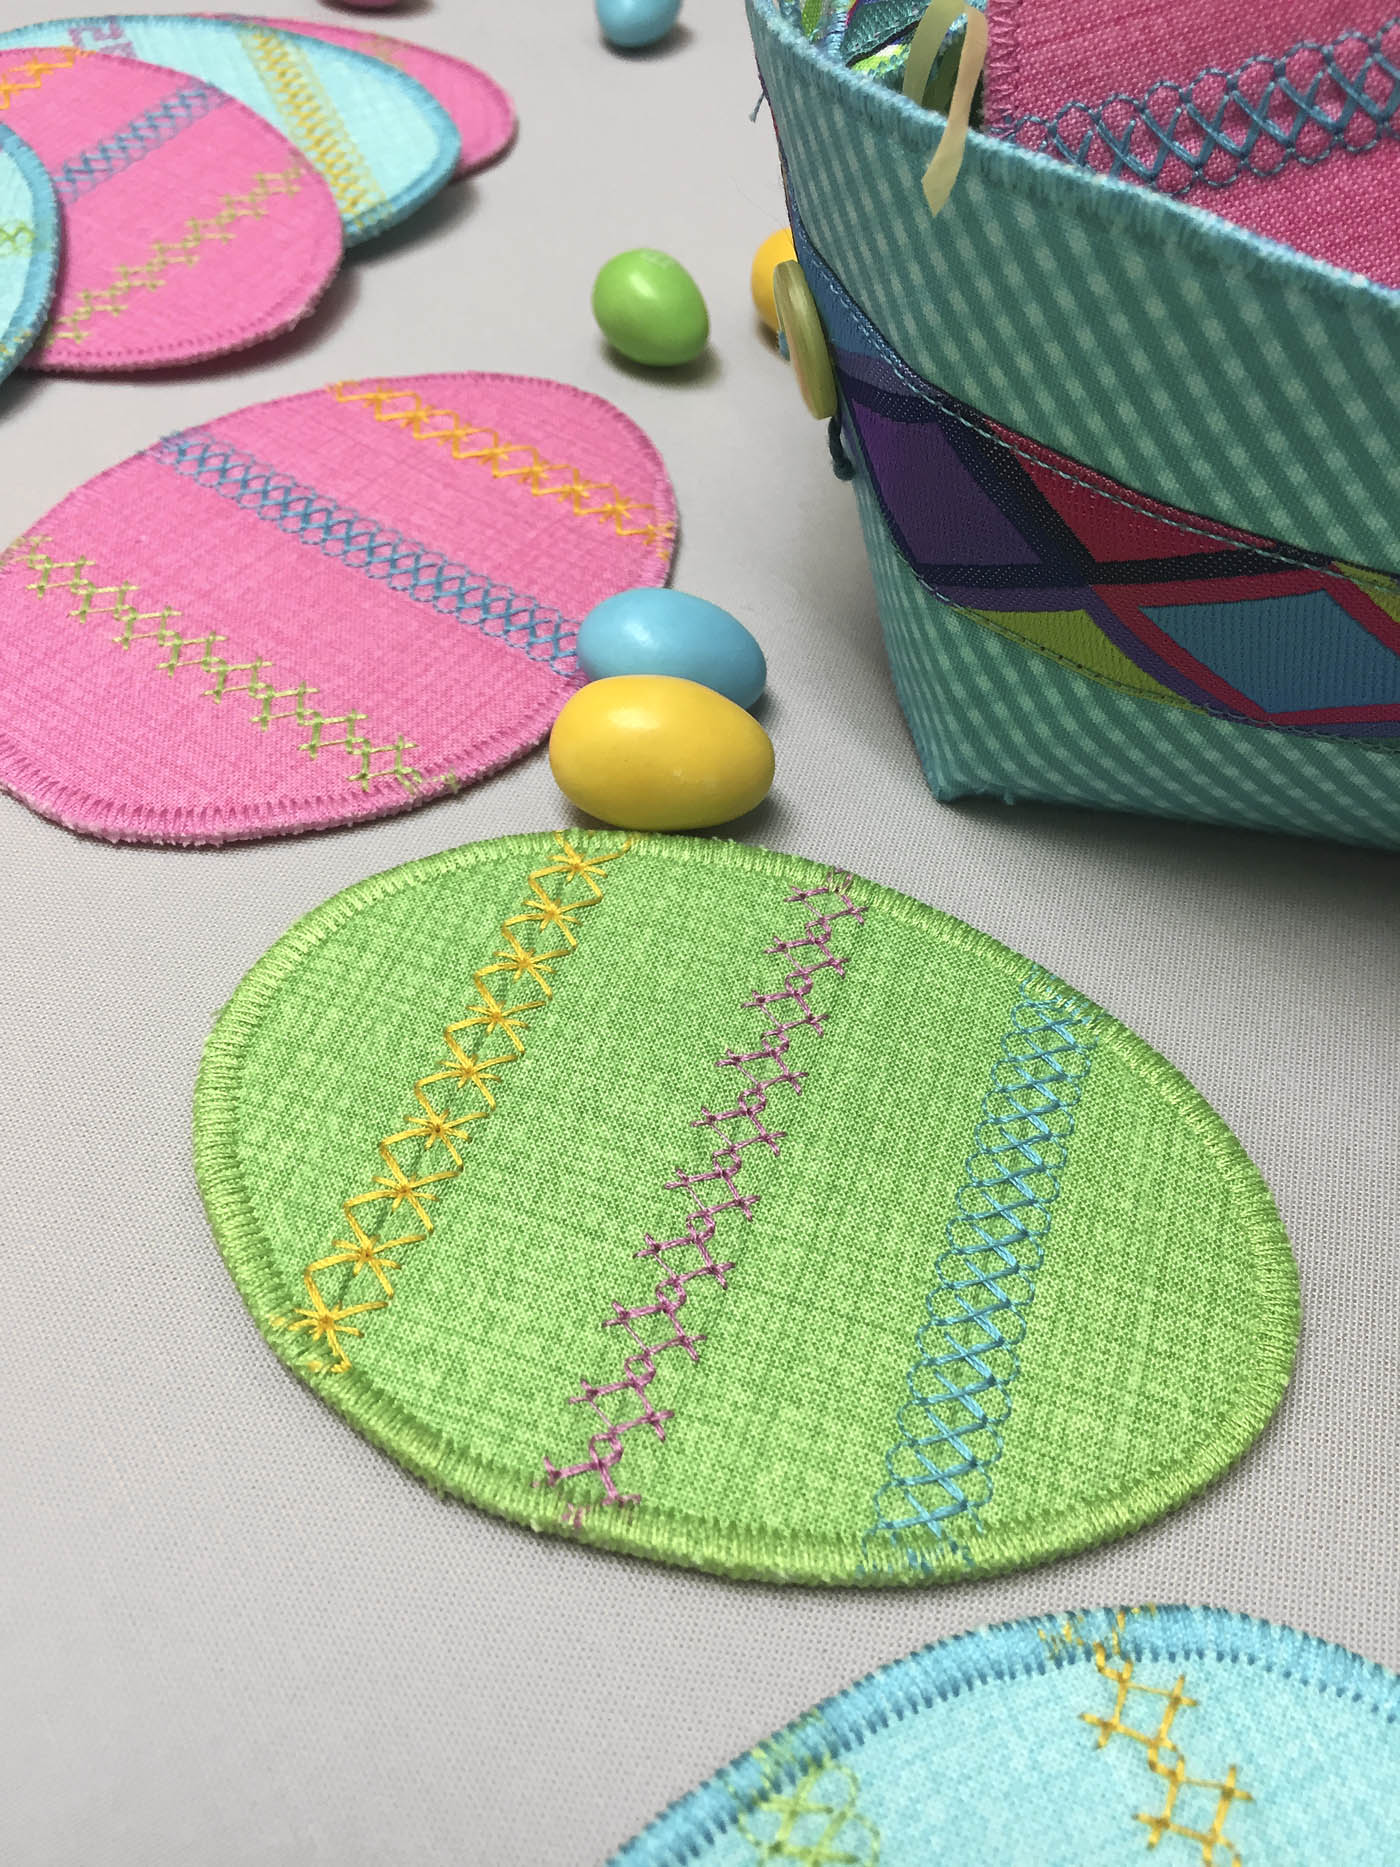
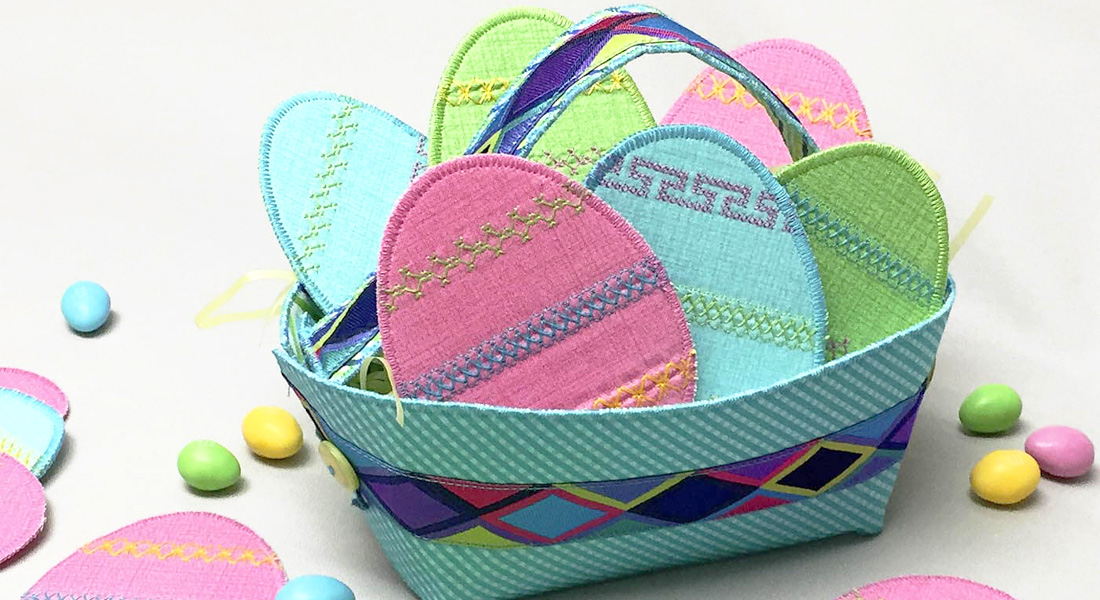
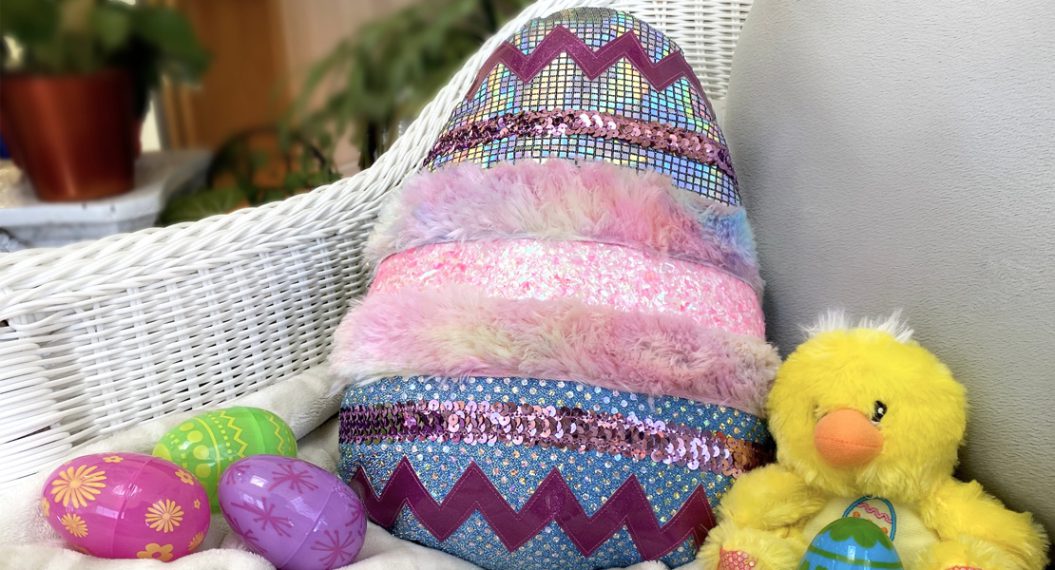
Decorative Stitched Easter Eggs
I love sewing and I love decorating Easter Eggs, but you can’t sew on an egg, or can you? My BERNINA 740 is full of amazing decorative stitches and I wanted to play with them. I decided to make special Easter eggs that are perfect for gifting, a special egg hunt, a table decoration, or to just add to a basket for the special bunny in your life.
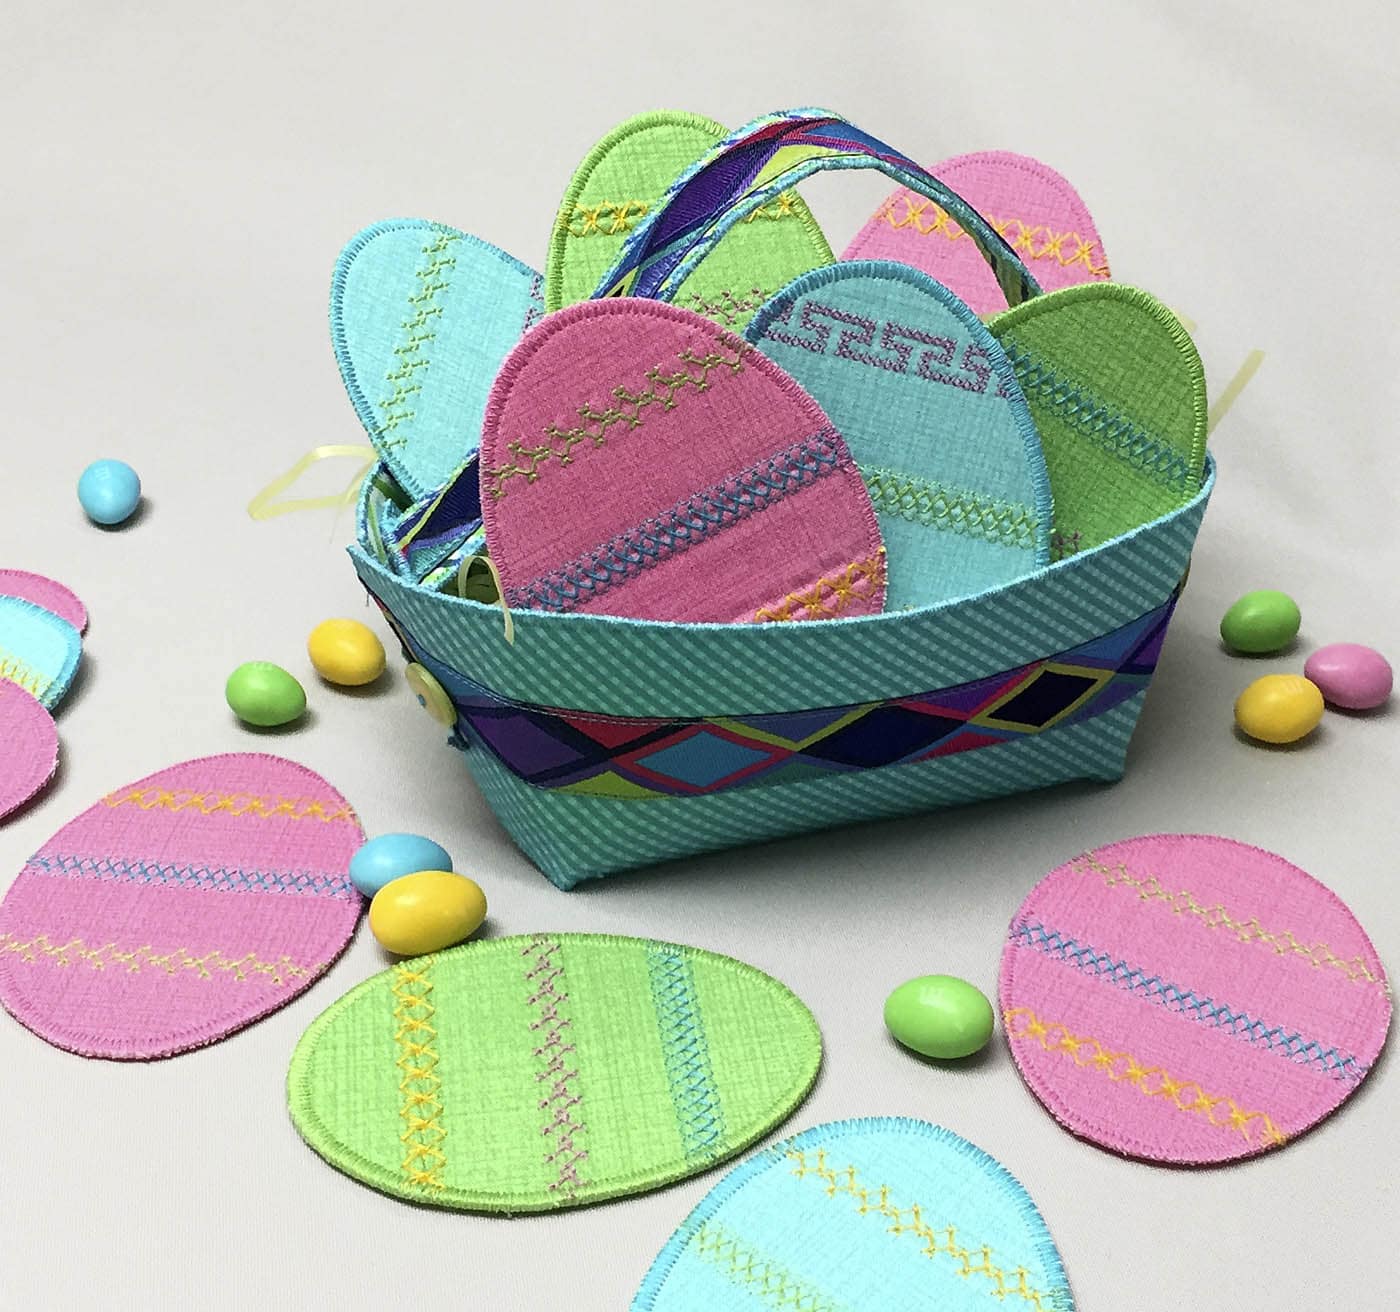
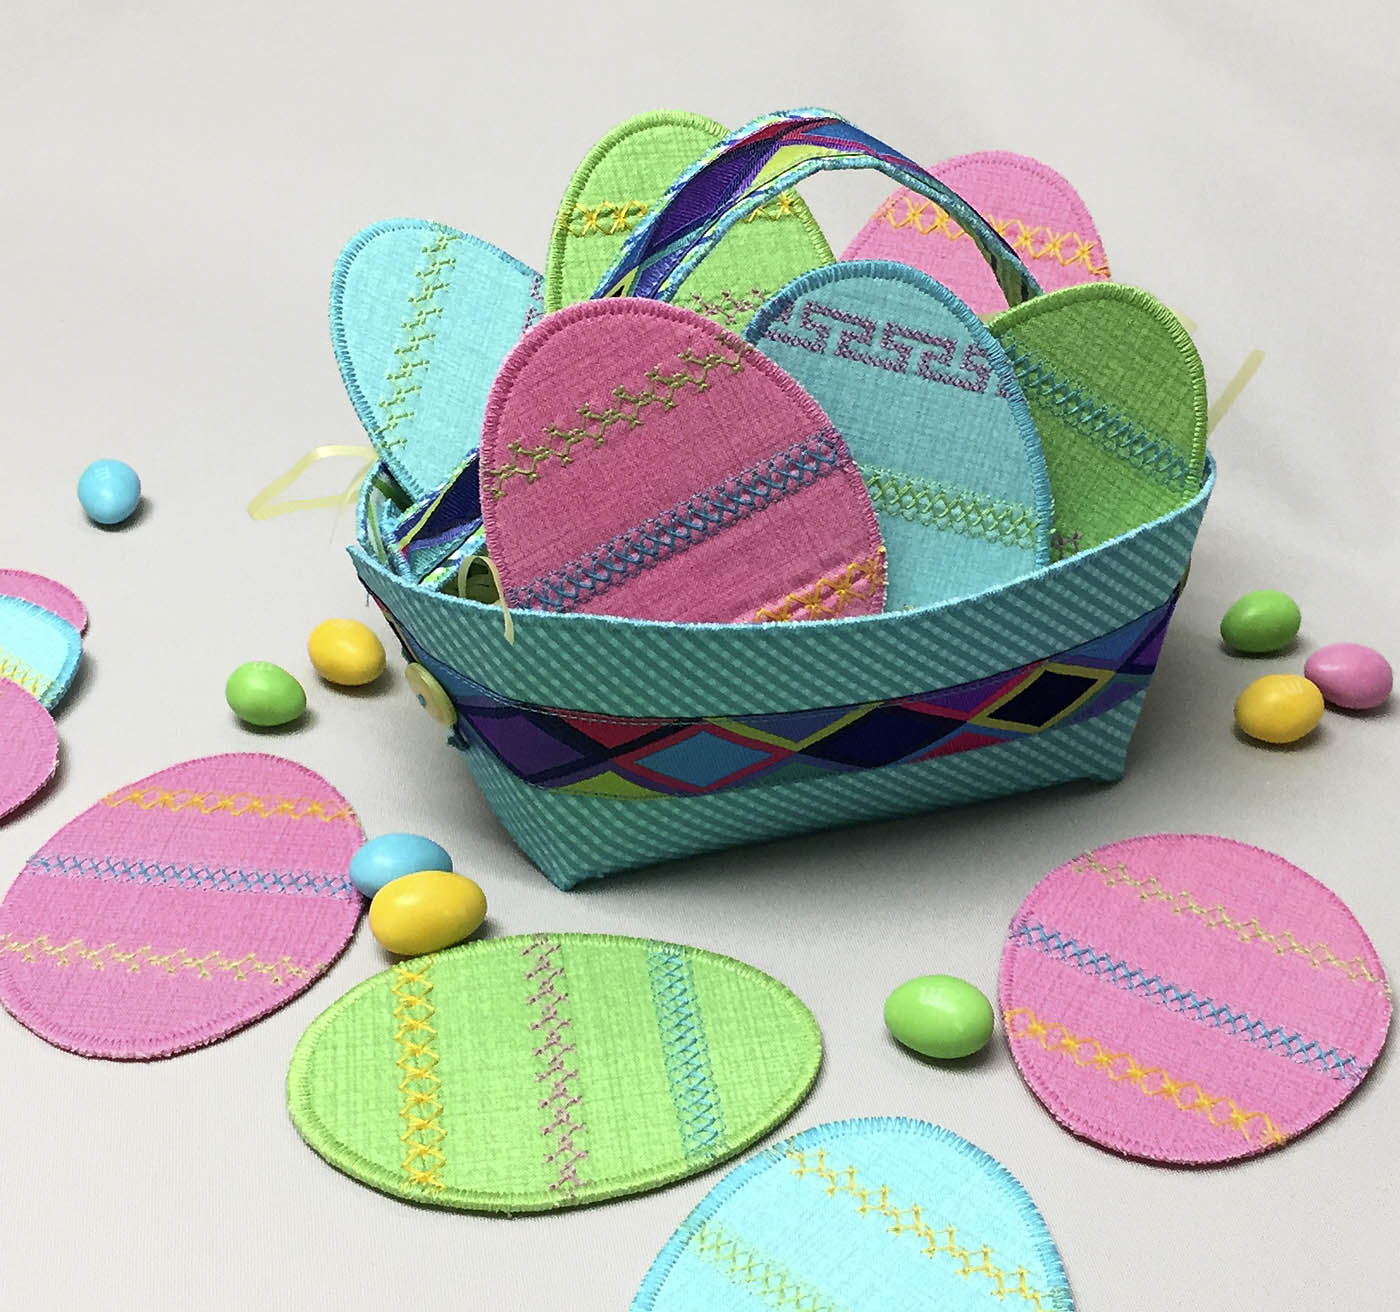
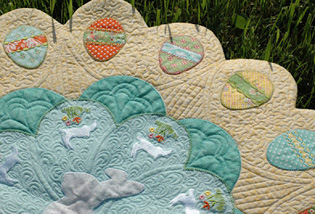
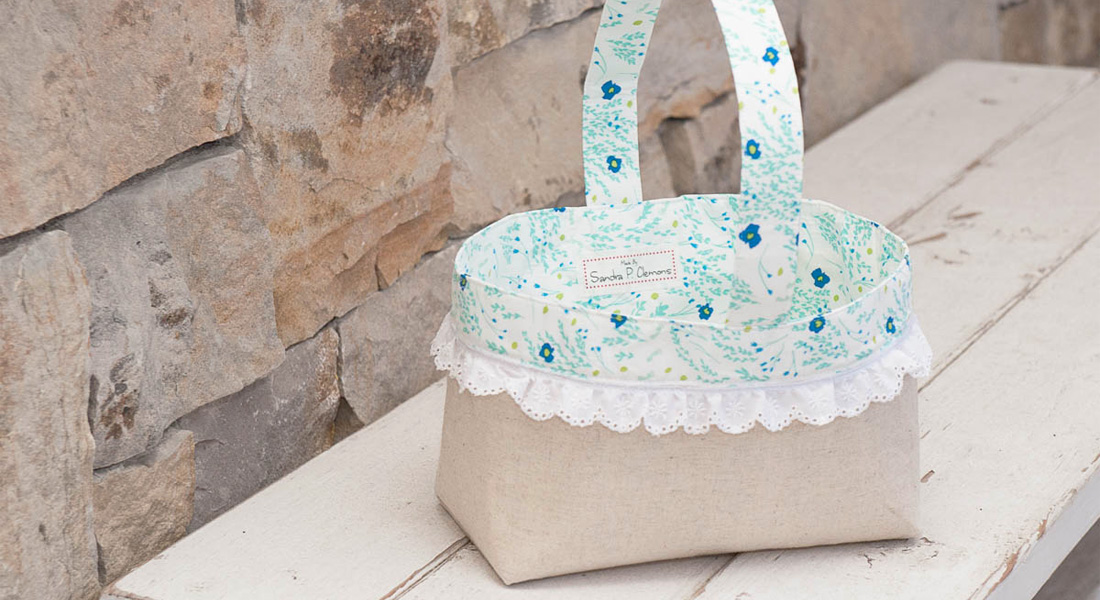
These decorative stitched eggs are the perfect Easter treat. The eggs are shown in a Button Boats basket by Lazy Girl Designs.
Supplies to Create a Decorative Stitched Easter Egg Per Colorway
Each colorway will be used to make a ‘fabric sandwich’ that will yield 6 eggs.
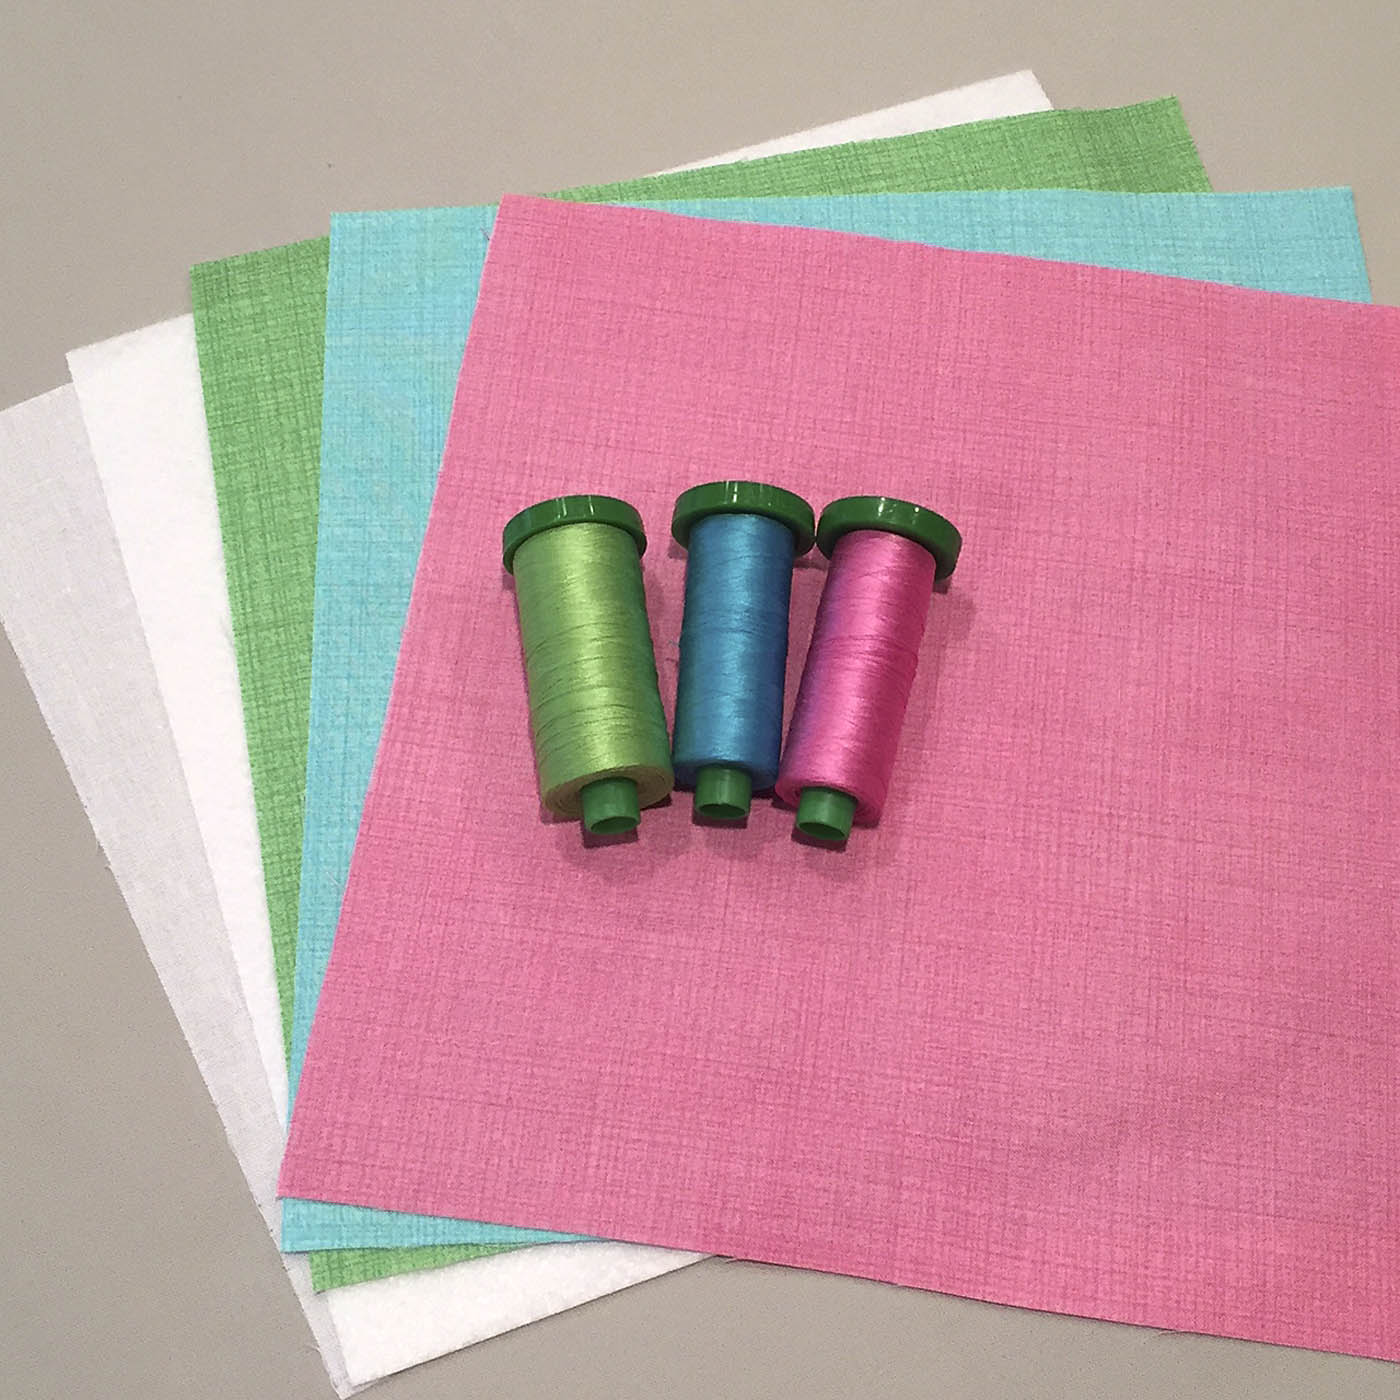
I used three colorways: pink, blue, and green
- Two 10″ squares of fabric, tone on tone fabrics are a good choice
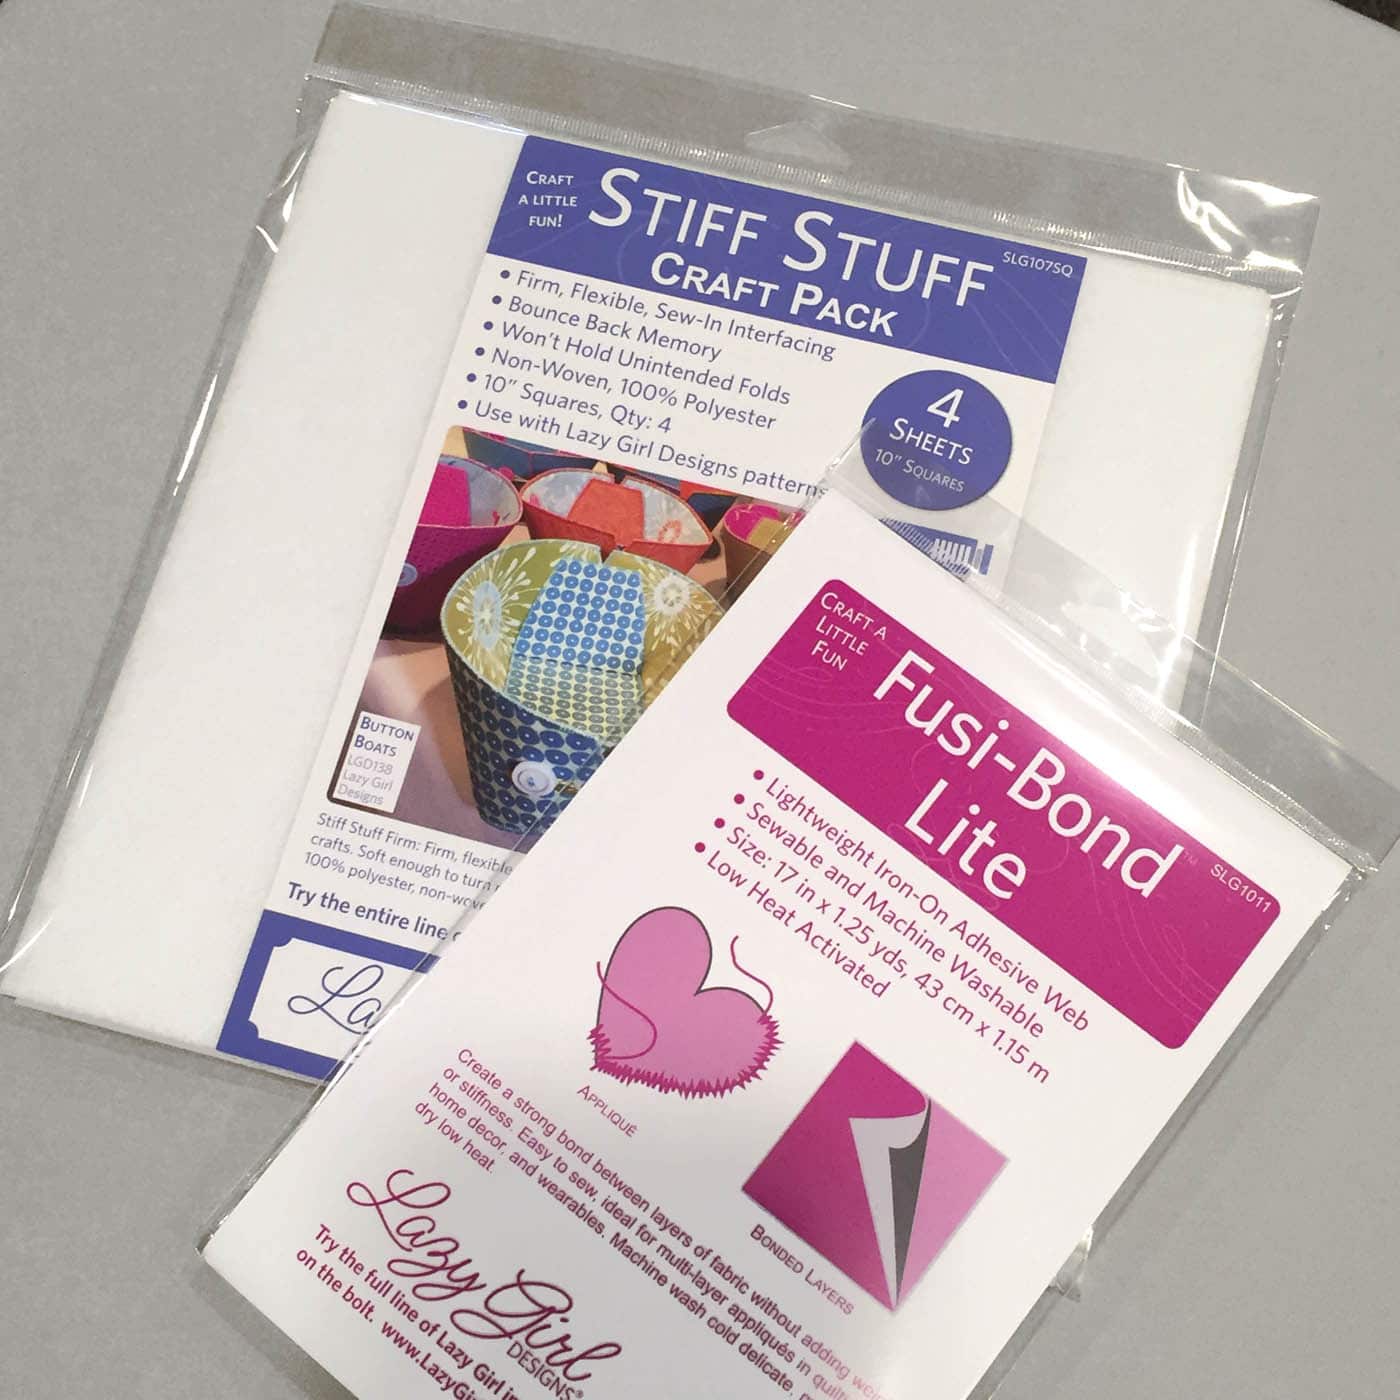
- Two 10″ squares of Fusi-Bond Lite adhesive web SLG1011 from Lazy Girl
- One 10″ square of Stiff Stuff firm sew-in interfacing LGD107 from Lazy Girl
- One 10″ square of Face-It Soft lightweight woven fusible interfacing SLG1031 from Lazy Girl
- Egg template
- Coordinating thread, I used Aurifil 40wt thread
- Erasable marking tool, I used a heat-erasable marker
- Sewing machine needle size 70/10 or 80/20, I use SCHMETZ Chrome Professional Grade
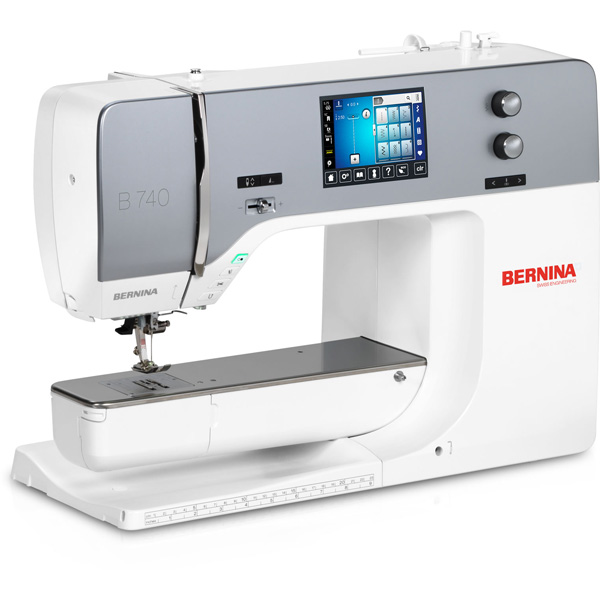
- Sewing machine; I sew on a BERNINA 740
- BERNINA Reverse Pattern foot #1D
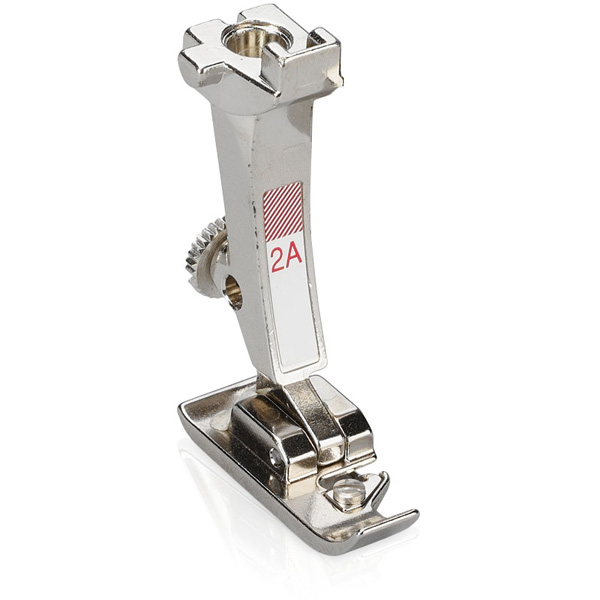
- BERNINA Overlock foot #2A
All of my Lazy Girl interfacings are available through your local BERNINA dealer or independent quilt shop. If you use other brands, do a test to make sure you can sew through them.
Instructions How to Create a Decorative Stitched Easter Egg
We’ll follow along with the project using the pink colorway. Repeat for other colorways to make a basket full of yummy, colorful eggs.
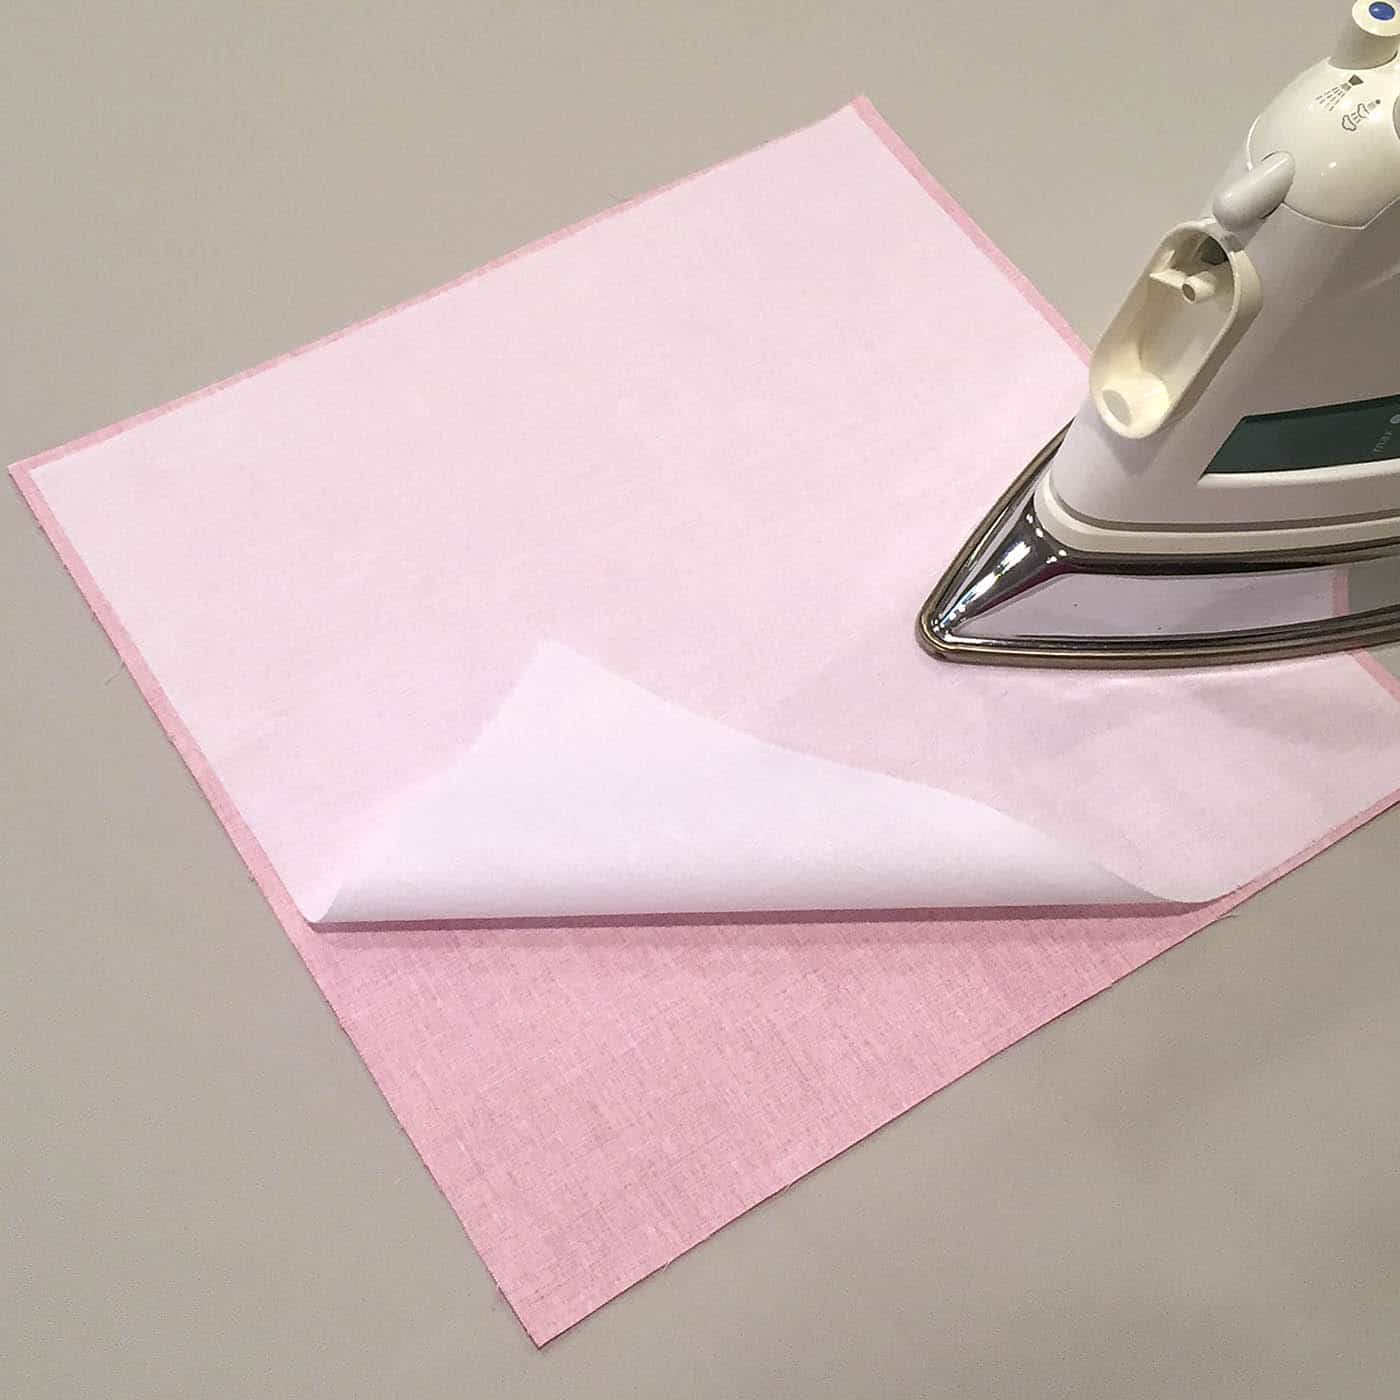
Fuse the Face-It Soft interfacing to the back of a fabric square to stabilize the fabric for stitching.
Draw Stitching Guidelines
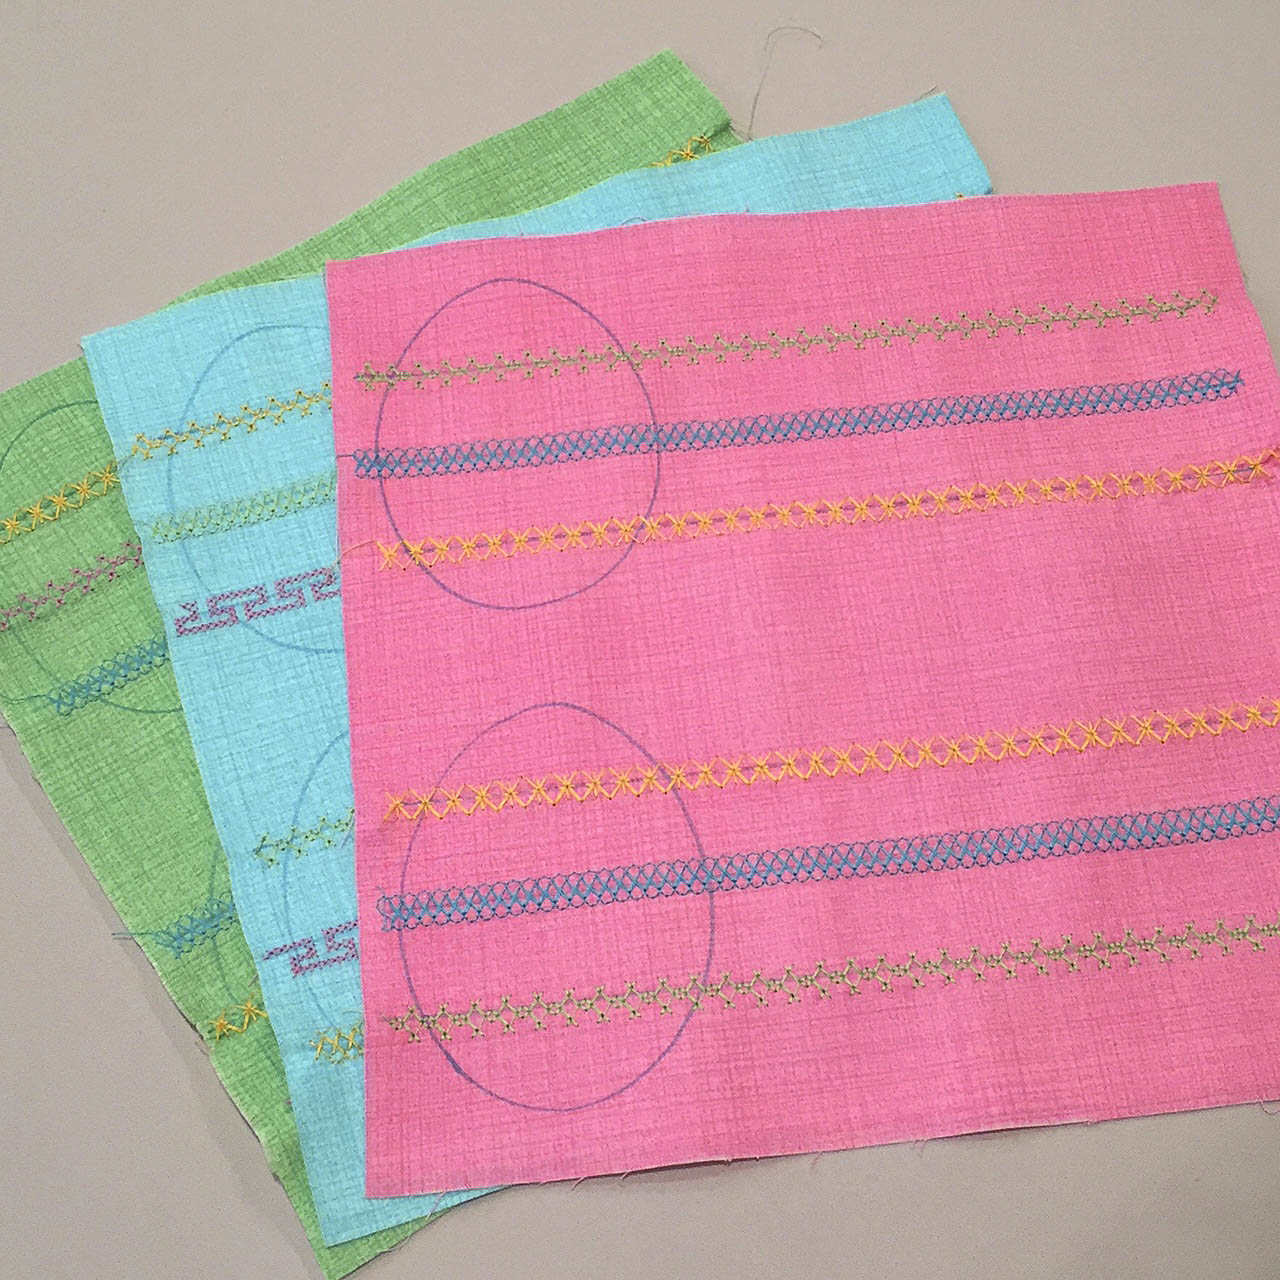
Use an erasable marking tool and trace two eggs to give yourself an idea of where to stitch. As shown on the egg template, two rows of three eggs will fit on a 10″ square. Trace around the egg template where each row of eggs will go.
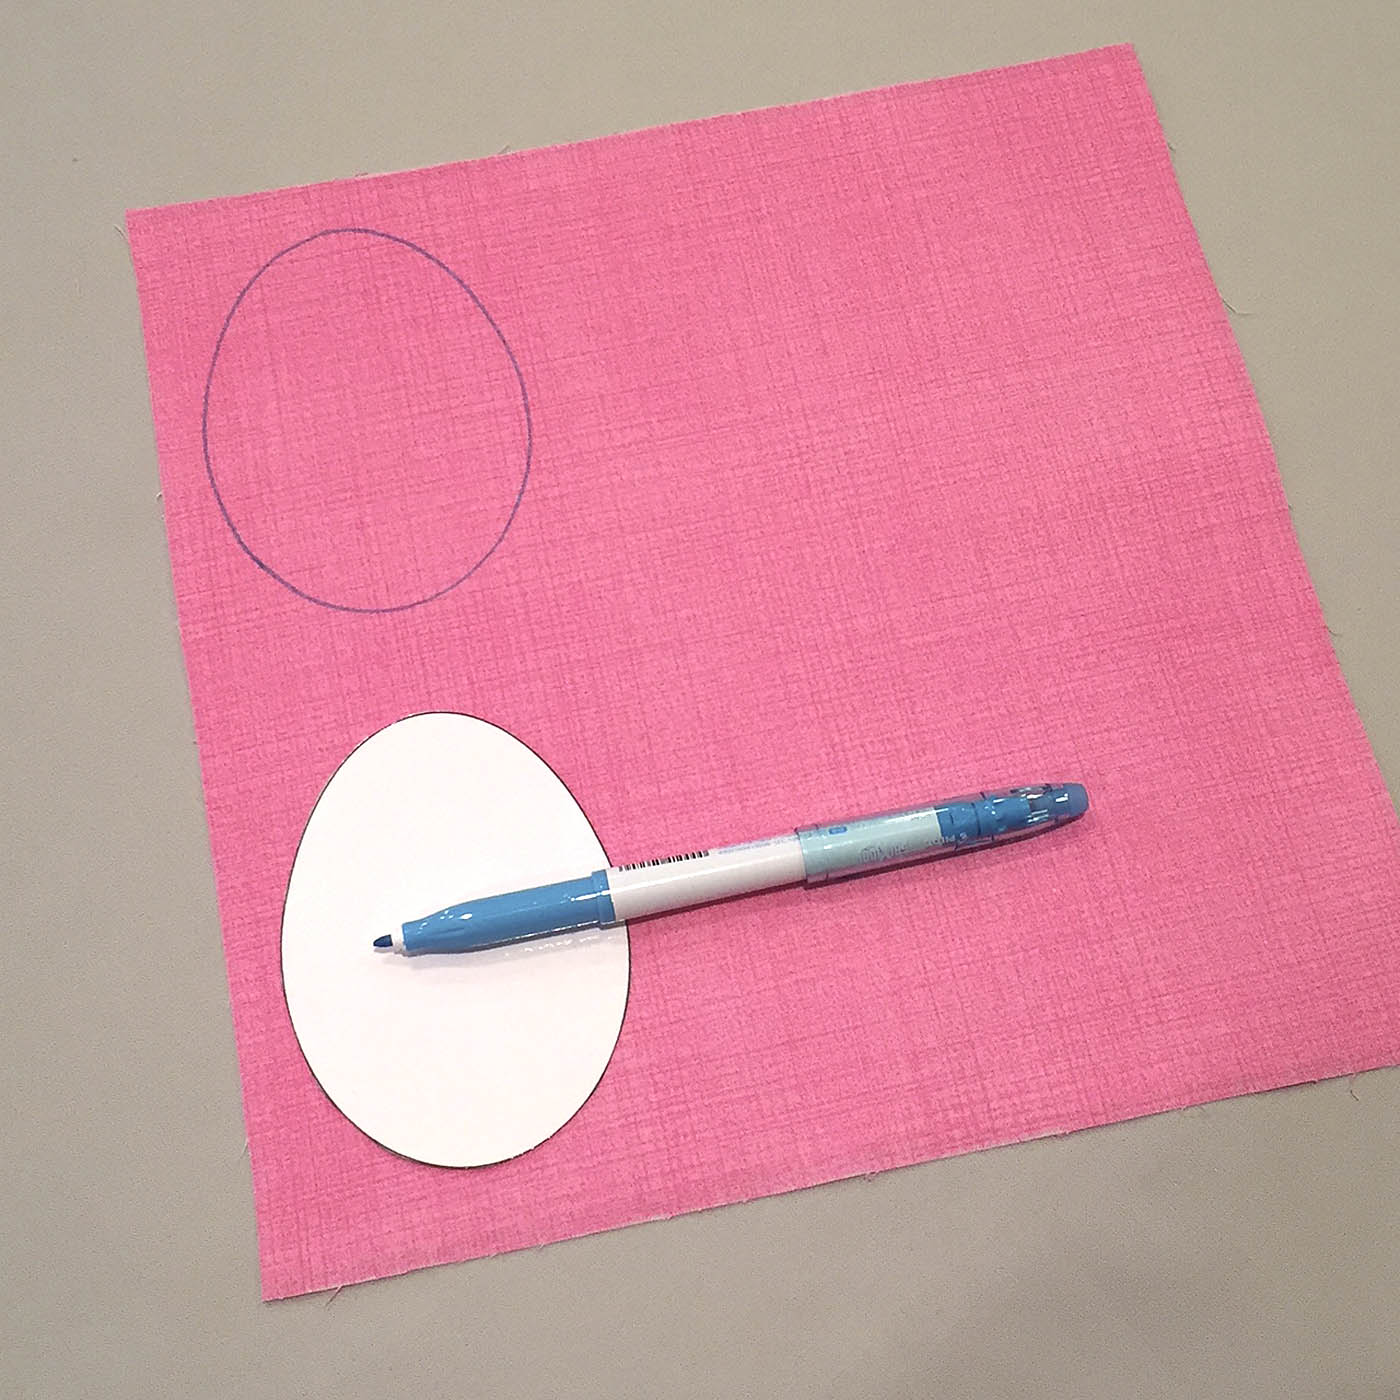
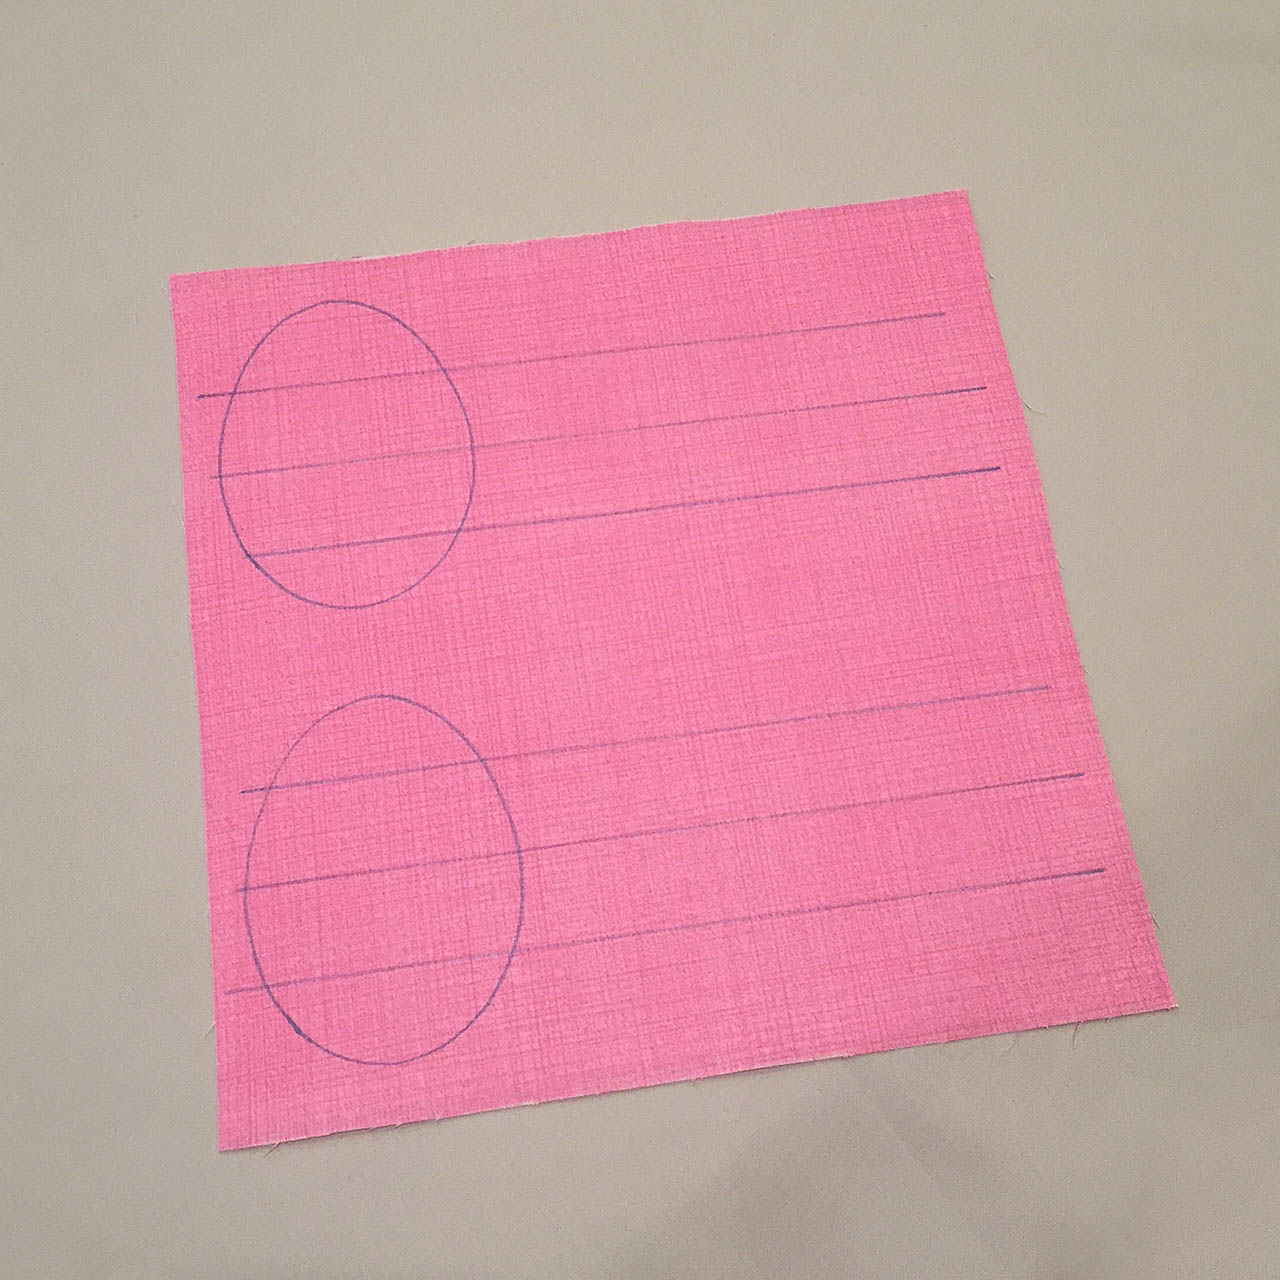
The eggs are 3″ wide by 4″ tall. Draw a stitching guideline across the fabric through the middle of the egg. Then draw a line 1″ away from that line above and below for a total of three lines. Do this for both eggs. These lines are your stitching guidelines.
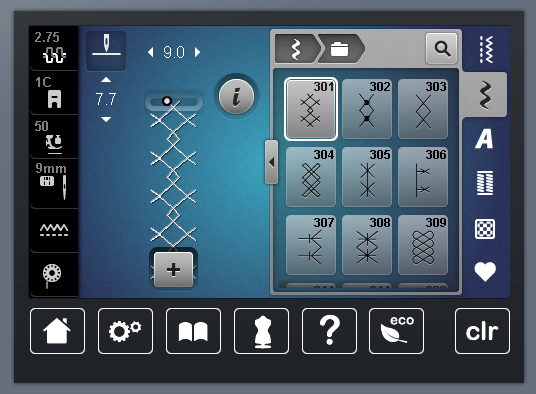
Choose Stitches
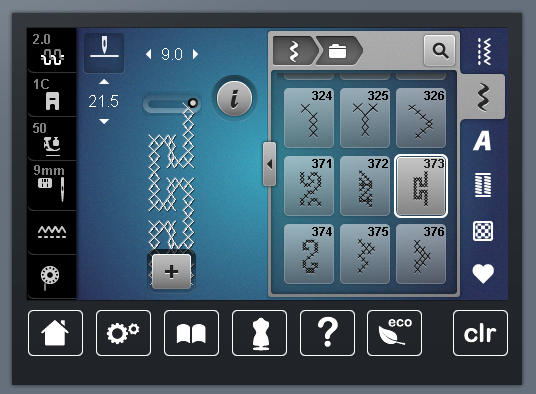
My BERNINA 740 has a 9mm stitch width, allowing me to create stitches with impact. I went to the Cross Stitches collection on my machine and chose four stitches I wanted to try. I made no adjustments to the settings for these stitches. Look at the beauties I chose.
Stitch 301
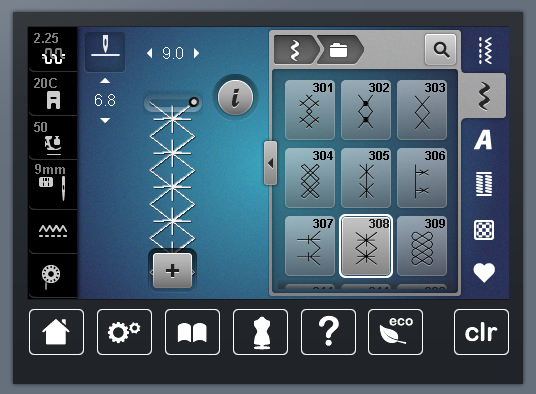
Stitch 308
Stitch 309
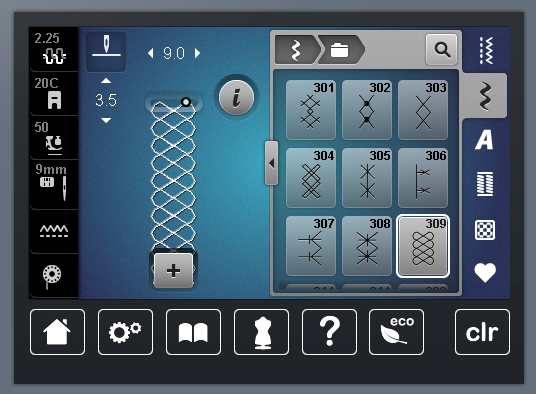
Stitch 373
Test Stitches and Thread Color
Be sure to test the stitches in a few thread colors to help finalize how each stitch will look on different fabrics. I added Face-It Soft interfacing to the back of the sample swatches.
Let’s Get Stitching
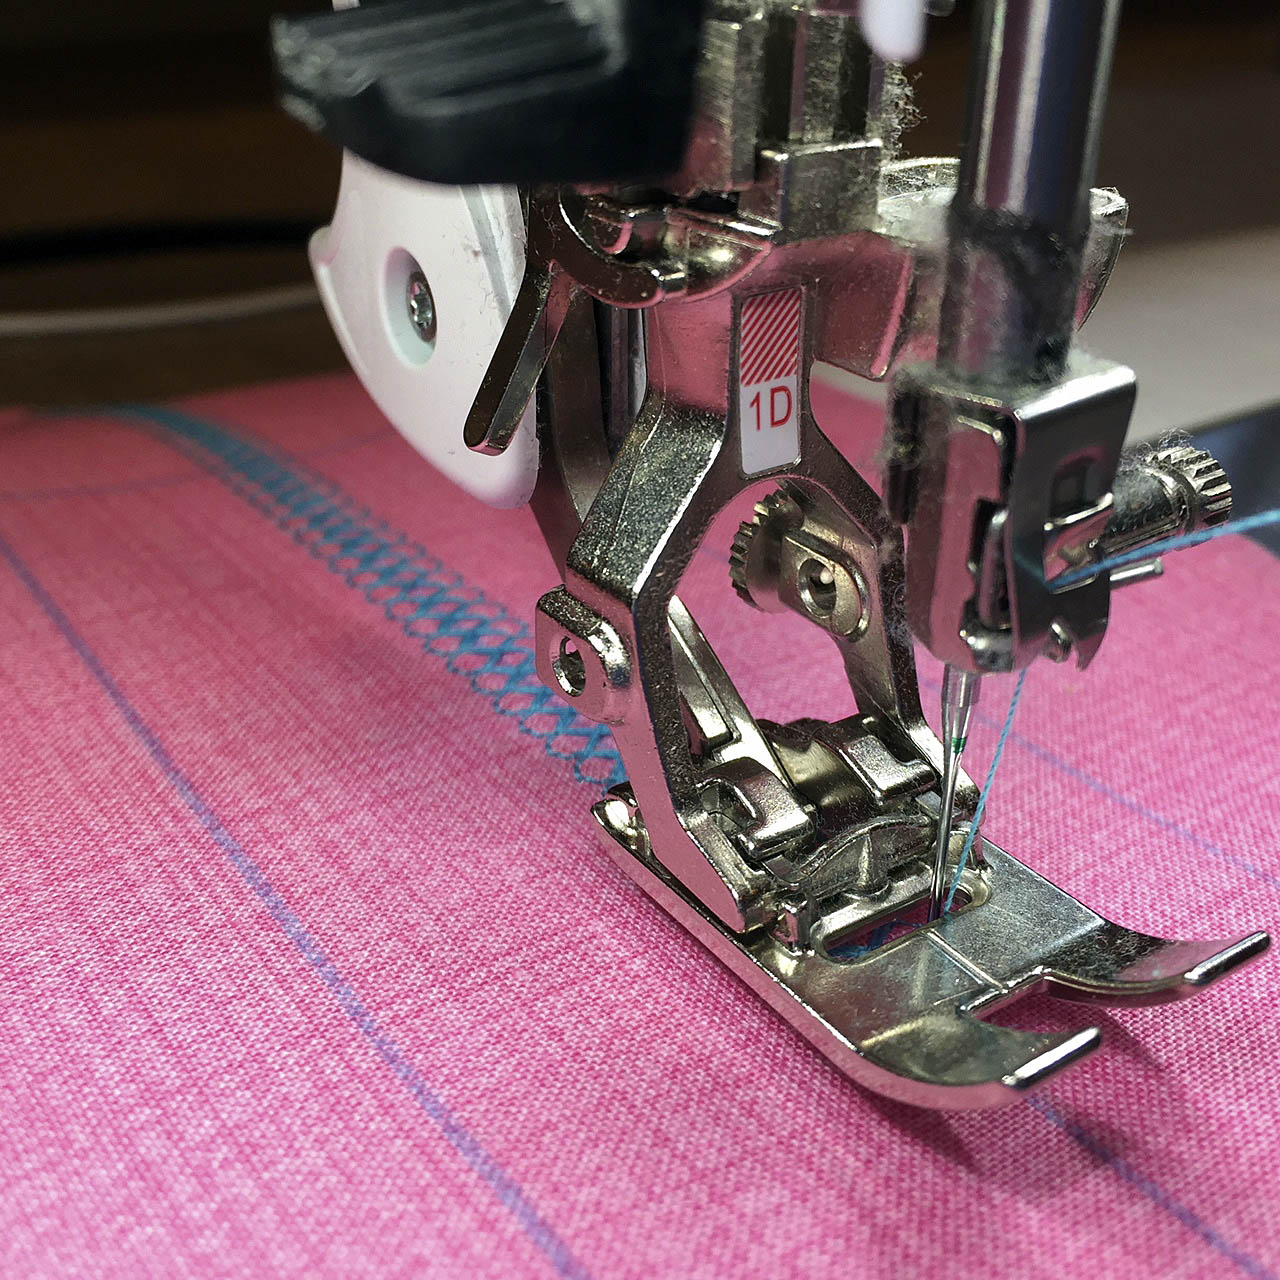
Okay, here we go! Start stitching at one end of a line and go for it. By stitching the whole line, we’ll be sure that the stitches are edge to edge when we cut our eggs later in the project.
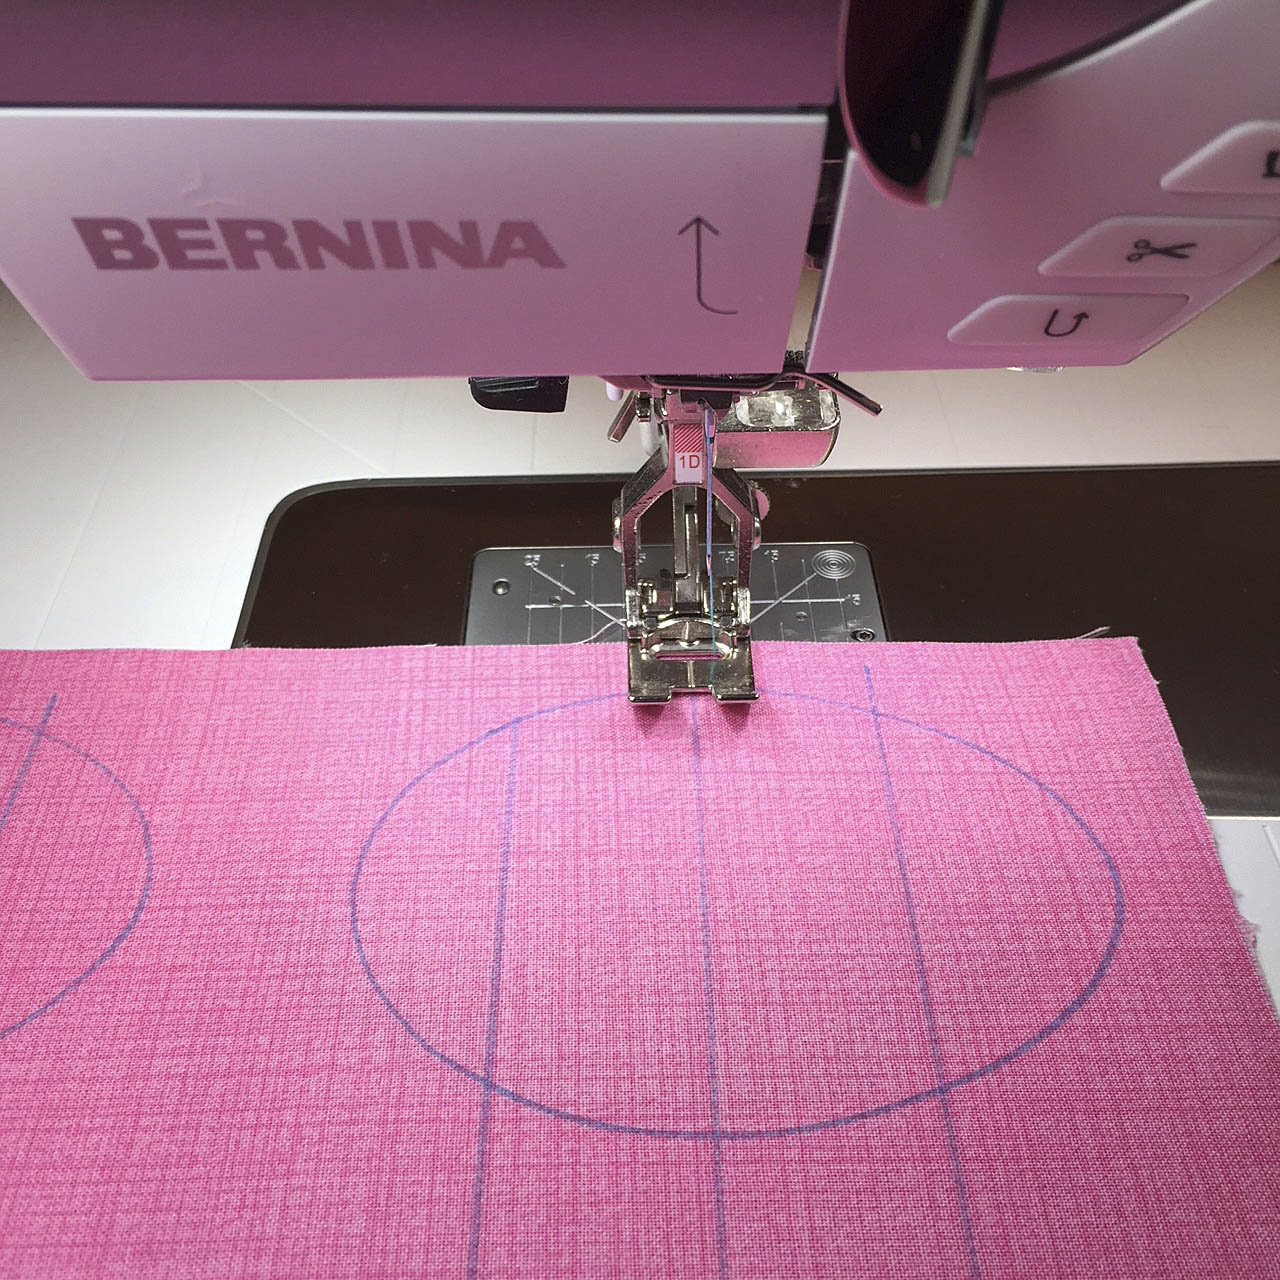
I used the BERNINA Reverse Pattern Foot # 1D foot with Dual Feed engaged for all of the decorative stitches.
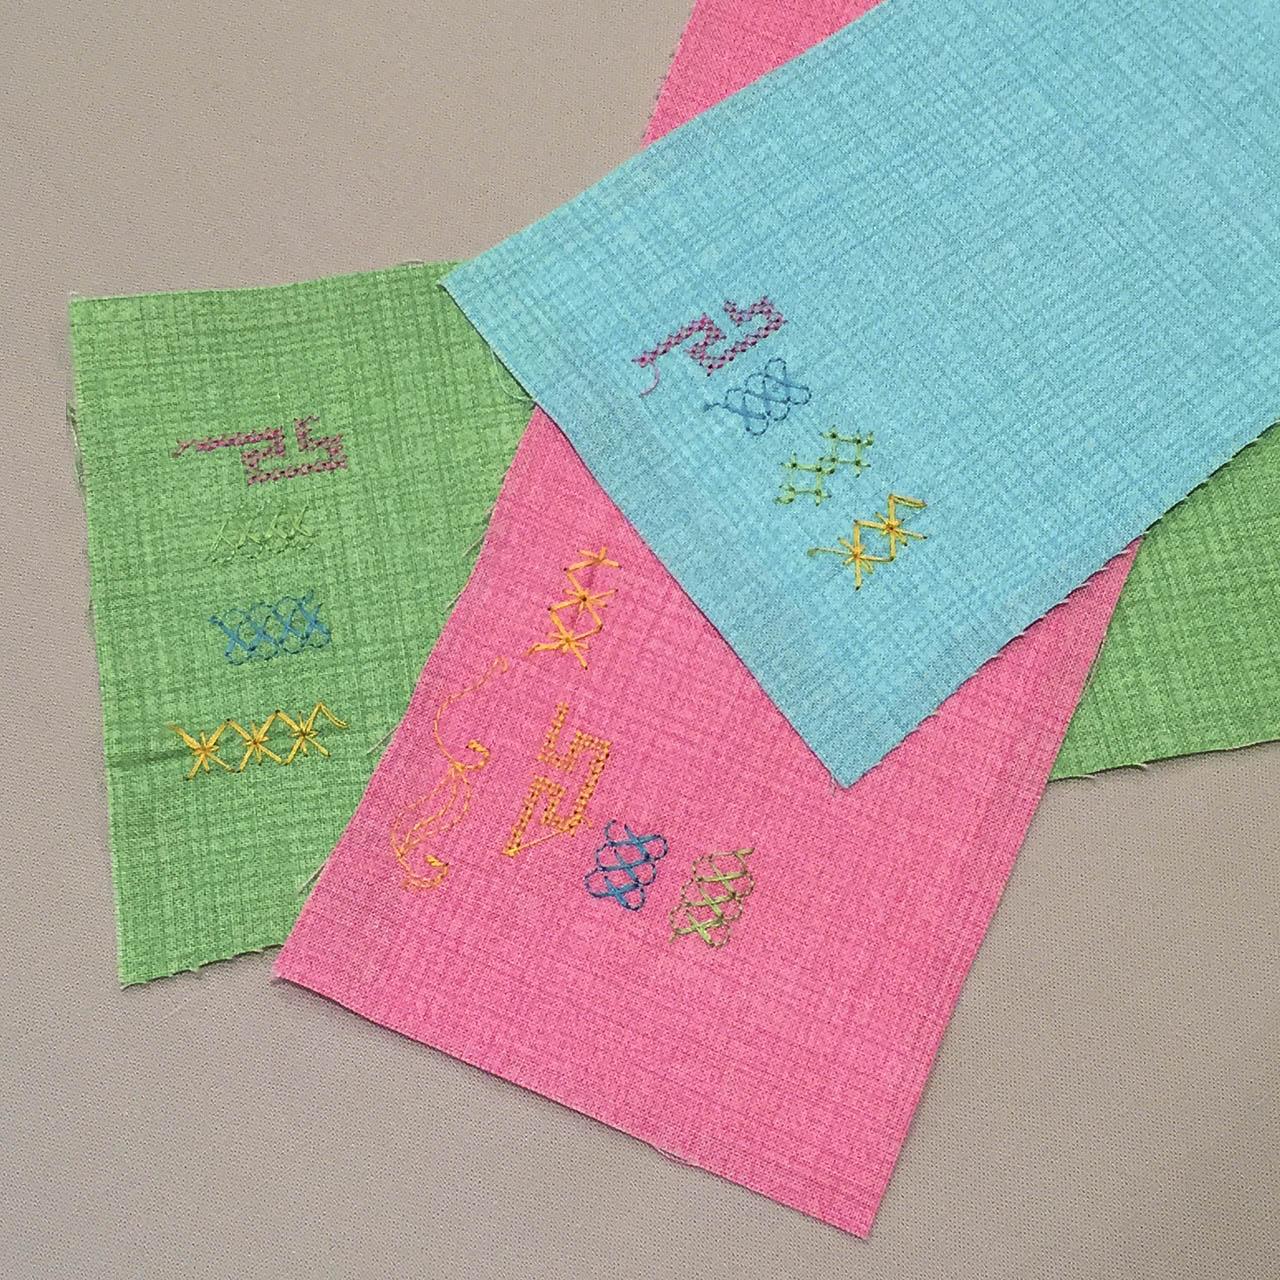
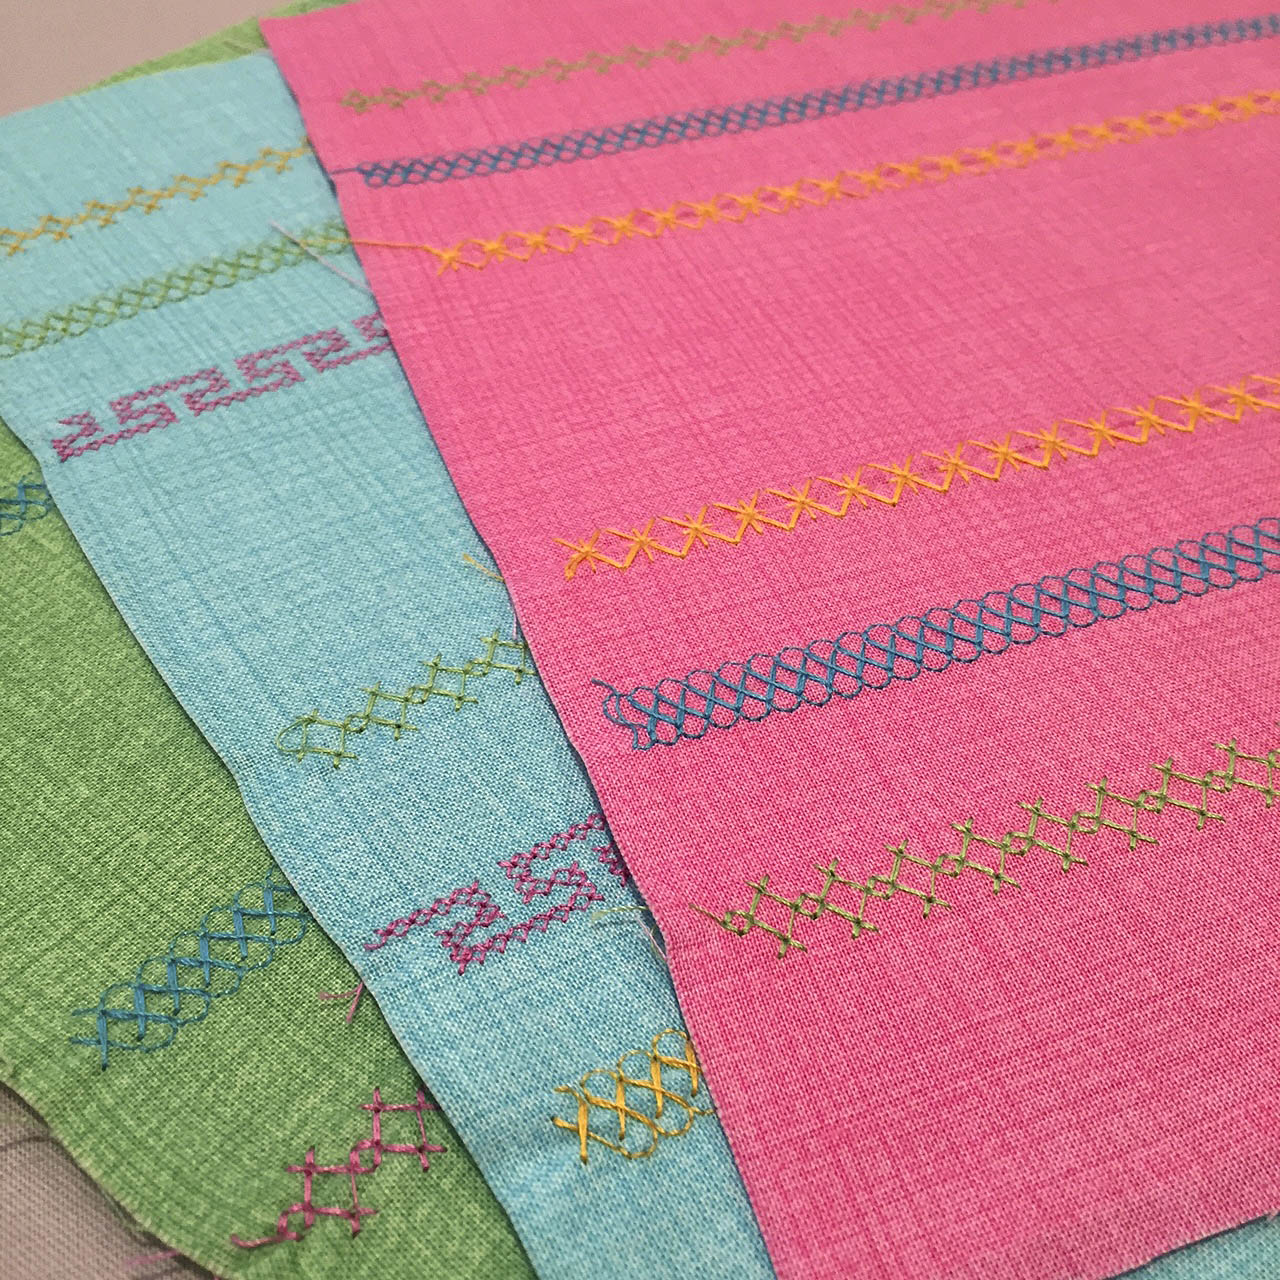
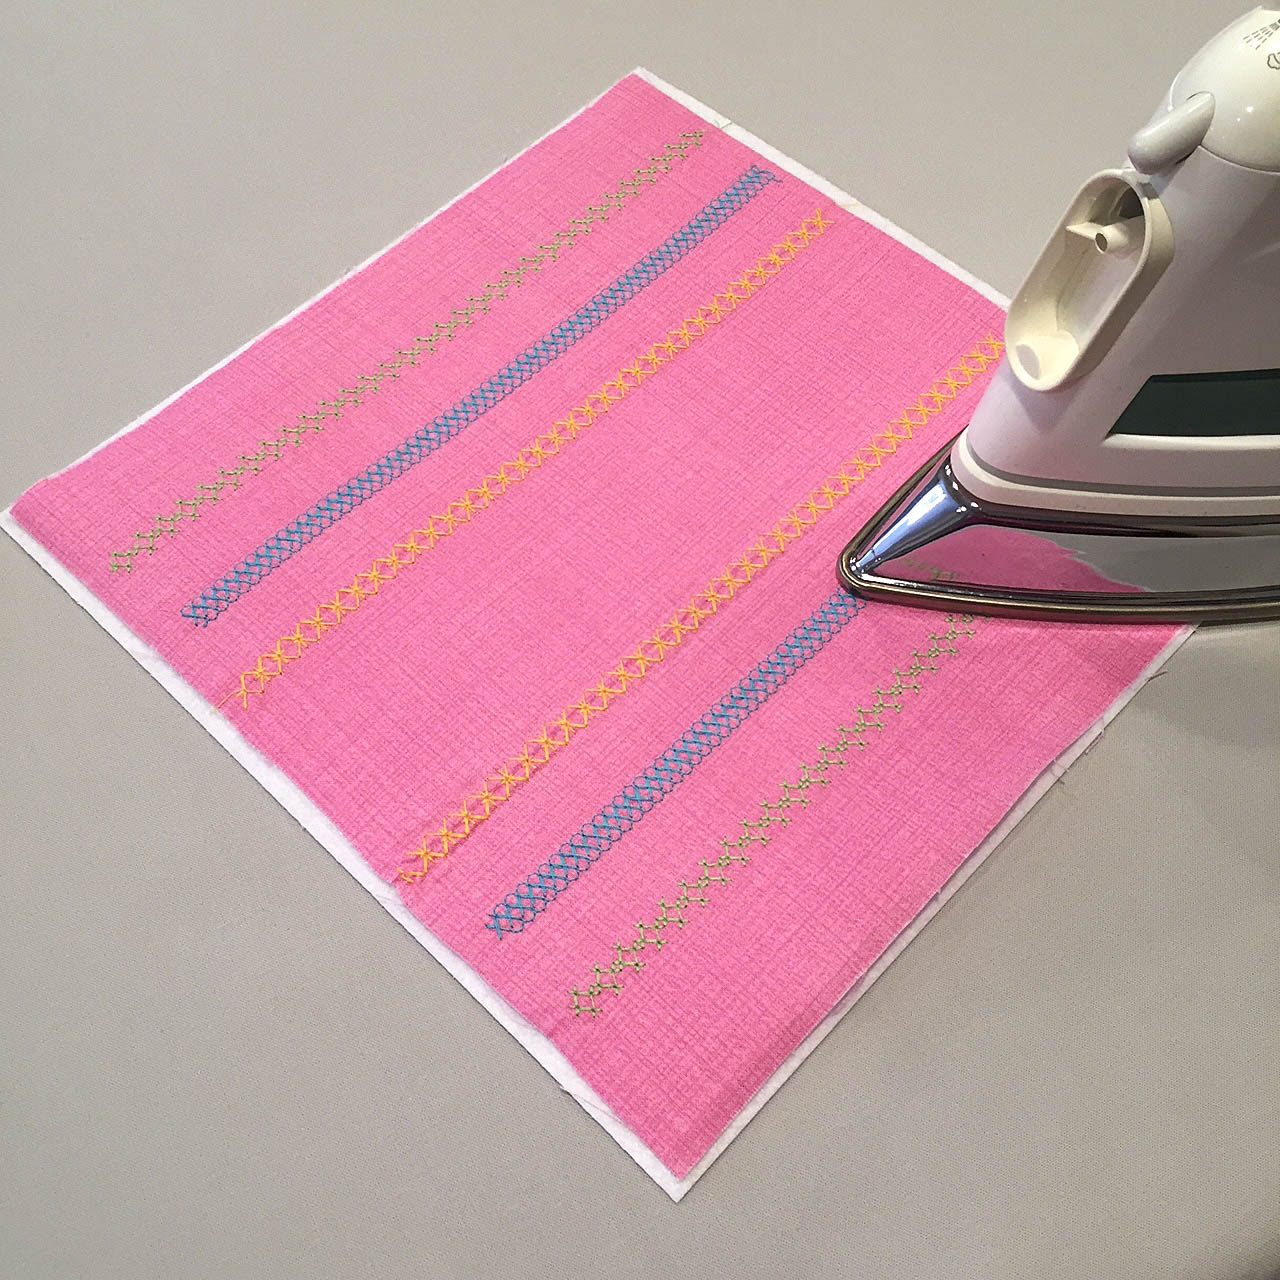
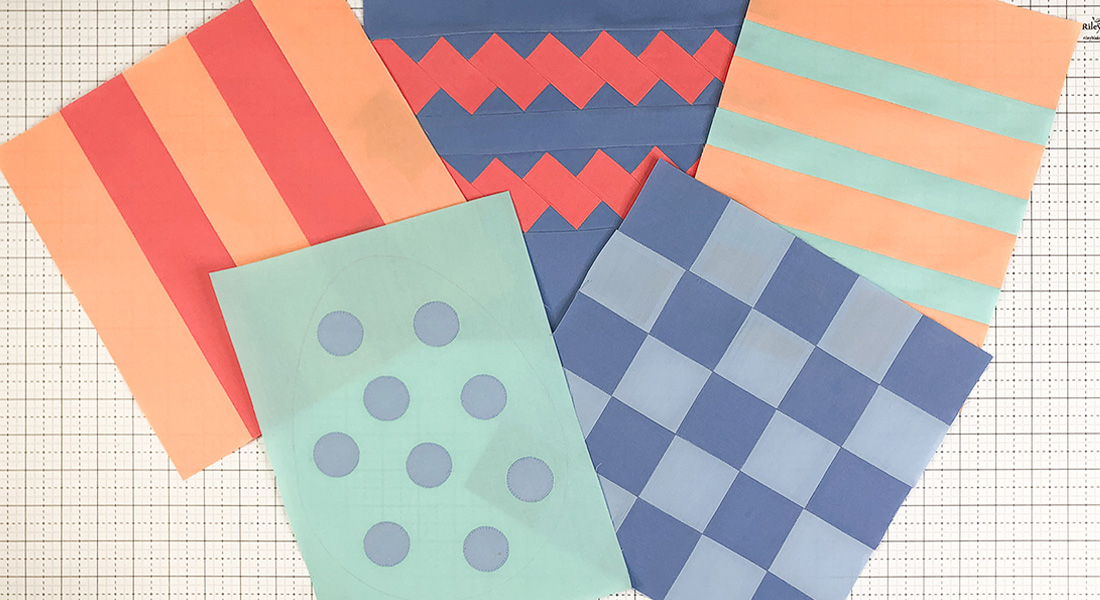
Here are all three fabrics, complete with stitches. I used all four stitches in different combinations and colors. I loved seeing each stitch come to life on my fabrics.
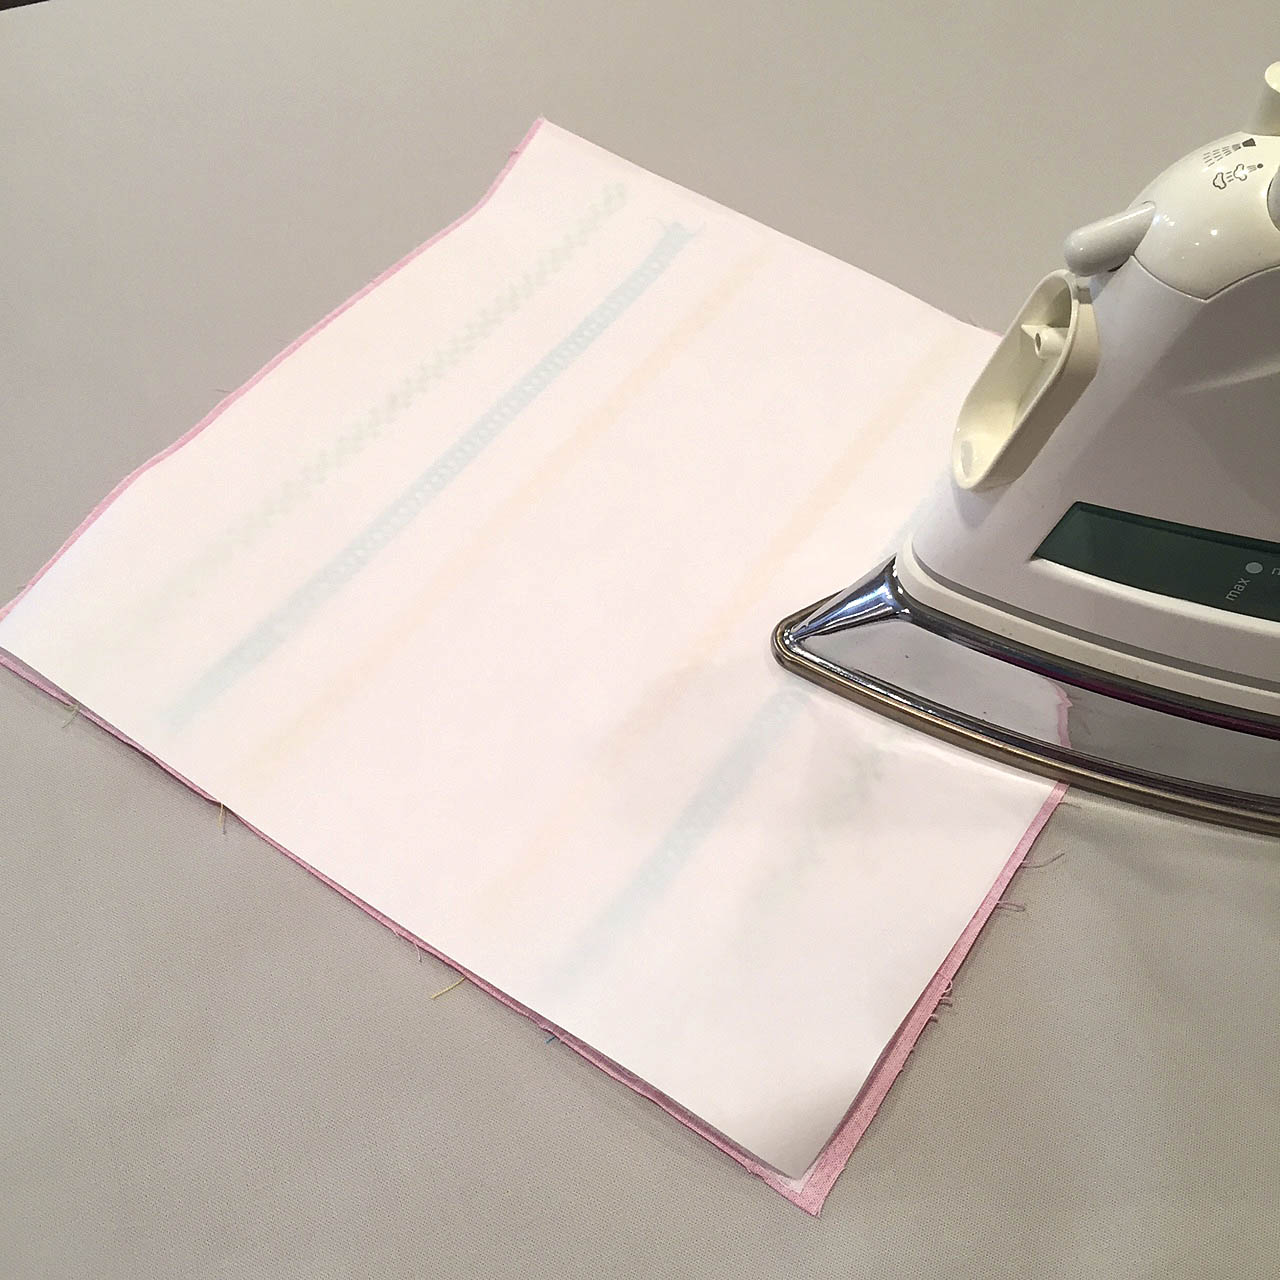
Give each stitched fabric a gentle press. Remember, I used a heat-erasable tool to make my lines and egg tracings, so they disappeared when pressed.
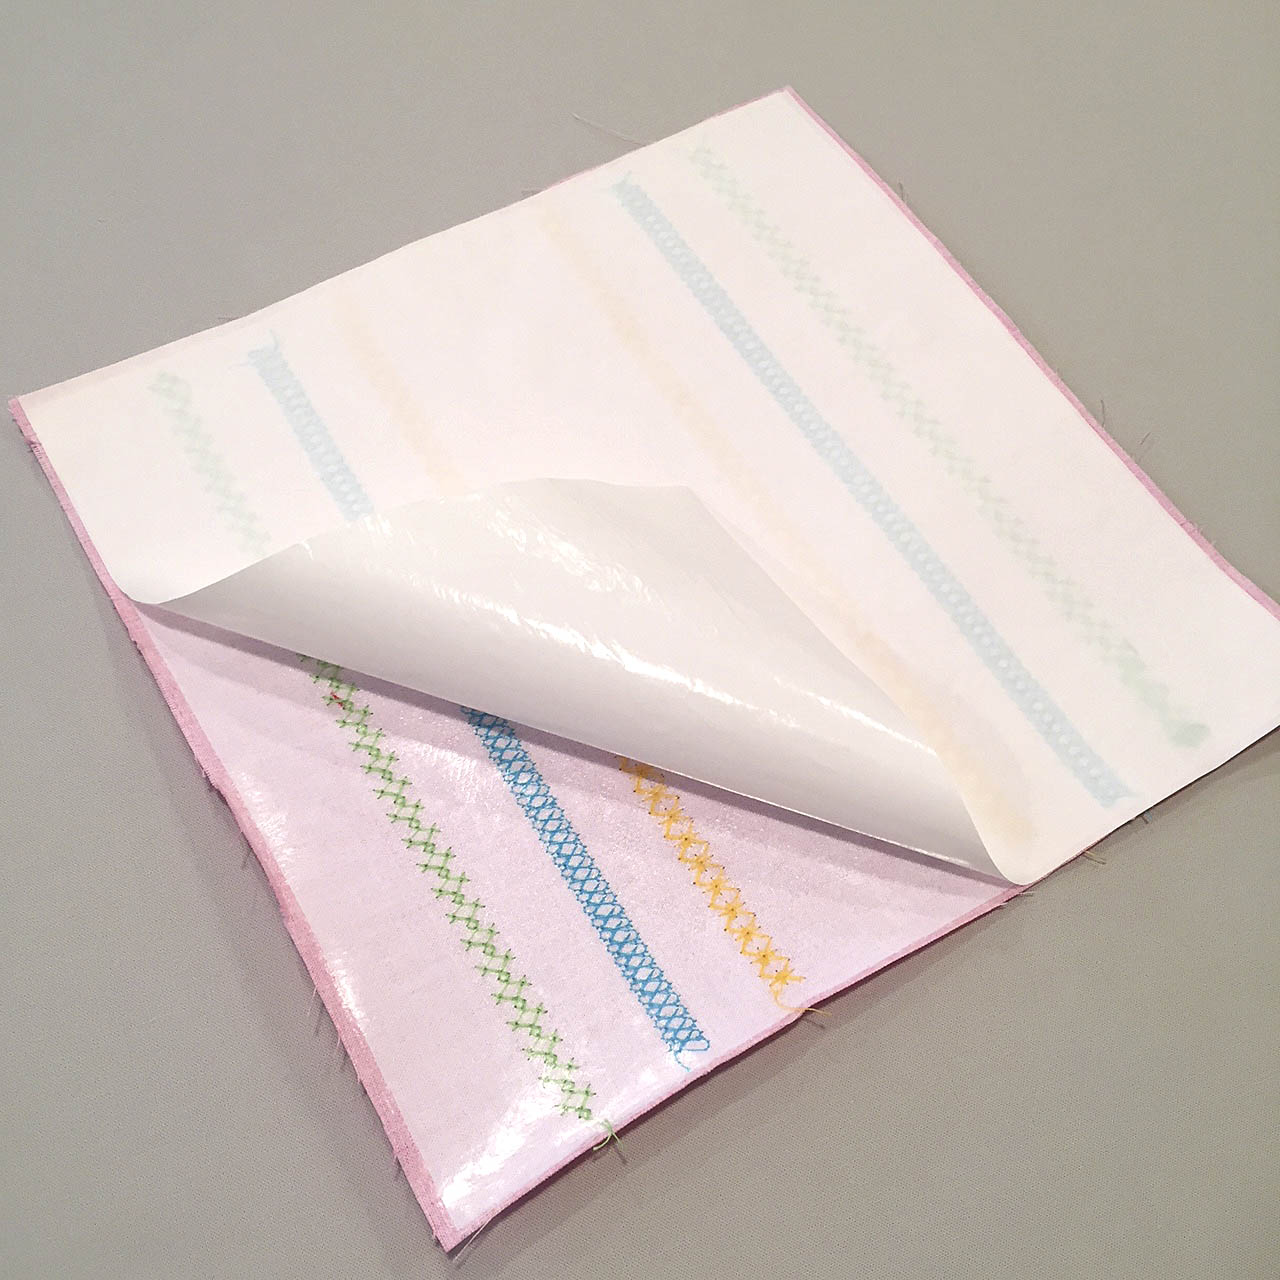
Now fuse the Fusi-Bond Lite adhesive web to the back of the stitched fabric.
Peel the paper backing.
Fuse the stitched fabric to the Stiff Stuff interfacing.
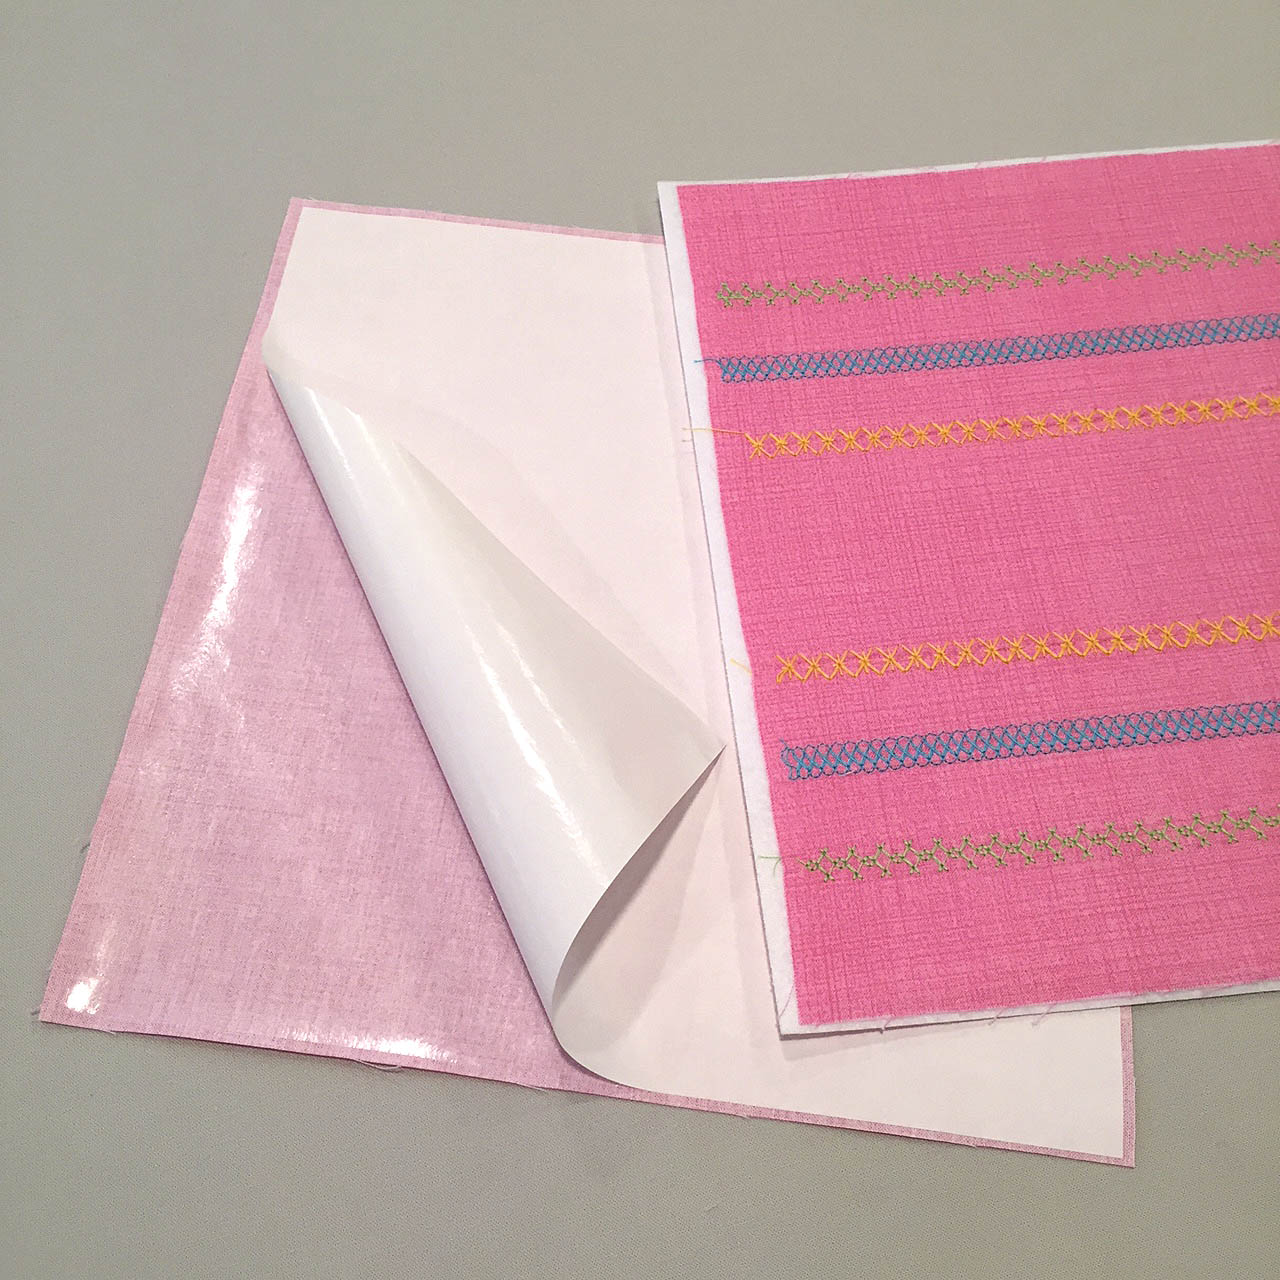
Add fusible web to the remaining fabric square, then peel the paper backing.
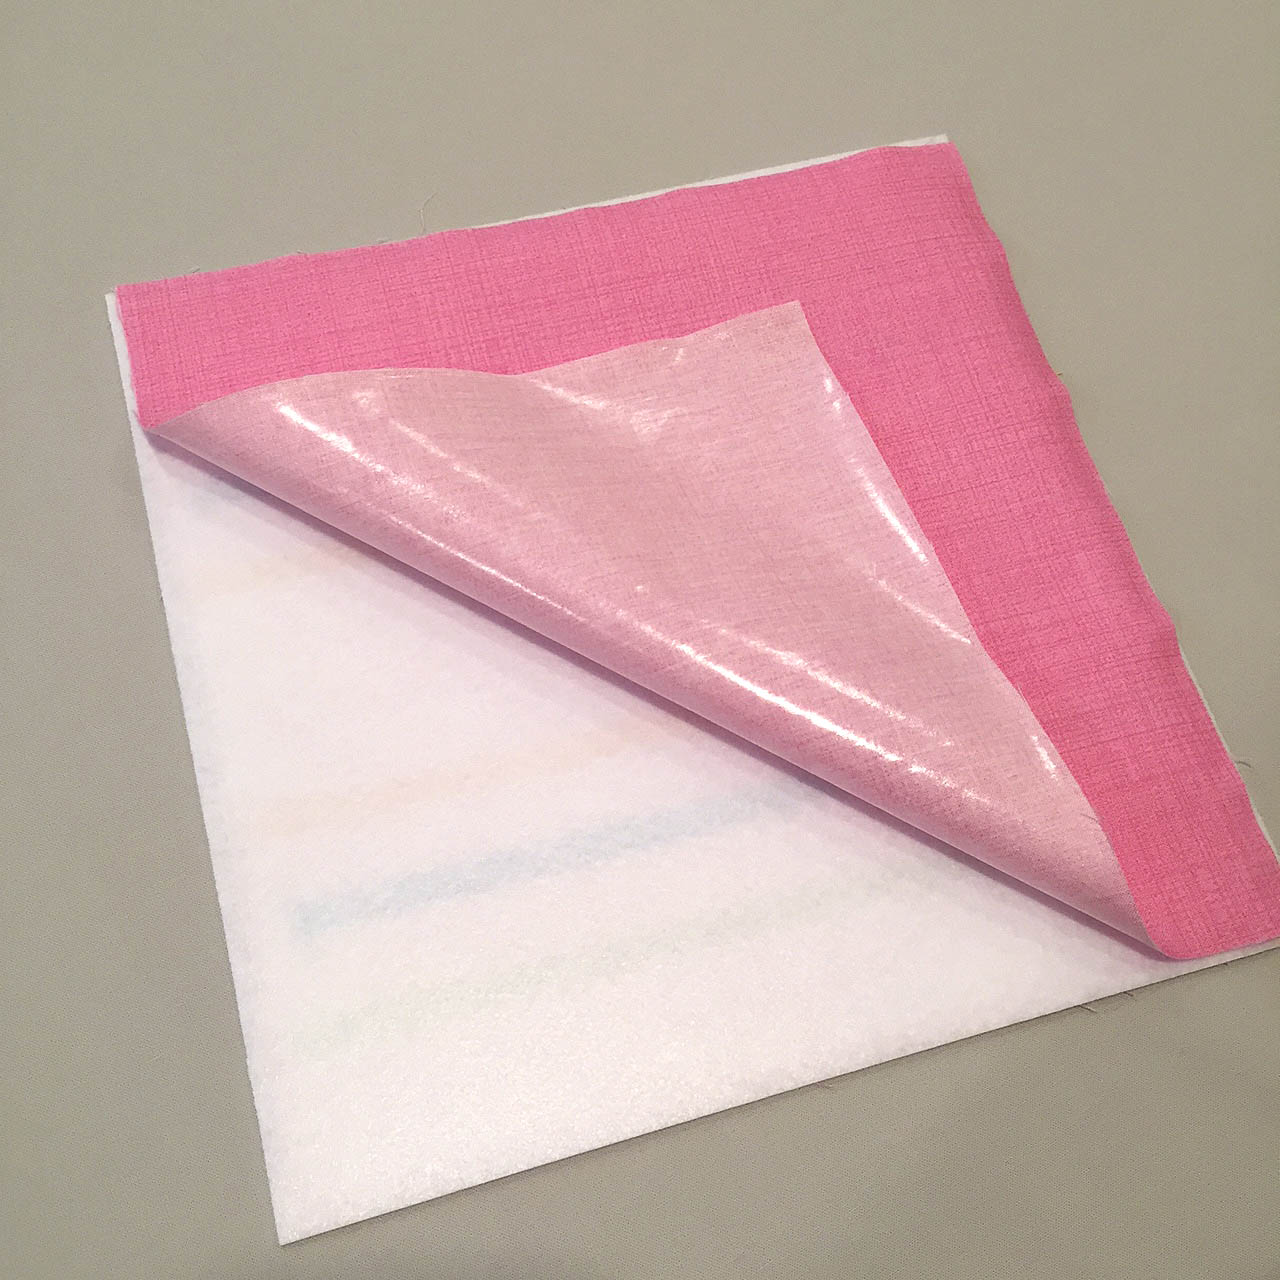
Fuse to the other side of the Stiff Stuff interfacing. You can see a hint of the stitches through the Stiff Stuff interfacing. I used the same fabric on the front and back. This is our fabric ‘sandwich’.
Repeat this process to make sandwiches with the remaining fabrics.
Trace and cut eggs from each fabric sandwich. You should be able to trace three eggs per set of stitched lines, for a total of 6 eggs from this 10″ sandwich.
Finish The Eggs
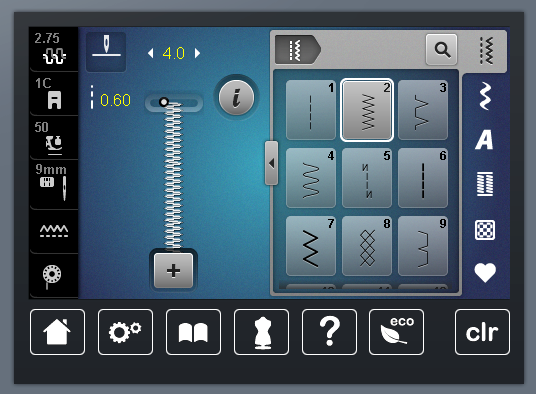
Each egg is finished with a simple zigzag stitch around the edge. I used zigzag stitch #2, set to 4.0 width and .6 length. After cutting out the eggs, use a little bit of the leftover sandwich to test your zigzag stitch. If you are using a thinner thread or there is a lot of contrast between your thread and fabric, you may want to adjust your stitch to get the look you like.
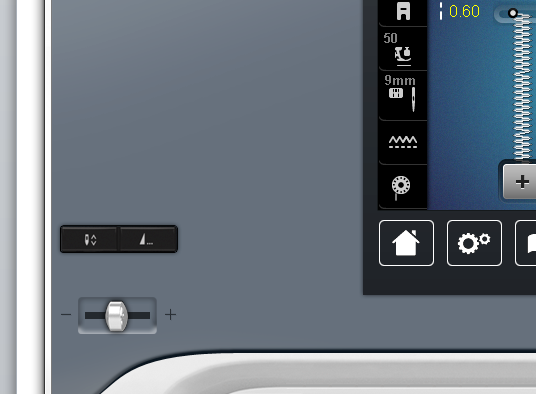
Stitch Speed
I always love a helping hand, and in this case, adjusting the stitch speed helps me when stitching around the eggs. I’m a pedal-to-the-metal kind of gal and I like the speed of my BERNINA 740. However, I slow the stitch speed down for better control when stitching around the curved edge of the eggs. Adjust your stitch speed with the slider bar, shown in the lower left corner below. Try different speeds to find what works for you.
Presser Feet Options
I worked with two different feet to show you some options.
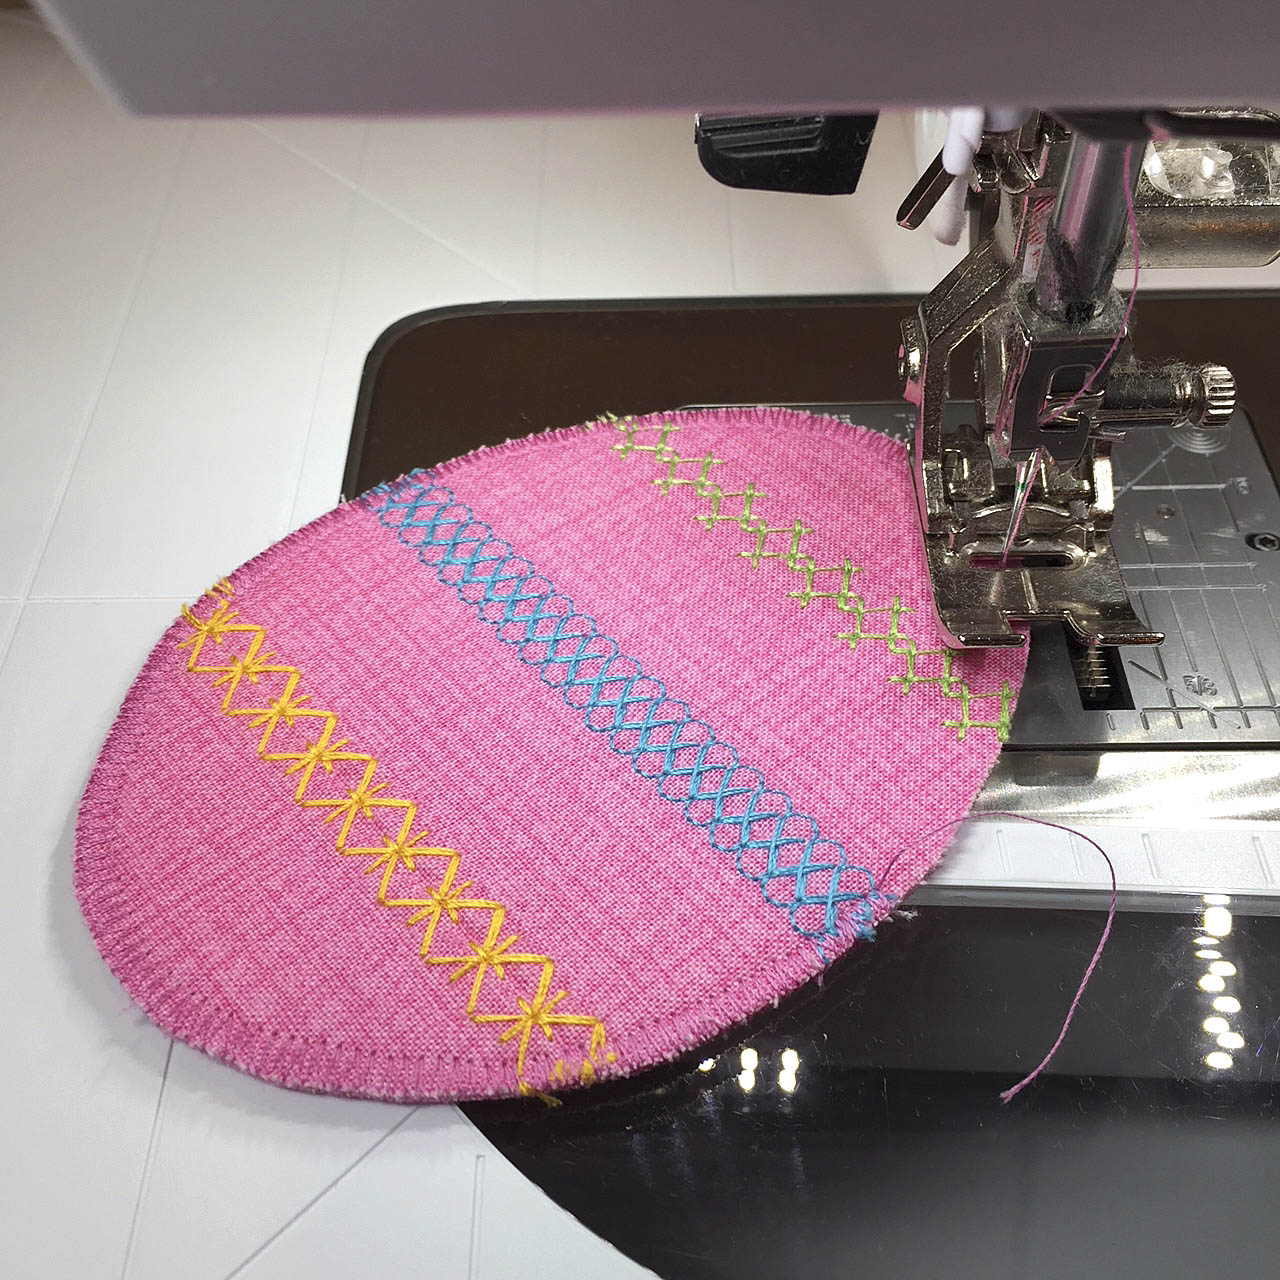
I started with BERNINA Reverse Pattern foot # 1D, which is the same foot I used for all of the decorative stitches. Here’s our pink egg getting its finishing touch of coordinating thread. Hello beautiful!
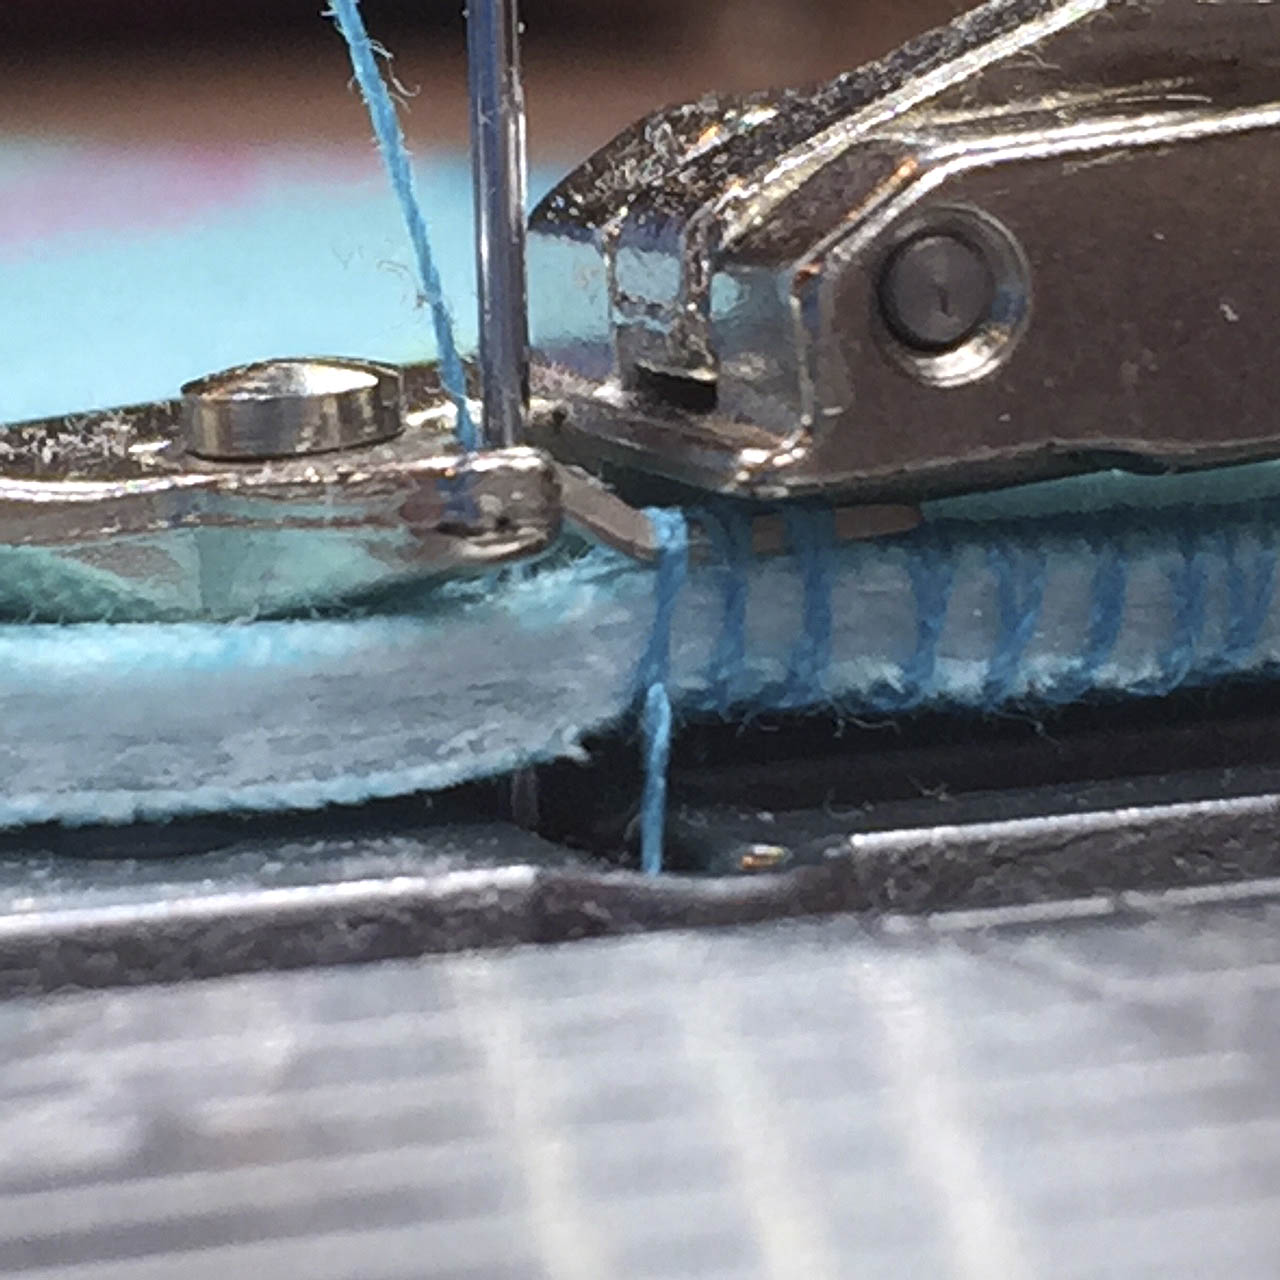
I used the BERNINA Overlock foot #2A for stitching on our blue egg. The BERNINA Overlock foot #2A has a little guide arm to the right of the stitch and it does something beautiful for us here. I made no adjustments to the zigzag stitch I set up for the pink egg.

Here’s a close up of this beauty in action. The zigzag stitch sews over the little arm as I stitch along the edge of the egg. Usually a zigzag stitch tightens up on itself to ‘hug’ the edge of a project as you stitch. In this case, the stitch tightens on the arm. You can see three stitches on that little arm. As you sew, stitches form on the arm and slide off the back (under the presser foot). This little arm acts as a gauge to make the stitches uniform and provide a really nice finish.
Machine Needle Tip
We are stitching through a few layers of interfacing and adhesives when finishing our eggs. I like the SCHMETZ Chrome Professional Series because they resist adhesives.
So, what do we do with these decorated eggs? I think they would be a boatload of fun to hide for an Easter Egg hunt indoors or outdoors. Include them in Easter Baskets, add a ribbon and tie to a gift, decorate the dinner table and more!
Have fun exploring your stitches and presser feet while ‘decorating’ your eggs this year.
Like and share this post with your stitchy friends. Join me and other Lazies at my website or my Lazy Girl community on Facebook.
Enjoy!
Joan
Used Products

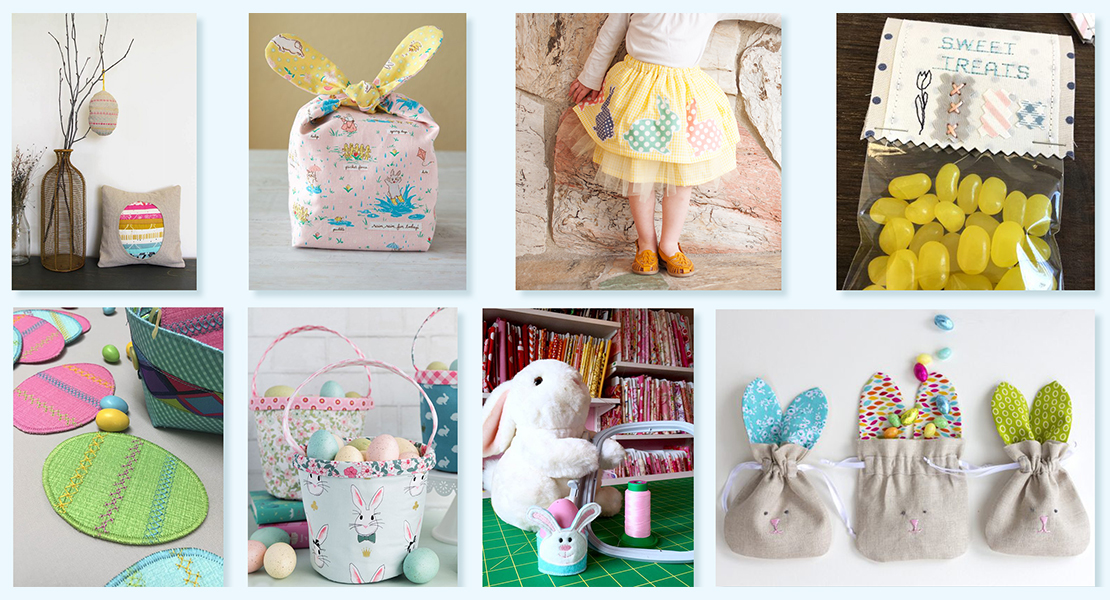
What you might also like


2 comments on “Decorative Stitched Easter Eggs”
-
-
Hi Shamin! I see we have a love of Foot 2A in common! And I’m thrilled you enjoyed the Sweet Keepers, too. Have fun decorating your Easter Eggs this year.
-
Leave a Reply
You must be logged in to post a comment.

Can’t wait to try these! Foot 2A is my favourite foot for this technique. Worked great on your Sweet Keepers too. No puckering and beautiful finish.Thank you Joan.