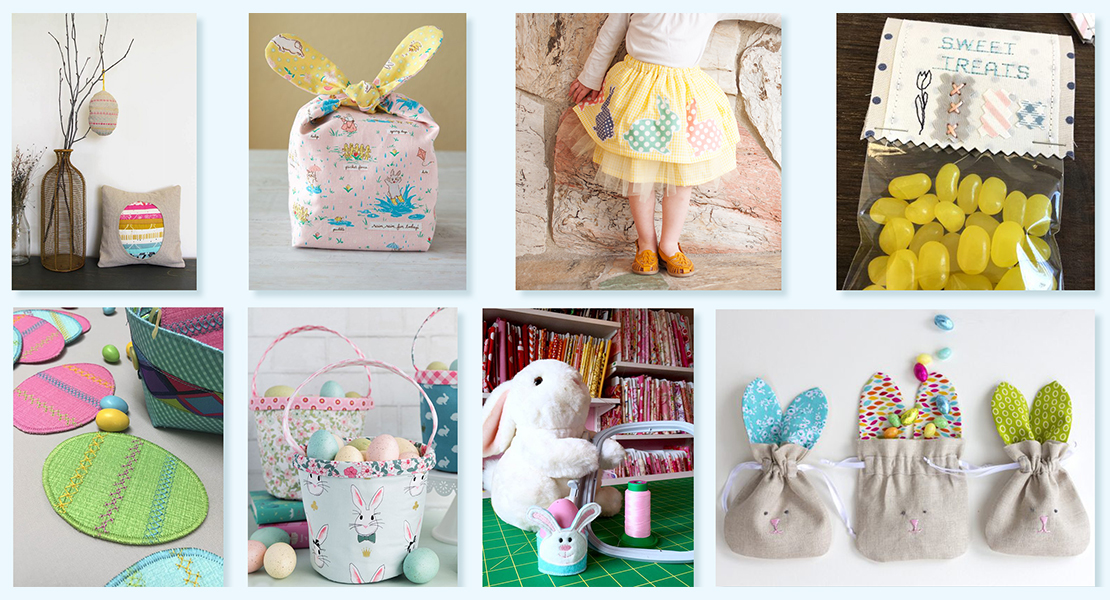
How to Sew Easter Ornaments

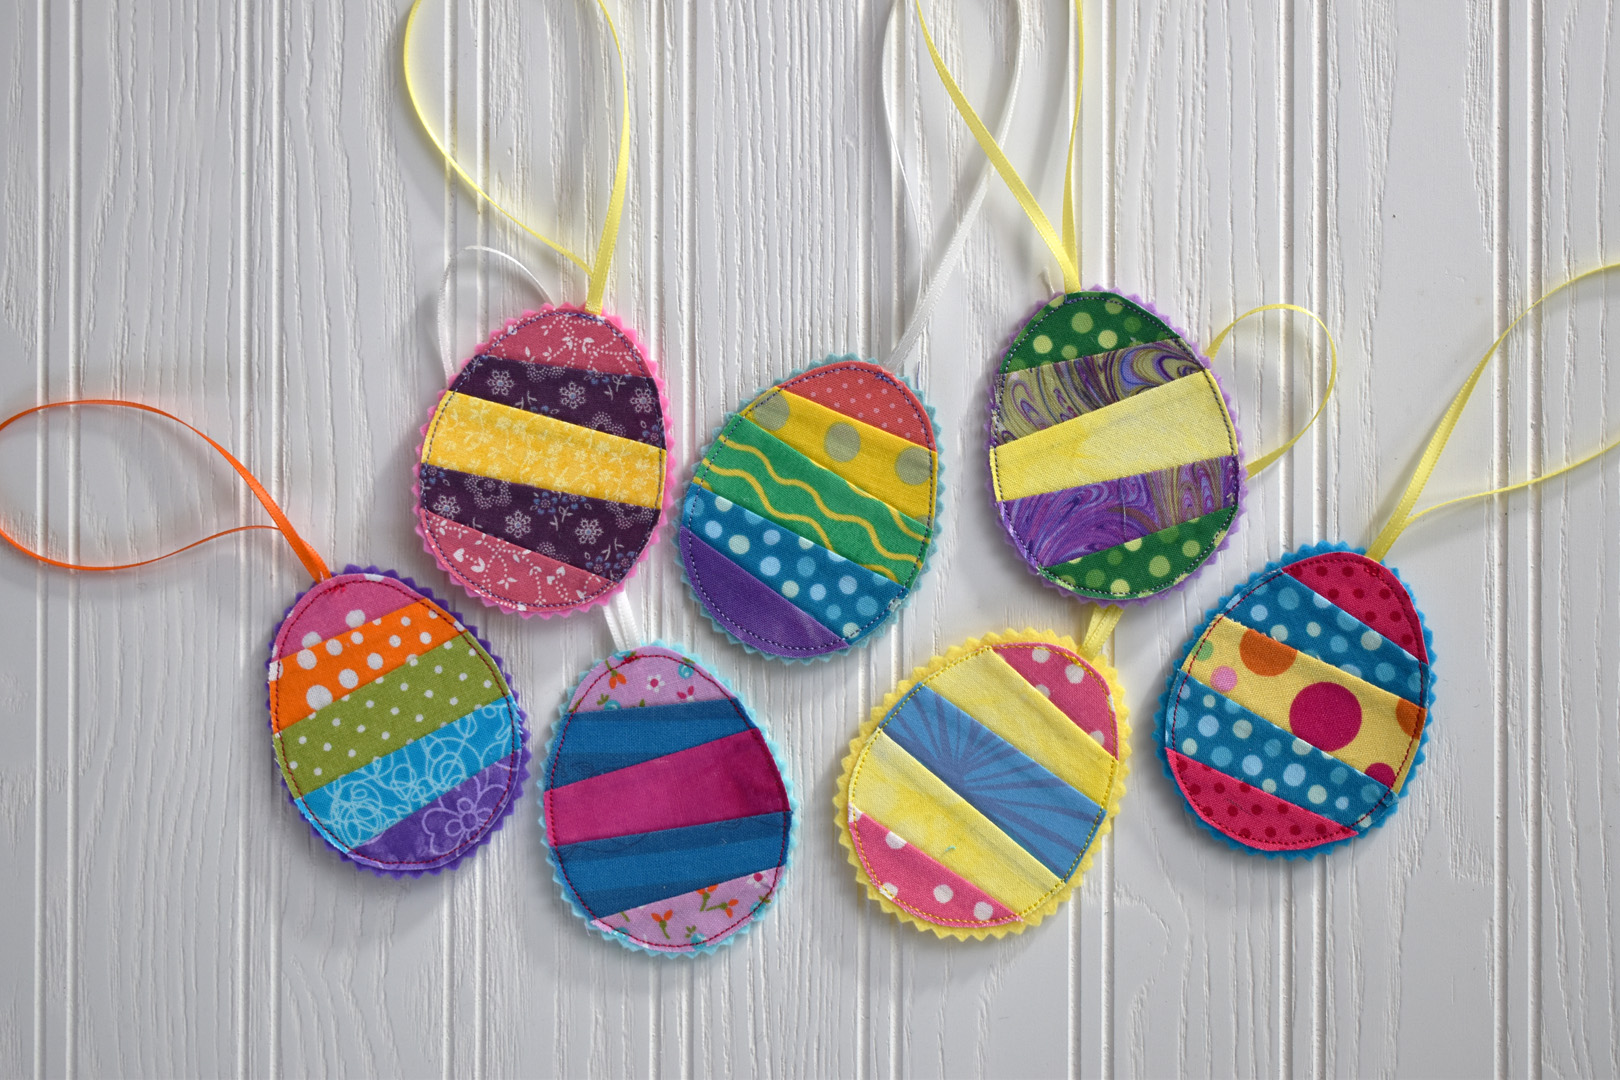
Sew a set of simple Easter ornaments to brighten up your home, stuff in a basket, or hang on a special gift. All you need to make these ornaments is the free downloadable template, some scraps of fabrics and trims, and a bit of fusible interfacing.
Find the downloadable template in the list of tools and materials you’ll need to complete these ornaments below. Learn some basic foundation piecing techniques to create the patchwork by making the Easter egg first. All the other ornaments use similar techniques to complete. Let’s get started!
Materials to Sew Easter Ornaments
- Download the Easter Ornaments Templates
- 1/2 yard Pellon 808 Craft Fuse
- Scraps of fabrics to make each ornament:
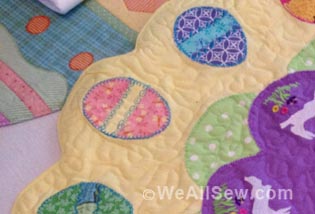
- Easter egg: bright or pastel yellow, pink, green, purple, etc.
- Carrot: various shades of orange and one green scrap
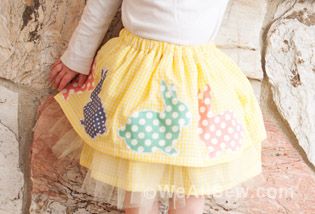
- Bunny: colorful fabric print like a large floral
- Flower: various reds, pinks, yellows, or orange for flower top, greens for leaves
- Bee: various yellow and black scraps
- Pieces of felt as backing for ornaments in coordinating colors
- Micro ribbon in white or various colors for ornament hangers
- All-purpose sewing thread for piecing patchwork in white, cream, or light tan
- Embroidery thread in bright colors to coordinate with ornaments
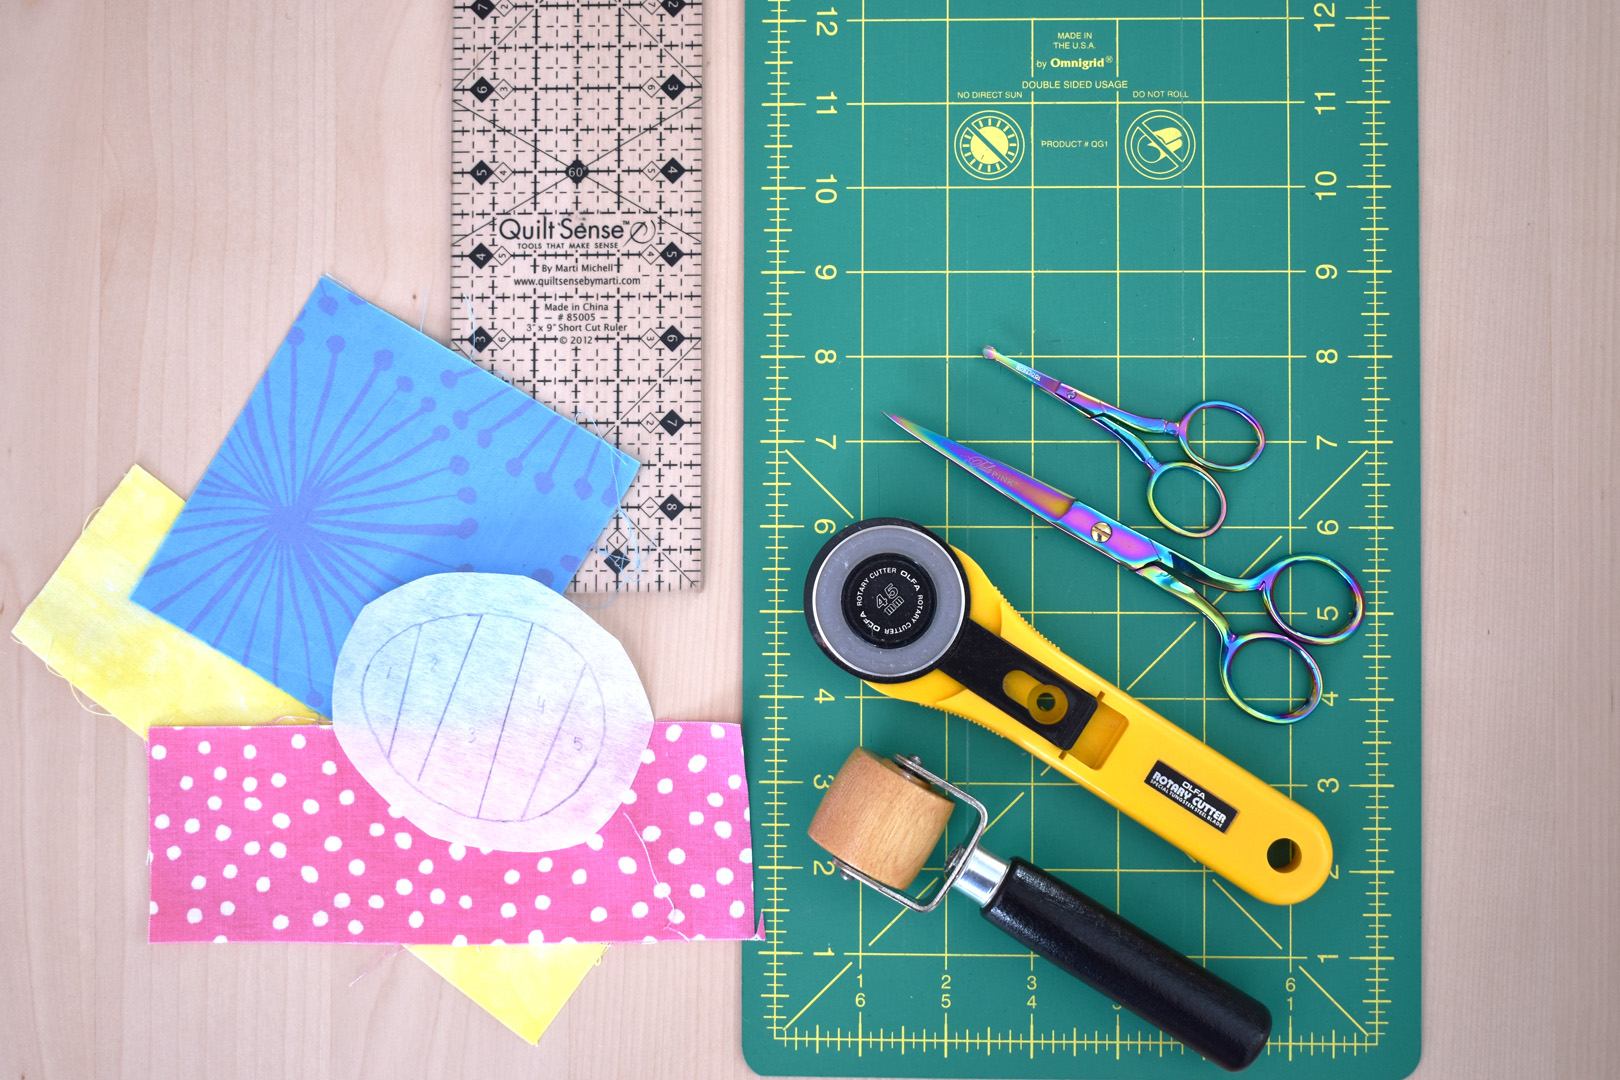
- Pencil
- Small ruler
- Scissors, thread snips, and pinking shears
- Small cutting mat, rotary cutter, and small quilting ruler
- Pins
- Seam roller
- Iron, pressing surface, and pressing cloth
- Glue stick
- Sewing machine (I use a BERNINA 570 QE)
- Straight stitch needle plate
- Embroidery Foot #39C with Clear Sole

How to Sew Easter Ornaments
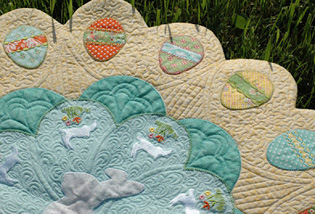
How to Sew an Egg Ornament
Print off the template at 100% (do not shrink or stretch to fit the page because this will distort the patterns).
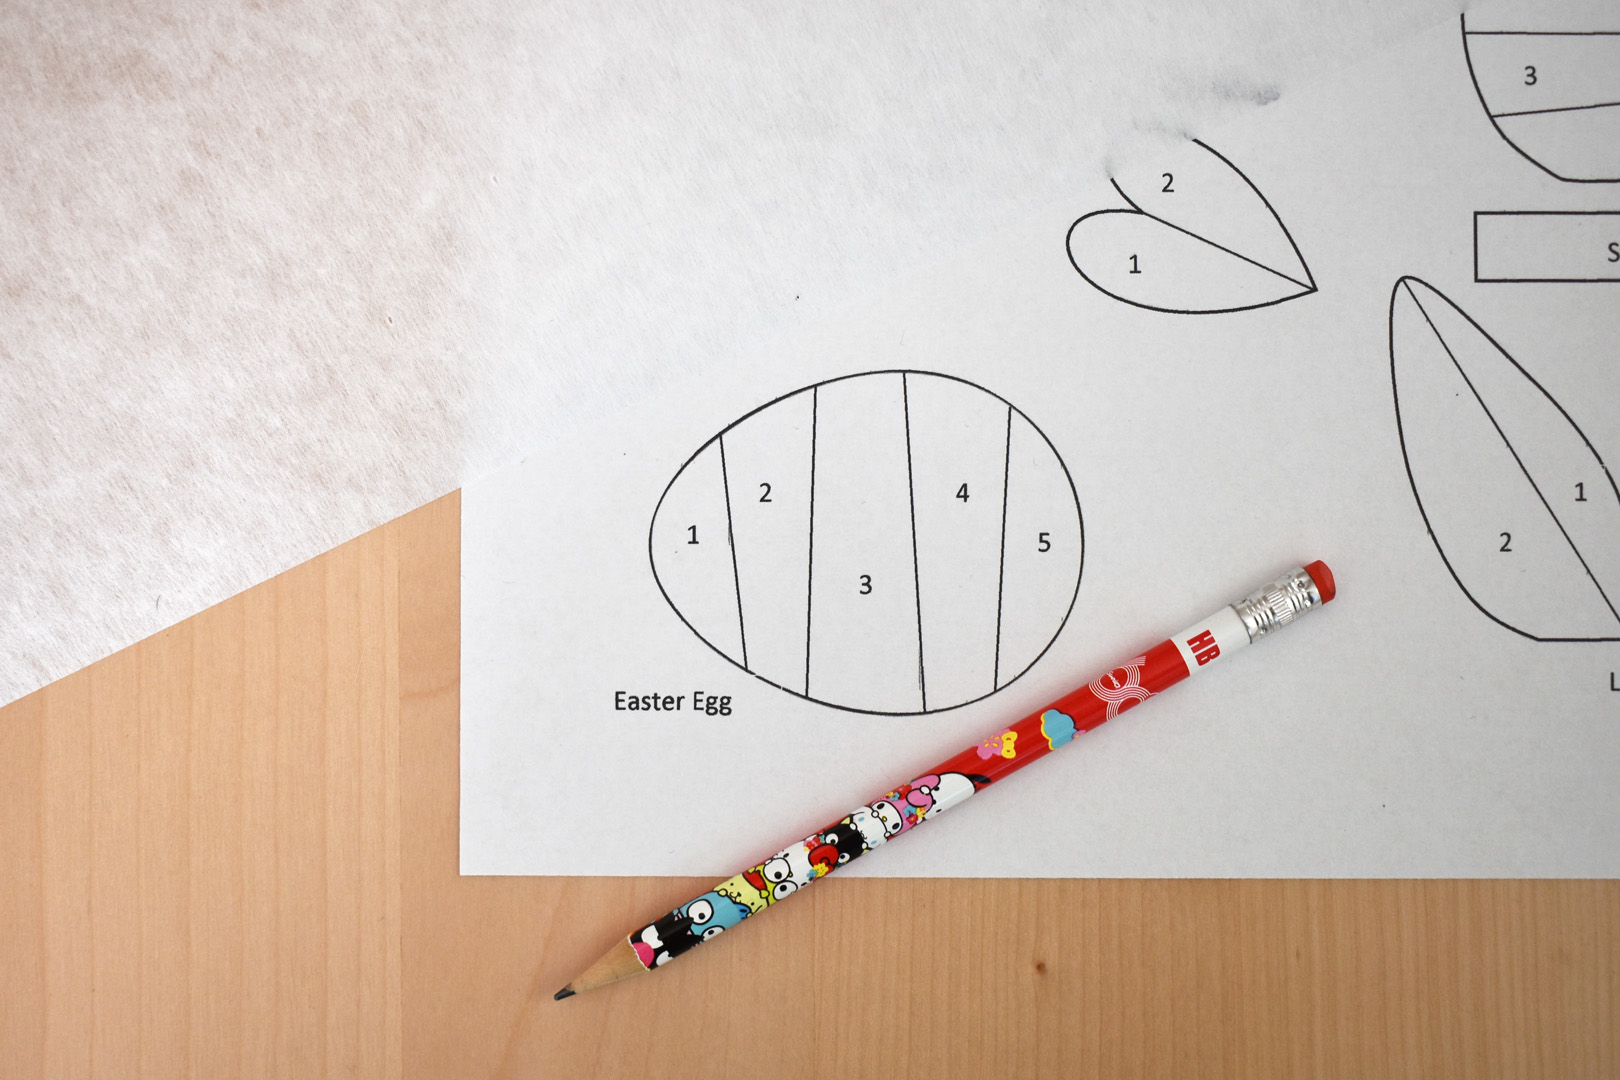
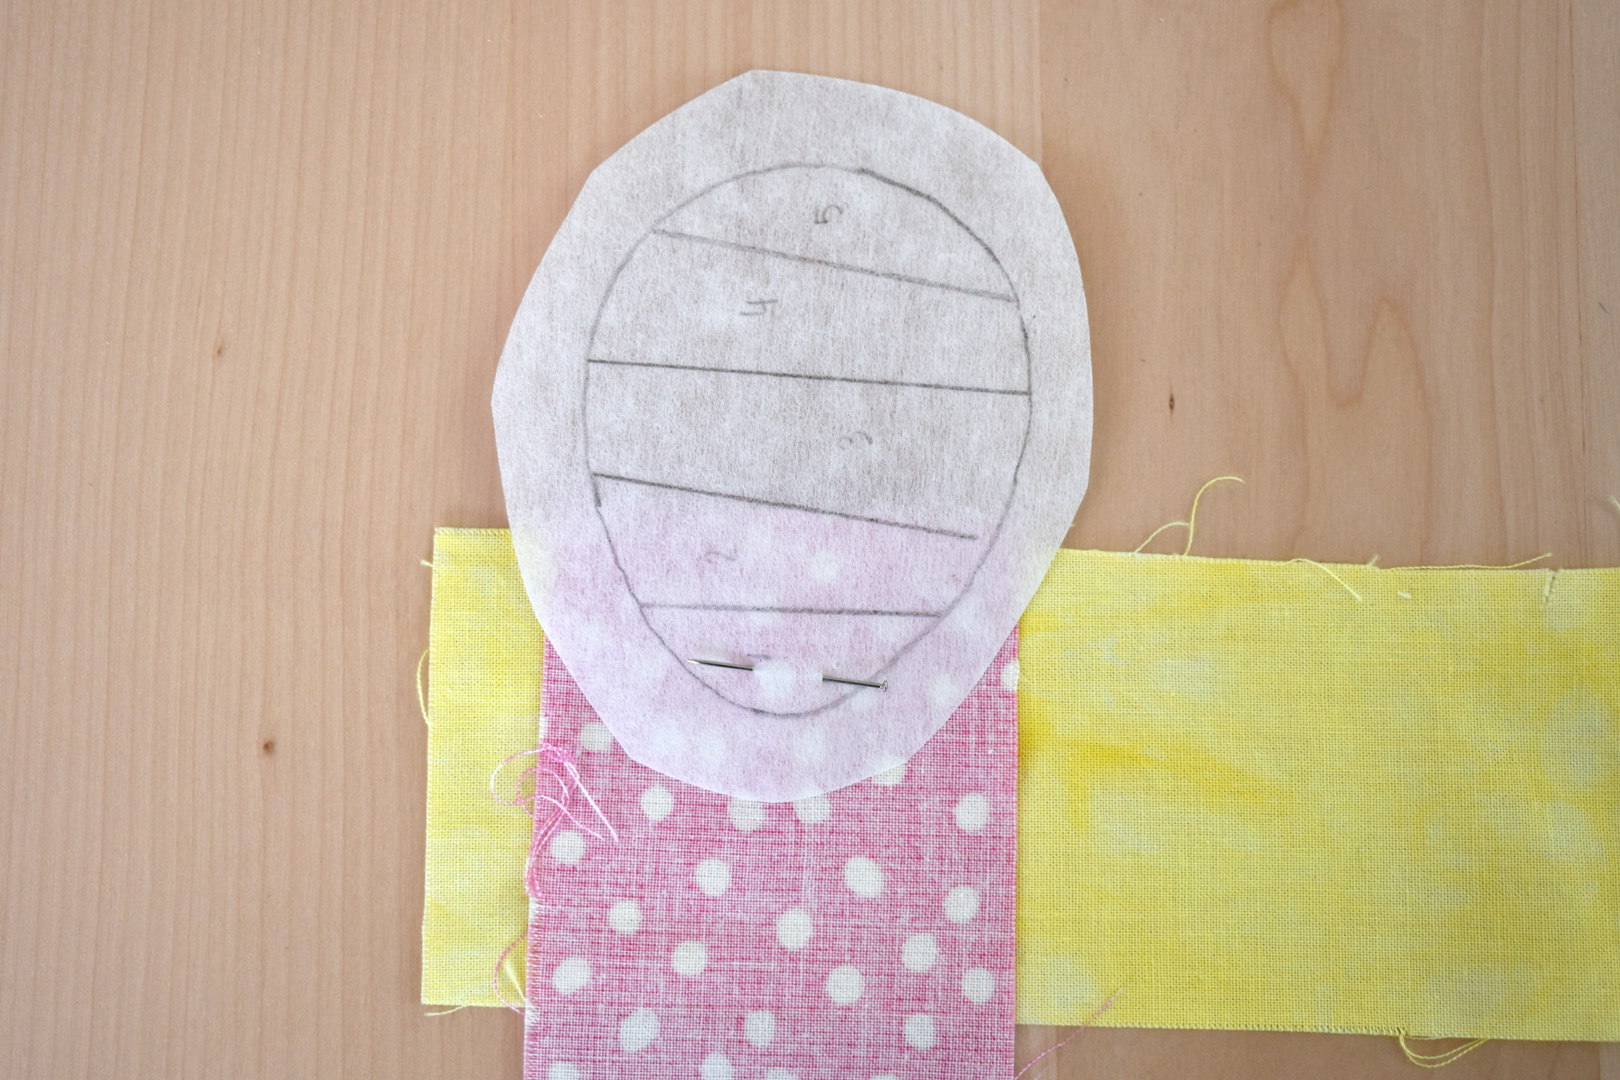
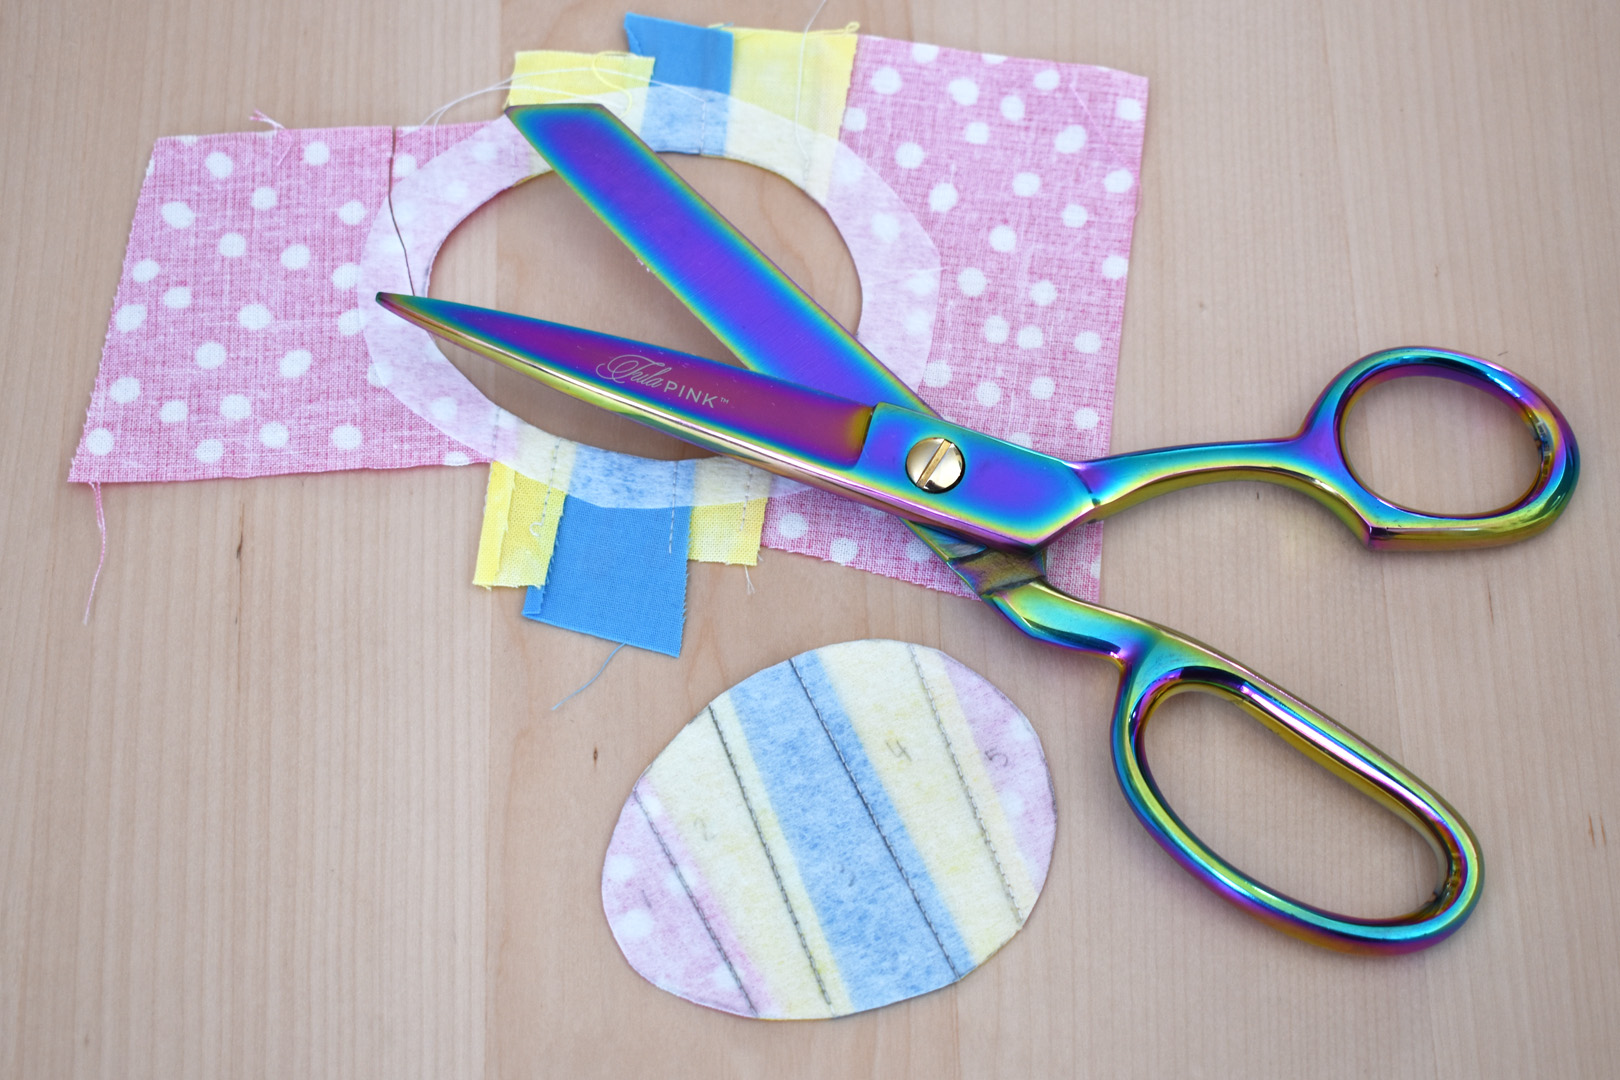
You will need a pencil, a small ruler, and a piece of the Pellon 808 Craft Fuse. Make sure you know the difference between the fusible side of the Craft Fuse, which looks a bit shiny, and the non-fusible side, which has a dull look. You will be tracing the pattern to the non-fusible side of the Craft Fuse.
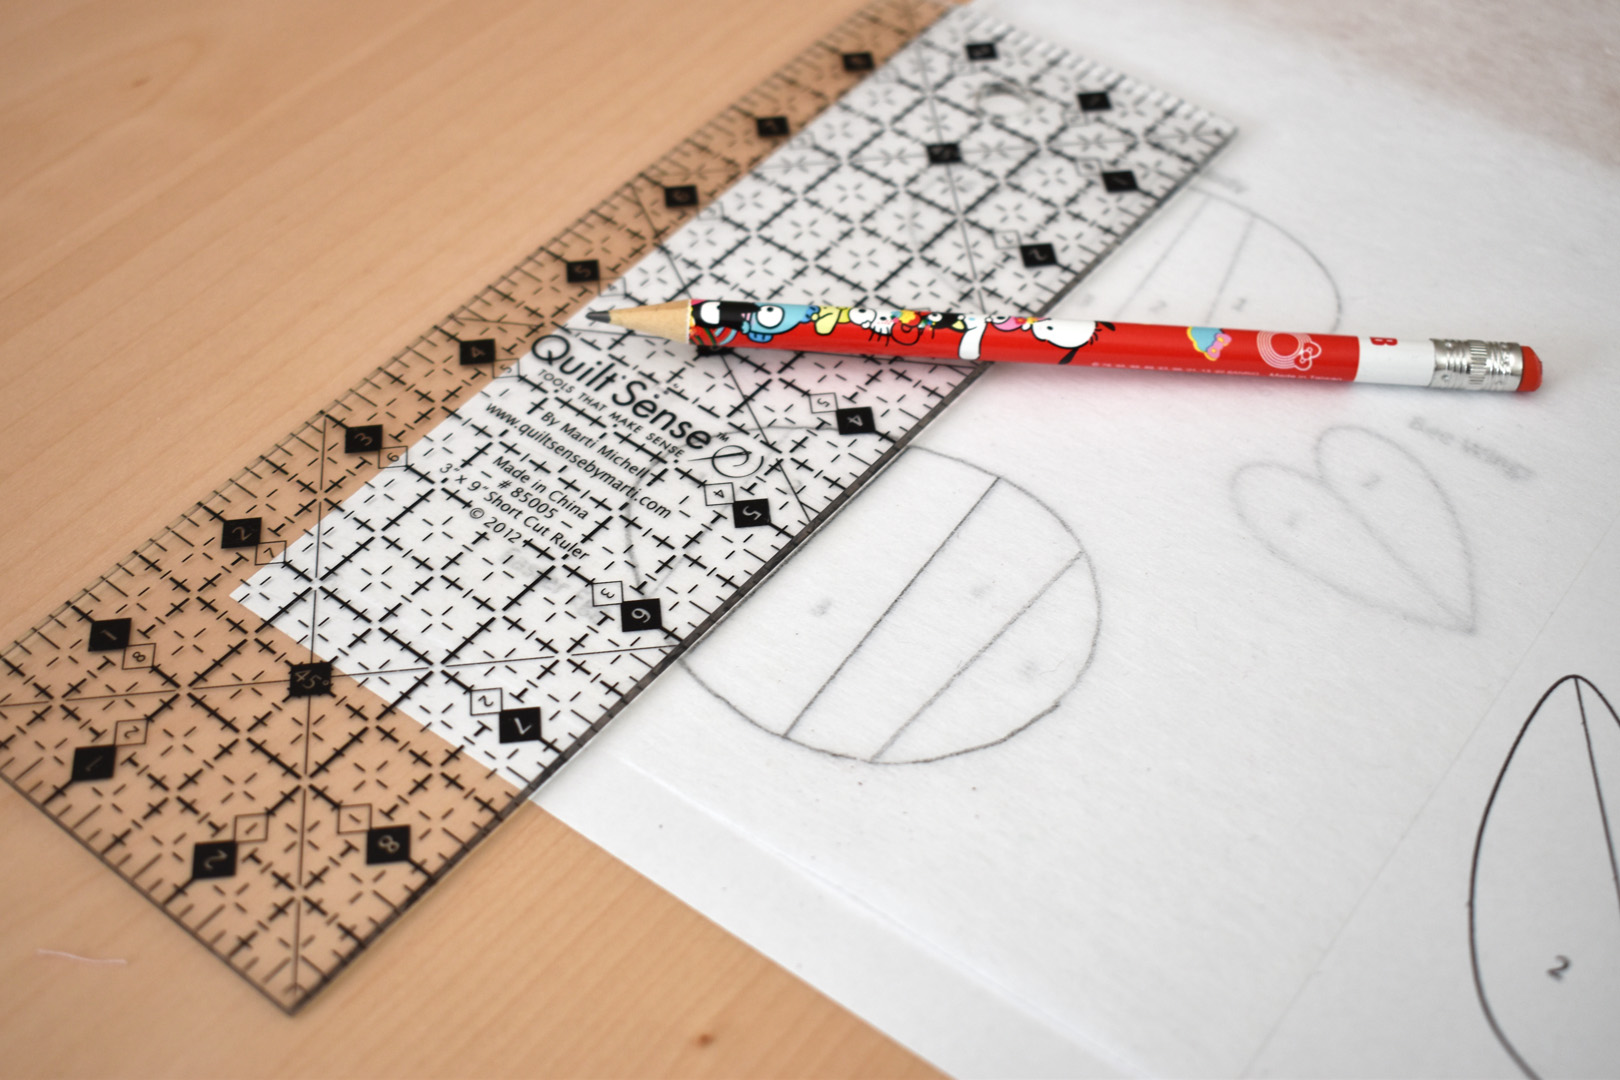
Use a light touch to gently trace the outline of the egg shape with pencil, and use the ruler to trace the straight lines.
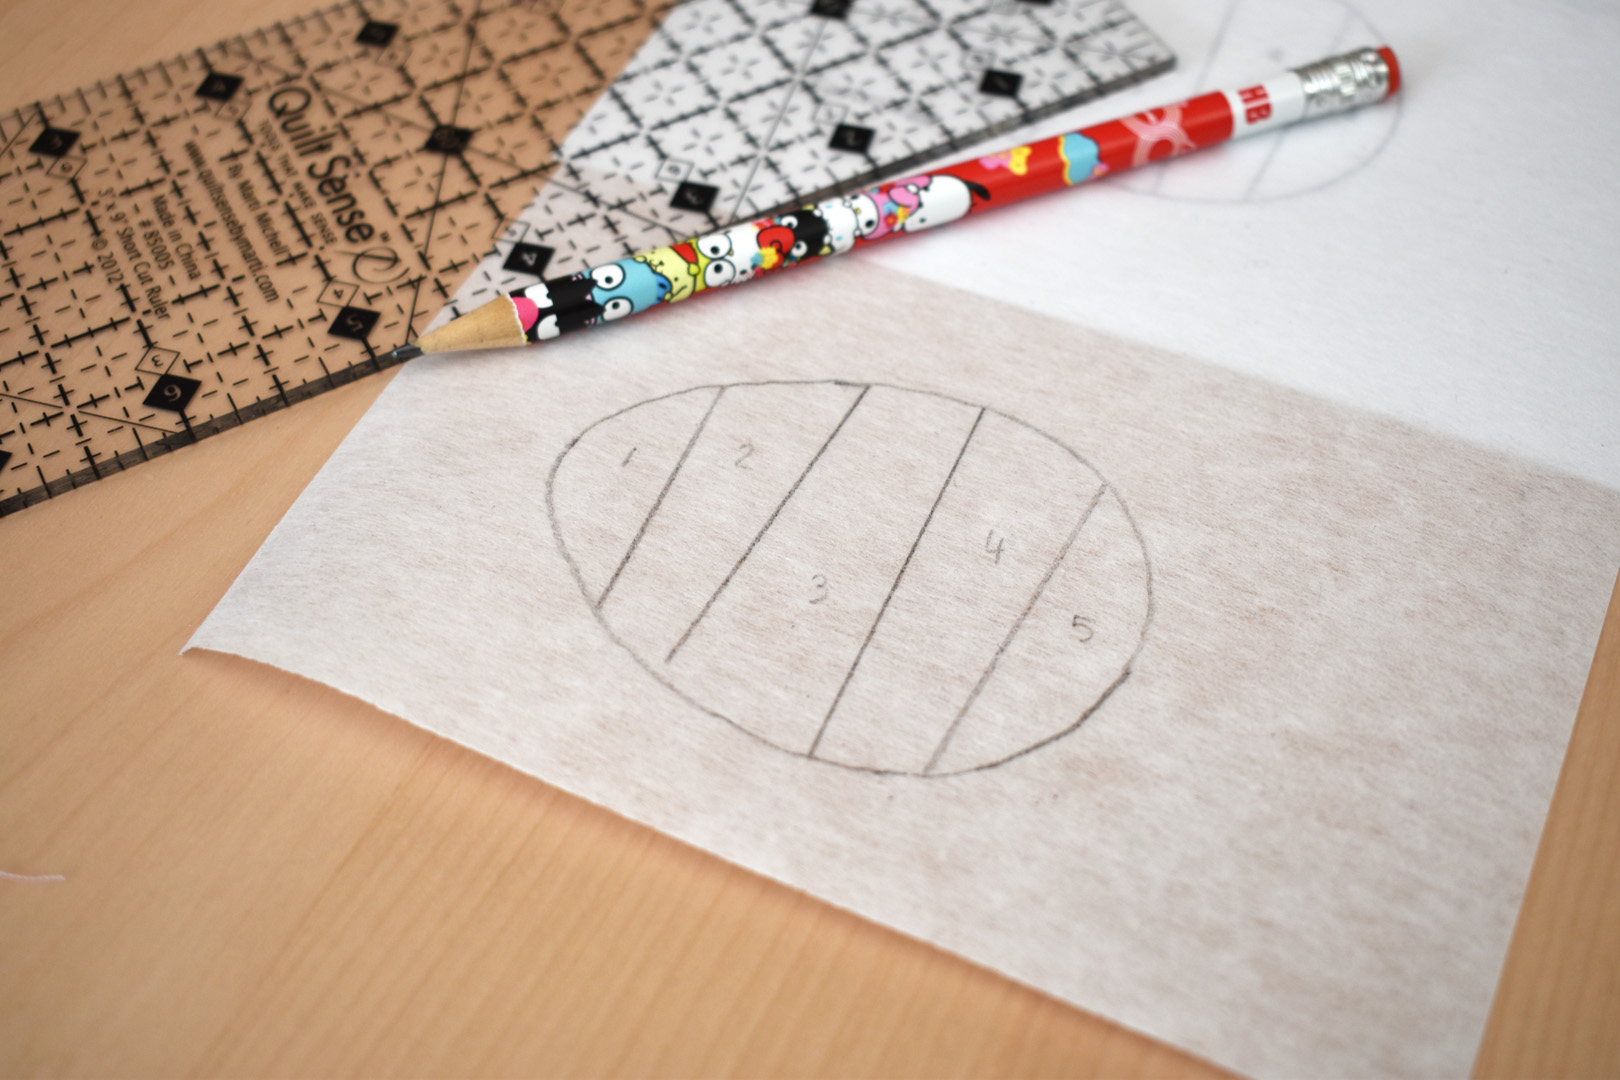
Gently write the numbers in between the lines as well, the tracing needs to be just light enough for you to see and not drawn thickly with a heavy hand. The Craft Fuse is our foundation for stitching the patchwork, and will stay attached to the project after sewing the patchwork.
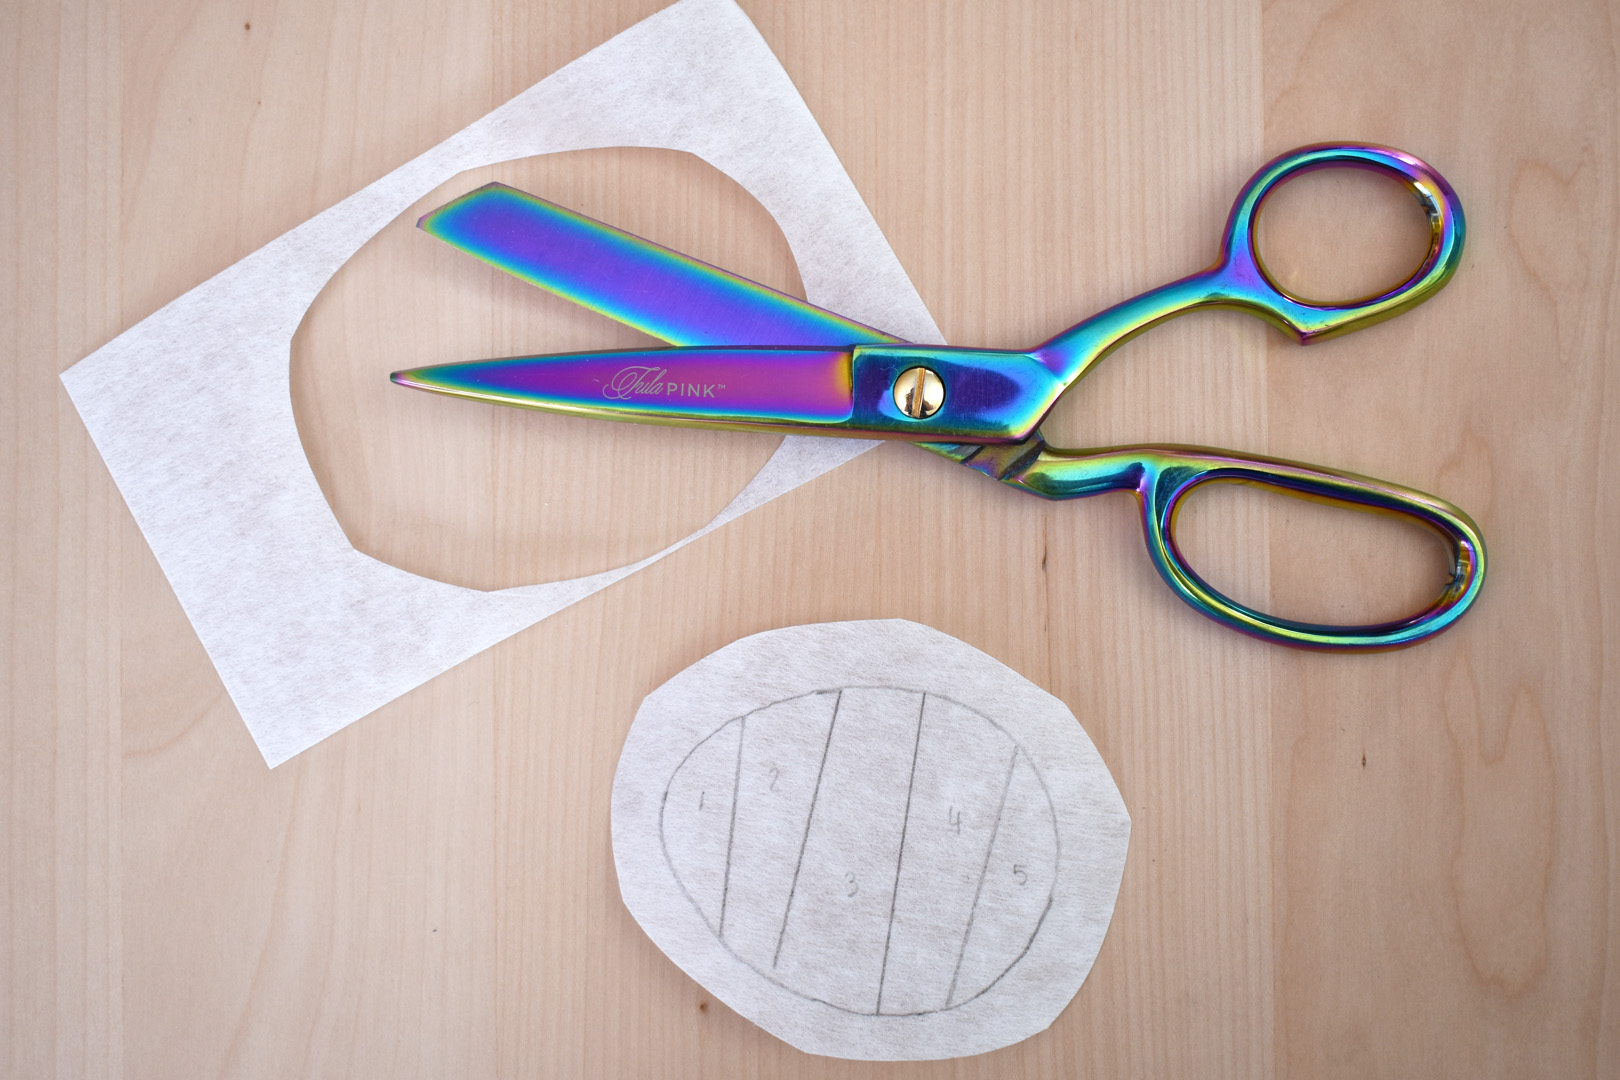
Cut out the traced shape, leaving at least 1/4″ to 1/2″ of space around the shape. Now it’s time to pick out the fabrics for your egg! You can choose 5 different colors, or repeat just a few colors. I’m using pink, yellow, and blue – placing blue in the middle and repeating the pink and yellow on both ends of the egg.
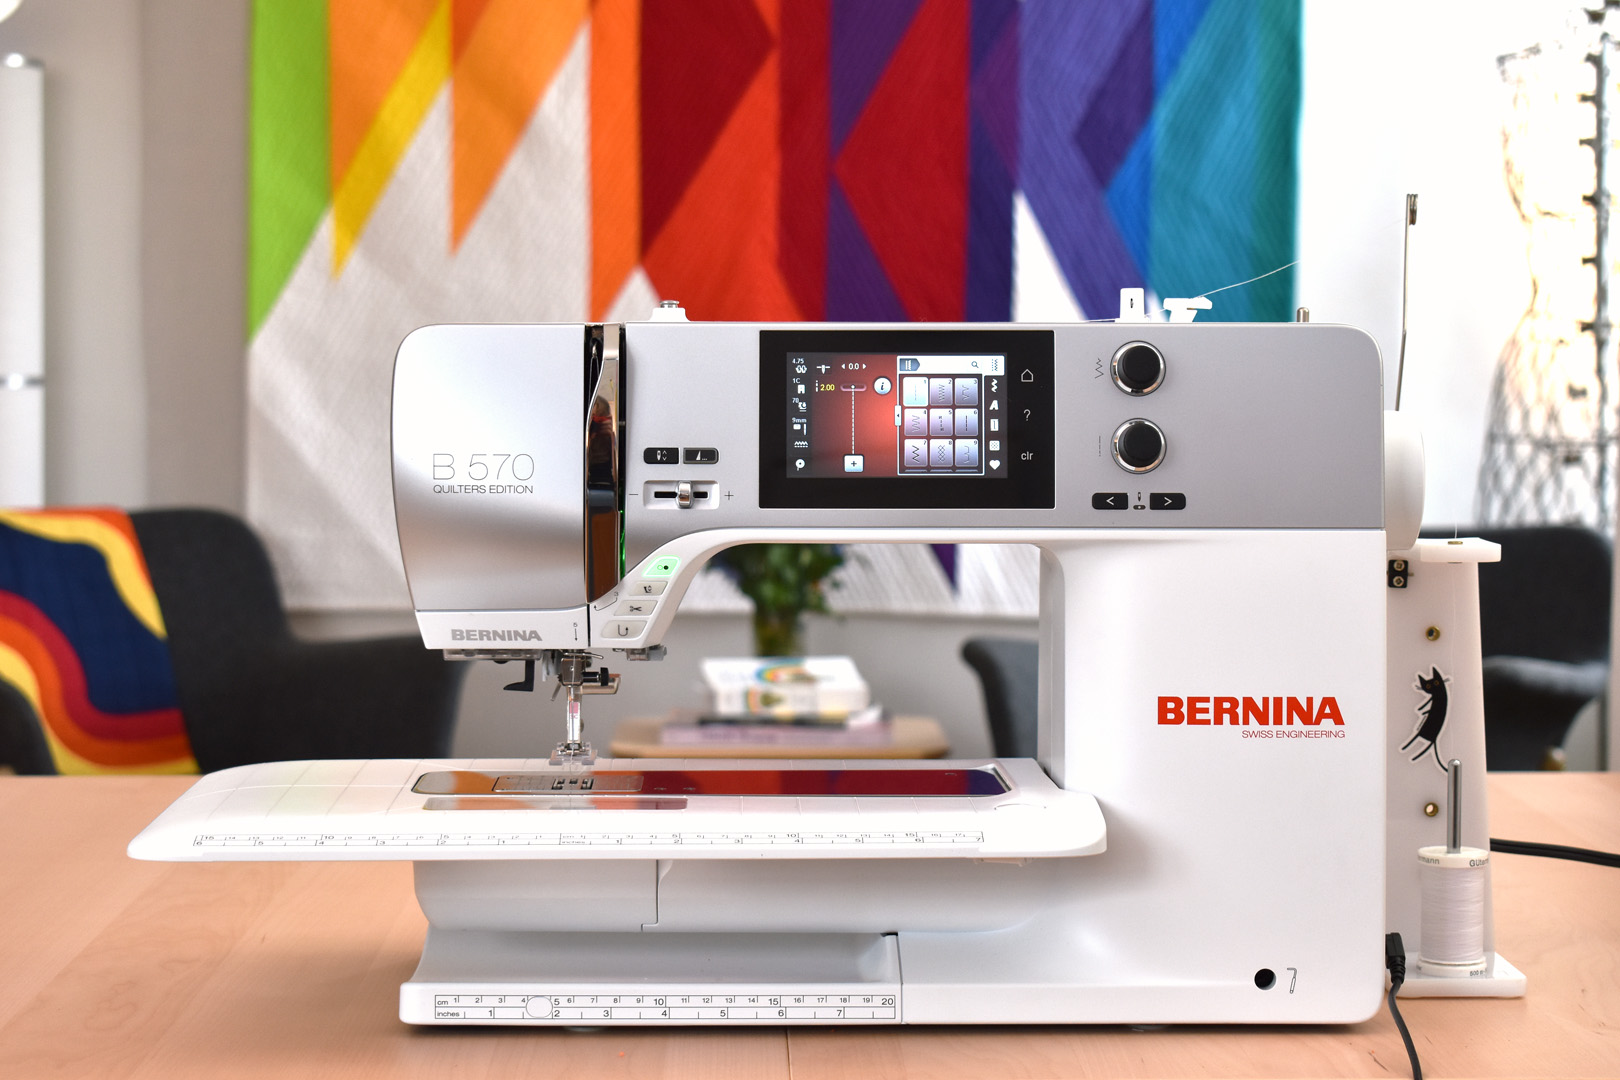
Set up your sewing machine with a straight stitch needle plate, Embroidery Foot #39C with Clear Sole, and thread with a neutral color of all-purpose sewing thread (I’m using white, but a cream or light tan will also work). Shorten the stitch length to about 2.0mm.
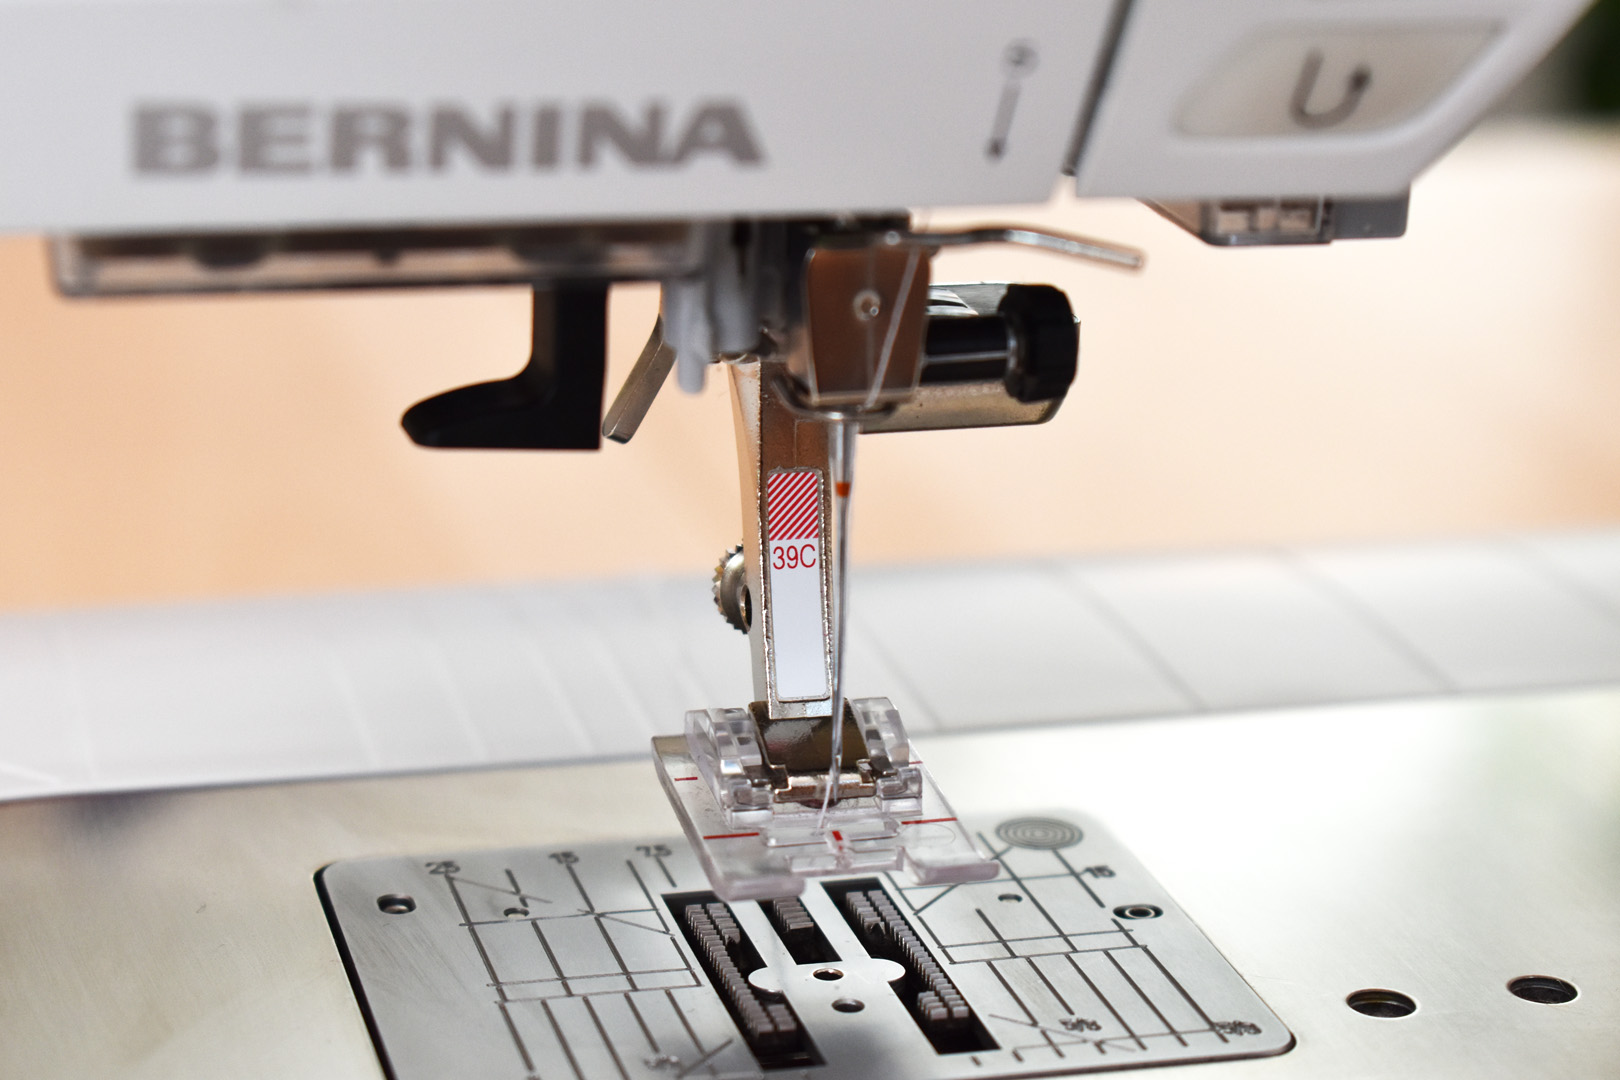
Foot #39C is clear to make it easier to see what’s going on under the foot, and has extra markings in red to help you line up your project with the needle.
Watch the video to see what the foundation piecing process looks like, and then read the step-by-step instructions to follow along.
You will need these tools next to your sewing machine: a small cutting mat, rotary cutter, ruler, small scissors, thread snips, seam roller, the egg pattern traced on the Craft Fuse, and the fabric scraps pressed and ready to sew.
To begin foundation piecing, start with the area marked “1” on the pattern.

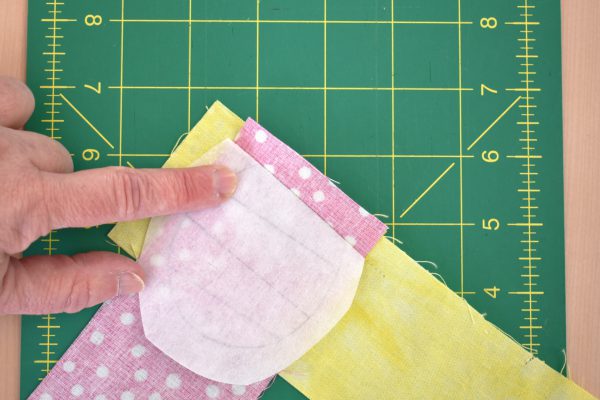
The first scrap of fabric must be placed right side down, and the fabric must cover all of area “1” plus the extra Craft Fuse around the shape. Use a pin if you need to hold in place (I don’t use pins, I work directly next to my sewing machine and hold it all together with my fingers).
The next scrap of fabric must be added right side up. This scrap will cover area “2” on the pattern, but will be flipped over after sewing (see in the video above). There’s a really excellent tip for lining-up small pieces of fabric for foundation and paper piecing from Lee Heinrich here – it’s definitely worth reading and will help make sure you’re lining-up the fabric correctly every time.
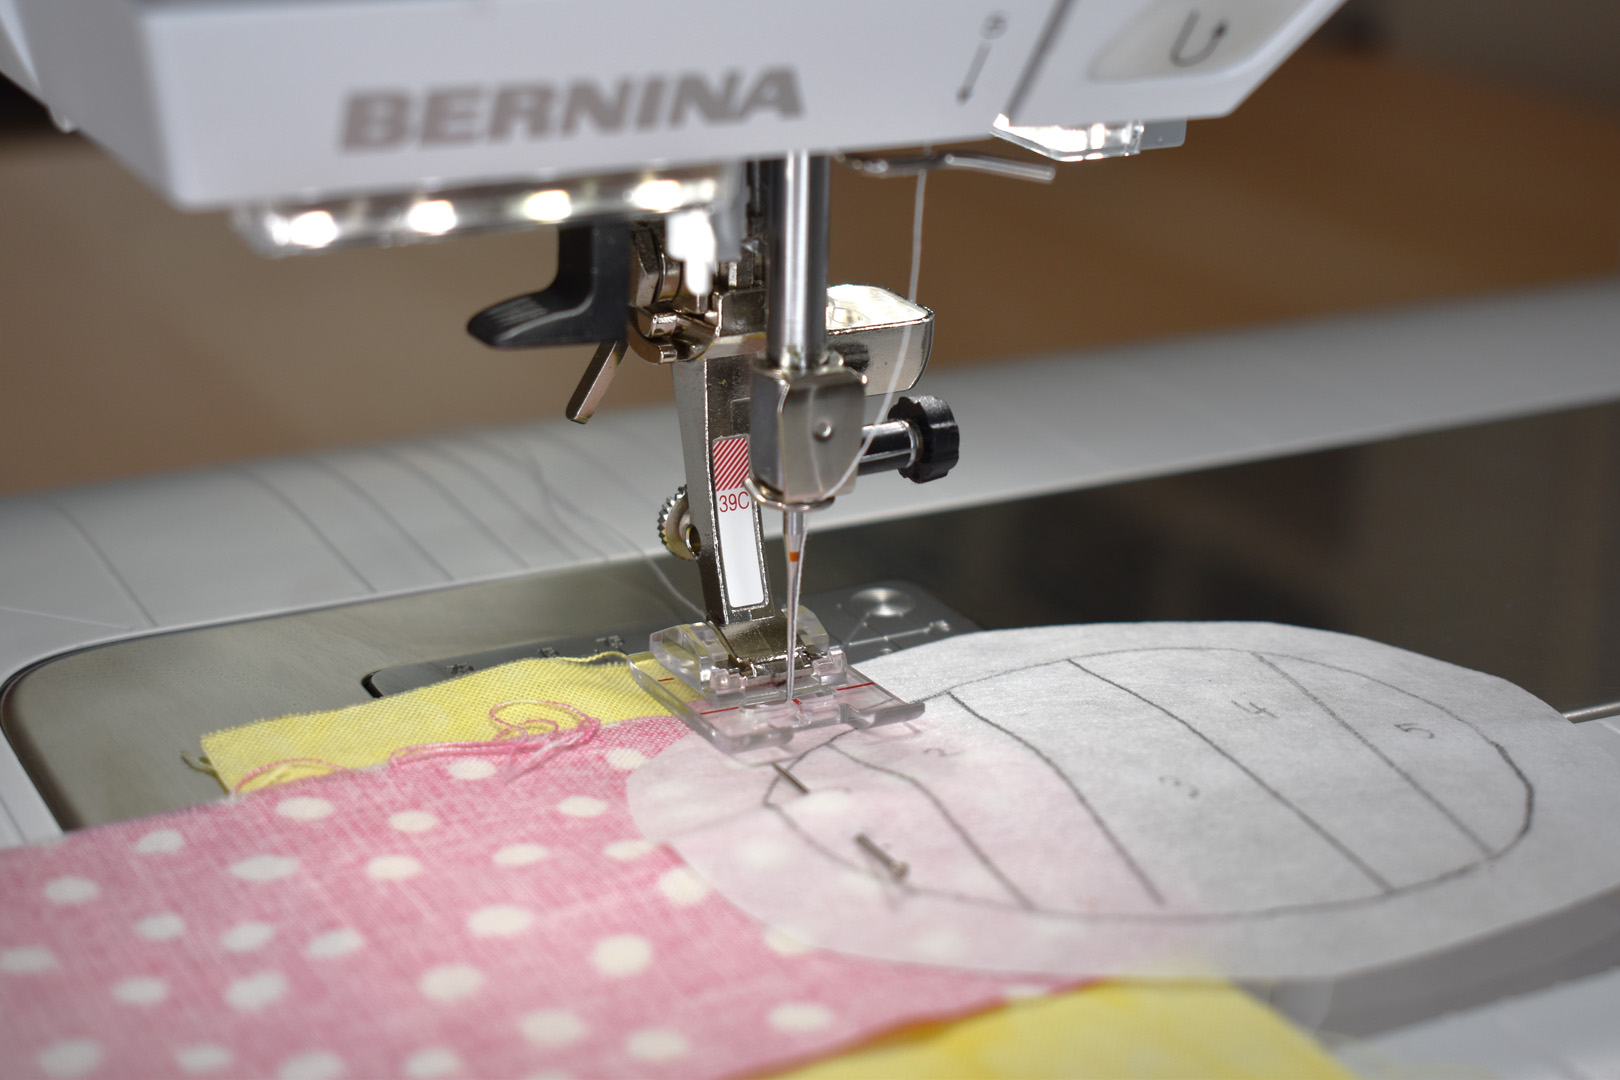
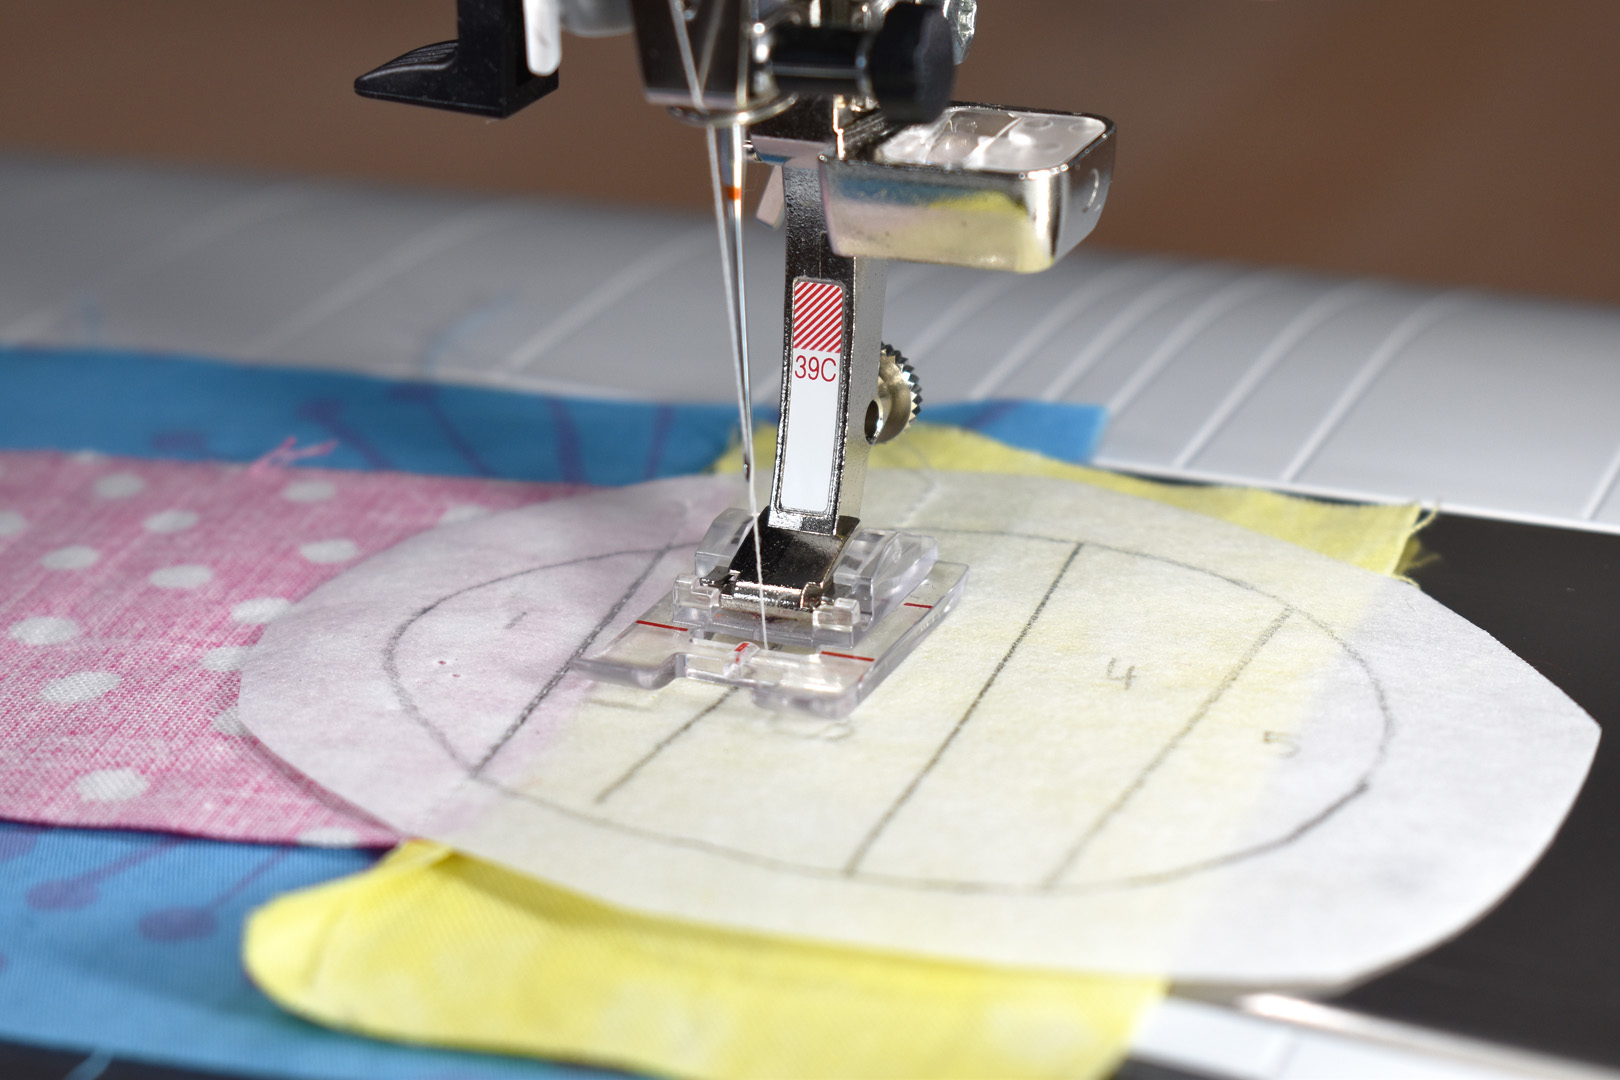
Start sewing at the outside edge of the Craft Fuse pattern, and sew straight across the line between the numbers “1” and “2”.
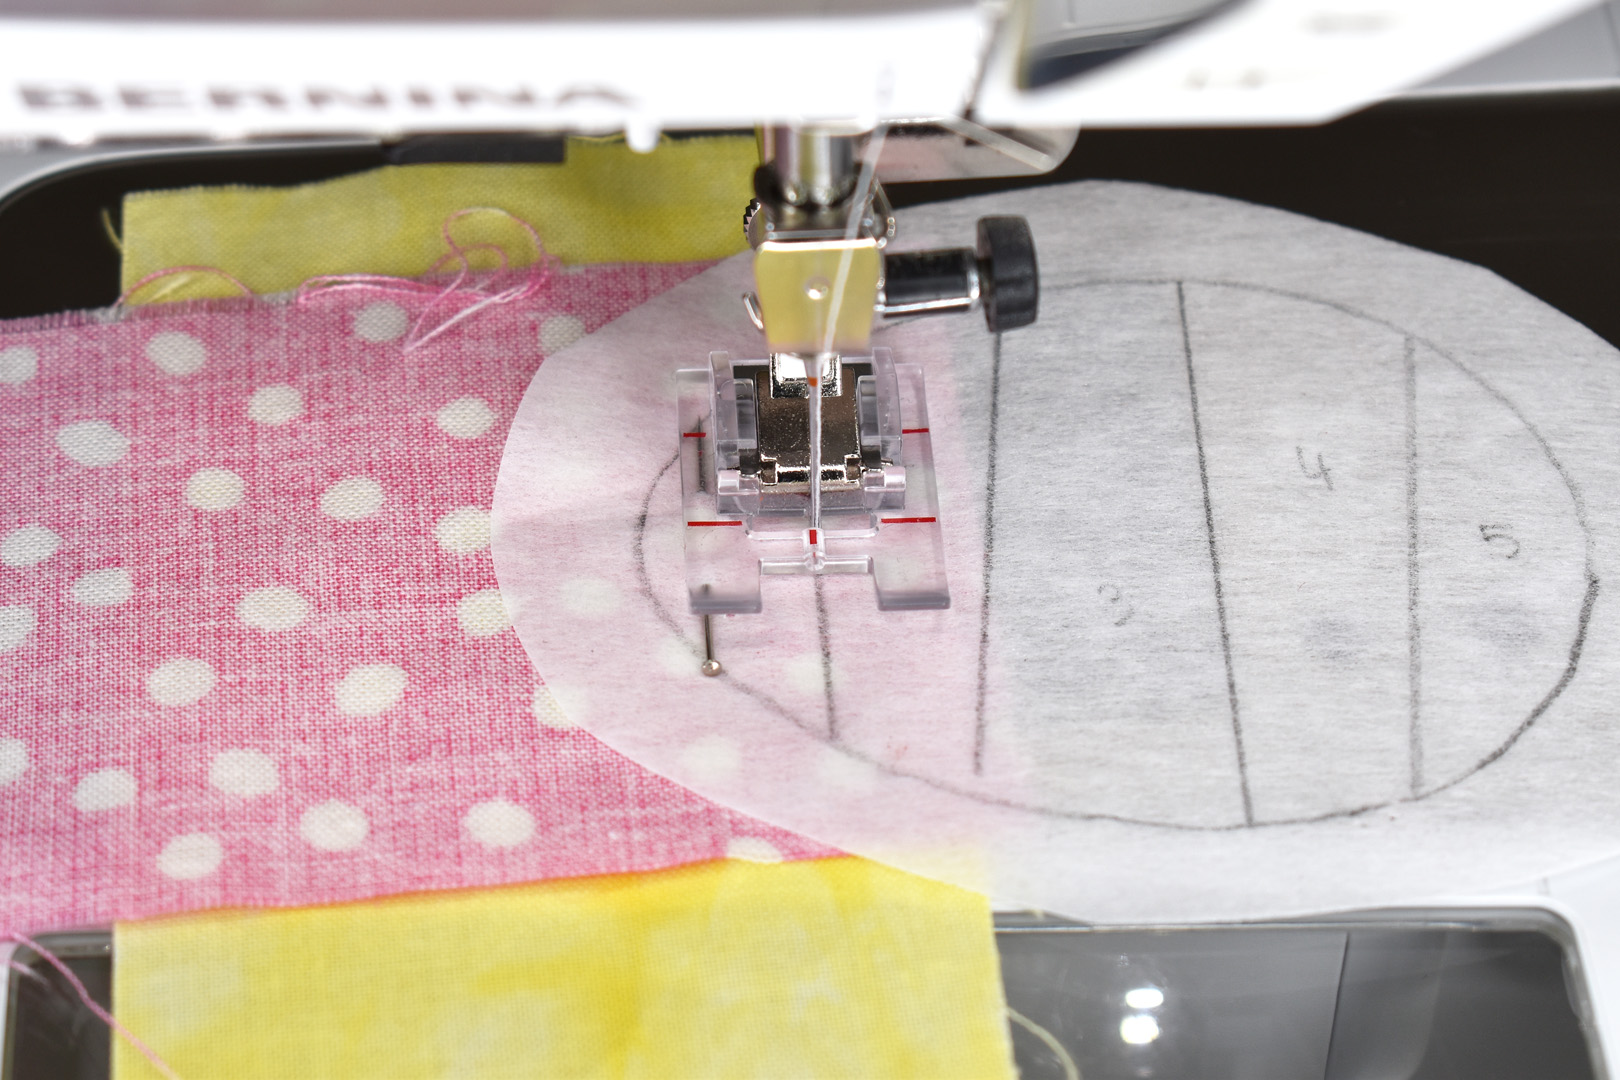
The red line at the front of foot #39C is in-line with the needle, and you can follow the line on your pattern with this red line to perfectly place your stitches. Sew all the way to the edge of the Craft Fuse pattern. No need to back-stitch at the beginning or end of the sewing process.

Once stitched, move the project to the cutting mat next to your sewing machine.
Fold back the Craft Fuse foundation pattern along the stitching line.
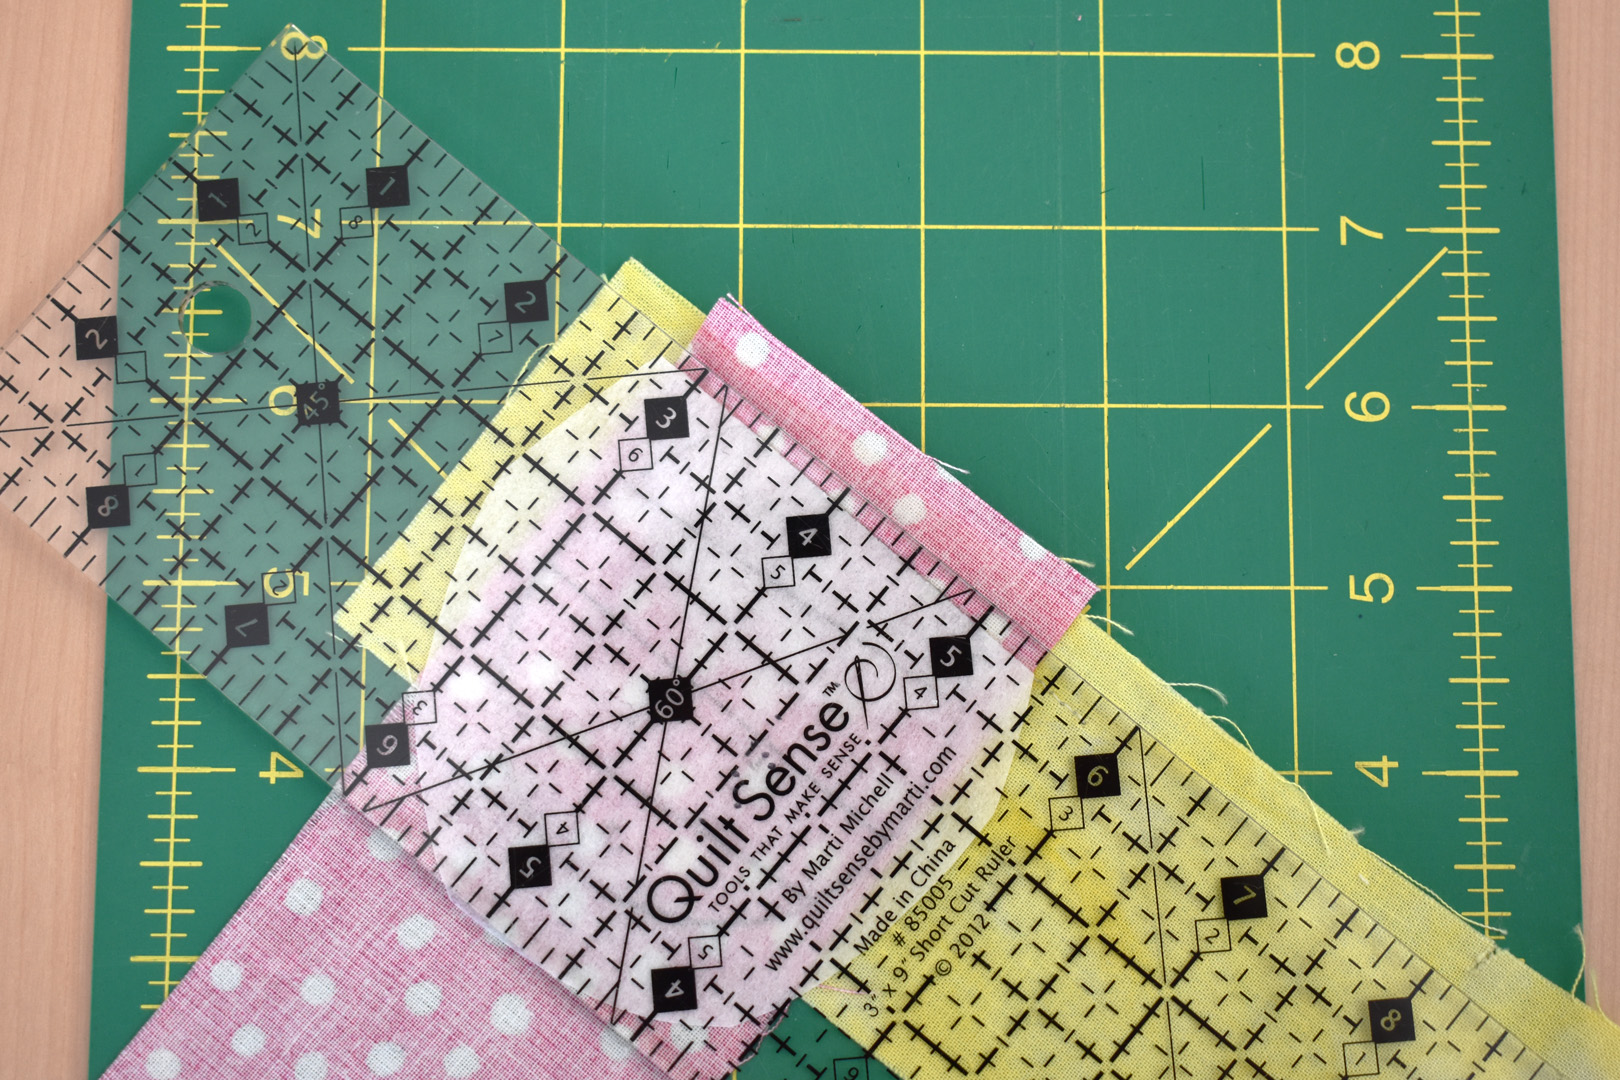
Align the ruler on the 1/8″ line with the folded back edge of the folded Craft Fuse foundation pattern, and cut the seam allowance with the rotary cutter.
Then fold the Craft Fuse foundation pattern back up.

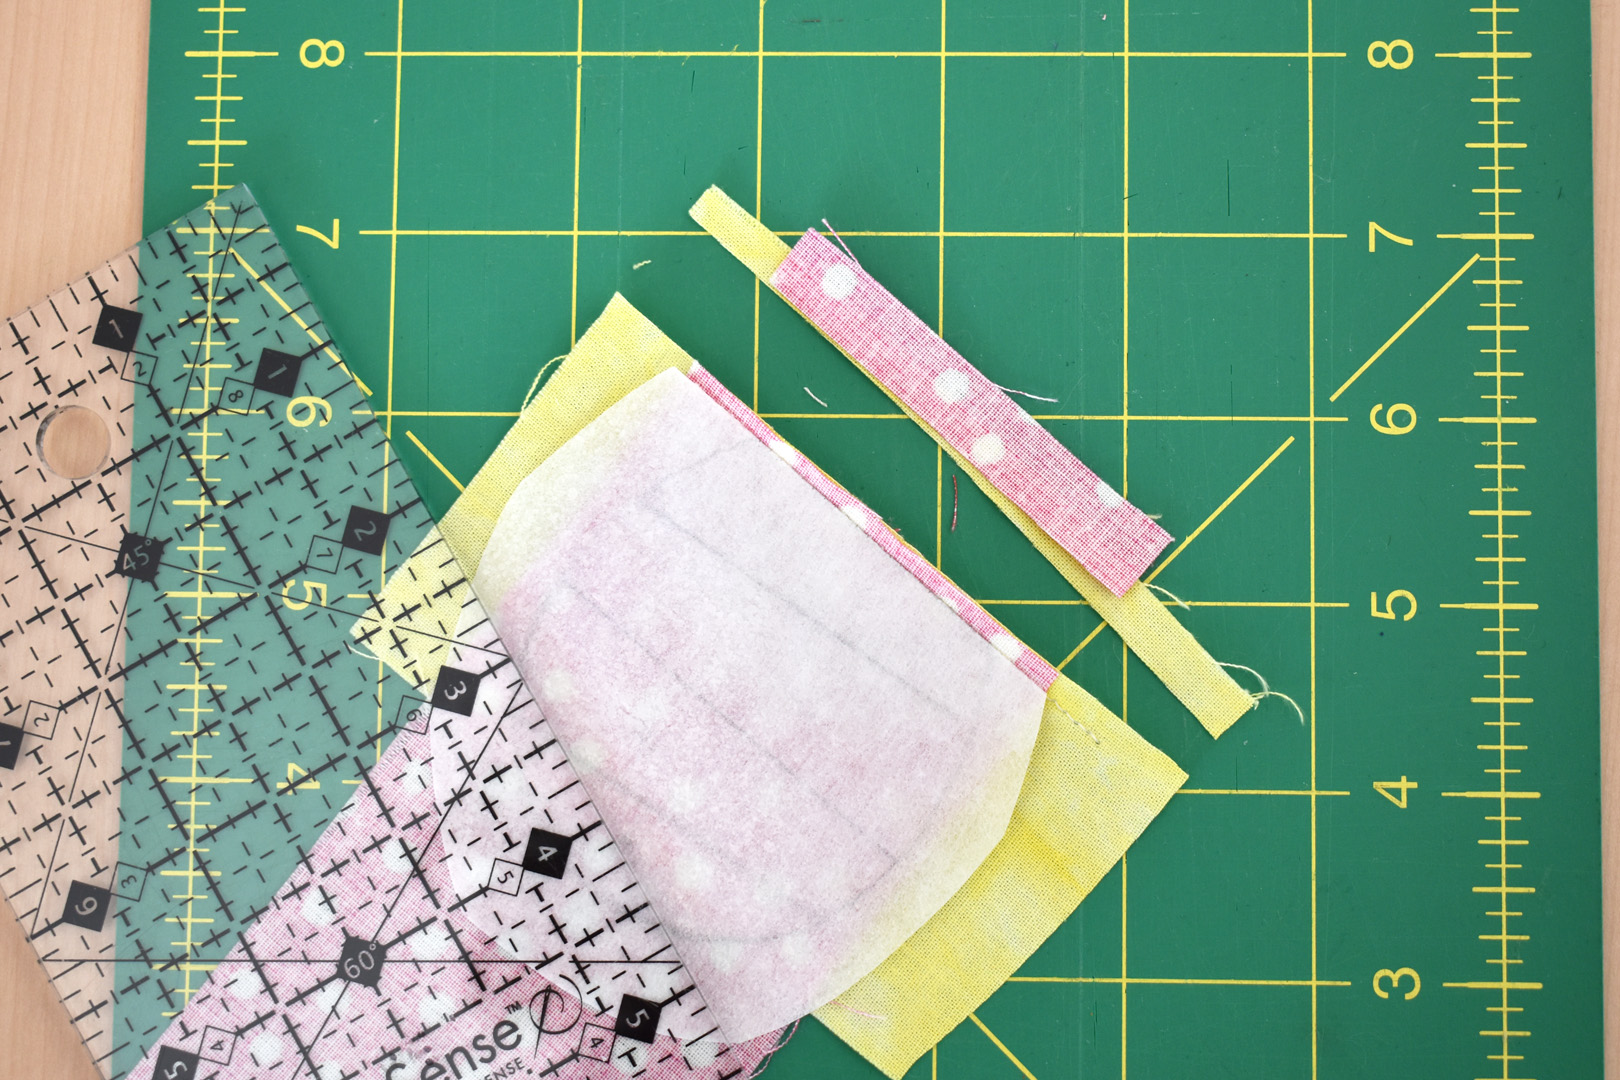
Flip the entire project over, pattern side down and fabric side up.

Press the top fabric over, finger-pressing the seam open. Note: do not iron or press seams at this point in the project! Use a seam roller to press all seams until foundation patchwork is complete.
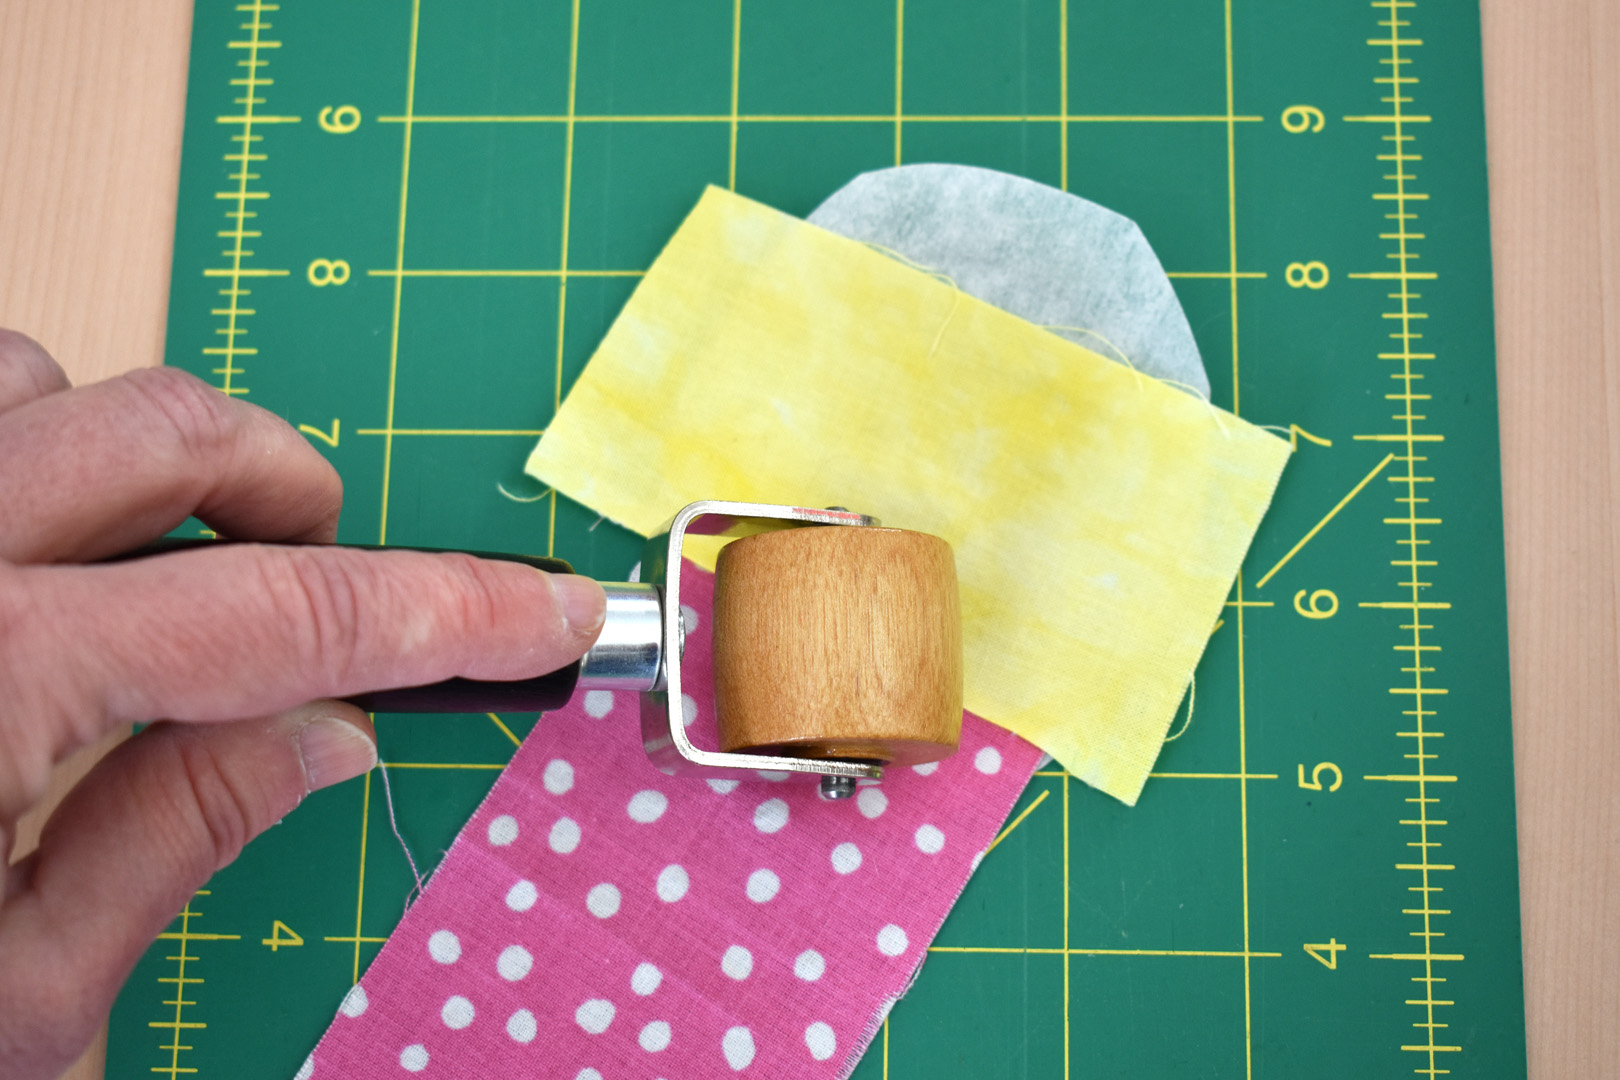
Press well with the seam roller to finish to create a flat, open seam.

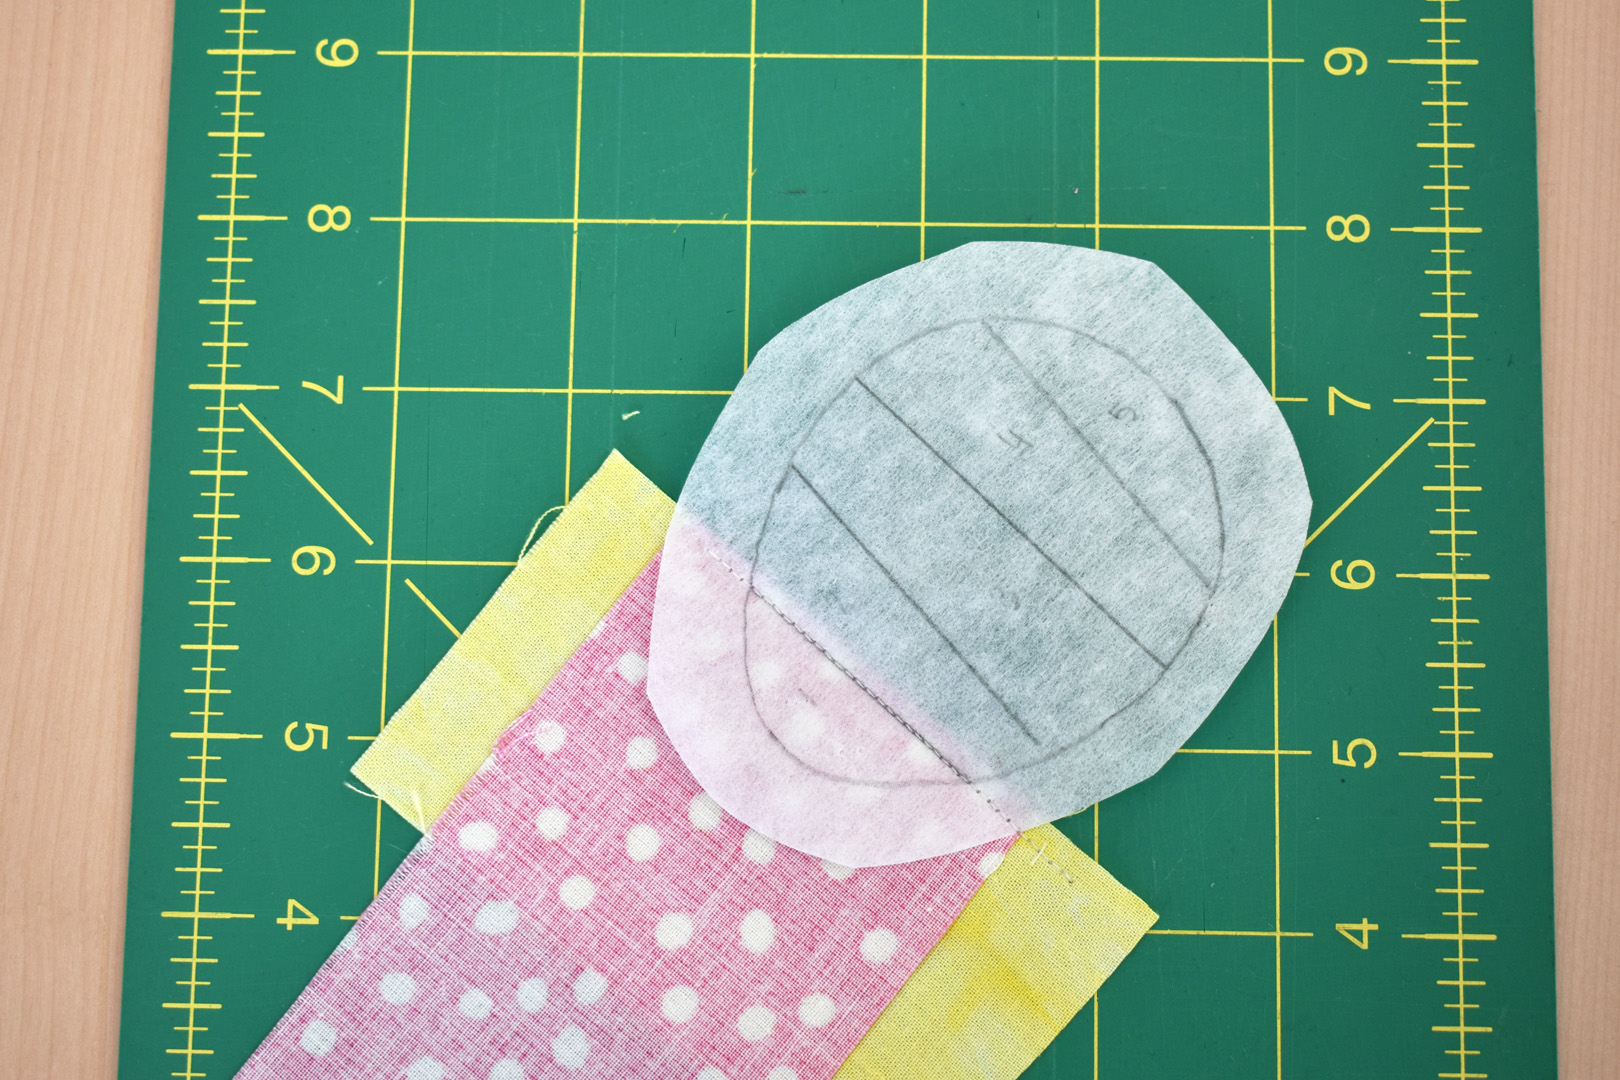
Flip the project over and add the next colored scrap as above.
Sew on the next line, and repeat this process until all areas of the pattern are covered with fabric.
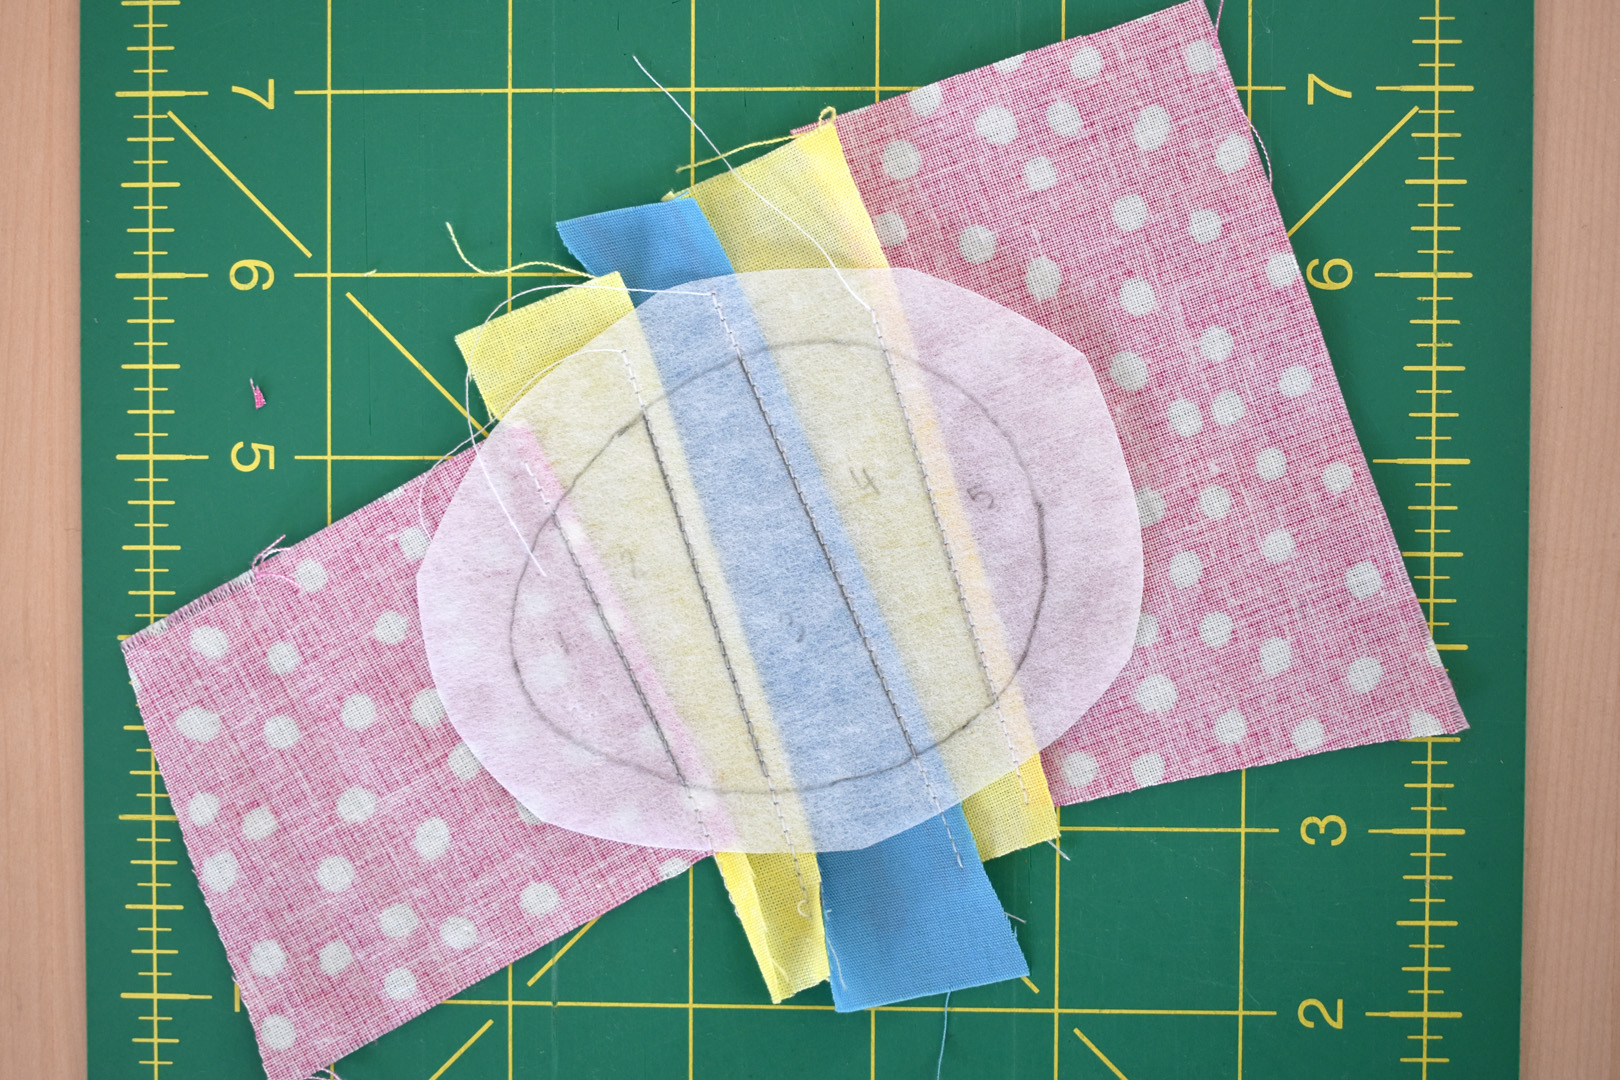
Now it’s time to press and fuse the fabric to the Craft Fuse foundation pattern. Make sure the entire foundation Craft Fuse pattern is covered with the fabric before moving to press, otherwise the fusible glue might get on your iron or pressing surface.
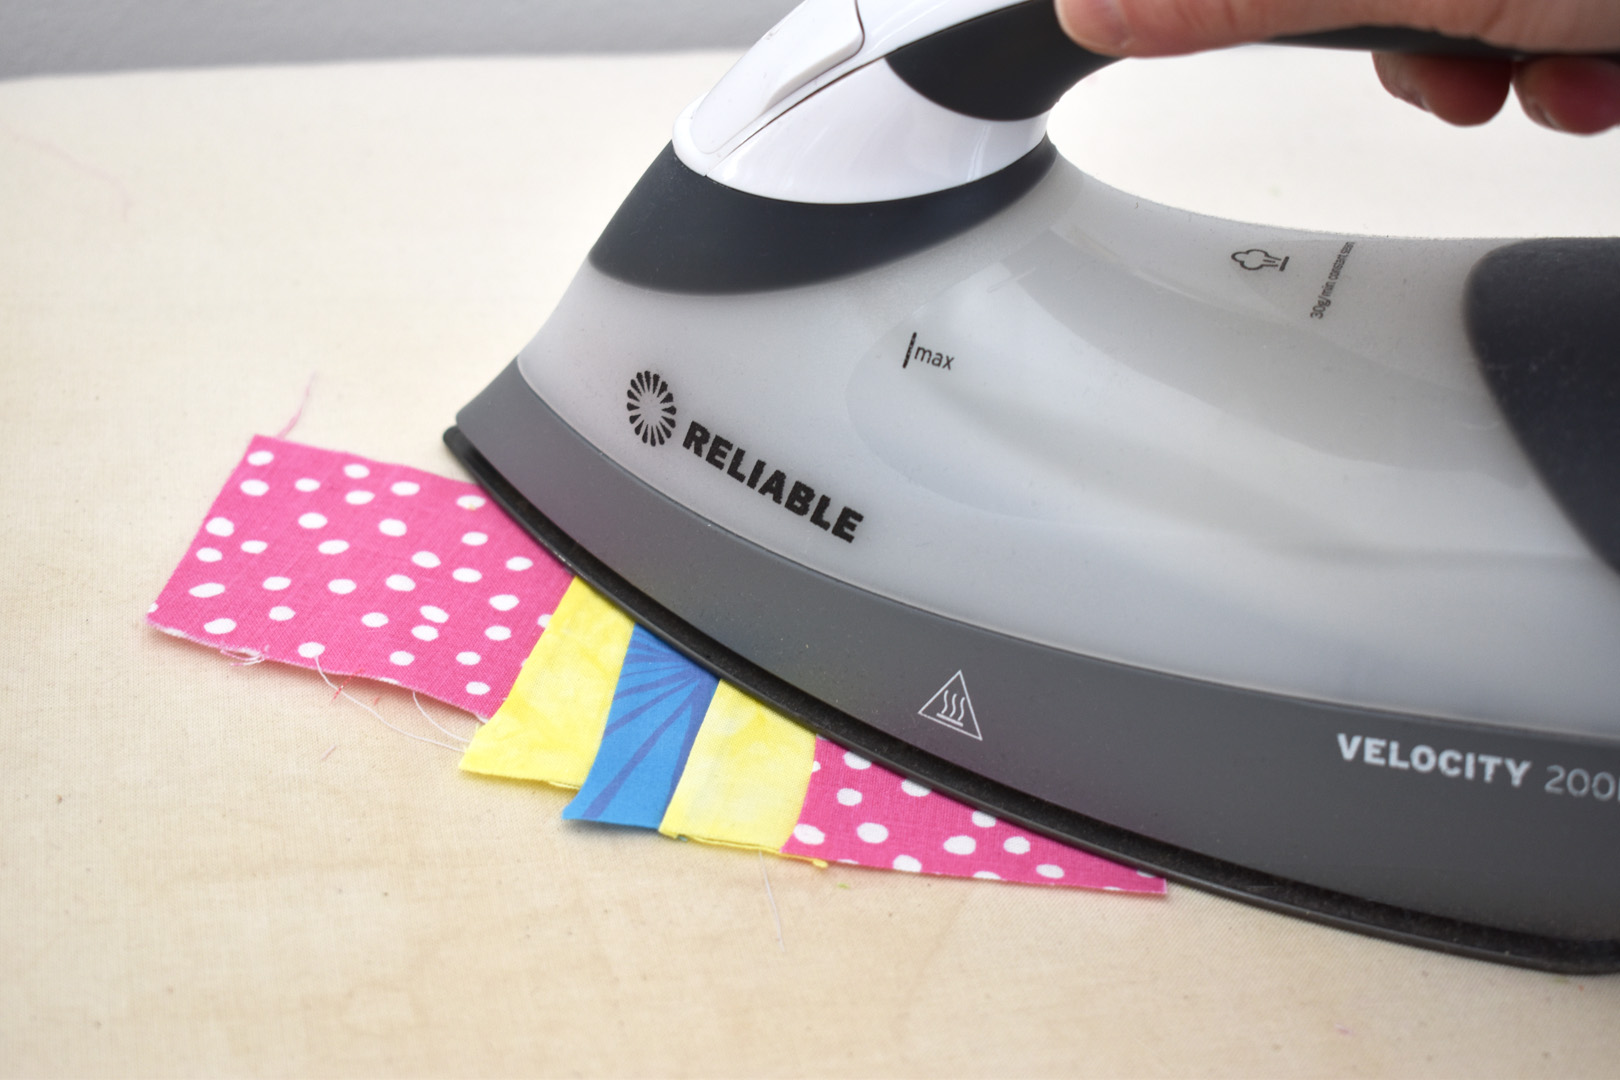
Follow the manufacturer’s instructions to fuse the Craft Fuse to the fabric – and use a press cloth if you want to be 100% sure to keeping any bits of fusible glue from the sole of your iron.
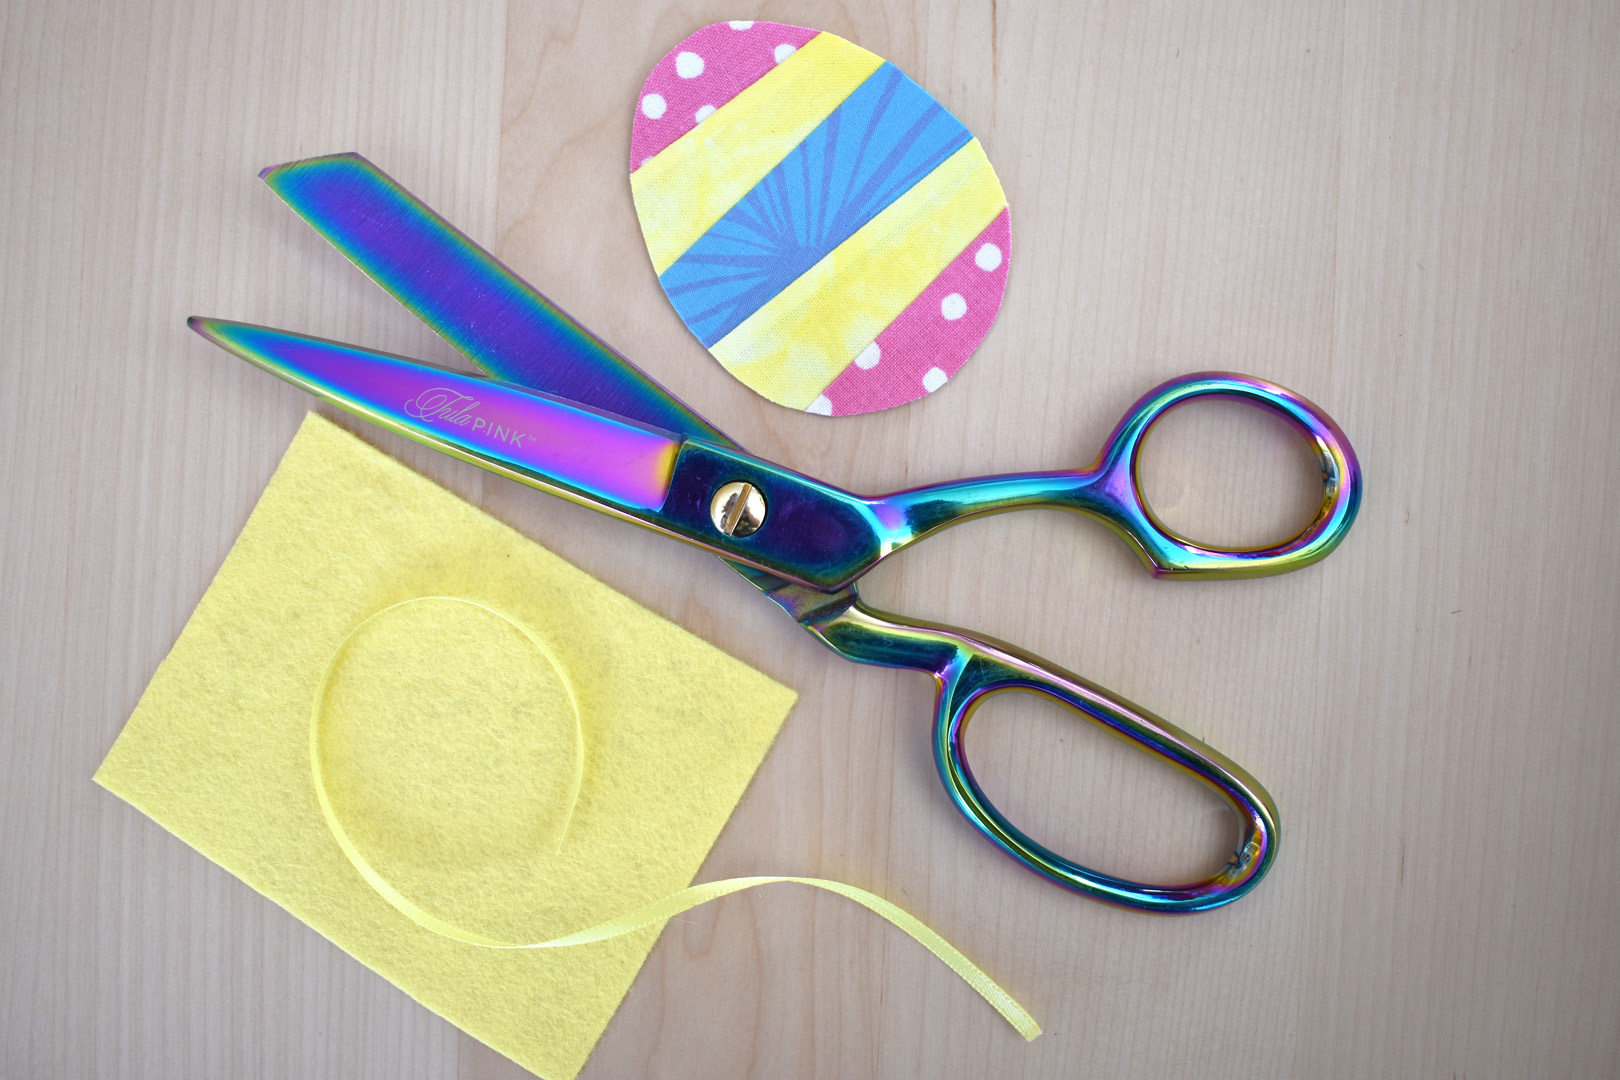
Once fused and cooled down, cut along the outside line of the pattern with a pair of very sharp shears. Now you can see the shape of your egg!
Select a piece of felt to finish the ornament back, cut about 1″ wider than the egg shape on all sides, and cut a piece of 10″ ribbon to create the hanger.
Change the thread on your sewing machine to a coordinating color of embroidery thread for the finishing stitches.

Leave stitch length at about 2.0mm, and lower the presser foot pressure on your machine. Lowering the pressure, or how hard the presser foot is pressing down against the feed dogs of your machine, will help make it easier to move the shape under the foot to sew around the outside edge. I use a setting on my B 570 QE between a 45 and 50, but metrics for presser foot pressure differ between some of the BERNINA models, so you may want to make a test first.
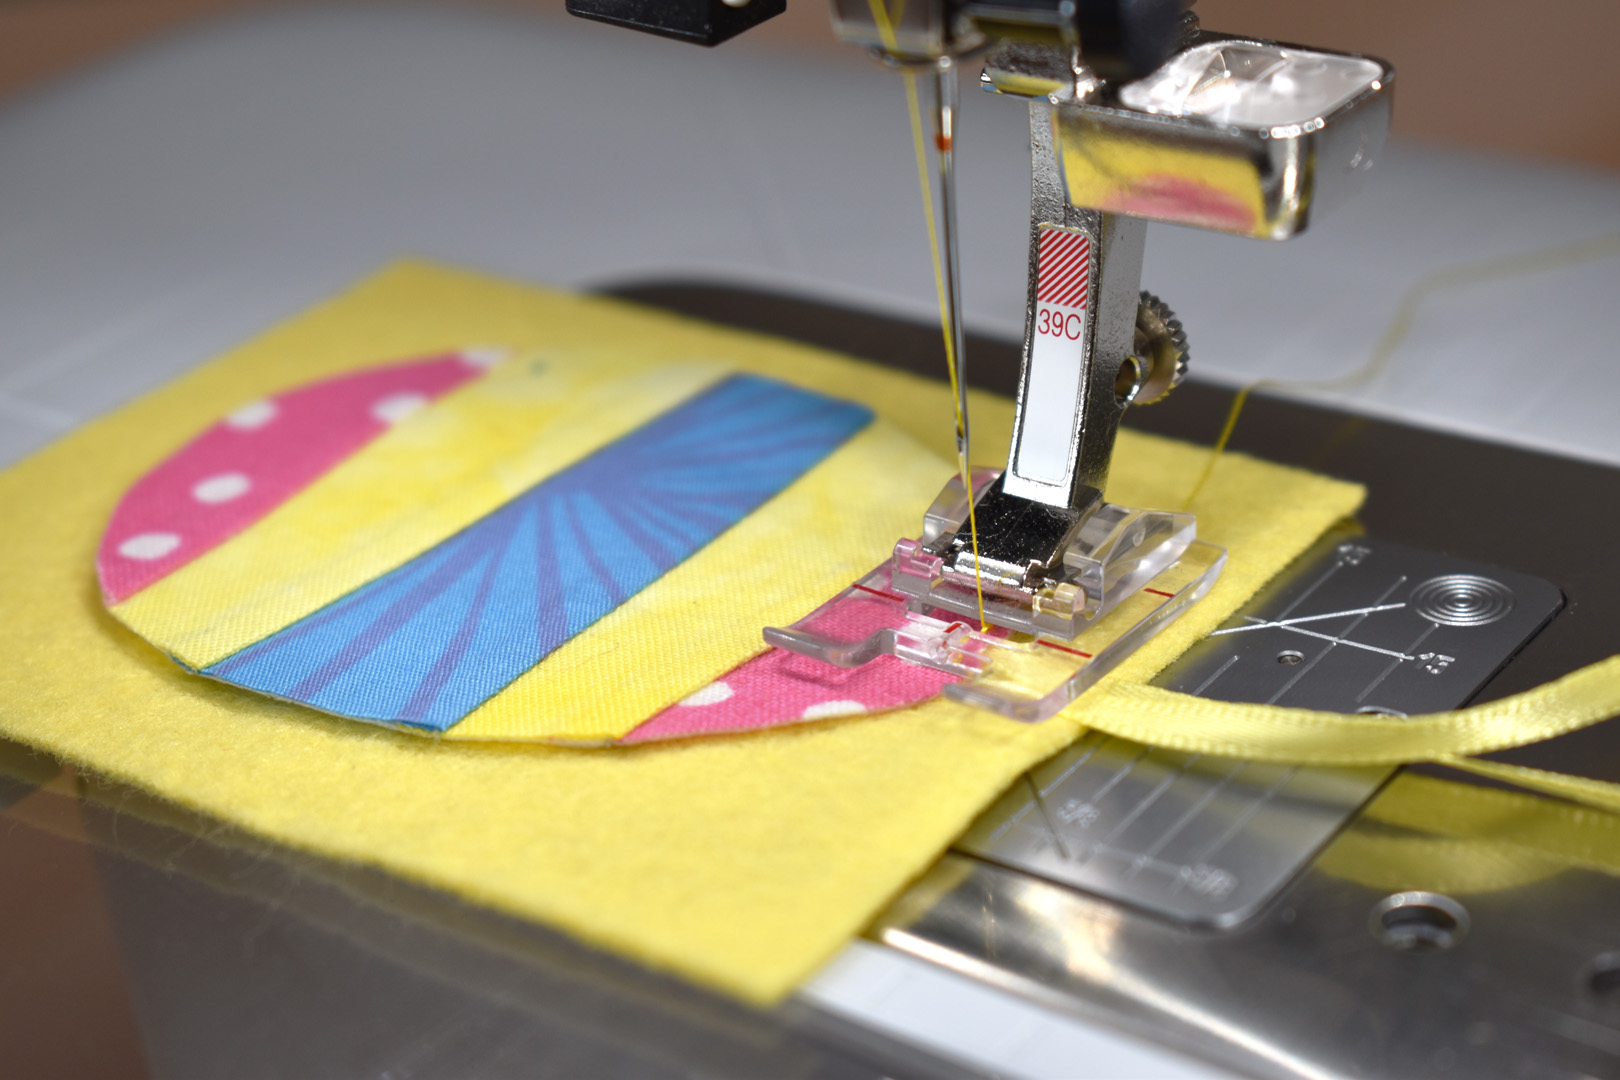
Use a glue stick to hold the egg in place on the felt for topstitching. Add just a little glue at the bottom and middle of the shape, leaving the top glue-free to allow for adding the ribbon hanger. Fold the ribbon in half, and stick the two free ends in between the felt and egg shape at the top-end of the egg. Stitch close to the edge, and start stitching across the ribbon. You can watch the process in the video clip below.
After stitching all around the shape, backstitch a few stitches over the ribbon hanger and remove from the sewing machine.

Use pinking shears to finish cutting the felt around the ornament shape. Hold the ribbon hanger down and out of the way, and cut close to the fabric edge.

And the egg ornament is finished! Read on below to find out how to create the other four ornaments using the techniques you’ve learned in making the egg.
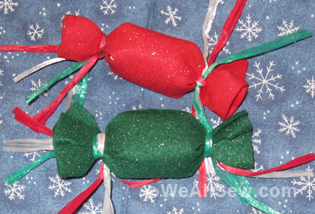
How to Sew a Carrot Ornament
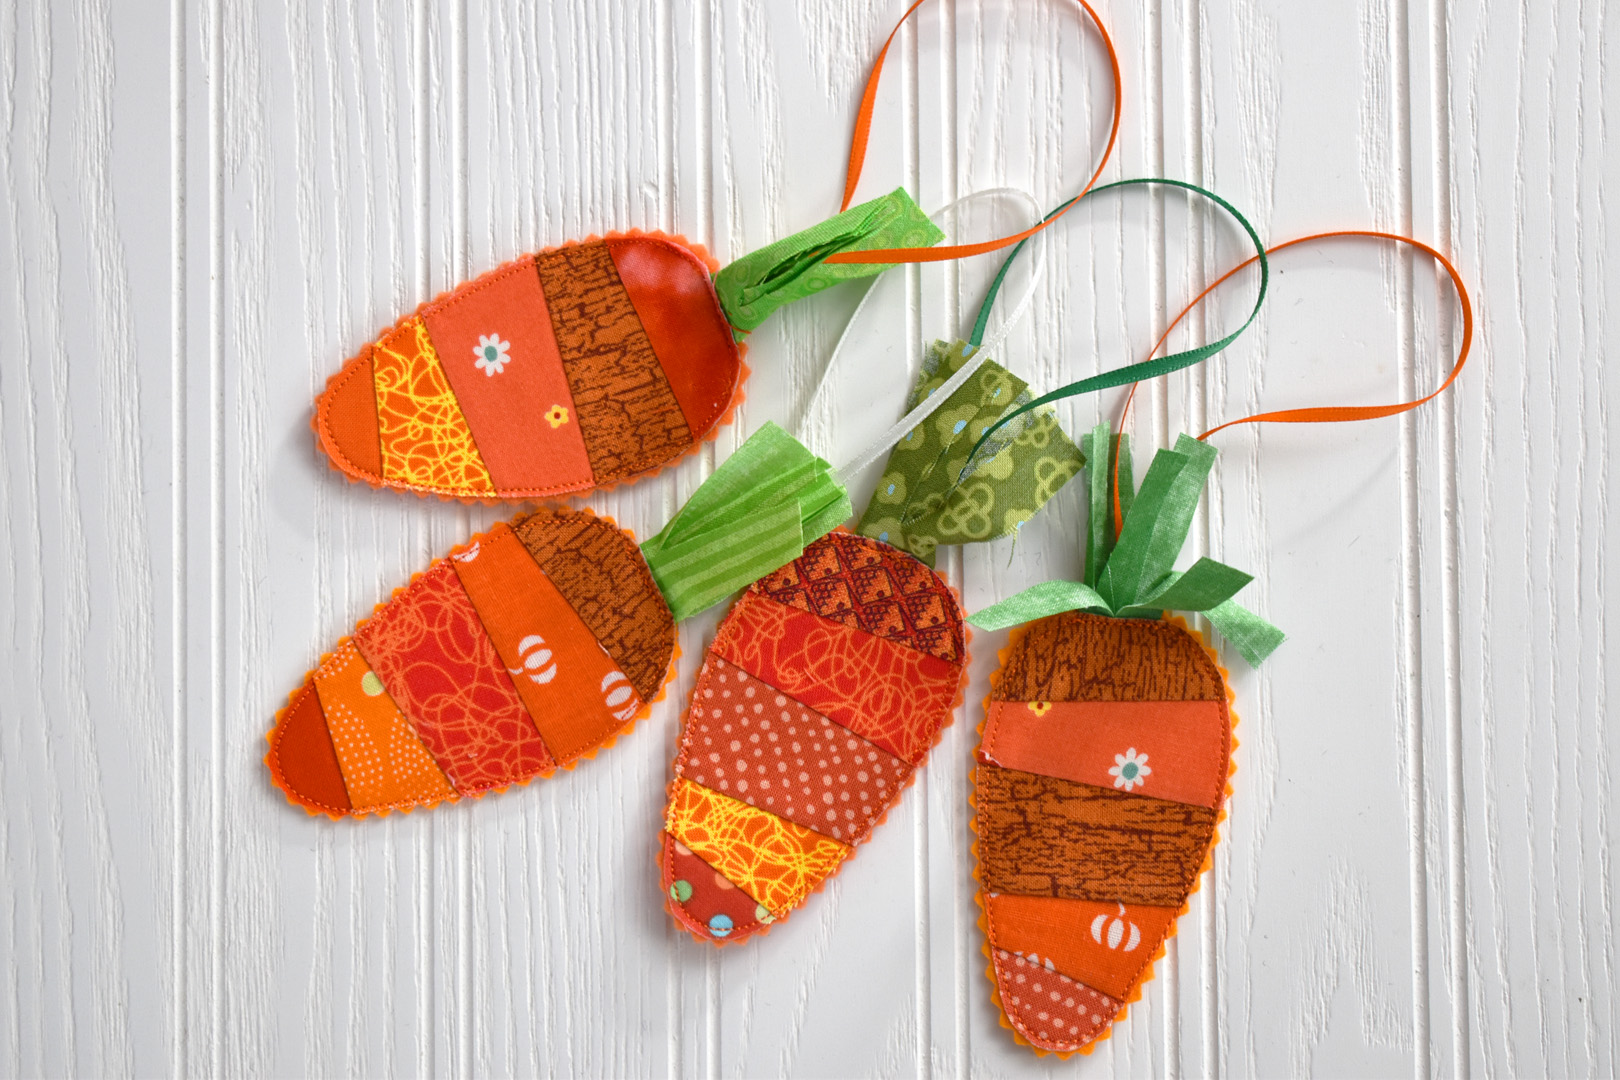
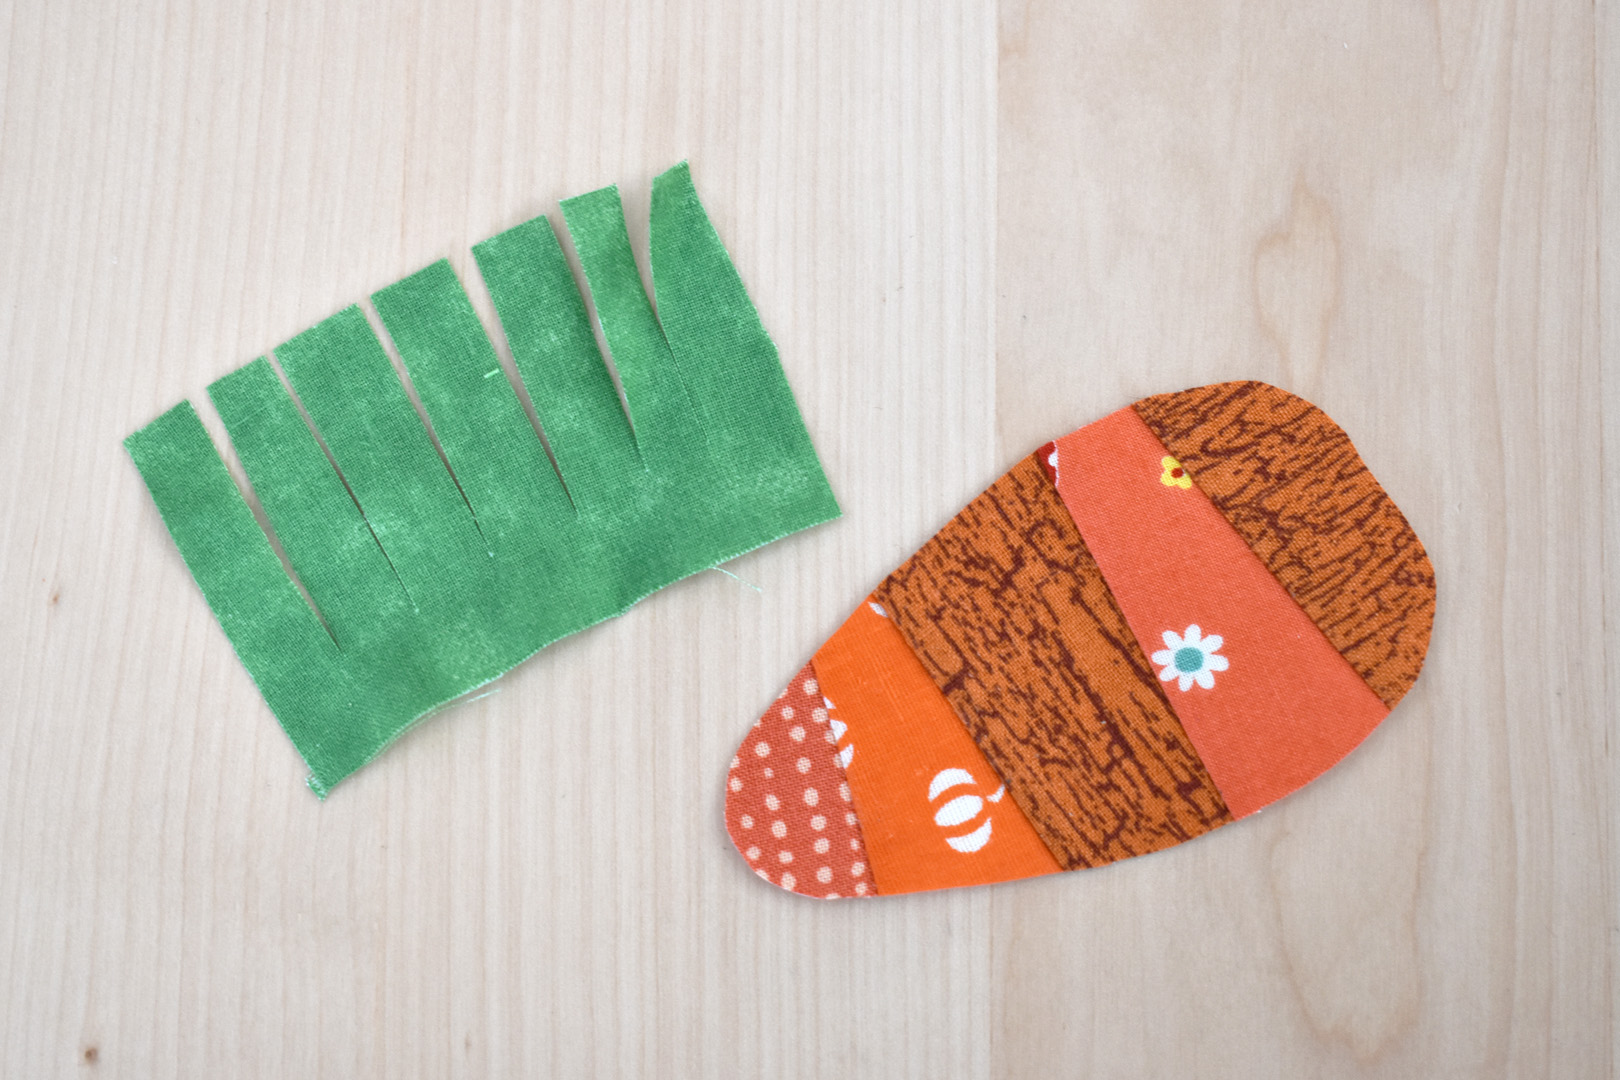
Following the same methods used to make the egg ornament, trace the carrot template on the non-fusible side of the Craft Fuse and foundation piece with orange fabric scraps. Use the carrot top template to cut a rectangle of green fabric, and cut slits as marked.
Cut a piece of colored felt for the backing, and a 10″ piece of ribbon for the hanger.

Loosely roll up the carrot top, right side out, to about 1/2″ wide.
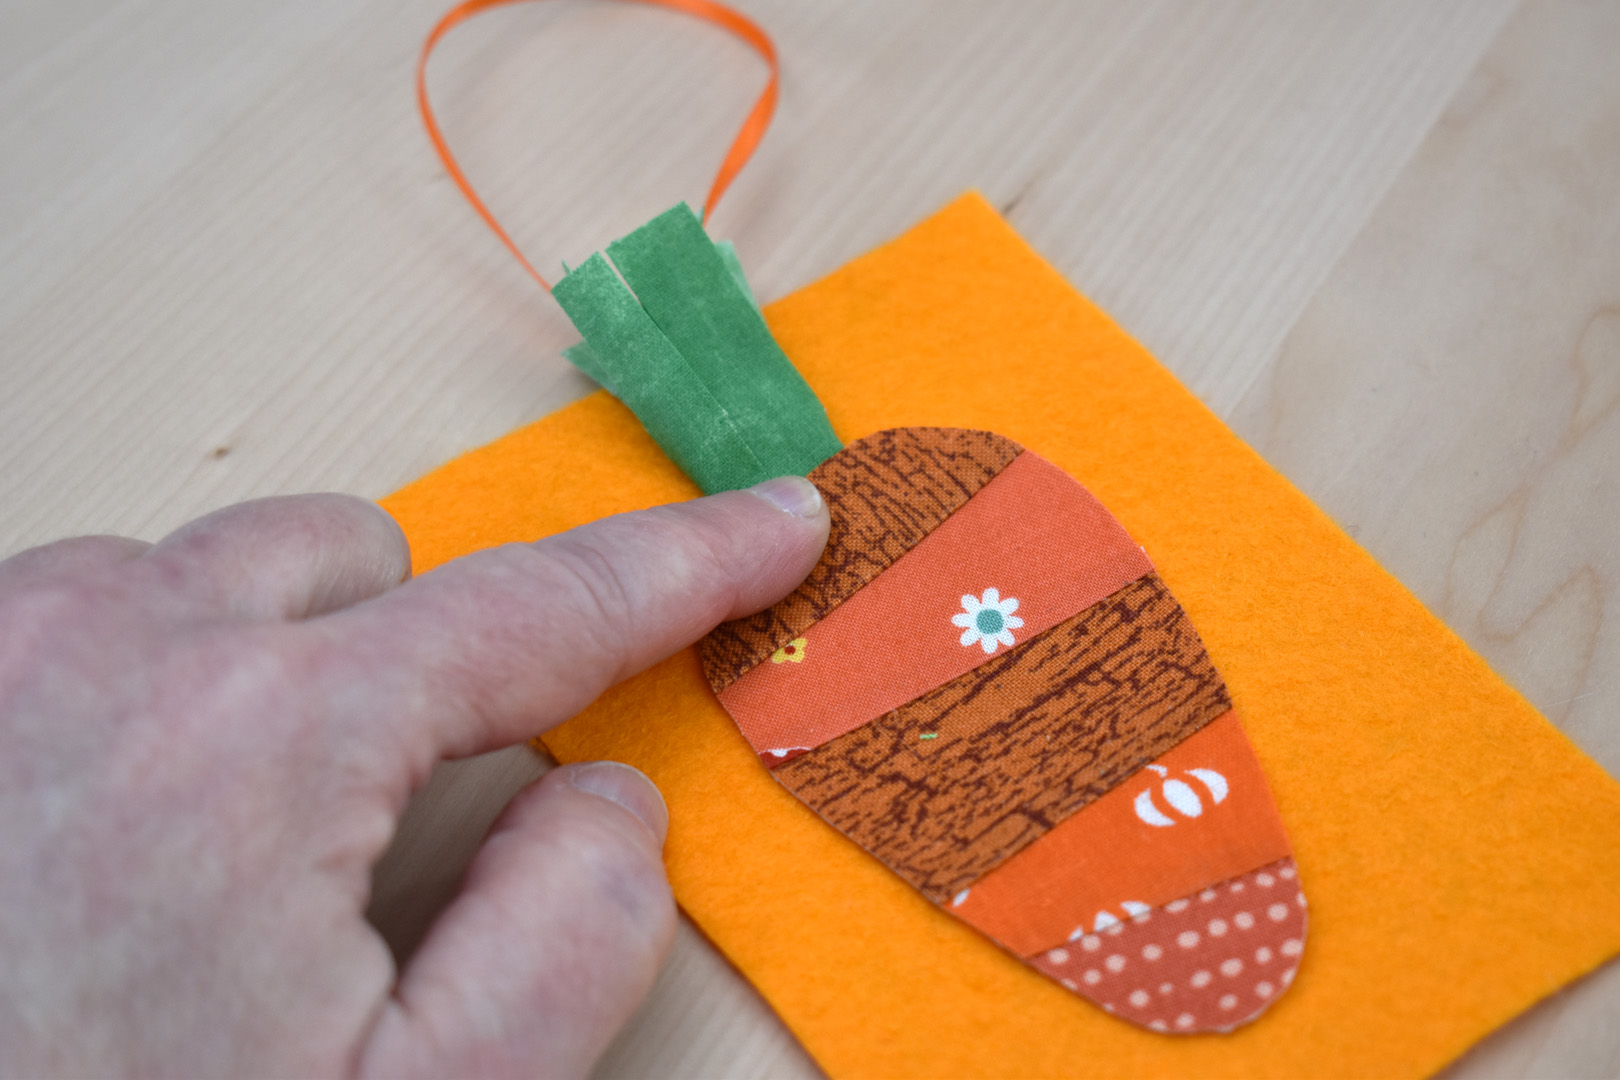
Stick the middle and bottom of the carrot to the felt with a glue stick, but leave the top unglued. Fold the ribbon in half and place the two ends, along with the rolled-up carrot top, in between the top-end of the carrot and felt. Edge stitch around the carrot and cut the extra felt with pinking shears.
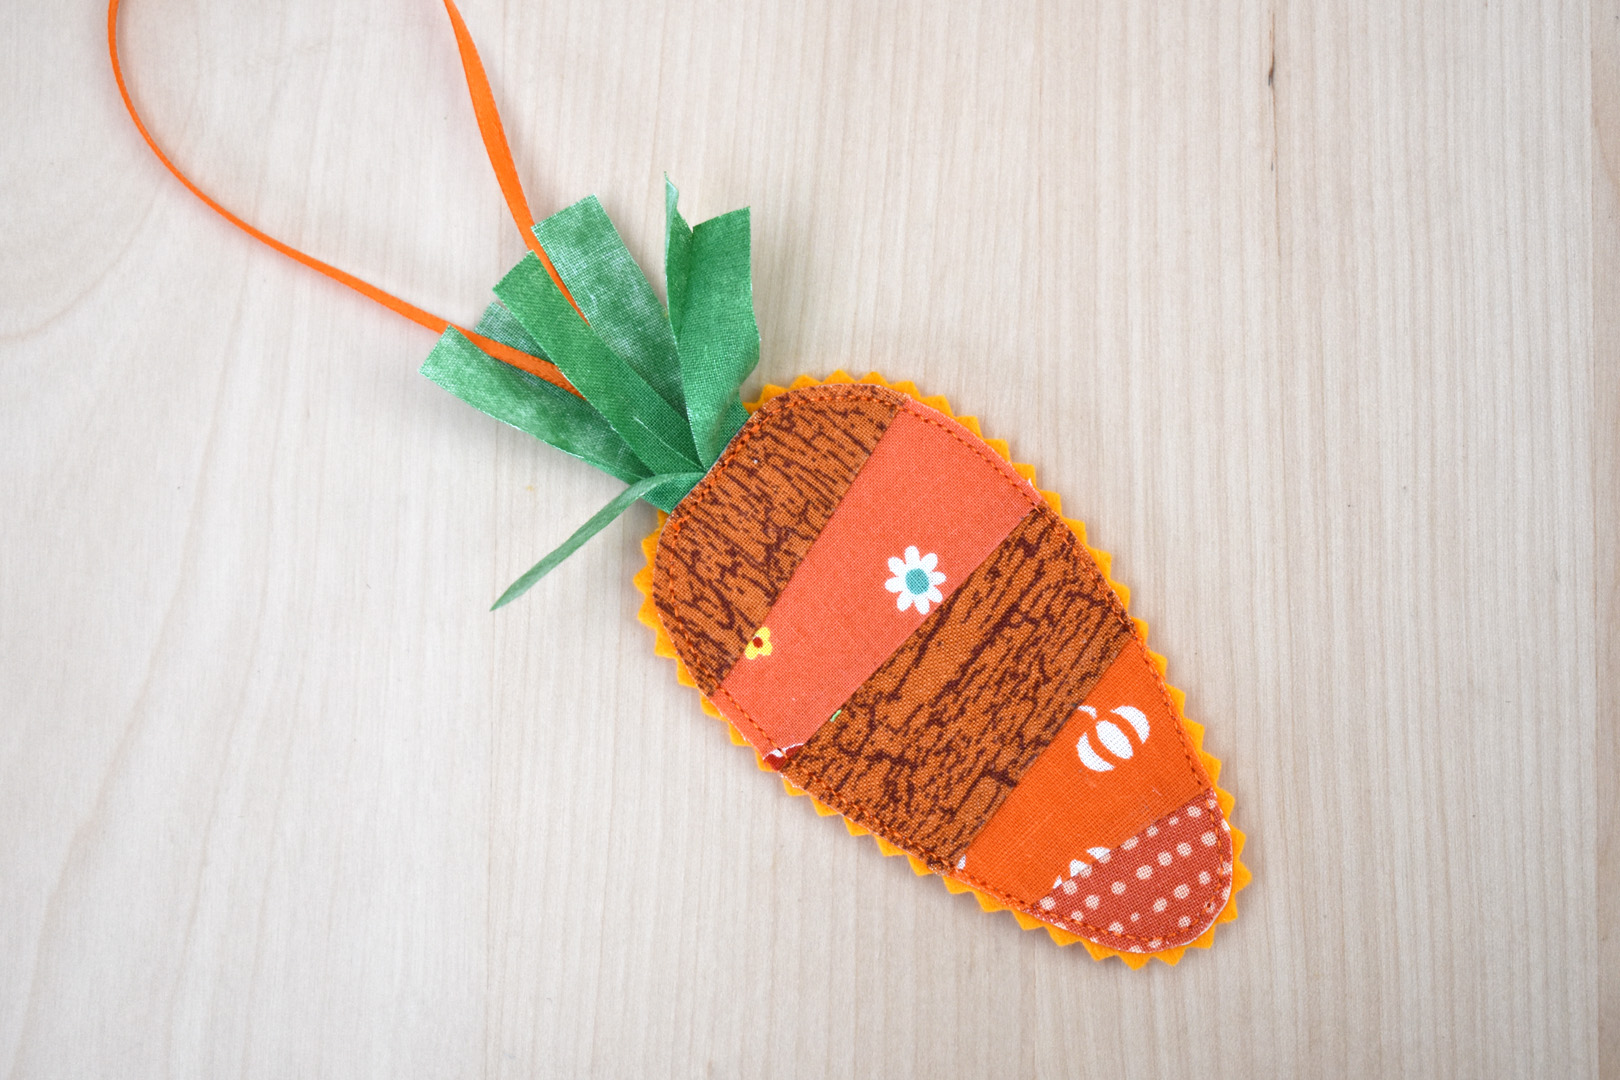
Pull the green carrot top apart with your fingers, and the carrot ornament is finished.
How to Sew a Bunny Ornament
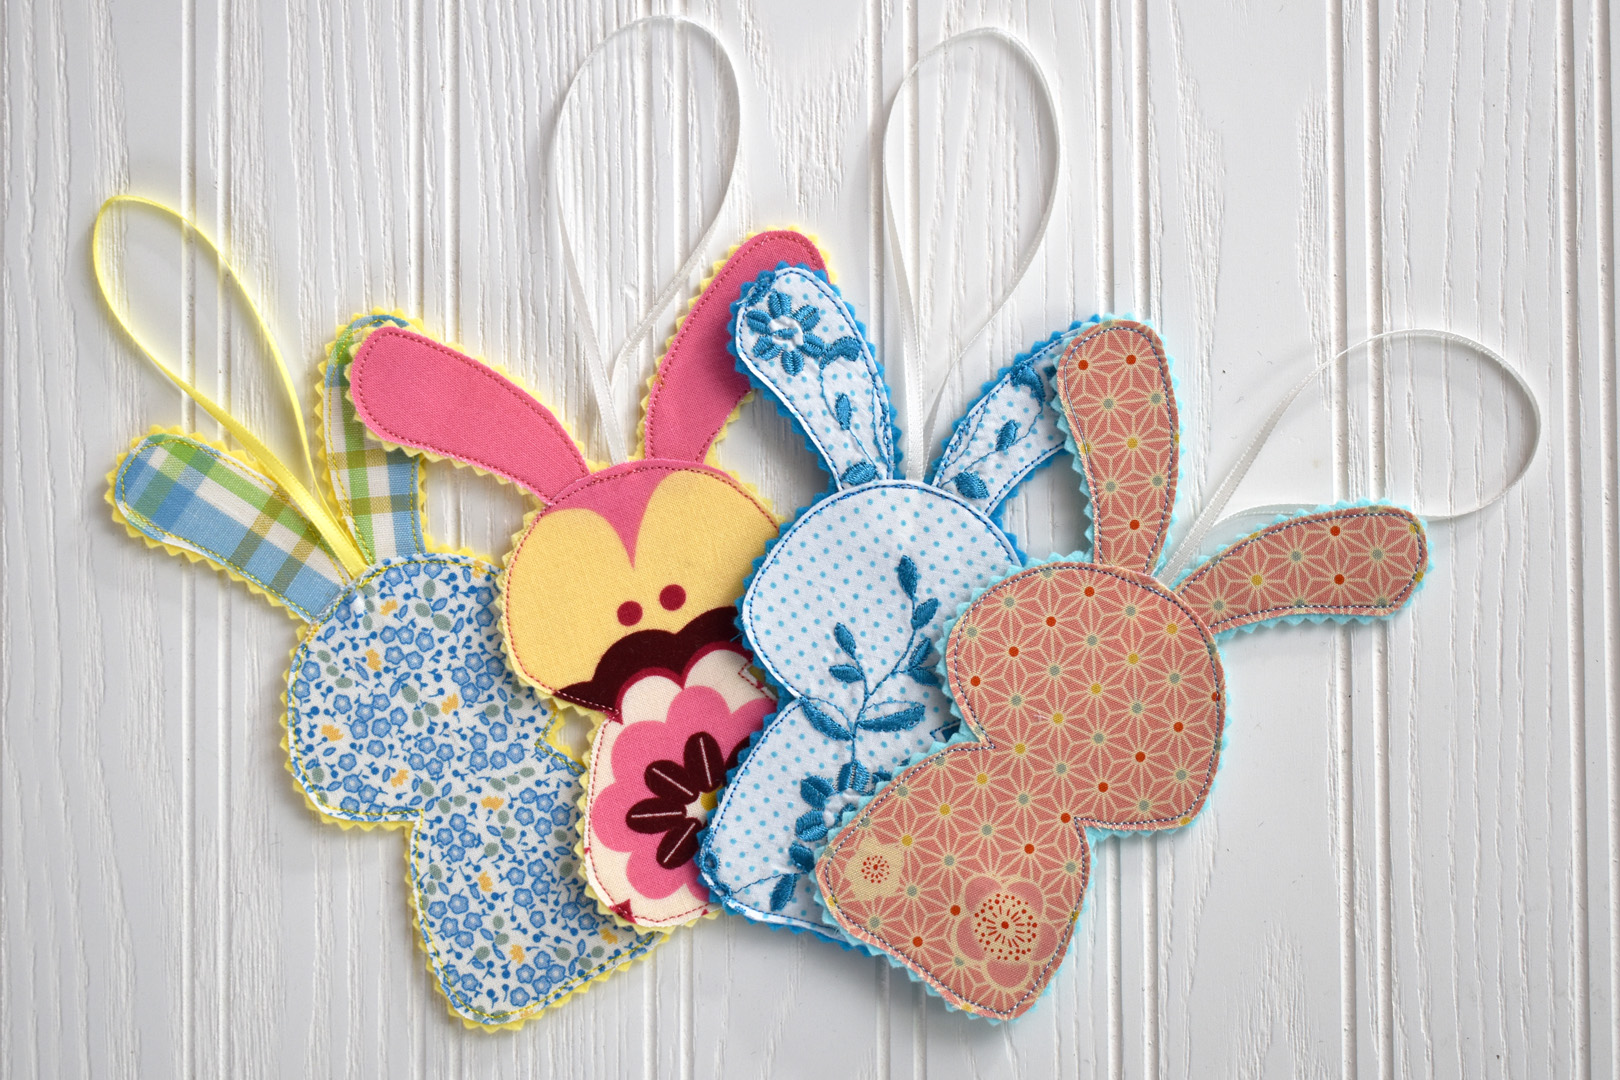
The bunny pattern does not require any foundation piecing! Just trace the bunny body and ears on the non-fusible side of Craft Fuse, then fuse to the wrong side of fabric and cut out the shapes. The large body of the bunny allows you to choose a fabric that will really shine, like a floral, a piece of fabric with embroidered motifs, or a favorite color. You can cut the bunny and both ears from the same fabric, or create ears from a different color or print.
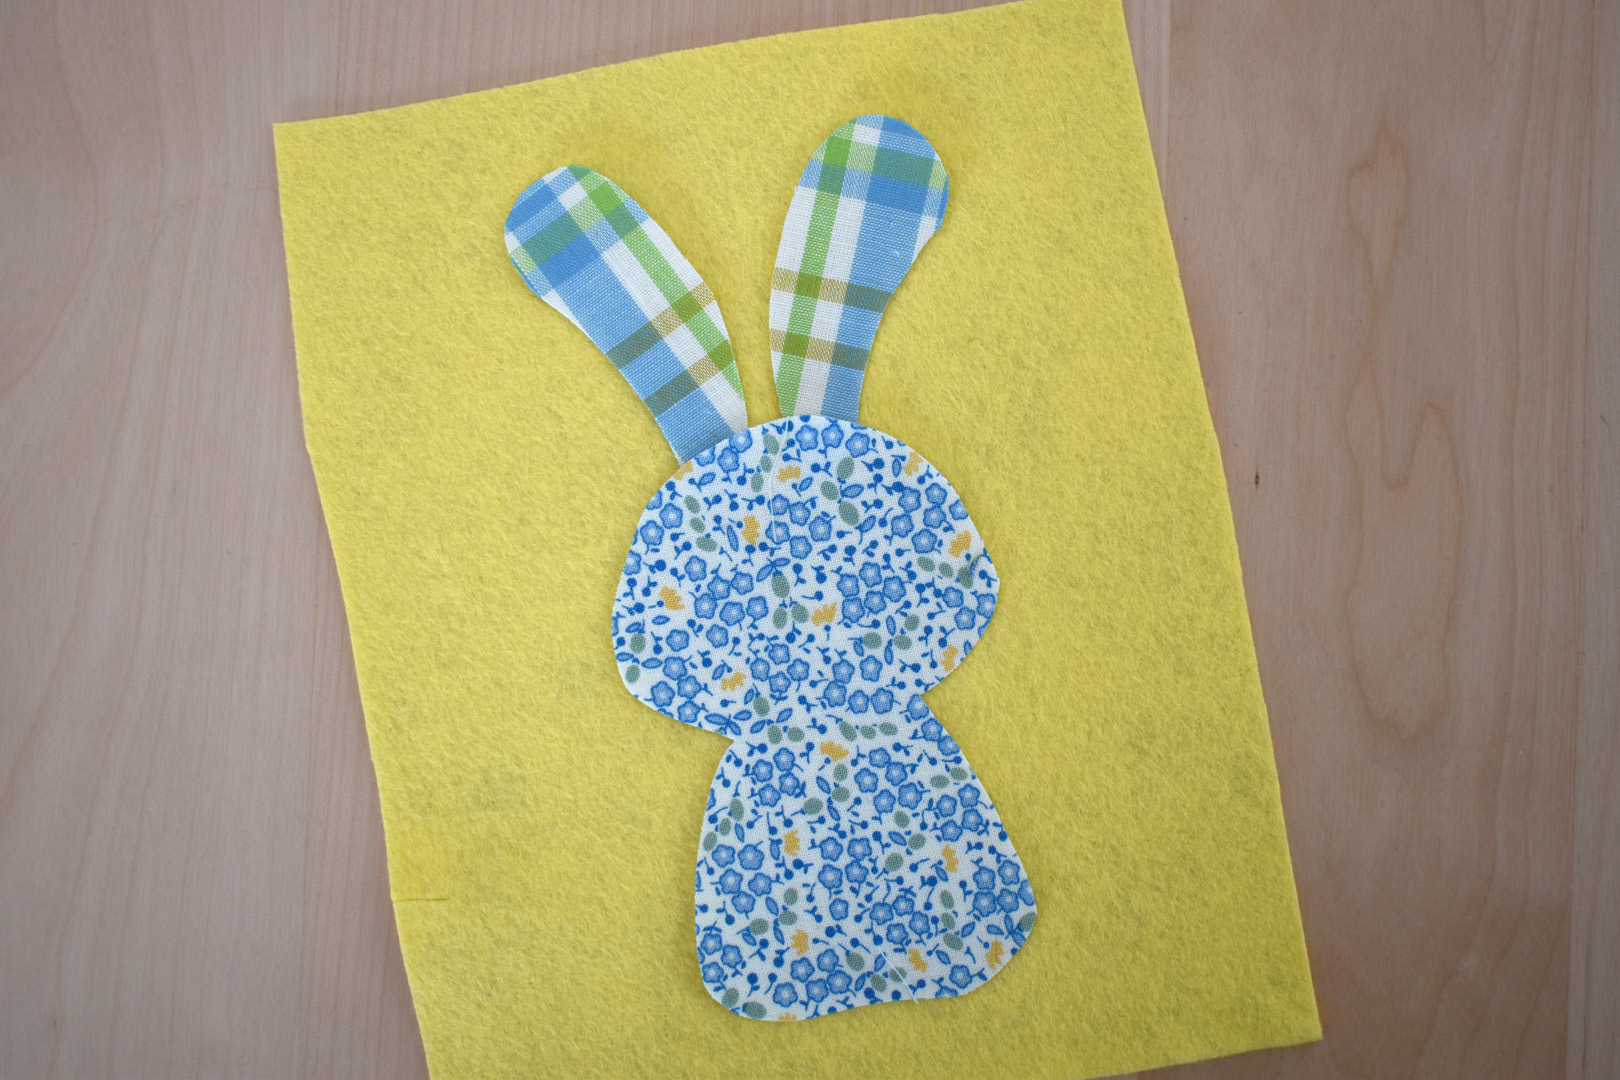
Cut a piece of colored felt backing for the bunny, and a 10″ piece of ribbon for the hanger. Arrange the ears however you like (you can make a droopy eared bunny, or make the ears alert like mine), and begin by using the glues stick to secure the ears in place. Remove the bunny body and stitch only the ears down in place first.
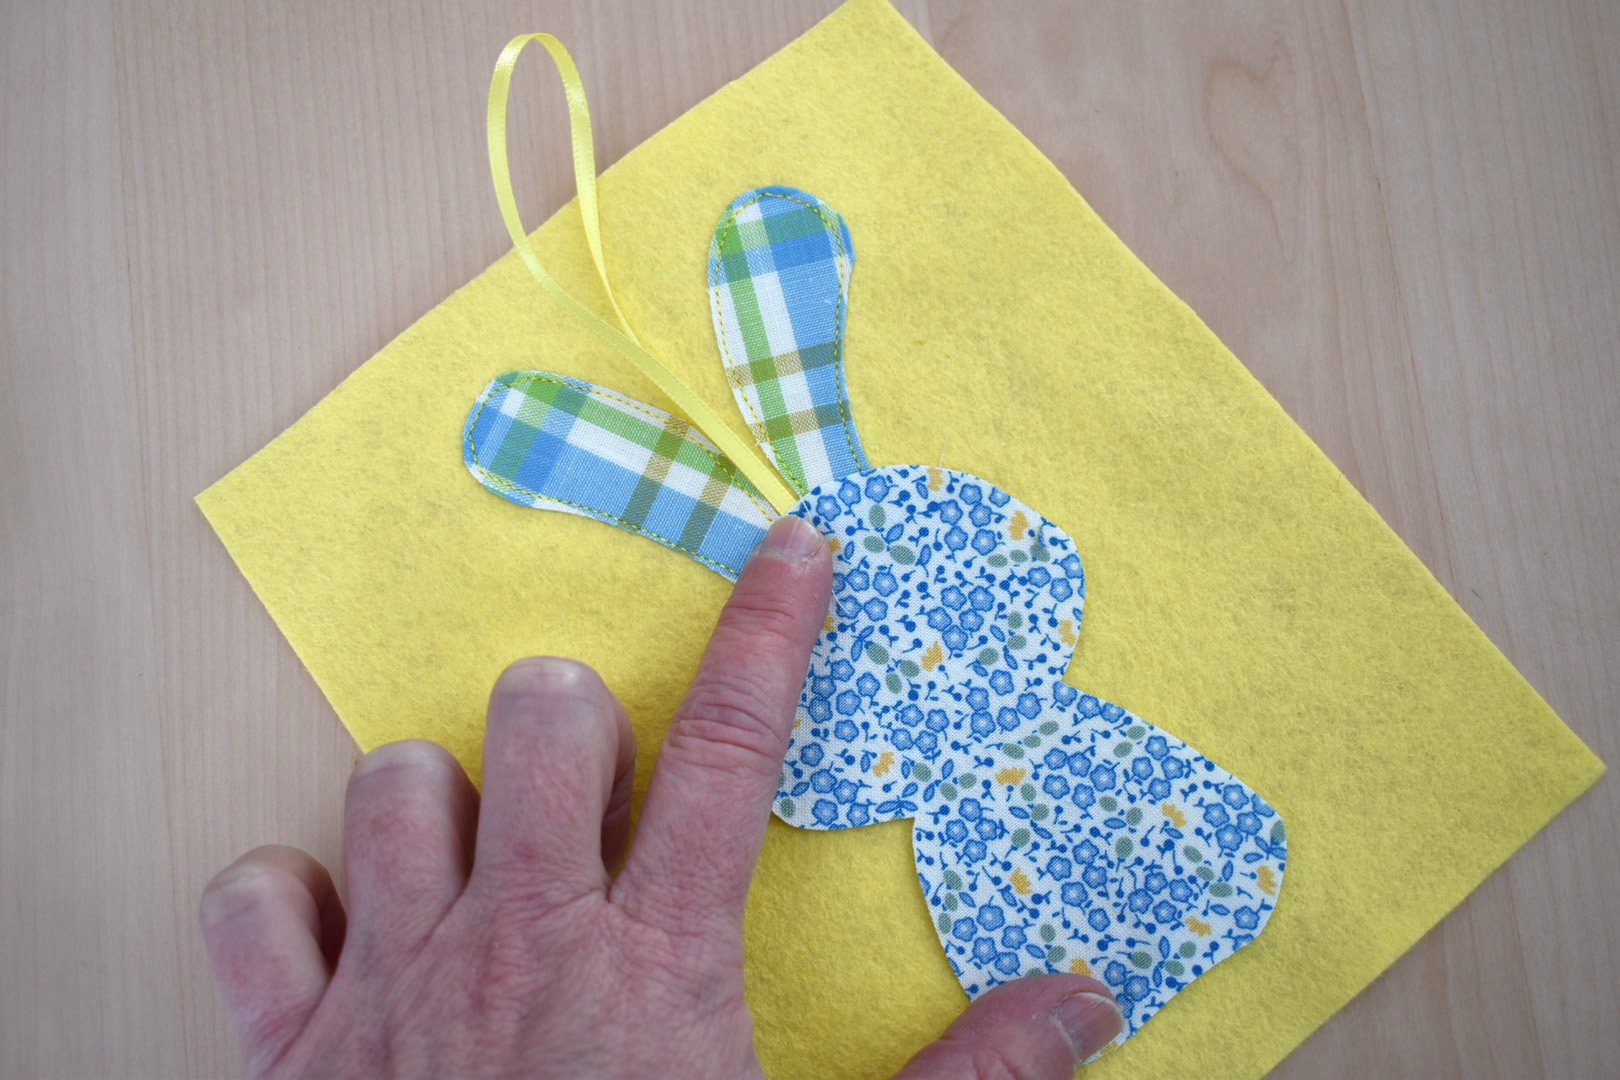
Place the bunny body back over the ears, using a bit of glue stick on the bottom part to hold in place. Fold the ribbon in half and slip the two ends between the top of the bunny head and the felt. Stitch all around the outside edge of the bunny body.

Finish by cutting the felt close to the fabric with pinking shears, and the bunny ornament is finished.
How to Sew a Flower Ornament
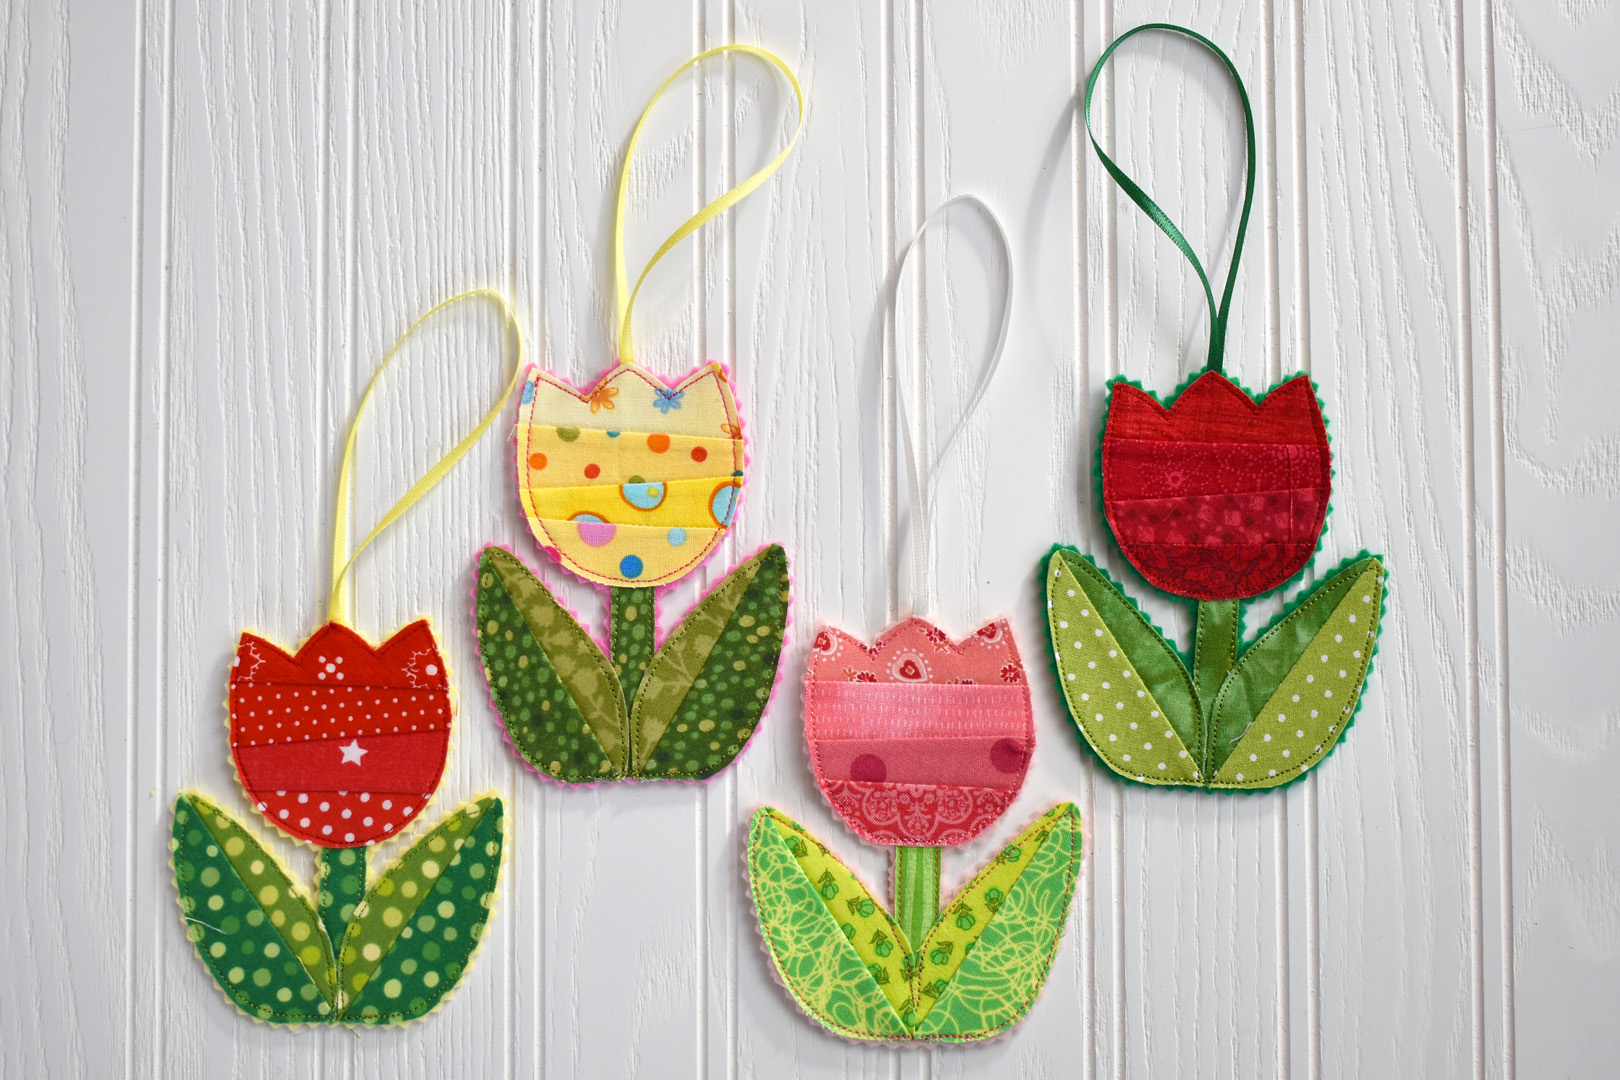
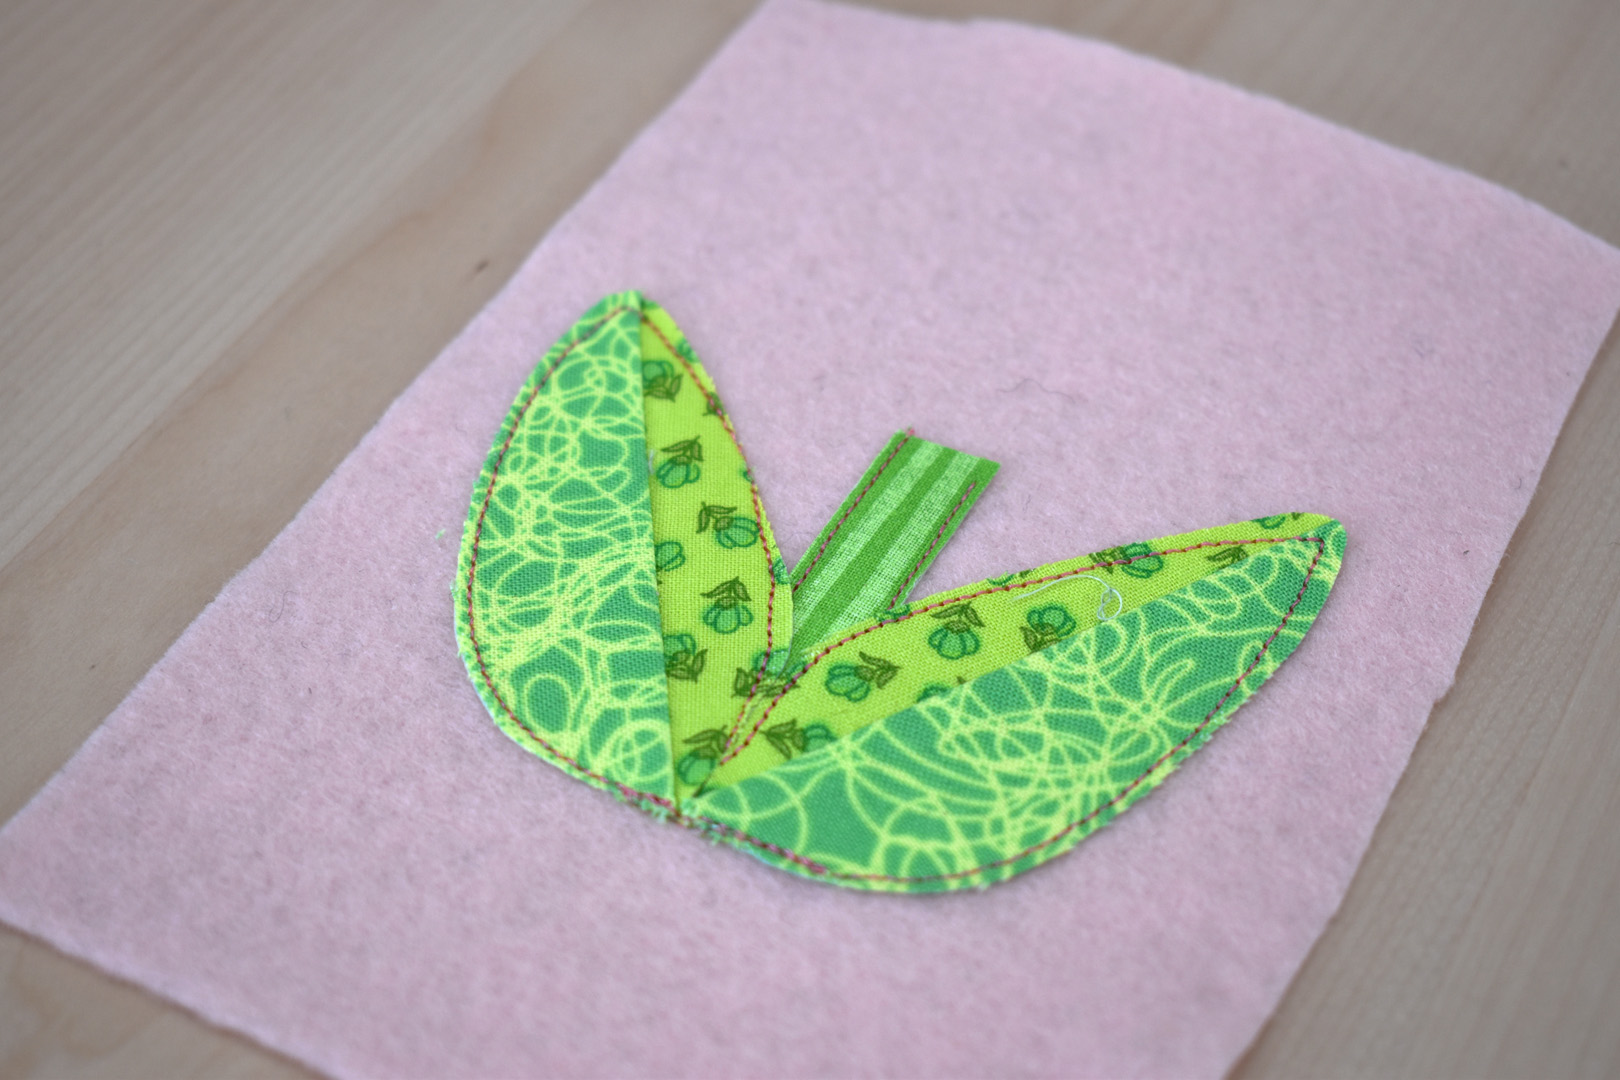
Following the same methods as in the Easter egg ornament, trace all parts of the flower on the non-fusible side of the Craft Fuse. The flower head is foundation pieced with 4 different fabrics, the leaves are foundation pieced with just 2 fabrics, and the stem is simply fused to a single piece of fabric and cut out.
Complete all parts of the flower and arrange on the felt backing.
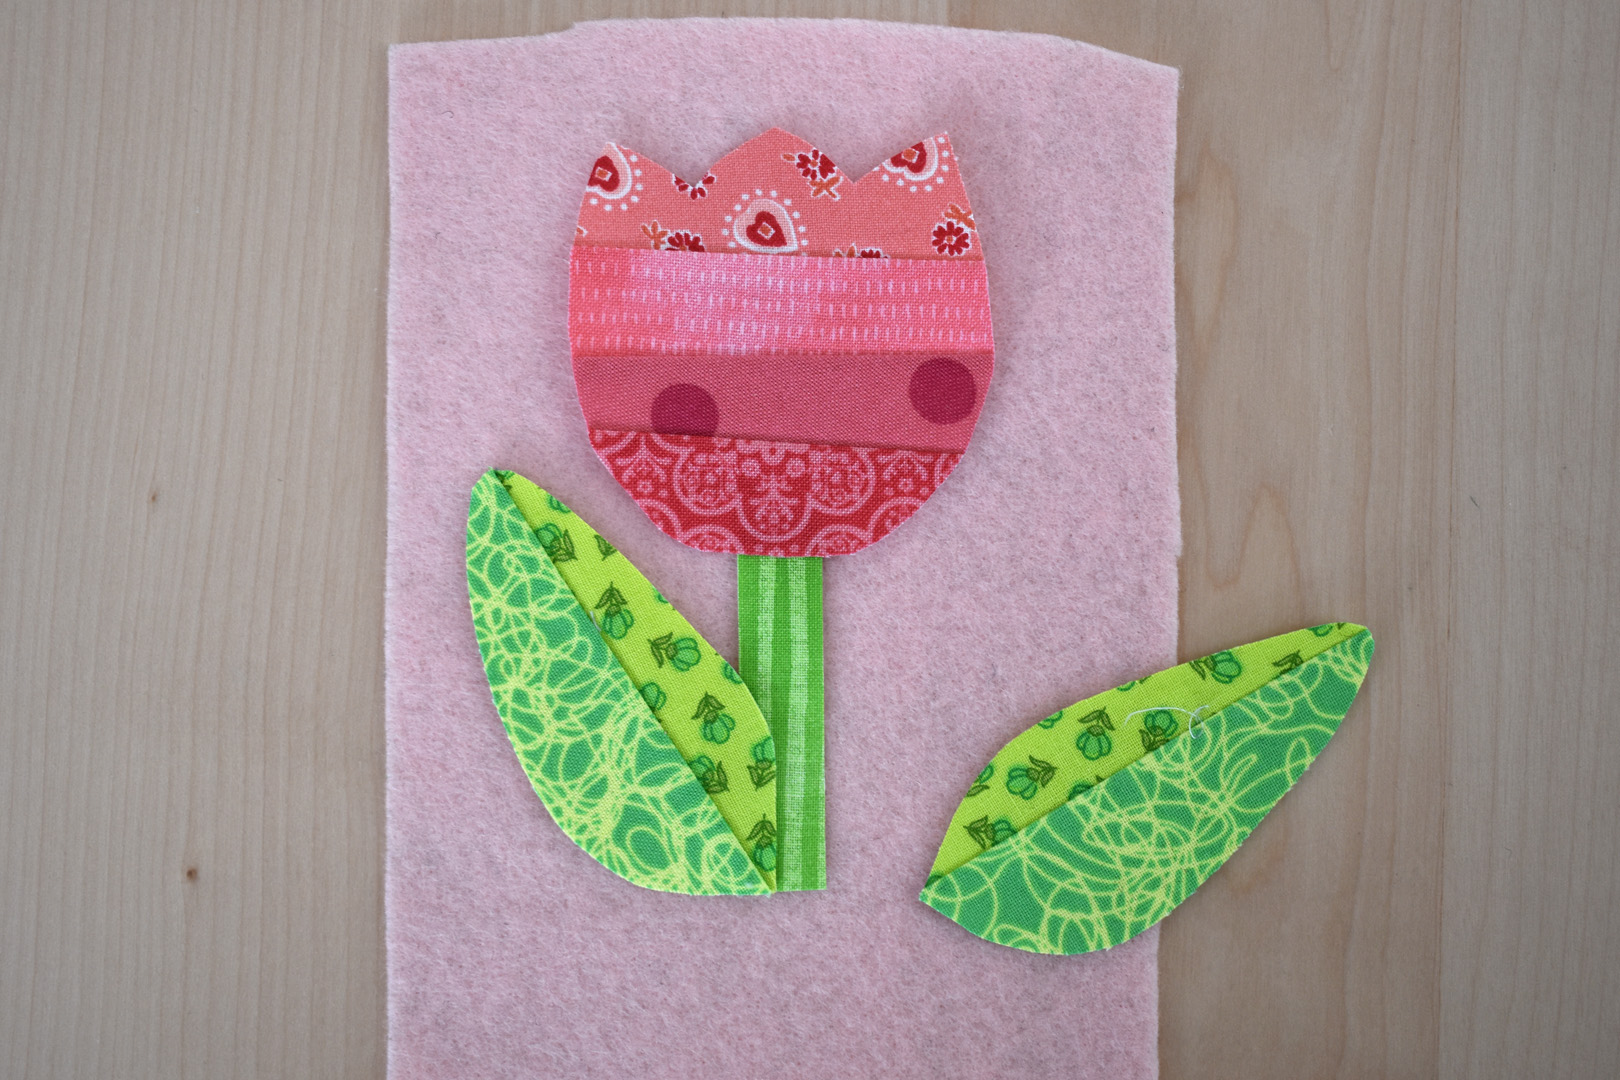
Arrange the stem in place first, followed by the two leaves touching each other at the bottom of the stem, and place the flower overlapping the top of the stem. Do not glue in place yet! When arranged, remove all pieces except the stem, and stitch only the stem to the felt to secure in place.
Then replace the leaves, using a little glue stick to hold in place, and top stitch to the felt.

Next, replace the flower top, insert the ribbon hanger ends at the top center flower petal, and stitch in place.
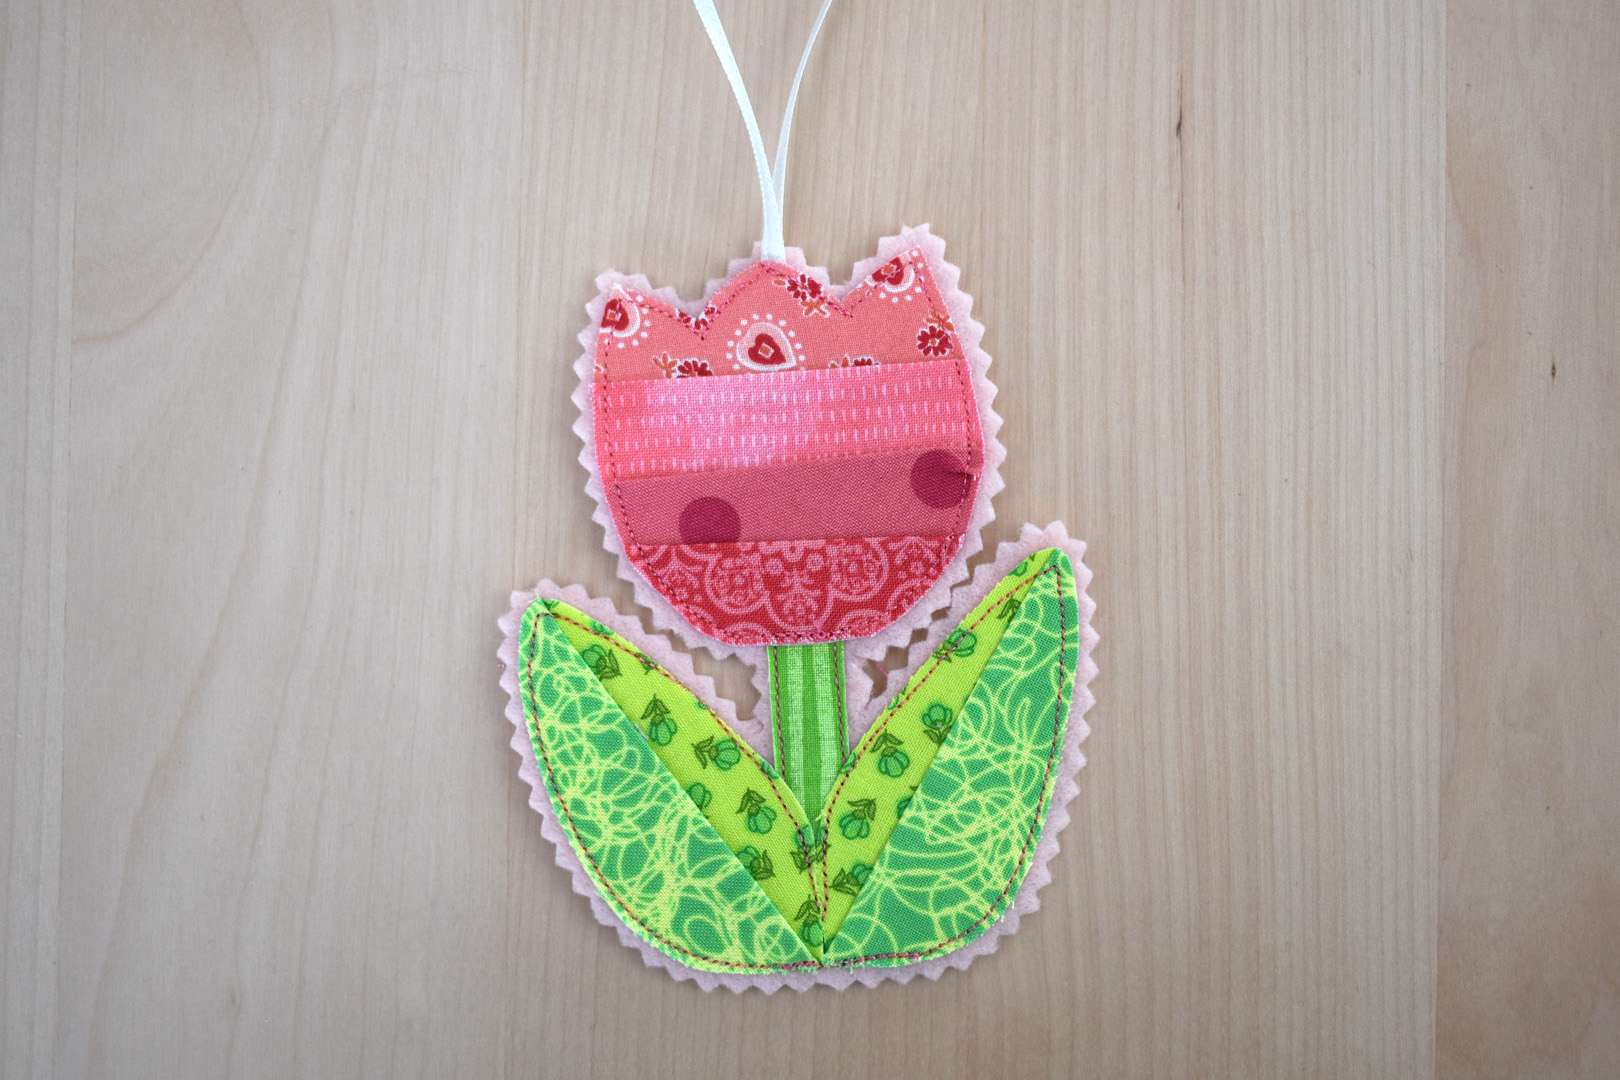
Finish ornament with pinking shears, being careful in those tight spaces between the leaves and stem. I find that cutting slow and steady with the pinking shears makes the tight spaces a bit easier to maneuver. Your flower is finished!
How to Sew a Bee Ornament
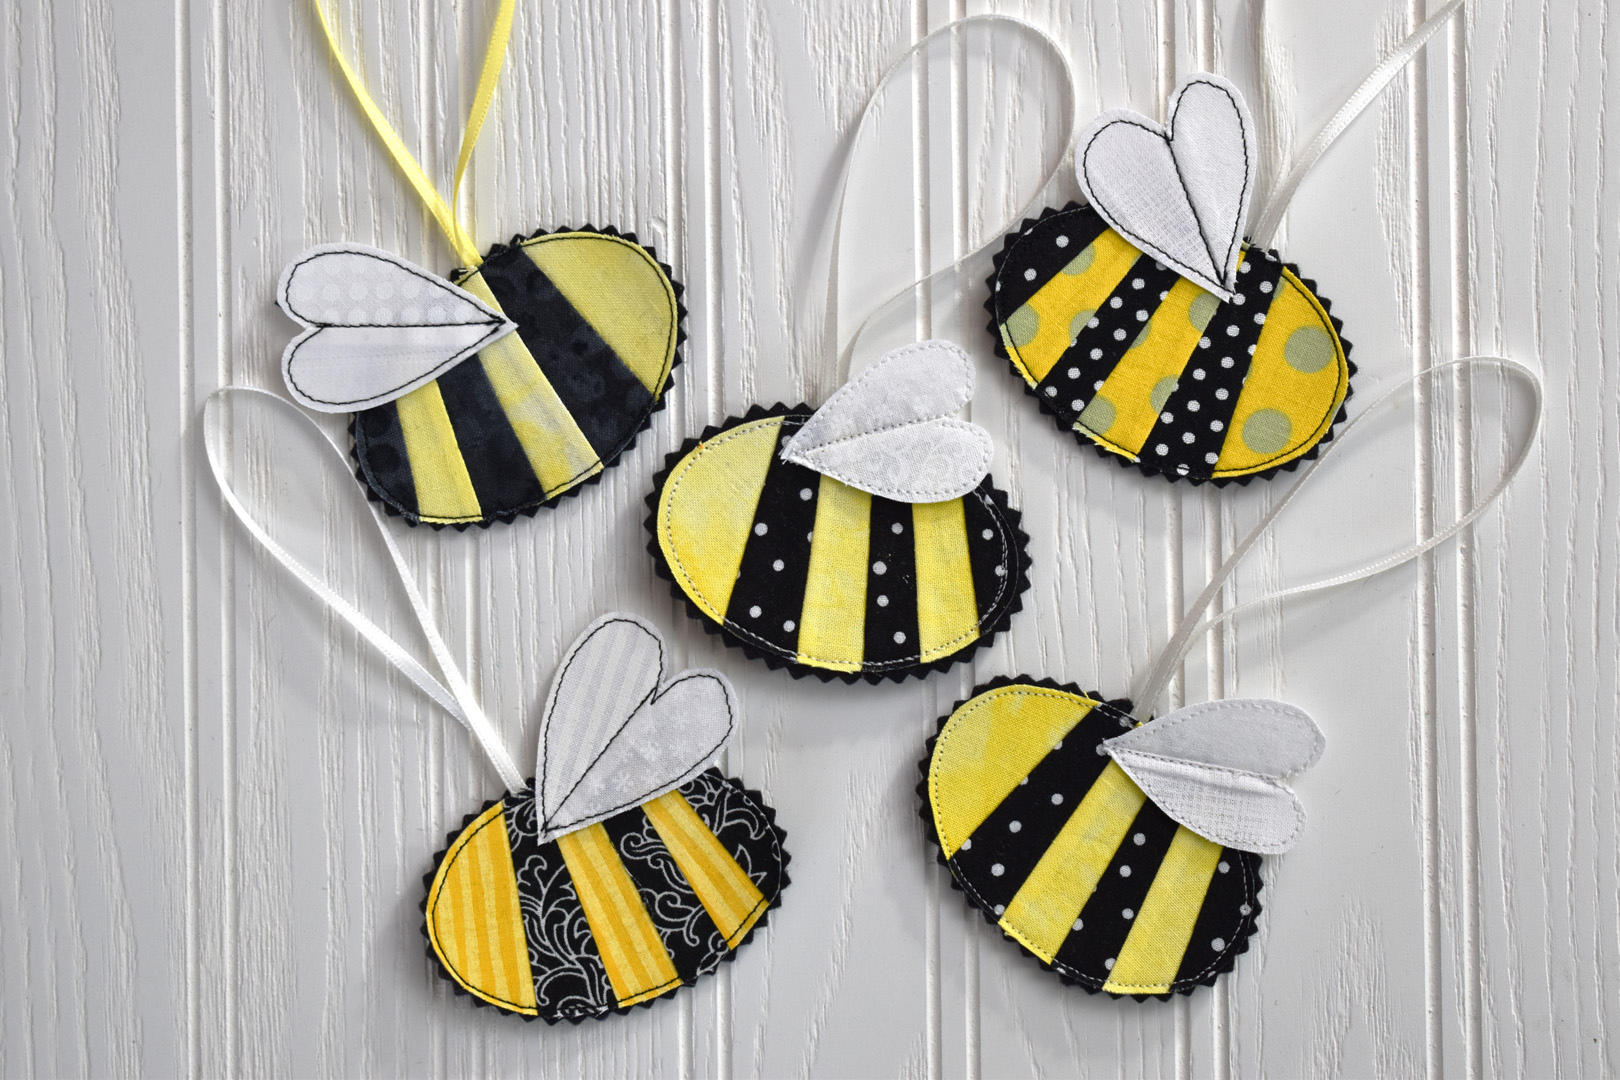
Following the same methods used to make the egg ornament, trace the bee and wing template on the non-fusible side of the Craft Fuse. Tip: to create bees going in the other direction, flip the template over and trace from the back side on a light table! Foundation piece the bee body with yellow and black scraps, remembering to always start with yellow for the “1” section of the pattern.
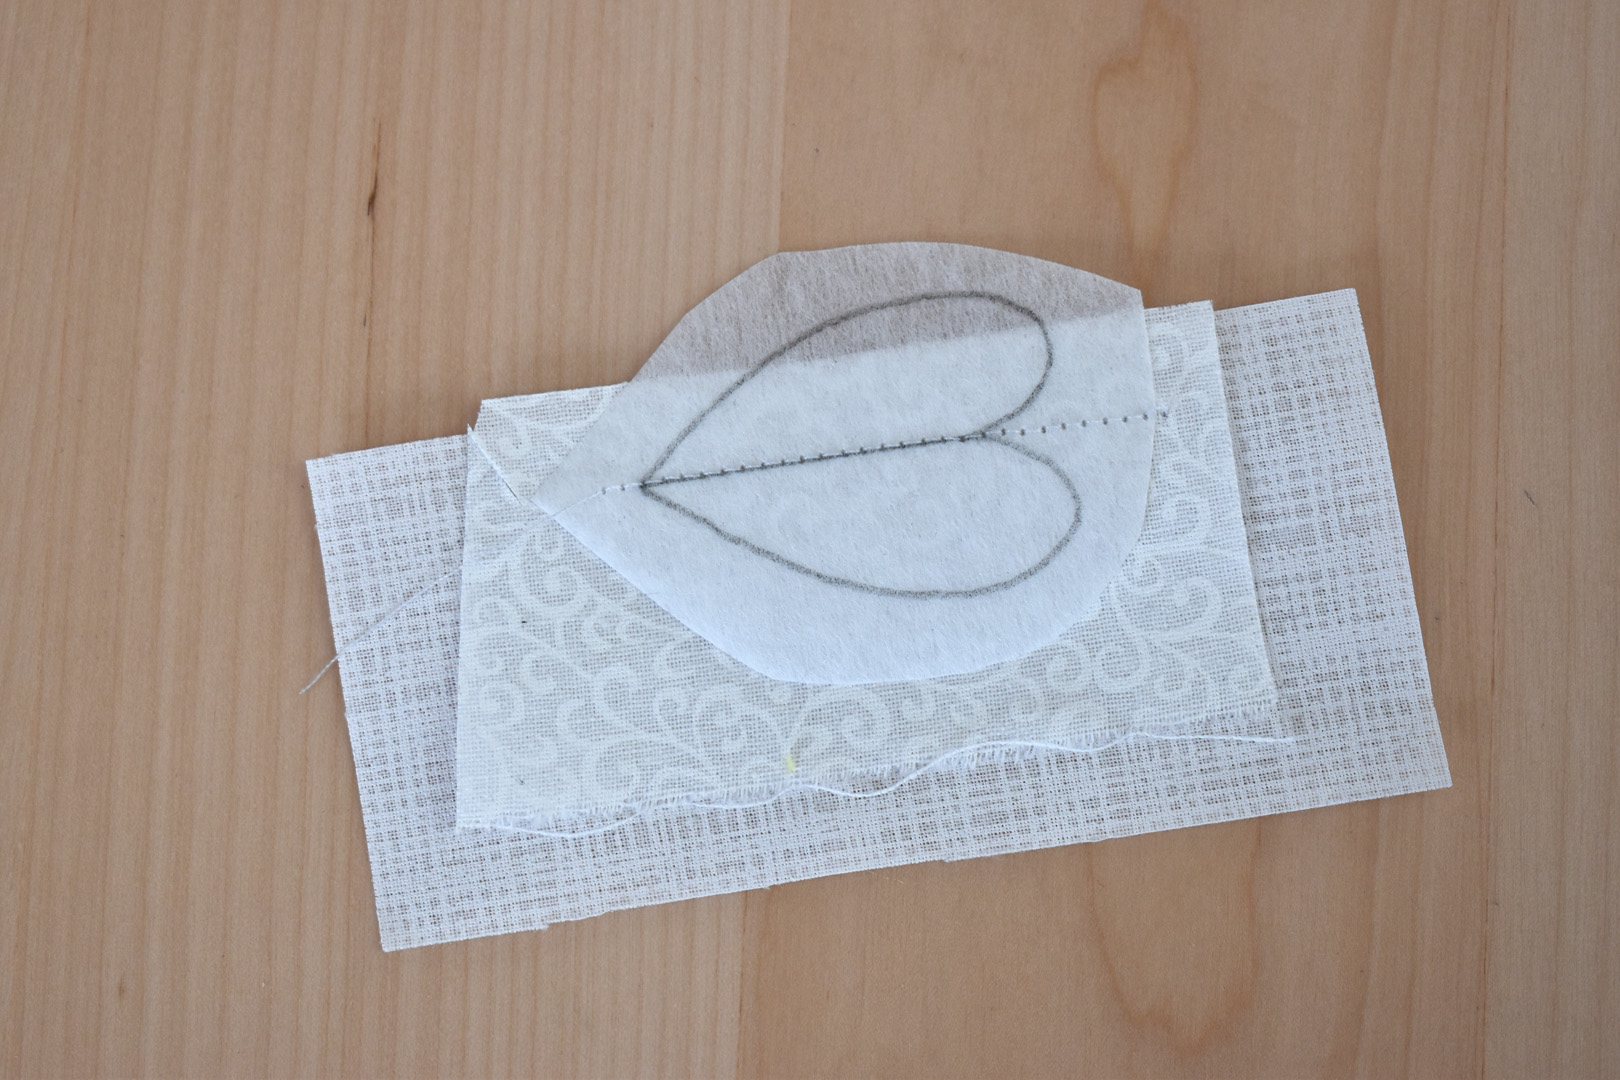
In the final version of the template, numbers are removed from the bee wings so it will not show on the other side. Start with either side of the wing when foundation piecing this piece. As a final step for the bee wings, top stitch around the outside edge of the wings before assembling the bee in the next steps (I used white thread on this bee, and black thread on some others).
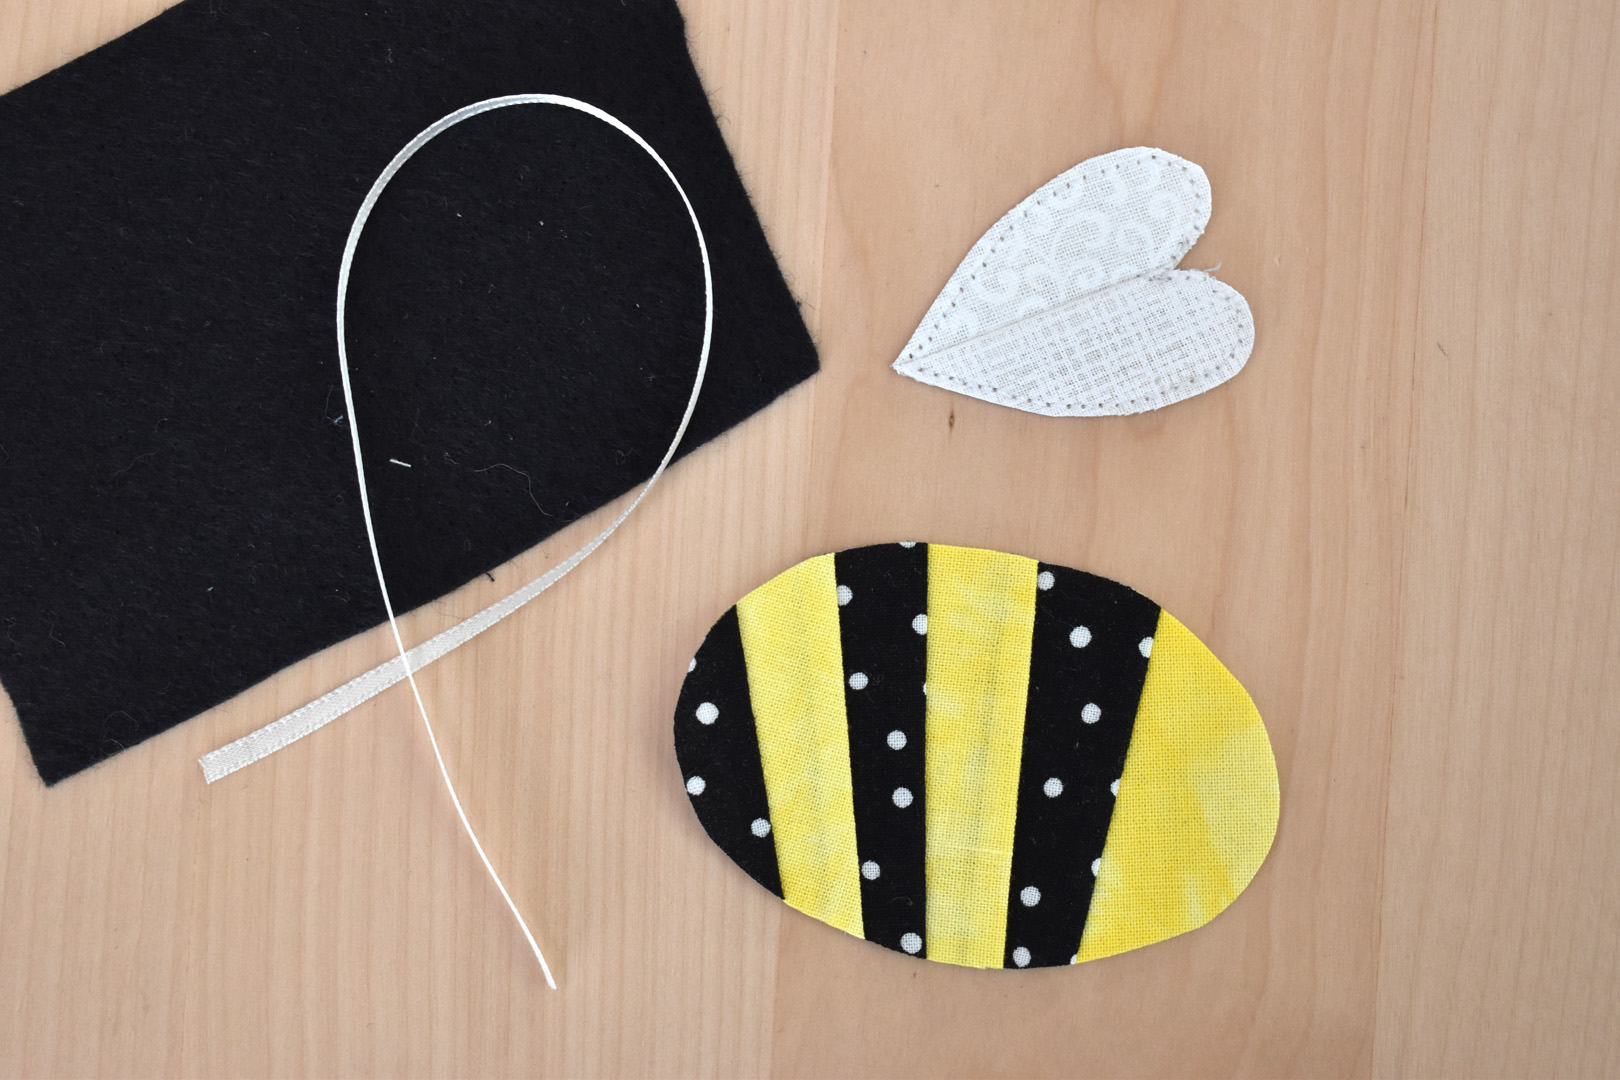
Assemble all the bee pieces; the finished bee body, top stitched bee wings, cut piece of felt for the backing, and a 10″ piece of ribbon for the hanger. Place the bee body on the felt with a little glue stich to hold it in place, fold the ribbon in half, and place the ribbon in between the bee and felt near the top center of the bee body.
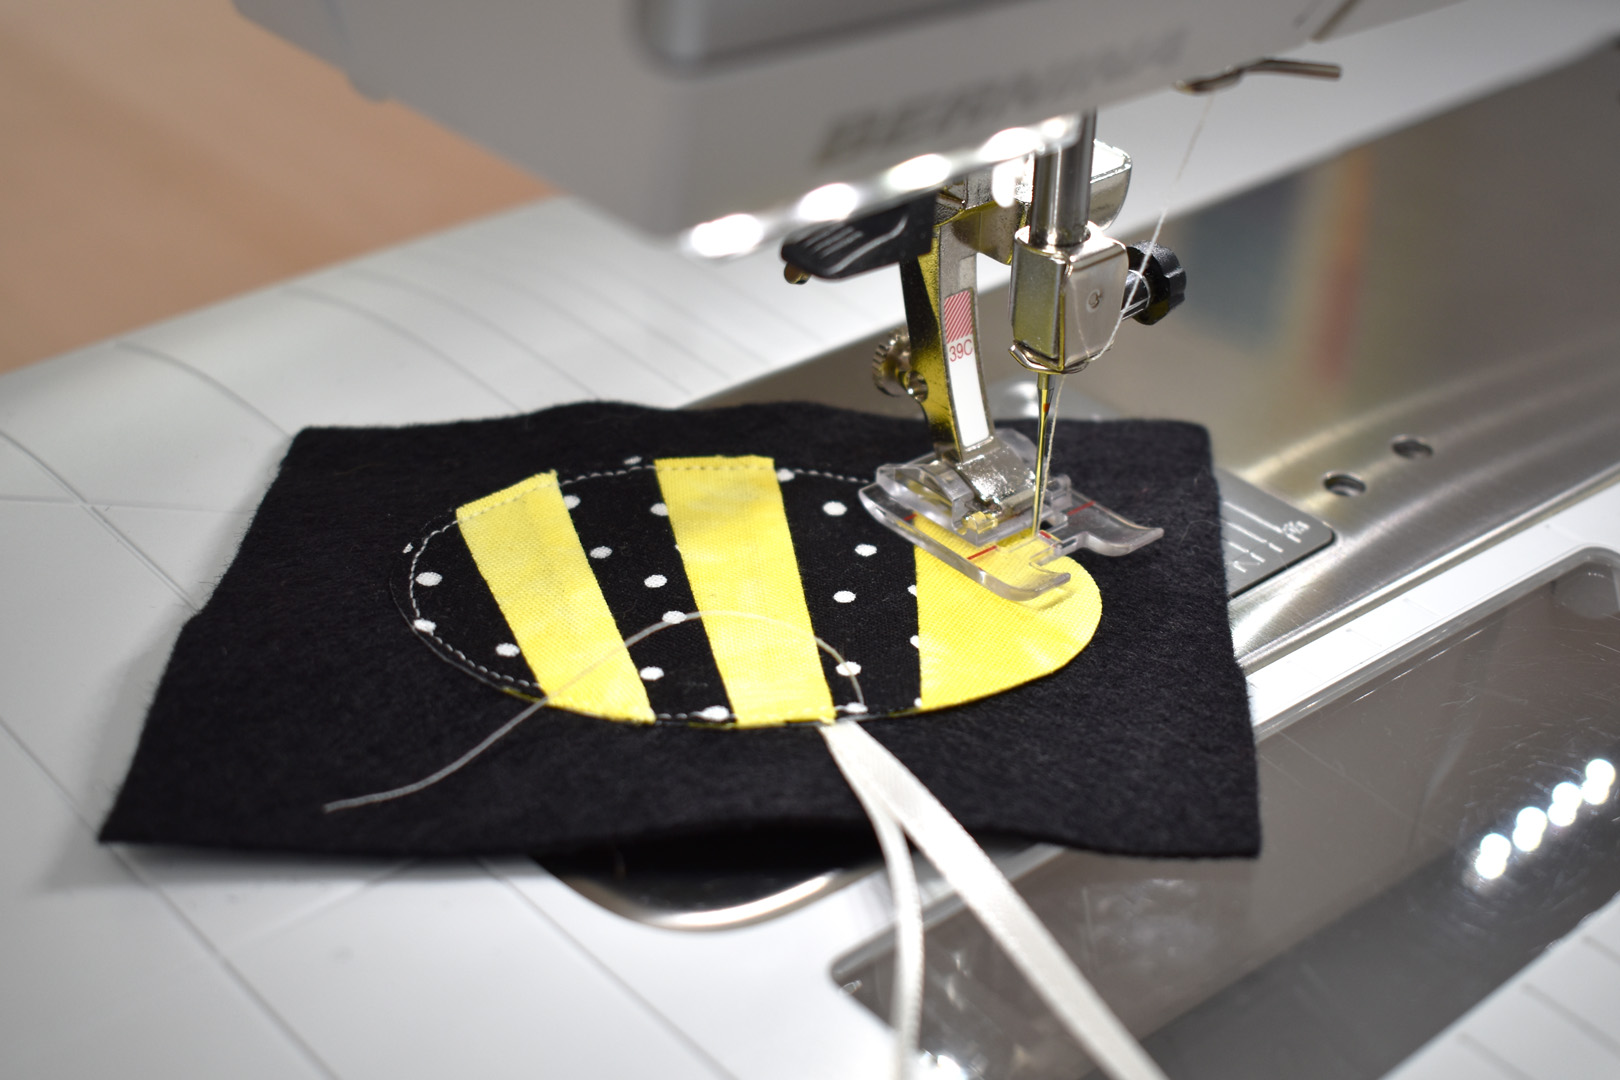
Top stitch all around the bee body. Use pinking shears to cut felt close to fabric.
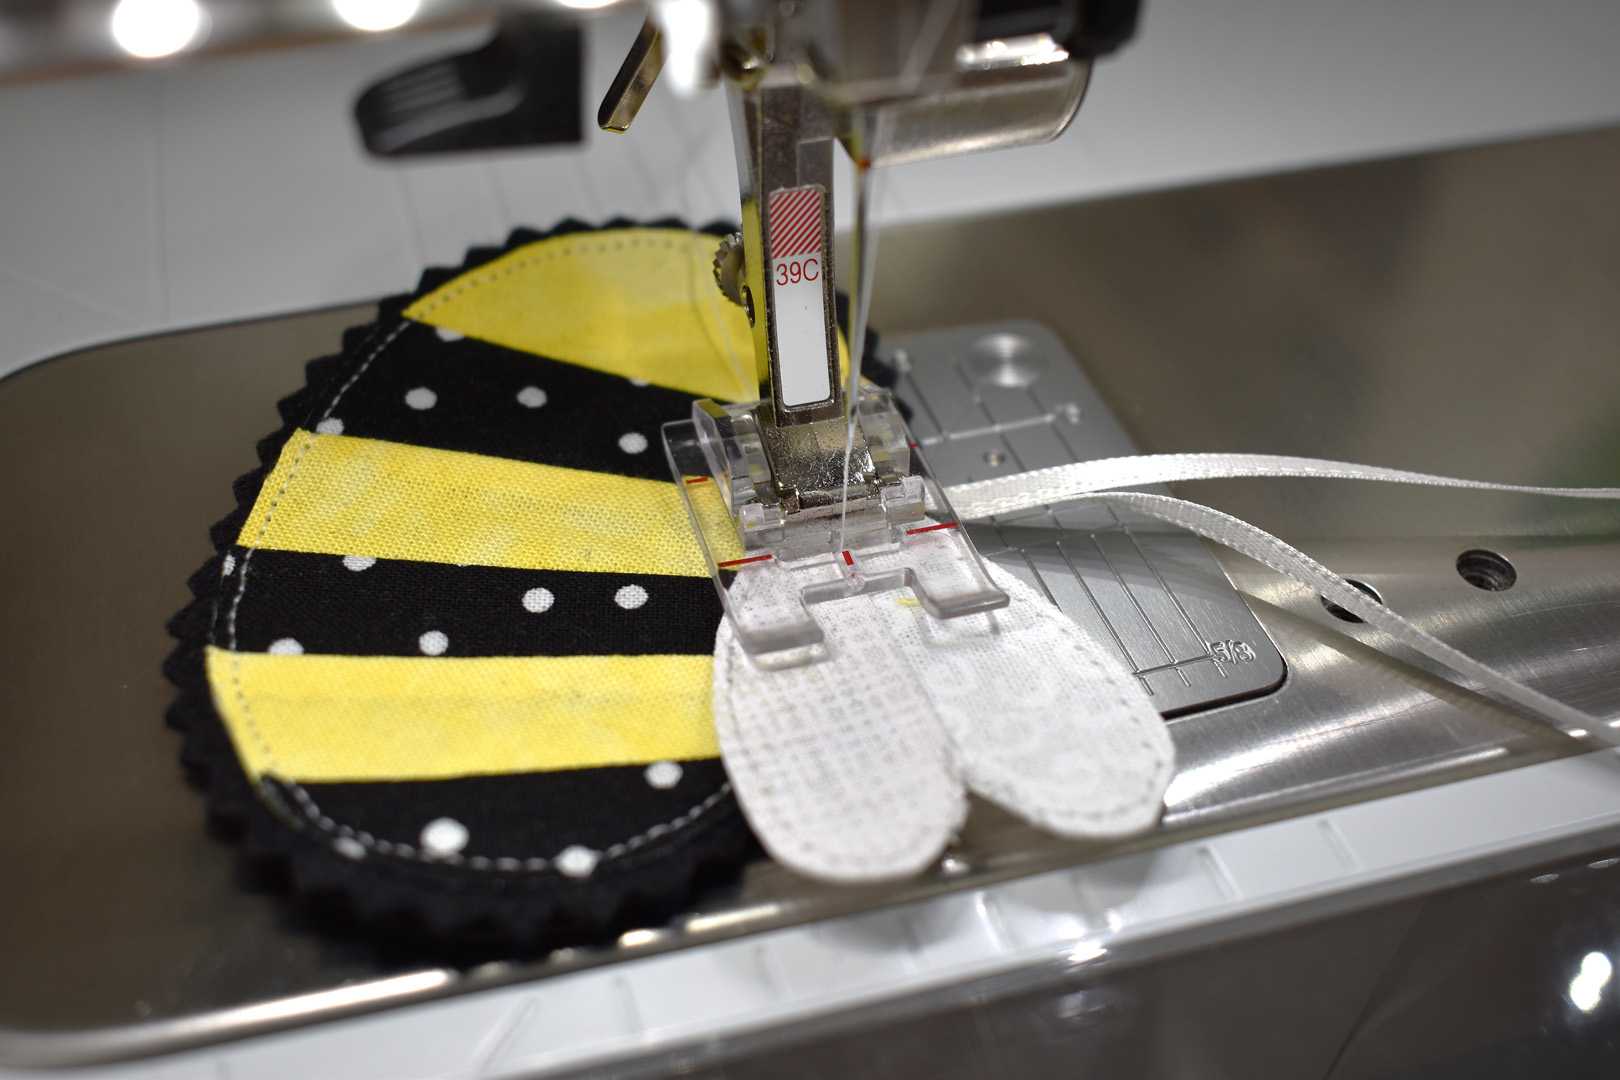
Then add the wings to the bee, and topstitch to the bee along the center seam in the wings to finish the ornament.
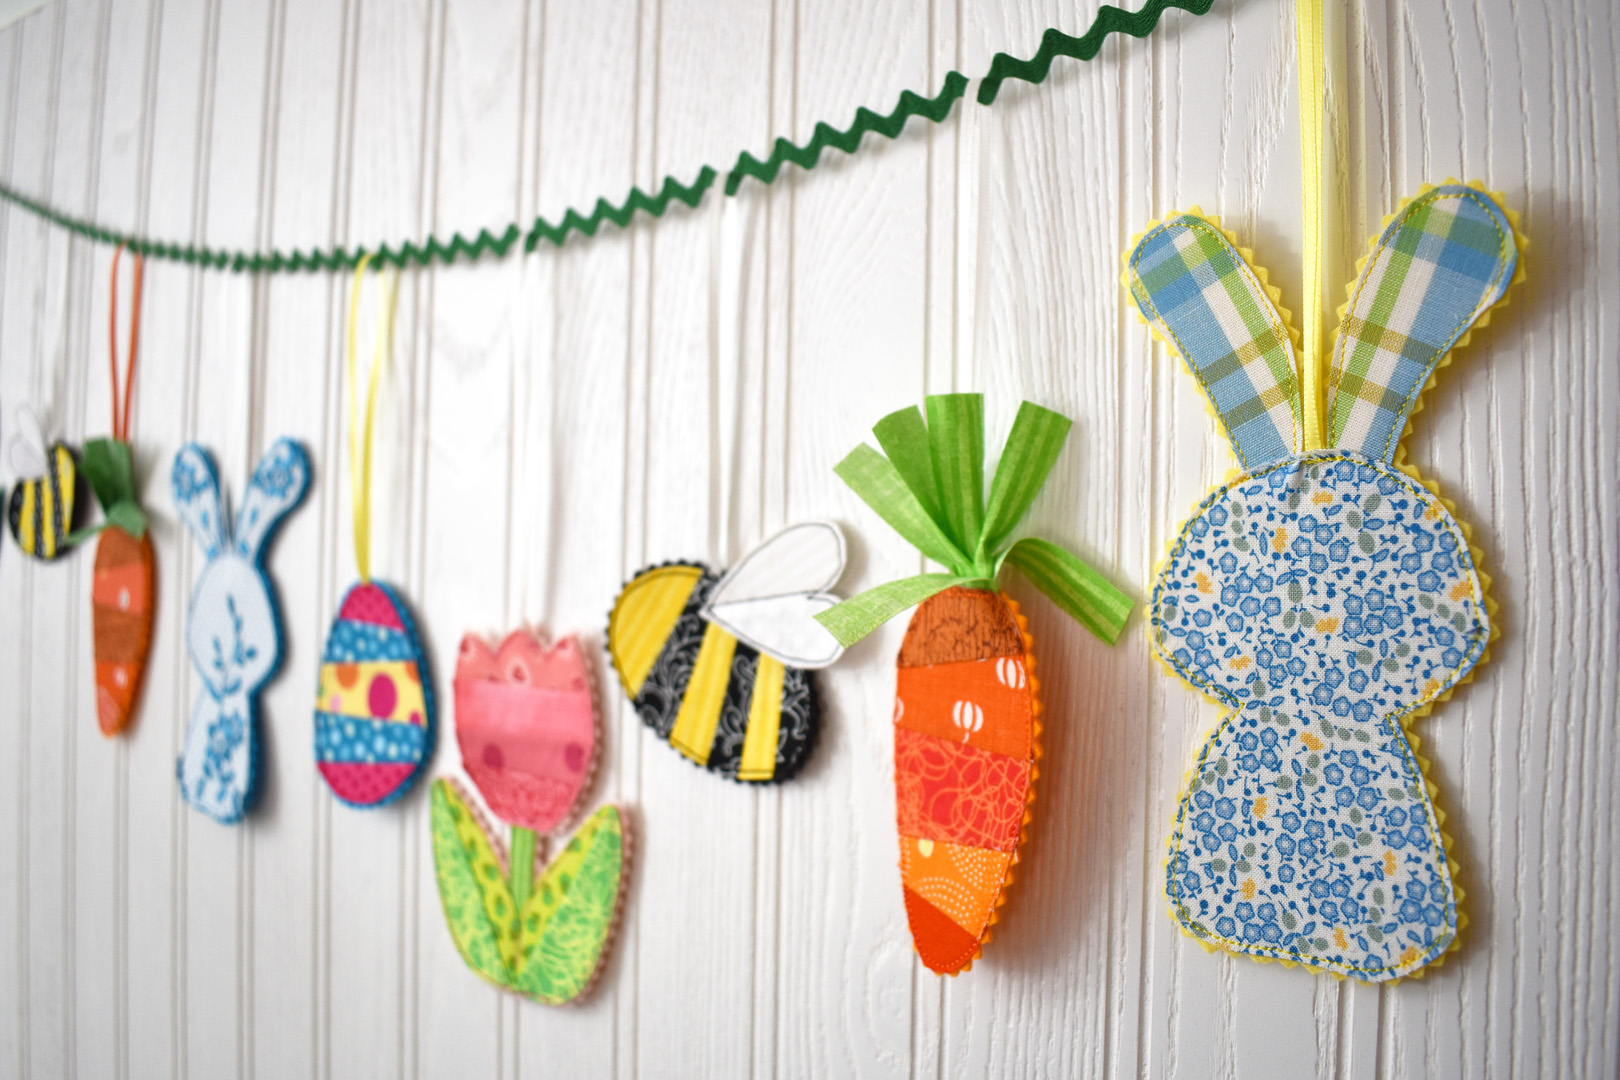
Hang the ornaments on colorful length ricrac to create a sweet Easter garland.

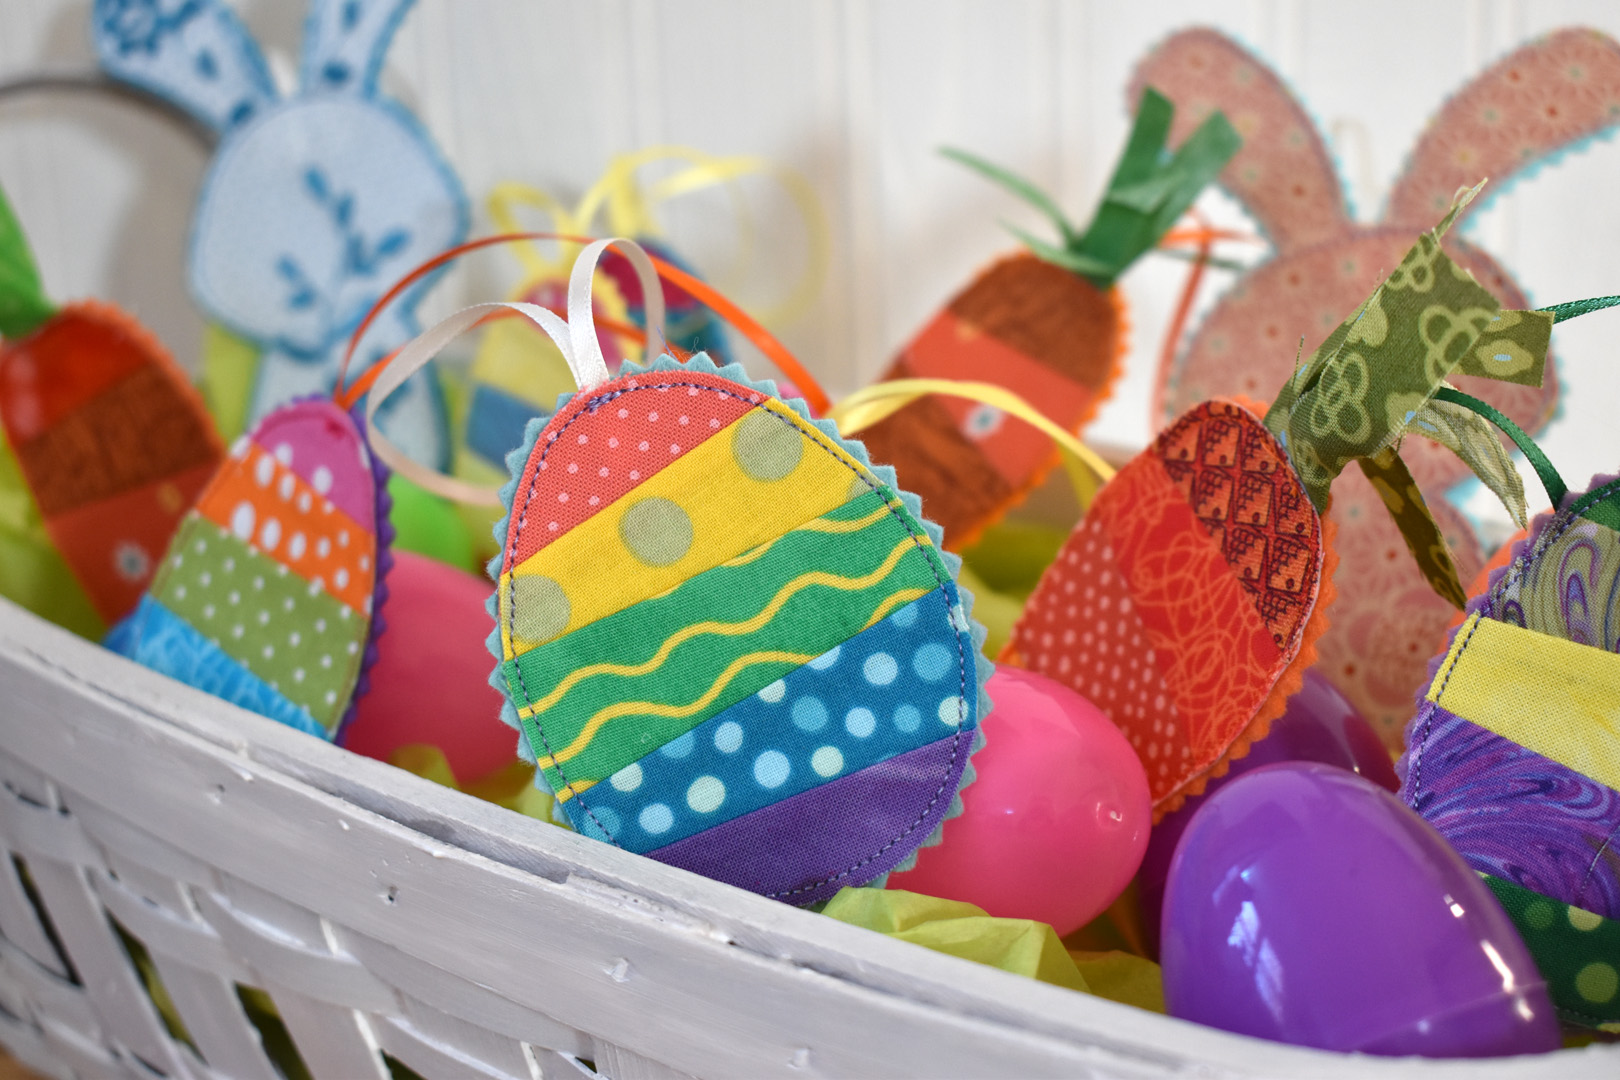
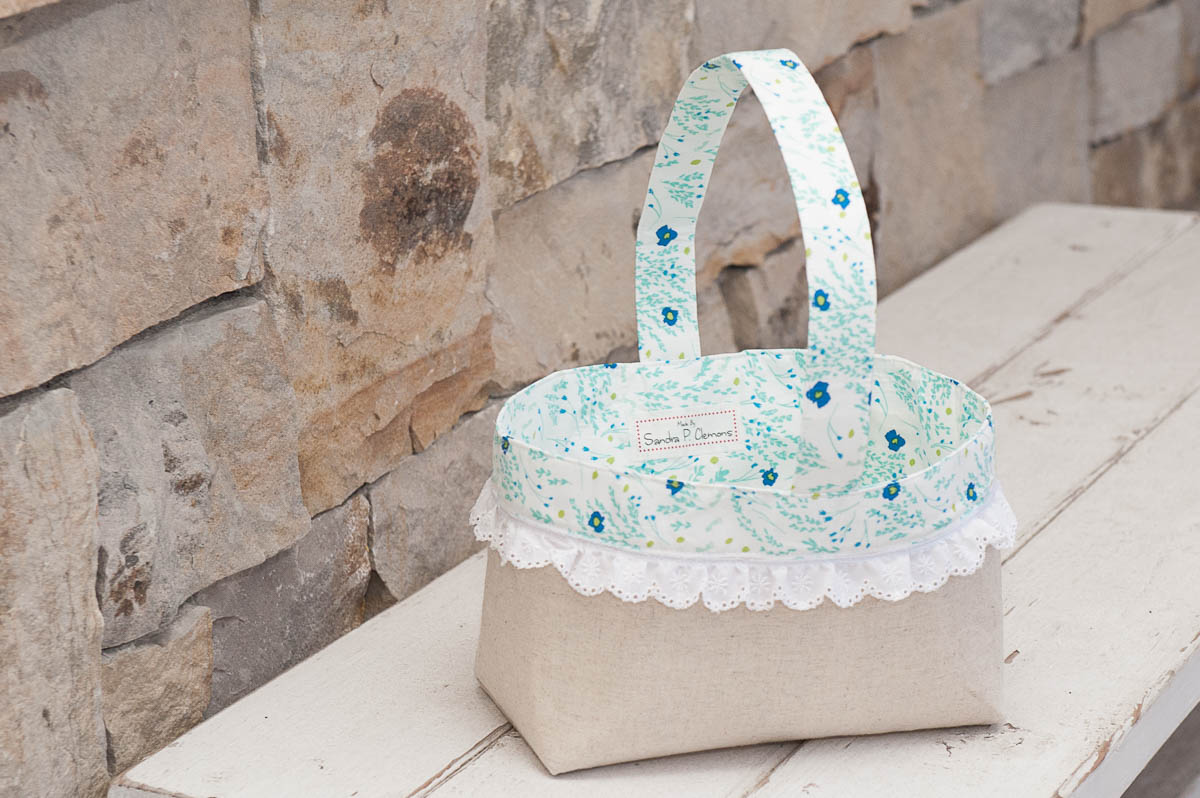
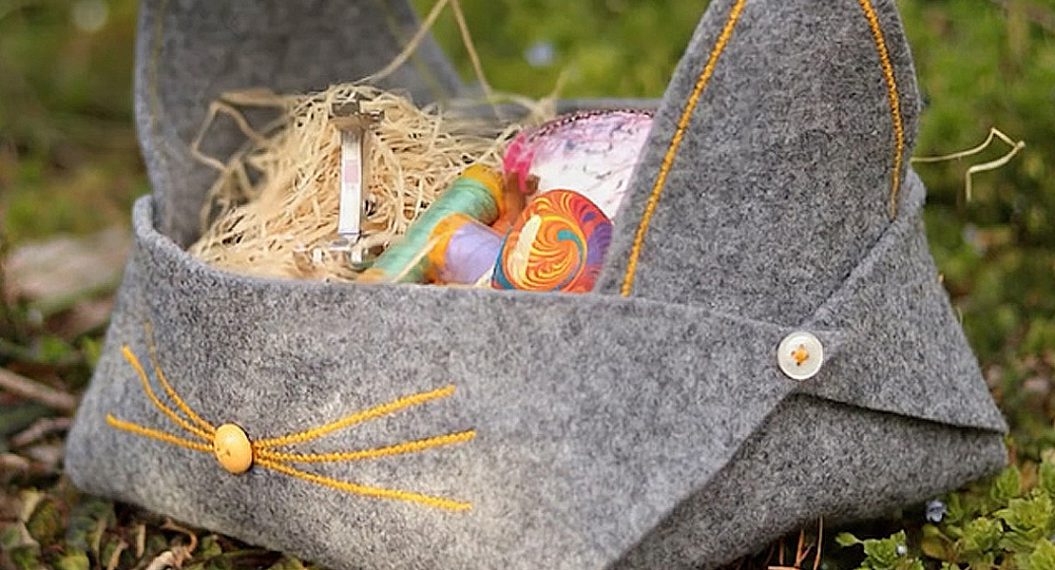
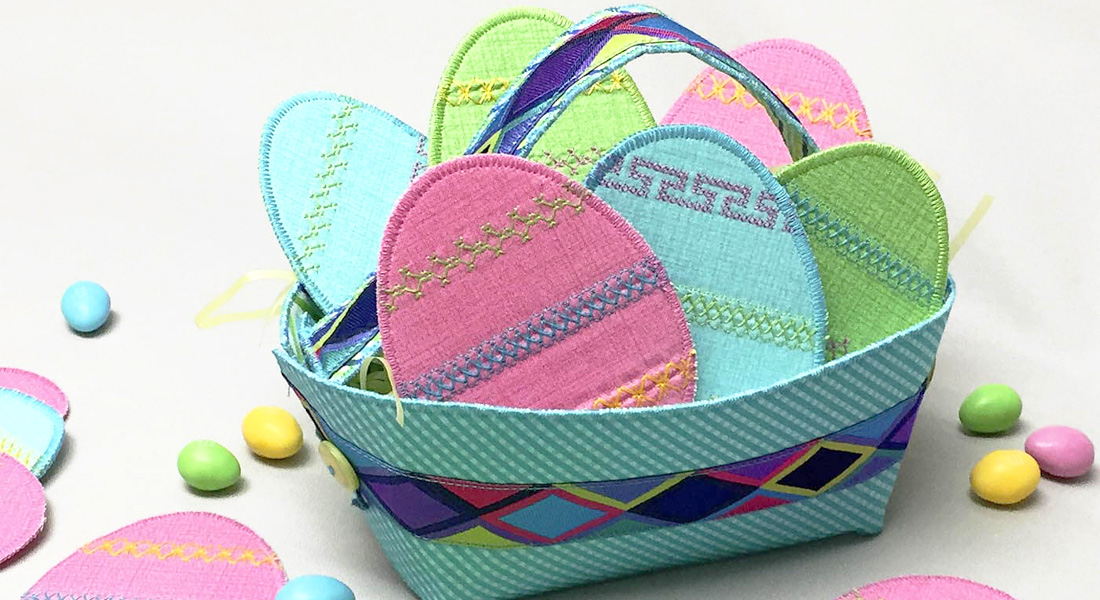
Add some ornaments to an Easter basket.

You could even pop an ornament inside a card, attach to the outside of a gift, or simply hand out a few of these just for fun. I hope you enjoy this project, and be sure to tag me @erika.mulvenna if you share your Easter Ornament creations on Instagram – along with @berninausa and #WeAllSew!


What you might also like


2 comments on “How to Sew Easter Ornaments”
-
-
Thanks so much @shoover20603, I hope you enjoy the project, happy springtime sewing!
-
Leave a Reply
You must be logged in to post a comment.

These are adorable AND doable ornaments. Thank you for sharing!