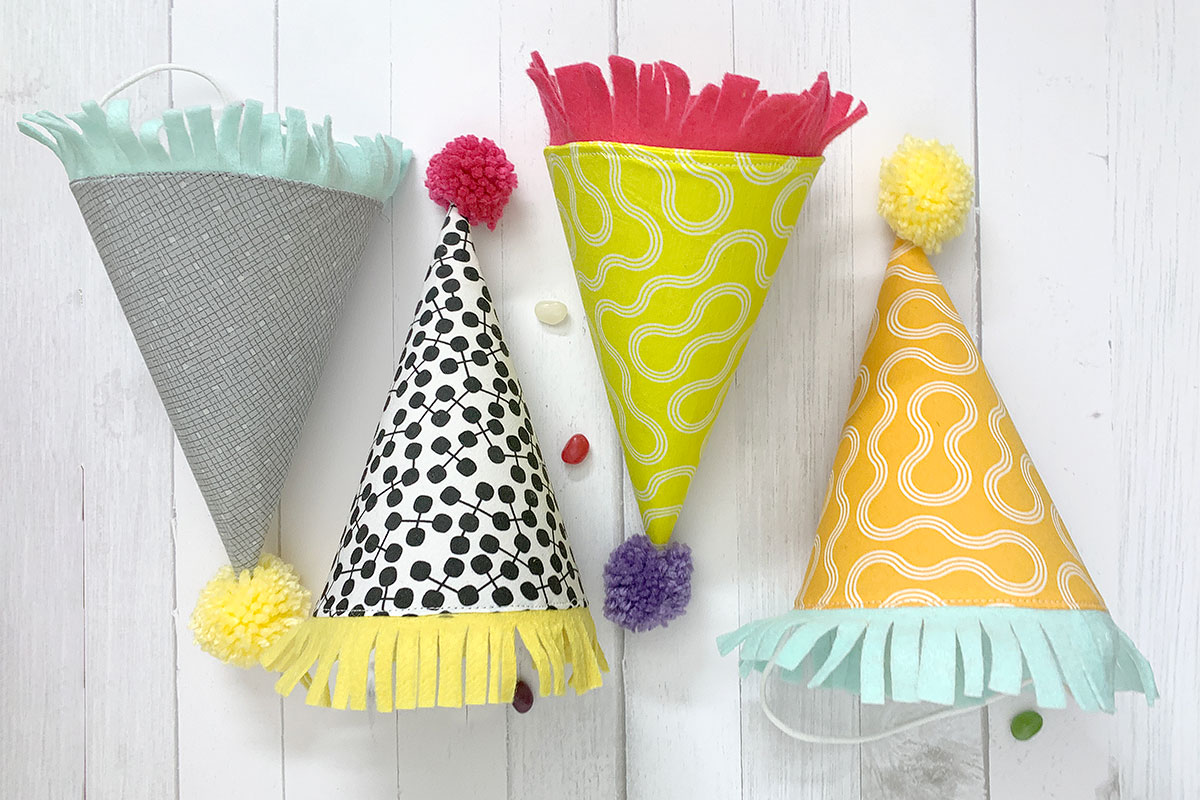
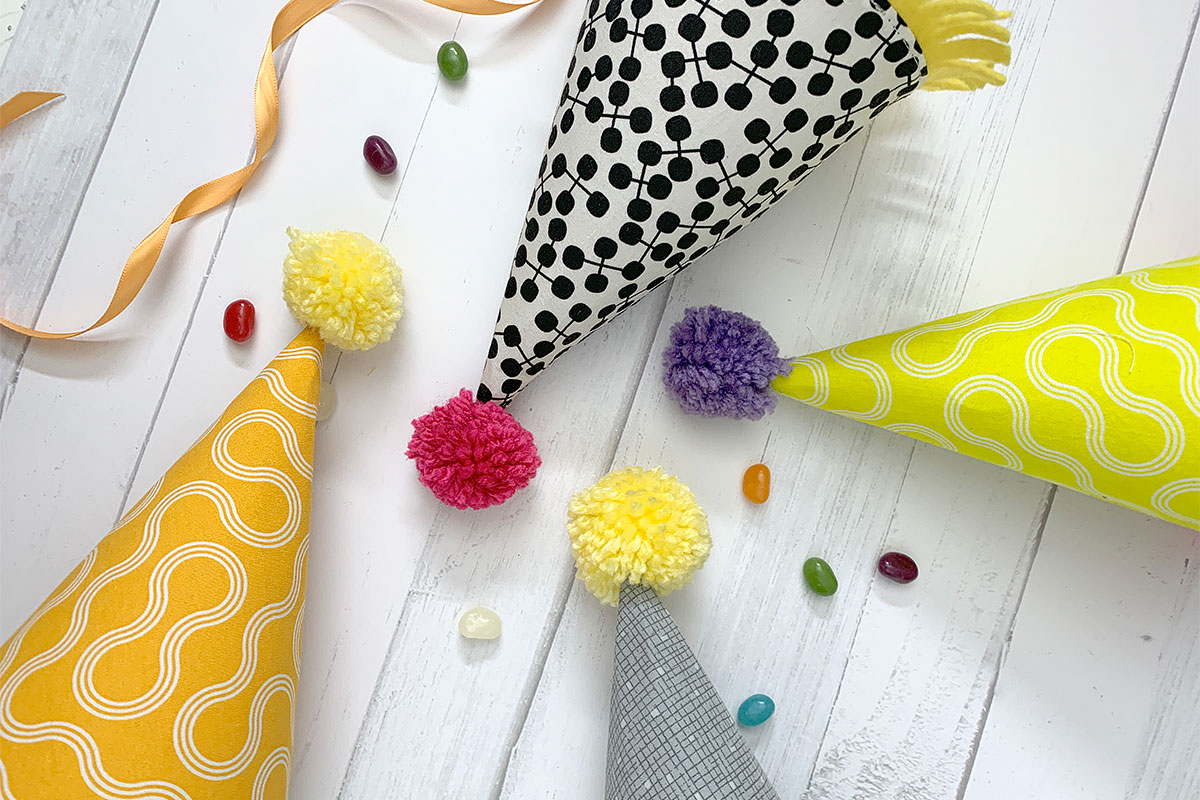
How to Sew a Party Hat
Spring is coming and in my family—that means a bunch of kiddo birthdays. So many niblings! In an effort to stay ahead of the game, I whipped up a beginner-friendly birthday party hat pattern using gorgeous fabric prints from Benartex’s Good Vibes and Black, White & Bright collections.
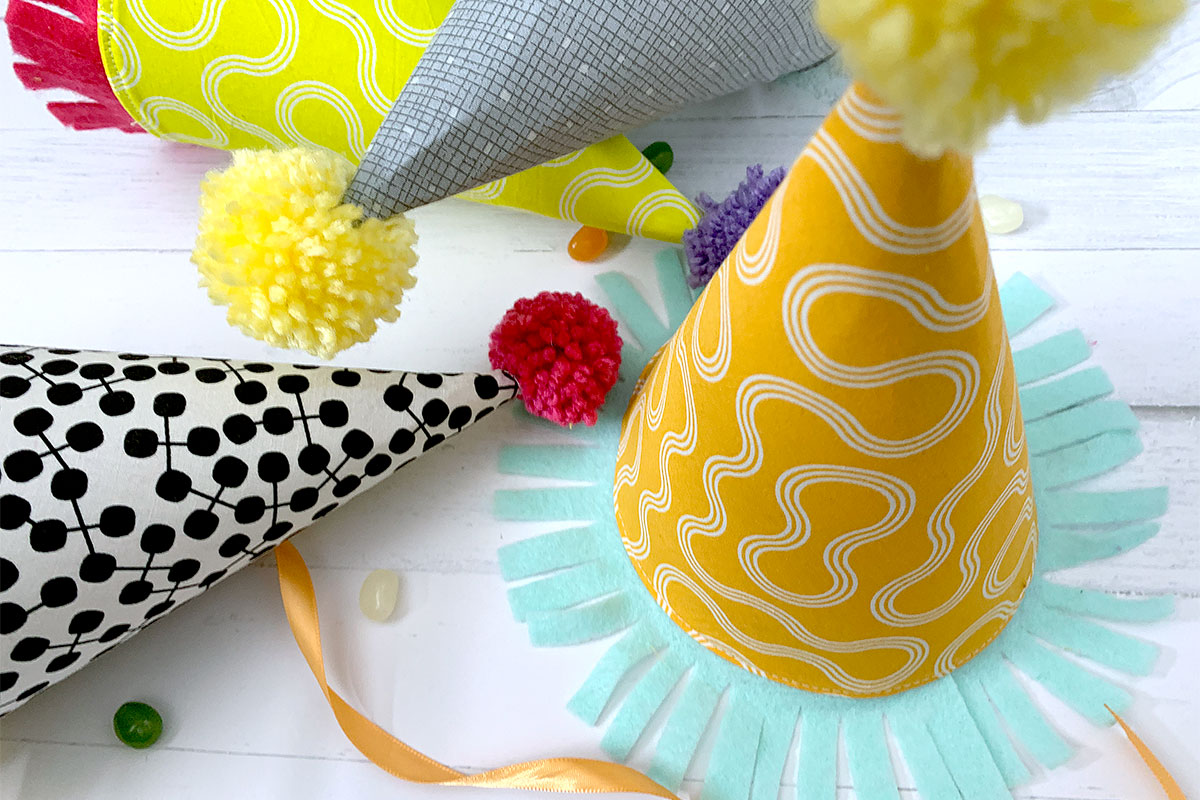
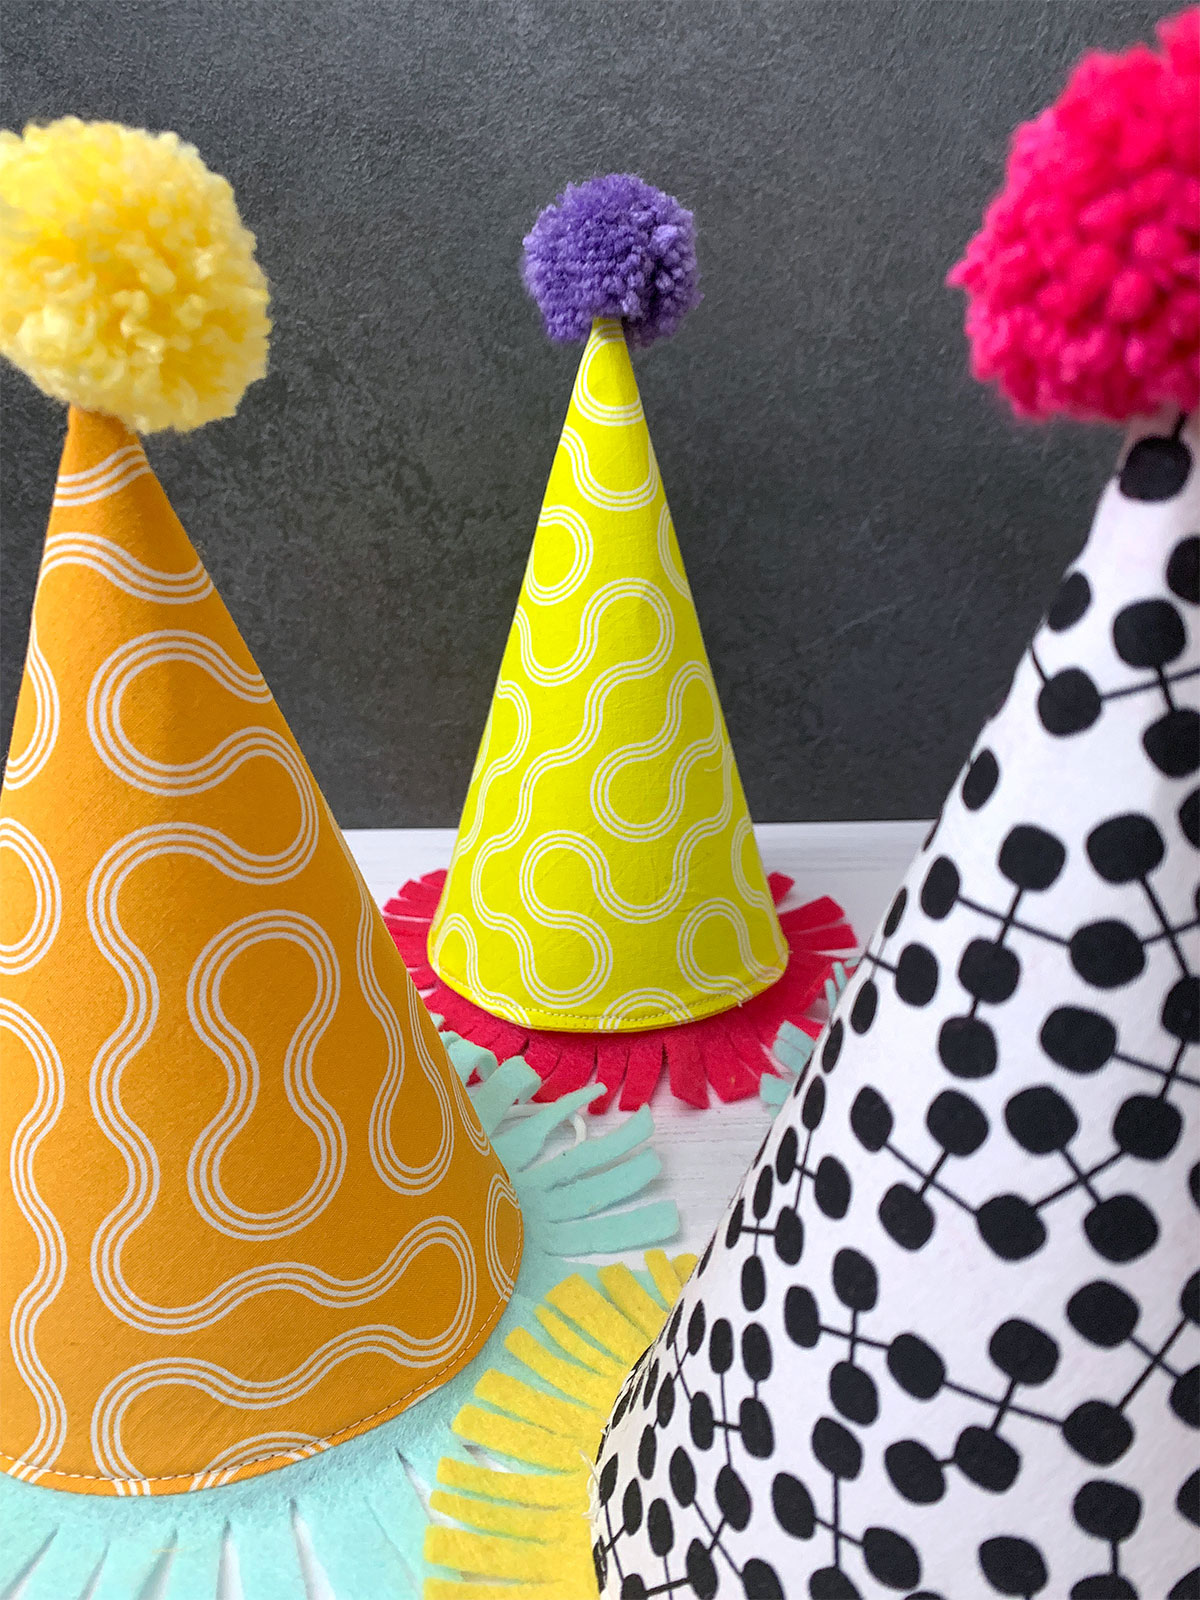
What makes this birthday party hat pattern unique is that there are no raw edges or exposed paper (the inside is fully lined too!), which really levels up the finished product while still being quick and easy. (I made another one last night while my husband prepped dinner. They’re that fast.)
Materials to Sew a Party Hat
- Pattern Download
- Fabric: 10 x 21-inches (about 1/3 yd or 2 fat quarters) Black, White & Bright and Good Vibes shown here
- Felt for trim: 2 x 14-inches (can be several separate pieces if needed)
- Yarn for pompom
- Elastic (approximately 12-inches) and/or ribbon
- Card stock (8.5 x 11-inches)
- Scissors (and optional pinking shears)
- Pen/pencil and erasable pen (like a Pilot Frixion)
- Ruler or straight edge
- Iron
- Sewing machine ( I used my bernette 79)
- Needle and thread (or hot glue)
- Thimble (optional)

Instructions to Sew a Party Hat
Just six short steps is all it takes to make this party hat. The card stock gives the hat its shape and the fabric gives it both style and a professional finish. I love that there’s no raw edges and that the whole hat can be made without glue! (Or with glue, if that’s your jam.) If you’ve never stitched through paper before, you’ll be amazed how nice and crisp it makes the finished product.
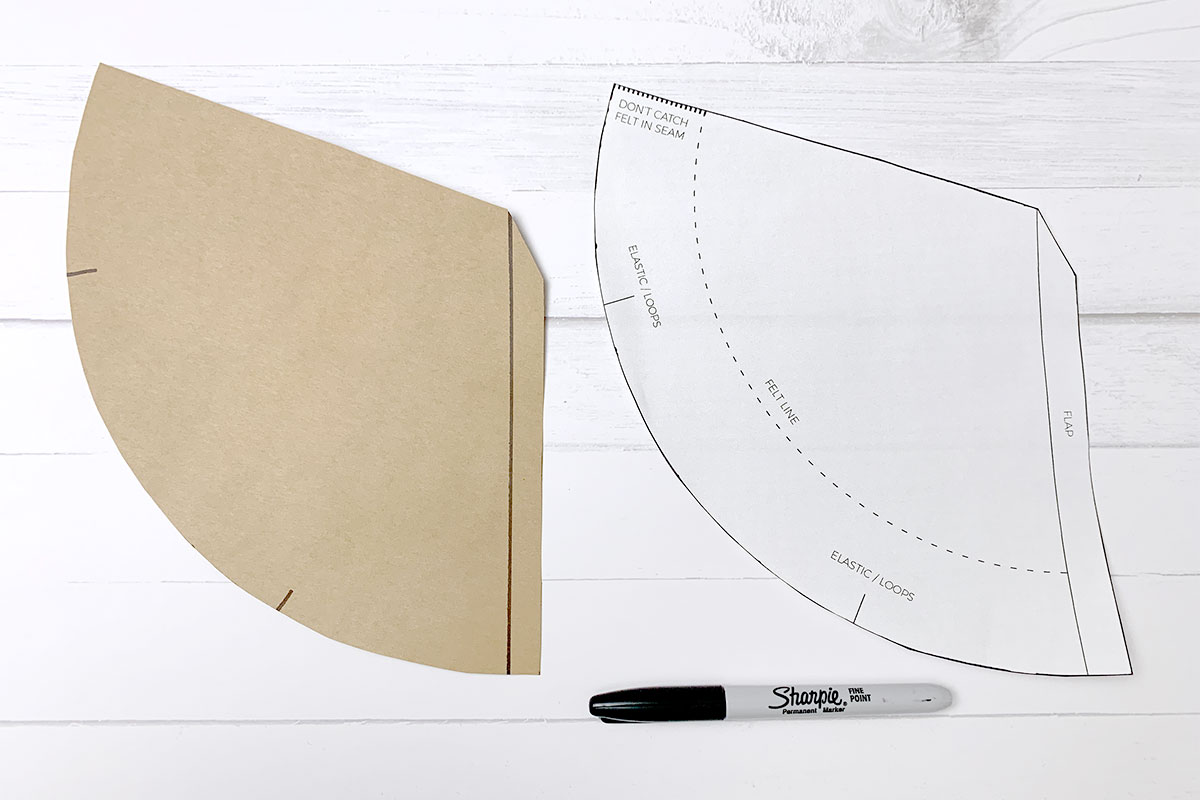
Step 1: Print and Trace Party Hat Pattern
Cut out the printed pattern and trace it onto the card stock, making sure to transfer the elastic and flap markings, then cut it out. The regular paper piece is the pattern—the card stock will actually end up sewn into the project.
Step 2: Cut Out Party Hat Fabric Pieces
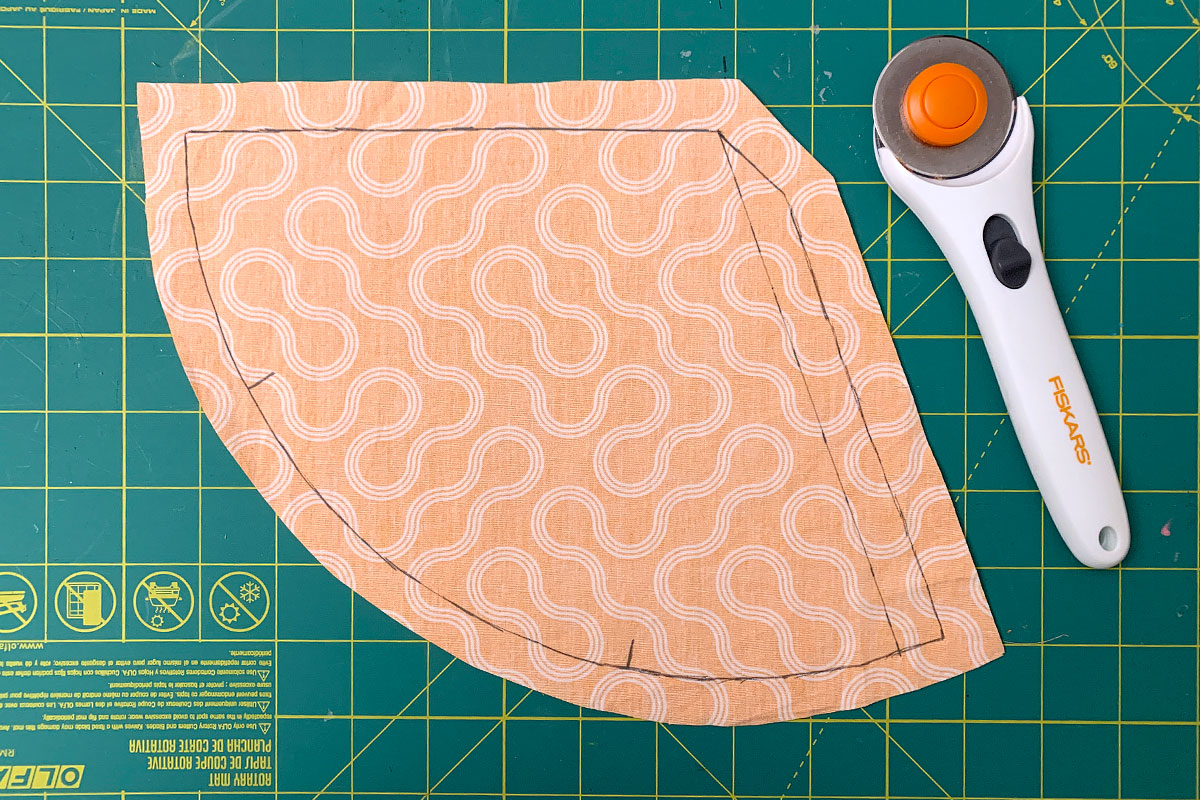
Place inner and outer fabrics together with right sides facing and trace around the entire cardstock piece using a removable pen. (This will become our stitching line.)
Eyeball an extra 1/2-inch all the way around, and cut out.
Step 3: Add the Fringe and Elastic (or Ribbon Loops) and Pin in Place
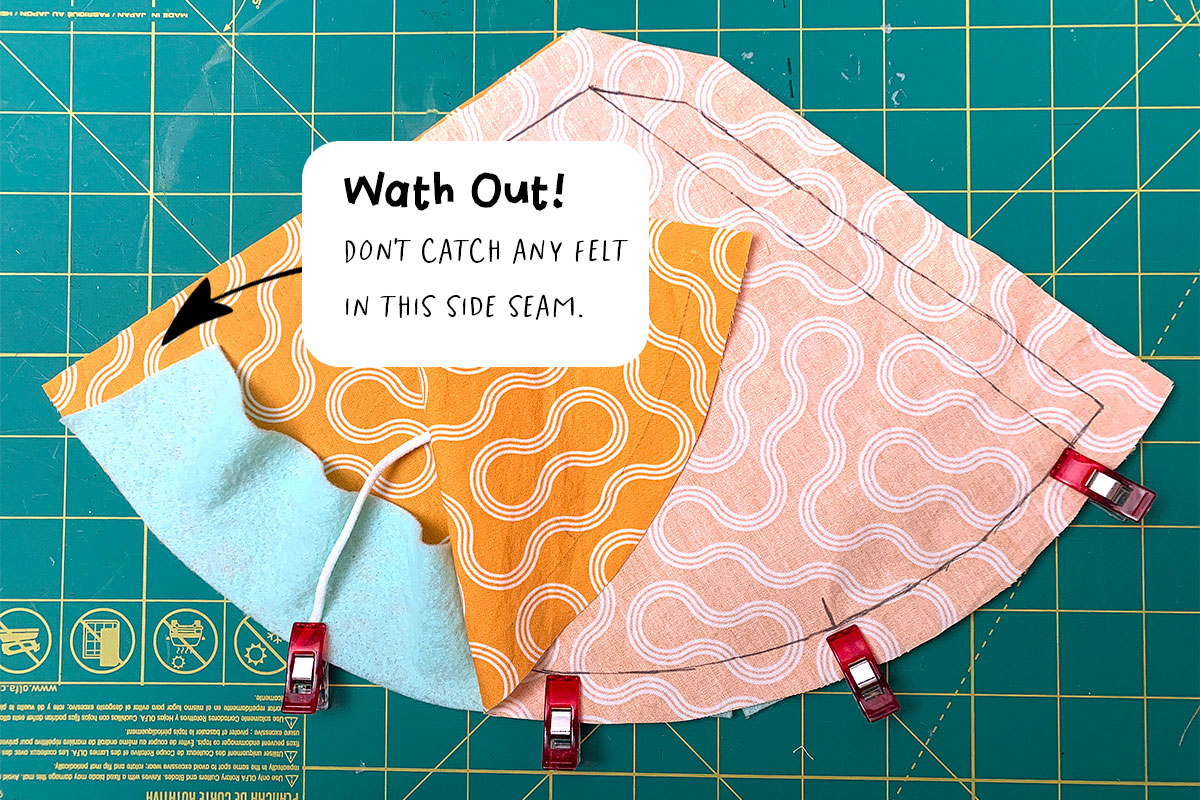
Cut a piece of felt measuring 2 x 15-inches and sandwich it between the two hat pieces, aligning the long edge of the felt with the curved edge of the fabric pieces. The rest of the felt should lay to the inside and be covered by the hat pieces. (Note: Make sure not to catch any felt in the seam on the side.)
Cut a piece of elastic approximately 12-inches long and sandwich it on top of the felt with the slack on the inside and the ends hanging out at the marked spots on the template. Make sure they stick out just a bit to ensure they will be caught in the seam. (If you prefer making loops to tie the elastic in later, add them the same way using short pieces of ribbon.)
Clip or pin to hold in place.
Step 4: Stitch and Trim
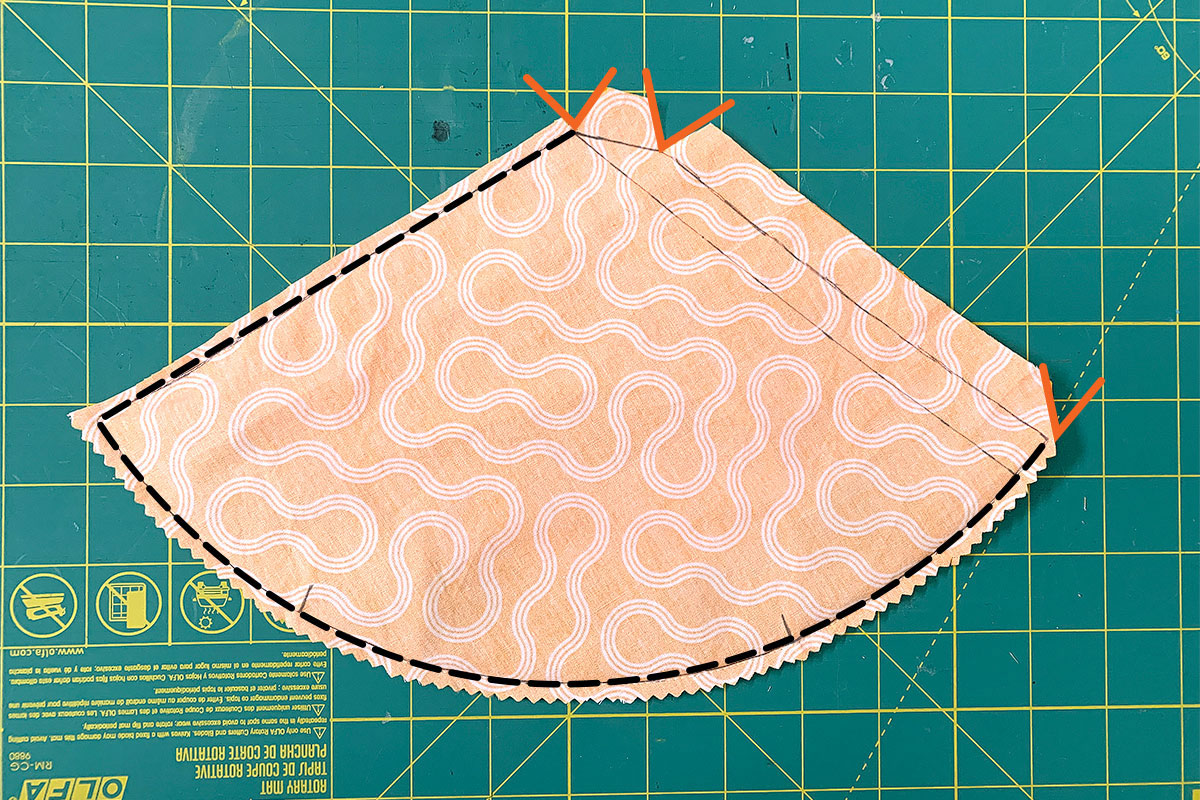
Stitching directly on the line drawn in Step 3, sew two of the three sides: the curve and the straight side—not the side with the flap (shown in black).
Use pinking shears to trim the curved edge quite close, being careful not to cut into the seam (or use scissors to snip out little wedges and remove some bulk).
Trim down the seam allowance on the straight side to about 1/8 or 1/4-inch.
Finally, clean up the corners on the remaining (open) side by cutting slits and removing wedges as shown (in orange).
Step 5: Insert Card Stock and Topstitch Around Entire Party Hat
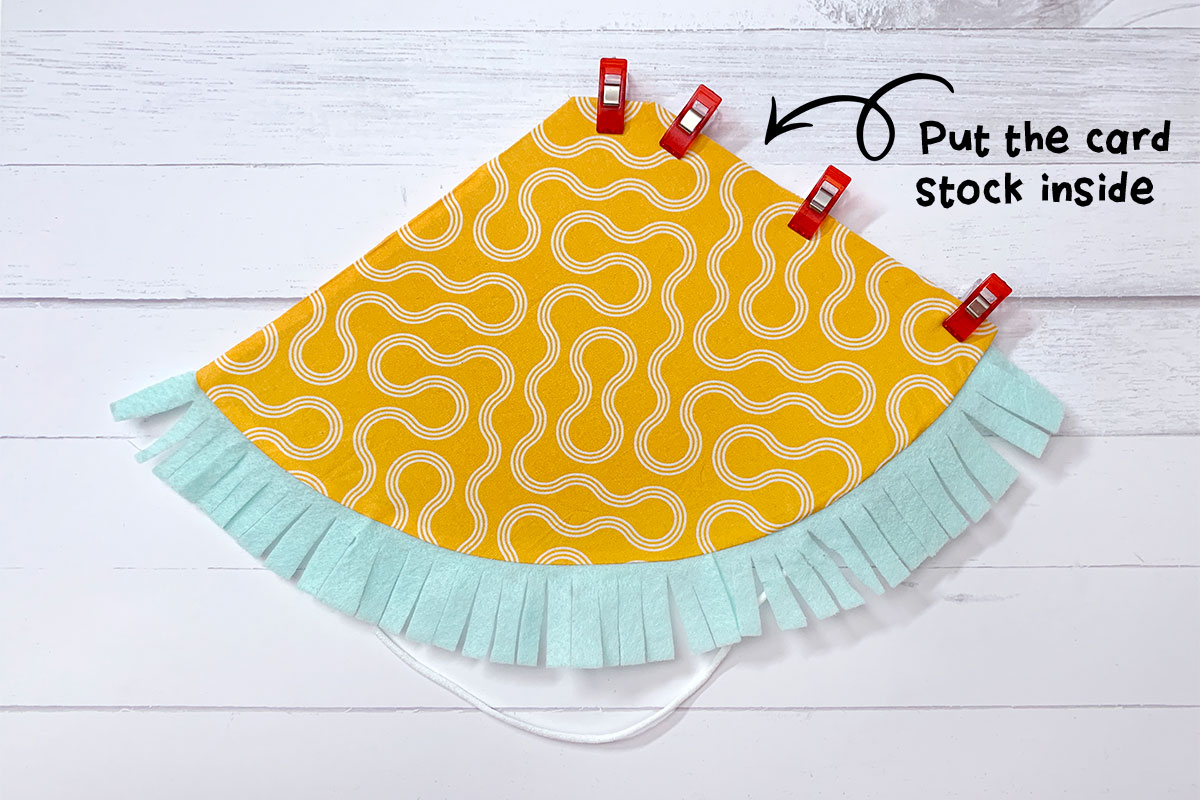
Turn the entire piece right-side out and press the seams.
Use scissors to fringe the felt being careful not to cut too close.
Slip the card stock neatly inside and tightly tuck and fold the raw/open ends to the inside, pulling the fabric snug for a smooth finish. Use clips to hold in place.
Topstitch about 1/8-inch from the edge the entire way around. (Yes, you will be stitching right through the card stock.)
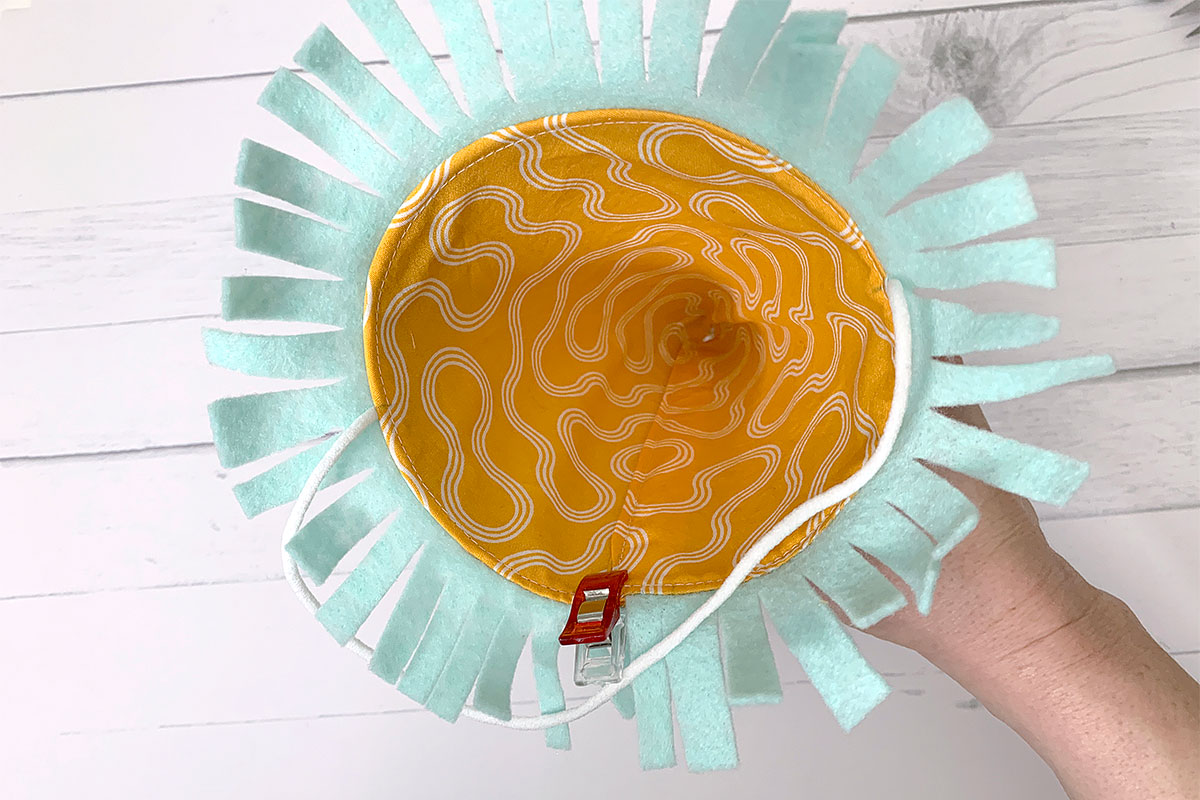

Step 6: Seam the Back and Add Final Touches
Curl the party hat into a cone shape and clip (at the bottom) to hold. Hand stitch the seam (or use hot glue) to hold in place. I was able to hand stitch through the fabric only (not the card stock) by working shallow stitches which my thumbs definitely appreciated.
Attach a pompom to the top (either hand-sew or use hot glue) to finish.
??
Well done! Share your makes on Instagram, tagging me (@kplicanic) and BERNINA USA!