How to Embroider a Hat: Beginner Tips
Hey friends, I finally got my hands on a “Hoop ‘n’ Buddyz”! I have wanted to embroider designs on hats for a few years now and I finally built up the courage to test out my “Hoop ‘n’ Buddyz”. Sew friends, it was a journey and after watching a 10 minute tutorial on YouTube, I thought I would be in the hat designing business within the hour. Wow was I wrong! After phoning a friend and hours of head-scratching, my machine was ready to embroider my first, second and third baseball cap.
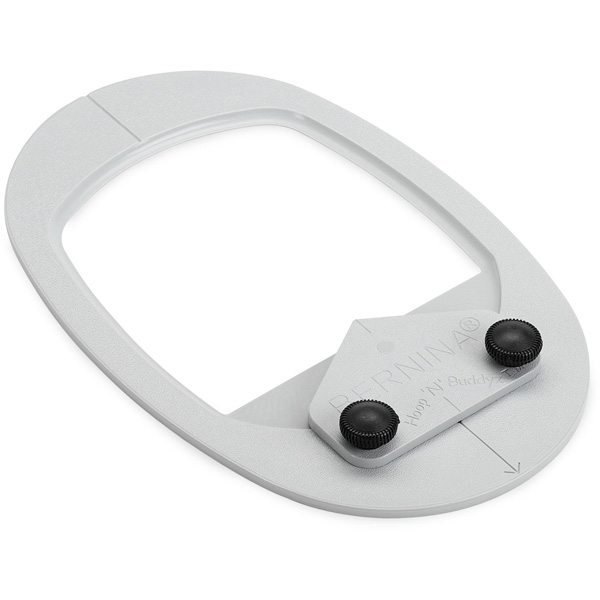
“Hoop ‘n’ Buddyz” Hoop Insert Tips
- Choose the right stabilizer.
- Stabilizer with sticky backing and tearaway
- All baseball caps are not created equally.
- If the brim is too long, it may make your embroidery design too high on your hat
- Use old baseball caps that you may have handy to practice.
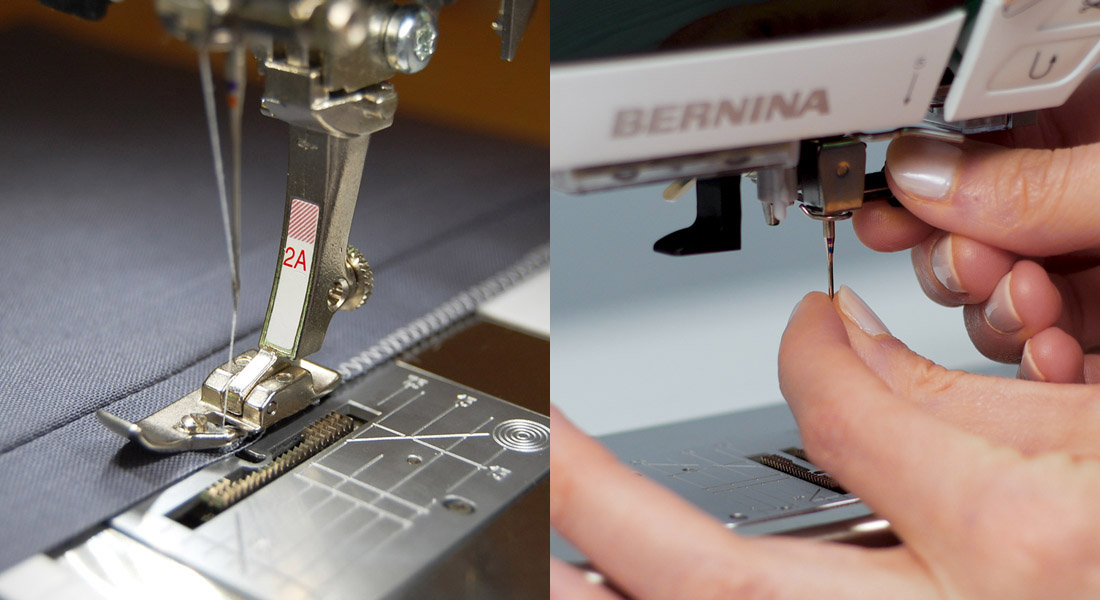
- Use the correct needle for embroidery and if the option is available on your machine, update the needle in your needle settings.
- I prefer Schmetz topstitching 90/14 size needles
- Avoid using hats with thick fabric.
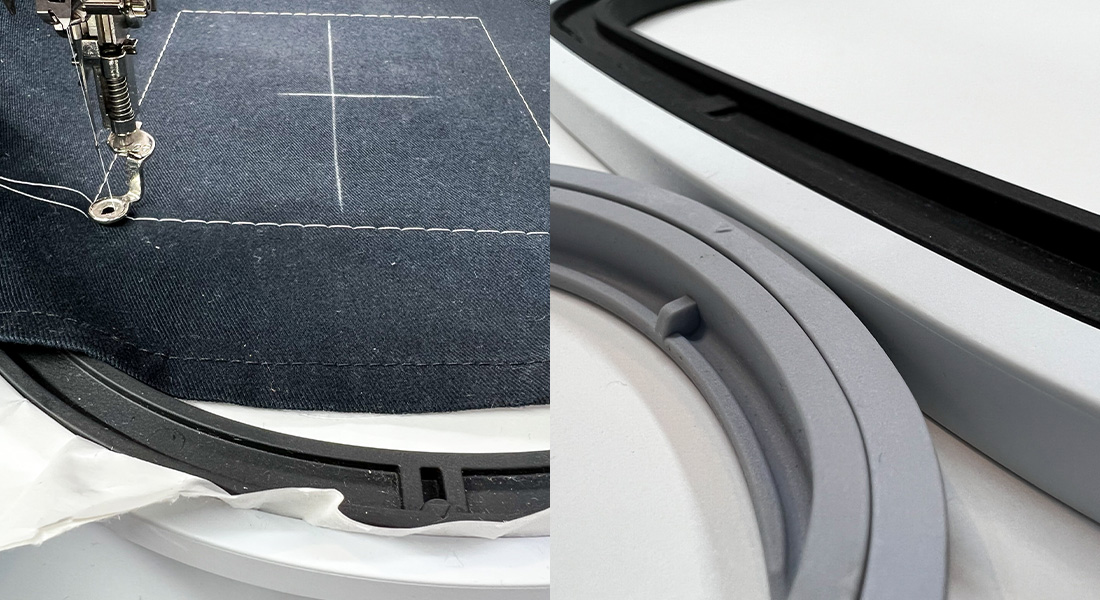
- Set your hoop to “Hoop ‘n’ Buddyz” hoop (this is very important)
- Be sure that your design placement is where you intend it to be
- Slow down your speed for auto stitching (no bunny rabbit for this project)
- Have fun and practice makes progress
Choosing an Embroidery Design
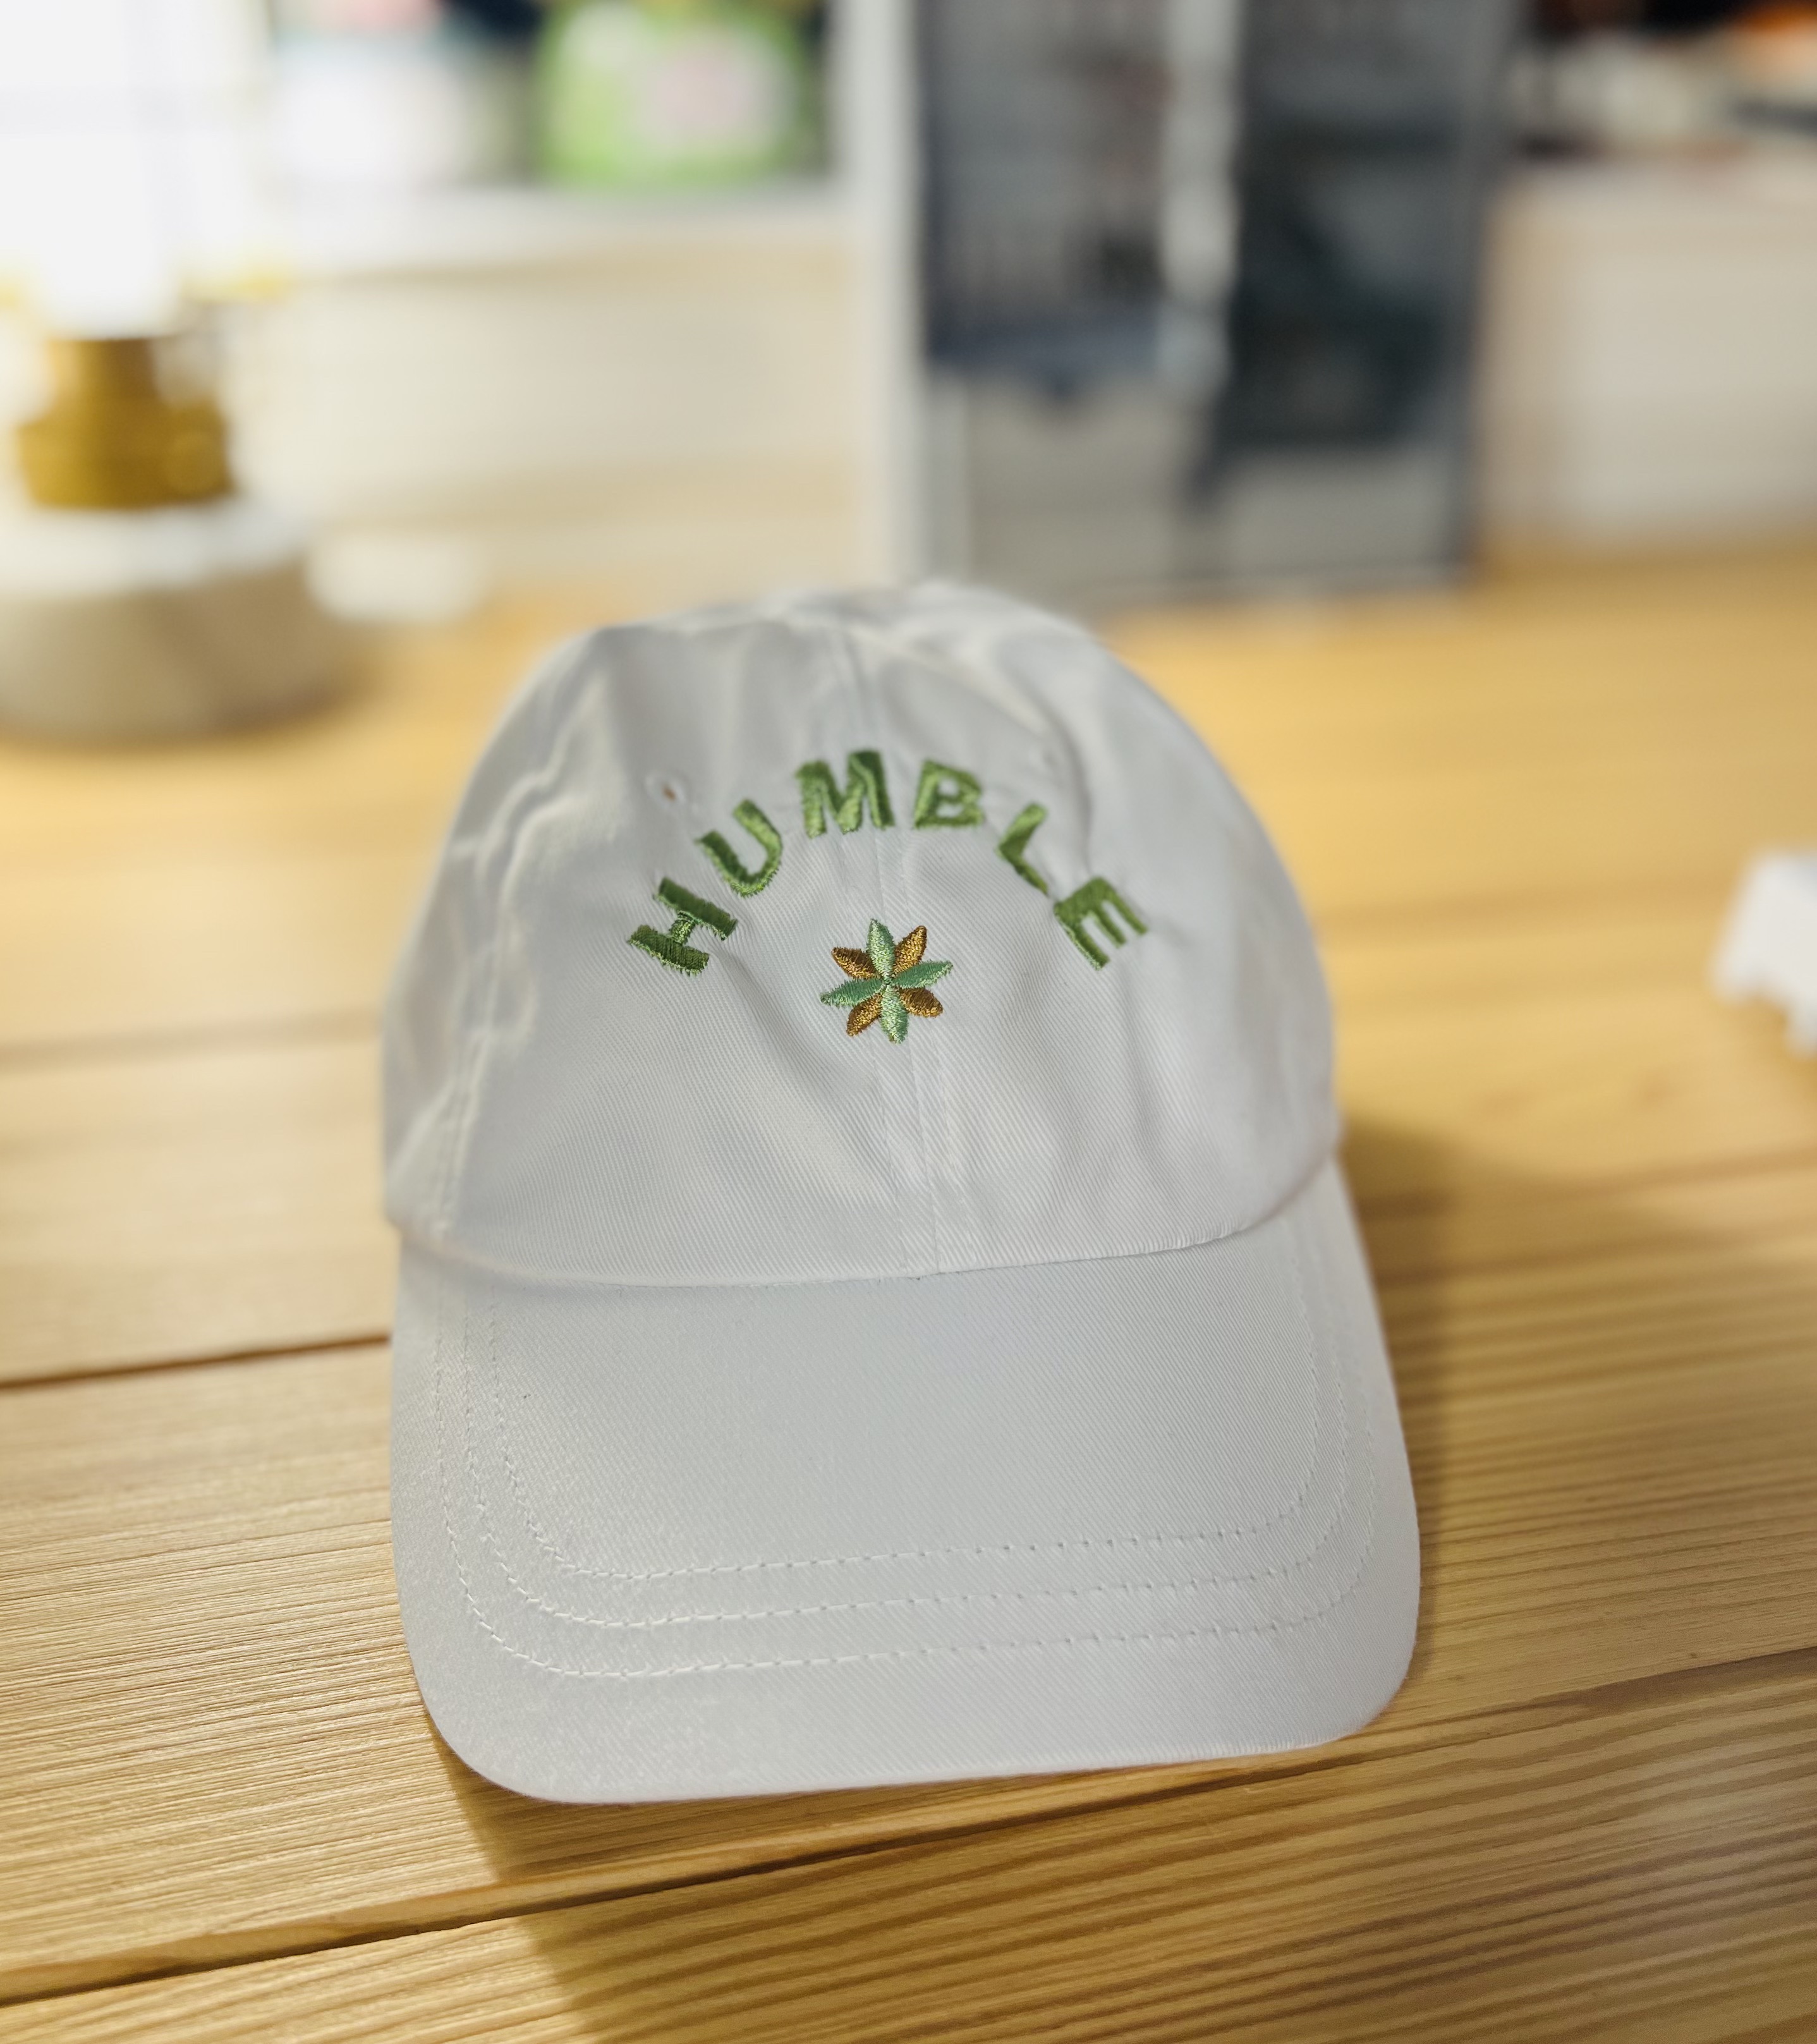
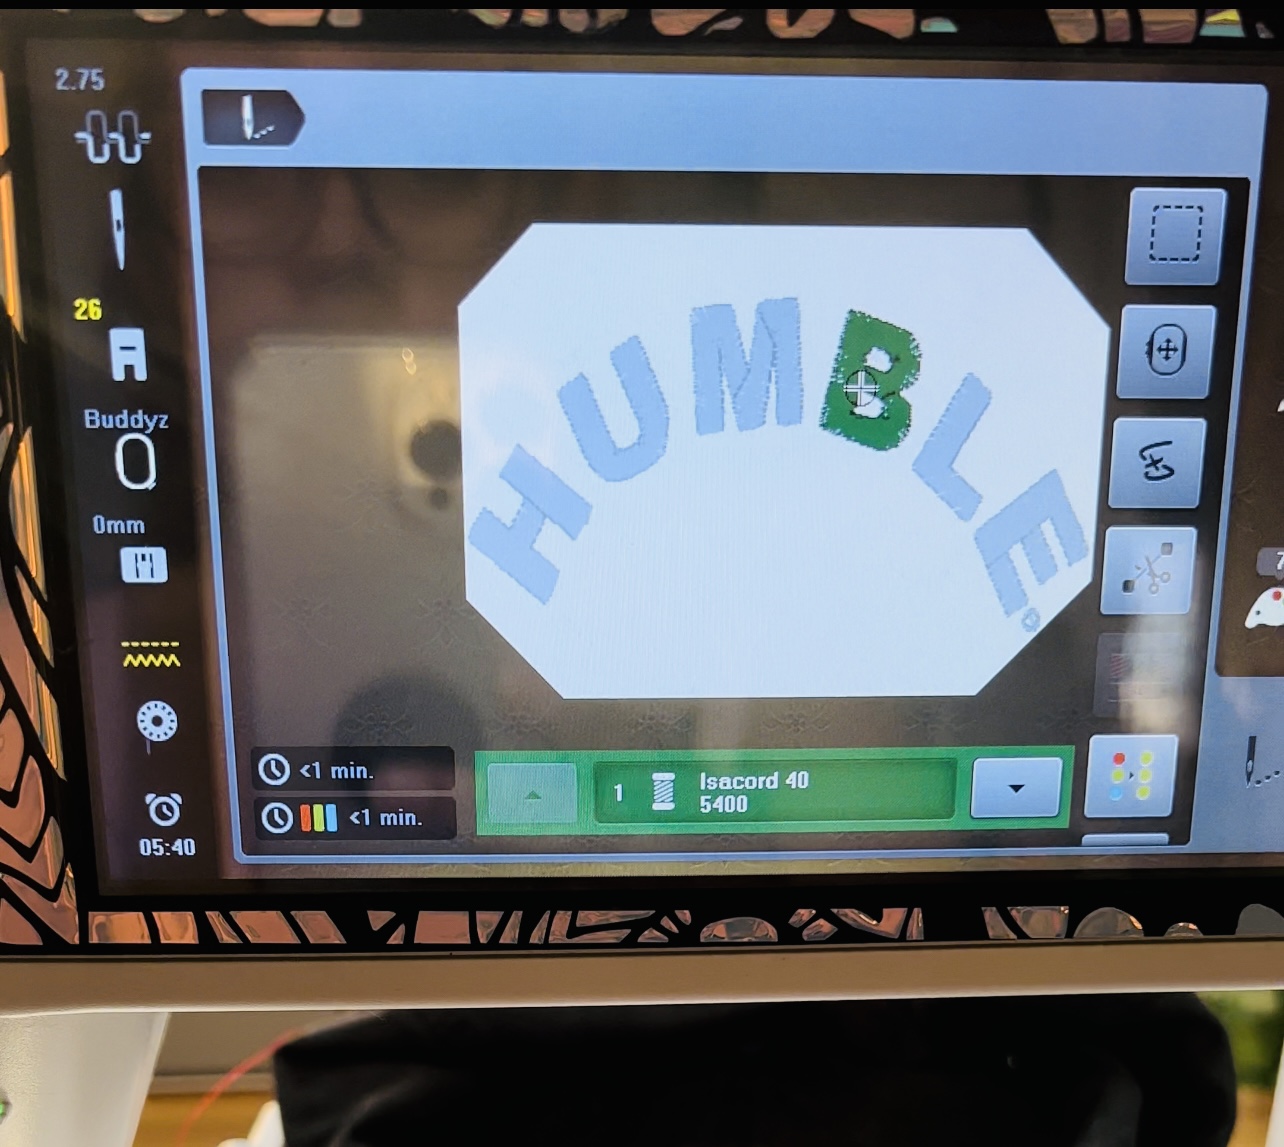
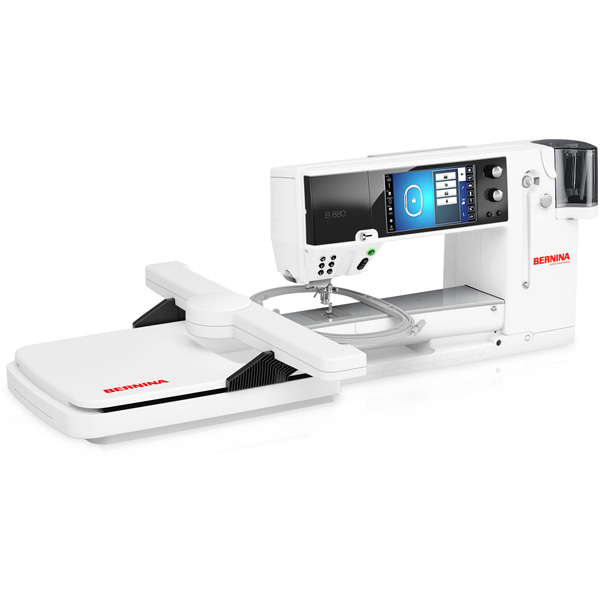
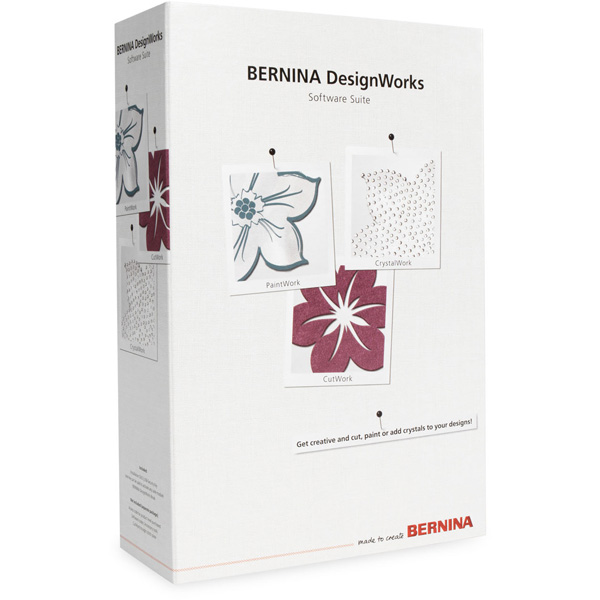
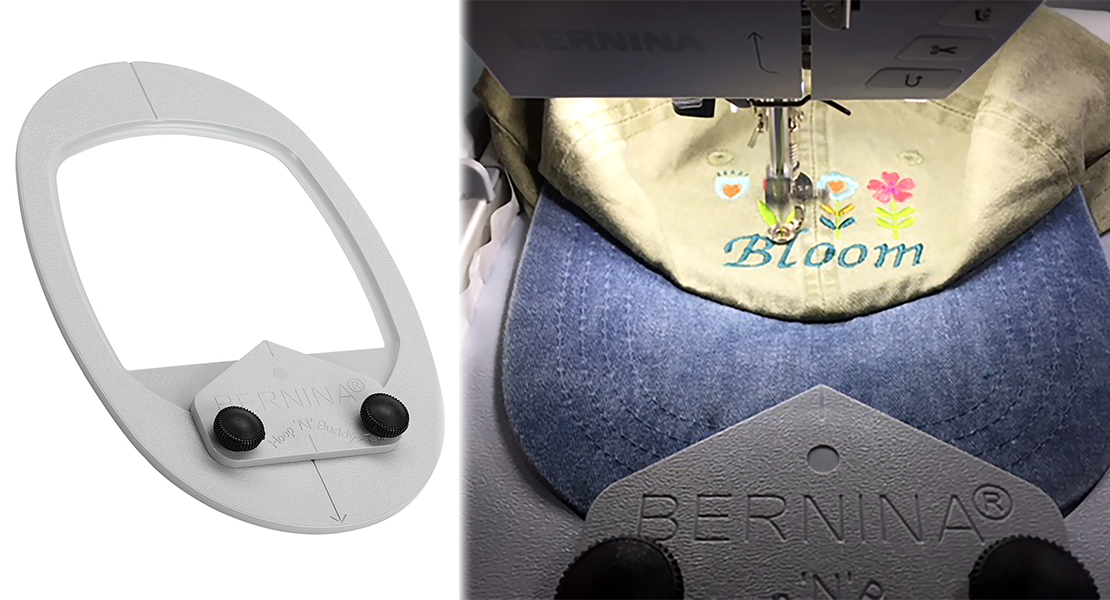
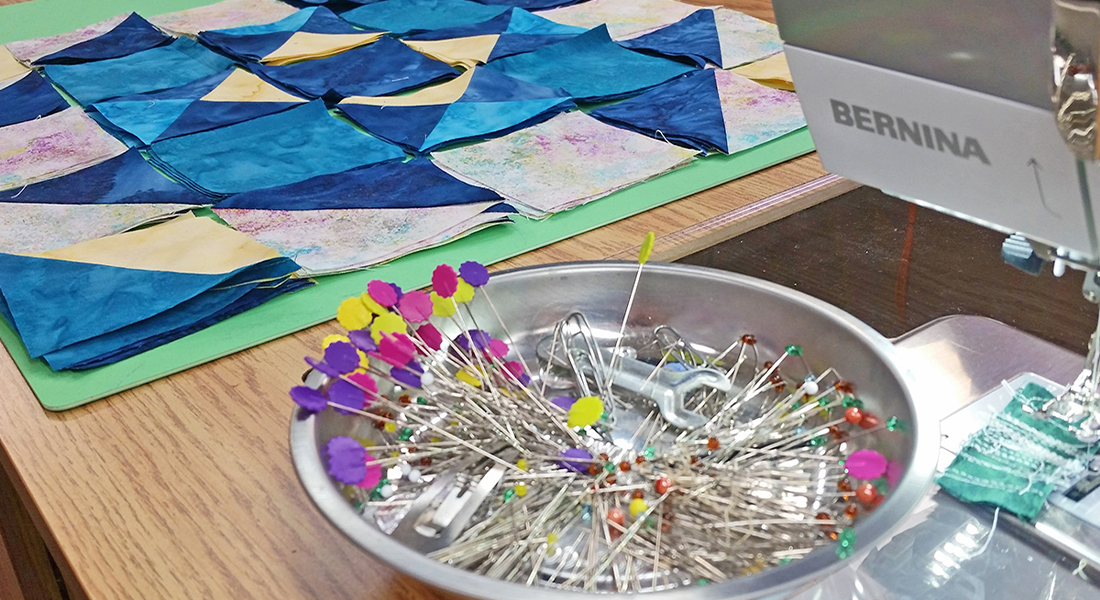
For my design, I chose lettering with my HUMBLE logo to test. Here’s where things got tricky for me and my machine. The embroidery design is one I created with BERNINA DesignWorks Software. First, I sized the design small enough to fit the dimensions for the inside of the “Hoop ‘n’ Buddyz” hoop. Then I have everything hooped, stabilized and ready to go. Next, I pushed the start button, and friends . . . BERTHA (my BERNINA 880) would not GO.
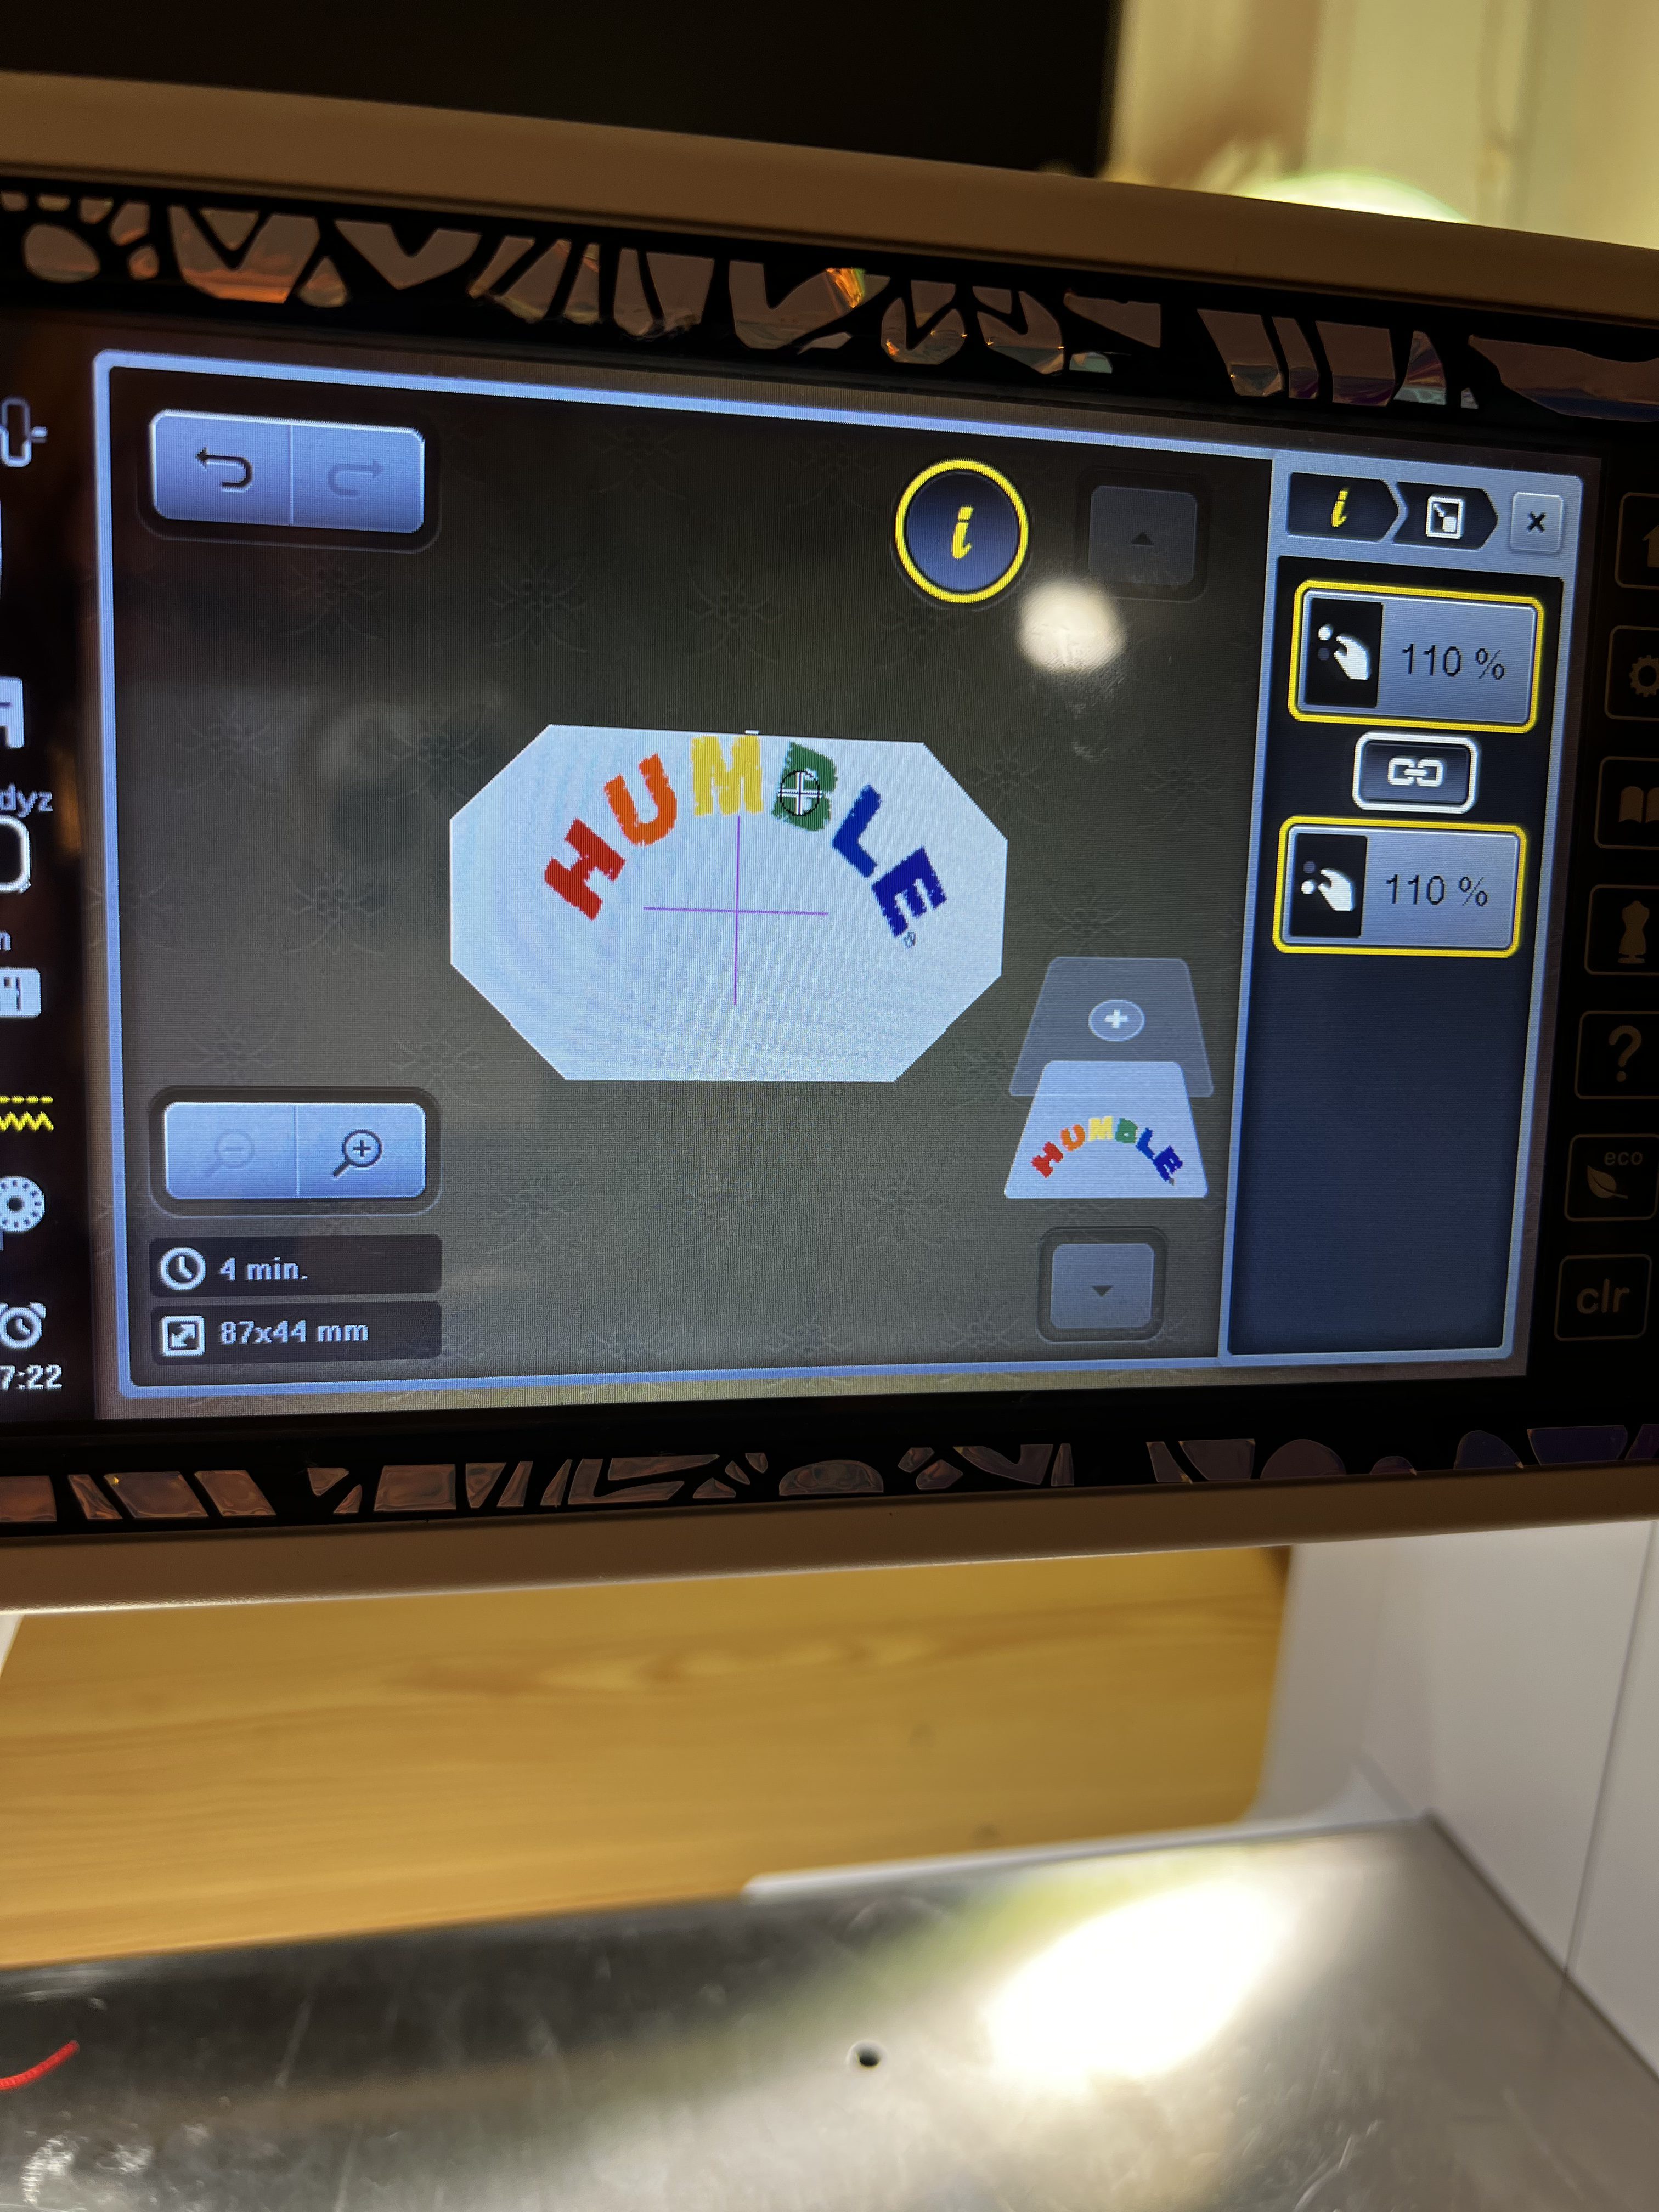
After hours of troubleshooting, I repositioned my design and brought it closer to the top edge of the hoop on my touchscreen. Then I pressed GO and now we were cooking! Although, the dimensions for the “Hoop ‘n’ Buddyz” show you available space for your design, you may or may not have trouble with starting if the design is too big on the preview screen.
Note: The embroidery design was not outside the available outline (creating the red outline in preview).
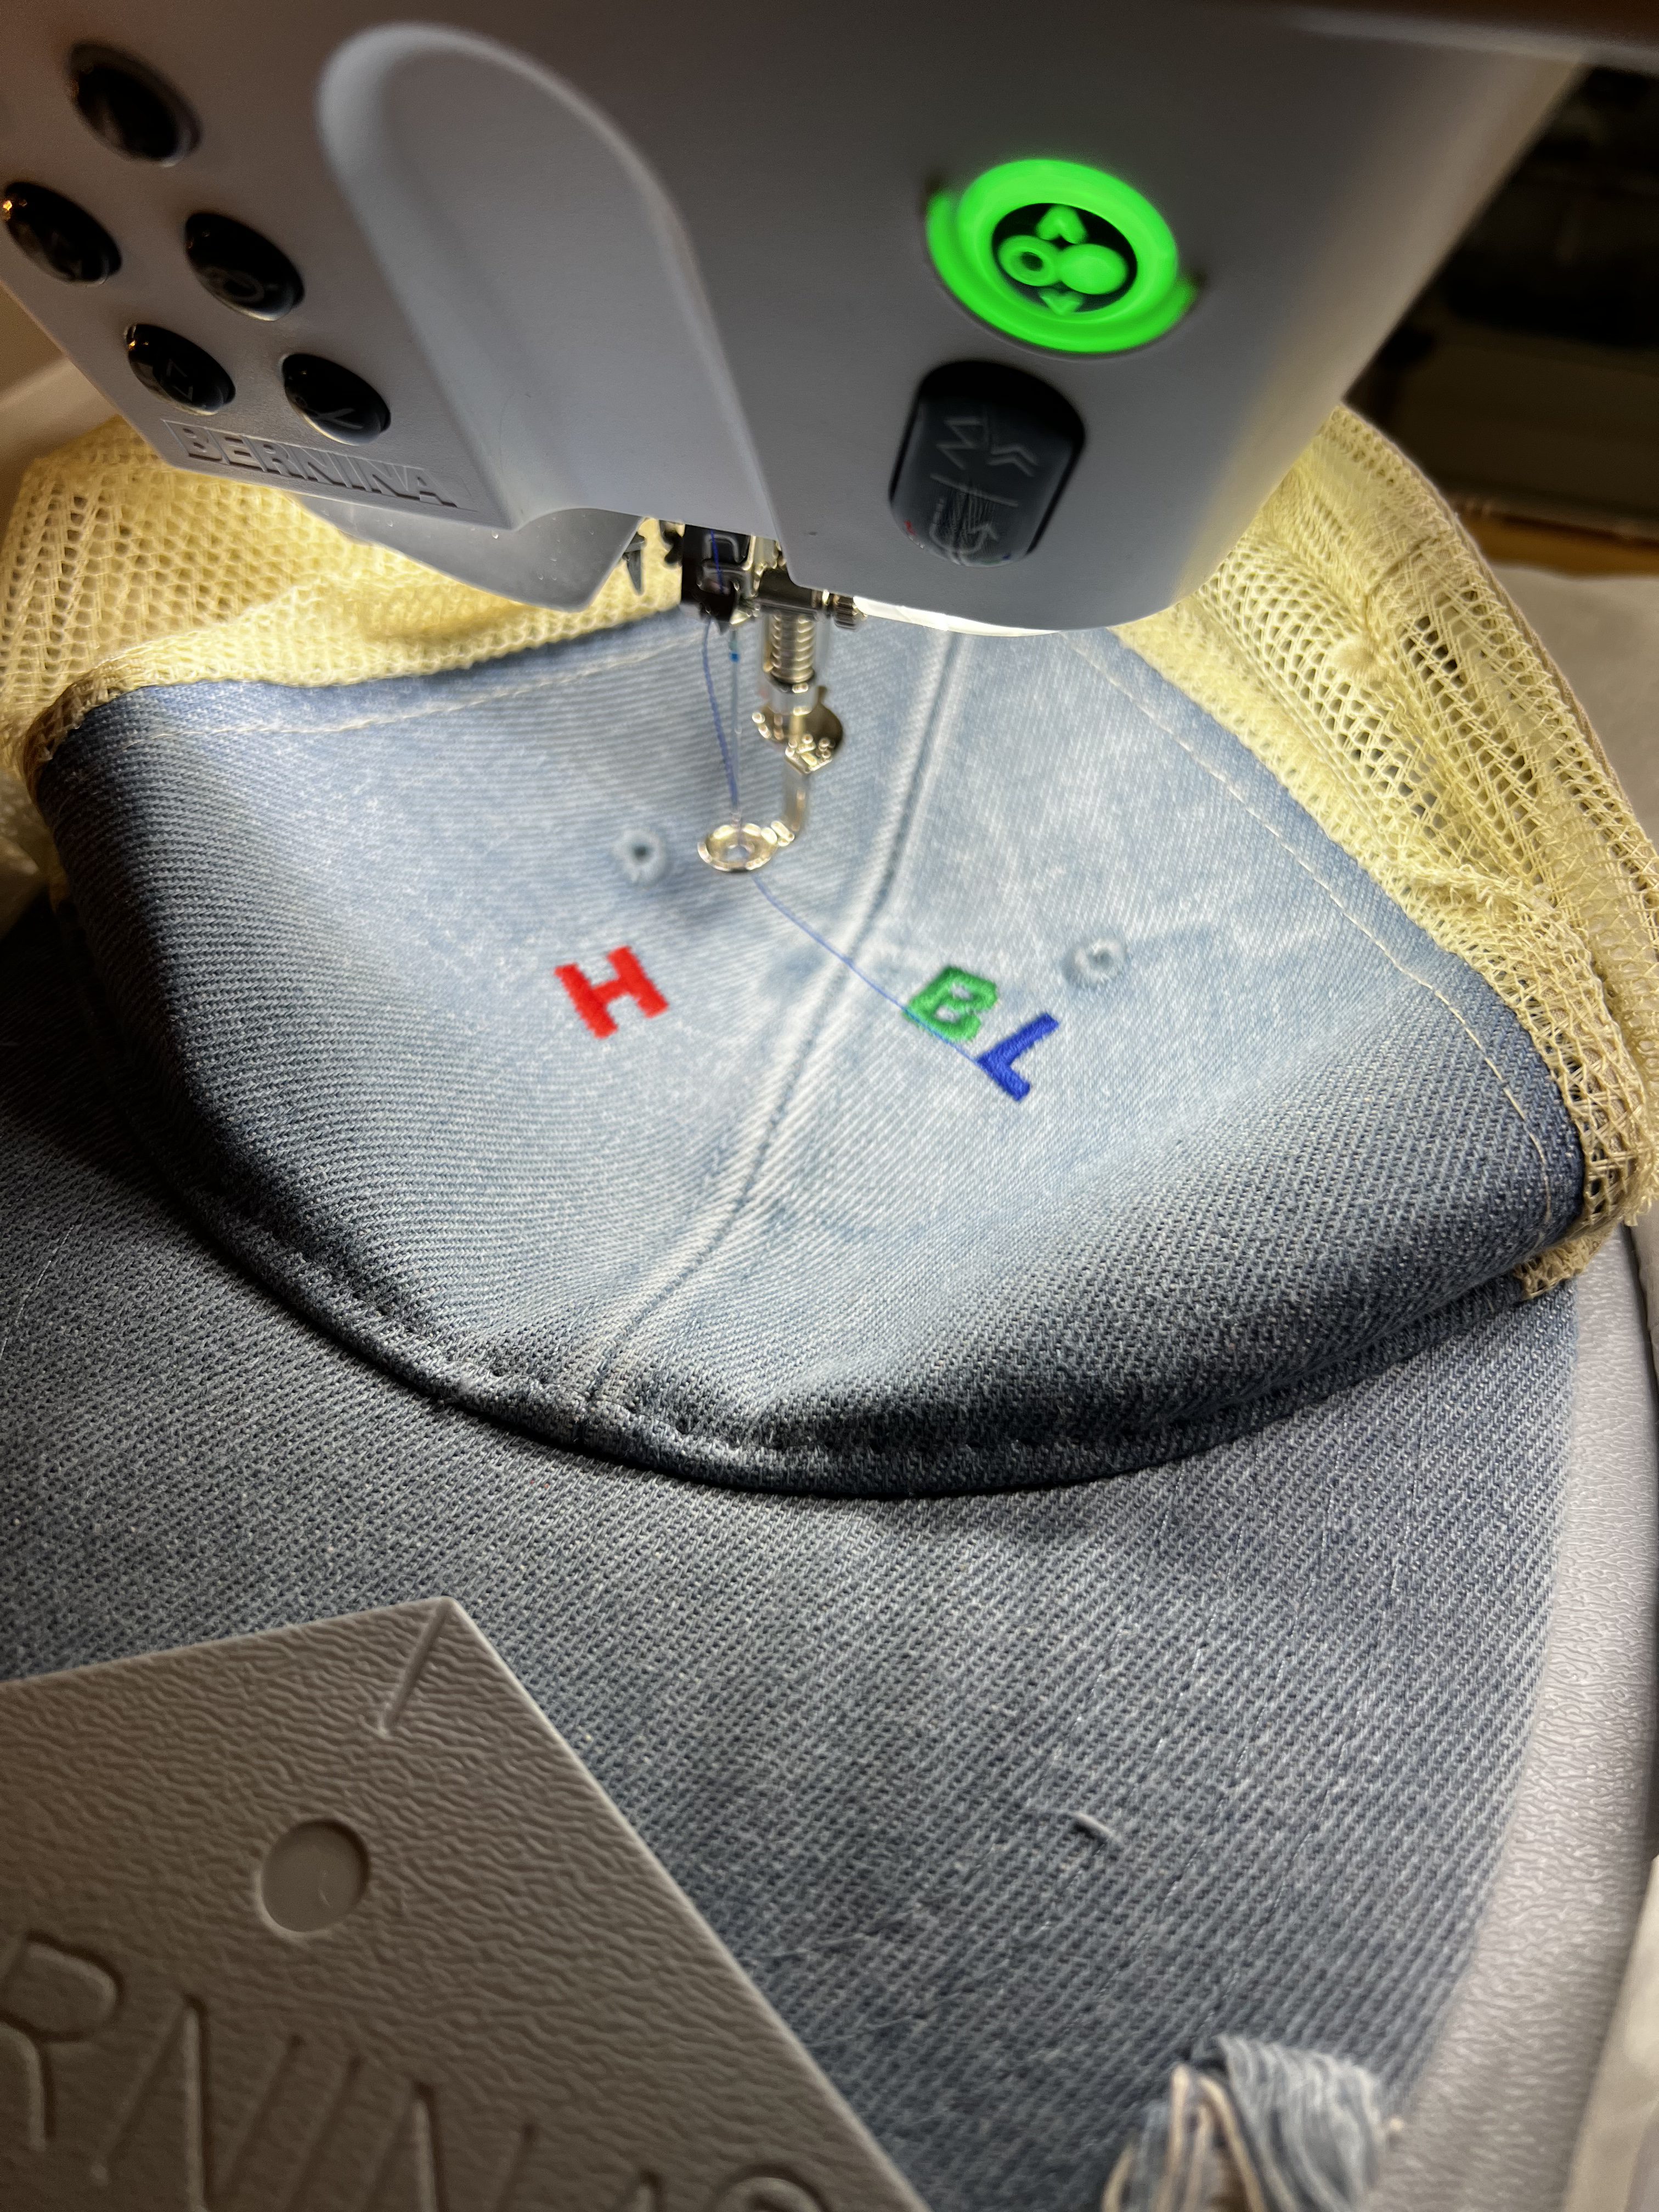
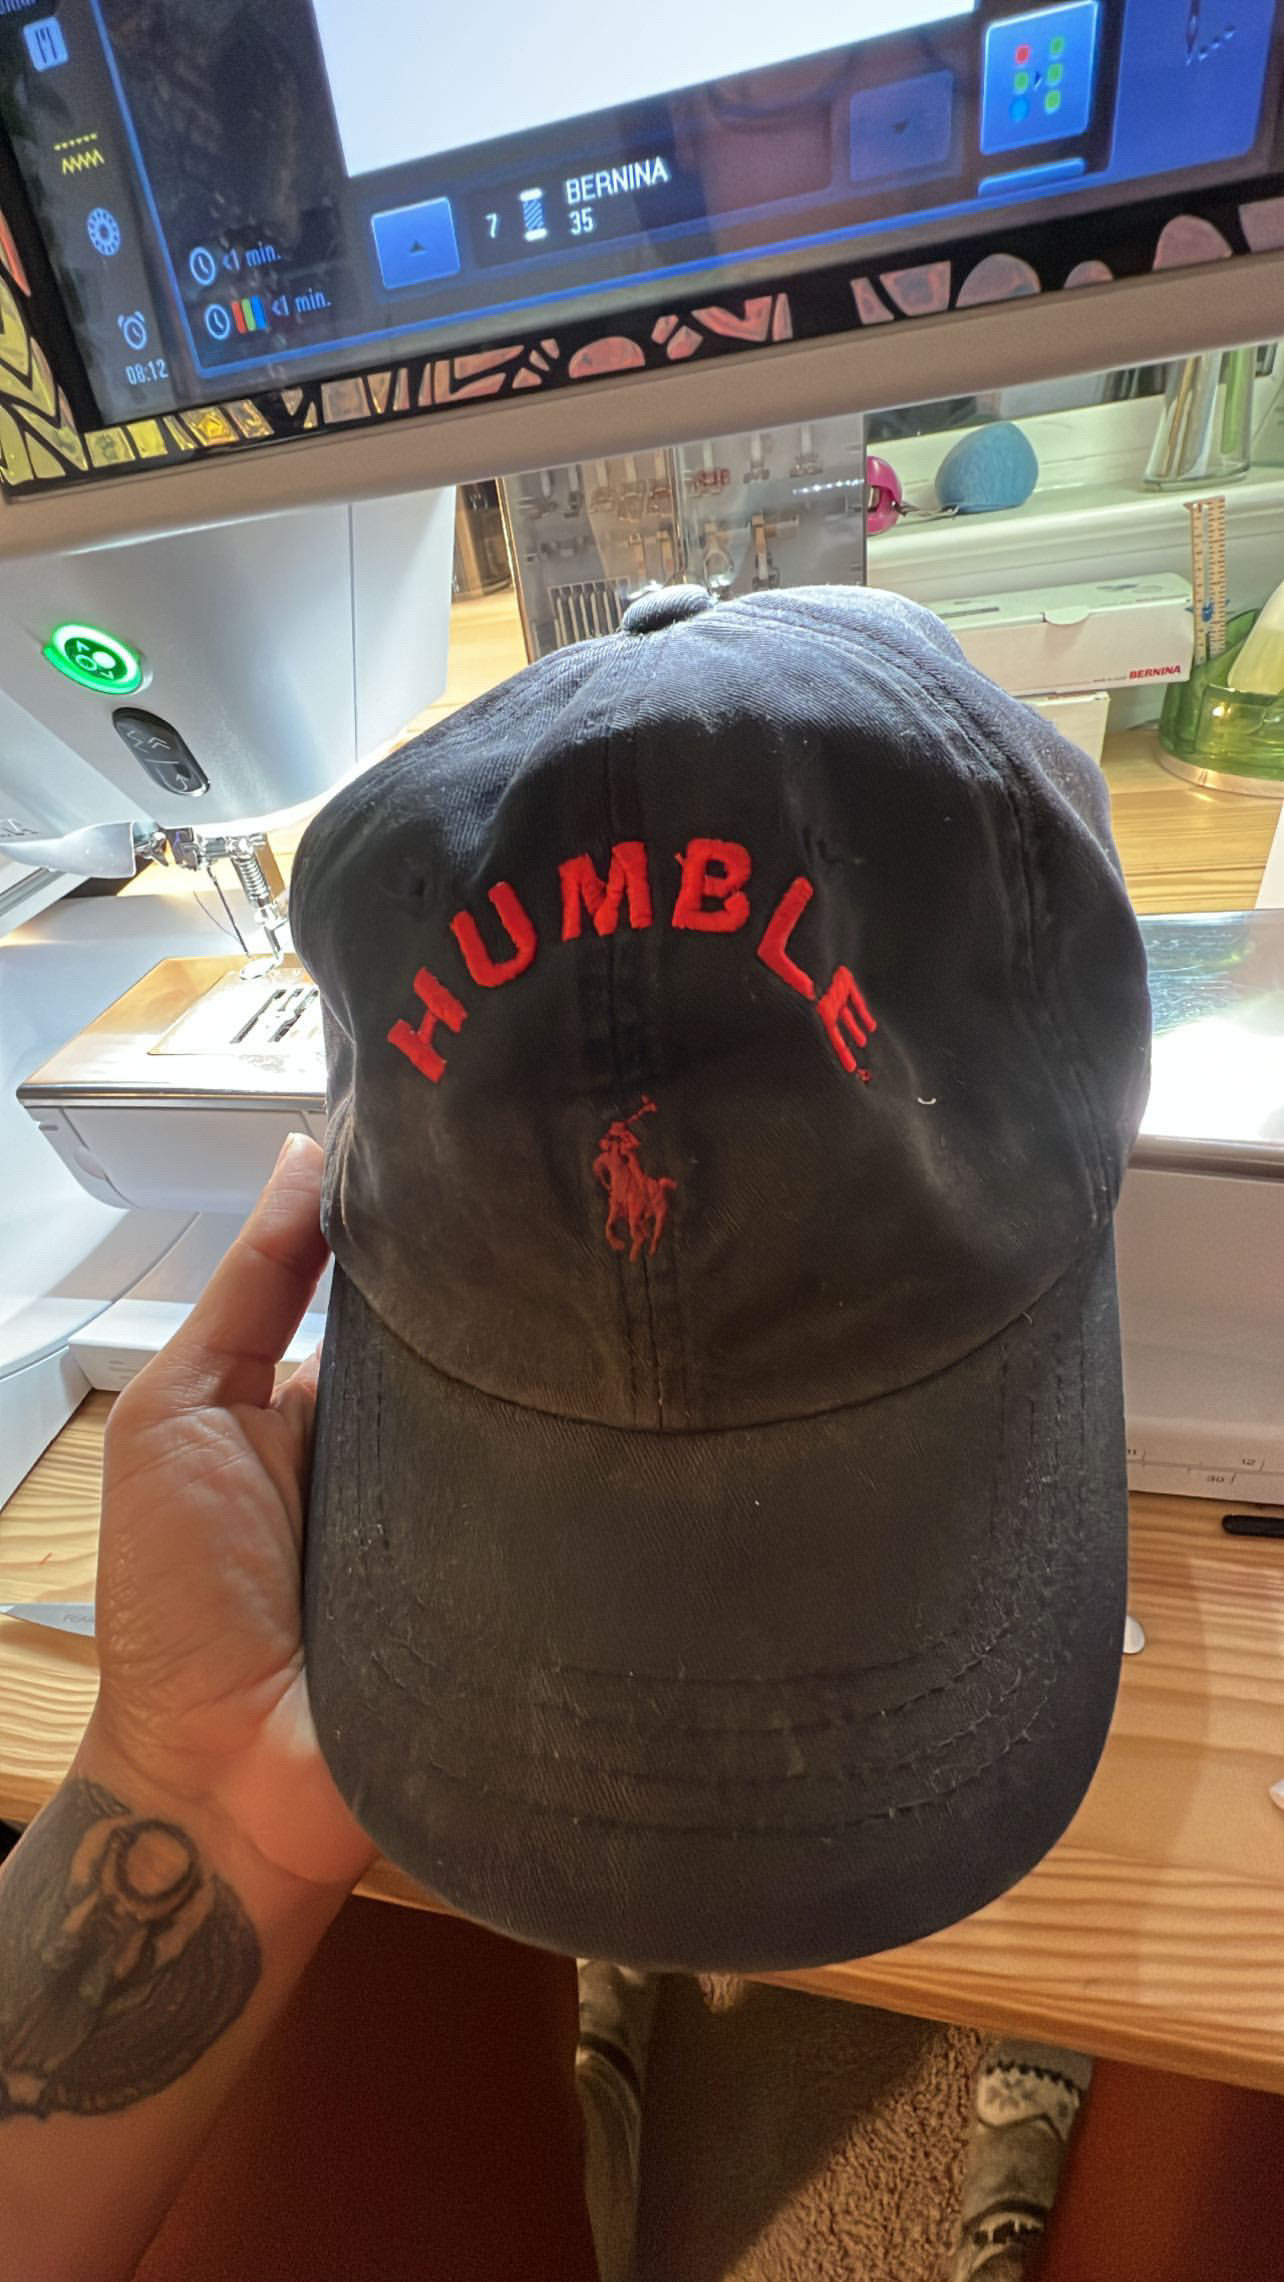
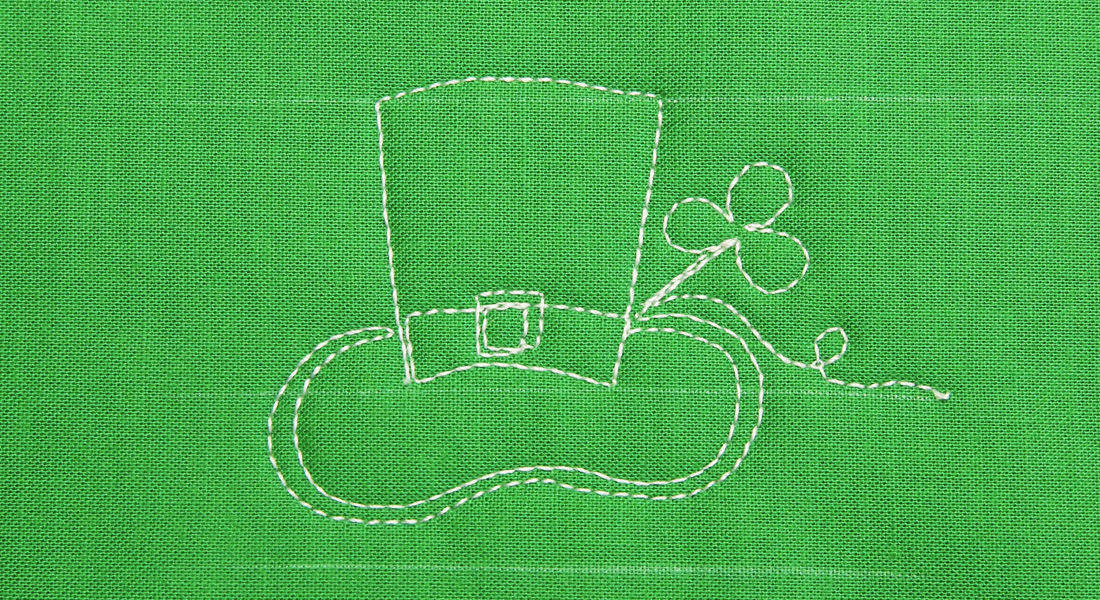
As mentioned in the tips, your completed hat design may not turn out perfect on the first try. It’s okay! I started with a blue jean denim hat and the stitches were not the best. So what did I do? Try again, and again, and again, until you are happy. Just be sure you have enough hats, lol.
Happy creating friends!❤️
Used Products

What you might also like


5 comments on “How to Embroider a Hat: Beginner Tips”
-
-
Love the Buddy hat frame. Made 6 hats for daughters wedding groomsmen for their golf party. Said Brides ,Father,Brothers, best man and groom. Had smiling golf ball and wedding date. Came out perfect and big hit.
-
Thanks — I have had my hoop n buddy for quite some time so now is the time to try it.
-
As another option: it’s relatively easy to embroider caps on the side or back without the special hoop. I hoop a firm cut-away stabilizer in the medium hoop and pin the hat to the stabilizer.
-
I was wondering about embroiderying on the side of the cap, using the large Bernina freearm embroidery hoop. But you just hoop it in a regular hoop? Thanks!
-
Leave a Reply
You must be logged in to post a comment.

Thx for the hat blog. I’m working on one too. My first turned out pretty good.