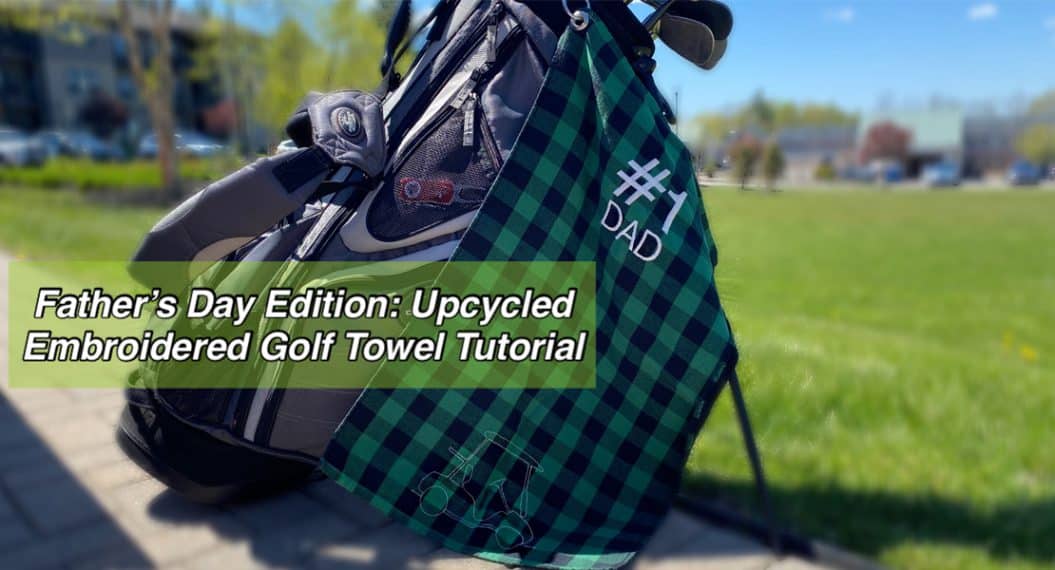
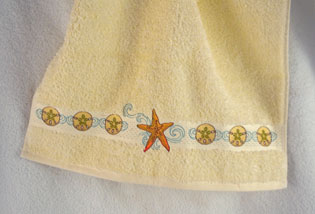
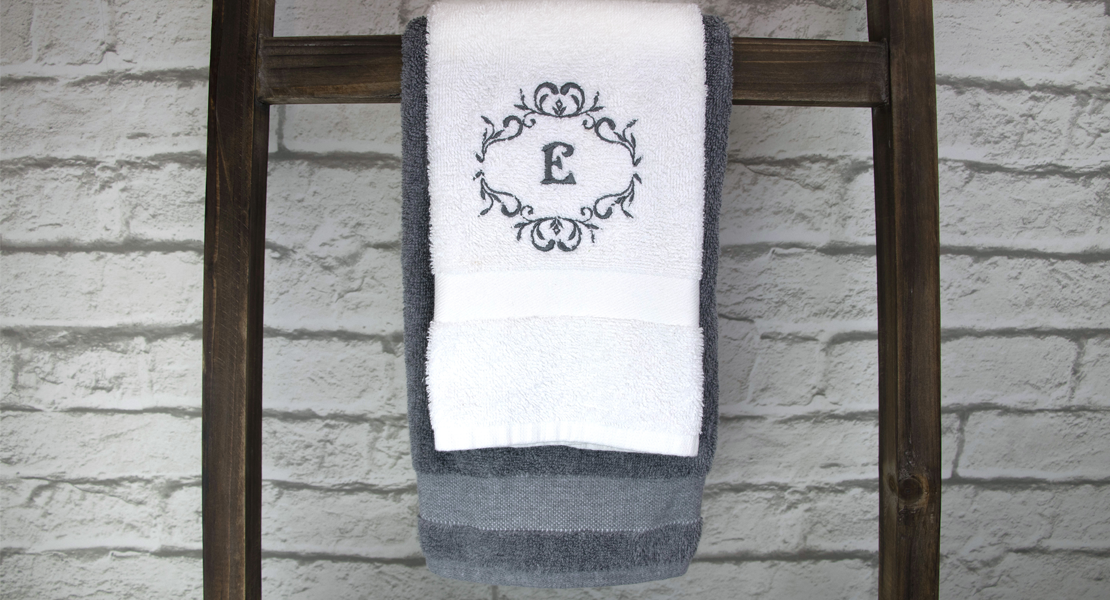
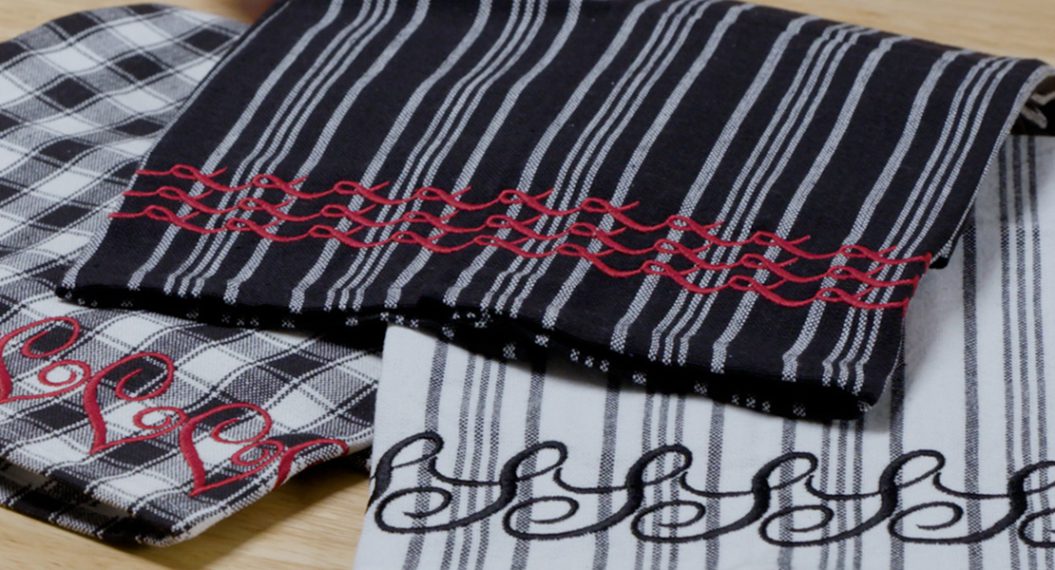
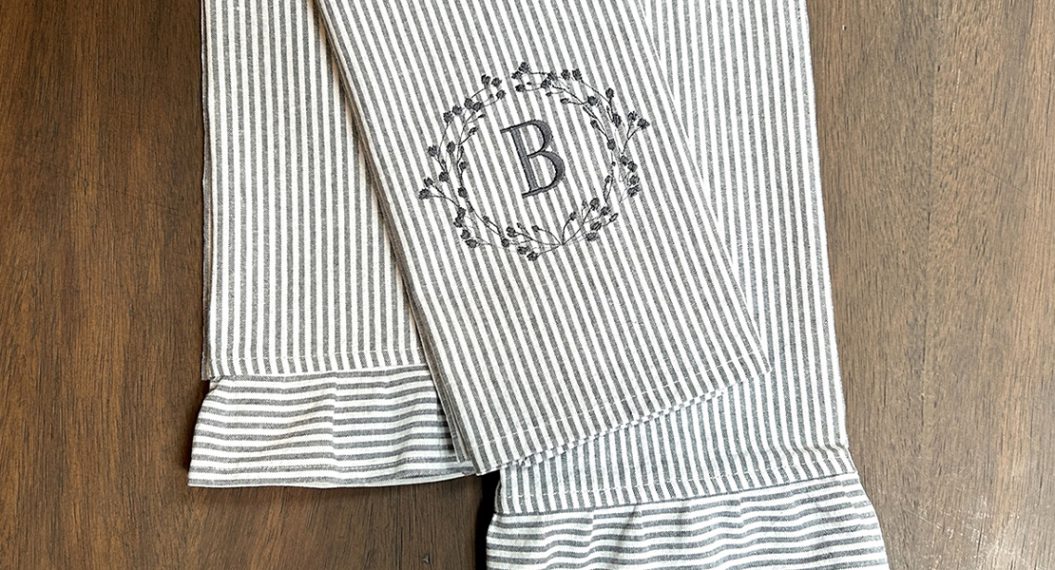
How to Embroider a Towel
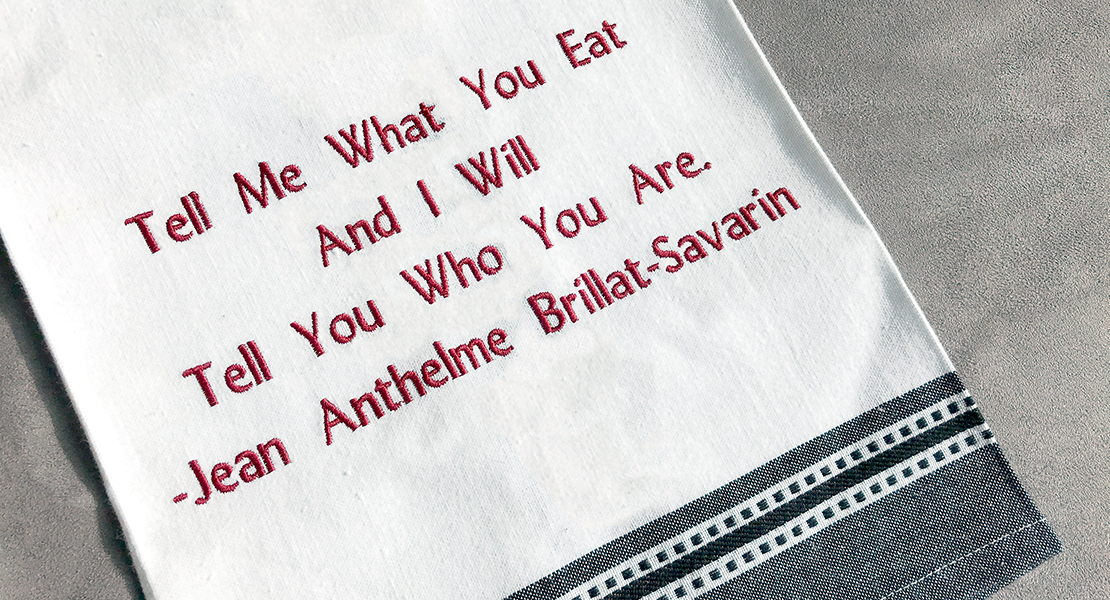
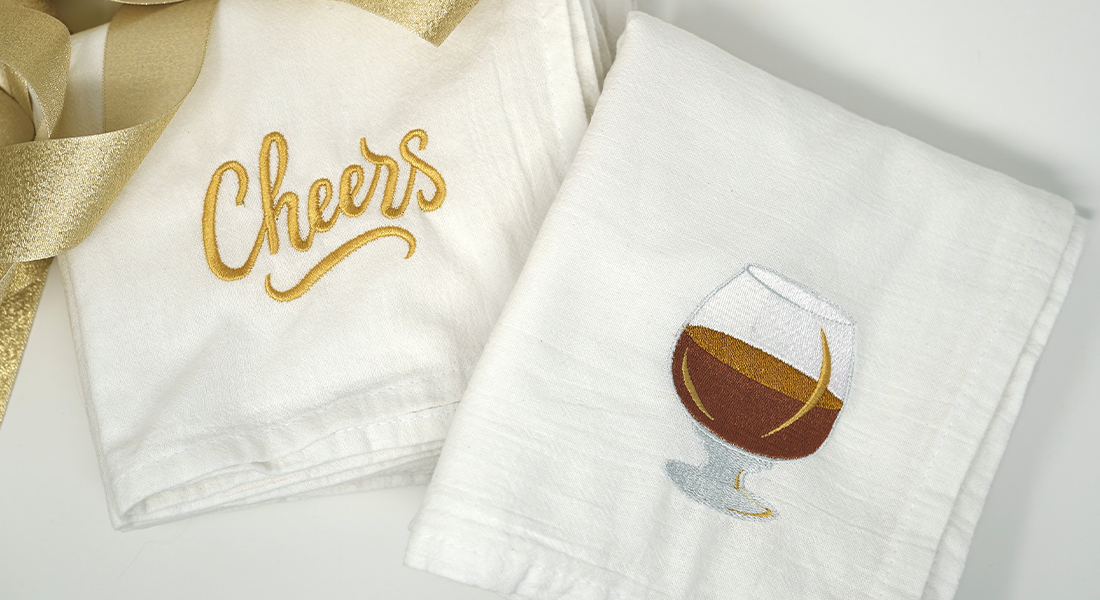
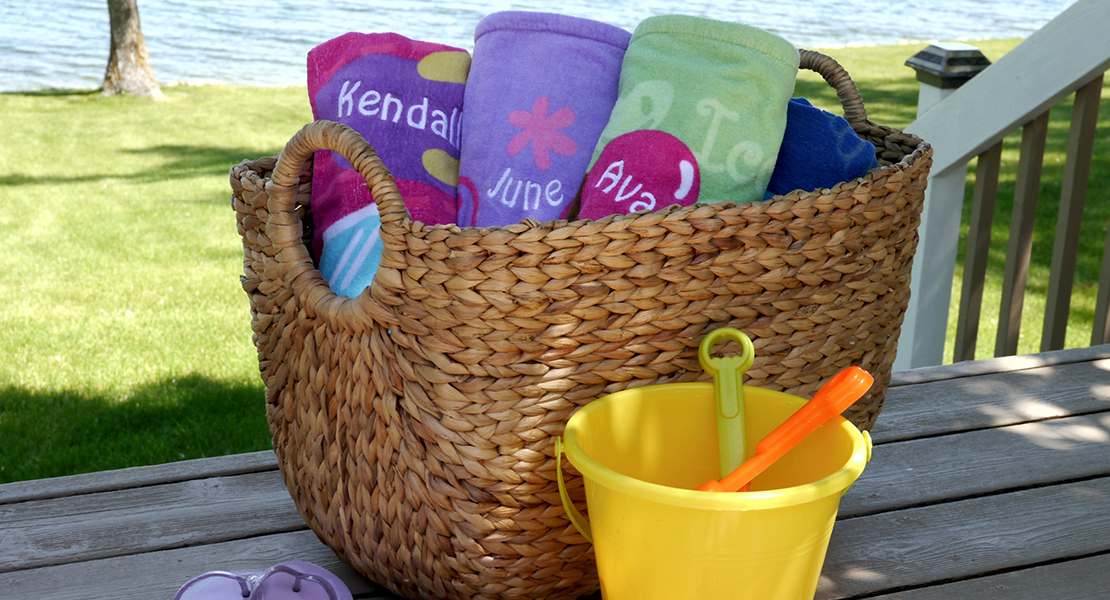
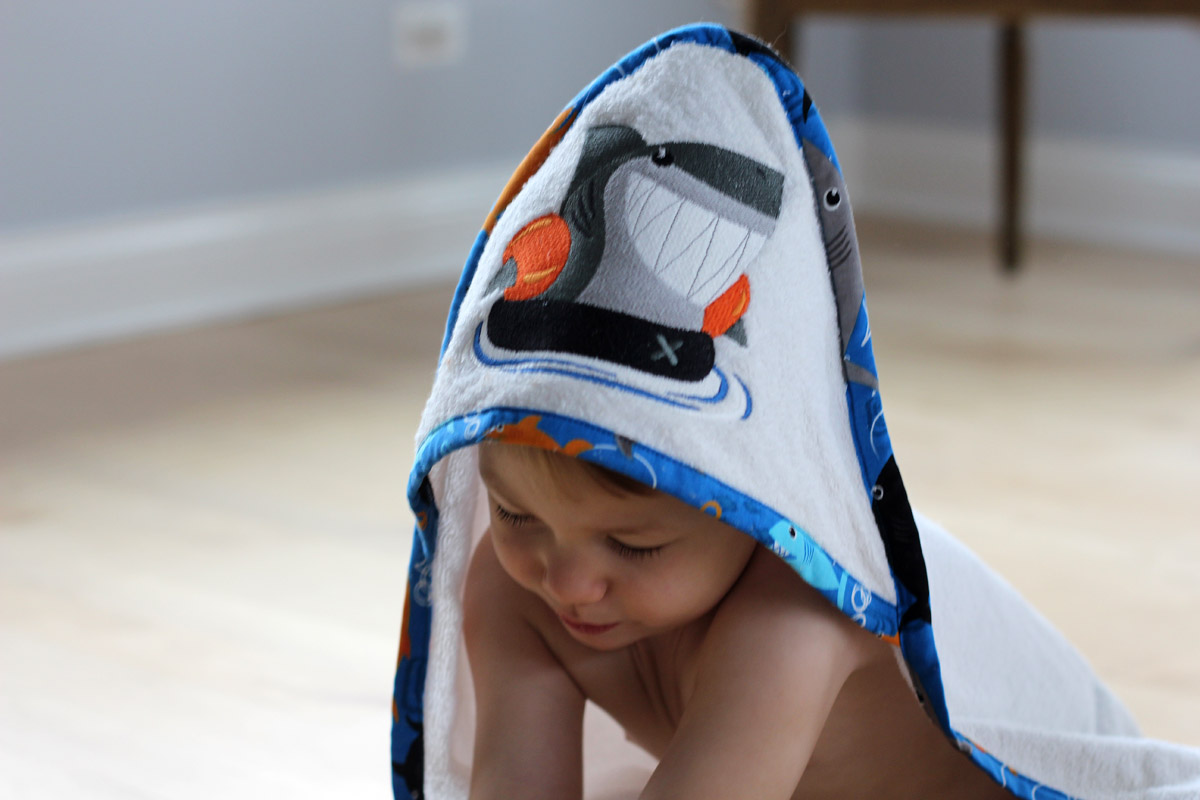
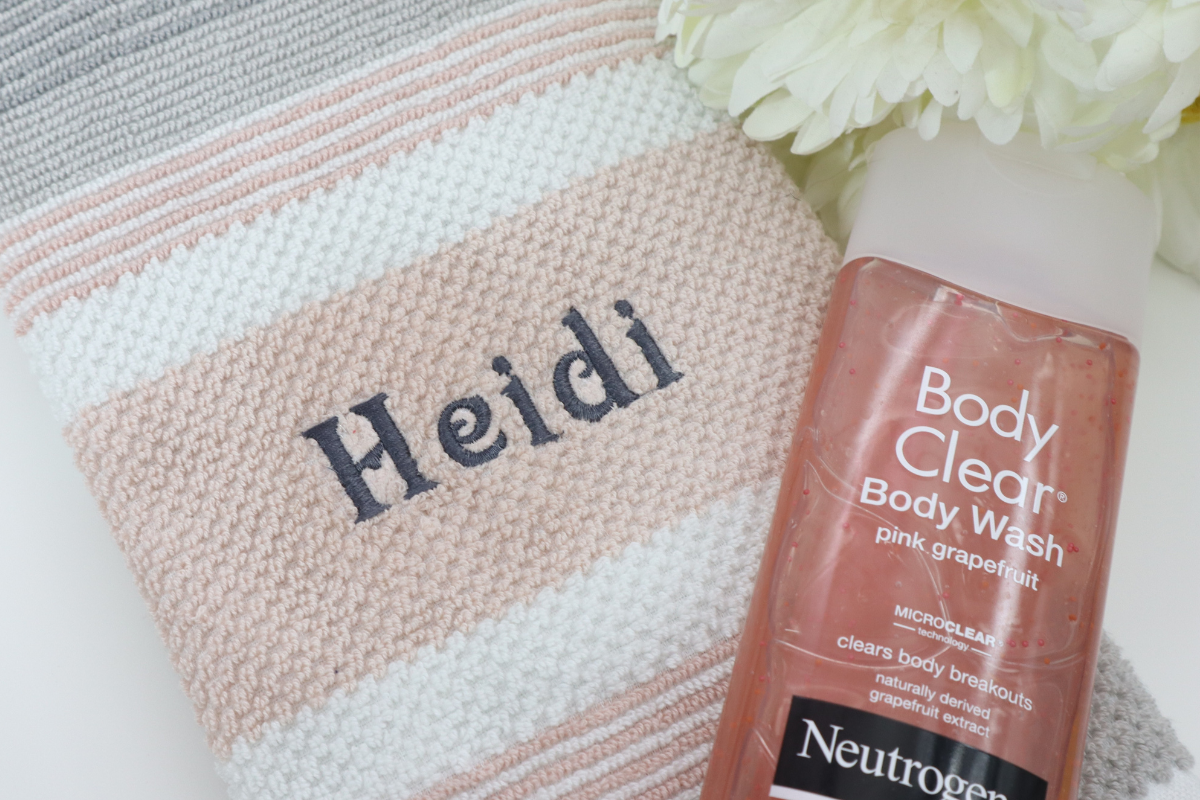
Everyone – I mean EVERYONE loves to see their name on things! So, when I give a gift of bathroom towels, I embroider their name or monogram on them. This way they are unique and special, and they will think of you every time they use them. In today’s blog post I’m going to show you how to embroider on a towel.
Hello my Sewing Bees, my name is Sue O’Very owner of Sookie Sews and BERNINA Expert. You can find me on Instagram at @SookieSews, my website SookieSews.com and on my YouTube Channel SookieSewsTV.com where I have hundreds of sewing projects, machine sewing patterns, embroidery designs and In-the-hoop projects. Ok, let’s get stitching!
Materials and Supplies to Embroider a Towel
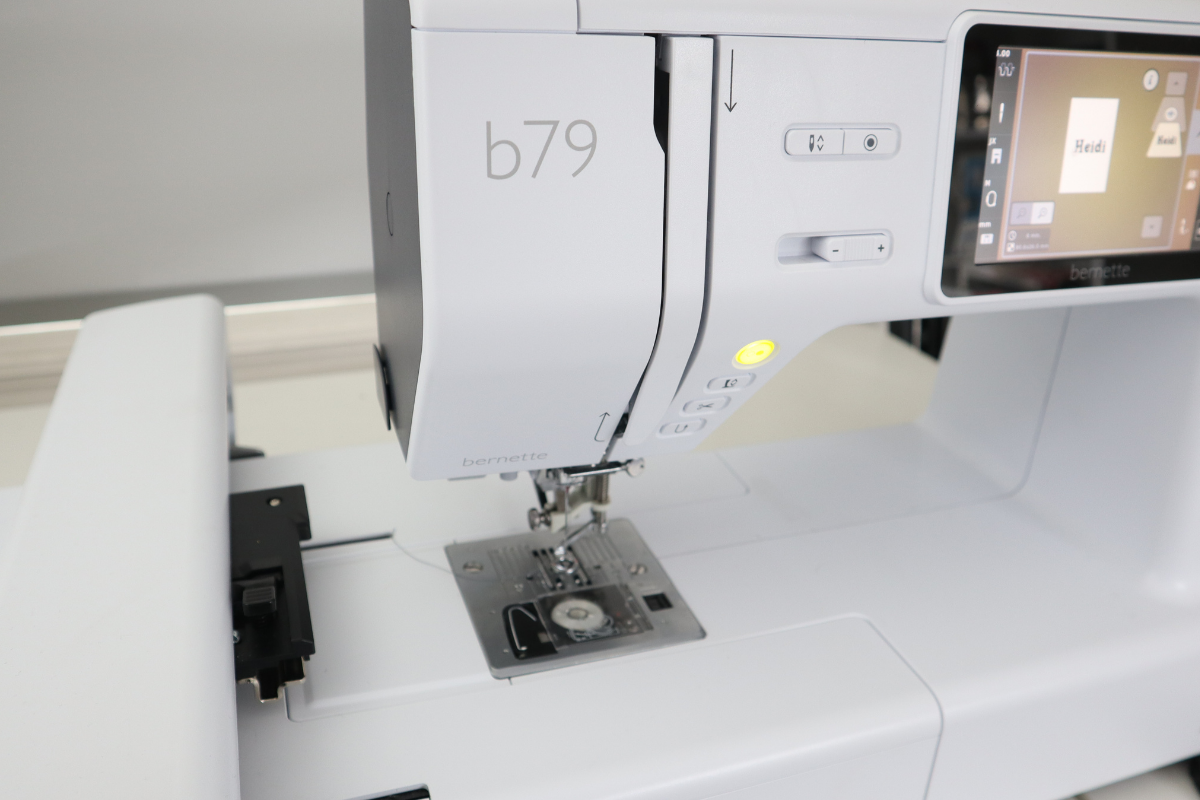
- Embroidery machine and hoop with template (I used my bernette b79)
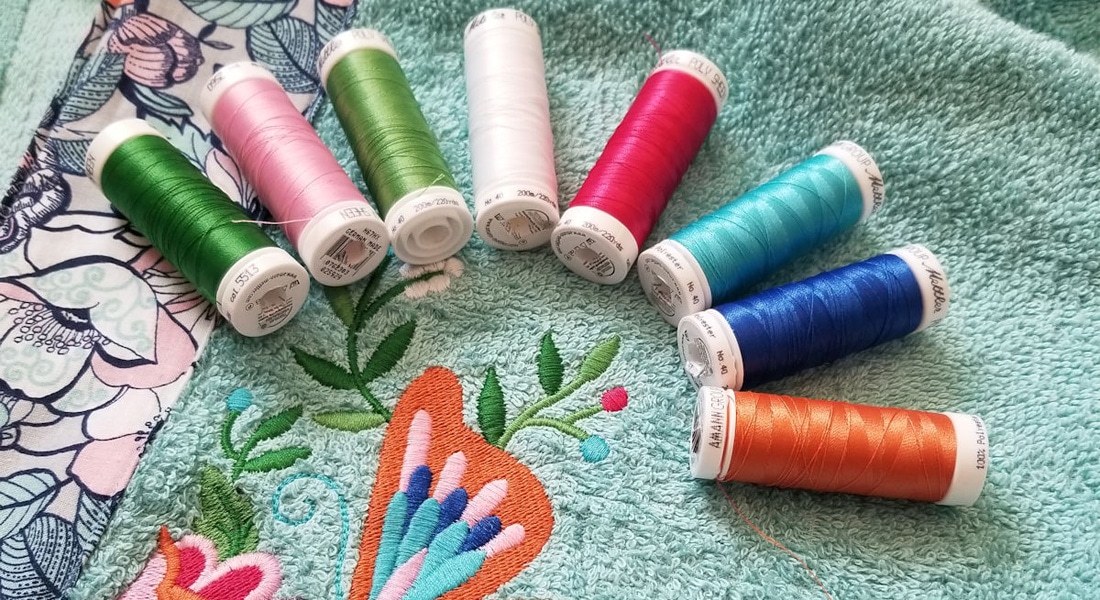
- (1) Spool of 40 wt embroidery thread
- (1) Bobbin with 60 wt bobbin thread
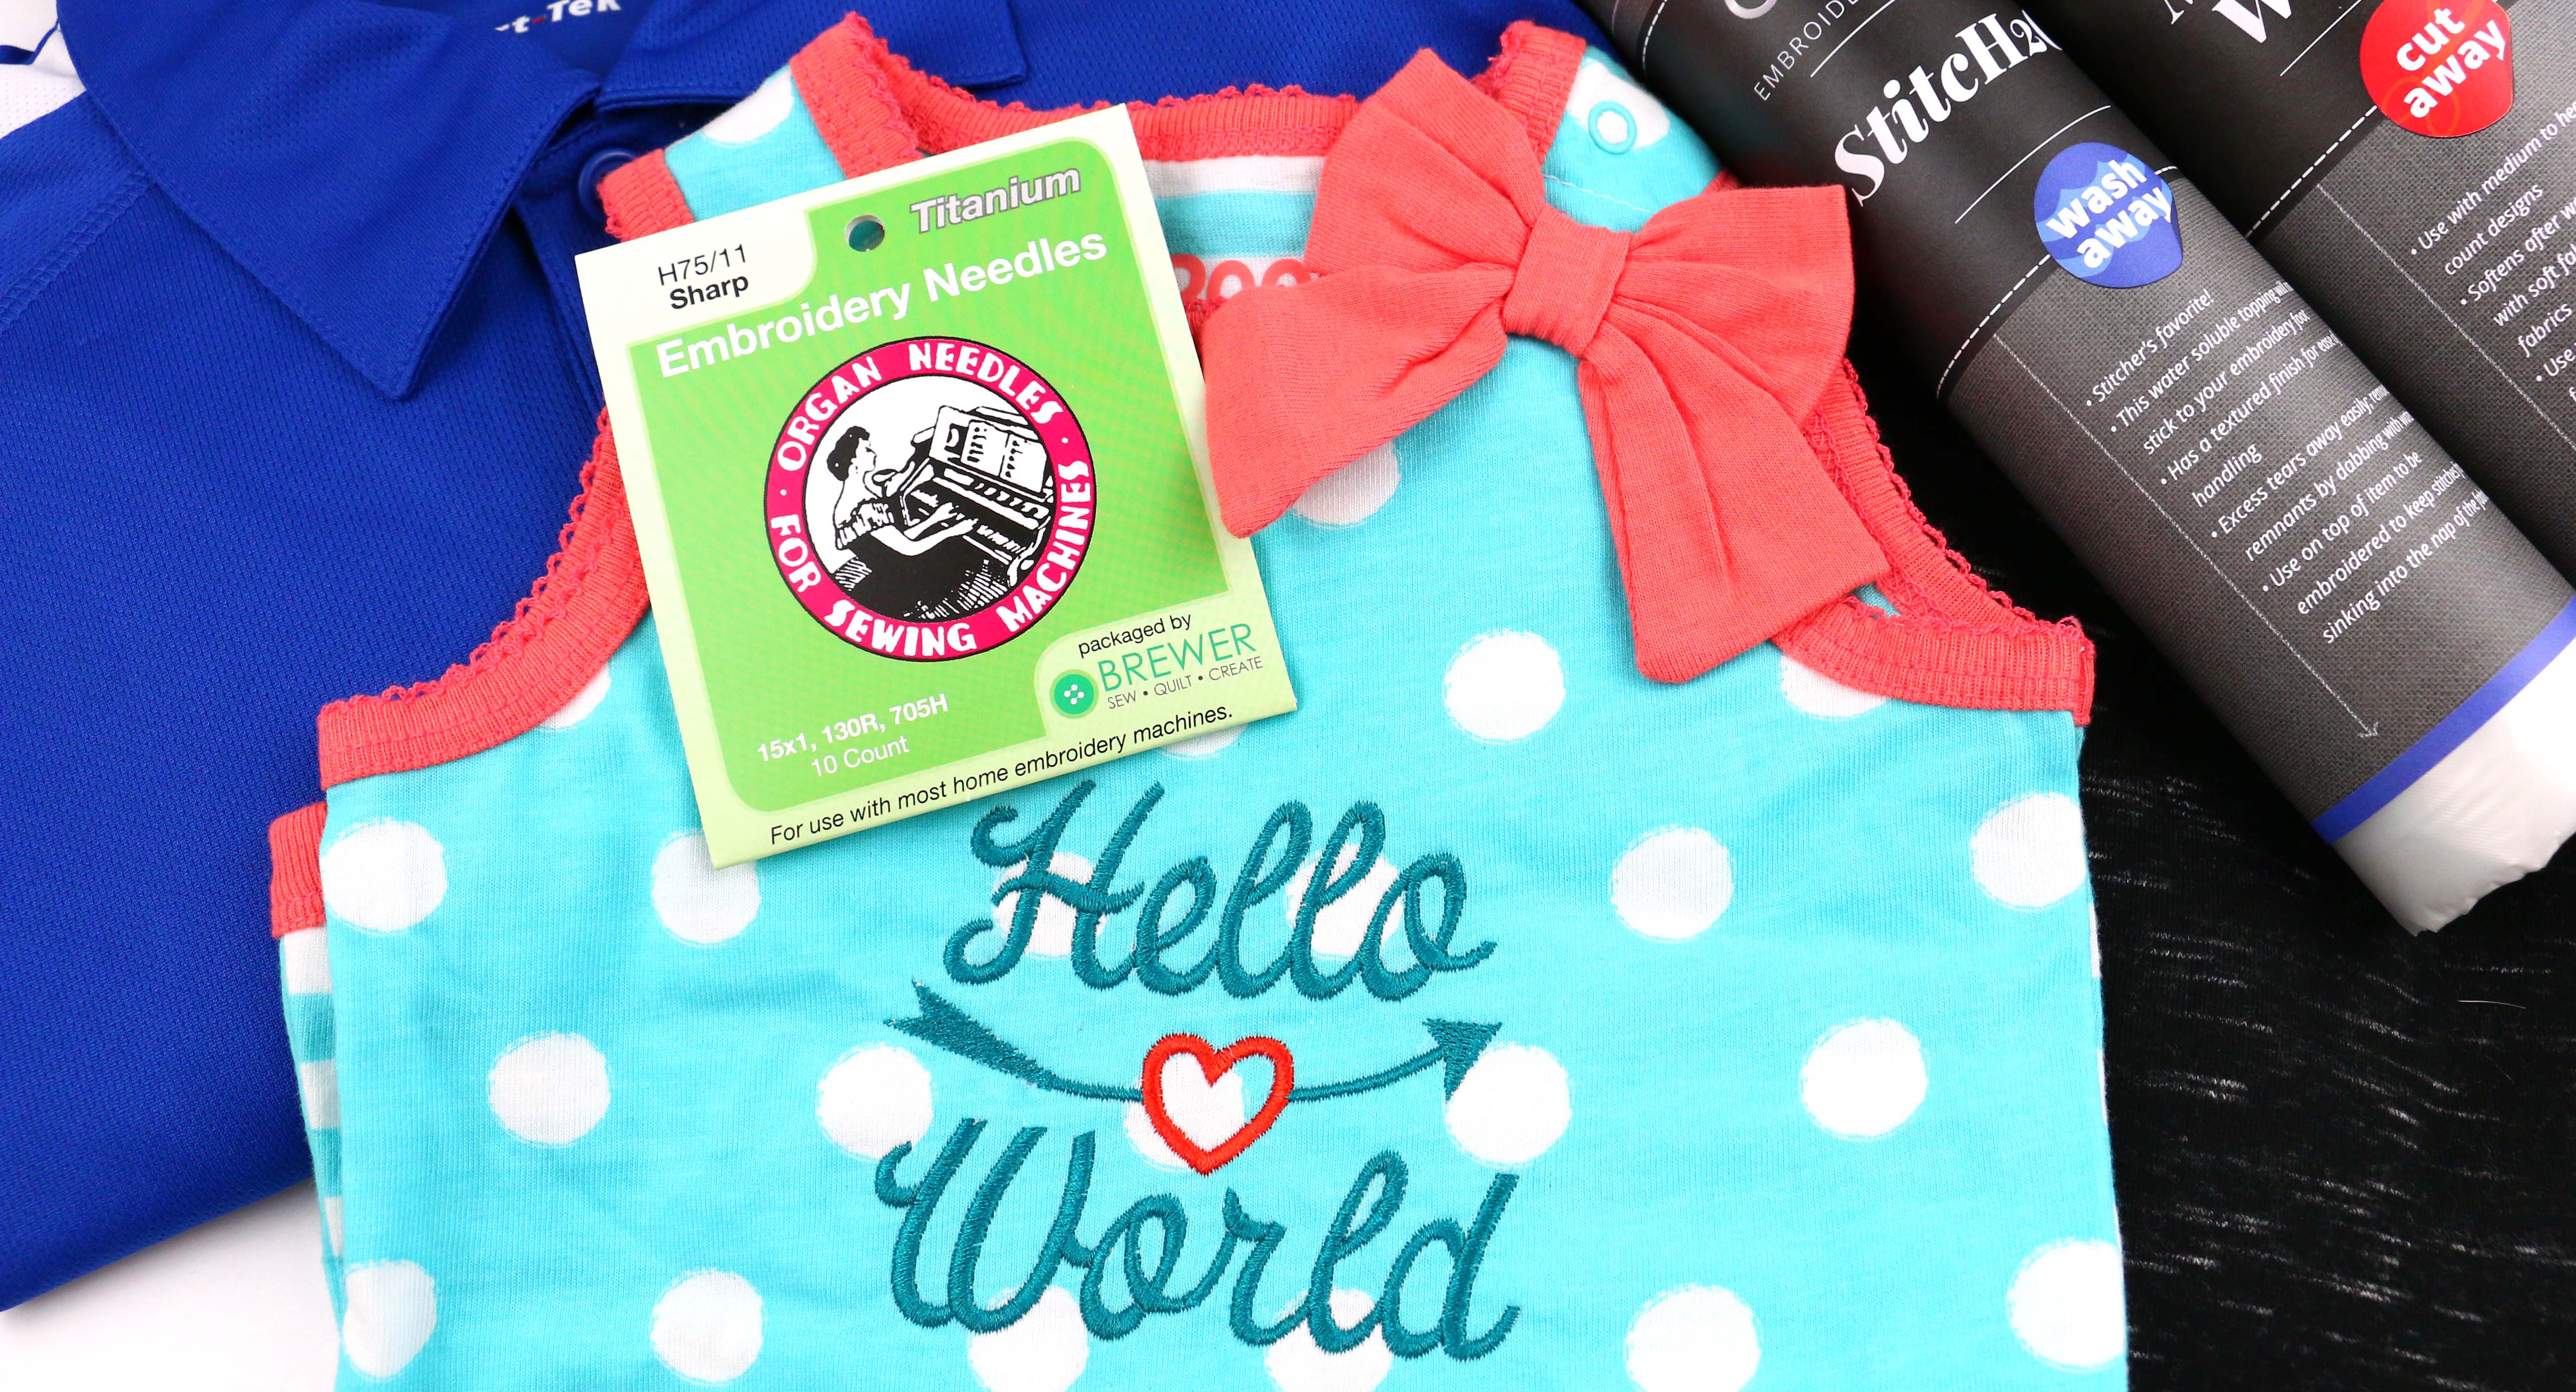
- Embroidery 75/11 or 90/14 for heavy (hotel style) towels
- Tear Away Heavy Weight
- StitcH20 water soluble
- Straight pins
- Marking pen
- Spray adhesive
- EZ Hook n Snip by Sookie Sews
- Precision Angled Tweezers by Sookie Sews
Steps to Embroider a Towel
1. Set embroidery machine up with proper bobbin case, needle plate, presser foot, needle, bobbin thread, and embroidery thread.
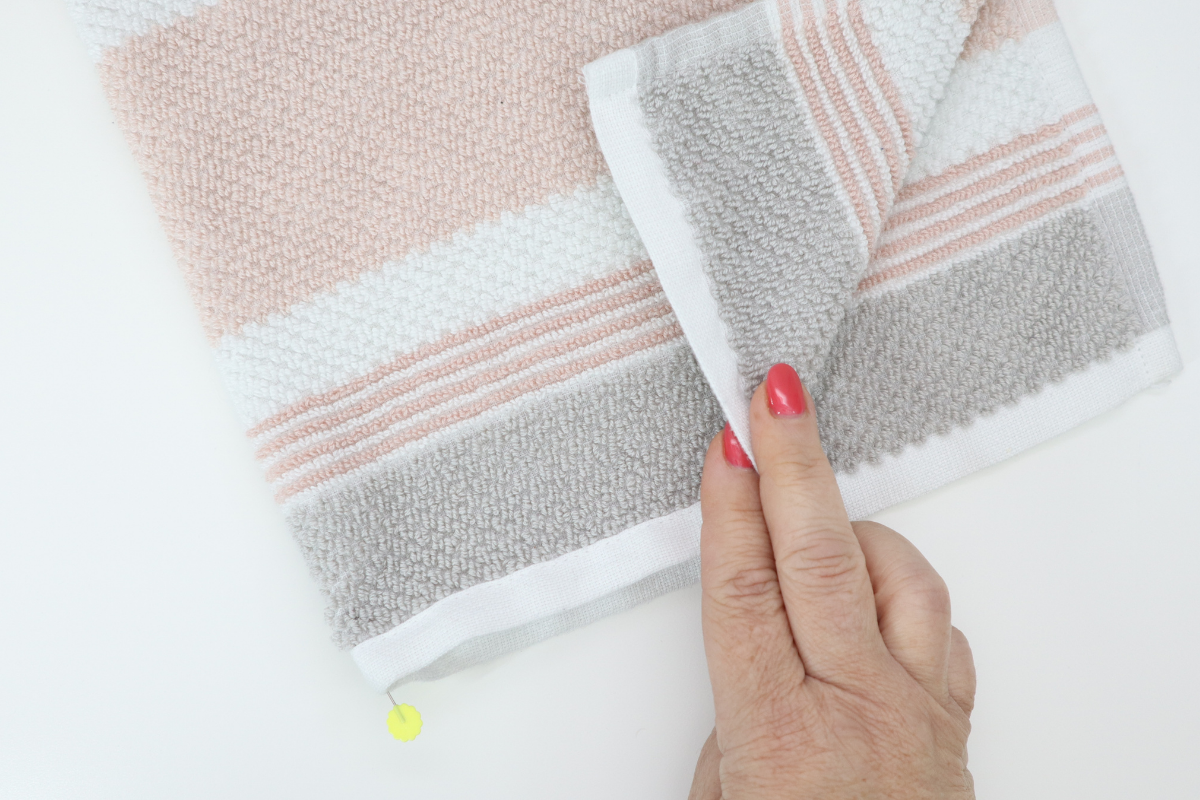
2. Find the center of the towel by folding it in half width-wise, use straight pins to temporarily mark.
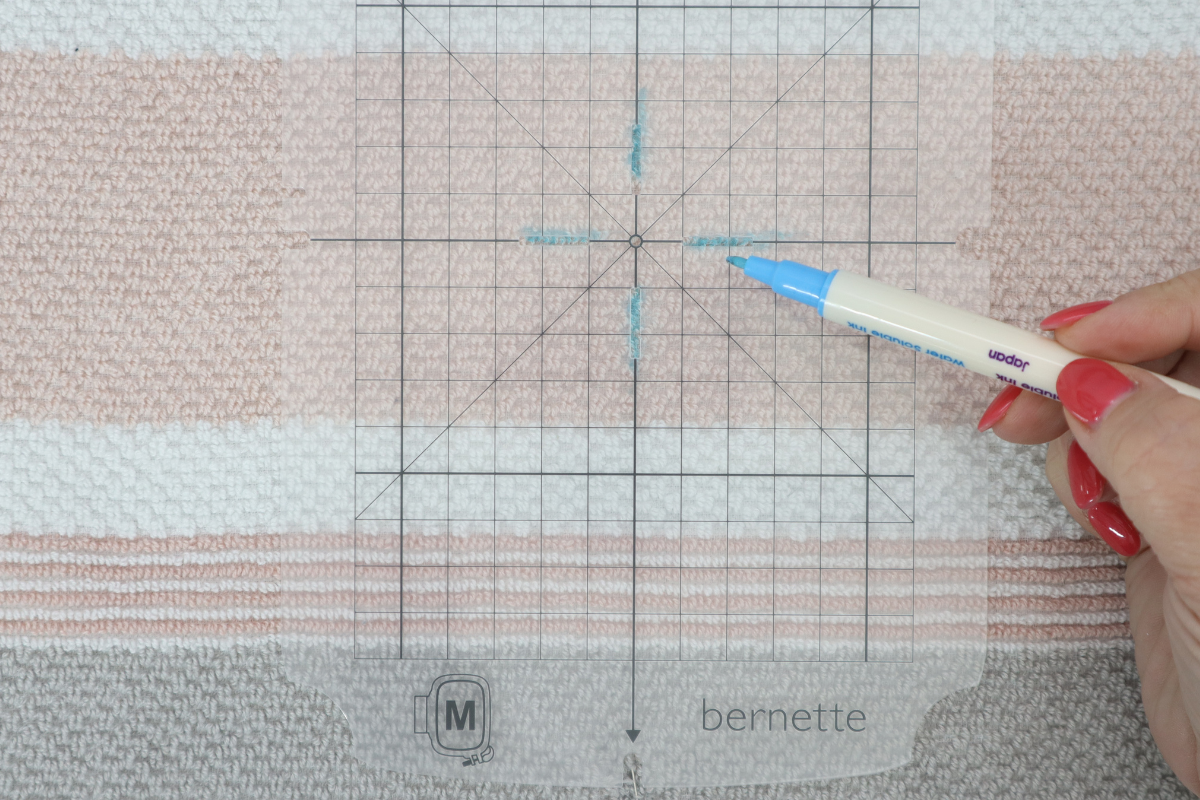
3. Place the template over the center mark and use a marking pen through the holes on the grid. I used a water-soluble pen since you will be removing the water-soluble topping. You can remove the center mark pin.
4. Hoop the Tear Away stabilizer. Use the hoop grid and marking pen to mark the center directly onto the stabilizer. Connect marks to make a cross-hair line.
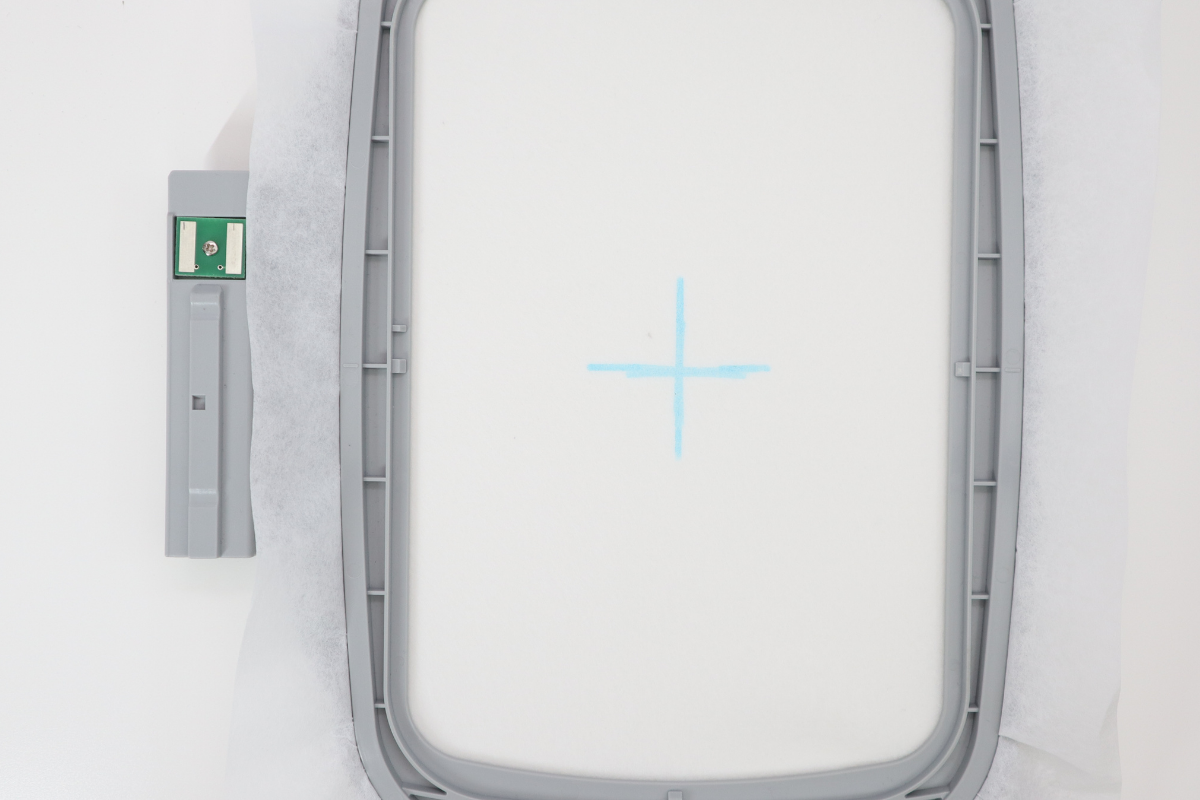
5. In a ventilated area, spray a light coat of spray adhesive over the center of the stabilizer. Avoid spraying onto the plastic of the hoop and near your machine.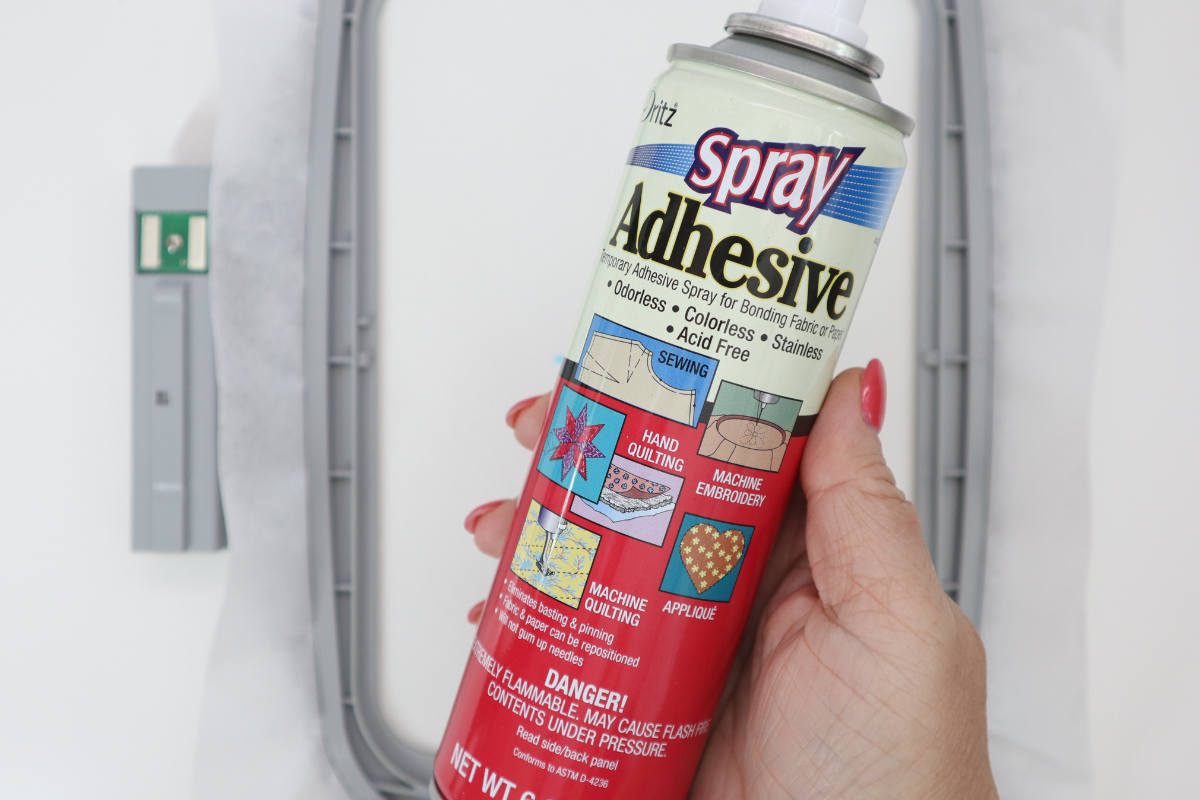
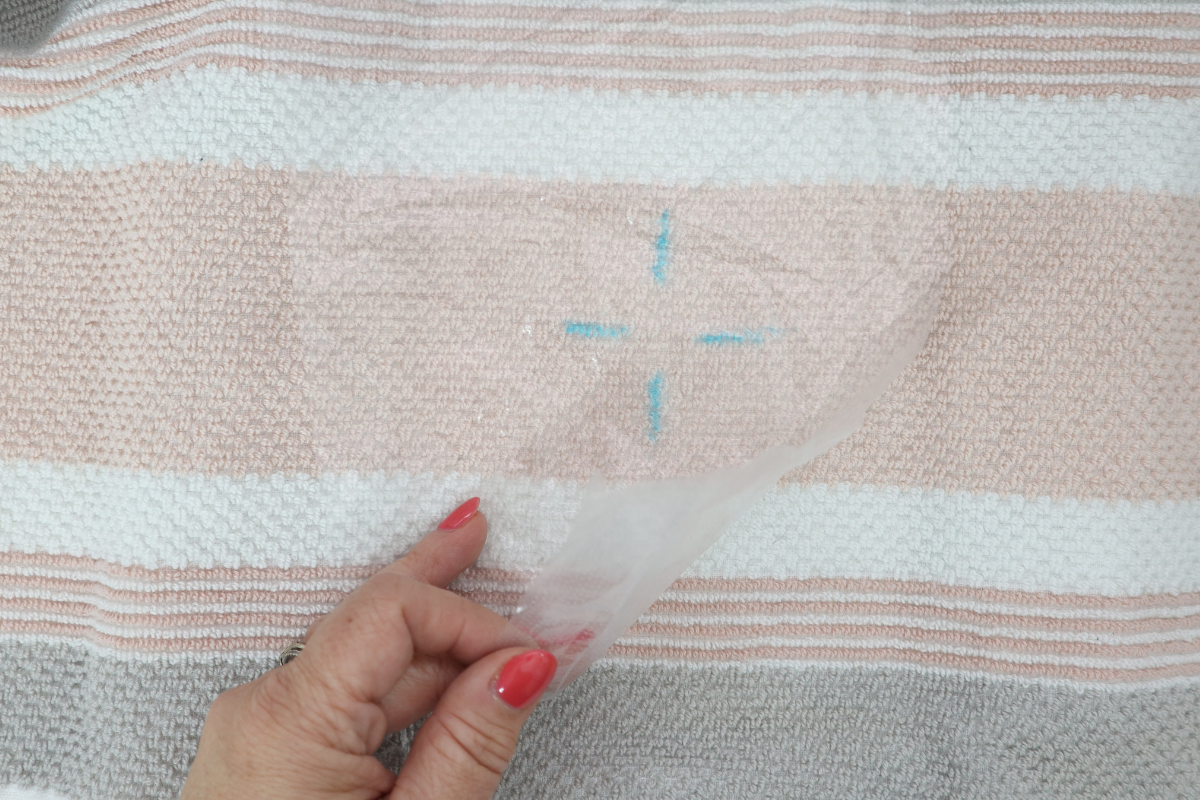
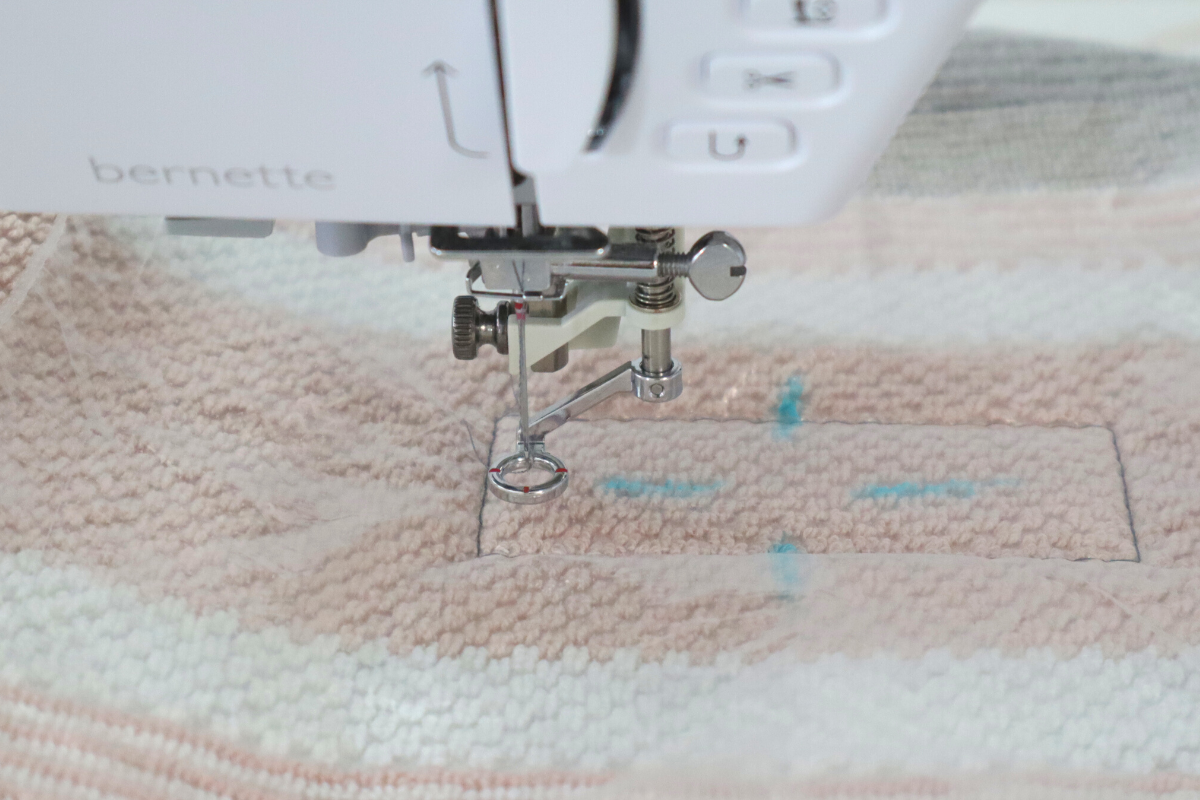
6. Place a pin through the center of the mark on the towel. Align mark on tear-away stabilizer and press towel firmly to the stabilizer. Place a piece of StitcH20 over the hoop area.
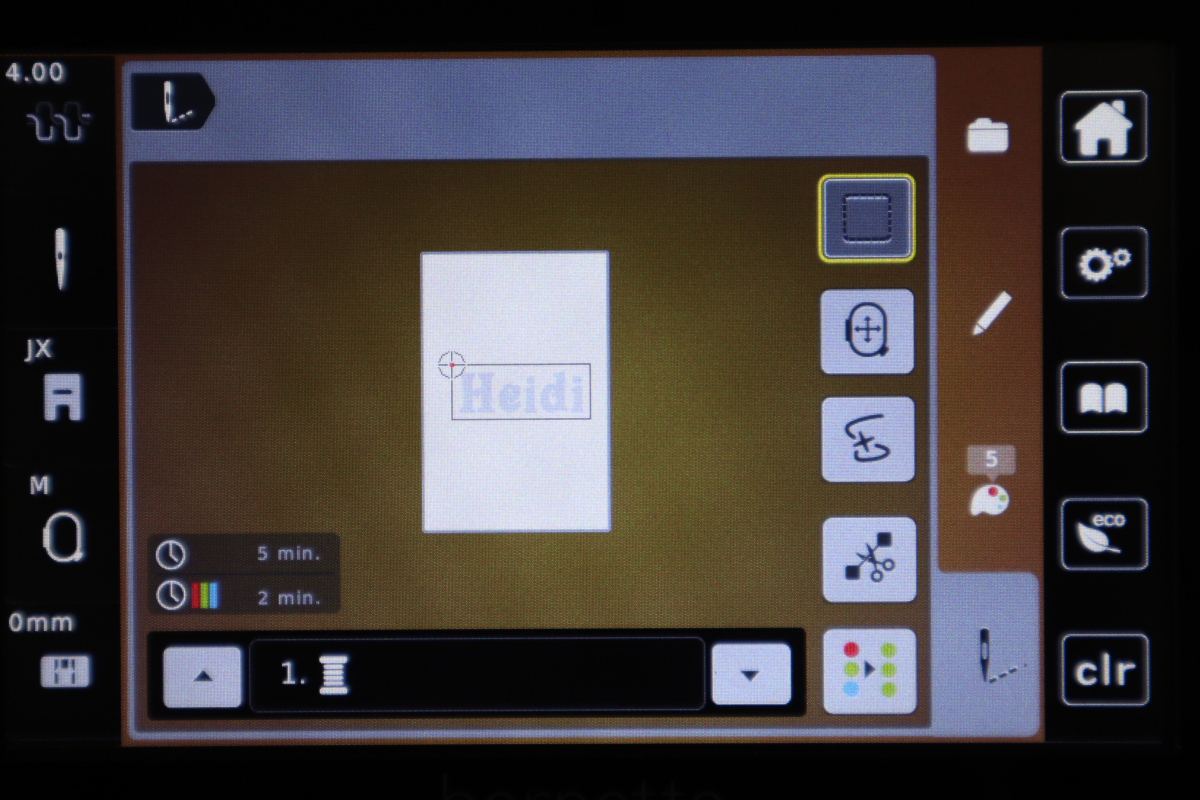
8. Insert the hoop into the machine and make sure it is all centered. Choose a built-in font and select a letter or type out a name. My bernette b79 has this cool feature that will add a basting stitch around the outside of my lettering if I choose it. The basting stitch will help secure the wash away to the towel while embroidering preventing the wash away from shifting. Sew basting stitch and then sew the design.
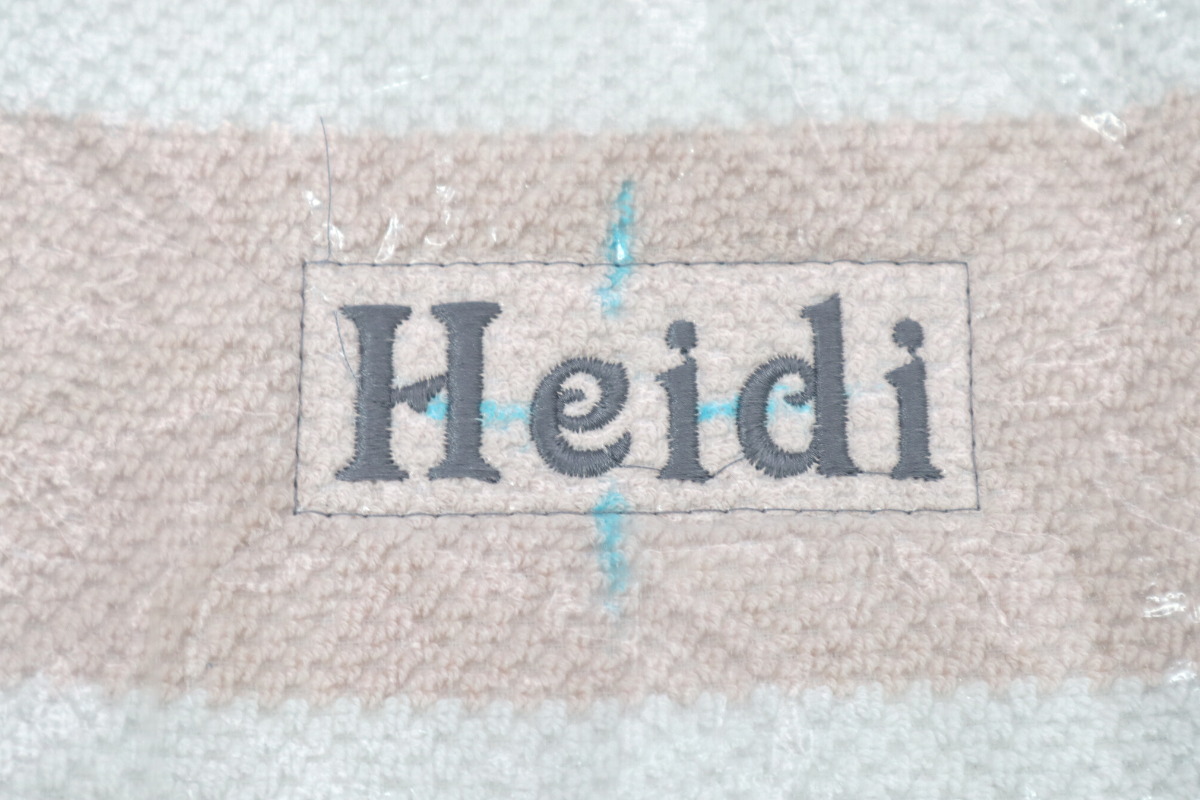
9. Remove the hoop from the machine once stitching is complete. Gently remove the basting stitches with snips.
10. Remove the wash away by holding the stitches and gently pulling the stabilizer.
11. Gently remove the tear-away stabilizer while holding the stitches.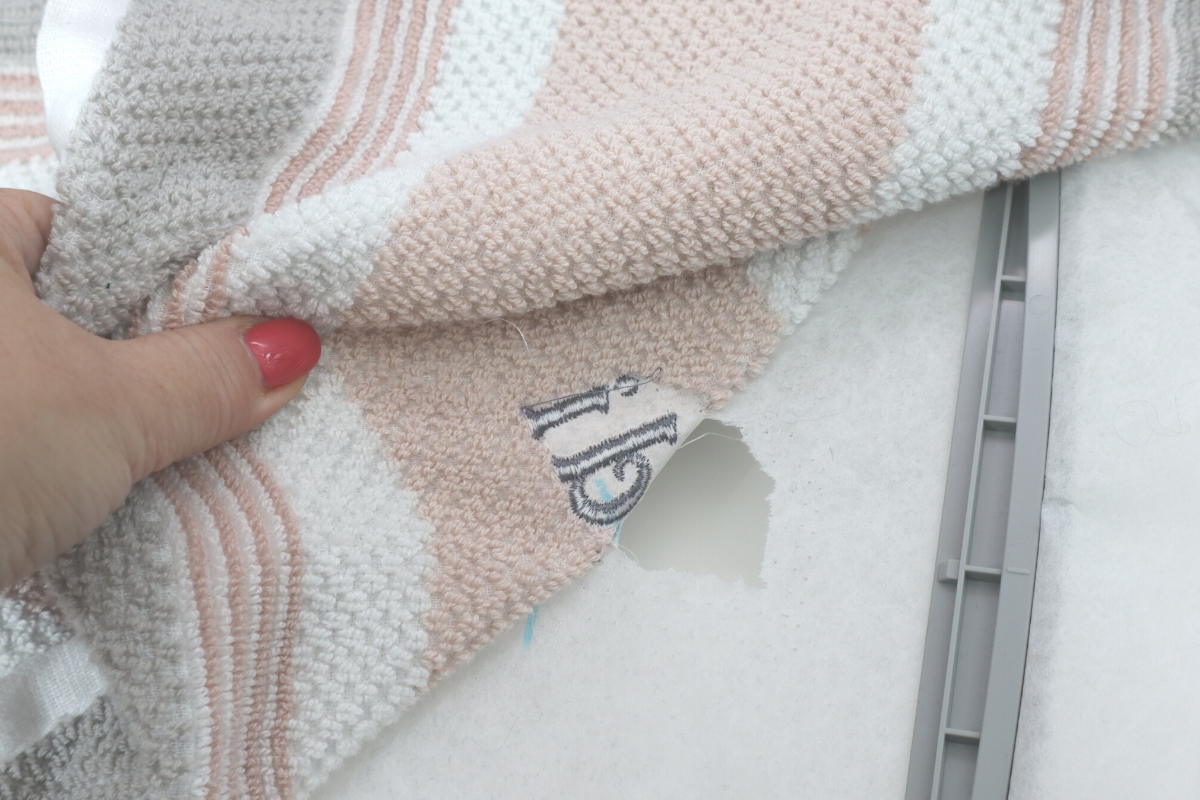
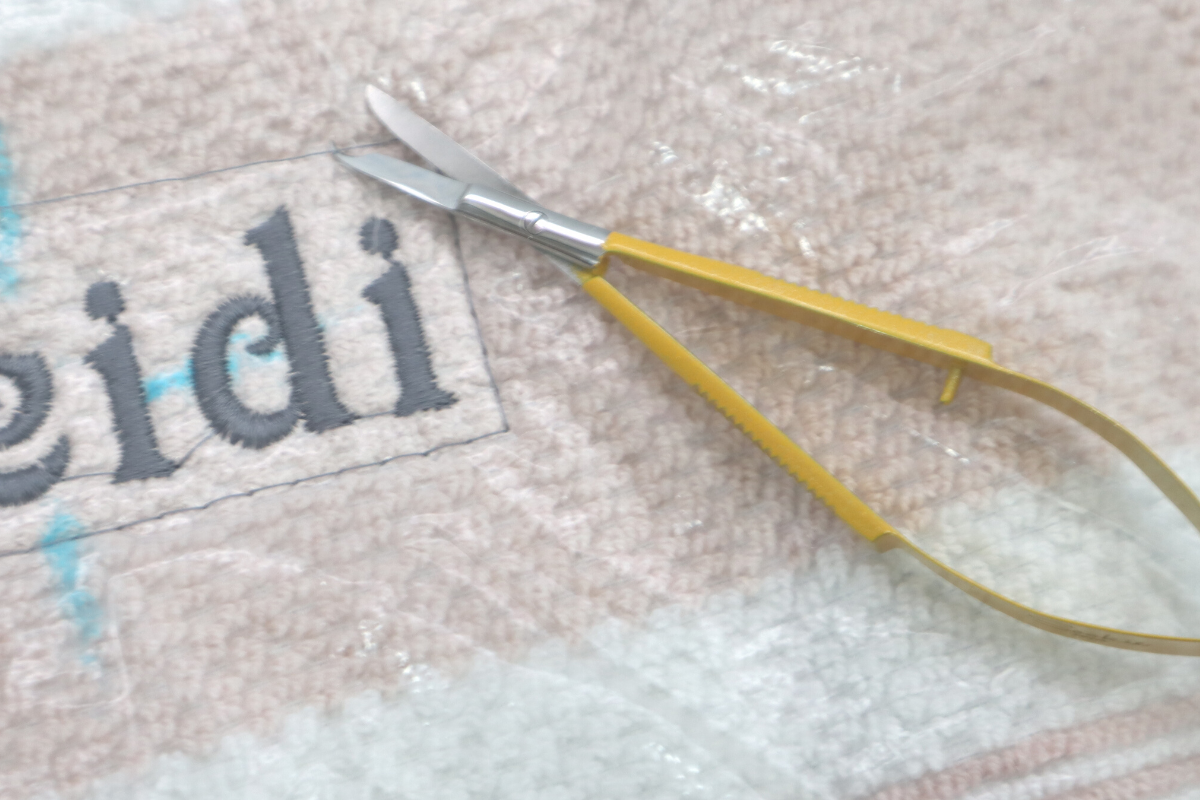
12. Use tweezers to remove all the tiny pieces of wash-away and tear-away stabilizer.
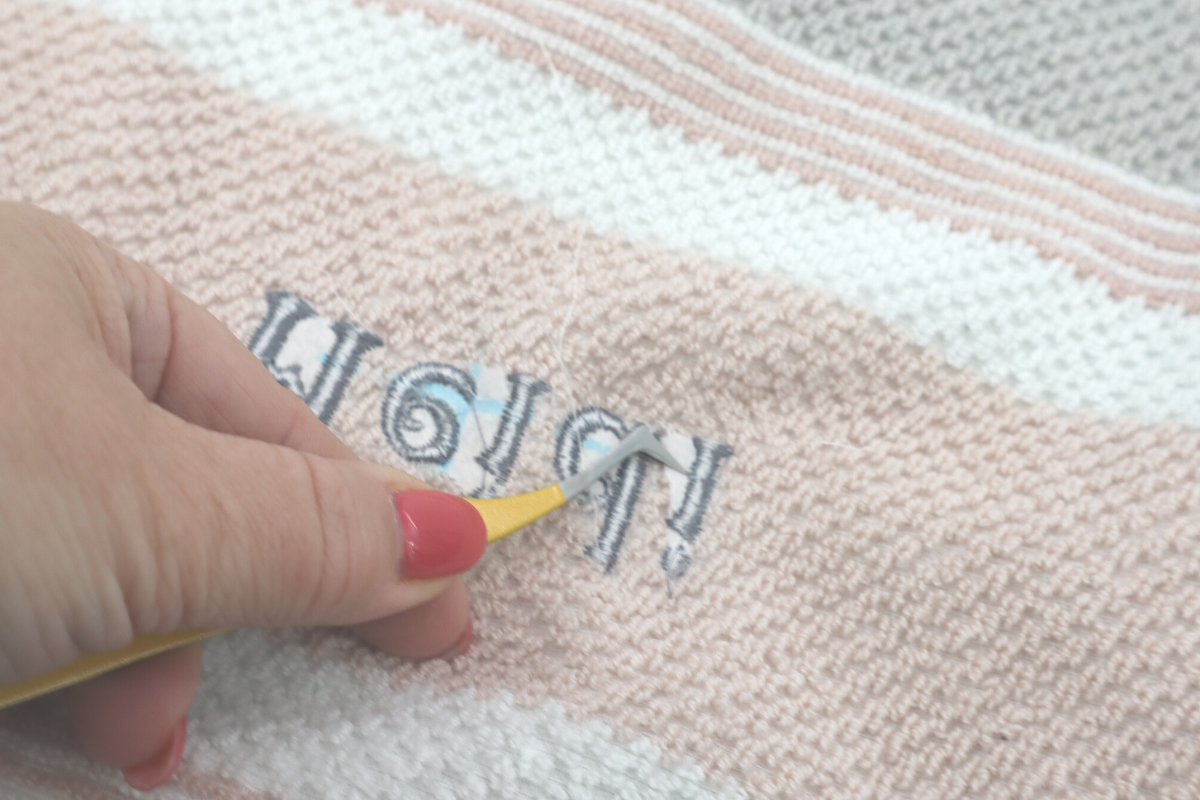
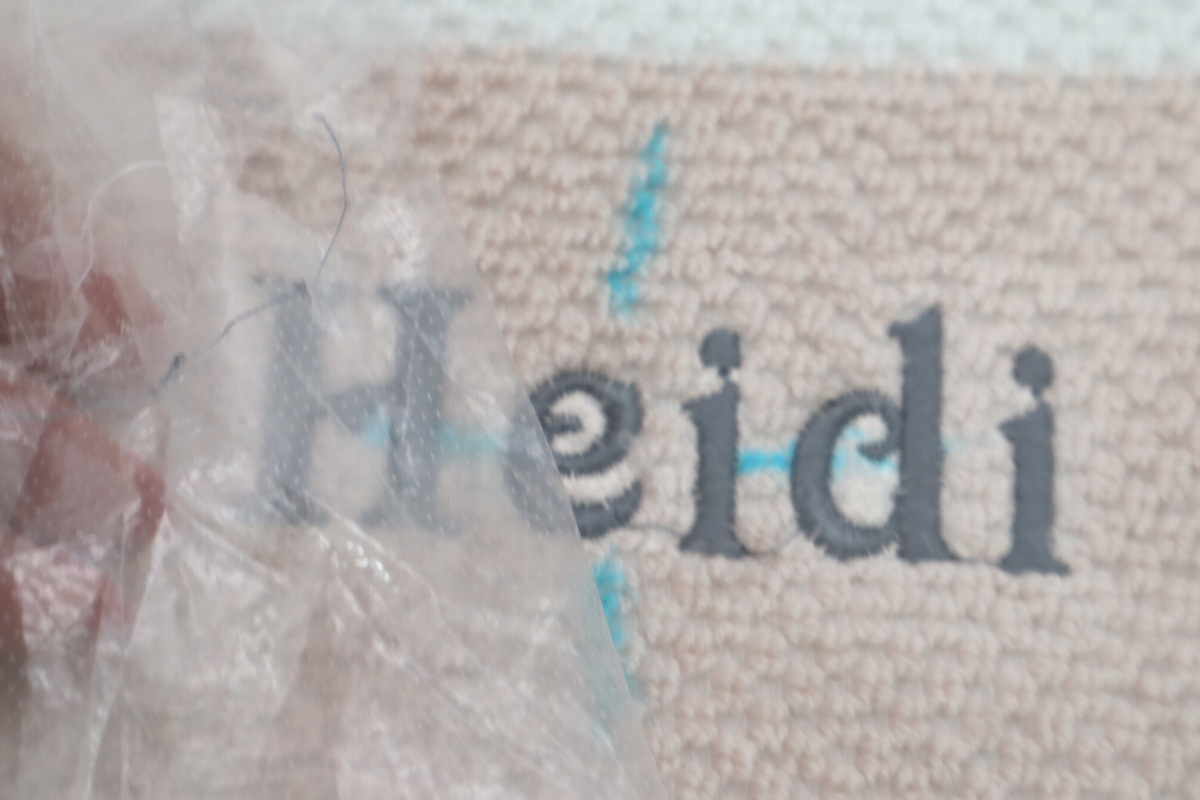
13. Remove the wash away marking by lightly dampening. Your embroidered towel is all finished!!
I hope you enjoyed this easy embroidery project and enjoy making all of my easy embroidery projects! When you make yours, please snap a shot and tag me @SookieSews and @BERNINAUSA!!