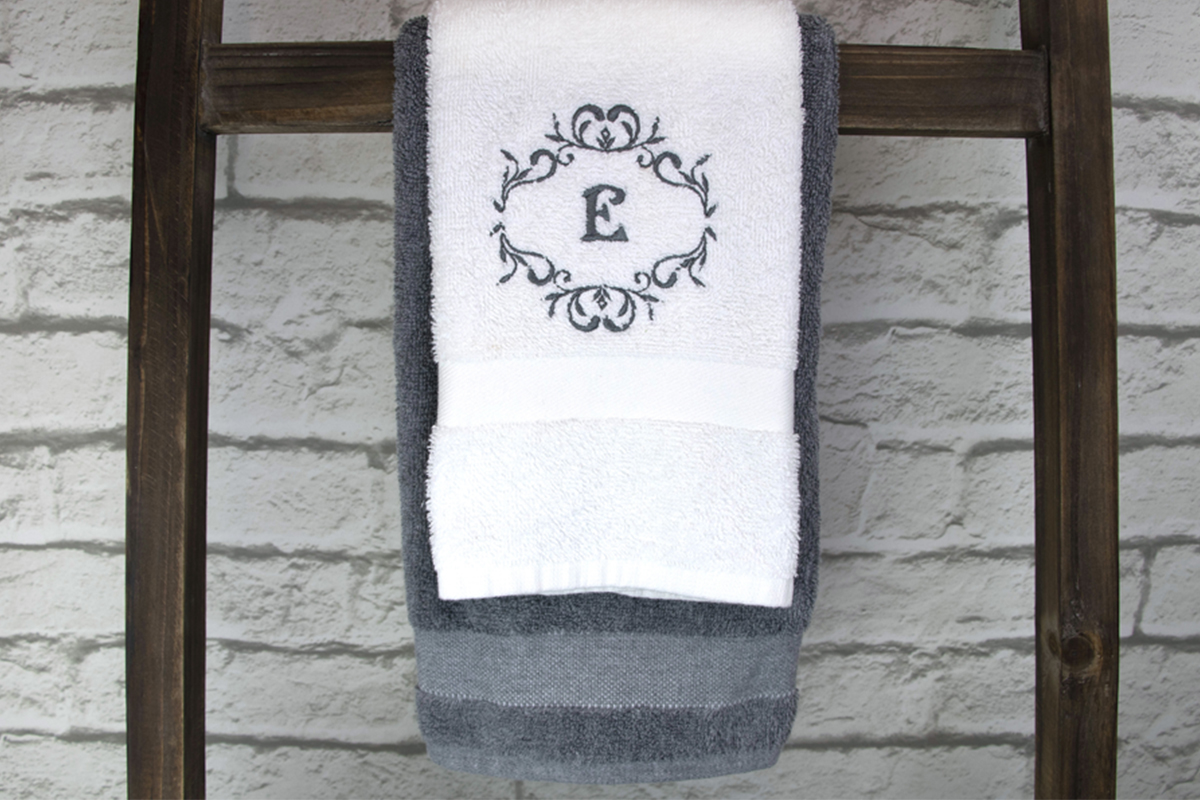
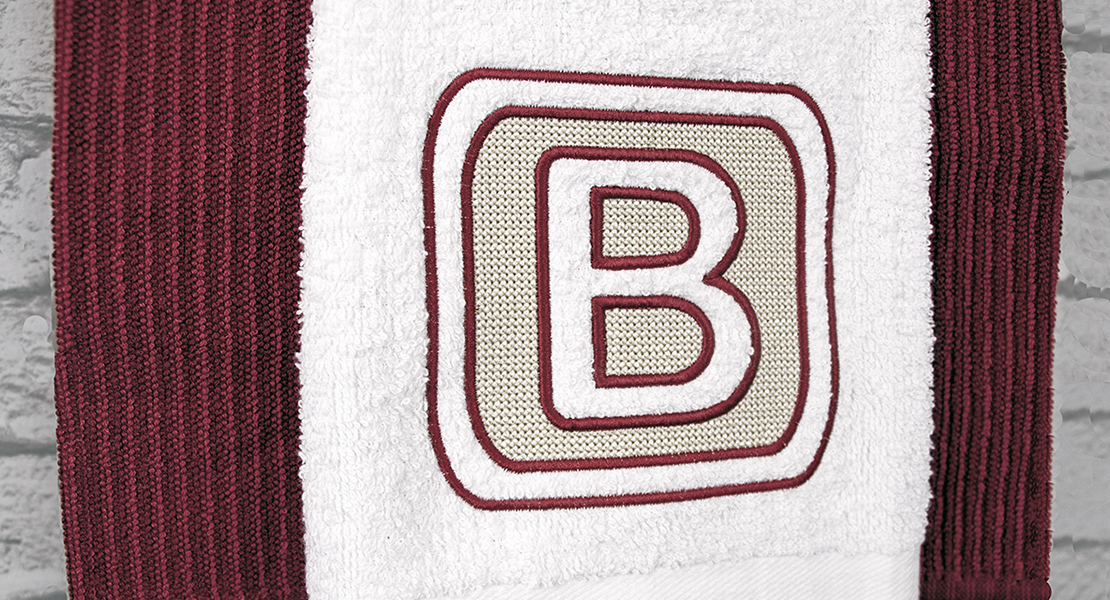
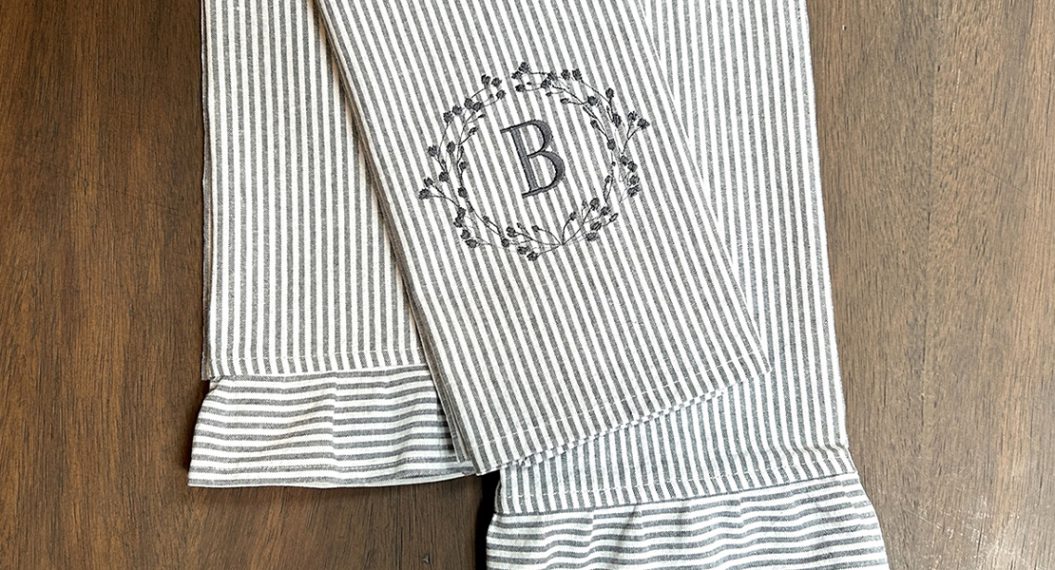
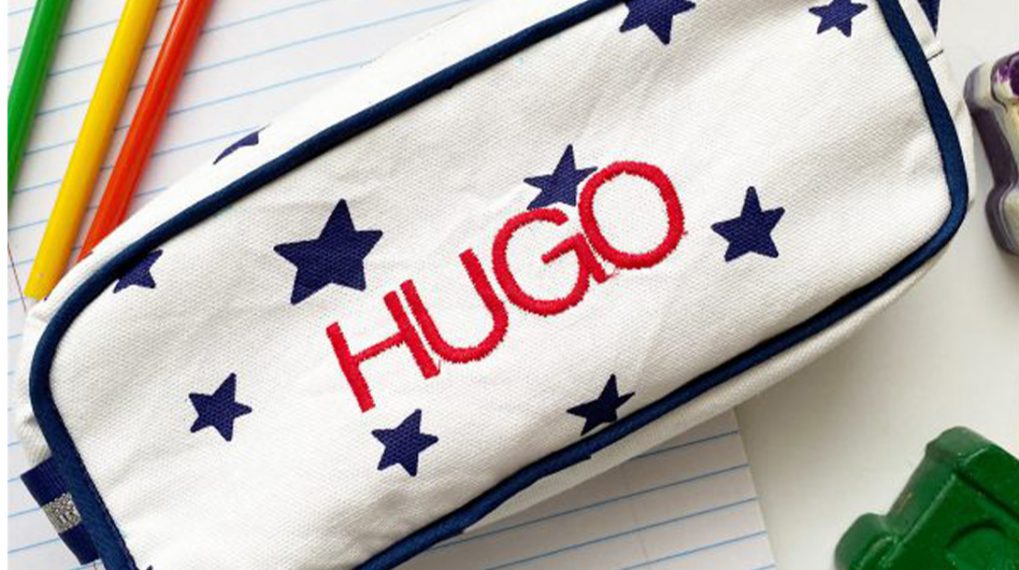
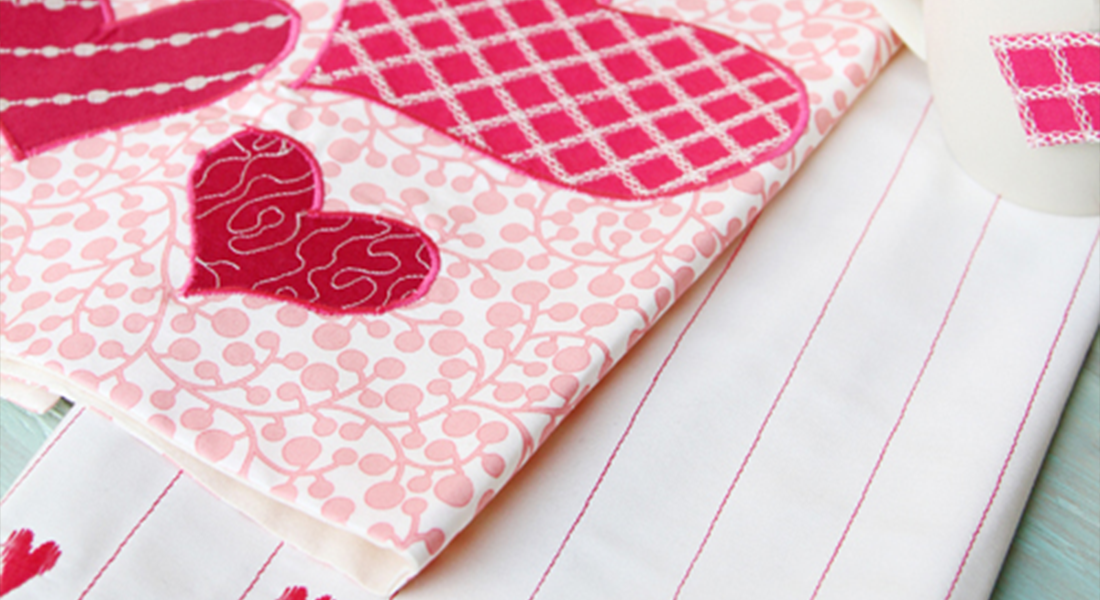
DIY Monogrammed Towels
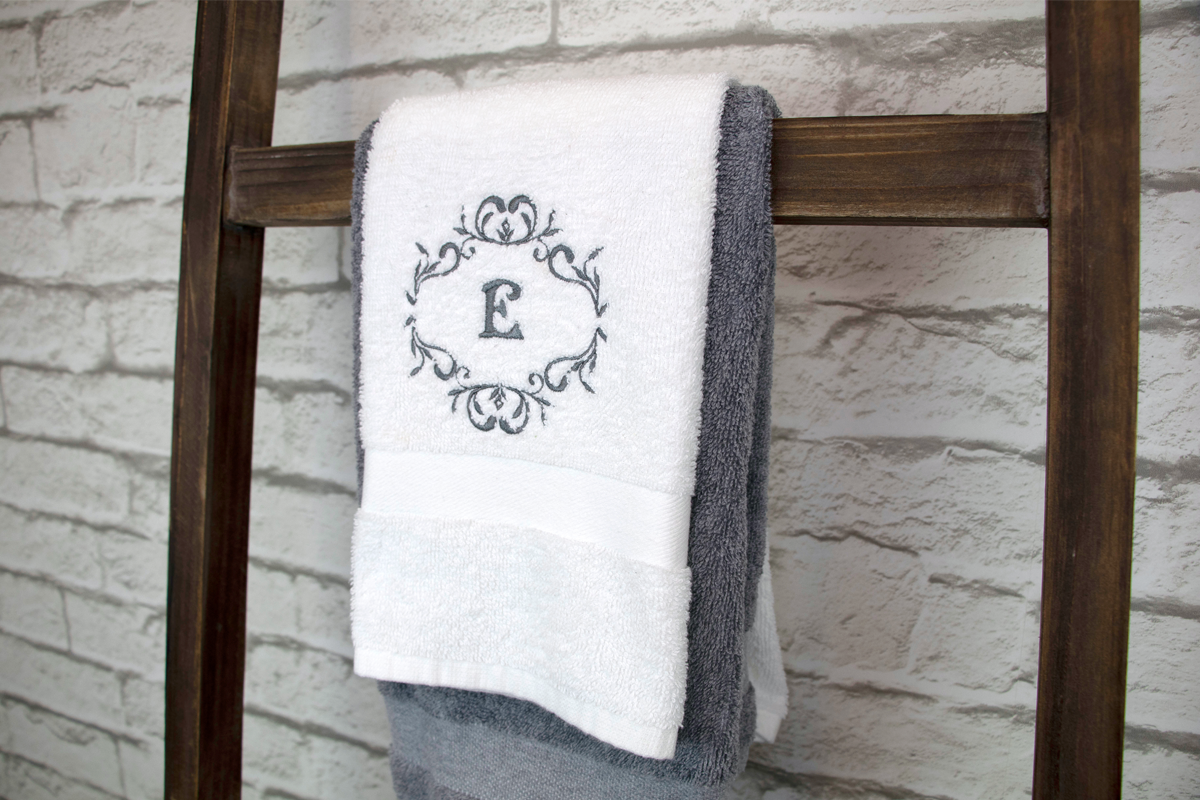
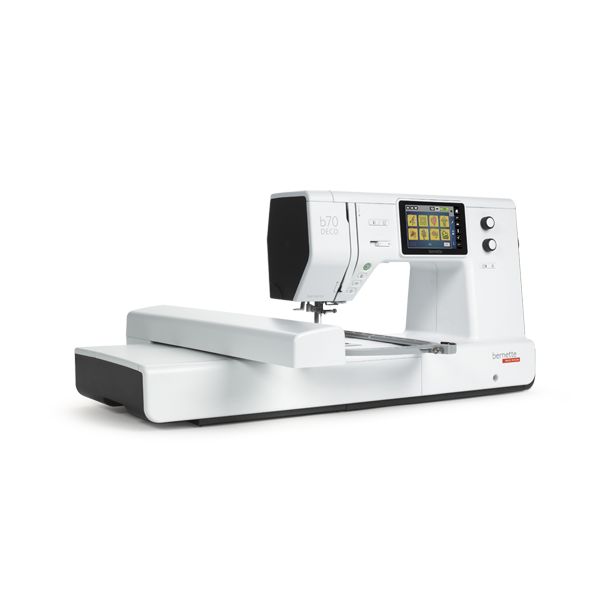
The new bernette 70 DECO is a stand-alone embroidery machine that offers a 5” color touchscreen, over 200 built-in embroidery designs, touchscreen editing features, 3 hoops, and also includes the BERNINA Toolbox Software. From whimsical to modern, there are many embroidery designs and alphabet fonts that can be edited and combined to create many unique designs. For example, one of my b70 DECO favorites is the Christmas wreath. But, if I change the leaves to fall colors I have a fall wreath. Also, I can add a single letter inside the wreath or I can add words above and/or below the wreath. All of this can be done on the color touchscreen, not to mention the Toolbox Software! Let’s start with creating custom towels which is practical, fun, and allows you to get creative. We’ll be using the b70 DECO built-in embroidery and built-in alphabet to create our own design with a classic look.
Machine Set Up
- bernette 70 DECO
- Medium Embroidery Hoop
- Embroidery Foot JX
- Straight Stitch Plate
Materials to Embroider a Monogram on Towels
- Prewashed Hand Towel
- OESD Medium Weight CutAway Stabilizer
- OESD StitcH2O Topping
Notions
- Organ 80/12 Sharp Embroidery Needle
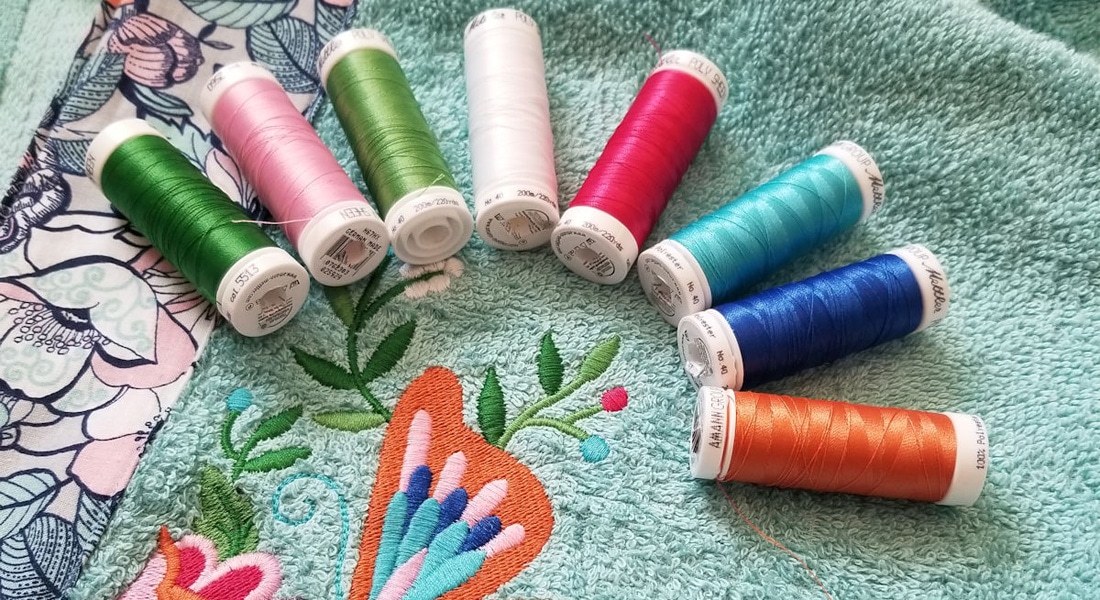
- Isacord 40 Polyester Thread Color 5335
- 60 wt Embroidery Bobbin Thread
- 505 Temporary Adhesive Spray
- Frixon Temporary Marker
- Straight Pins
- Embroidery Scissors
Embroidery Design
- b70 DECO – Embellishment Folder 1, Design 9
- b70 DECO – Alphabet Font – your choice
Set Up
Hooping and Marking the Stabilizer
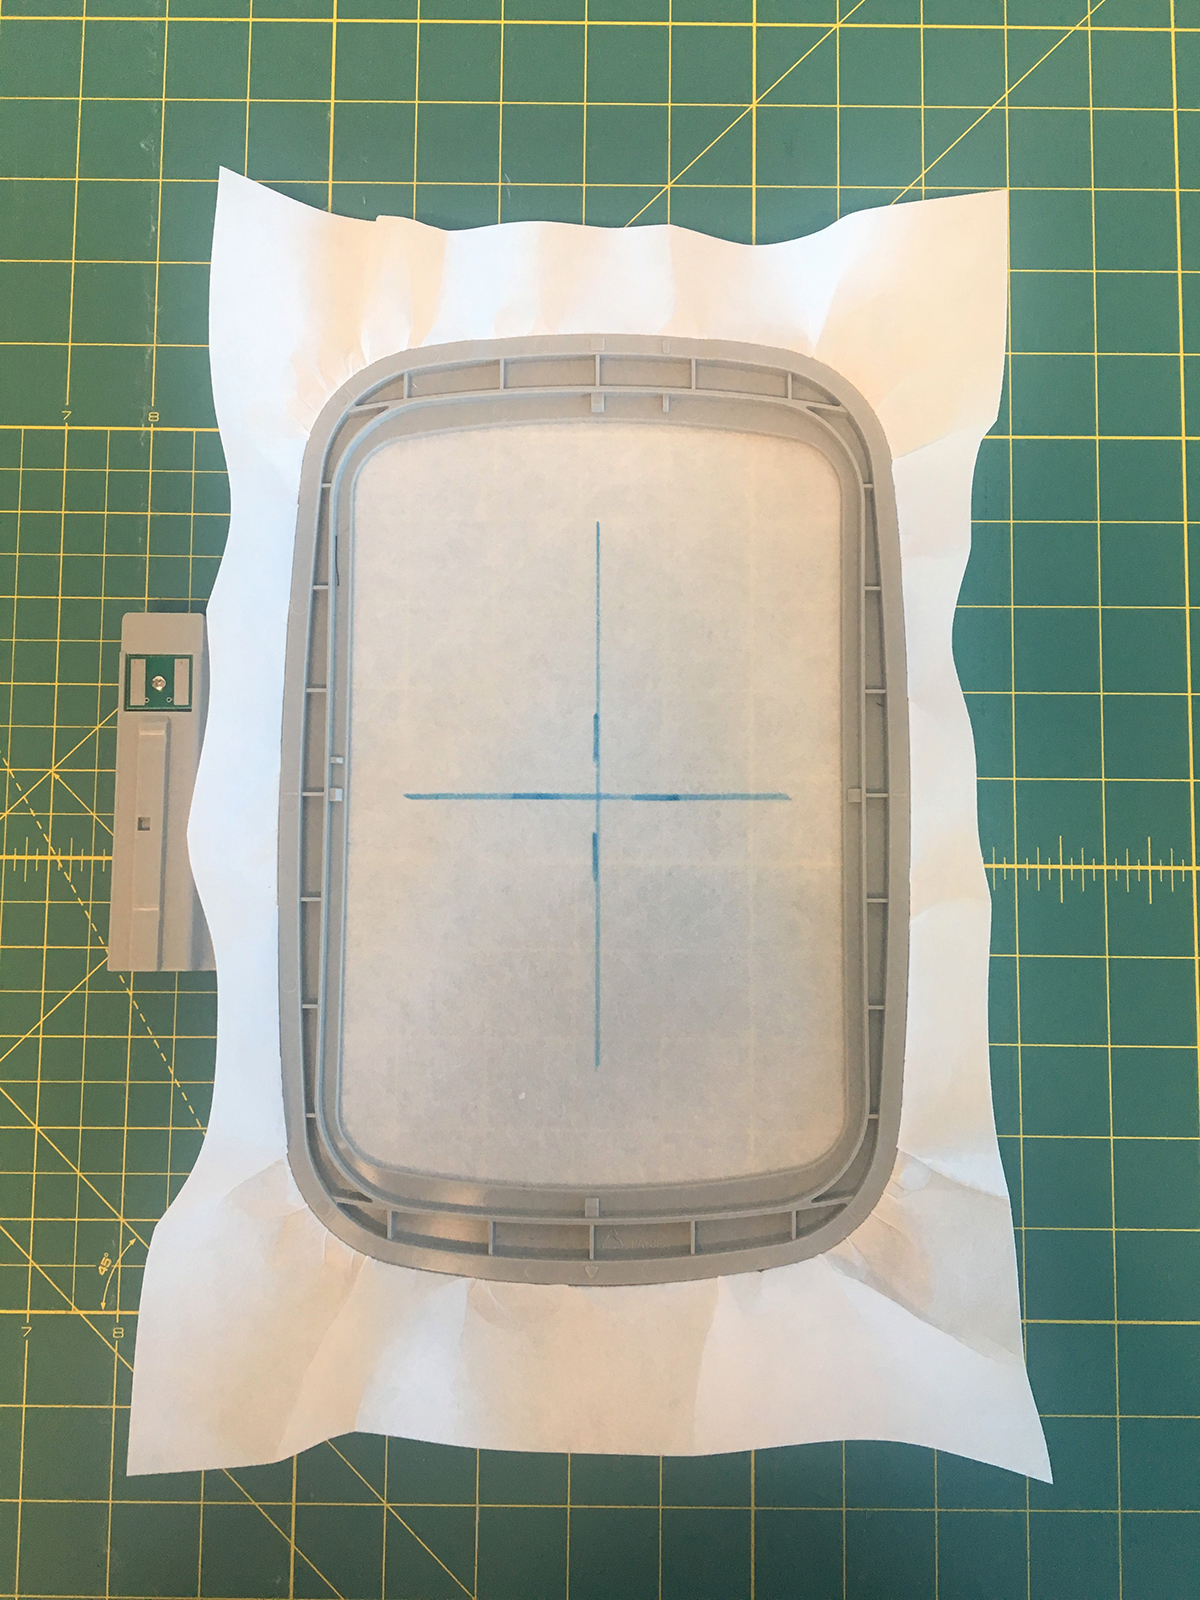
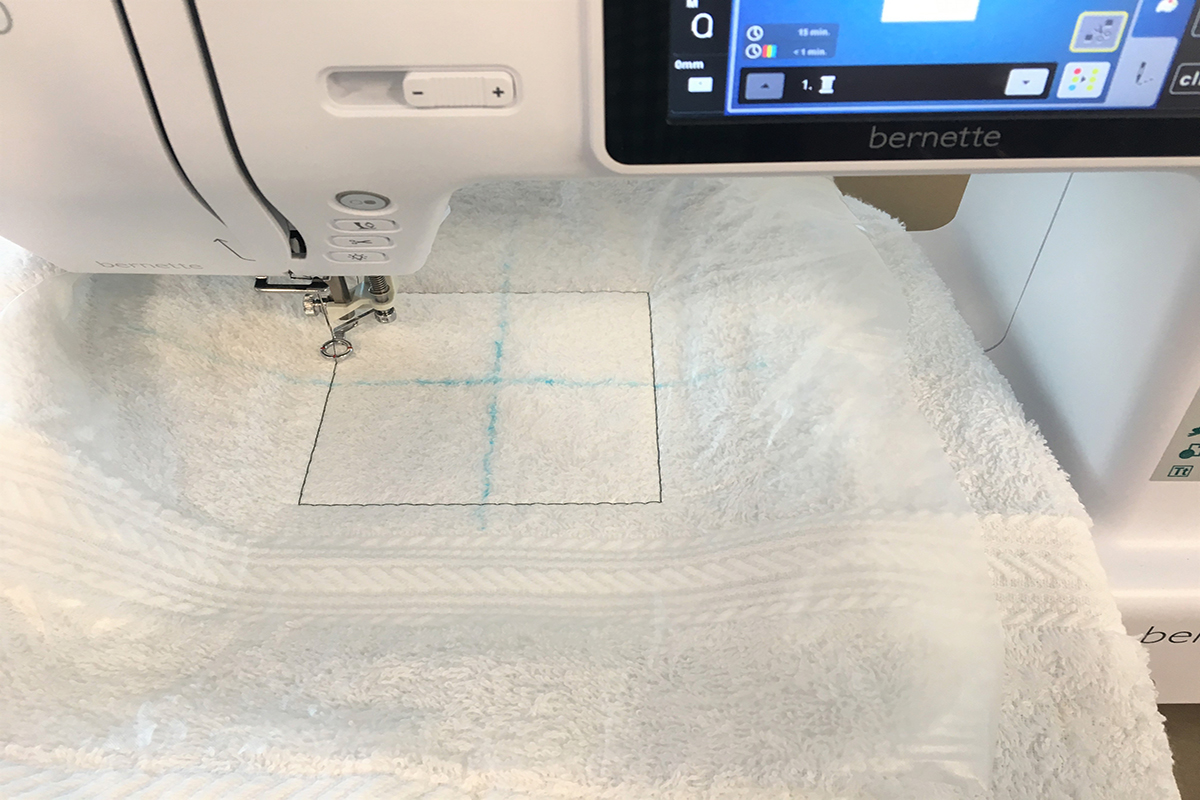
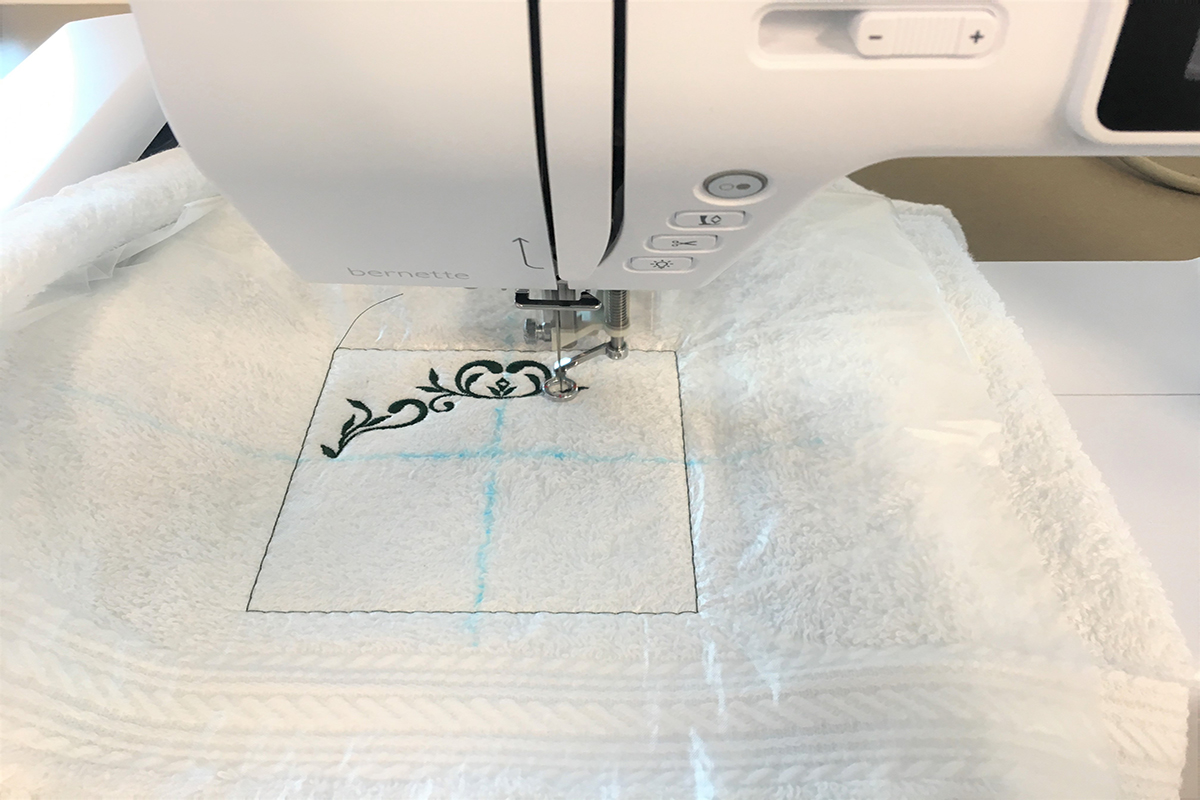
Hoop the stabilizer in the Medium Embroidery Hoop. Place the plastic template in the inner ring of the hoop and mark the horizontal and vertical lines onto the stabilizer through the template slots.
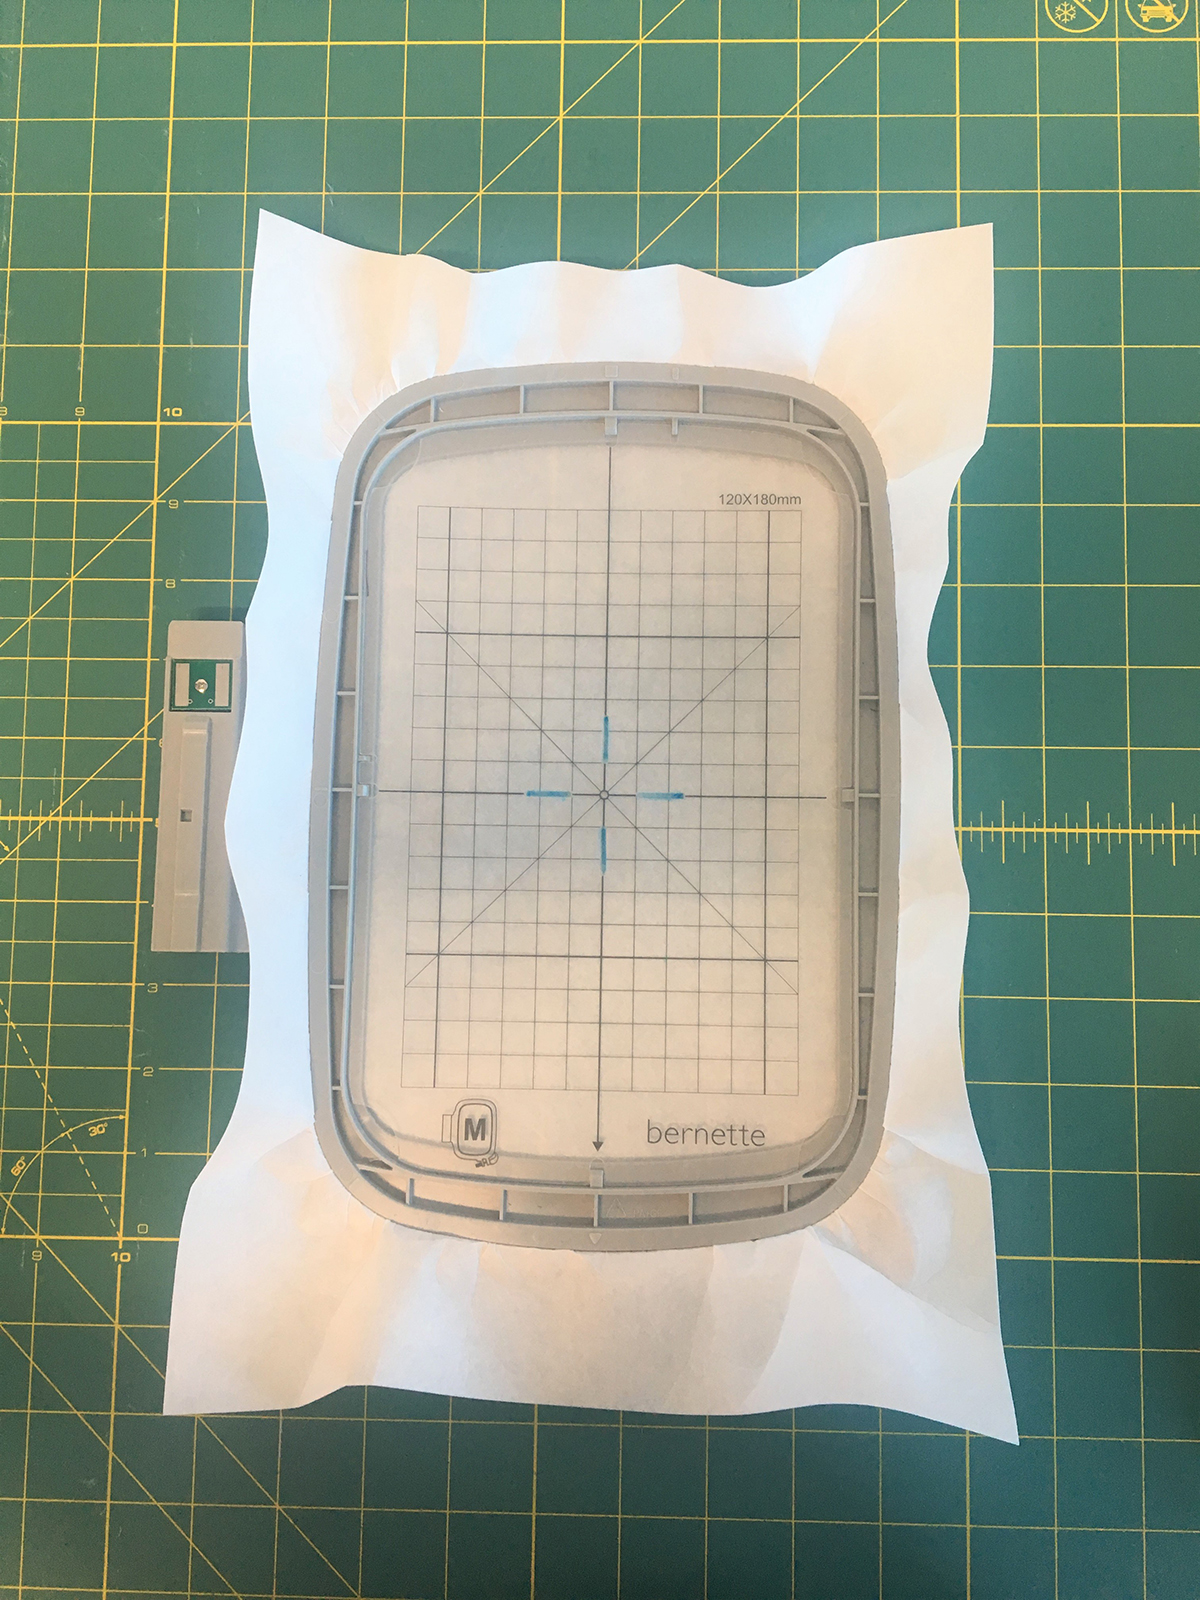
Remove template and extend the lines to form the center crosshair on your stabilizer.
Marking and Floating the Towel
Fold and finger press the towel in half lengthwise. Mark the center vertical line with a couple straight pins. Place the plastic template on top of the towel matching the lines. Use your temporary marker to make lines through the slots in template.
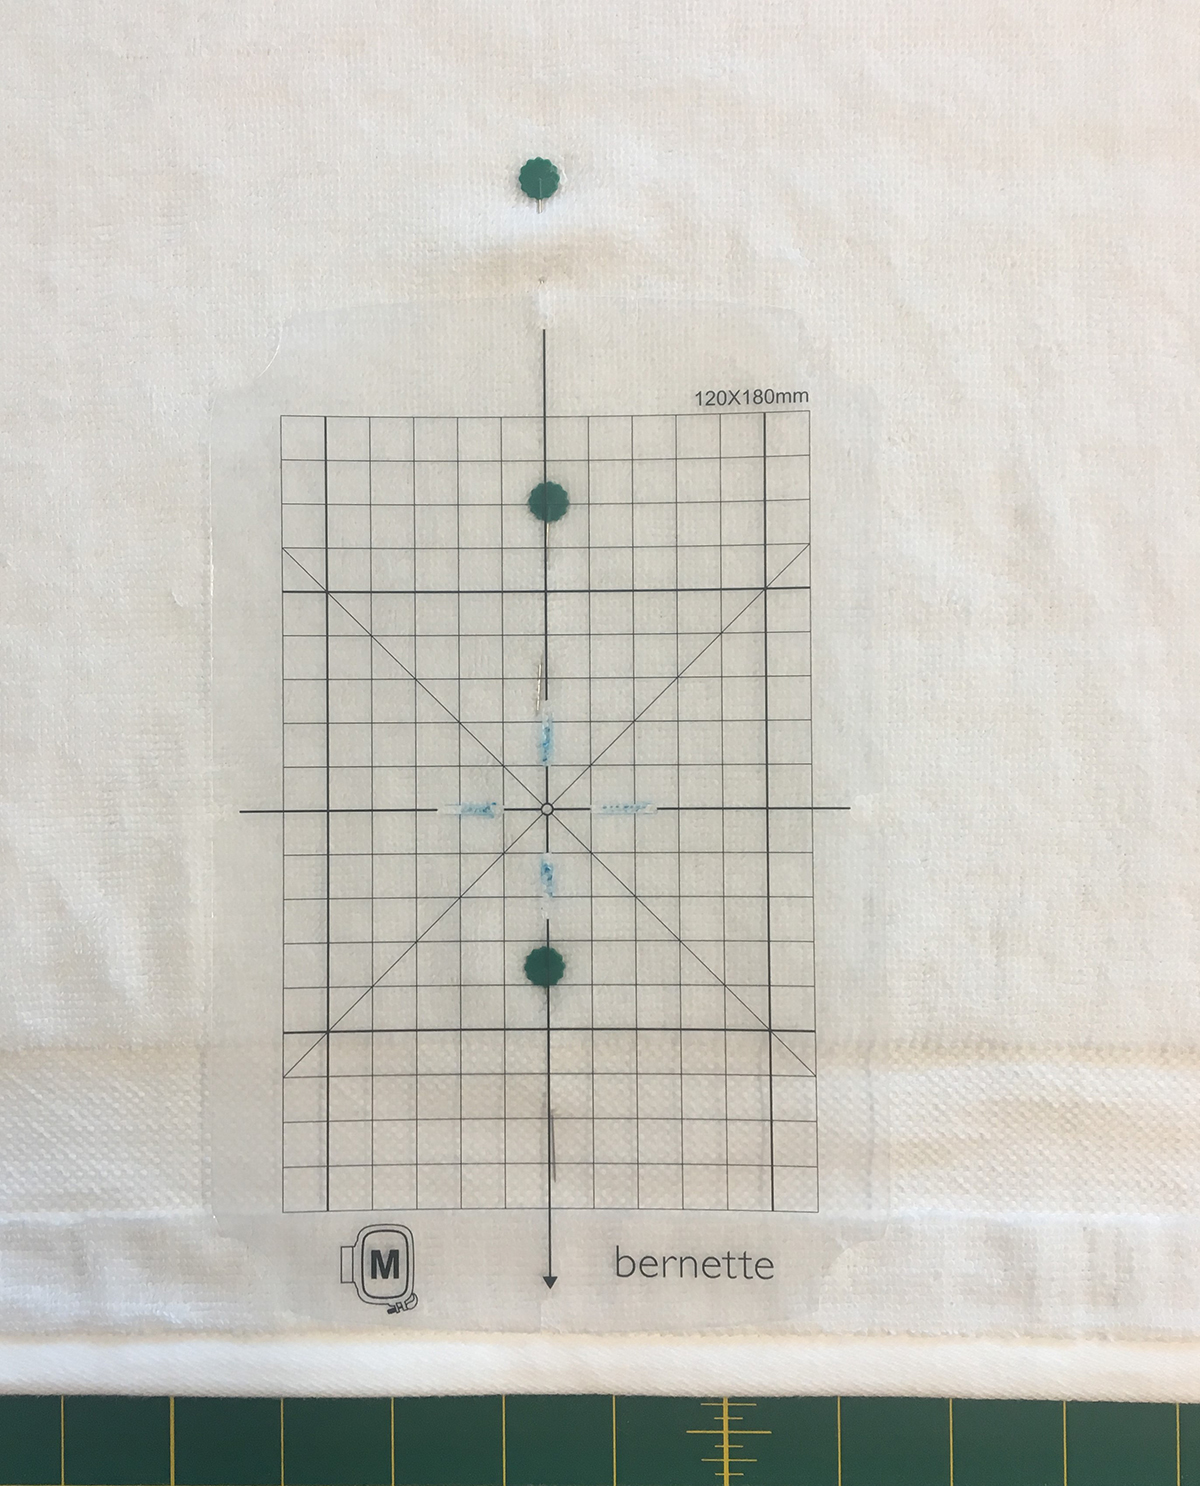
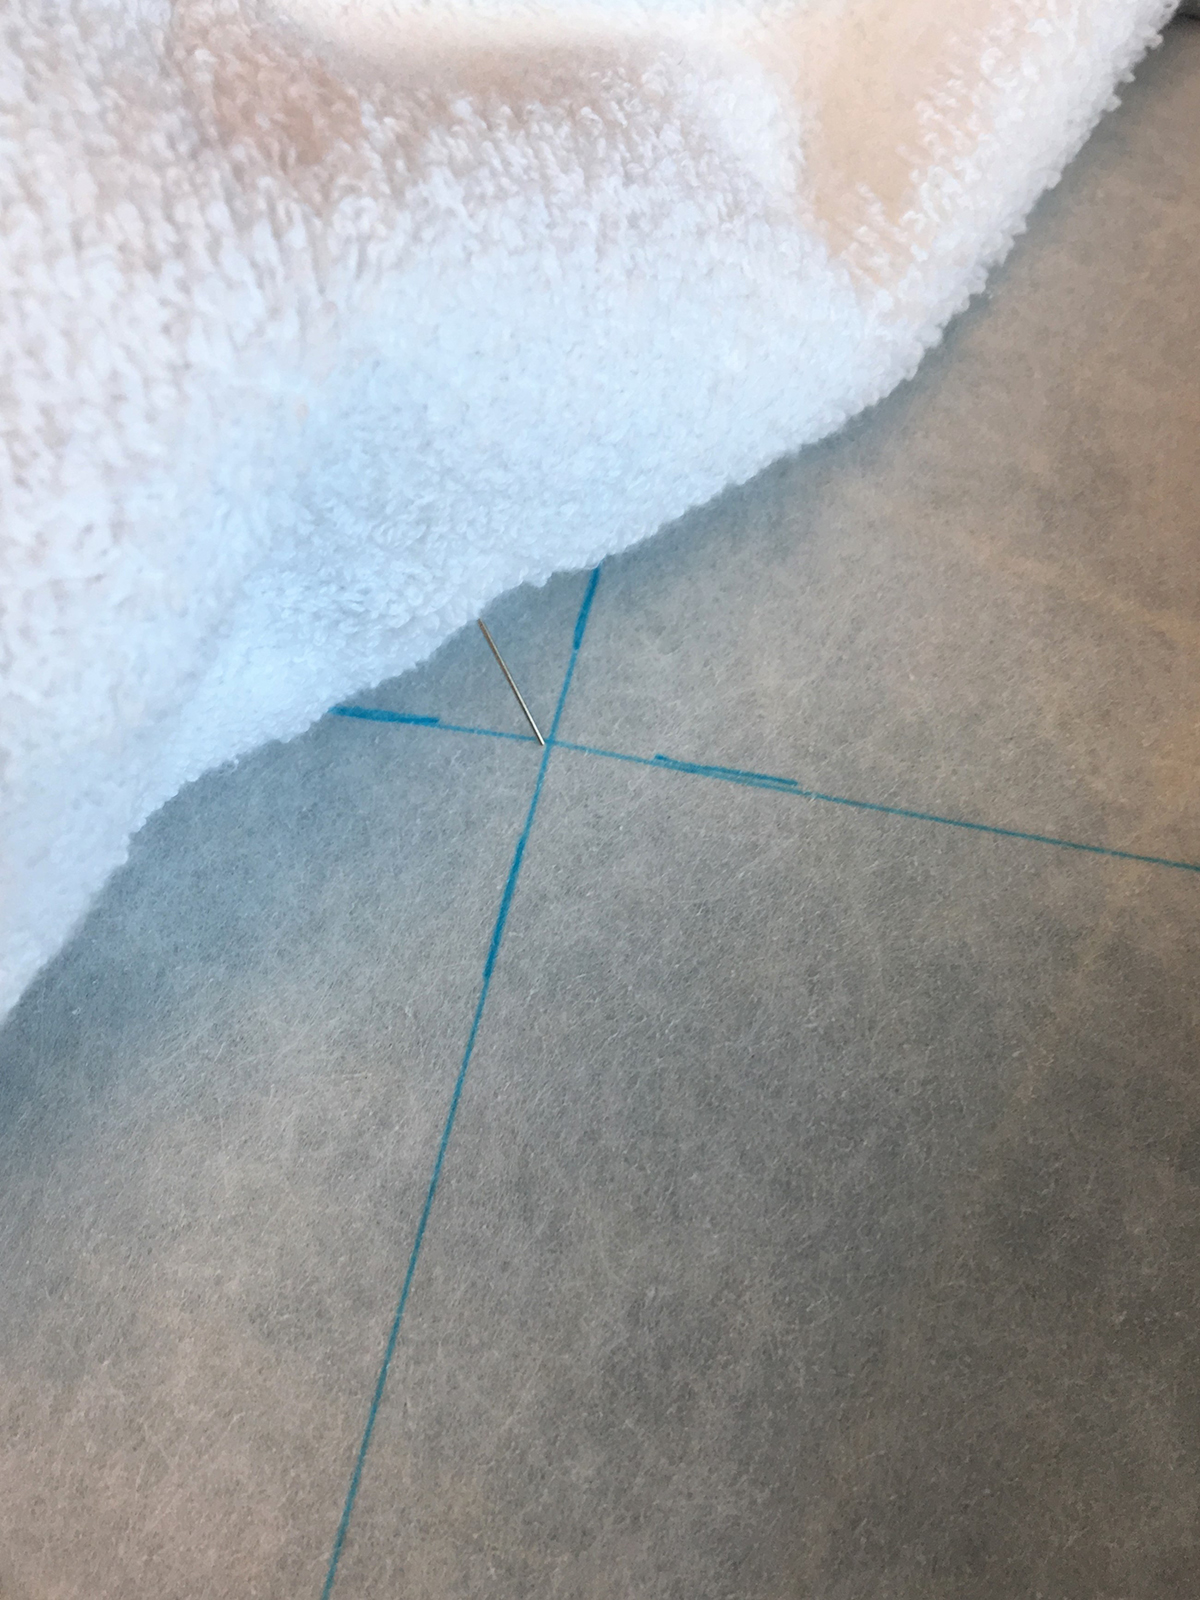
Remove template and extend the lines to form center crosshair. Spray the hooped stabilizer with temporary adhesive. Place a pin in center of crosshair on towel and align to center of stabilizer. Match the towel lines with the stabilizer lines using a pin to help with placement.
Topping
With napped fabric, use a topping to hold down the tiny loops of the towel. I use OESD StitcH20. Cut topping large enough to cover design. Spray topping with temporary adhesive and lay on top of towel with adhesive side down.

At the Machine
Embroidery Design
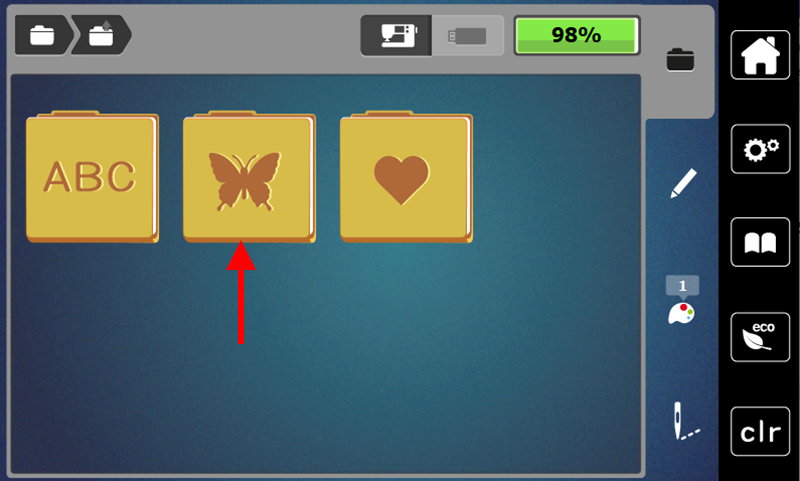
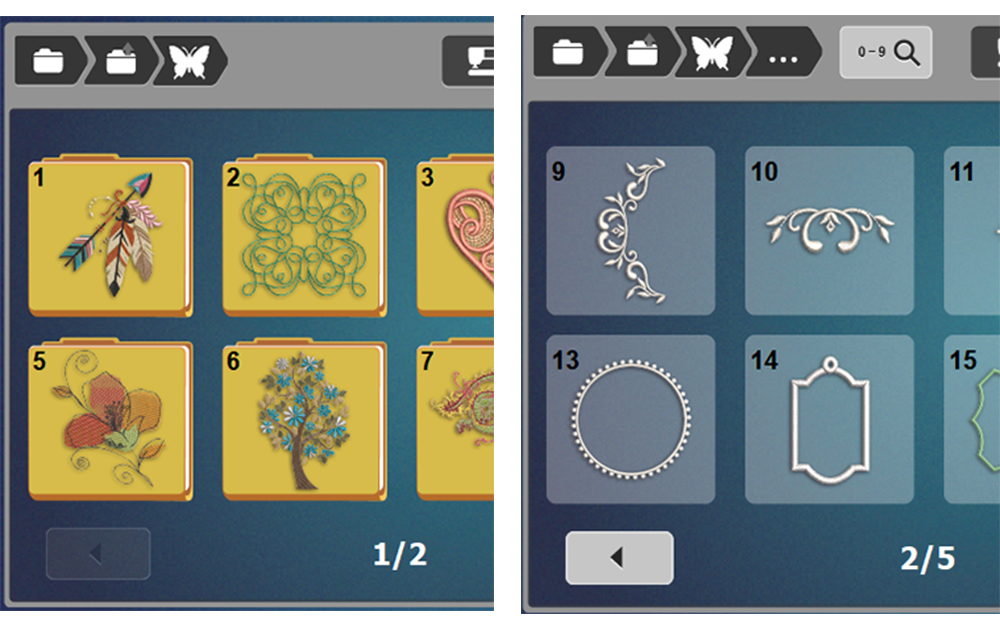
Select Embroidery Motifs folder.
Select Folder 1. Select design 9.
The suggested hoop size will display on the screen (S, M or L).
Select the Color Information tab (artist palette) to display design colors.

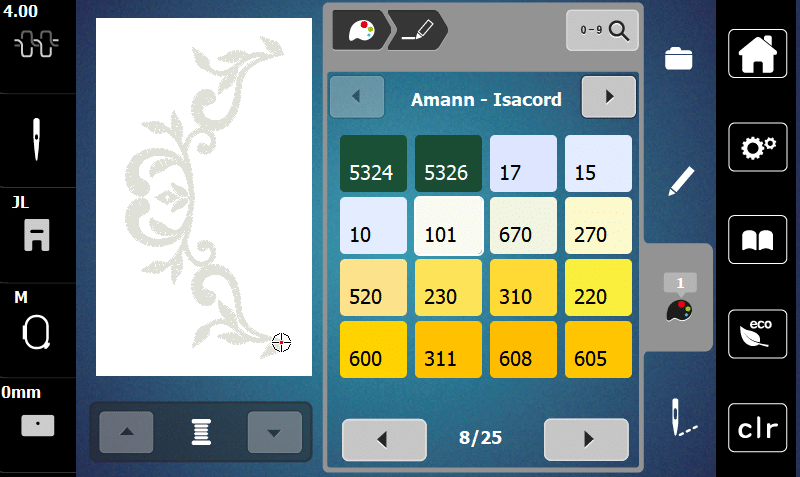
Select the Change Color icon in the color bar. See 2 below.
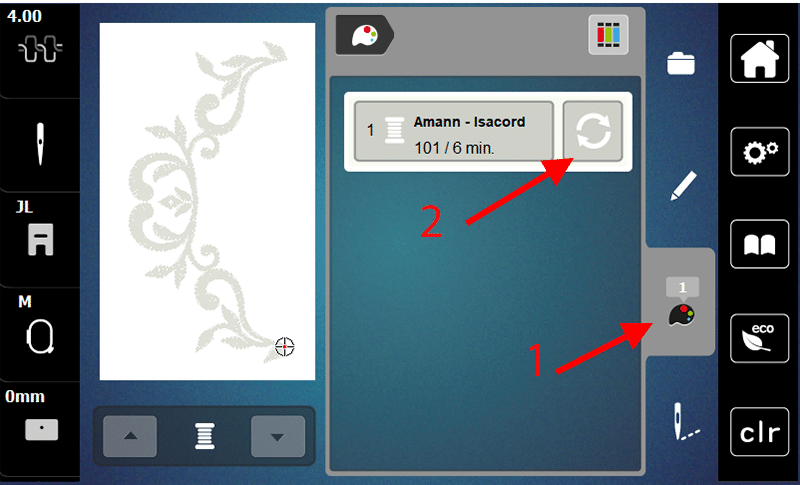
Change color to 5335 by scrolling thru the color chips or using the Search Bar.
Go back to Edit tab.

Select “i” menu to display the editing icons. Select Rotate Motif icon.
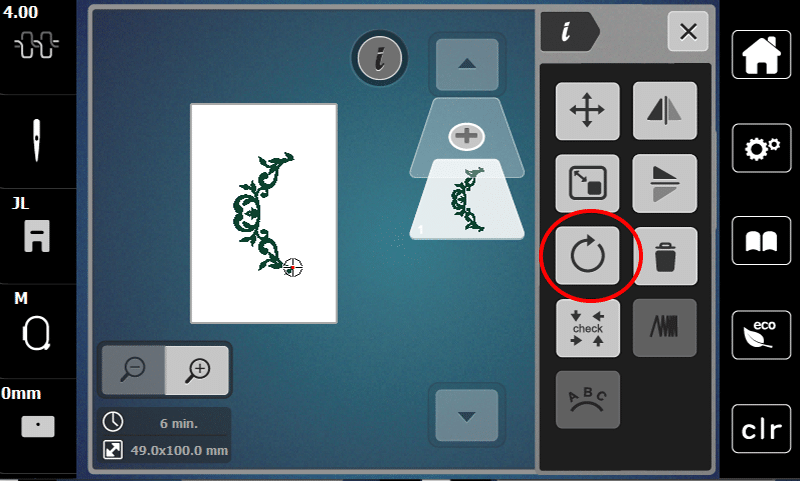
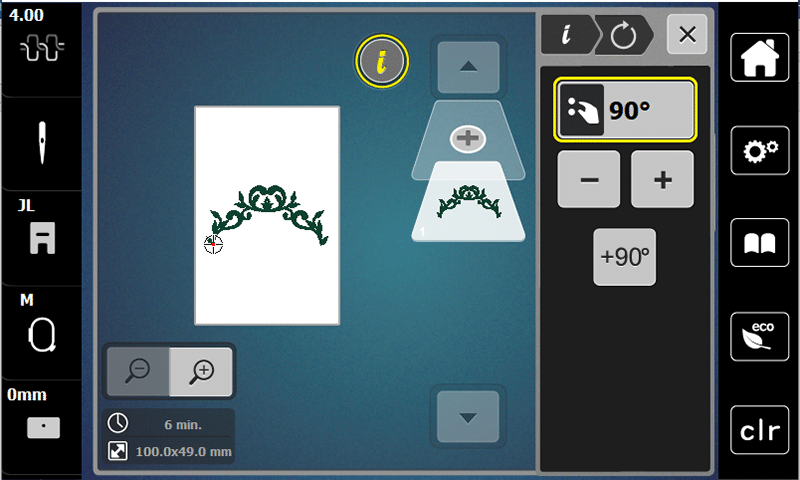
Select the 90 degree icon to rotate design. Notice any time you make changes within editing icons, they will be outlined in yellow. To go back to default settings, click on the outlined number.
Select “i” in breadcrumb path to go back to editing icons.
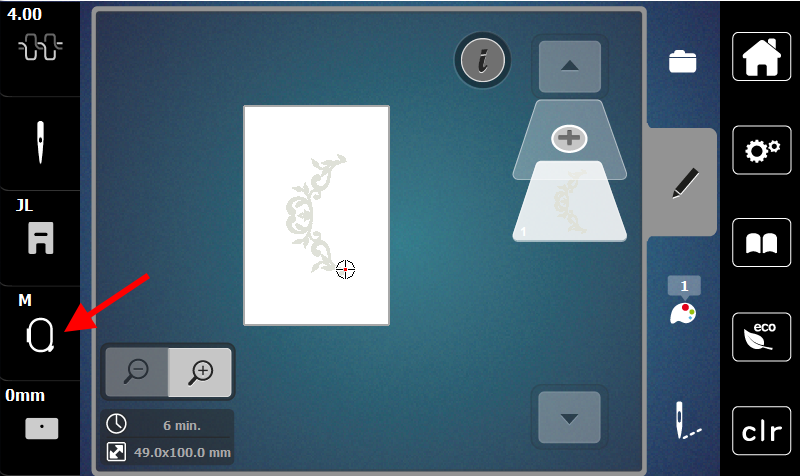
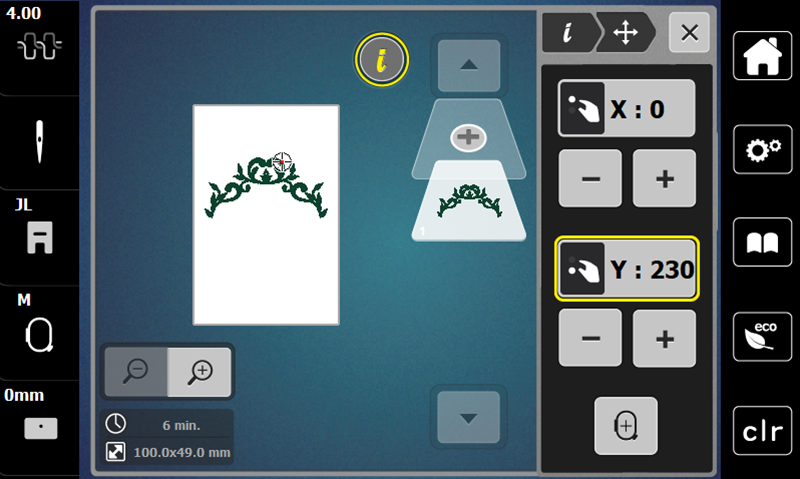
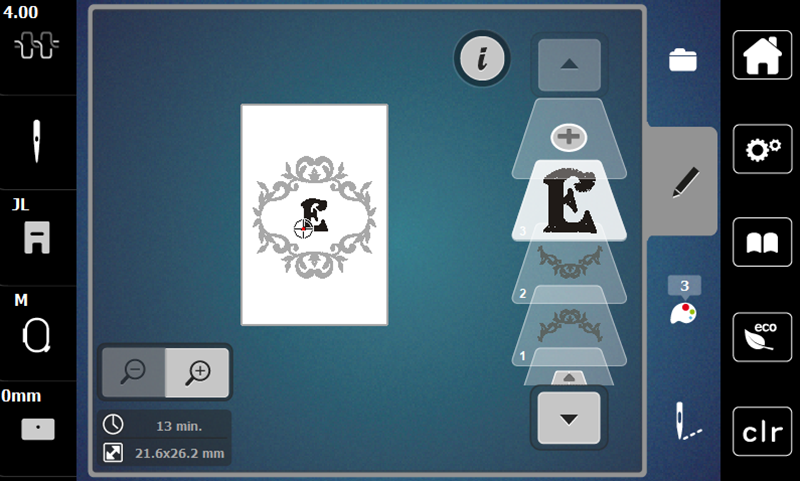
Select Move Motif icon and use the + box to change the Y axis to 230. You can also use the Lower Multi-function knob or the stylus to move your design.
![]()
Select the Add Motif (+) icon at the top of the Layer Panel on the screen. Add the same design following same steps above, except this time rotate 270 degrees and change Y axis to -290. Or find what looks best to you!

Select Add Motif (+) icon on screen again. To add letters, go to the Alphabets folder. Select a font. I used font 5.
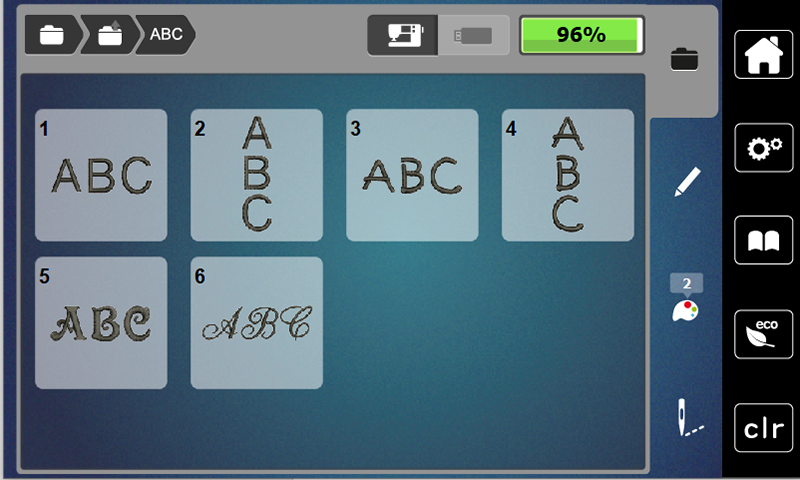
Add your letter and confirm. If you would like to make your letter smaller or larger, go to Change Motif Size icon in the “i” menu. I increased mine by 20%.
![]()
Also, you can center your letter by selecting the Move Motif icon or using the Multi-Function knobs. Mine looked centered so I did not make any adjustments.
Stitch Out
Add your first color thread. Threading is so easy with the semi-automatic needle threader!
Select Check Motif Size icon in the “i” menu.

Alternatively, press the Check Motif Size button on the machine next to the Thread Up button.
Follow prompts to attach hoop. Touch arrow icons to move the needle to outer corners of design. Use Multi-function knobs to adjust placement. This is a good time to check alignment. Select Motif Center icon below the arrows. Use the Multi-function knobs to align the center needle position with the marked vertical line on your towel. This ensures the design will be stitched in the center.
Select the Embroidery OK (needle icon).

Add a basting box by selecting the Basting Box icon. (please add basting box icon).

Press the Start/Stop button to begin stitching. Note: After a few stitches, the machine will stop allowing you to trim tails. You can turn this feature off in the Setup menu.
Select the Single/Multi Color icon. The icon is outlined in yellow indicating single color mode.
![]()
In this mode, the machine will not stop at color changes but stitch the whole design in one color. Select the Single/Multi Color icon again to go back to mutli-color mode.
Press the Start/Stop button and watch your design stitch out. The bernette 70 DECO stitches up to 850 stitches per minute!
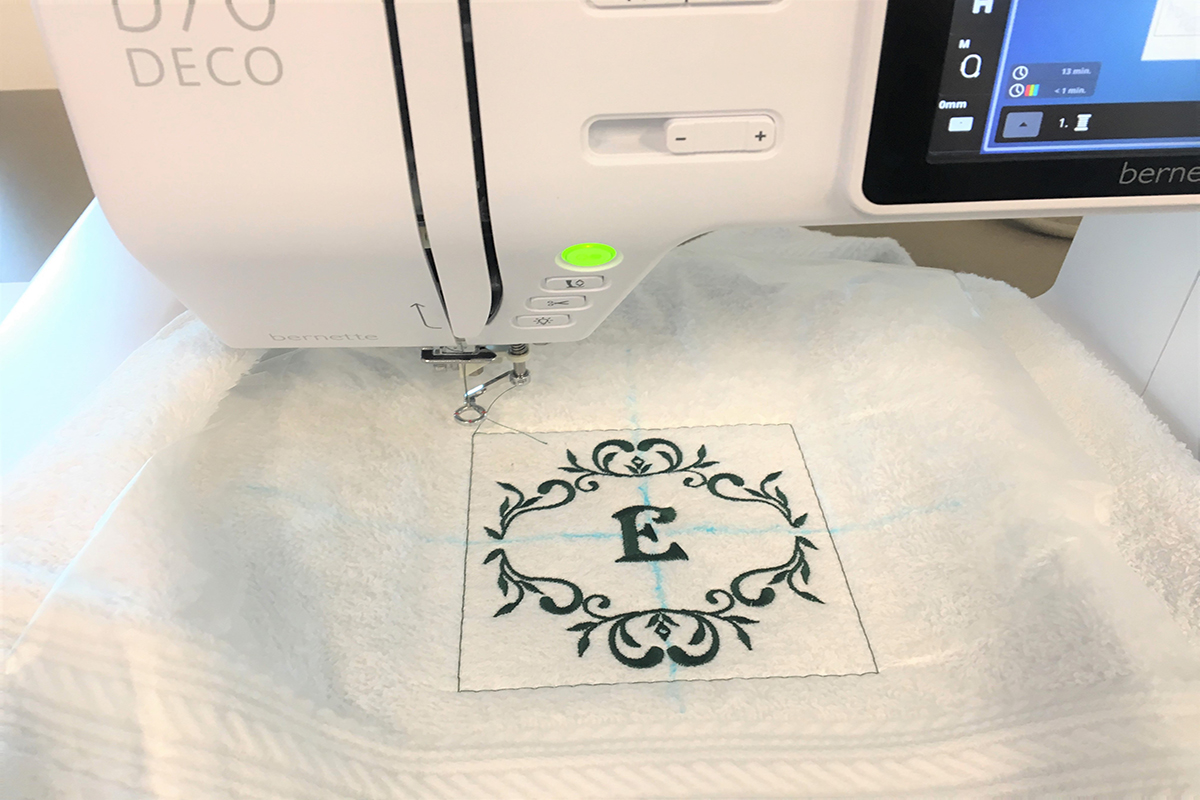
Carefully clip basting stitches, remove topping (dab smaller areas with damp towel), cut away excess stabilizer, and admire your design!
Now that you have the knowledge and skills, why stop at one? For the fingertip towel, I decreased the size by 20% using the Motif Size icon. For bath towels, try increasing design size by 20%. Make changes to size after saving your design in the Personal Embroidery Motifs folder so that all three elements will resize as a whole design. If you would like to have the option to change letters, save the design without a letter. Next time you open the design, add any letter using the Add Motif icon. So many possibilities! Enjoy!