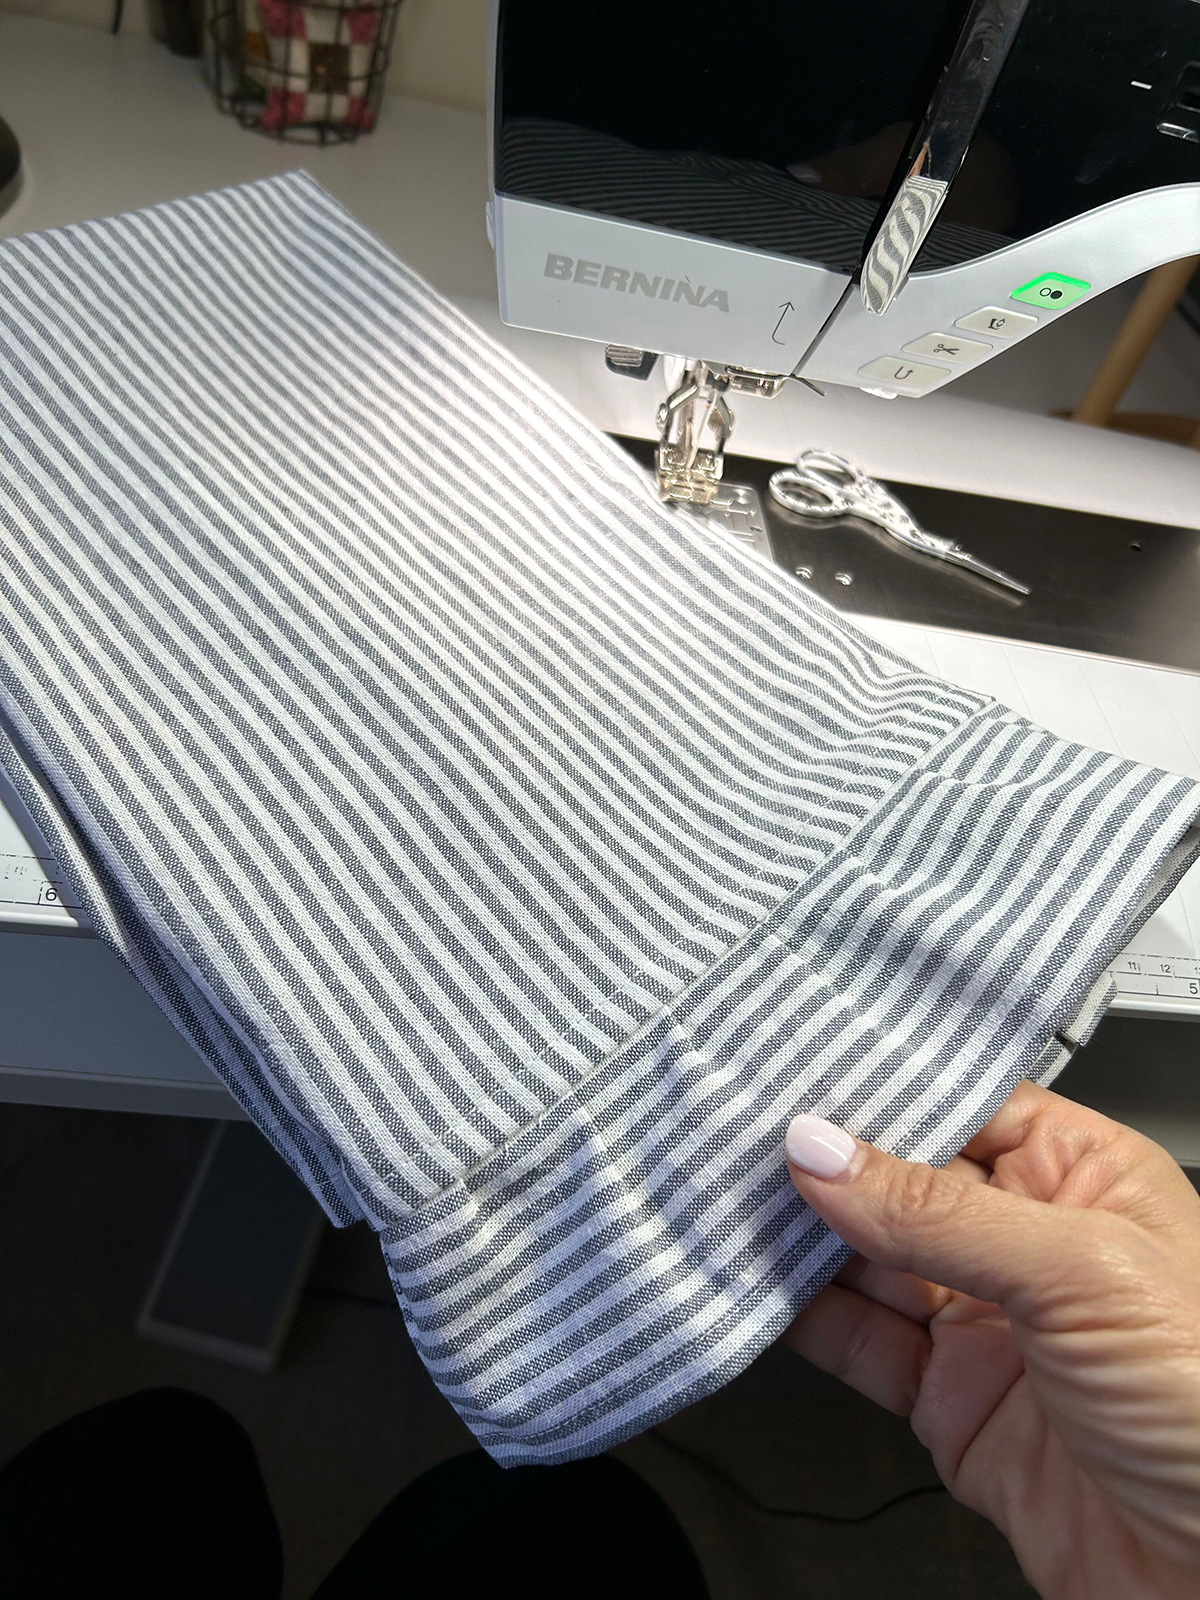
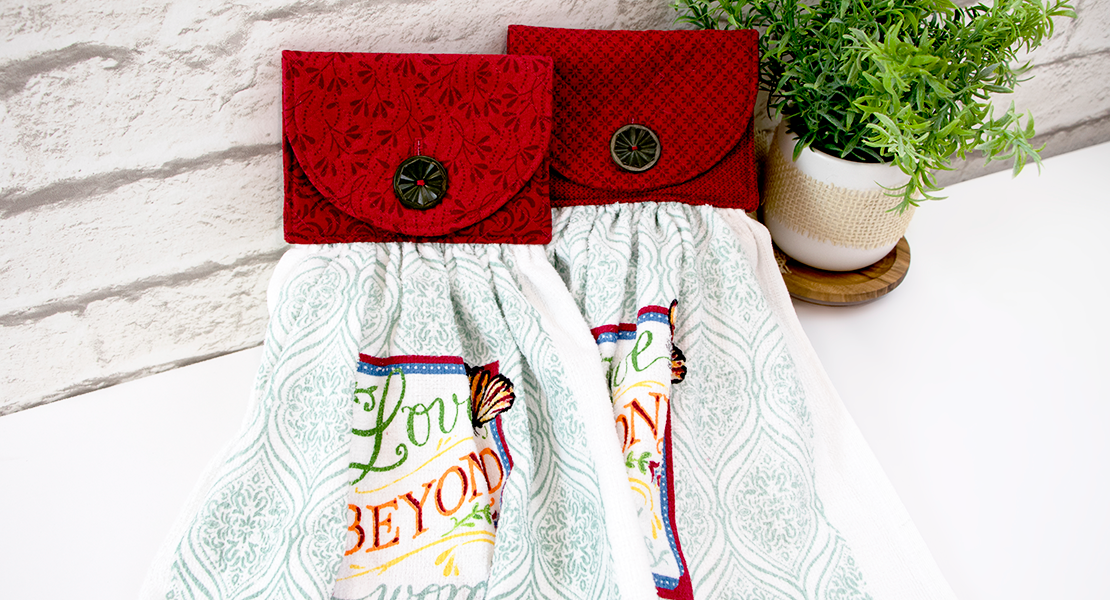
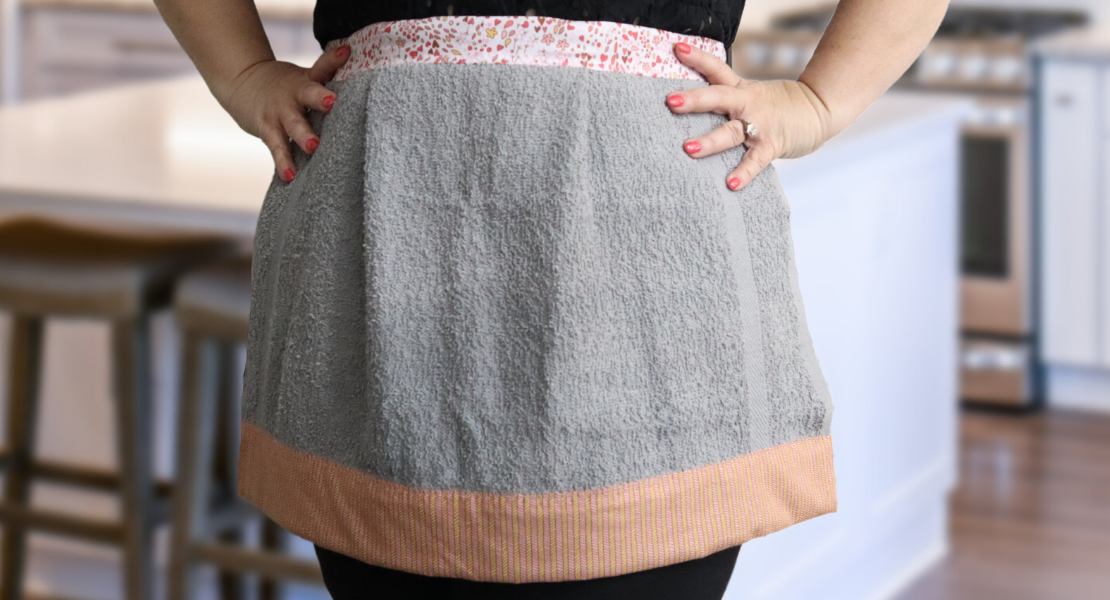
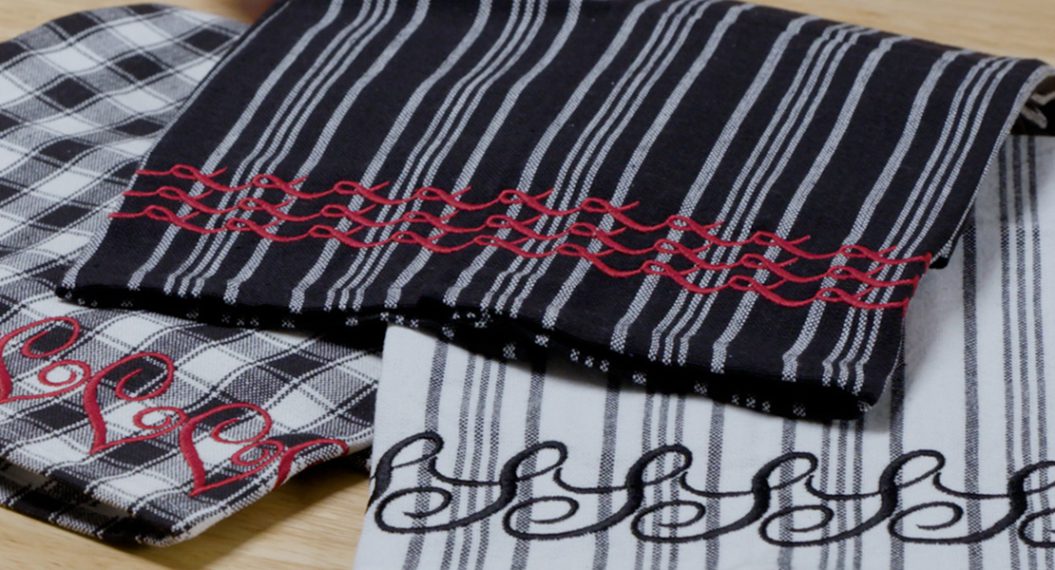
Modern Farmhouse Kitchen Towels
The modern farmhouse trend is not showing any signs of going out of style. This trend marries old and new in a way that is rustic and chic. It’s a contemporary style that feels like home. Today let’s focus on the kitchen by creating a set of farmhouse kitchen towels. You’ll be surprised how simple they are to stitch up and how much character they add to your kitchen. Also, you can customize them with a simple monogram using your embroidery module. You won’t be able to stop at just two! I’m thinking birthday and holiday gifts will be so fun to make this year! Let’s get started!
Machine Set Up
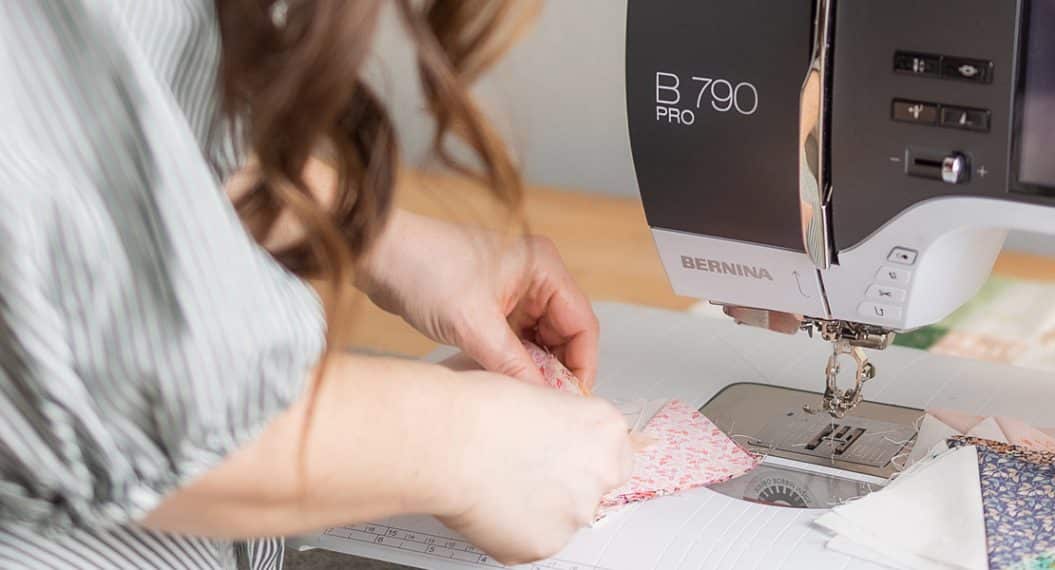
- BERNINA 790 PLUS
- Reverse Pattern Foot #1/1C/1D
- Ruffler Foot #86
- Edgestitch Foot #10/10C/10D
Supplies
- 1 yard cotton or linen ticking fabric
- Mettler Silk Finish Cotton Thread 50 wt
- Schmetz Topstitch or Jeans Needle Size 80
- Dritz Sewing Gauge
- Rotary Cutter and ruler
- Iron
Fabric Prep
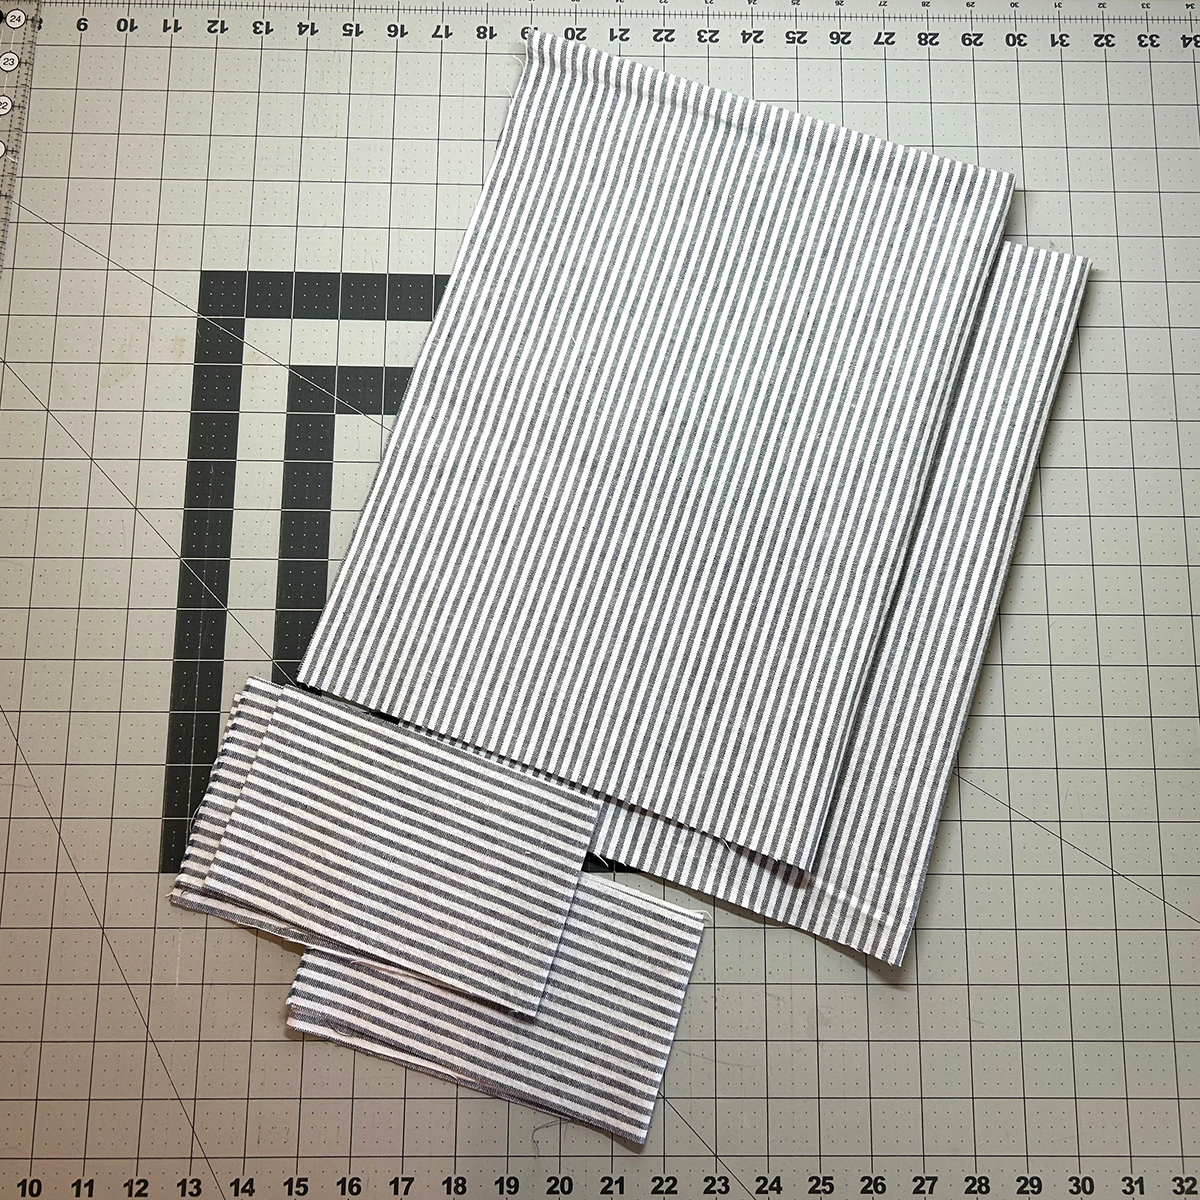
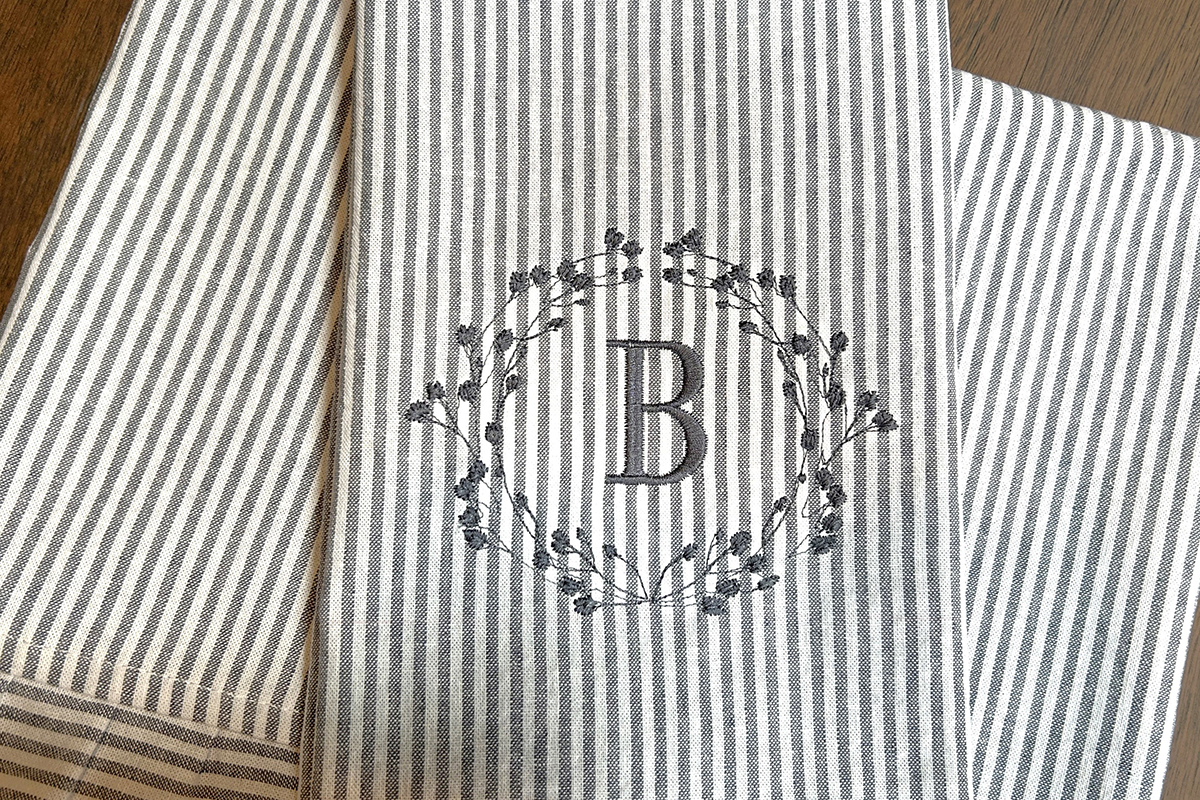
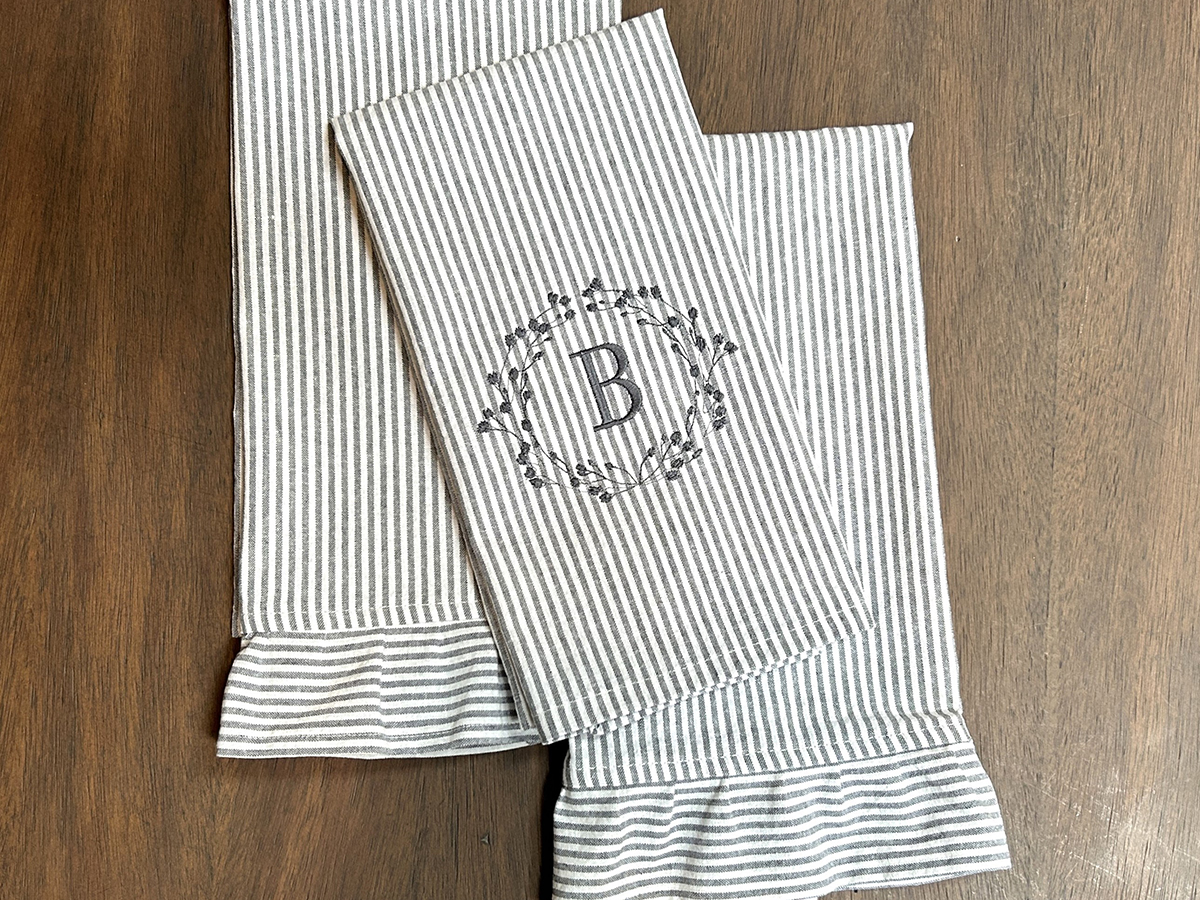
Cut 2 main pieces 22” x 29” and 2 accent pieces 4” x 29”. On all fabric pieces, the lines will run parallel with the 29” side. Visually, your towels will look so much better this way. No need to match lines which is virtually impossible with the accent piece slightly ruffled.
Double Fold Hem
With the smaller pieces, press a double fold hem along one 29” side. Use a sewing gauge or seam gauge to press the first fold at 1/4” and the second fold at 3/8”. Pin in place to secure.
Do the same with the larger pieces on 3 sides, leaving one short end unfolded. This time press 1/2” twice.
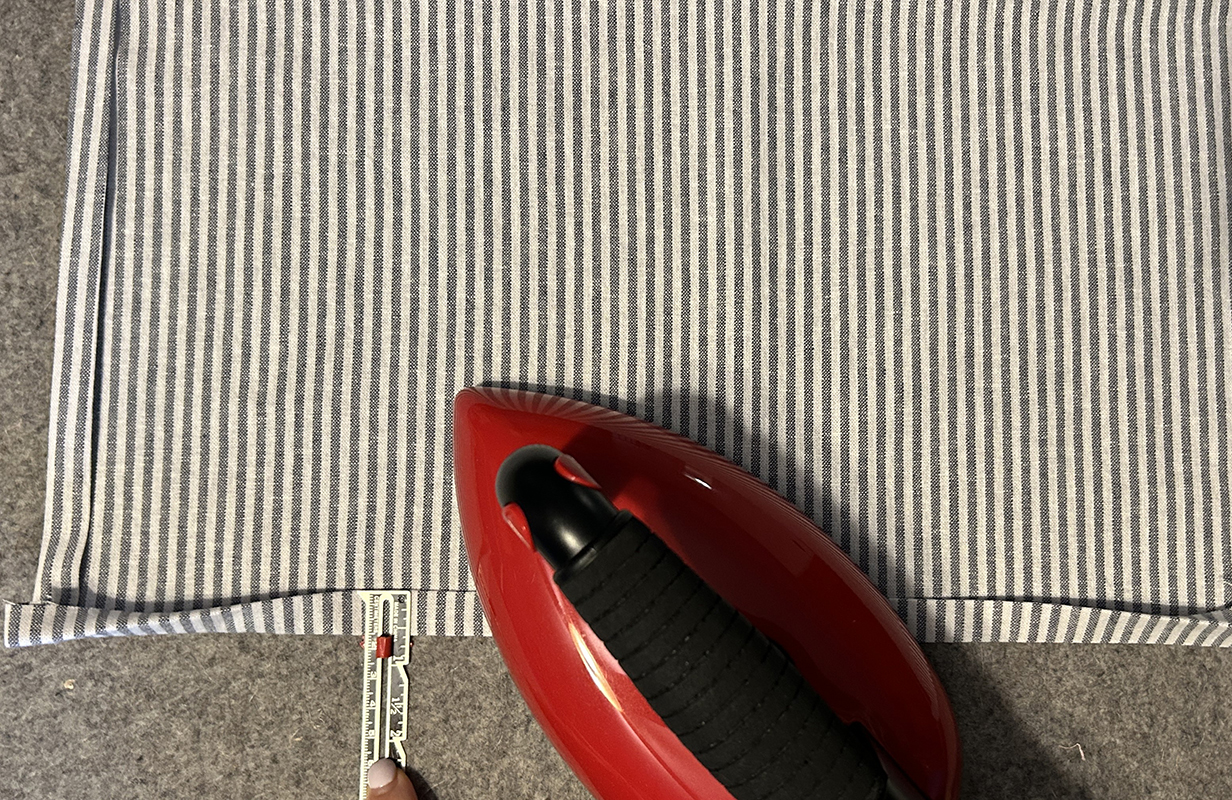
The dark grey in the image below shows where the hems should be pressed and pinned.

Corners
To reduce bulk at corners and create pretty mitered corners, follow these steps:
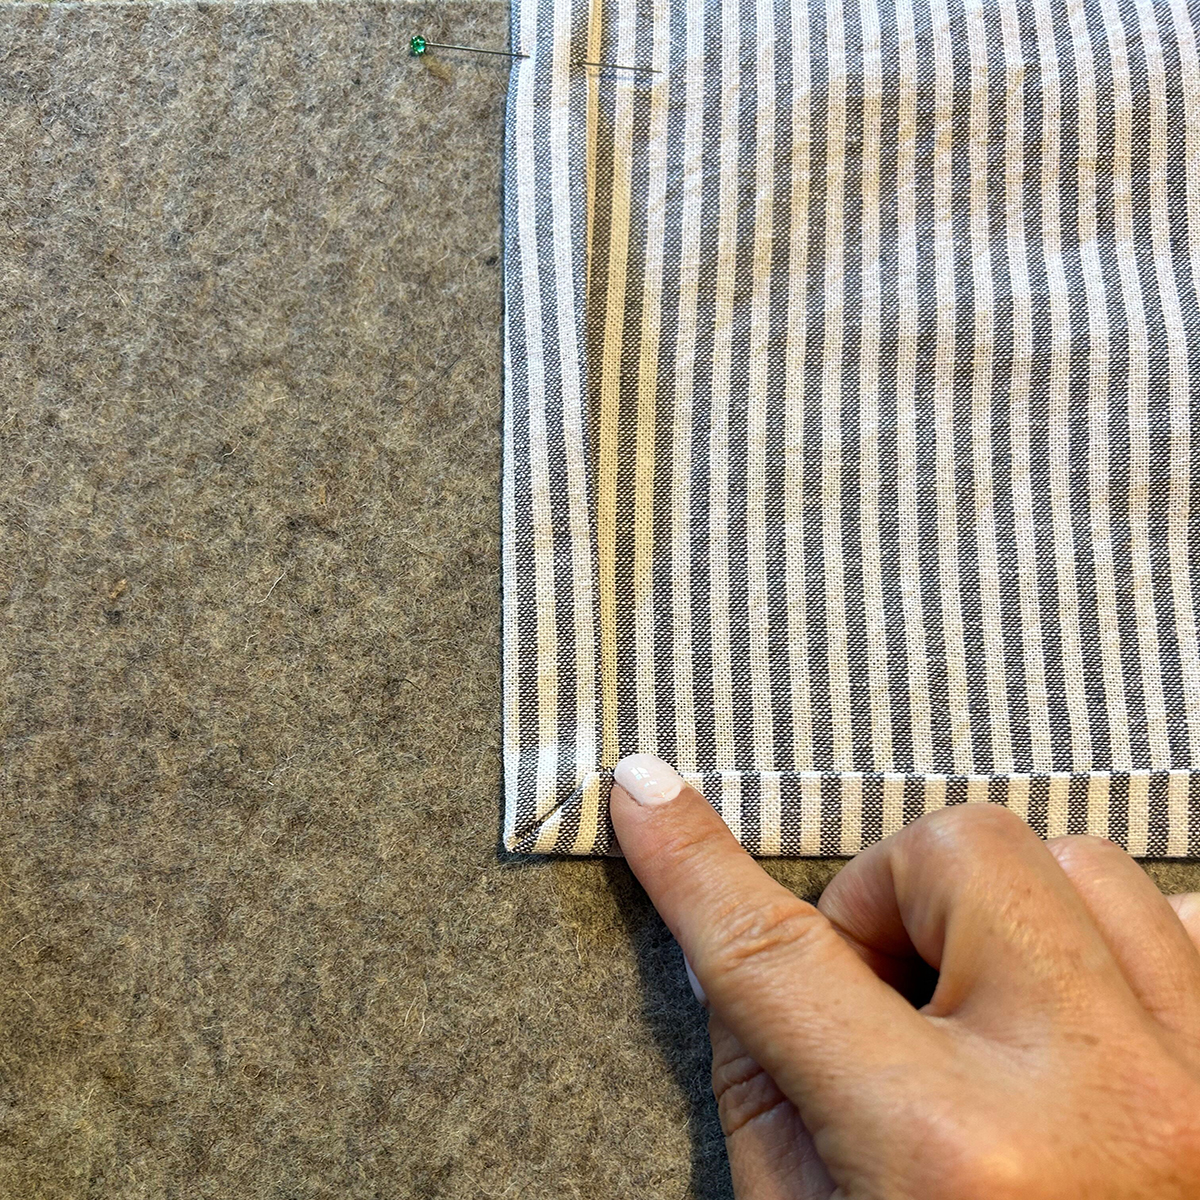
- Unfold a pressed corner so you have one fold on each side.
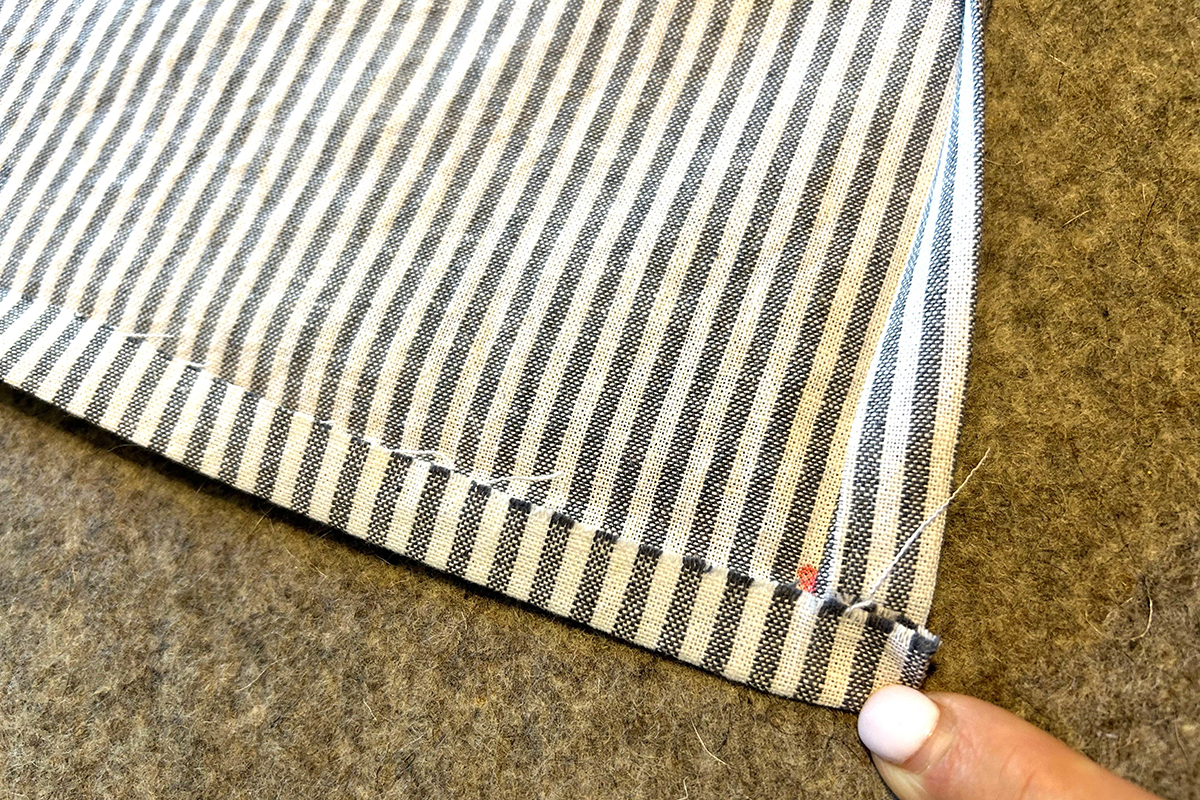
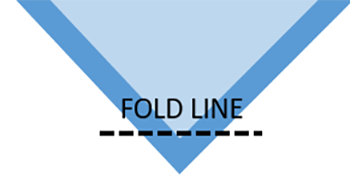
- Fold over one corner along the fold line. Press.
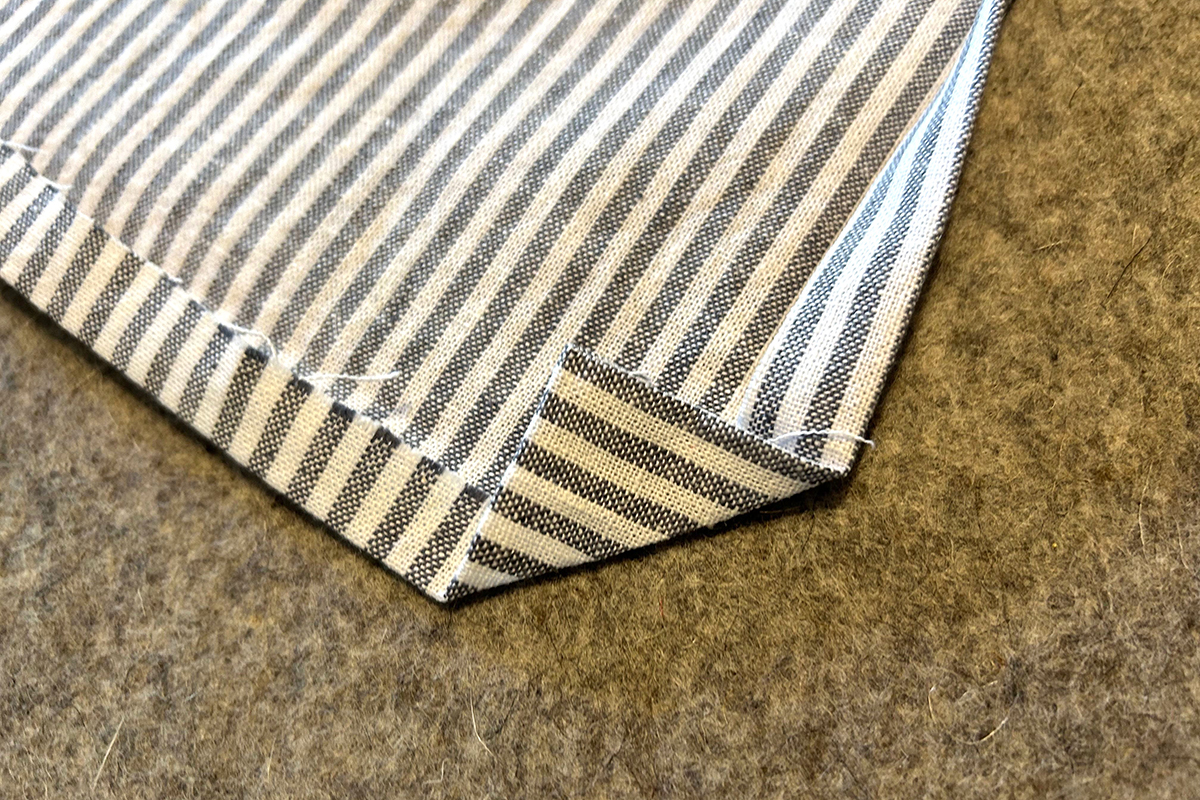
- Trim the top half of the corner to reduce bulk.
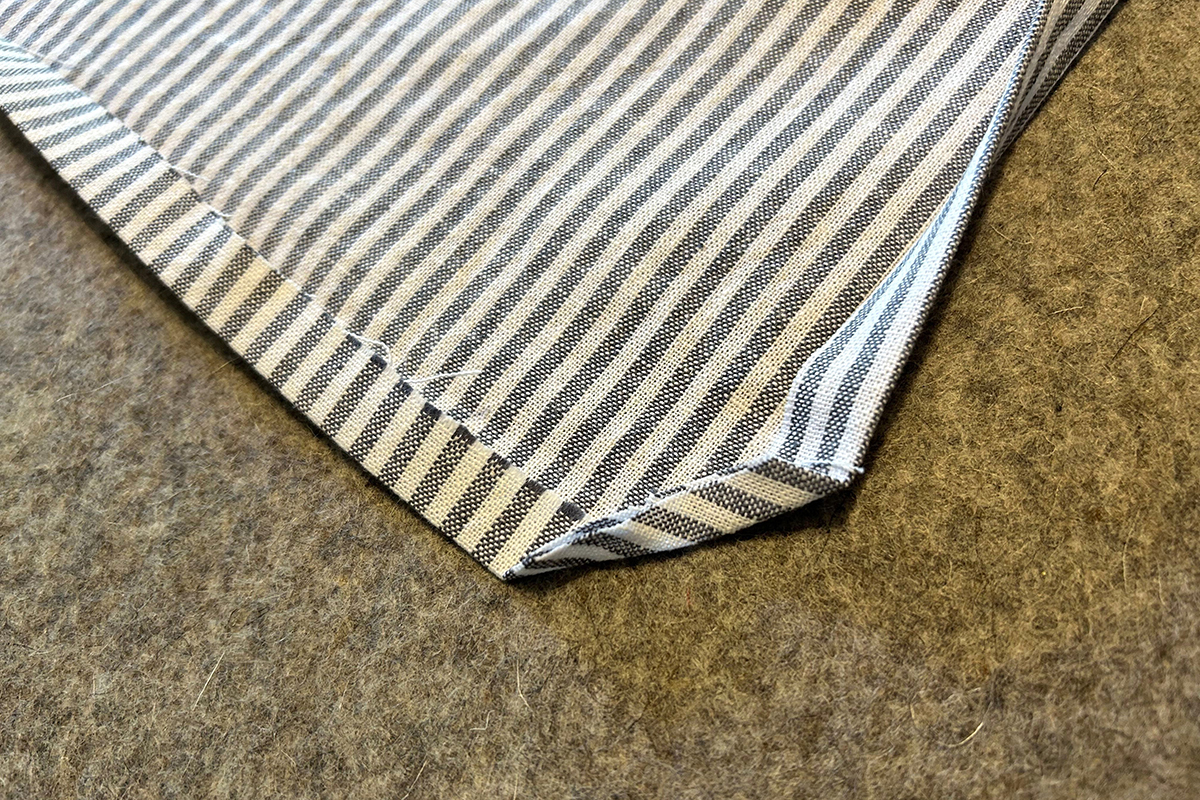
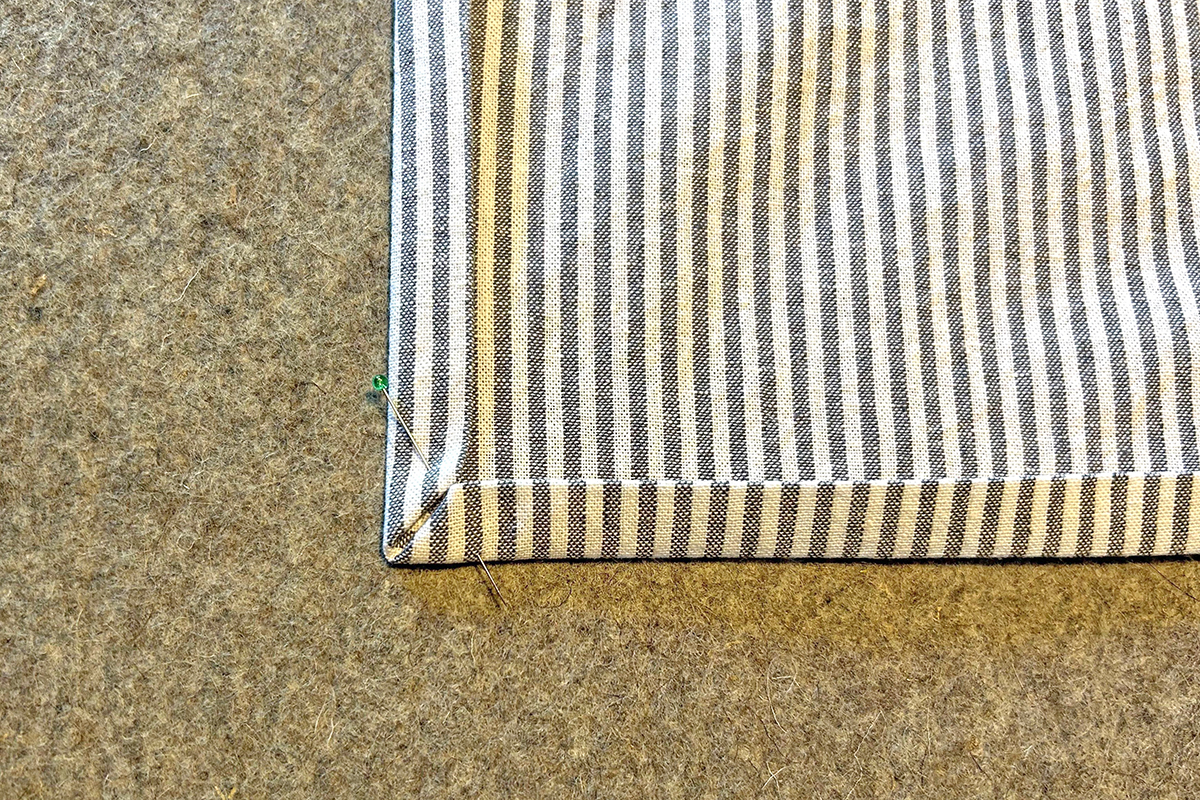
- Re-fold the sides again creating the mitered corner. Press and pin in place.
This takes a little practice but it’s worth the effort. Your kitchen towels will look very professional!
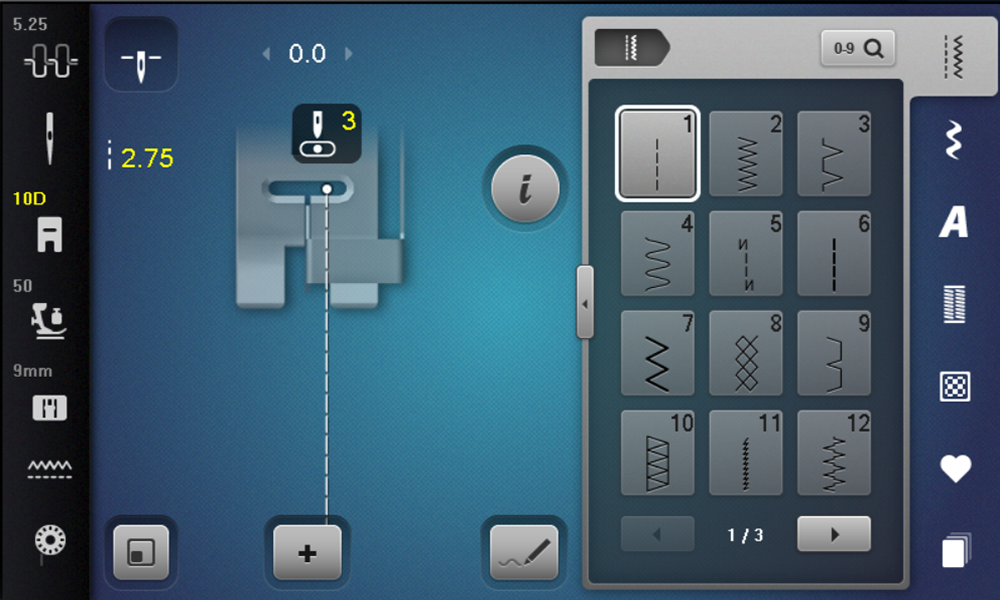
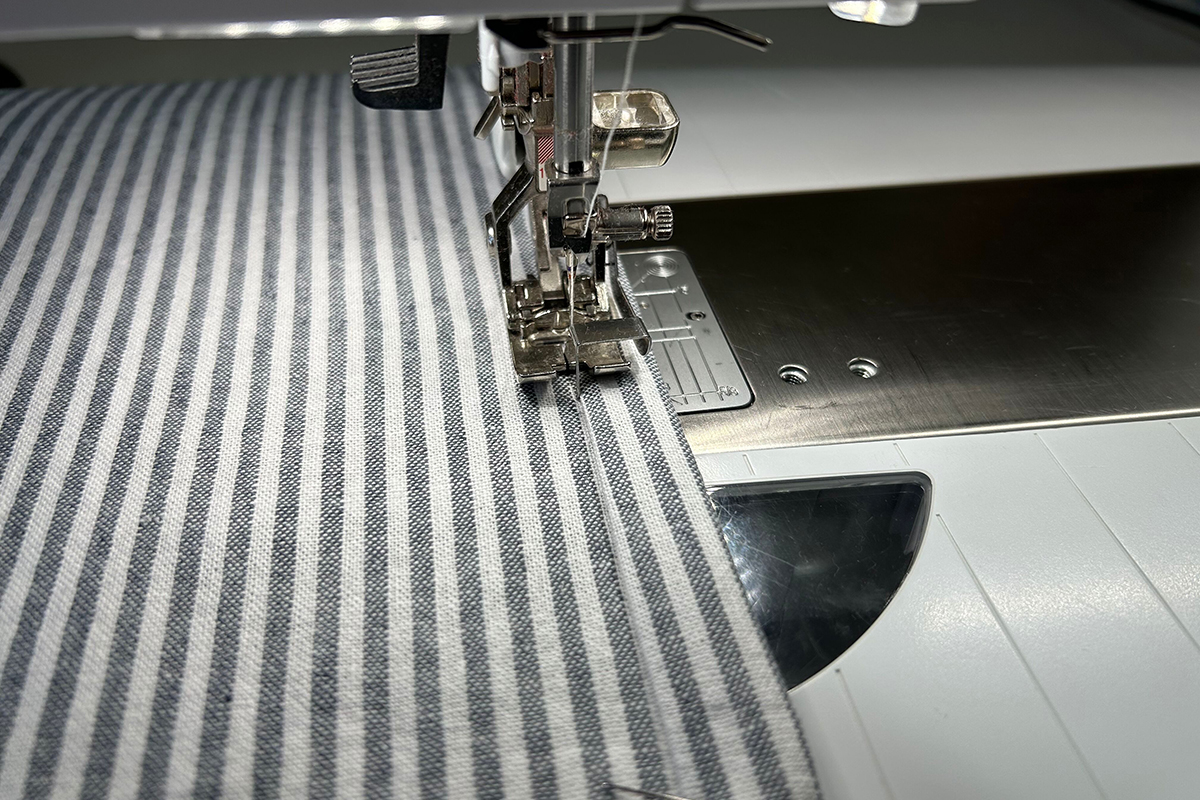
Attach Edgestitch Foot #10/10C/10D. Increase the Stitch Length to 2.75 mm and move Needle Position to 3. Place Needle Stop Up/Down in the down position.
Place the side hem against the center guide of foot. Lower your handwheel to check the needle placement. Stitch along one side slowing down when you near the first corner.
Sew a couple straight stitches into the hem at the corner. Use your Freehand System to slightly raise the foot, if needed.
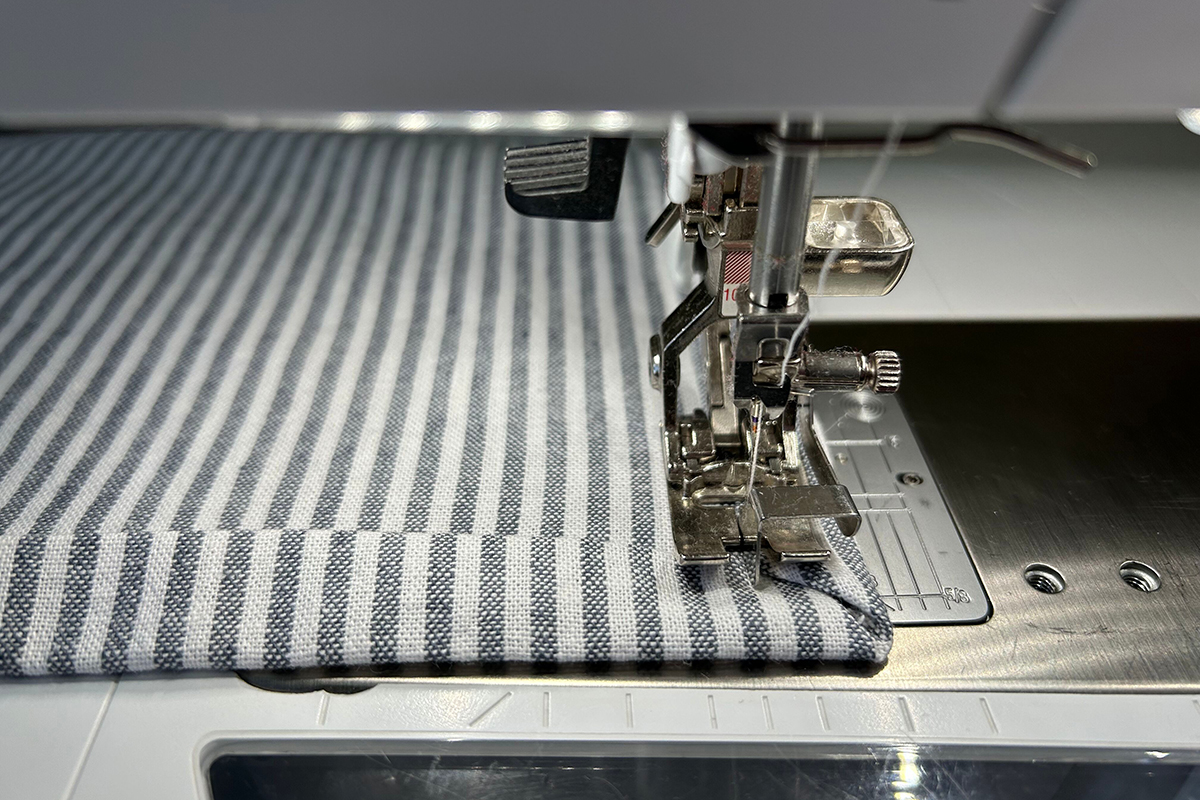
With needle down, pivot and check placement. The center guide should be up against the next hem. If not, adjust accordingly by taking one more stitch or backstitching one stitch. Continue until all three sides are stitched.
Do the same for the accent fabric piece sewing along the one side. Doesn’t the Edgestitch Foot make this sewing technique so easy and fun? I love a beautiful topstitch!
Ruffle Time!
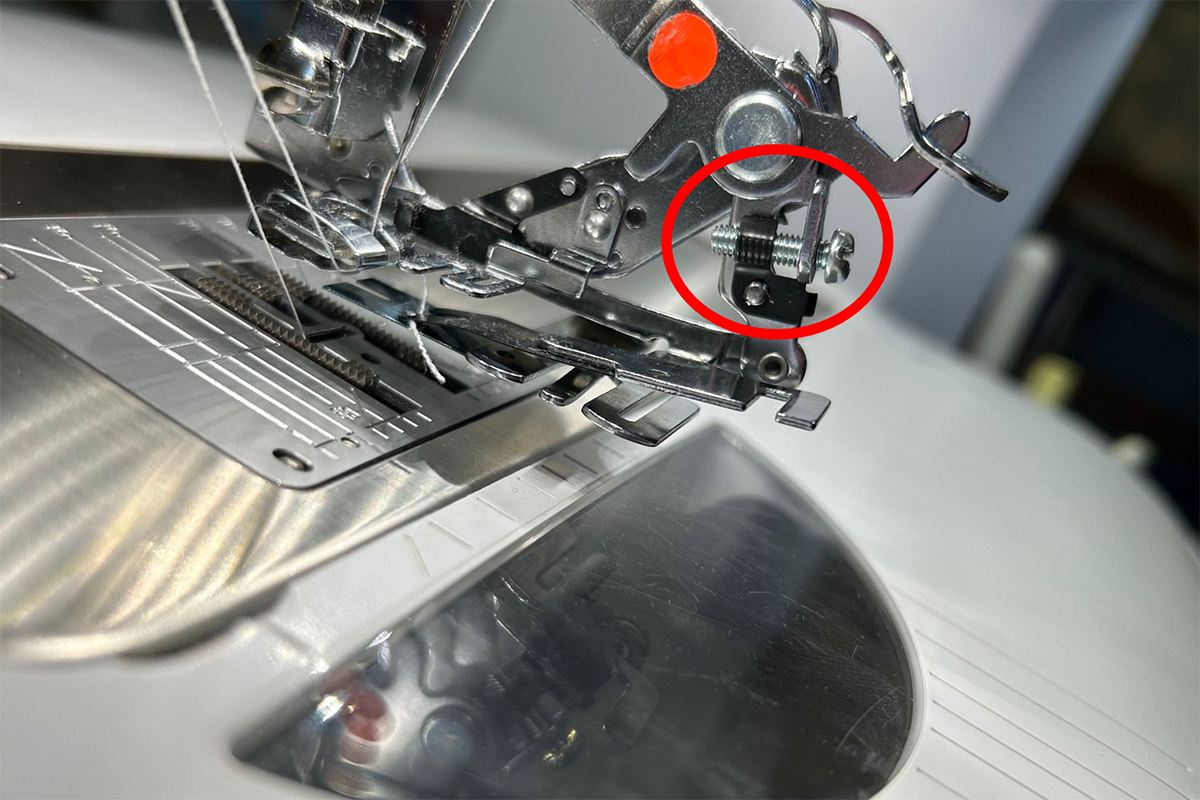
BERNINA Ruffler Foot #86 looks intimidating but is simple once you understand the different parts. On the foot, you’ll notice an Adjusting Lever and an Adjusting Screw.
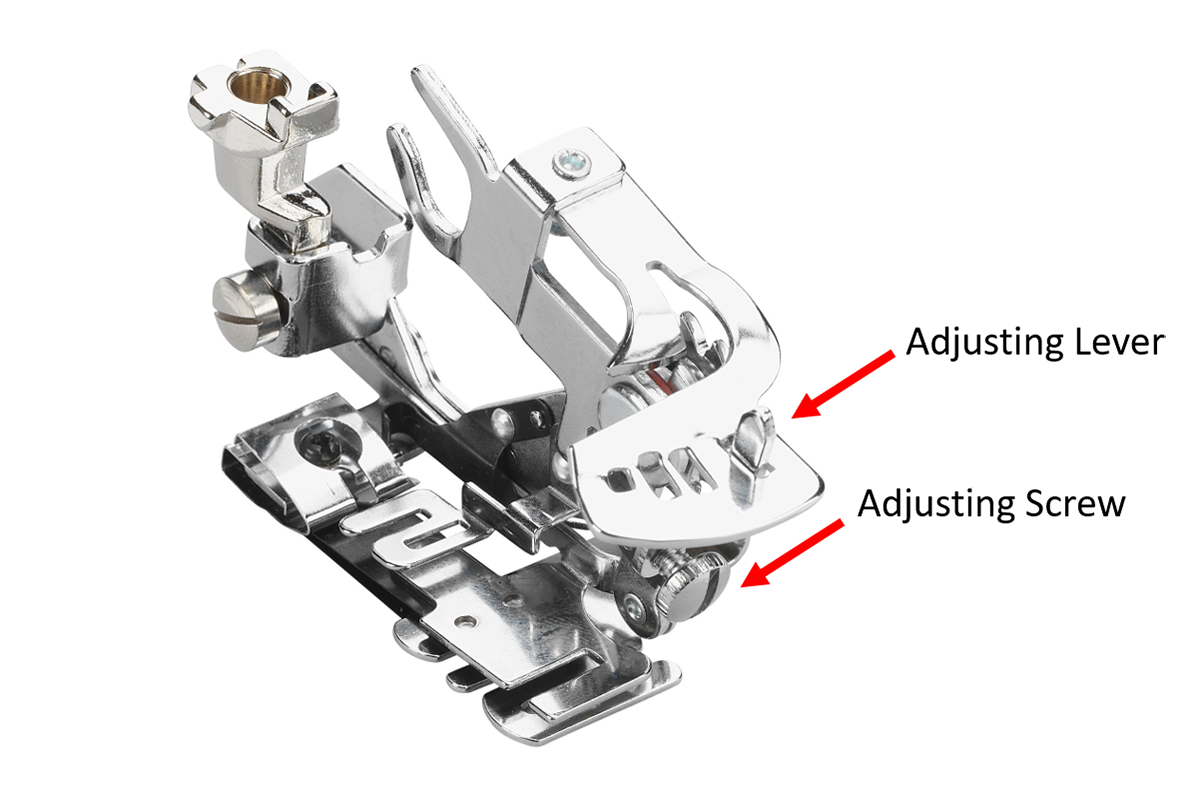
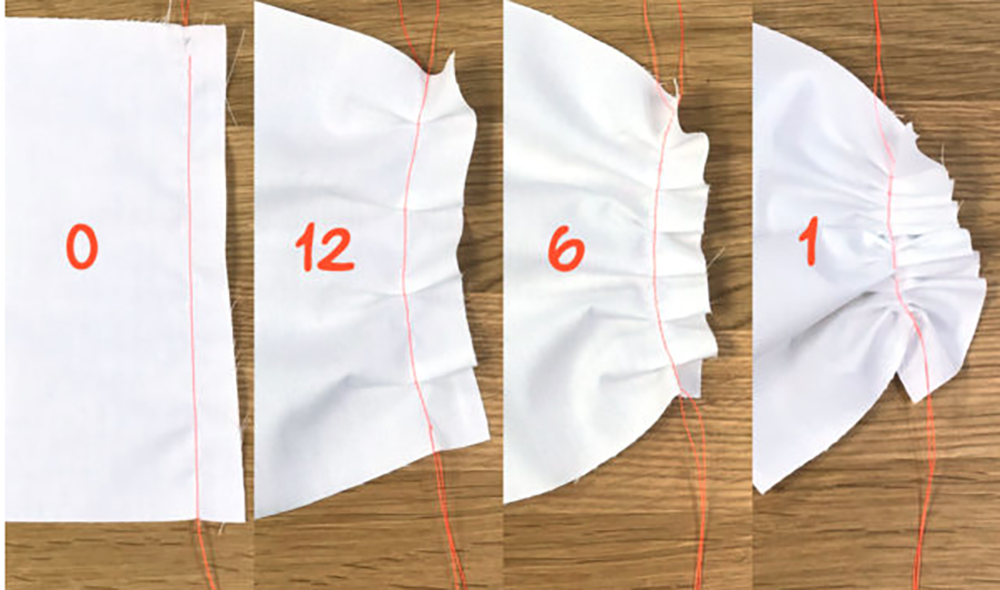
The Adjusting Lever has 4 settings. The numbers indicate the frequency of pleating or ruffling – 12 creates a pleat or ruffle once every 12 stitches, 6 every 6 stitches and 1 every stitch. The 0 setting will not pleat or ruffle which allows you to sew straight stitches without having to remove the foot.
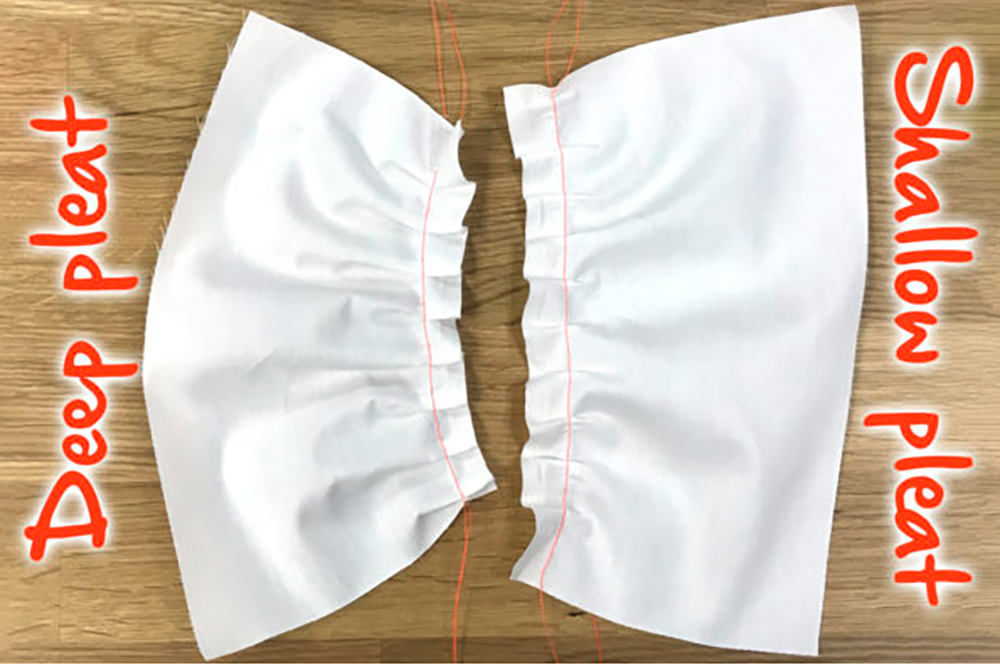
The Adjusting Screw allows you to adjust the depth of the pleat or ruffle. There is a small screwdriver that comes with the foot. Turn the screw clockwise for deep pleats perfect for knife pleats and counterclockwise great for a ruffled look.
Let’s attach the Ruffler Foot! This foot attaches to the machine in same way as other BERNINA feet – insert the shank into the cone and fasten the lever. There’s one difference which is the U-shaped arm. If you have Walking Foot #50 this will be familiar to you. The U-shaped arm is placed over the needle bar allowing the foot to count stitches with the movement of the needle bar.
Place the Adjusting Lever on 12. Turn the Adjusting Screw so it is a few rotations to the left of the metal black holder. It’s not an exact science here so test sew first.
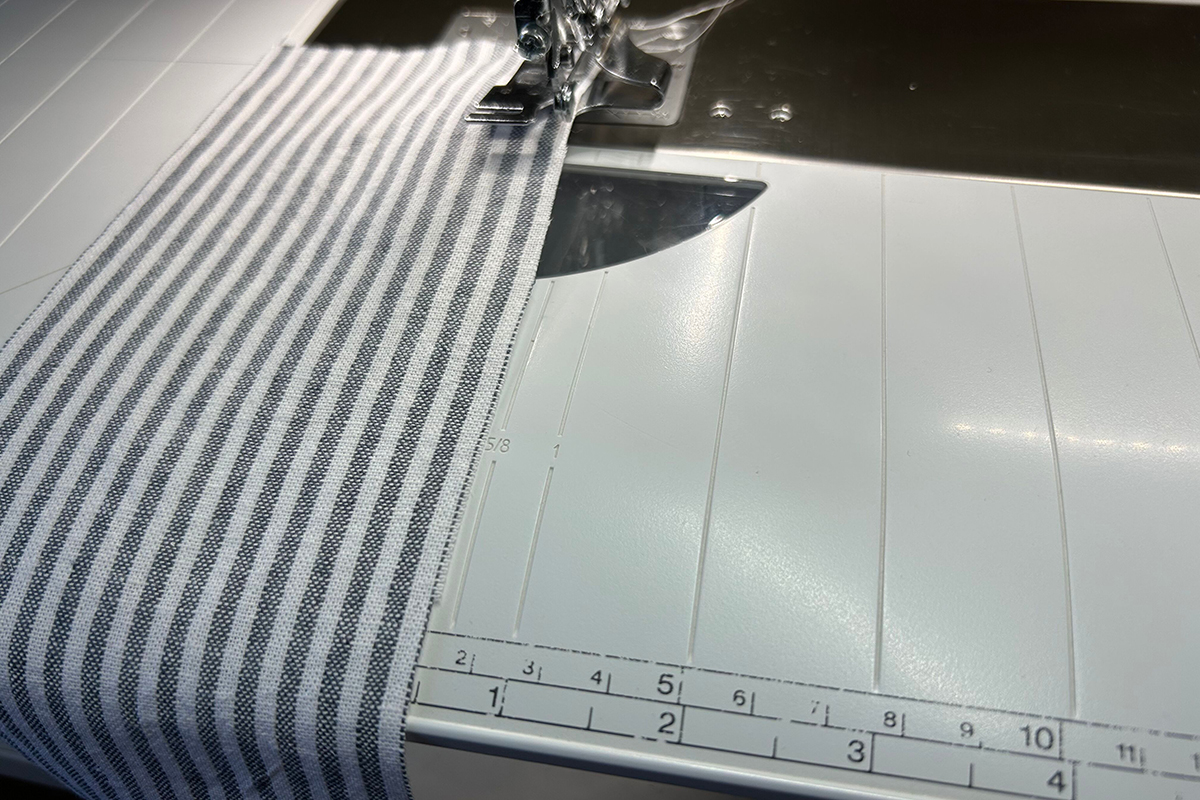
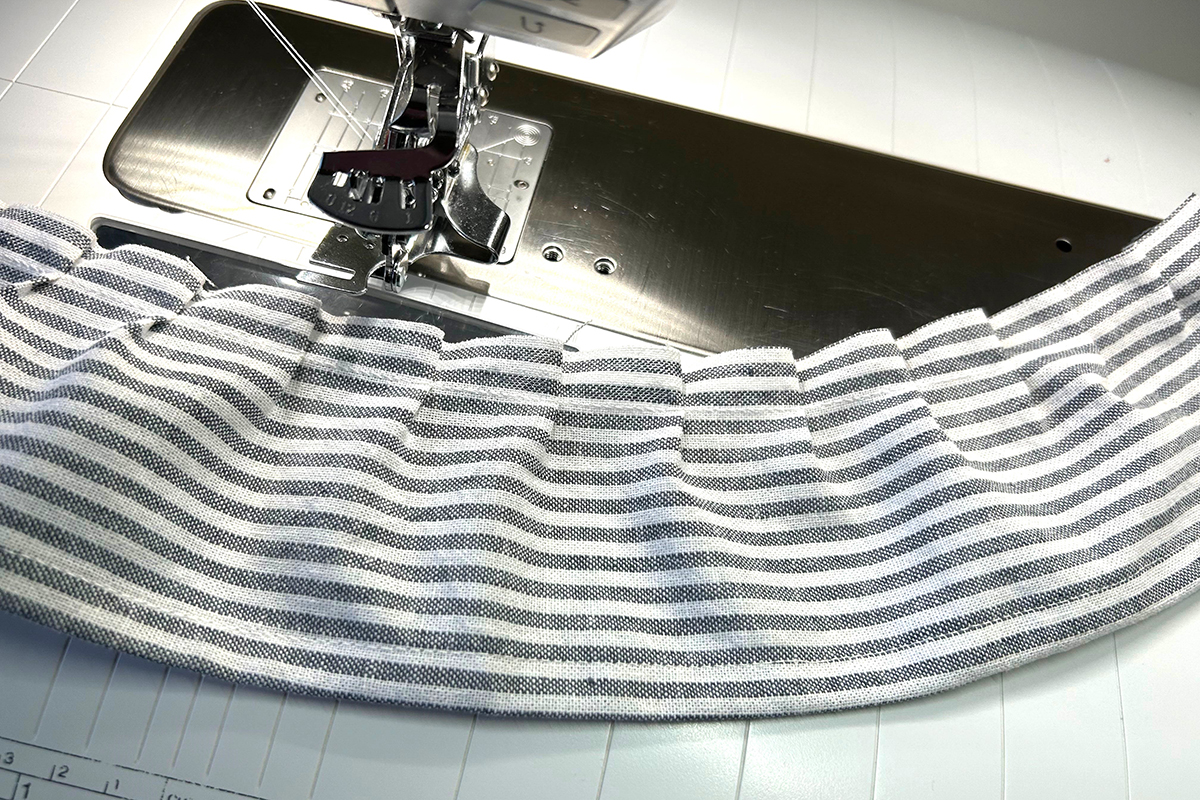
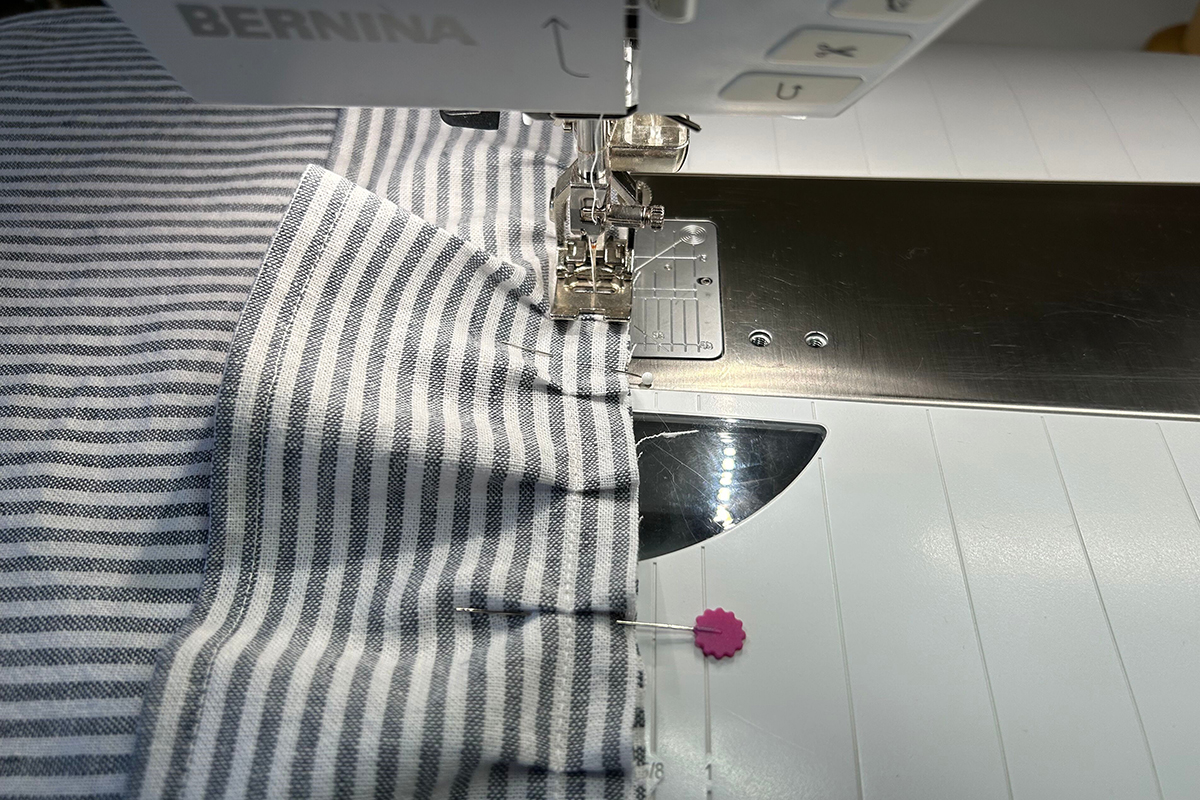
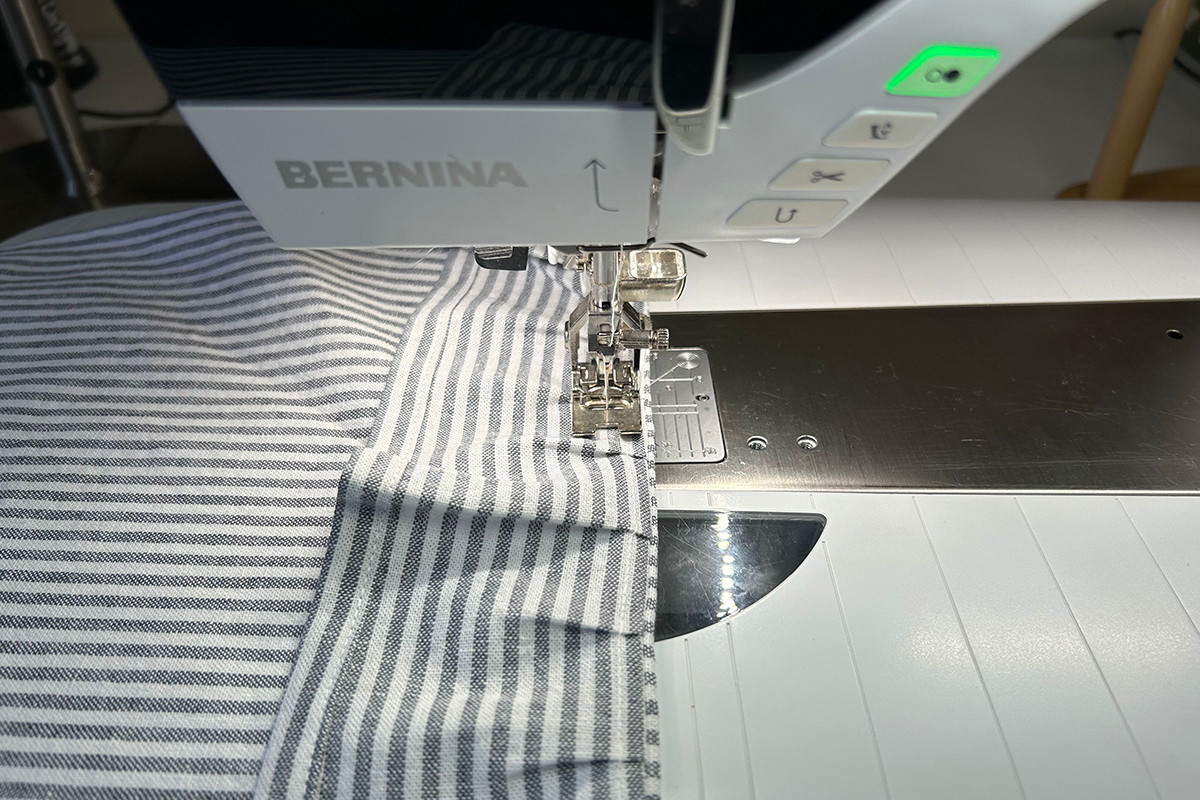
For the machine settings, increase Stitch Length to 3 mm. Place the beginning of the fabric strip in the Ruffler Foot about 1” in front of the black ruffler blade.
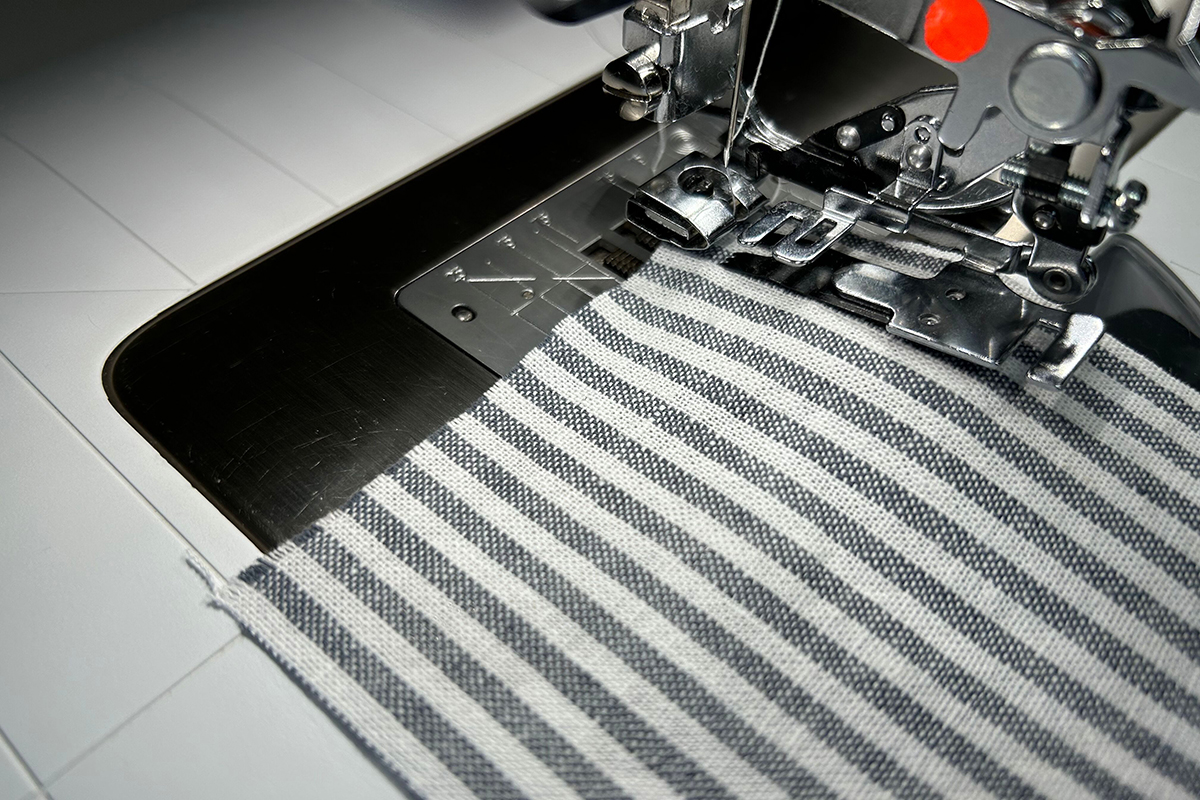
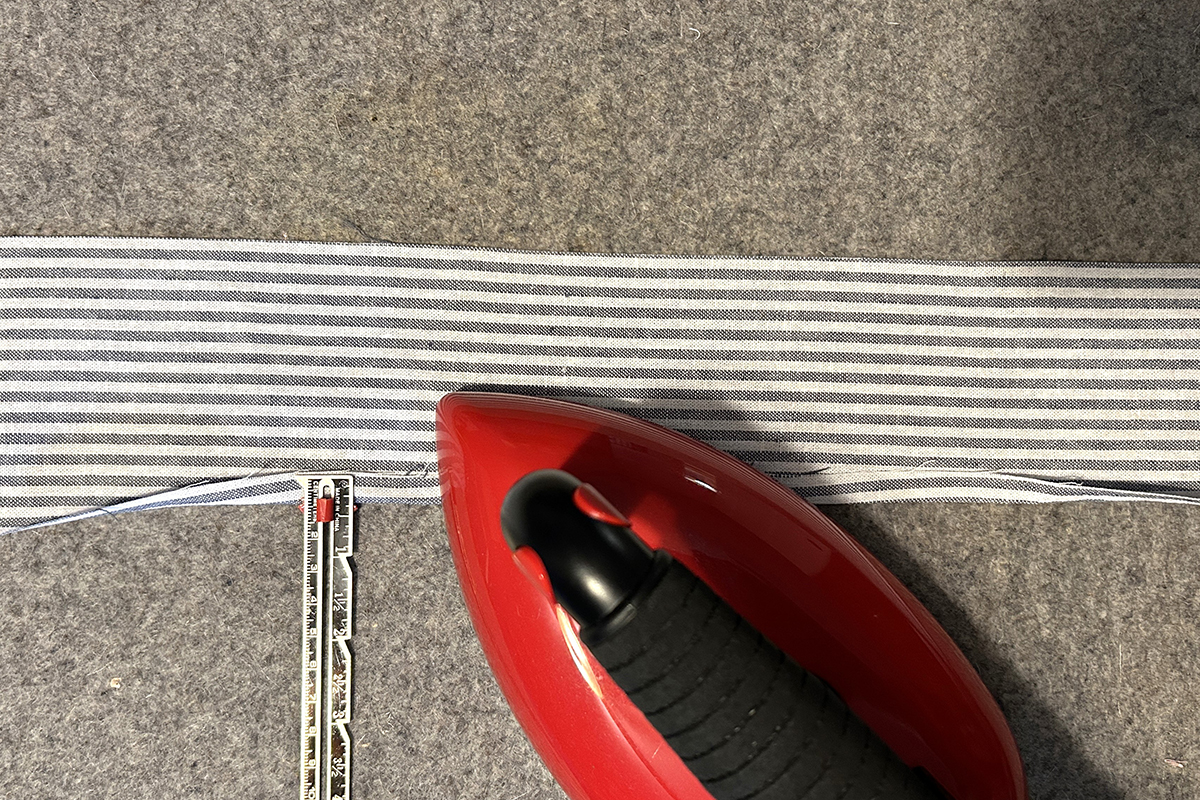
Sew and align the fabric strip with the 5/8” mark on the slide-on table.
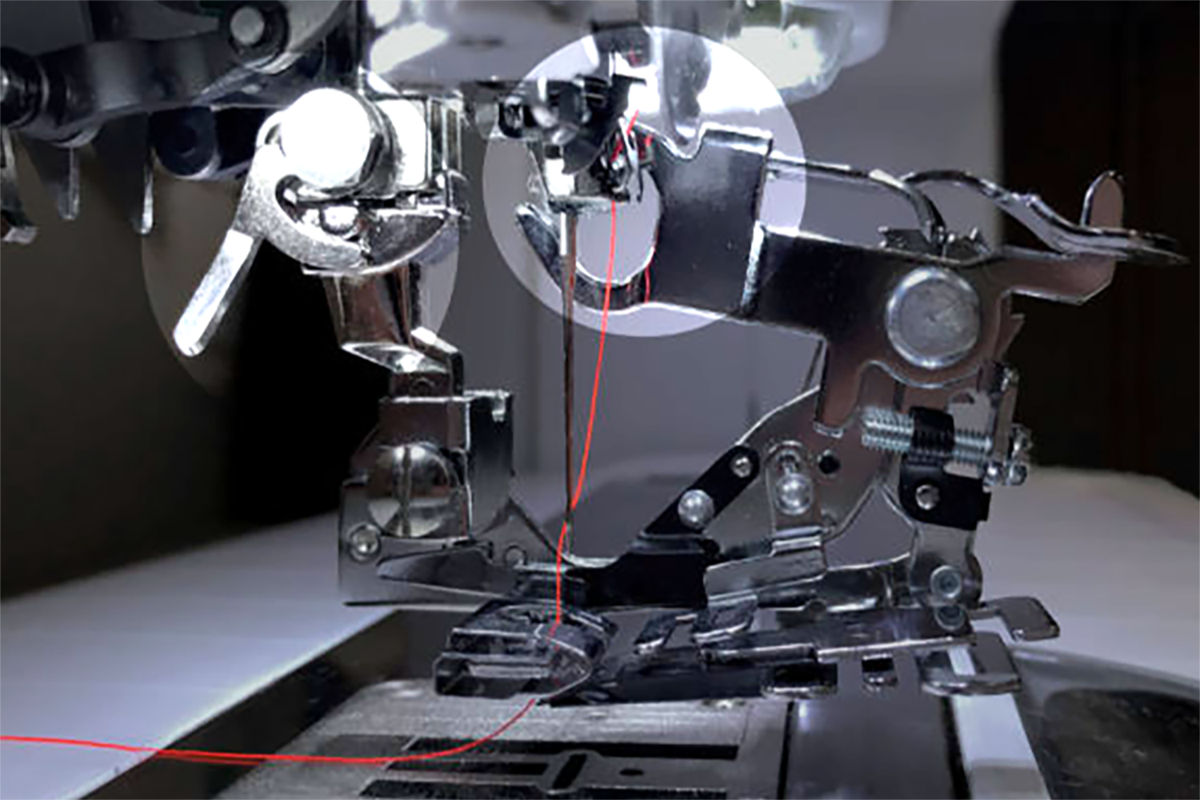
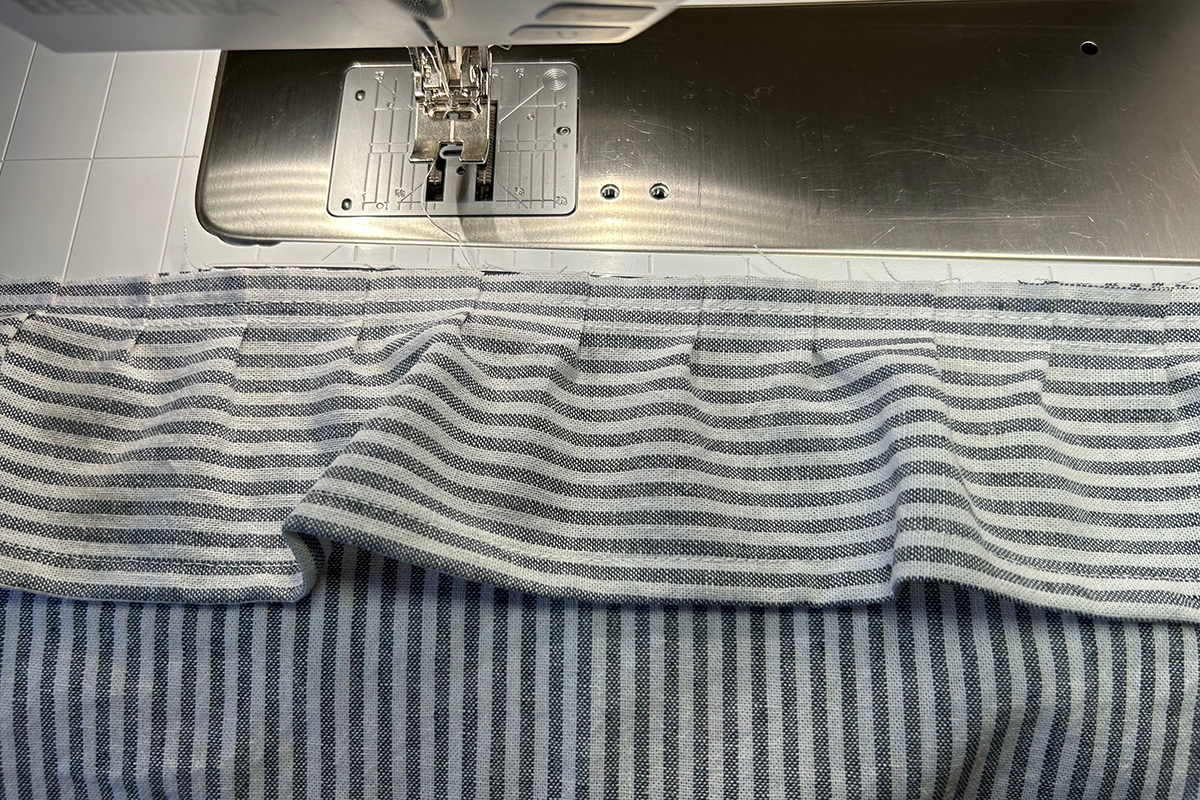
I love to watch this foot in action!
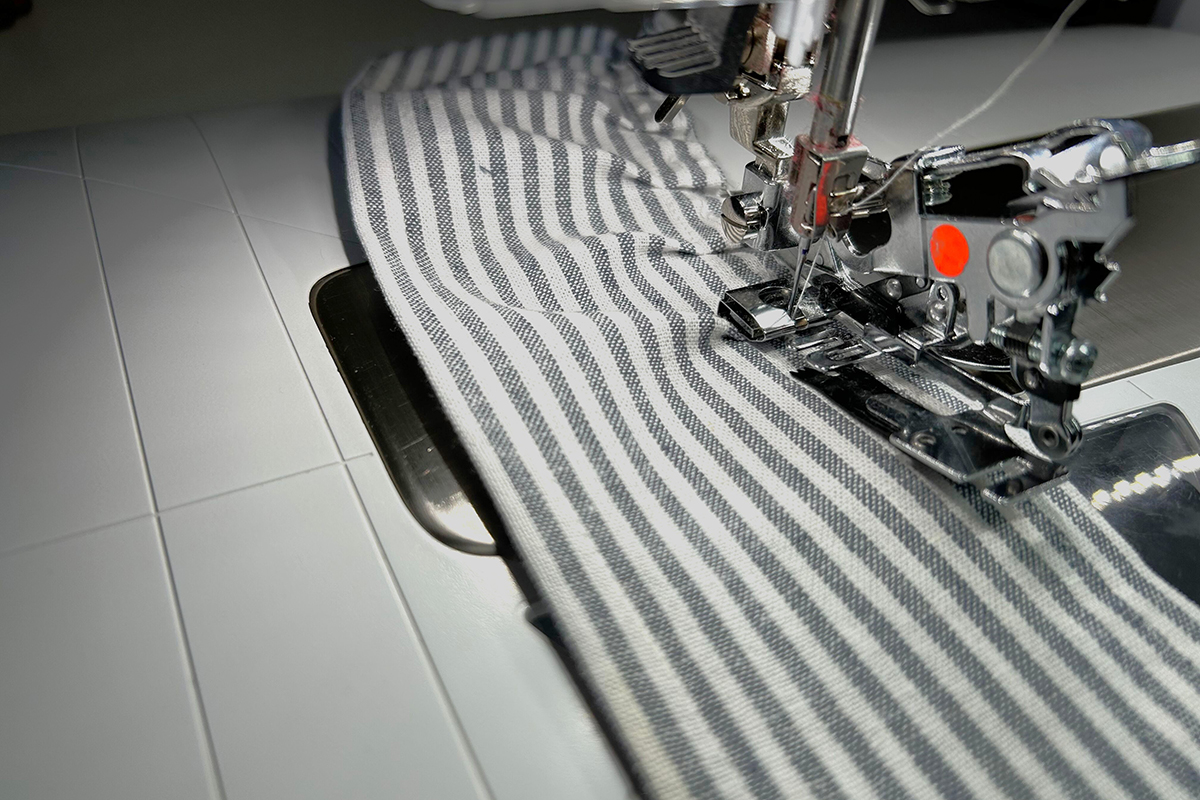
Beautiful!
French Seams for the Finale
Match a main fabric piece with a ruffle piece so you have two sets. Find the center along the raw edge on the main fabric piece and the ruffle and insert a pin to mark.
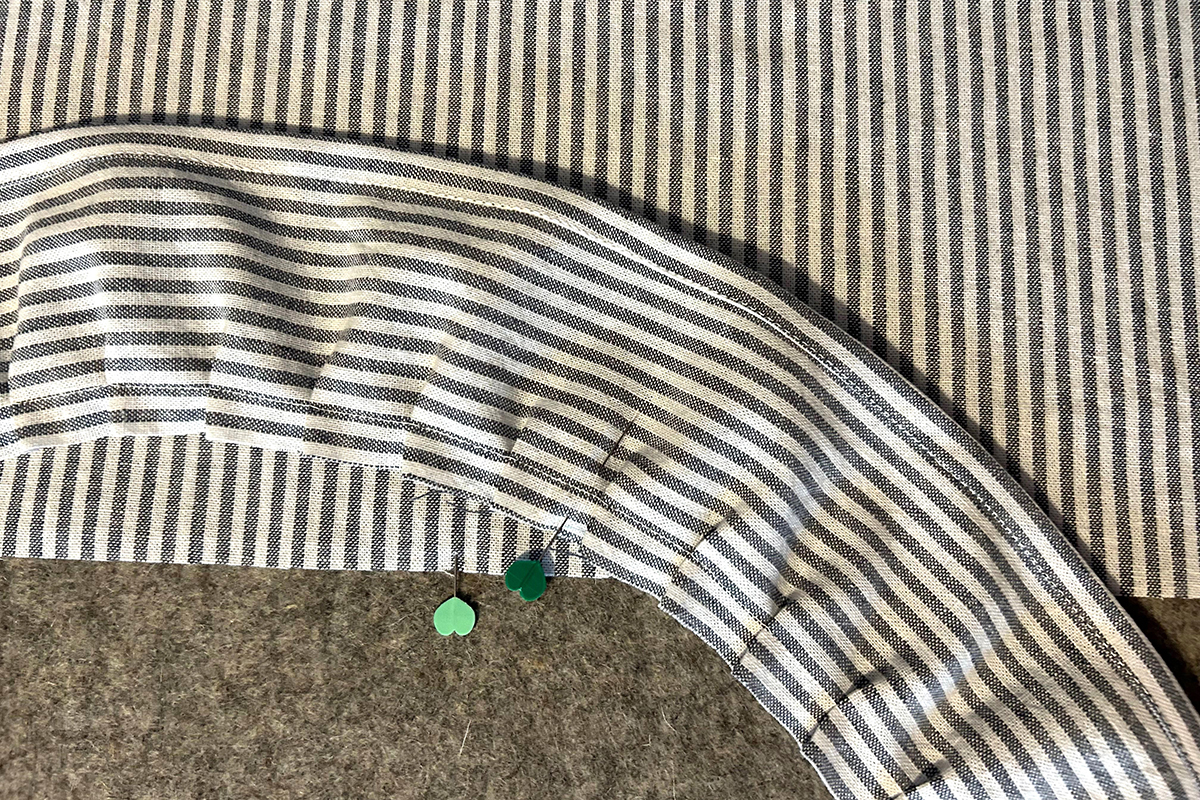
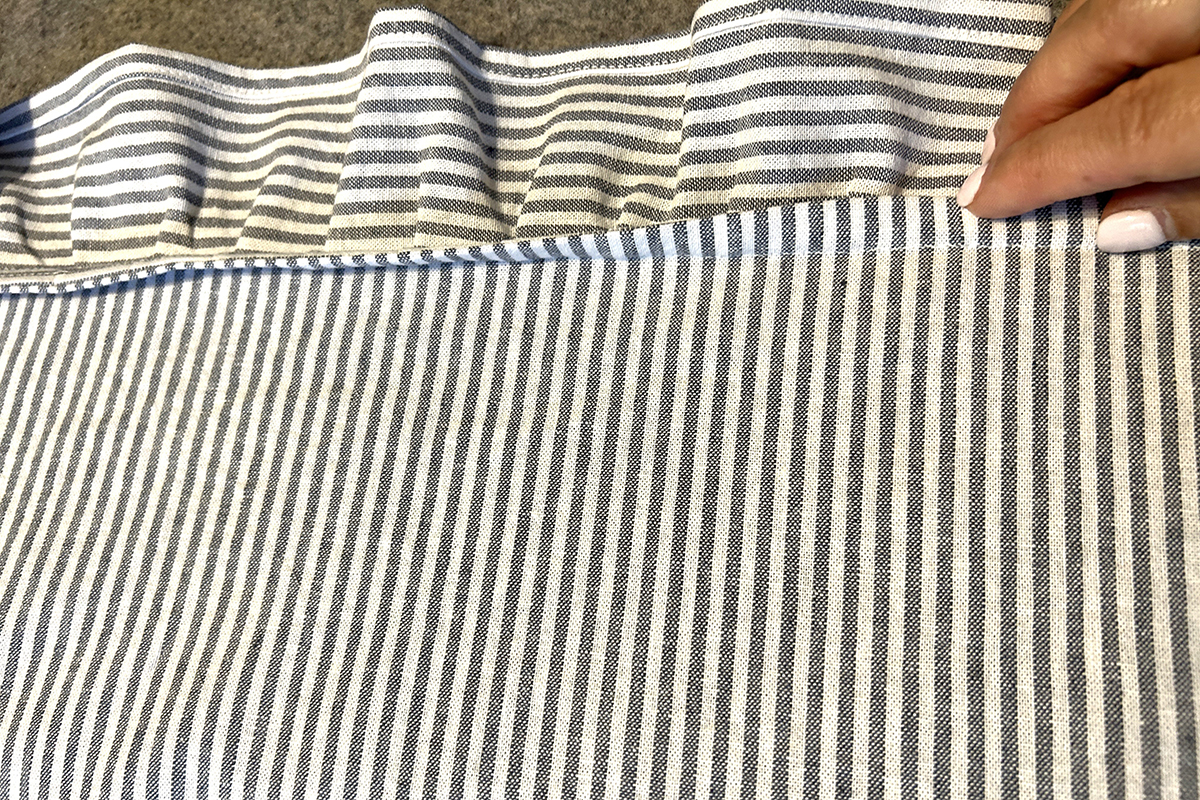
Place the main piece and ruffle wrong sides together along the raw edges. Pin the centers together. Pin to the left and right of center. The ruffle should extend about 1” – 2’ from either side.
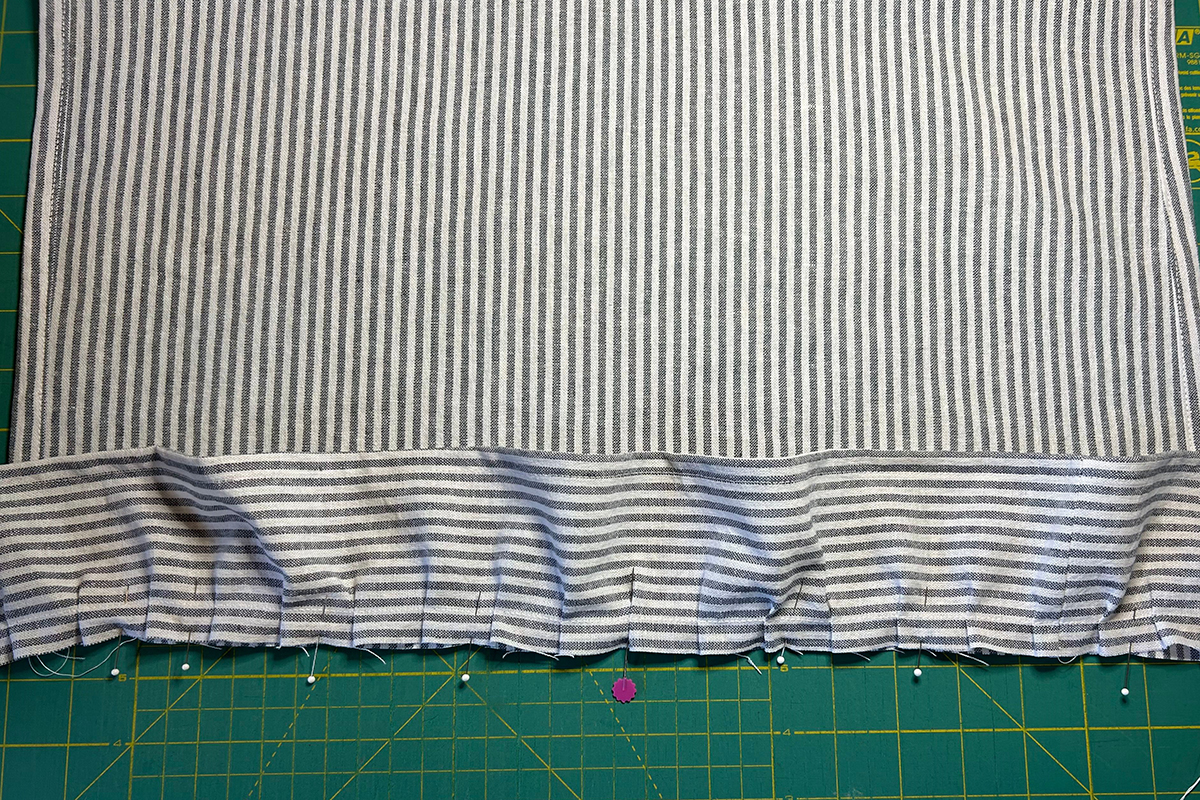
Fold the ruffle ends in towards the wrong side and press flat. Pin in place.
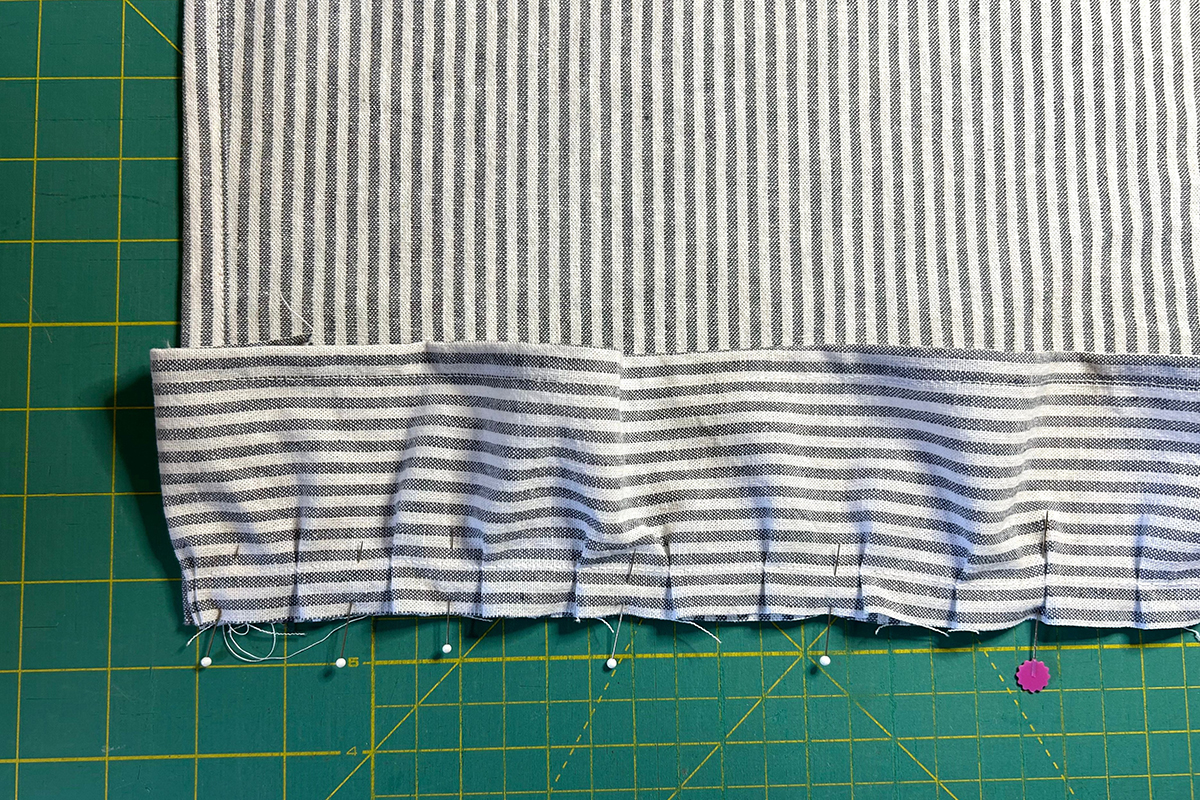
Attach Reverse Pattern Foot #1/1C/1D. Select Straight Stitch #1 and keep the straight stitch length at 2.75 mm. Place seam under foot at the 3/8” mark which is the outside right edge of foot. Stitch. It will feel all wrong and you will say out loud, “Julie, this is not right!” Trust me – this is correct. French seams always feel wrong at the first step.
Now you have two stitch lines. The first one is from making the ruffle.
Place fabric wrong side up on ironing mat. Notice the raw edges. We are going to hide these ugly edges in our French seam.
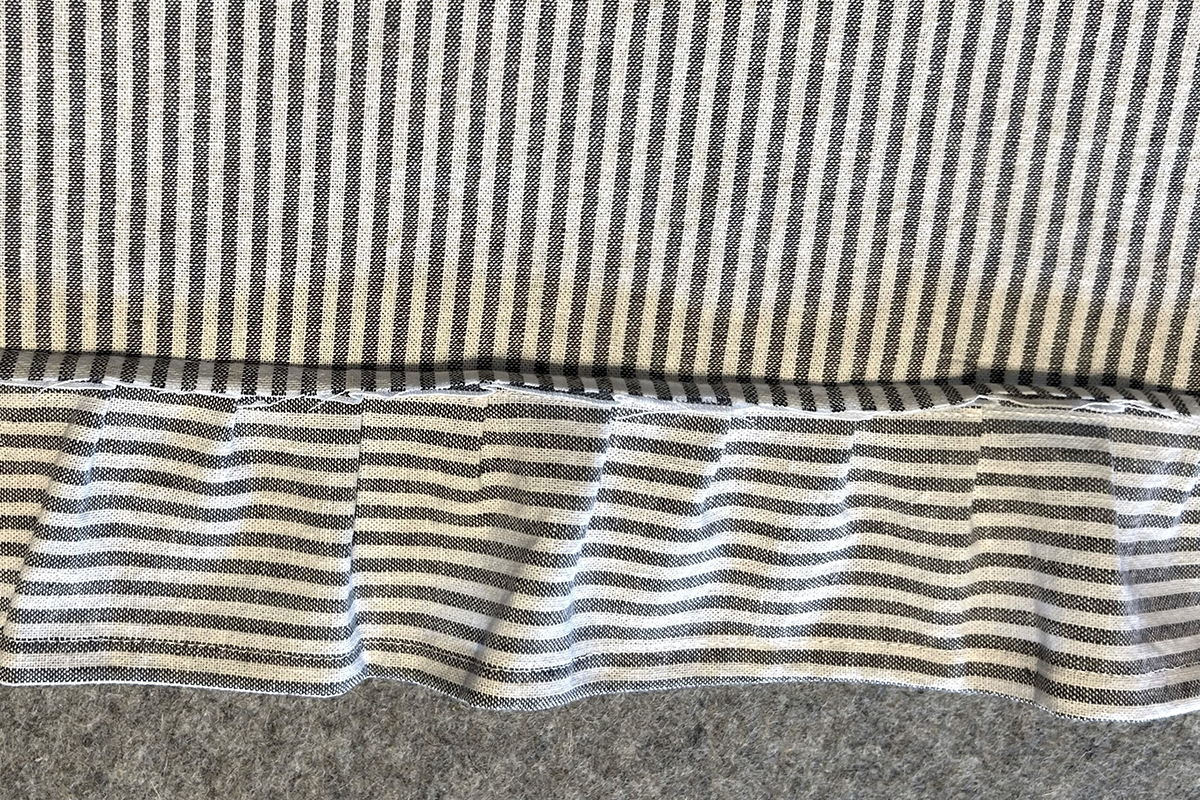
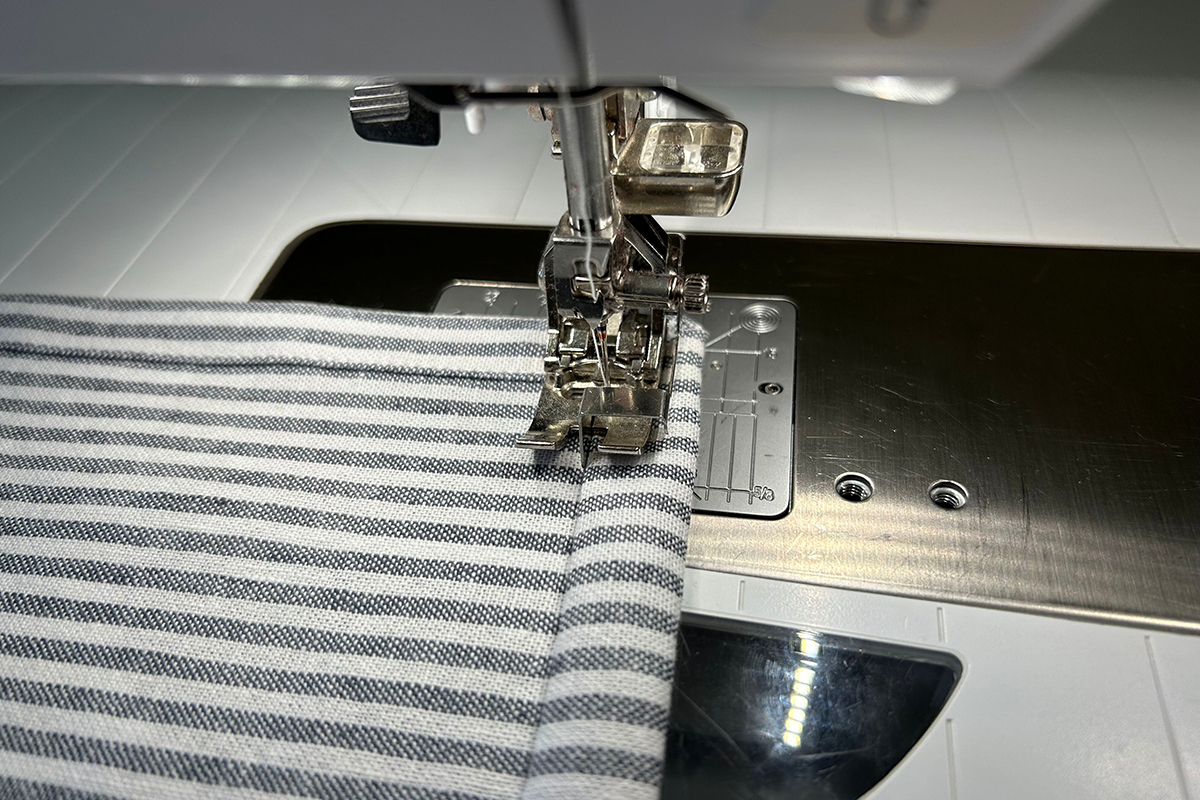
Fold the ruffle up along the seam and lightly press.
Place fabric under foot at the 1/2” mark on stitch plate. Stitch. You can feel the raw edges under the ruffle fabric to make sure they are inside the seam.
Now all the raw edges are hidden inside the seam. The French seam on the back has a flap with the raw edges enclosed.
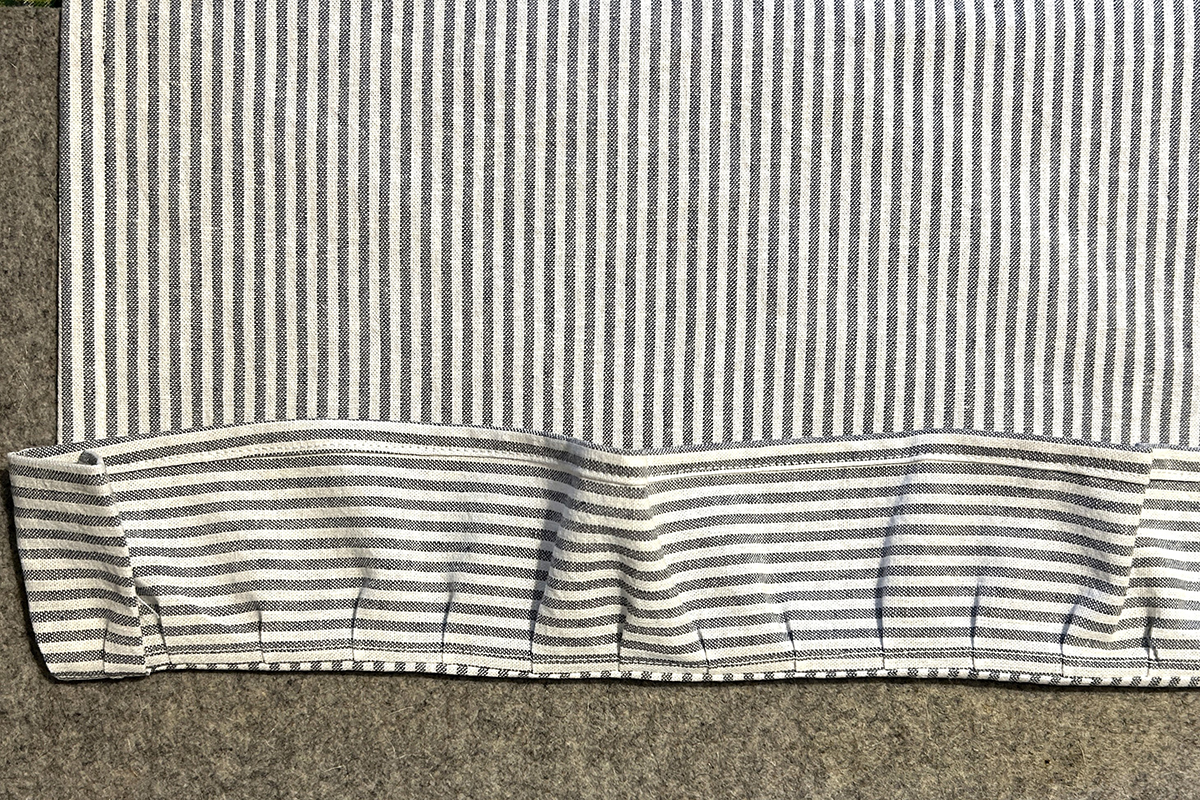
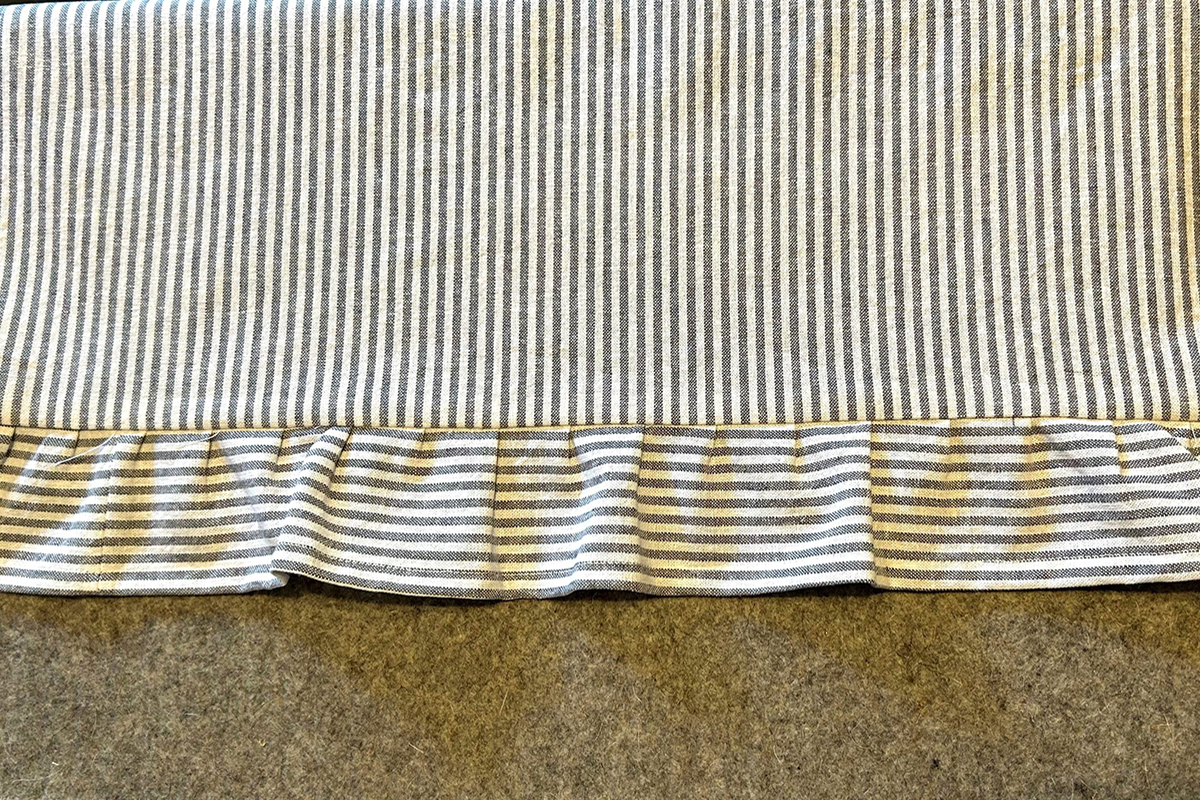
Here is the French seam from the front. It looks like a regular seam.
Finishing Touches
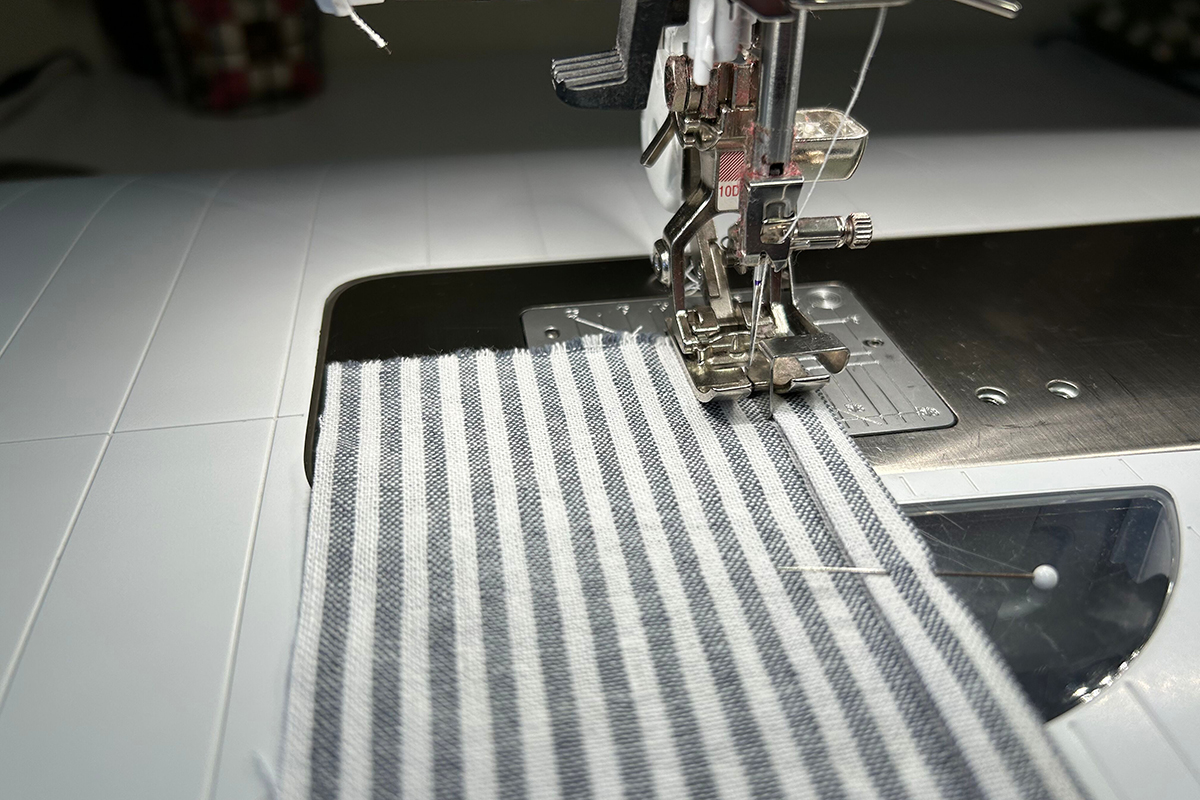
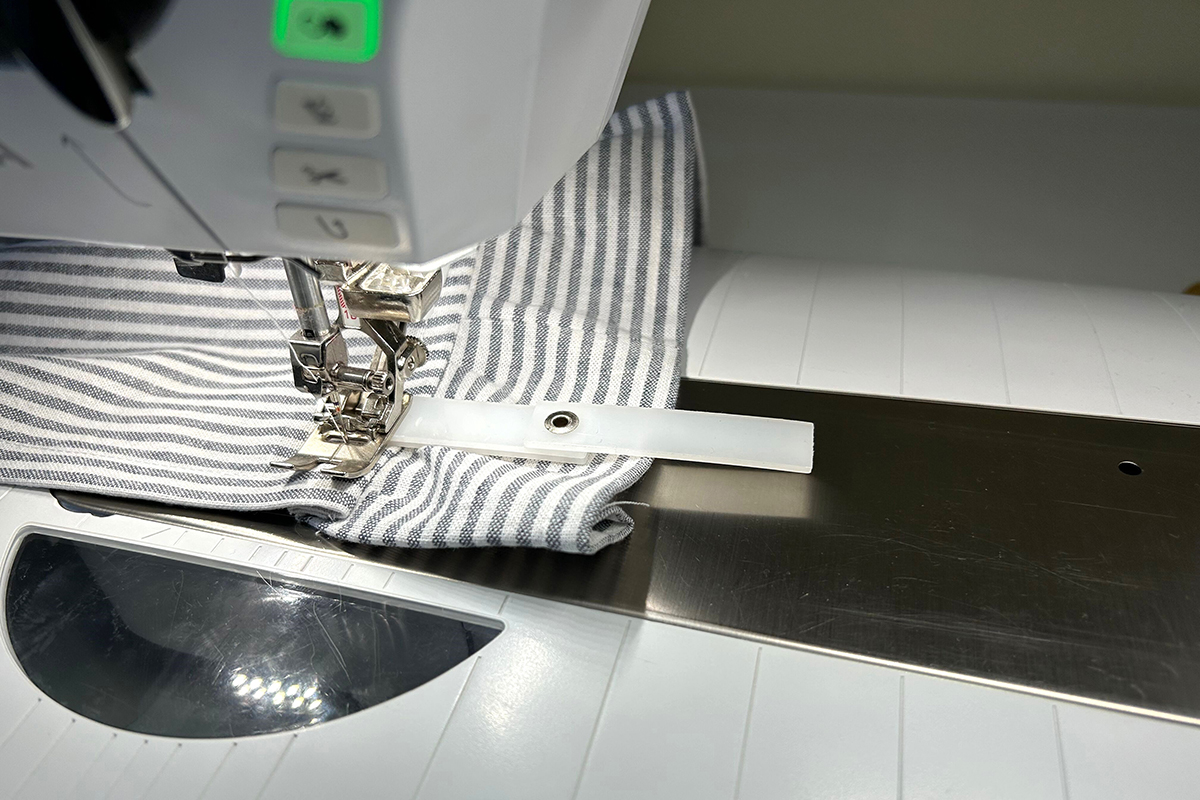
For a finished look, topstitch the front along the seam. I increased the Stitch Length to 3.5 mm because of the multiple fabric layers. Also, I prefer a longer stitch here.

I used the Height Compensation Tool at the beginning and end to get over the folded ruffle ends. This prevents skipped stitches – those super long stitches that look bad!
Option: If you have Walking Foot #50, this would be a great time to use it with the thick layers. The Walking Foot is my go-to for thick and/or multiple layers.
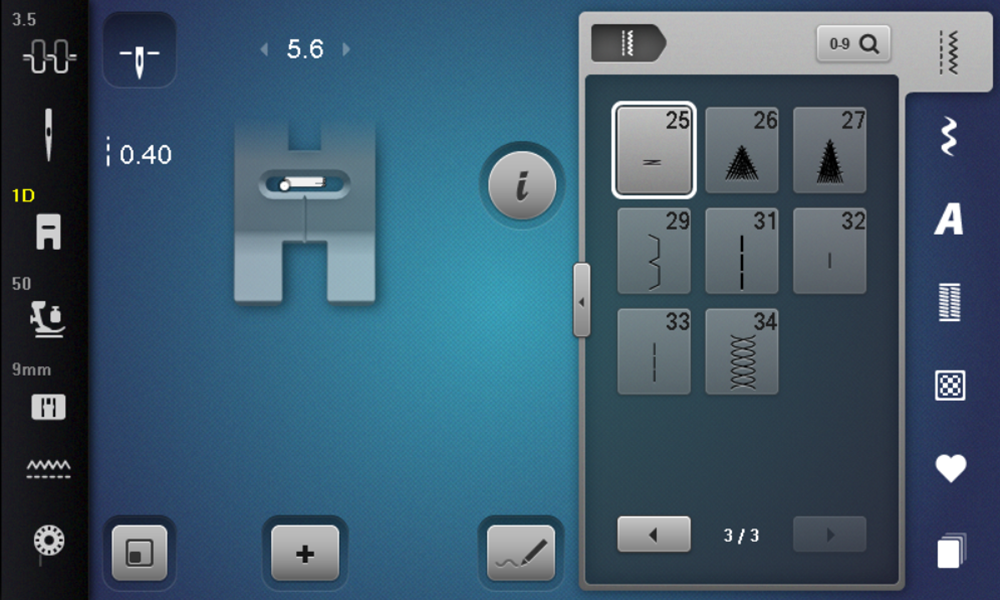
If you would like to secure the ruffle ends, Bartack Program #25 is a simple stitch that looks great for a modern farmhouse look.
Place the folded ruffle ends under Reverse Pattern Foot #1/1C/1D. I placed mine about 1” from the bottom of the ruffle.
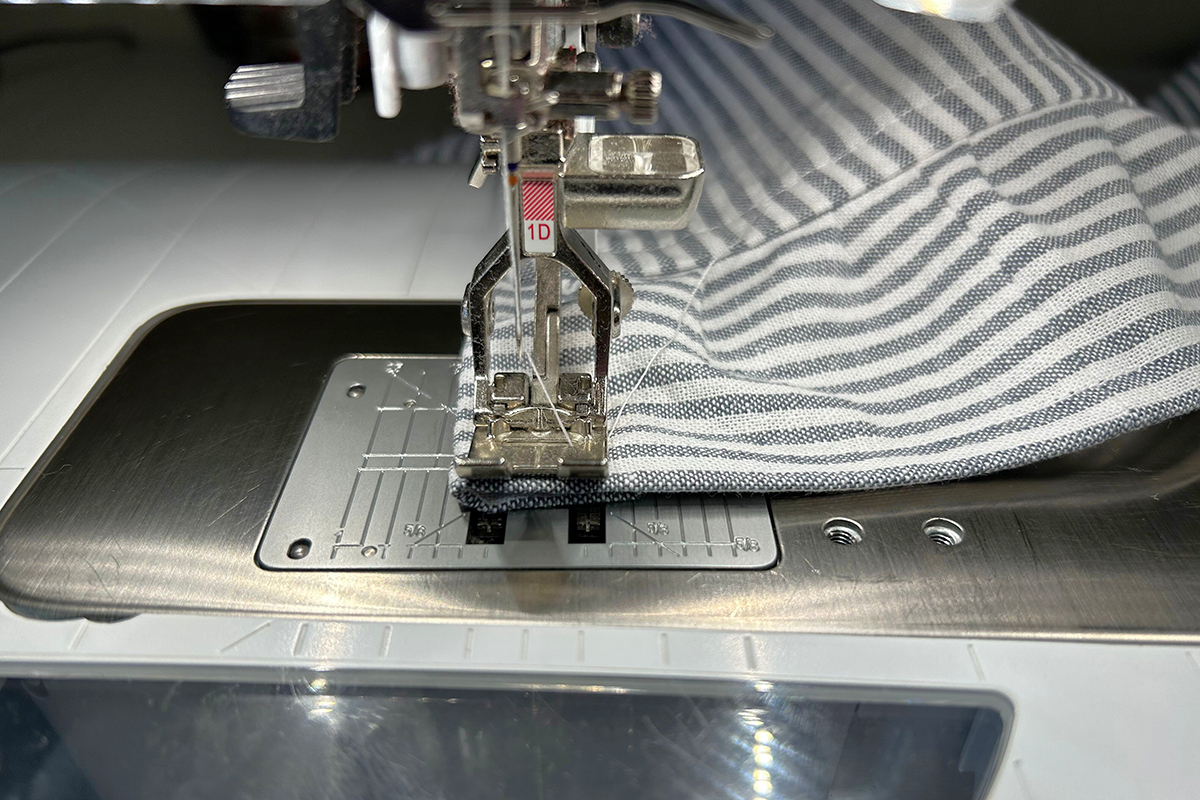
Here you can use the Start/Stop Button. The Bartack Program will stitch one bartack and a securing stitch at the end. So simple!
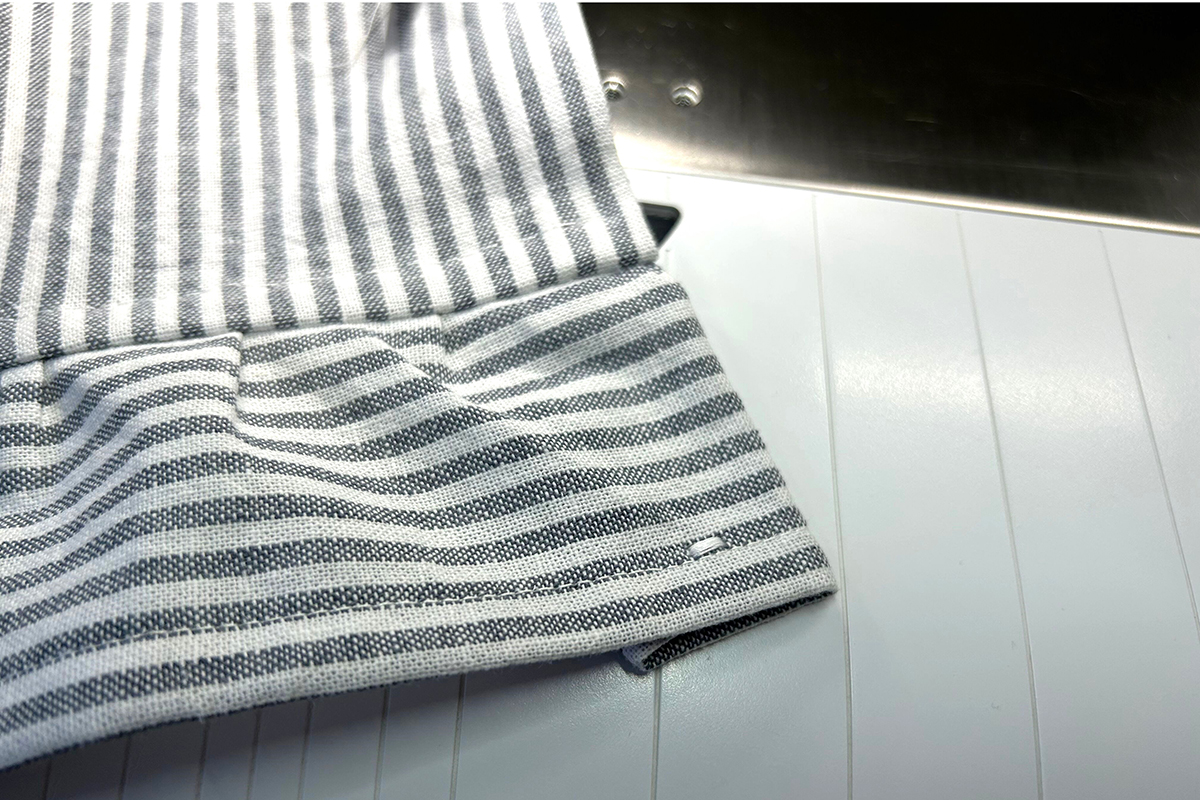
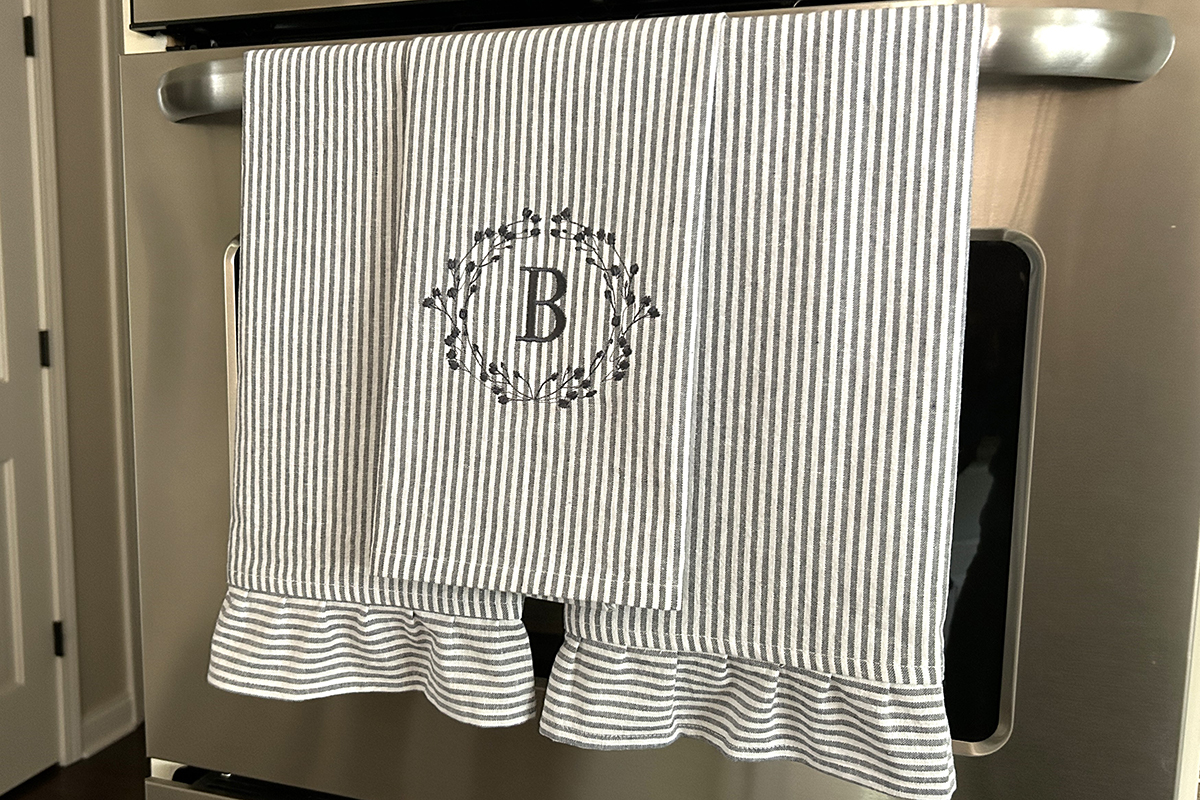
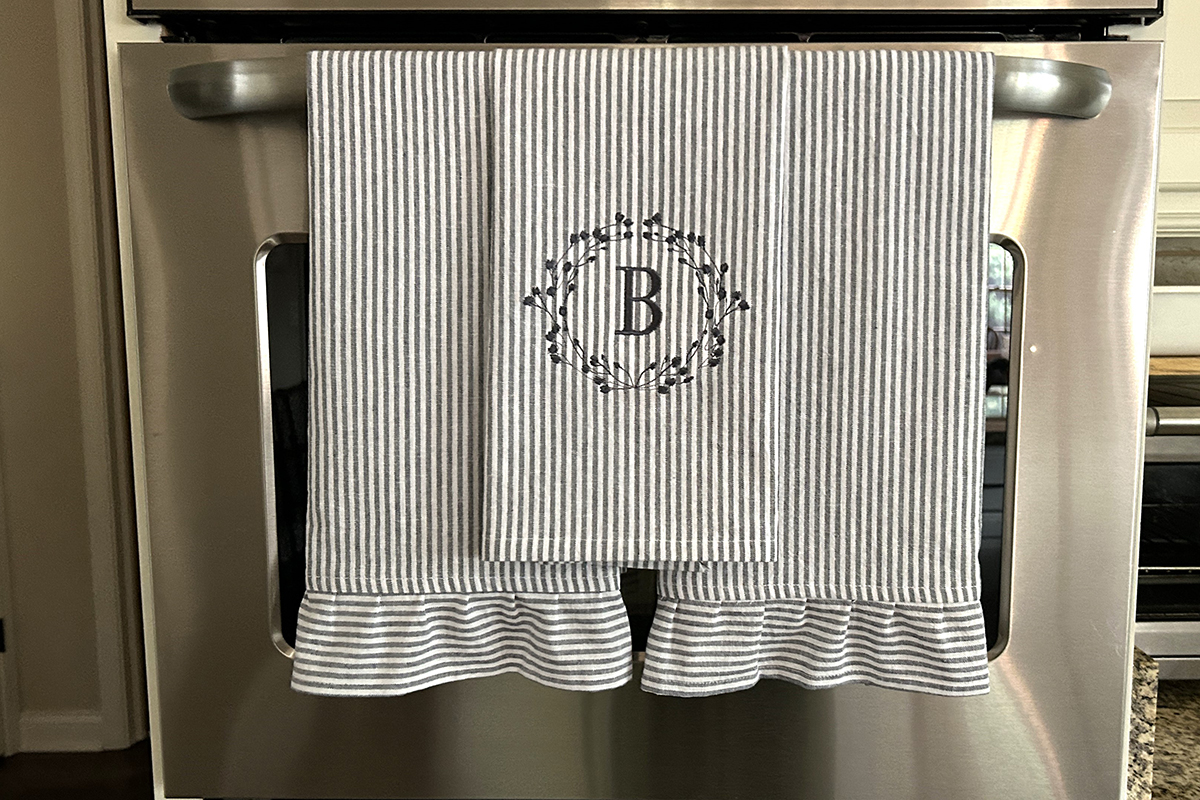
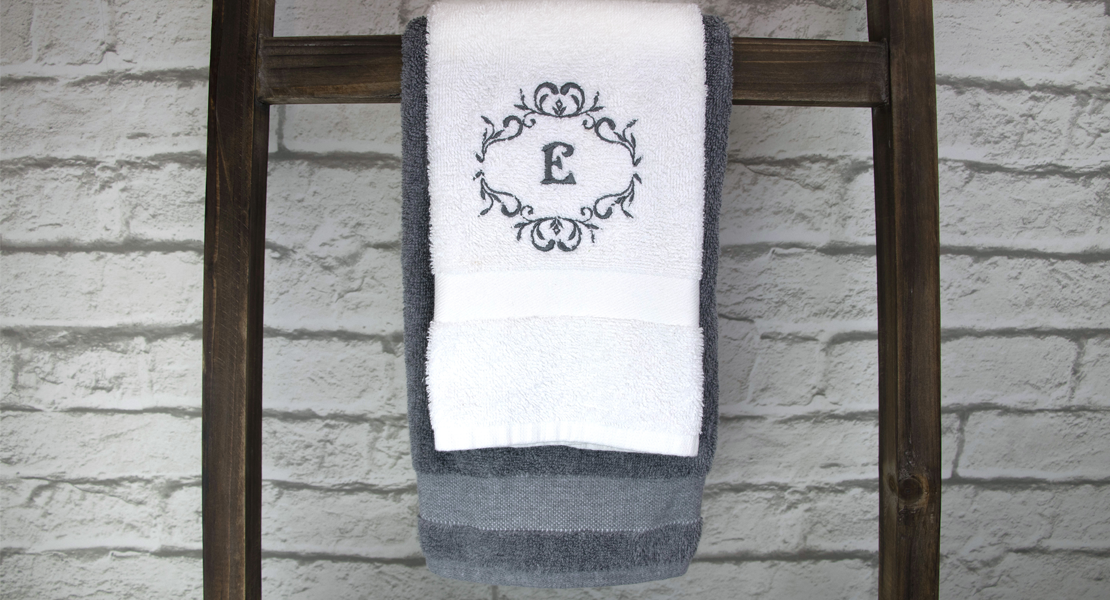
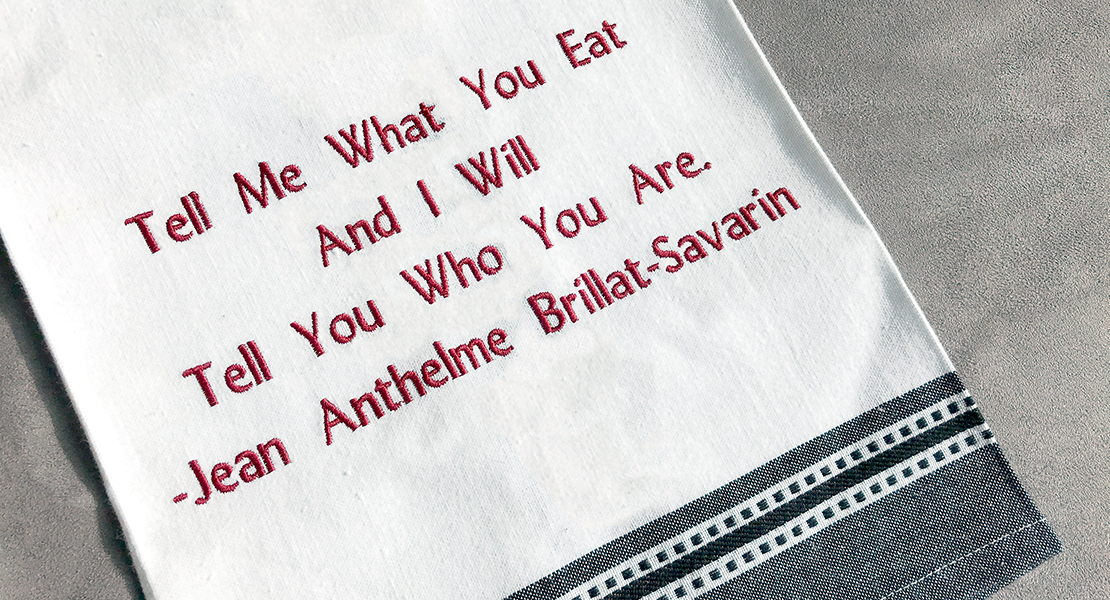
I am in love with these kitchen towels! And you can add a monogram using the embroidery side of your B 790 PLUS. What a special gift this would make for someone! Embroideryonline.com and BERNINA Software Embroidery 9.1 have limitless options from simple to elaborate designs. Time to make some gifts for a few birthdays coming up! I hope you enjoyed this tutorial and can’t wait to see your kitchen towels!
Used Products


What you might also like


3 comments on “Modern Farmhouse Kitchen Towels”
-
-
Thank you for this tutorial. I learned soo much about mitered corners, ruffles, and bar tacks. I have been struggling with the bar tack program for belt loops and your explanation was great. I bought a walking foot but have yet to learn how to use it. I would love to see a tutorial on that.
Leave a Reply
You must be logged in to post a comment.

love this pattern I wish I could download it