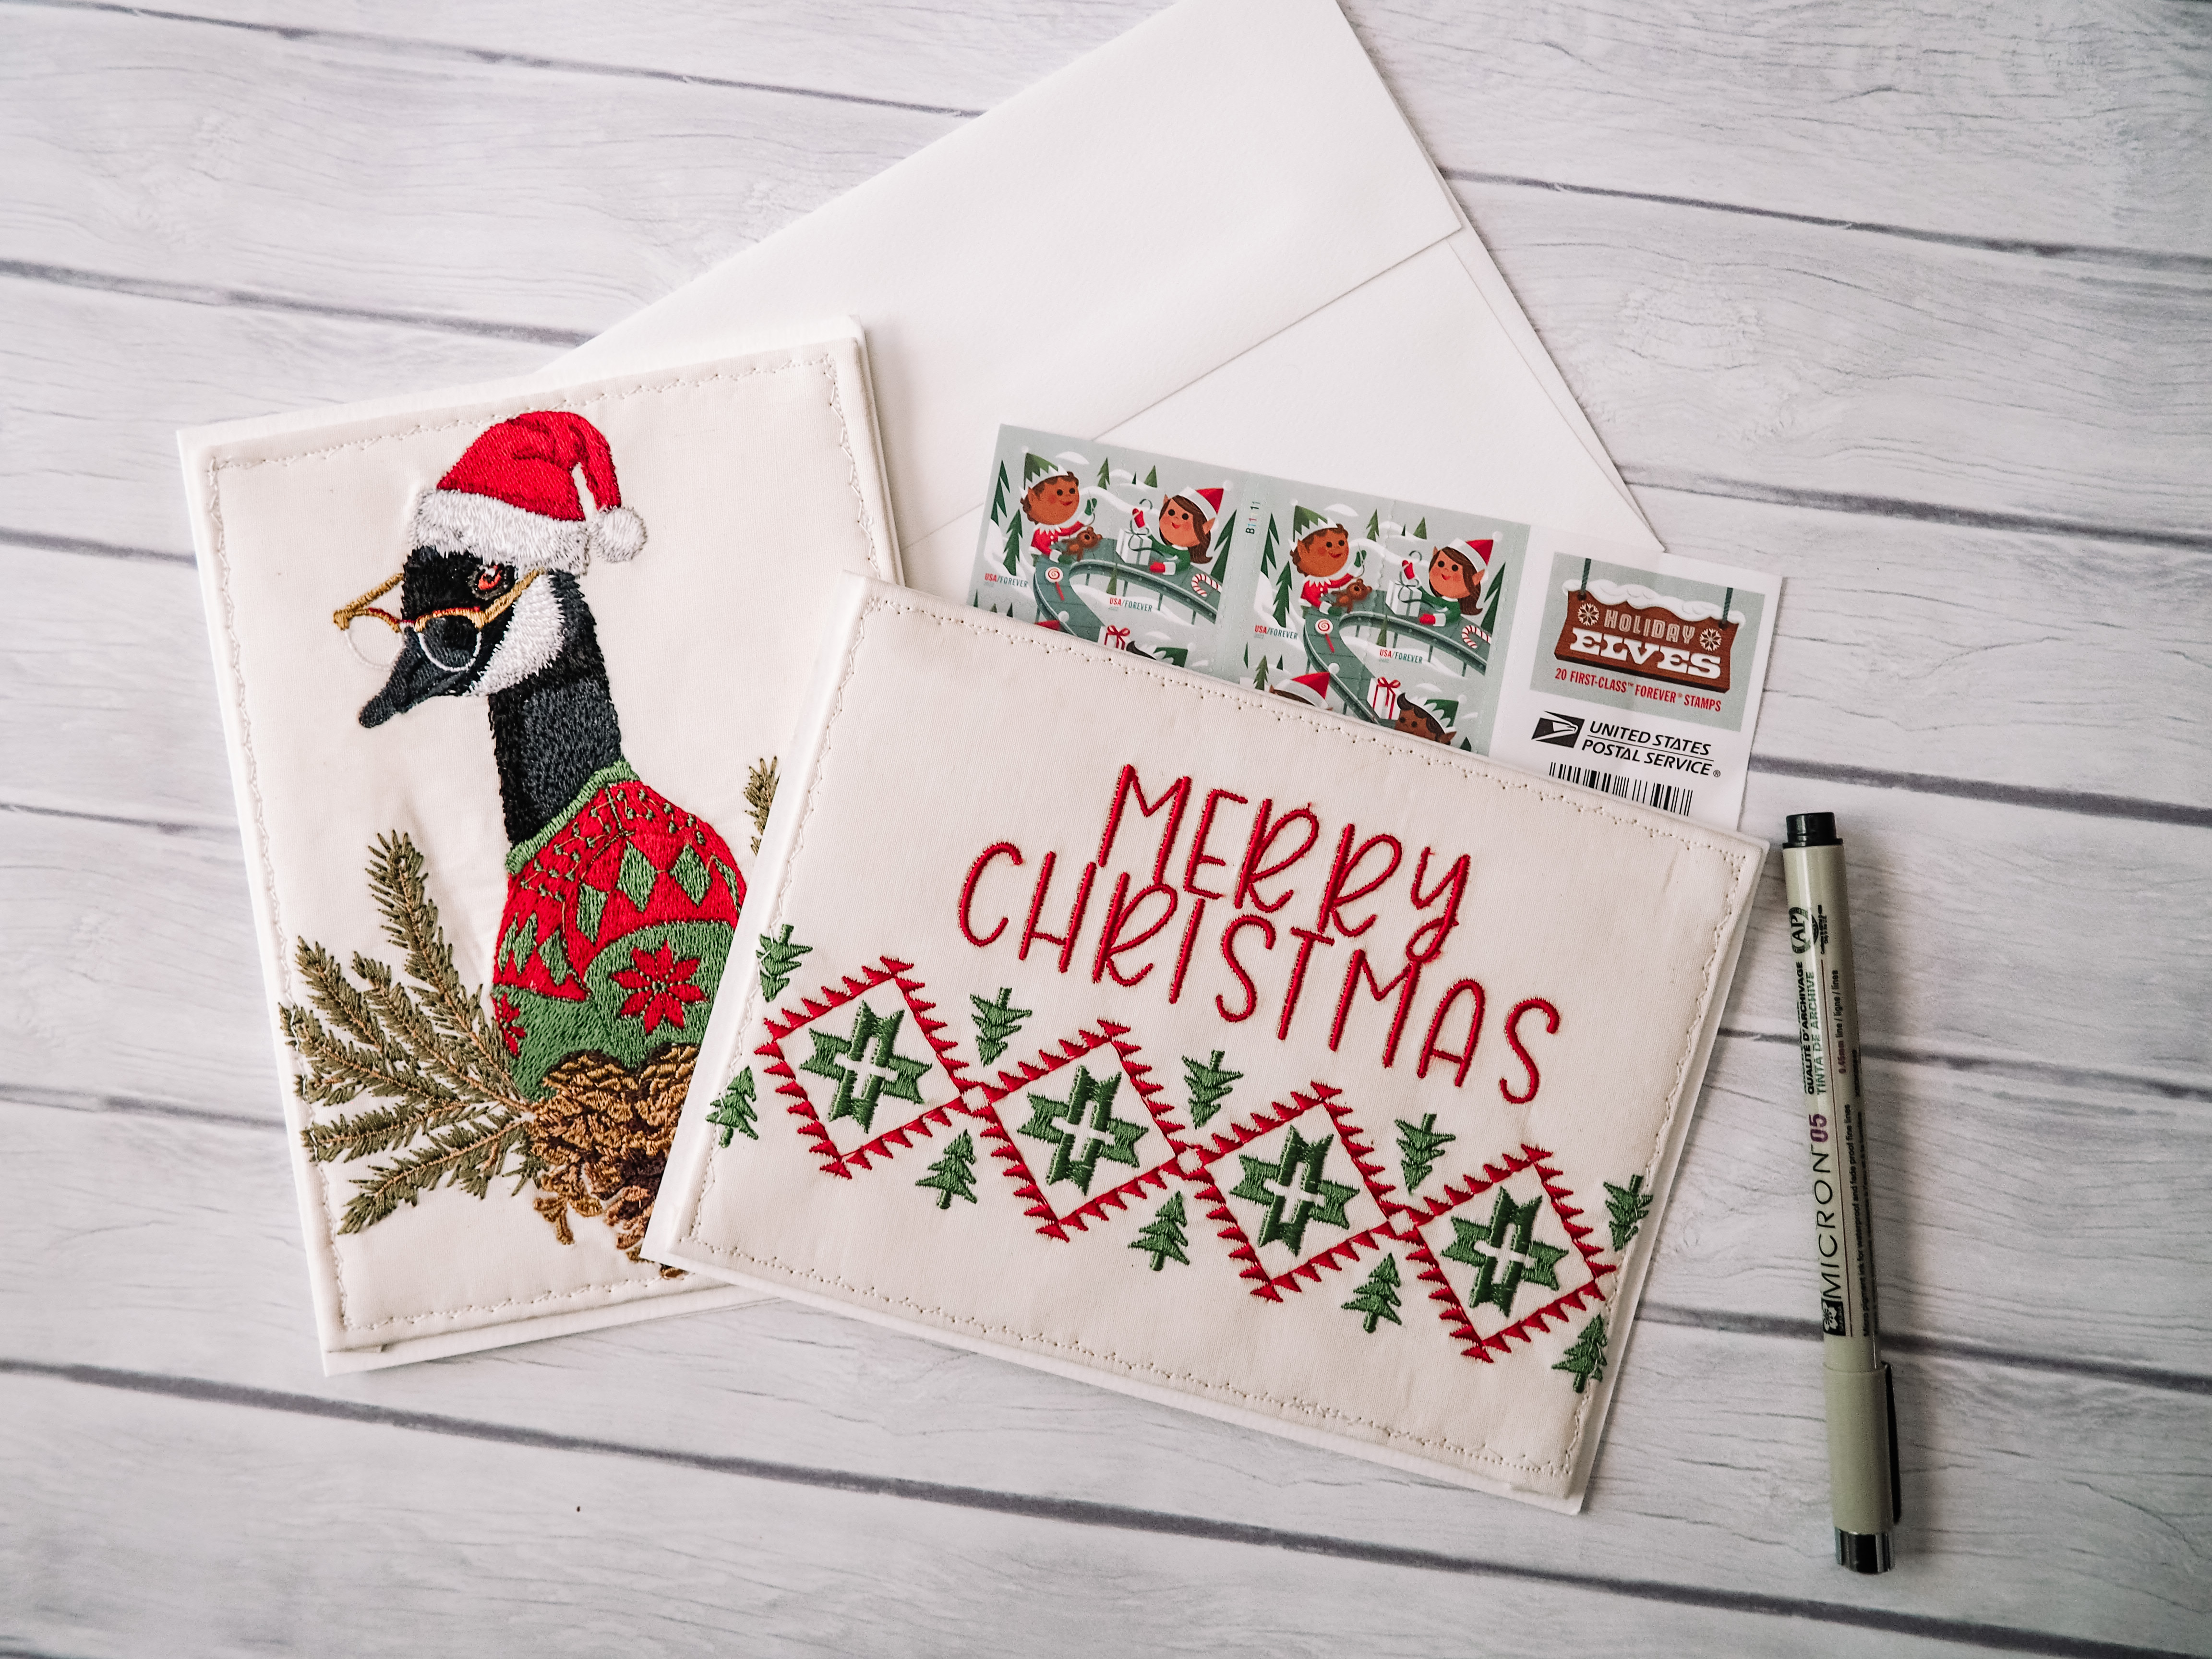
Embroidered Card Tutorial
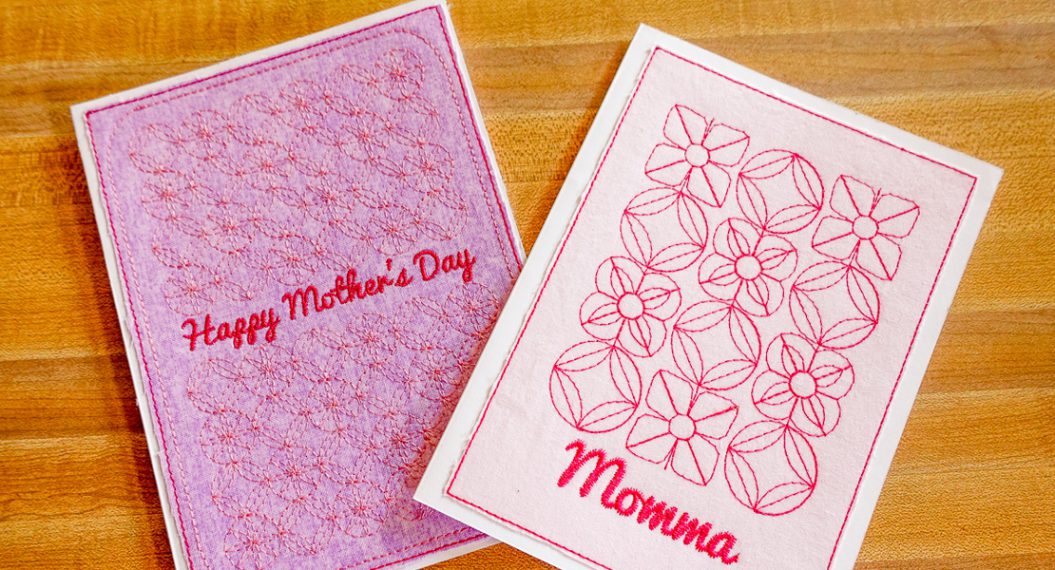
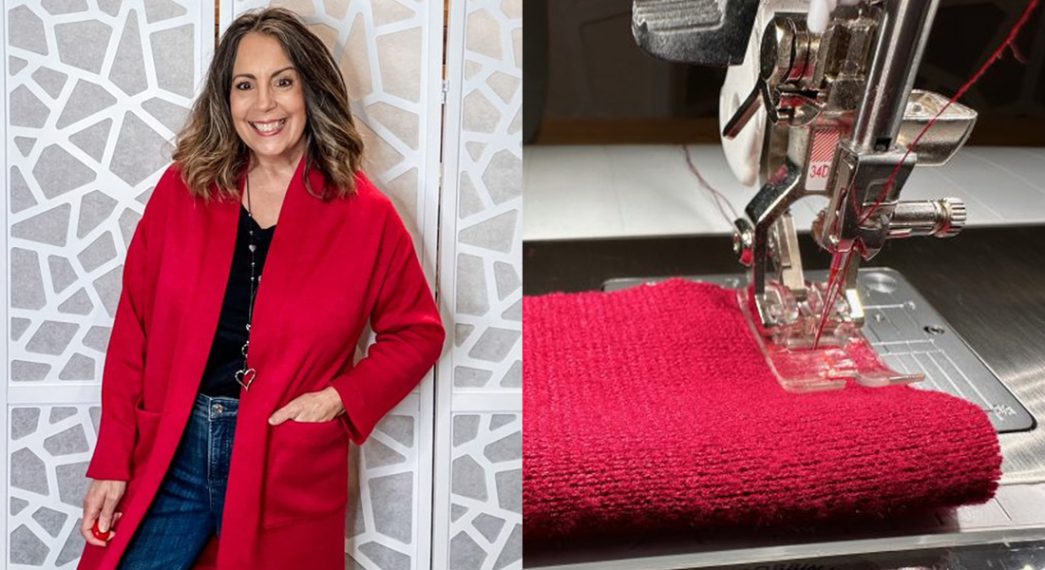
Hi friends! Candice from A+CO here! I’m super excited to share my tutorial for embroidered greeting cards with you today.
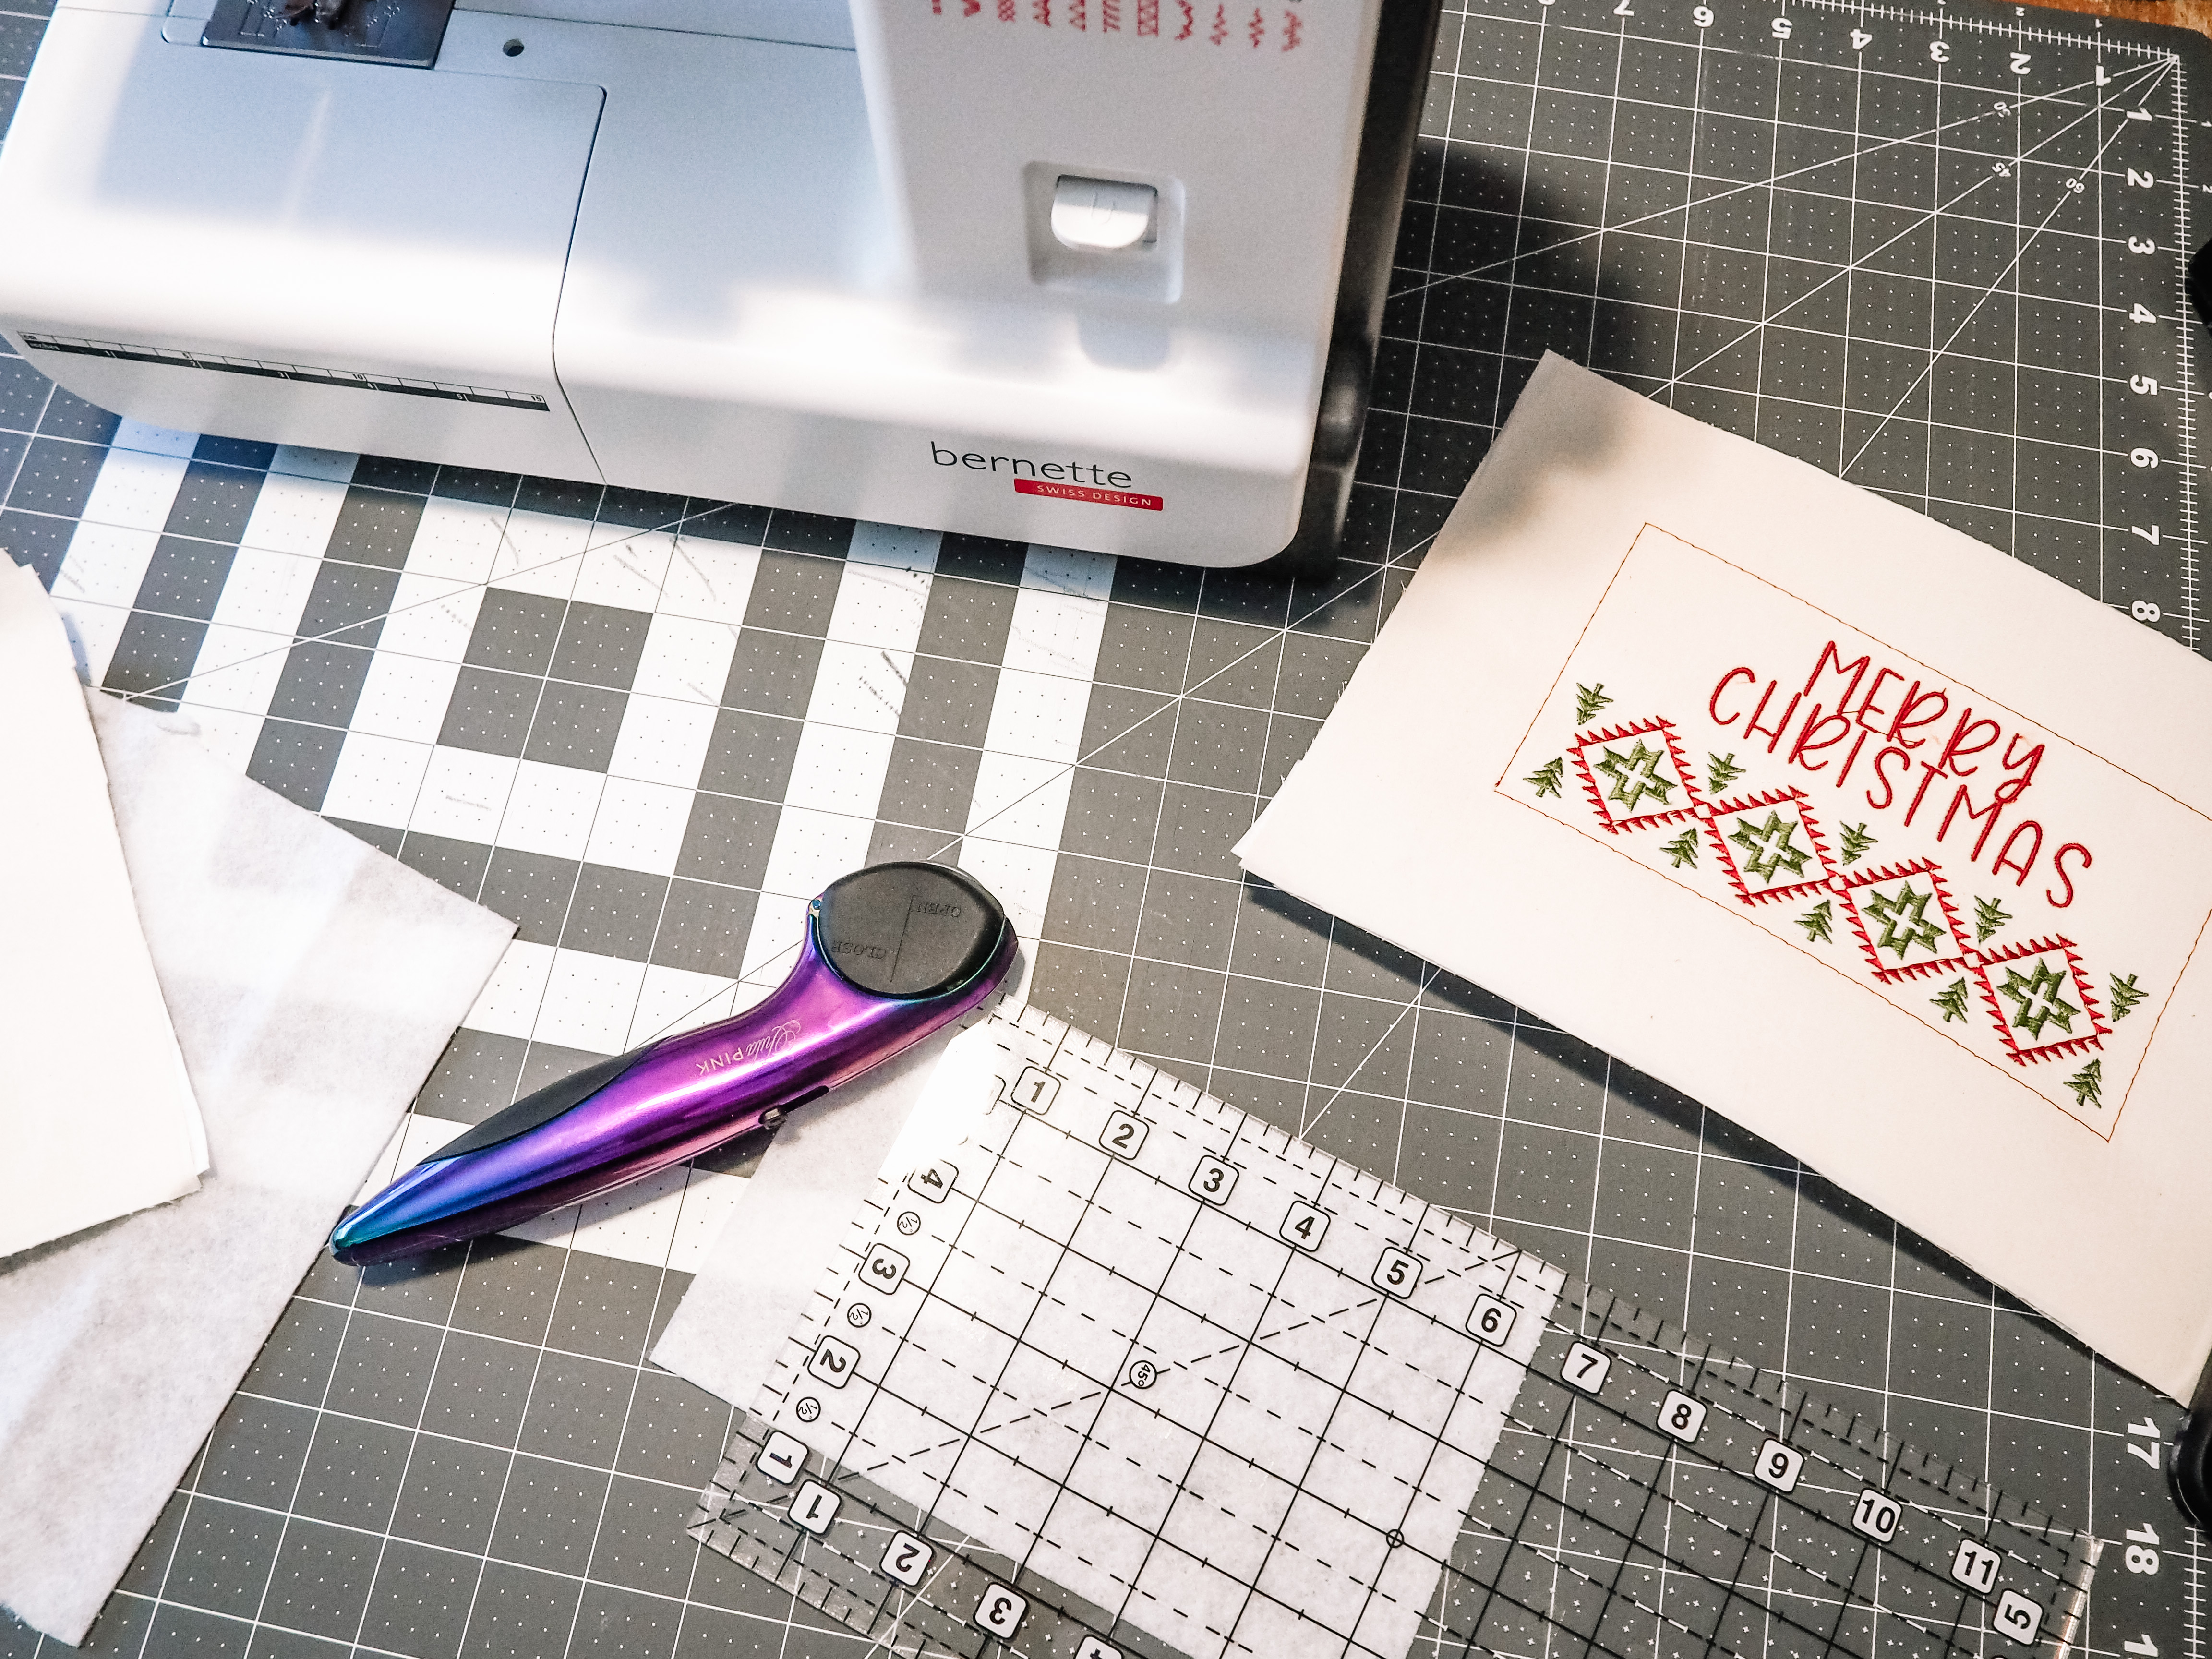
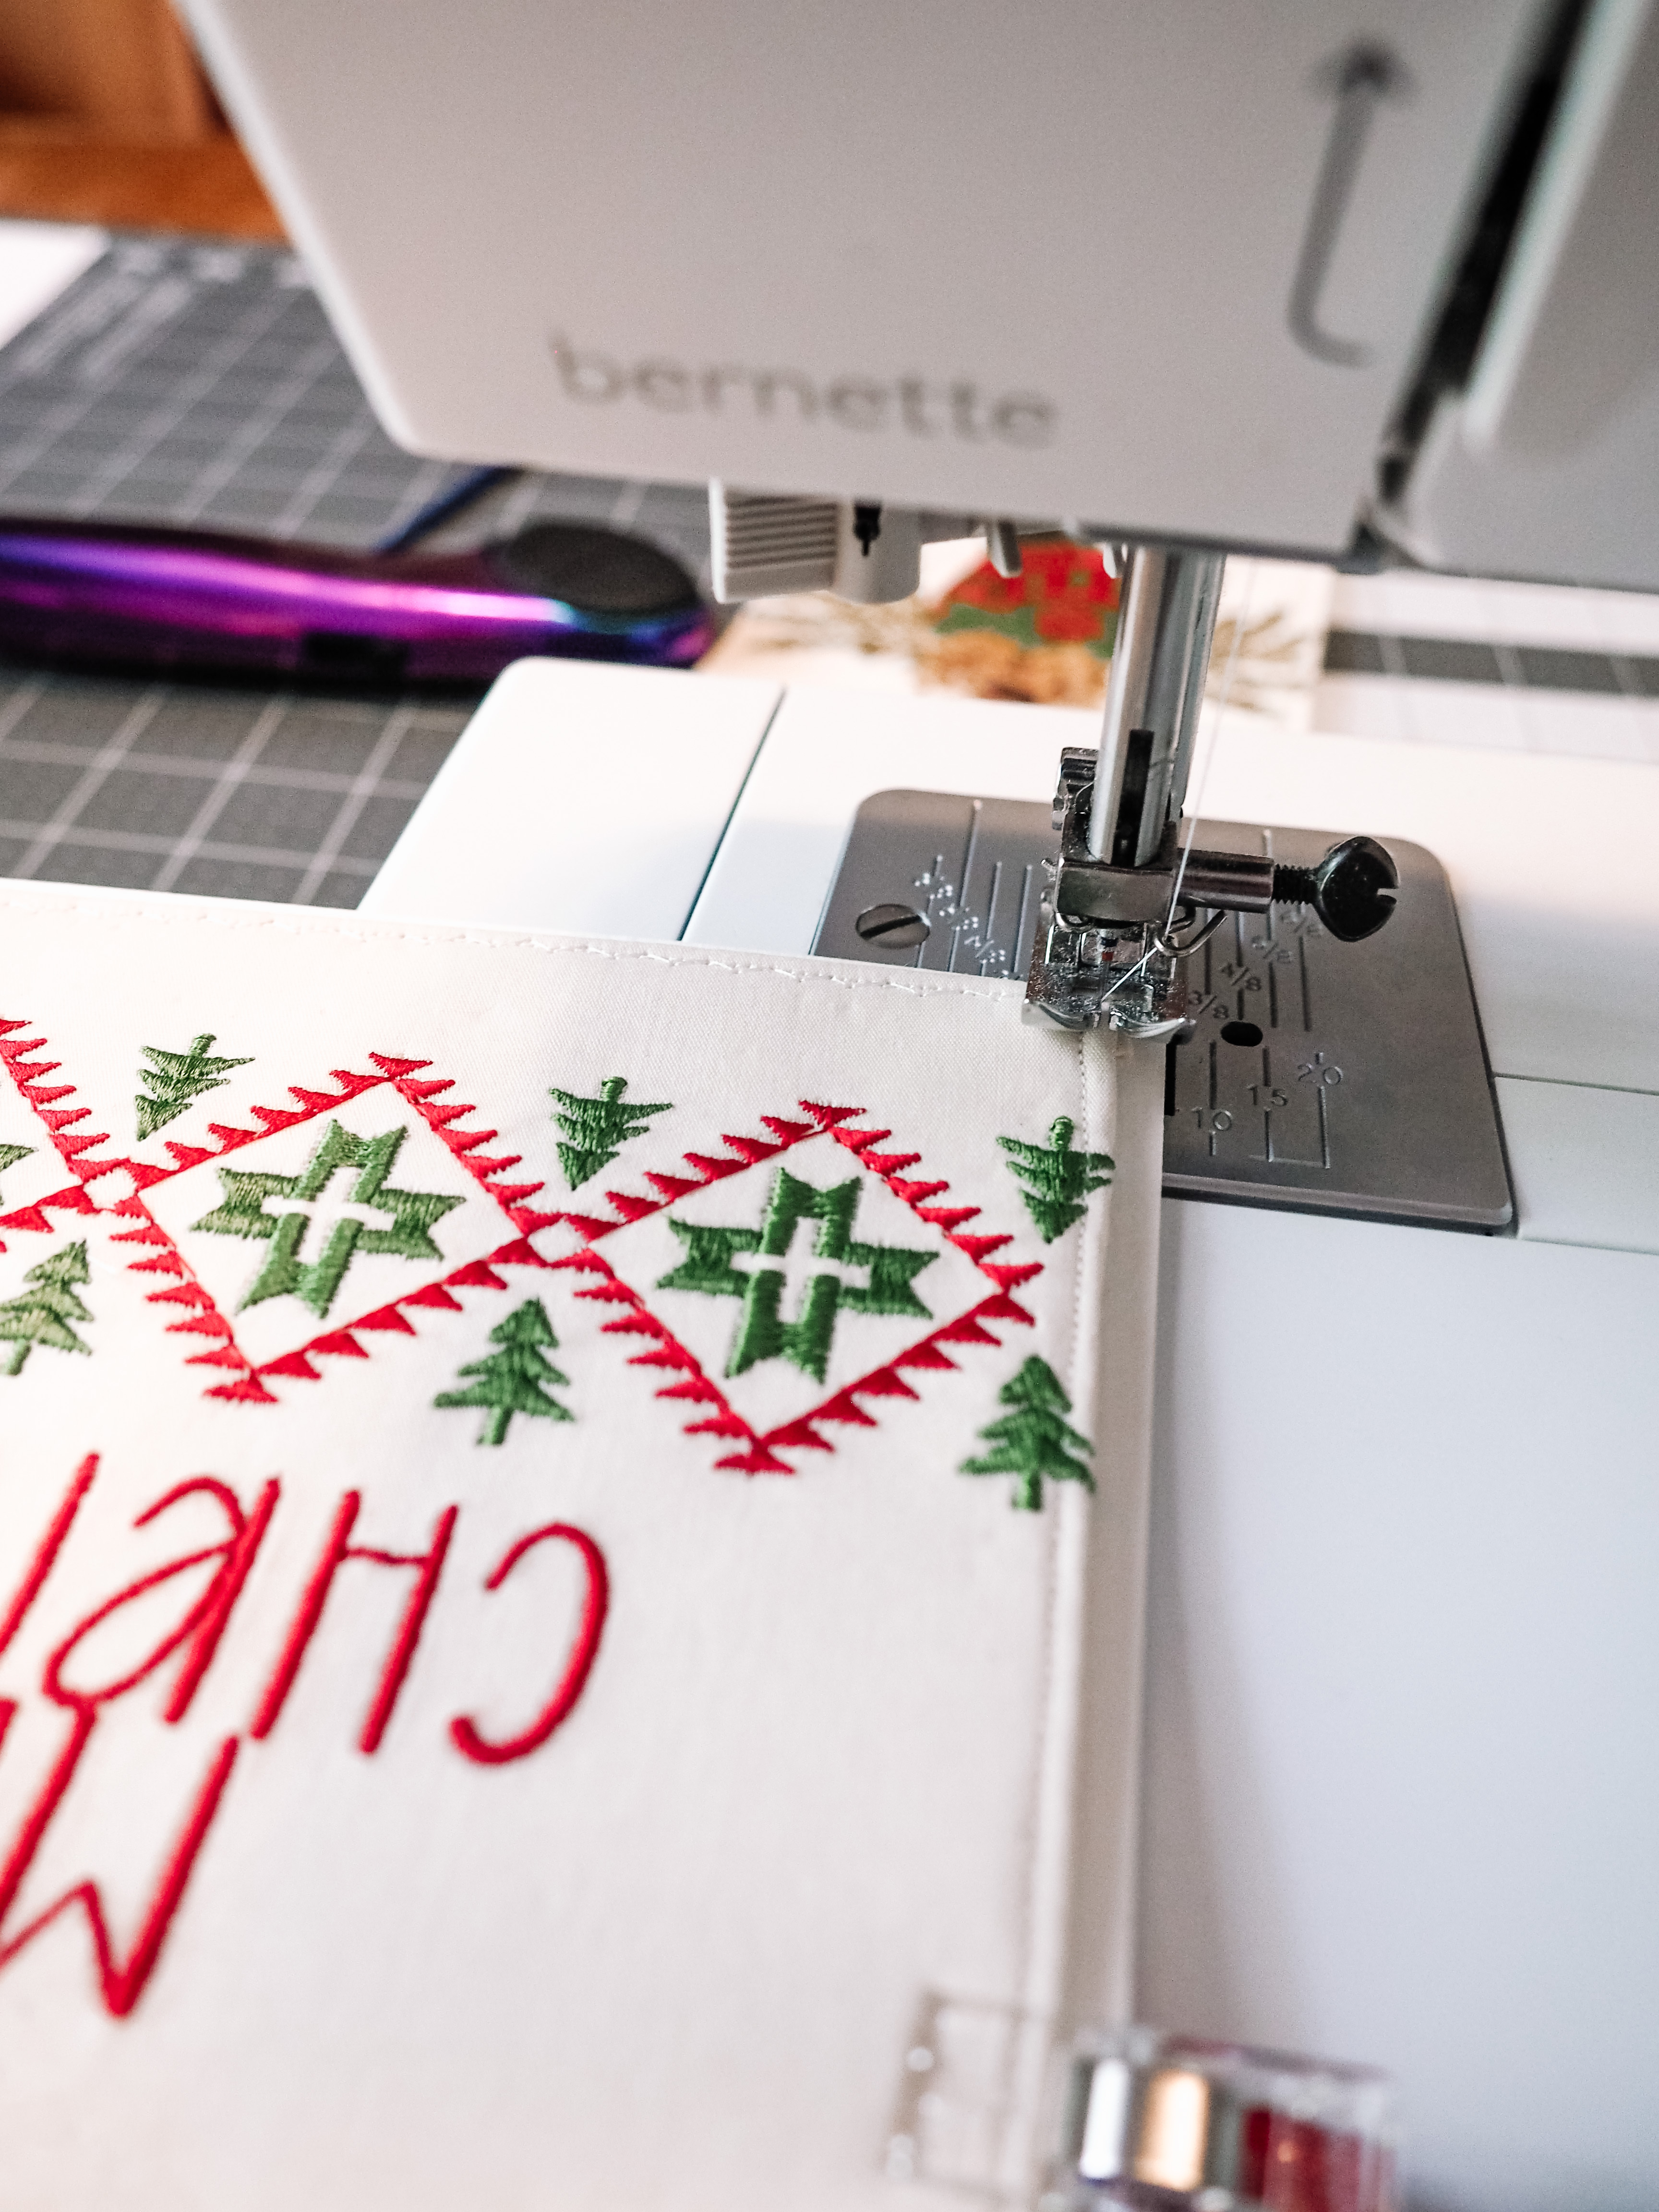
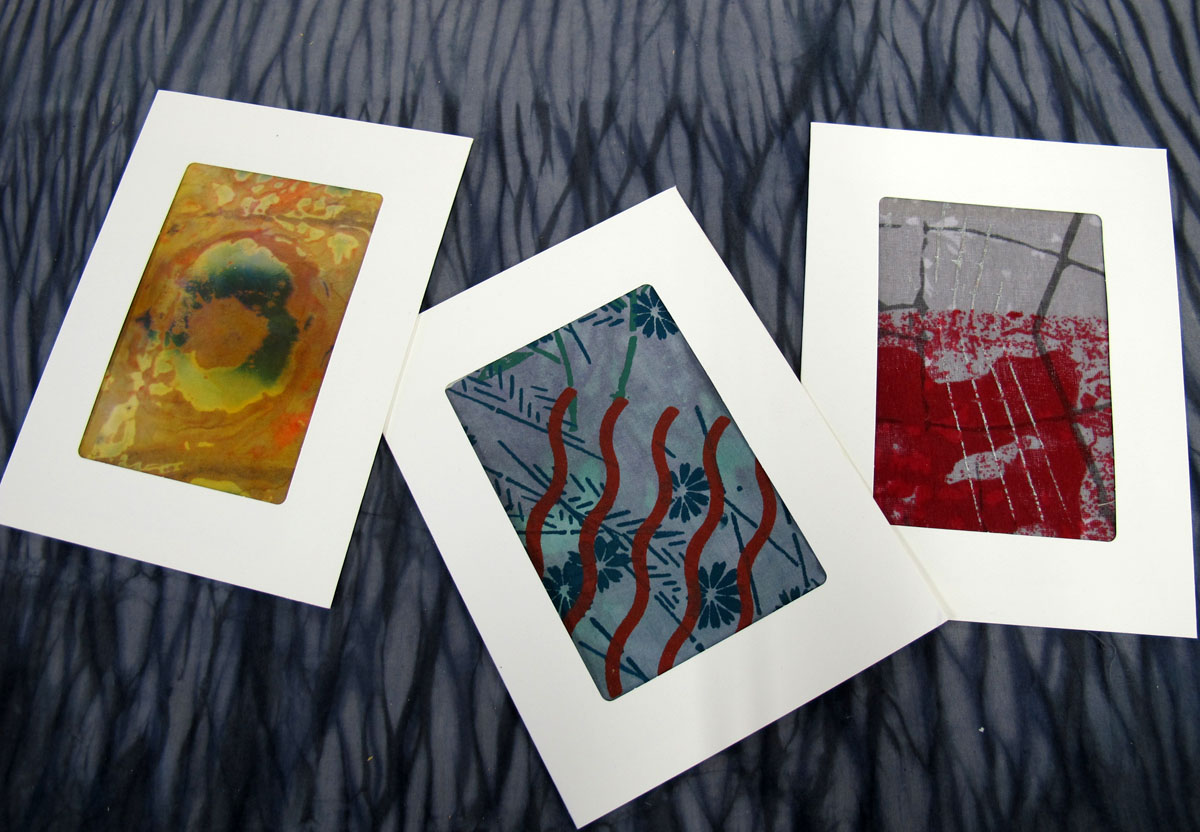
Last fall I started playing around with making quilted cards and finding a method that I loved. Once I got my bernette 79, I realized that using machine embroidery would take these cards to the next level and open so many possibilities. The tough thing about embroidering directly onto cards is that you are limited in the design you use since something too dense makes your card fall apart. My quilted card tutorial is the perfect way around this and allows you to make a truly customized card that doubles as cute décor.
Materials
For this project, we will be following my Quilted Card Tutorial. You’ll need the following supplies:
- Cards (I find that watercolor cards work the best thanks to their thickness and a really great texture)
- Fusible Fleece or scrap batting
- Glue for basting (Elmer’s washable school glue sticks are my favorite)
- Fabric that is at least 3/4″ larger than your card size
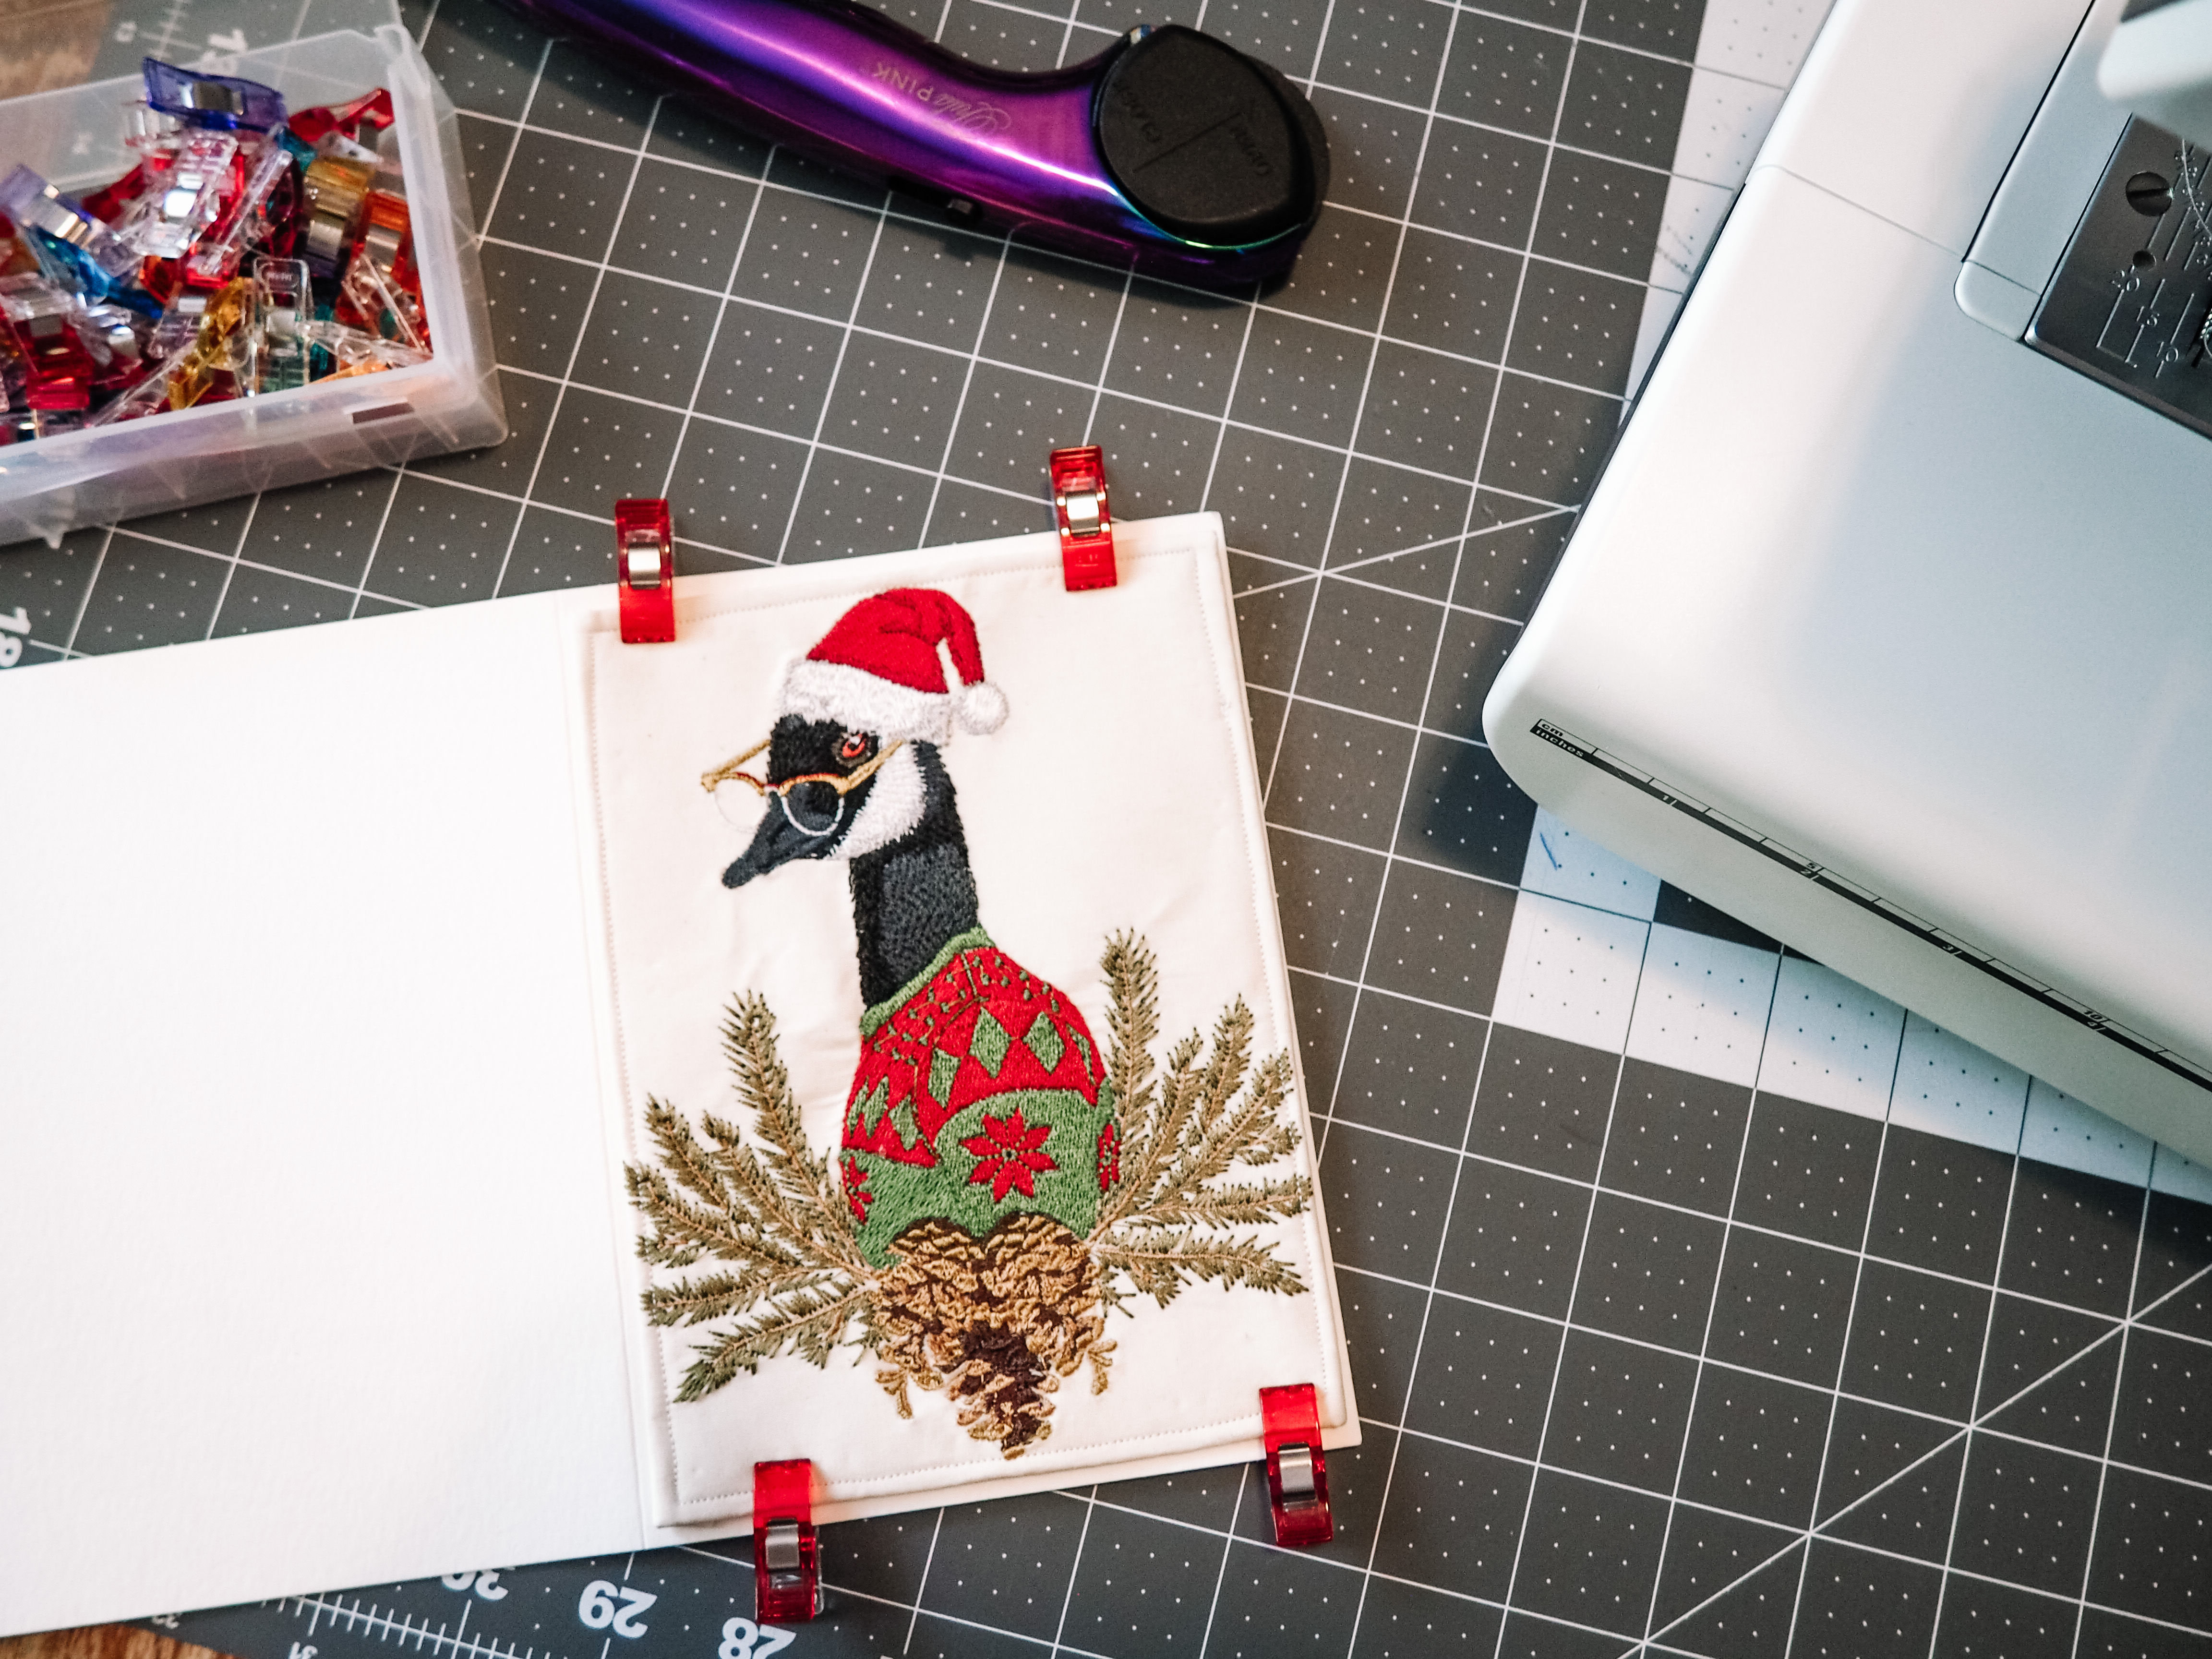
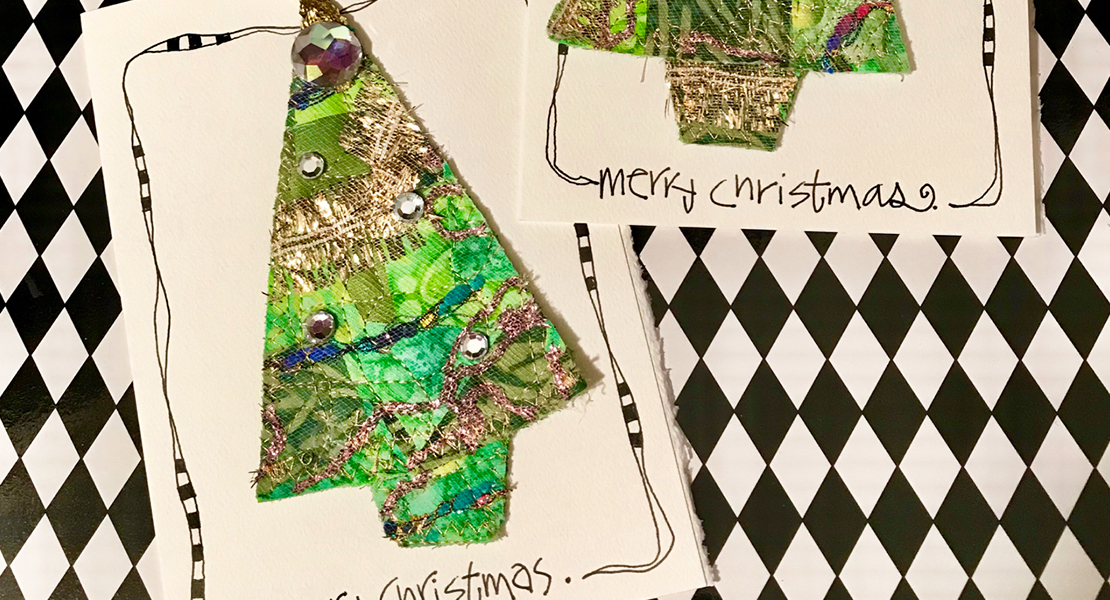
- Embroidery design (I used designs from the Holiday Homies collection available through OESD)
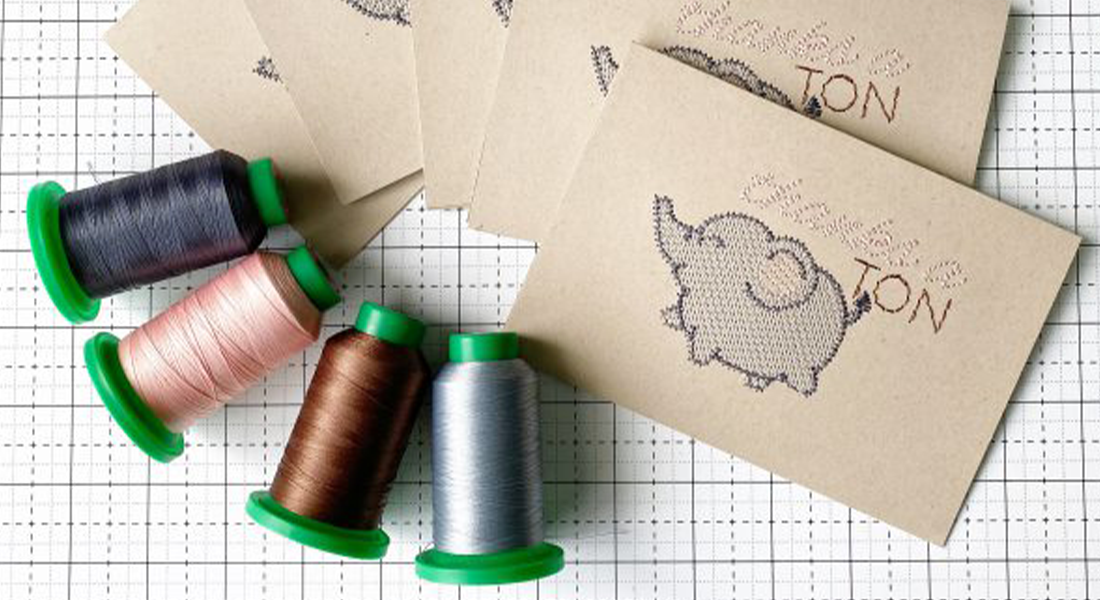
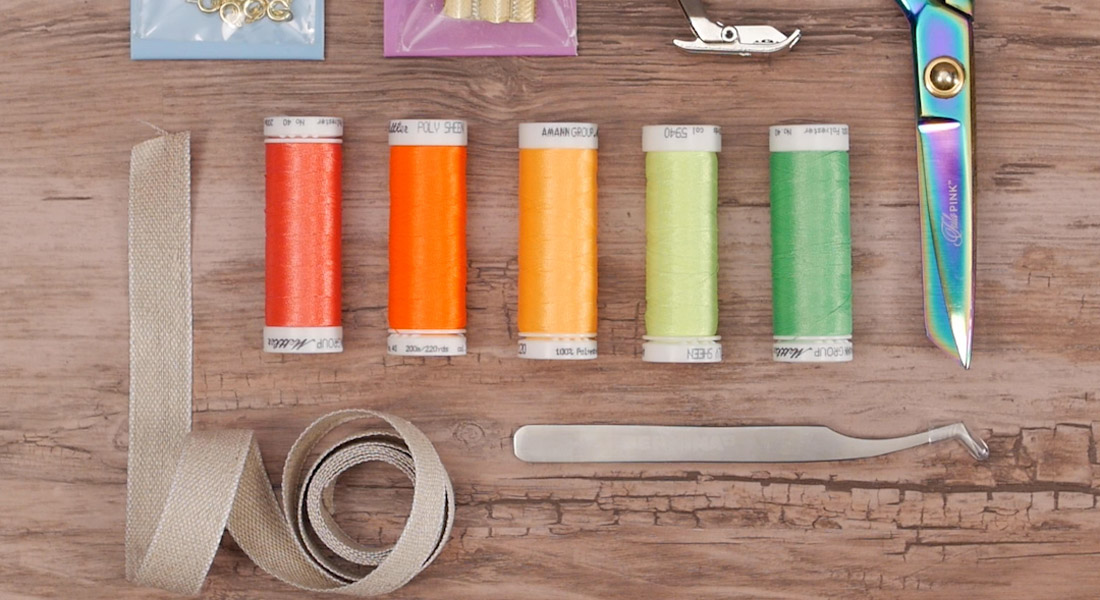
- Embroidery supplies (stabilizer, hoop, thread)
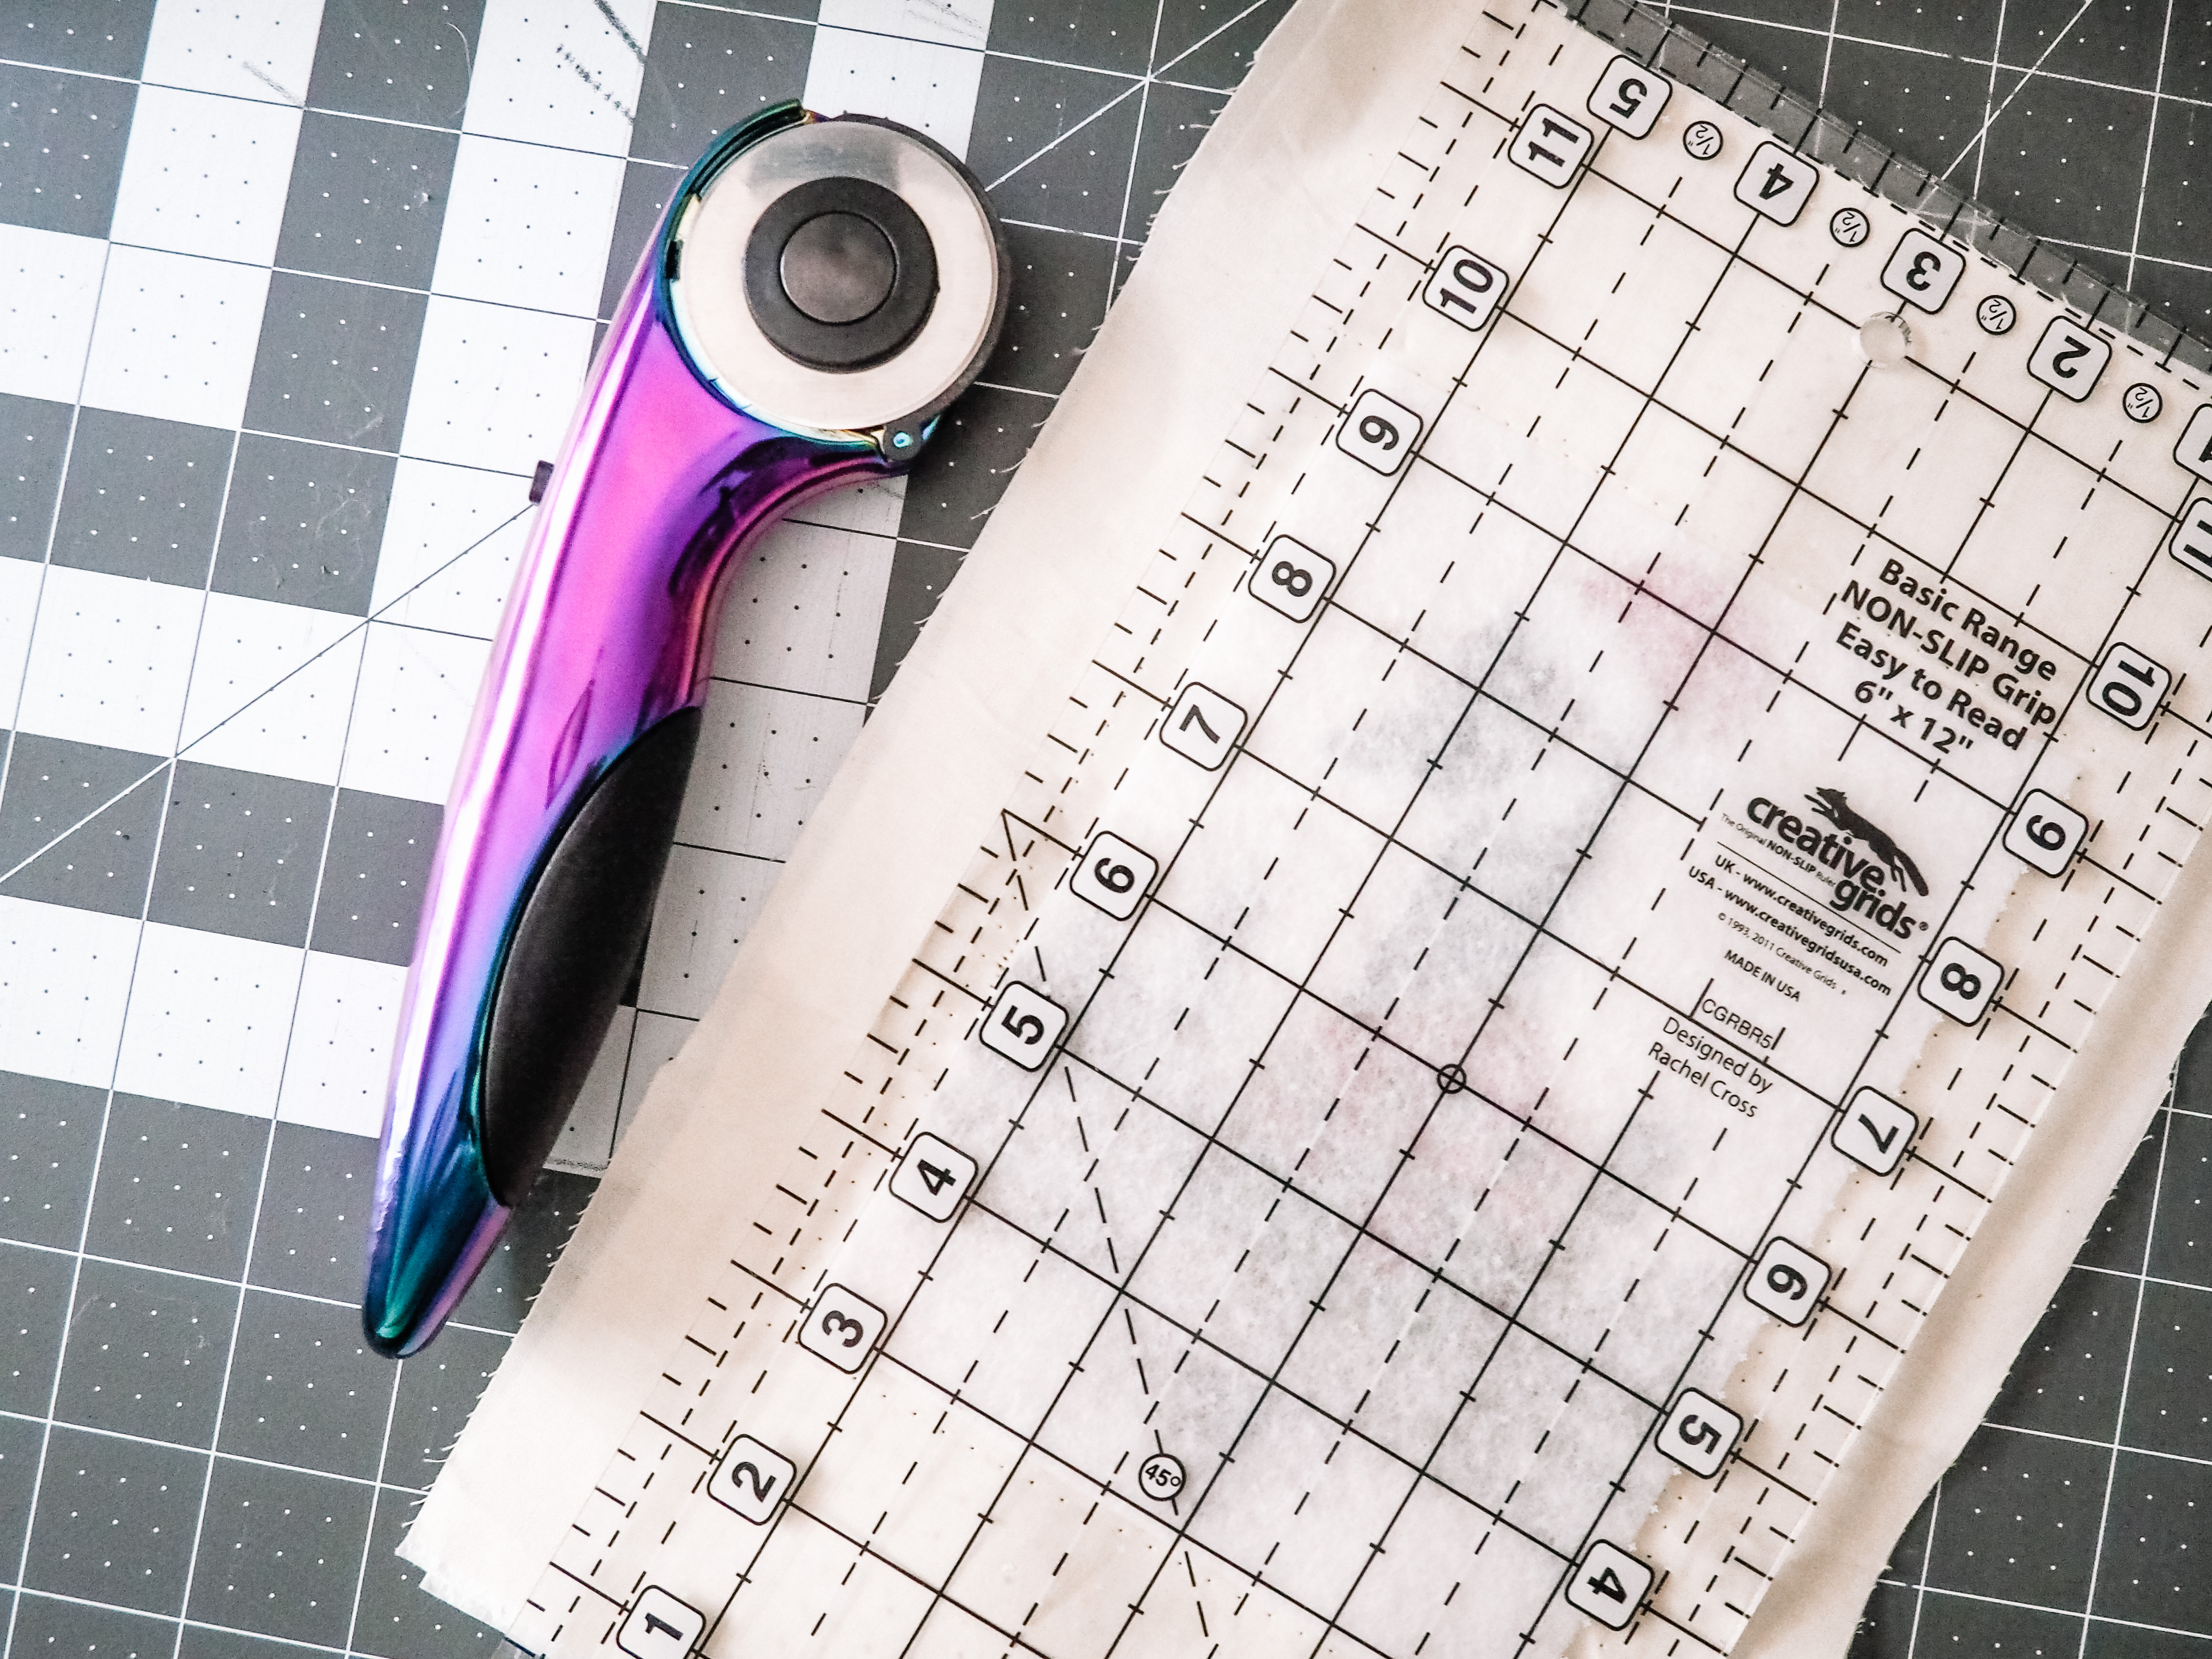
- Sewing notions (ruler, rotary cutter, scissors, clips, etc.)
Plan and Prep
The very first thing you’ll need to do is determine your size. Measure your card, mine is 5″ x 6.87″. Cut your interfacing to fit, leaving about 1/8″ on all four sides. For my card size, I cut my interfacing to 4.75″ x 6.5″. This will be the finished size of your embroidered card. Note: This is also a great way to use scrap batting pieces. If using batting, you’ll have one extra step later on in the process to adhere it to the fabric. Set the interfacing aside for now.
Prep for the embroidery step by loading your designs onto your machine. You will want to ensure that your design fits within the measurements of the interfacing you cut earlier.
Instructions for Making Embroidered Cards
Step 1: Preparing Your Fabric
From your fabric, cut a 8″ x 10″ piece (be mindful of directional prints). Adhere stabilizer following the manufacturer’s instructions. If you are using a denser design, consider using additional stabilizer.
Step 2: Embroidery
Prepare your fabric and hoop using your preferred method. I use the float technique:
- Cut Stabilstick stabilizer to size for your hoop
- Insert in the hoop, paper side up
- Using sharp snips, scissors, or a pin, score the stabilizer around the inner ring of the hoop, careful to only cut through the paper top
- Peel away the paper topping, exposing the adhesive side of the stabilizer
- Center your prepped fabric and press to adhere to the hooped stabilizer
When loading the embroidery design, be sure to consider the orientation. Use the rotate function if needed to ensure the design is oriented properly for the shape of your card.
Embroider your design.
Step 3: Cut and Assemble
Once you have your design stitched out, trim the fabric to be 1/2″ larger than your interfacing, centering your design.
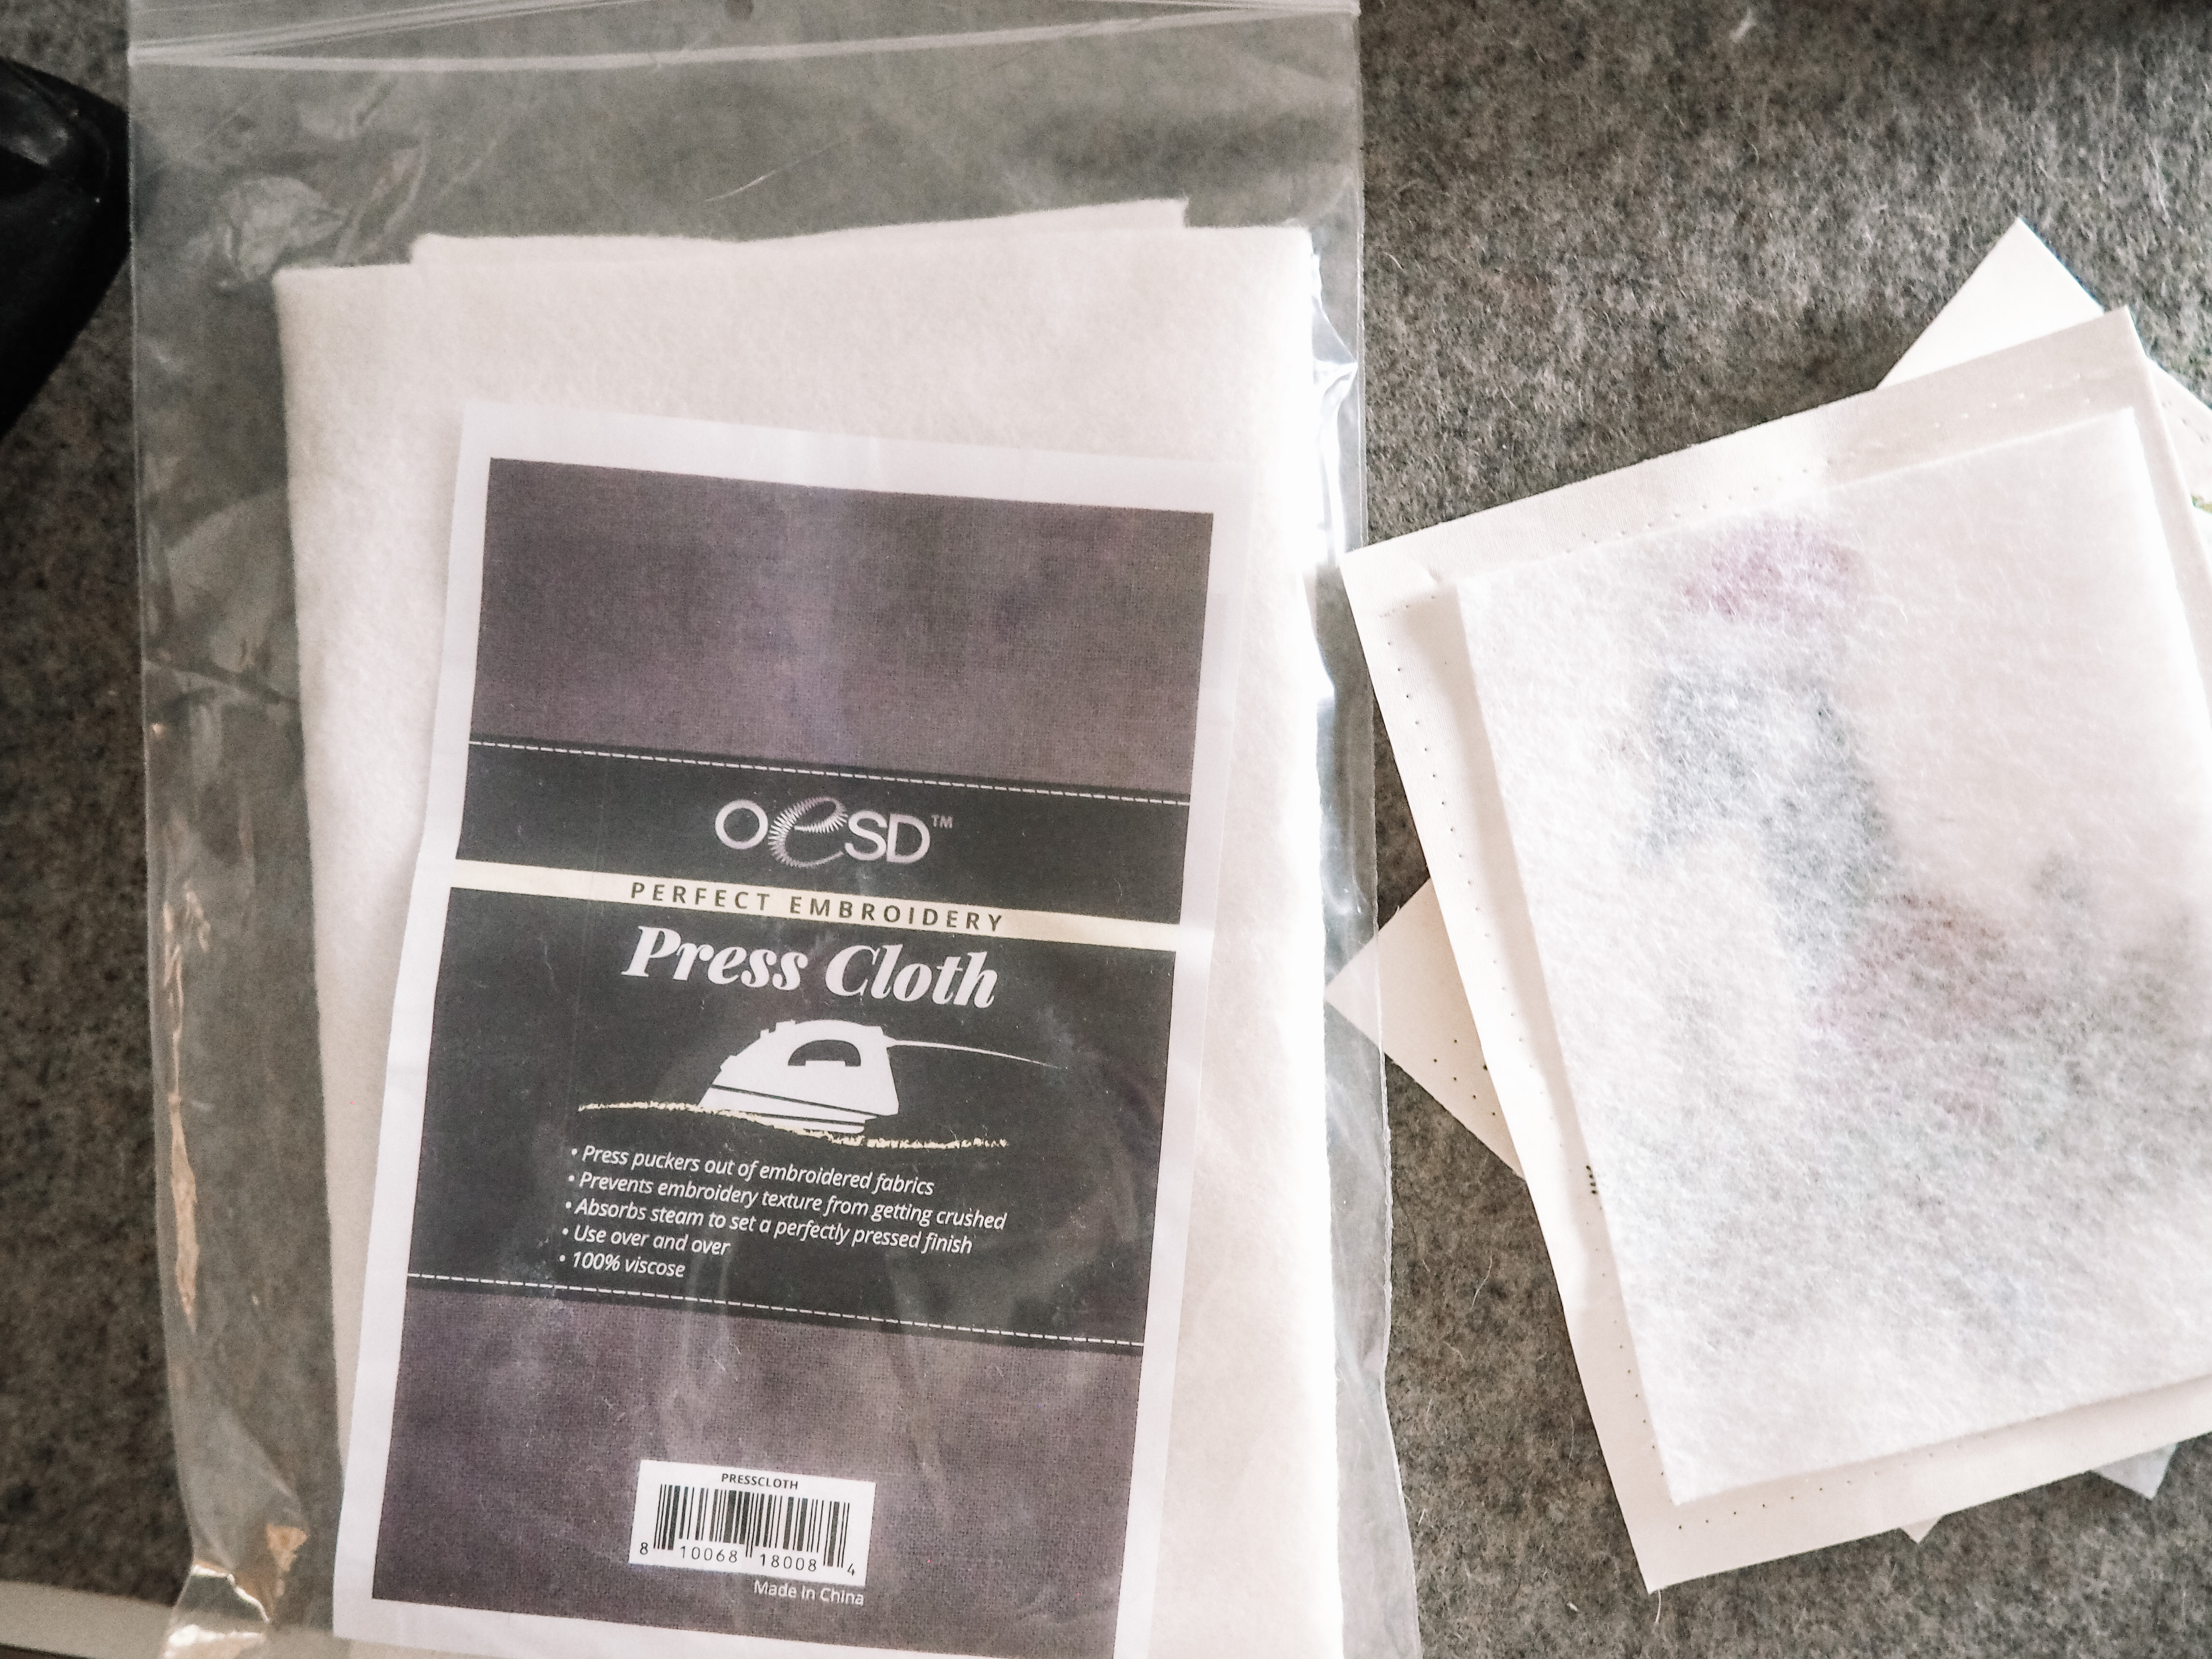
Center the fusible fleece onto the back of the embroidered fabric with the adhesive side facing the fabric. Press to adhere. If using batting instead of fusible fleece, adhere with spray or other adhesive. This is also a great time to add quilting or other decorative stitching if desired. Consider using the OESD Perfect Embroidery Press Cloth to keep your embroidered design from getting crushed.

Turn your fabric over so that you are looking at the backside of the fabric with the fleece attached. Using your glue stick, place a line of glue on one of the fabric overage. Fold the fabric over the fleece and press with your fingers to adhere, clip if needed. You can also heat set the glue with a quick press with your iron if needed. Repeat with the other three sides.

Center your fabric on your card, paying attention to the direction and whether your card is folded or flat. Use sewing clips to hold the fabric in place on the card.
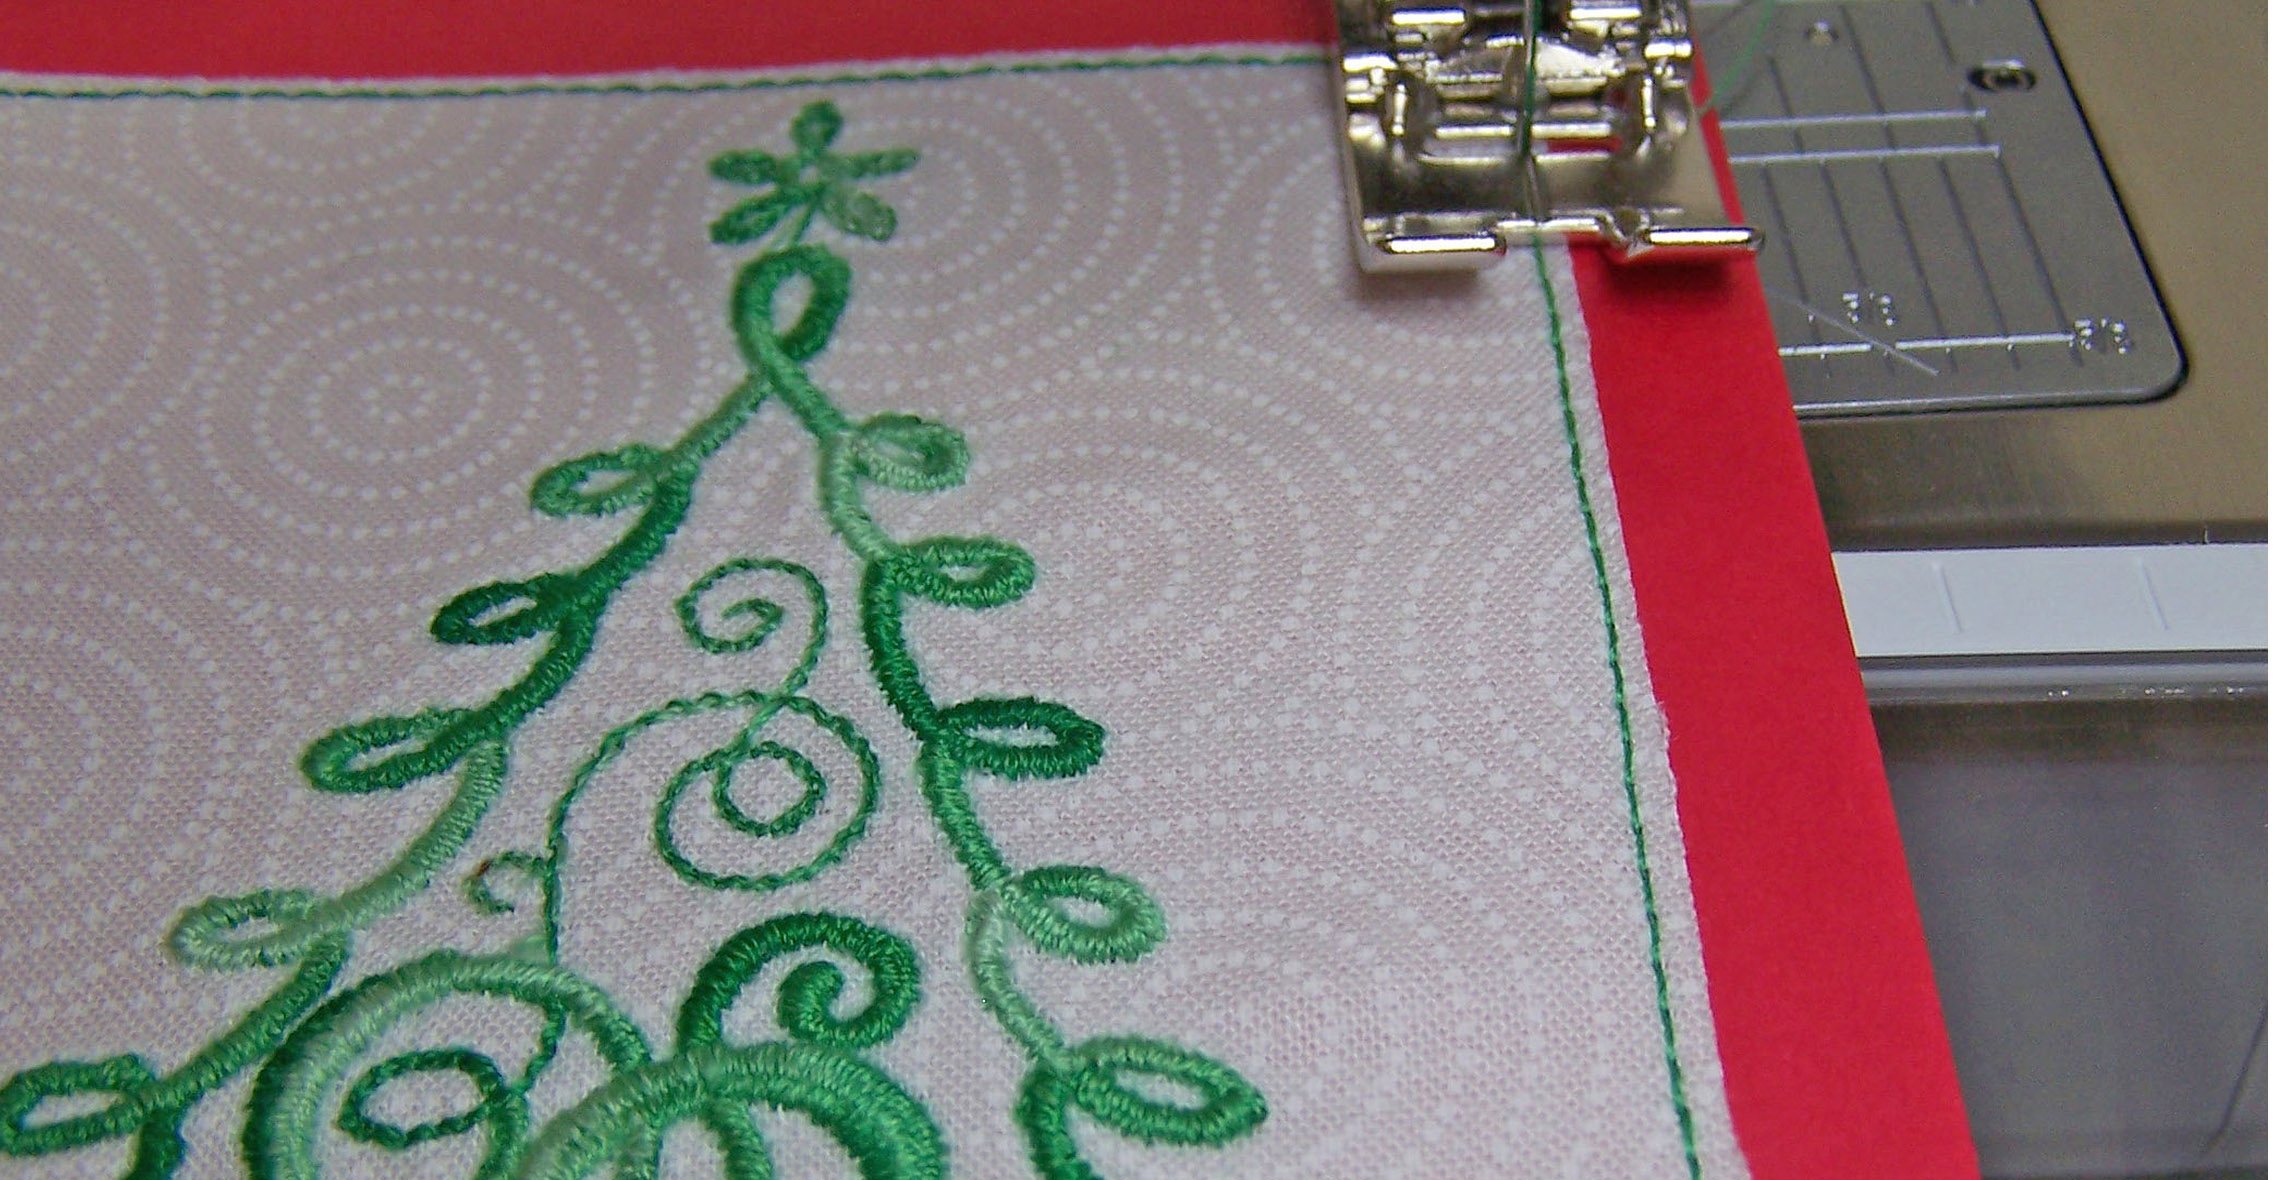
Using a zig zag stich, sew along the border of the fabric, securing it to the card. Backstitch at the beginning and end of the seam.
Tip: When sewing on your card (or other paper), remember that the holes from your needle will not heal themselves like fabric. You will be perforating your card and want to keep the holes spaced out to avoid your card tearing.
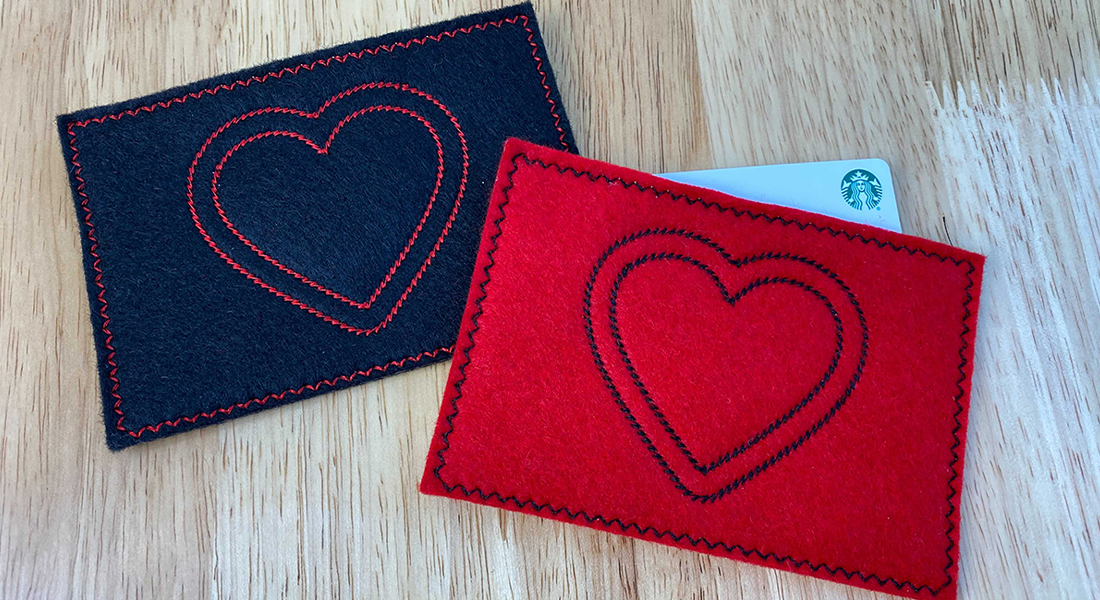
Trim any loose threads and take a deep breath, you did it! You now have a totally unique card to share.

Used Products

What you might also like


3 comments on “Embroidered Card Tutorial”
-
-
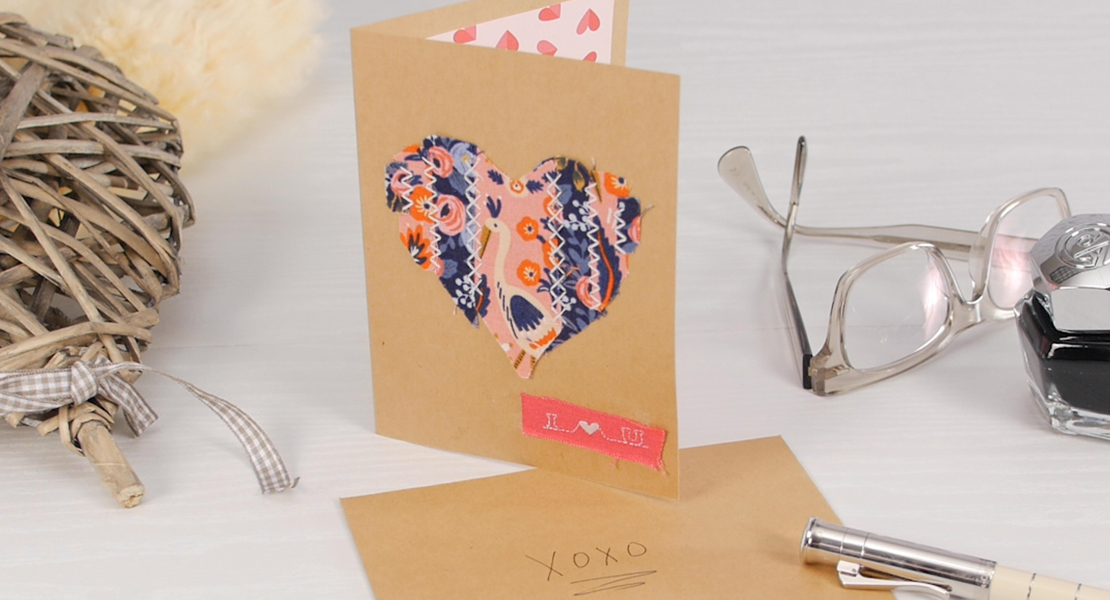
Isn’t he cute?! The design is available from OESD and is part of the “Holiday Homies” collection by Tula Pink.
-
This is a great tutorial! Some dear friends will enjoy receiving their machine embroidered Chridtmas cards. Thanks for this timely machine embroidered card project.
Leave a Reply
You must be logged in to post a comment.

Love the goose. Where can I find it? Think I’ve seen it but where? Cards are great, good idea for making them.