DIY Embroidered T-shirt
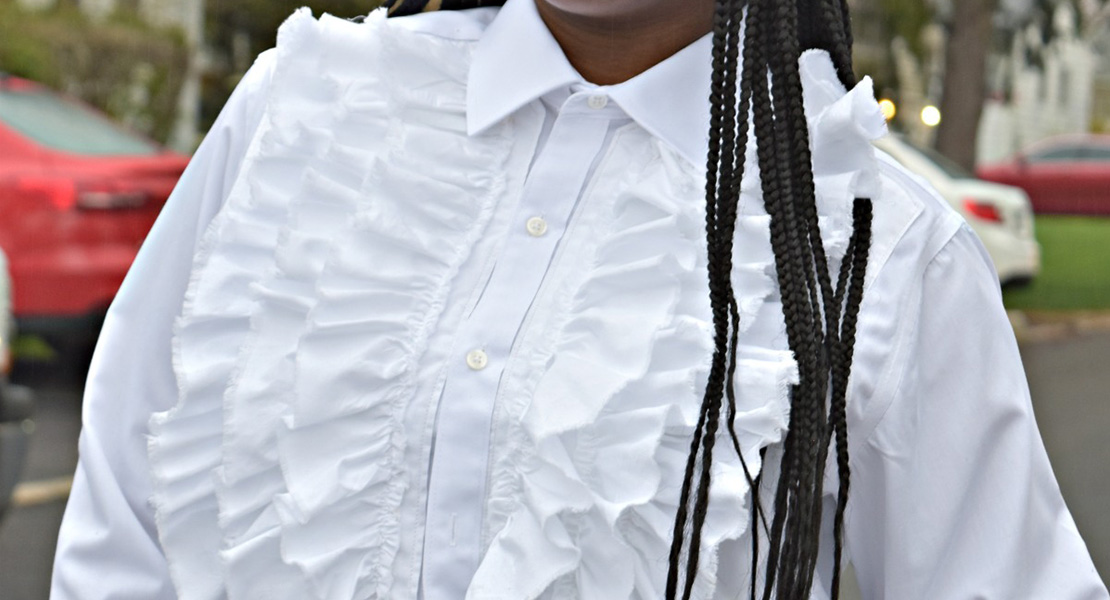
I love a T-shirt. As I was browsing Pinterest, I saw a couple of embroidered T-shirts that made me swoon so I did what any creative would: I decided to DIY it myself!
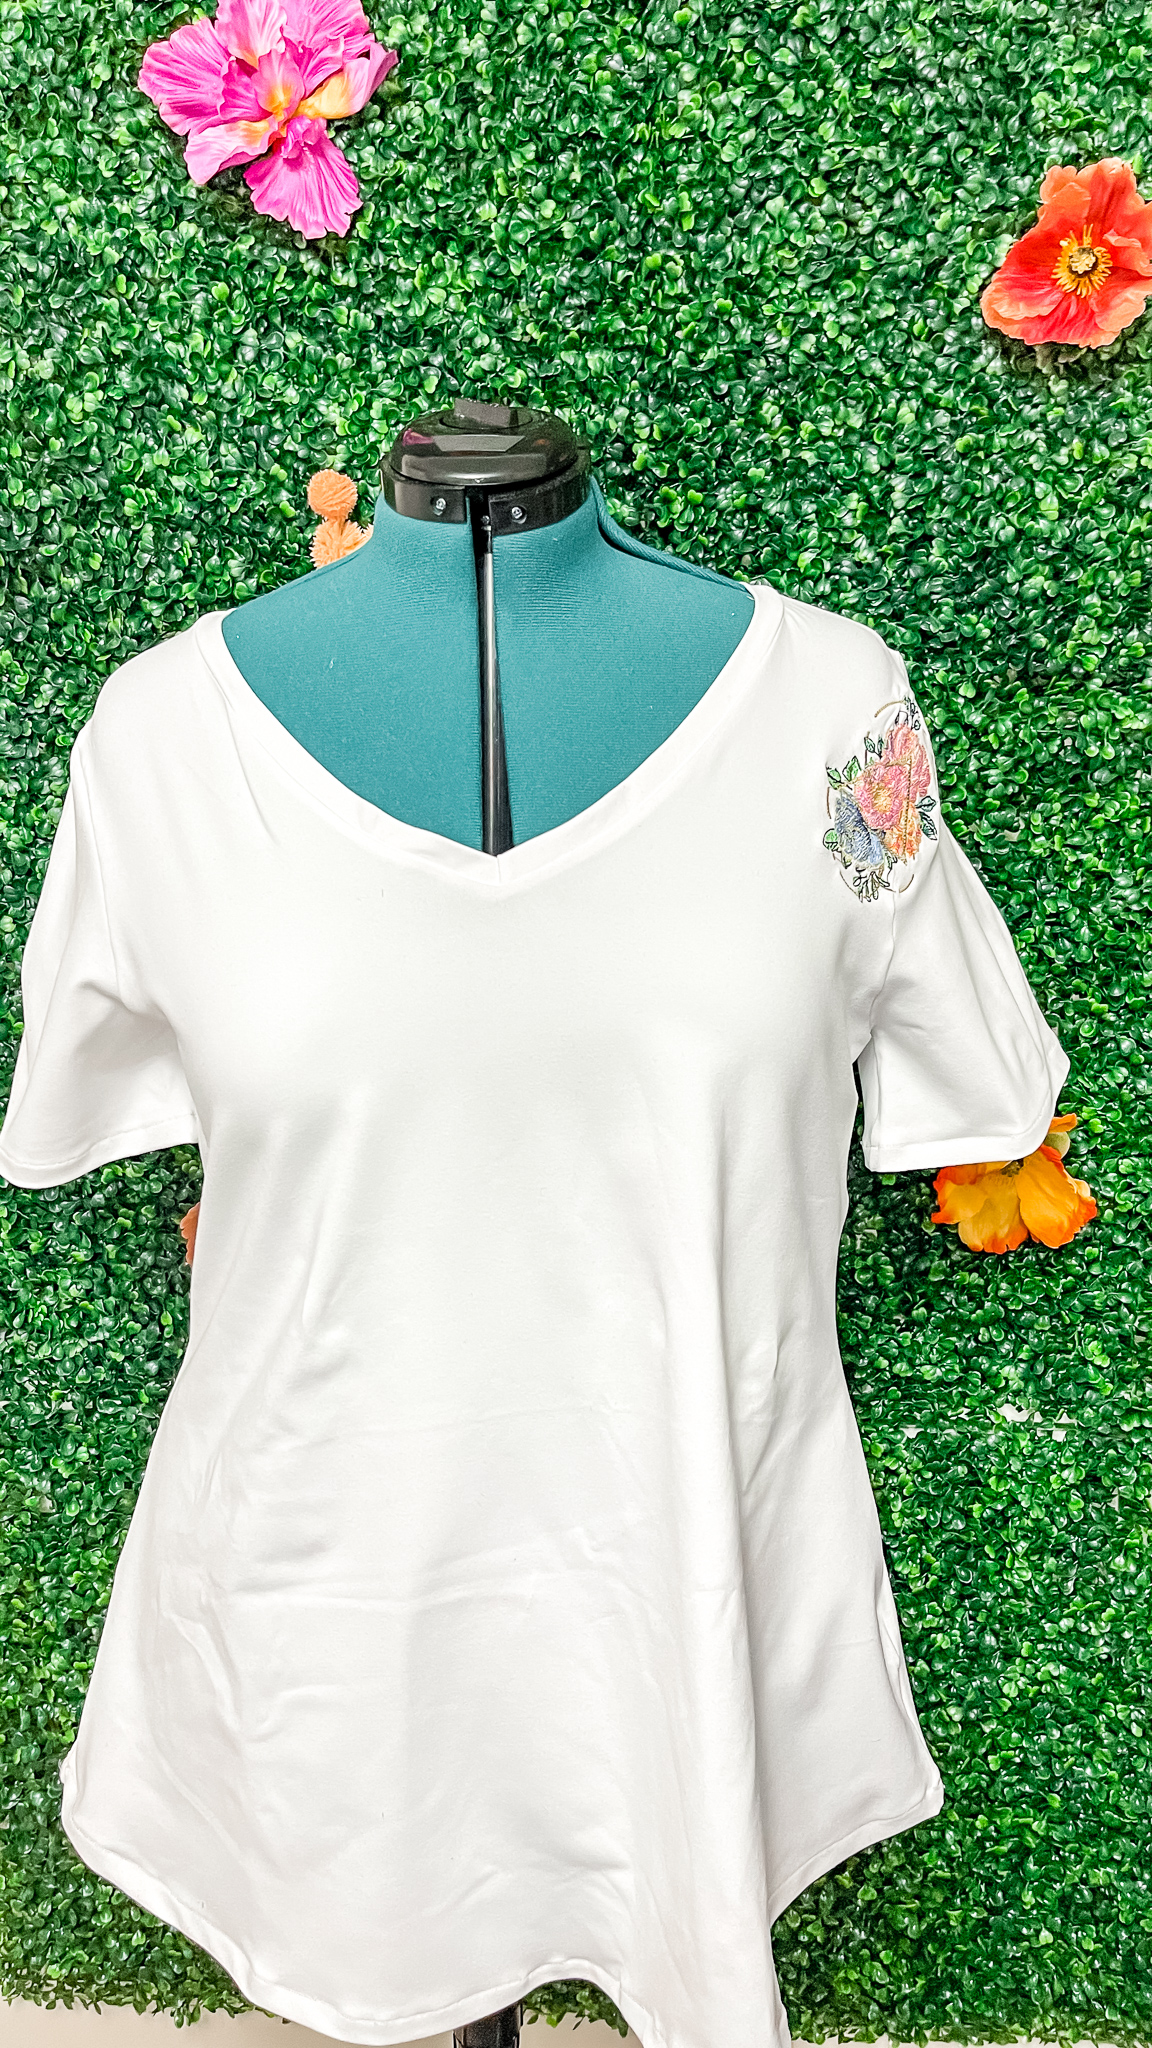
When I first decided this was a look I wanted for myself, I was just going to buy a shirt and then add a little bit of spice to it. But my upper body is about 3 sizes smaller than my lower body and I wanted a really well-fit T-shirt. Plus, with using my projector, making my own custom-fit T-shirt takes about 10 to 15 minutes.
Choosing Your Pattern
T-shirt Pattern: Adult’s Seattle Shirt Pattern from So Sew English
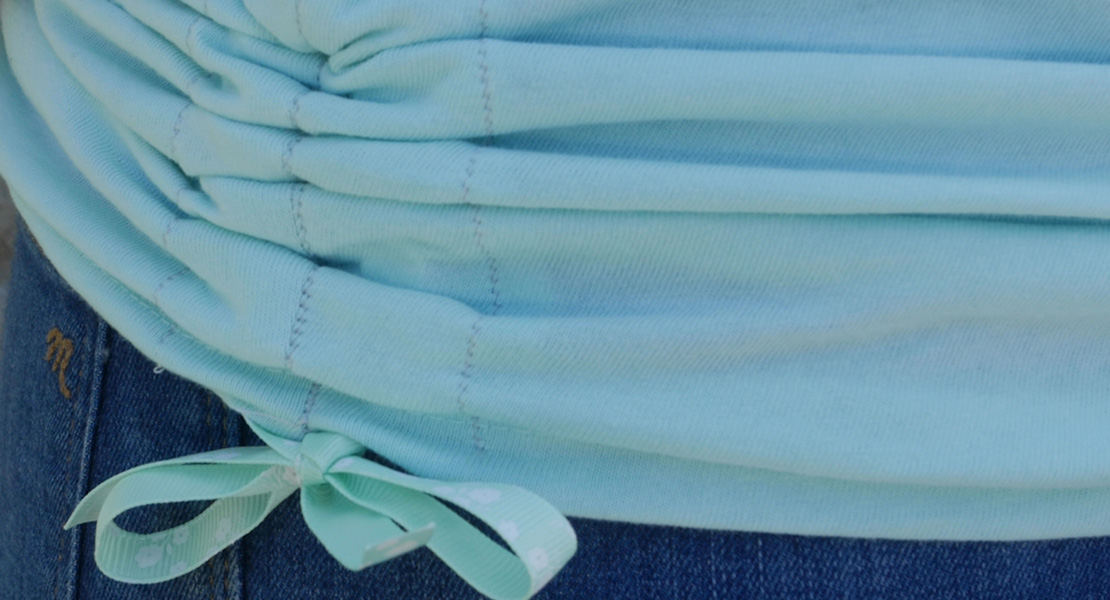
One of my all-time favorite T-shirt patterns is the Seattle Shirt from So Sew English. This pattern comes with different sleeve lengths as well as different neck cuts: V-neck and crew. I LOVE V-neck T-shirts so that’s the style that I did. Because I wanted the embroidery design to come over the shoulder, I assembled the shoulder seams and armscye before beginning my embroidery design.

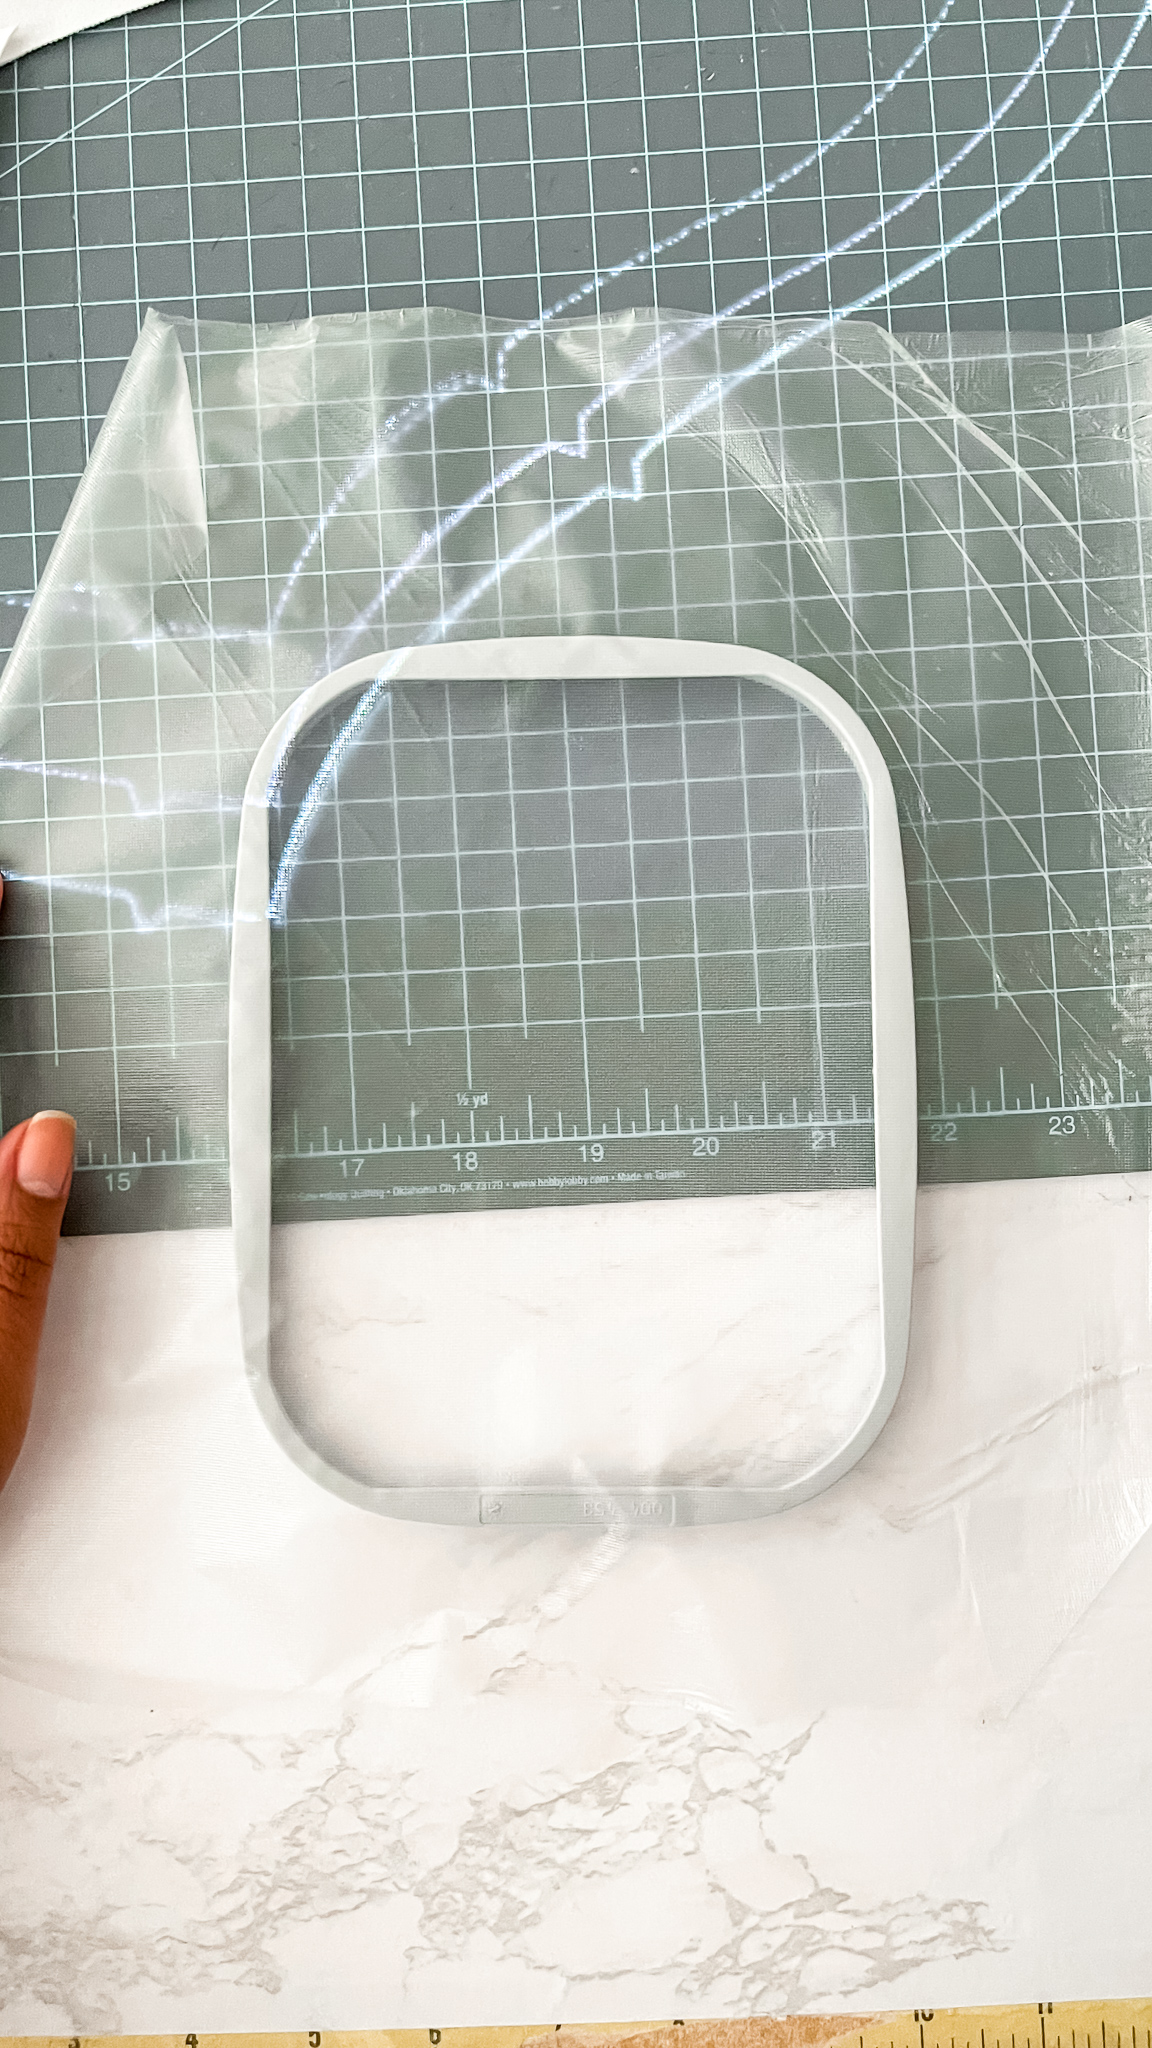
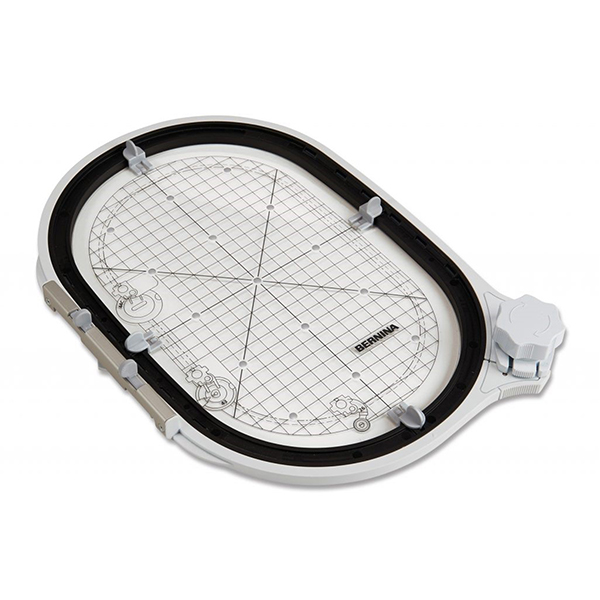
Choosing the Right Stabilizer
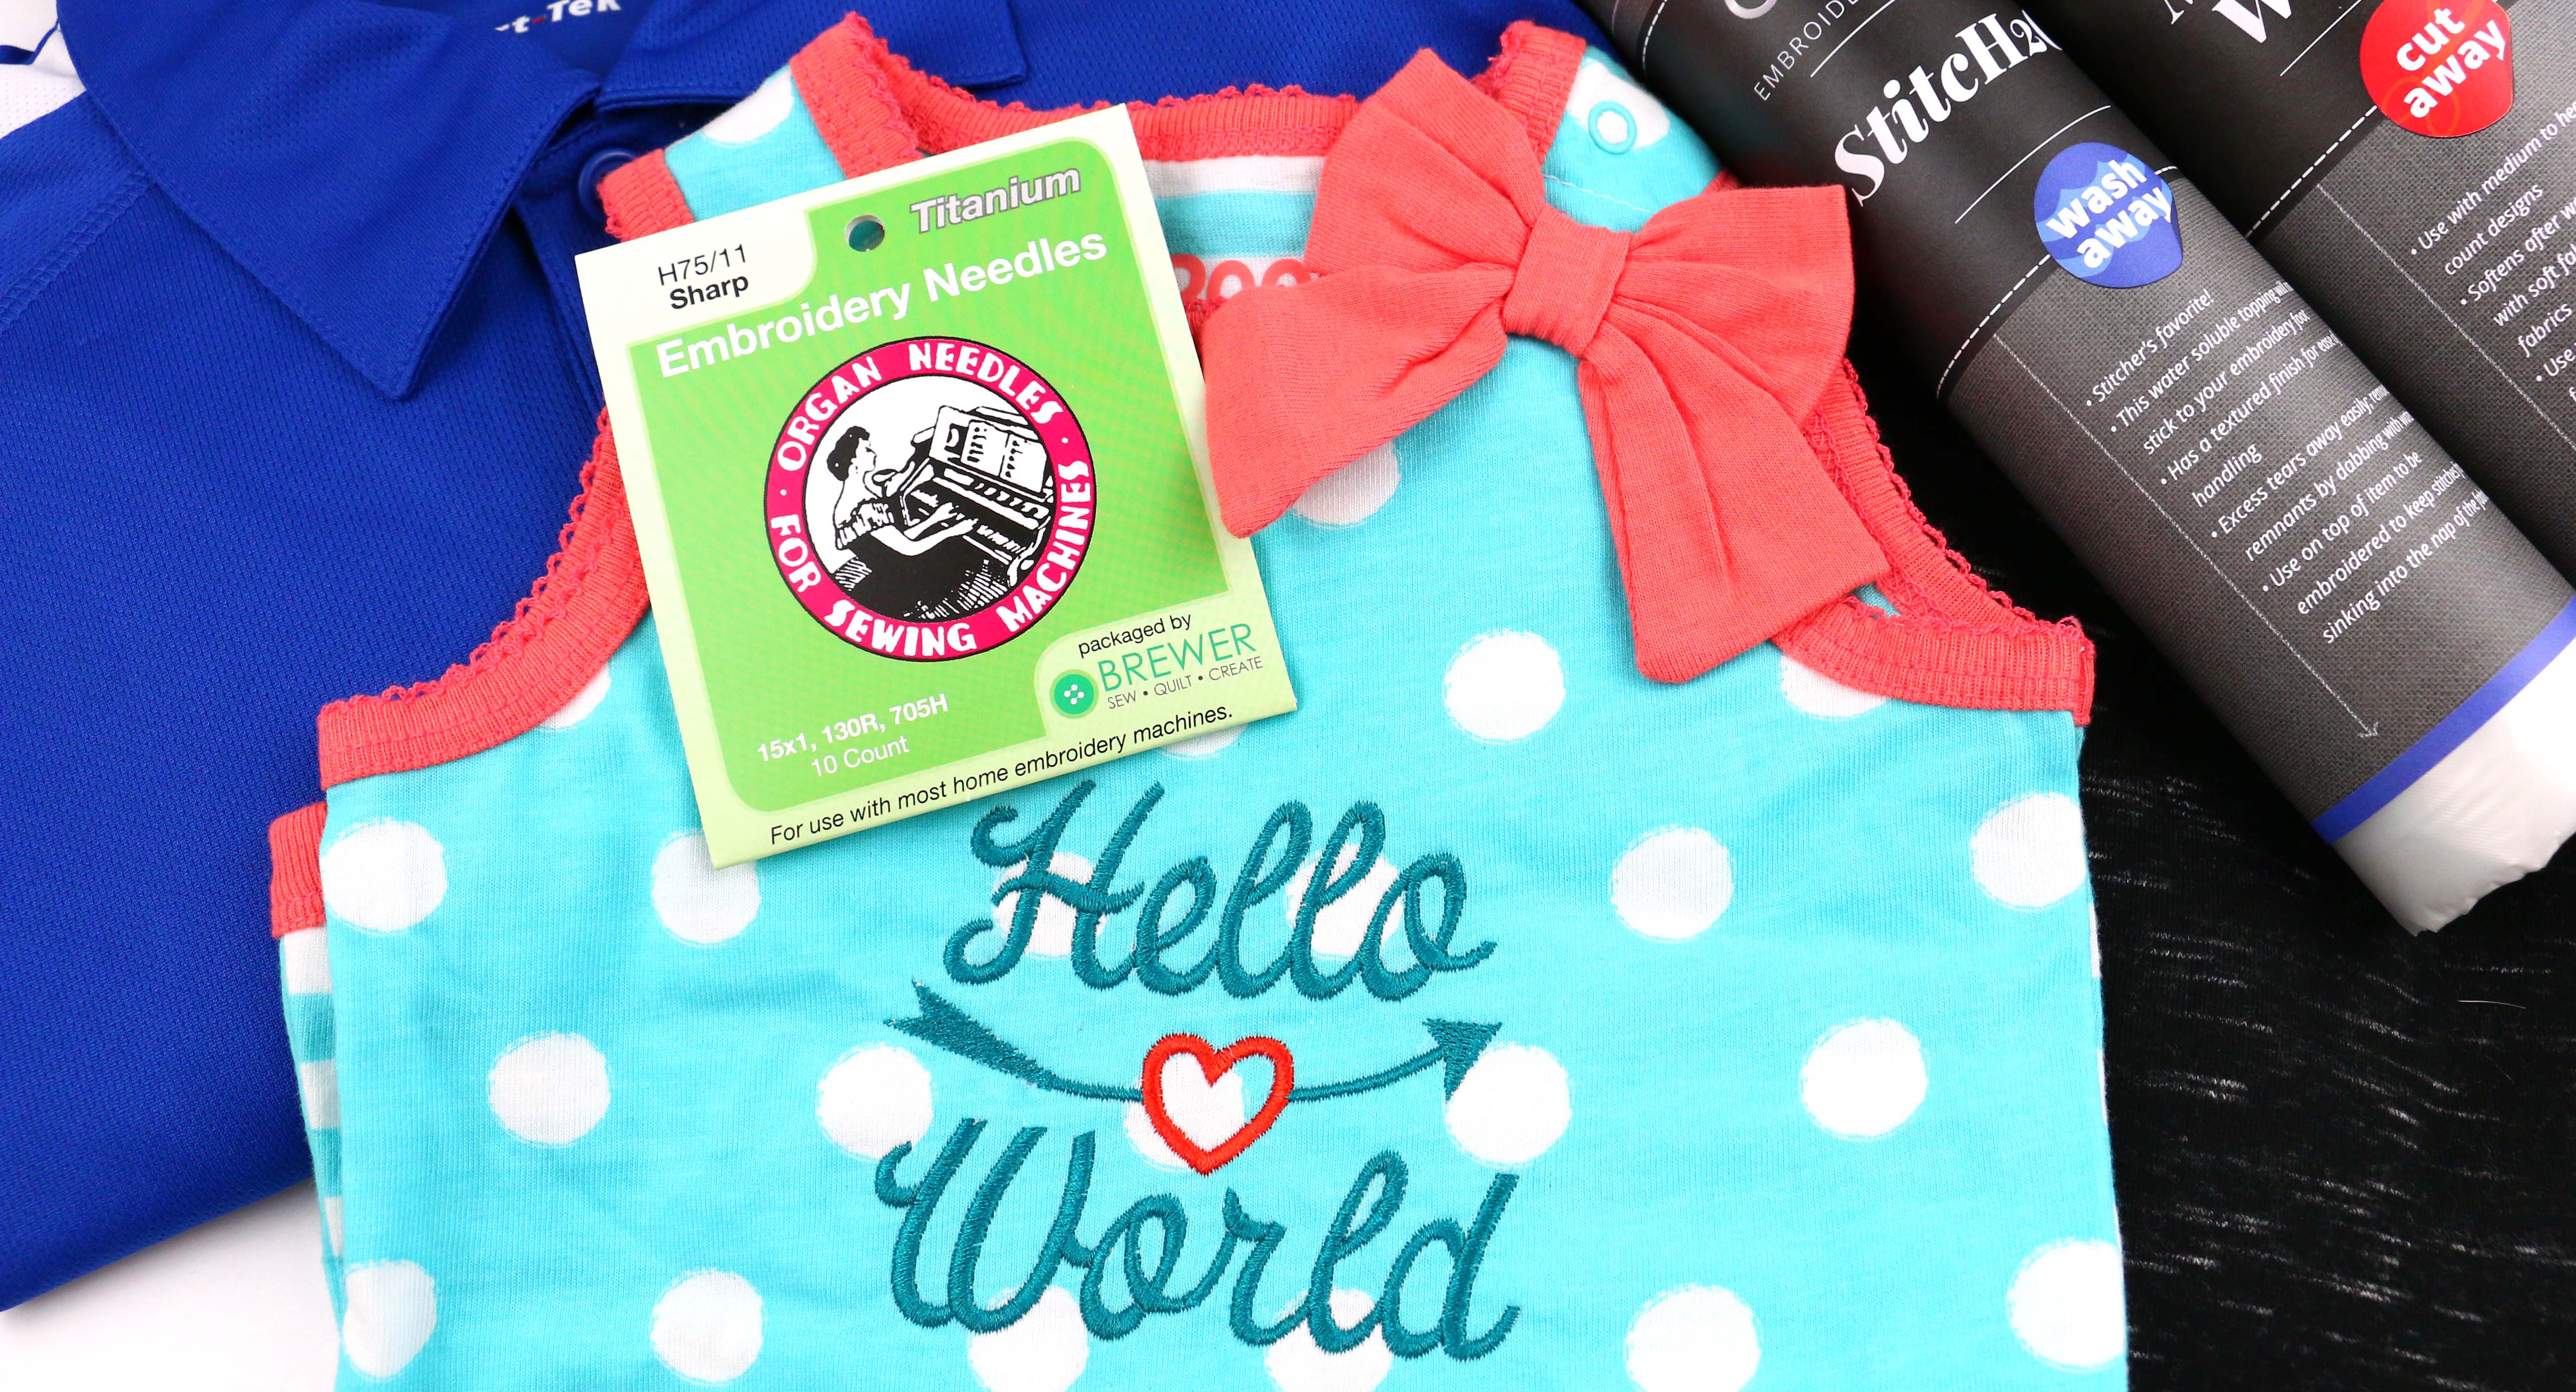
Full disclosure: I initially chose the wrong stabilizer and almost made a huge mess of this project. I used thicker cotton lycra so there’s a stretch but this fabric also has a lot of recovery so I thought that using the thinner, water-soluble stabilizer would be something that works well. Spoiler alert: it does NOT work well.
I ended up using the OESD Polymesh Fusible Cut-Away Stabilizer which was perfect and I had zero hiccups.

What happens when you choose the wrong stabilizer? It can cause some pretty big issues.
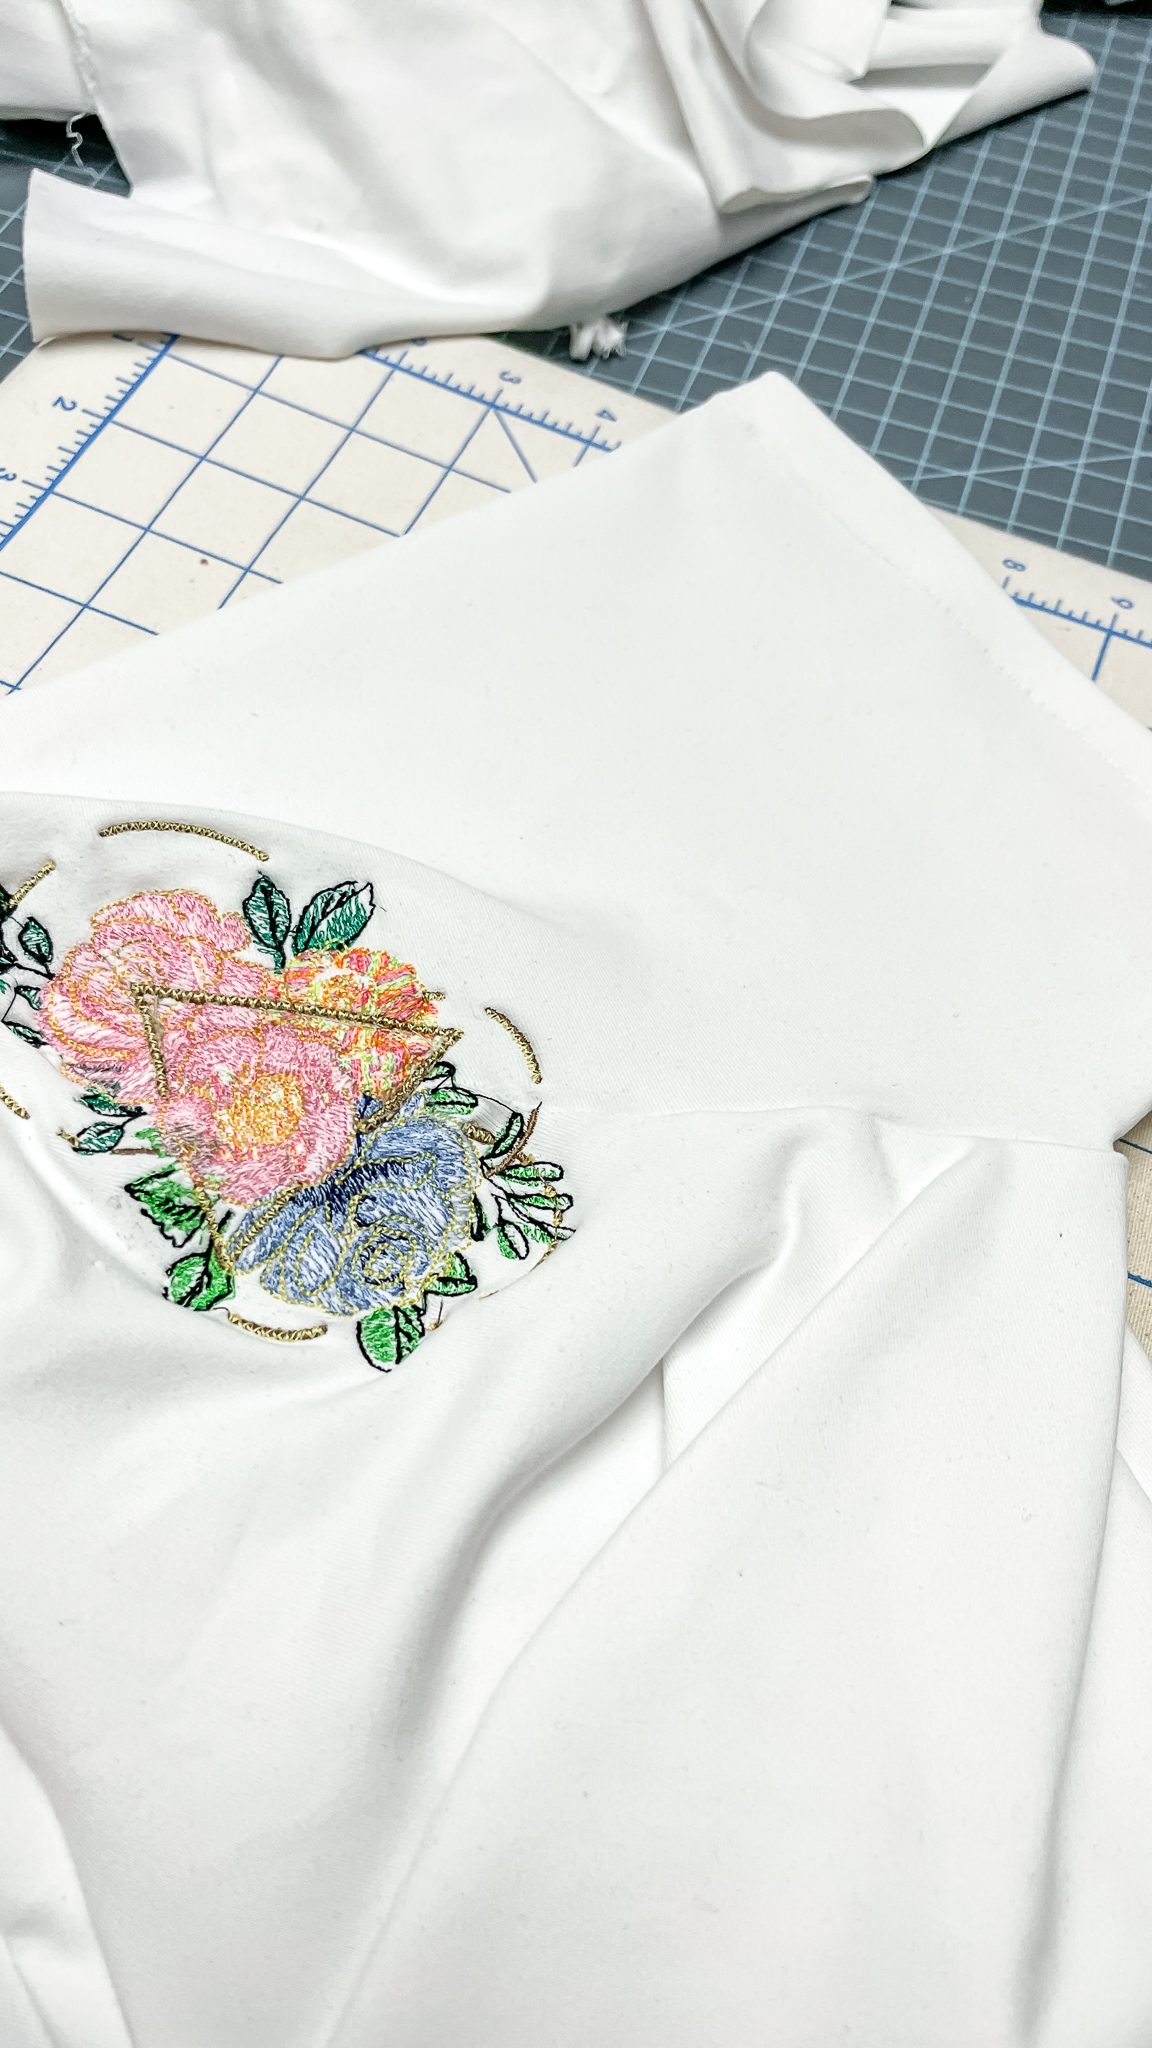
As I was sewing, I ended up having knots and then holes in my fabric. I had to recut my sleeve, remove off the messed-up one and then reattach it before restarting my design. Yes, choosing the wrong stabilizer can have that much of an effect on your project. Choose wisely, friends!

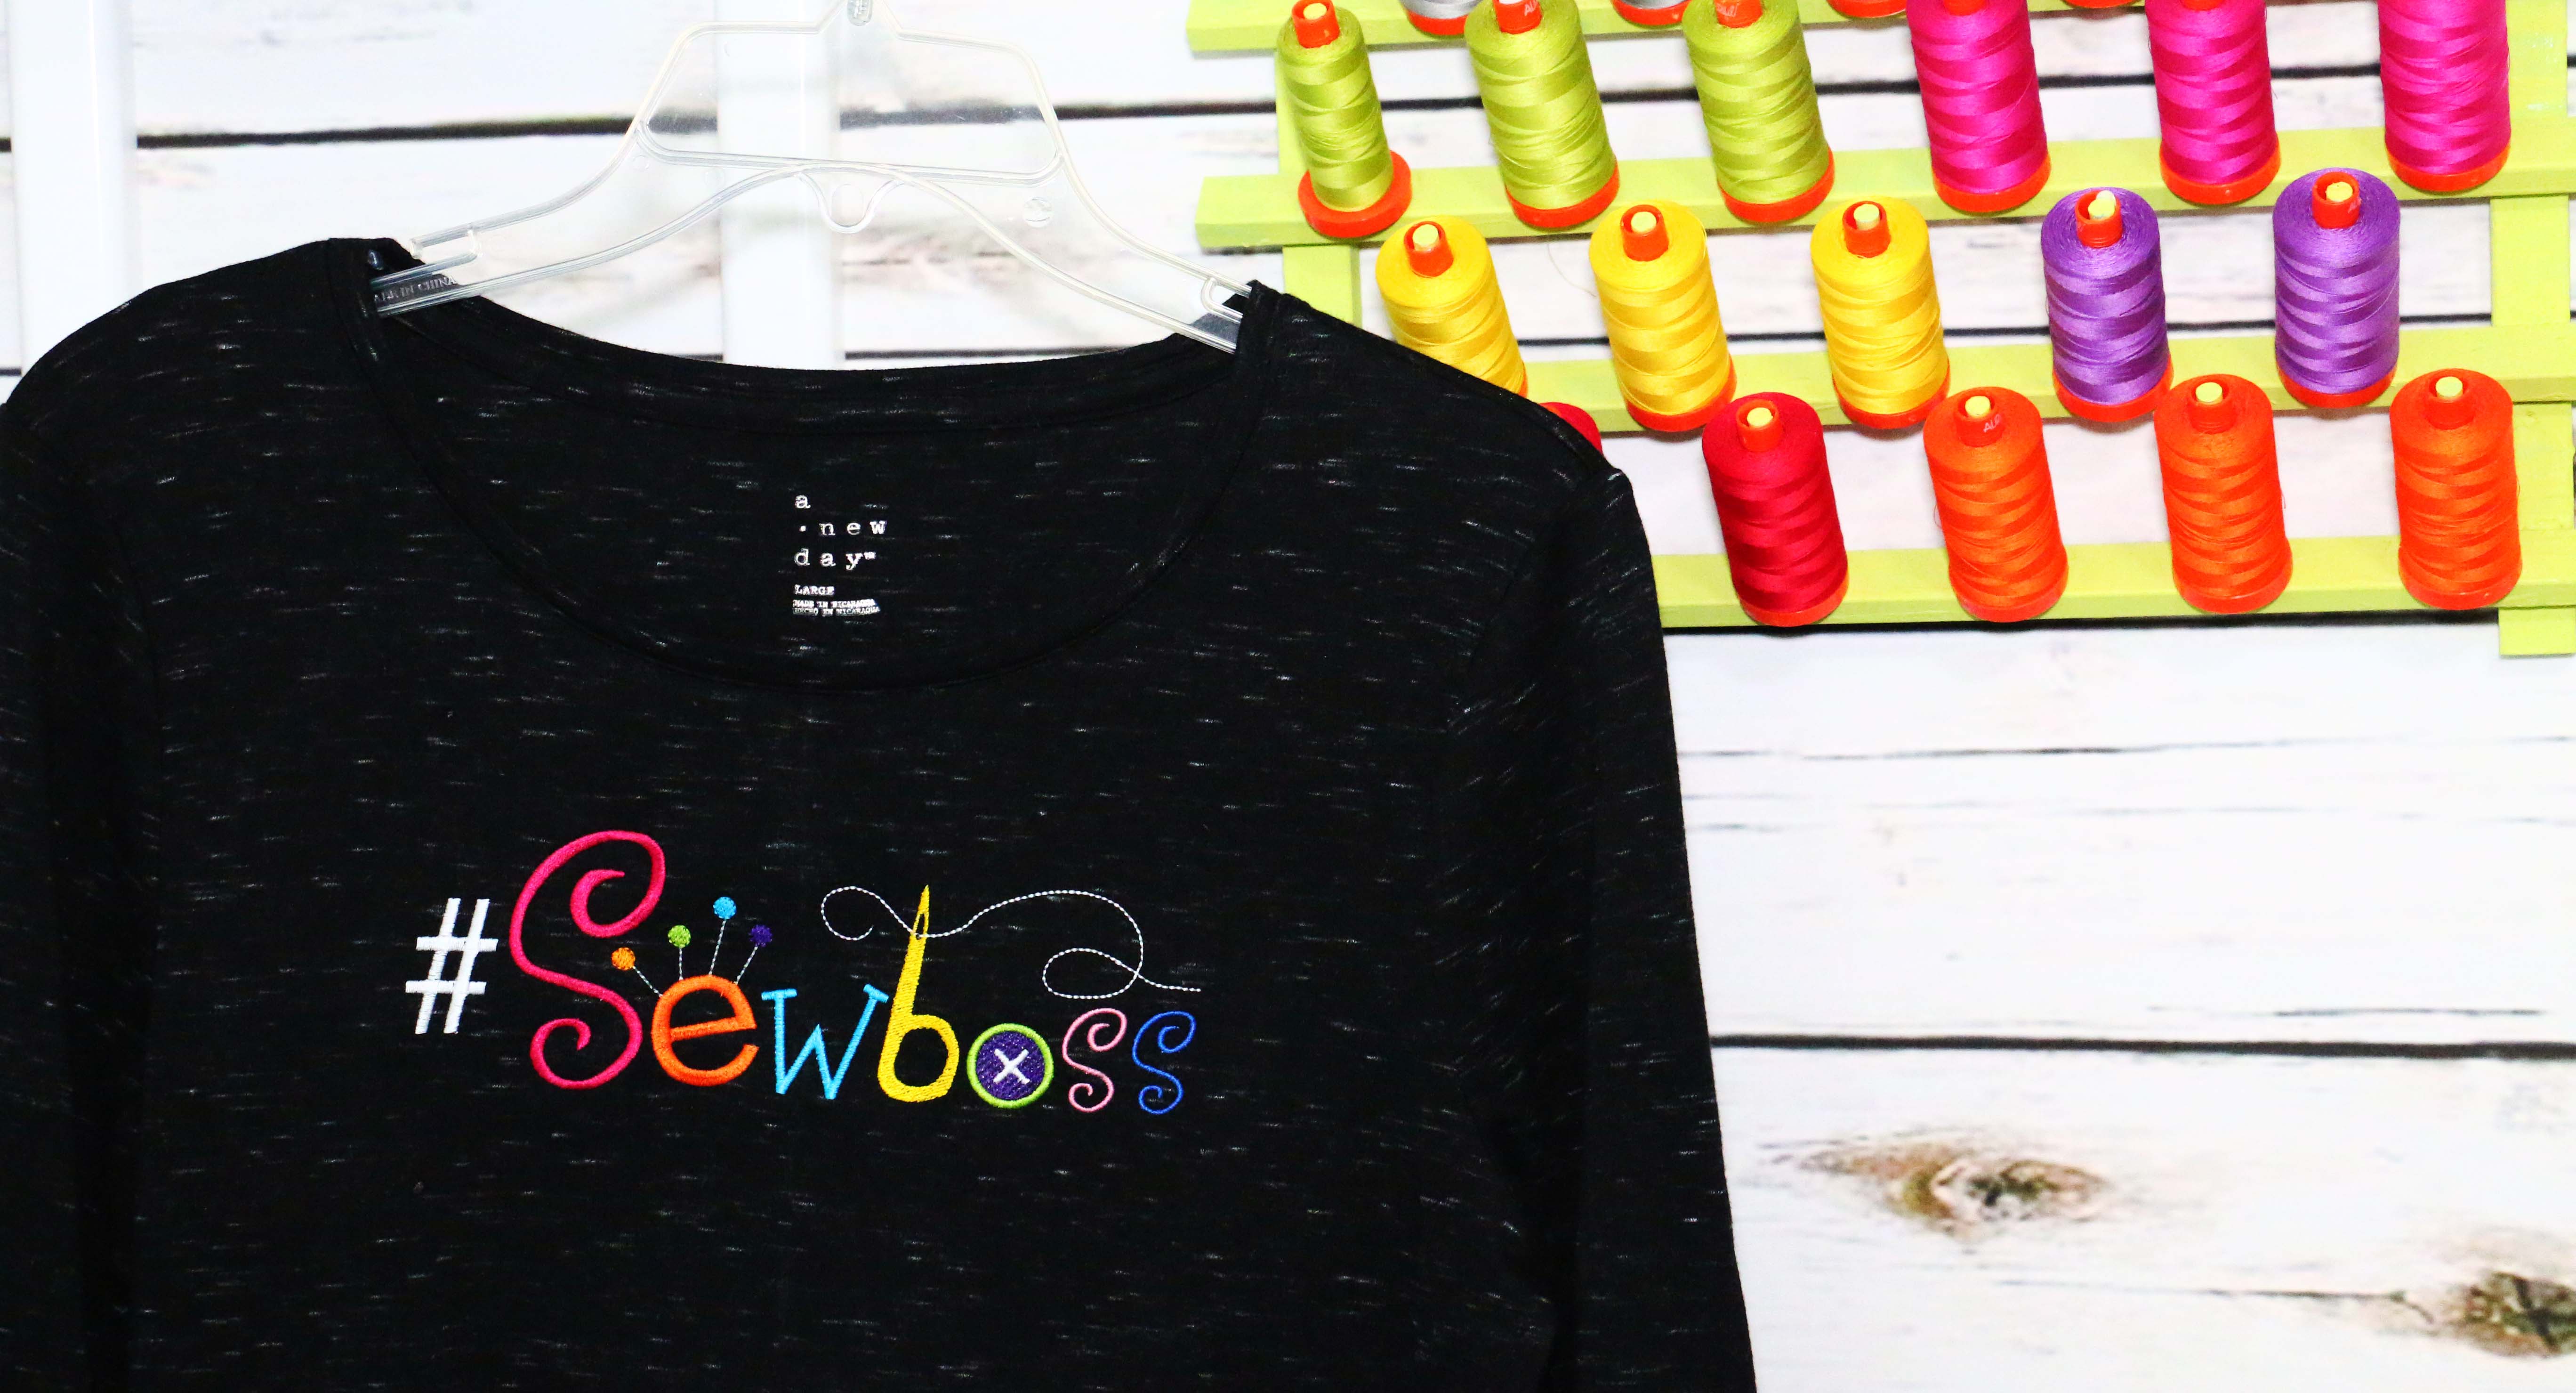
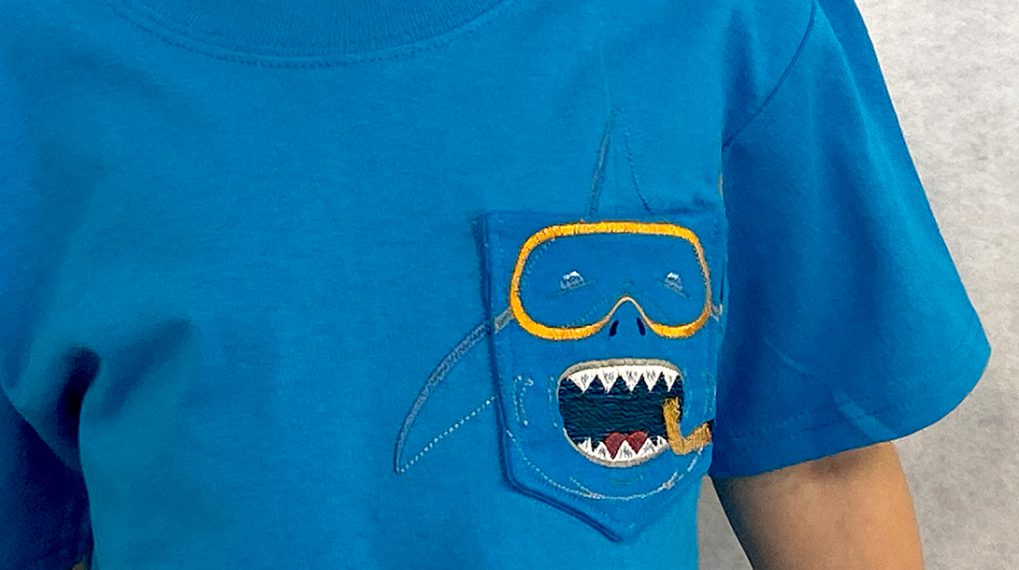
OESD Gilded Garden Designs
I love every. Single. One of the designs that are part of the Gilded Garden collection. This was my first time switching out my thread colors in a design. I used the Mettler POLY SHEEN® threads and goodness, these sew like butter!
If you’re new to embroidery like I am and you’re not sure of what thread colors to get, I recommend getting the Mettler POLY SHEEN® kit of 28 spools. This will get you enough to get started with some really great designs. Another tip is to choose colors that are part of your wardrobe or that you wear often. I live in earth tones (olive, rust, mustard, navy, etc.) so I chose colors that would compliment what I would normally wear with it.
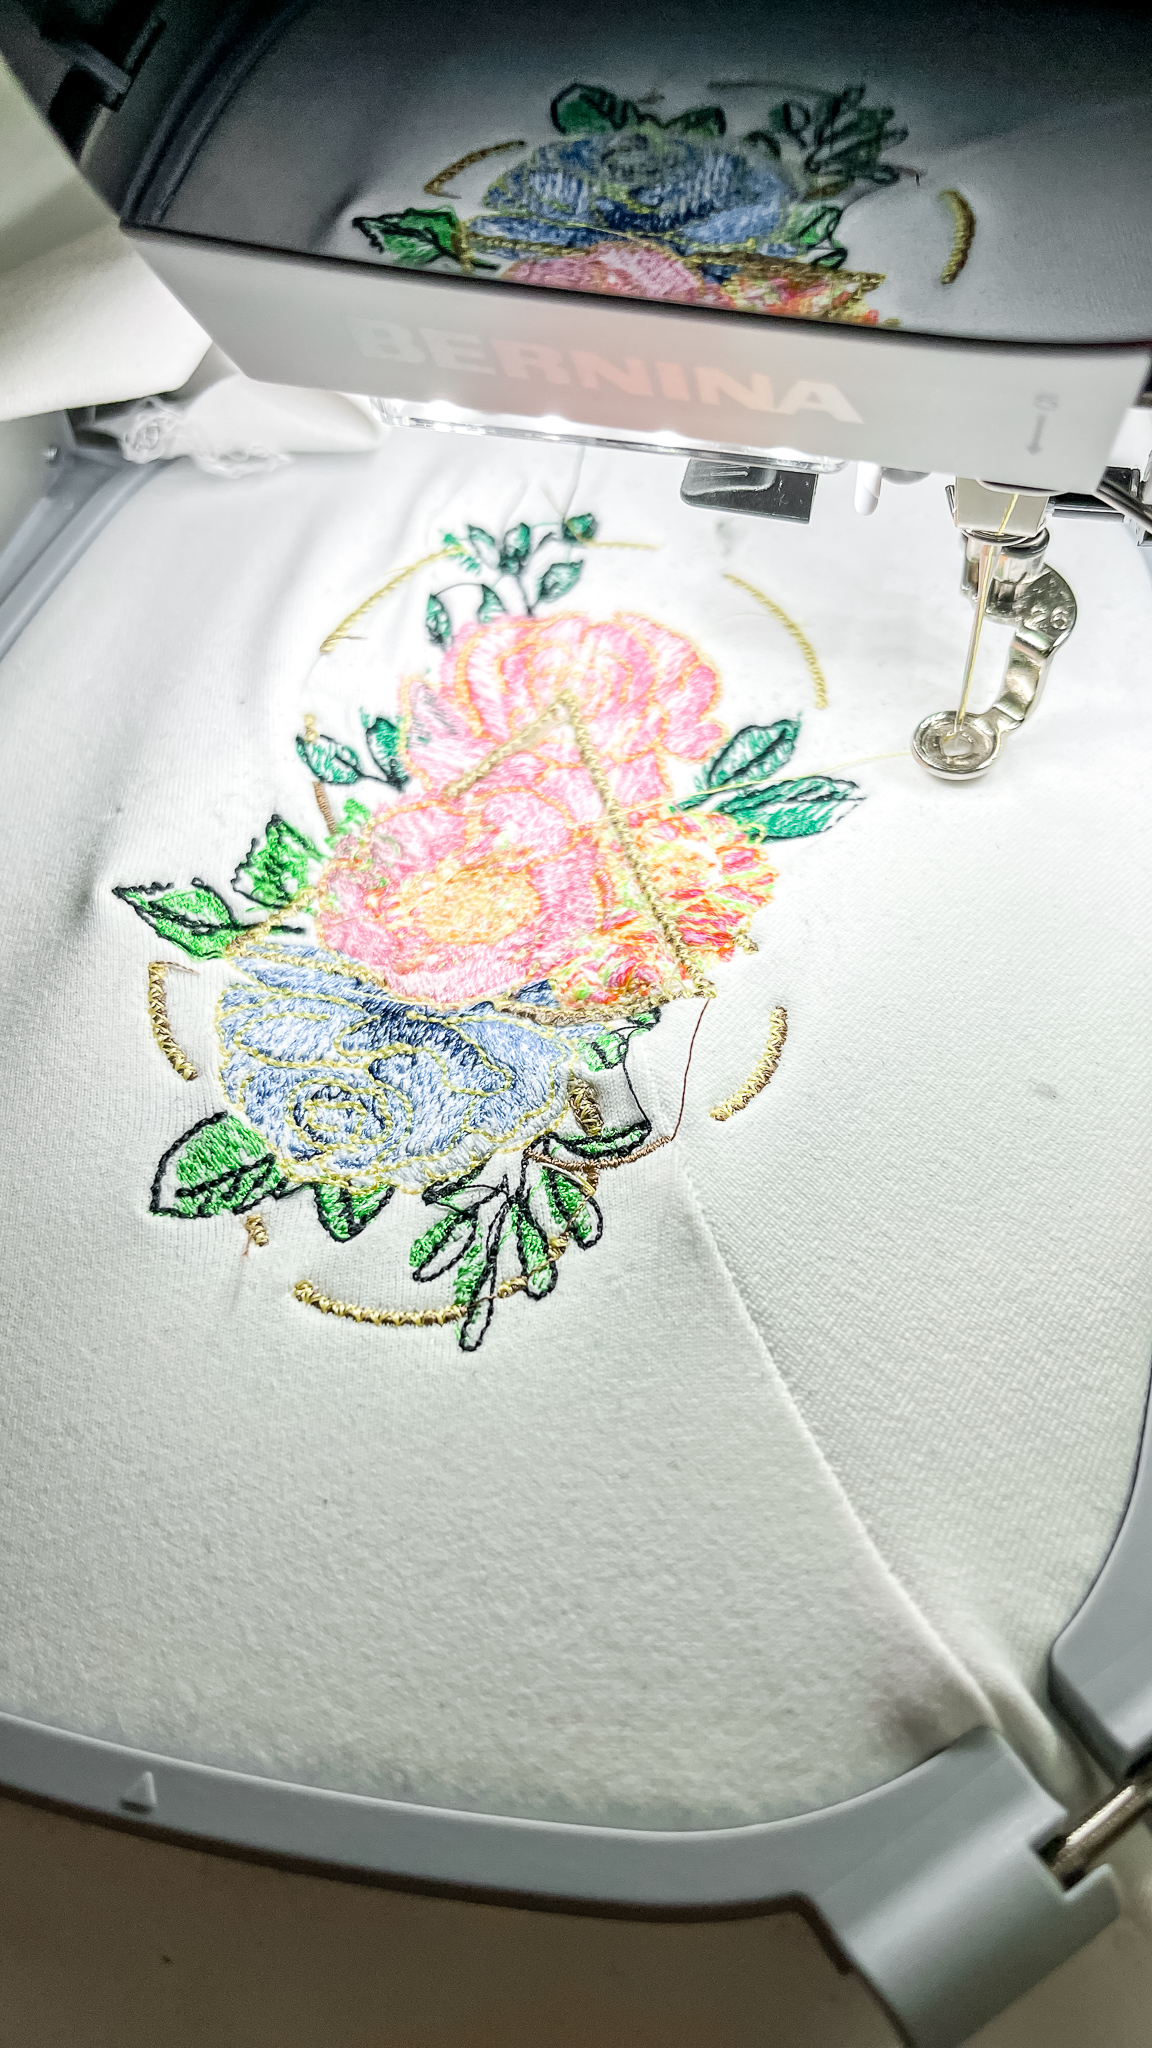
My design took about 45 minutes to complete and it was so straightforward. The more I sew with my BERNINA 590 E, the more I learn about its intuitive design.
For this design, I was able to make the necessary adjustments in size and placement on the machine so if you don’t have the embroidery software, this is still absolutely a project you can do!
Changes I Would Make
Because this was my first real embroidery project, I’m still learning. I definitely would have started out with the tear-away stabilizer so I wouldn’t have to redo my sleeves. I also wish I would have chosen my larger hoop and made the design bigger for a larger impact on the shirt. But those are the only things I would do differently!
What embroidery projects are waiting for you?


Another lesson I learned the hard way….Use Jersey knit needles or Jersey knit embroidery needles to stitch out embroidery on knits. Otherwise, you may end up with holes and “runs” on your fabric.Great Job! I tell people that using Machine Embroidery is like taking a journey; enjoy your journey!