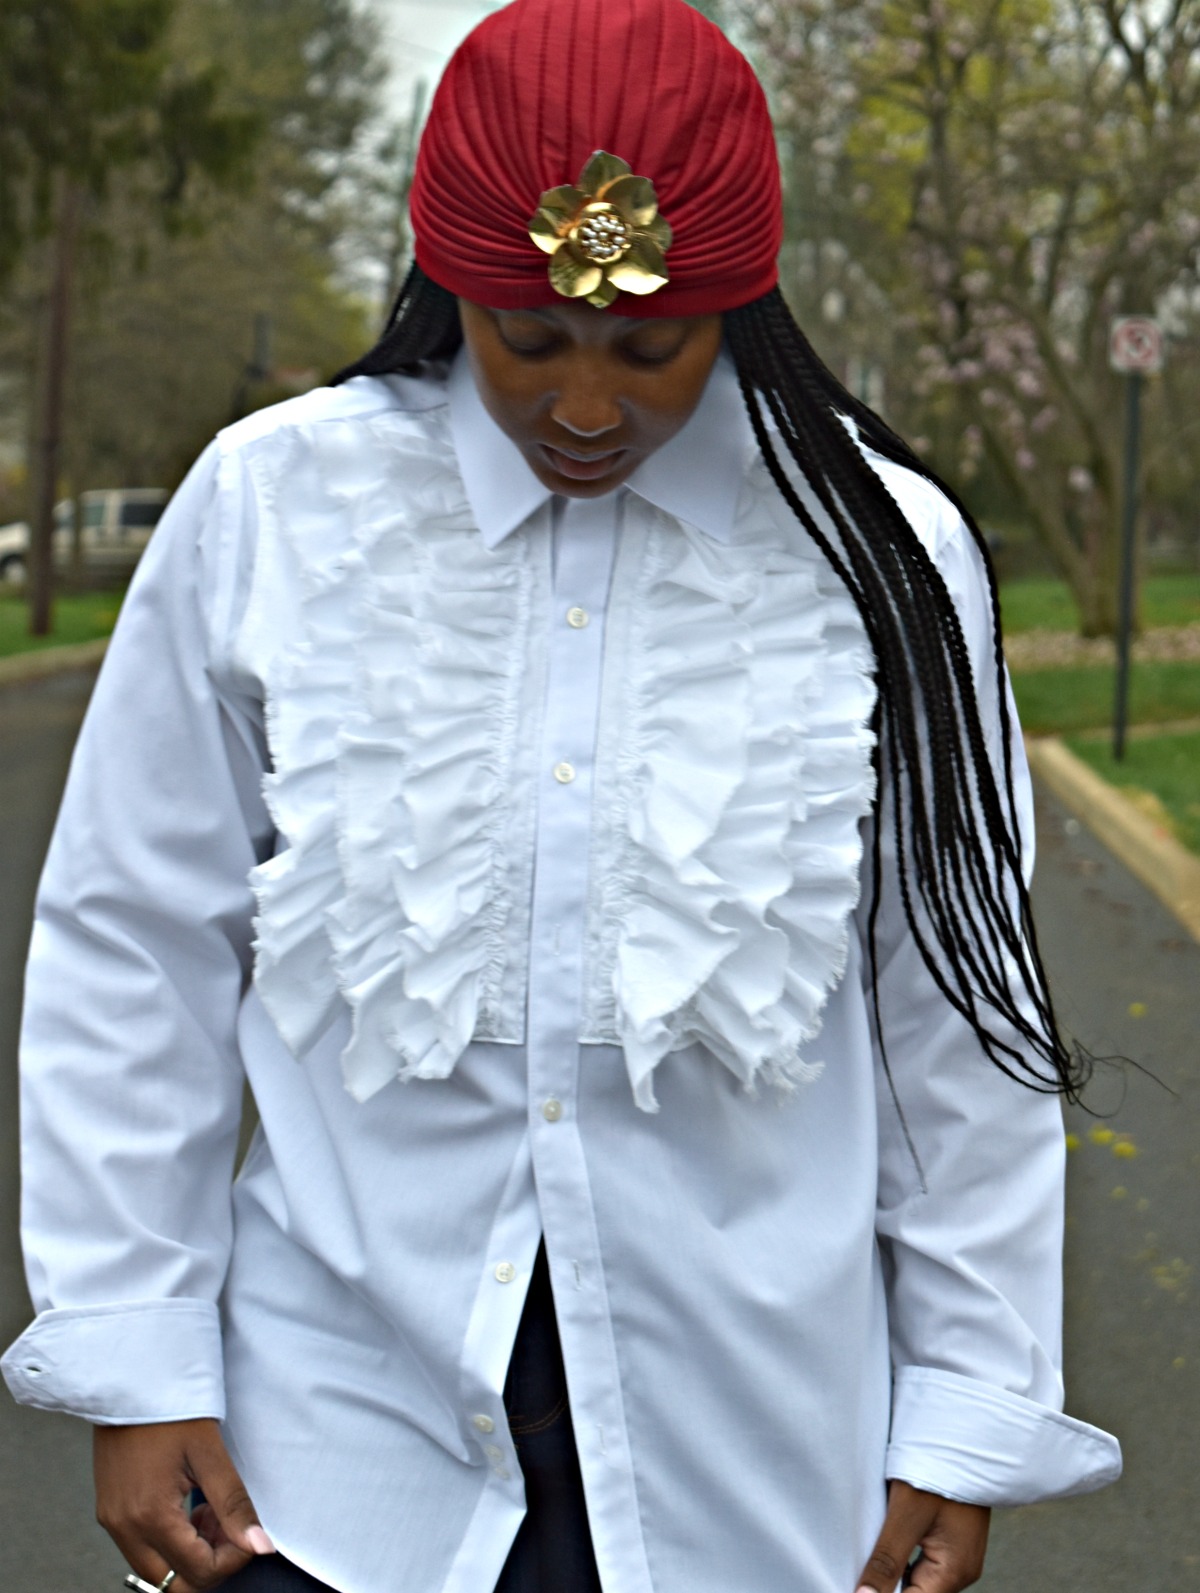
DIY Tuxedo Shirt Re-fashion

I purchased a basic white men’s button up shirt for this project. You could also re-fashion shirts you already own or you may be able to find a few shirts at your local thrift store. We are going to make a tuxedo front for this white shirt.
Materials to Re-fashion a Tuxedo Shirt
- 2 yards of Fashion fabric for the tuxedo front panel & ruffles
- Coordinating thread
- Card stock/craft paper for the pattern
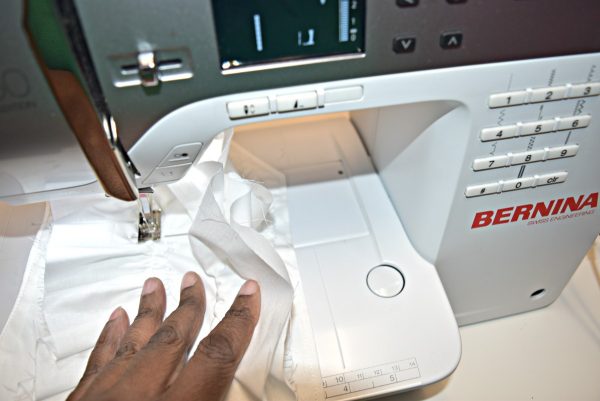
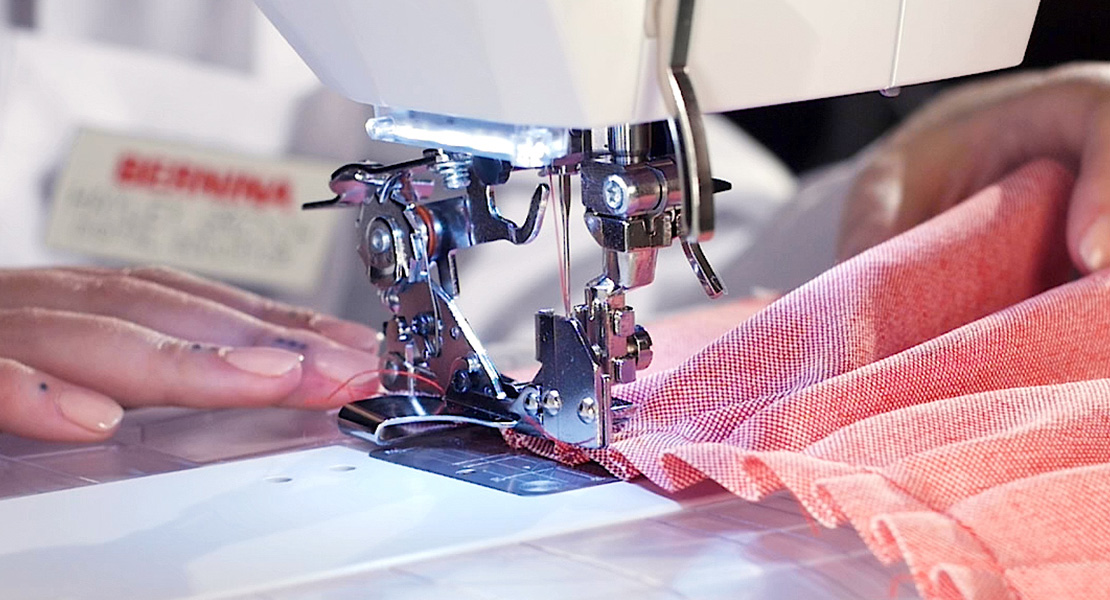
- Sewing Machine (I use a BERNINA 350 PE)
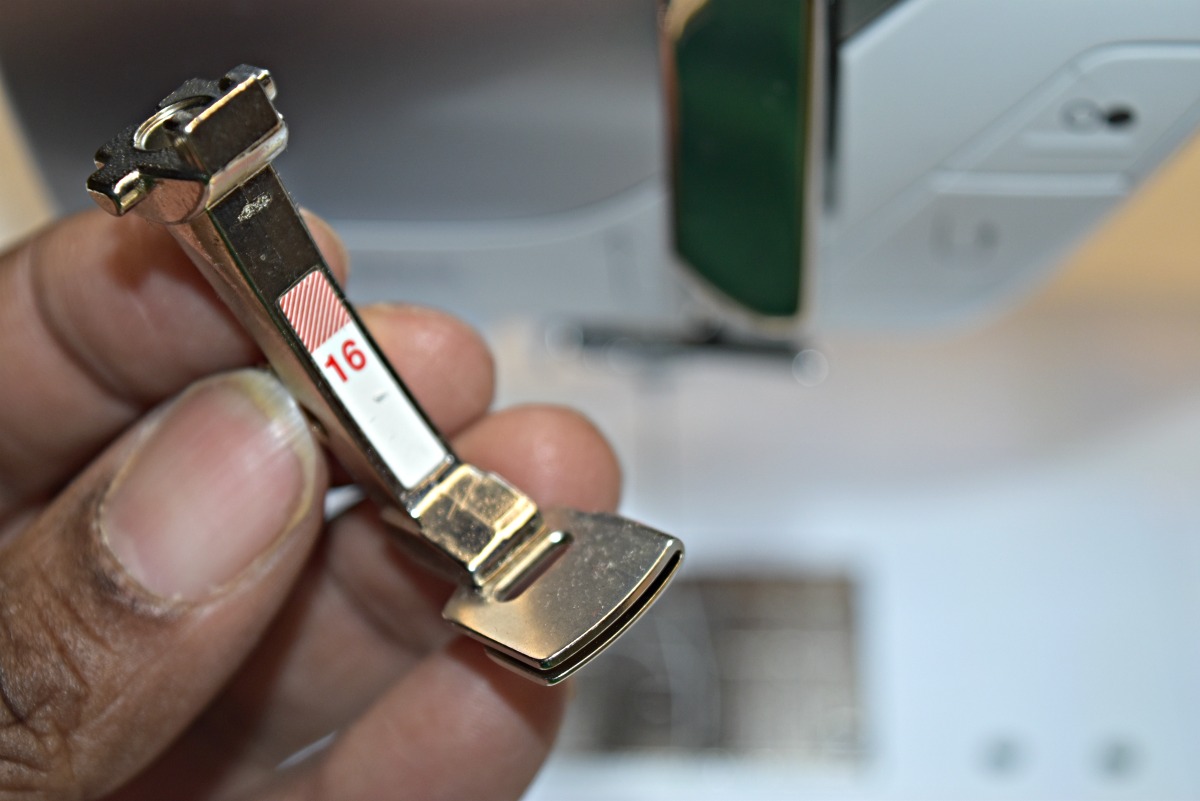
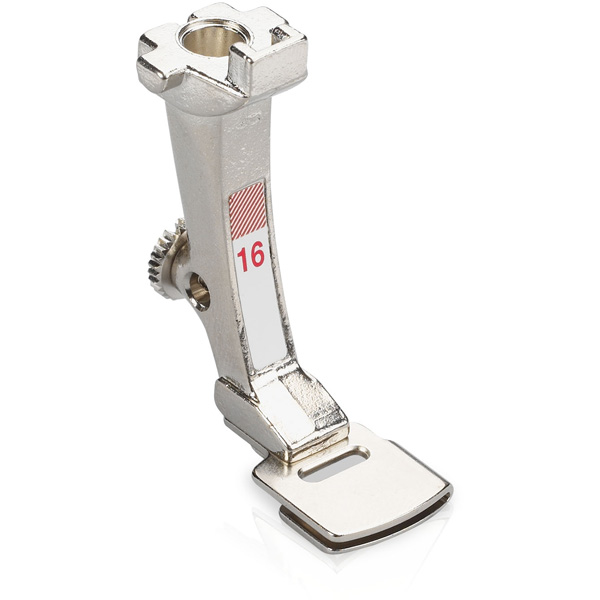
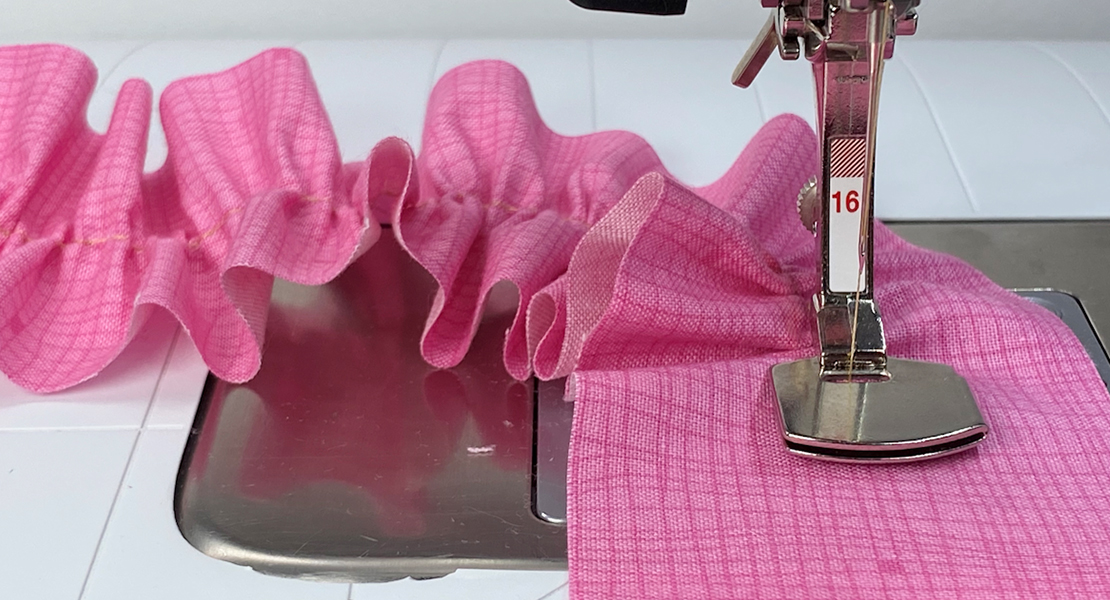
- Gathering foot #16
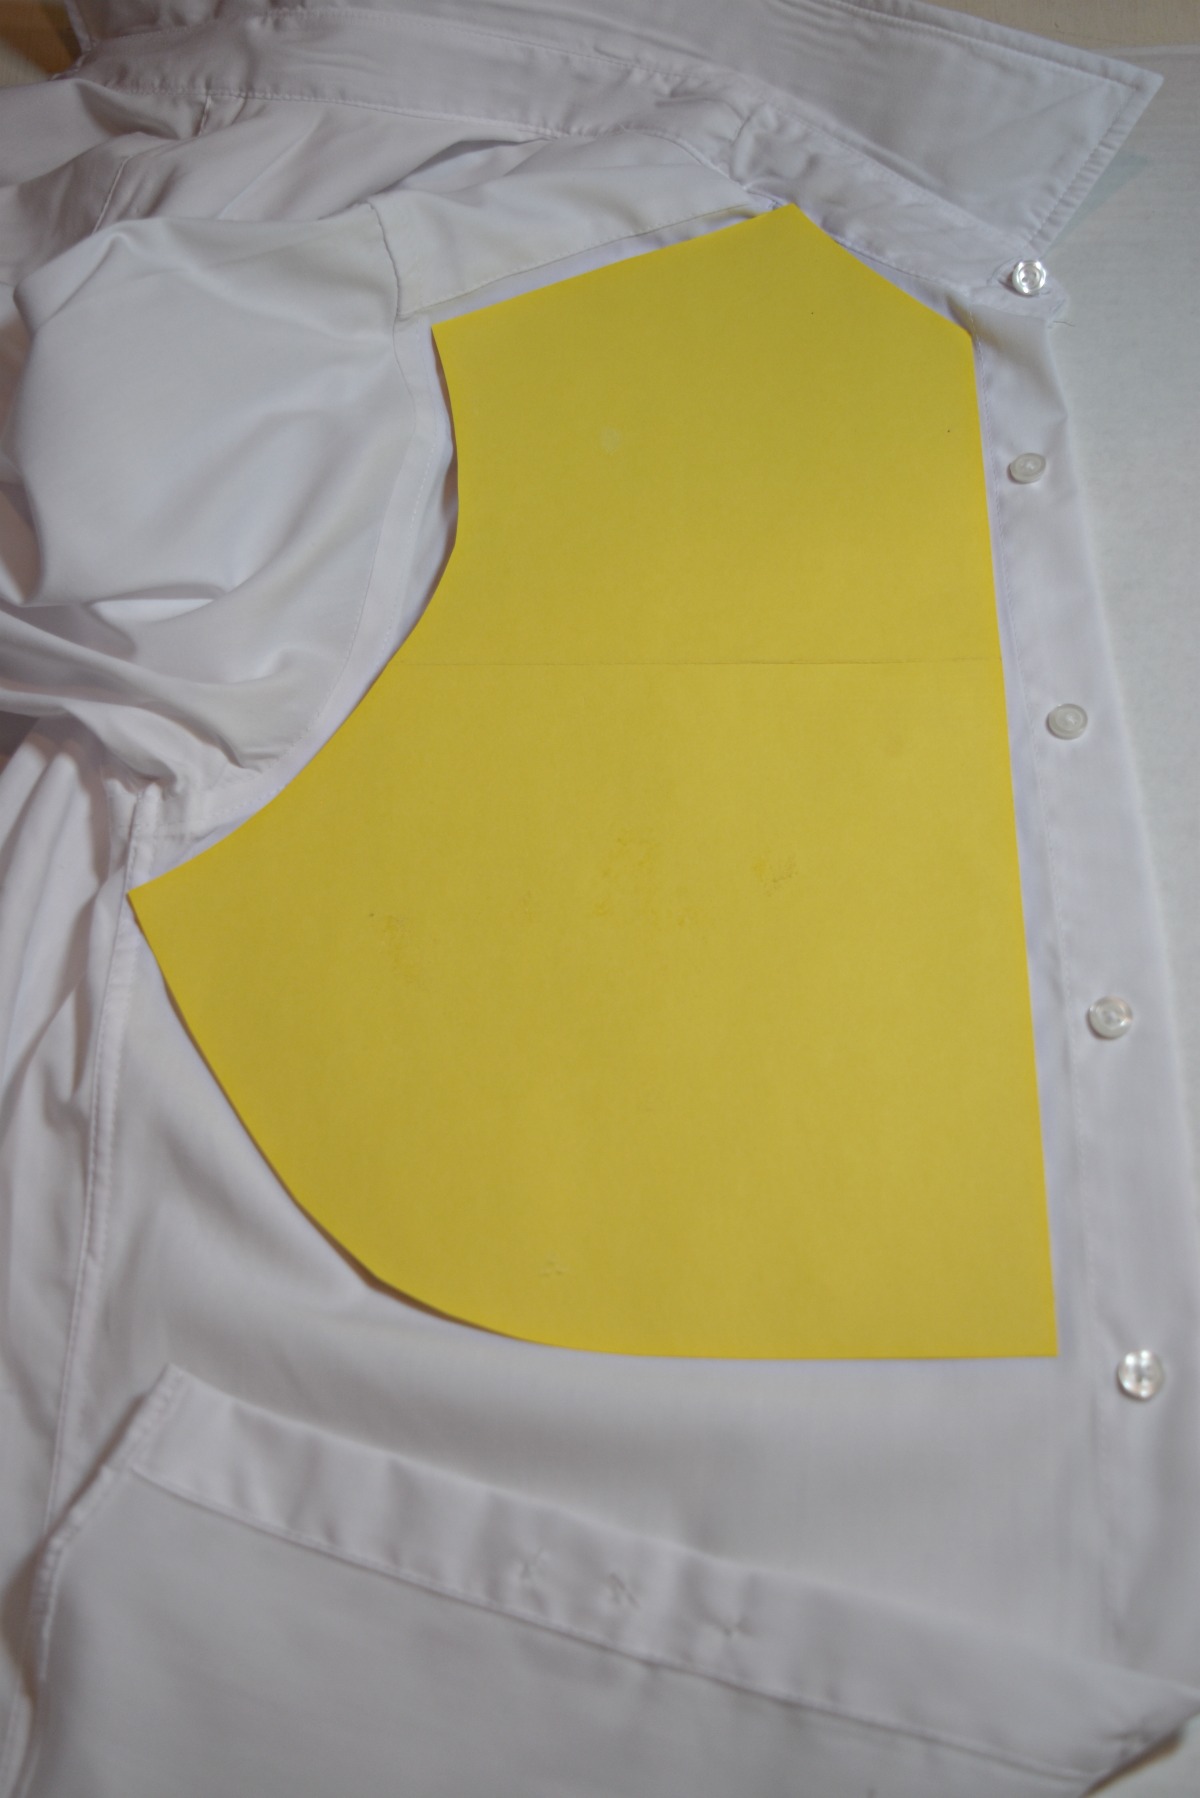
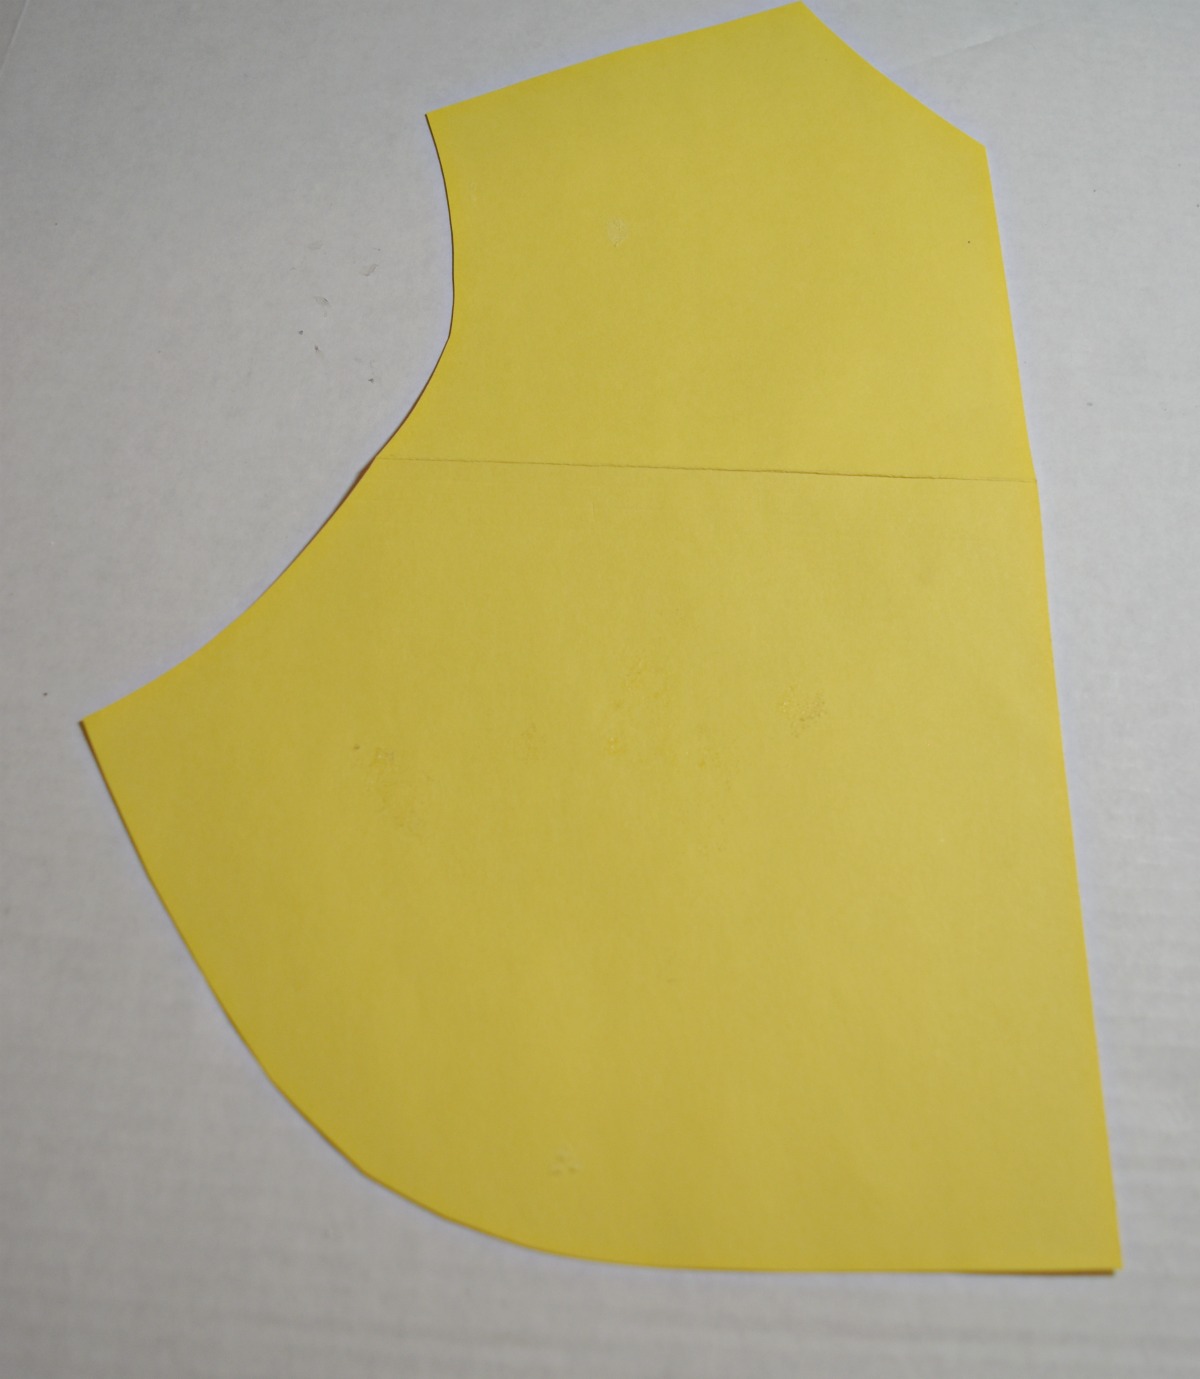
Step 1: Making the pattern for the tuxedo panels. Your measurements will be based of your shirt you are using for this project. I put my card stock on the front of the shirt to figure out the correct size and shape. I traced the shape of my shirt and then cut out the pattern piece.
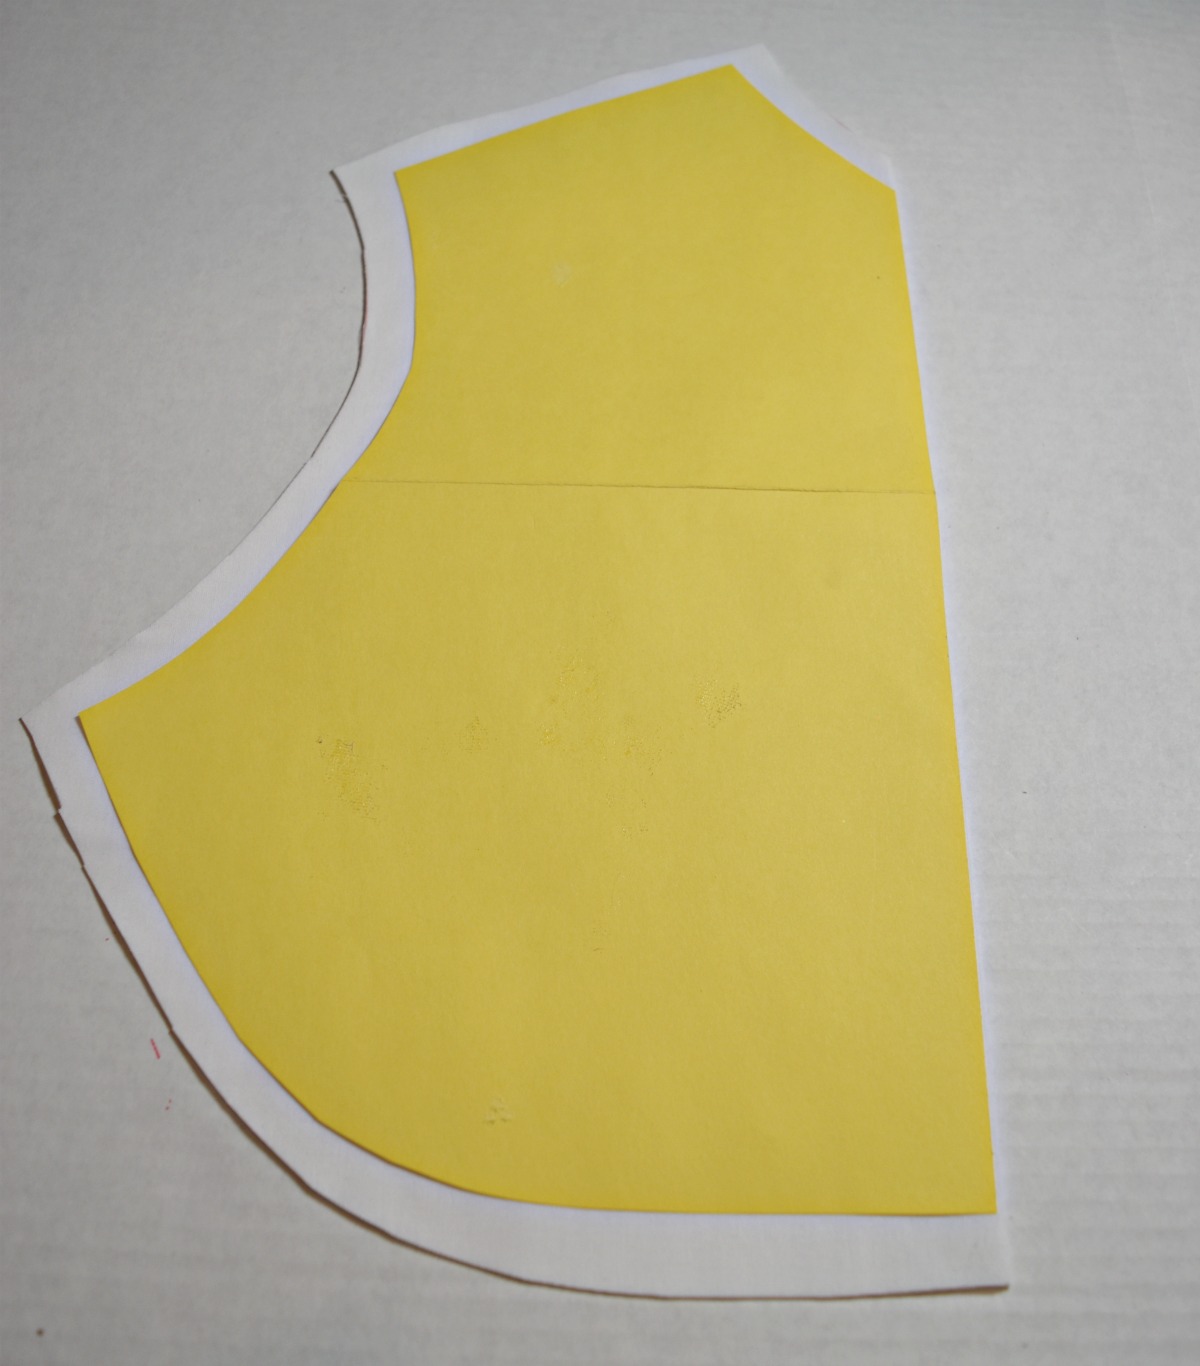
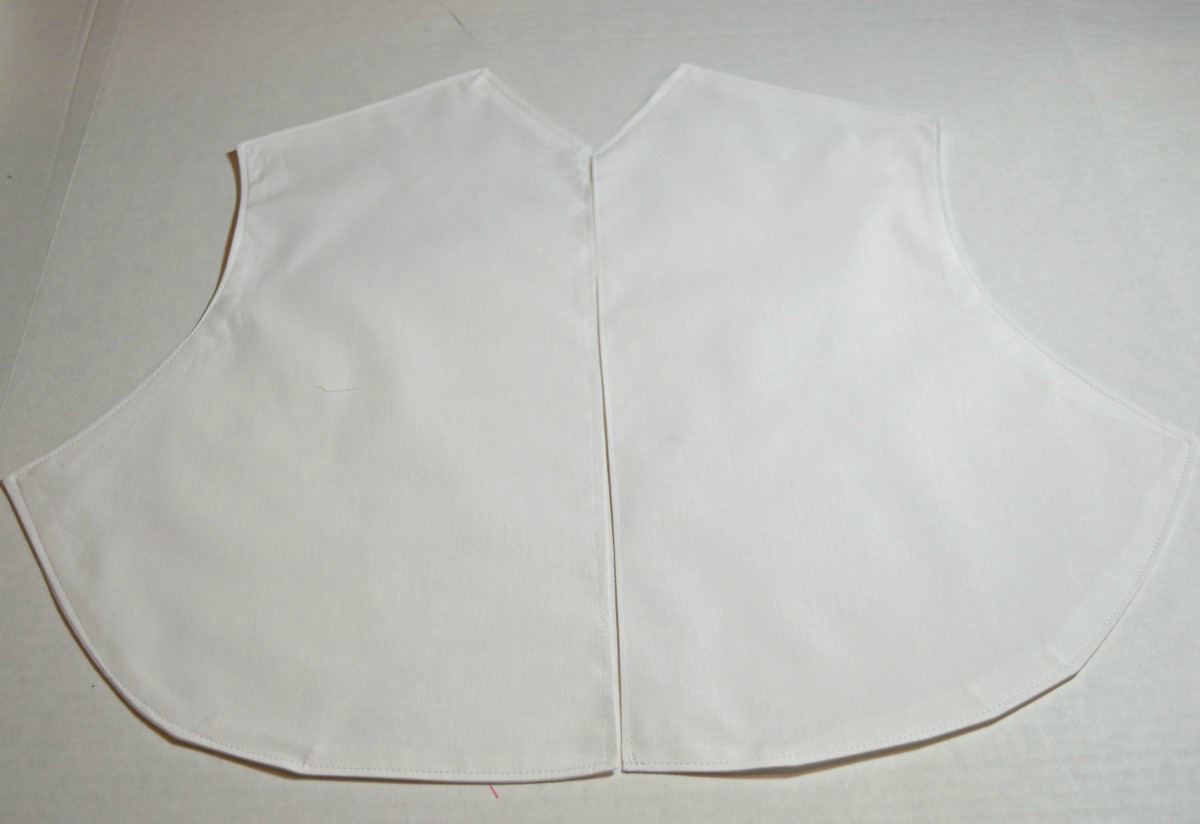
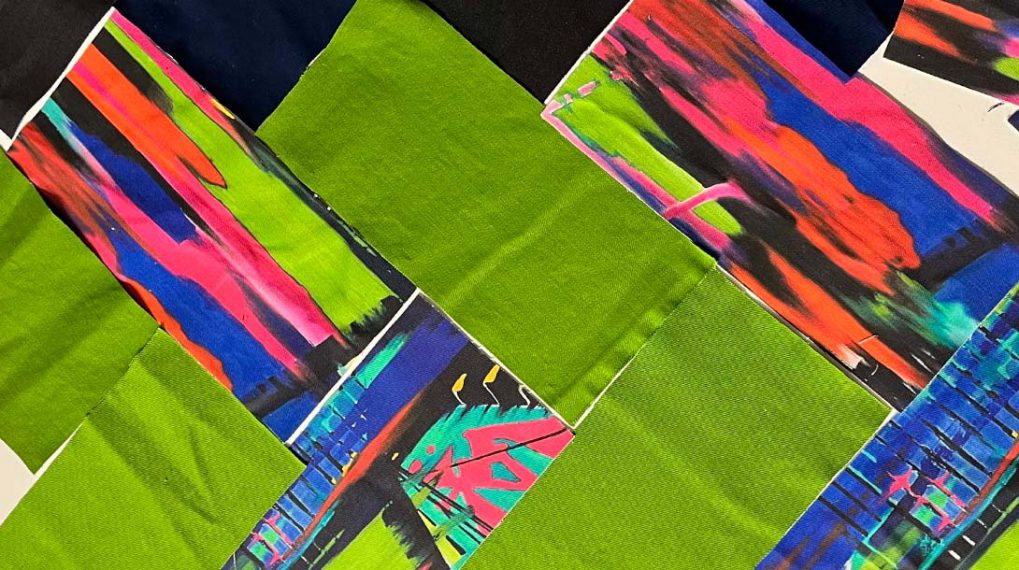
Step 2: Cutting out the Panels. Place the pattern piece on the fold and cut out two panels for each side. Make sure you either add the seam allowance in your pattern or when you cut the pattern. I added a ½ inch seam allowance when I cut out my fabric. (Make sure you flip your pattern over to the other side to cut out the second panel)
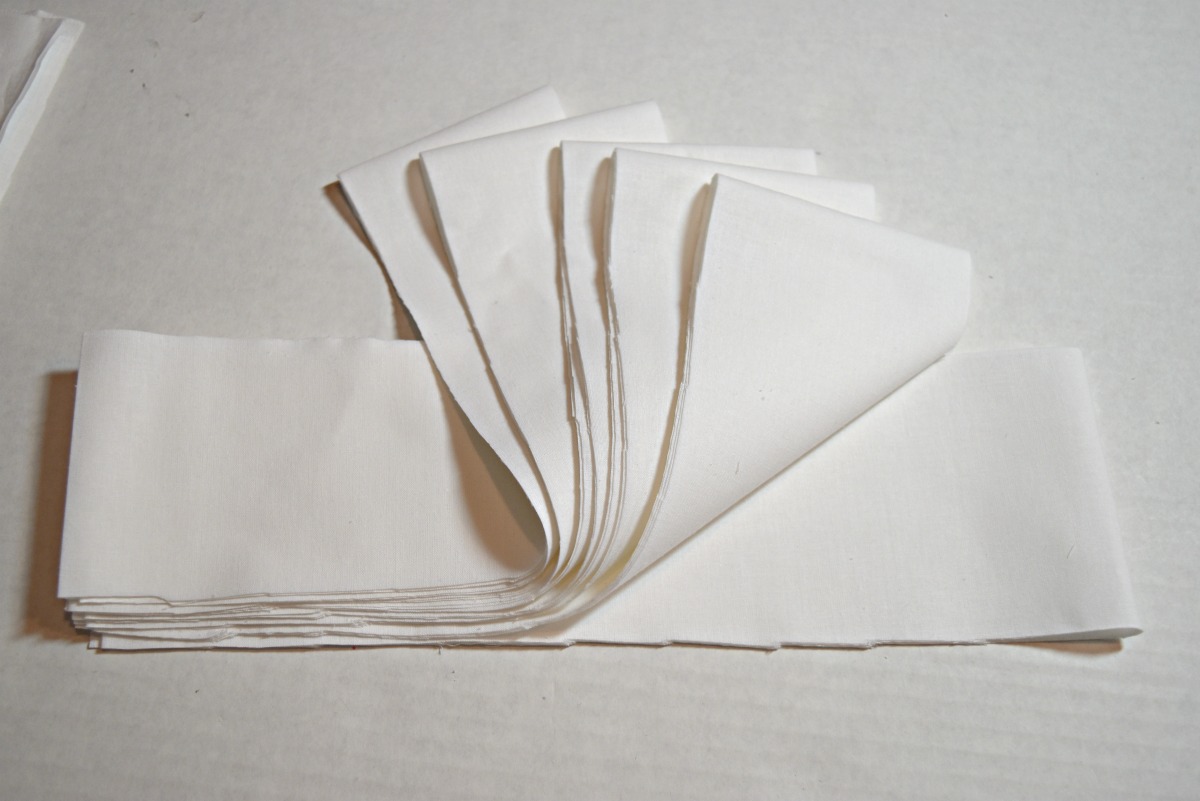
Step 3: Cutting out the ruffles. Cut out 6 strips (2″ X 45″) from your fashion fabric for the ruffles.
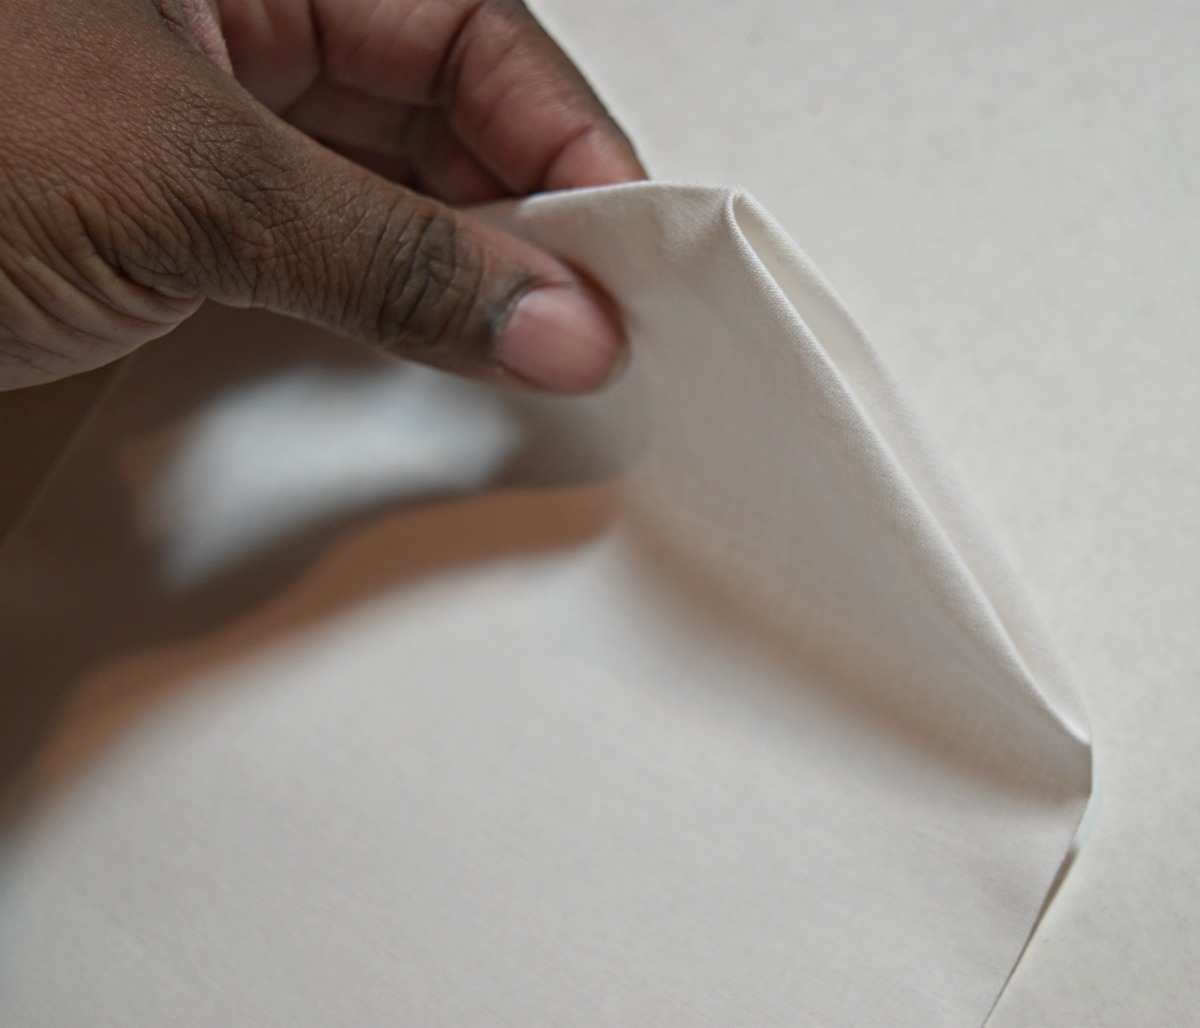
Step 4: Sewing the tuxedo panels. With the right side together sew all the way around the panel leaving the neck open, so that you can turn the panel to the right side. You may need to clip your edges if rounded. Turn and press each panel.


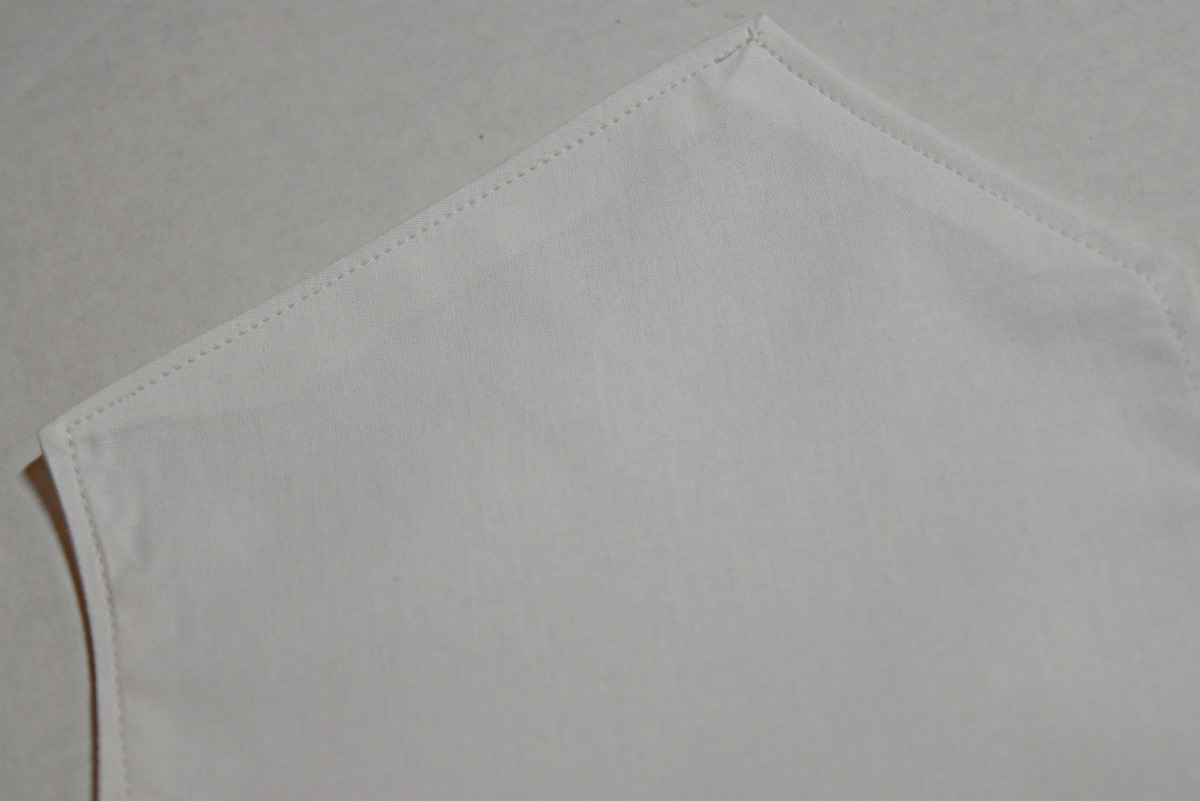
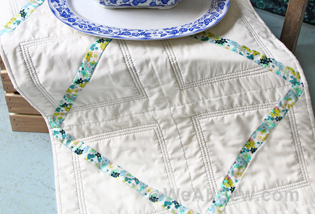
Step 5: Top-stitching the panels. Add top-stitching all the way around the panel ¼” from the edge and press.
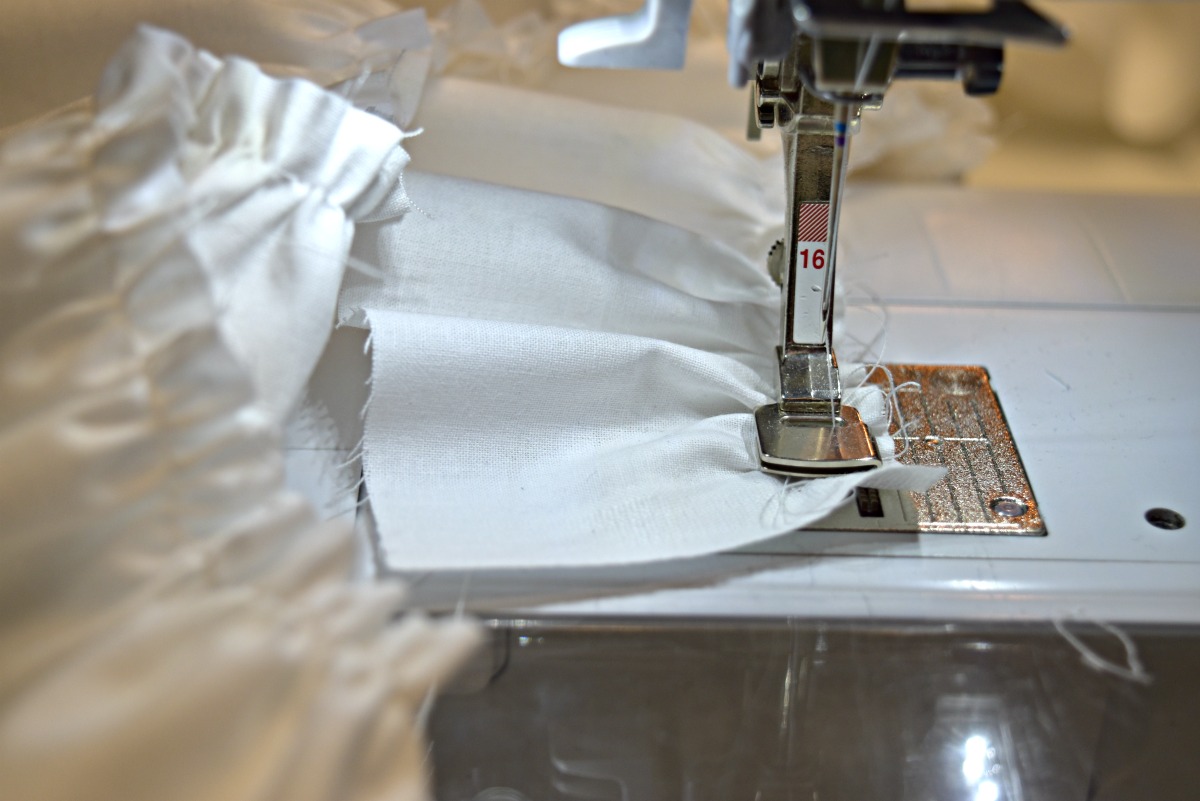
Step 6: Making the ruffles. I used the gathering foot #16 to make the ruffles for this project. You are going to add your gathering stitch about ¼” from the long edge of you ruffle strips. If you do not have a gathering foot you will apply your gathering stitches using your own method for adding gathers.
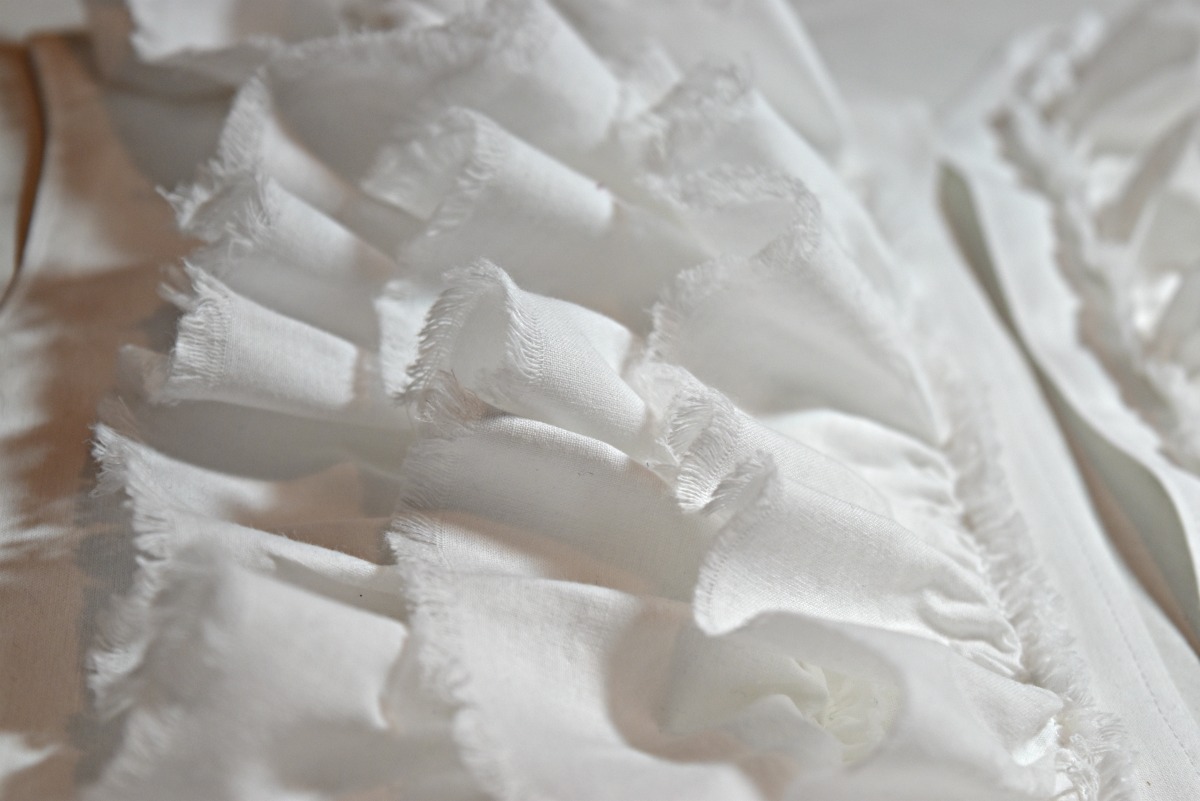
*I used the raw edges in my project because I wanted a worn casual fringe look to my tuxedo shirt. If you want clean edges you can hem your ruffle pieces.
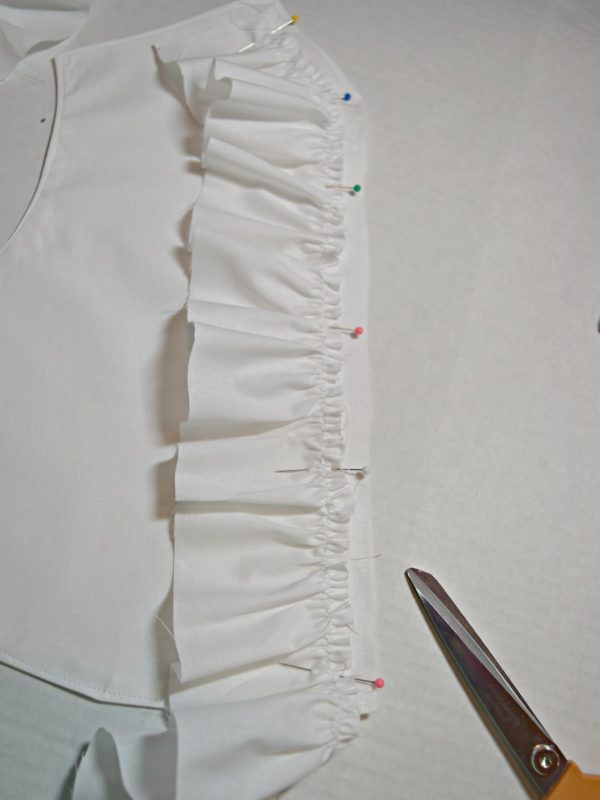
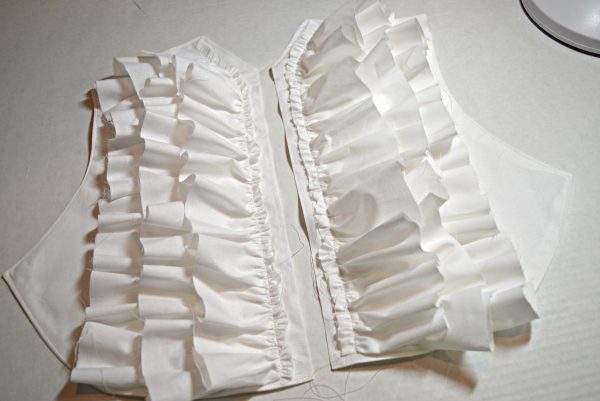
Step 7: Adding the ruffles to the panel. I started my first row of ruffles 1/2″ away for the edge. Pin the ruffle down the panel and stitch to the panel, cutting off excess ruffle. I placed my second ruffle 1″ away from the first row and stitched and then I did the same for the final ruffle. Repeat these steps for the second panel.
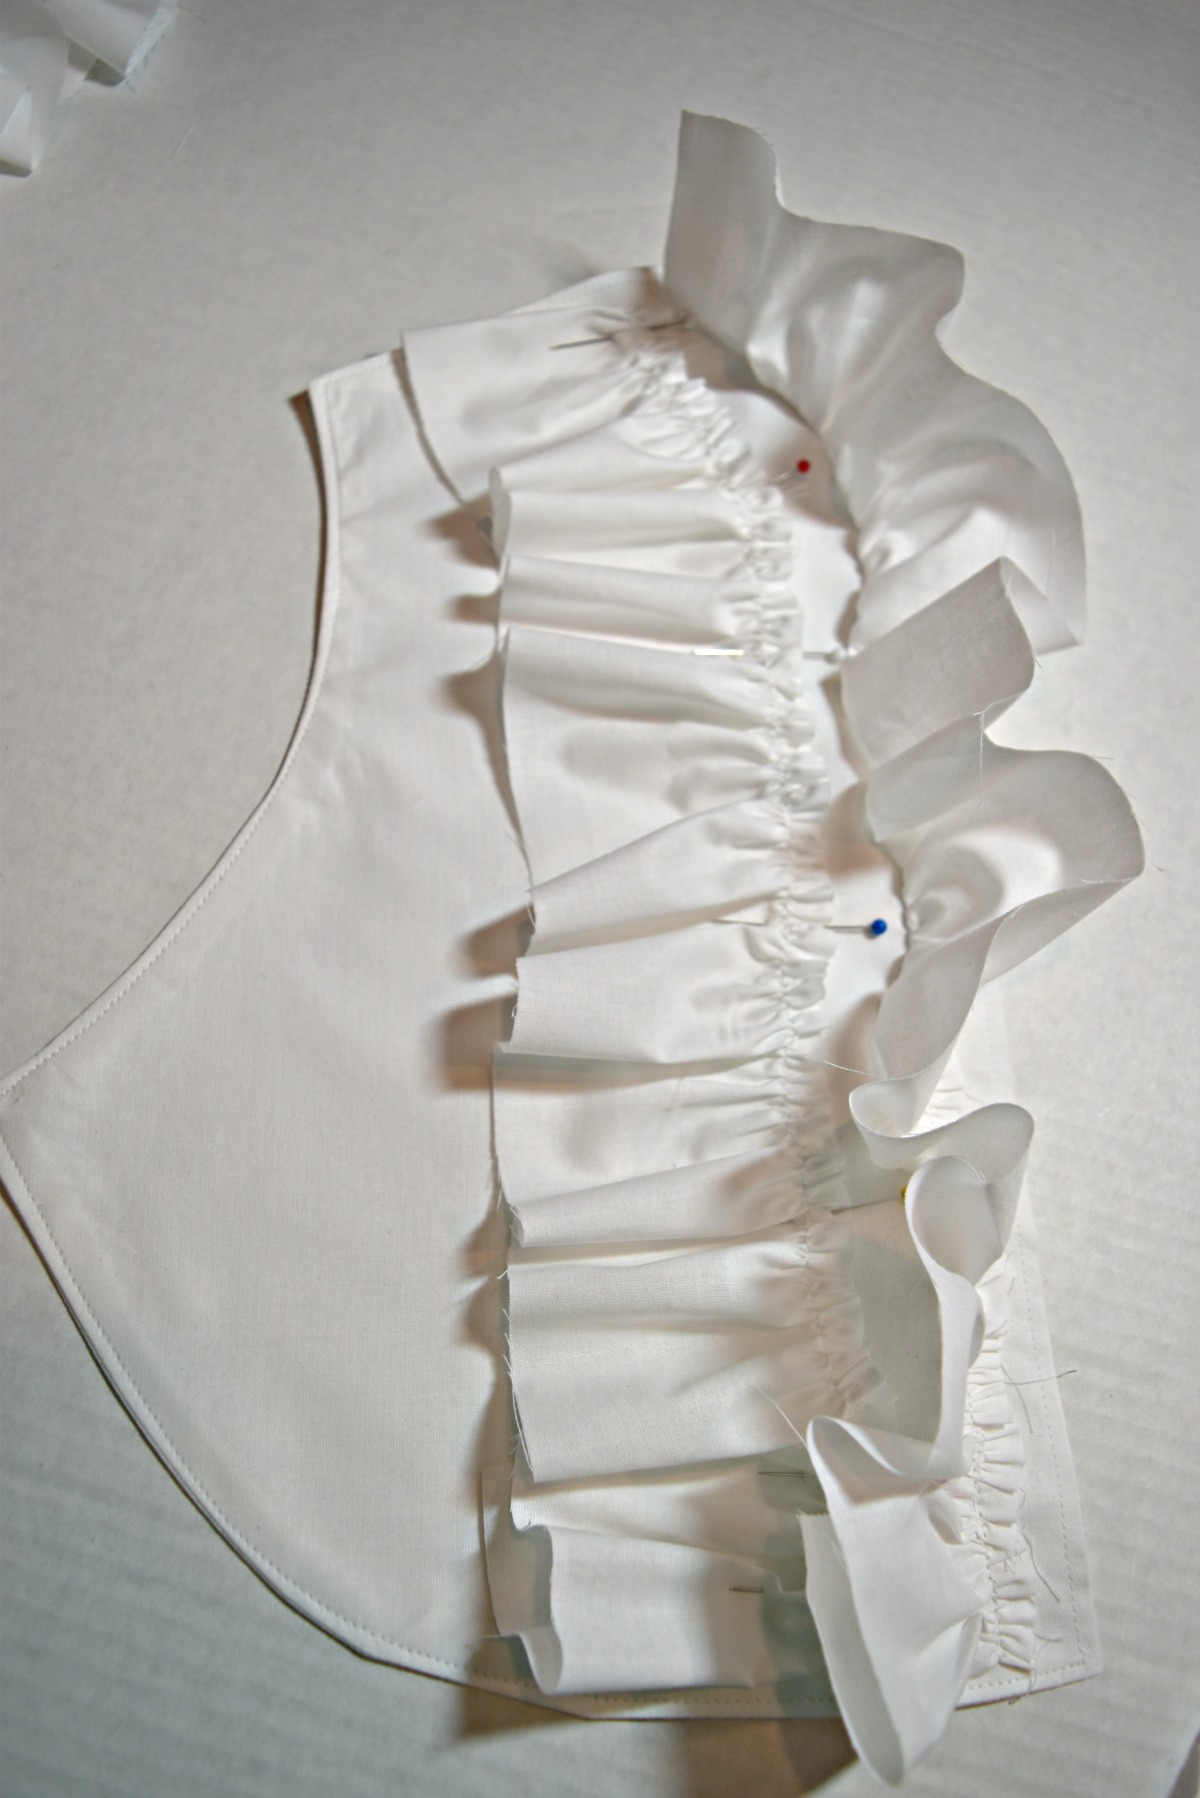
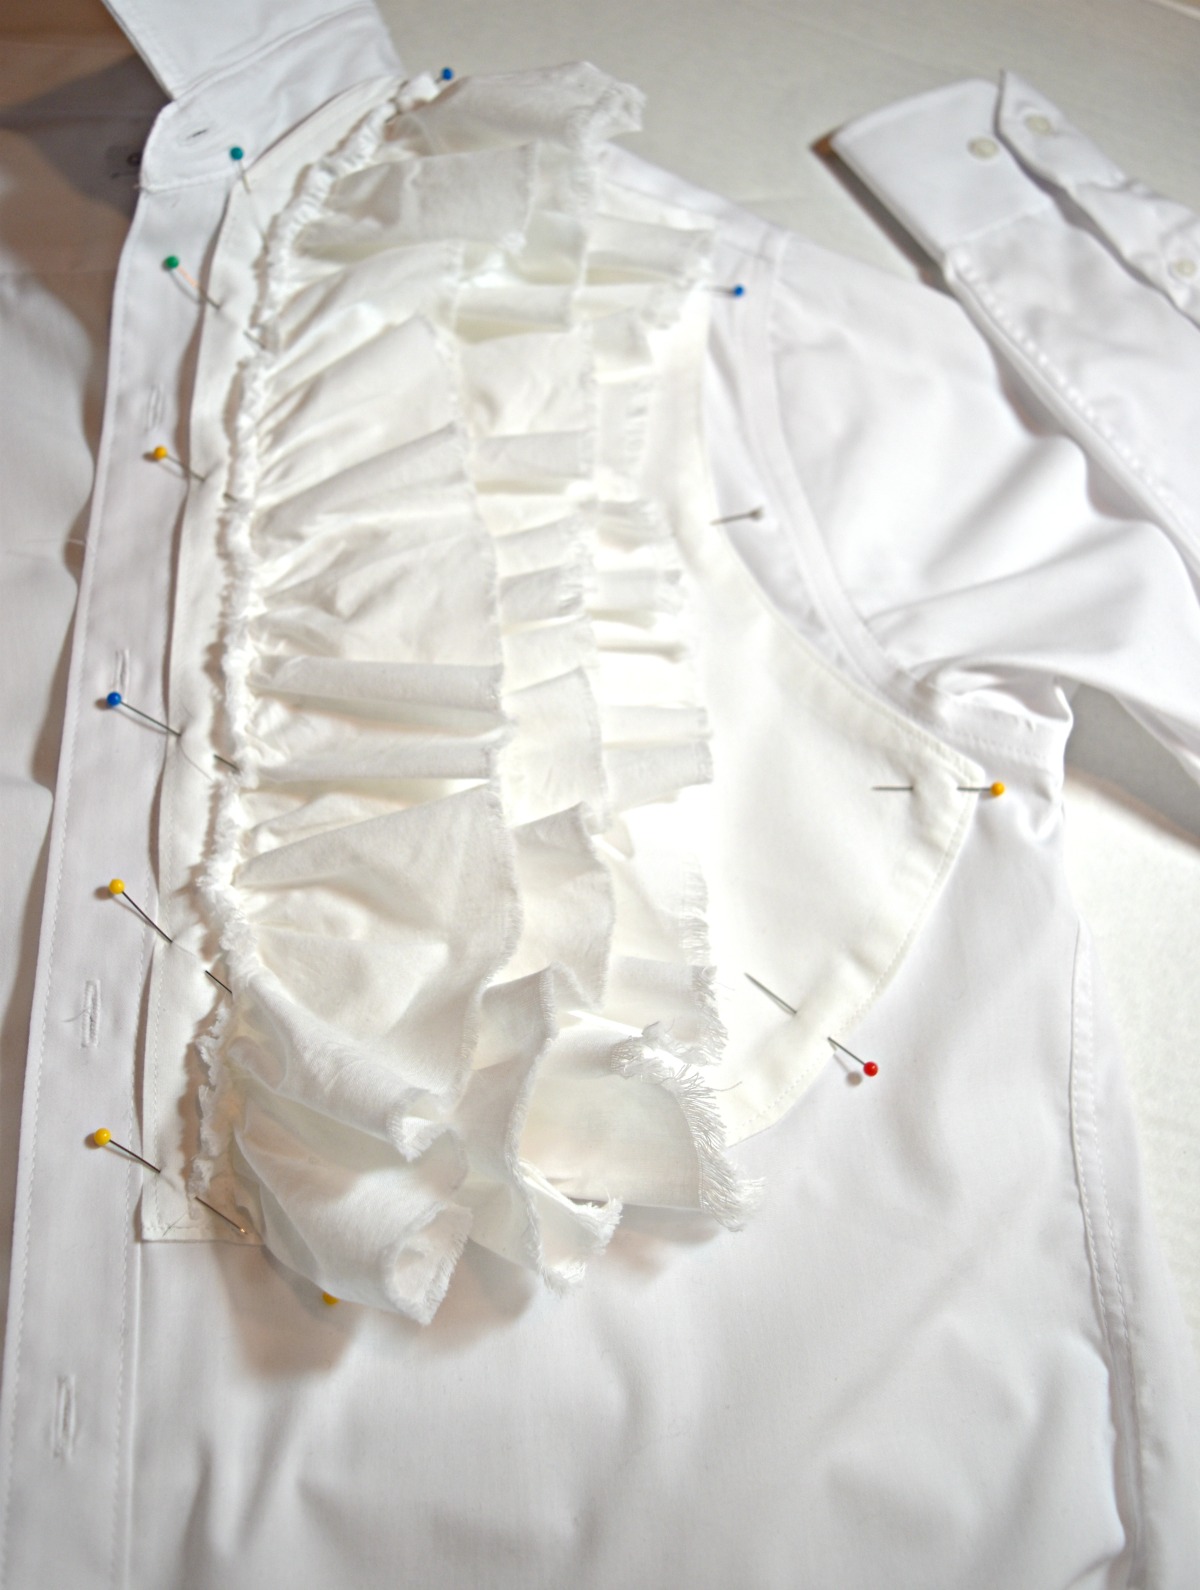
Step 8: Adding the completed ruffle panels to the shirt. Just place the panels right beside the button plackets on the shirt, pin, stitch and you are done!
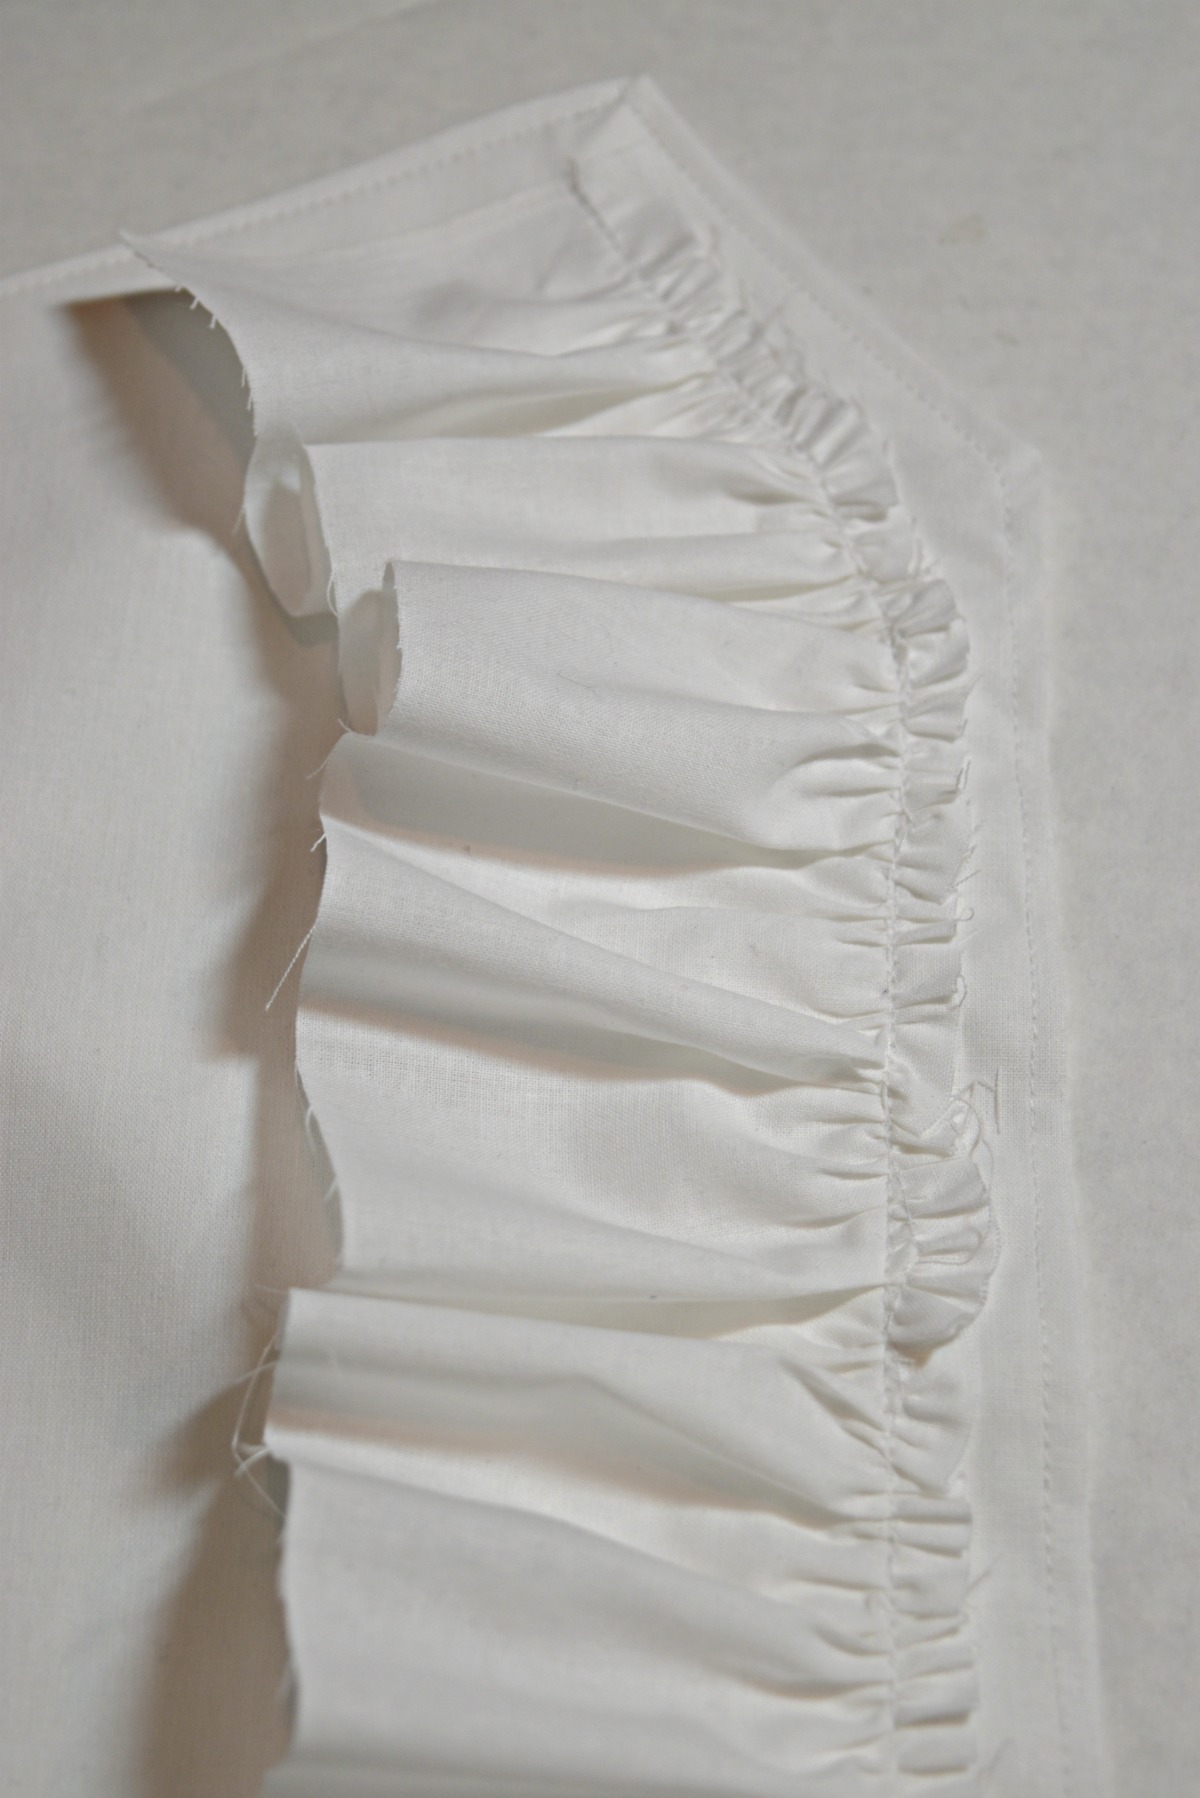
*This is what my edges looked like after washing my panels.

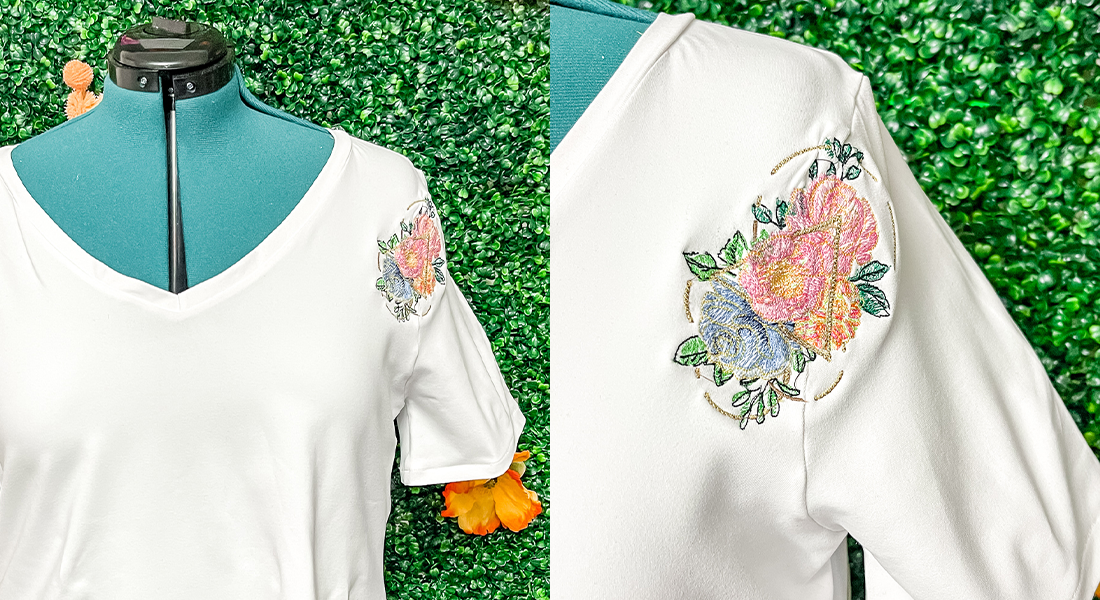
This a quick little upgrade for any plain button up shirt. You can use a print fabric to make it more interesting and maybe add bias tape to the edges of the ruffles? There are a ton of possibilities. I hope you enjoyed this little DIY as much as I did. As always don’t forget to drop by and take a peek and what’s going on at www.thatblackchic.com.


Love this!!!! So inspiring