DIY Remote Caddy
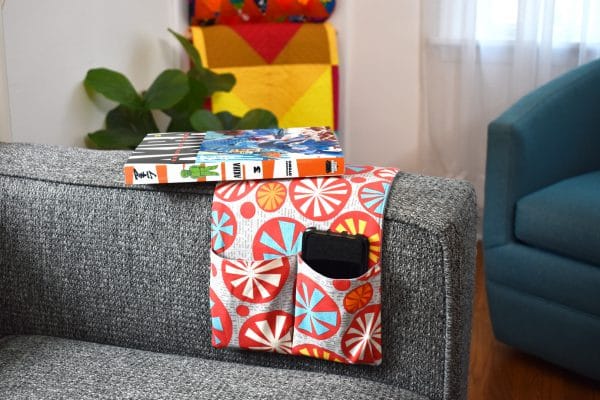
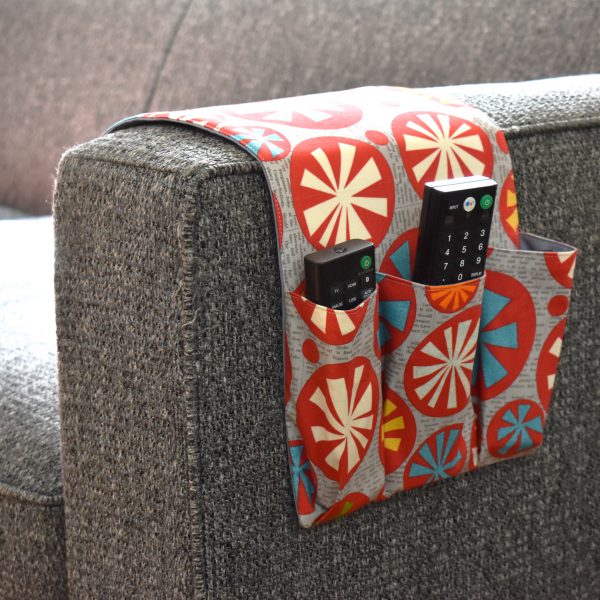
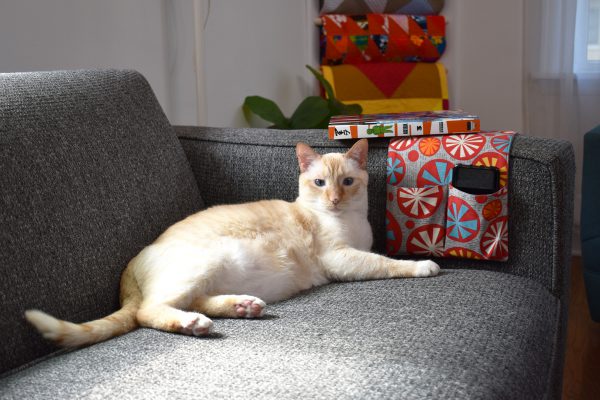
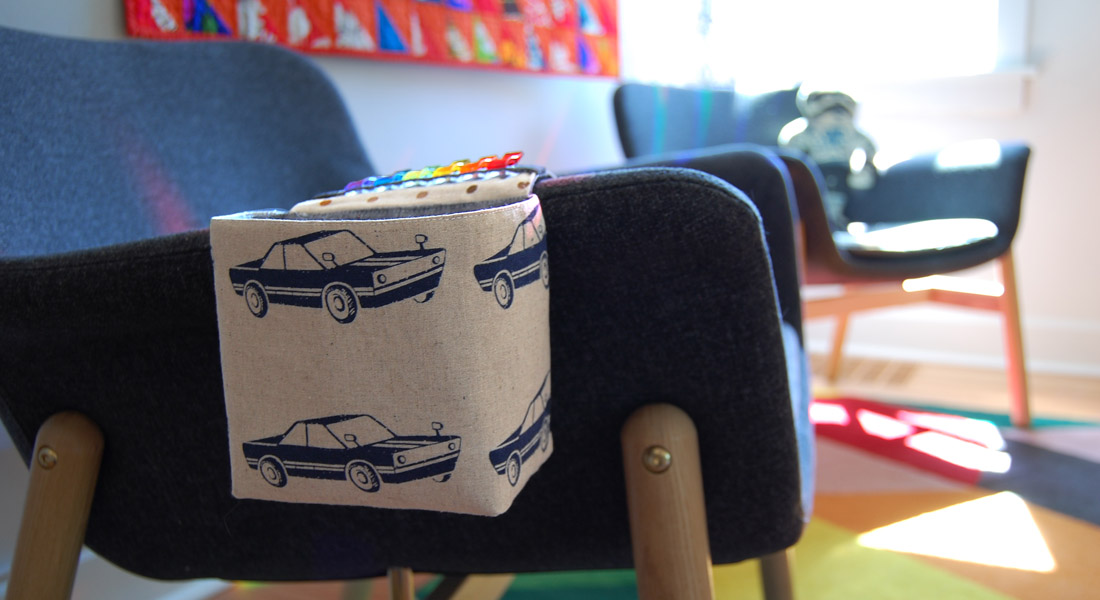
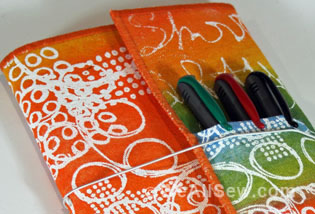
If you’re tired of fishing for lost phones and remotes in your couch cushions, try this DIY Remote Caddy to keep them all organized. The inside pockets comfortably hold two smart phones, and the outside pockets hold 3 remote controls. It’s also a handy place to store eyeglasses and keep those out of the couch cushions, too!
Materials to Make a DIY Remote Caddy
- 1/2-yard main fabric (top side of caddy and outside pockets)
- 1/2-yard lining fabric (bottom side of caddy and inside pockets)
- 24″ x 9″ piece of cotton quilt batting
- 24″ x 9″ piece of Pellon Craft Fuse
- Coordinating all-purpose 40 wt. polyester sewing thread
- Temporary basting spray
- Fabric marking pen or pencil
- Clear acrylic ruler
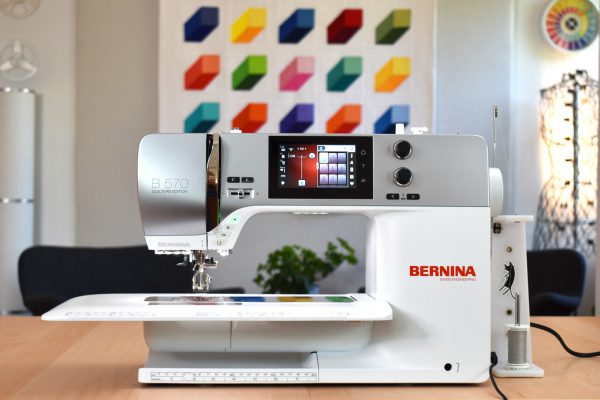
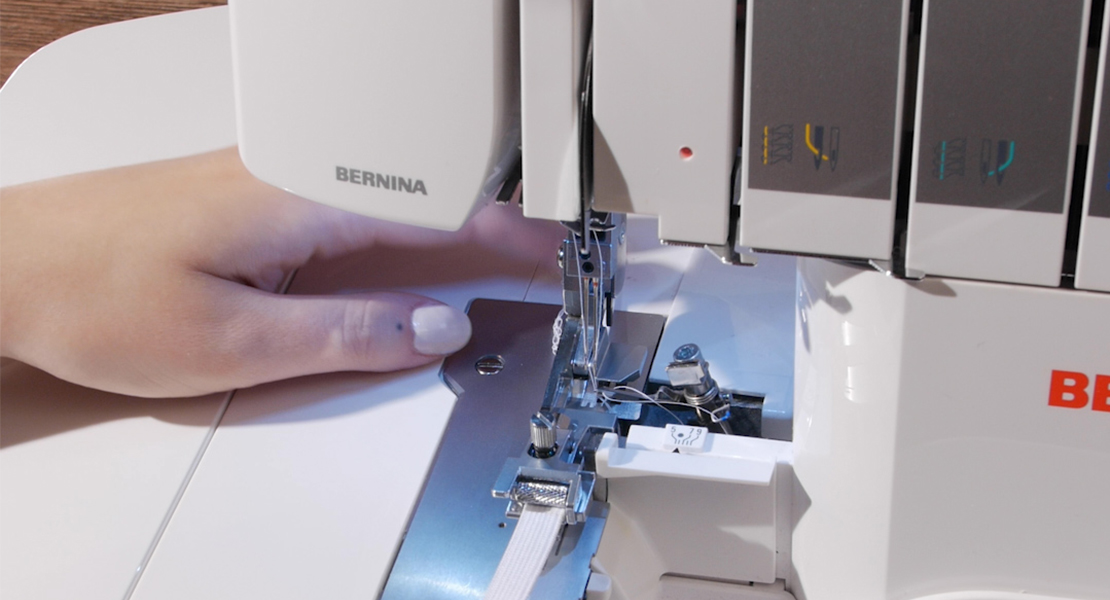
- Sewing machine (I use a BERNINA 570 QE)
- Reverse Pattern Foot #1D or #1C
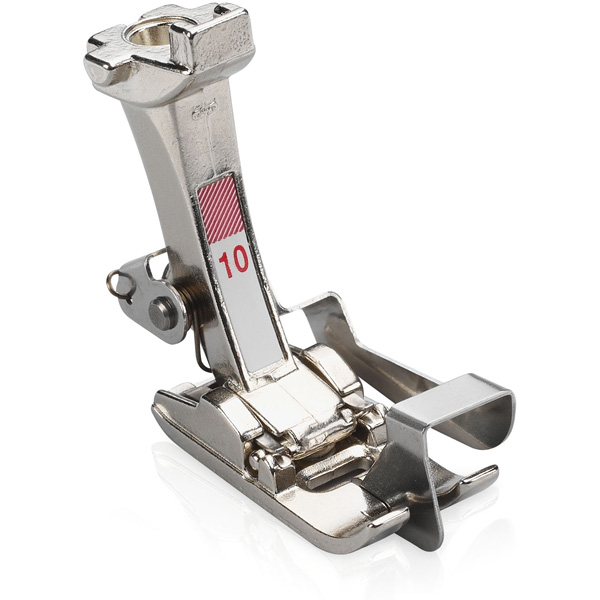
- Edgestitch Foot #10
- Zigzag needle plate
- Size 90/14 sharp or microtex sewing machine needle
- Basic sewing supplies
How to Make a DIY Remote Caddy
Use a rotary cutter, ruler and cutting mat to cut the fabric to size.
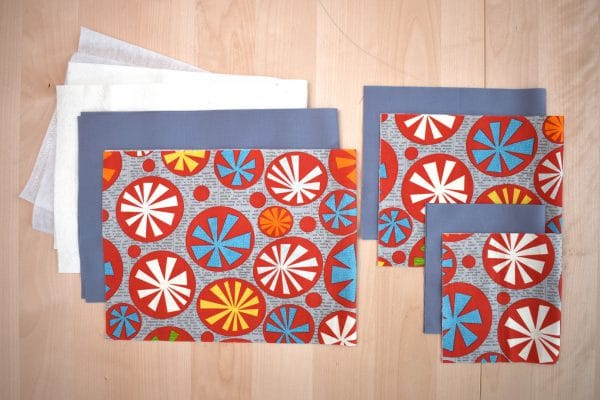
From main fabric, cut 1 piece 24″ x 9″ (top side of caddy), one piece 11″ x 6″ (phone pocket), and one piece 17″ x 7″ (remote pocket).
From lining fabric, cut 1 piece 24″ x 9″ (bottom side of caddy), one piece 11″ x 6″ (phone pocket lining), and one piece 17″ x 7″ (remote pocket lining).
Cut one 24″ x 9″ piece of batting and one 24″ x 9″ piece of Pellon Craft Fuse.
Following the manufacturer’s instructions, iron the Craft Fuse to the back-side of the 24″ x 9″ lining piece. Use temporary spray basting to adhere the batting to the back-side of the 24″ x 9″ main piece.
Set up the sewing machine with a zigzag needle plate, Reverse Pattern Foot #1D (don’t forget to engage Dual Feed) or Reverse Pattern Foot #1C. Use a thread that matches or closely coordinates with your fabric (I am using a 100% polyester 40 wt. all-purpose thread in a medium gray). Use a standard straight stitch for this project.
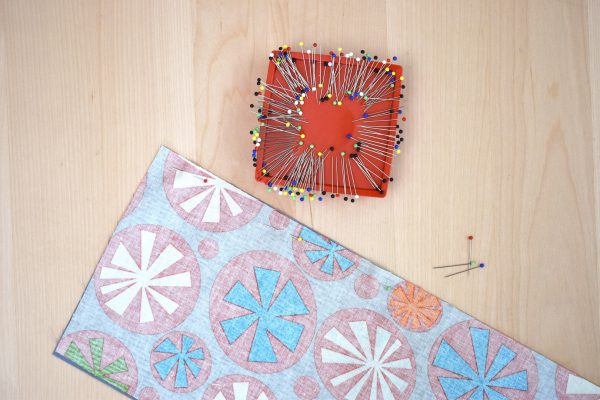
Begin with the main and lining pieces for the remote pocket (the larger of the two pockets). Pin the top edges of the pocket pieces right sides together.
Stitch along the top, pinned edge with a 1/2″ seam.
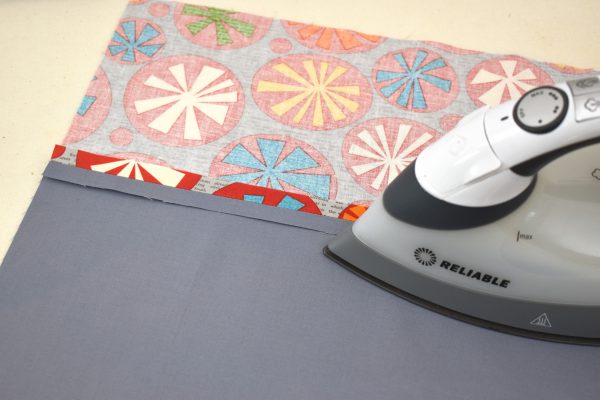
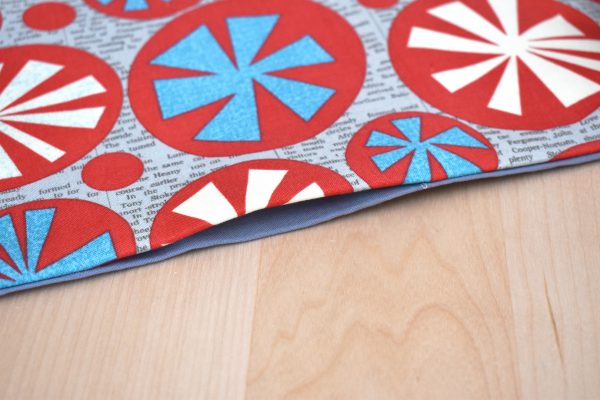
Press the top pocket seams open, then fold over at seam with wrong sides together, pressing the top edge flat.
Repeat the above steps for the phone pocket.
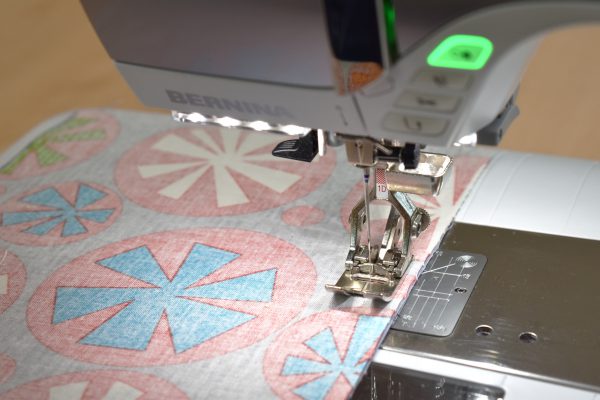
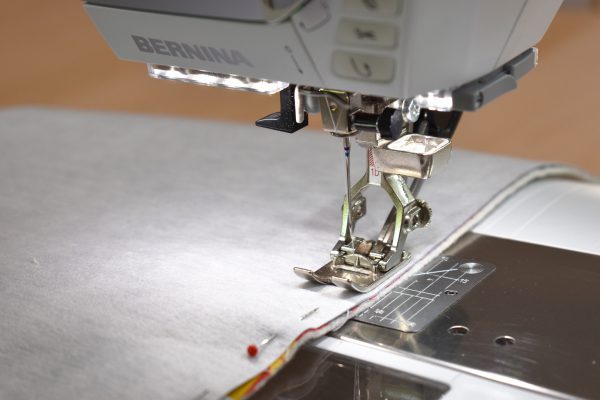
Switch to Edgestitch #10 and move the needle 3 positions over to the left. Align the top edge of the pocket along the blade of the foot, and edgestitch along the top edge of both pockets.
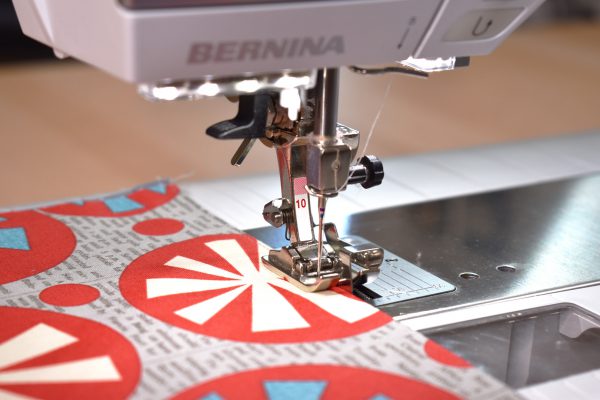
Next, switch back to Reverse Pattern Foot #1D/#1C, and baste the two pocket layers together 1/4″ from raw edges. This basting stitch will help hold the two layers together, and keep them from shifting or puckering in the following steps.
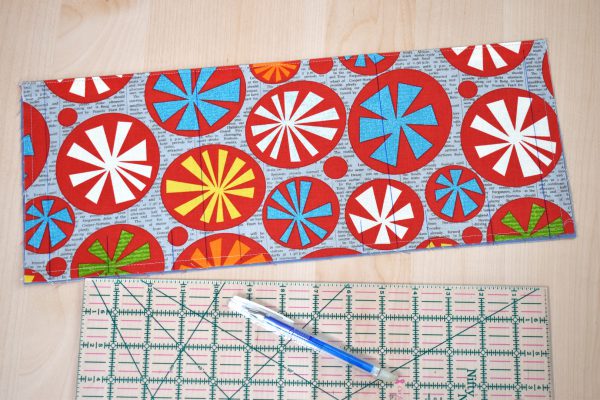
After basting raw edges, use a clear acrylic ruler and fabric marking pen or pencil to mark the pocket lines and pleats. These lines will form the pocket pleats and guide you to top sew the pockets in place in a later step. Begin with the larger remote pocket.
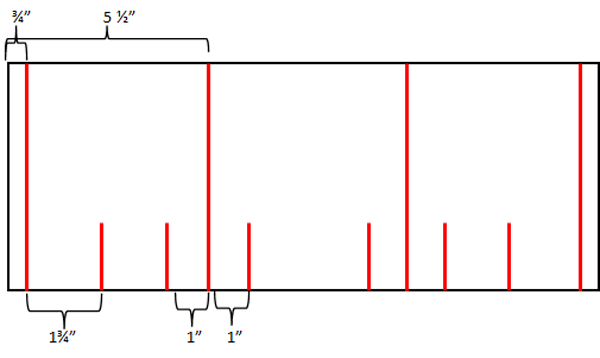
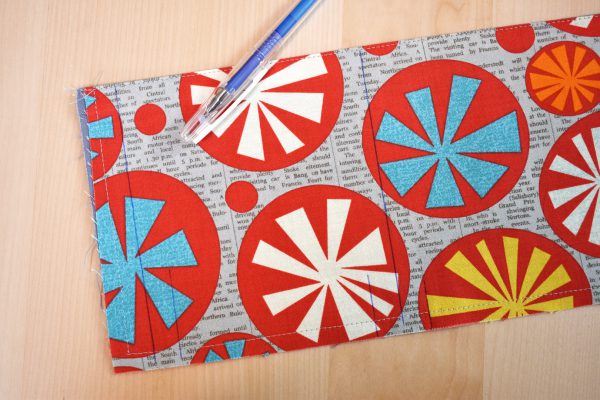
Measure 3/4″ over from each short pocket end, and draw a line across the entire pocket (from the edgestitched top to the raw edged bottom). Then, measure 5 1/2″ over from each short pocket end, and draw another line across the entire pocket.
Referring to the diagram above, measure over 1 3/4″ from the first long line near the ends of the pocket, and draw a short line a few inches long, starting at the bottom raw edge.
Measure 1″ from each side of the long lines separating the pocket into thirds, and draw a short line a few inches long, starting at the bottom raw edge.
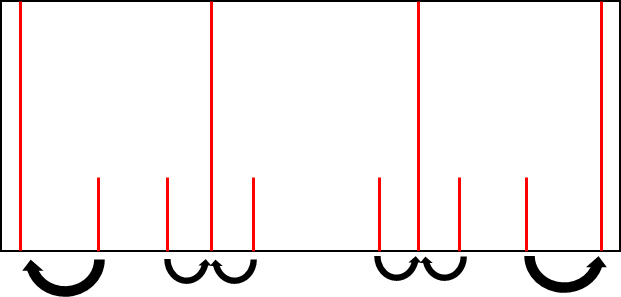
The shorter lines will be folded over to meet the nearest long lines to create the pocket pleats. Refer to the diagram below.
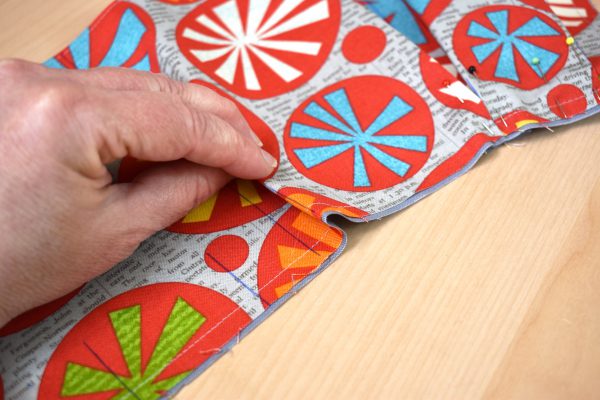
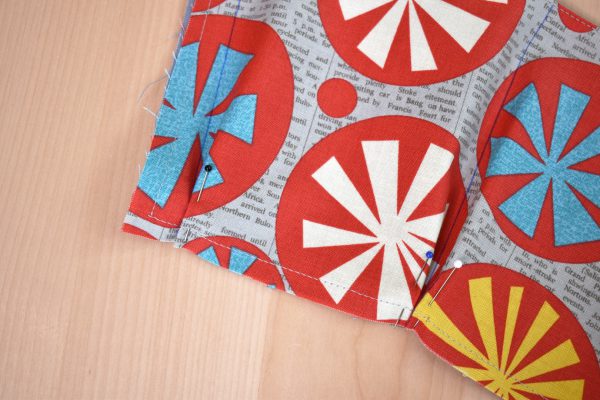
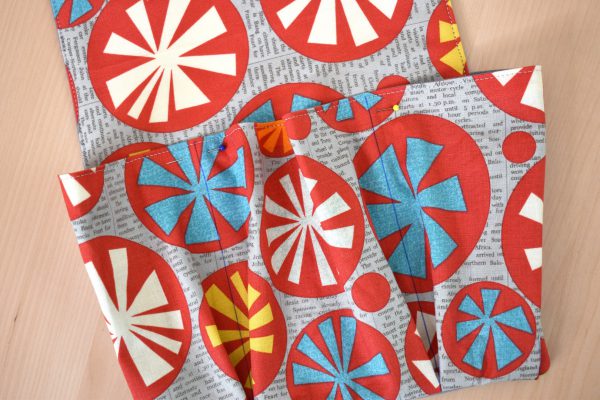
Start folding the fabric together at a short line, and bring the short line over to meet the long line.
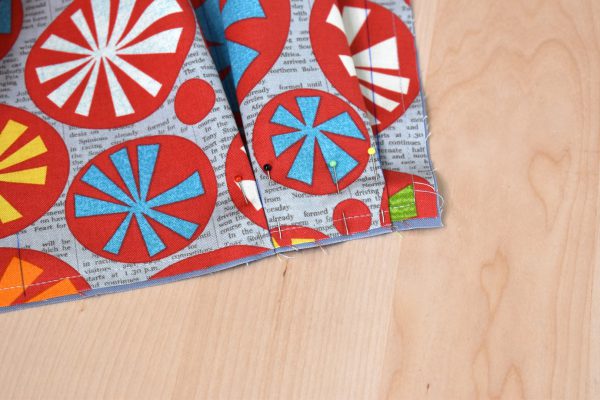
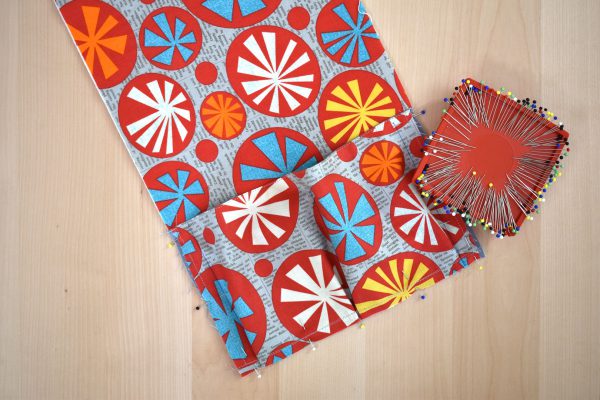
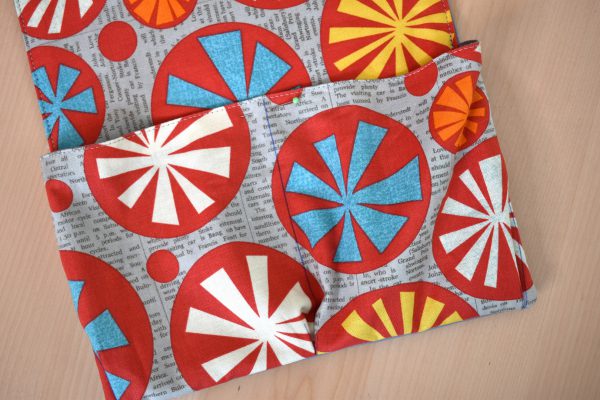
Pin the pleats in place near the bottom raw edge of the pocket to hold them in place.
Then add the pleats to the smaller pocket.
Using the clear acrylic ruler and fabric marking pen or pencil, make one long mark (from top of pocket edge to bottom raw edge) in the center of the small pocket, 5 1/2″ from the short end.
Then make a long mark 3/4″ from each short end.
Finally, make a short mark a few inches long 1/2″ from each side of the center pocket line, and another 1/2″ short mark to the side of the long mark towards each short end of the pocket, referring to the photo above.
Fold over short marks to meet long marks and create the pleats. Pin pleats towards the bottom of the pocket to hold in place.
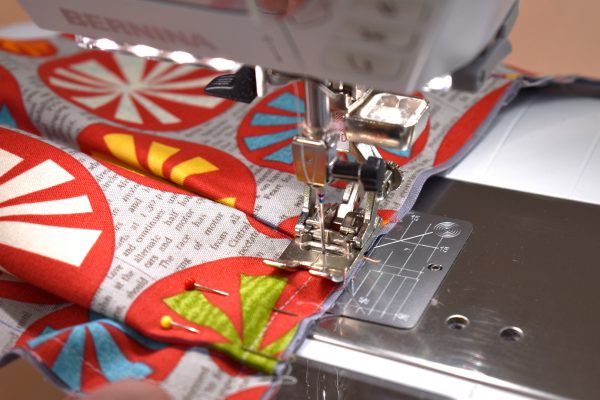
At the sewing machine, stitch along the bottom edge of the pocket to hold the pleats in place. Sew right on top of the basting stitches.
Pin the pockets in place on each end of the main fabric backed with batting. Insert pins perpendicular to the fabric to make it easier to pull them out when sewing (avoid sewing over pins, this can break a pin and possibly damage your sewing machine).
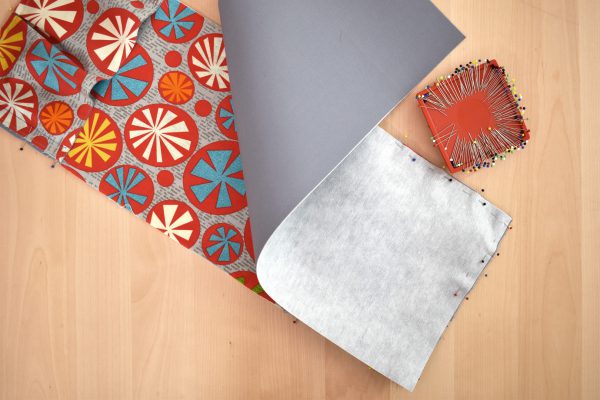
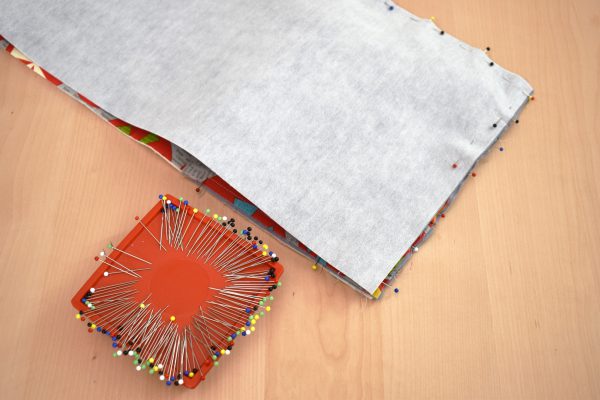
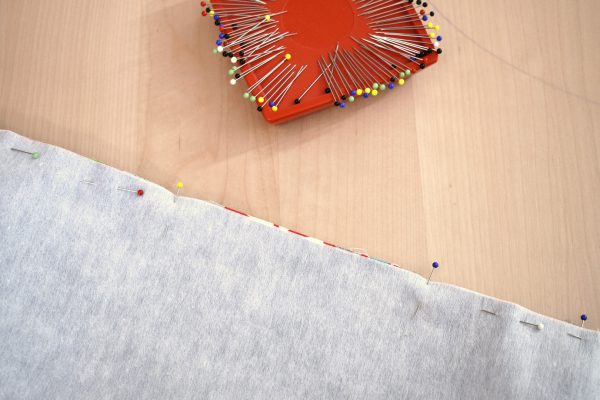
After pinning pockets on each end of the main fabric, place the lining fabric (with Craft Fuse on the back) on top, right sides together, and pin all the way around.
If the pockets are making the layers puffed up, just push down on all the layers while pinning.
Leave a 5″ – 6″ opening on one long edge of the remote caddy, right in the center. I mark this space with pins to remind me where to start and stop sewing.
Stitch all the way around the remote caddy with a 1/2″ seam allowance, pivoting in the corners. Backstitch well at the start and stop points on each side of the opening. Remember to remove all the pins as you sew.
Clip corners close to stitching.
Turn the remote caddy inside out through the opening. Use a point turner or chopstick to gently push out the corners.
Press the opening in 1/2″ on both the top and lining. Press side seams flat between pockets at the ironing board. Do not press pockets at this point.
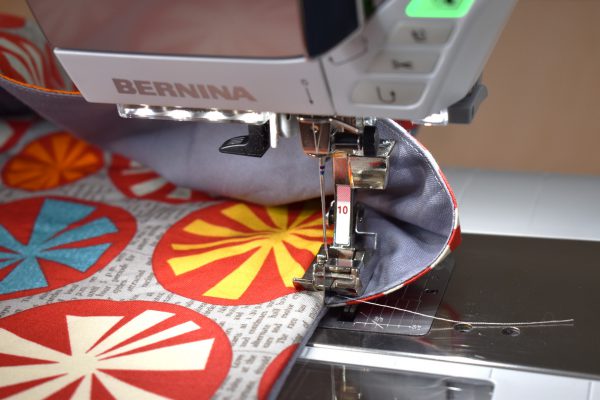
Switch back to Edgestitch Foot #10 and move the needle 3 positions to the left. Edgestitch on both sides of the remote caddy, starting about 1/2″ inside one pocket edge, and stopping about 1/2″ inside the other pocket edge. Do not edgestitch over the pockets. The edgestitching will sew the opening closed.
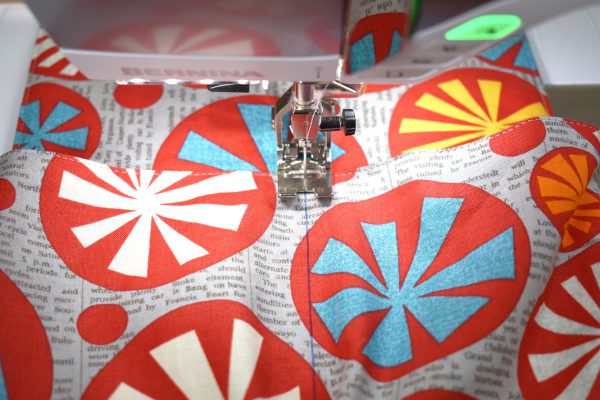
Switch back to Reverse Pattern Foot #1D/#1C for the final sewing step. Pin the long lines on the pockets to both layers of the remote caddy, making sure that the lines are straight.
Top stitch along the lines, backstitch at the top of the pocket to create a strong stitch. Stop sewing about 1″ from the bottom of the pocket edge.
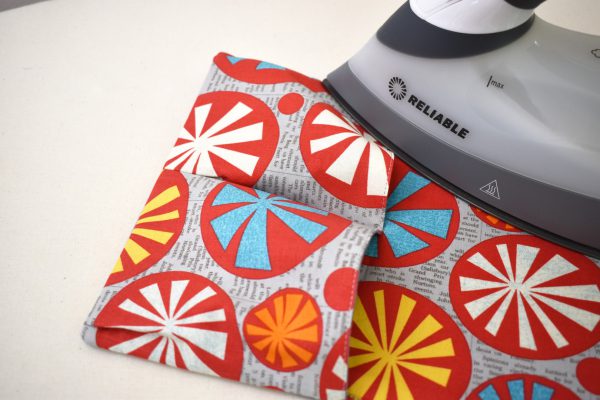
Now it’s time to give the pockets a good pressing, and the remote caddy is ready for service!
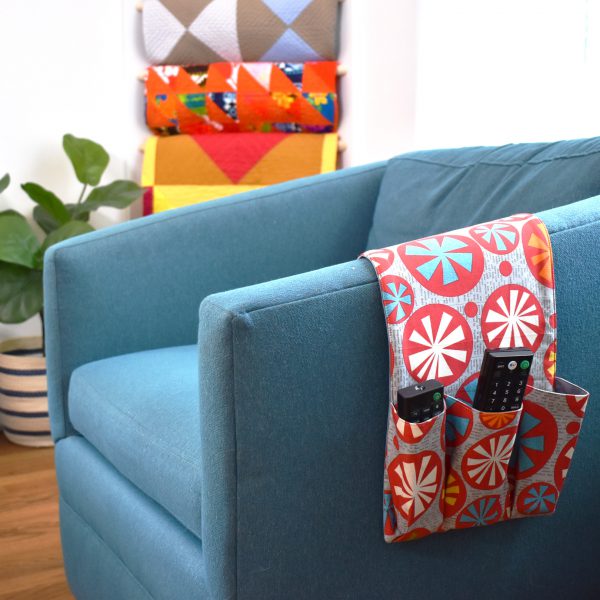
Drape the caddy over a chair or couch, pop your remotes in the outside pockets, and the inside pockets will keep hold of your phone.
The remote caddy is a favorite with our family, and keeps all of our remotes and phones out of the couch cushions. I hope you enjoy the project, and if you share your caddy on Instagram be sure to tag me @erika.mulvenna!
What you might also like
2 comments on “DIY Remote Caddy”
-
-
Oh thanks! It is super handy! ?
-
Leave a Reply
You must be logged in to post a comment.














What a great tutorial! Definitely need to make a couple of these!