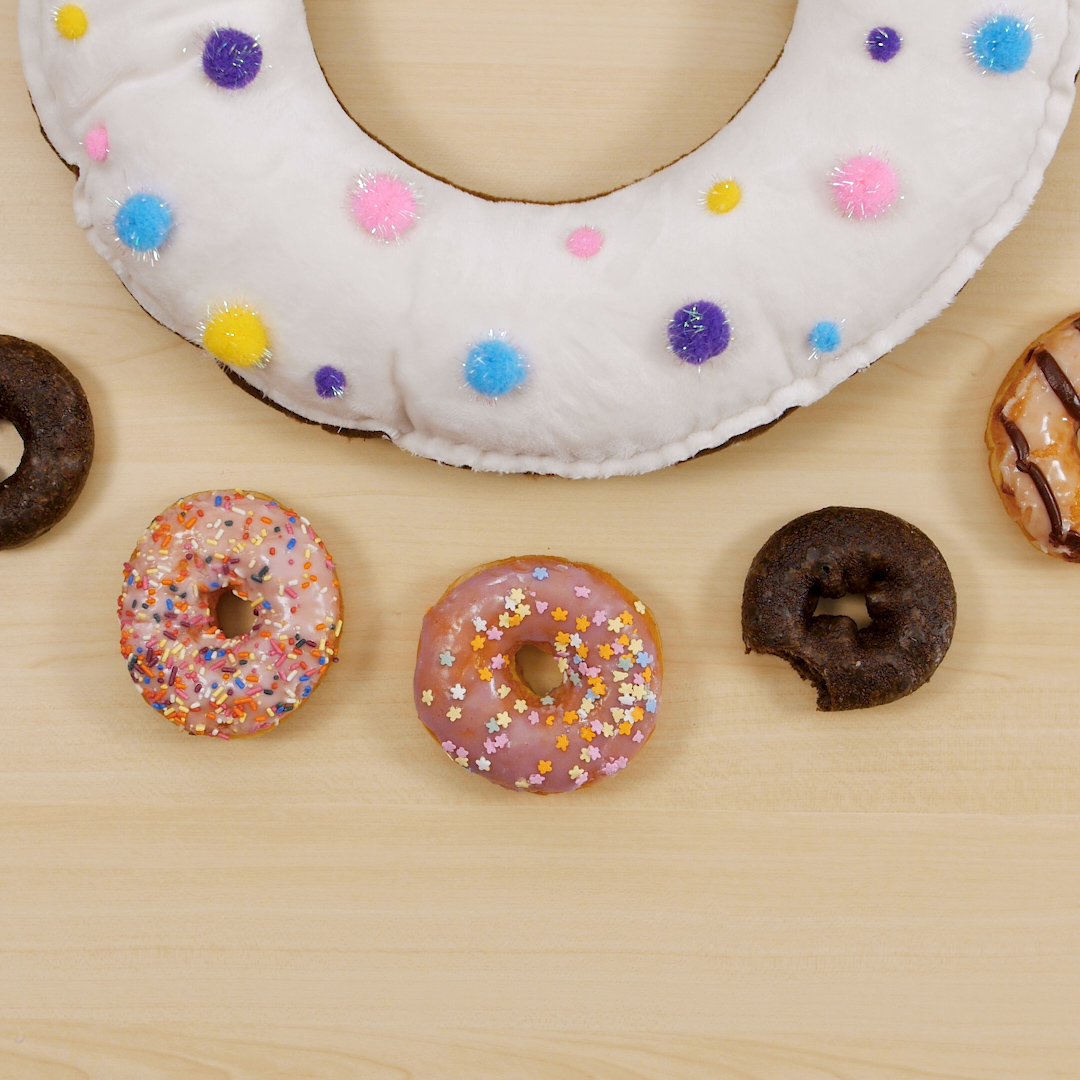
DIY Donut Pillow
Time to make the donuts! Treat yourself to this cute little throw pillow that takes no time to stitch up. Super soft Cuddle fabric makes this accessory even cozier. Donut worry, this project is as easy as cake. Or a cake donut, anyway.
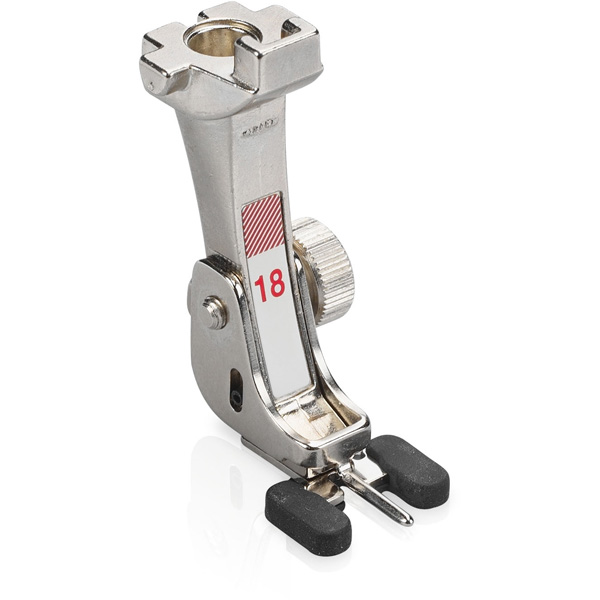
The icing on the donut for this project are the sprinkles—learn a new use for the Button Sew-On Foot #18! This thing isn’t just for buttons anymore. Keep reading to pick up some sweet new sewing skills!
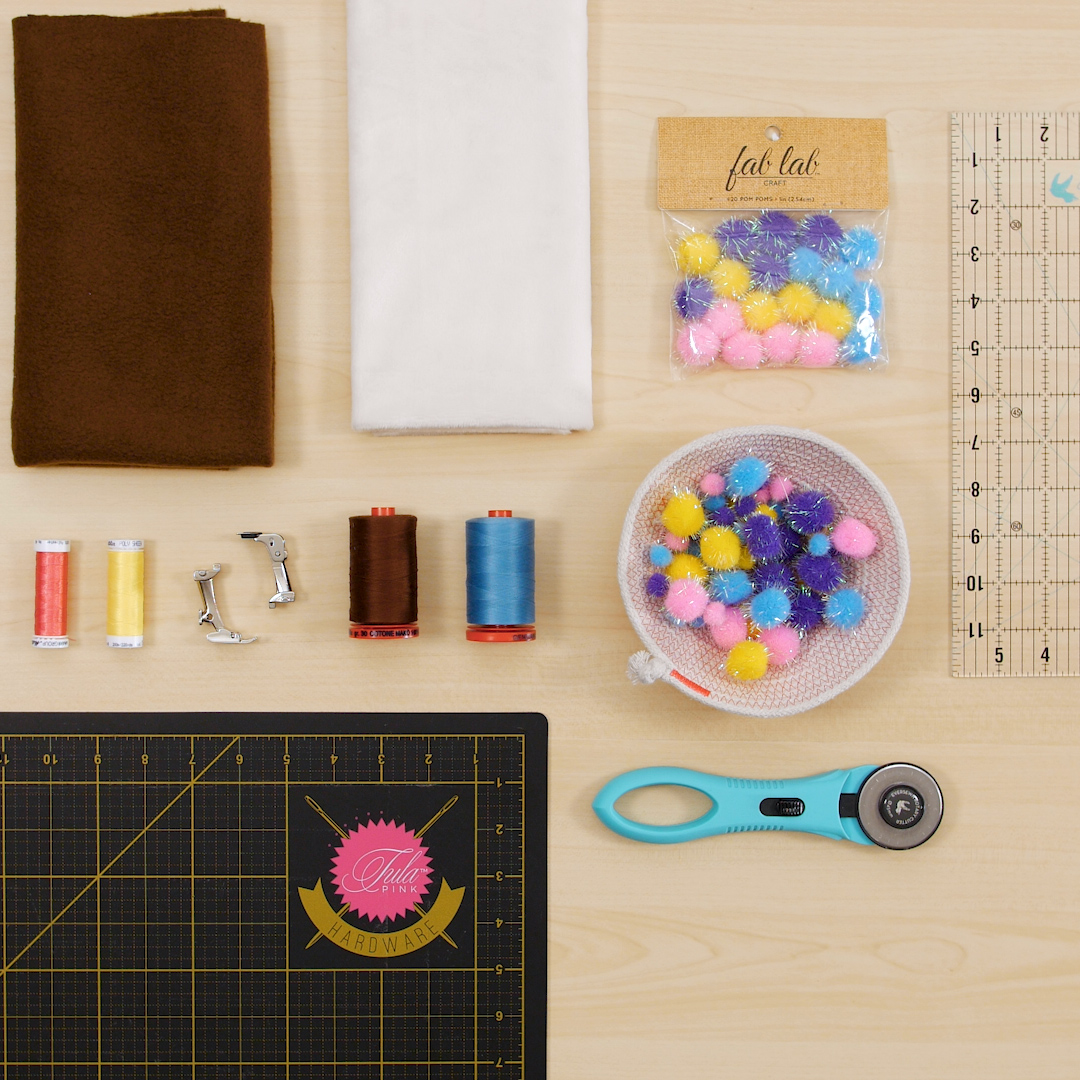
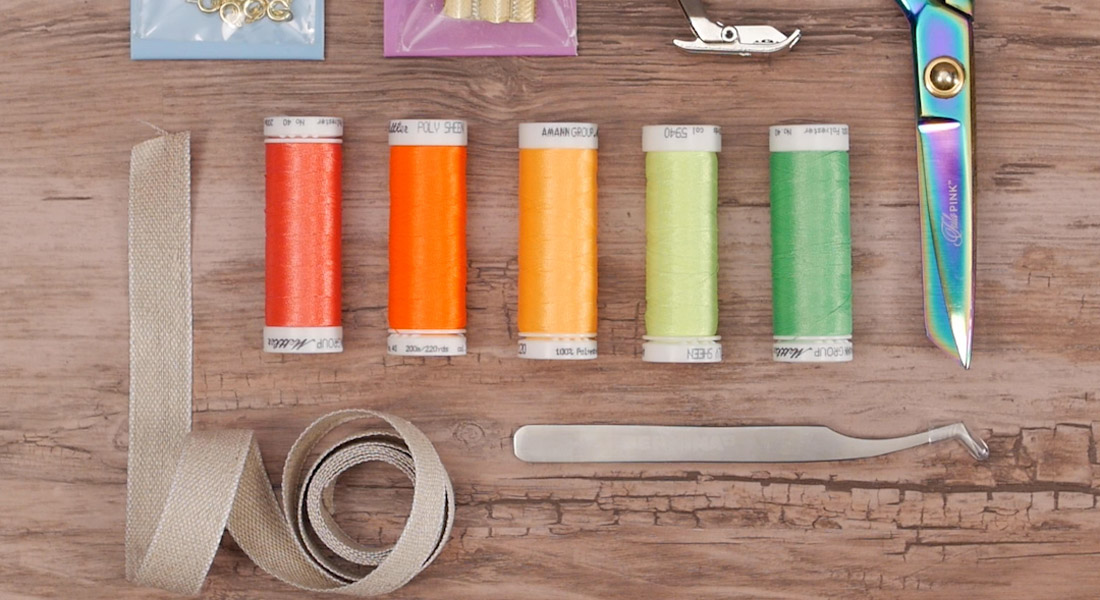
Materials to Sew a Donut Pillow
- 20” square of white Cuddle fabric
- You could use pink or another color if you want your donut frosted!
- 20” square of brown Cuddle fabric
- Multi colored pompoms
- Polyester thread
- Colors to match both fabrics as well as all the pompoms
- Rotary cutter
- Cutting mat
- Poly-fil Fiberfill
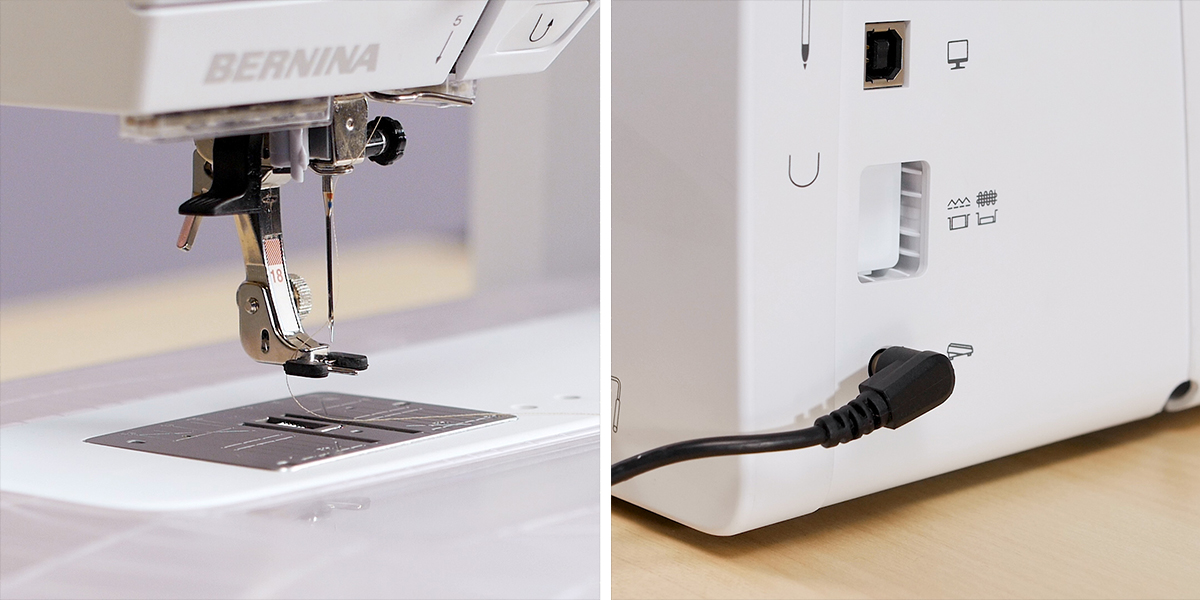
- Button sew-on foot #18
- Open toe embroidery foot #20
- BERNINA 435
Instructions on How to Sew a Donut Pillow
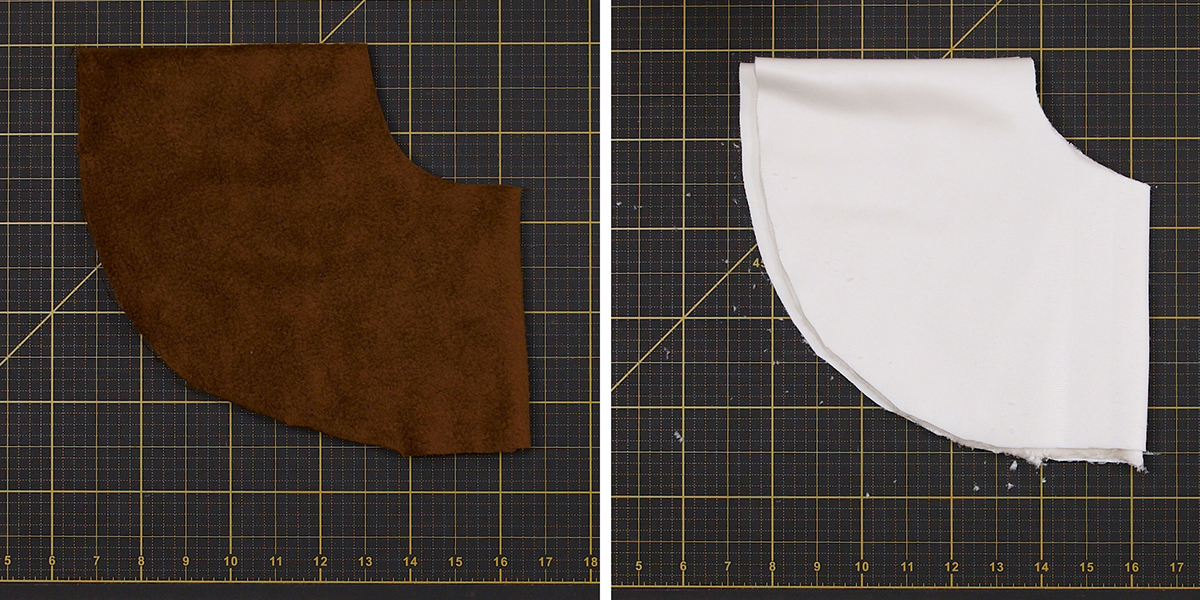
- Cut fabric
Begin with two pieces of Cuddle fabric (or other, soft plush/fleece fabric) cut to 20” squares. Fold the fabric in half then half again. You should have a 10” square.
Trim the square to an even semi-circle. I do this by measuring a few points from the center that create a curve. To trim the outer curve, measure and mark 10” from the center (the corner with all folds, no raw edges). Connect the points and cut a smooth curve.

Repeat the same process for the inner curve but this time, measure 3” out from the center.

Repeat this entire process for the second piece of fabric. You should have two, matching circles with the centers cut out—donuts in the making!
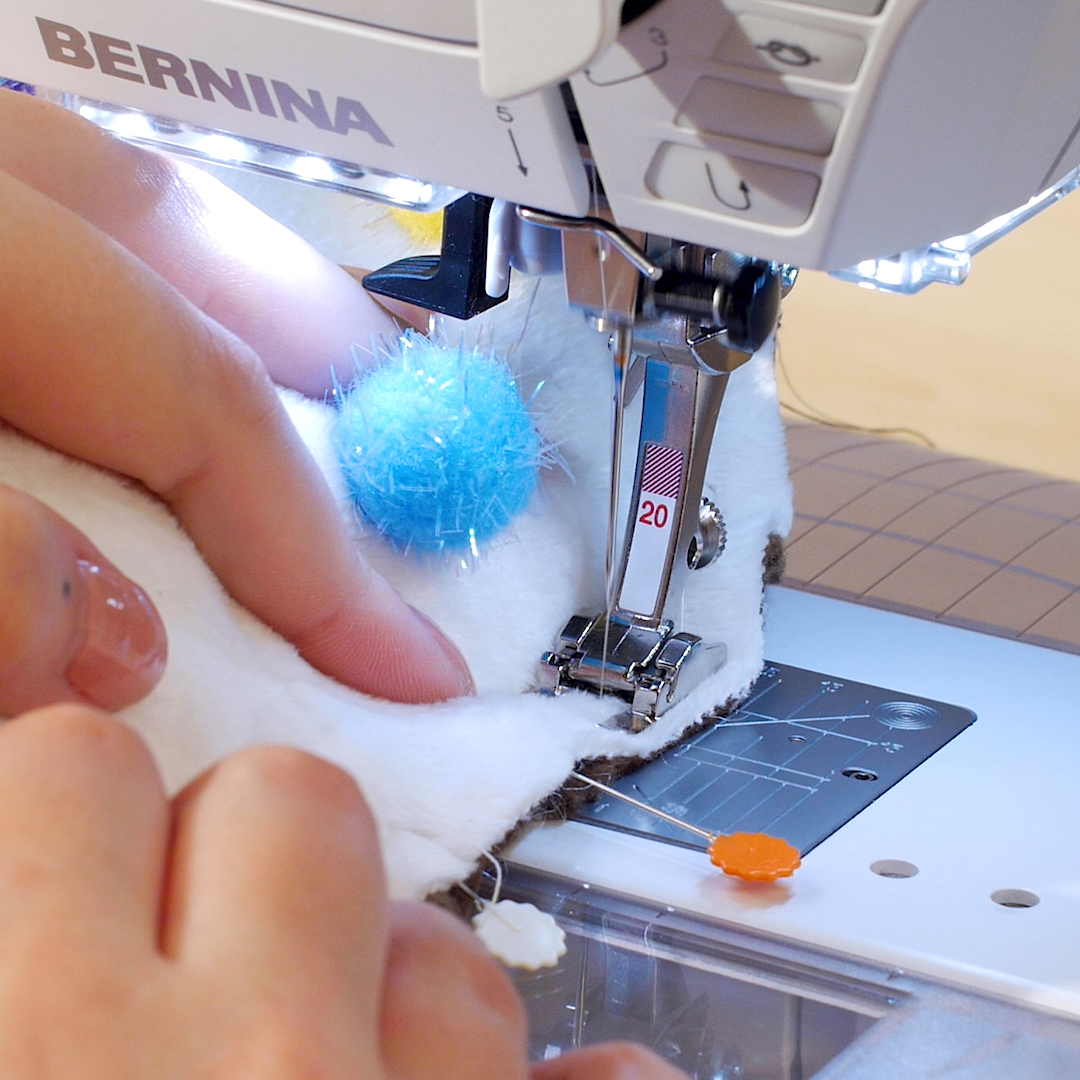
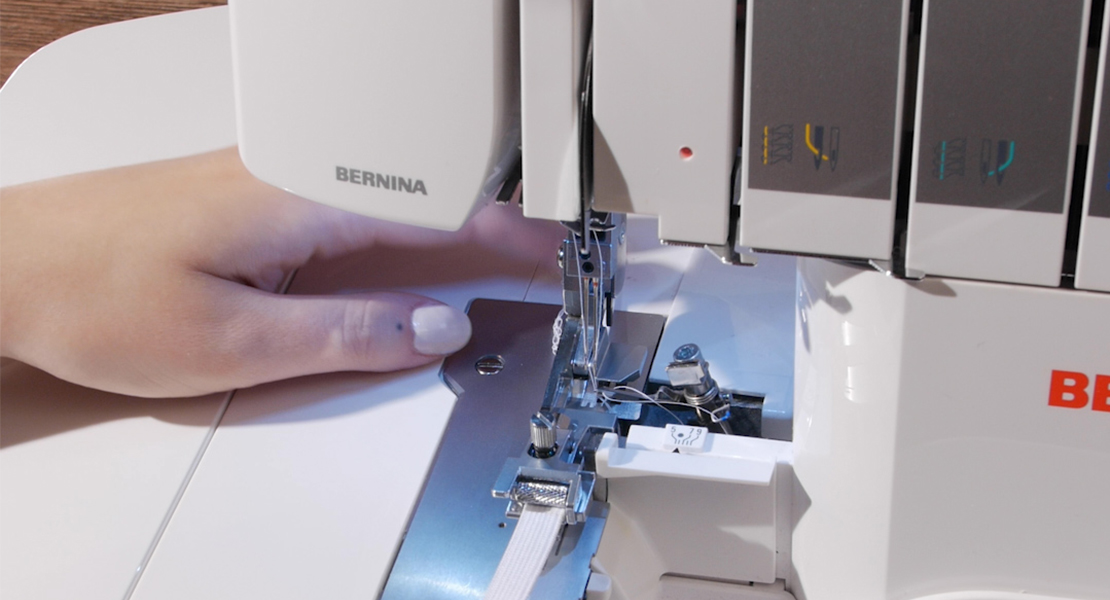
- Tack on sprinkles
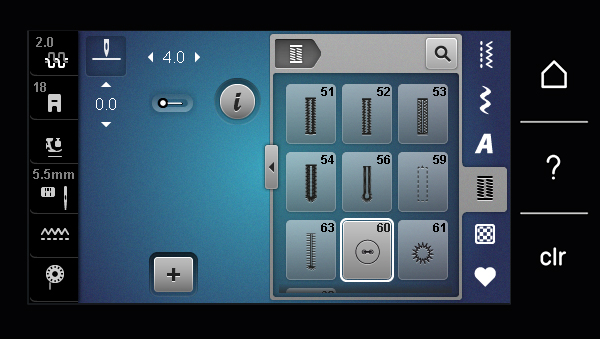
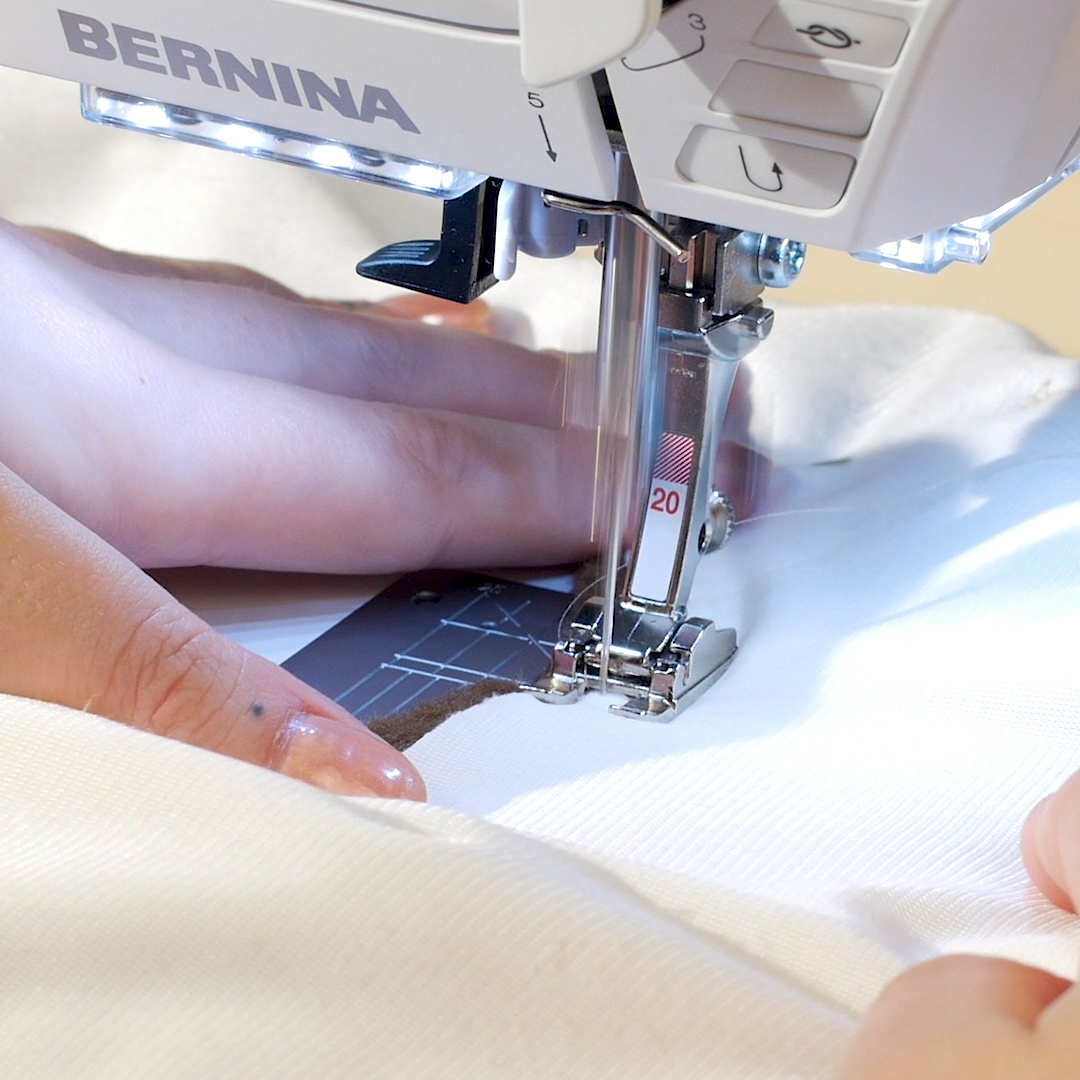
On the white or “frosted” side of your donut, we need to add sprinkles! To do this, we’ll use Button Sew-On Foot #18. Lower the feed dog and attach the foot to your machine.
Select the button sew-on program from the Buttonhole menu.
Thread your machine with the first color of thread. Place the fabric under the presser foot, then a matching pompom, and lower the presser foot. Press the Start/Stop button and the machine will stitch the button sew-on program to completion.
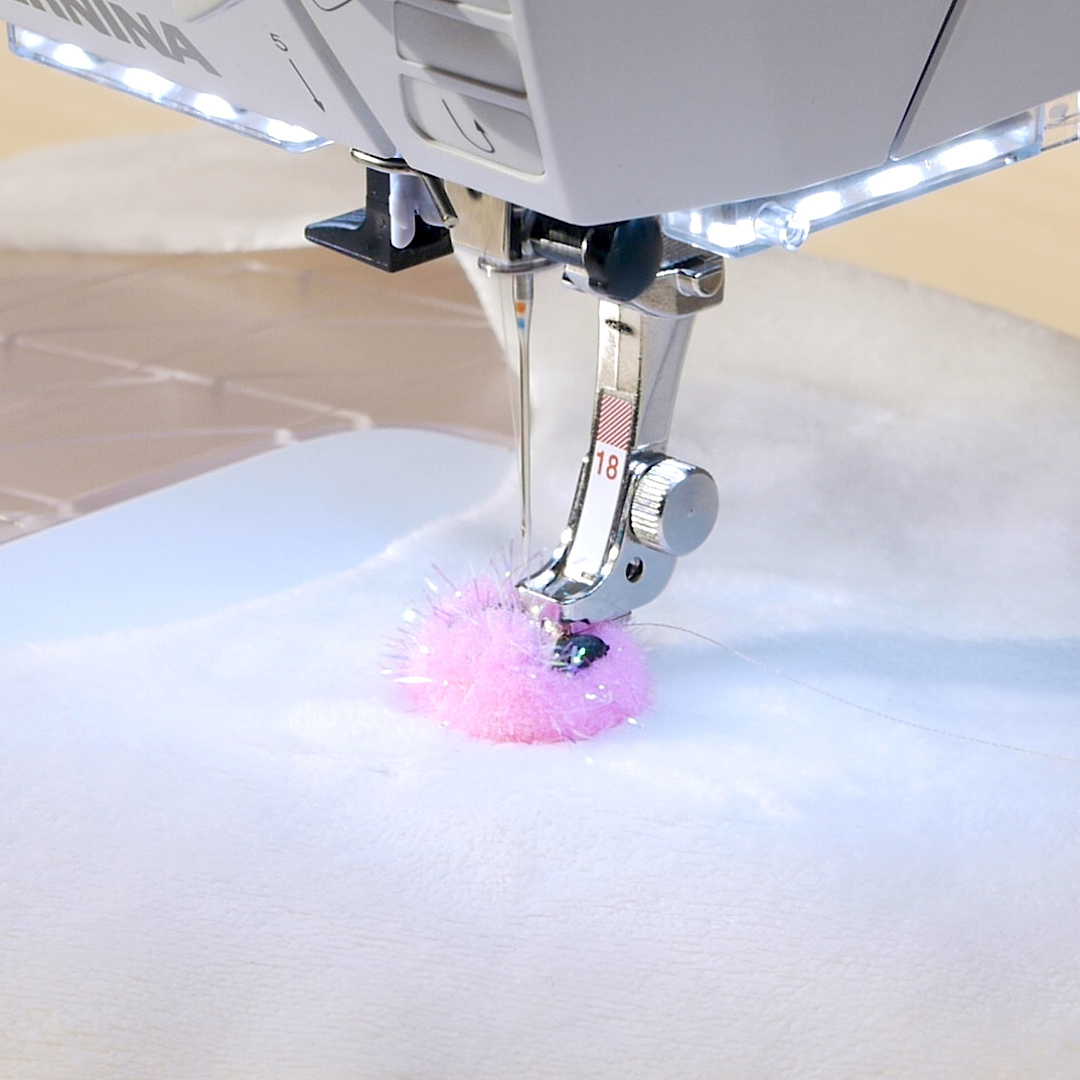
When that pompom is done, cut the threads and move to another. Work your way around the donut, sewing all of one color before moving on to the next. This will minimize your thread changes and keep your sprinkles evenly distributed. Be careful not to tack any pompoms down too close to the inner or outer seam allowances!
- Sew the middle seam
With all the sprinkles intact, place your top and bottom fabric pieces right sides together. Pin the inner seam allowances together.
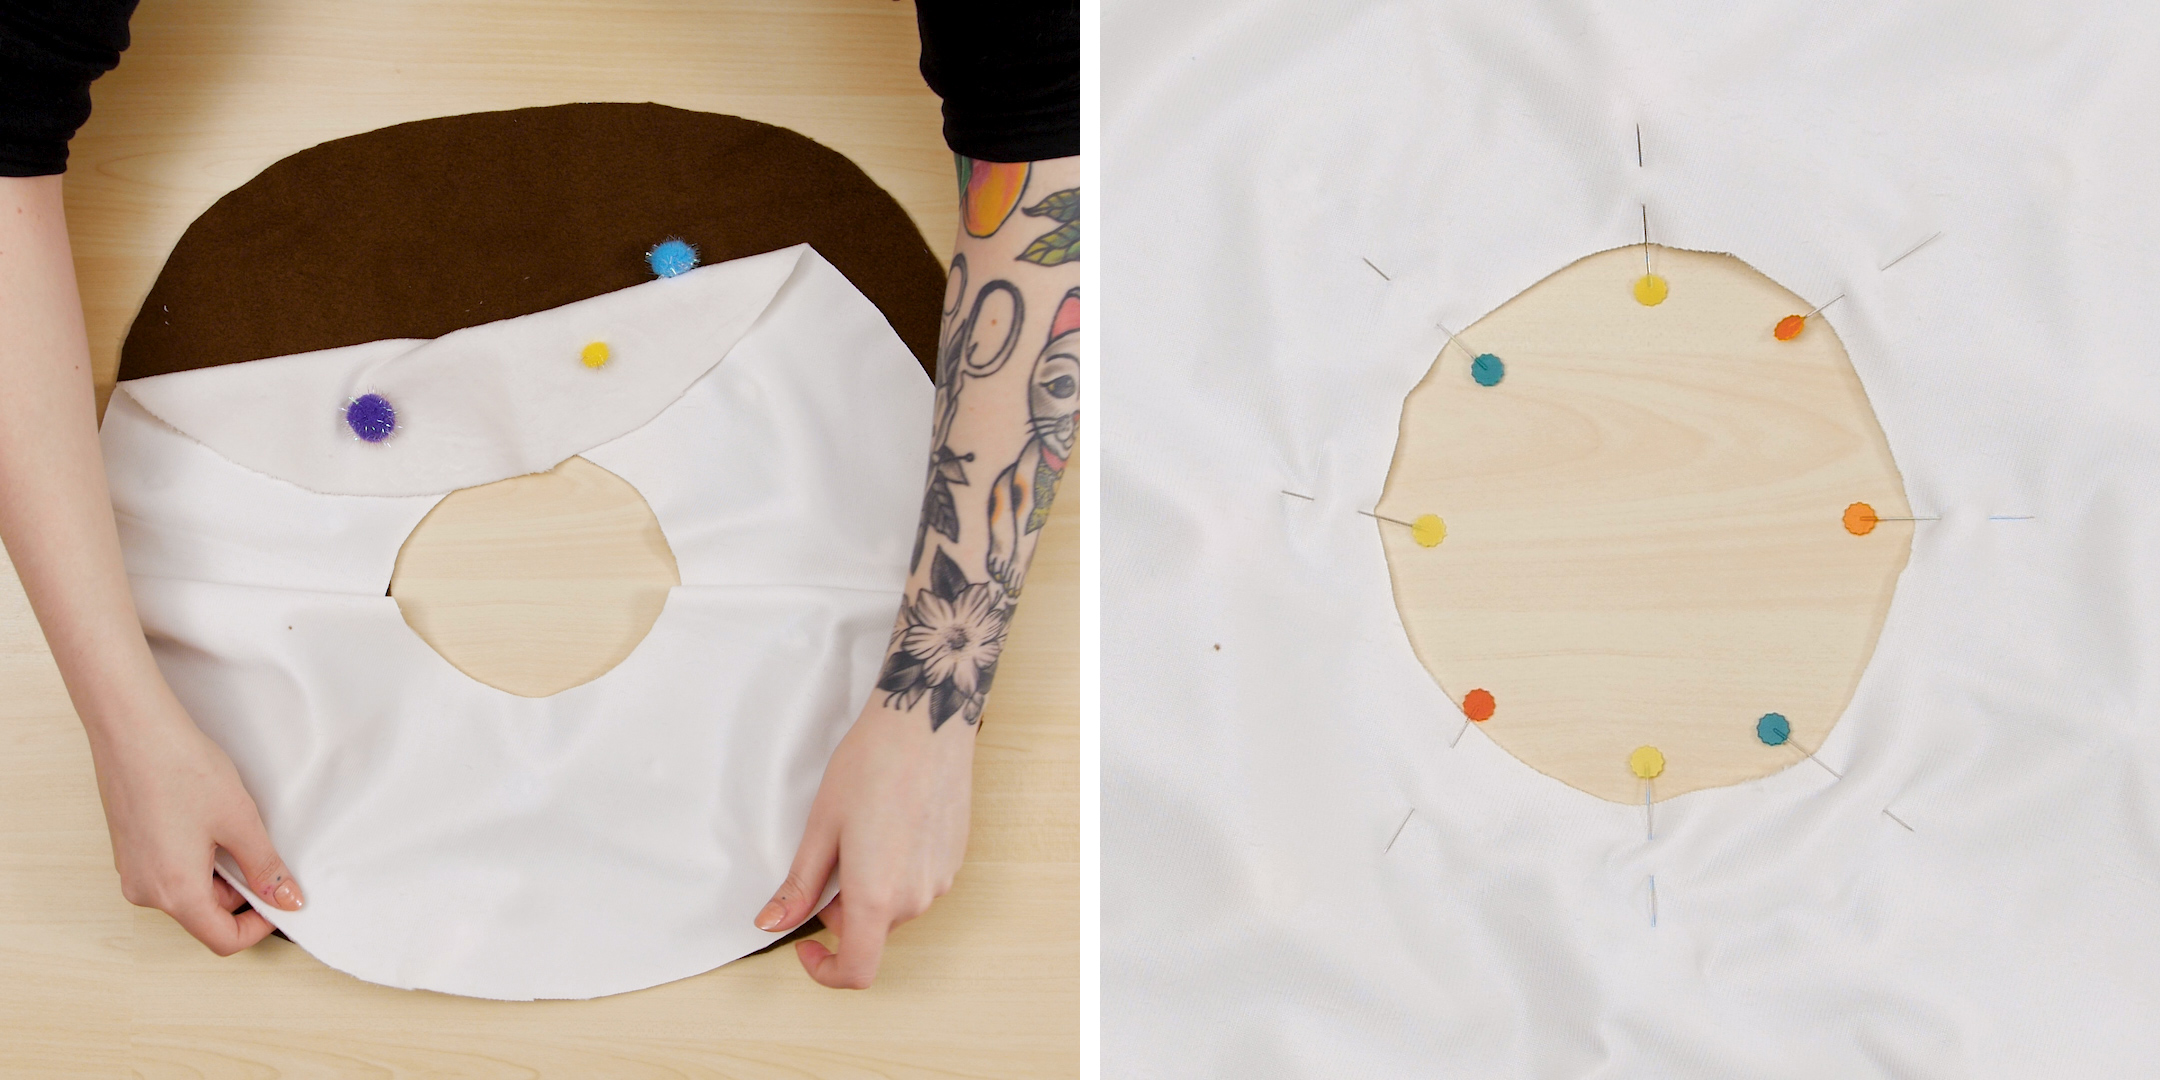
Remove the #18 foot and attach Open Toe Embroidery Foot #20 to the machine and select a running stitch (#4). Increase the stitch length to 1.0 mm.

Stitch this inner seam with a 1/2″ seam allowance.
Flip right side out so that the wrong sides of the fabric pieces are together.
- Sew outer seam
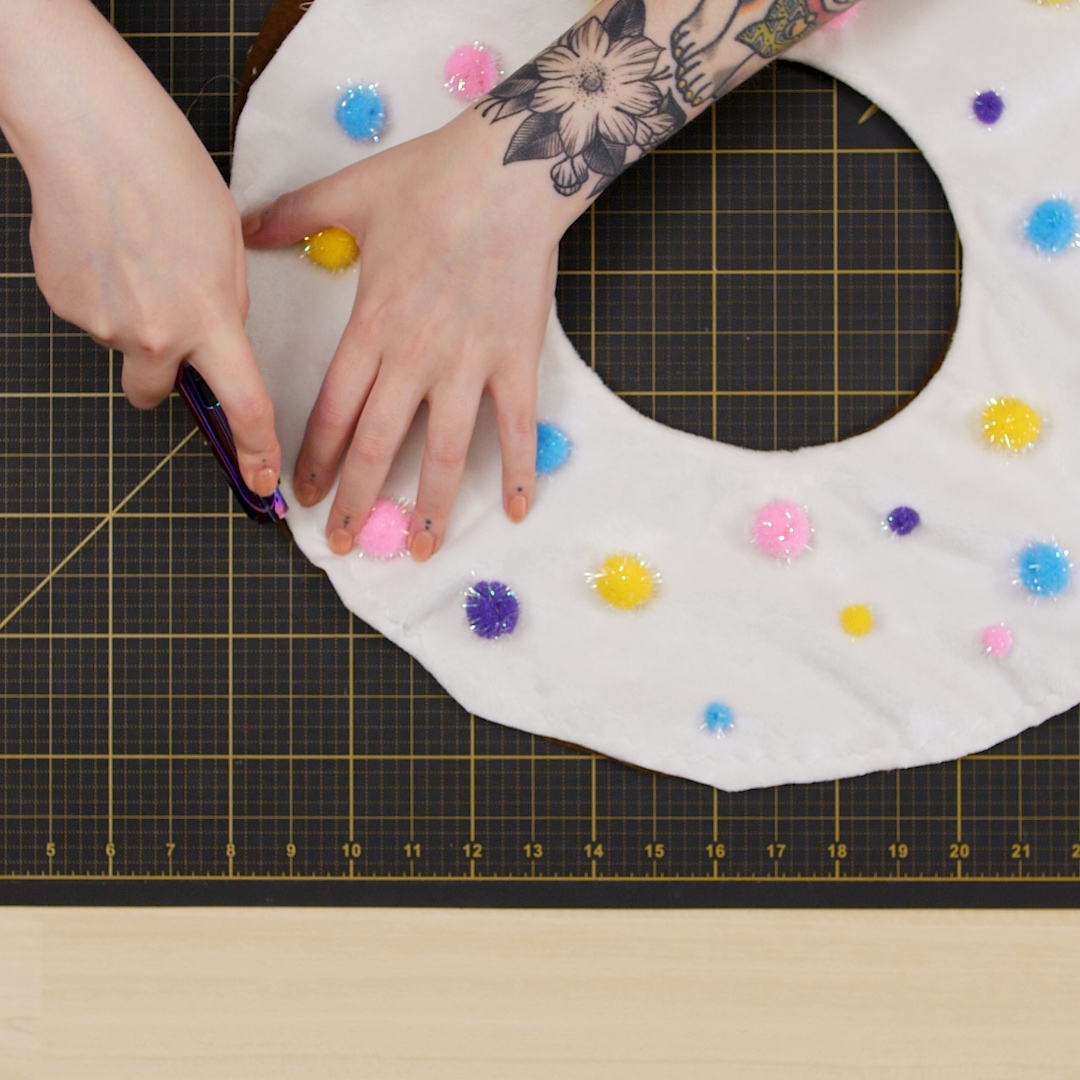
With wrong sides together, align and pin the outer edge raw edge of the donut pillow. Leave a 6” gap in this outer seam.

After you stitch, grade the seam allowance to about 1/4″. You can use a wavy or pinked rotary blade for an extra fun edge!
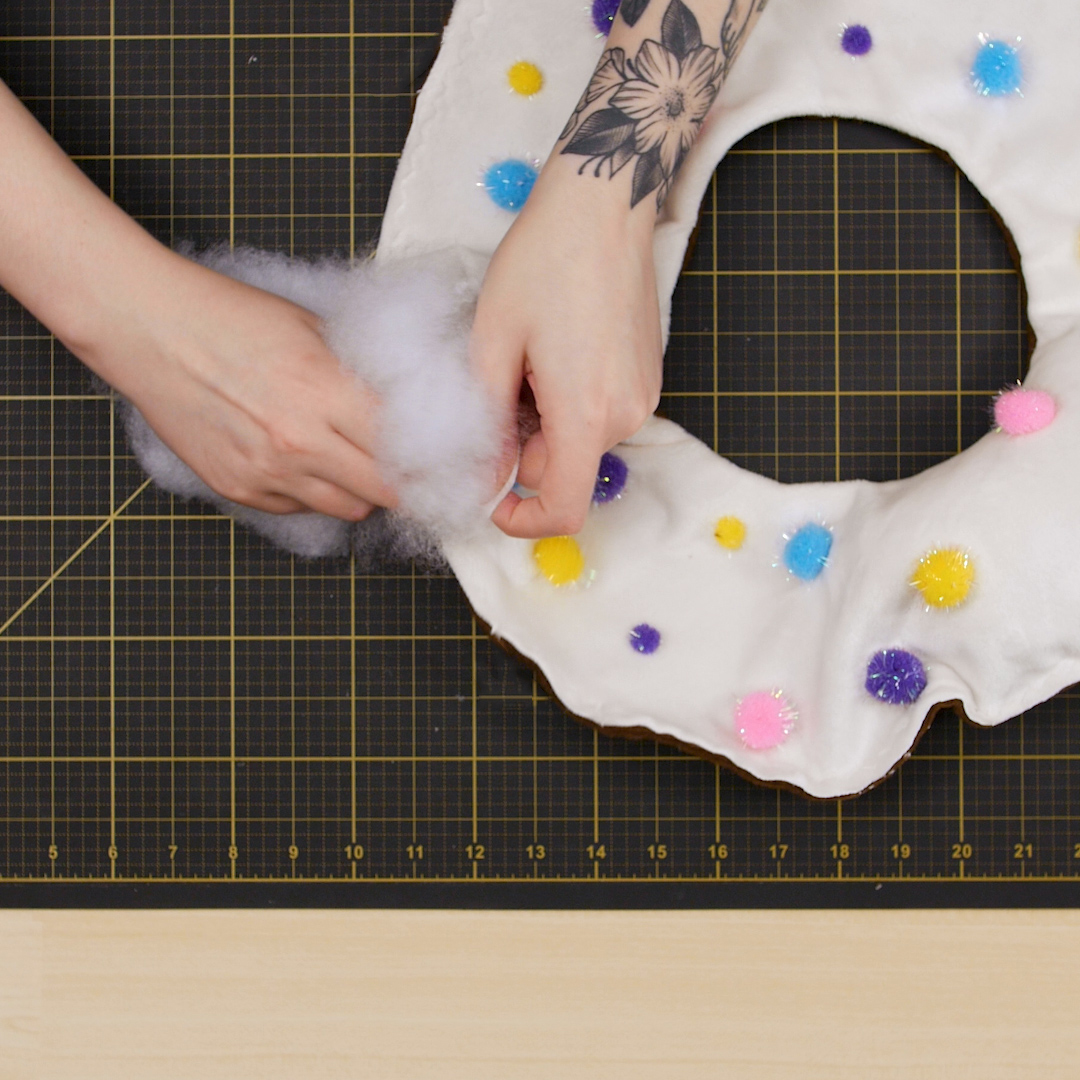
- Stuff & close
Stuff your pillow! Fill the pillow, a handful at a time, with polyester fiber fill. It may take a little work to get it all the way around the circle!
When your pillow is all stuffed, pin the gap in the outer seam closed and stitch shut.