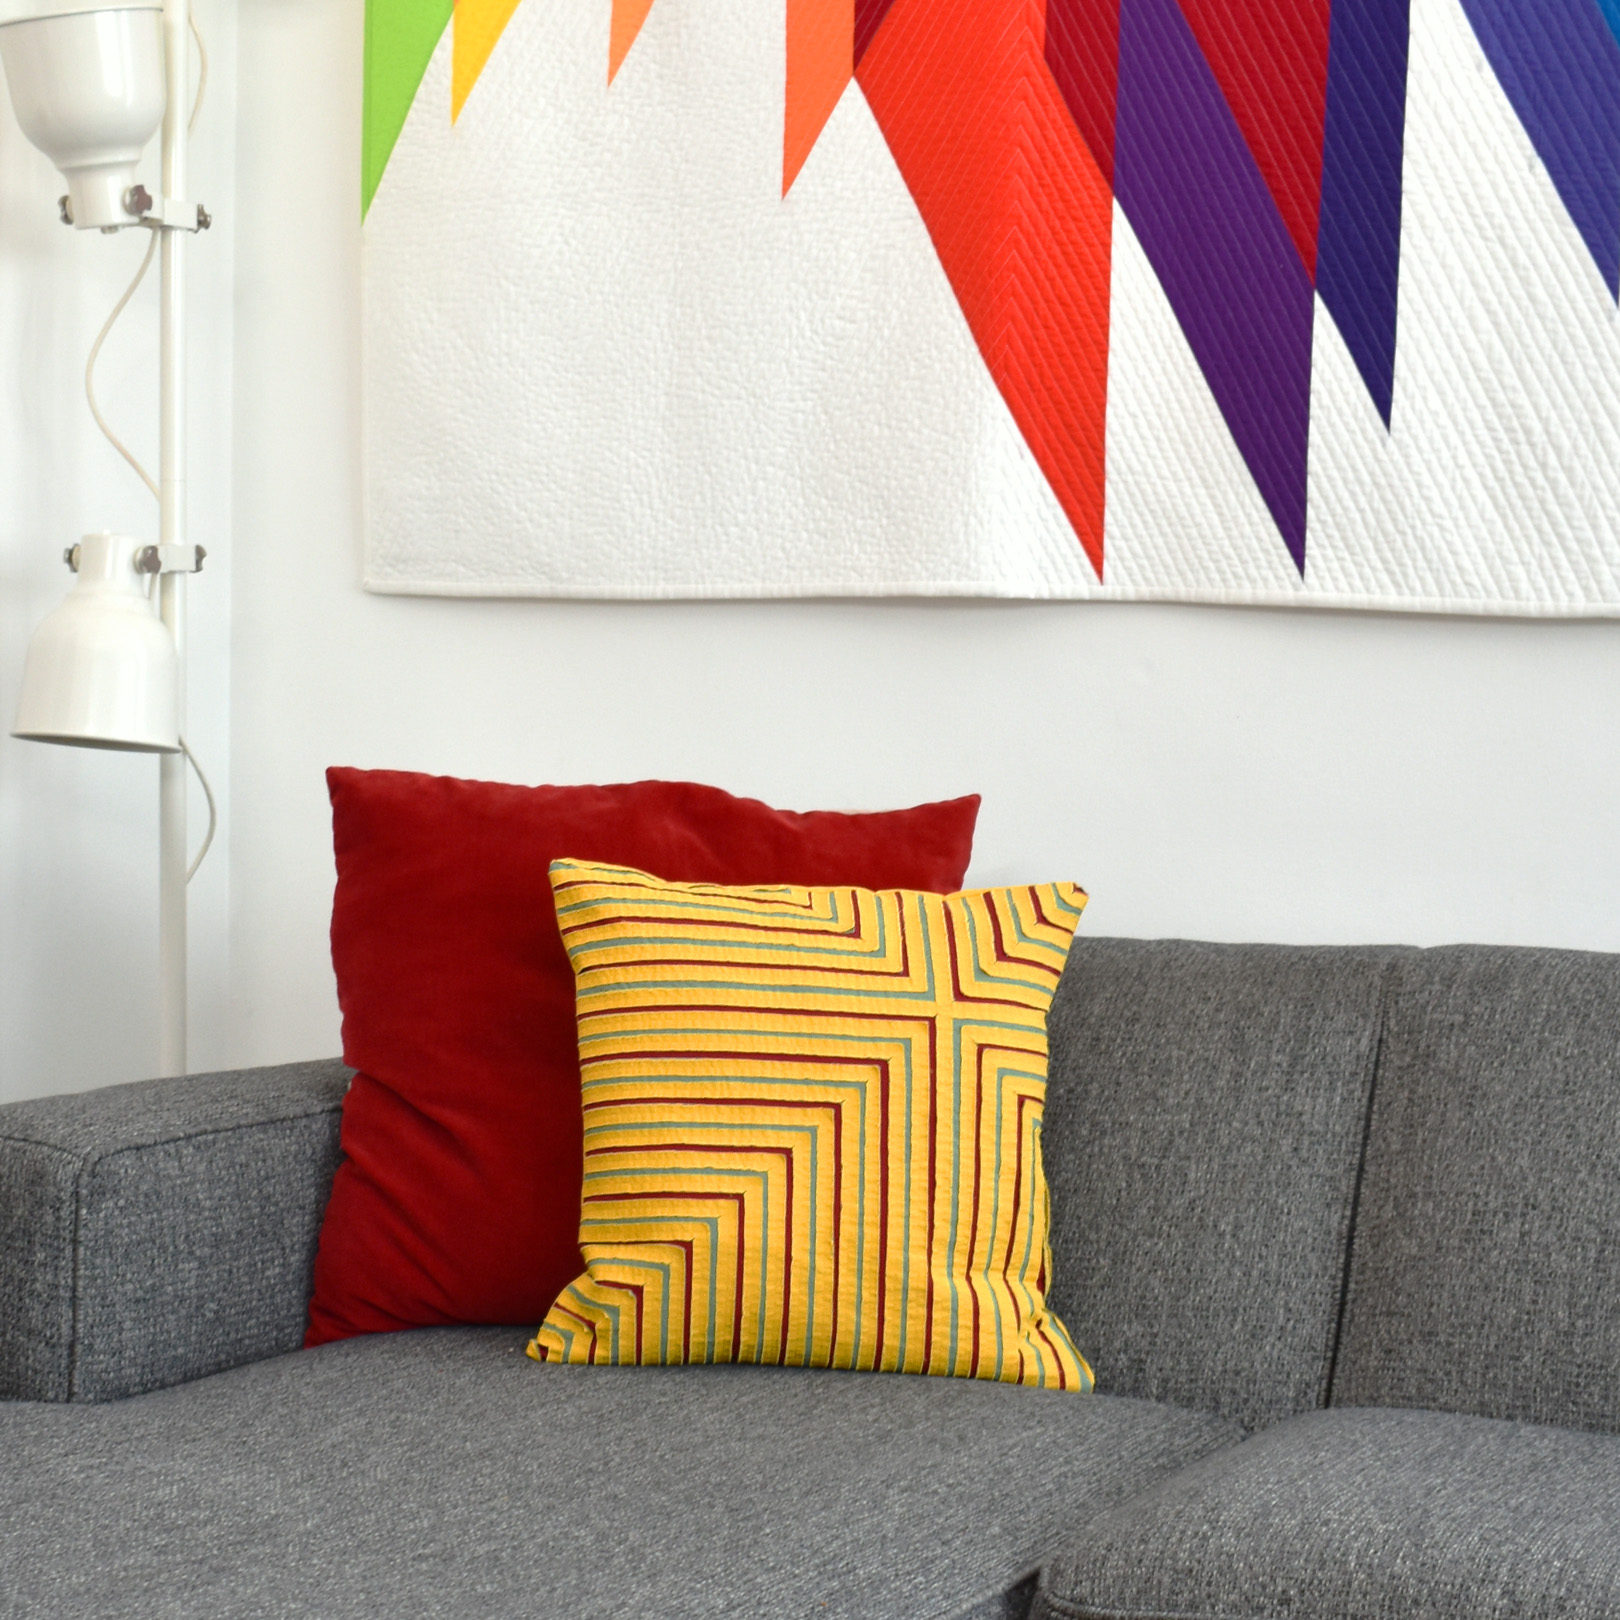
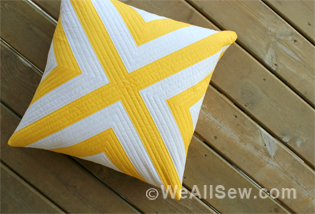
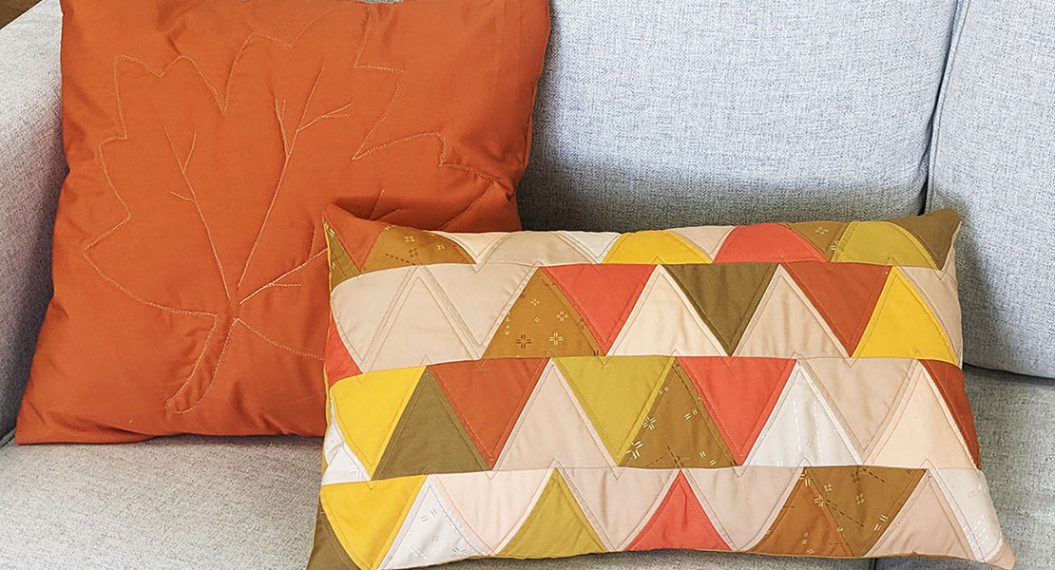
DIY Textured Throw Pillow
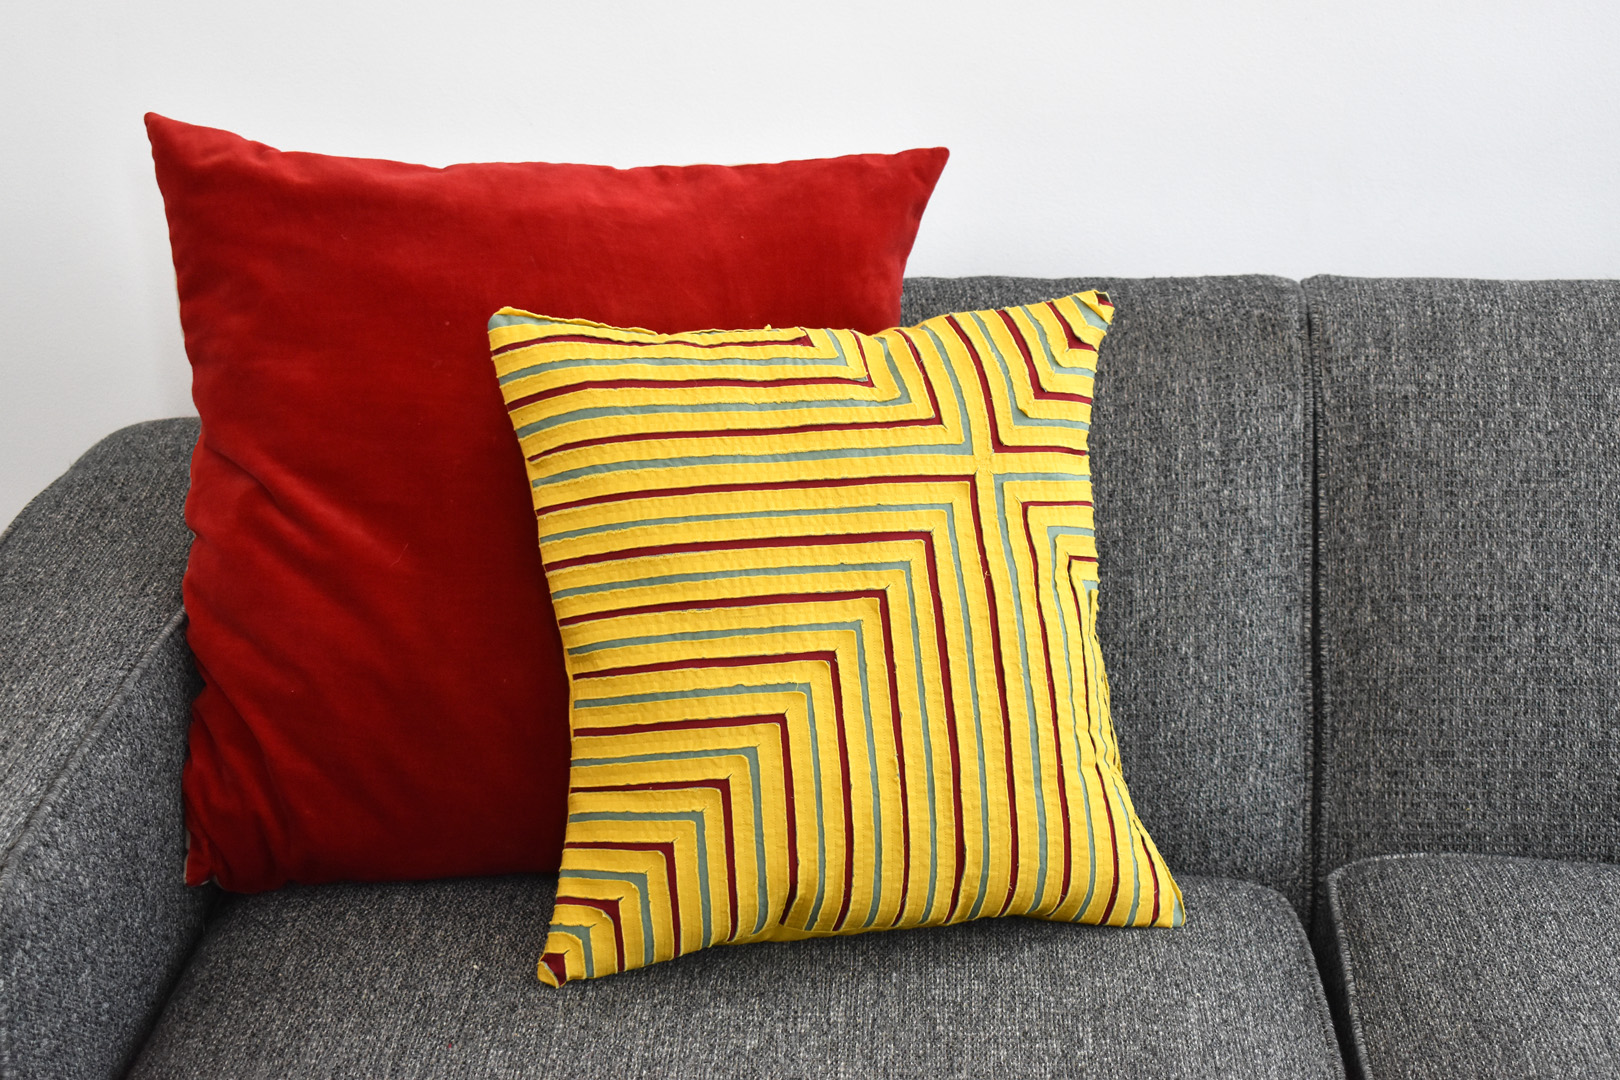
Add a pop of color and character to your home with this handmade textured throw pillow. The texture is created with a fabric cut-and-fray technique similar to reverse applique that adds tons of texture to your pillow project.
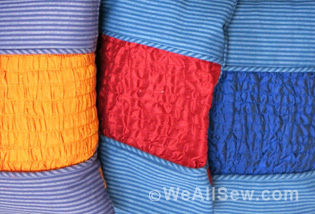
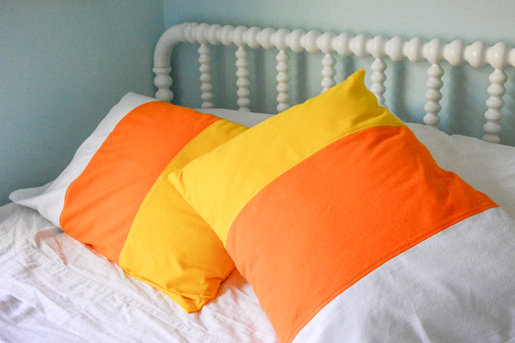
This pillow cover fits an 18″ x 18″ pillow form or existing throw pillow. Choose three contrasting colors for your pillow, one main color (I use mustard yellow), and two other colors (I use gray-green and dark red).
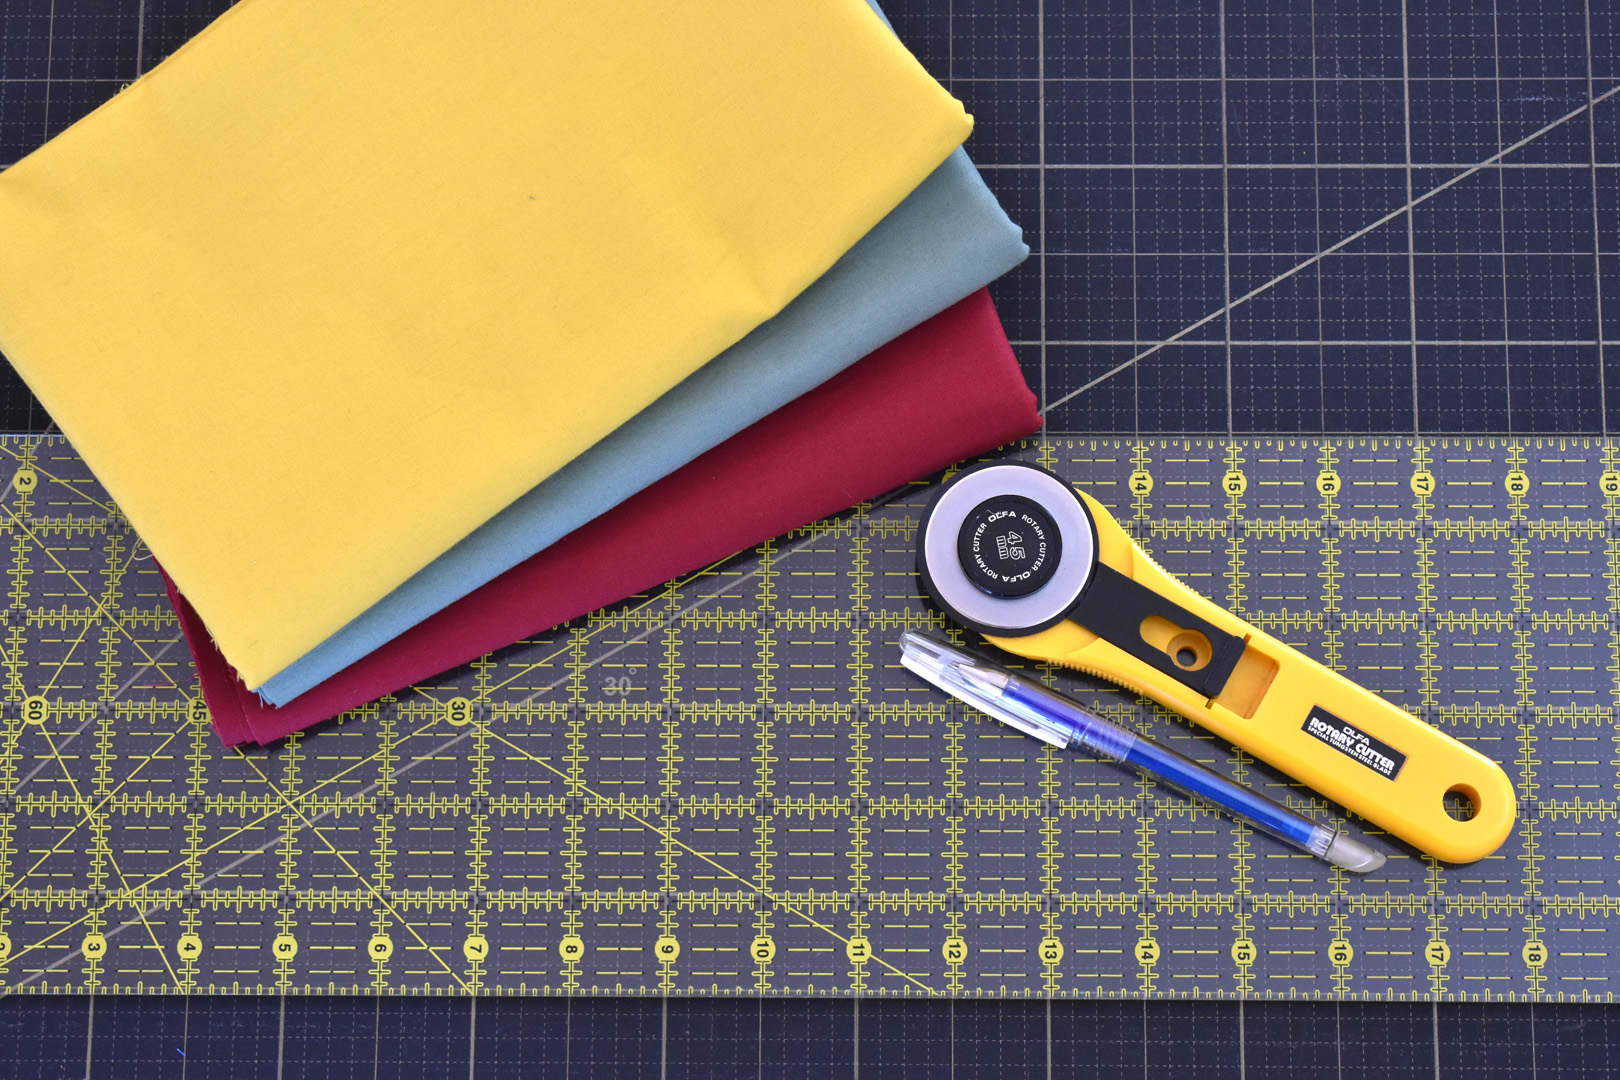
Materials to Make a Textured Throw Pillow
- 5/8 yard each three different colors 100% cotton fabric
- Coordinating all-purpose sewing thread
- 24″ x 36″ cutting mat, 6″ x 24″ ruler, and rotary cutter
- Fabric marking pen or pencil
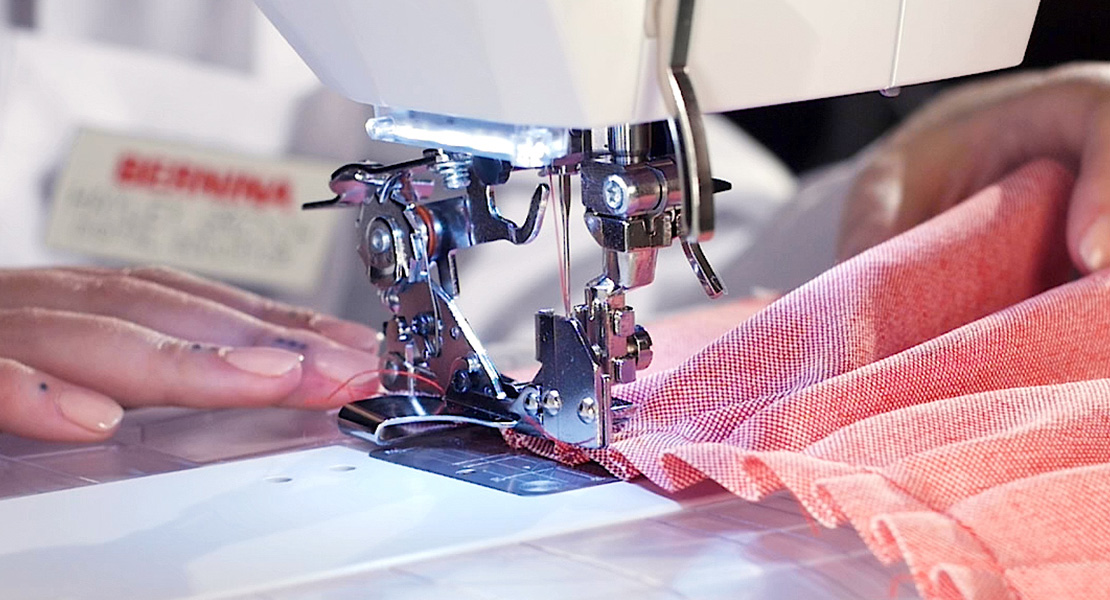
- Sewing machine (I use a BERNINA 570 QE)
- Reverse Pattern Foot with Clear Sole #34D
- Iron and pressing surface
- Basic sewing supplies
Cut the fabrics to make a textured throw pillow. You will need a large 24″ x 36″ cutting mat, 6″ x 24″ ruler, and 45mm rotary cutter.
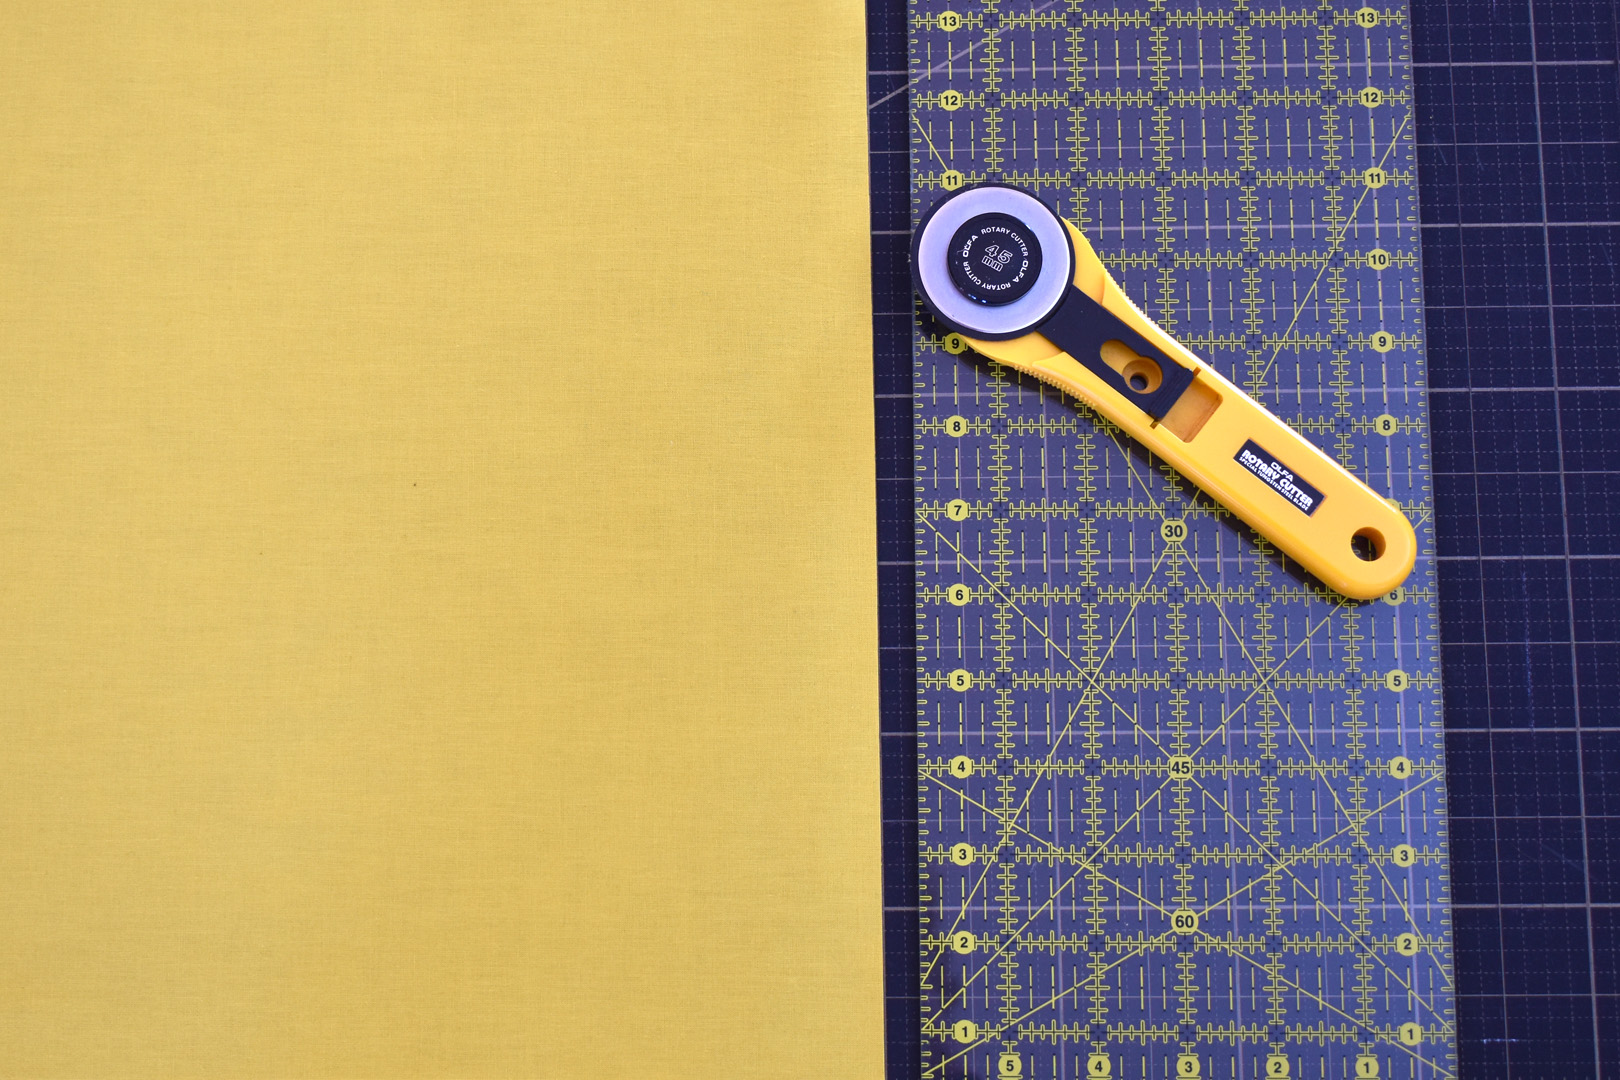
Cut one 20″ x 20″ square of fabric from each of the three colors; cut these squares carefully from one end of each piece of fabric. Begin by cutting about 1/2″ – 1″ off from one selvage edge, then cut 20″ over from this straight cut edge, finishing up by cutting the piece to 20″ square. Set these three fabric squares aside.

Cut the two pieces for the pillow backing from the remainder of the main fabric. First, cut perpendicular to the selvage edge, trimming the piece 19″ wide. Do not remove the selvage edge.
Next, make one cut 12″ over from the selvage edge to create one piece 19″ x 12″.
Leave the second piece as it is, approximately 24″ – 26″. These will become the back of the pillow in a later step; set these pieces aside for now.
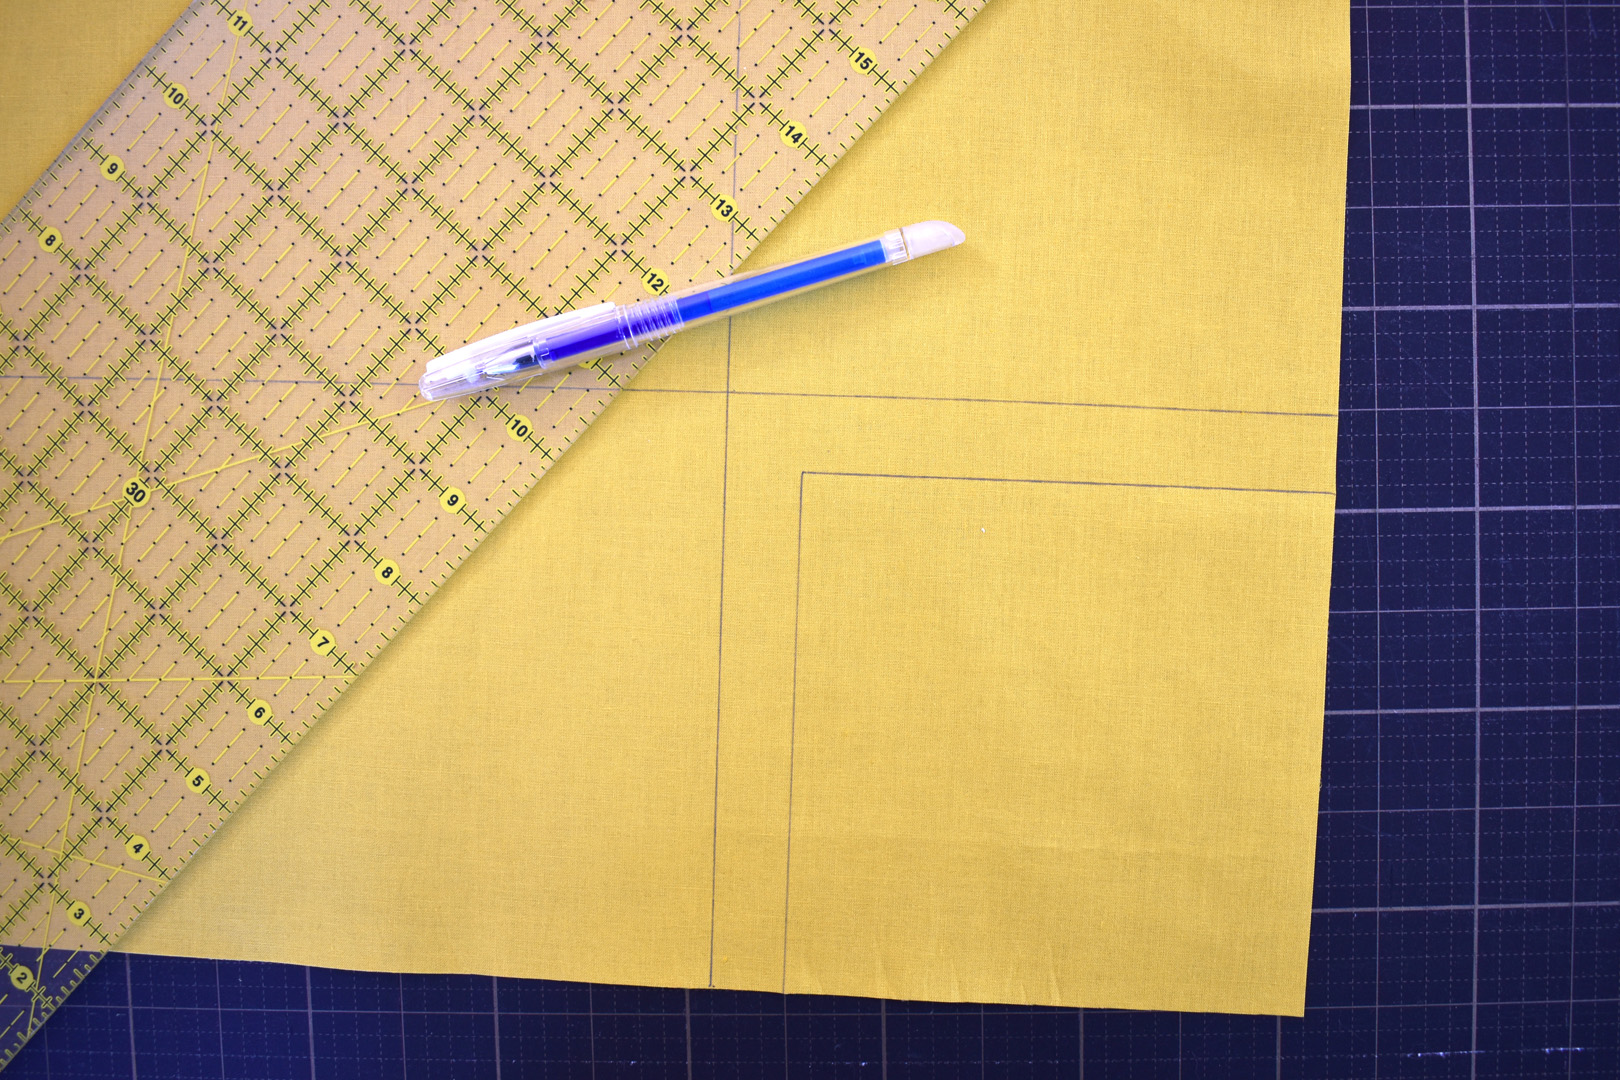
Get ready to mark stitching lines on the top piece of fabric.
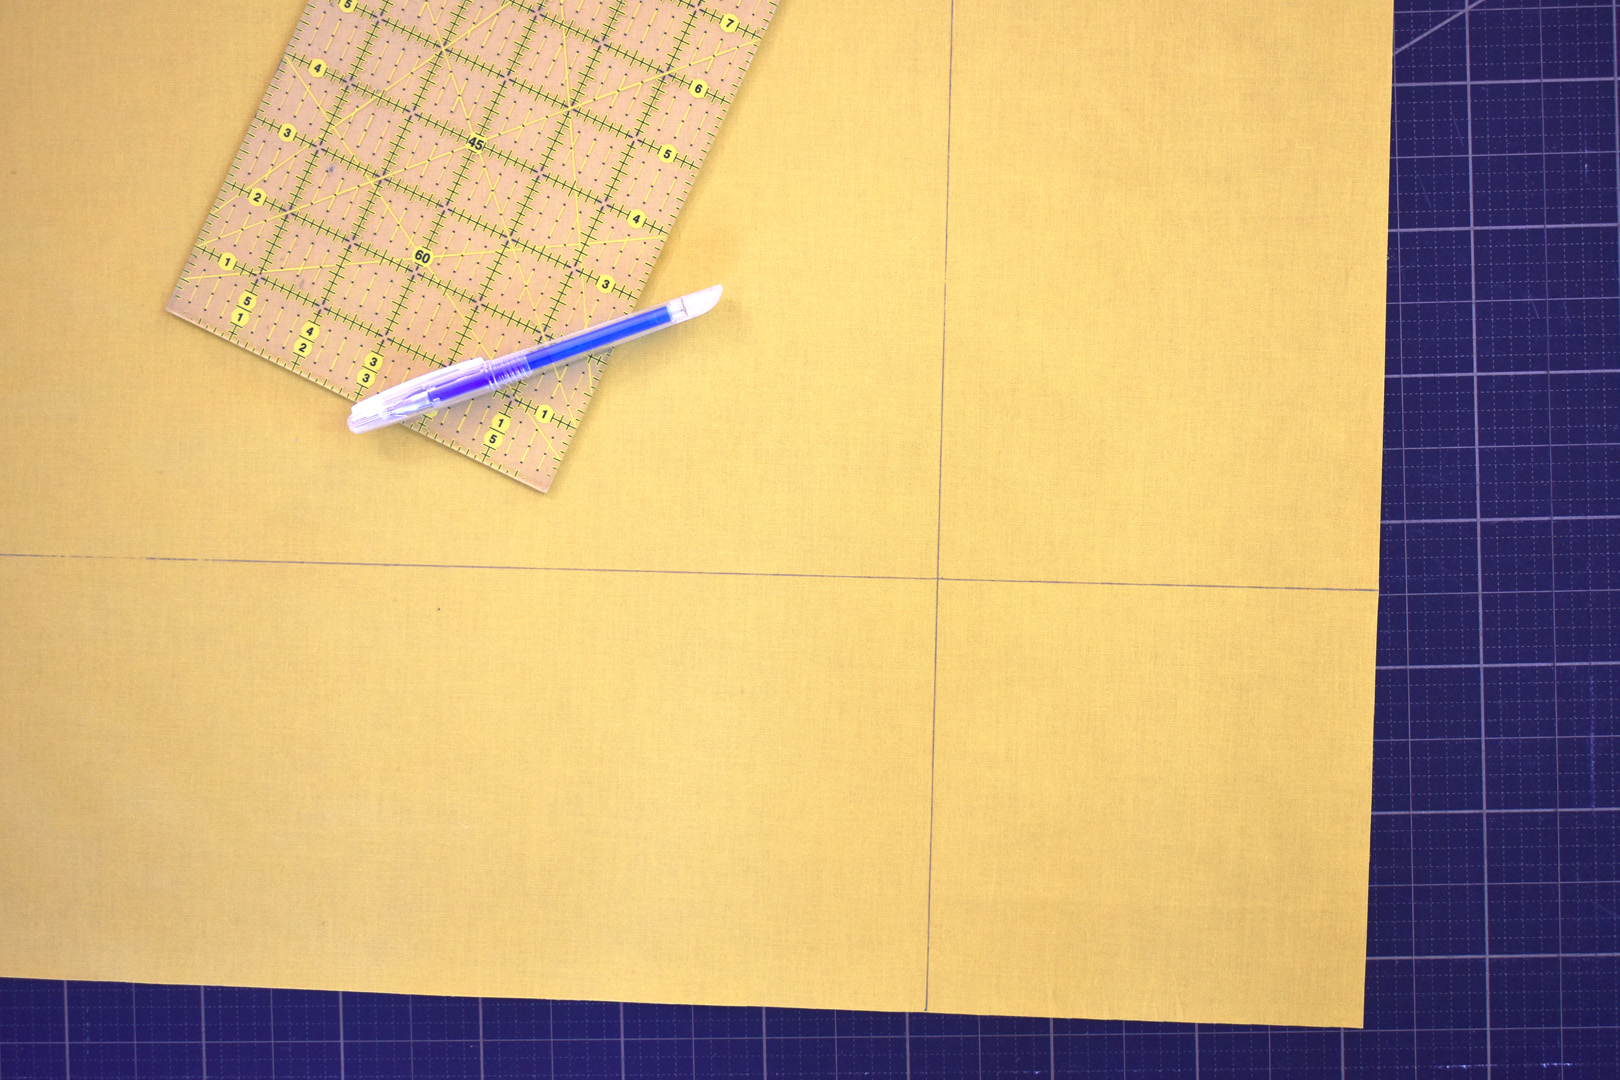
You will need a 6″ x 24″ ruler and fabric marking pen or pencil to create the stitch lines. I am using a fabric pen with disappearing ink (I tested first to make sure it will thoroughly disappear from the fabric!). Measure 6″ from one raw edge of the fabric square and mark across the fabric with the pen; then repeat for the next edge to create two lines intersecting the square as in the picture above. These lines will separate the square into 4 parts; one large square, one small square, and two rectangles.
Beginning in one of the 4 sections created by the first marks, measure exactly 3/4″ over from the lines and mark with the pen. Try to get the pen lines to meet in the corners to make it easier to follow the stitch lines.
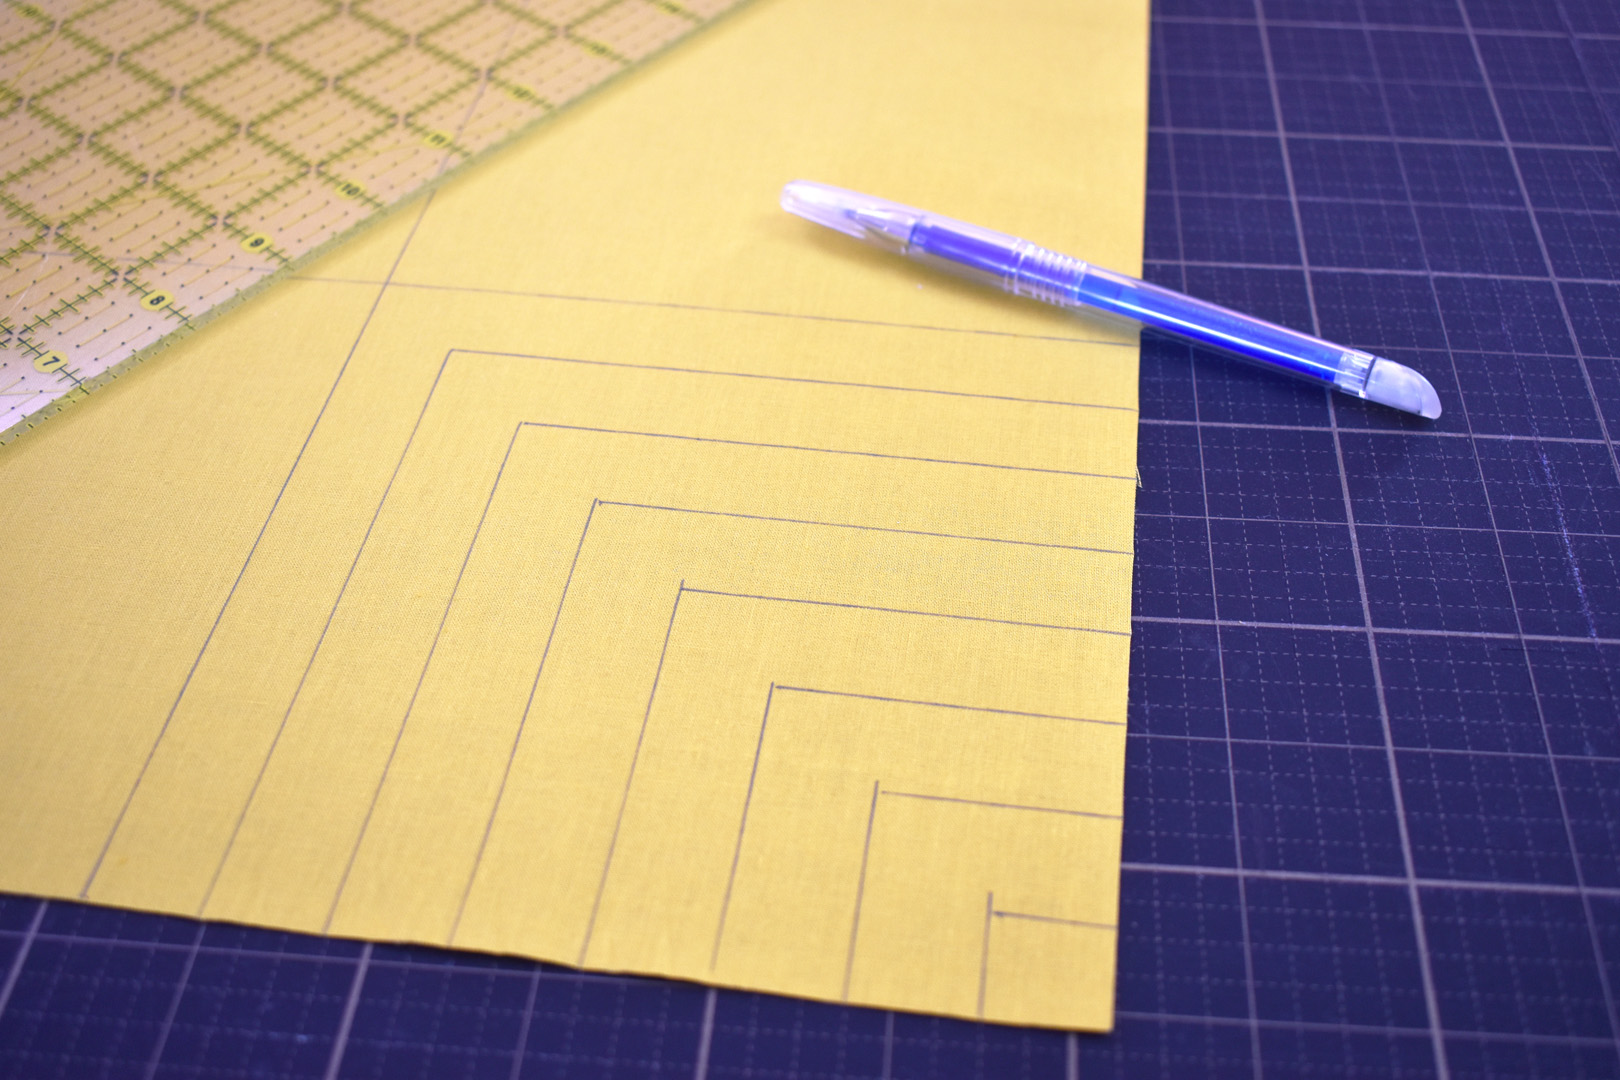
Keep going until you reach the edge of the fabric. Repeat these steps in all 4 sections of the pillow front square until the entire surface is marked.
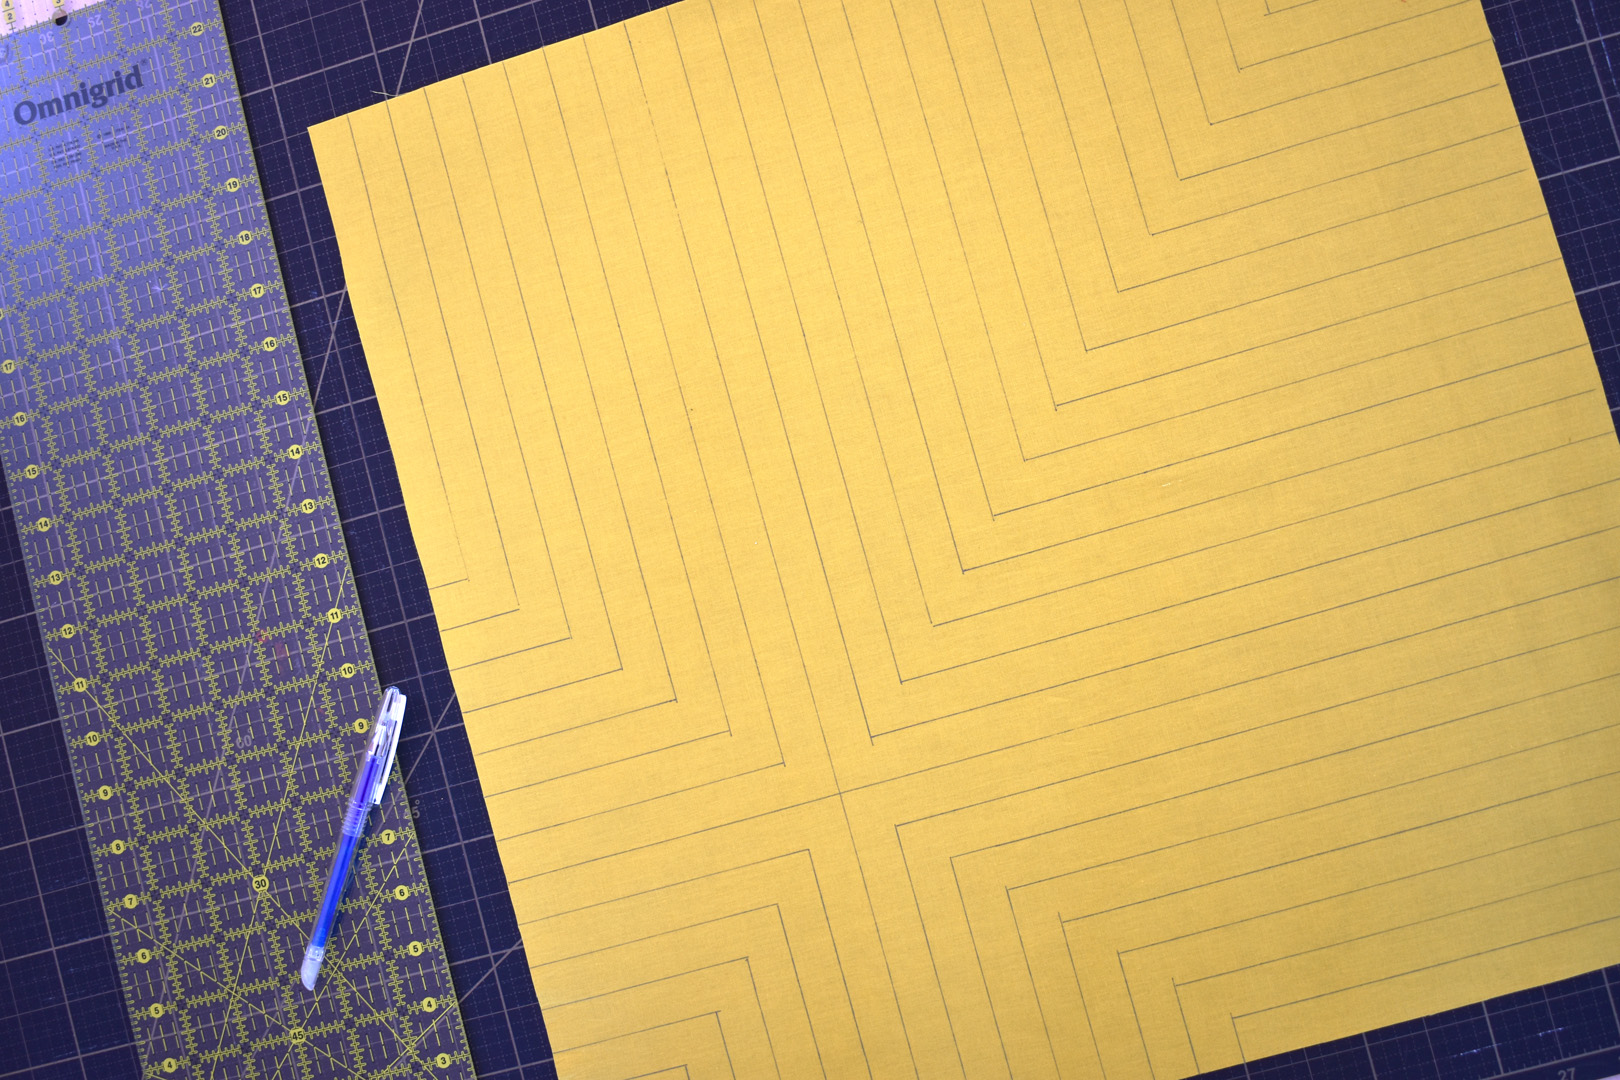
Set the marked top to the side while you get ready to sew.
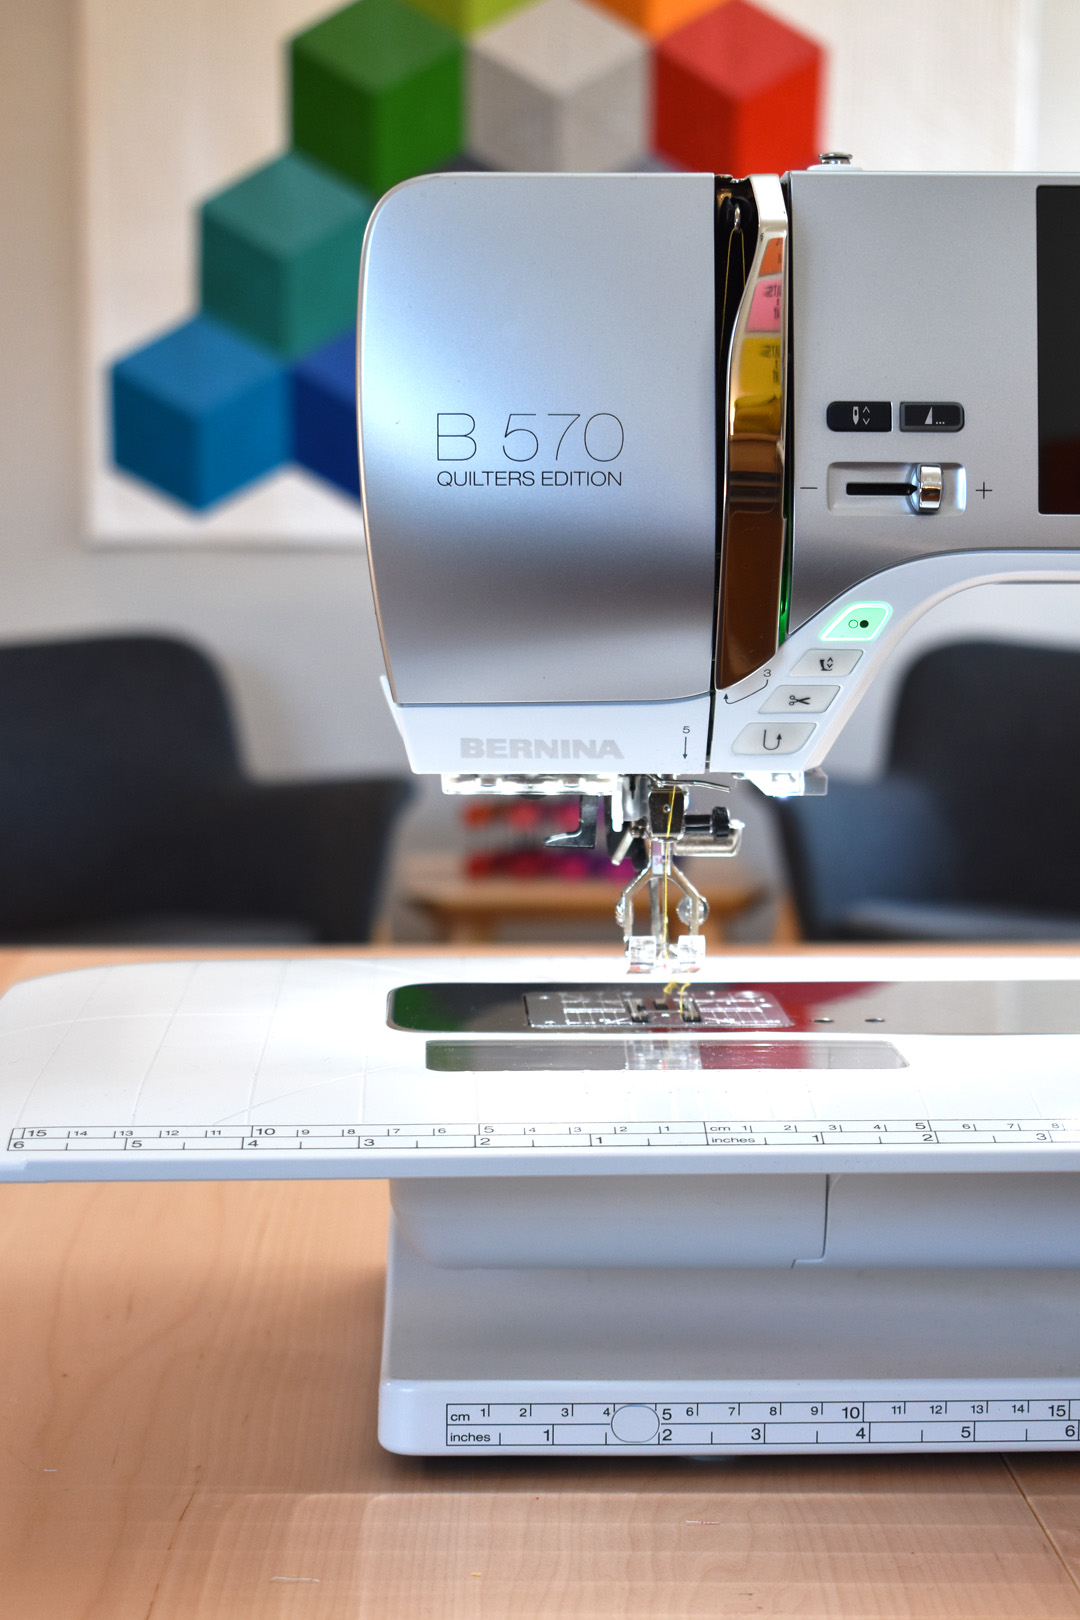
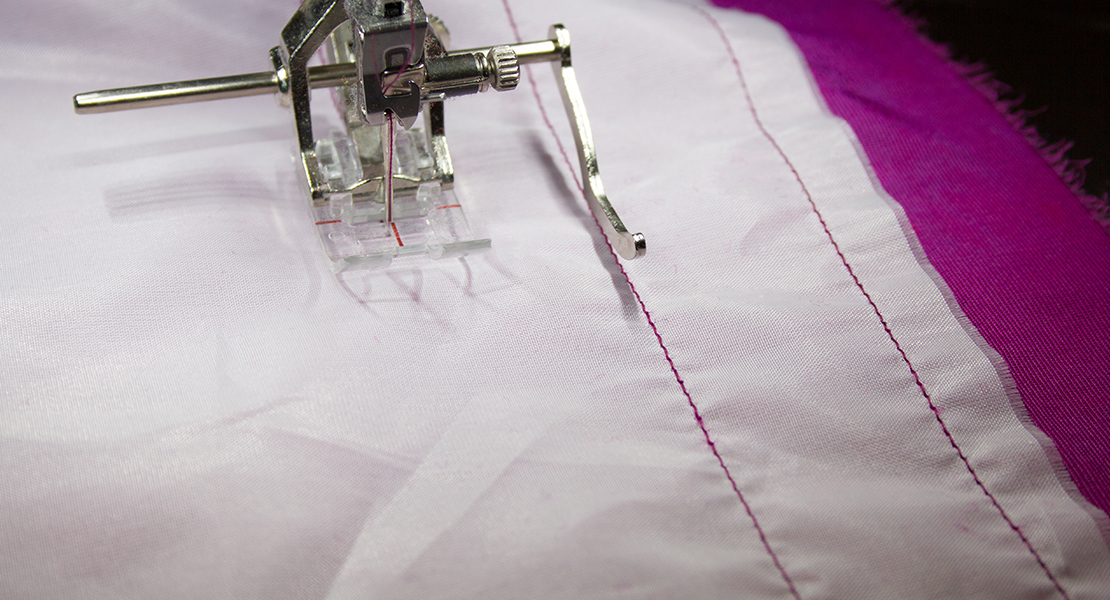
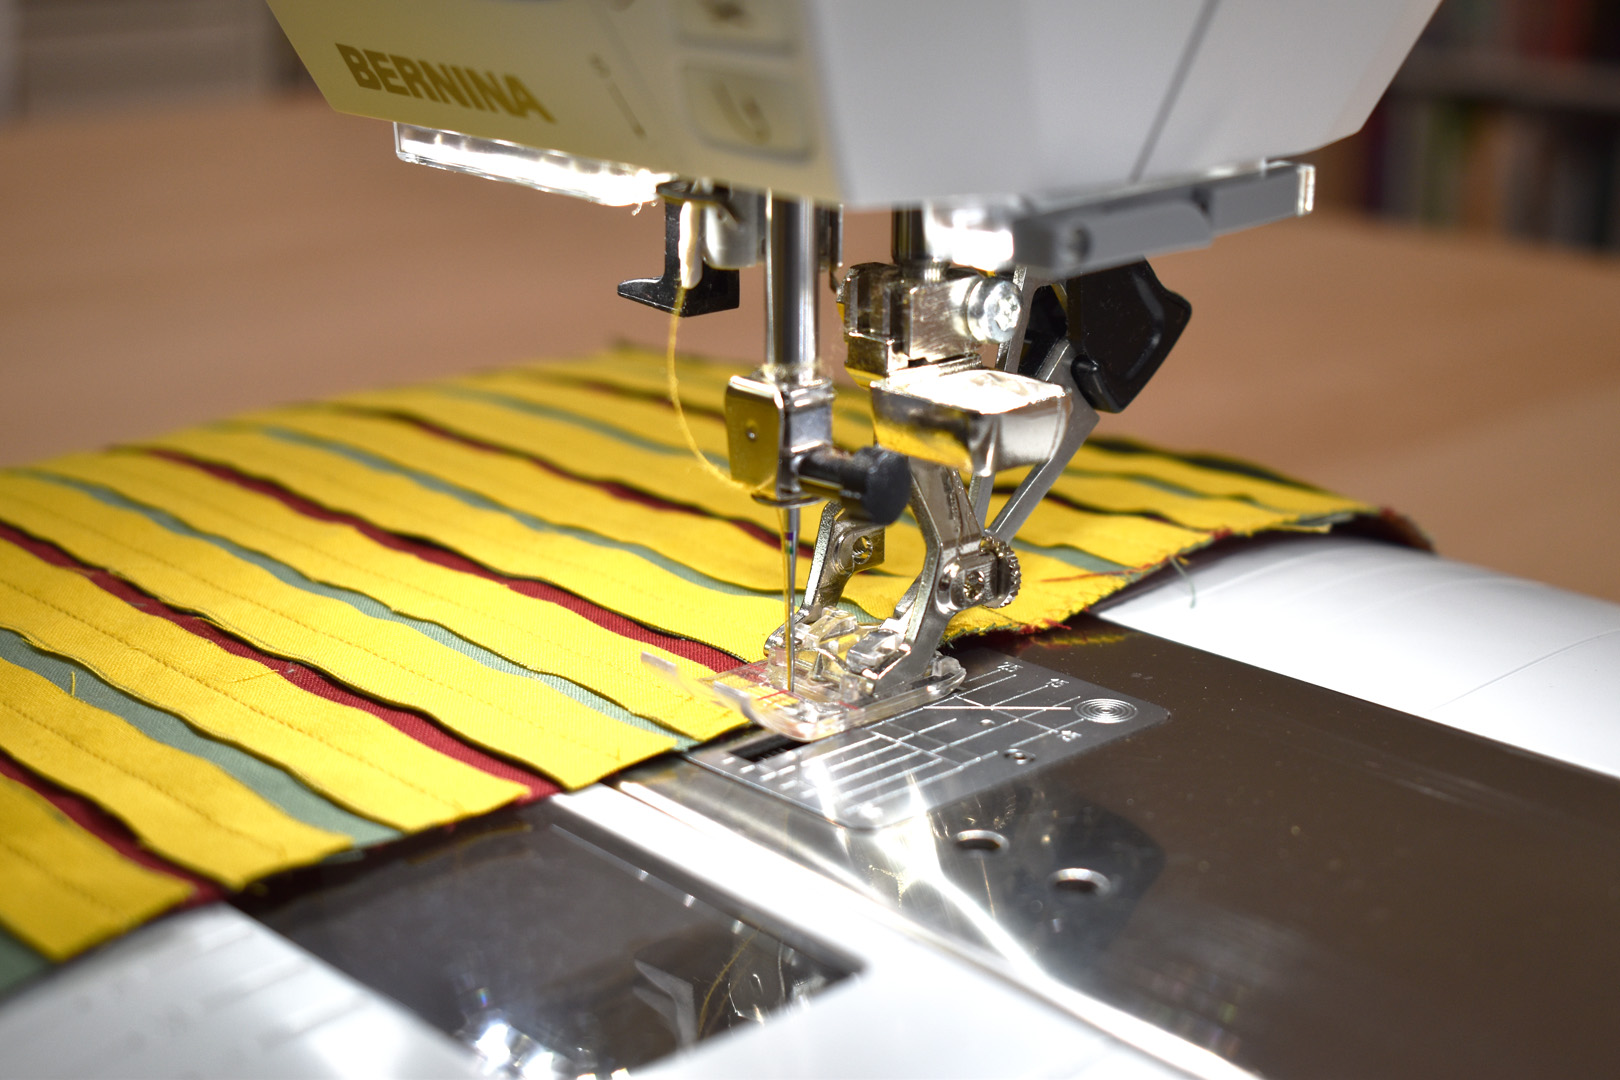
Thread your sewing machine with an all-purpose thread matching your main fabric. Install Reverse Pattern Foot with Clear Sole #34D, a zigzag stitch plate, and remember to engage Dual Feed. Set the machine to make a 2.0mm straight stitch.
You can use any Dual Feed foot that allows you to clearly see where you are stitching. Another option is Walking Foot #50 if your sewing machine doesn’t have the BERNINA Dual Feed feature.
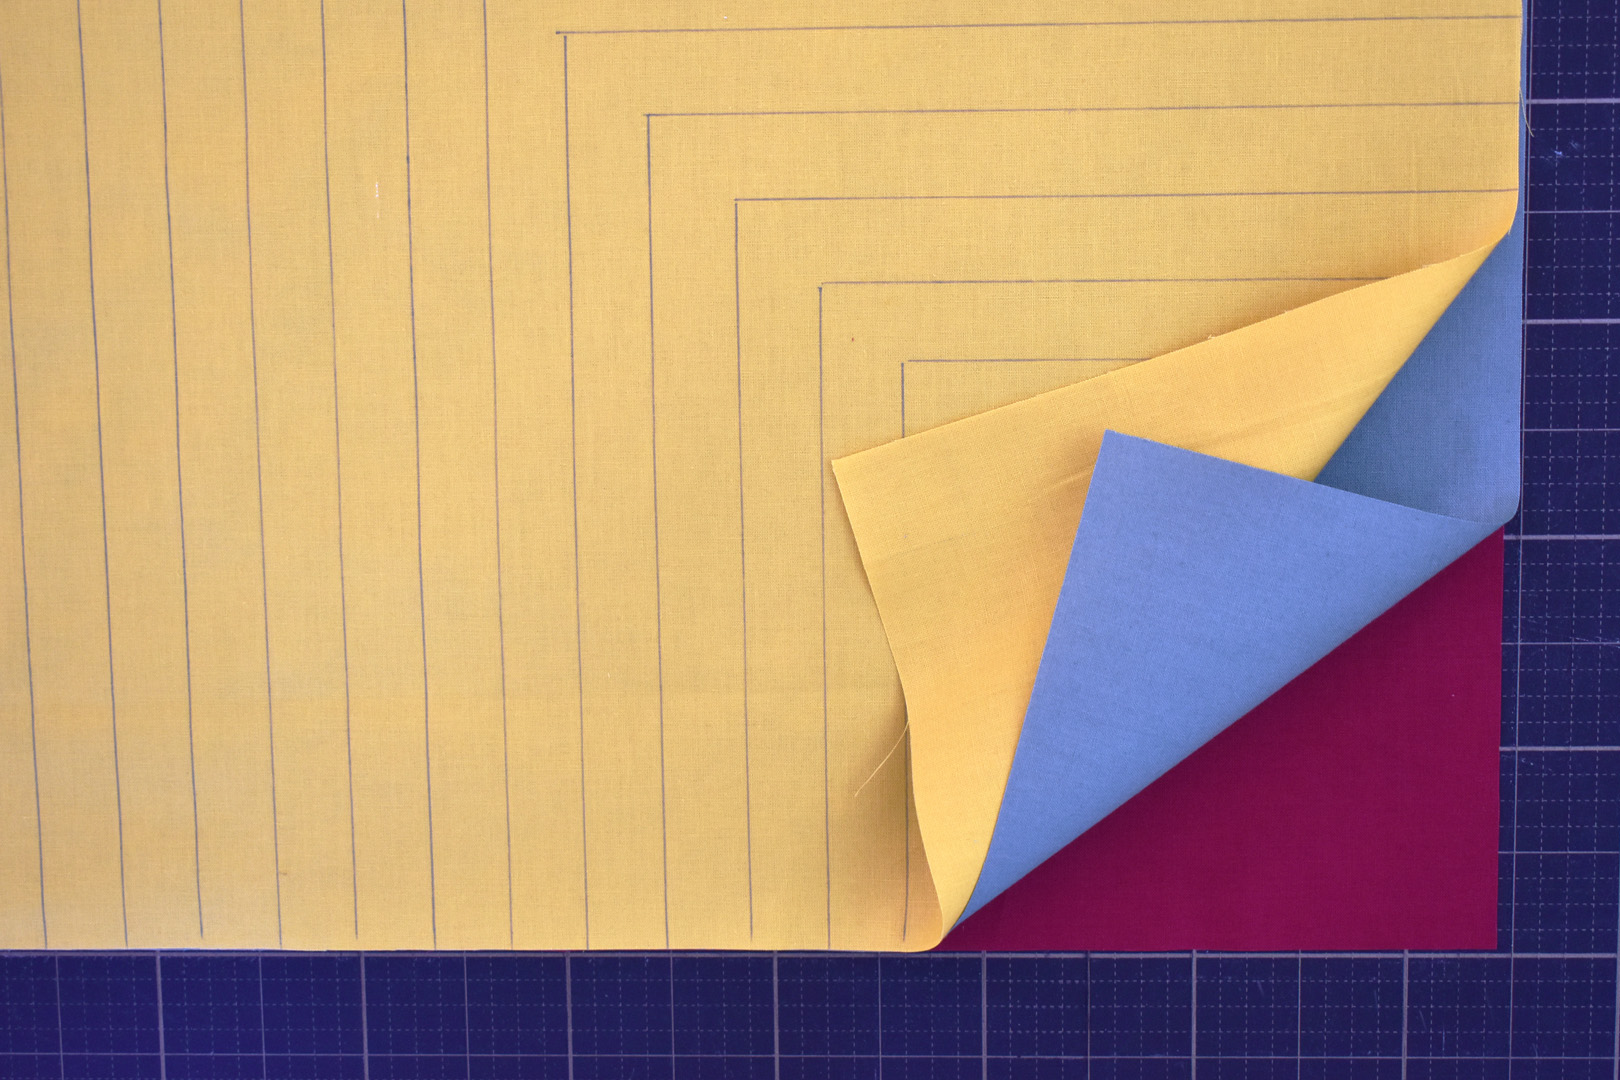
Layer the three squares of fabric on top of each other. Smooth out the layers to remove any folds, tucks, or bubbles.
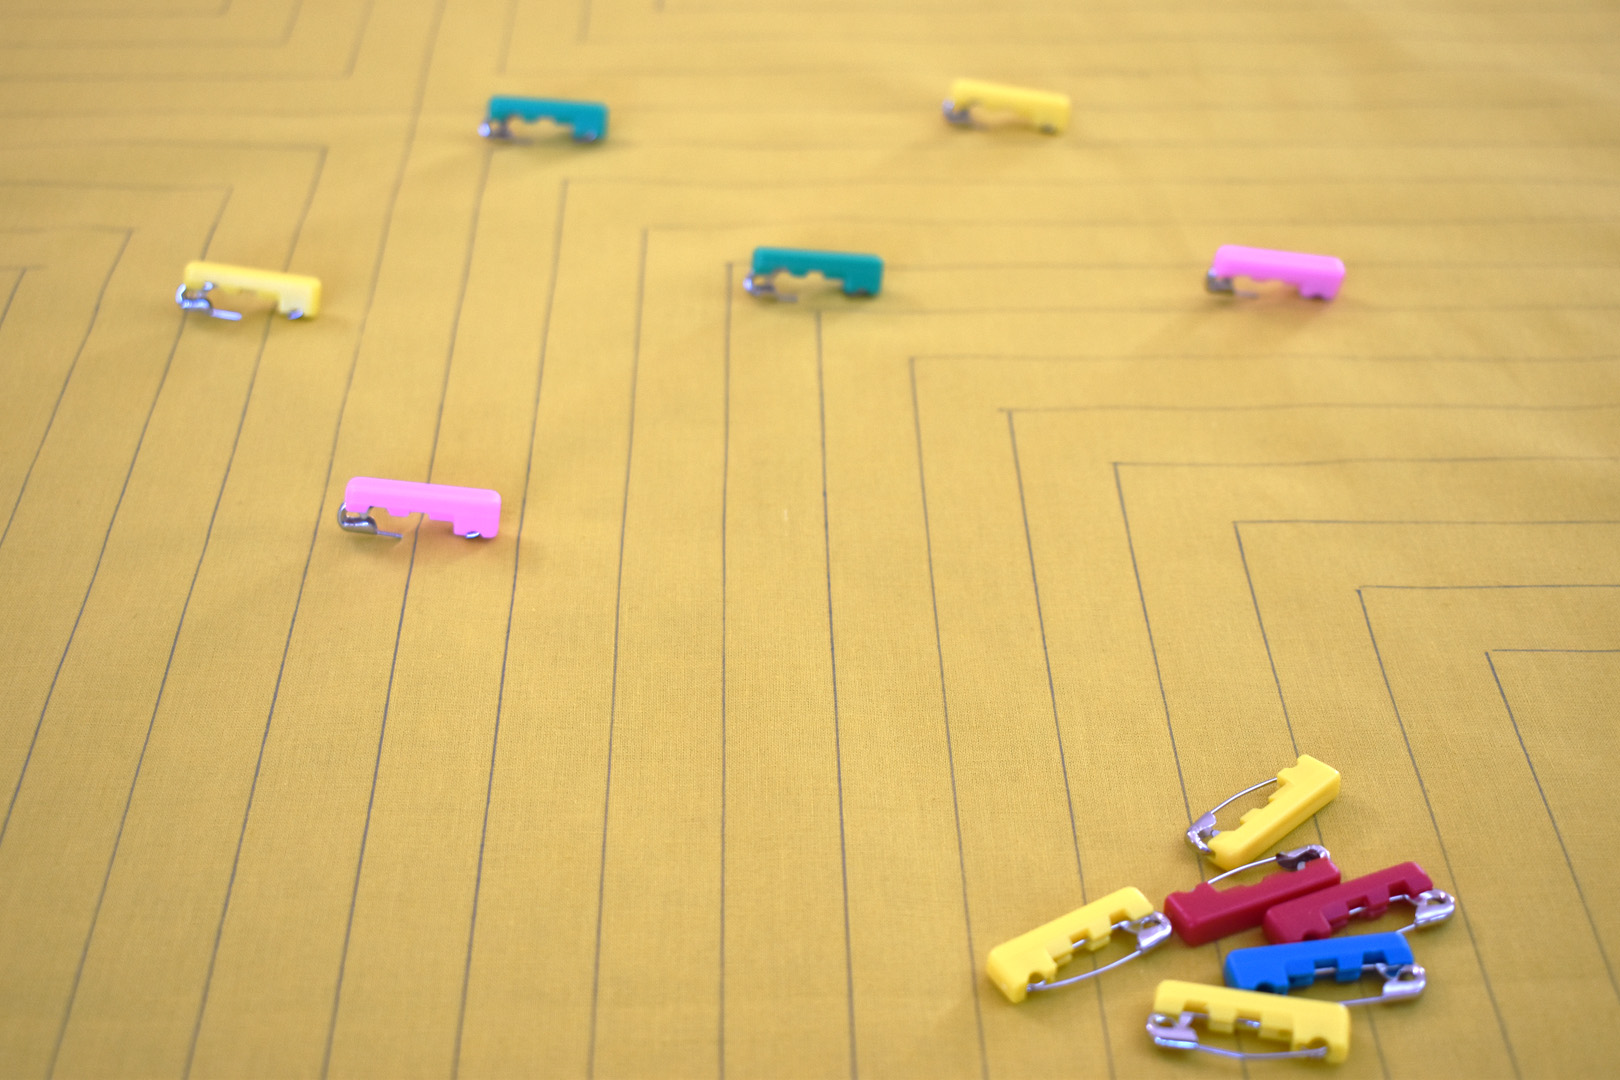
Baste the three layers together to help them from shifting while stitching together. Use either long quilting pins or quilters’ safety pins. Don’t use temporary spray basting for this step because it will keep you from cutting into the different layers in a later step.
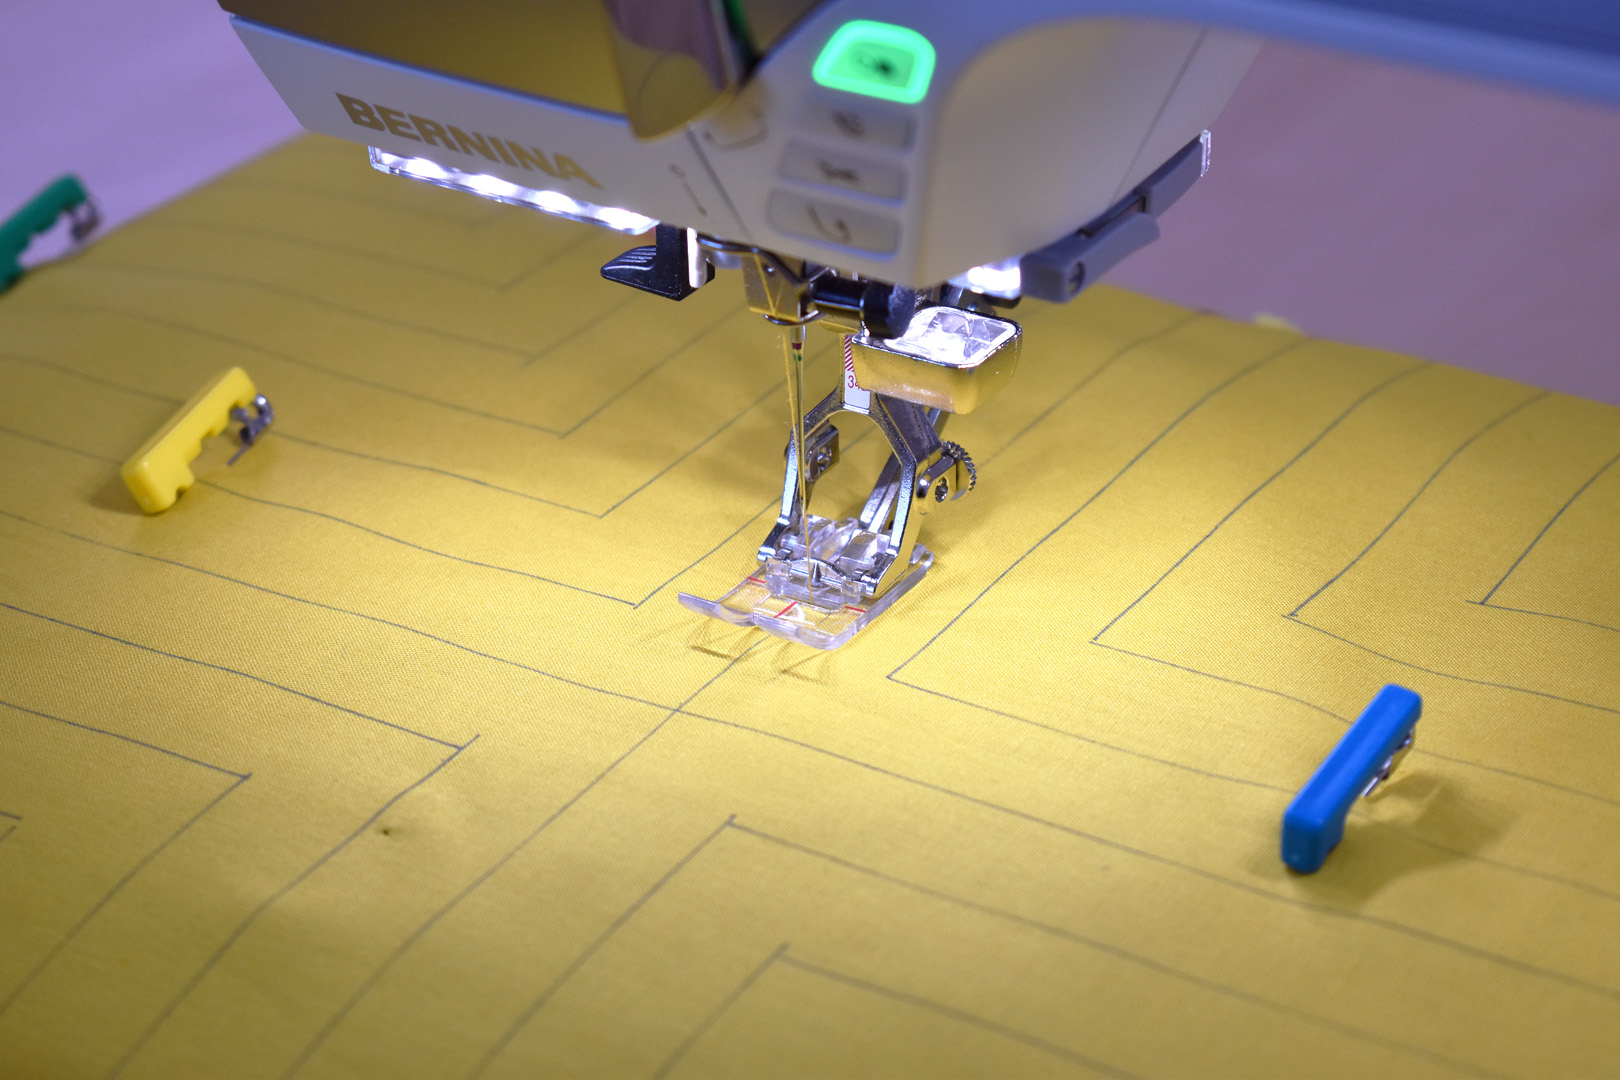
Start stitching down the two center marks first, removing the basting pins as you sew. Reverse Pattern Foot with Clear Sole #34 is great for following the lines because you can use the middle red mark on the presser foot to help you follow the lines as you sew.
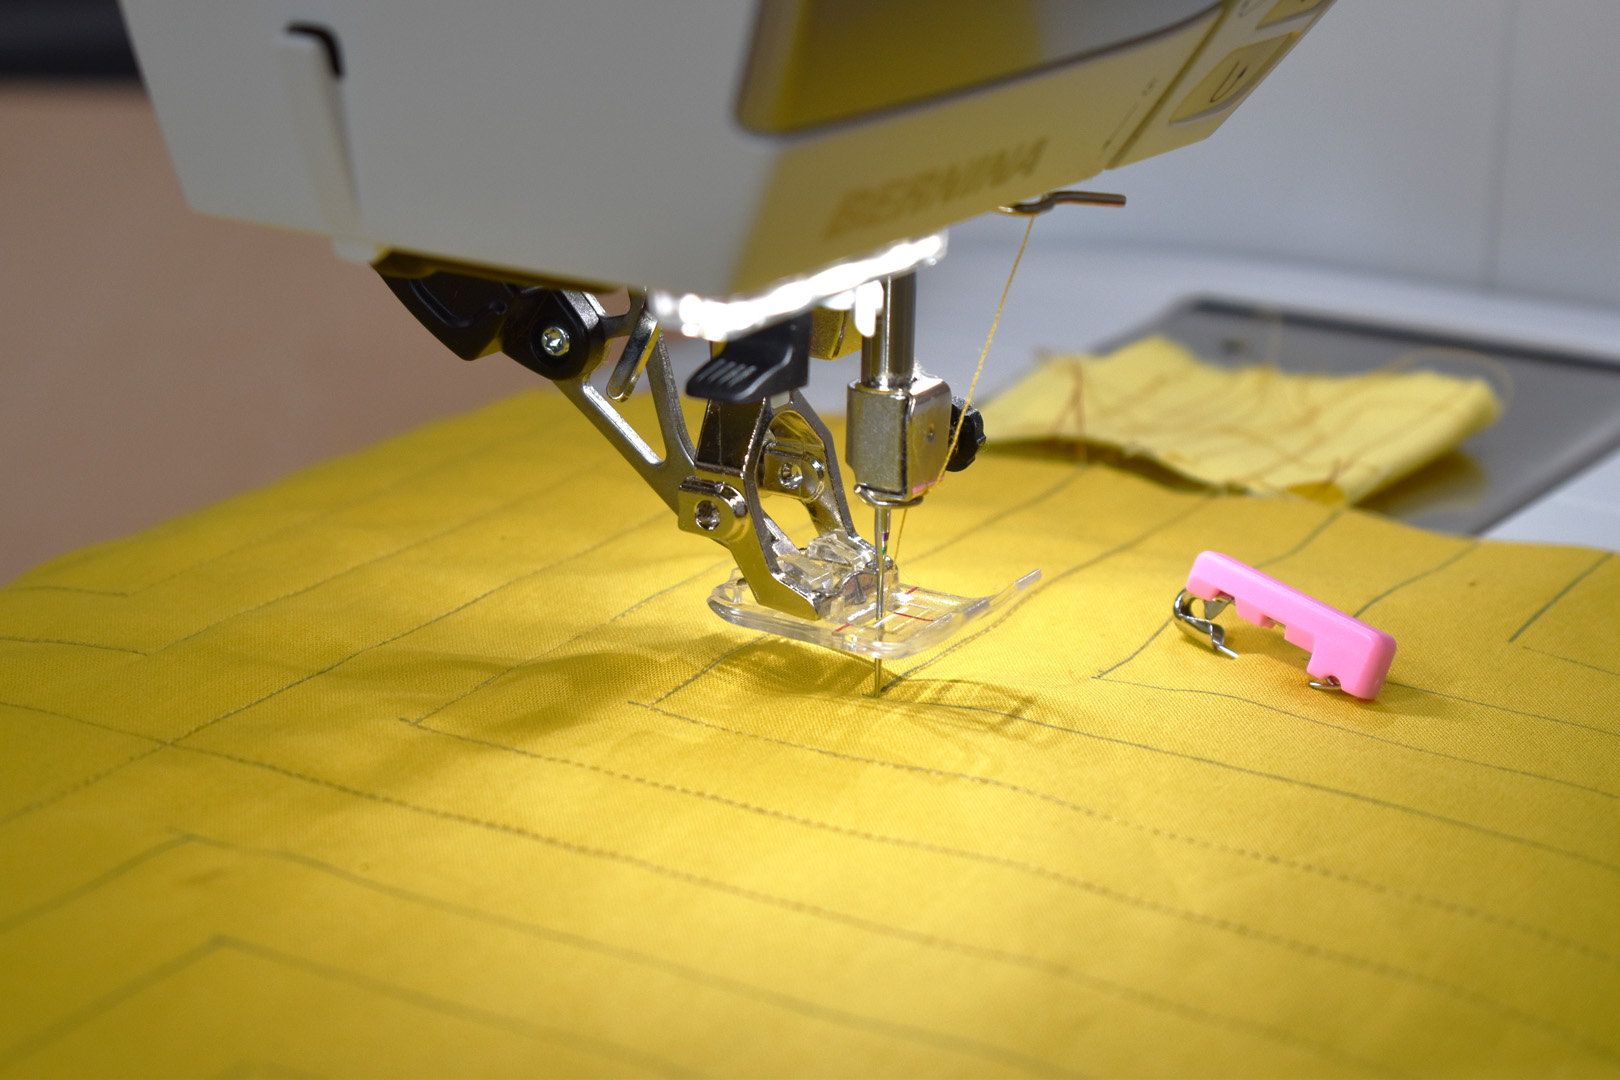
Sew from the center lines out to the edges of the square. When sewing around a 90° corner, set your machine to stop sewing with the needle down and pivot when you reach the corner point.
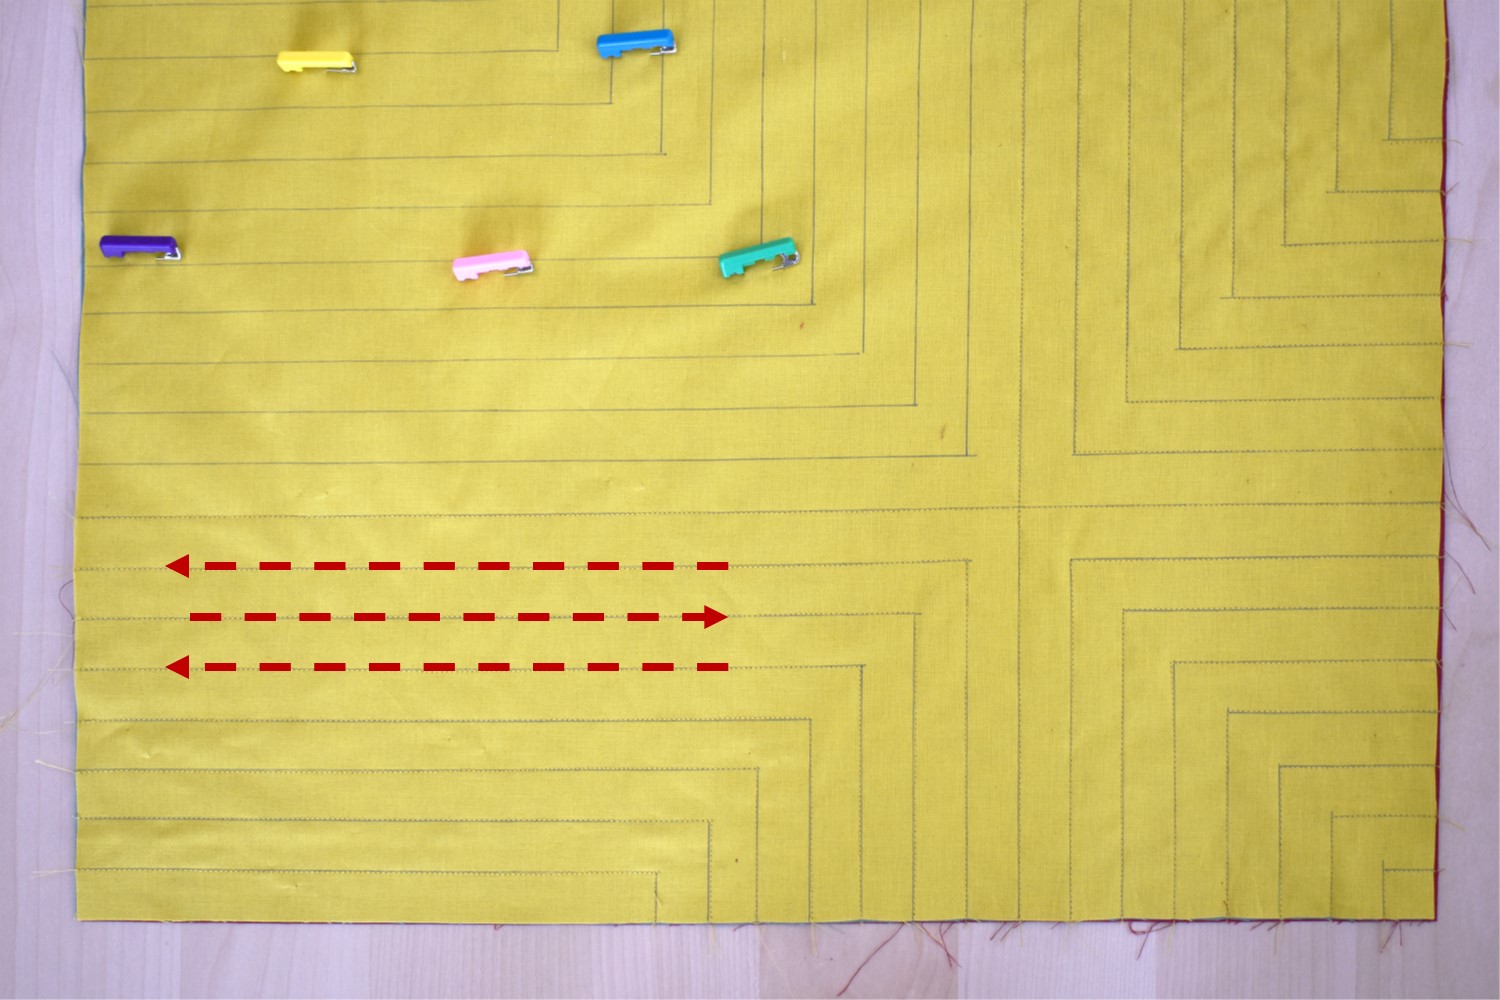
Sew each consecutive line in a different direction (like the red arrows in the picture above) to help to even out any shifting of the fabric layers as you sew.
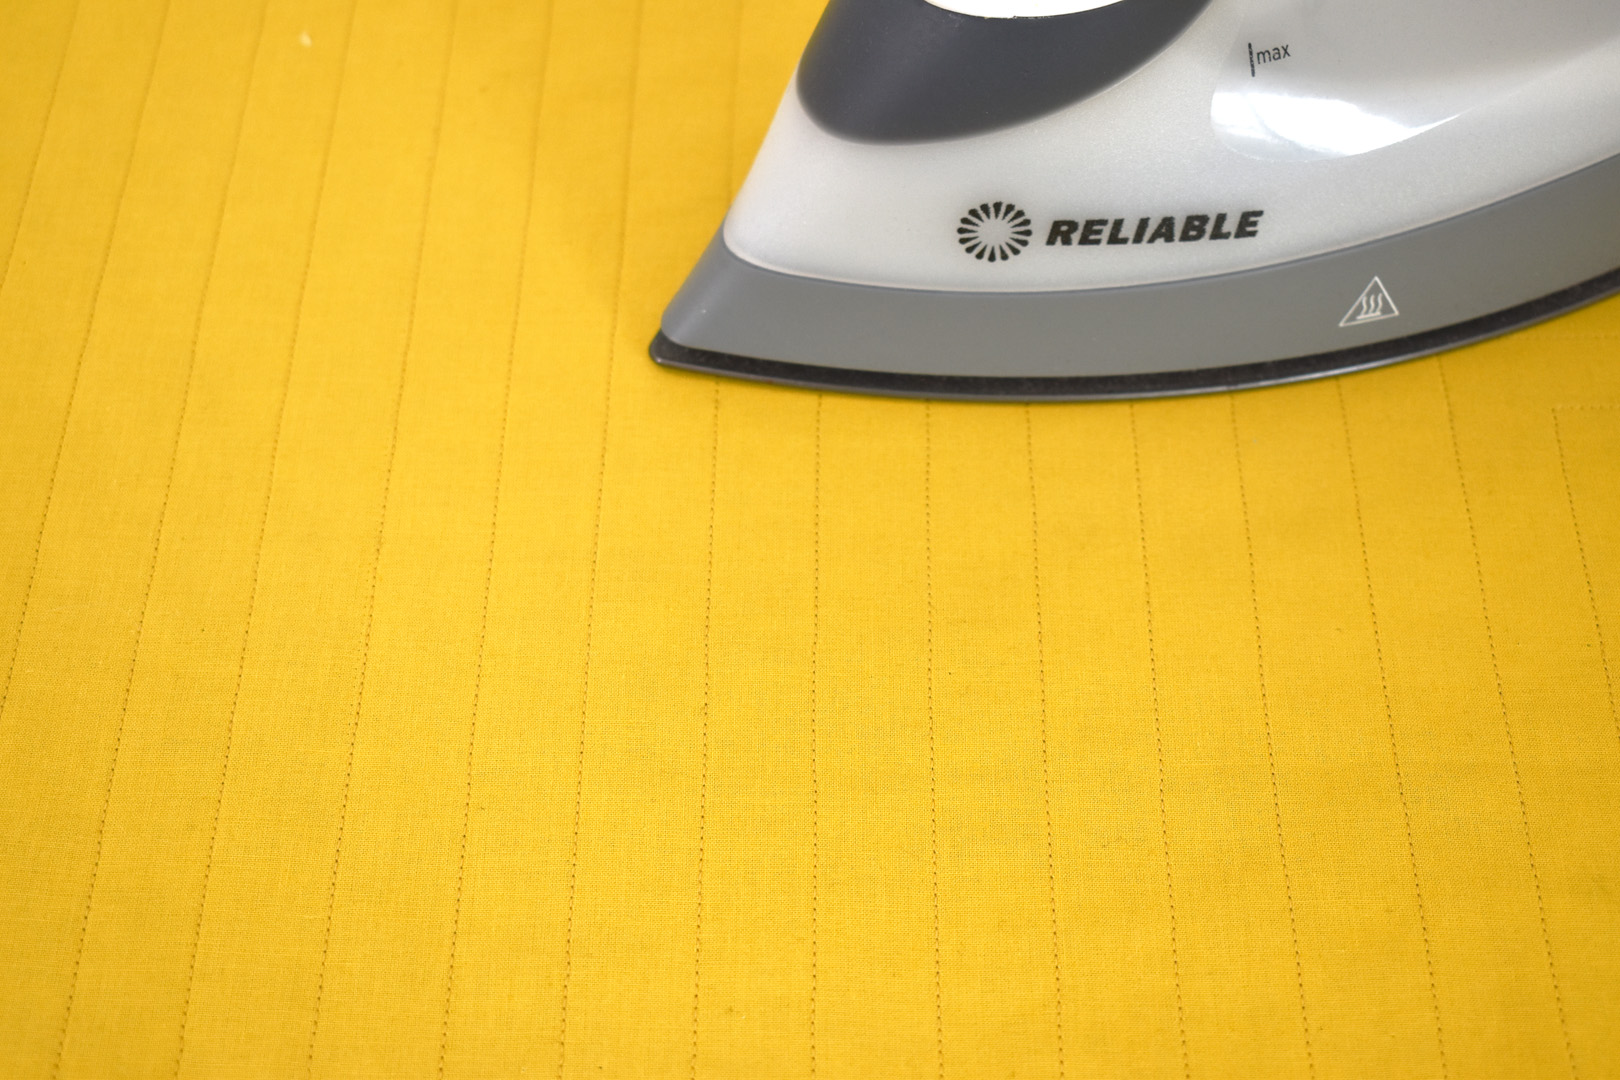
After stitching on all the lines, give the entire square a good steam pressing (make sure you just pick the iron up and set it down as you press, don’t move the iron back-and-forth on top of the fabric to keep from warping the square).
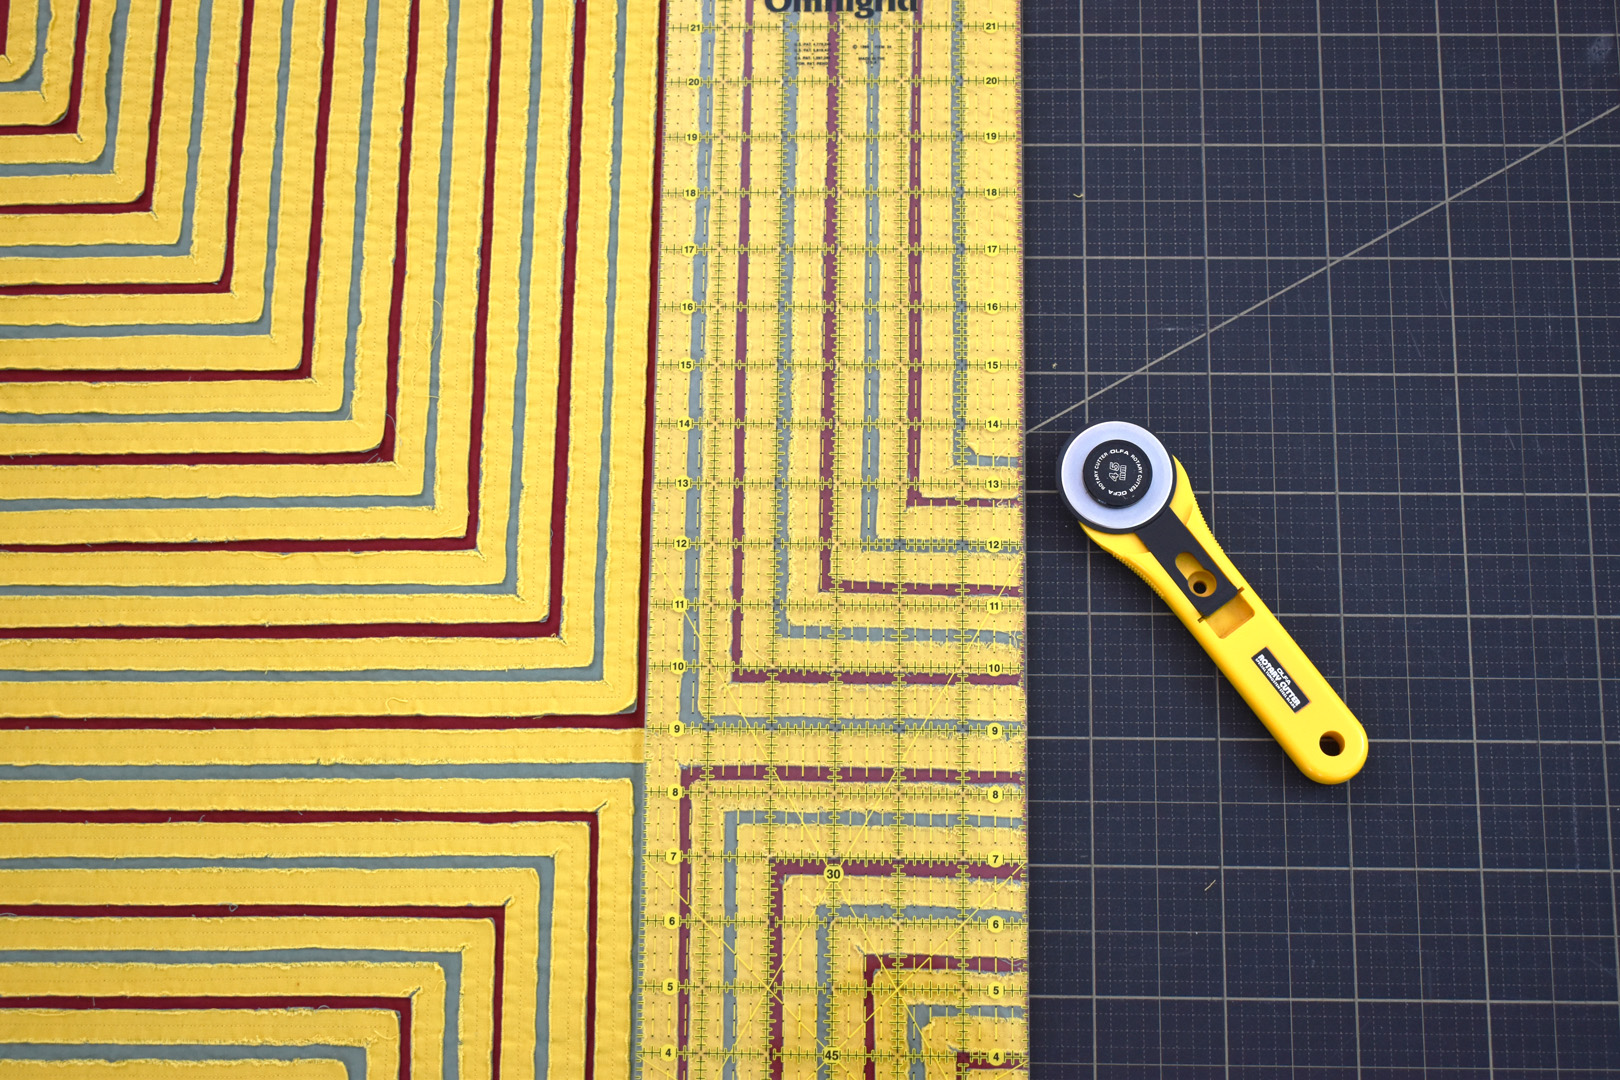
Now it’s time to mark the cut lines on the top layer, which means you’ll need the ruler and fabric marking pen again.
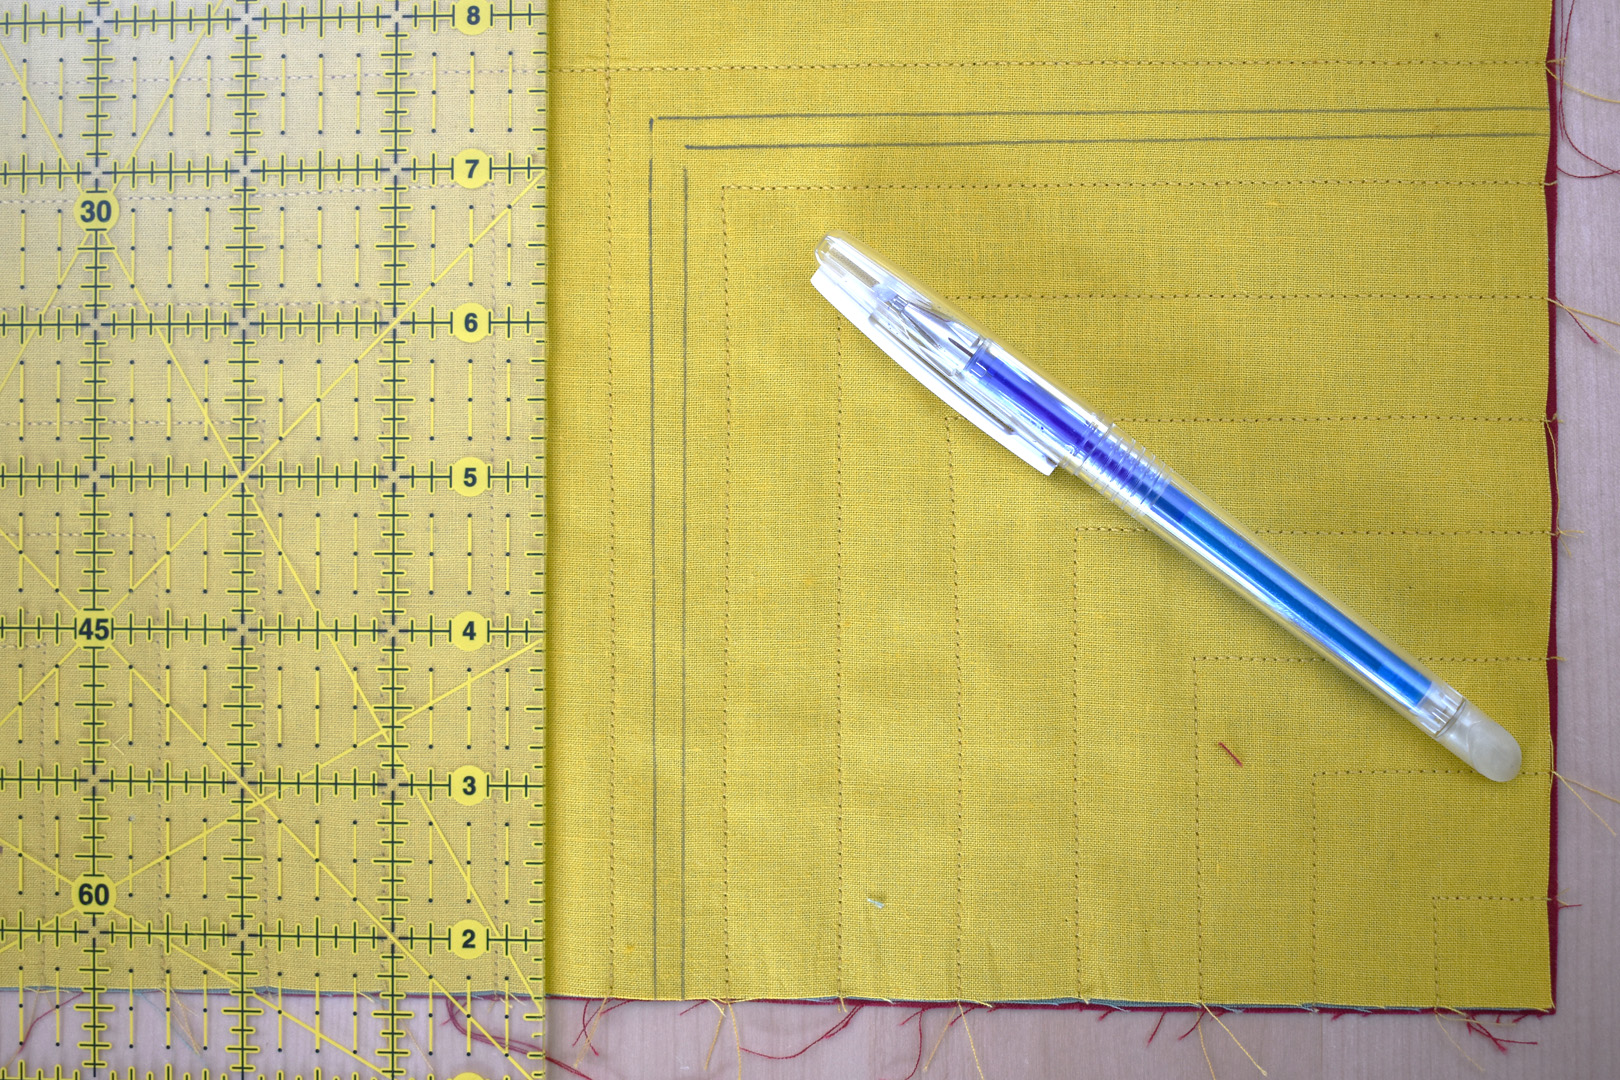
Think about the stitch lines in the square forming channels. You will use the ruler to mark two lines near the center of each channel to guide the cutting process.
Use the ruler to measure 1/4″ over from one of the stitch lines in a channel and mark with the pen. Then measure over 1/4″ from the stitch lines on the other side of the channel and mark.

Keep going until all of the channels are marked with the cut lines across the entire square.
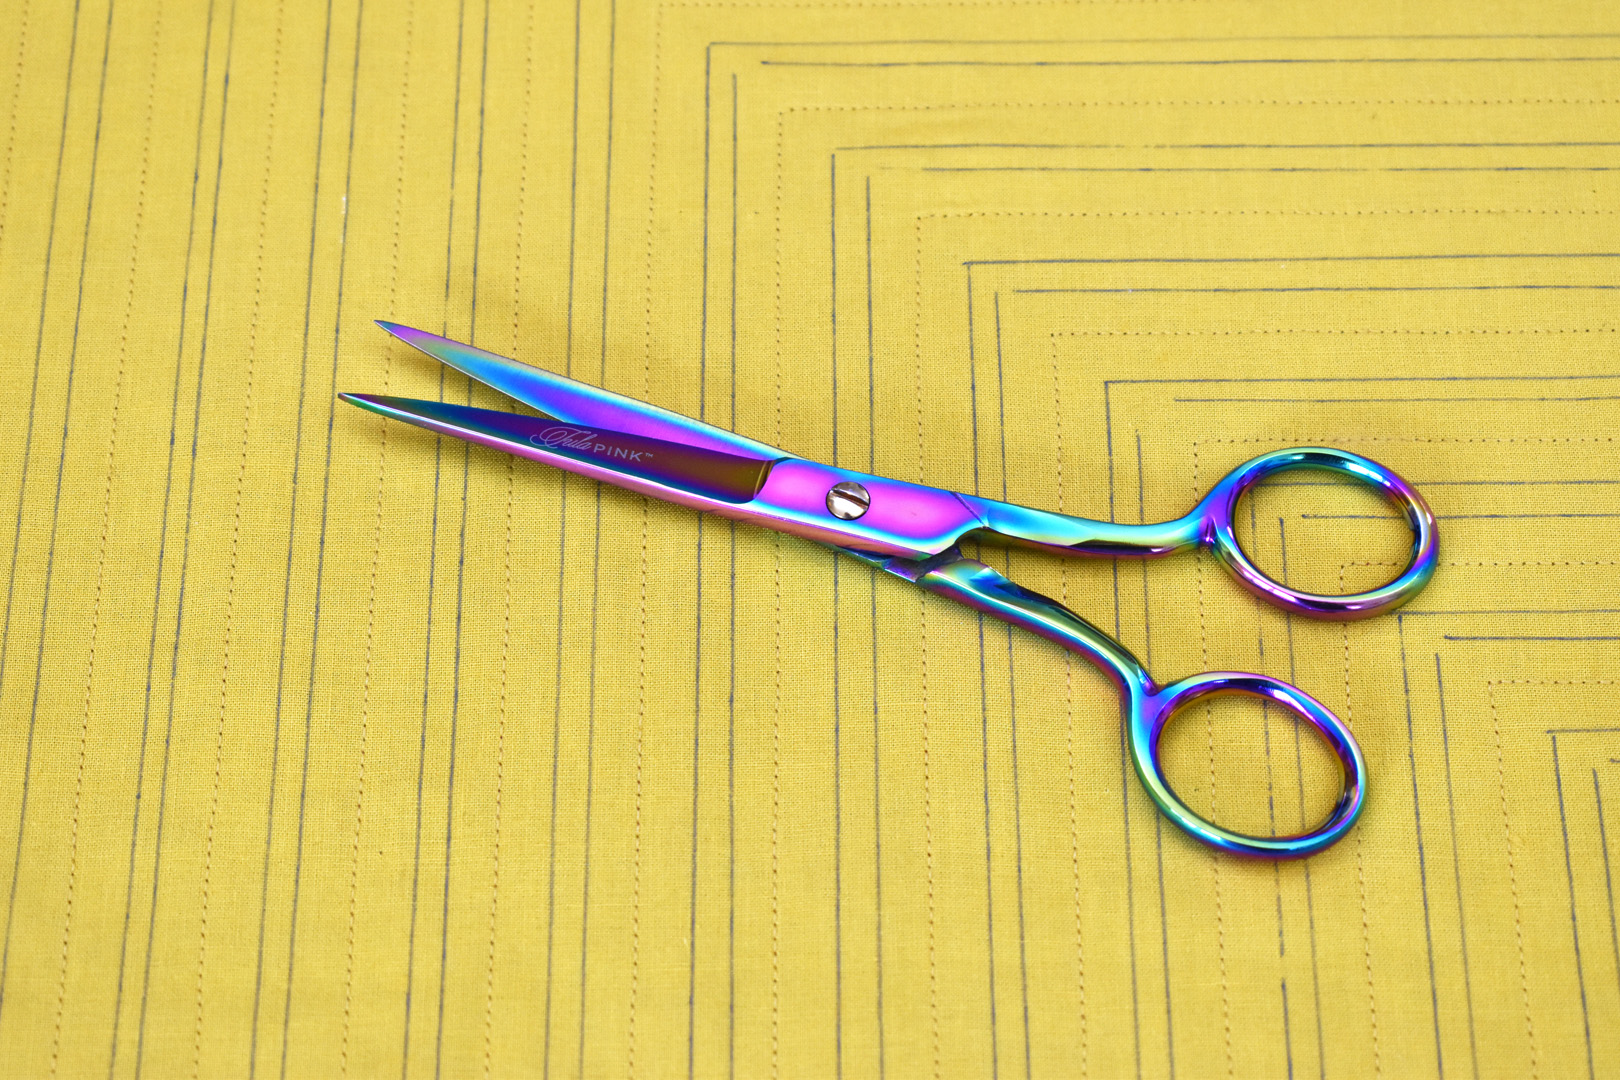
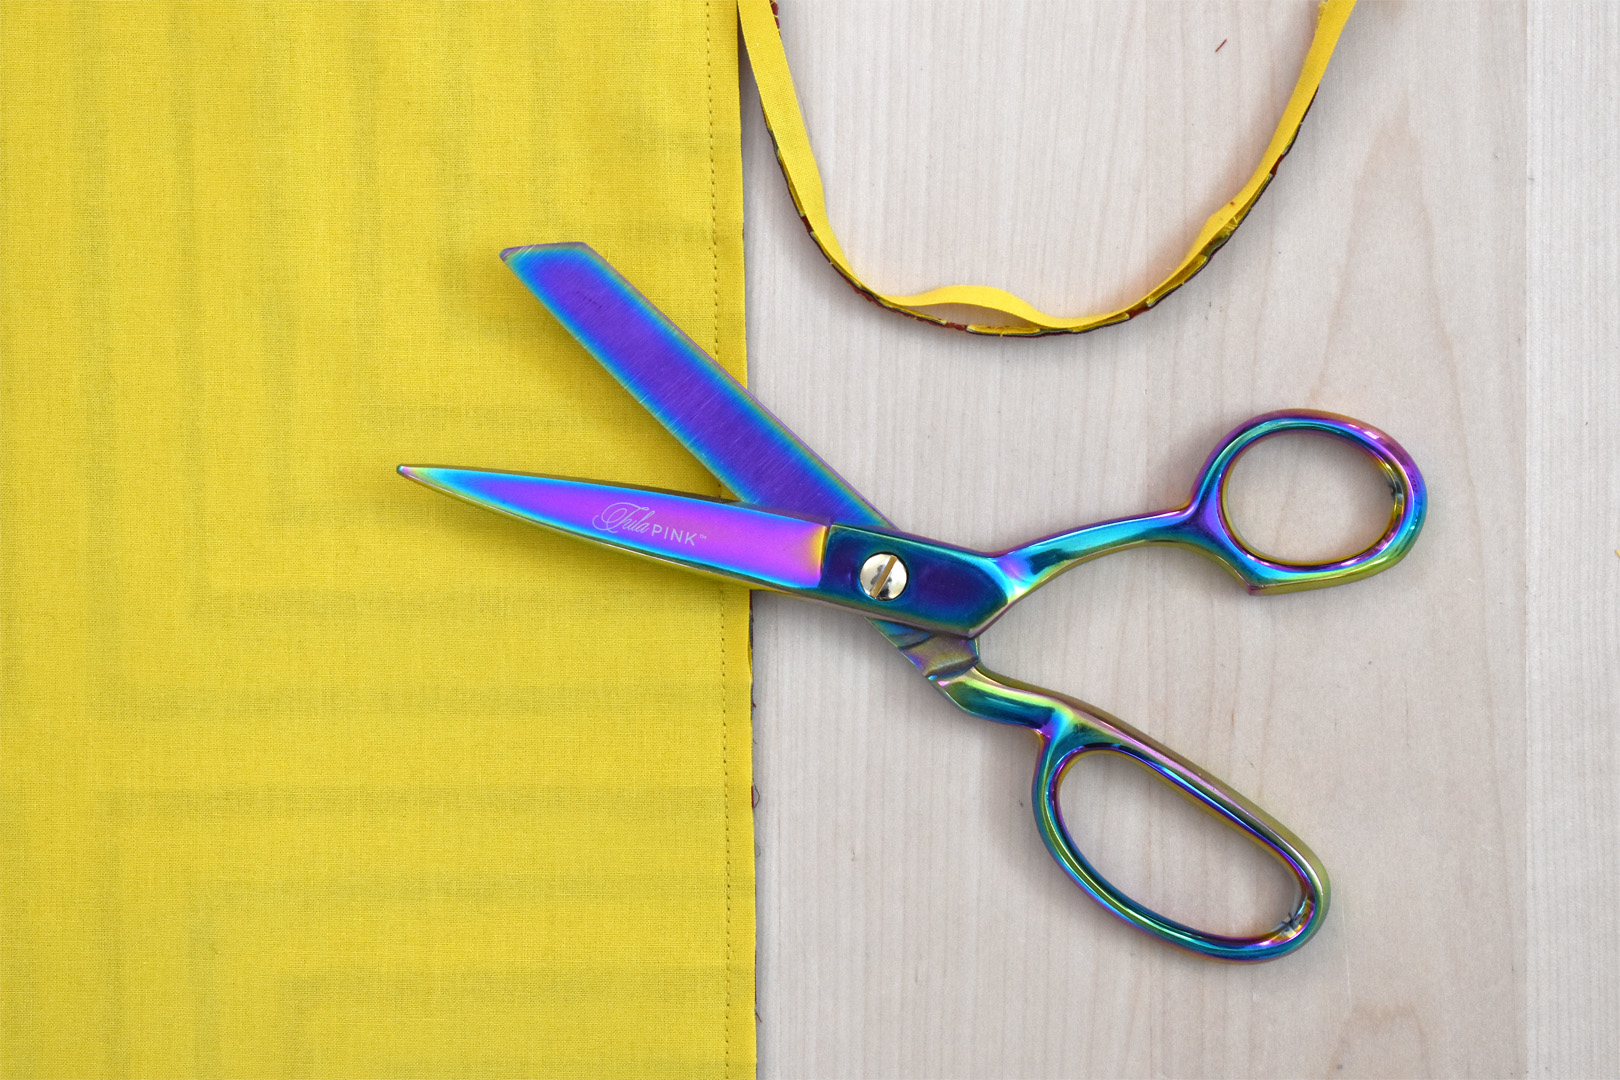
Use a very sharp pair of fabric scissors for the next step; I recommend a 6″ long pair of straight scissors, the blades are thin enough to easily fit in the channels for cutting.

Begin cutting in the smallest square section of the pillow top first to get the feel for this process. Start the first cut in the channel closest to the center stitches that cross the square.
Cut only the top layer by sliding the blade of the scissors underneath the layer carefully, taking a small snip to get you started.
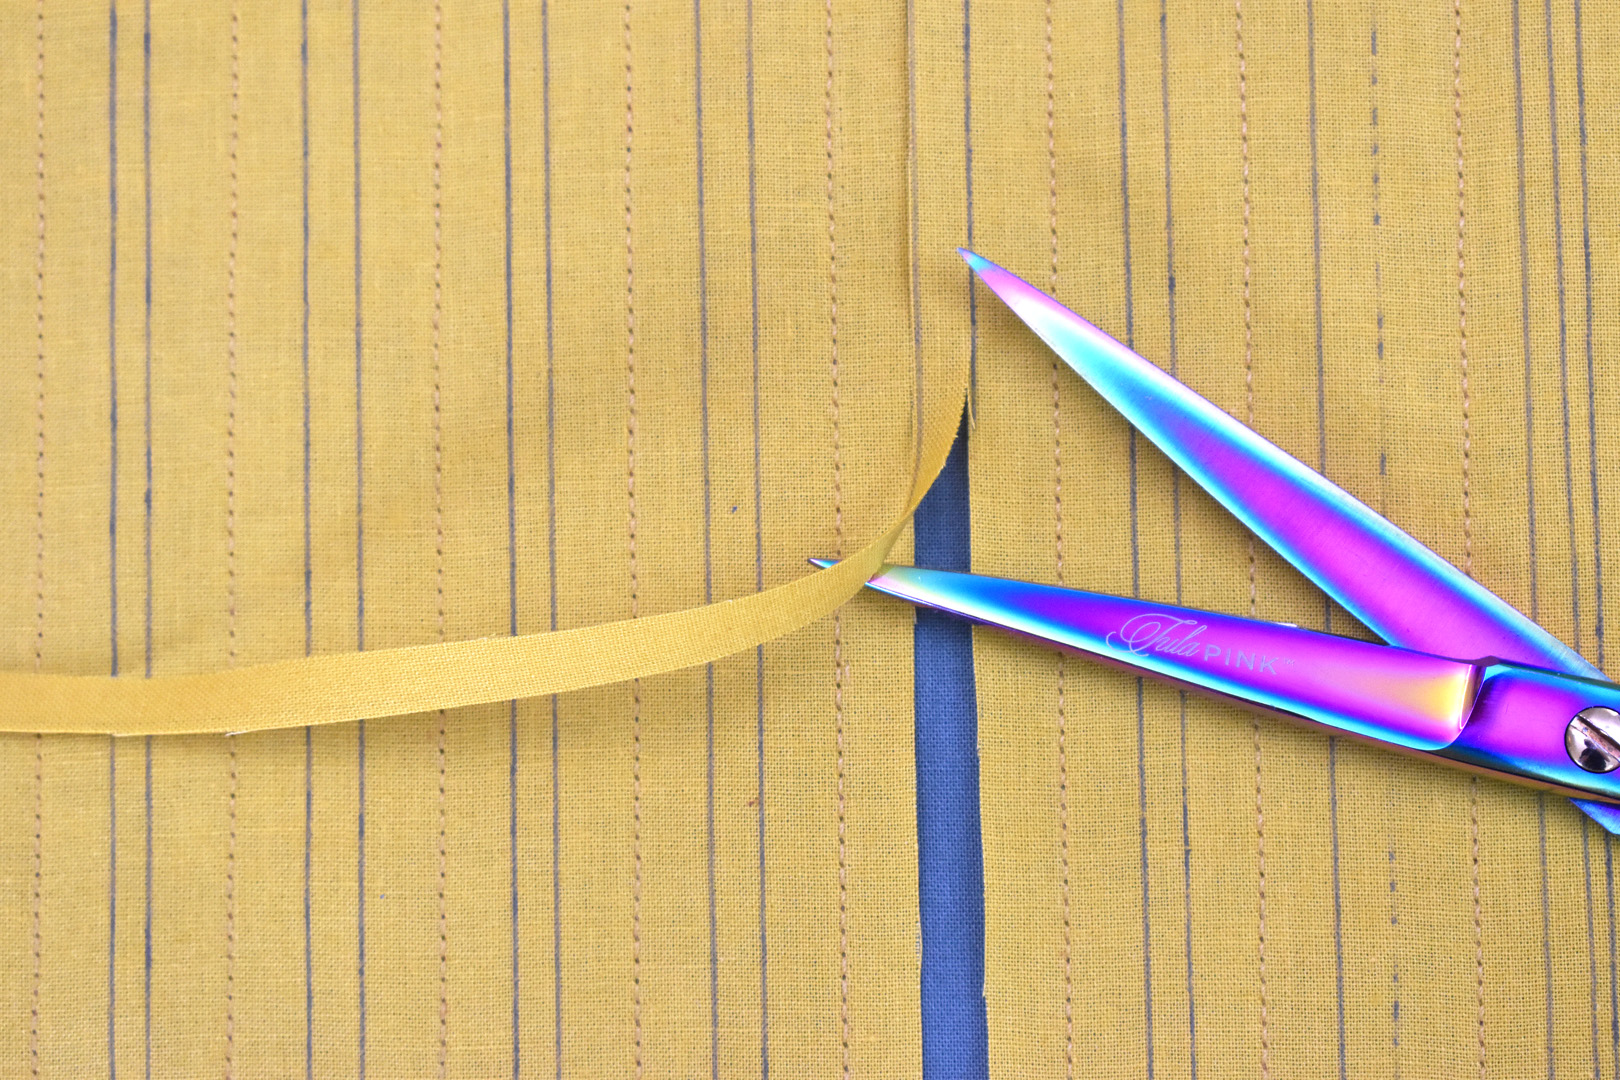
Cut carefully along one pen mark first, following through to the other edge. Then cut the other side of the piece and remove this long strip.
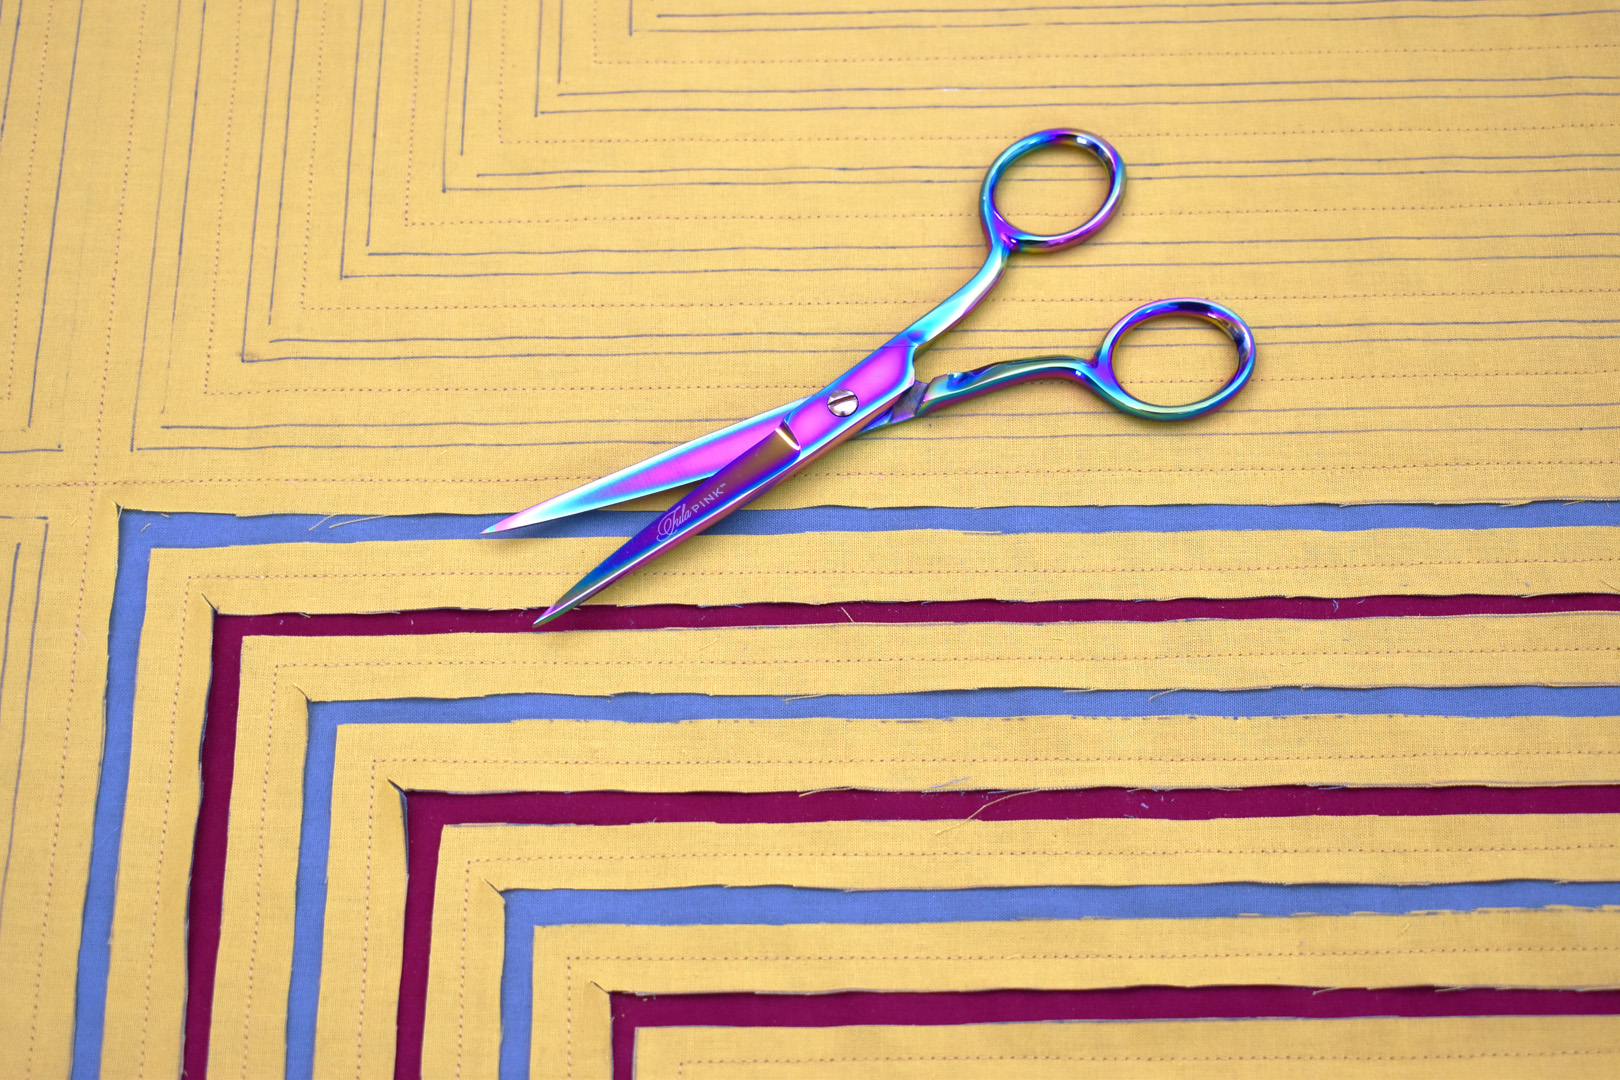
On the next channel cut through TWO layers of fabric to reveal the bottom layer. Slide the blade of the scissors through the top two layers on one end and begin snipping carefully. When reaching an inside corner, I add a small snip into the corner to help release the threads in the fraying step.
Don’t worry about cutting any of the channels that come within 1″ from the raw edge of the pillow square (you can see in the photo below I didn’t cut the channels in the very corners or very outer edges).
Tip: create a pattern of alternating layers as you continue to cut. You can experiment with a different pattern if you want, but once you start cutting you can’t go back!
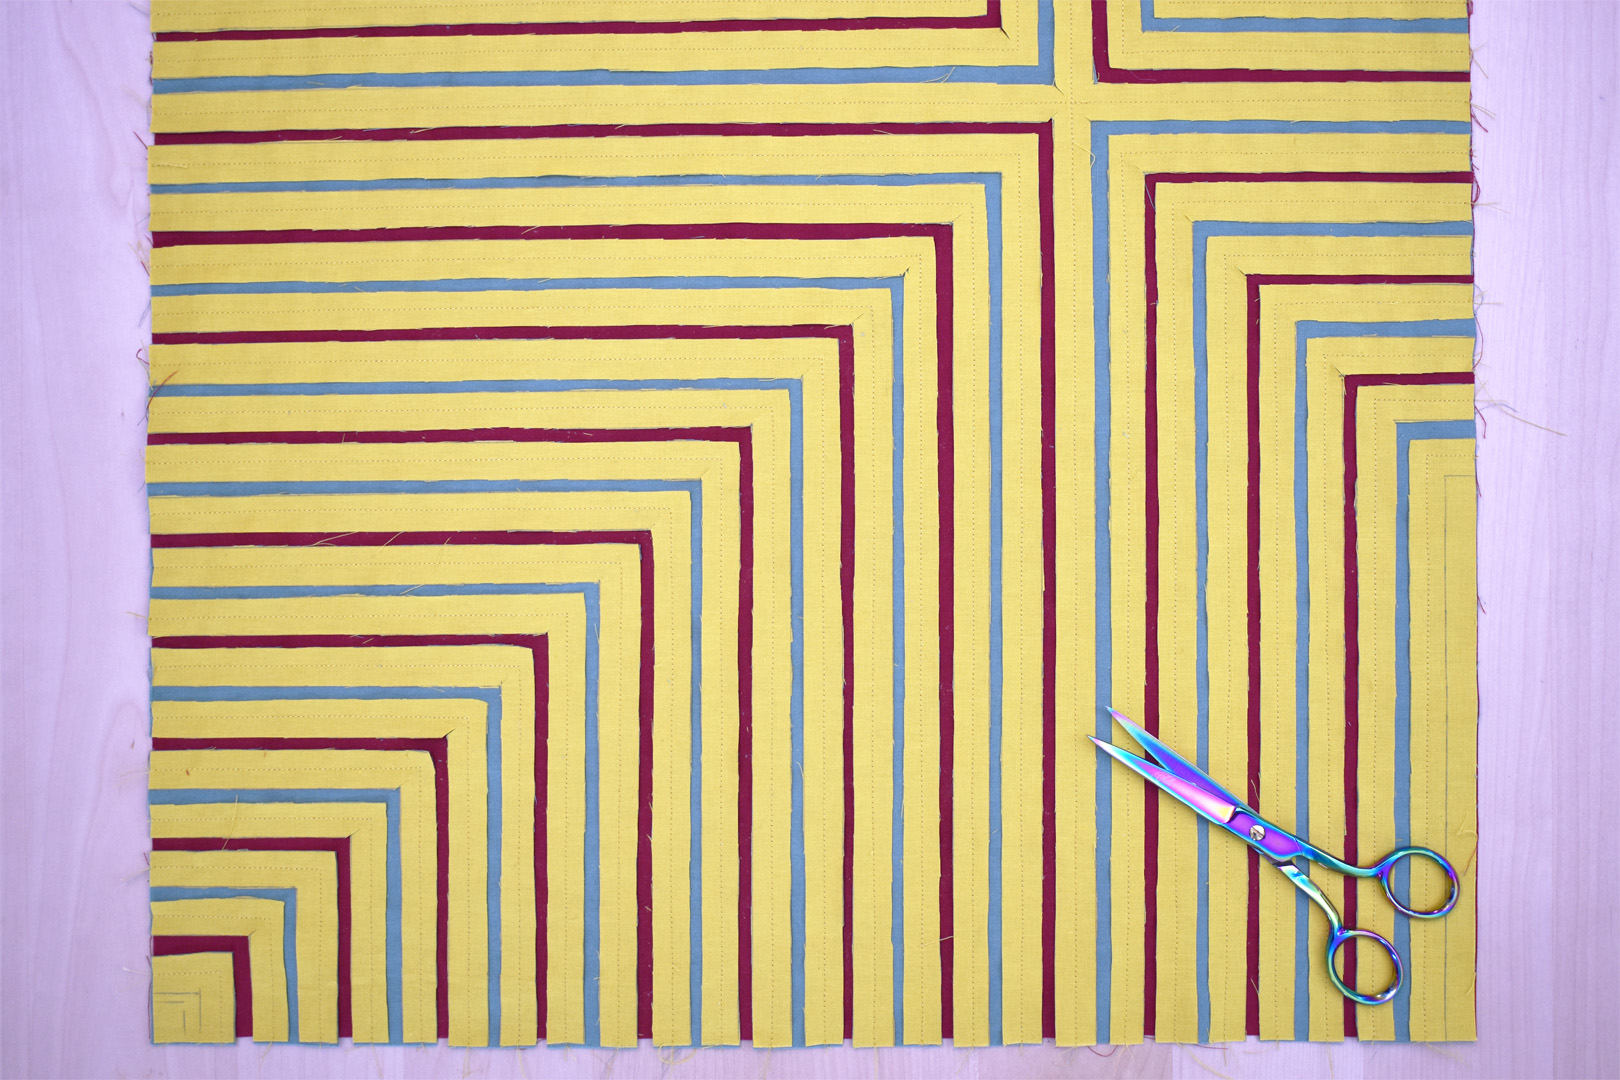
Before moving on to the next step of fraying the cut edges, let’s zigzag stitch the outside raw edges to keep them intact.
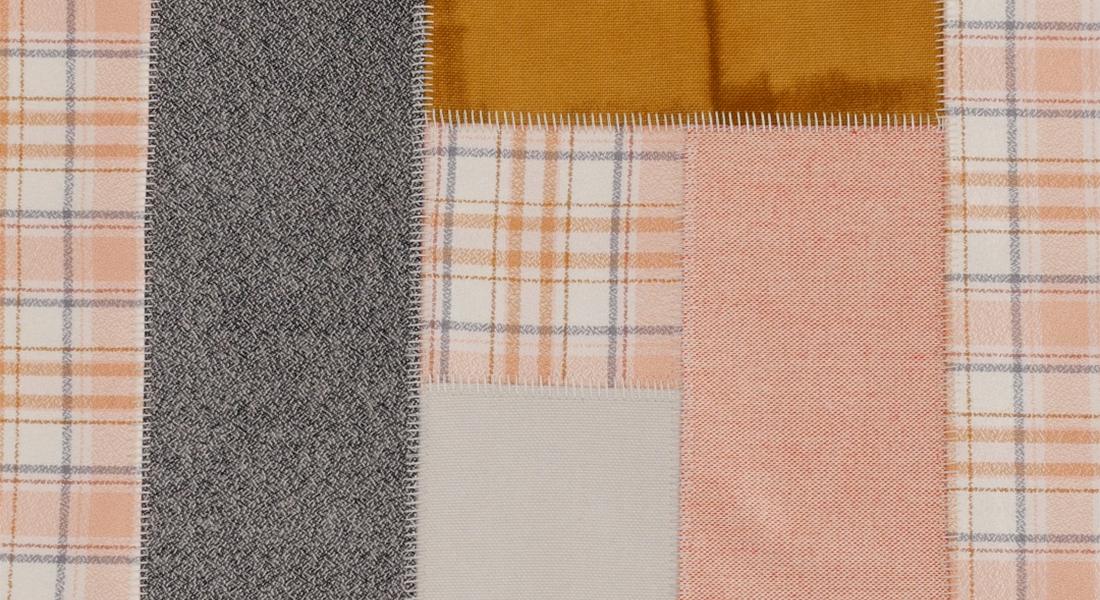
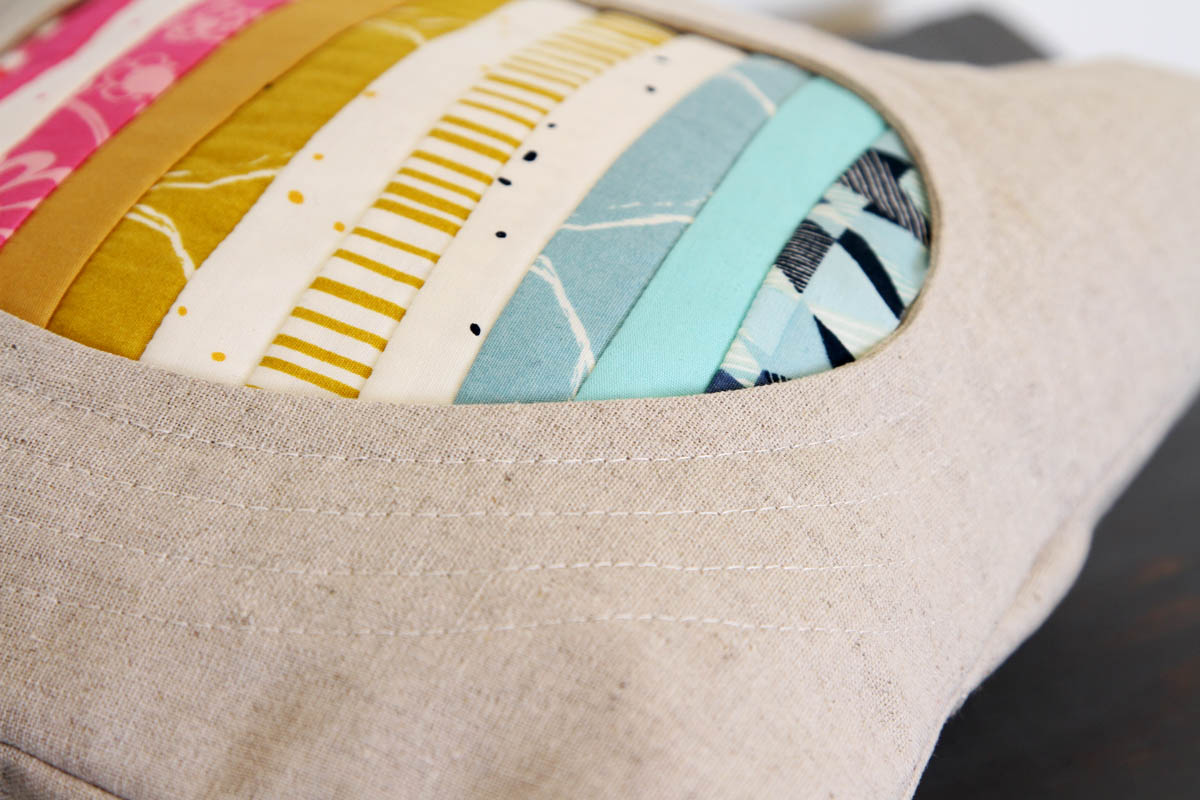
Use a standard zigzag stitch and zip around the outer edges. The inside raw edges you just cut will start to fray pretty quickly. You can choose to let them fray just a little, or go nuts and make them fray a lot.
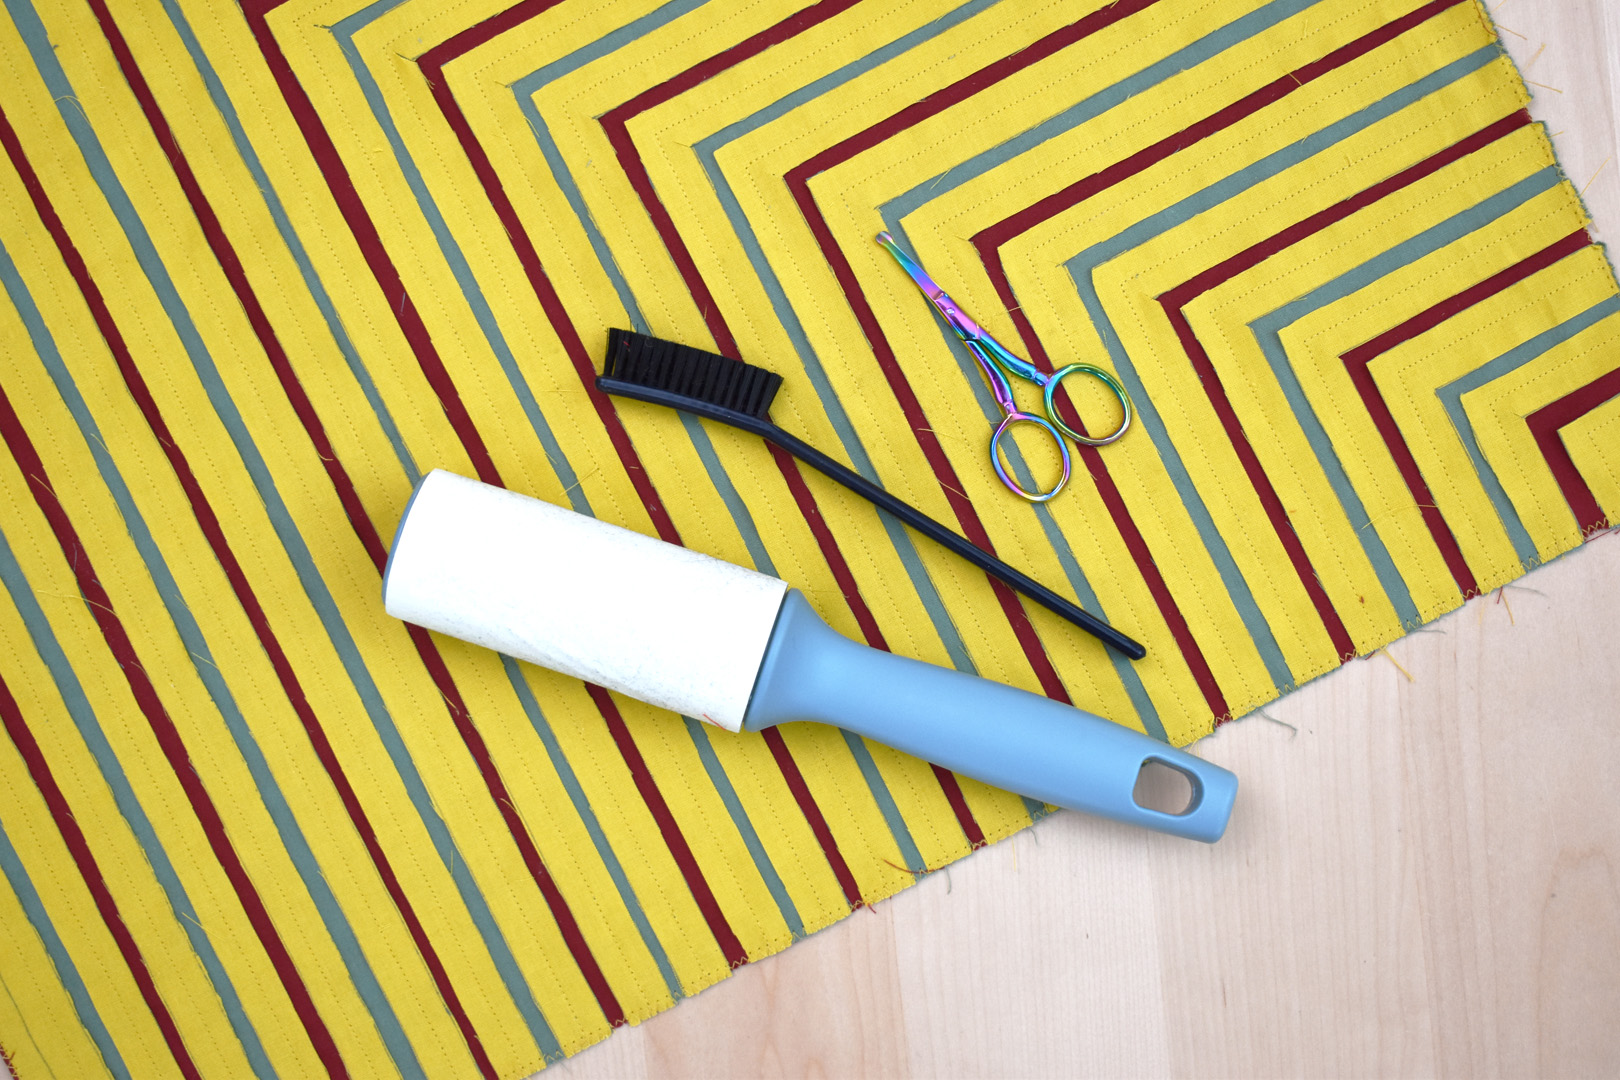
To create more fraying in the layers, grab a stiff brush (I’m using a stiff cleaning brush, but a toothbrush or plastic bristled scrub brush will also work), thread snips, and a lint roller.
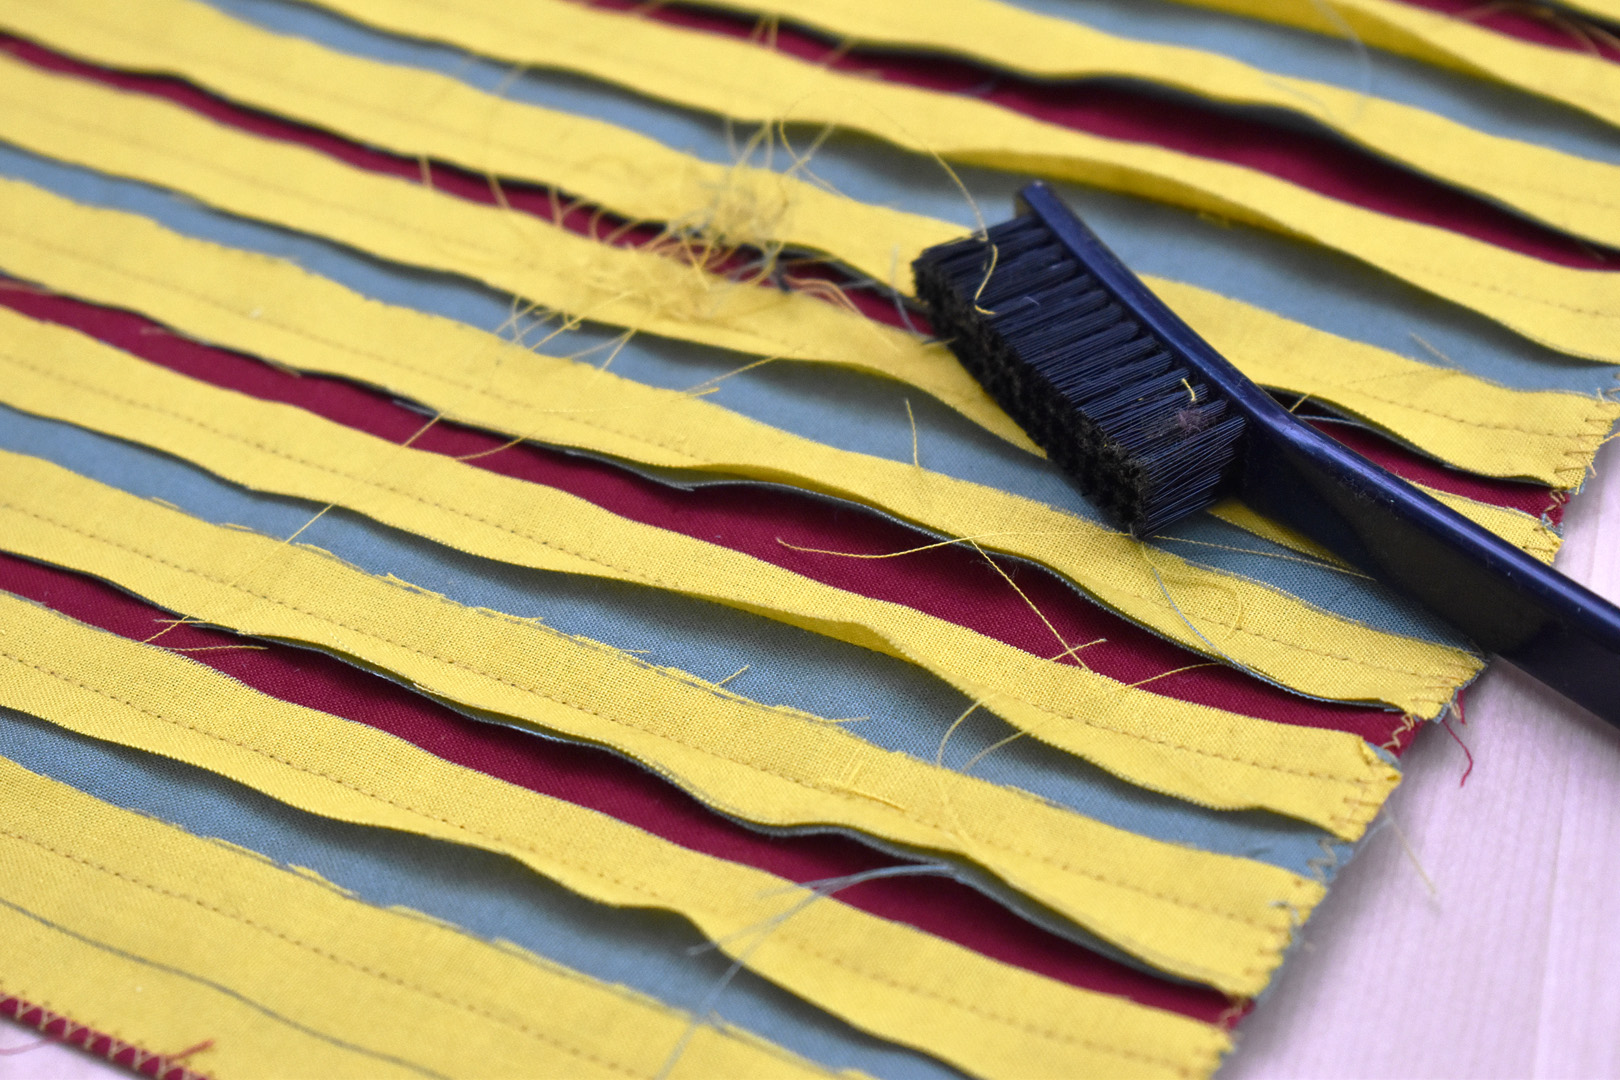
The minute you gently brush across the cut layers threads will fray.
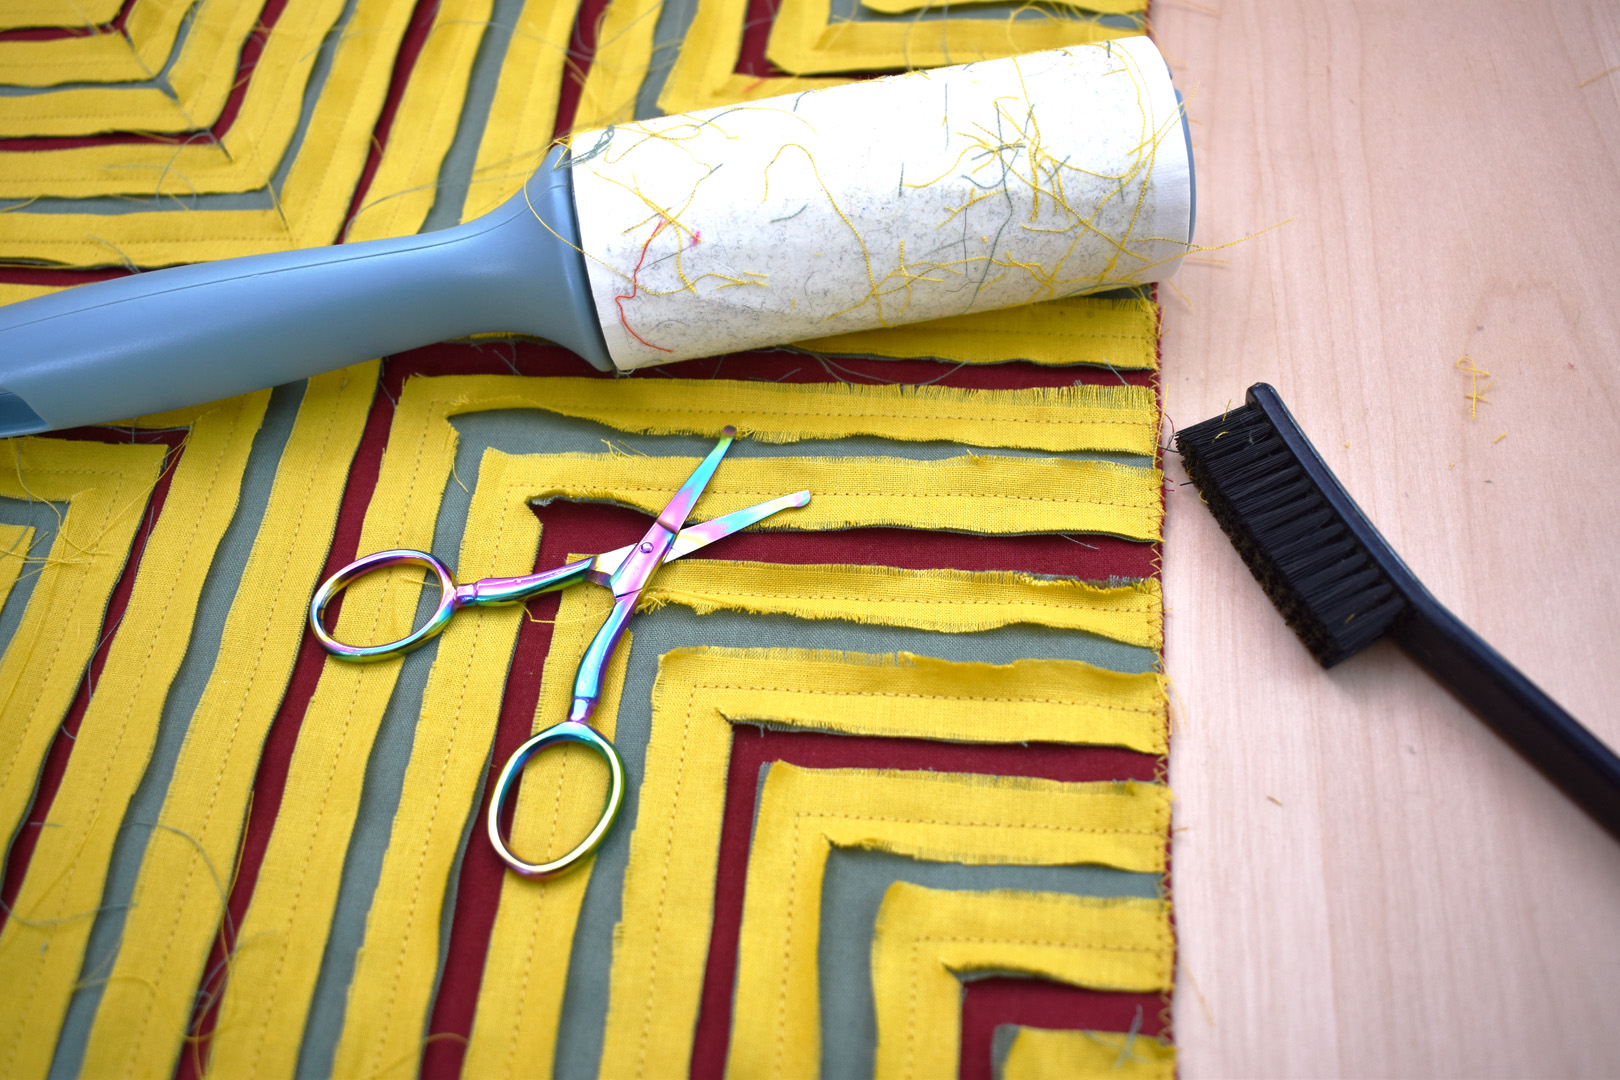
Most of the stray threads will pull right out of the fabric. If they don’t want to come out, use snips to trim them. The lint roller is great for removing all the cut thread that start floating around.
Fray as much as you want in this step – or skip this step altogether and keep the fraying to a minimum. The freshly frayed ends will have a fringe-like quality.
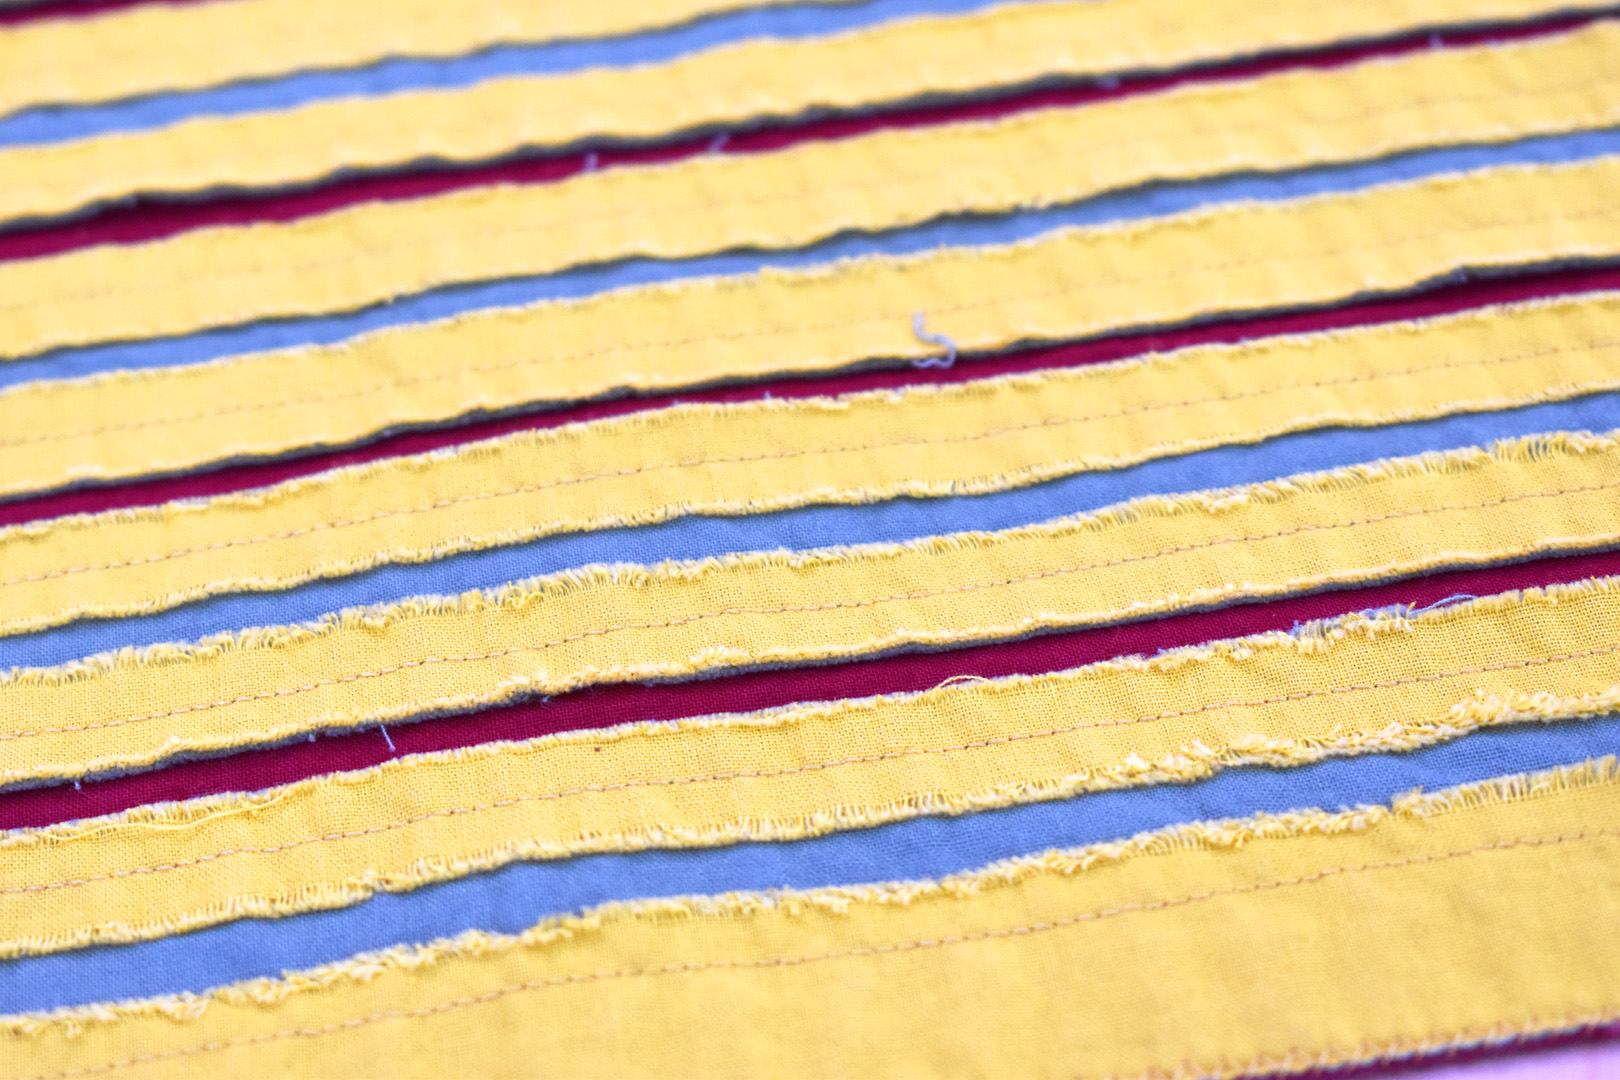
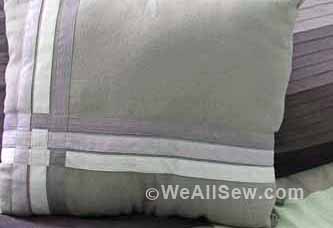
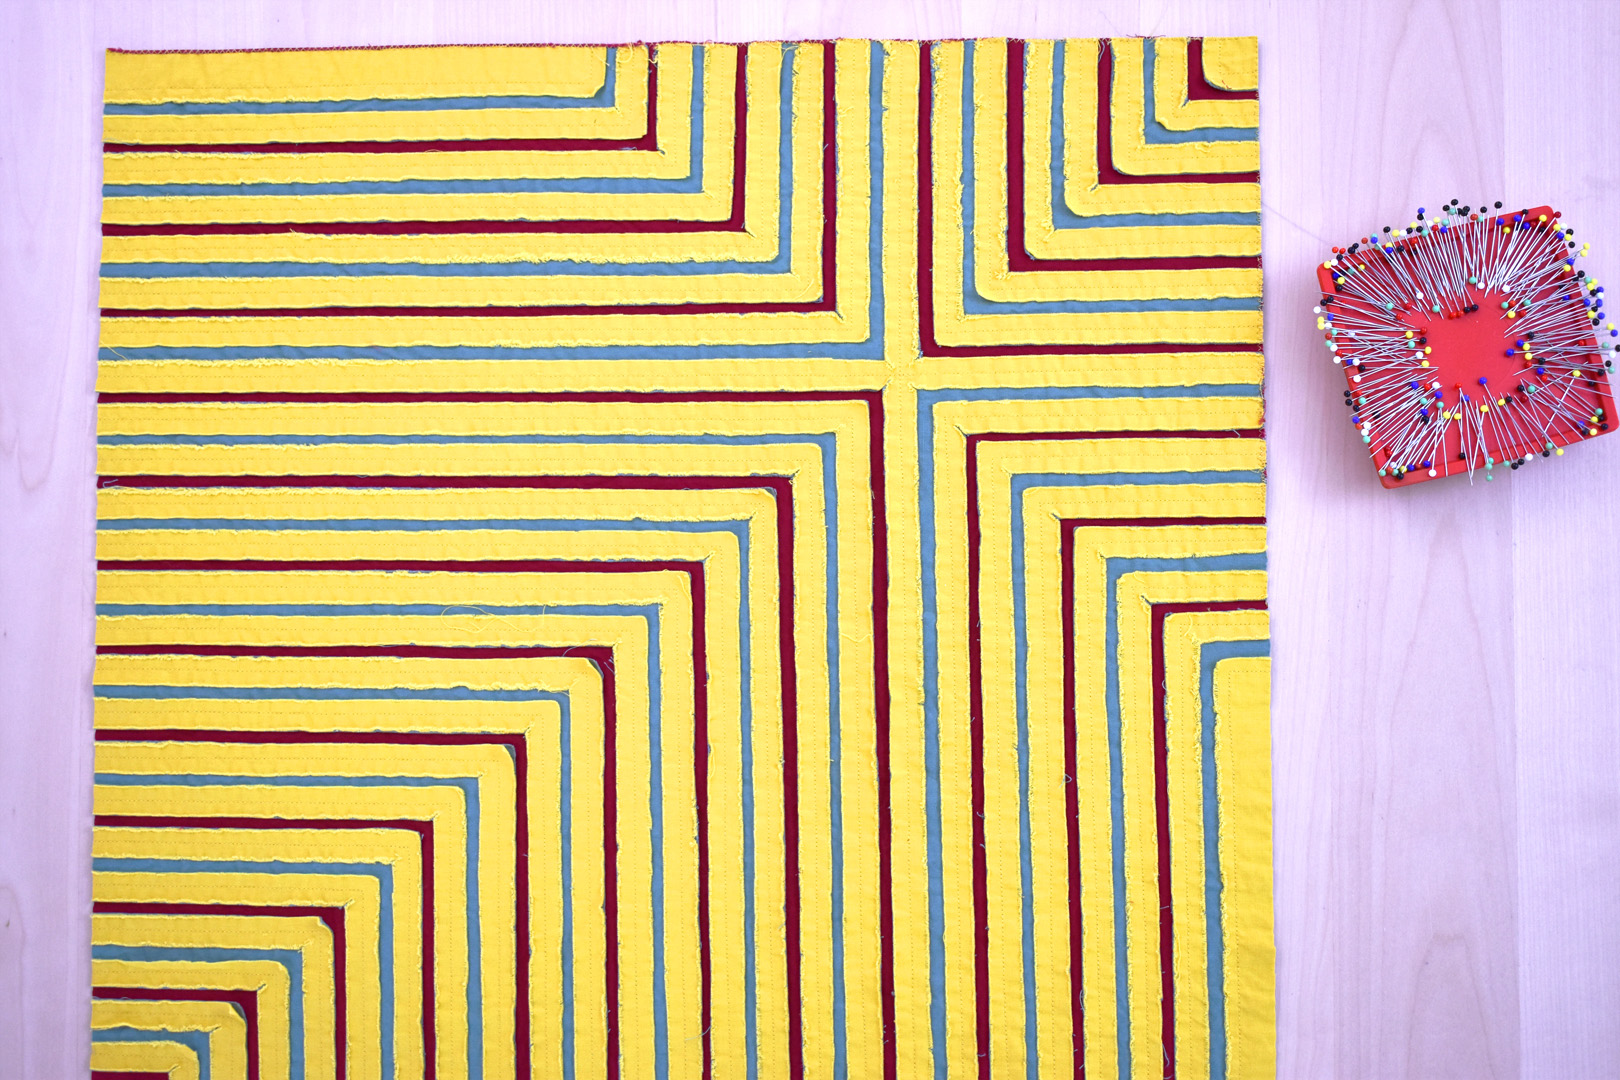
I sent my pillow top square through the washer and dryer inside a lingerie bag which creates even more fray, and softens the frayed edges (as pictured above). This method makes the whole thing look a little crinkly. Once you have finished the fray to your liking, move on to finish the pillow cover.
Stitching (and throwing it through the wash) will shrink the pillow top and can make it a bit wonky, so square it up and trim it to 19″ x 19″ square.

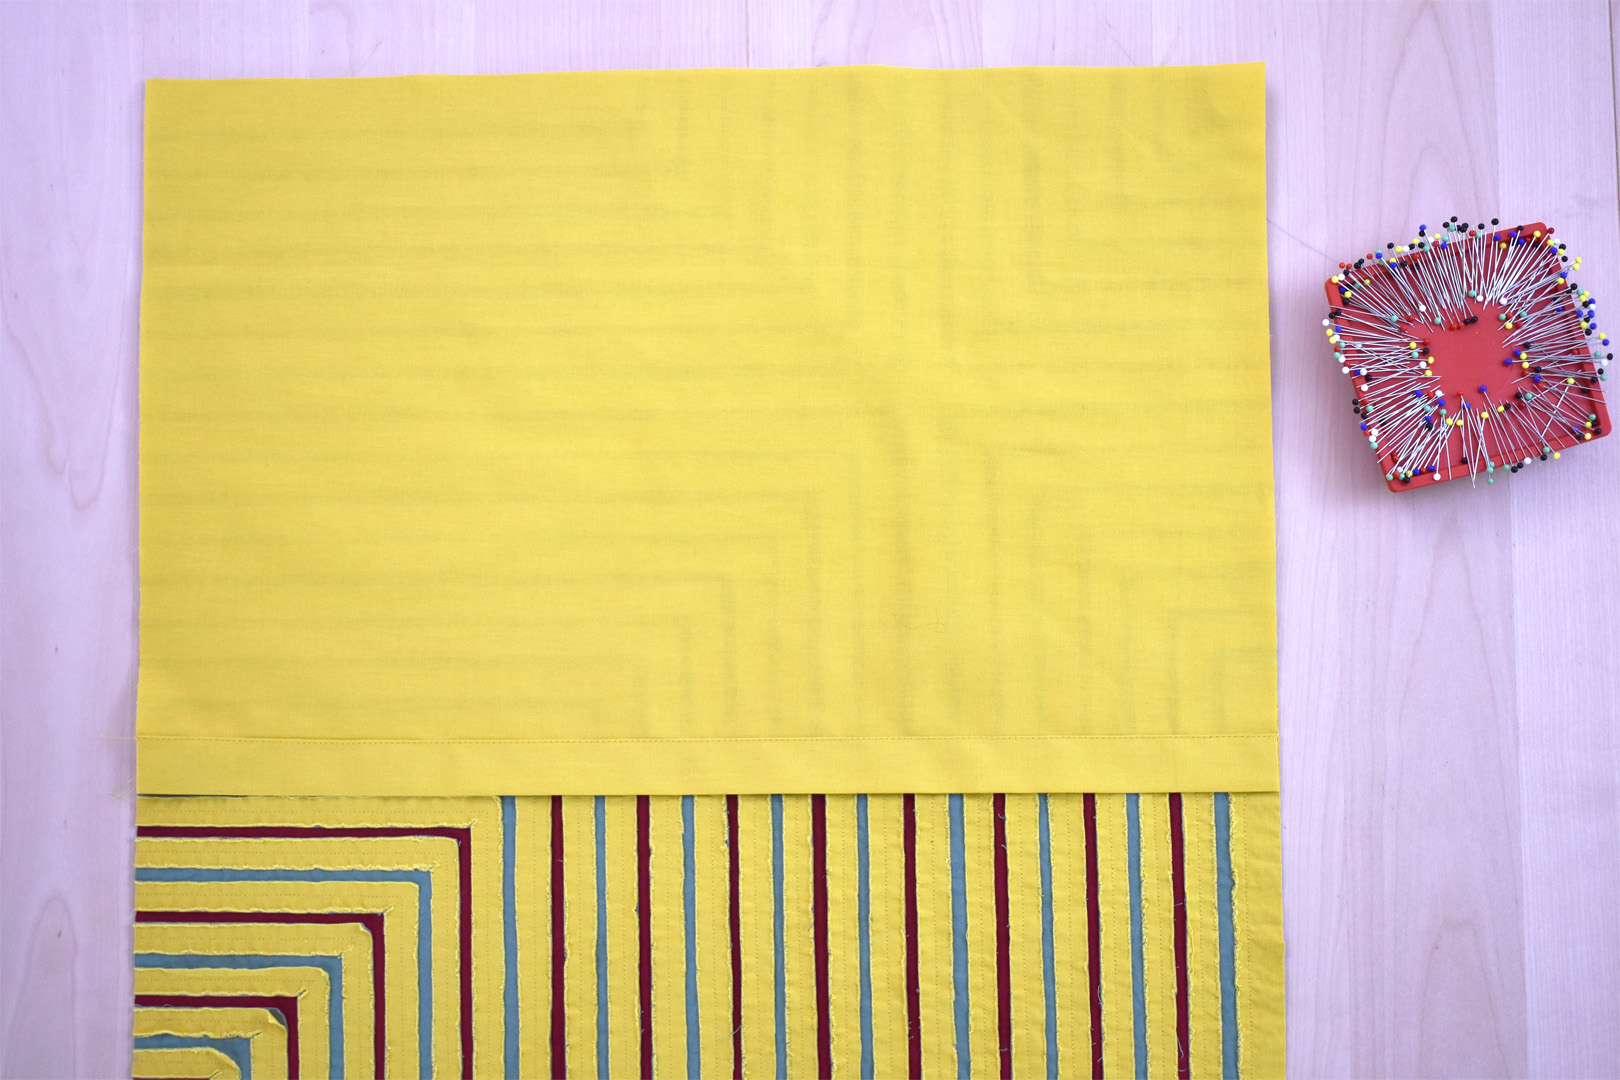
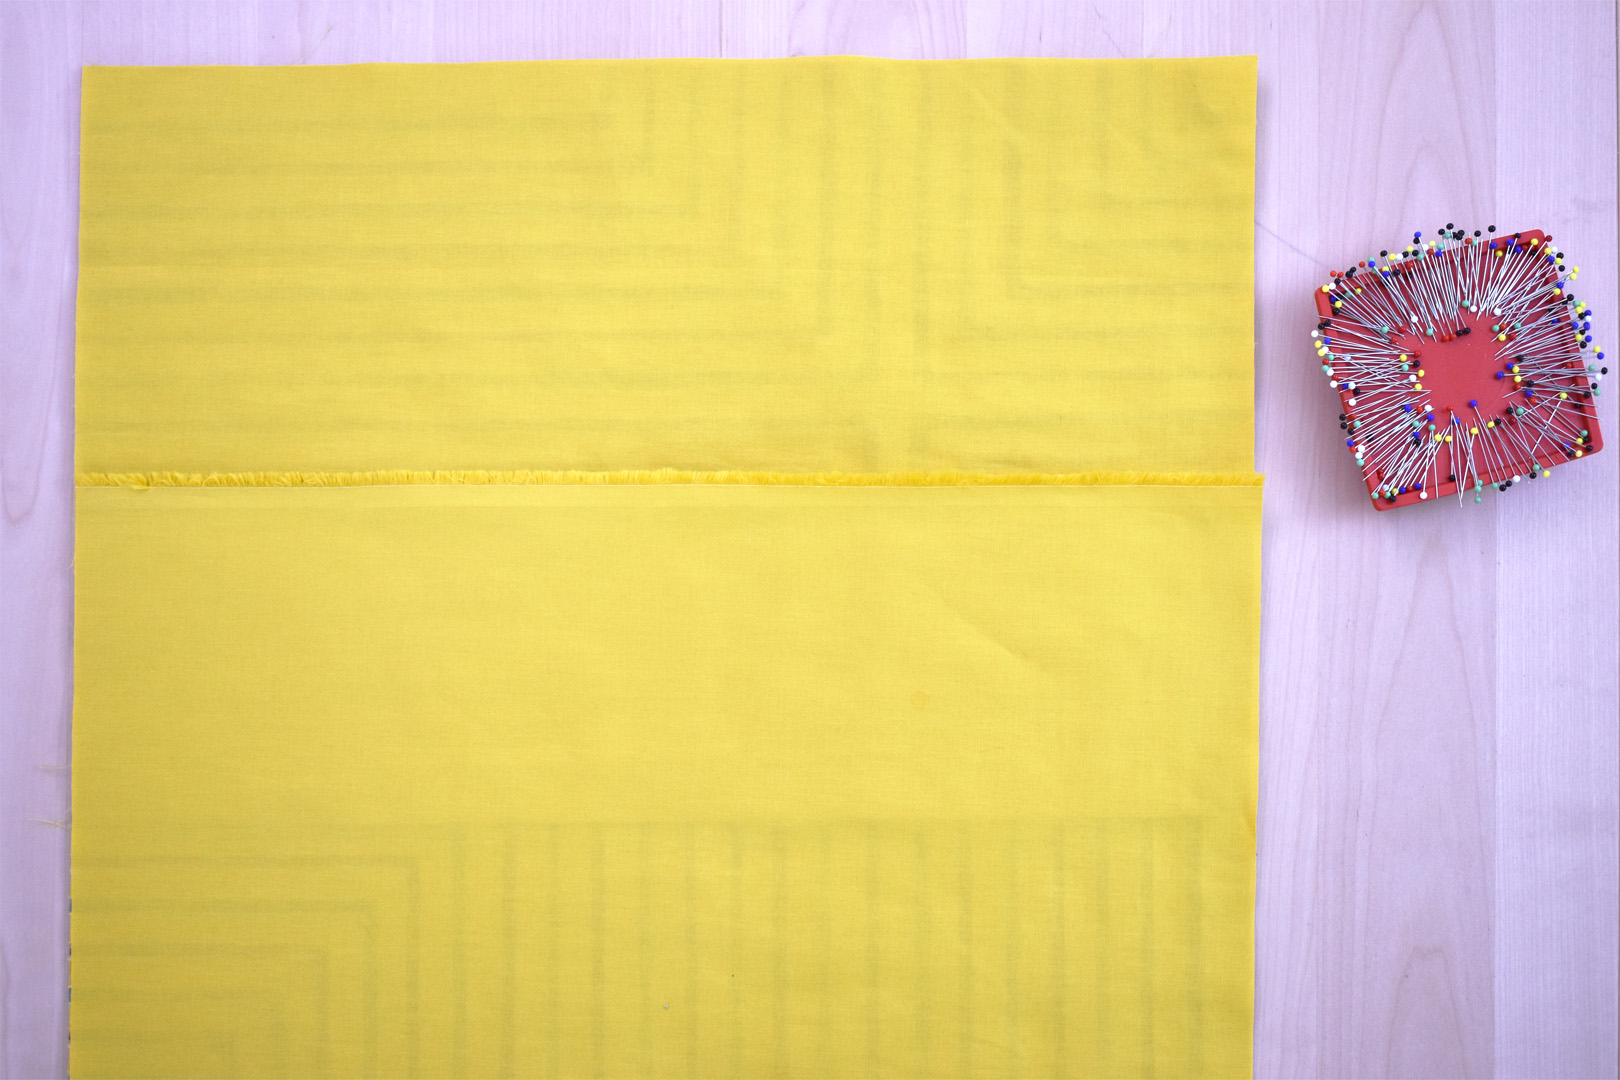
Prepare the fabric back pieces. Grab the larger piece of fabric (without the selvage edge), and along one 19″ edge fold over about 1″ and press well.
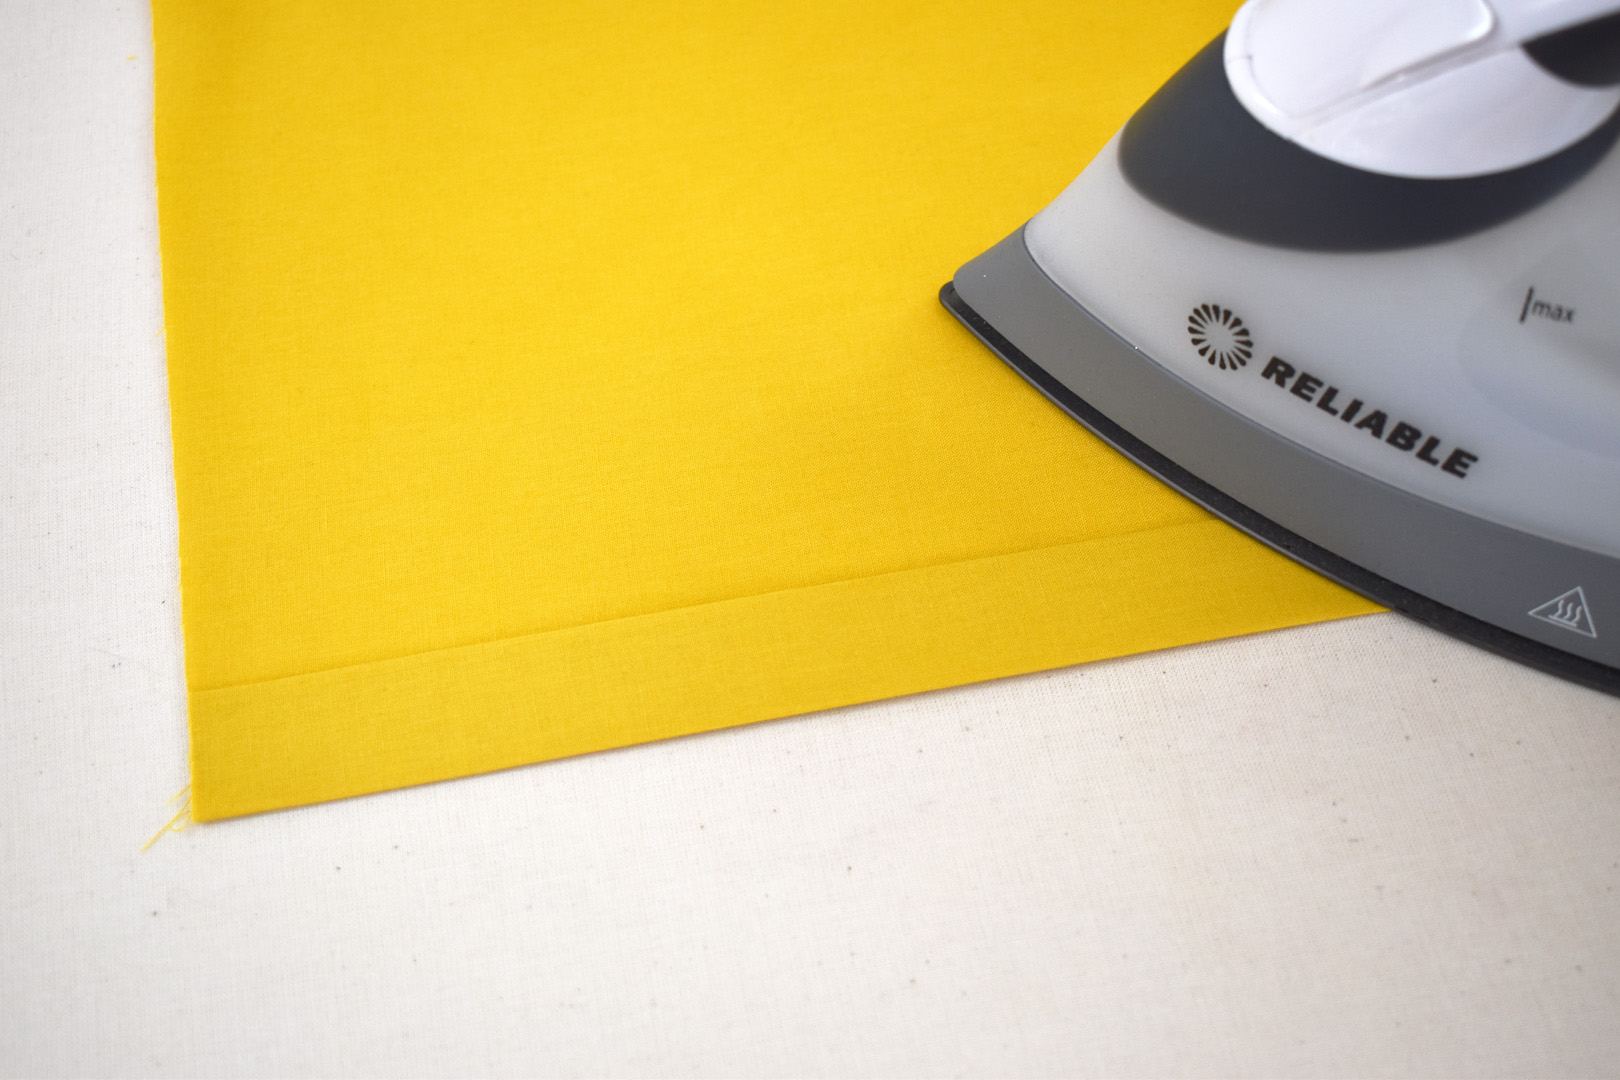
Fold the edge over again, and give the hem a good steam pressing.
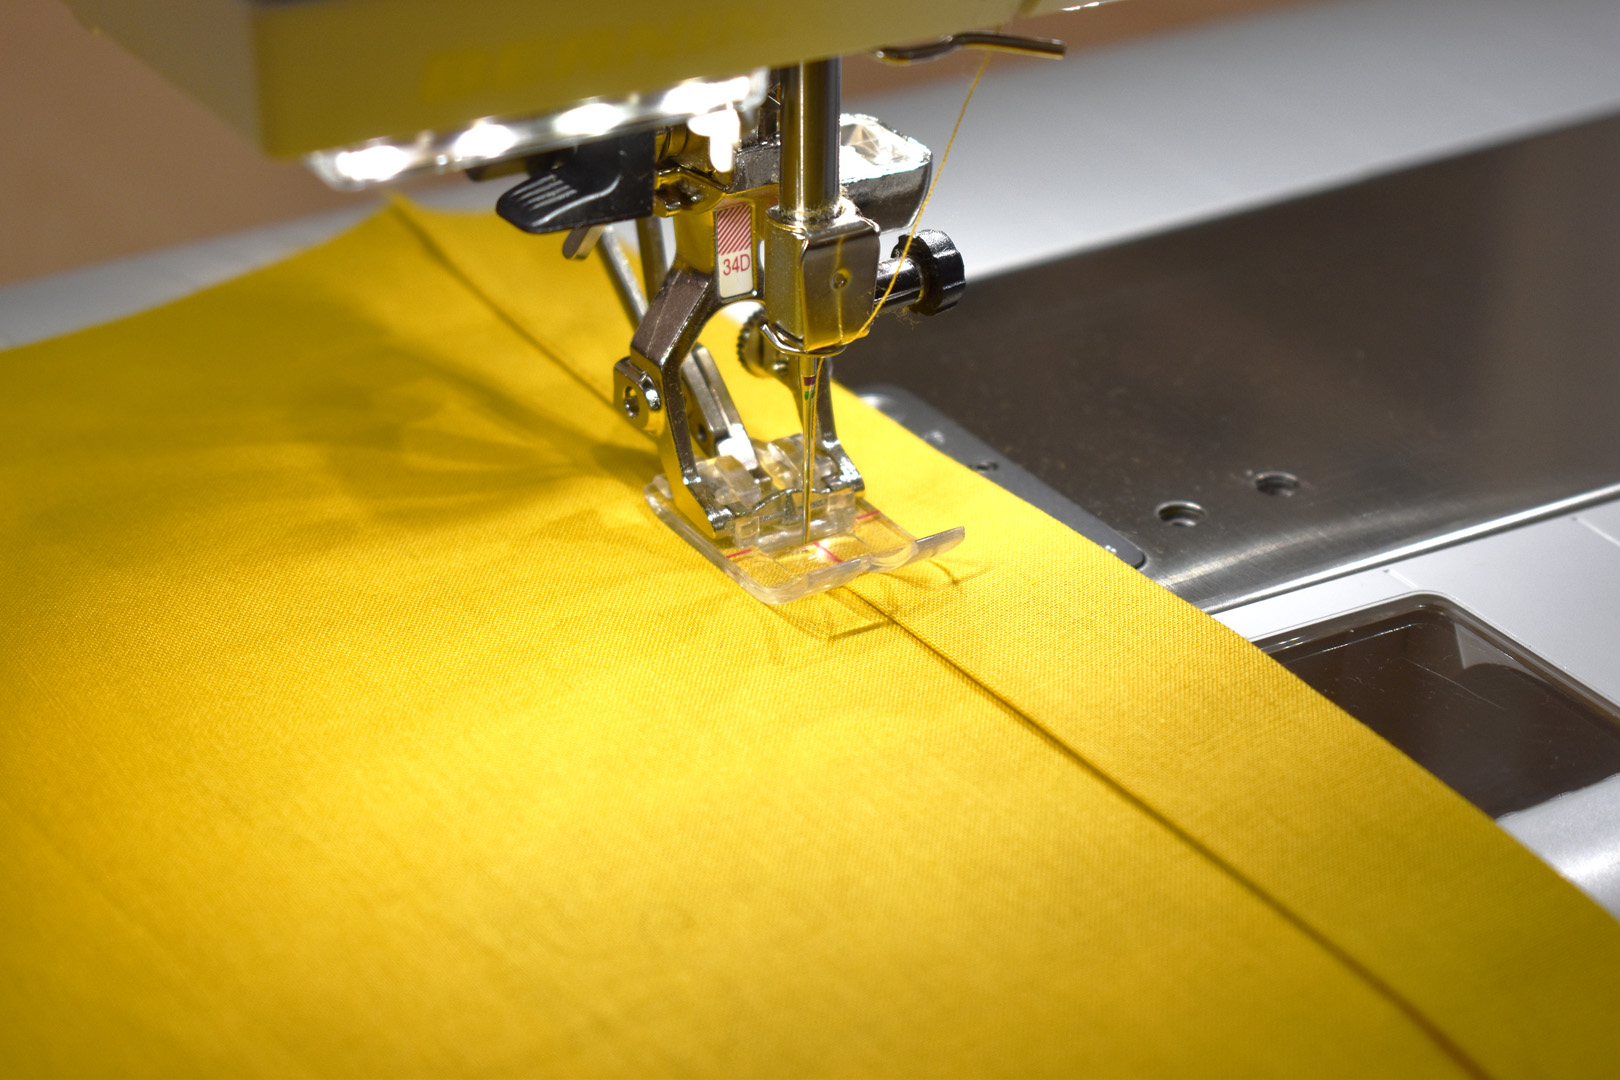
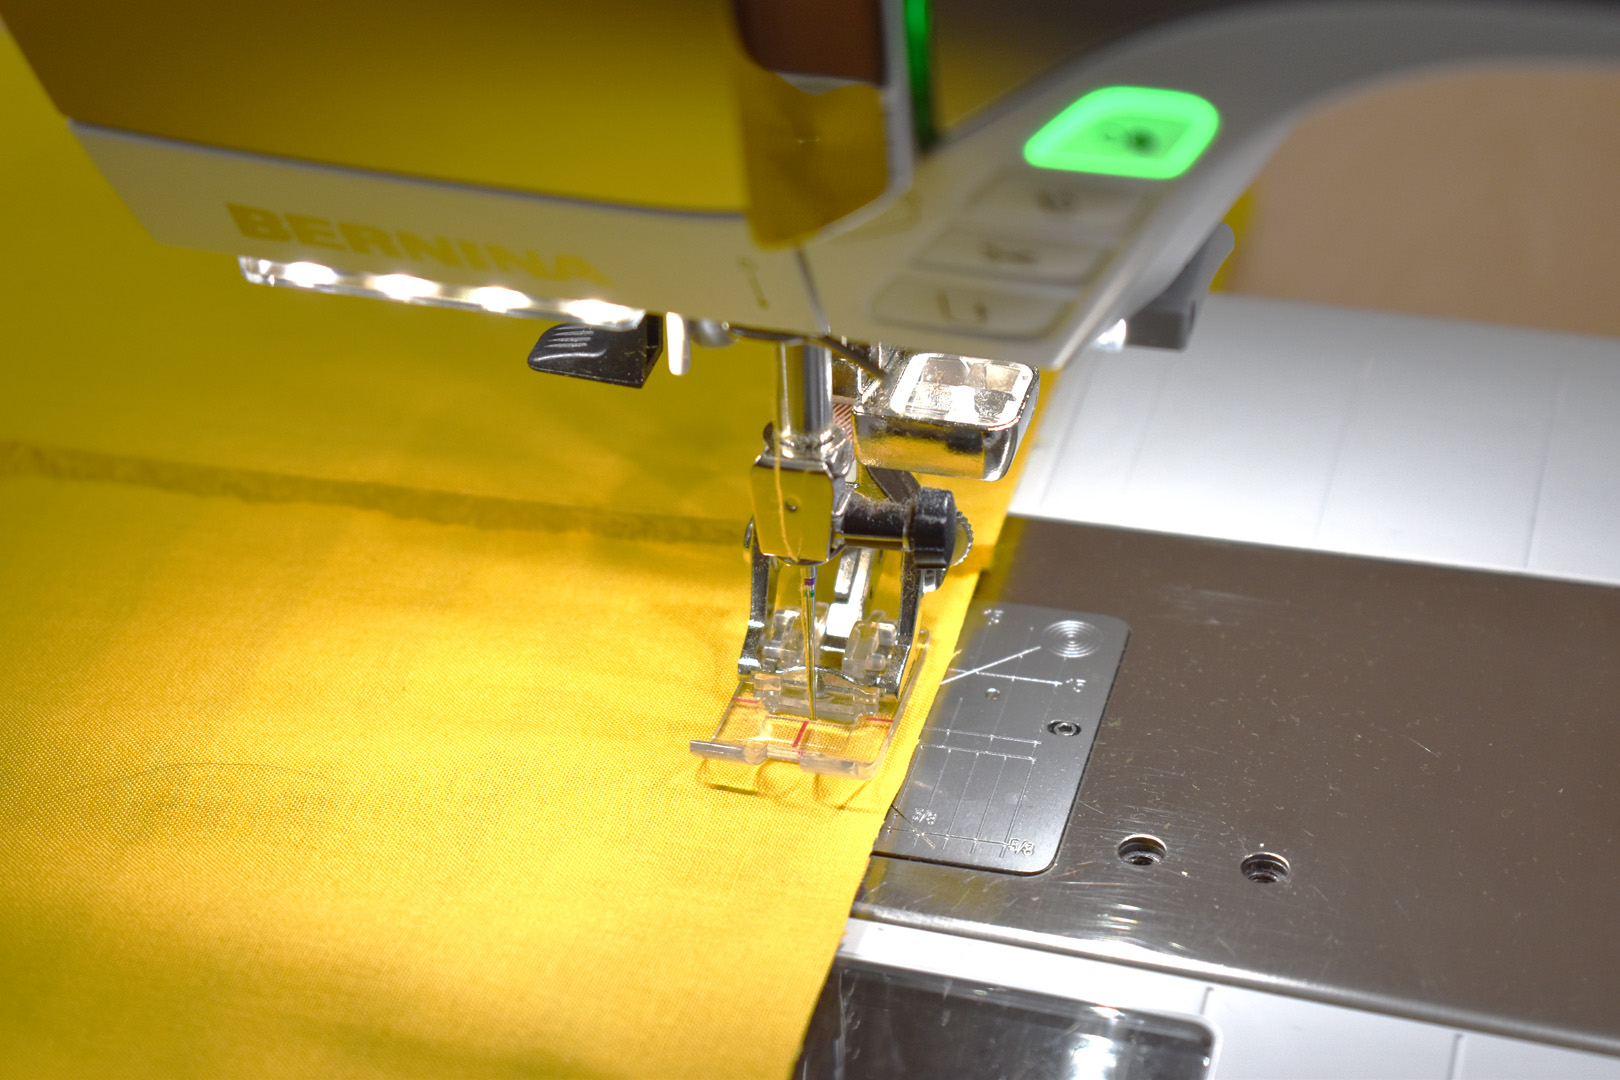
With a standard 2.5mm straight stitch, sew down along the folded edge to finish the hem.
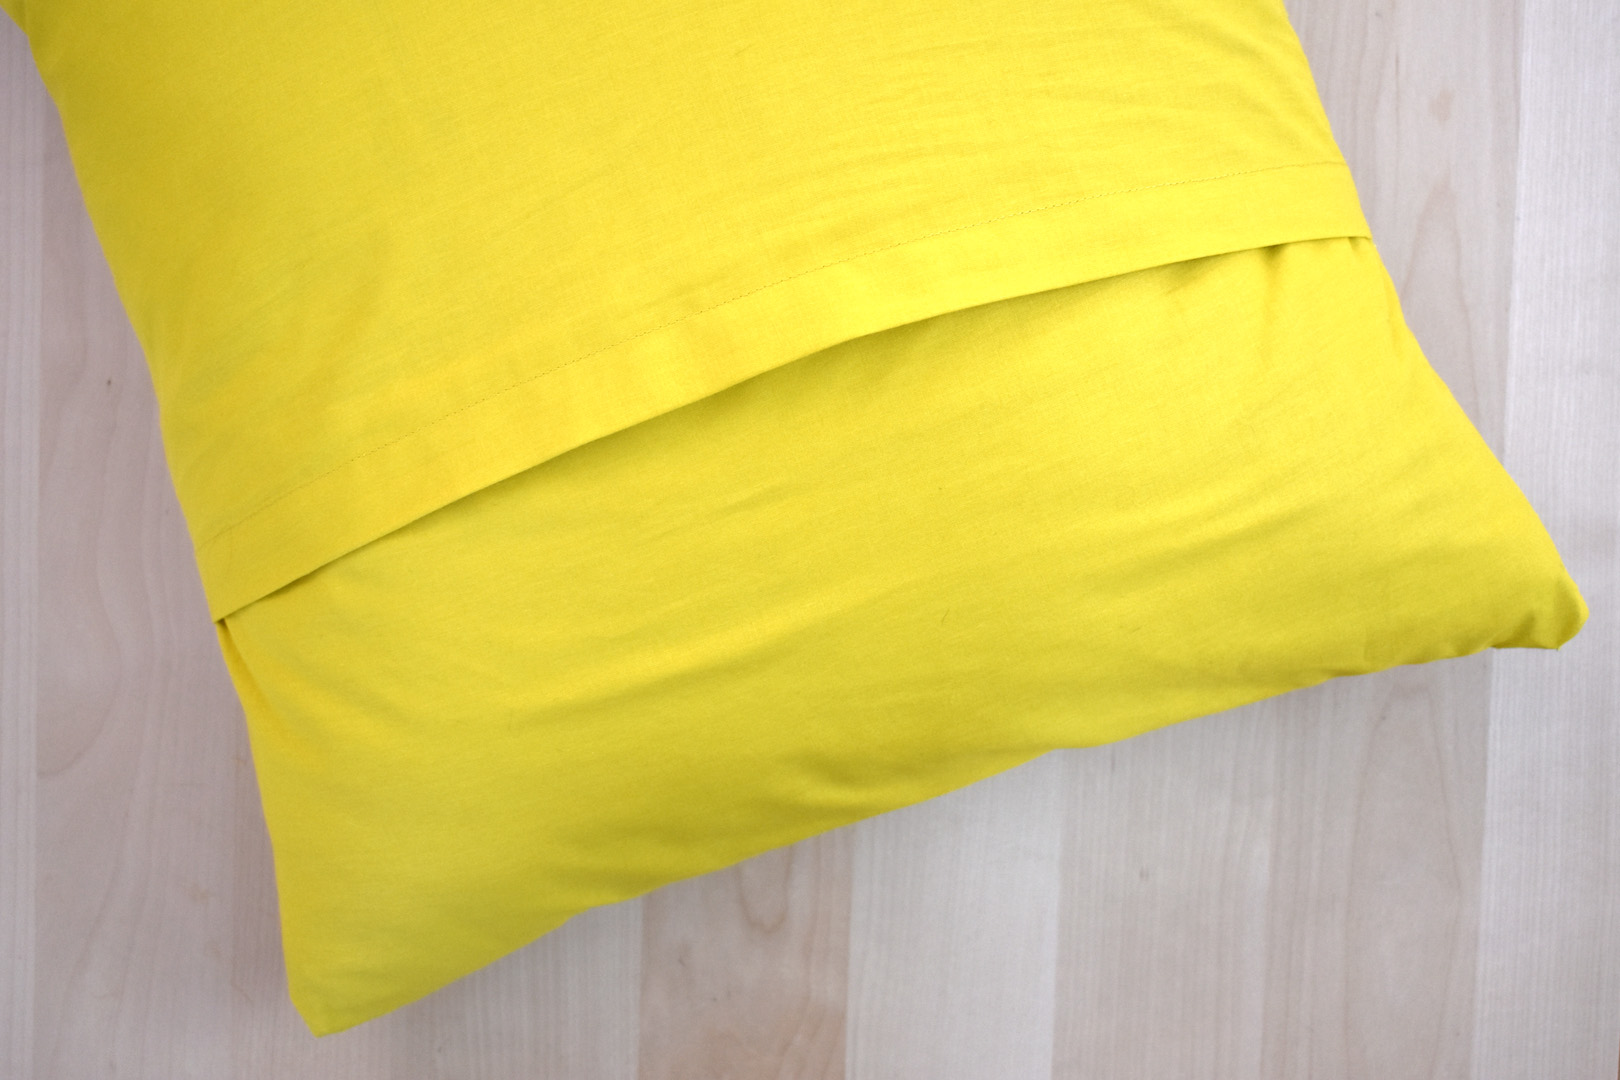
Layer the pillow front and back pieces together. Begin with the pillow front, orienting the square on your work table right side up.
Next, add the pillow backing piece with the 1″ finished hem, matching raw edges at the top. Make sure the finished side of the hem is facing down against the pillow top.
Then layer the final side of the pillow back on top, matching raw edges along the bottom, selvage edge facing up. The selvage edge will overlap the hemmed side of the pillow back by several inches.

Fold the selvage edge back towards the bottom of the pillow; make sure that the folded edge of this top layer overlaps the hemmed edge of the layer beneath by at least 2″ – 2 1/2″.
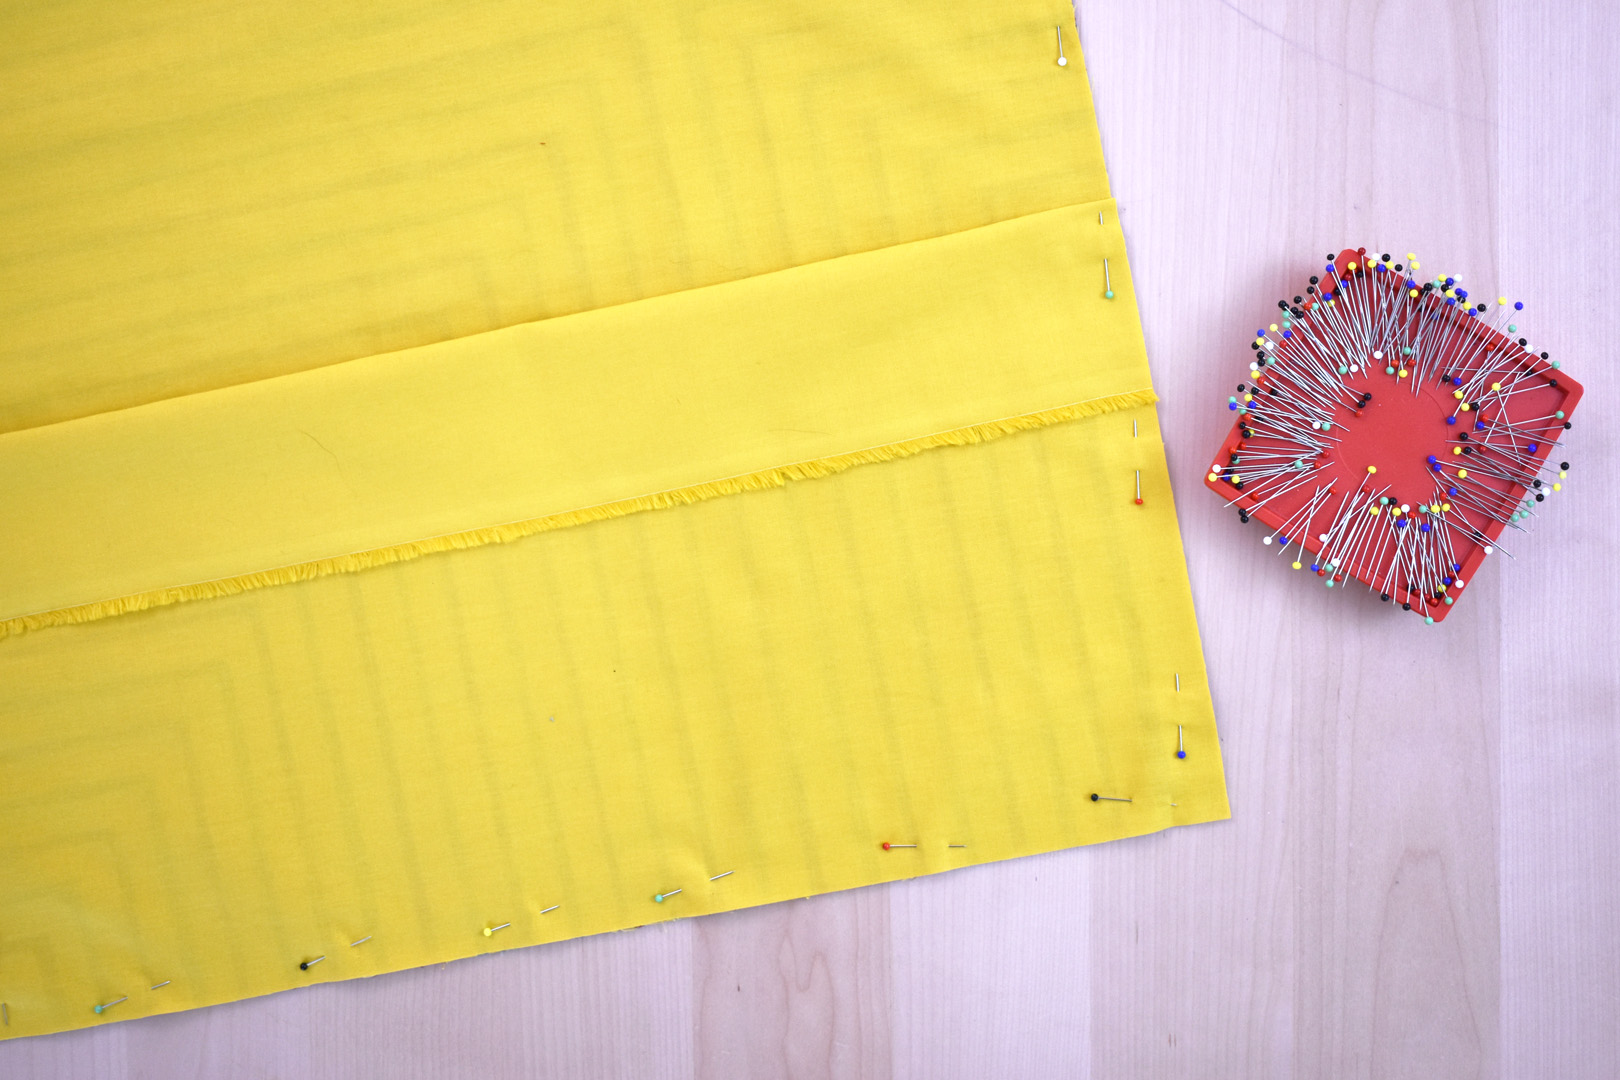
Pin all the layers in place around the outside pillow edges.
Stitch all around the outside edge with a 1/2″ seam, removing pins as you sew. Backstitch over the backing where the pieces overlap to create a stronger seam (this helps when inserting the pillow form in the back opening).
Trim the seams to 1/4″ and trim corners close to the stitching.
Turn the pillow cover inside out and insert the pillow form in the back opening.
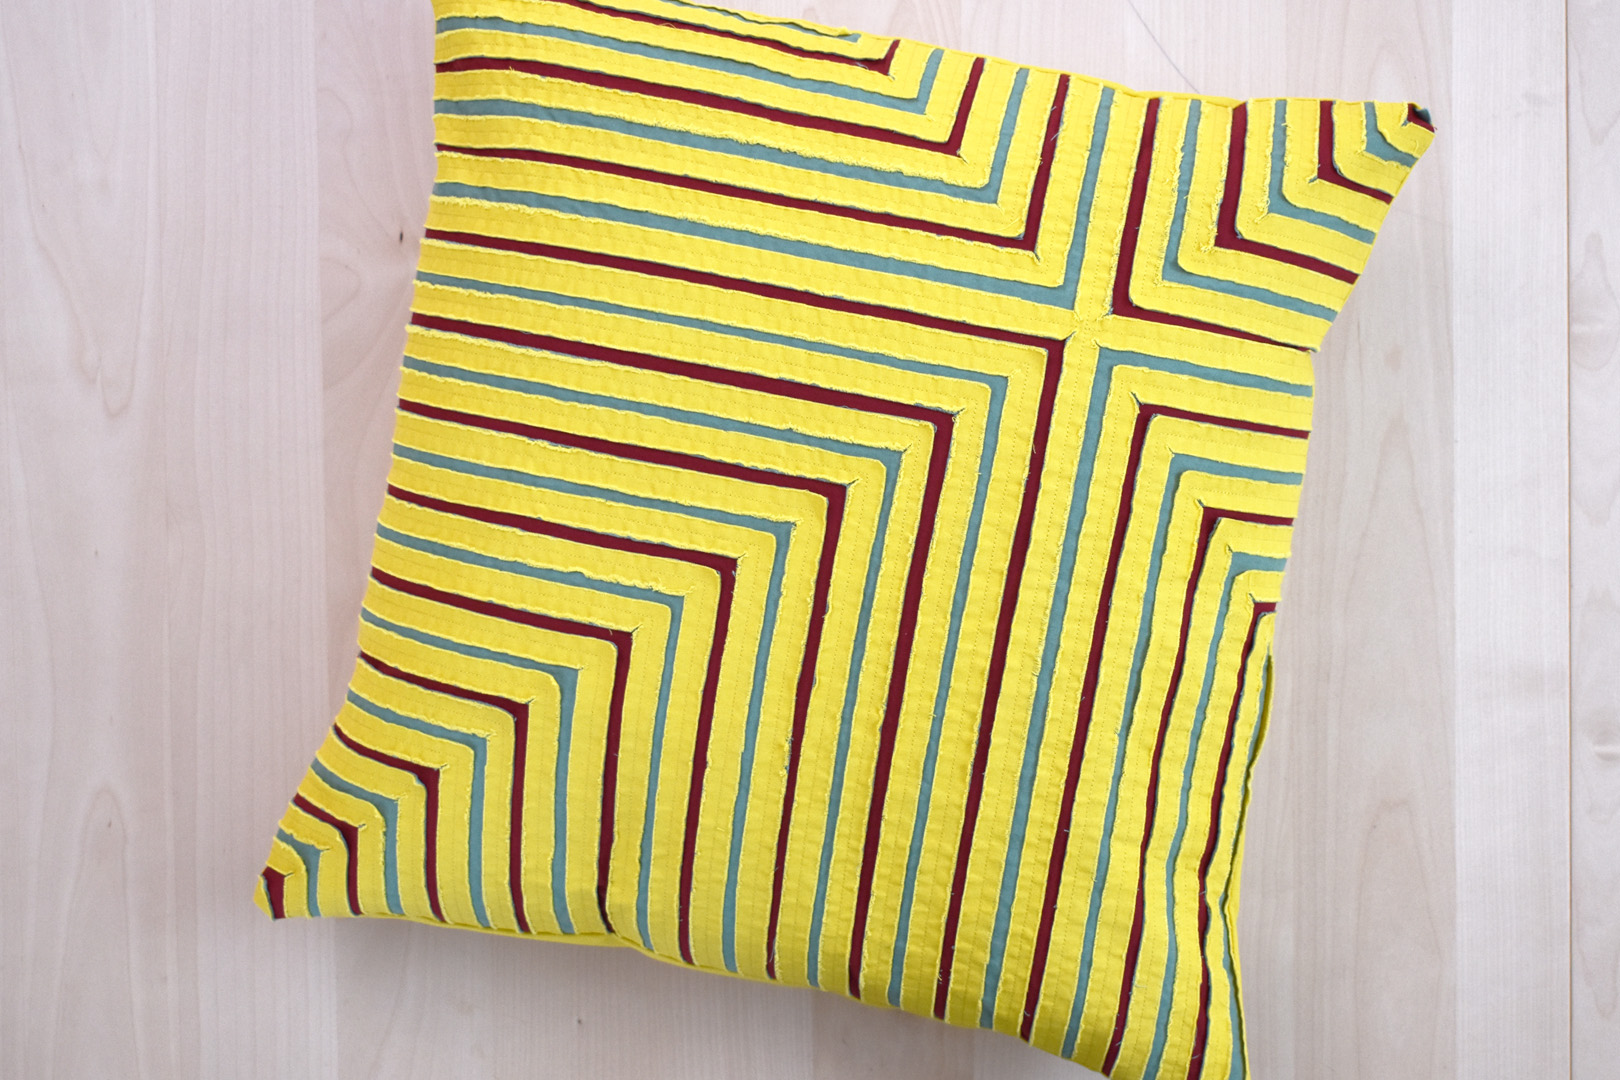
Fluff up the pillow and you’re ready to add the textured throw pillow to your living area!