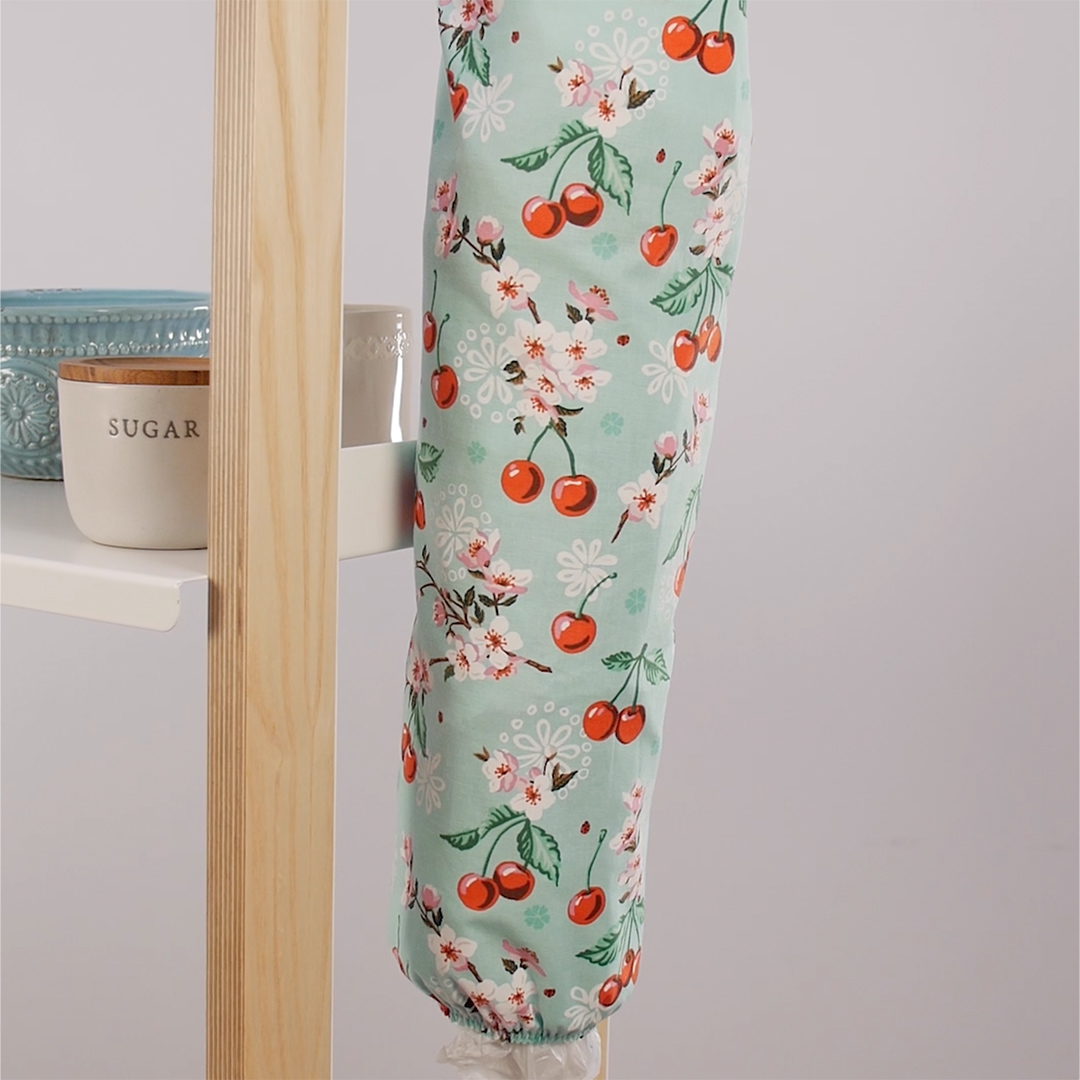
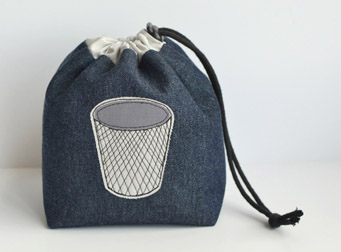
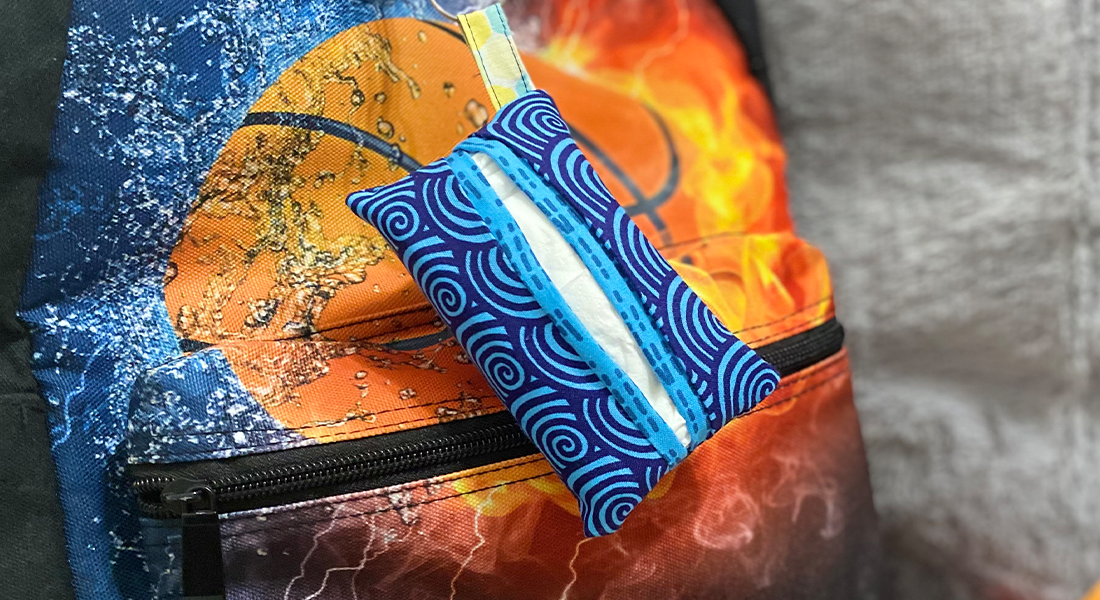
Plastic Bag Holder
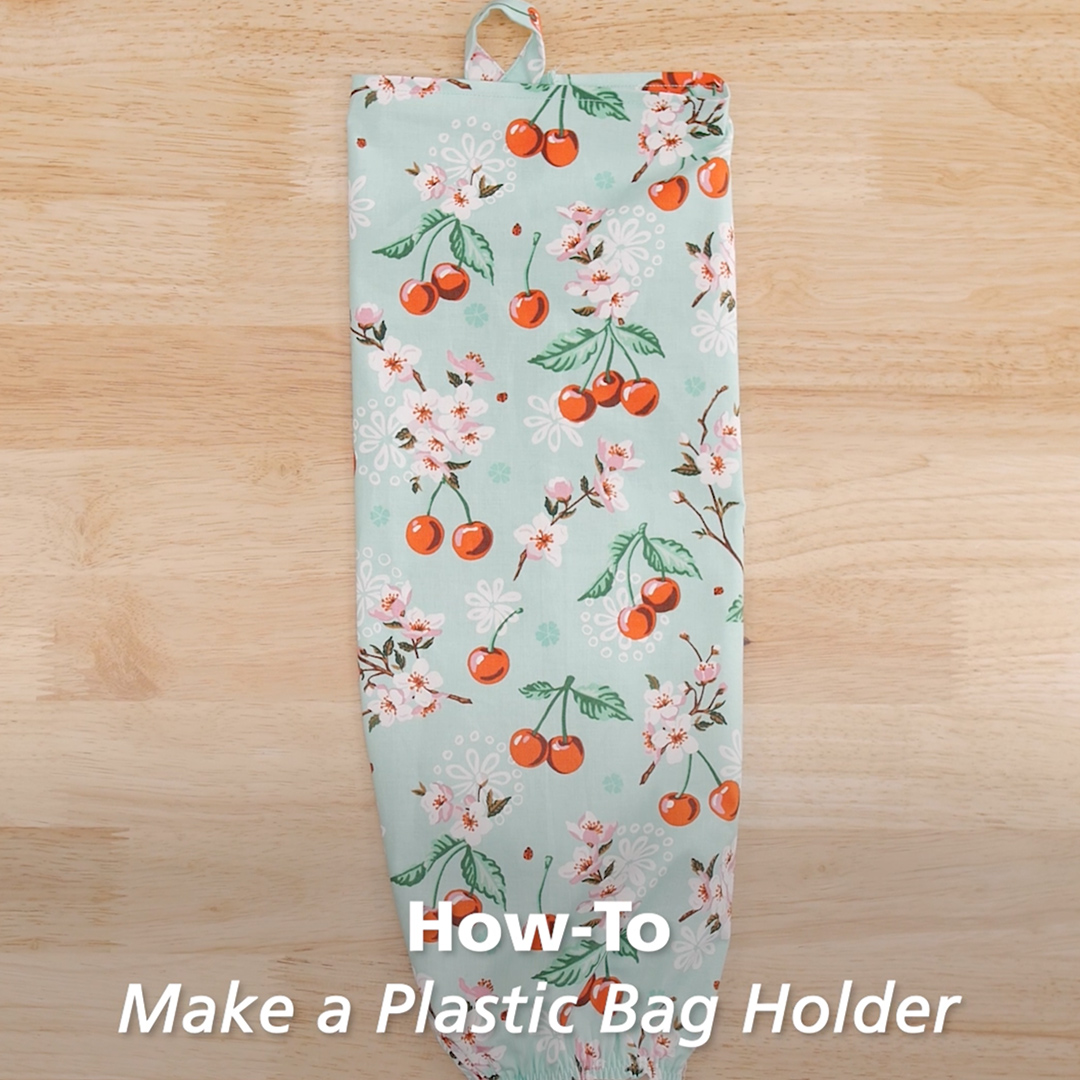
If you live in a city that still has plastic shopping bags, they can add up quickly in your pantry, kitchen cabinet or hall supply closet. Let’s make a bag collector to organize and de-clutter.
Materials Needs/Machines
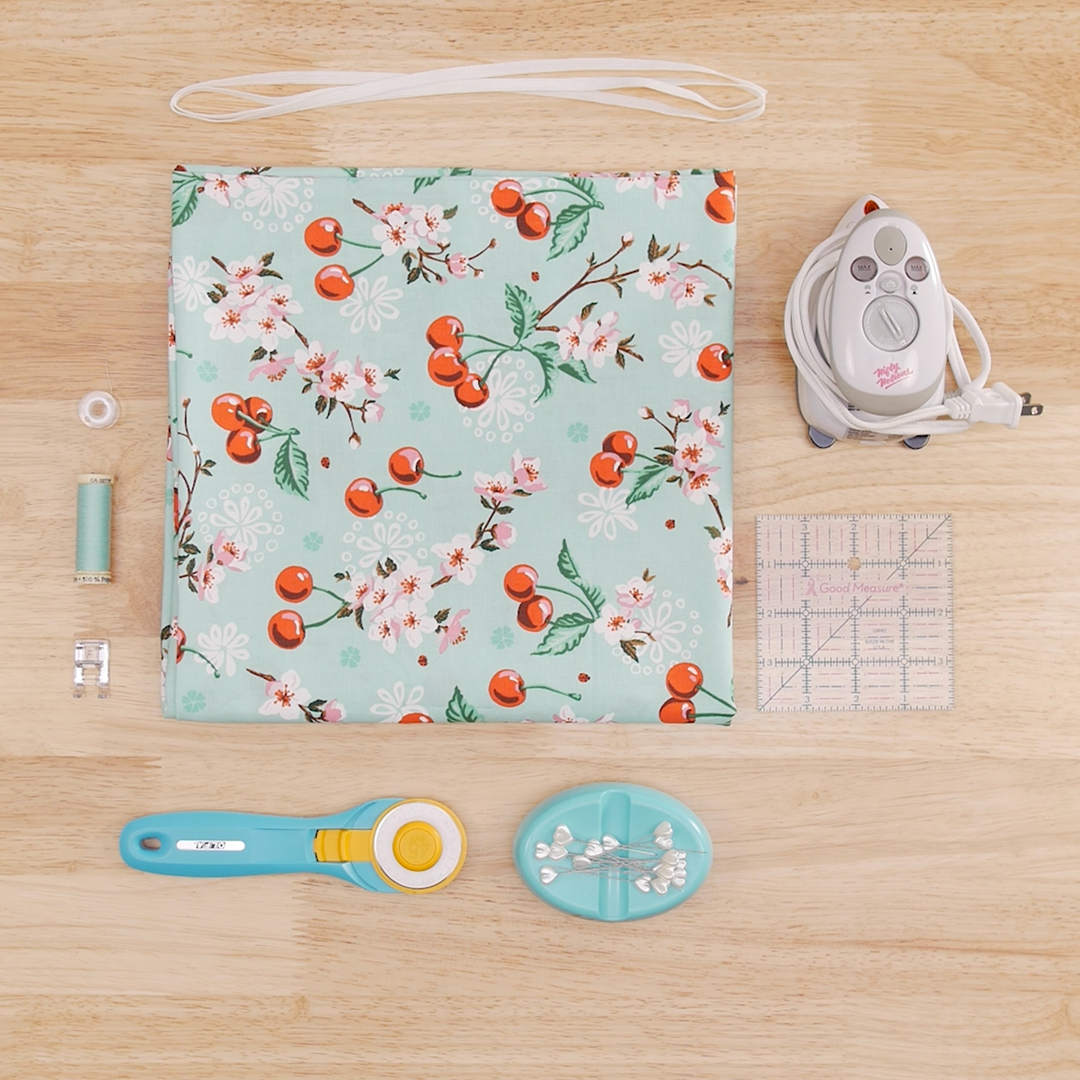
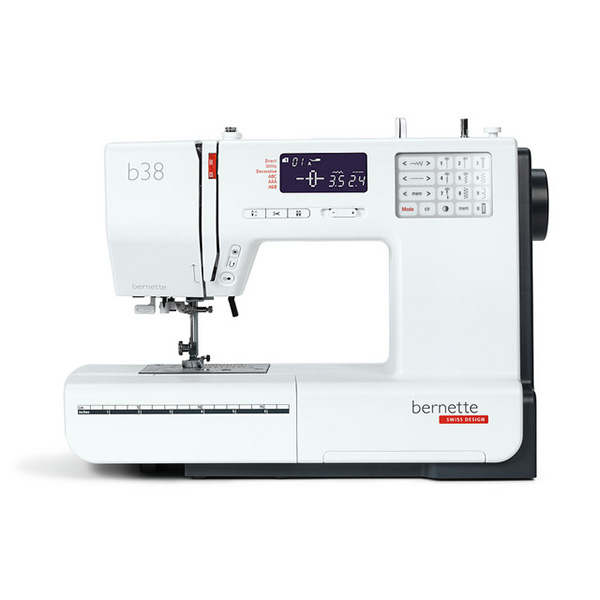
- bernette 38, Zig Zag Foot: A and Satin Stitch Foot: F
- Cotton Fabric
- Cotton Thread to Match
- 1/4 inch Knit Elastic
- Rotary Cutter
- 6 x 24 Ruler, smaller 4 x4 in ruler optional
- Iron
- Straight Pins
How To Make a Plastic Bag Holder
Step 1: Cutting Materials
Cut
- 16” x 21” for the bag
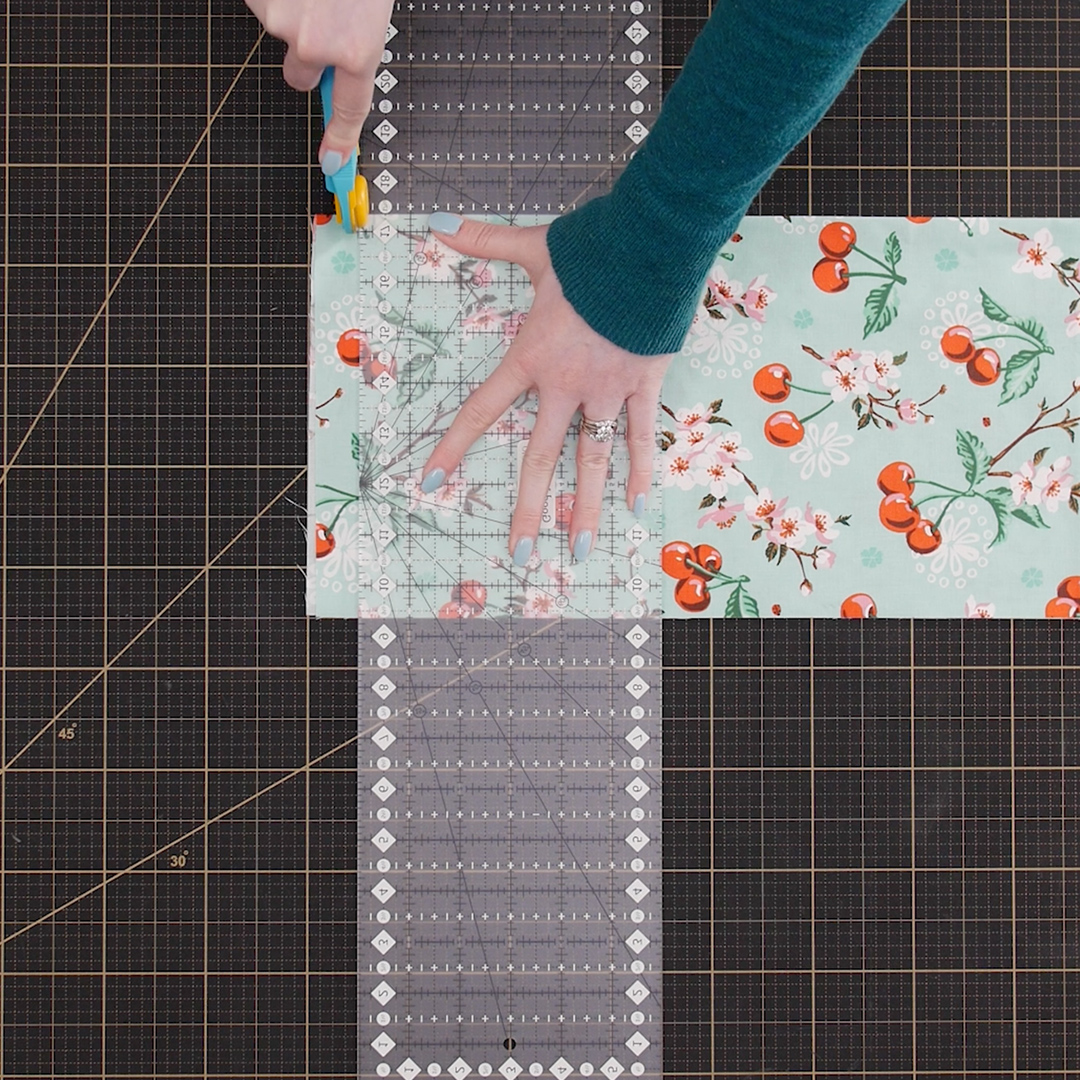
- 3” x 6” for the hanging tab
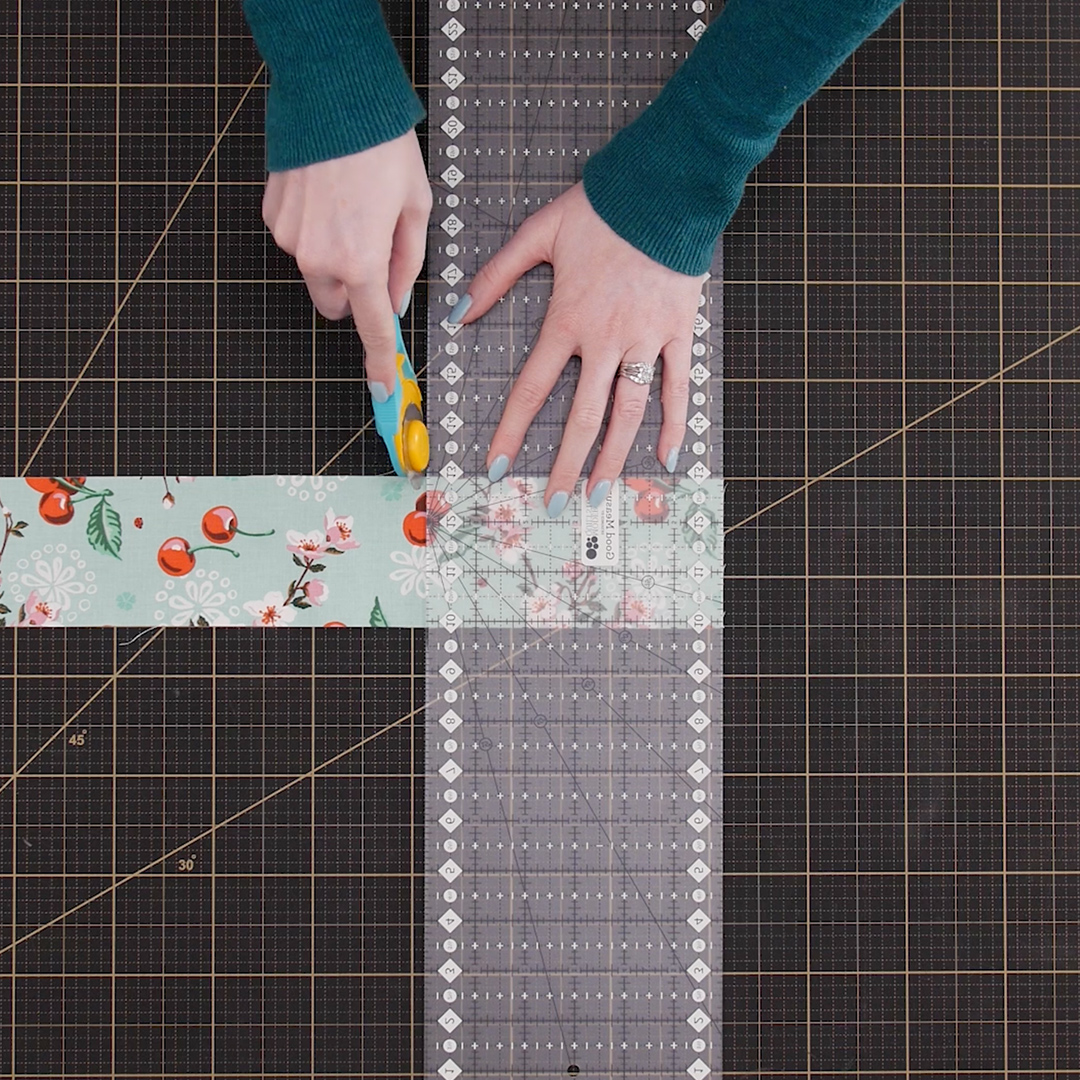
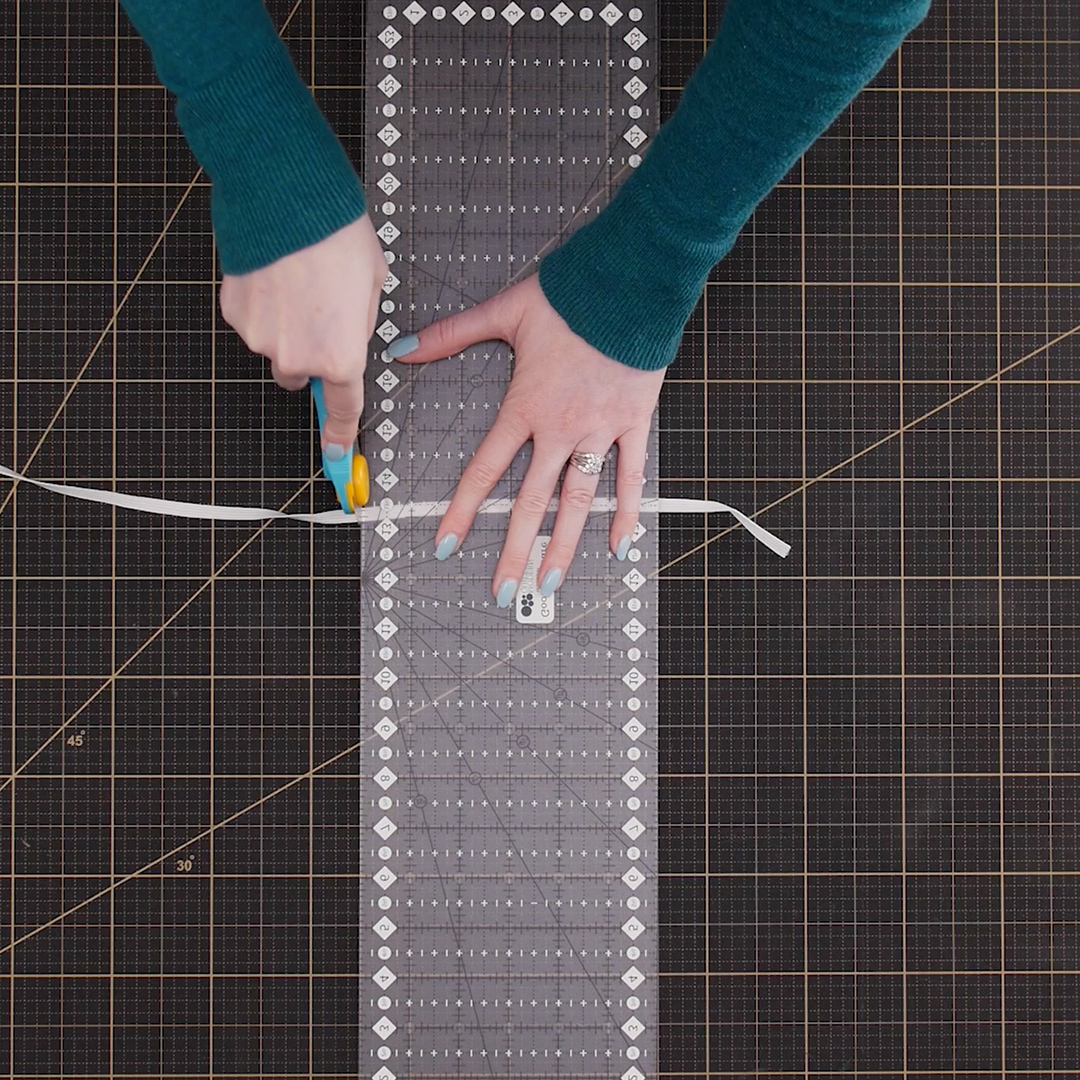
- 9” length of elastic
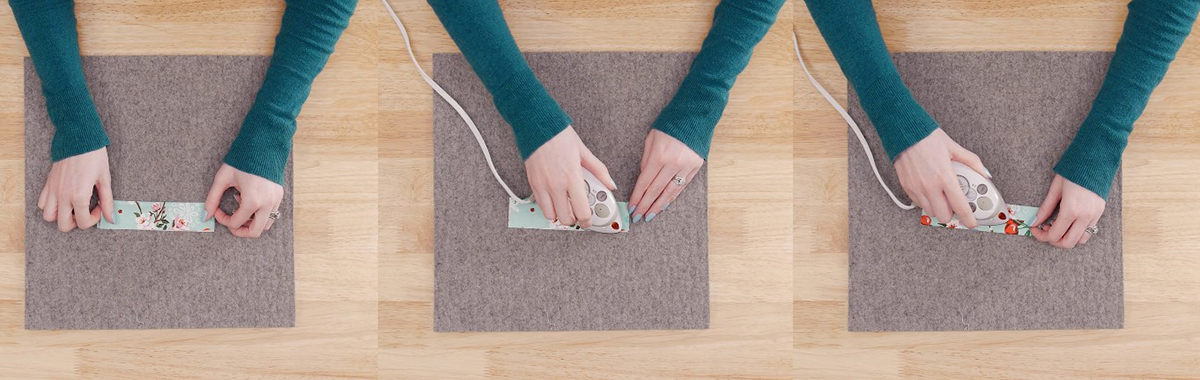
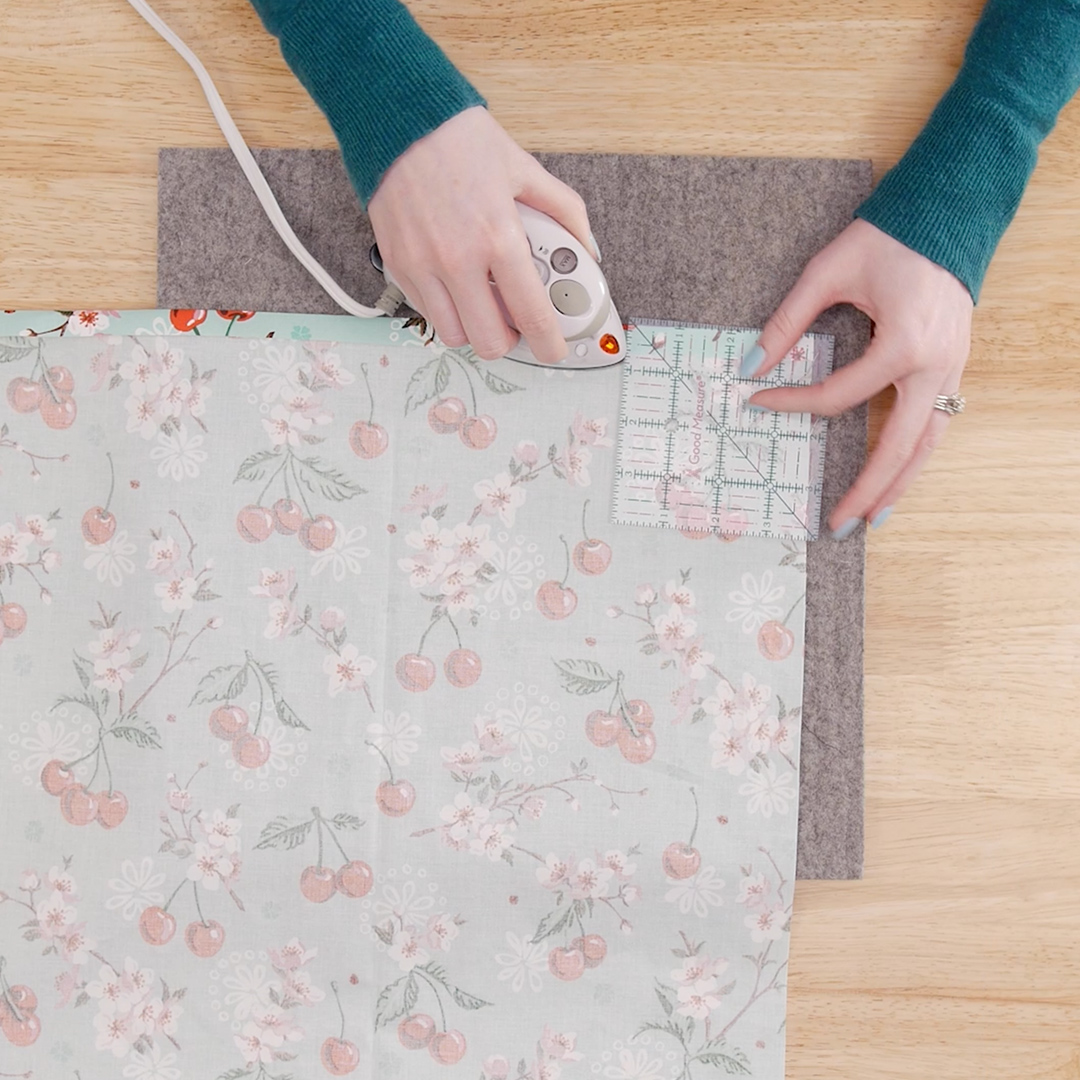
Step 2: Prepping Fabric Tab and Bag Fabric
Take your fabric for your tab and fold in half, press, re-open and press long sides again to the middle and press.
Next, take your bag fabric and fold down the raw edges of your 16-inch sides and iron a 1/2-inch hem.
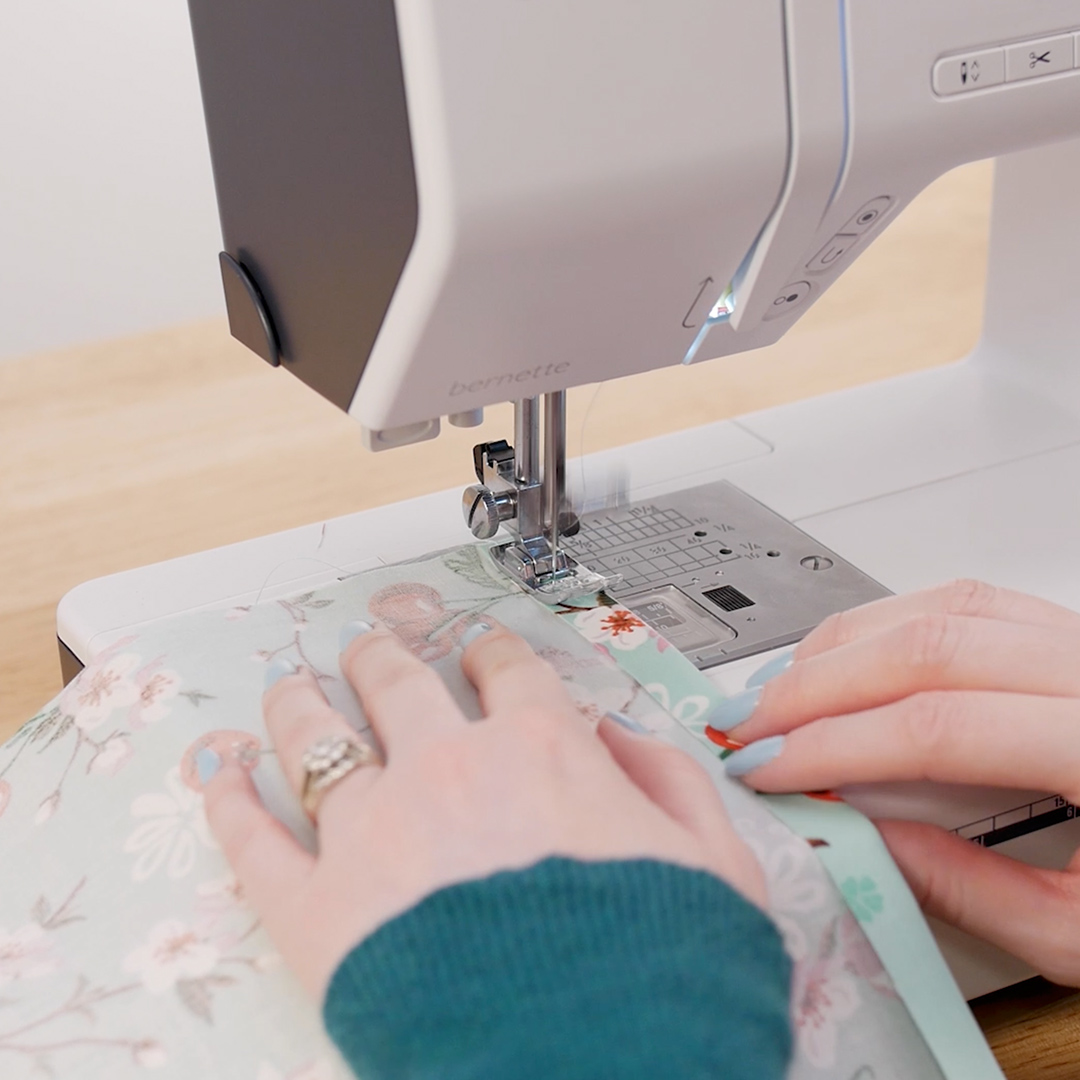
Step 3: Let’s Start Sewing
Wind bobbin with your coordinating thread for your fabric and then thread the b38 and test sew.
Take your bag fabric and sew a straight stitch down the middle of the top folded edge to finish it.
Now, sew down the open side of your tab to finish it, stitching just to the left of your folded edges.
Take the tab and place it 1 inch in from a raw edge and sew down with box method.

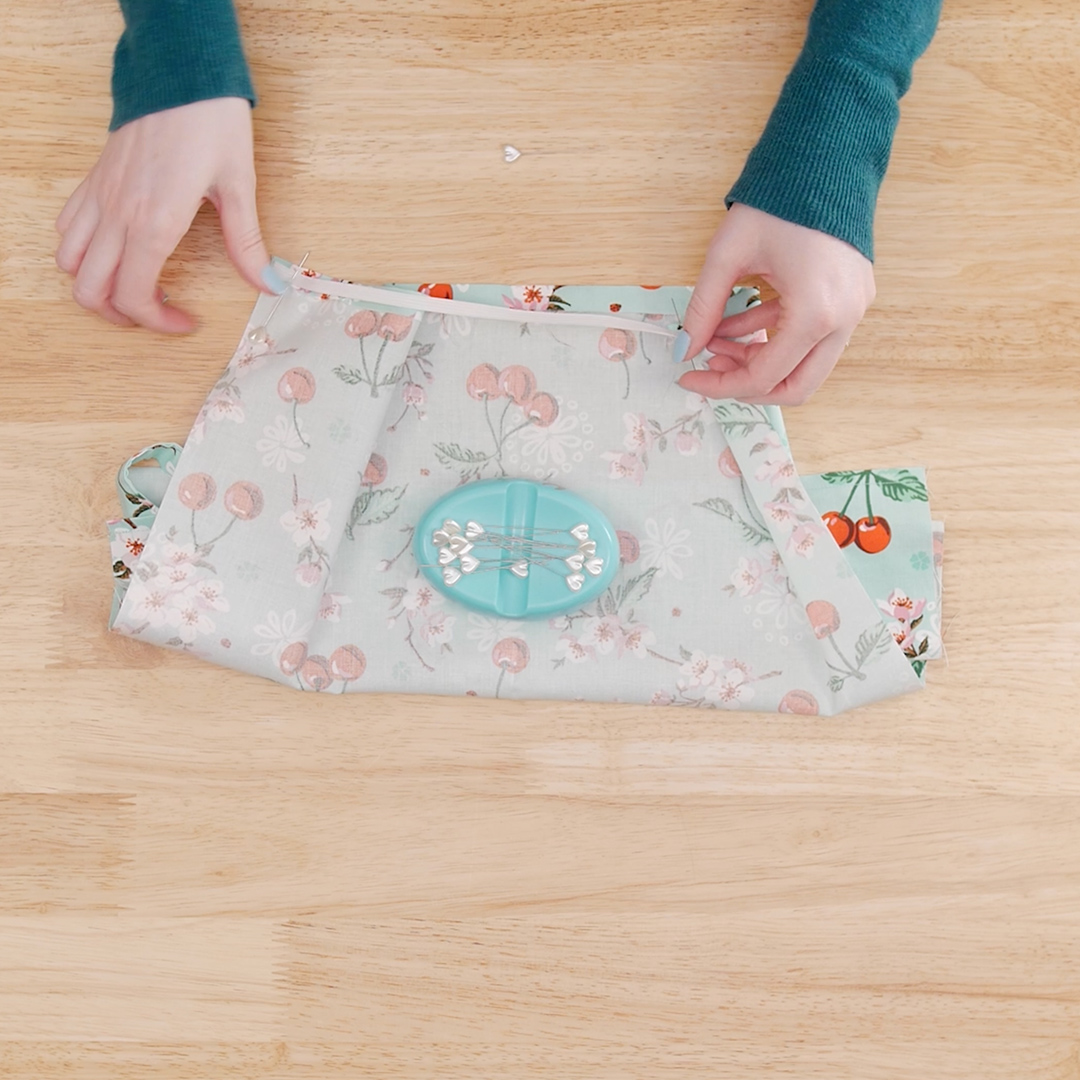
Find the elastic and your straight pins. On the un-sewn end of your bag fabric, pin the elastic at each end with a single pin. Next stretch the elastic till it is taught across the fabric and place a pin in the middle to hold.
Step 4: Setting up the machine
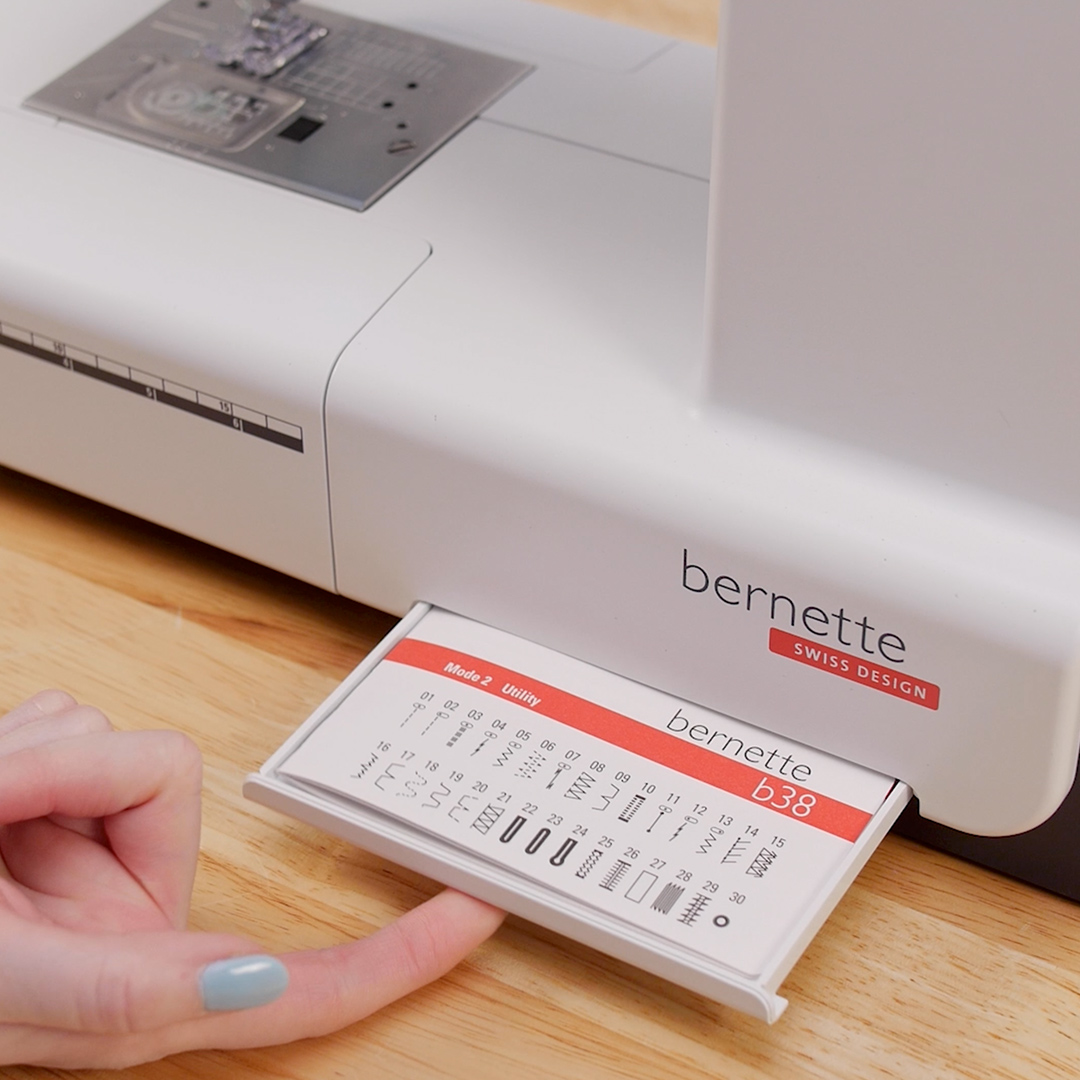
For sewing on our elastic you will need to use a stretch stitch and the Satin Stitch Foot F. Locate the stitch booklet in the drawer on the bottom right of the machine, Stitch #18.
Press the sole release button (black button on the right of the foot), remove the standard sole and attach the Satin Stitch Foot F. The satin stitch foot has a channel on the bottom of the sole that the elastic will ride in for perfect stitches.
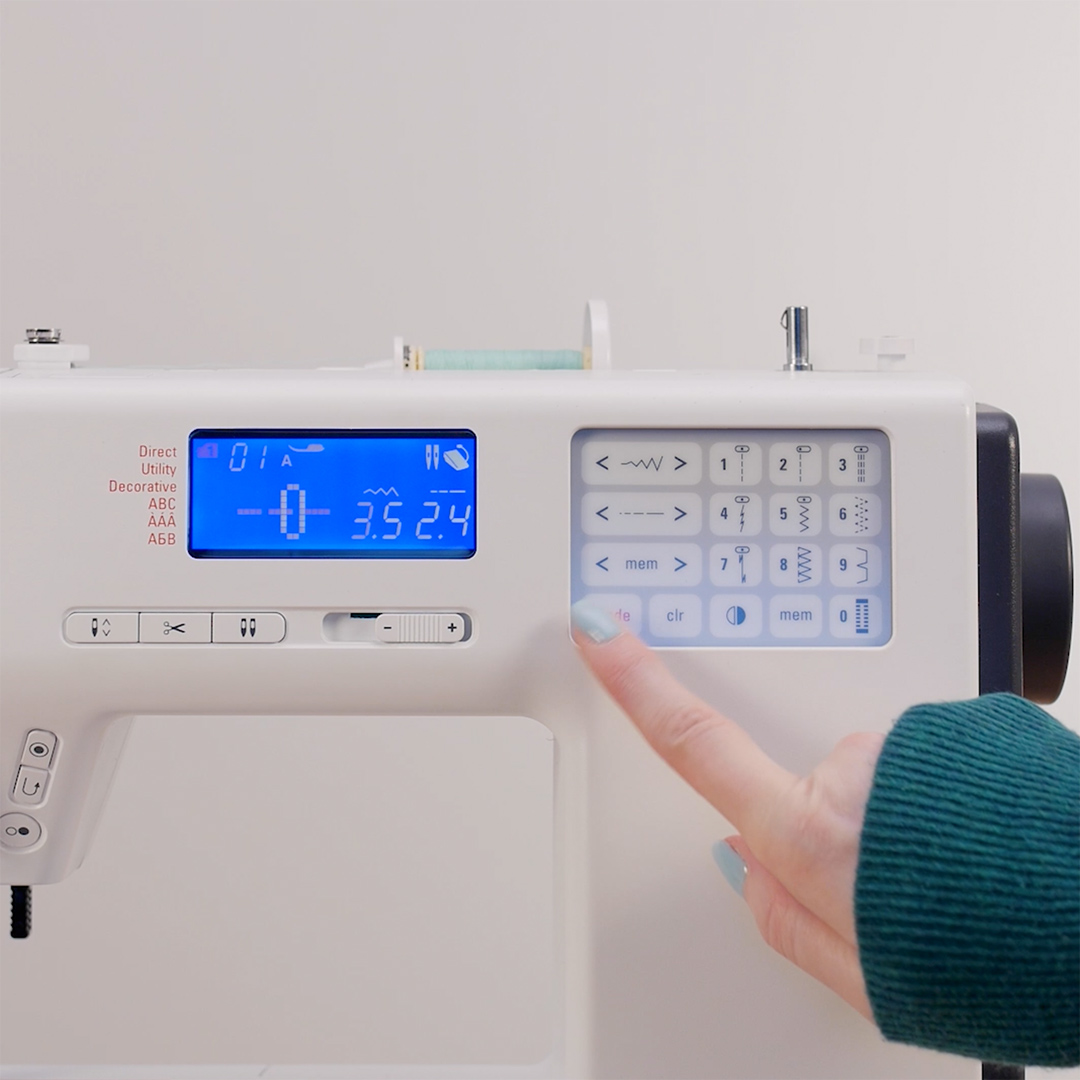
Change your machine to Mode 2, so that you can select the elastic Stitch #18. Select the Mode 2 button. The machine will change to Mode 2 and then press the number one and the number eight. Your stitch display will then change to the elastic stitch.
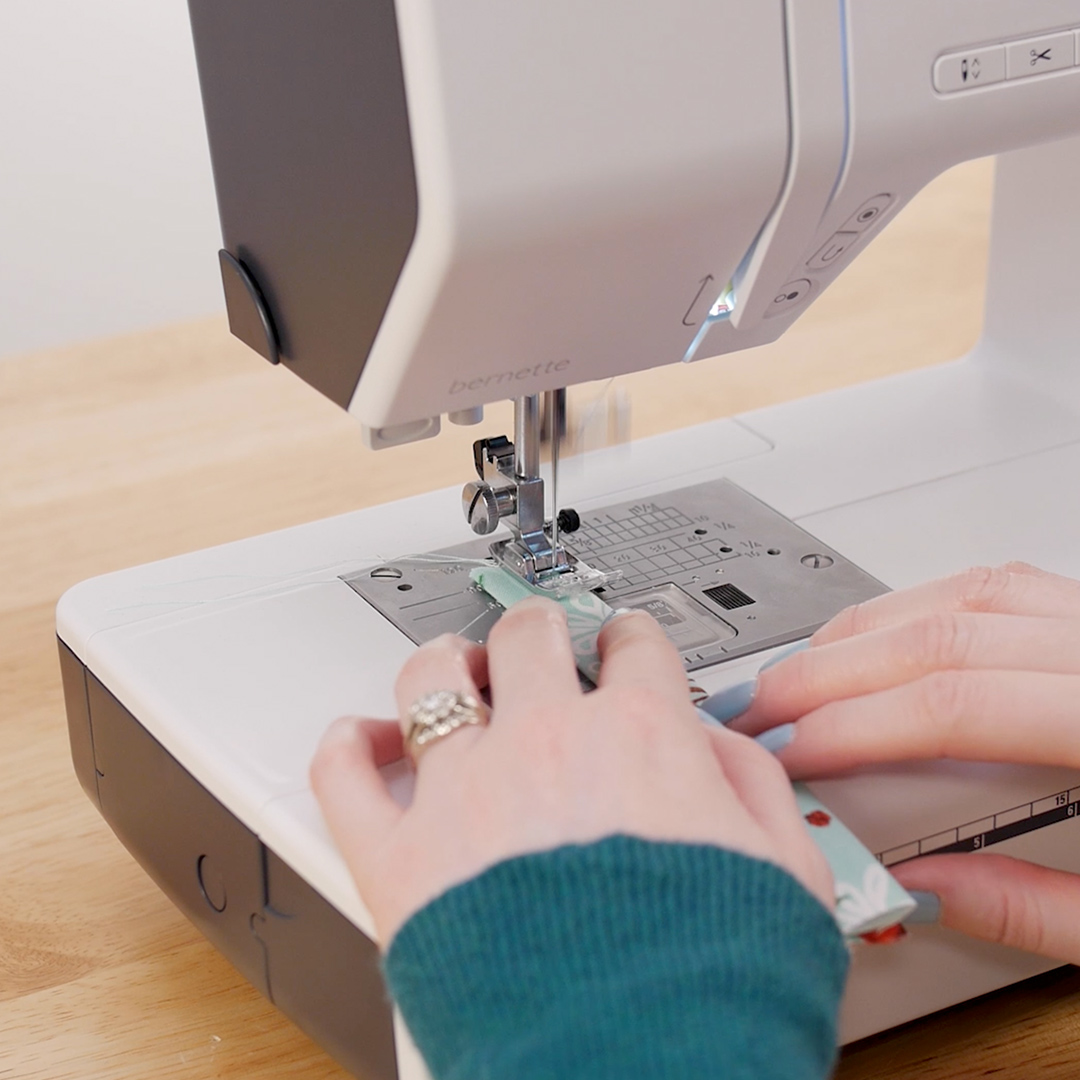
Step 5: Sewing the Elastic
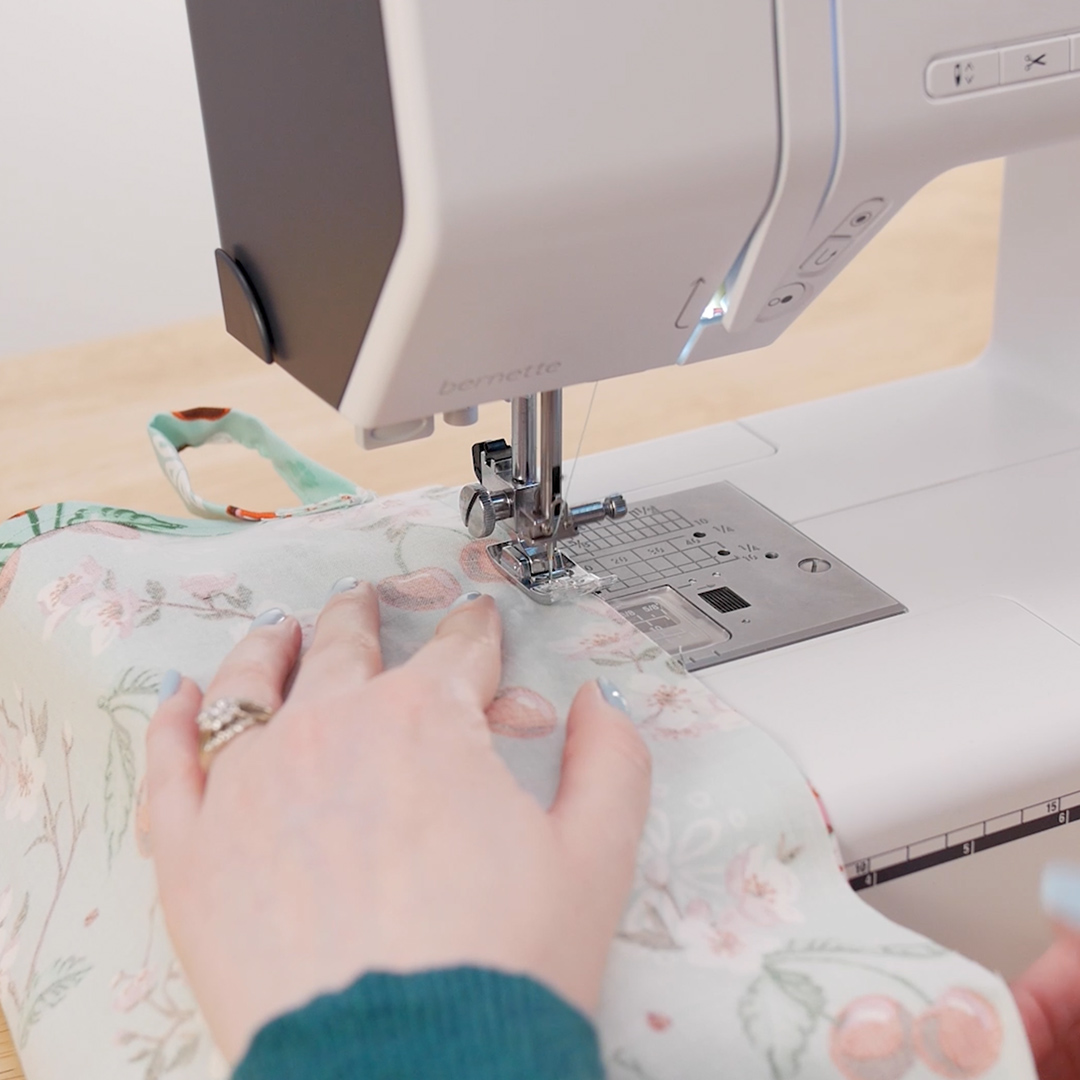
Take 3 stitches to secure the elastic. The left most part of the curve of the stretch stitch should land on the edge of the elastic and the right most part of the curve of the stitch should hit the right side of the elastic. With your left hand, help feed the fabric evenly to the foot while stretching the elastic with your right hand. When you come to the middle, remove the pin and continue to the end.

Step 6: Finishing Up
We will need to change the machine back to Mode 1 to sew the final stitch. Press the Mode button twice, and your machine will cycle through to Mode 1. With right sides together, line up the long raw edge and secure your stitch at the beginning and sew 1/2 inch seam allowance, secure stitch at the end.
Turn bag right sides out and stuff with plastic bags in your pantry closet for a tidy space!