Customizing Embroidery Designs Without Software
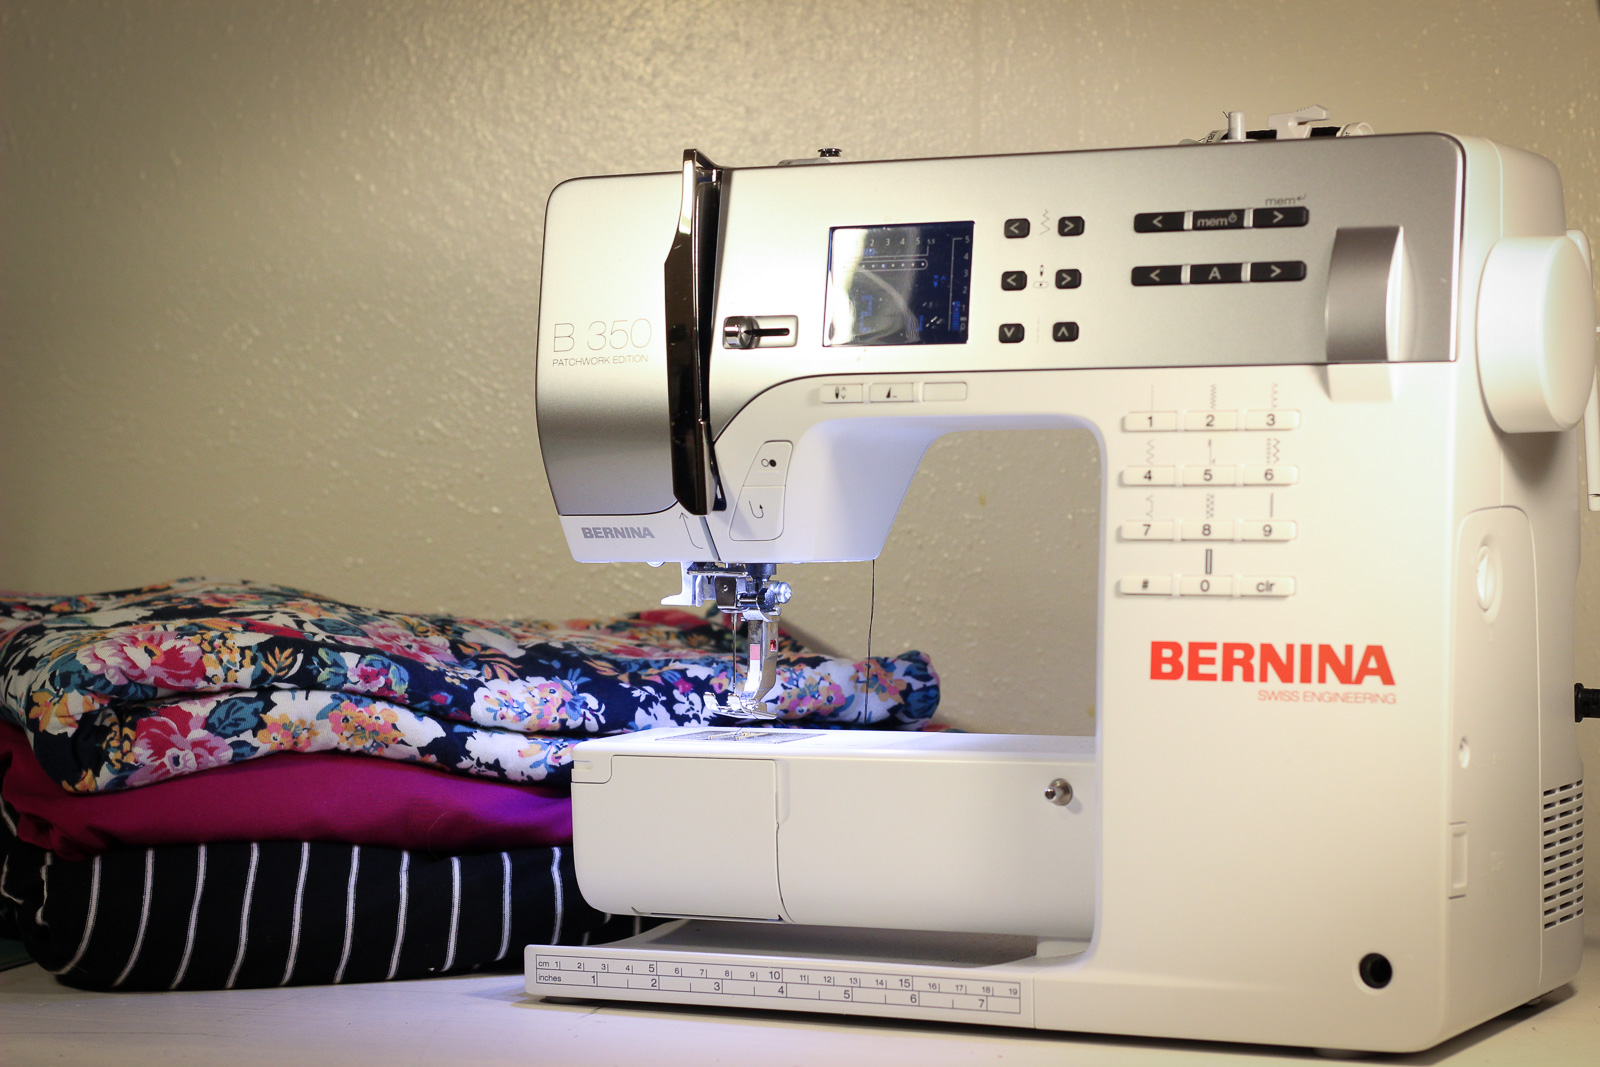
Starting to experiment with machine embroidery can be intimidating. There are so many designs out there, but sometimes they aren’t quite what you are looking for. For a beginner, jumping into embroidery software can be another hurdle preventing you from diving into the machine embroidery world. In this post I’ll show you how I edit embroidery designs to make them just right for my project… without the use of software. Embroidering with a machine that has the group/ungroup feature makes it very easy and beginner friendly to customize those embroidery designs to suit you and your project. I customized by embroidery using a B790 PLUS, but any machine with the group/ungroup feature will allow for this customization.
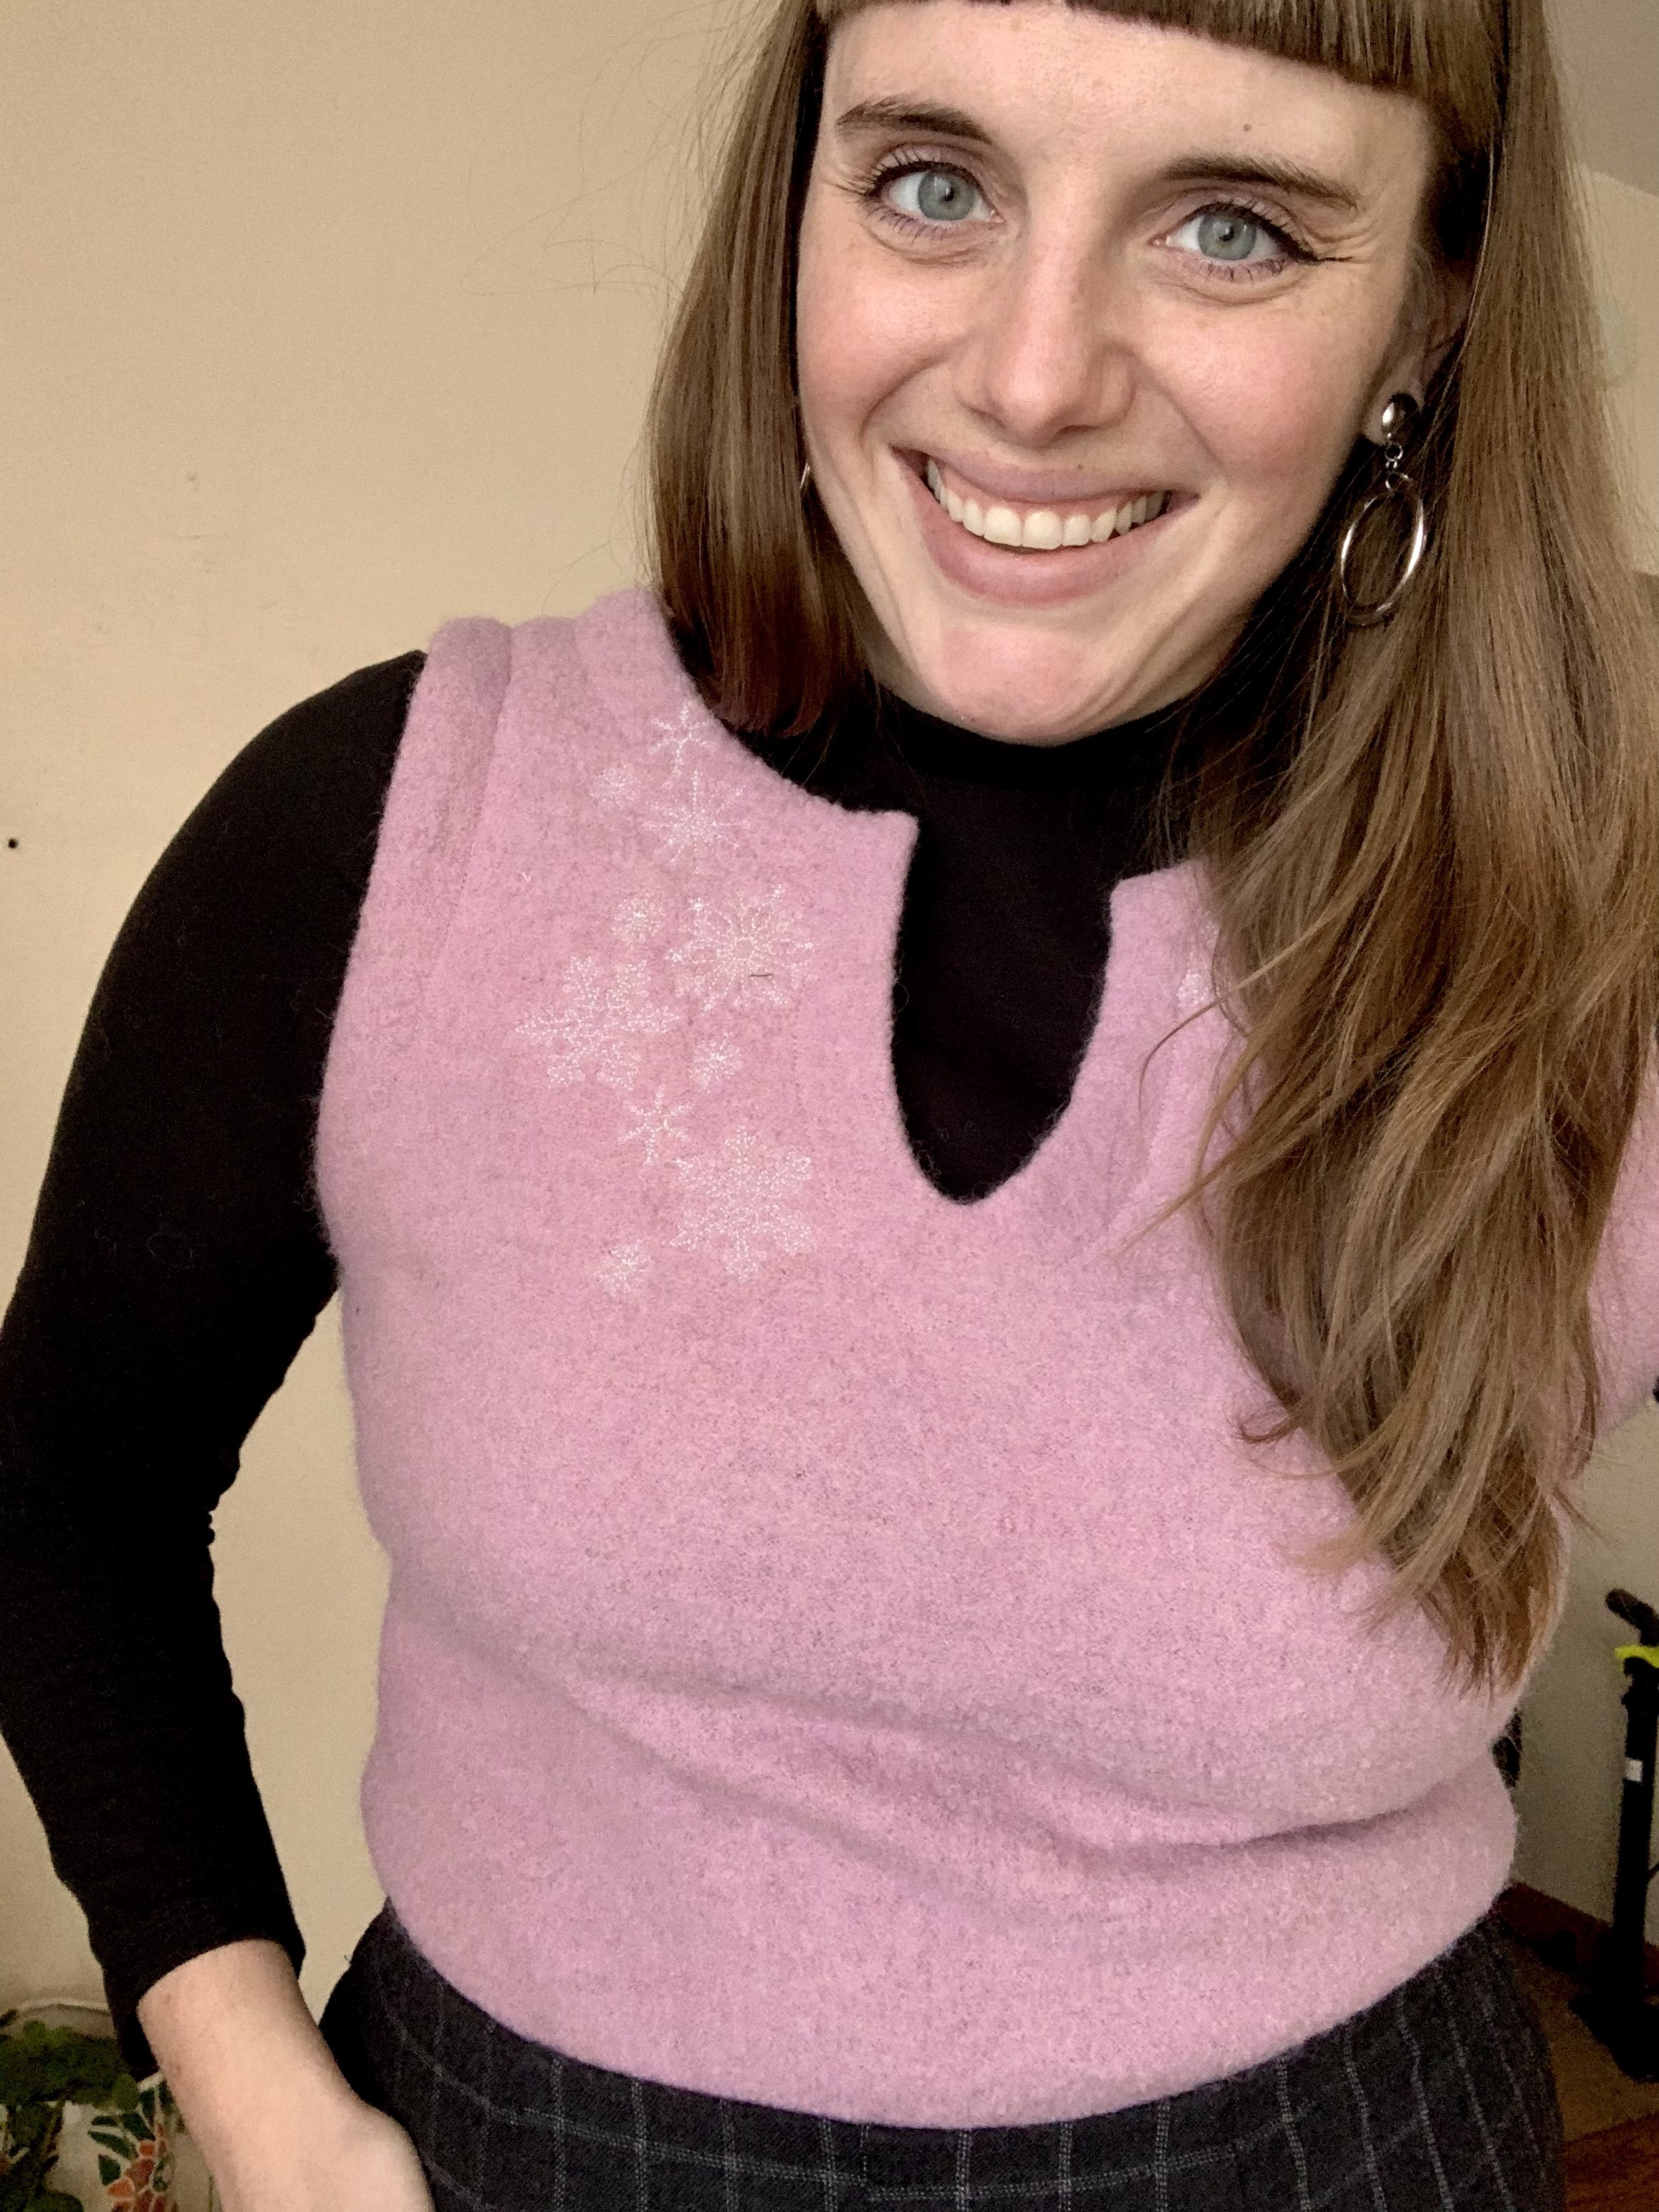
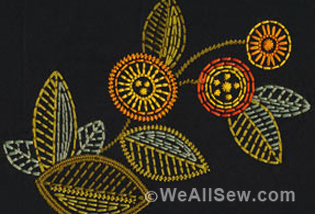
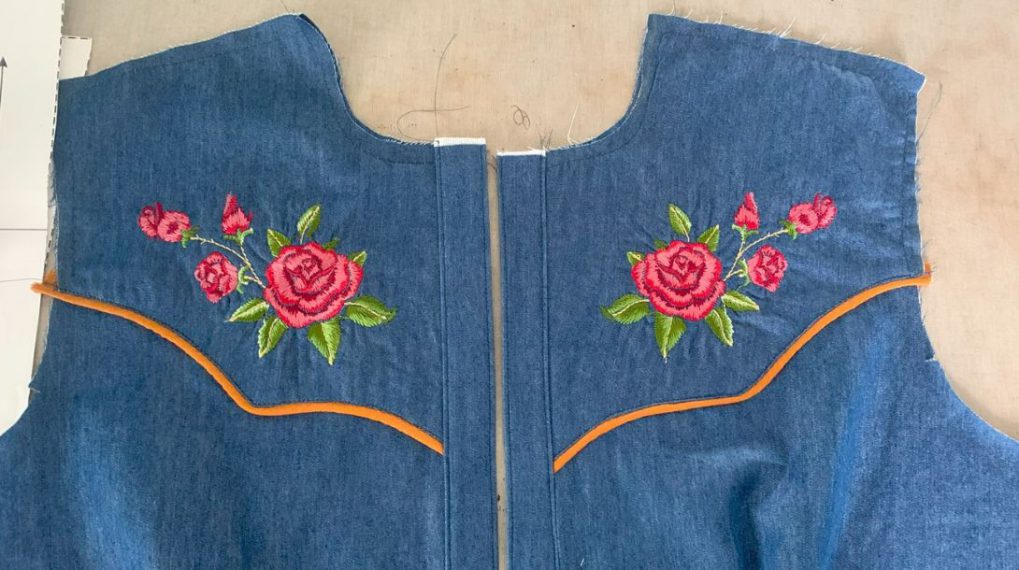
The project I’m customizing in this post is a boiled wool vest. I added snowflake embroidery using snowflake designs from this Embroidery Online collection, but this tutorial will work for any embroidery project. The possibilities are endless when you start to customize and combine designs!
Customizing Your Embroidery Design
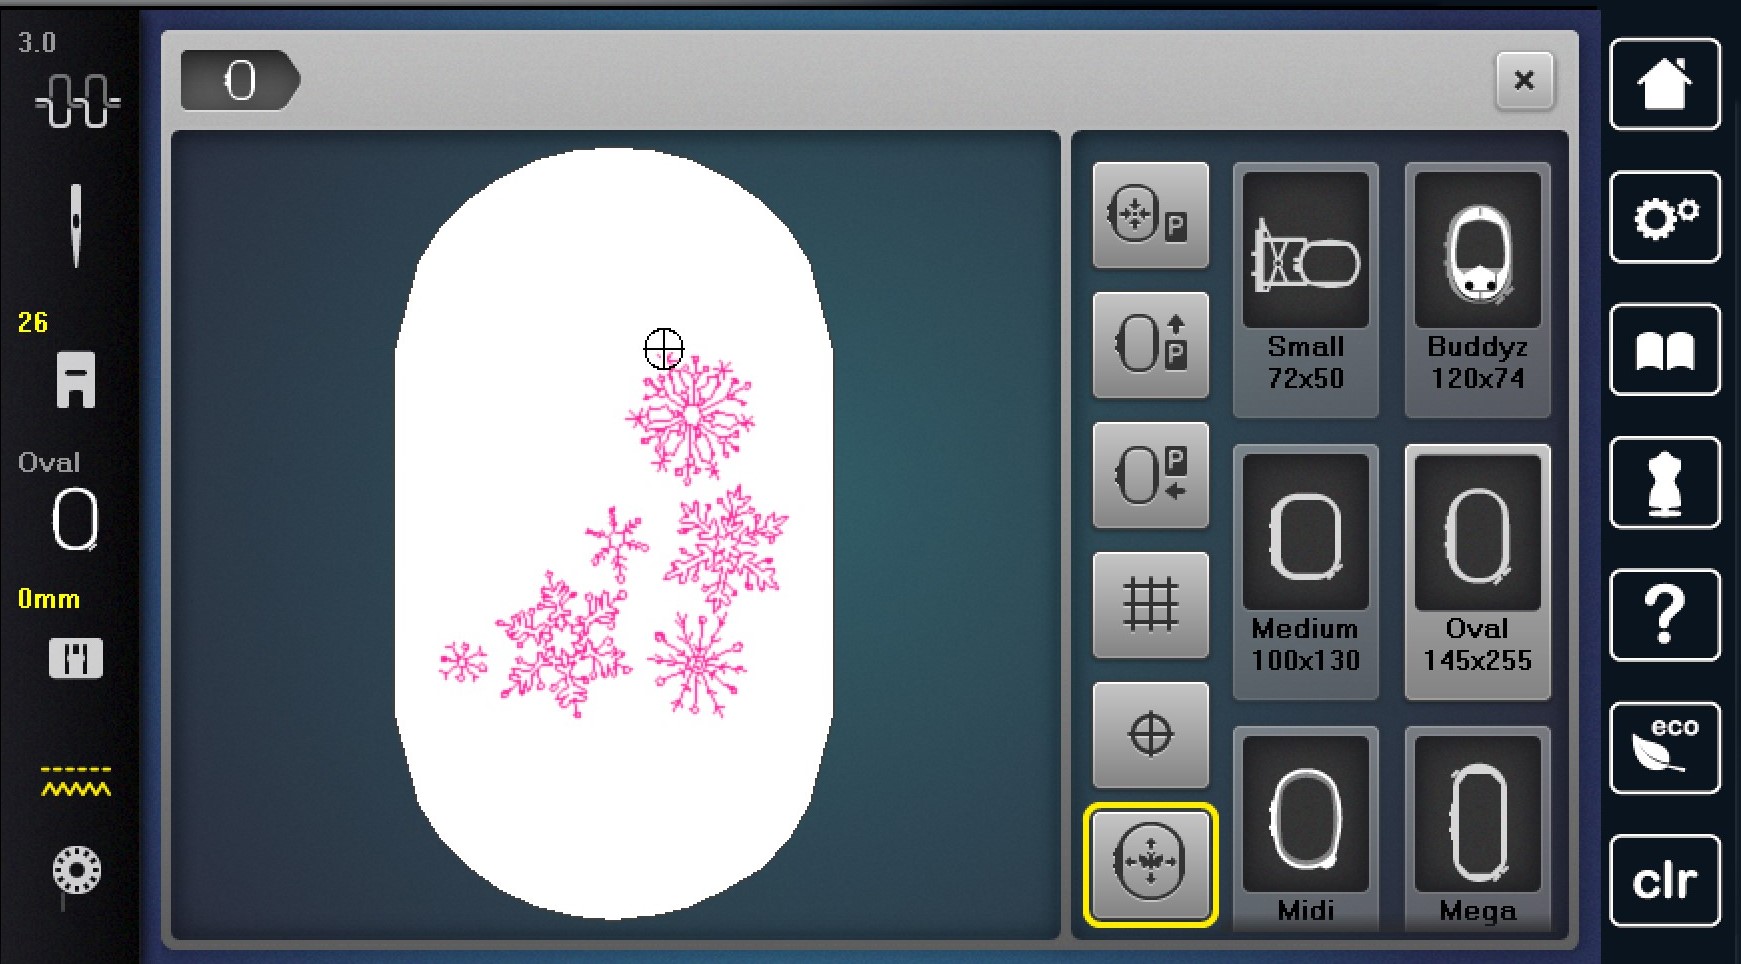
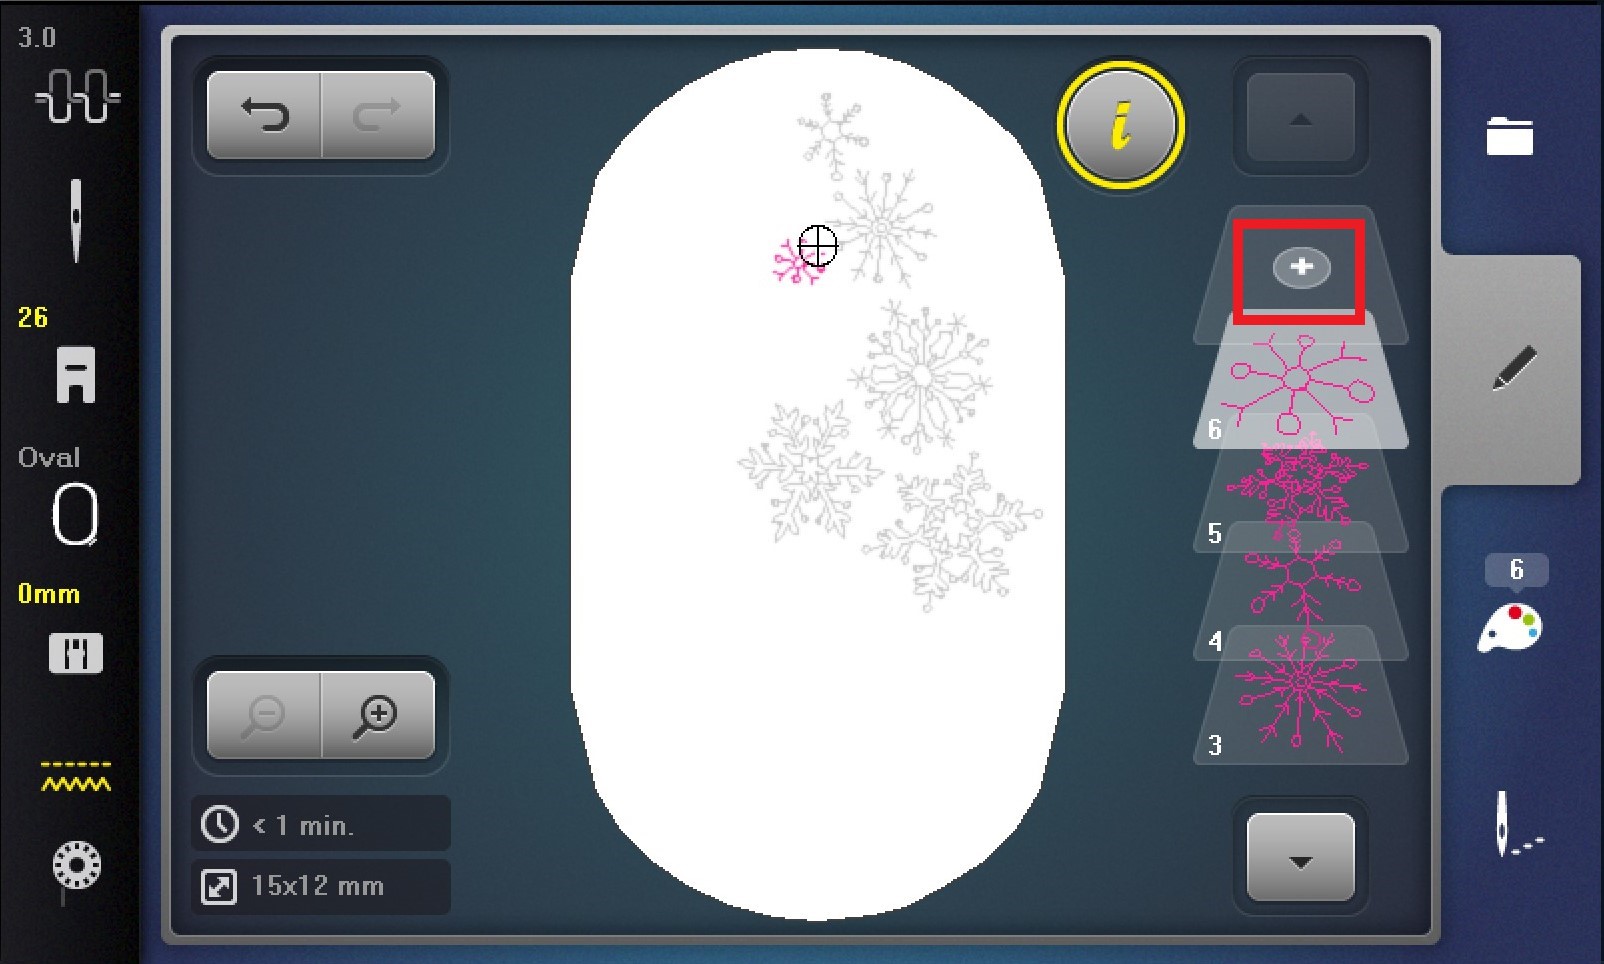
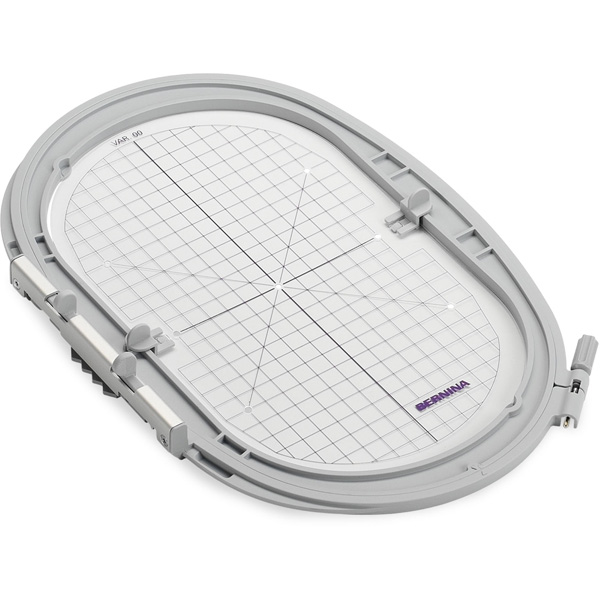
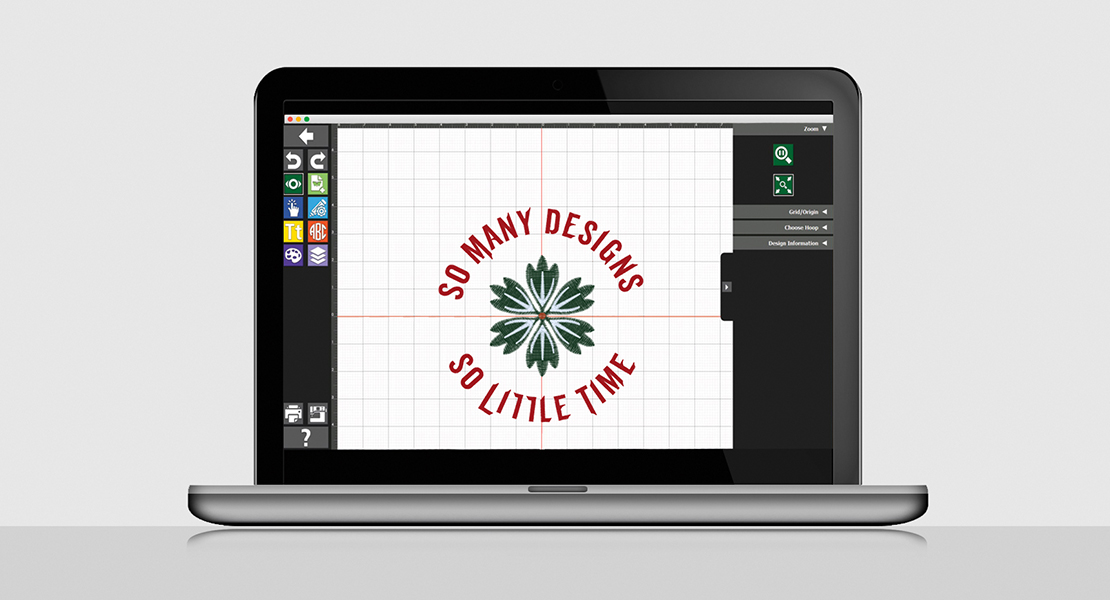
Start by loading your first design onto your machine. When you do this, your machine will choose the recommended hoop size for the design. You may want to change this, as you’ll be altering the overall shape and size of the embroidery. You can choose the hoop size that will work best for your final project. I used the oval hoop size.
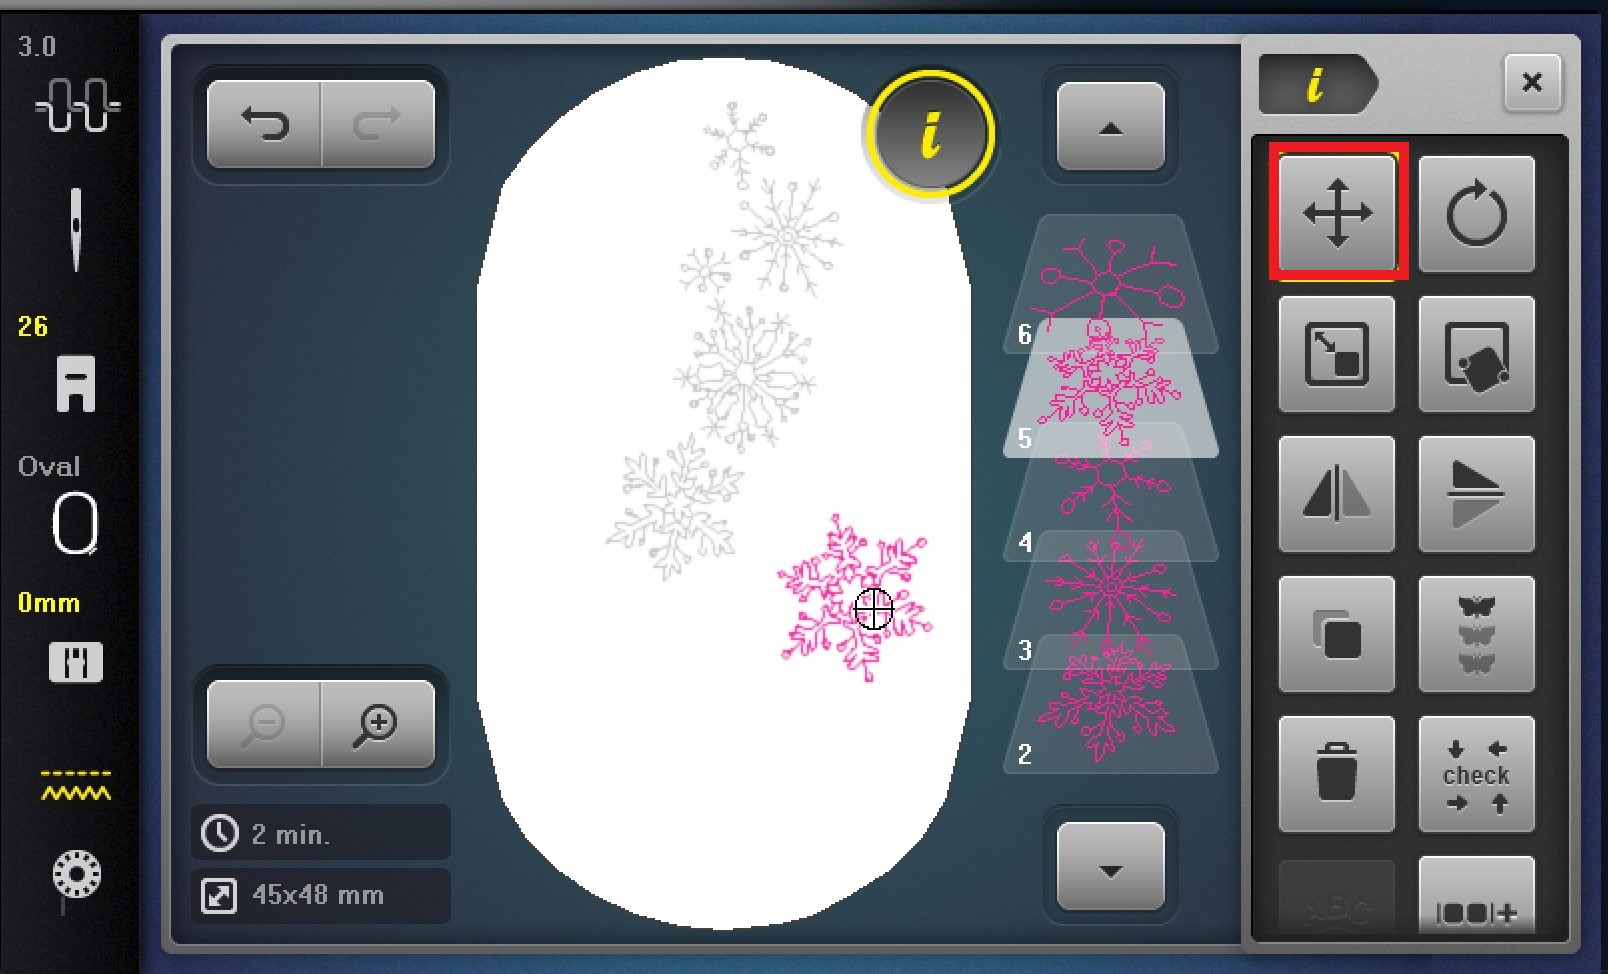
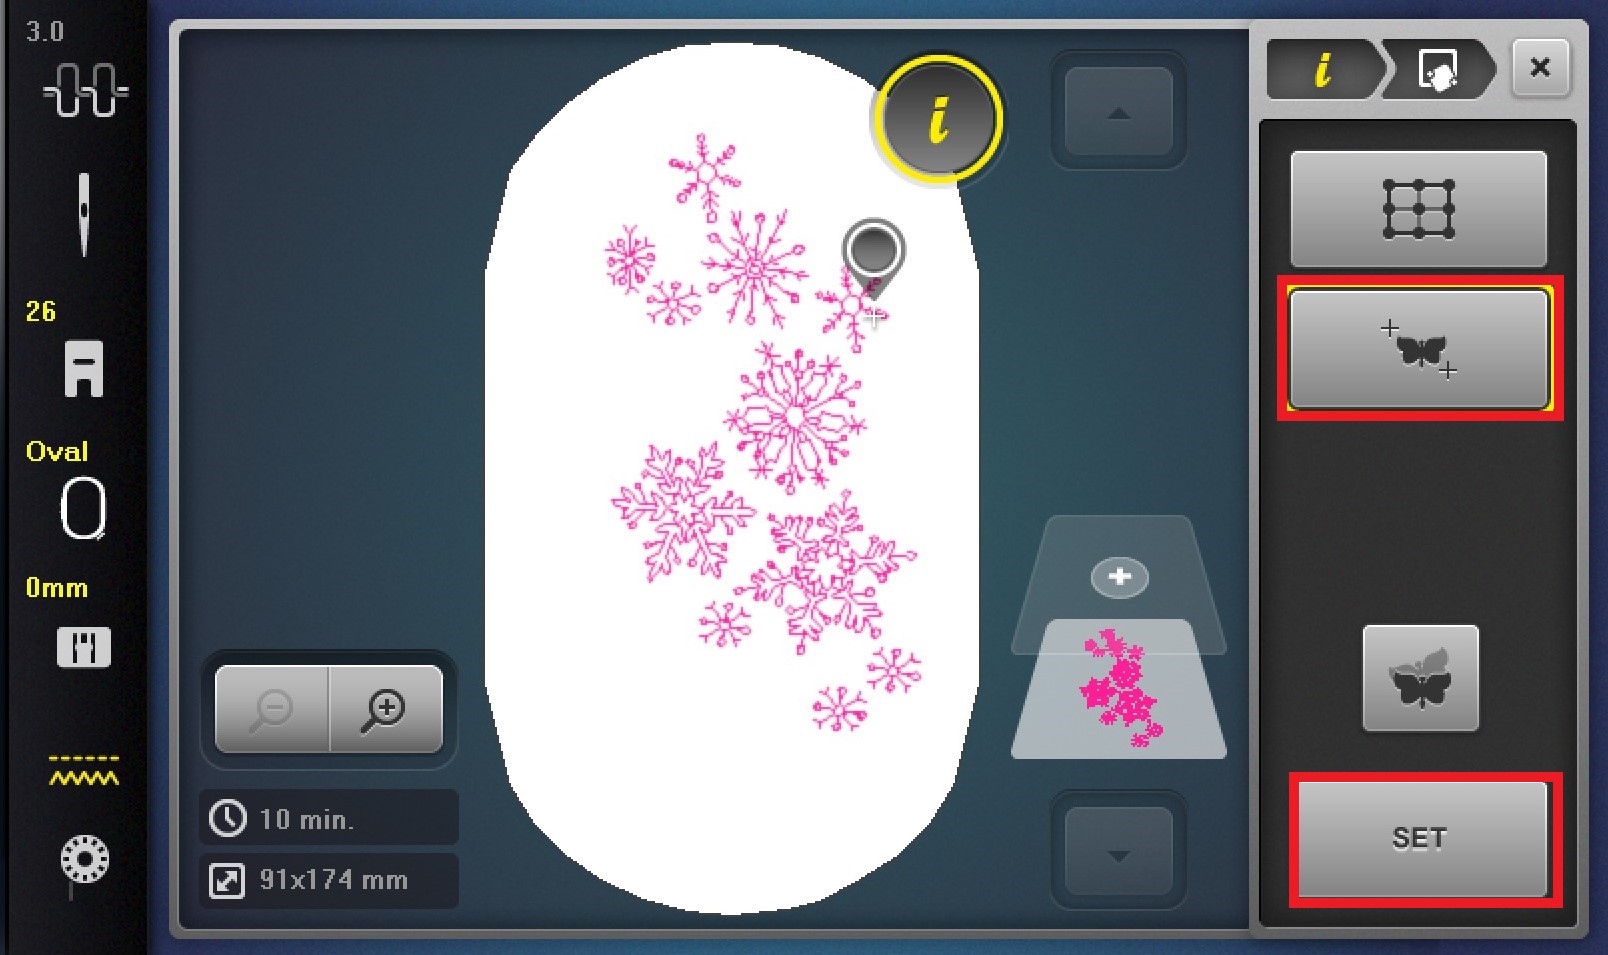
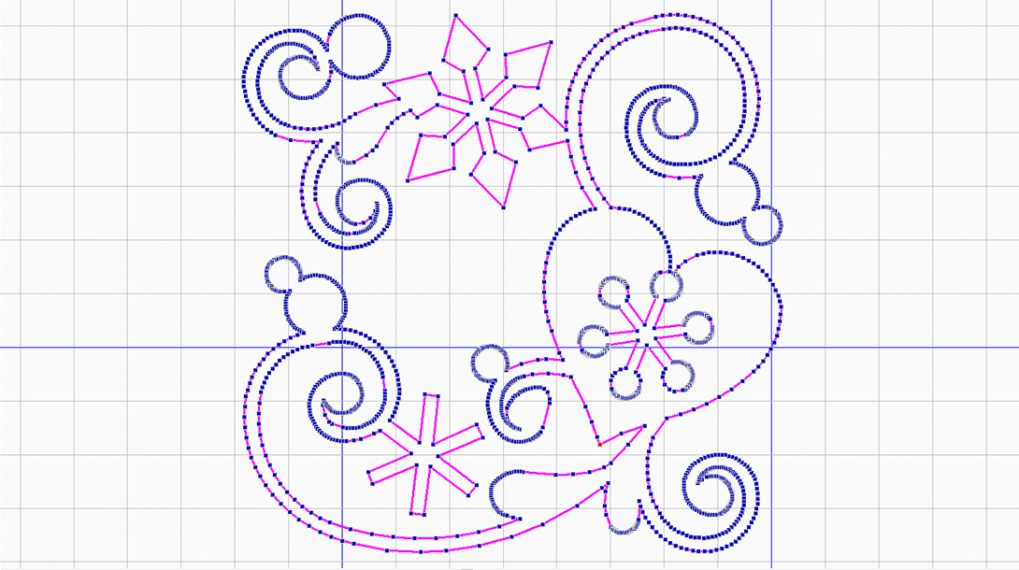
Ungroup the elements of the embroidery design by clicking on group embroidery motifs. This will separate your design into multiple layers.

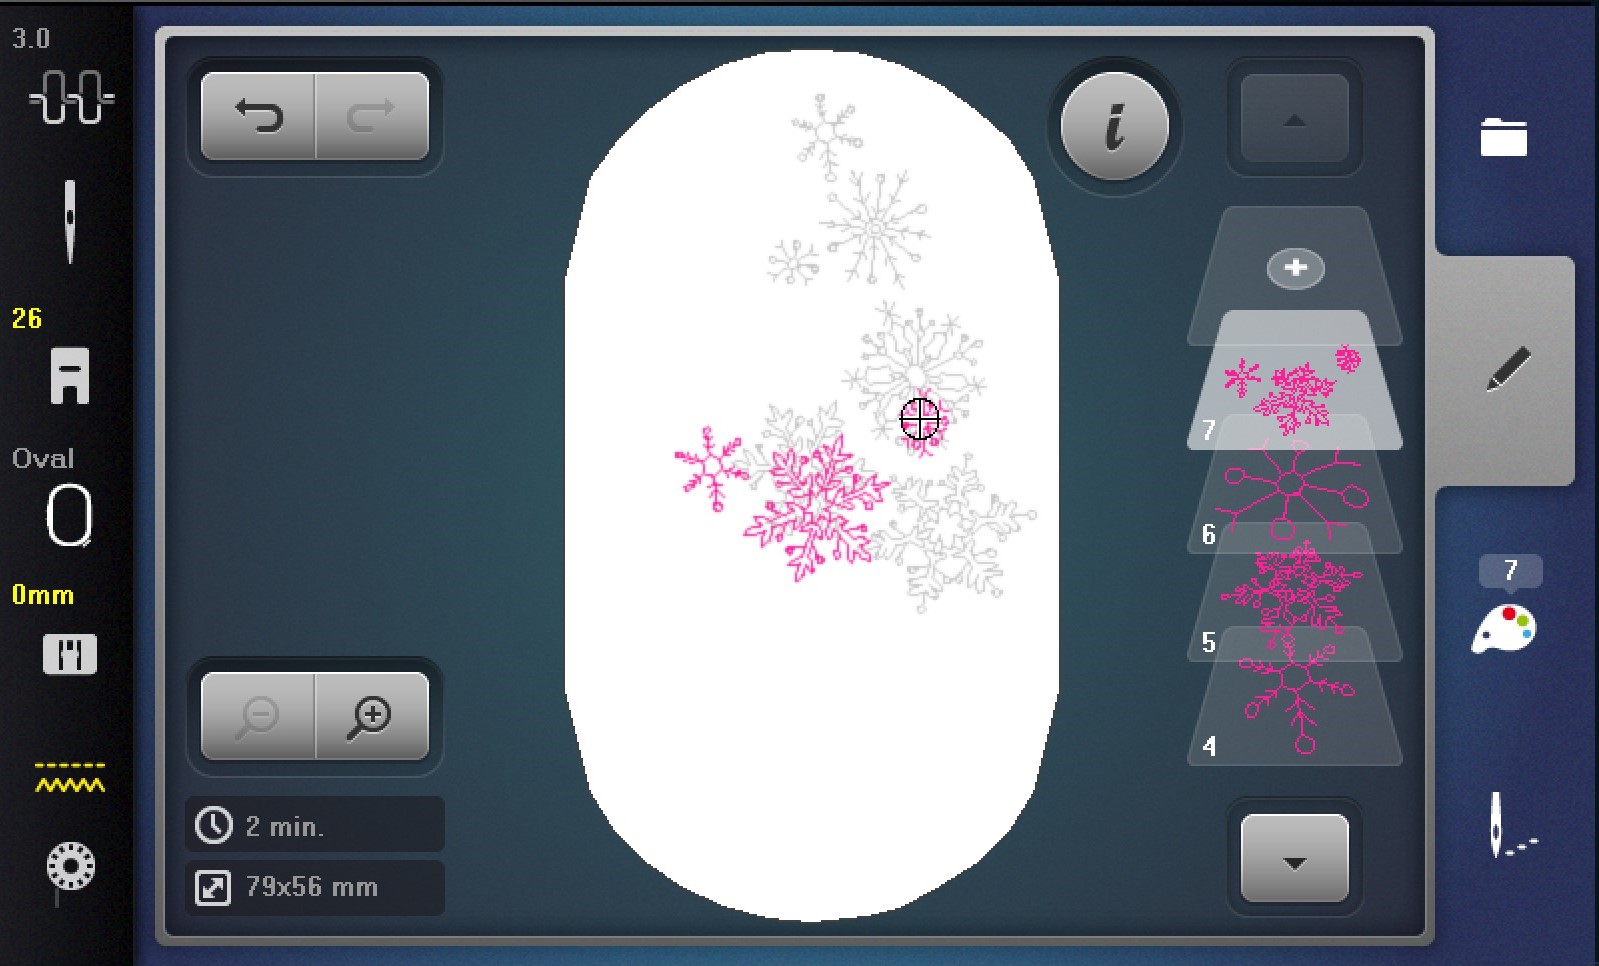
Move the individual layers of your embroidery design by touching and dragging them. You can also use the stitch length and width knobs on your machine to move the design and fine-tune the placement.
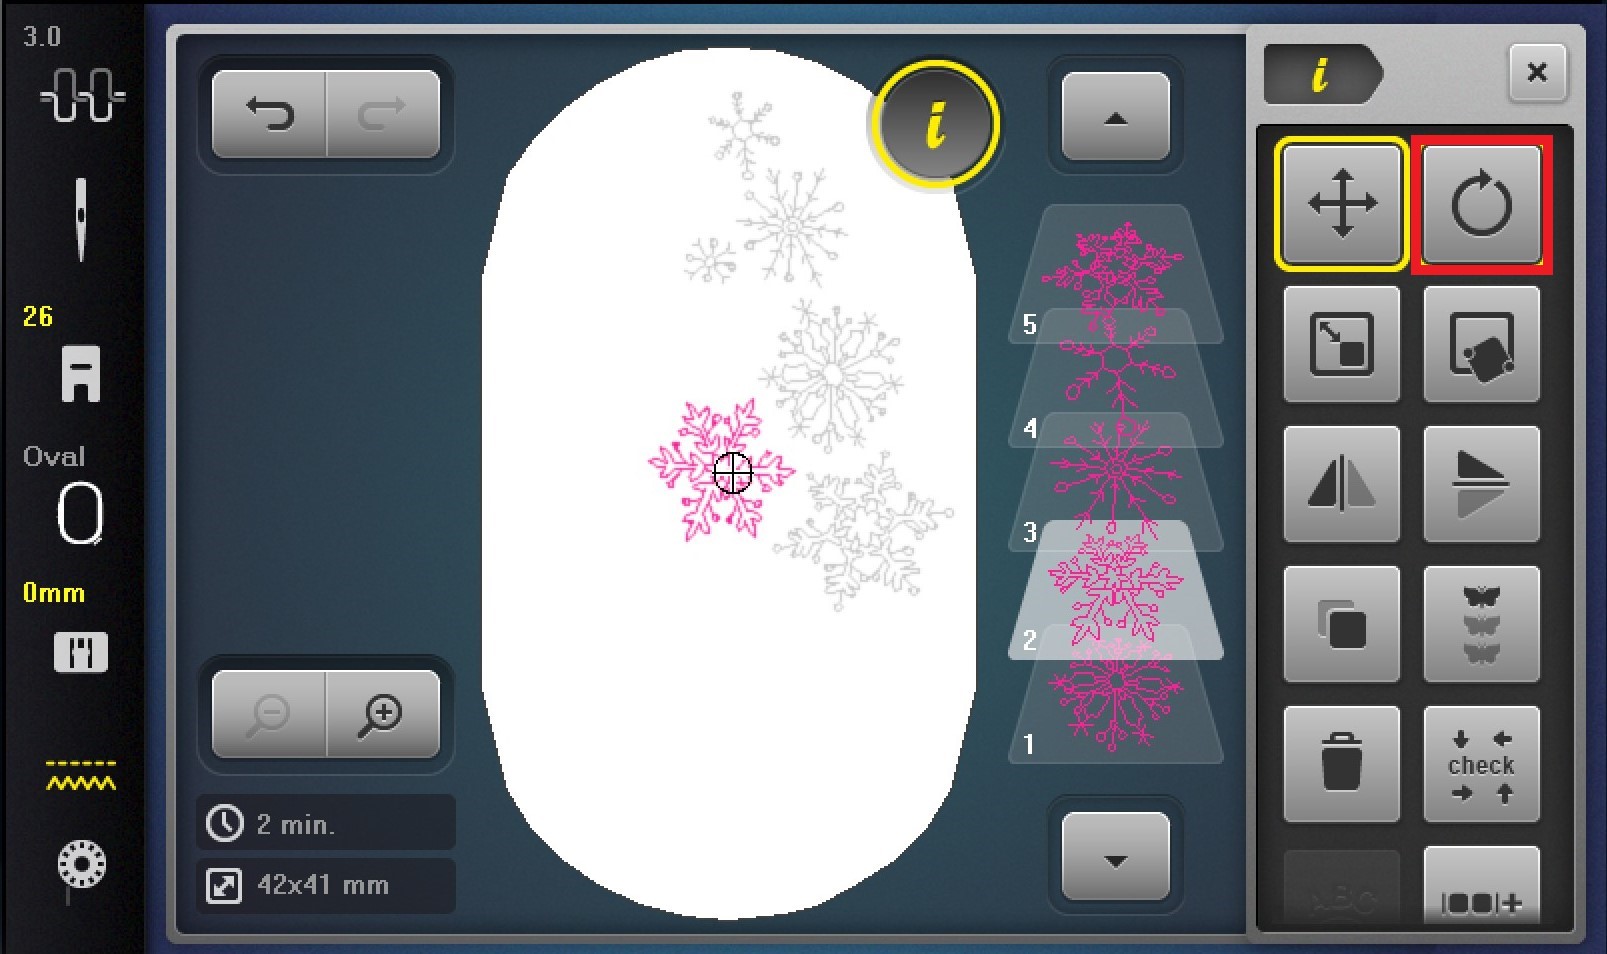
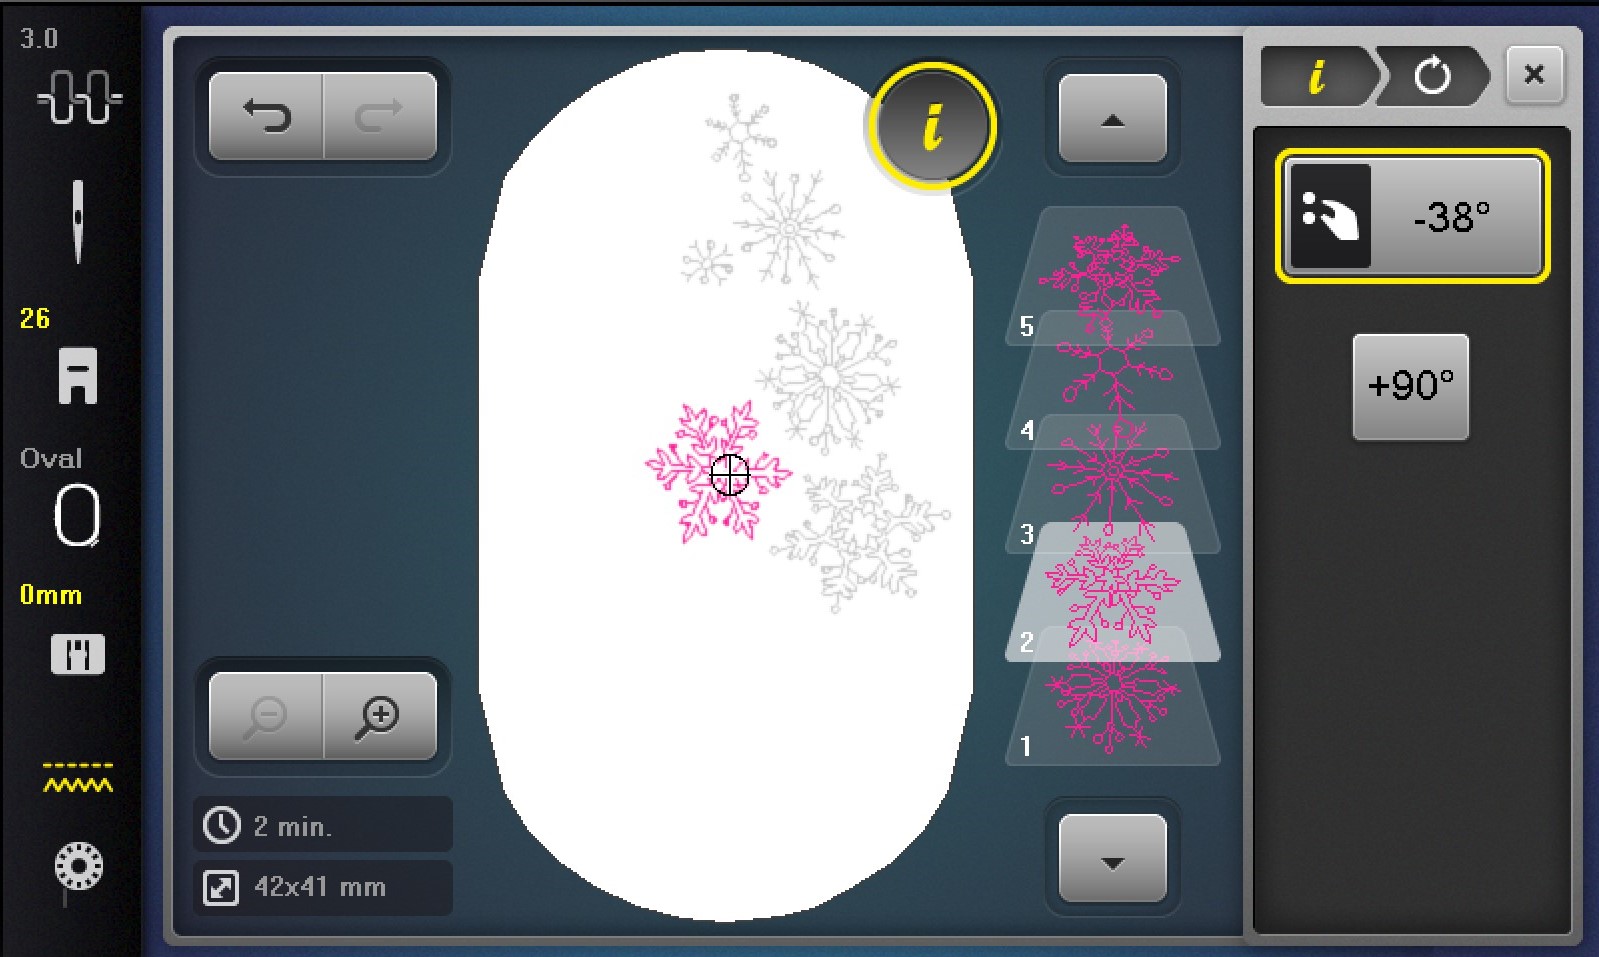
You can rotate any elements of the design to get the placement just right for your project.
Adding Elements to Your Embroidery Design
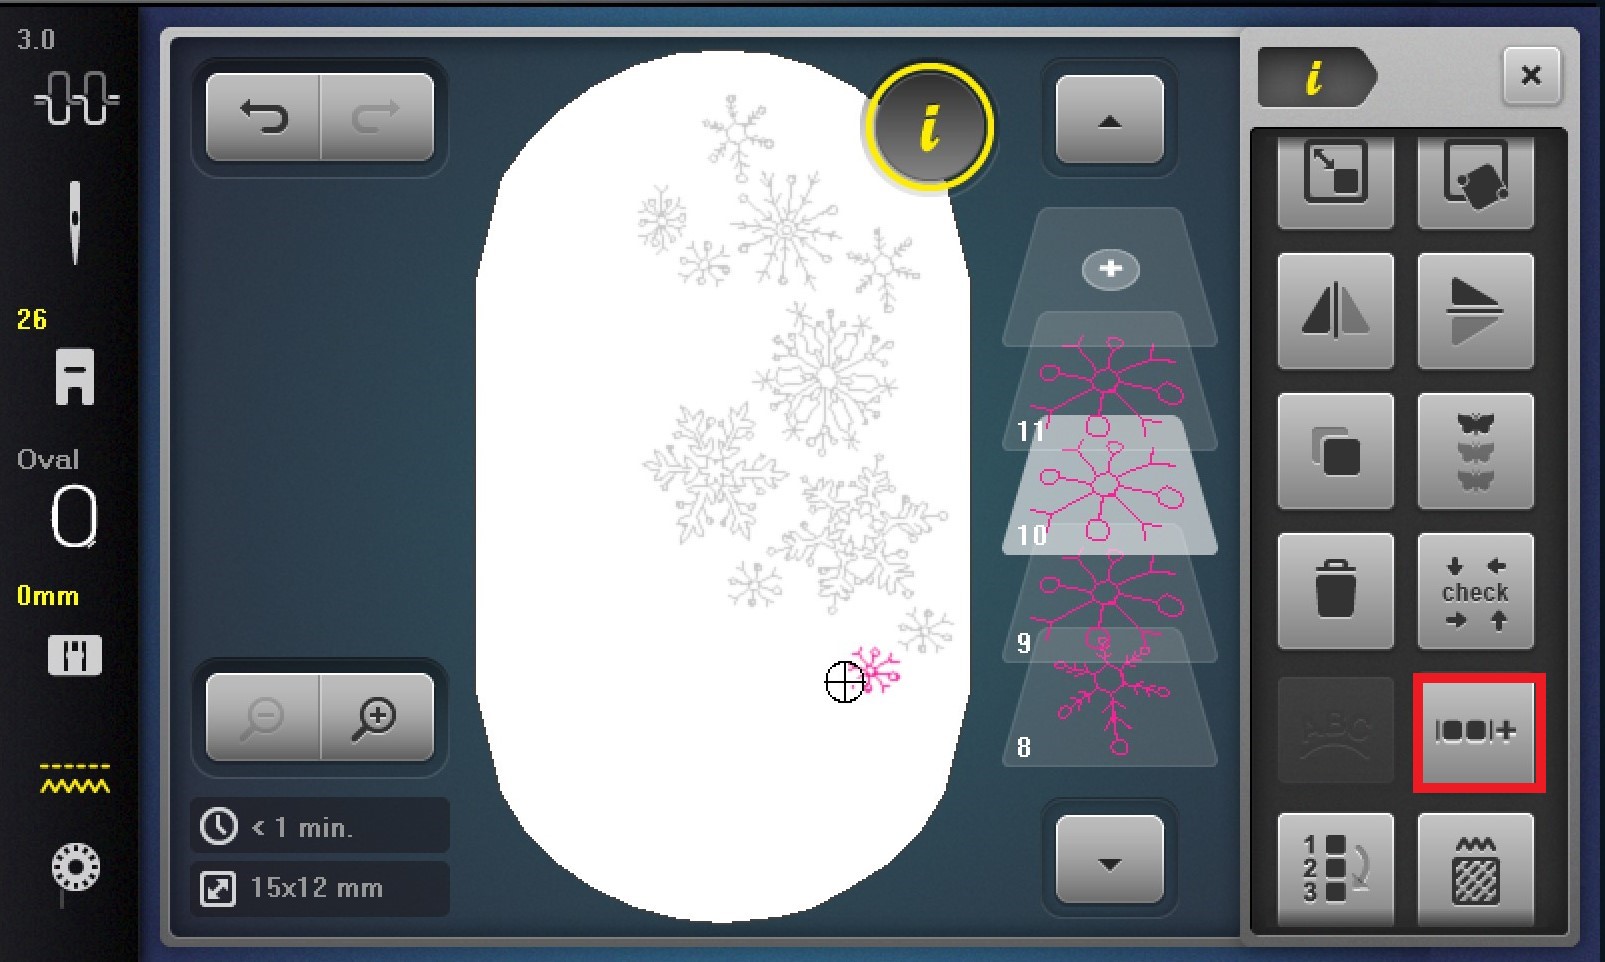
You can add more elements to your embroidery design by loading another embroidery file. This can be ungrouped moved around just like you did with the previous design.
If you want to add more of just one element of the existing design (like one of my small snowflakes) you can duplicate it and place it wherever you desire.

Finalizing Your Embroidery Design
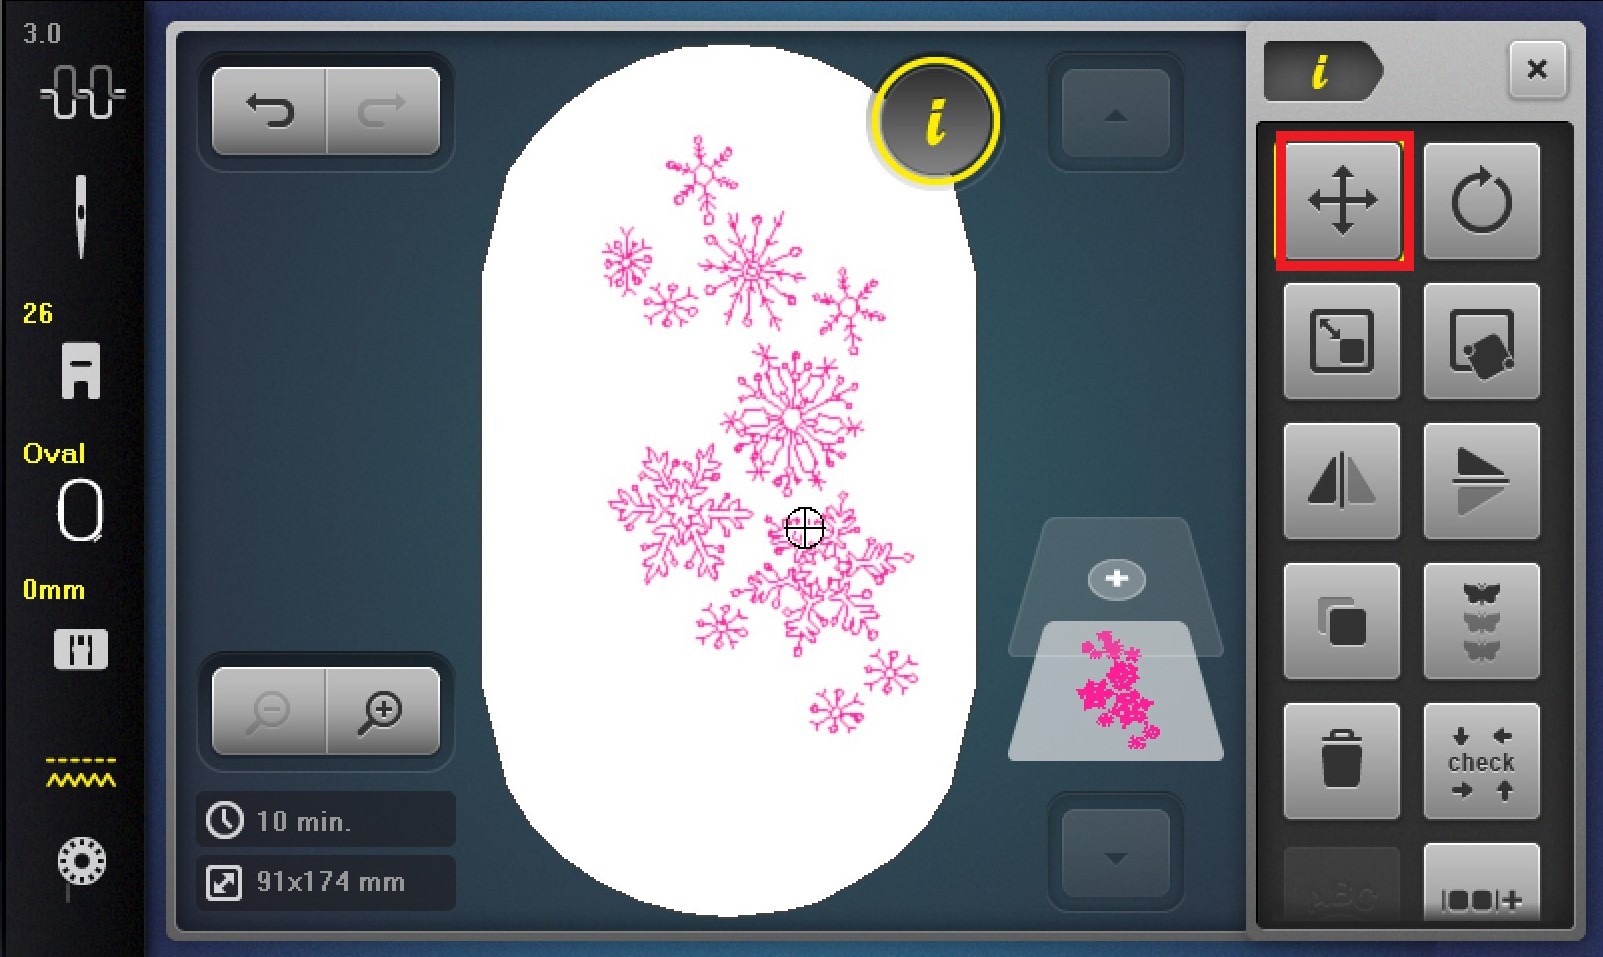
When you are happy with the new placement of all of your embroidery elements, re-group your layers to move the entire design as one piece.
From layer 1, add this layer to the layers above until everything is grouped together.

Move or rotate your final design within your hoop as desired, based on your final project.
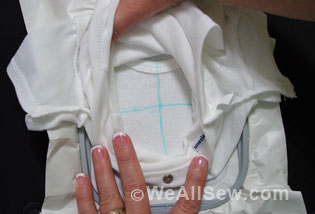
When embroidering a garment, like this wool vest, I like to use Pinpoint Placement to get my design exactly where I want it. For this vest, I adjusted to snowflake placement around the neckline here and set it before stitching it out. You can go back and forth between this and editing your design until you get it just right.
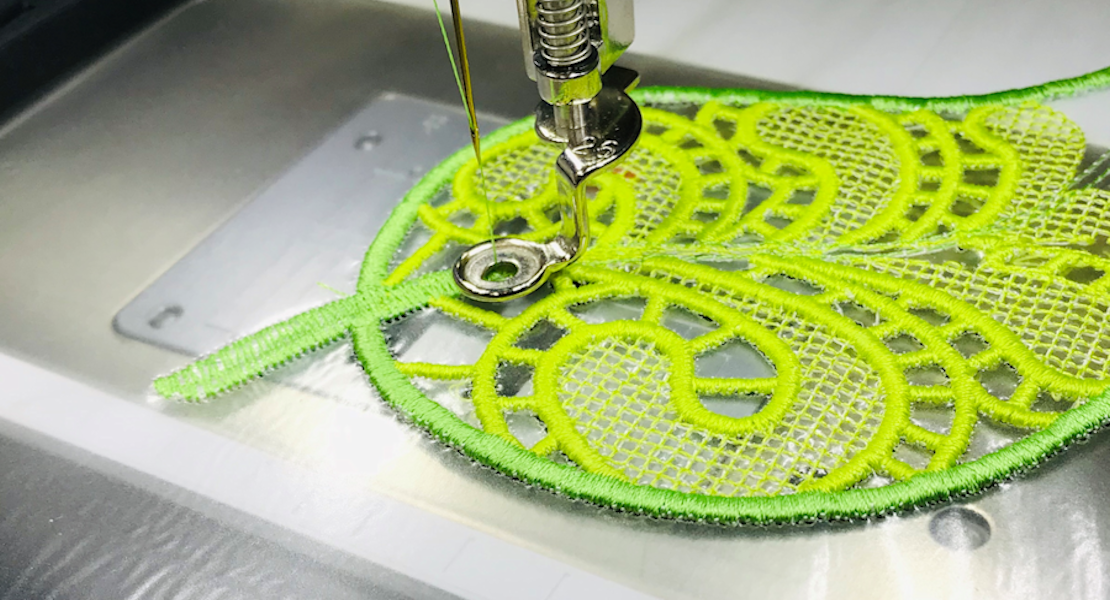
Stitch Out Your Design
When you are ready to stitch out your design, choose the appropriate stabilizer and hoop your project. I used OESD StabilStick Cut-Away as my backing because my wool was very thick.
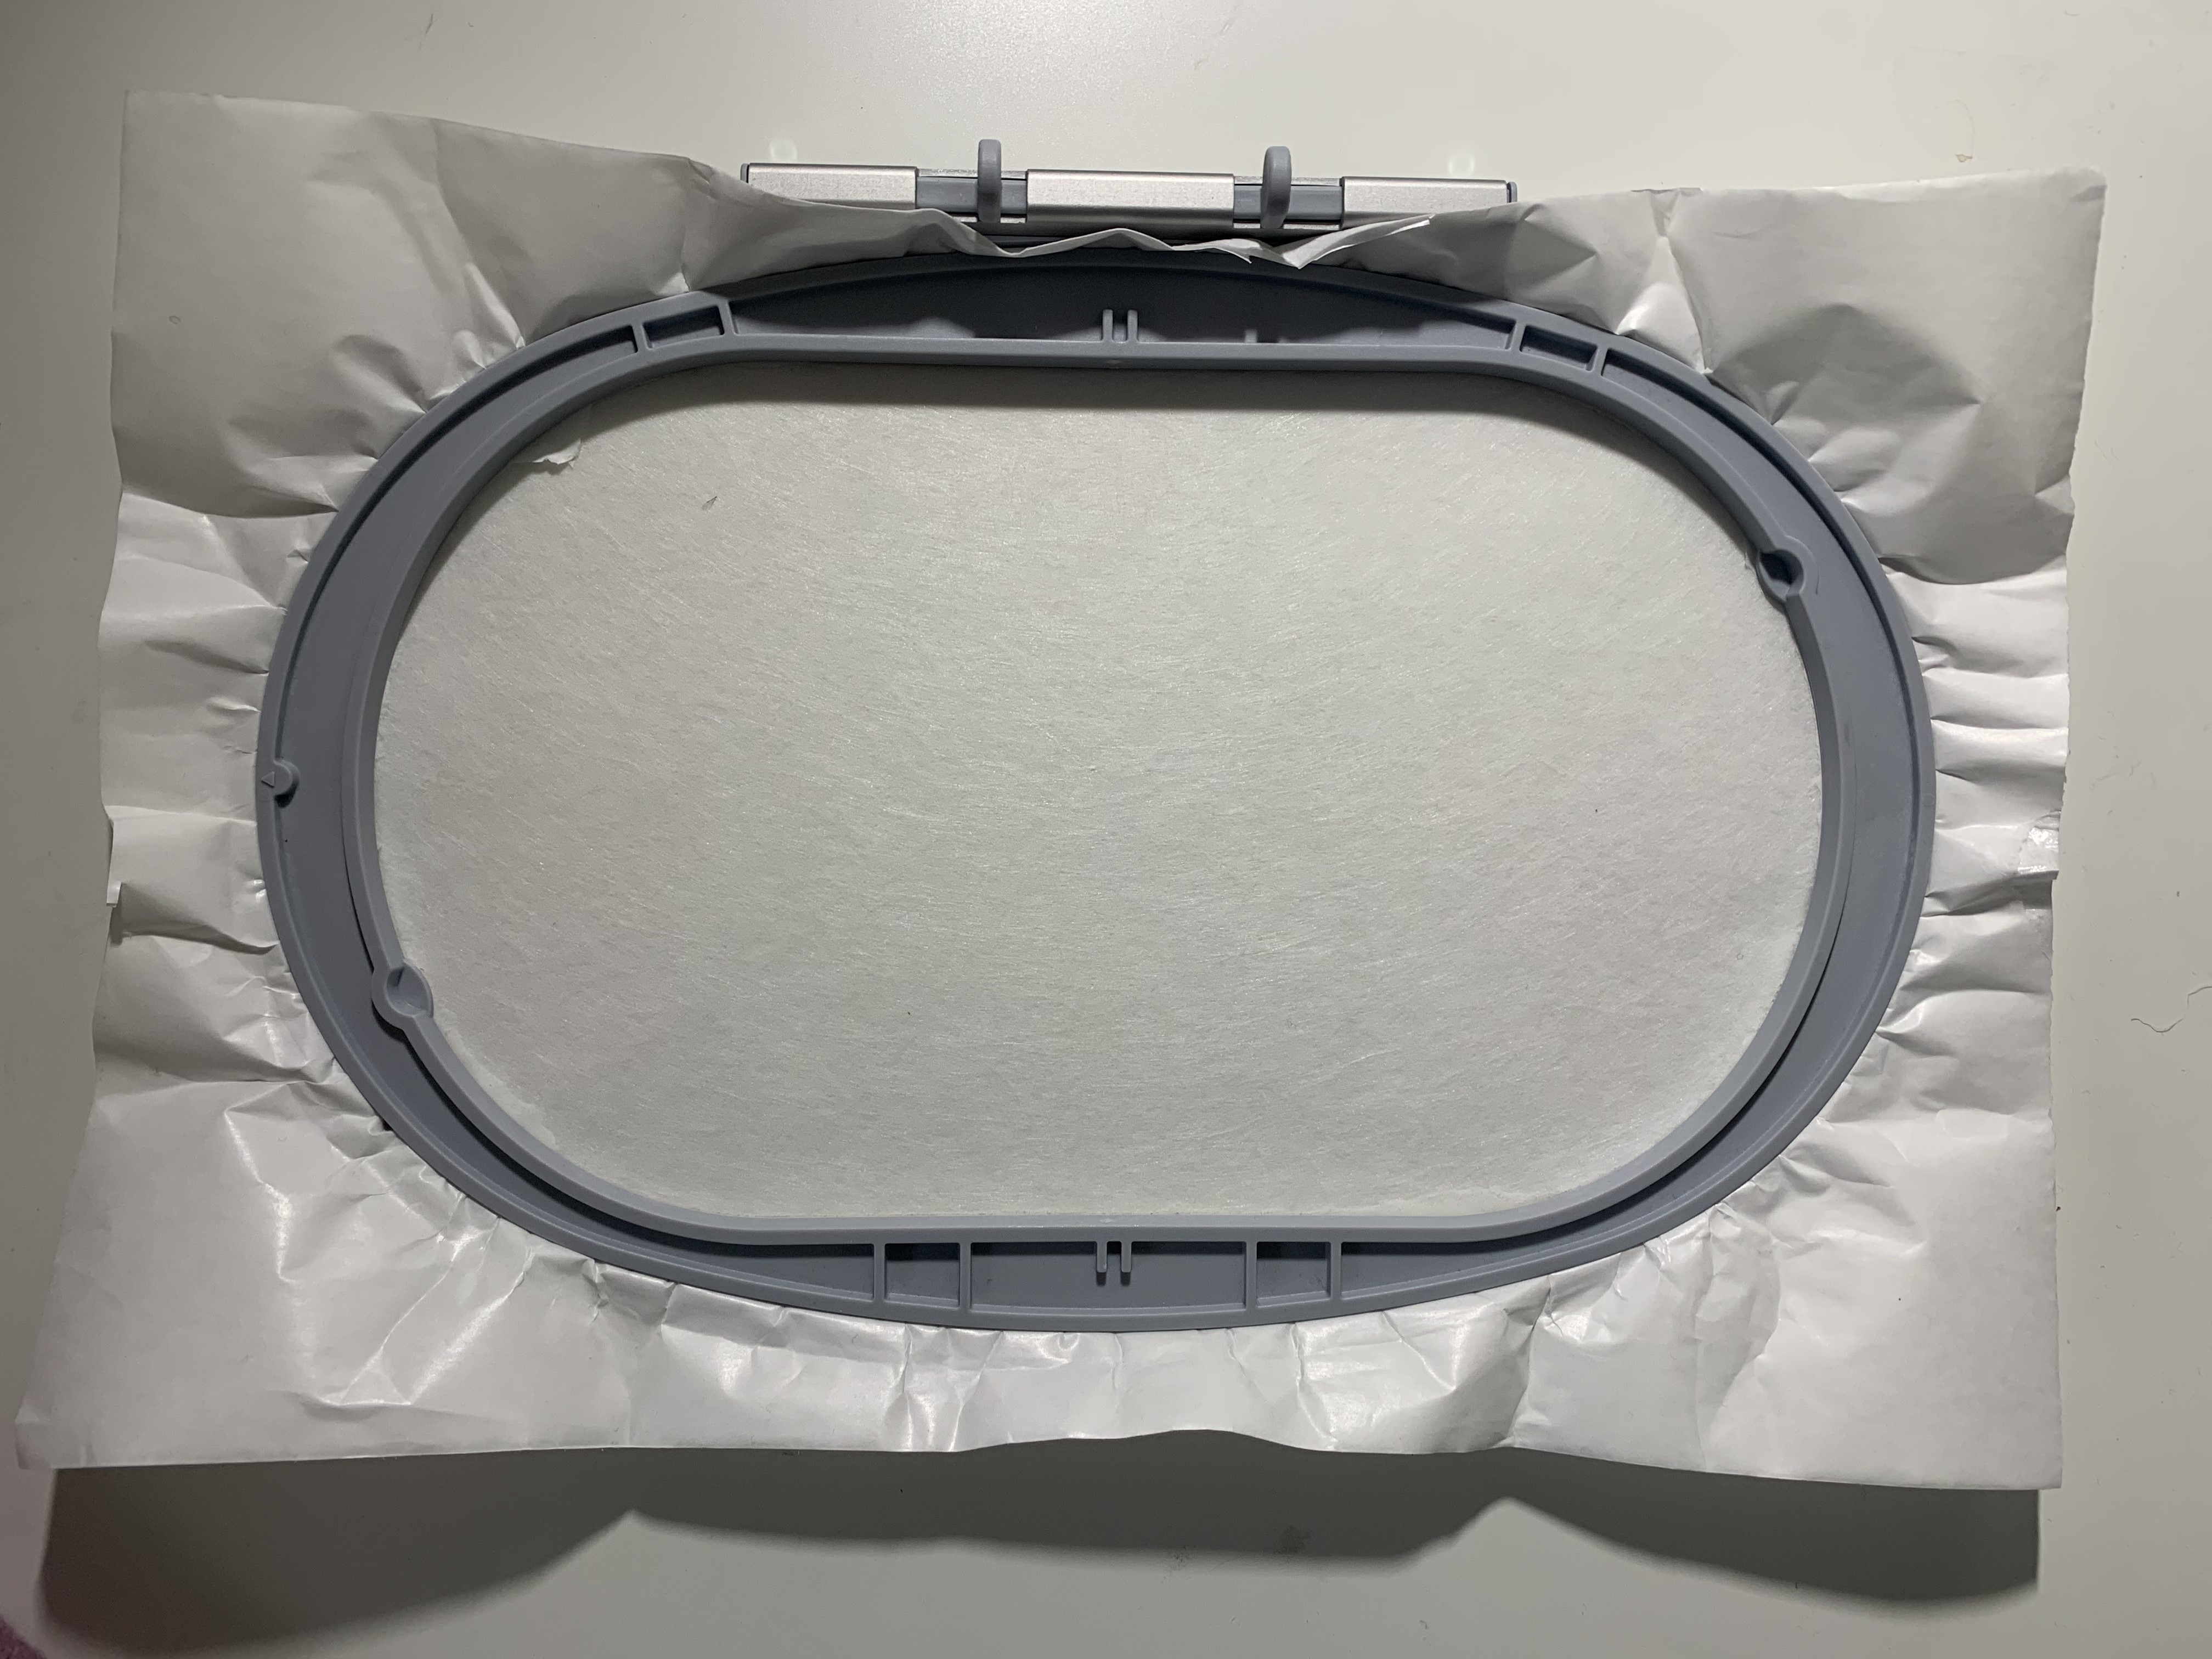
I then placed my wool on the sticky surface of the stabilizer.

I topped my wool project with OESD StitcH20, which I attached with a basting box. You might not need all of these layers of stabilizer; it all depends on the fabric your are using for your project.

My final vest has custom snowflake embroidery that gives it an extra special touch!
Simplifying An Embroidery Design
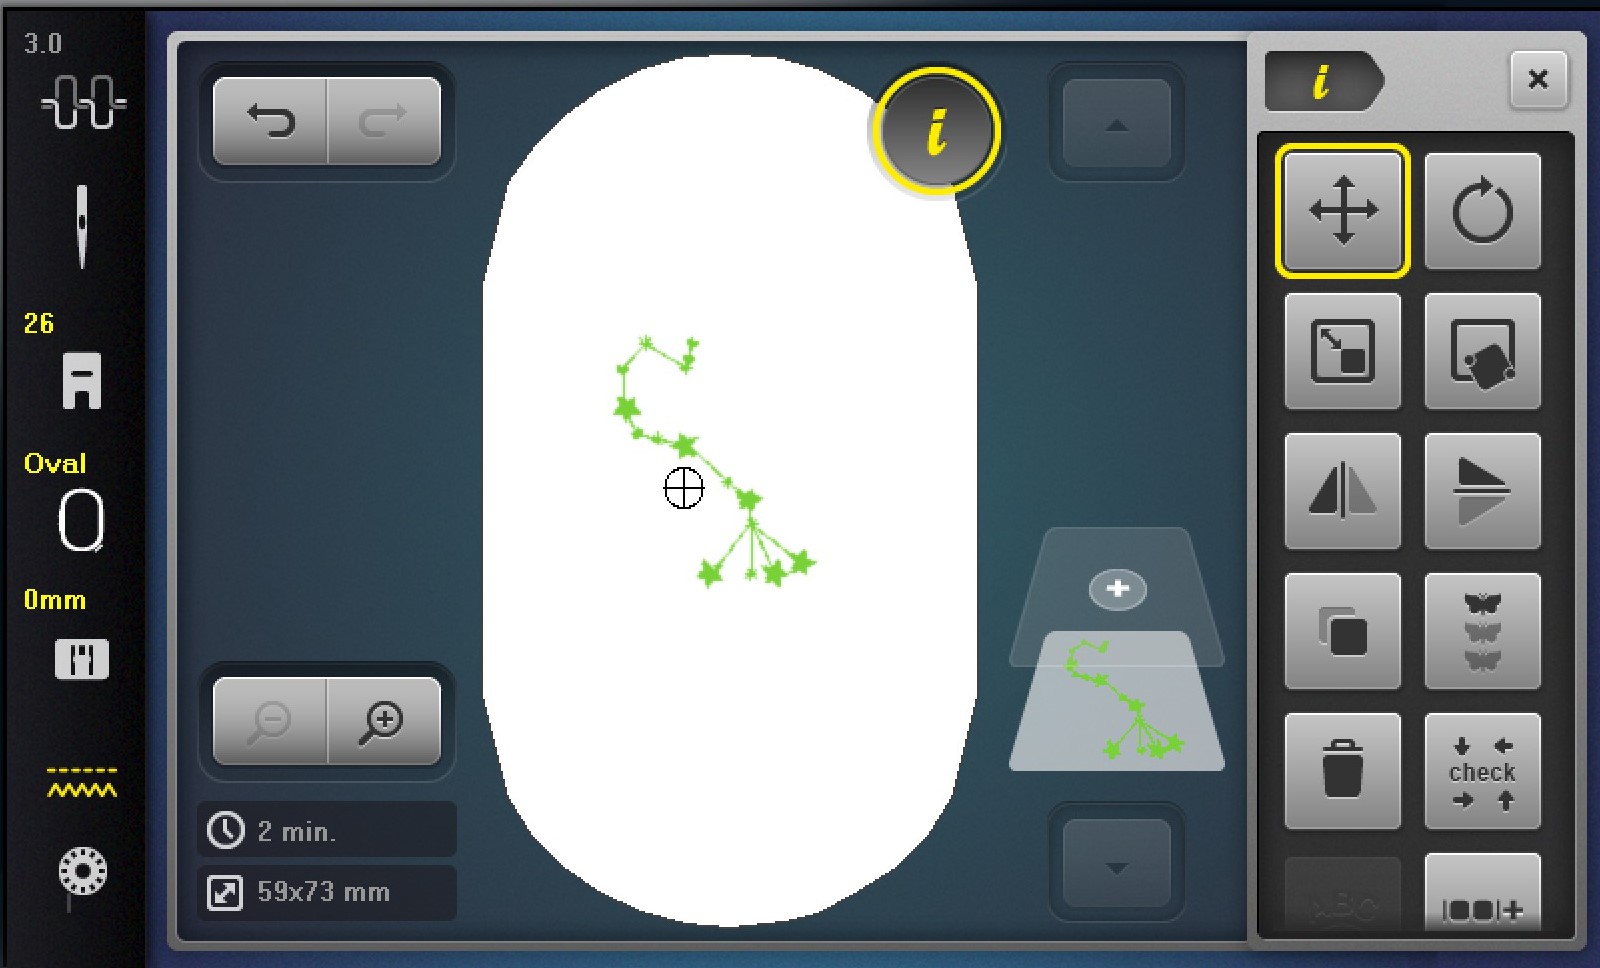
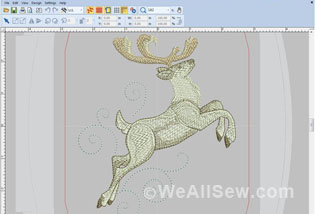
Sometimes the embroidery design you want to use is just a little too complicated for your project. For this dress, I used an astrological embroidery design that I wanted to simplify. I started by loading the design into my machine.
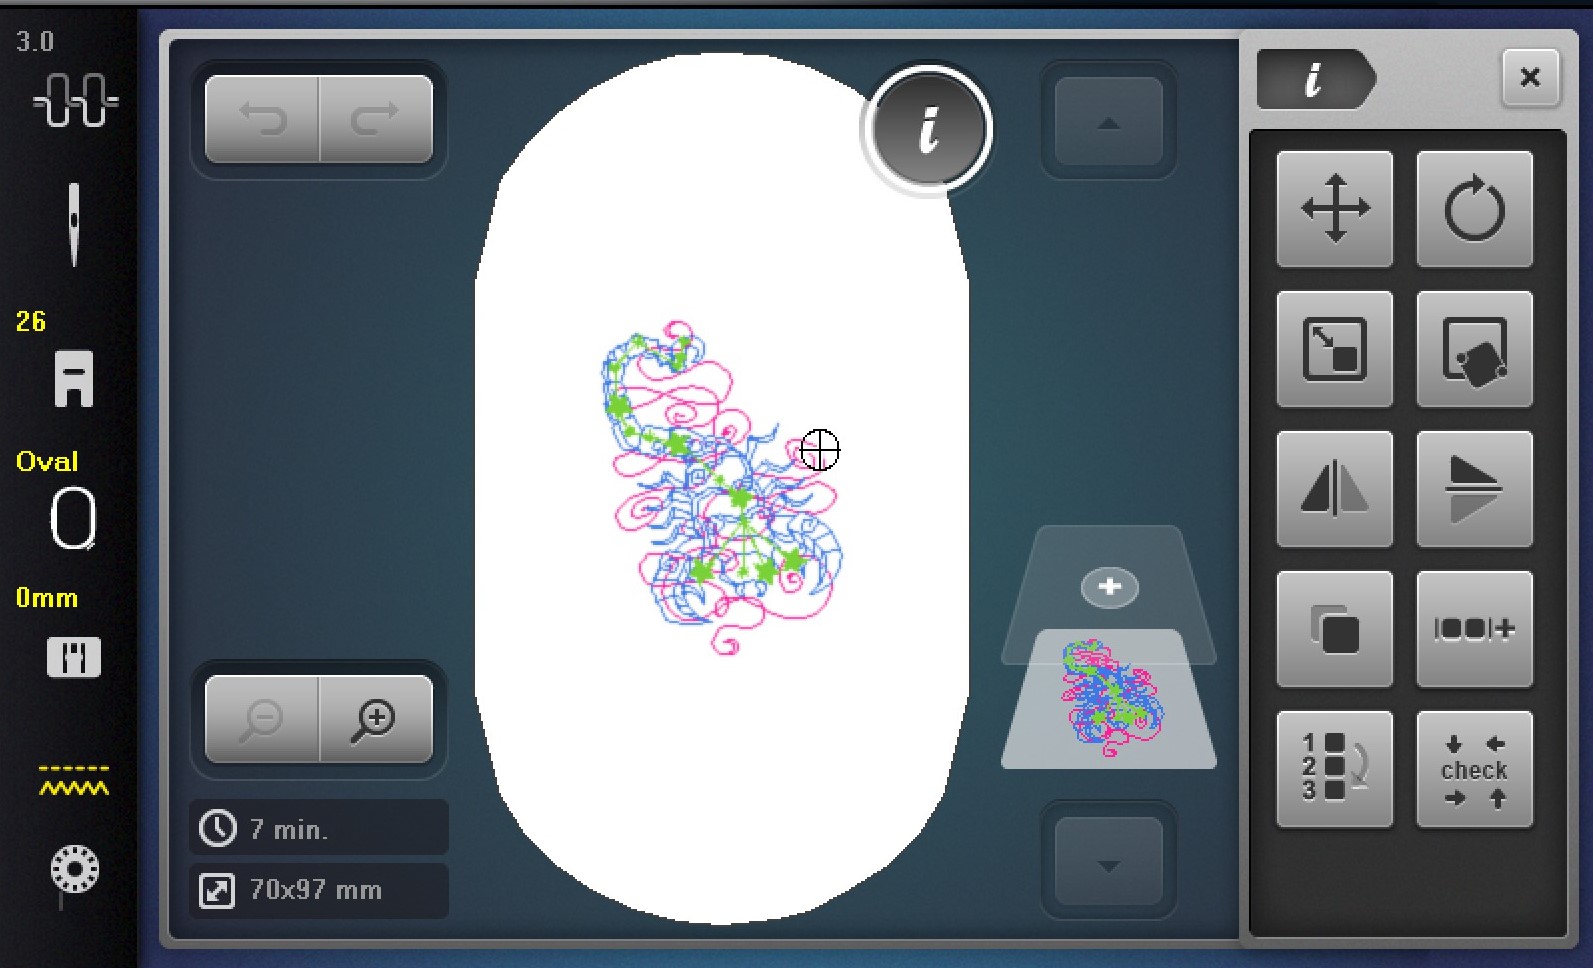
I then ungrouped the layers, as I did in the customization above.

After the layers were ungrouped, I deleted the ones I didn’t want to use.
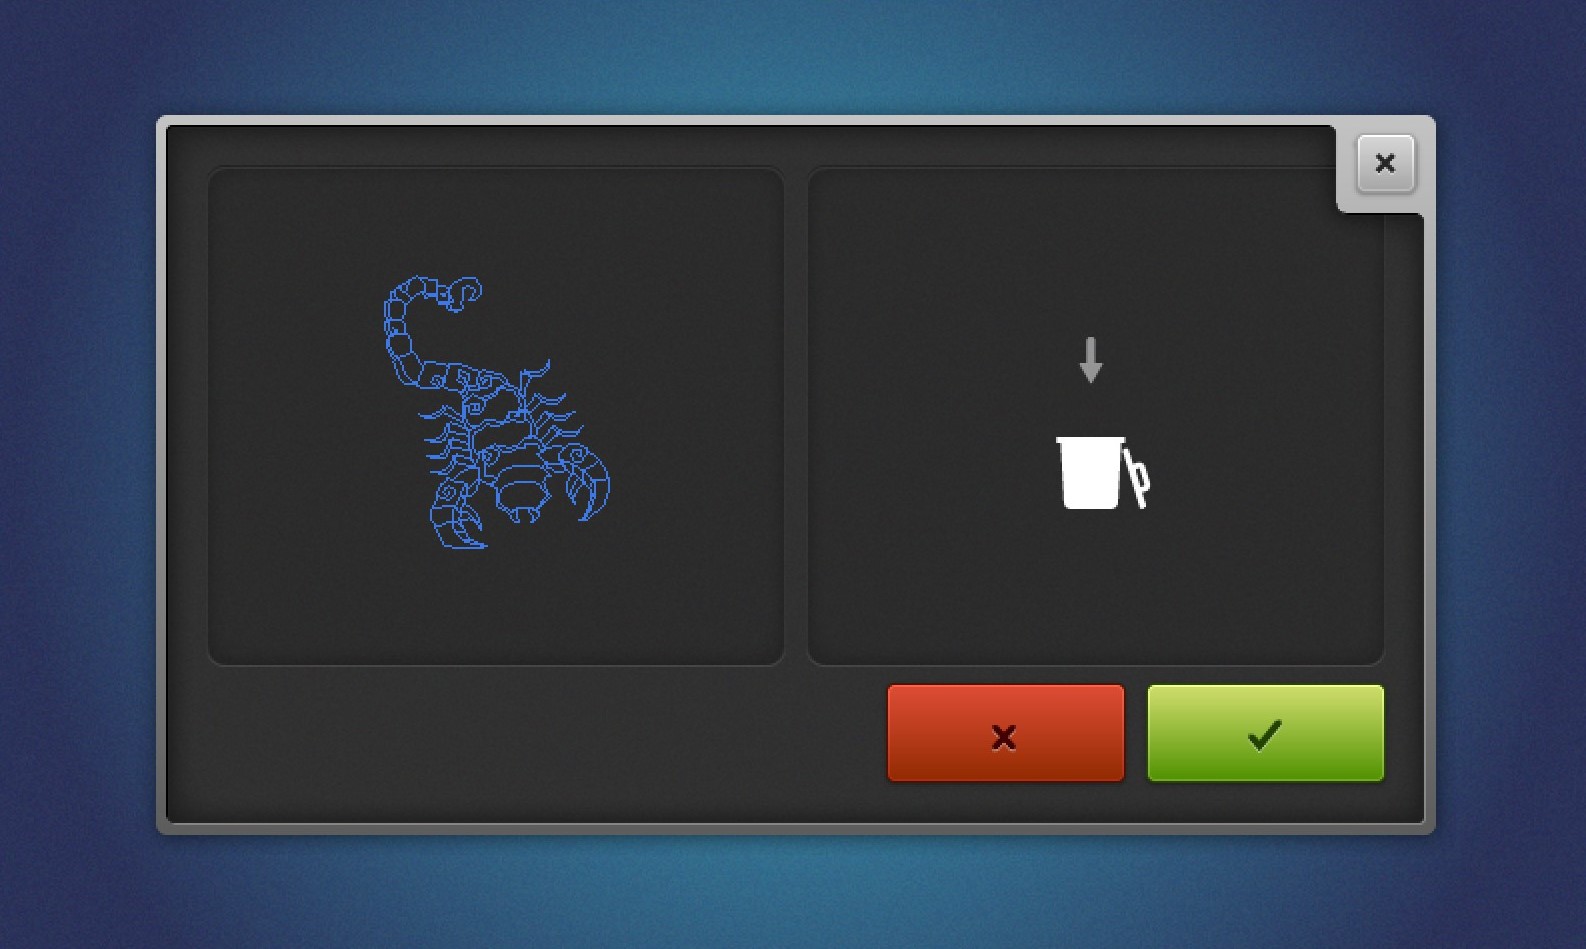
The final design was a simple, Scorpio constellation that fit perfectly on my dress back yoke.

I hope this simple tutorial inspires you to add embroidery to your next project and to get creative with all of the available embroidery designs. The possibilities are endless!
Used Products


What you might also like


4 comments on “Customizing Embroidery Designs Without Software”
-
-
It’s so fun to use when you’re comfortable with it! Don’t be afraid to play around… it’s just fabric and thread after all! 🙂
-
If you bought your machine directly from a Bernina dealer they should be offering Mastery Classes for their new owners. I teach Mastery at our shop and it is so exciting to watch people learn and eager to learn more! Check it out…it is so much fun!!!
-
-
This is a great article. I was hoping there was a way to stitch out only certain elements in a design. Now I know how to do it. Thank you, thank you!
Leave a Reply
You must be logged in to post a comment.

Thanks for including a beginners lesson on using the embroidery machine. I have an embroidery unit, that I purchased with my Bernina and have only used for the lessons at the shop and still very intimidate. This is over 5 years. I need very, very beginners lessons. Can’t say I have used it at home at all and must have been a total of maybe use it 6 times the whole time. Wish I had never purchased such an expensive piece of equipment.