Tips for Customizing Garments with Machine Embroidery
Sewing garments is my favorite type of sewing. I love being able to make something that no one else has. Adding machine embroidery to a garment is just another way to take it to another level. In this post, I’m sharing some tips to help get you started with adding machine embroidery to garments. There really is no limit to what you can create!
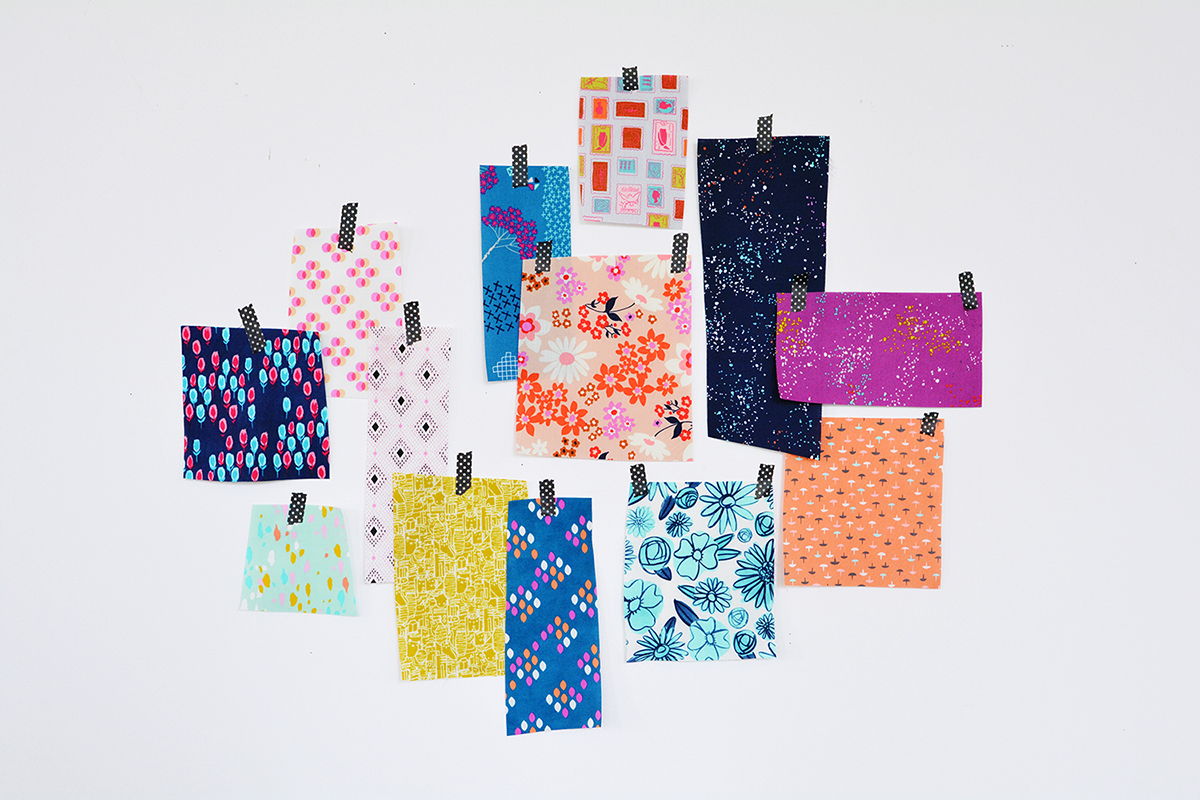
Garment Embroidery Designs and General Placement
When deciding where to place a machine embroidery design on a garment, there really is no wrong answer. Easy places to start are collars, pockets, and yoke pieces, but the sky really is the limit. One thing you want to consider is that depending on the density of the design (we’ll get to that in a second), it might change the way the fabric drapes and moves. Adding a design with tons of stitches to a silk dress will change how the silk lays on the body. Keep this in mind when choosing your embroidery design and placement.
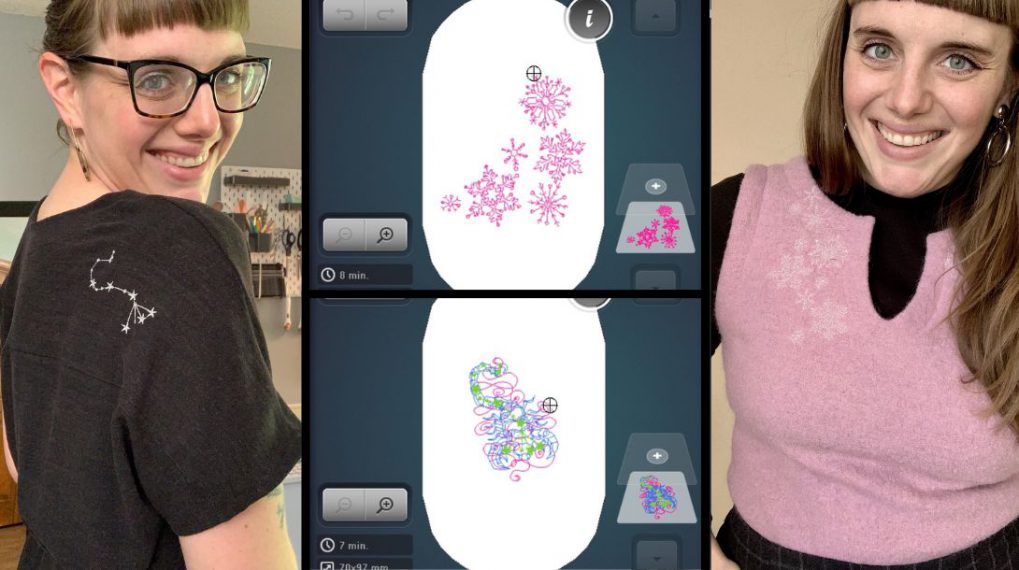
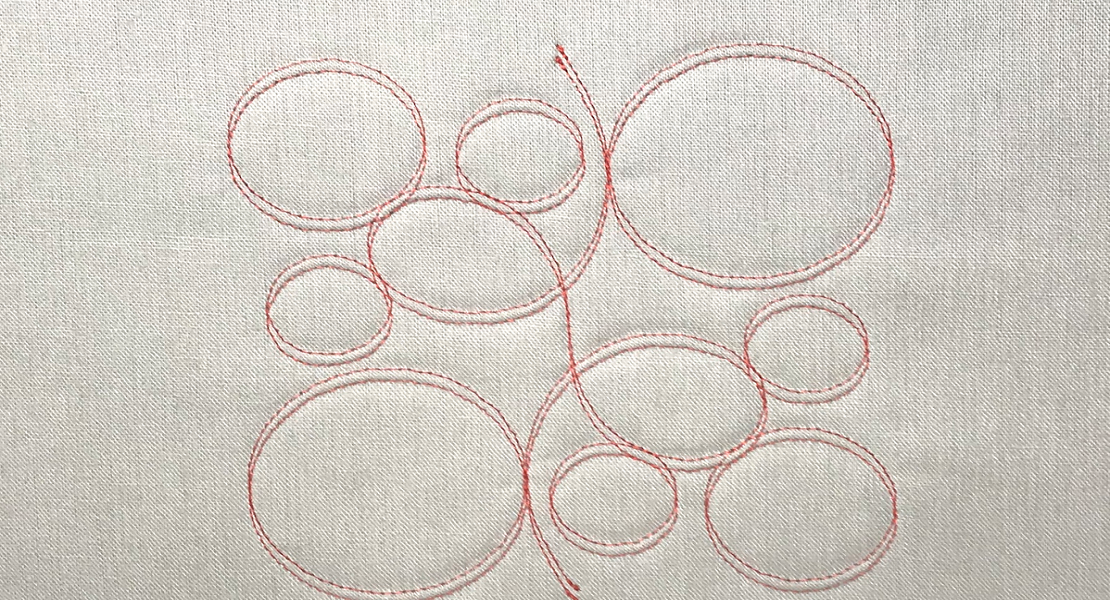
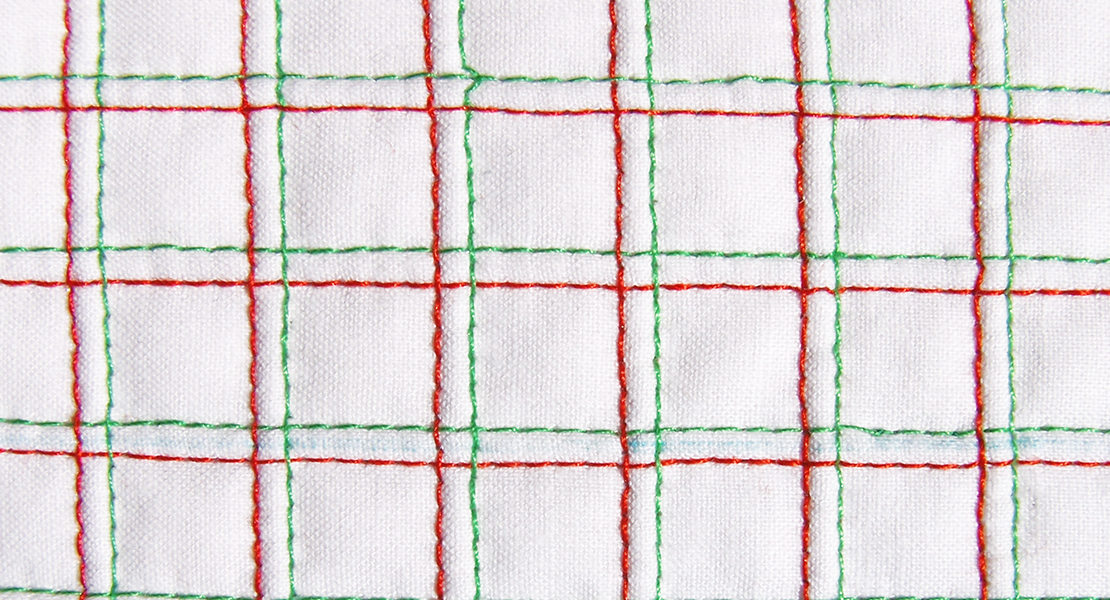
Machine embroidery designs all have varying levels of stitch density. A line work design like this one has a really low stitch density and will work on a variety of garment fabrics. You could also place this in a lot of different ways without really altering to way the garment lays on the body too much.

A design with a higher stitch density would work well for something with more structure, like the back of a denim jacket. These types of designs have a lot of stitches in one place, like these Tula Pink designs. Personally, I have my eyes on these for a jacket project!

You can also find designs that are pretty between these in terms of stitch density. It can be pretty difficult to determine what it might feel like from a picture when you first start out. I would recommend stitching a few different types of designs on some scrap fabric so that you can get an idea for what you like the look and feel of. It will also give you more practice with machine embroidery too!
Customizing Machine Embroidery Designs
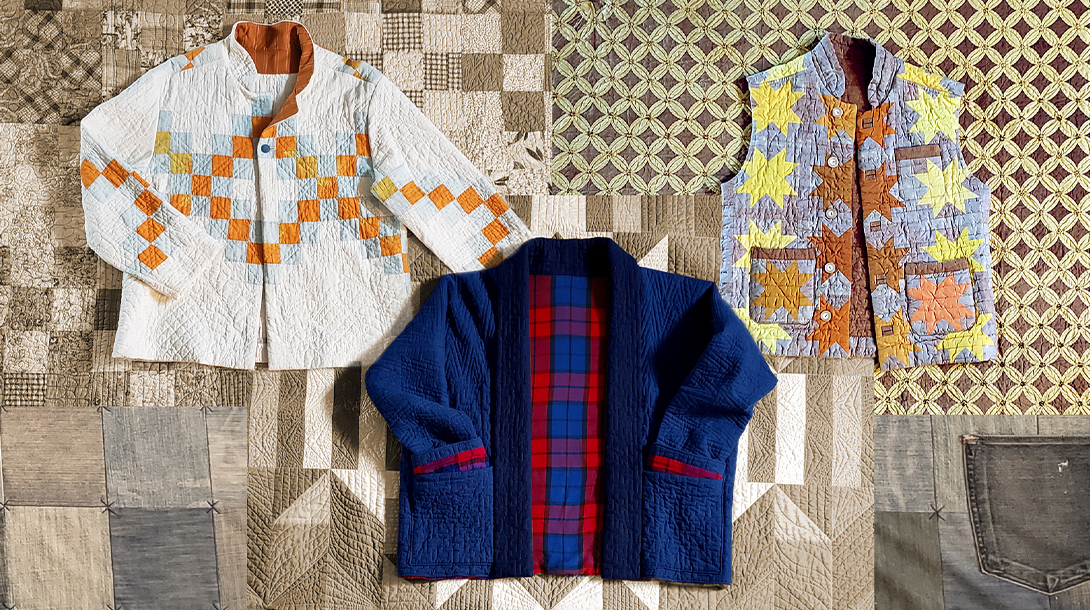
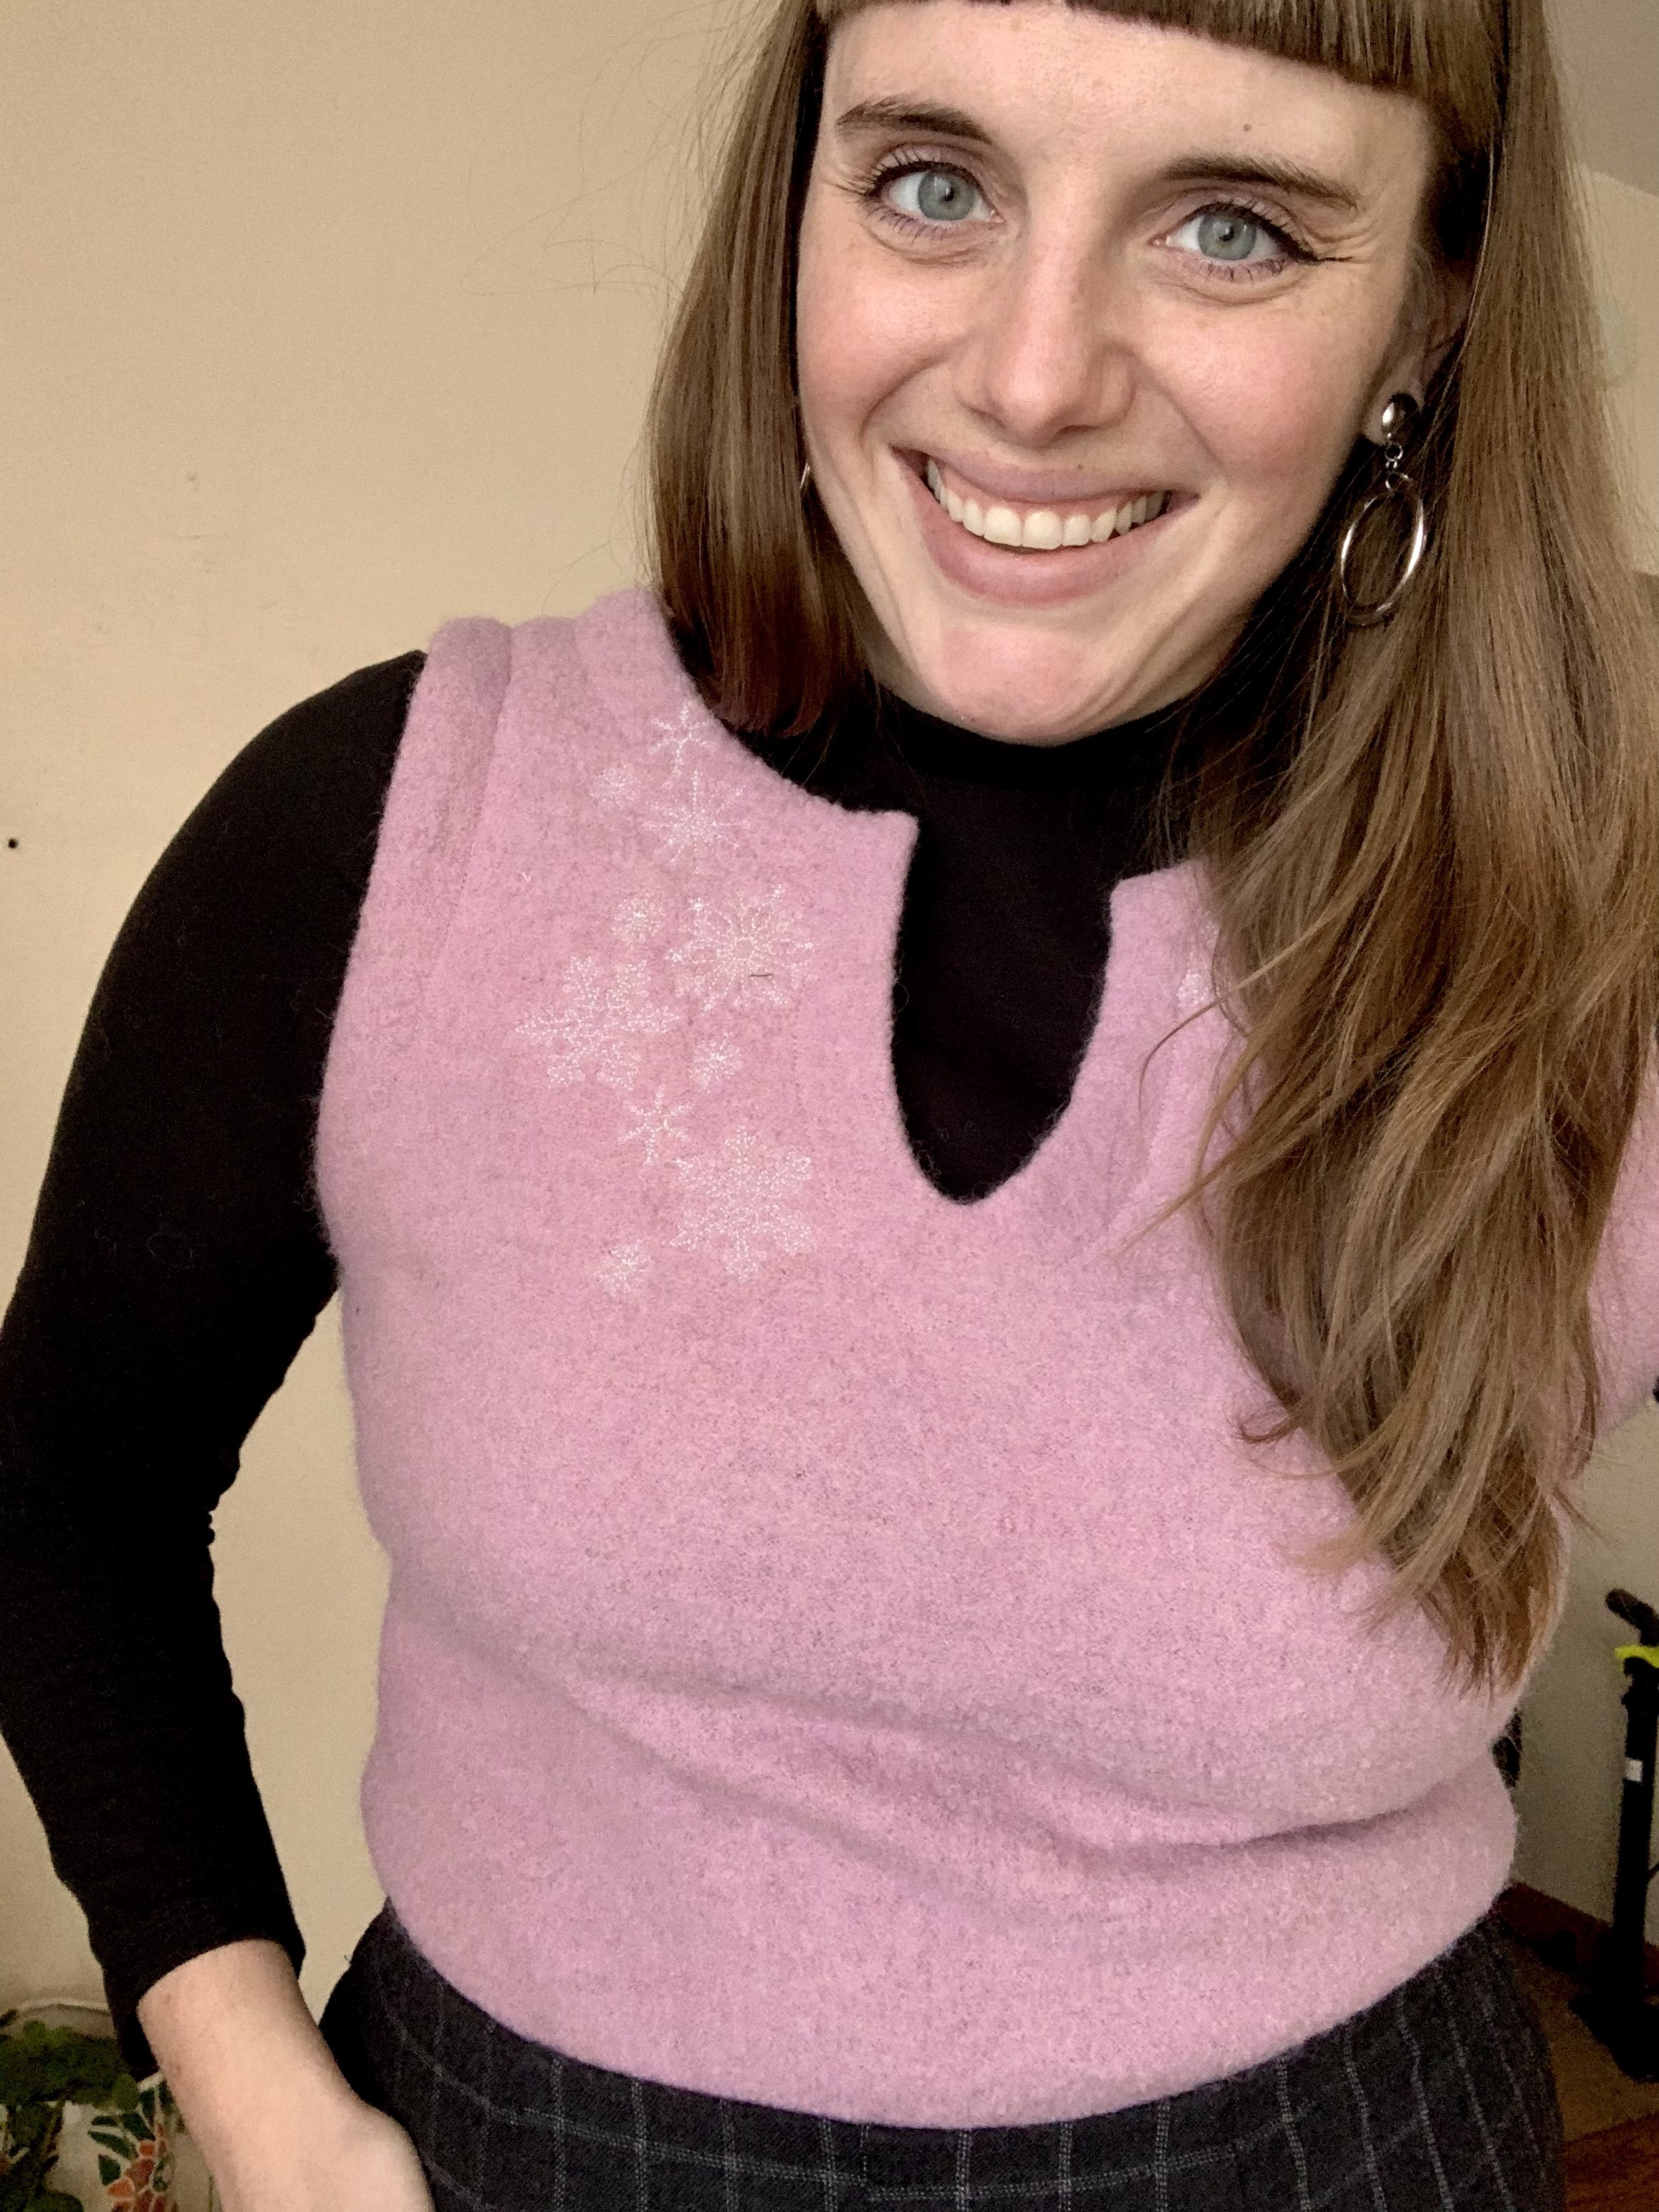
Sometimes you see a design that you like but it isn’t quite perfect. You can customize embroidery designs using software, but you can also make minor edits right on some embroidery machines! I have this post that shows you how I customize machine embroidery designs on my B790 Plus. In the vest project below, I combined multiple embroidery files to customize the snowflake embroidery.
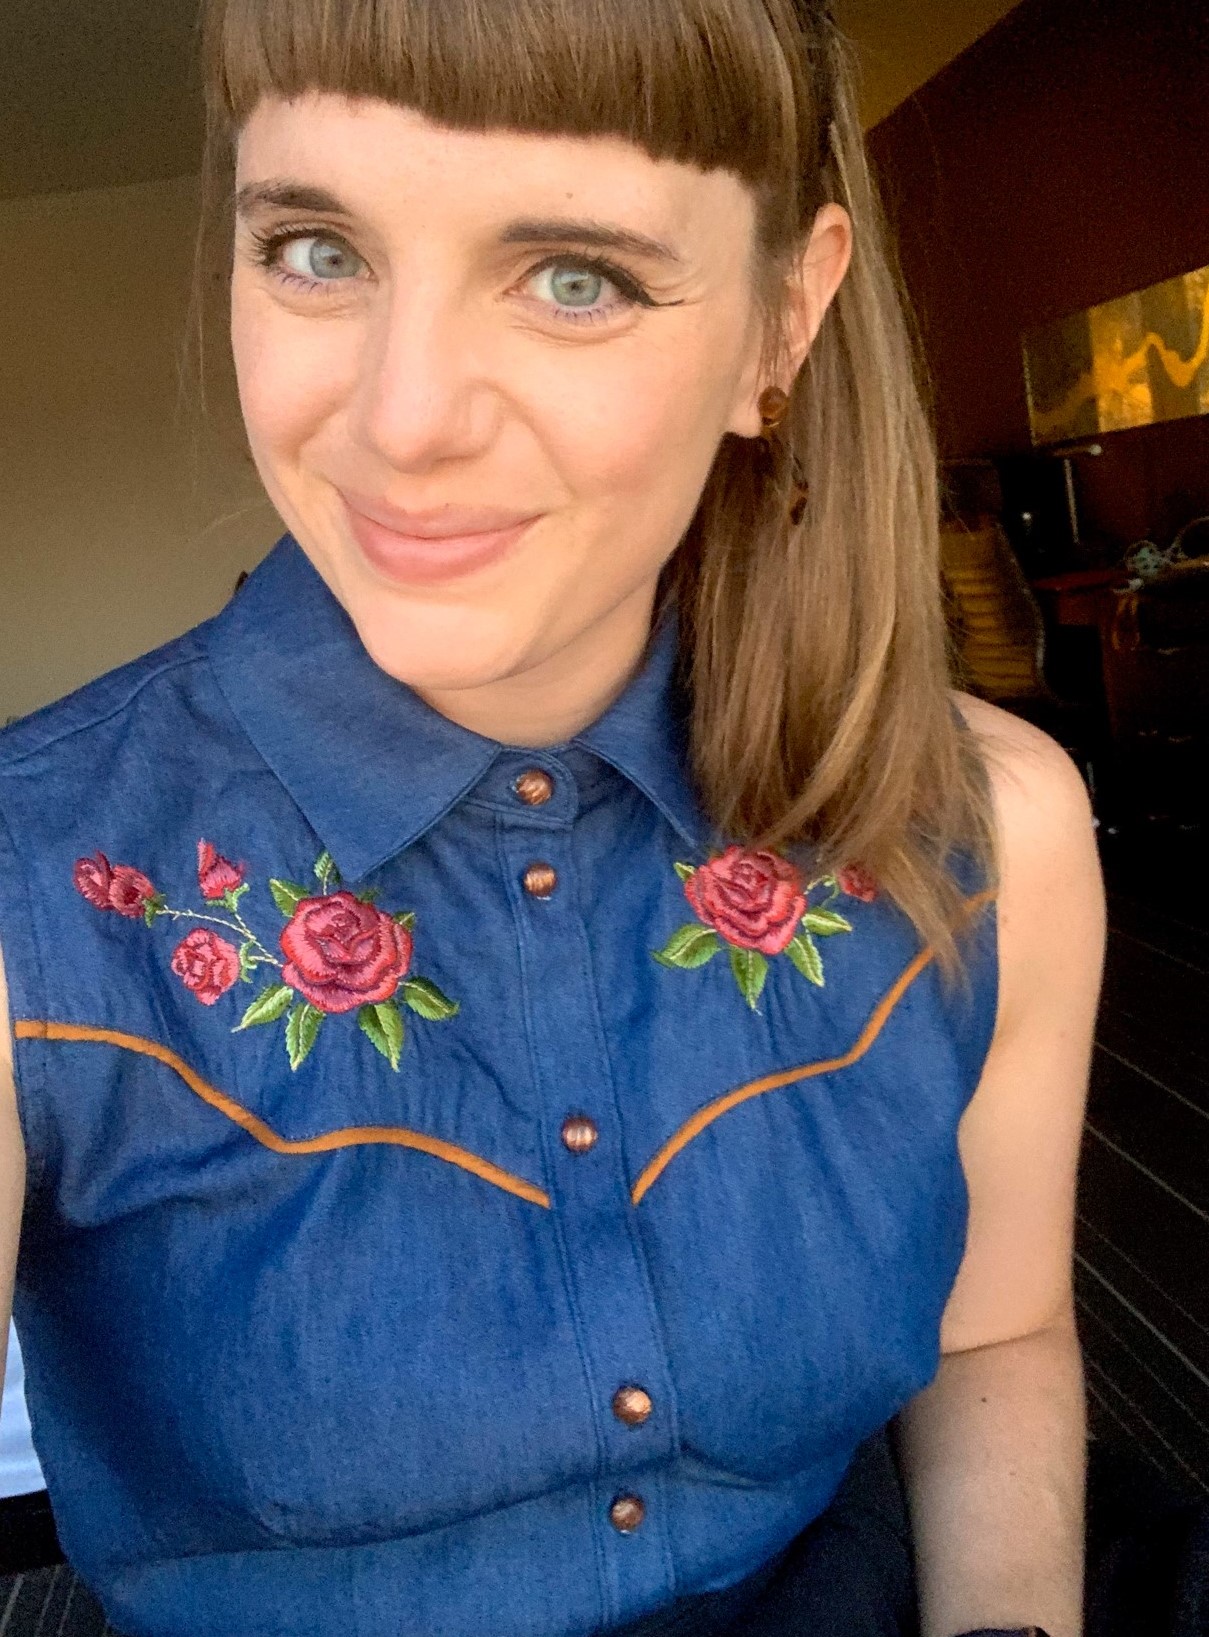
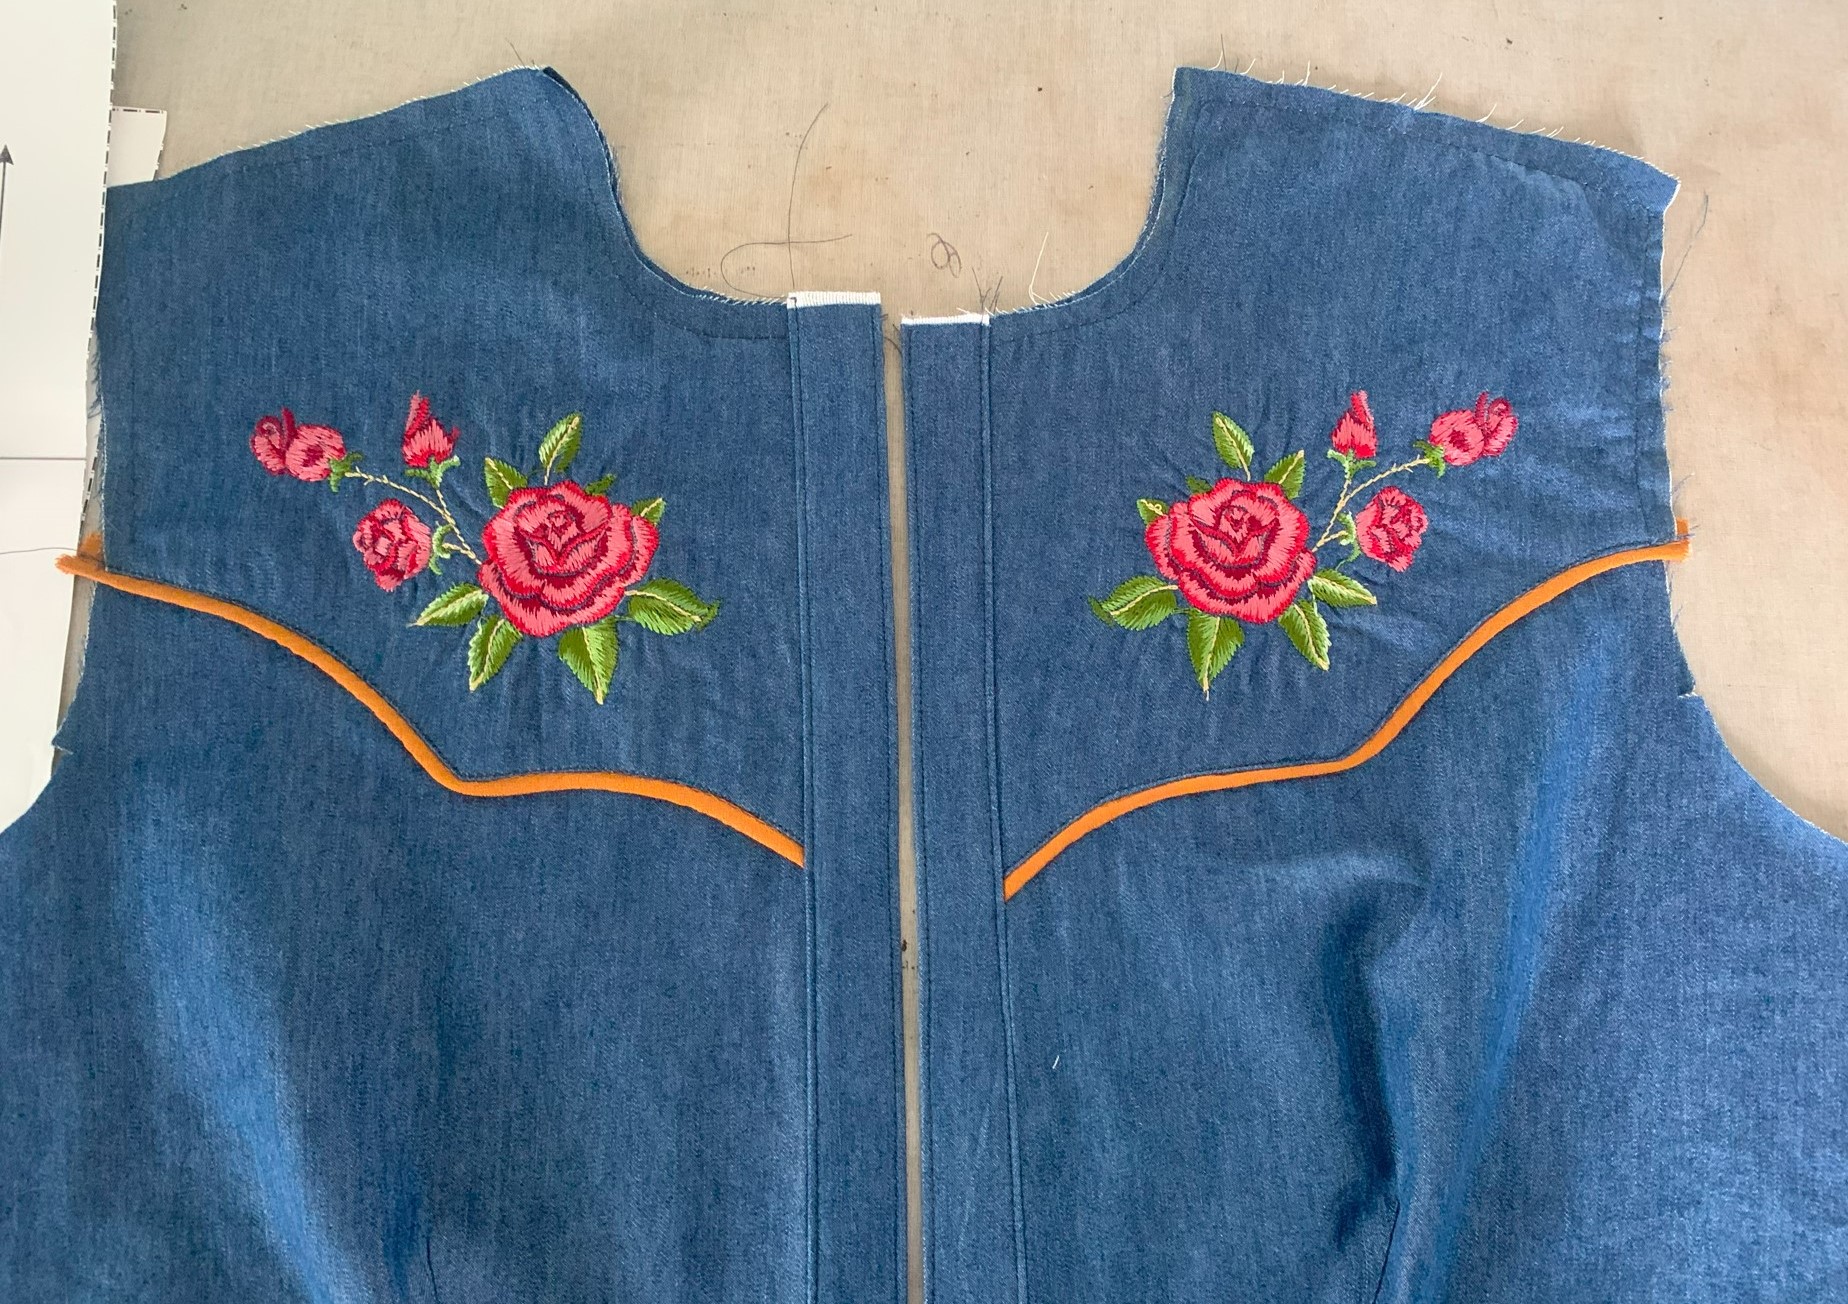
In a recent project, I customized the embroidery design for the yoke of a western style shirt using a couple different designs from this Needle Painted Roses Collection from OESD.
Pattern Pieces: To Cut or Not To Cut?
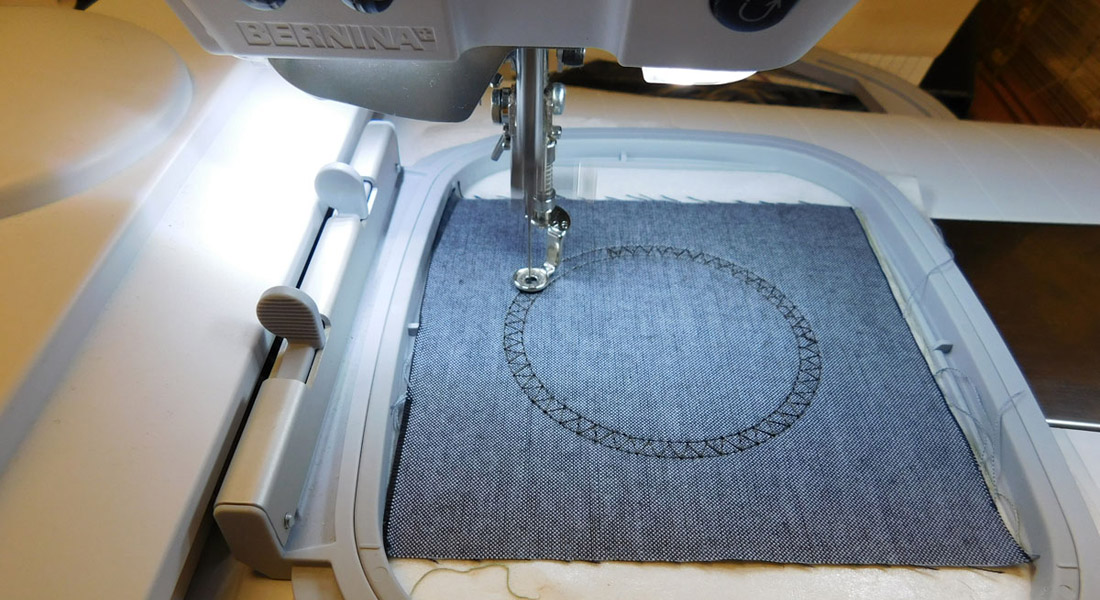
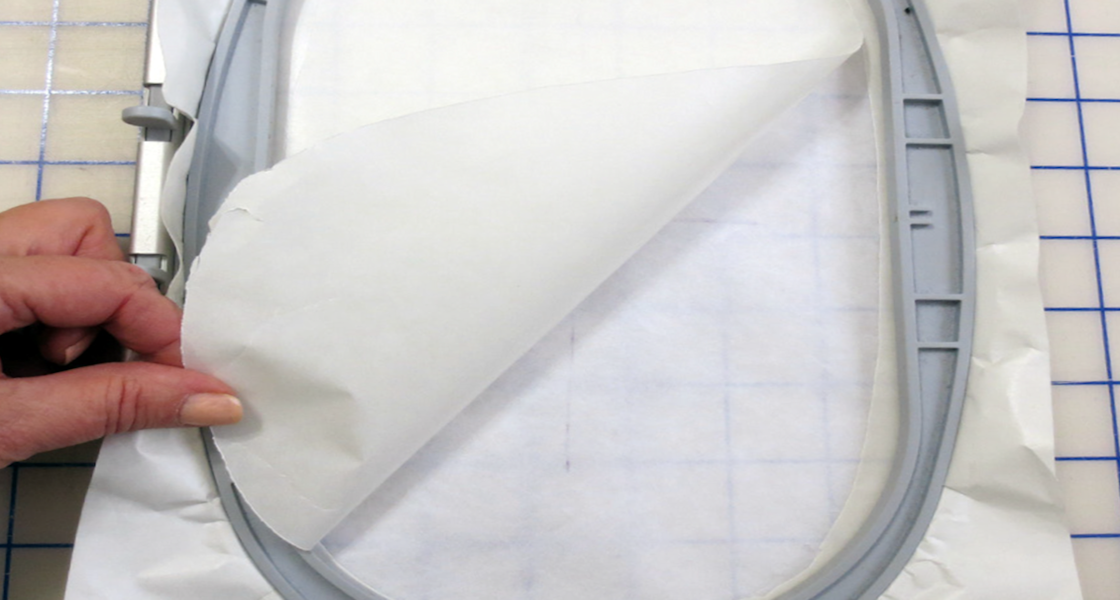
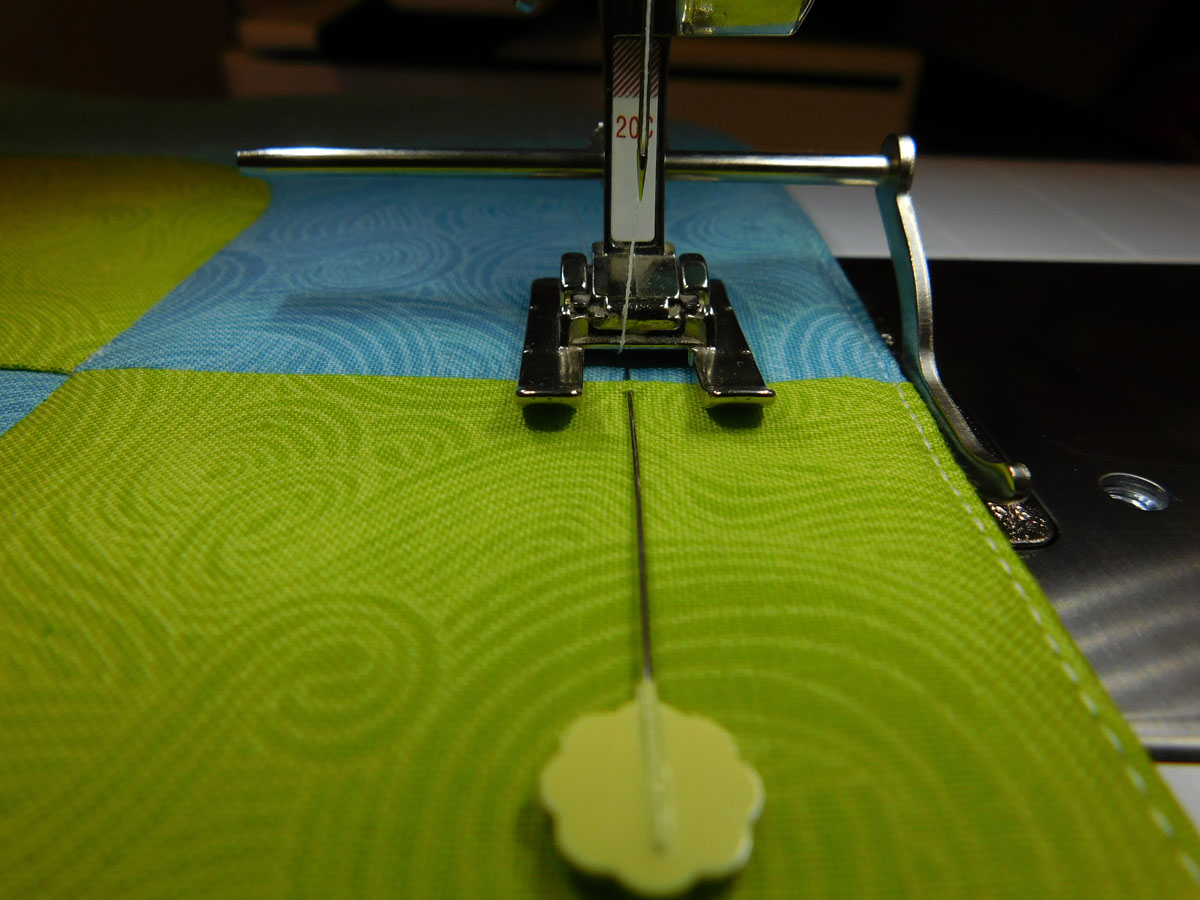
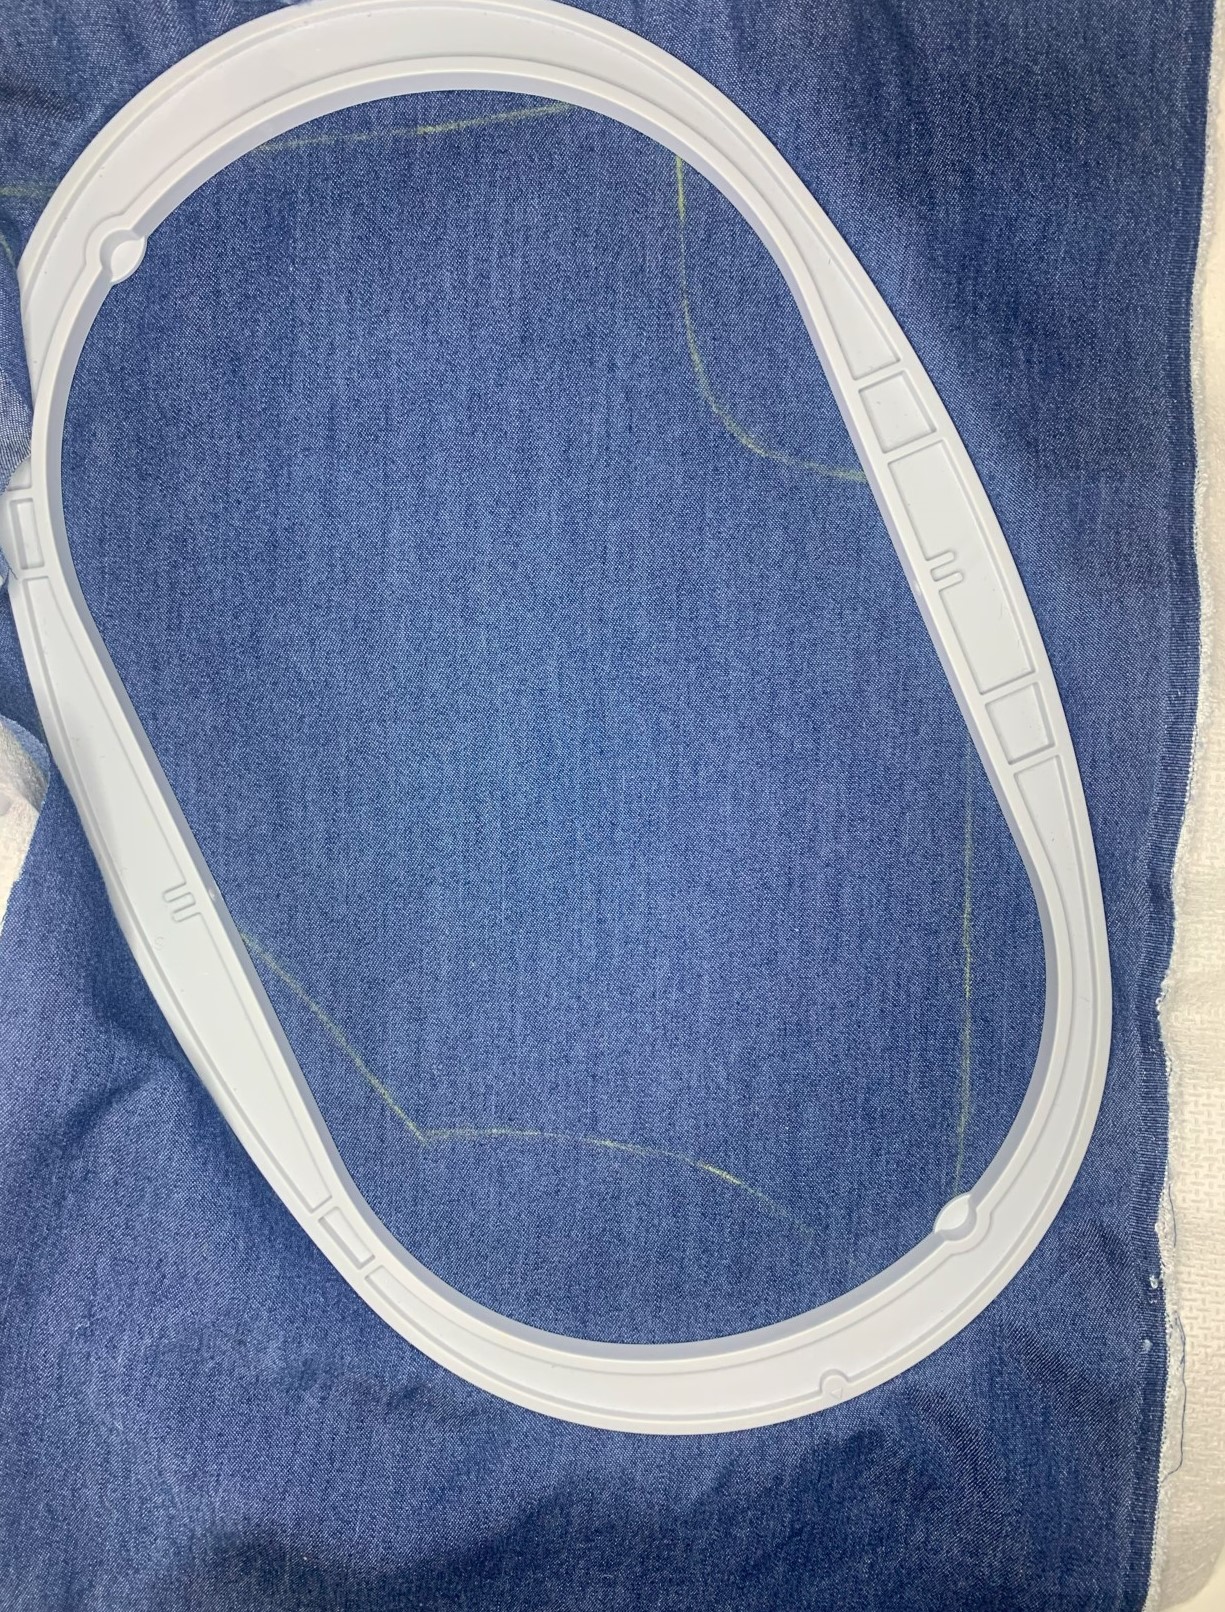
Adding machine embroidery to a pattern piece before sewing a garment is, in my opinion, the easiest way to get that machine embroidered element. The fabric is still flat, so it is easier to add to a hoop for embroidery. Something you’ll want to keep in mind is that, depending on the stabilizer used, the weight of the fabric itself, and the density of the embroidery design, the fabric might distort in size or shape. When embroidering a stable fabric that will completely fit in the hoop, I will cut the pattern piece out before embroidering. When adding machine embroidery to something like this irregularly shaped yoke, I trace the pattern piece onto fabric first.
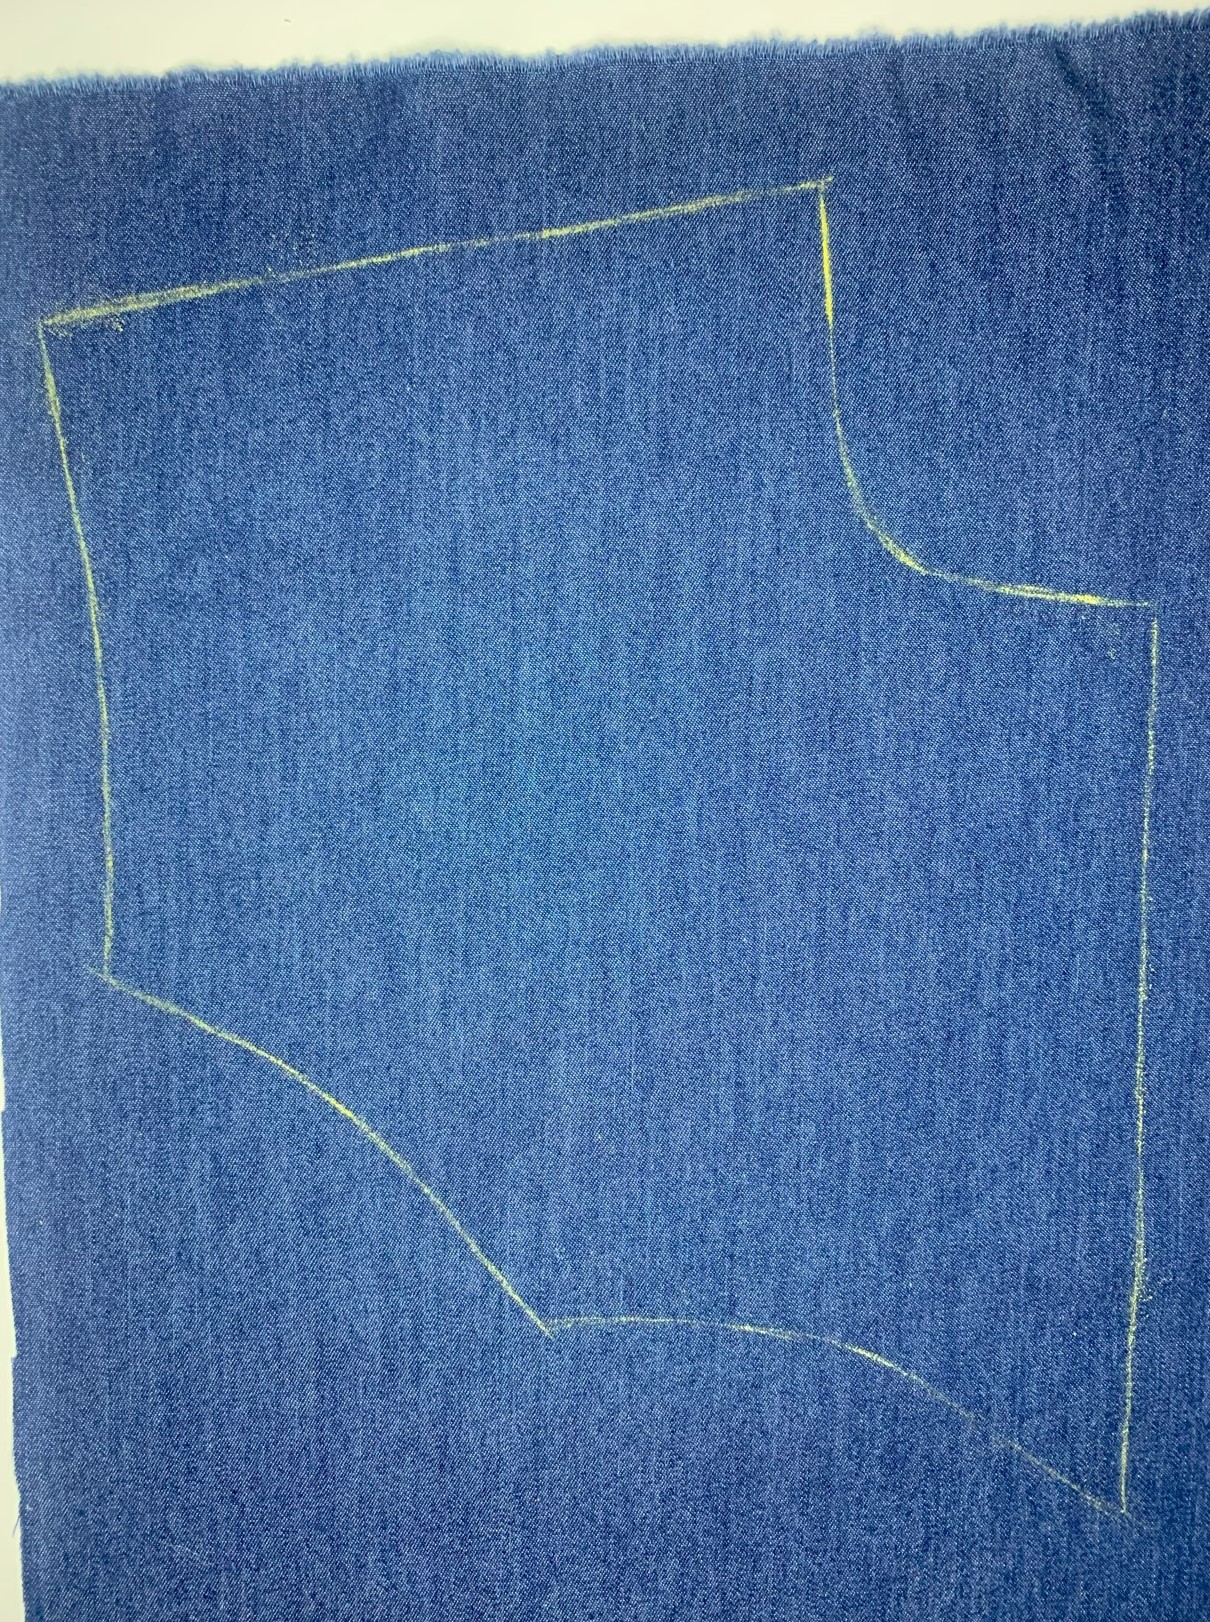
After tracing the pattern piece, you can more easily hoop the fabric. After embroidering, you can then use the paper pattern piece to cut the piece out. This will help make sure the pattern piece stays the correct size and that any edges cut on the bias don’t get distorted when you hoop your fabric.
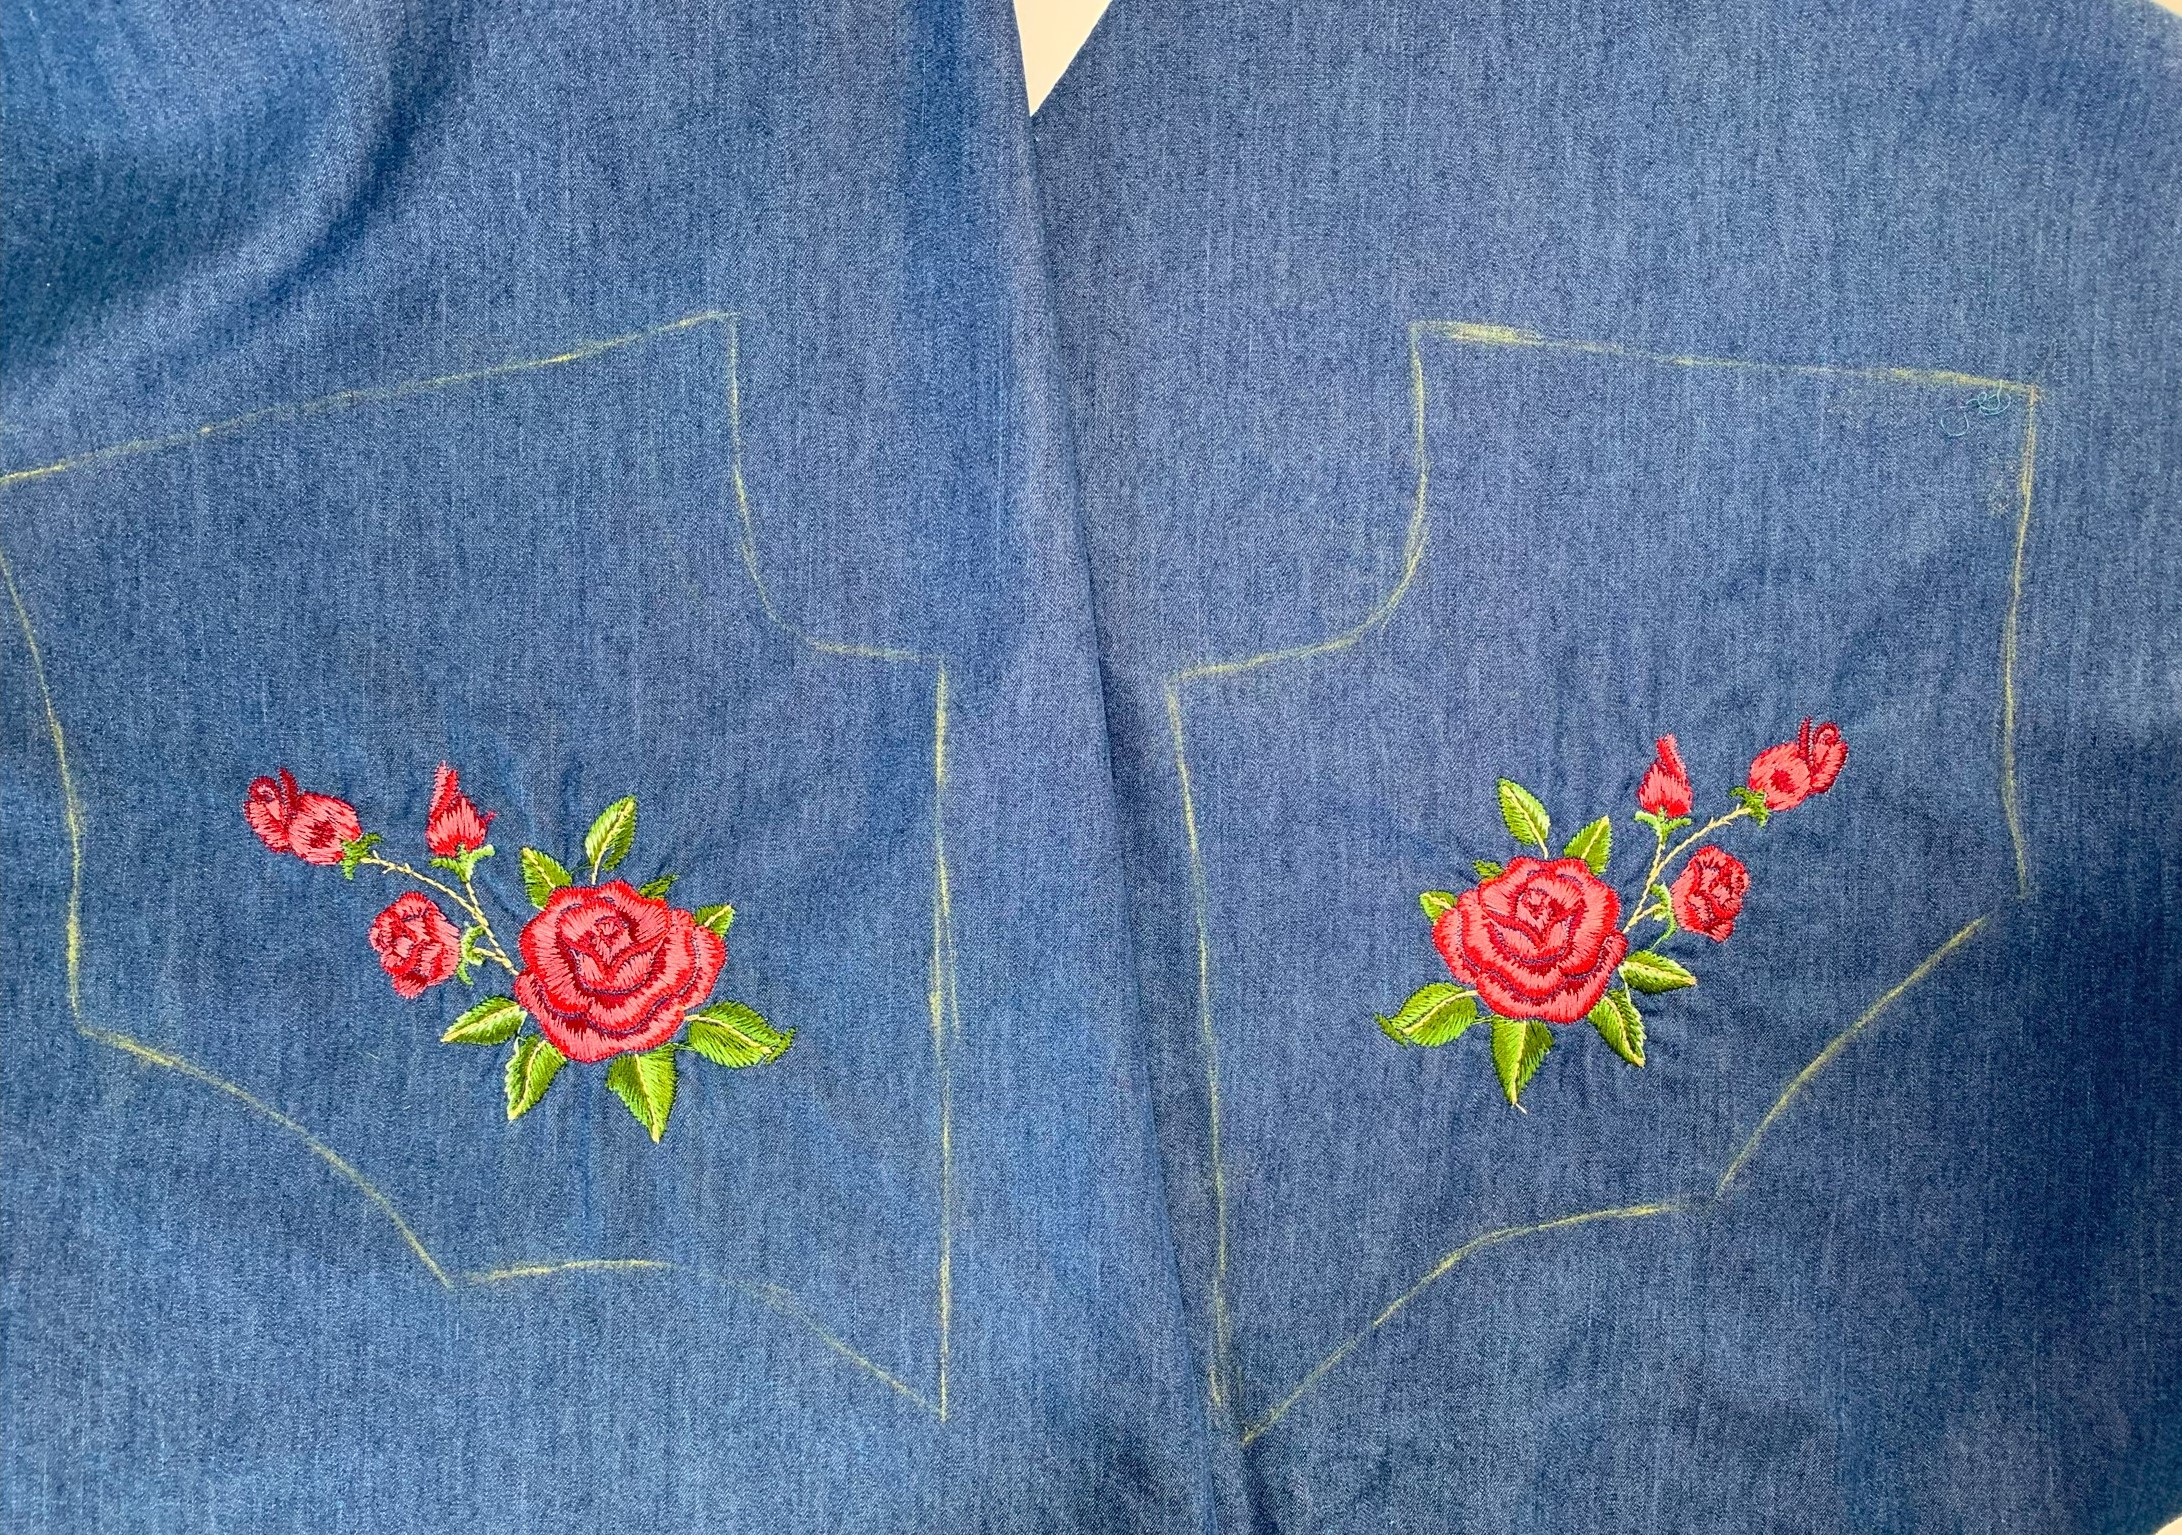
Mirroring Machine Embroidery Designs
When adding machine embroidery to a garment, you’ll often want to mirror the design so that you can have the same embroidery on both sides of the garment. This is simple to do using your embroidery machine using the “Mirror Left/Right” icon.


After you’ve flipped your design, you’ll want to make sure the placement is the same on both sides of the garment itself. This is where I cannot sing the praises of Pinpoint Placement enough! This makes it so easy to make sure the embroidery design is in the exact same location on both sides of the garment. For this shirt, I measured the design placement and set those points using Pinpoint Placement. If you are unfamiliar with using Pinpoint Placement, there is a great post that goes over the basics here.
Think Outside The Box (Or Hoop!)
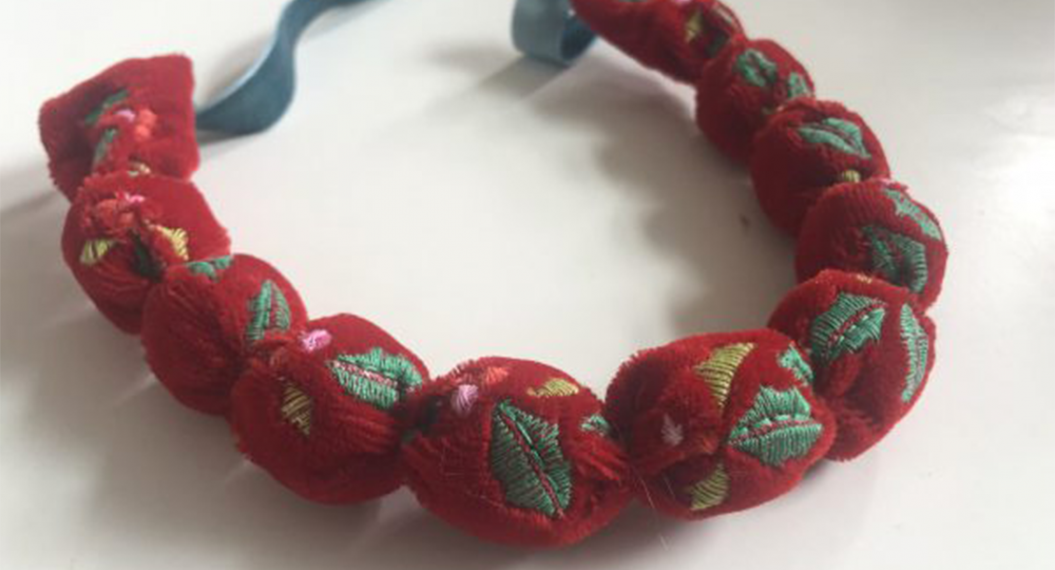
You don’t have to think about machine embroidery as just a way to embroider directly on your garments. You could embroider onto a different fabric and create a patch. (There is some CUTE patch designs on OESD, like this one!)
You can also use free standing lace to create applique for your garments. I used a variety of different free standing lace designs that I added to a jumpsuit to create this vintage-inspired outfit of my dreams. I went through the whole process in this post.

Customize Those Ready To Wear Garments
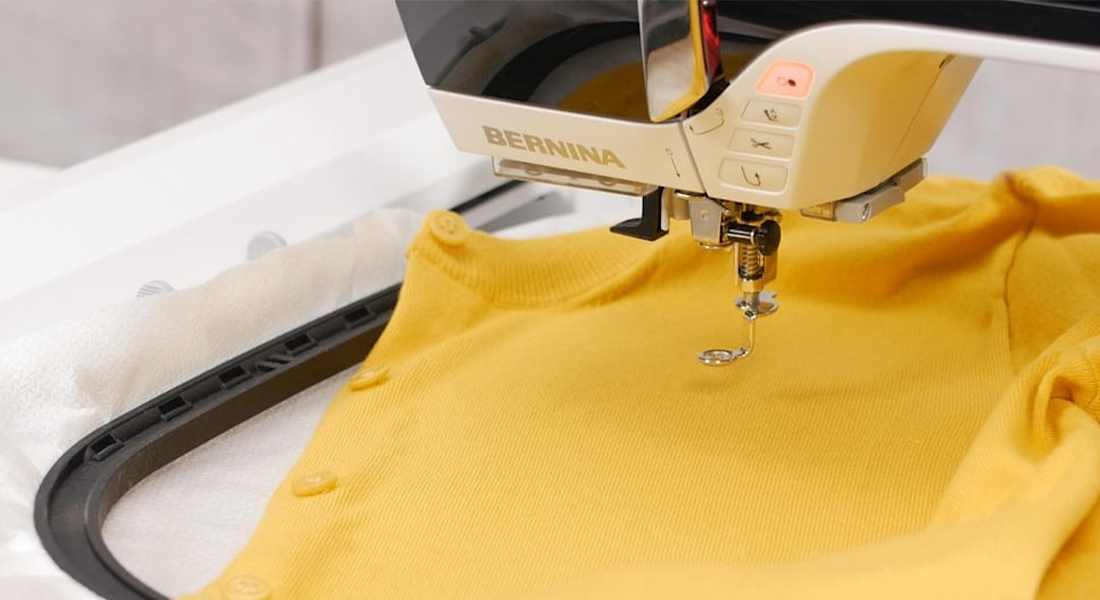
Machine embroidery is a GREAT way to customize ready-to-wear garments to make them more you and more unique. To do this, you can hoop that garment itself and use Pinpoint Placement to ensure the design is exactly where you want it. I don’t usually take the garments apart when I machine embroider them, but unpicking a seam is always an option if you can’t get it hooped quite right. You can also use a sticky stabilizer and float the garment rather than putting it into the hoop. You can read more about that process in this post.
Recently, I’ve been customizing ready-to-wear garments with machine embroidery for my baby niece and nephew. This is a great way to create an extra special, personalized gift!

Not All Embroidery Needs to Be Seen
You can also use machine embroidery to customize the inside of your clothing. Consider making your own labels for your garments (tutorial here!). I also love to embroider my initials and the date inside all of my coats. It adds a special, vintage-inspired touch and also marks the date the coat was made. I wrote a post about my inspiration behind this customization with a step-by-step guide here.

I hope this inspires you to add machine embroidery to a garment project! Are there other how-to posts you’d like to see on customizing garments? Let me know in the comments!