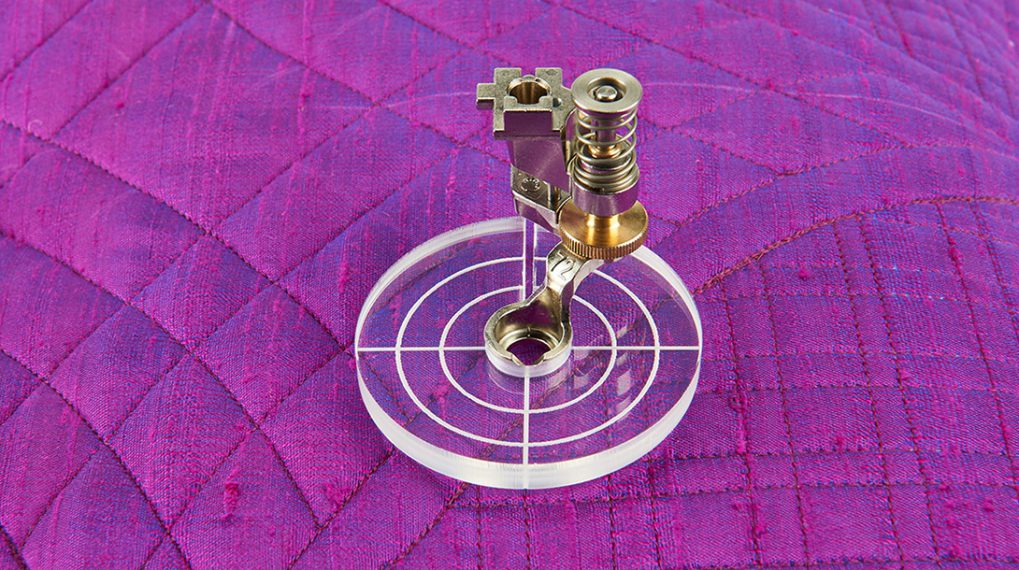
Ten Tips for Using Embroidery Stabilizer
An important part of stitching beautiful machine embroidery designs is the correct use of stabilizers. There are many types of stabilizers for different embroidery situations. If you are new to machine embroidery, it may be confusing to know which one to use when. There are guidelines to help you decide which stabilizer to use but there is no one answer for every embroidery scenario. It is a matter of trial and error, testing, and experience. Try these ten stabilizer tips to help get great stitching results!
Tip #1: TEST!
Always do a stitch-out to test your selected stabilizers with your choice of fabric and design. This is the only way to make sure you have chosen the type and amount of stabilizer that is going to give the best results for your design and fabric combination.
Tip #2: LEARN
Learn as much as you can about stabilizers and as you use them, you will develop a feel for which stabilizer work best with your chosen fabric. Click here for a previous post on embroidery stabilizers. It’s one of twelve posts about all aspects of machine embroidery so there’s a lot of great info here!
Tip #3: SPRAY
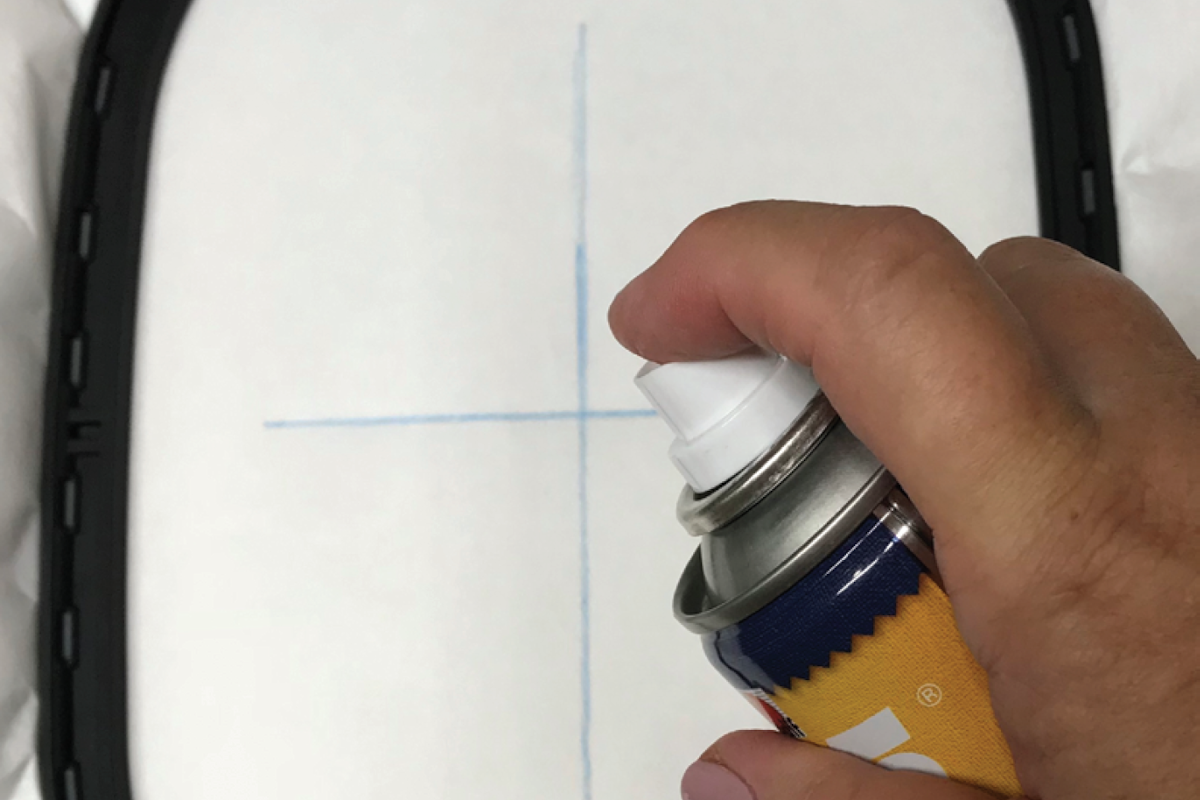
Use temporary spray adhesive to adhere the stabilizer to the wrong side of the fabric before hooping them, treating the layers as one piece. If using a “hoopless” technique, hoop the stabilizer only, spray the stabilizer and then smooth the fabric in place. Always spray the stabilizer, and not the fabric, for best results.
Tip #4: TOPPING
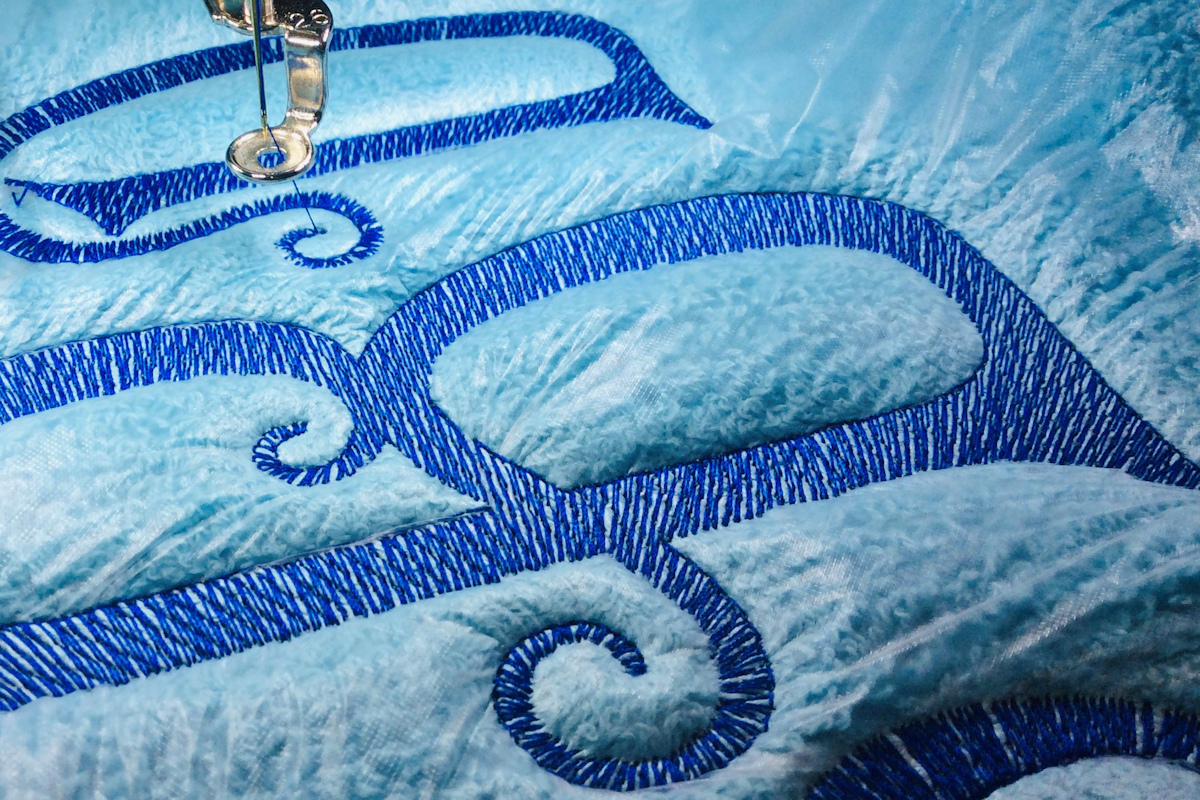
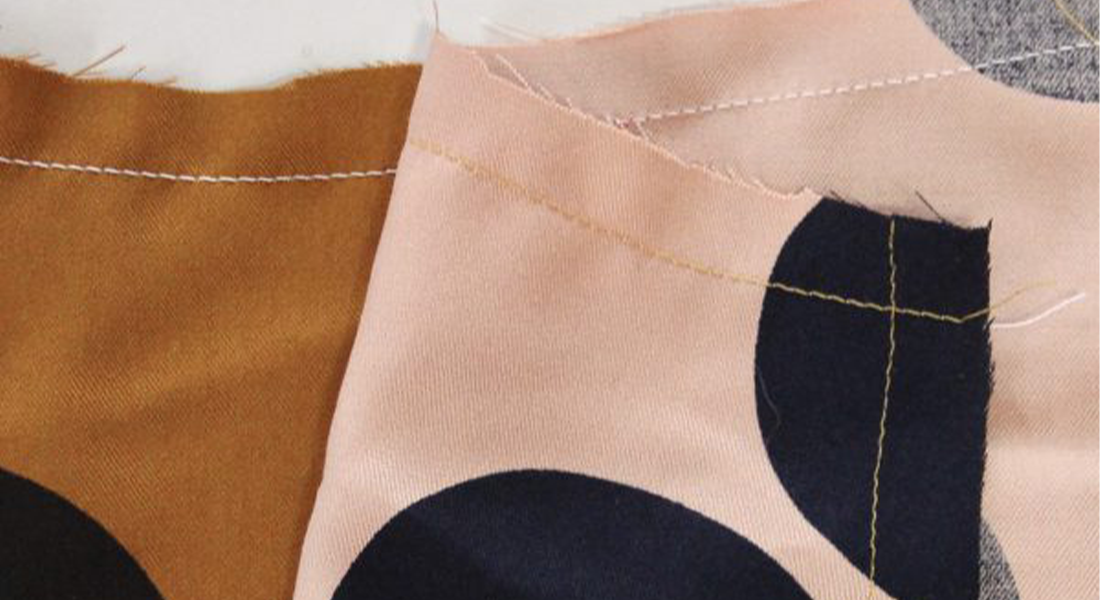
If stitching on a napped or textured fabric, such as terrycloth, use the appropriate stabilizer on the wrong side of the fabric and a water soluble stabilizer on top of the fabric. This topping keeps the stitches from sinking into the pile of the fabric.
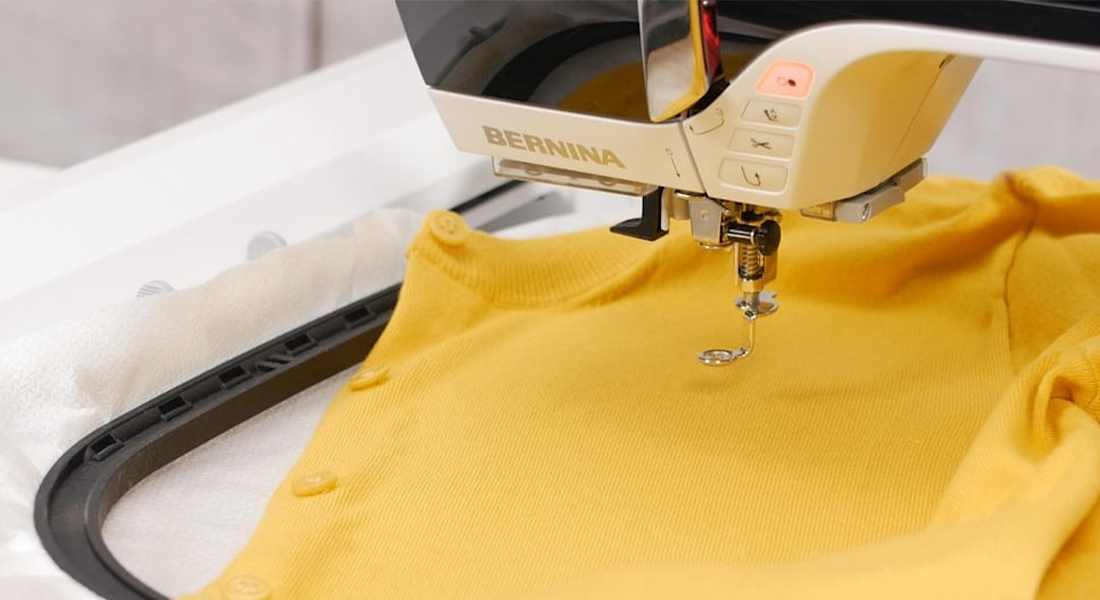
Tip #5: KNITS
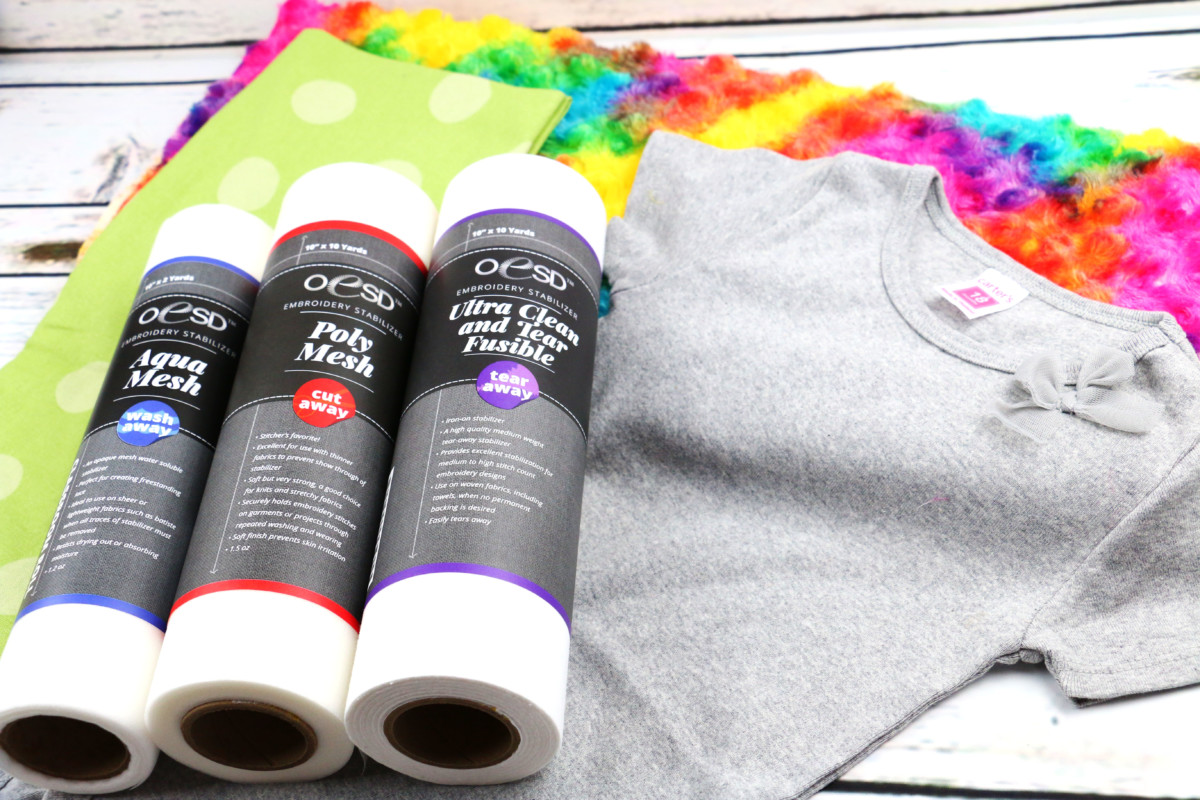
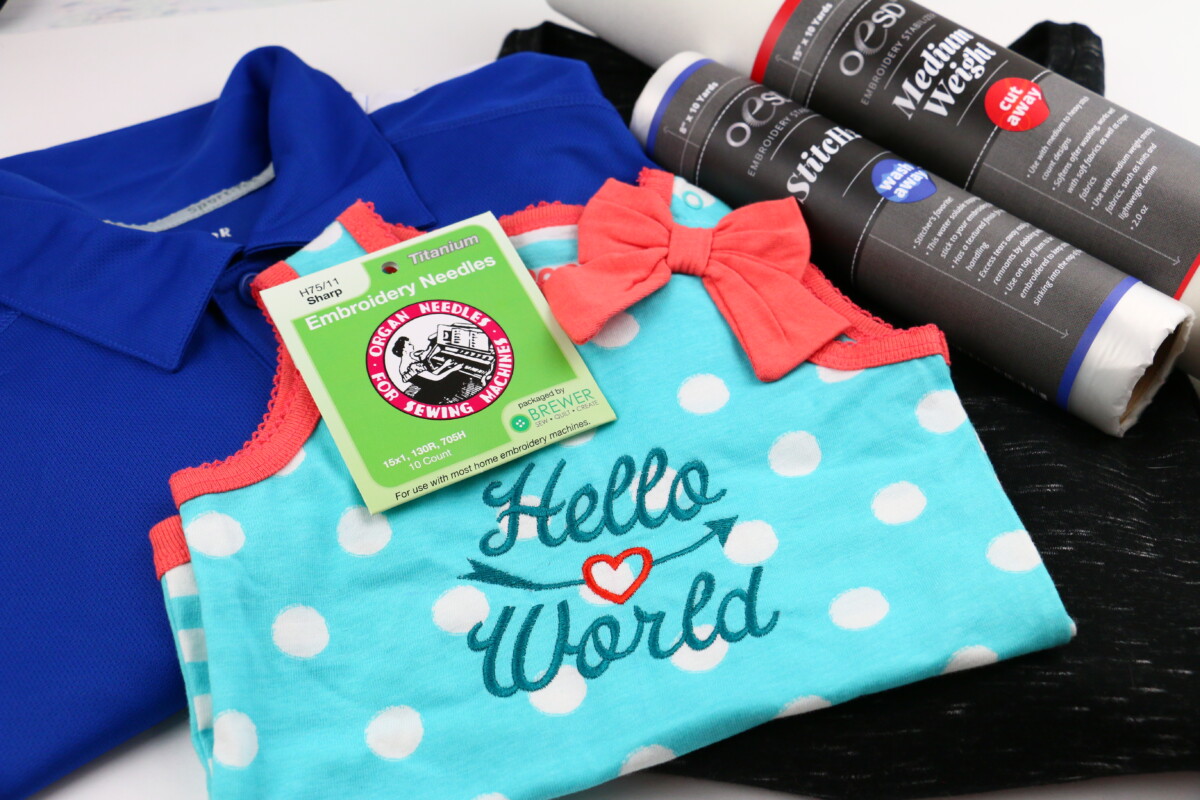
The only absolute rule about stabilizers is that when stitching on knits such as T-shirts, sweatshirts, and baby onesies, you should always use cut away stabilizer. It is very stable and will keep the knit from stretching as you stitch. Click here for a great post on embroidering knit fabrics.
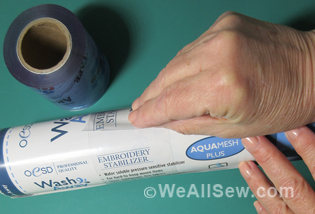
Tip #6: REMOVE
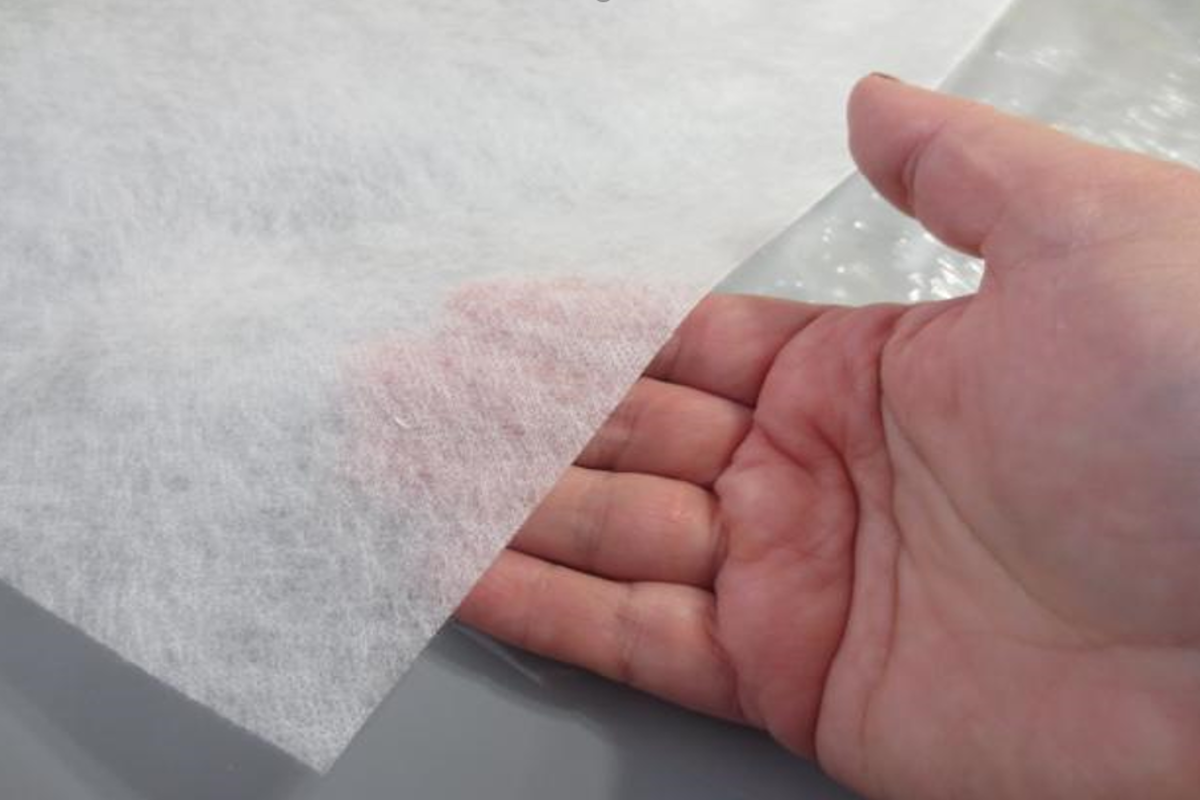
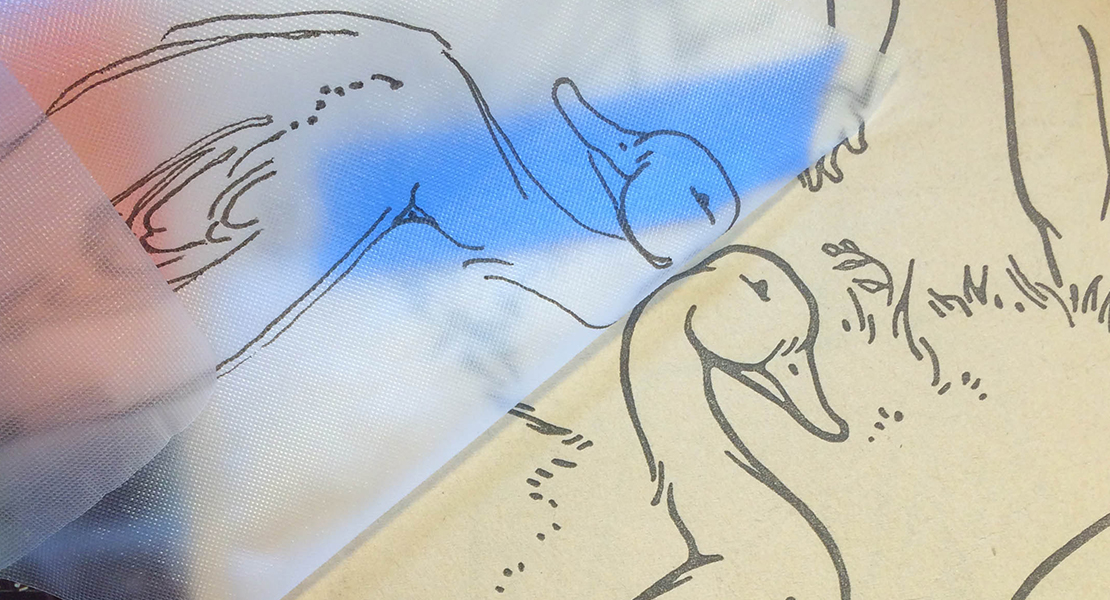
Select a stabilizer that has a removal method that is compatible with the selected fabric. For instance, do not use a stabilizer that has to be removed with water if the fabric cannot withstand moisture. Here’s a tip for removing the last remaining bits of water soluble stabilizer. Remove as much of the stabilizer as possible by cutting or tearing it away. Dampen a paper towel and place it over any remaining stabilizer. Press with a warm iron to remove the last of the stabilizer.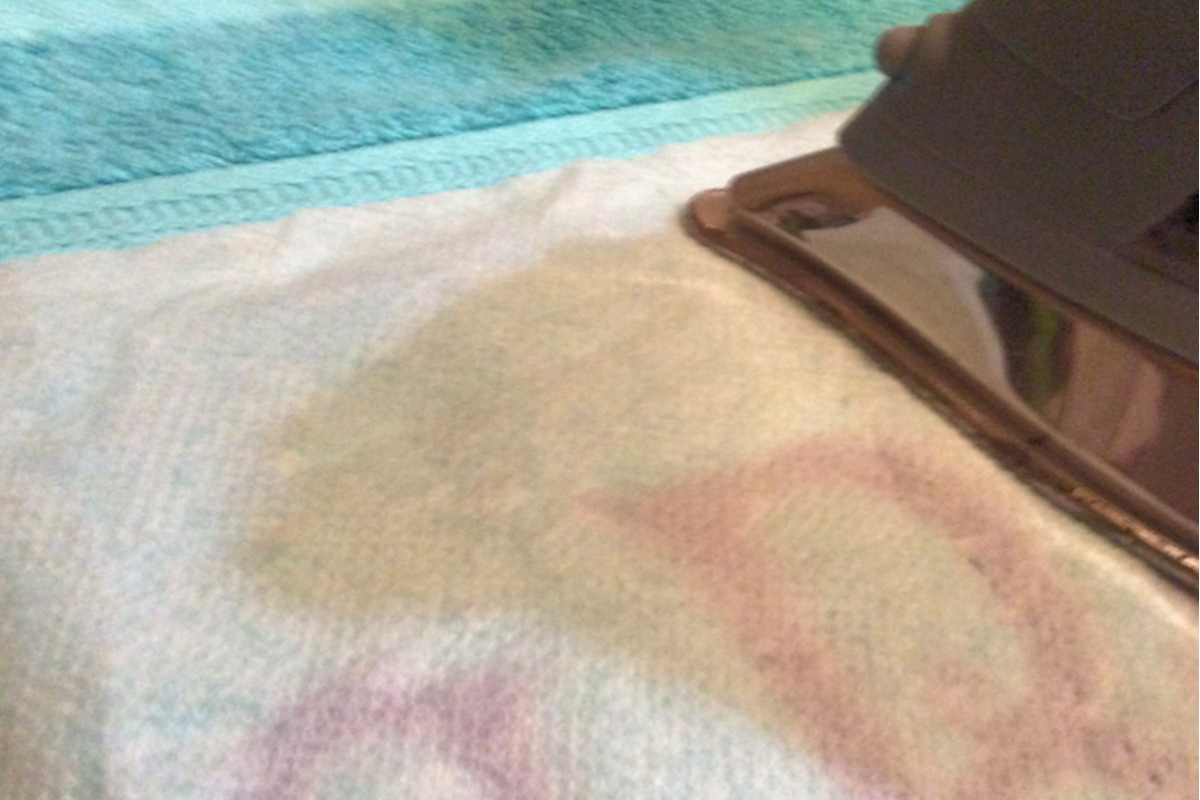
TIP #7: STICK
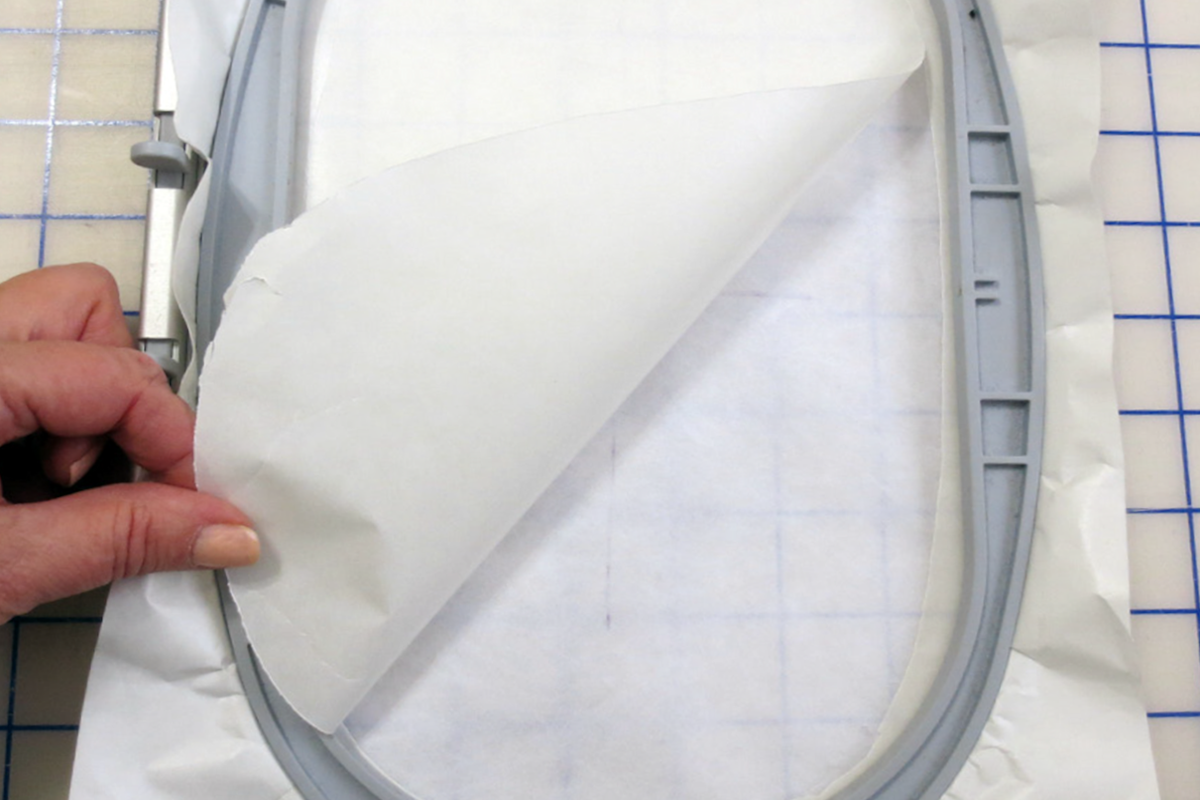
Use a paper-back adhesive stabilizer, such as Stabil Stick for collars and cuffs and other items that cannot be hooped. Hoop the stabilizer only and then remove the paper inside the hoop to reveal the adhesive. Press the project onto the adhesive for stitching.
TIP #8: TEAR
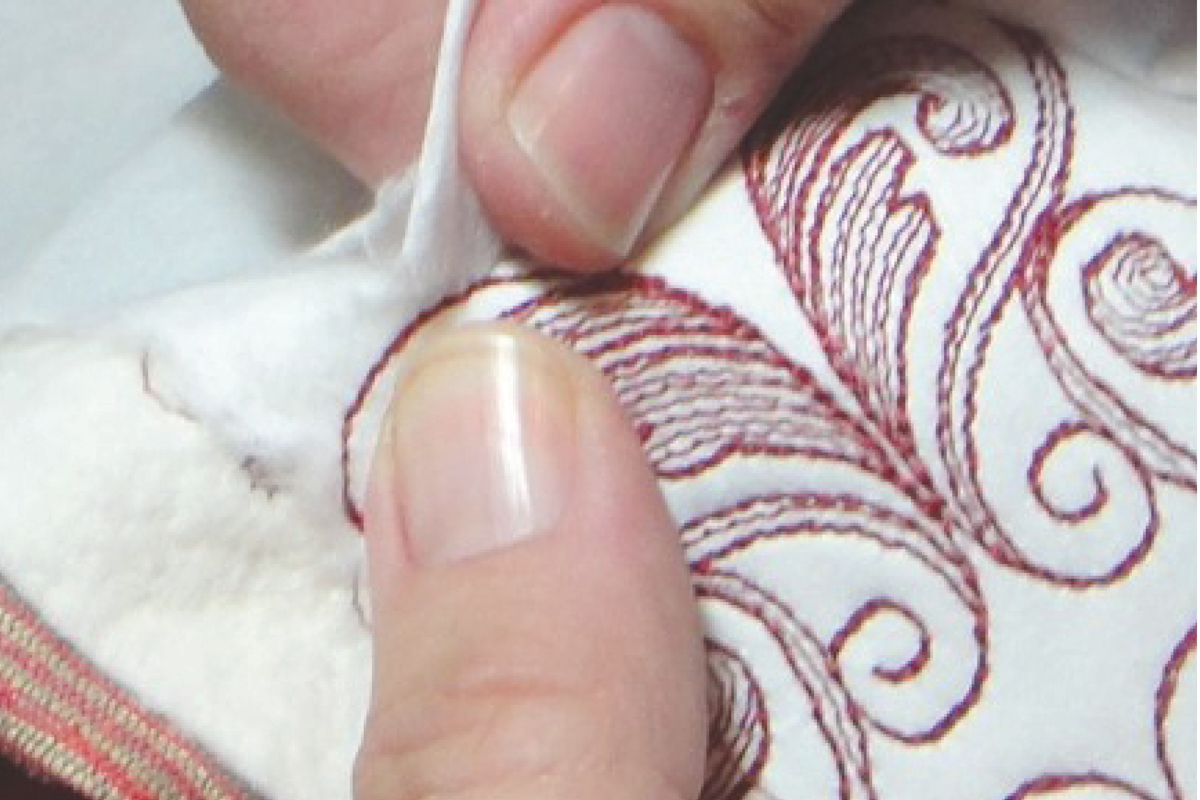
To remove tear away stabilizer, place your fingers on the stitches and with your other hand, tear the stabilizer away from them.
Tip #9: DENSITY
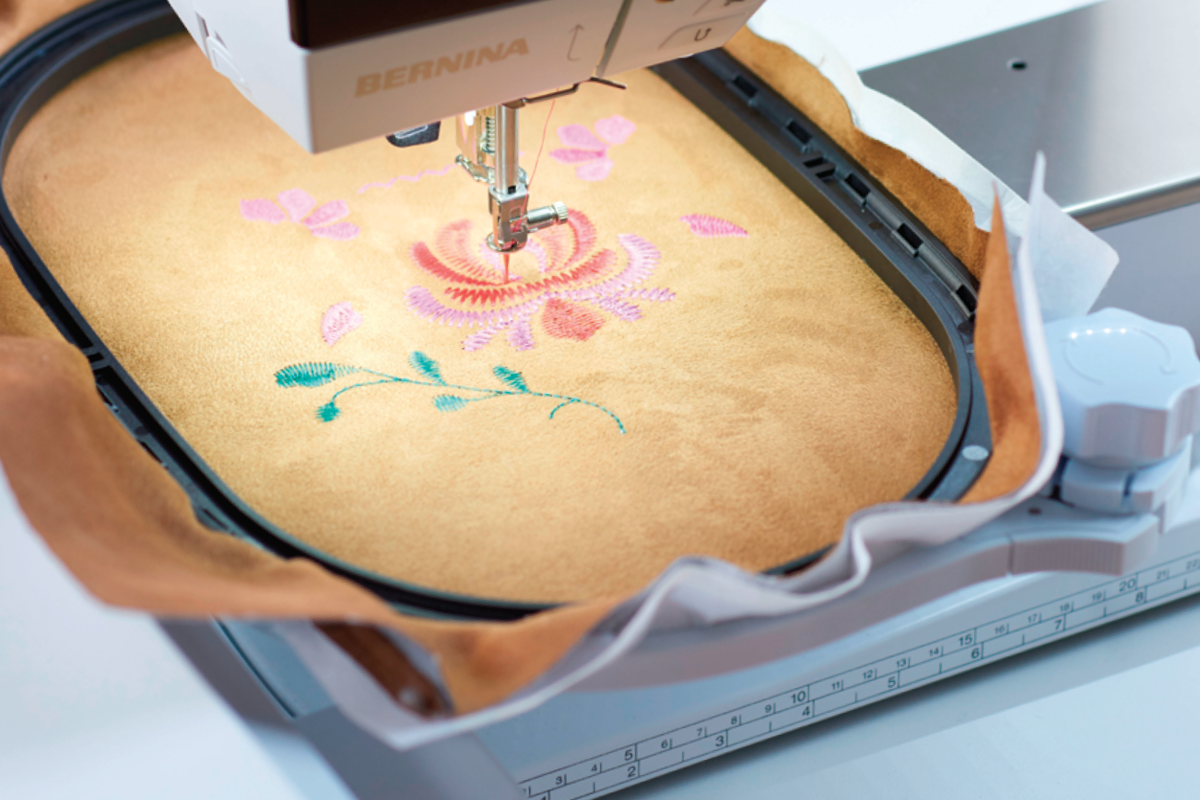
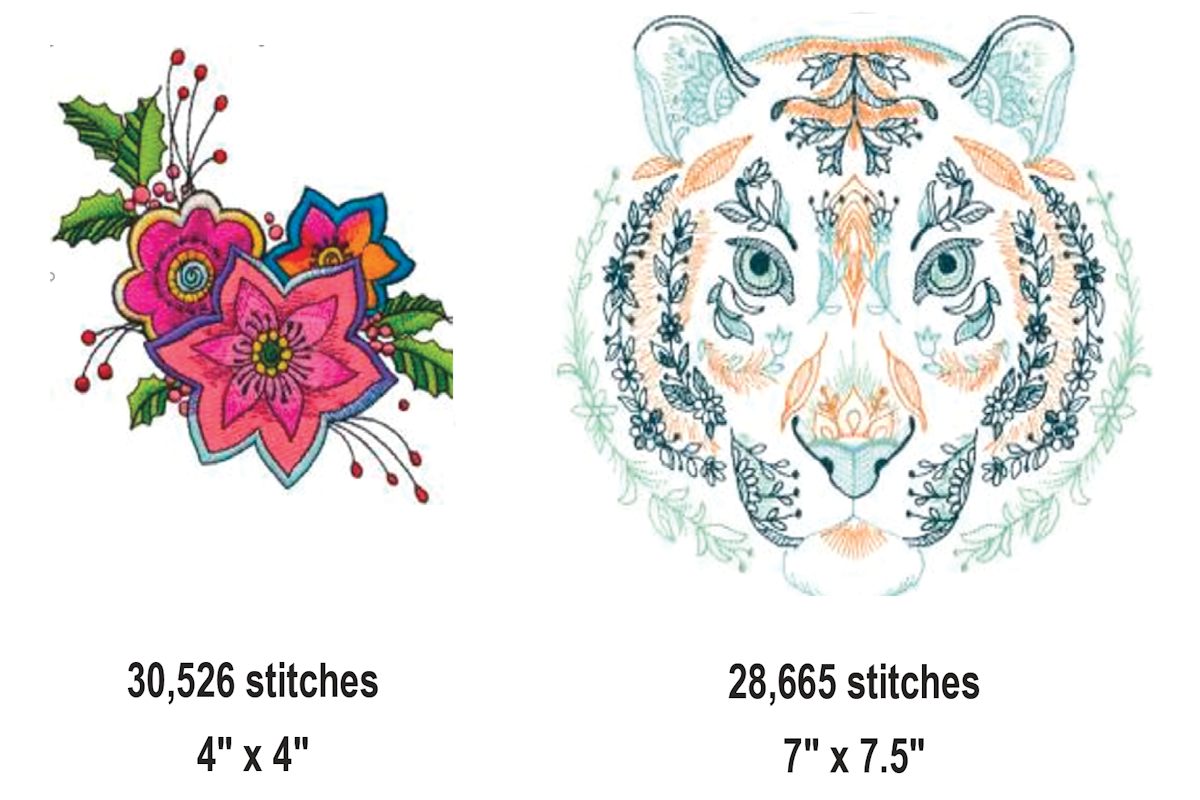
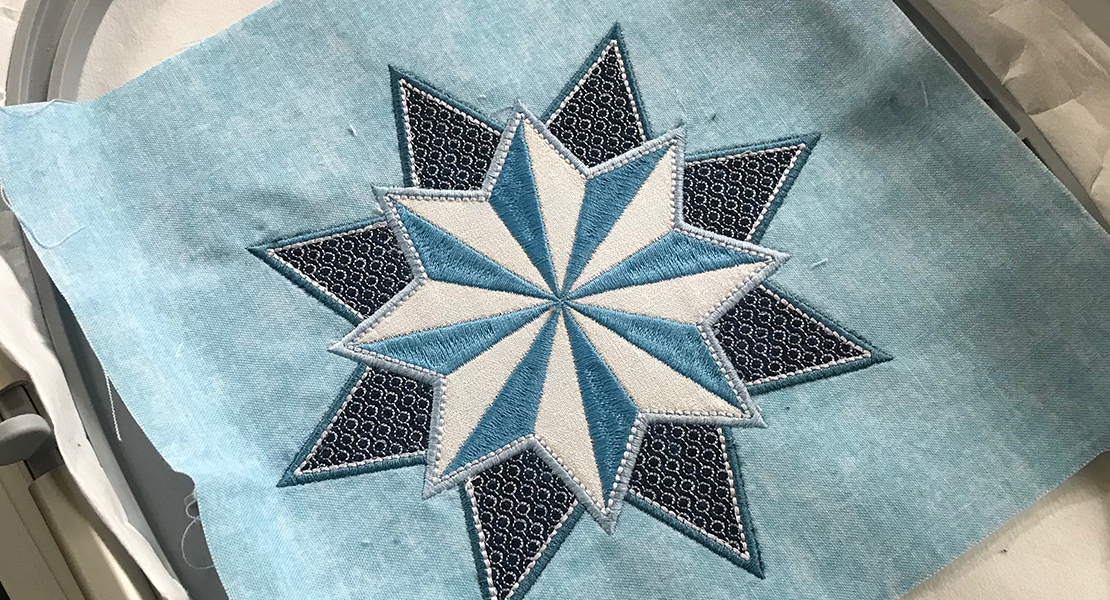
Dense designs always require more stabilization than light designs, no matter what type you are using. Most stabilizers come in various weights, light, medium and heavy. Even if the design is small, it may require more stabilizer than a large design with light density. The designs below have a similar number of stitches but are quite different in density. The floral design requires more stabilization than the lighter density tiger design.
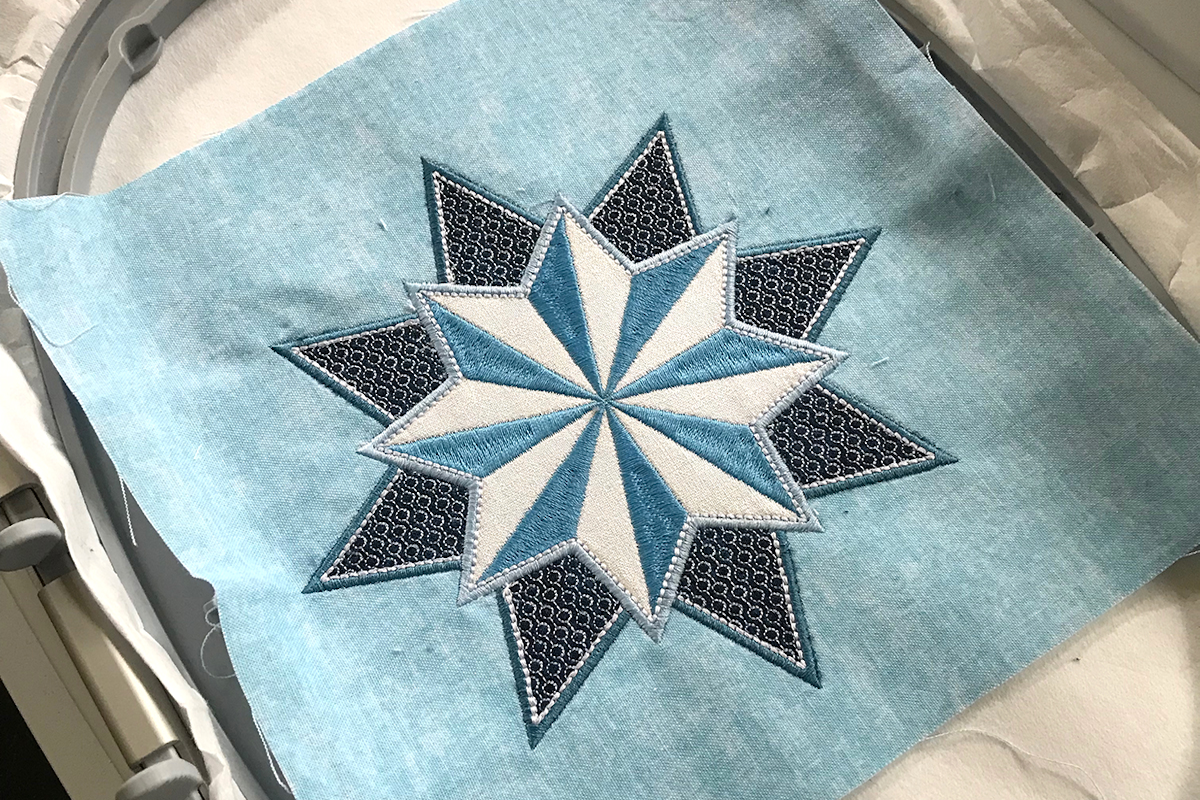
Tip #10: QUILT
Learn how to use stabilizers for your appliqued quilt blocks. Amanda Murphy tells you which stabilizers to use and shows her fabric-saving method of hooping in this informative post. Click here for Amanda’s post that is part of The Stardust Quilt-Along that features her Celestial Lights Quilting Collection from OESD.
For more information about machine embroidery, see The Big Book of Machine Embroidery at your local BERNINA store. Click here to find a BERNINA store near you.


What you might also like


3 comments on “Ten Tips for Using Embroidery Stabilizer”
-
-
I wanted to hear Amanda’s comments on stabilizers as quilting cotton is generally my fabric. But the link was not there. When I searched I found several videos, but running them did not give me any Amanda opinions. Please post the link again. I think I need all the resources I can get to make better decisions about stabilizers.
-
Hello! You can find the post here: Stardust Quilt Along: Stabilizers for Embroidery in Quilts
-
Leave a Reply
You must be logged in to post a comment.

Liked lots of the comments, but esp:
!. to spray stabilitzer vs fabri
2. different for different people
3+ cant remember all of them
BUT thanks for this and also referals to other resources
Nancy Stevens