Creating Machine Embroidery Using Pearlescent Thread
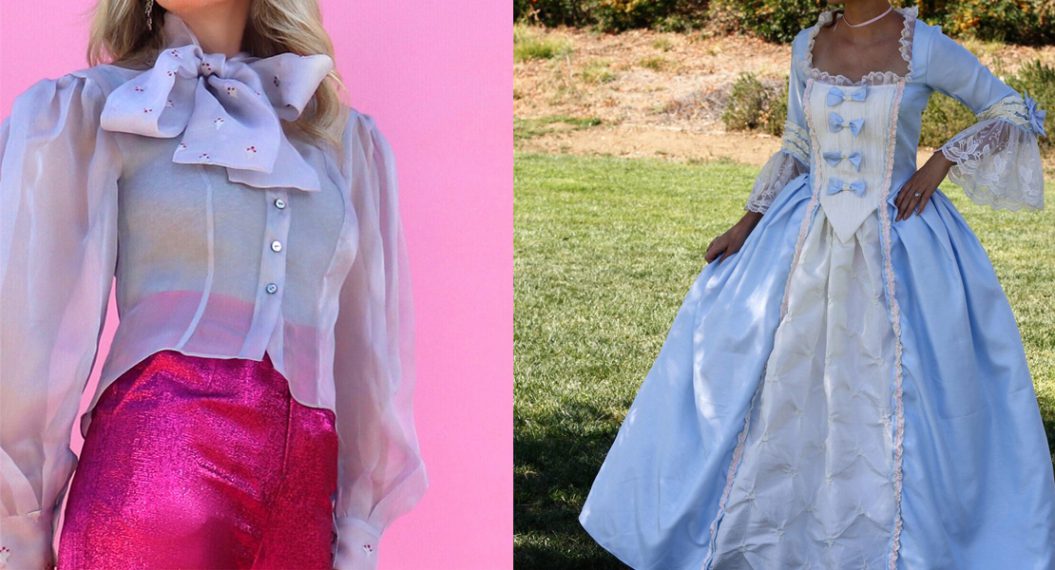
Hi, everyone! It’s Dessi-Desu and I’m kicking off the start of a new cosplay project for a character that I have been wanting to cosplay for quite a while, Cinderella, but with a fashion twist! I’ve been cosplaying for over 20 years, and it’s interesting to look back on your costuming tastes. You’ll often realize what you gravitate to now versus when you first started may be very different. These days, I find myself being drawn to costume projects with a fashion influence, so when I first saw Cinderella’s 2022 designer doll I was immediately inspired. She reminds me so much of Grace Kelly!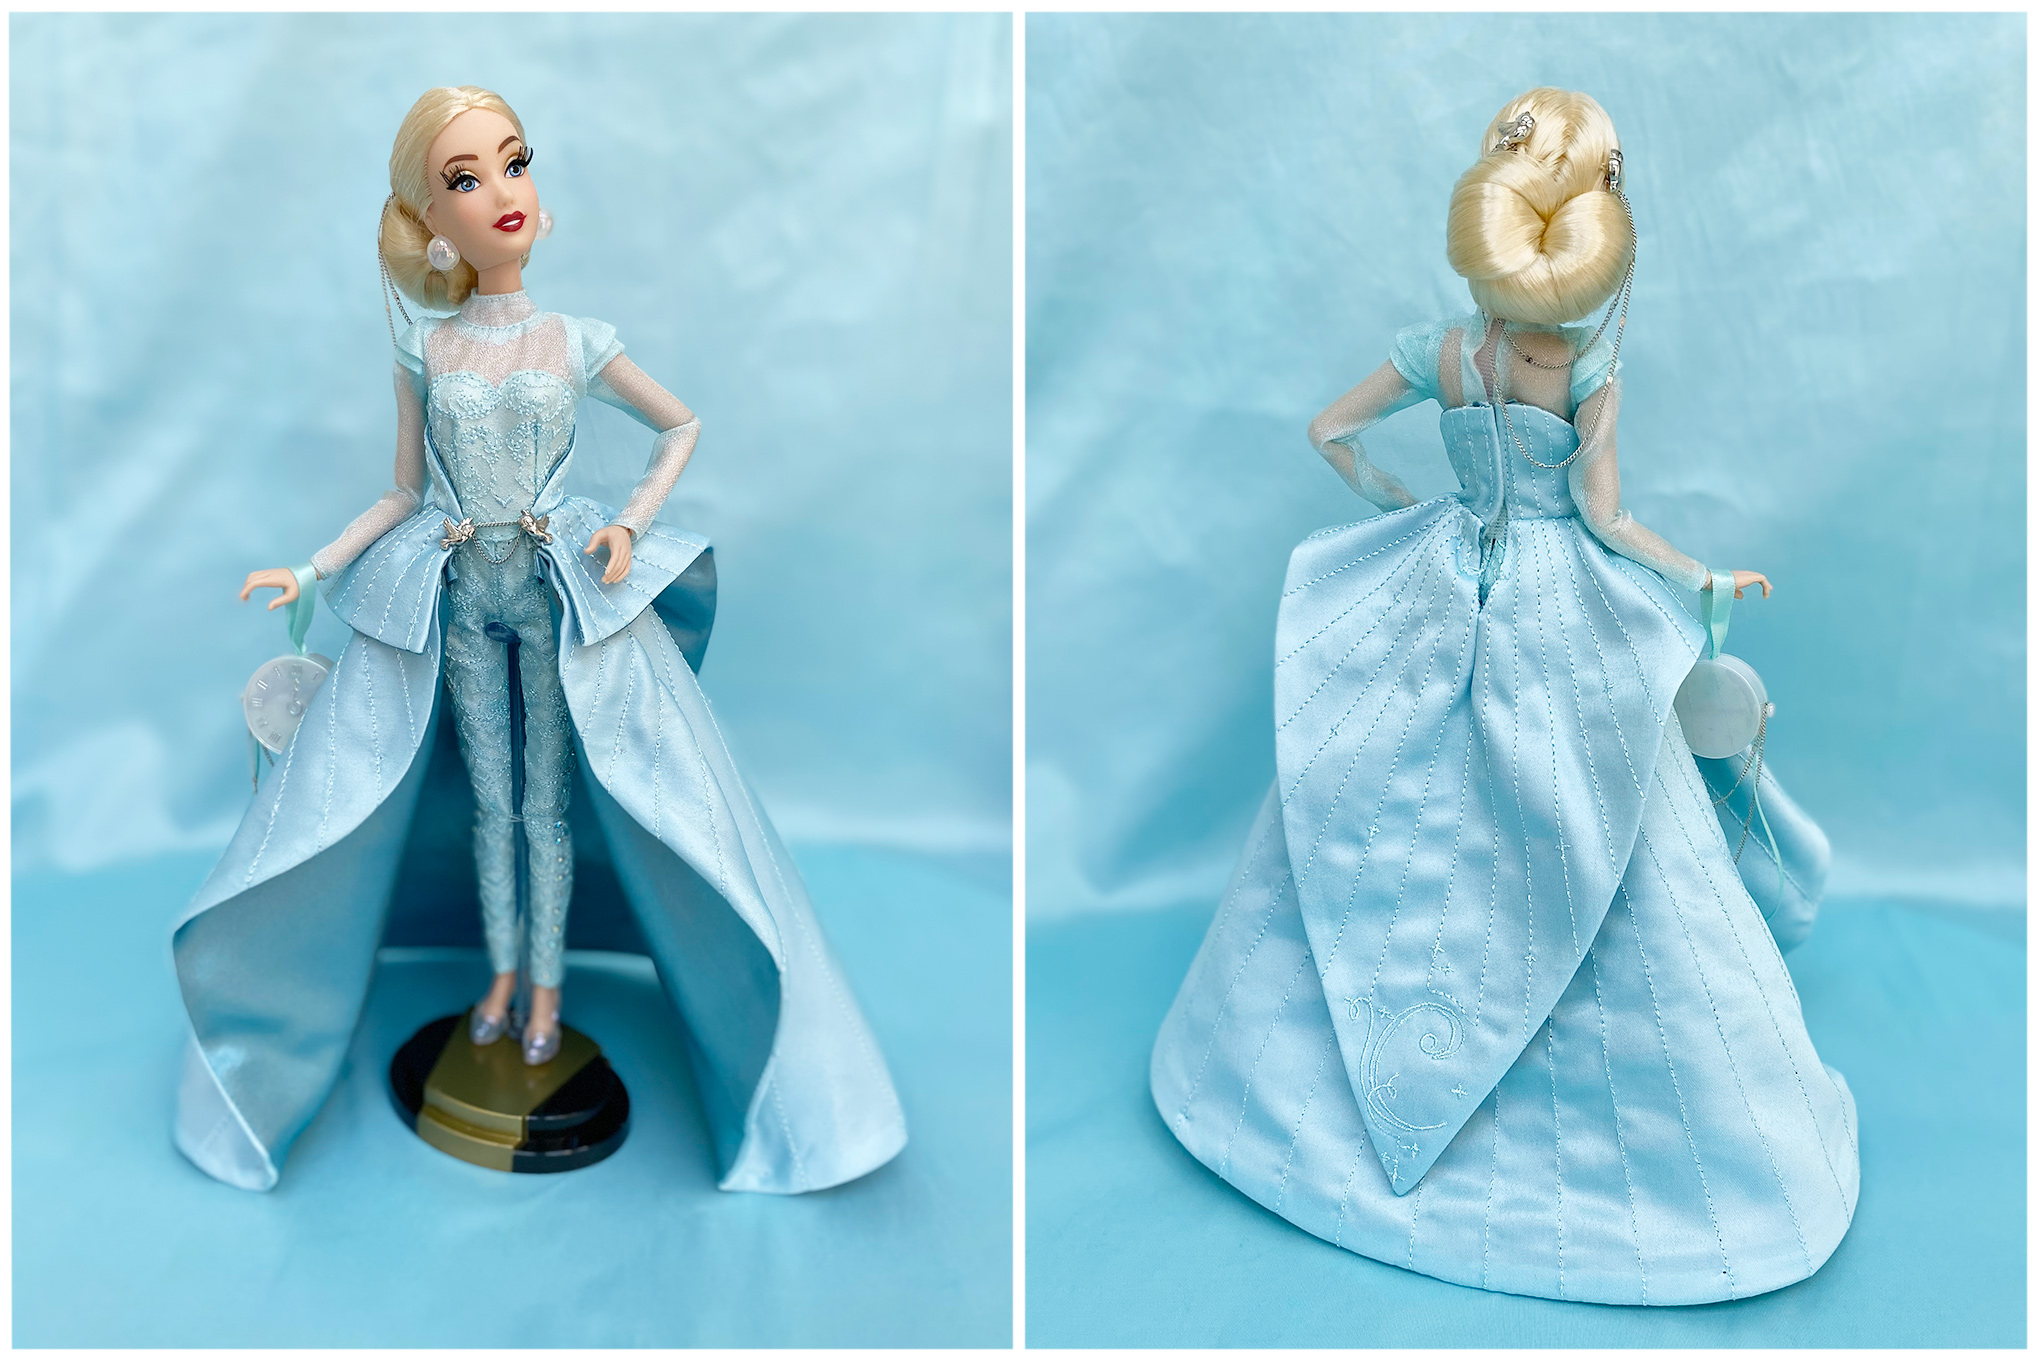
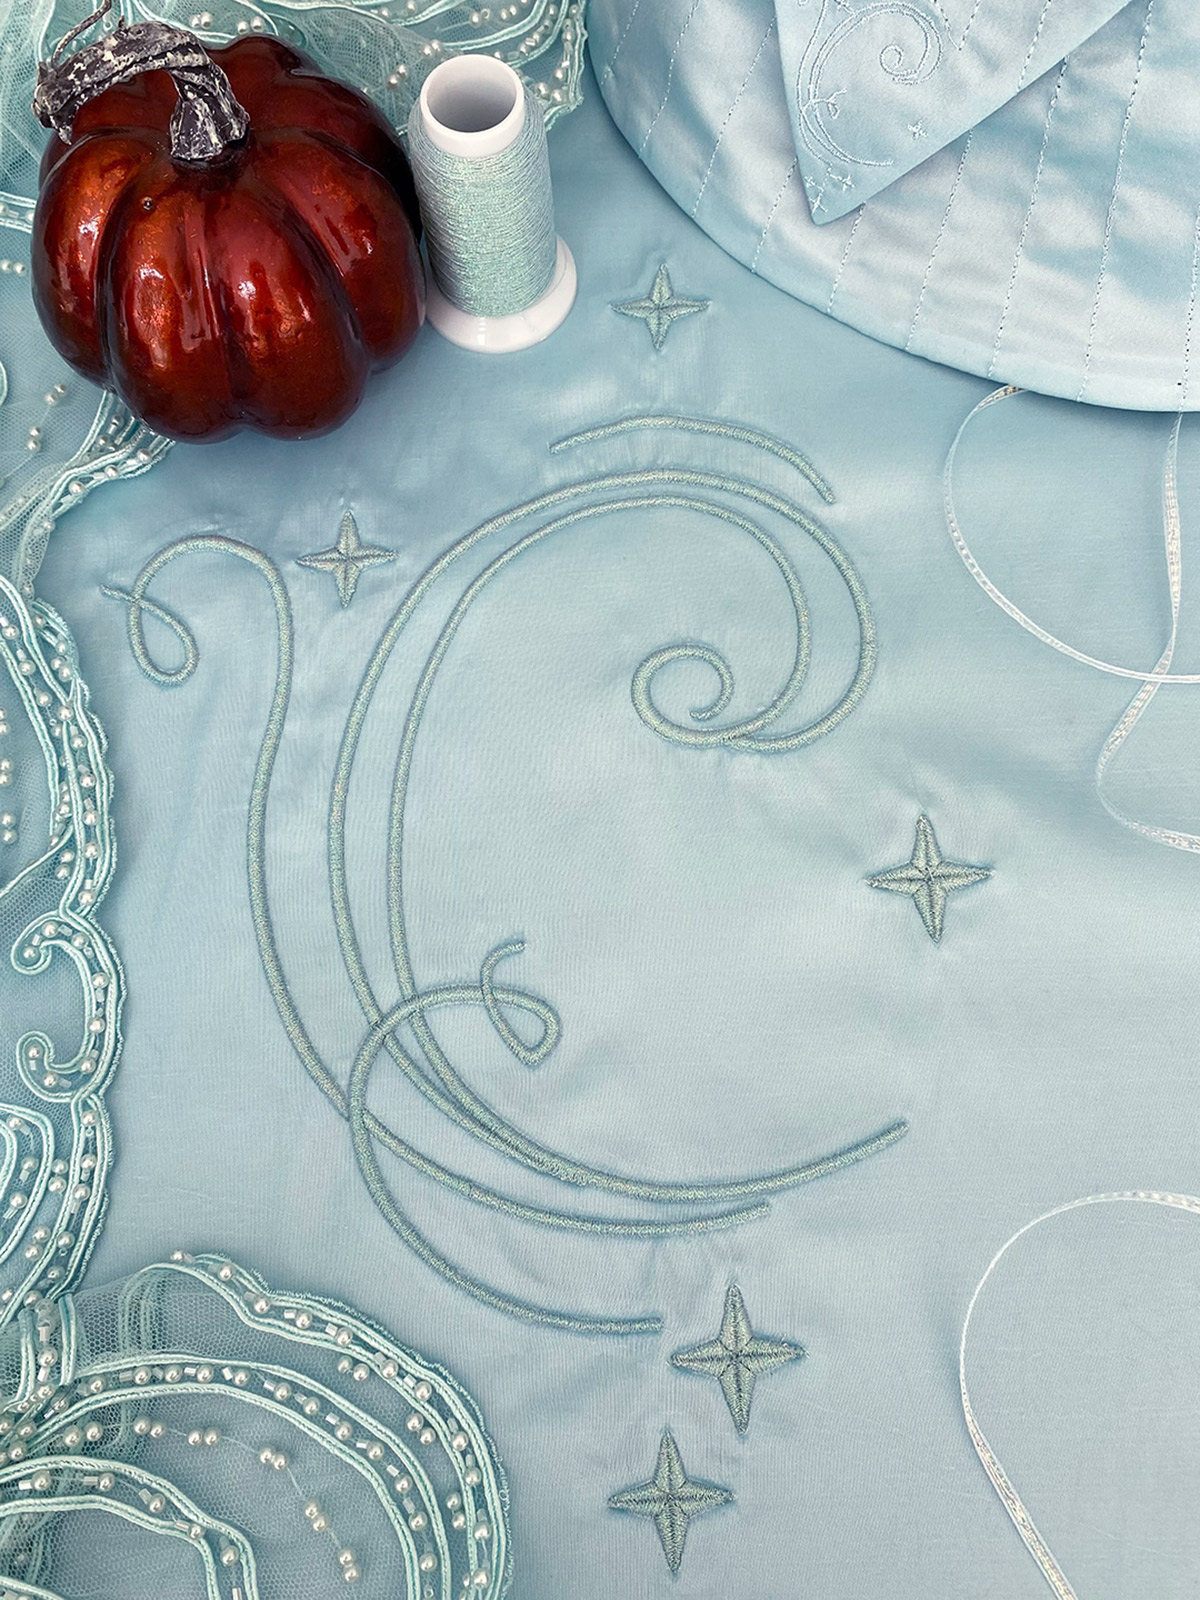
Selecting Embroidery Thread
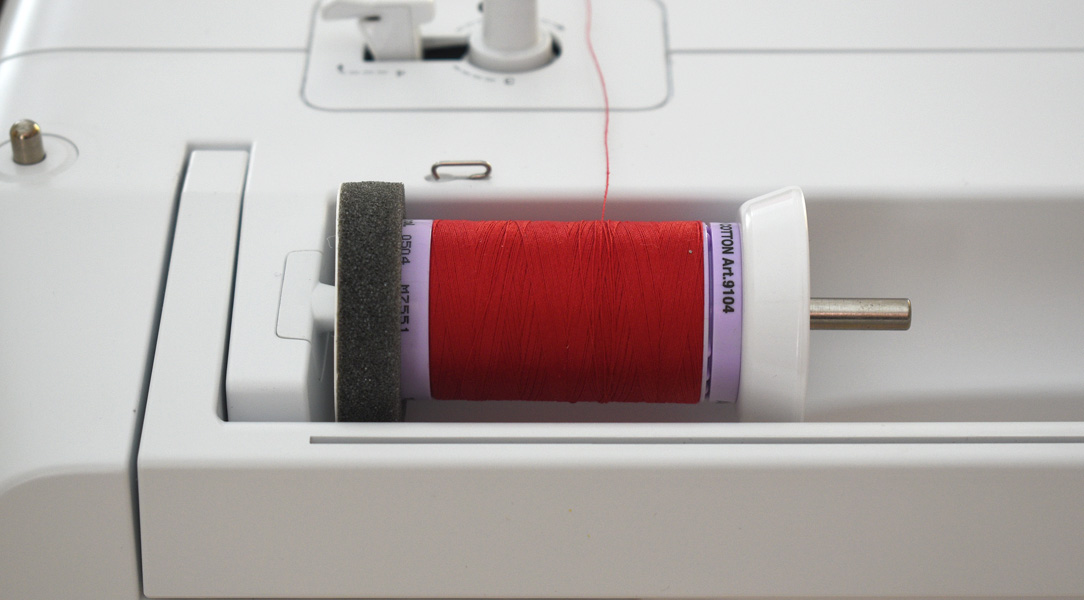
What better way to get started on Cinderella than creating her signature “C?” Cinderella’s details on this particular design have an iridescent shimmer to them. For creating the “C” detail on the back of her exaggerated peplum, I opted to use a metallic thread with a pearlescent shift. If you have ever worked with threads with metallic effects, then you know they come with their own set of challenges and require some care to be used successfully. I used Yenmet’s pearlessence thread in turquoise. Yenmet metallic embroidery thread is made to run similar to regular embroidery threads, so it is a more durable industrial-quality metallic thread.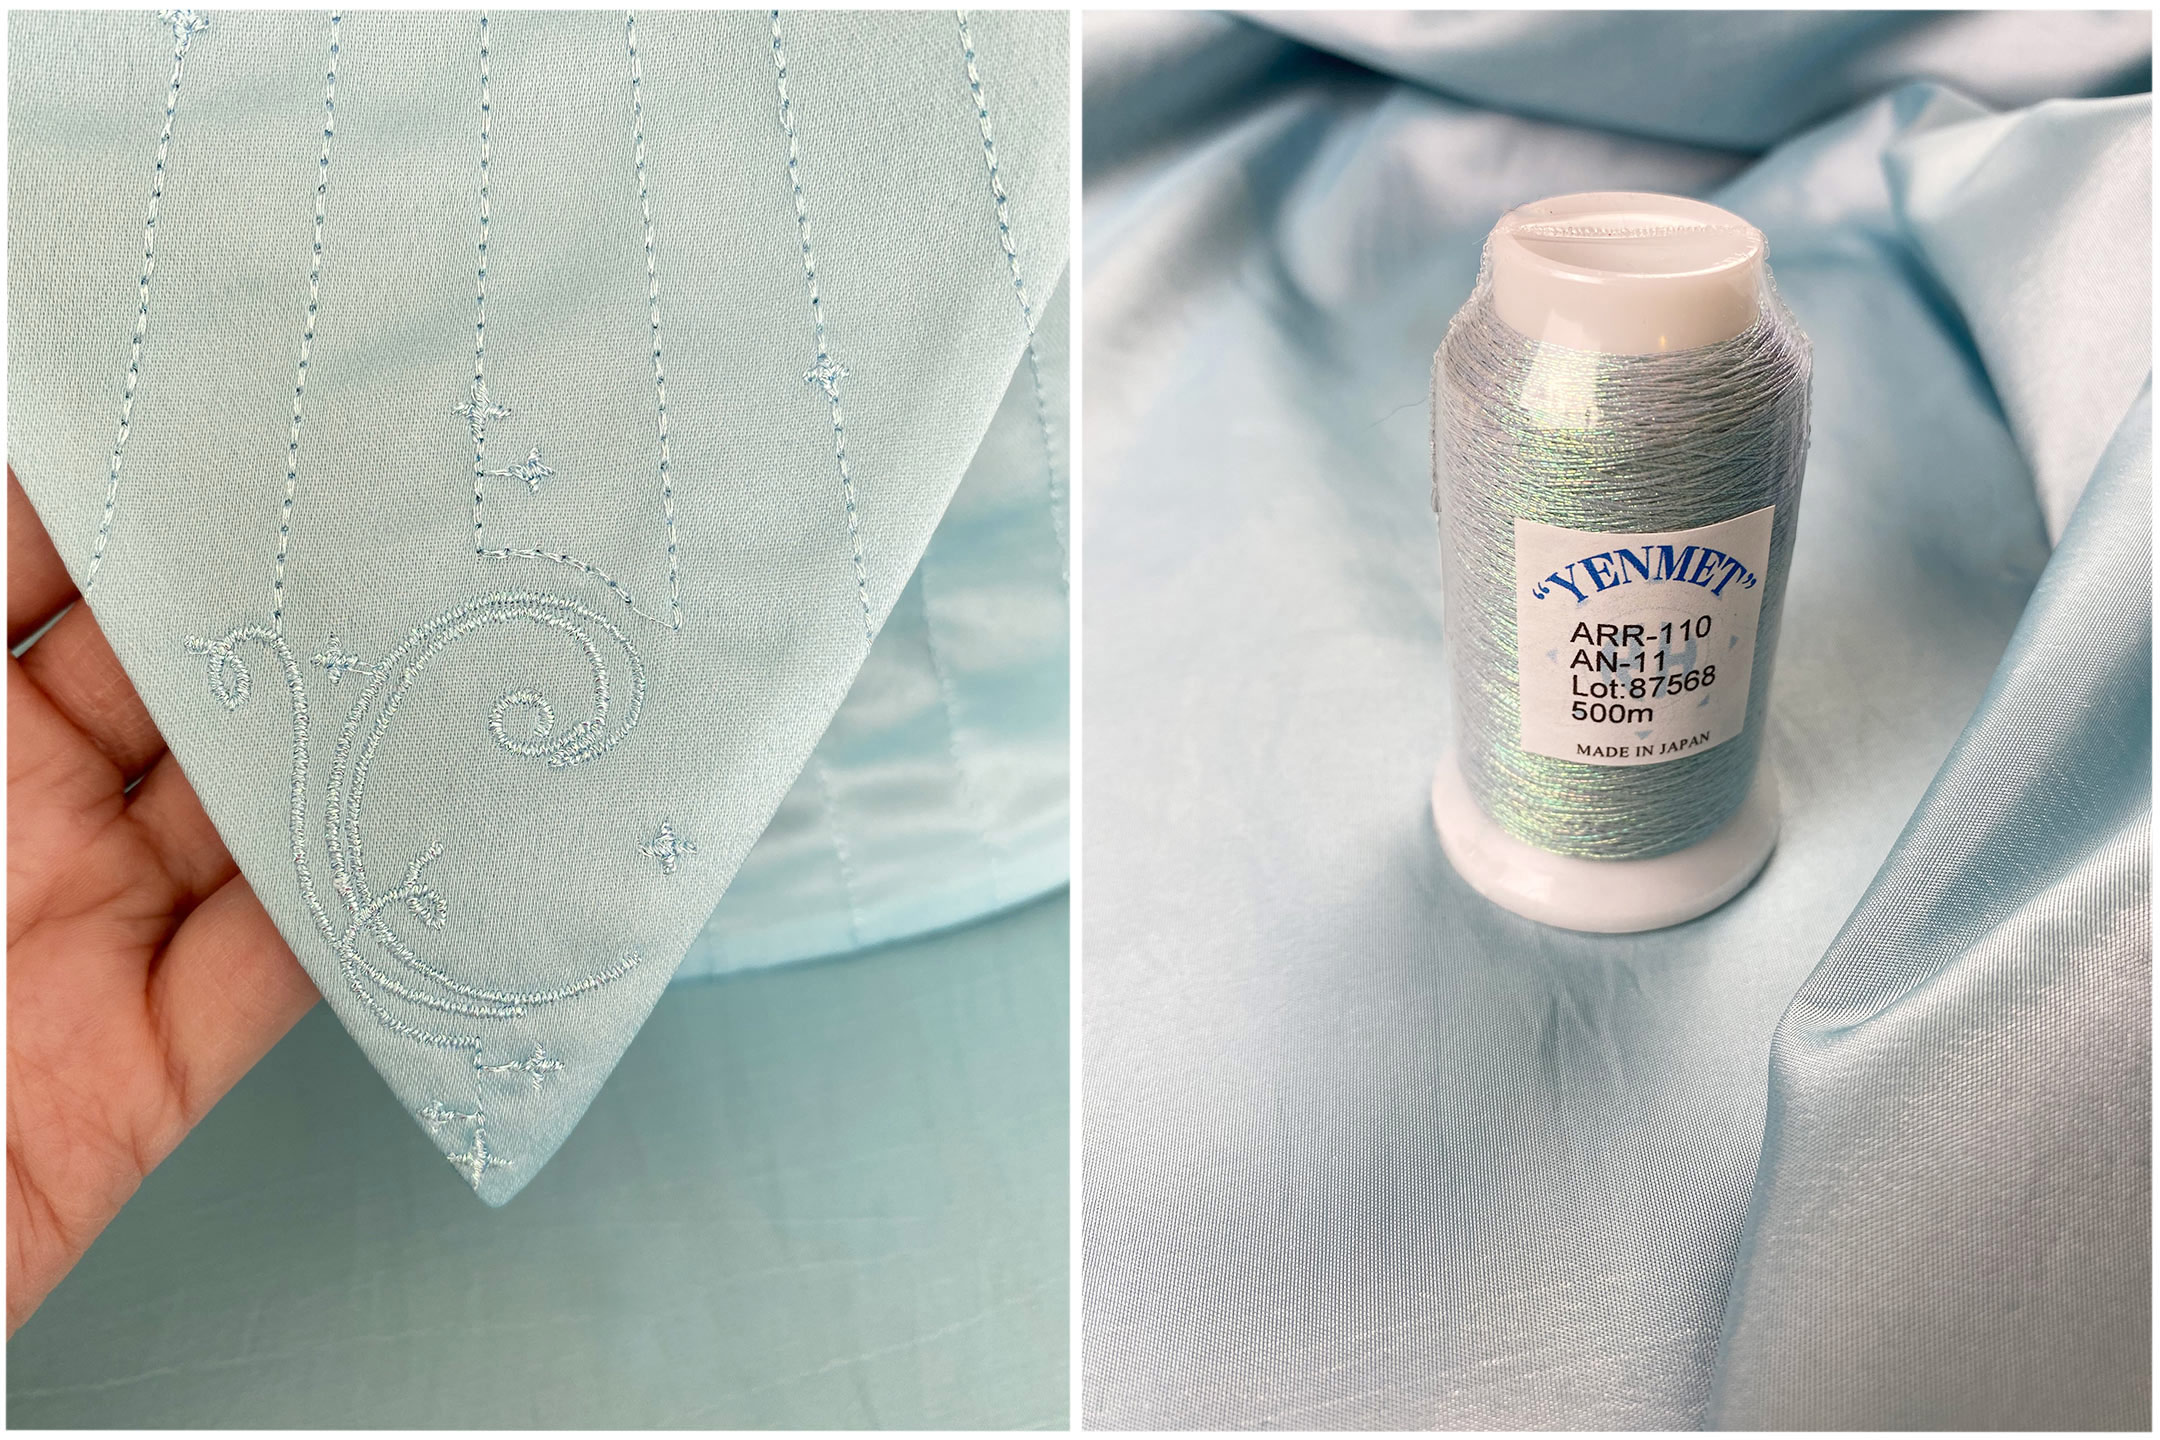
Metallic Embroidery Thread Tips
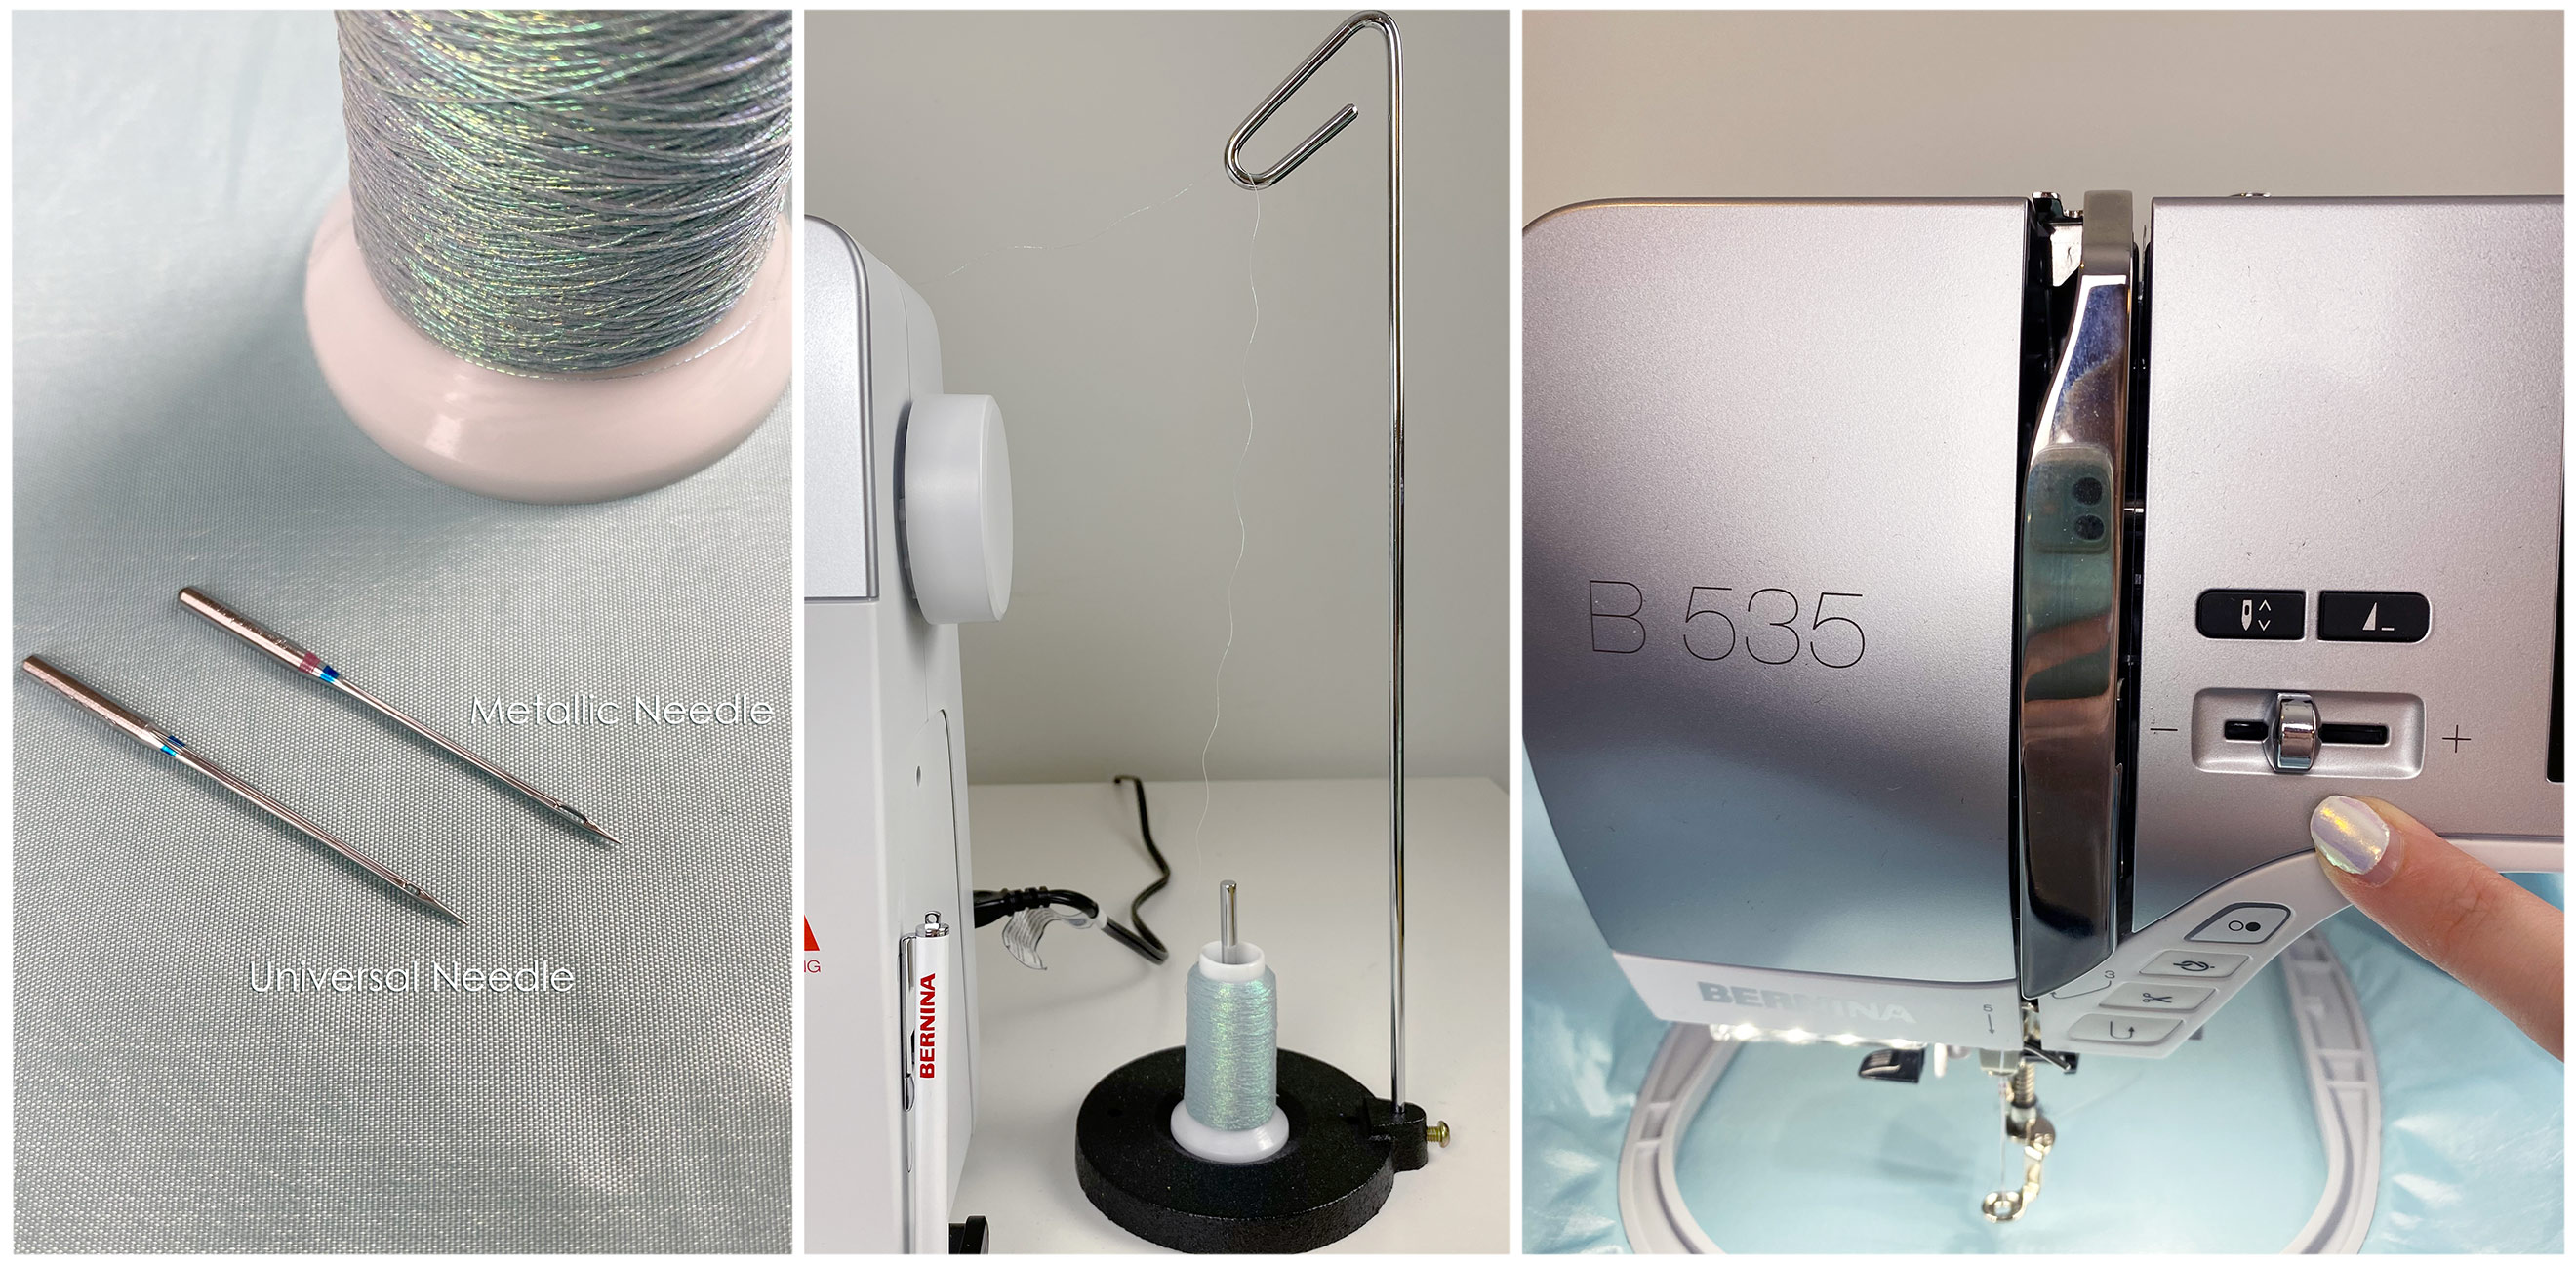
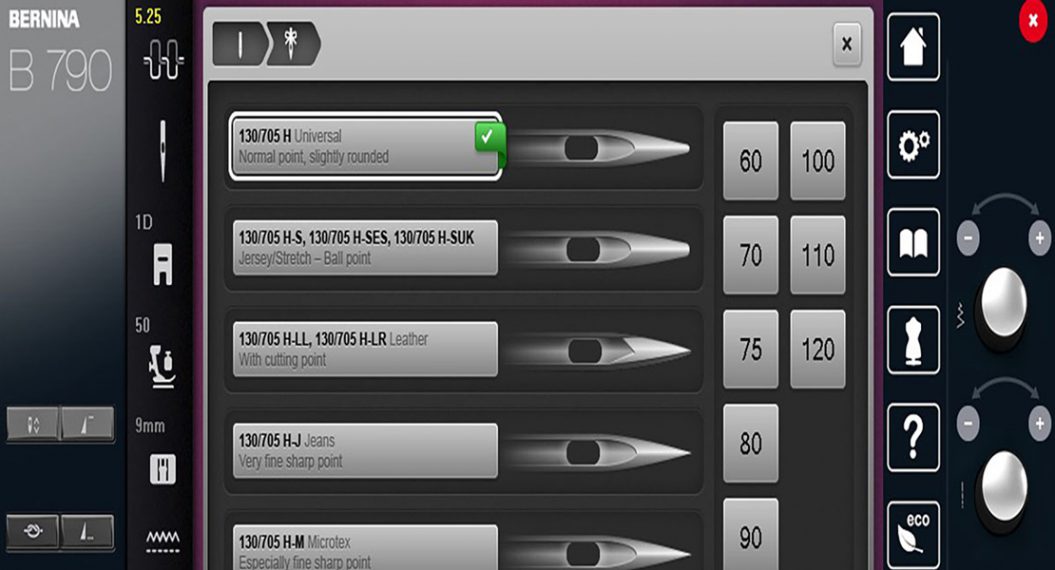
If you still find yourself encountering challenges with metallic threads; however, there are some tricks you can use to make your experience with them feel less daunting. When working with metallic threads, consider using a metallic needle. The eye of a metallic sewing needle is larger. The larger eye allows for the metallic thread to have more space to move without placing as much stress on the thread. Using a thread holder allows metallic thread to relax more as it is fed through the machine. Lowering the speed of your machine can also help with preventing thread breakage.
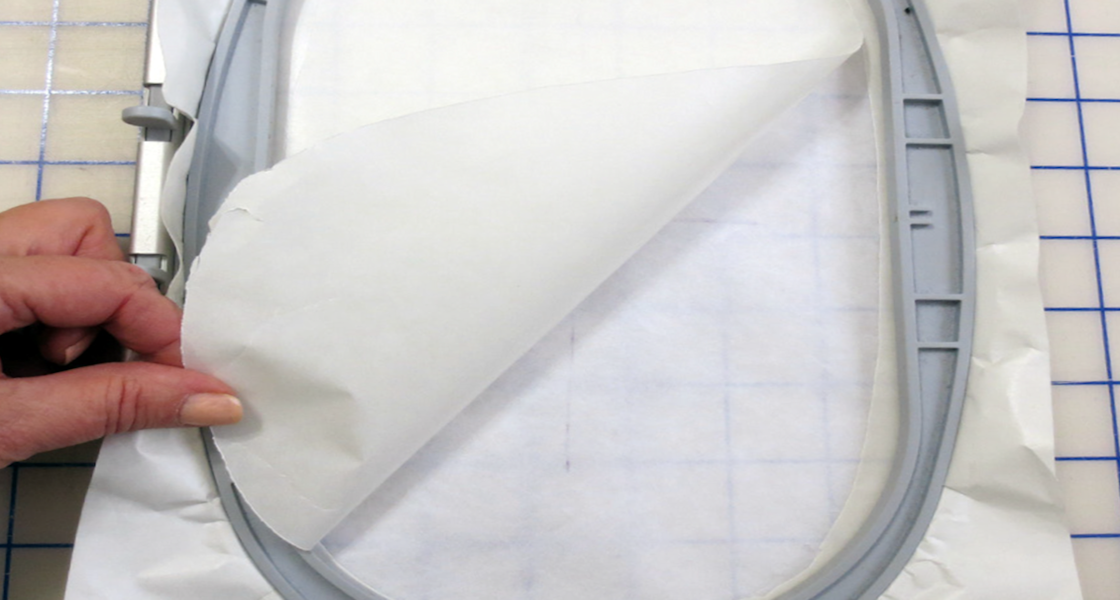
Preparing Fabric for Machine Embroidery
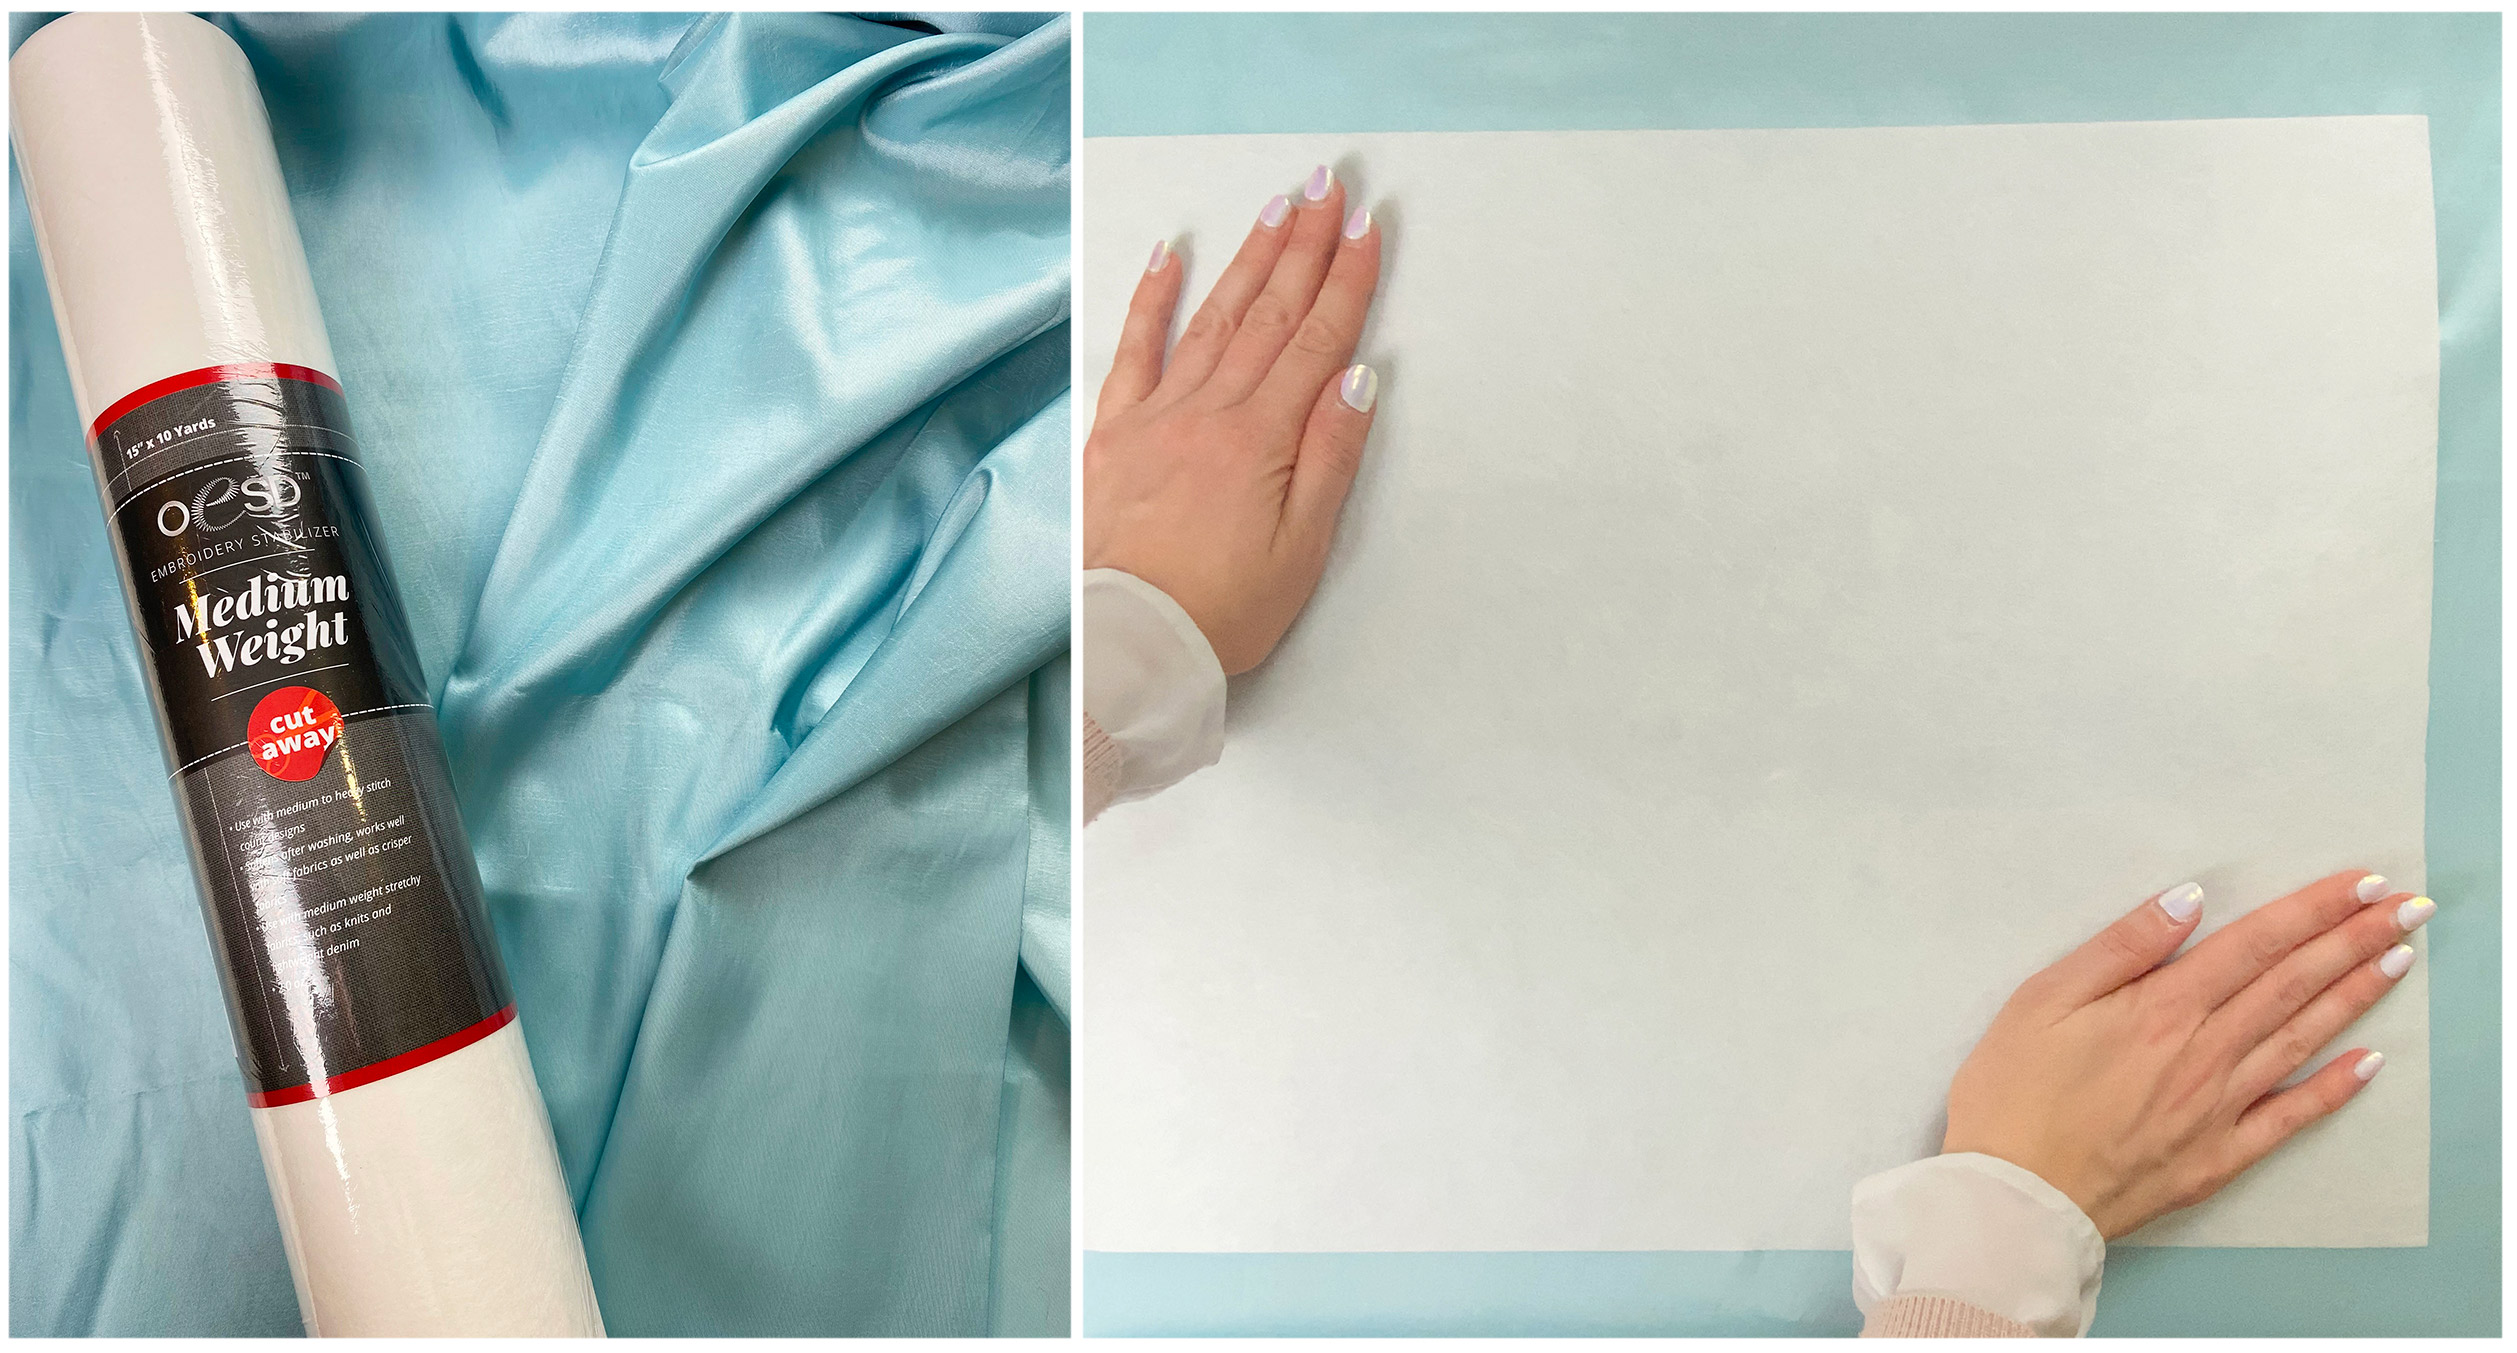
To make things slightly more complicated, I am also using taffeta as my main fabric for peplum and skirting on this project. I’ve actually had seven yards of this taffeta in my fabric bins for a few years, after deciding to not use it on another cosplay project. It goes to show when a fabric might be perfect for another project down the road! Taffeta is notorious for being slippery and prone to puckering. These issues can be mitigated by using the proper stabilizer for machine embroidery. For my stabilizer, I used OESD cut away stabilizer. To apply this stabilizer, you will also need a temporary adhesive to apply it to the taffeta.
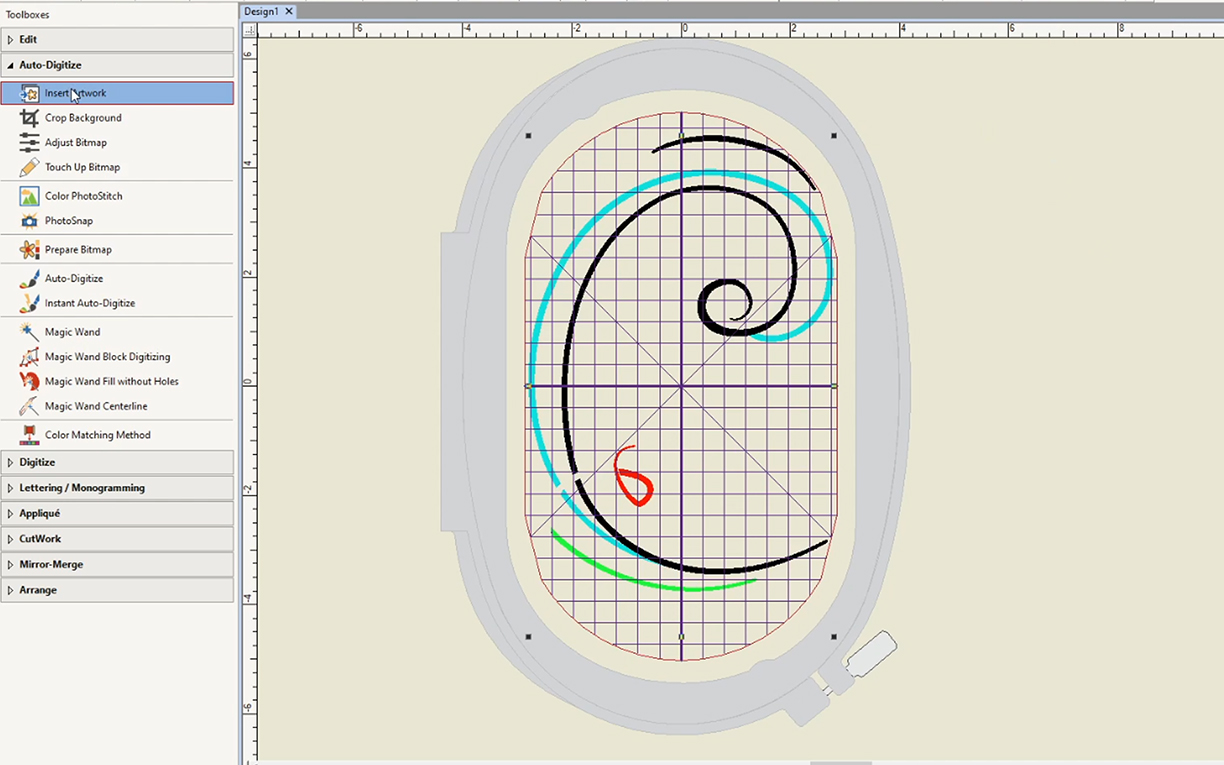
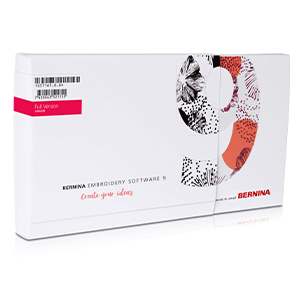
Digitizing the Design
For creating my embroidery files, I started by creating vector images in a graphics program. I then saved the pieces as PNG files to import into BERNINA’s Embroidery Software 9 by using the insert artwork command. If you enjoy creating images and graphics, the BERNINA embroidery software makes it very easy to use them in the program with the auto digitize feature. I do recommend importing your images with elements in your design broken apart as needed to allow for space between pieces of the design, so the software reads them as individual pieces. Adjustments after digitizing, such as stitch direction or shape edits, are done with ease using this import method. You can also select the stitch type you want for your final embroidery piece. For Cinderella’s “C,” I chose a three-layered raised satin stitch.
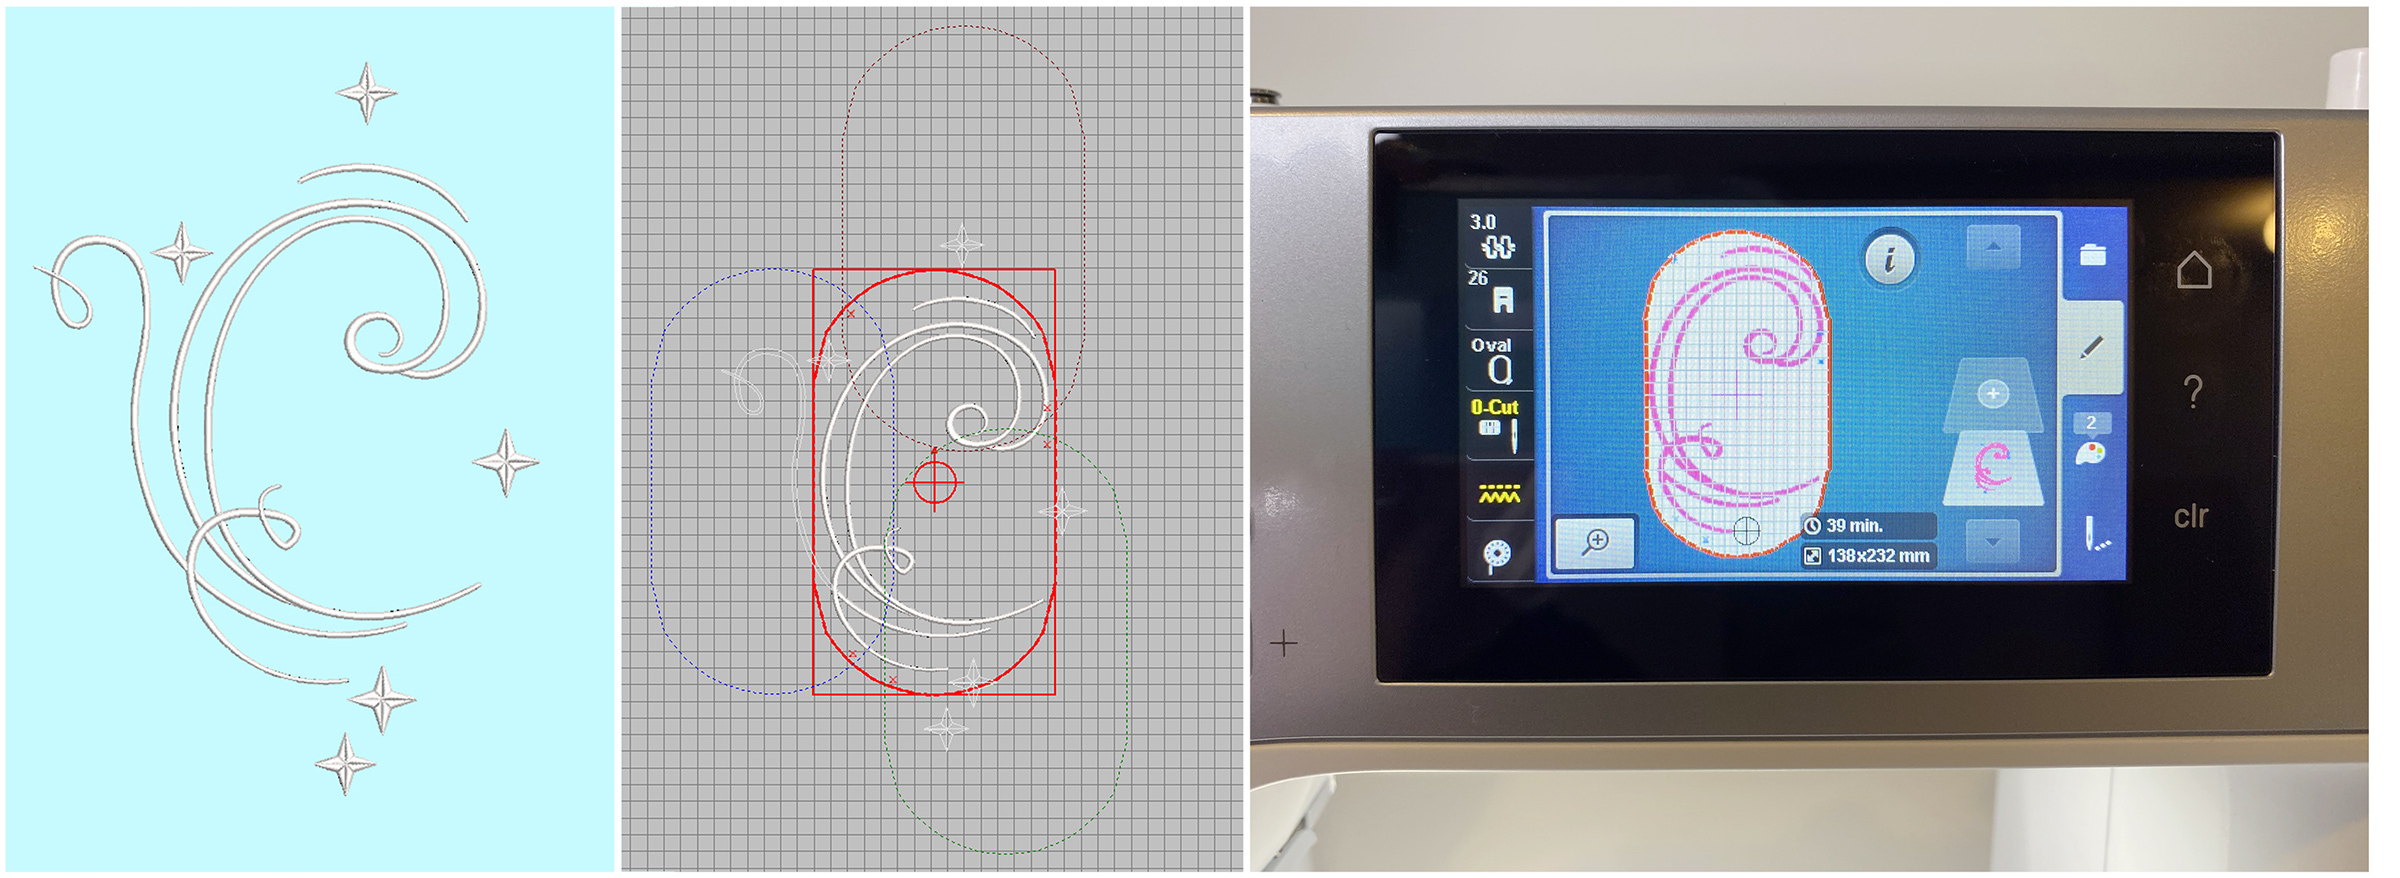
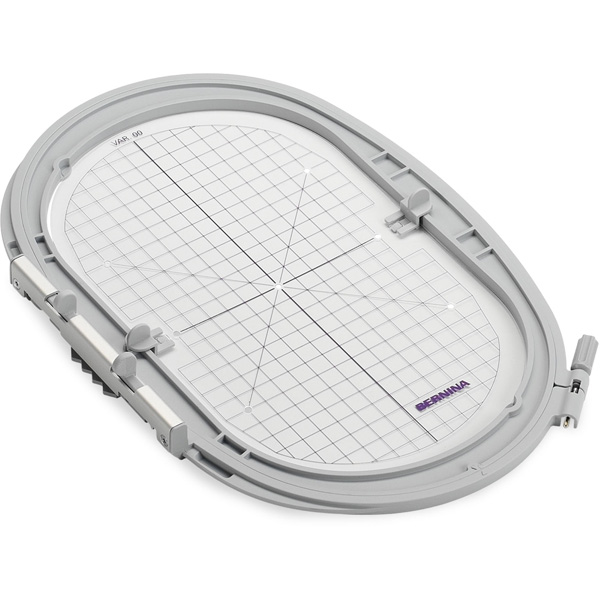
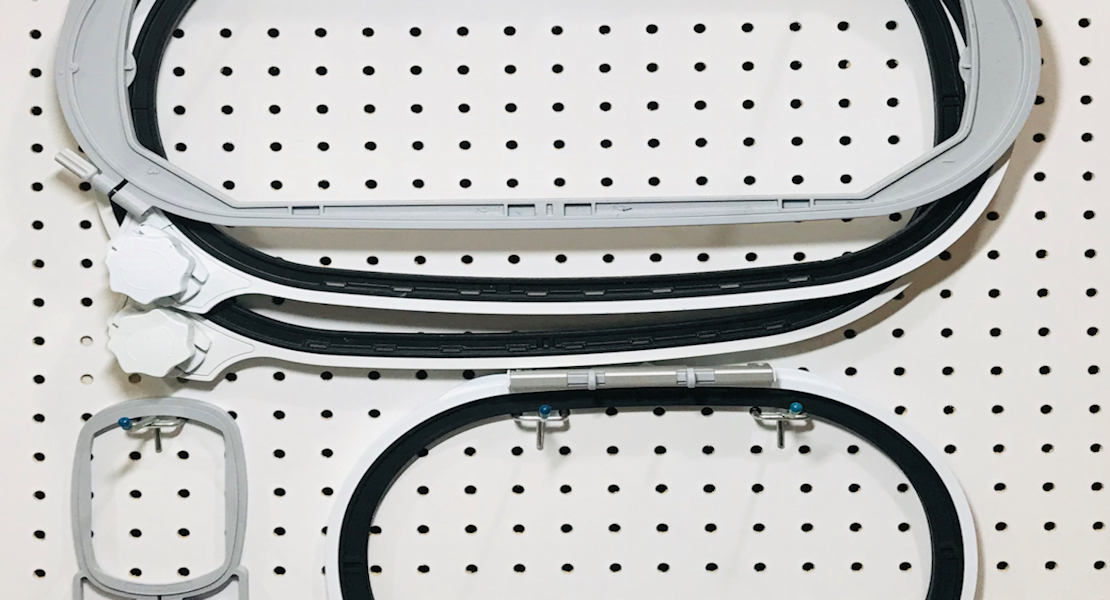
This particular design did also require me to use the multi hoop feature as well. Once I had the design digitized, I multi-hooped the design with the large oval embroidery hoop as my selected hoop with registration points included in the DesignerPlus interface. I also find it helpful to keep an image of the overlapping hoops as a reference to keep track of my registration points for rehooping. Afterwards, I exported the design as a machine file, saved the file to a USB, and simply plugged the USB into my BERNINA 535 E to retrieve the file in the embroidery menu on my machine.
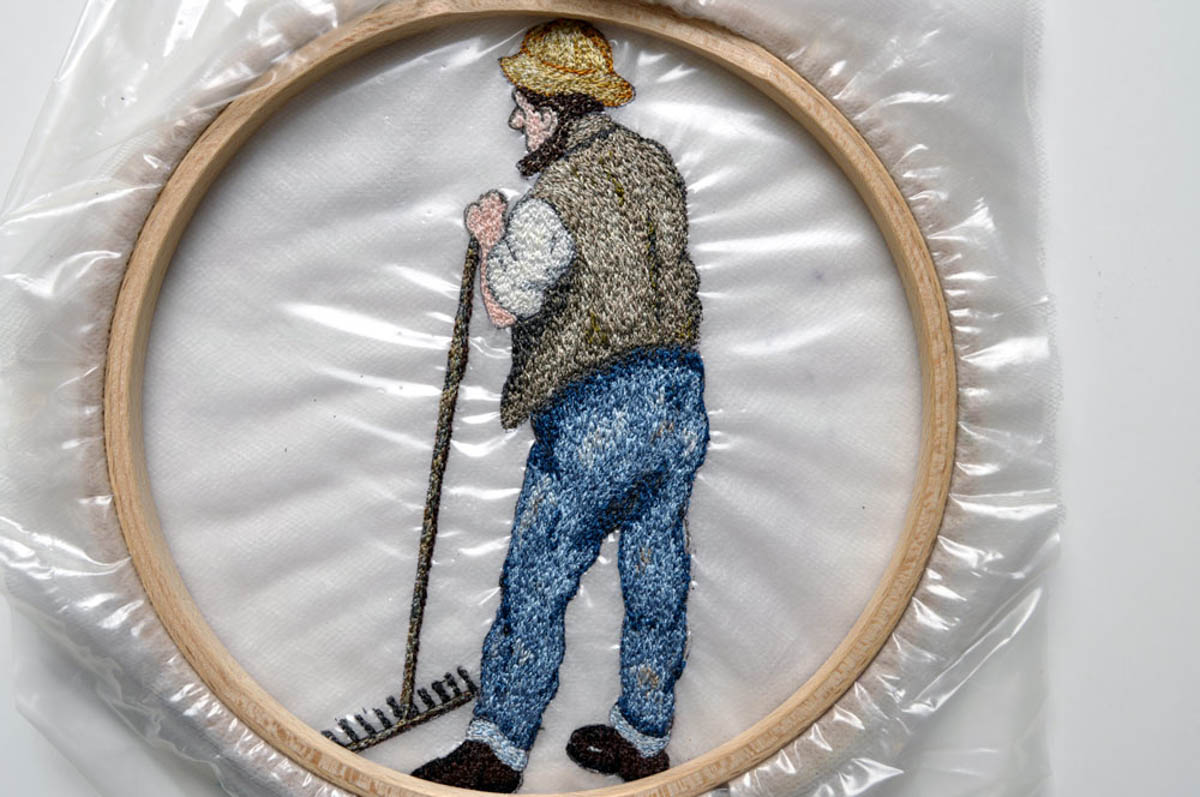
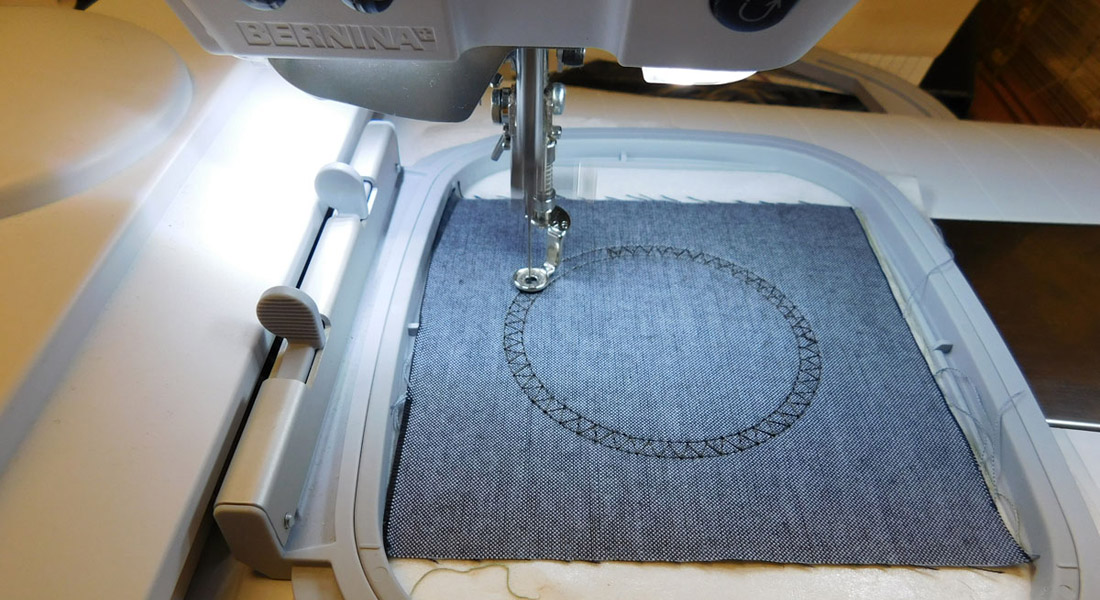
Embroidering the Design on the B 535 E
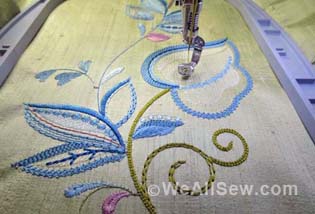
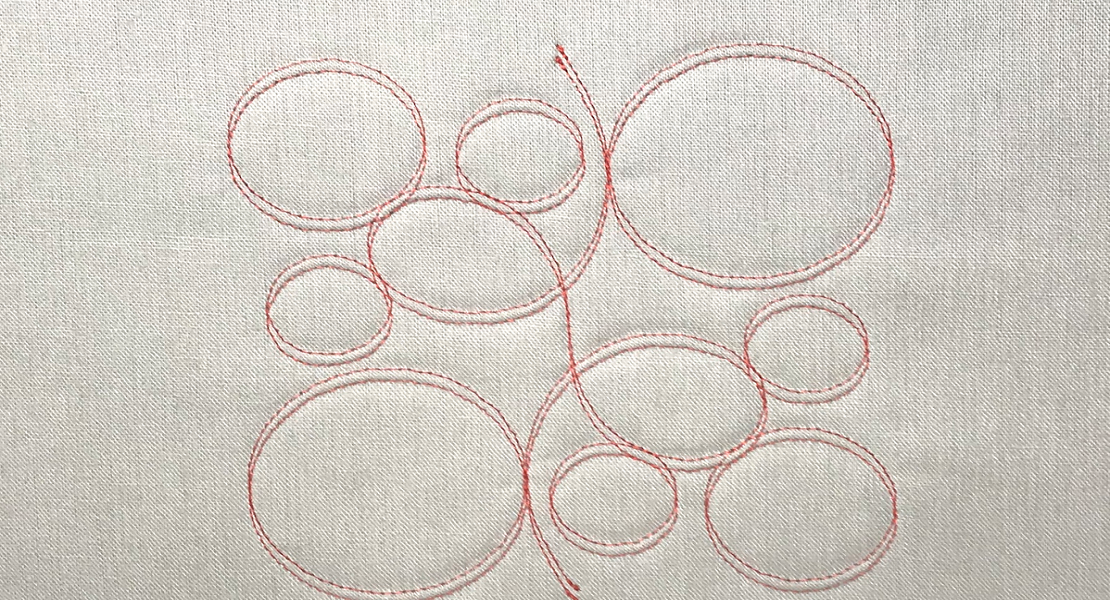
Now to see the embroidery brought to life! Using the dropped shape embroidery foot #26 and with the large oval embroidery hoop selected, I embroidered the design, which came out to a total of four hoops. Two of the four hoops were free floating stars; however, so it was a pretty forgiving design to register and rehoop. Once the machine embroidery was complete, I also carefully removed the cutaway stabilizer by cutting the excess and leaving a 1/8″-1/4″ border around the embroidery.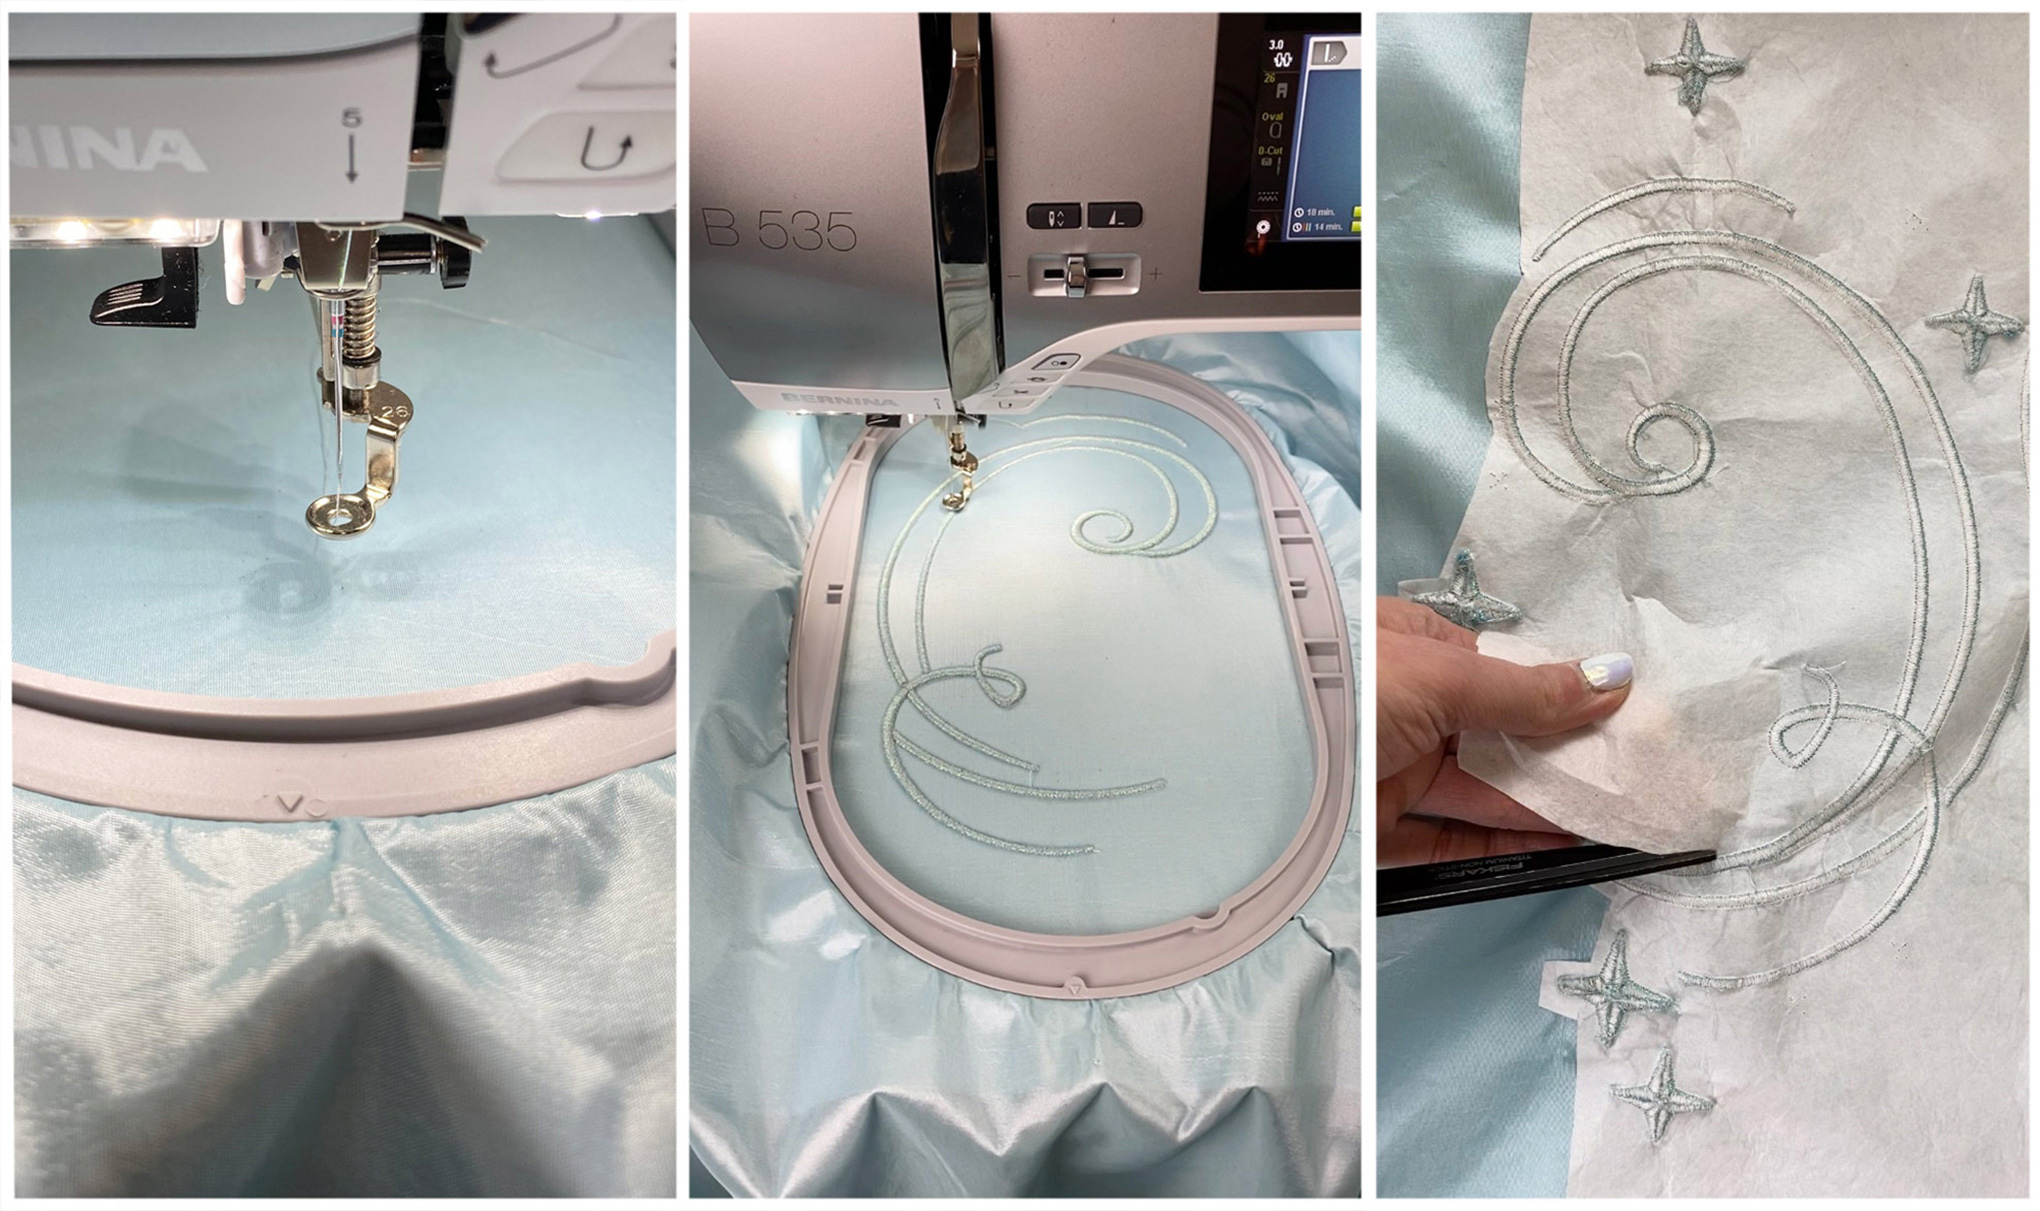
Final Look!
I have much more in store for Cinderella, so be on the lookout for more WeAllSew blog updates for this project. I’ll be working on her top next for some fun with beaded appliqué work! To see what else I am up to, you can follow me on Instagram, TikTok, Facebook, and Twitter.
Used Products


What you might also like


4 comments on “Creating Machine Embroidery Using Pearlescent Thread”
-
-
I love this! Thank you for sharing your process
-
Love the design and your explanation was very clear. I wonder if you could give some more information on how you created the registration marks. thank you
-
What a beautiful effect! I love the shimmering textures.
Leave a Reply
You must be logged in to post a comment.

Wow! This is so beautiful!