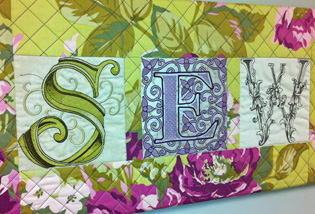
Using the Alphabet to Create an Abstract Embroidery Design
If you are new to embroidery, like me, it can seem intimidating! New supplies, new tools, new methods to learn. I was so excited to get the BERNINA 590 but was also intimidated to try embroidery on my own once I got it home. This was the first machine embroidery project of MY LIFE, so if I can do this, so can YOU! Let’s start simple and make some abstract embroidery designs today. Are you ready? I promise its not scary!
Materials Needed
BERNINA Embroidery machine (I have a 590)
Embroidery Hoop (I used the Medium Oval)
Emrboidery thread
Stabilizer (I used a tear away type for this fabric, but what you needs varies by the type of fabric used!)
Embroider Adhesive (helps but not 100% essential)
Fabric
Getting Started
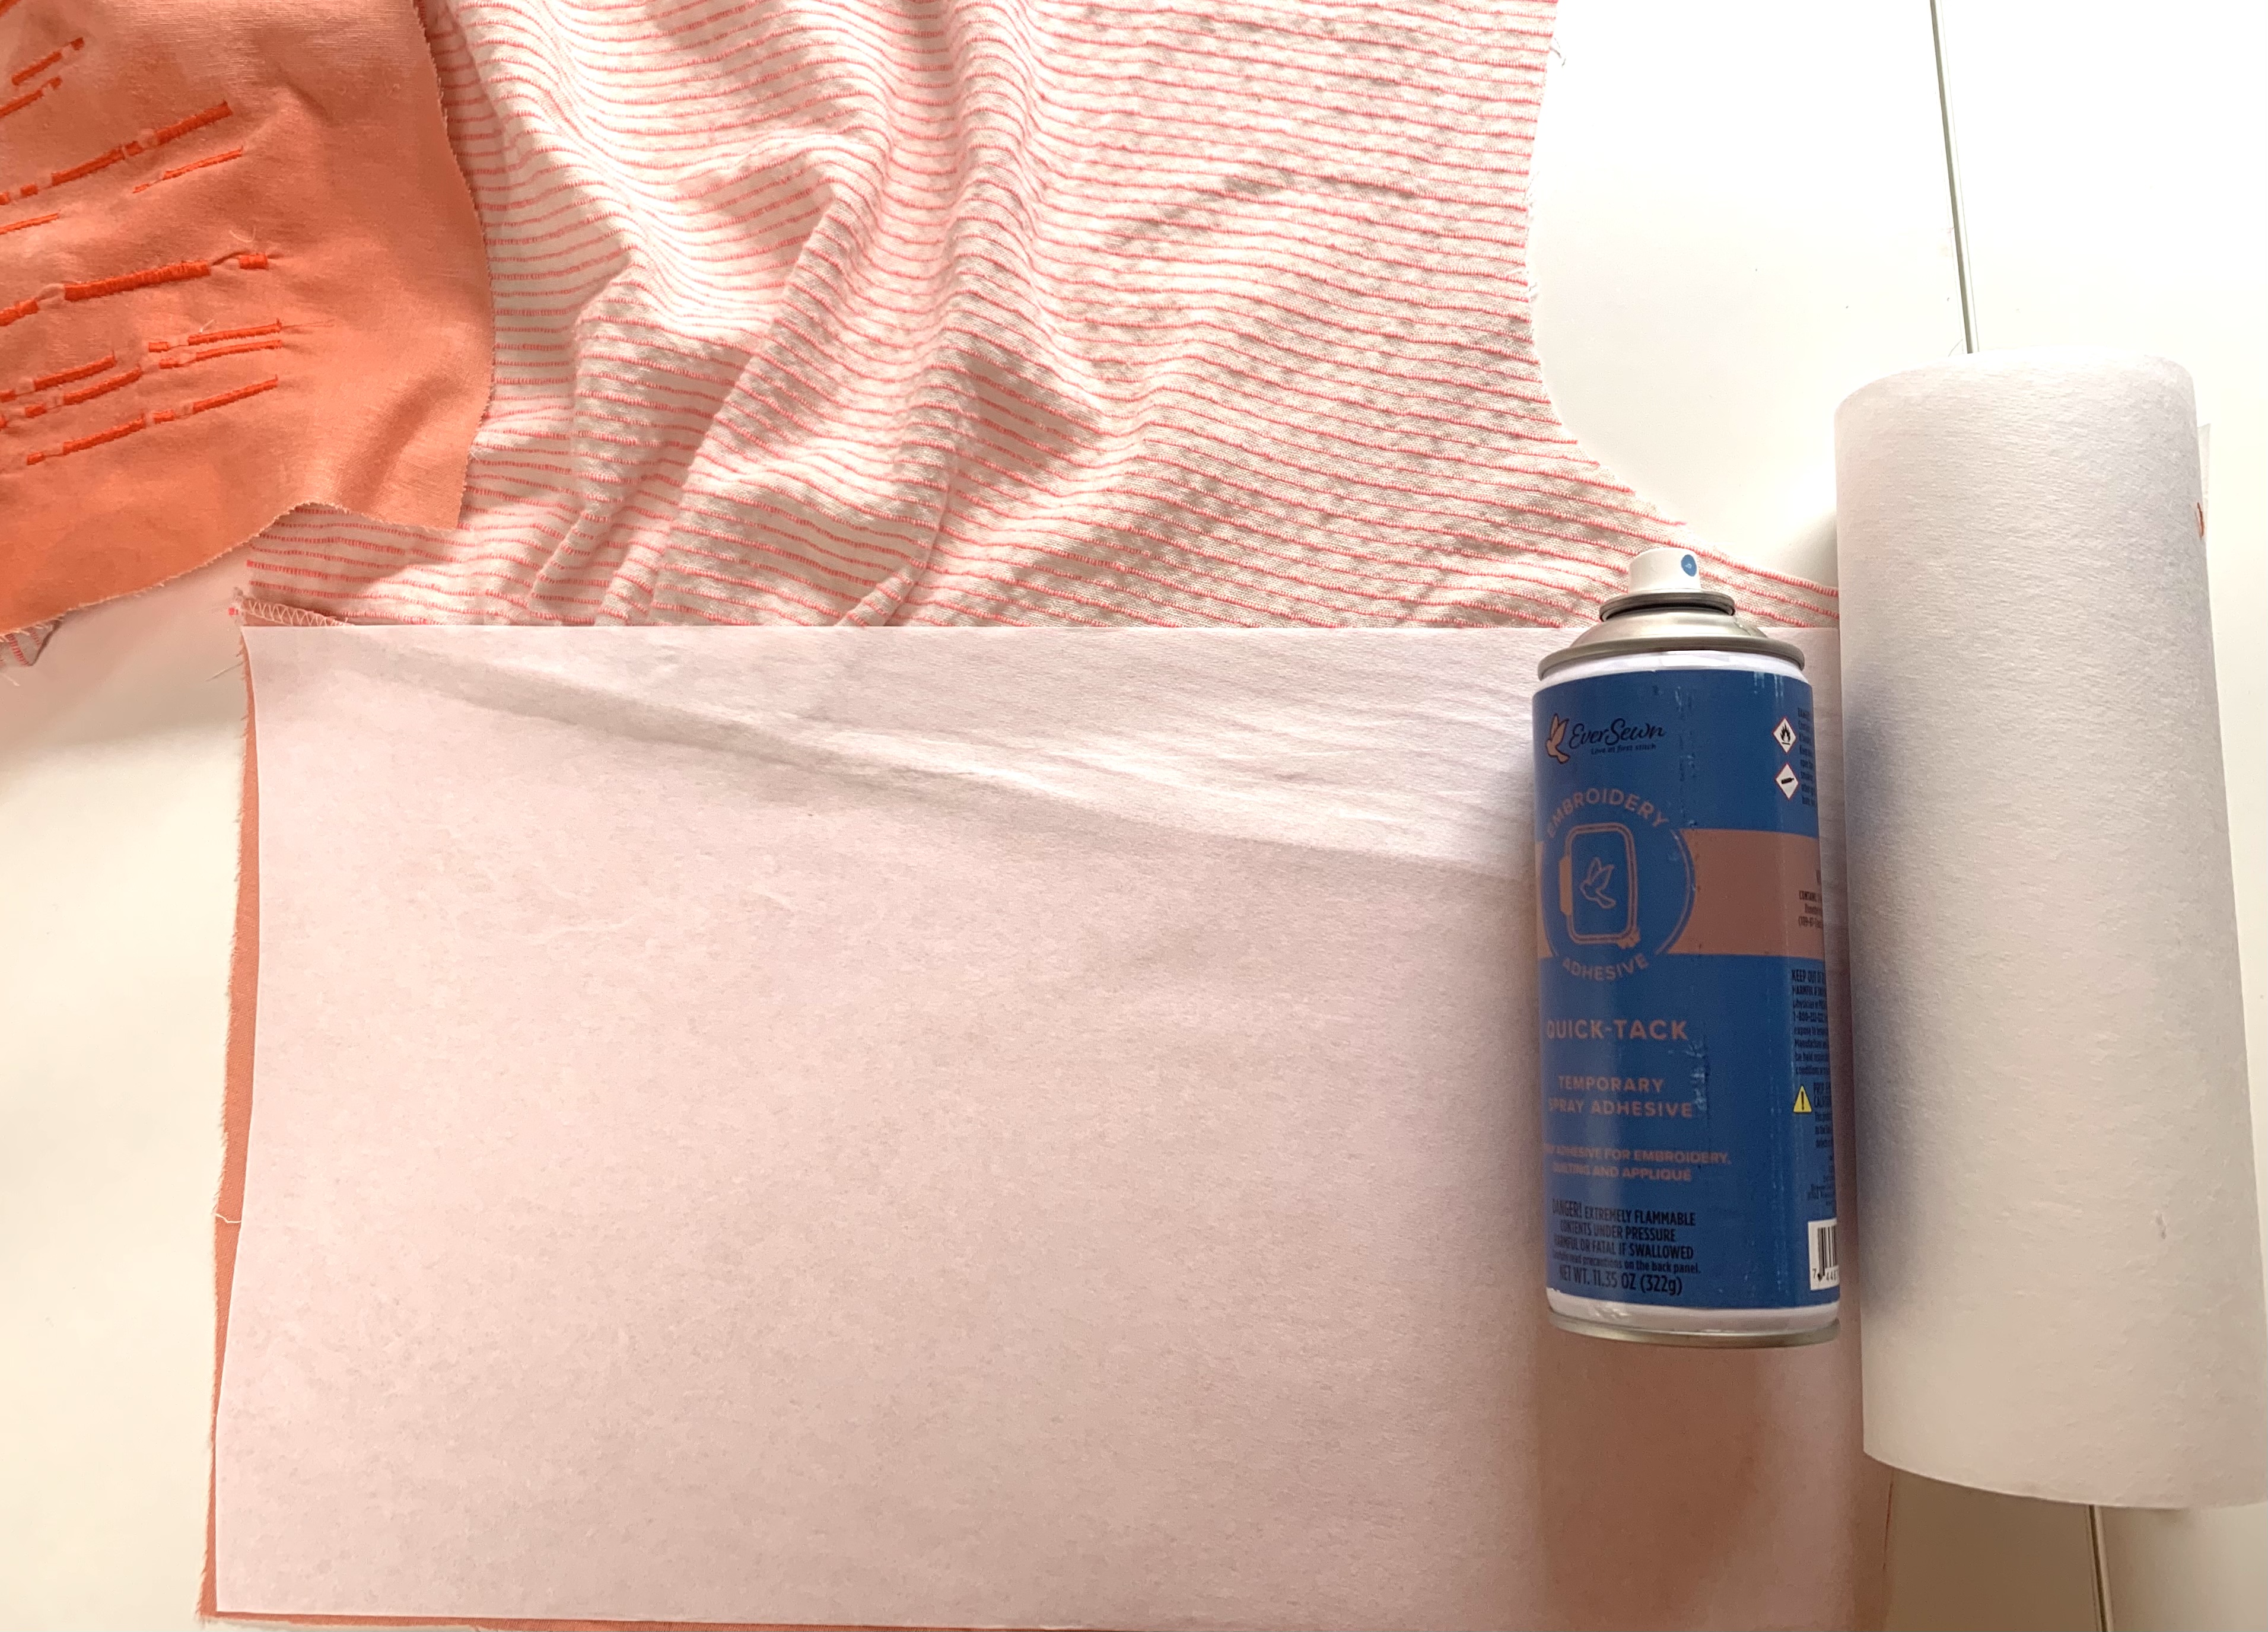
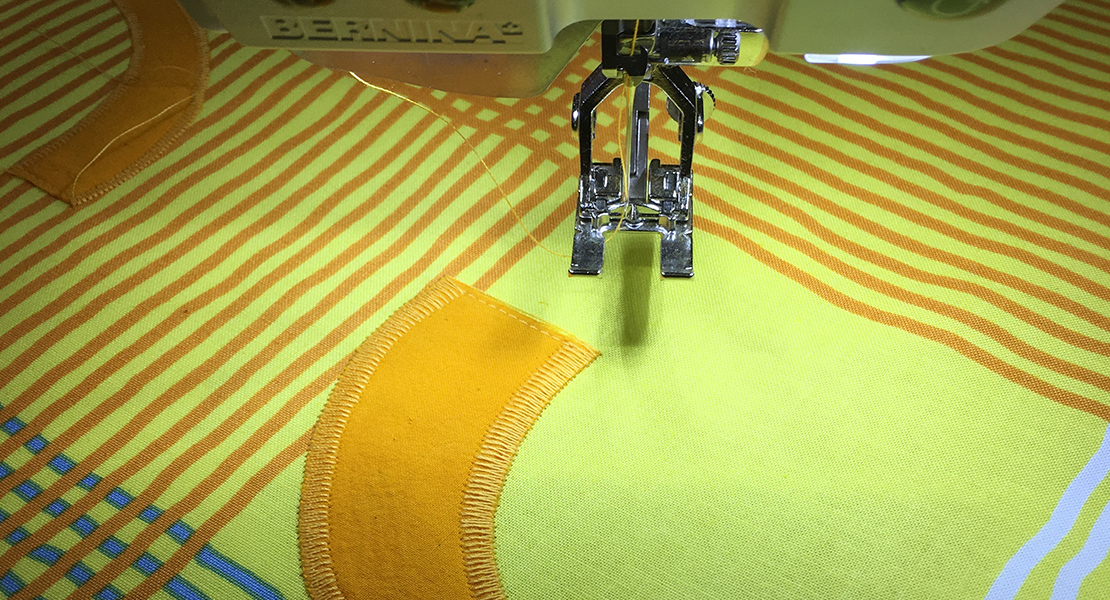
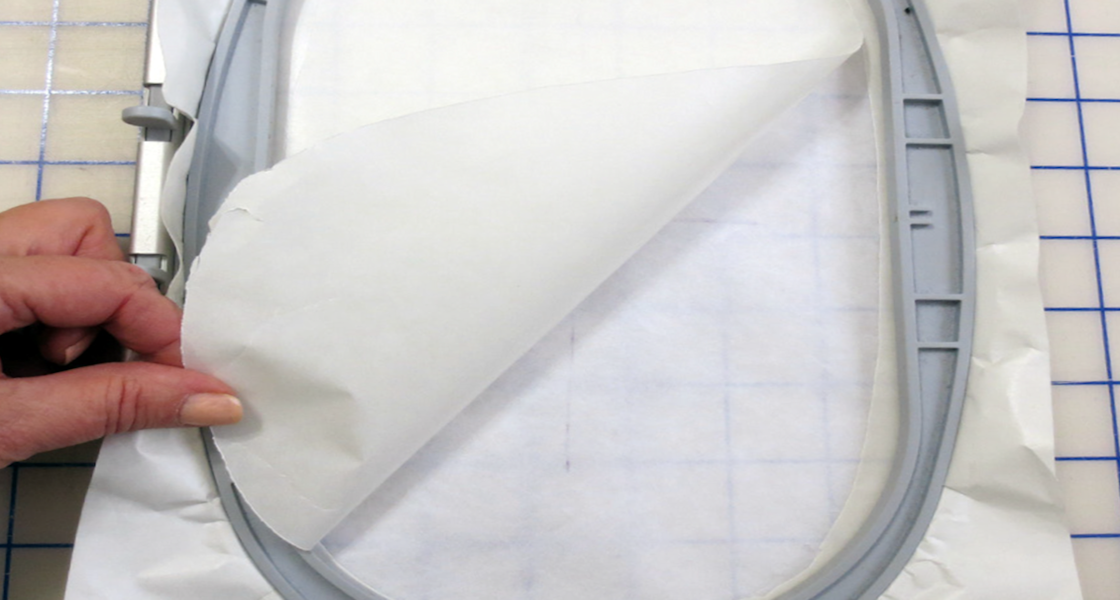
1. You’ll need to first adhere stabilizer to the WRONG SIDE of the fabric in the areas you want to embroider. Since I was making an embroidery design across the whole area, I needed to stabilize a large area. I recommend cutting out the fabric from the pattern first so you don’t end up embroidering areas you wont end up using anyway. Plus you can check the placement of the embroidery and where it will land when you wear it. (I highly recommend practicing embroidery on a scrap with stabilizer first before the actual garment!)

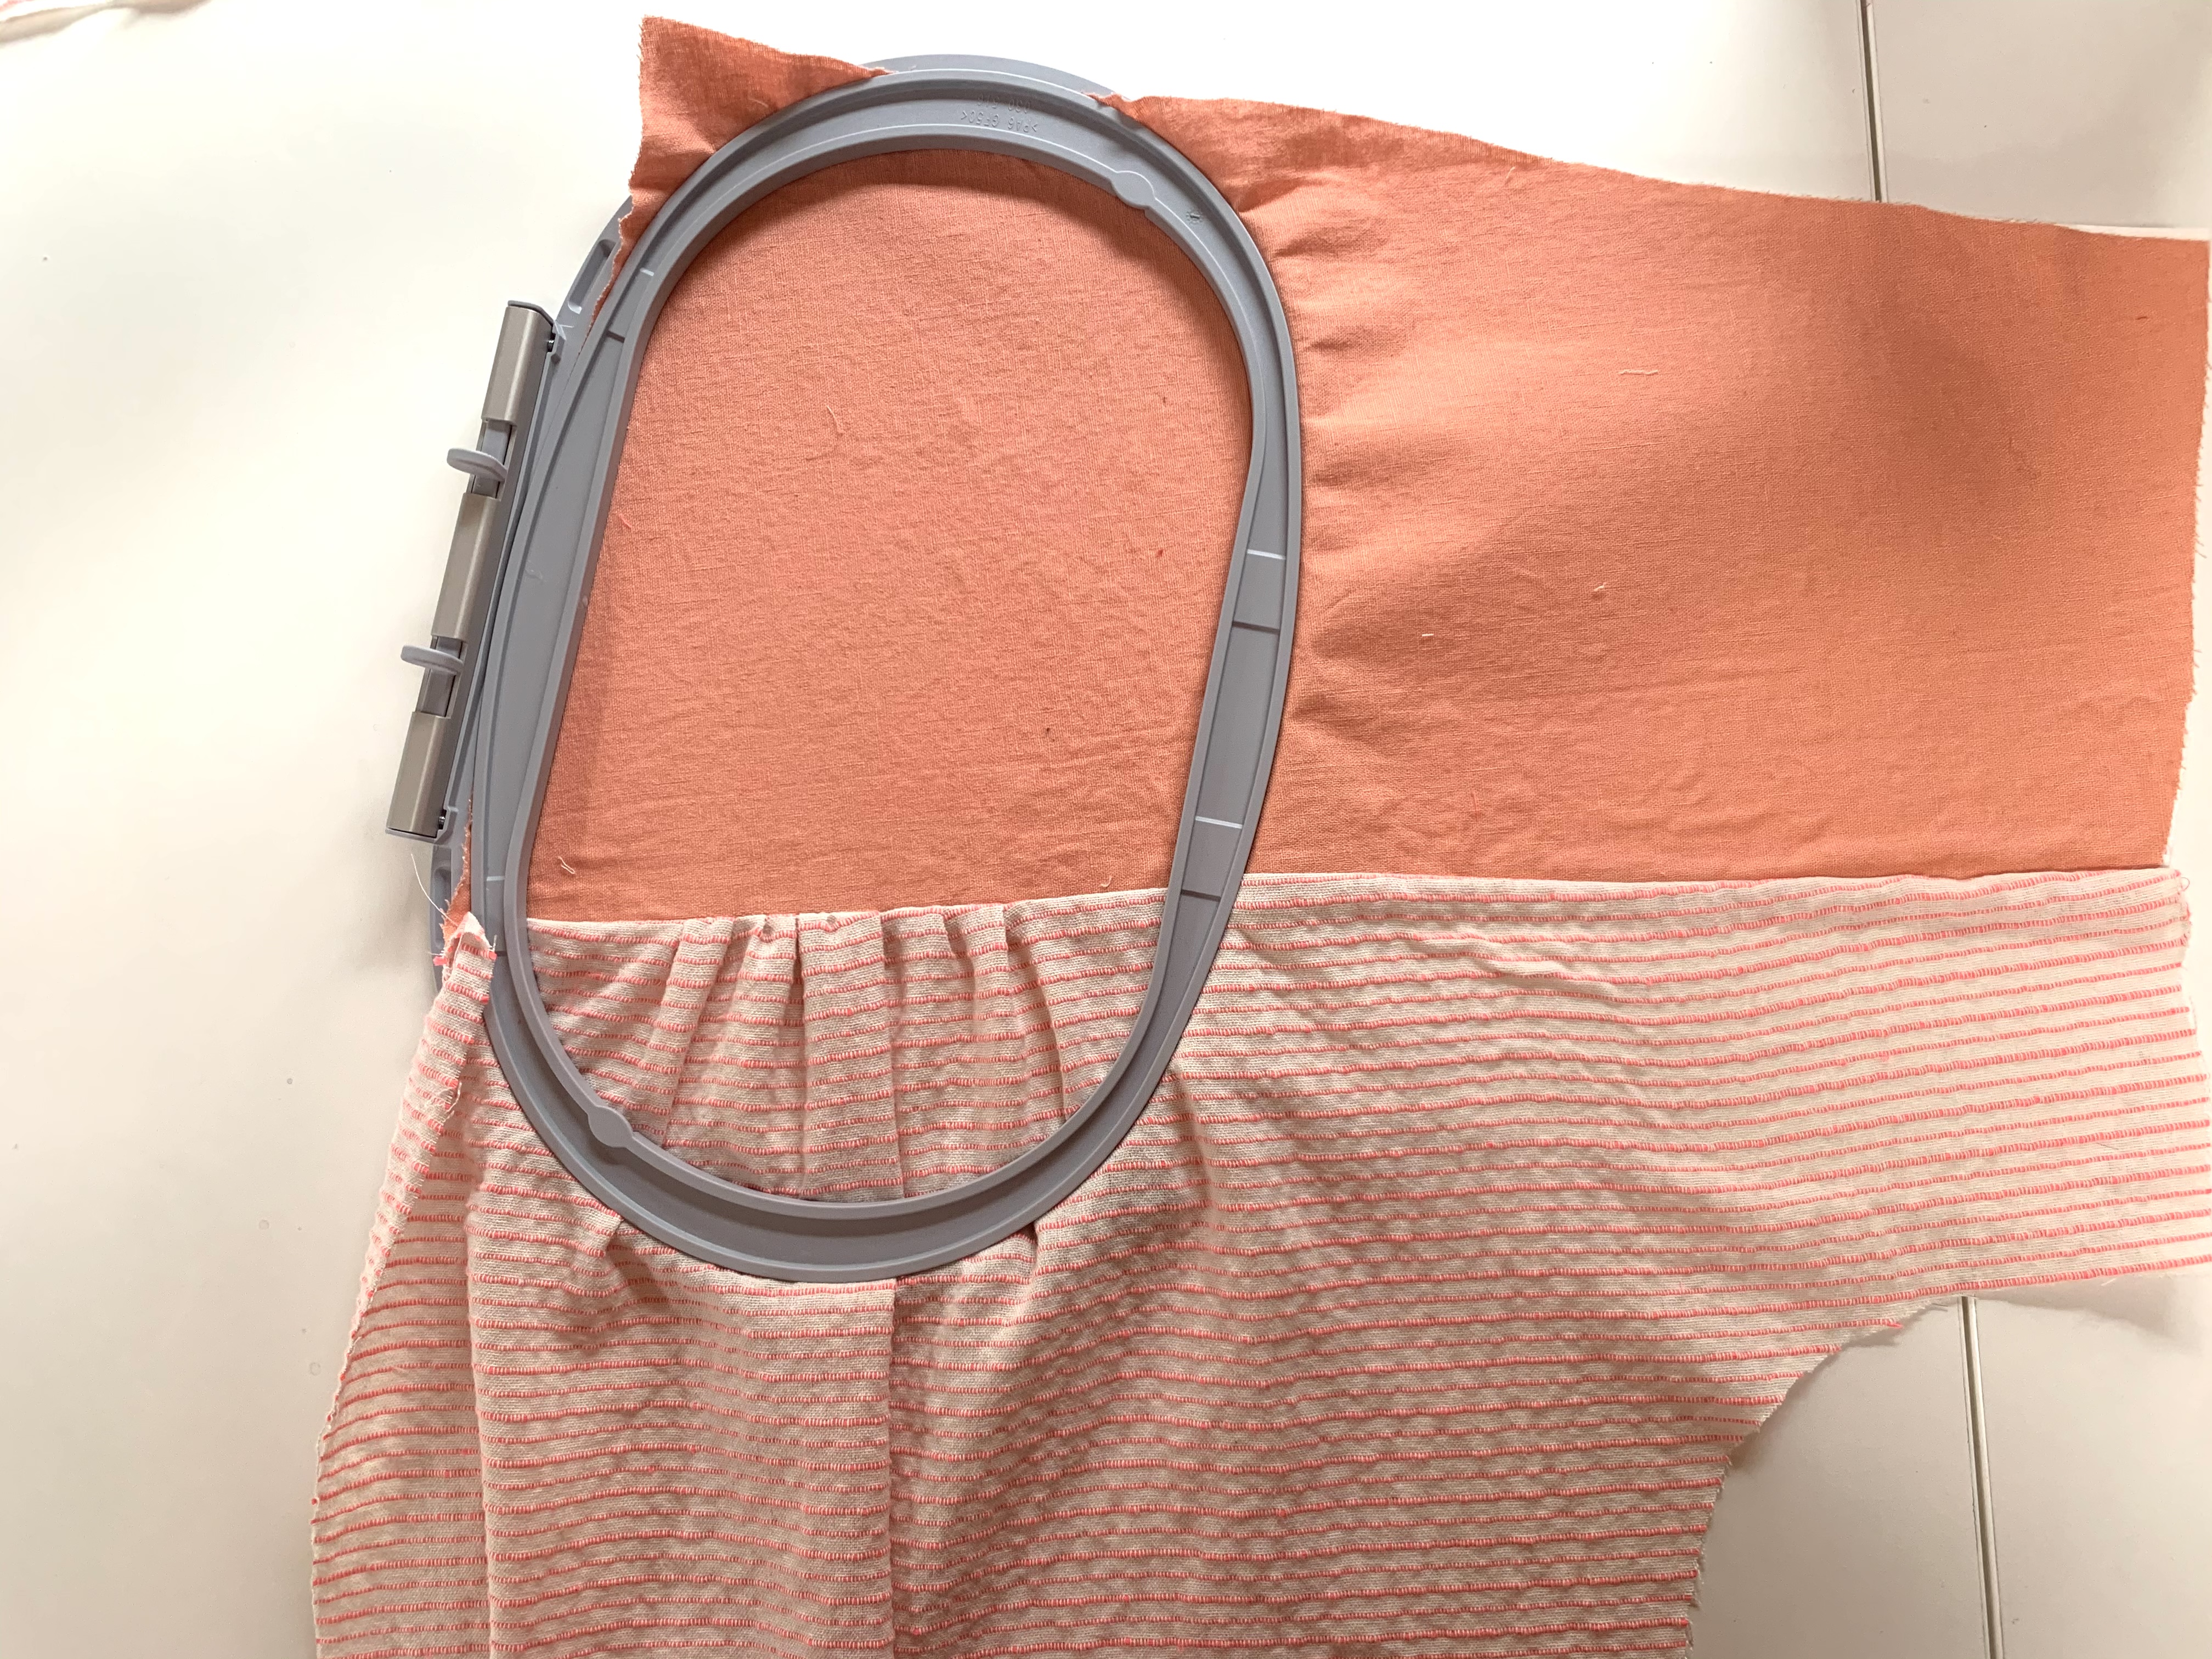
2. If you plan to embroider a large area of fabric, then use the largest hoop you have. I have a medium oval and it worked perfectly for this project. You need to sandwich the fabric in the hoop. I worked on one area at a time and just moved the hoop as I went.
3. Once you’ve attached the hoop, set your machine up for embroidery (follow instruction on your screen), and are ready to go, then the fun begins!
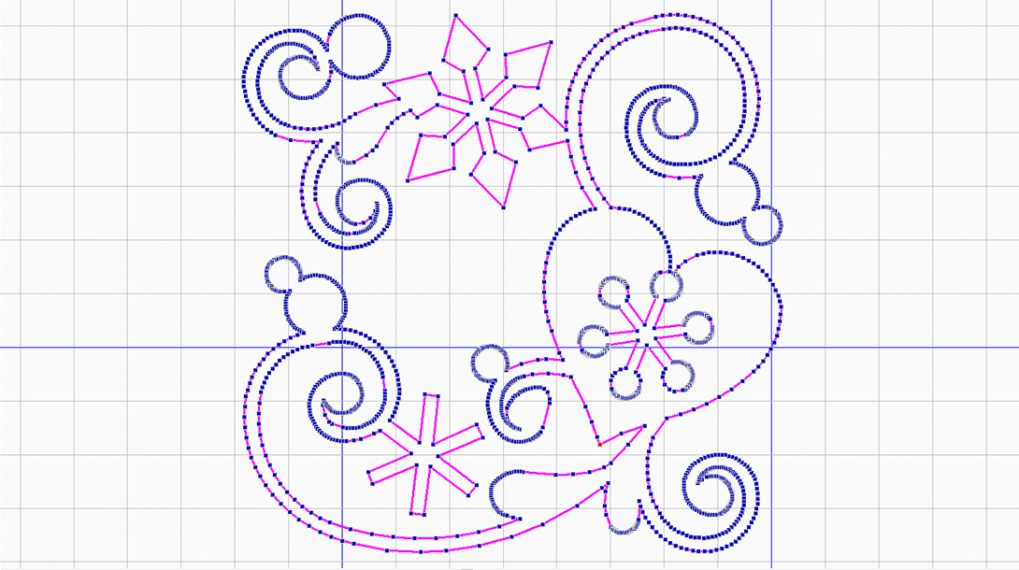
4. Go to the alphabet section of the embroidery designs in your Bernina. You can plan out some ideas on paper beforehand or even experiment on fabric first. I knew what I wanted so I went with the lowercase letter “i.” I wanted lines and dots. I wanted them in an irregular design so I didn’t program multiple “i’s” in a row (but it IS possible to program it to do a column of the same letter repeated).
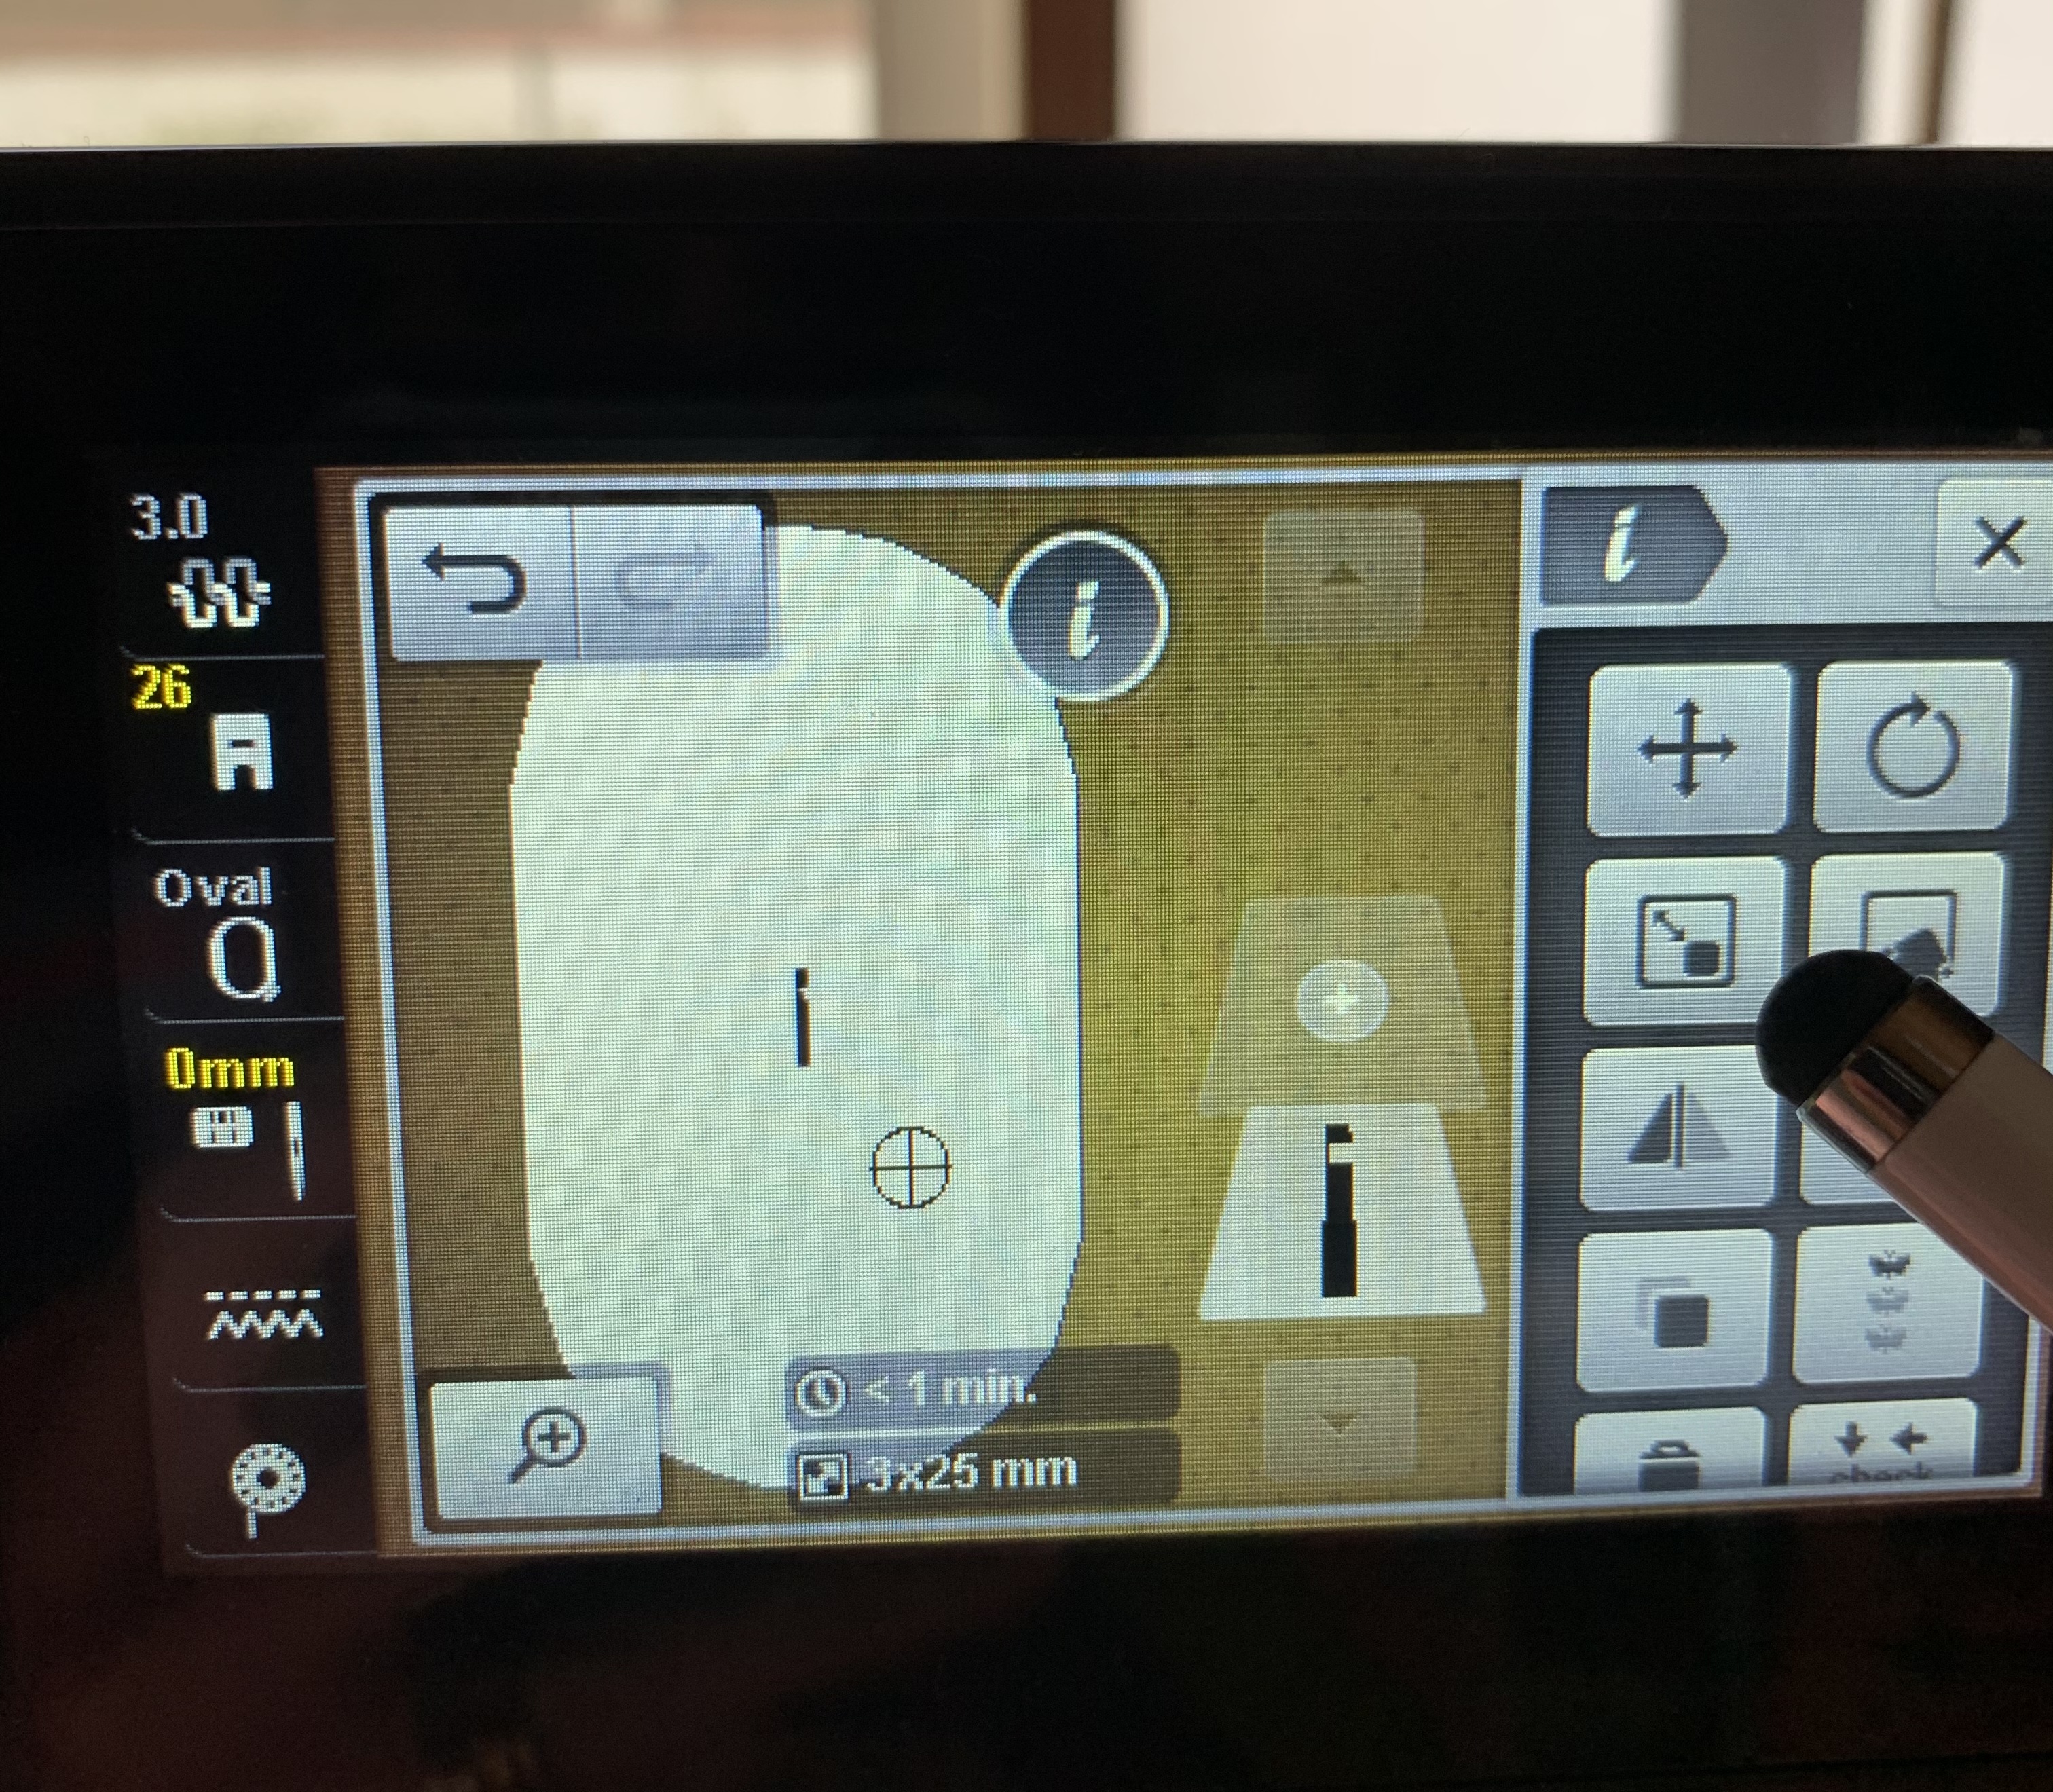
5. Above you will see the button to press to change the size of the letter. Click that and then:

6. You can change the width and height of the letter. If you press the lock than you can disable them being linked together and you can make it wide and short or tall and skinny, etc.

7. Now you need to figure out where you want to place it! Press the needle icon, which indicates you’re ready to begin! It will get everything positioned and ready. Now you want to change the location (It will automatically have it in the center of the hoop). So click the icon that looks like the embroidery hoop. The allows you to change the location it embroiders. (Use the knobs to move it up and down, side to side). Press the “Go” button and off it goes! And you can watch it do all the work for you!
8. When you are ready to place the next one, you need to get back to the “ready to go” stage and just repeat. When you want to change sizes of the letter, you act like you’re finished and go back to the beginning (select the letter and change the sizes, then proceed through the steps again). I usually moved the hoop all around, inserting “i’s” of that particular size, all over before I changed the size of the “i” again.
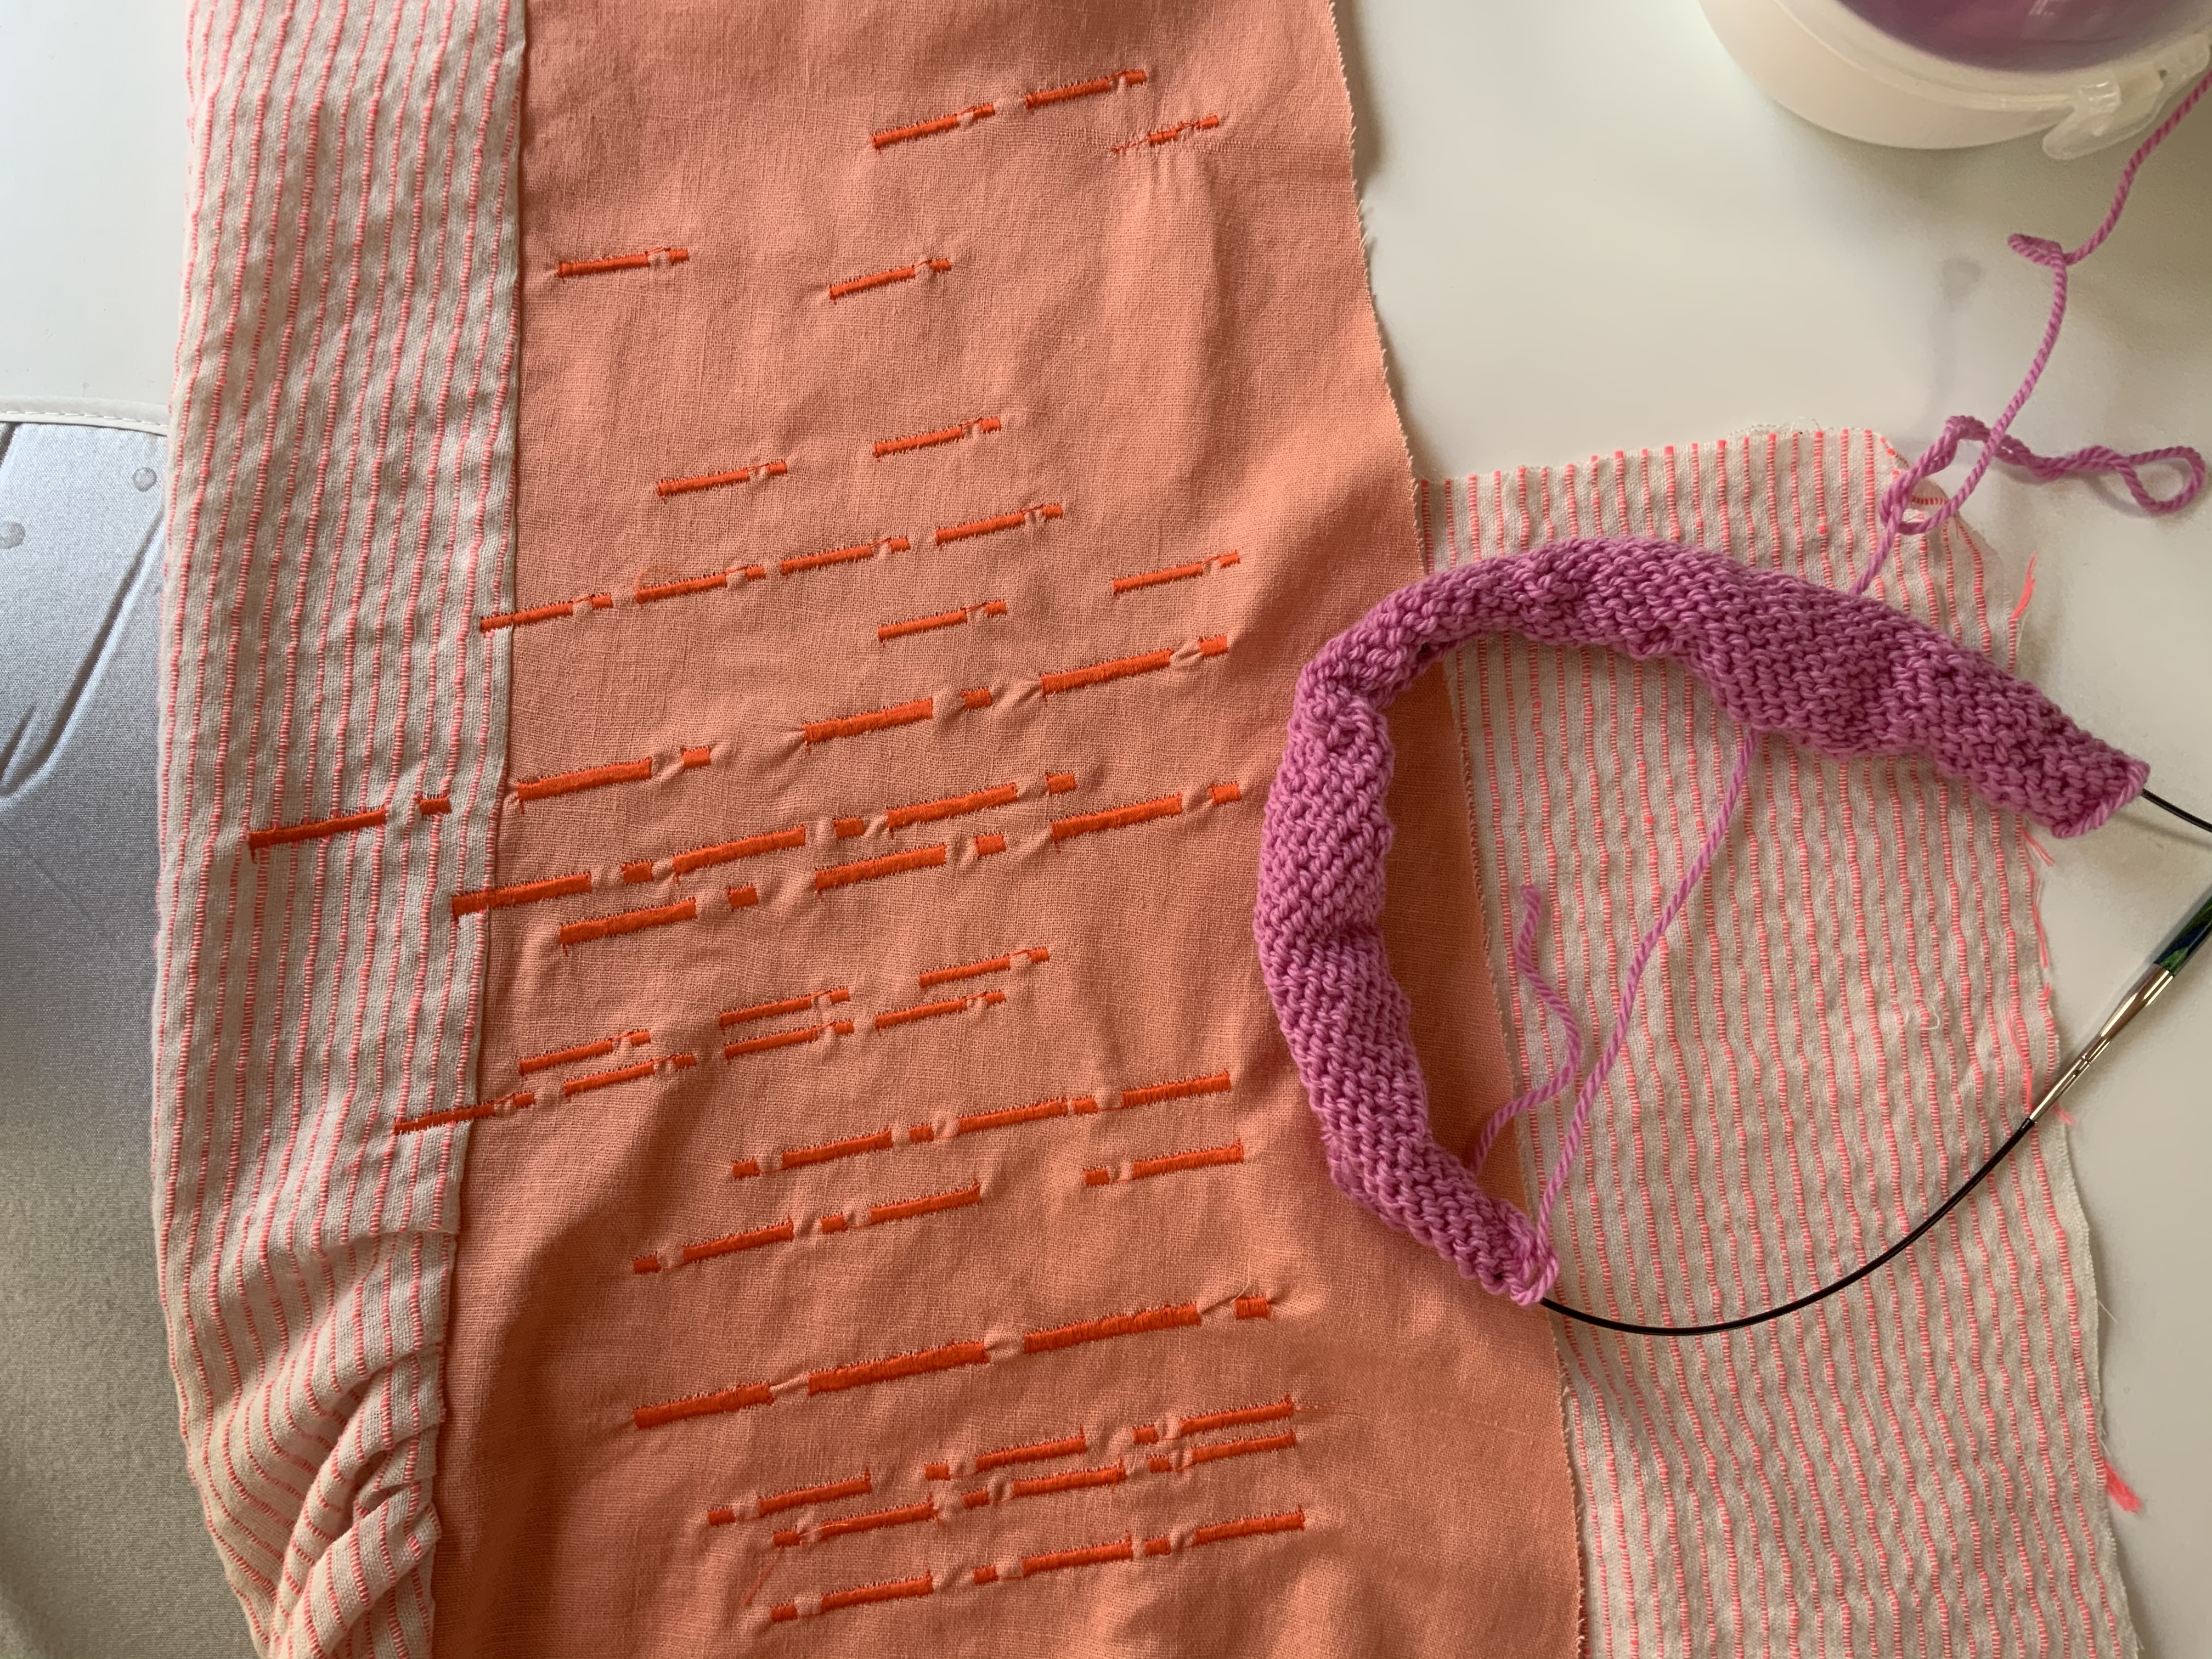
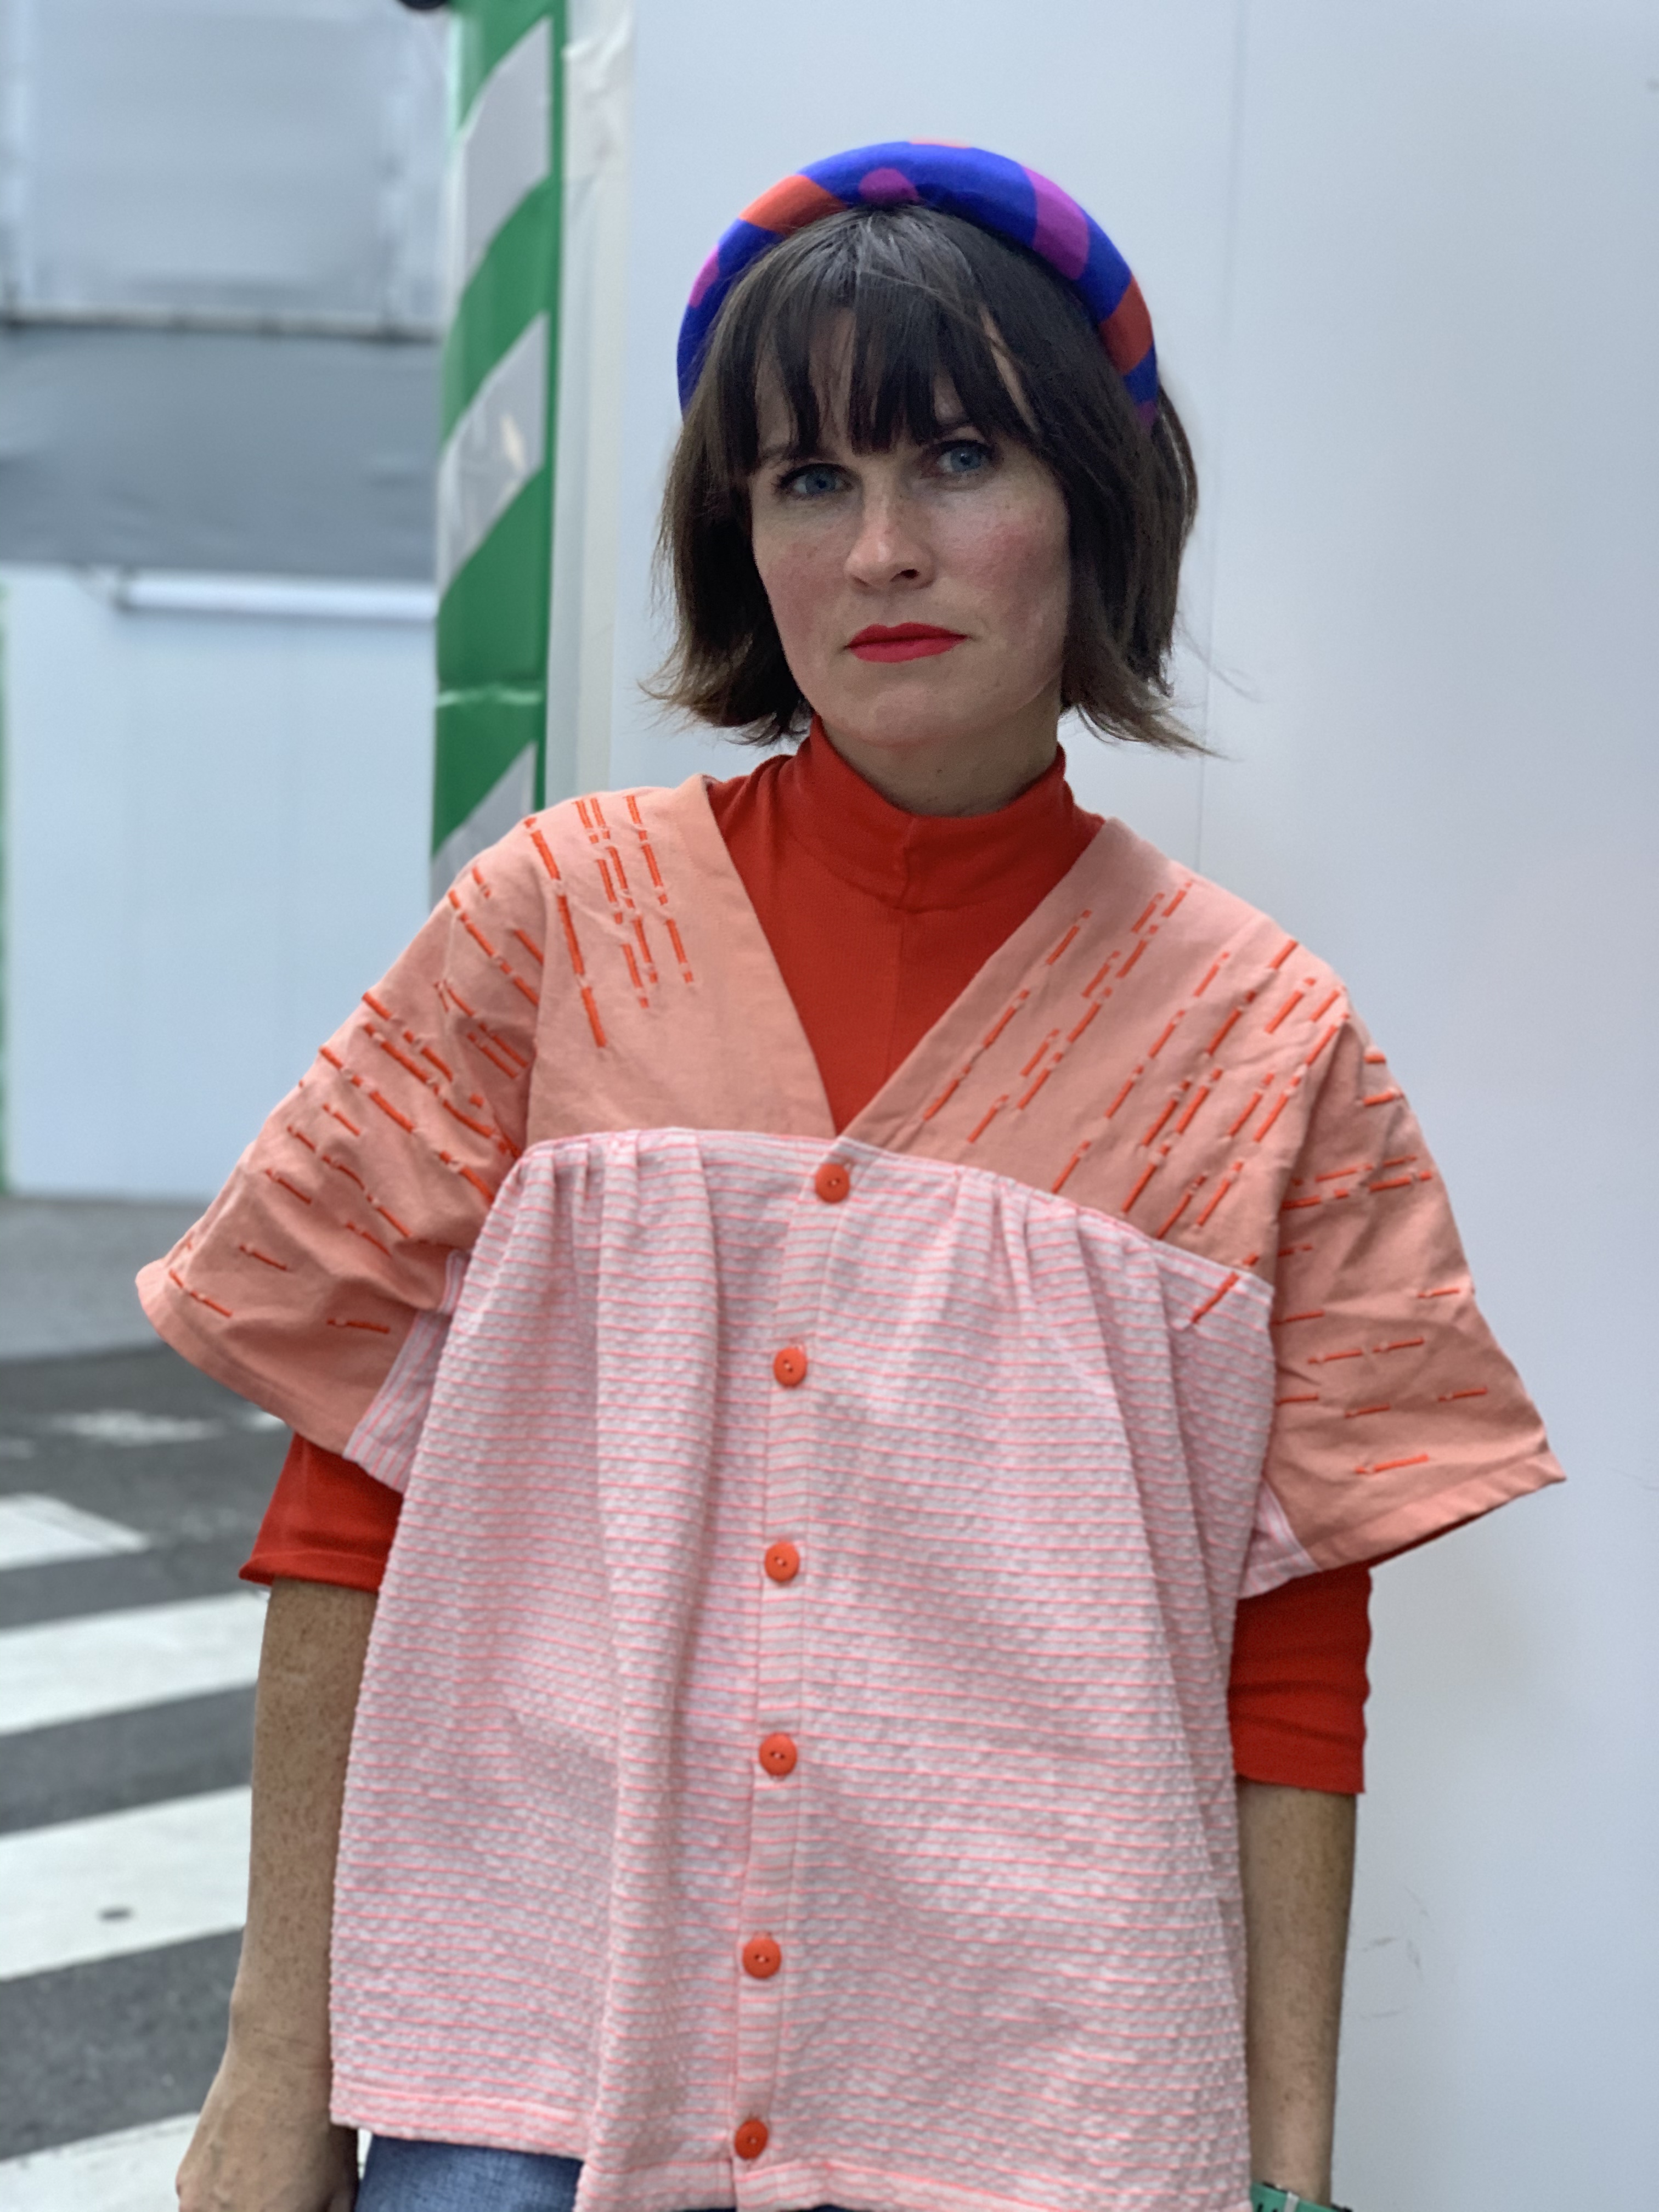
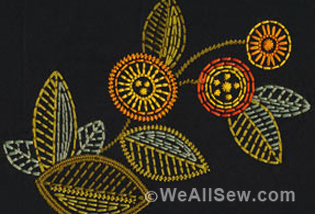
As you can see, I had fun with placement and spacing fo the letters. Some people commented that it looked like Morse code! It was fun creating a “print/pattern” design on my fabric that had texture and depth. I have more ideas now that I’ve wet my fingers with this first embroidery project, and I hope you’ll try it out as well! I imagine that the letters “U,” “E,” “M”and “O” would also make some interesting shapes when repeated.
Used Products

What you might also like


6 comments on “Using the Alphabet to Create an Abstract Embroidery Design”
-
-
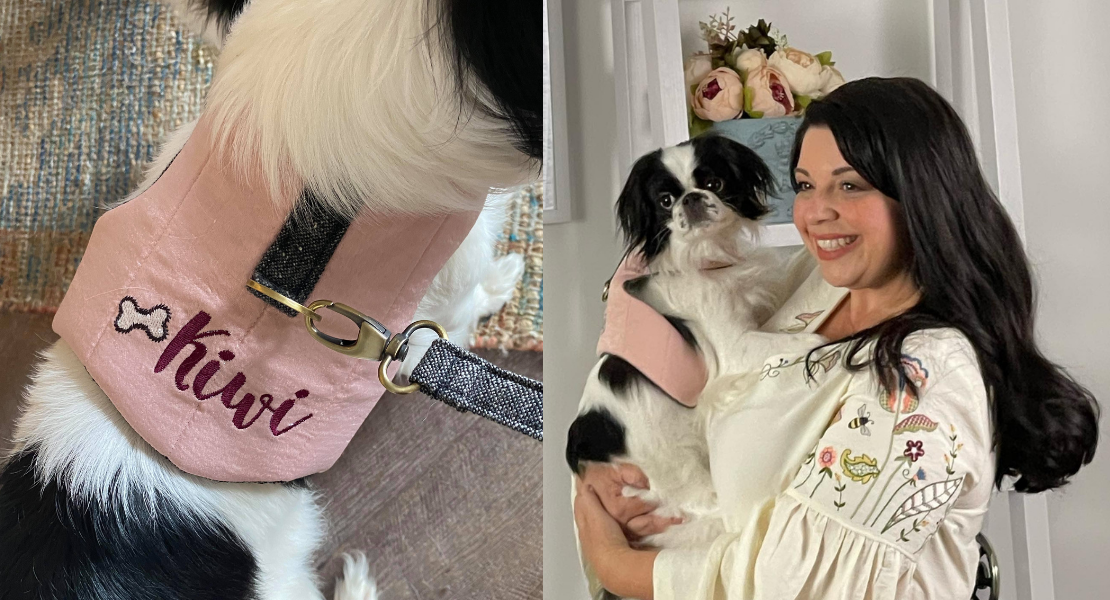
This is the Meadowwoodn shirt pattern from Straight Stitch Patterns.
https://www.straightstitchdesigns.com/product/meadowood/
-
-
I would suggest that you embroider your design first before sewing the garment together.
-
For this, I hadn’t sewn the entire shirt together yet, but I had sewn the top and bottom halves of the shirt together so I could ensure that the design landed exactly where I wanted.
-
-
Very cool! I see lots of design ideas from this. Thanks sew much!
-
You’re welcome!! I have lots of letter-themed ideas too! Hope you do something wonderful!
-
Leave a Reply
You must be logged in to post a comment.

Love the embroidery! What shirt pattern did you use? TIA