How to Create Surface Design With Stitches

Create unique fabric surface designs with stitches using various colored threads, fabric, and simple stitches built-in to in your sewing machine. You can use any stitch, from a simple straight or zigzag stitch to the built-in decorative stitches in your machine using this easy technique.
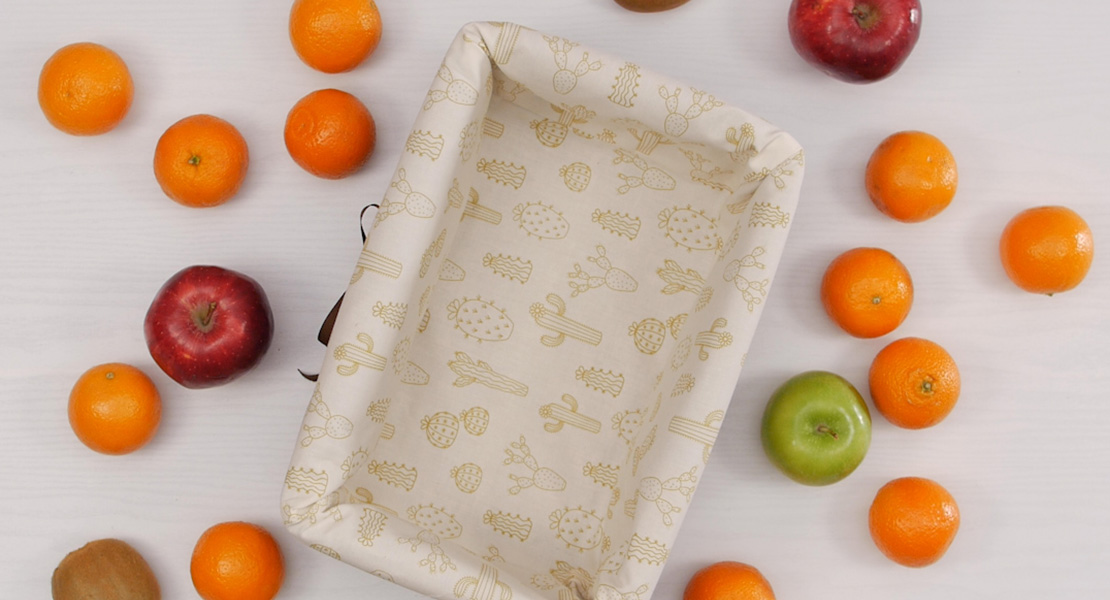
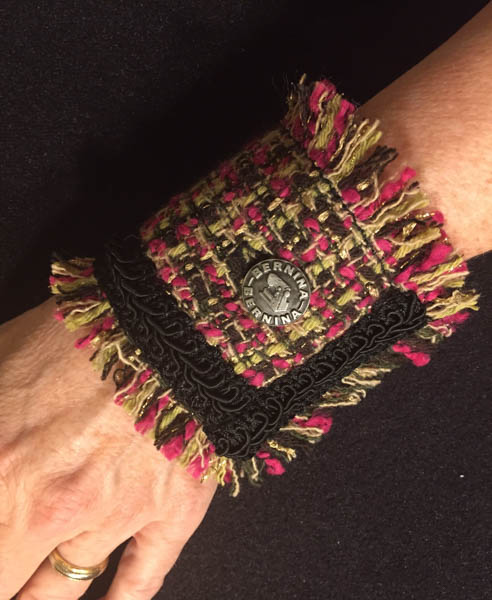
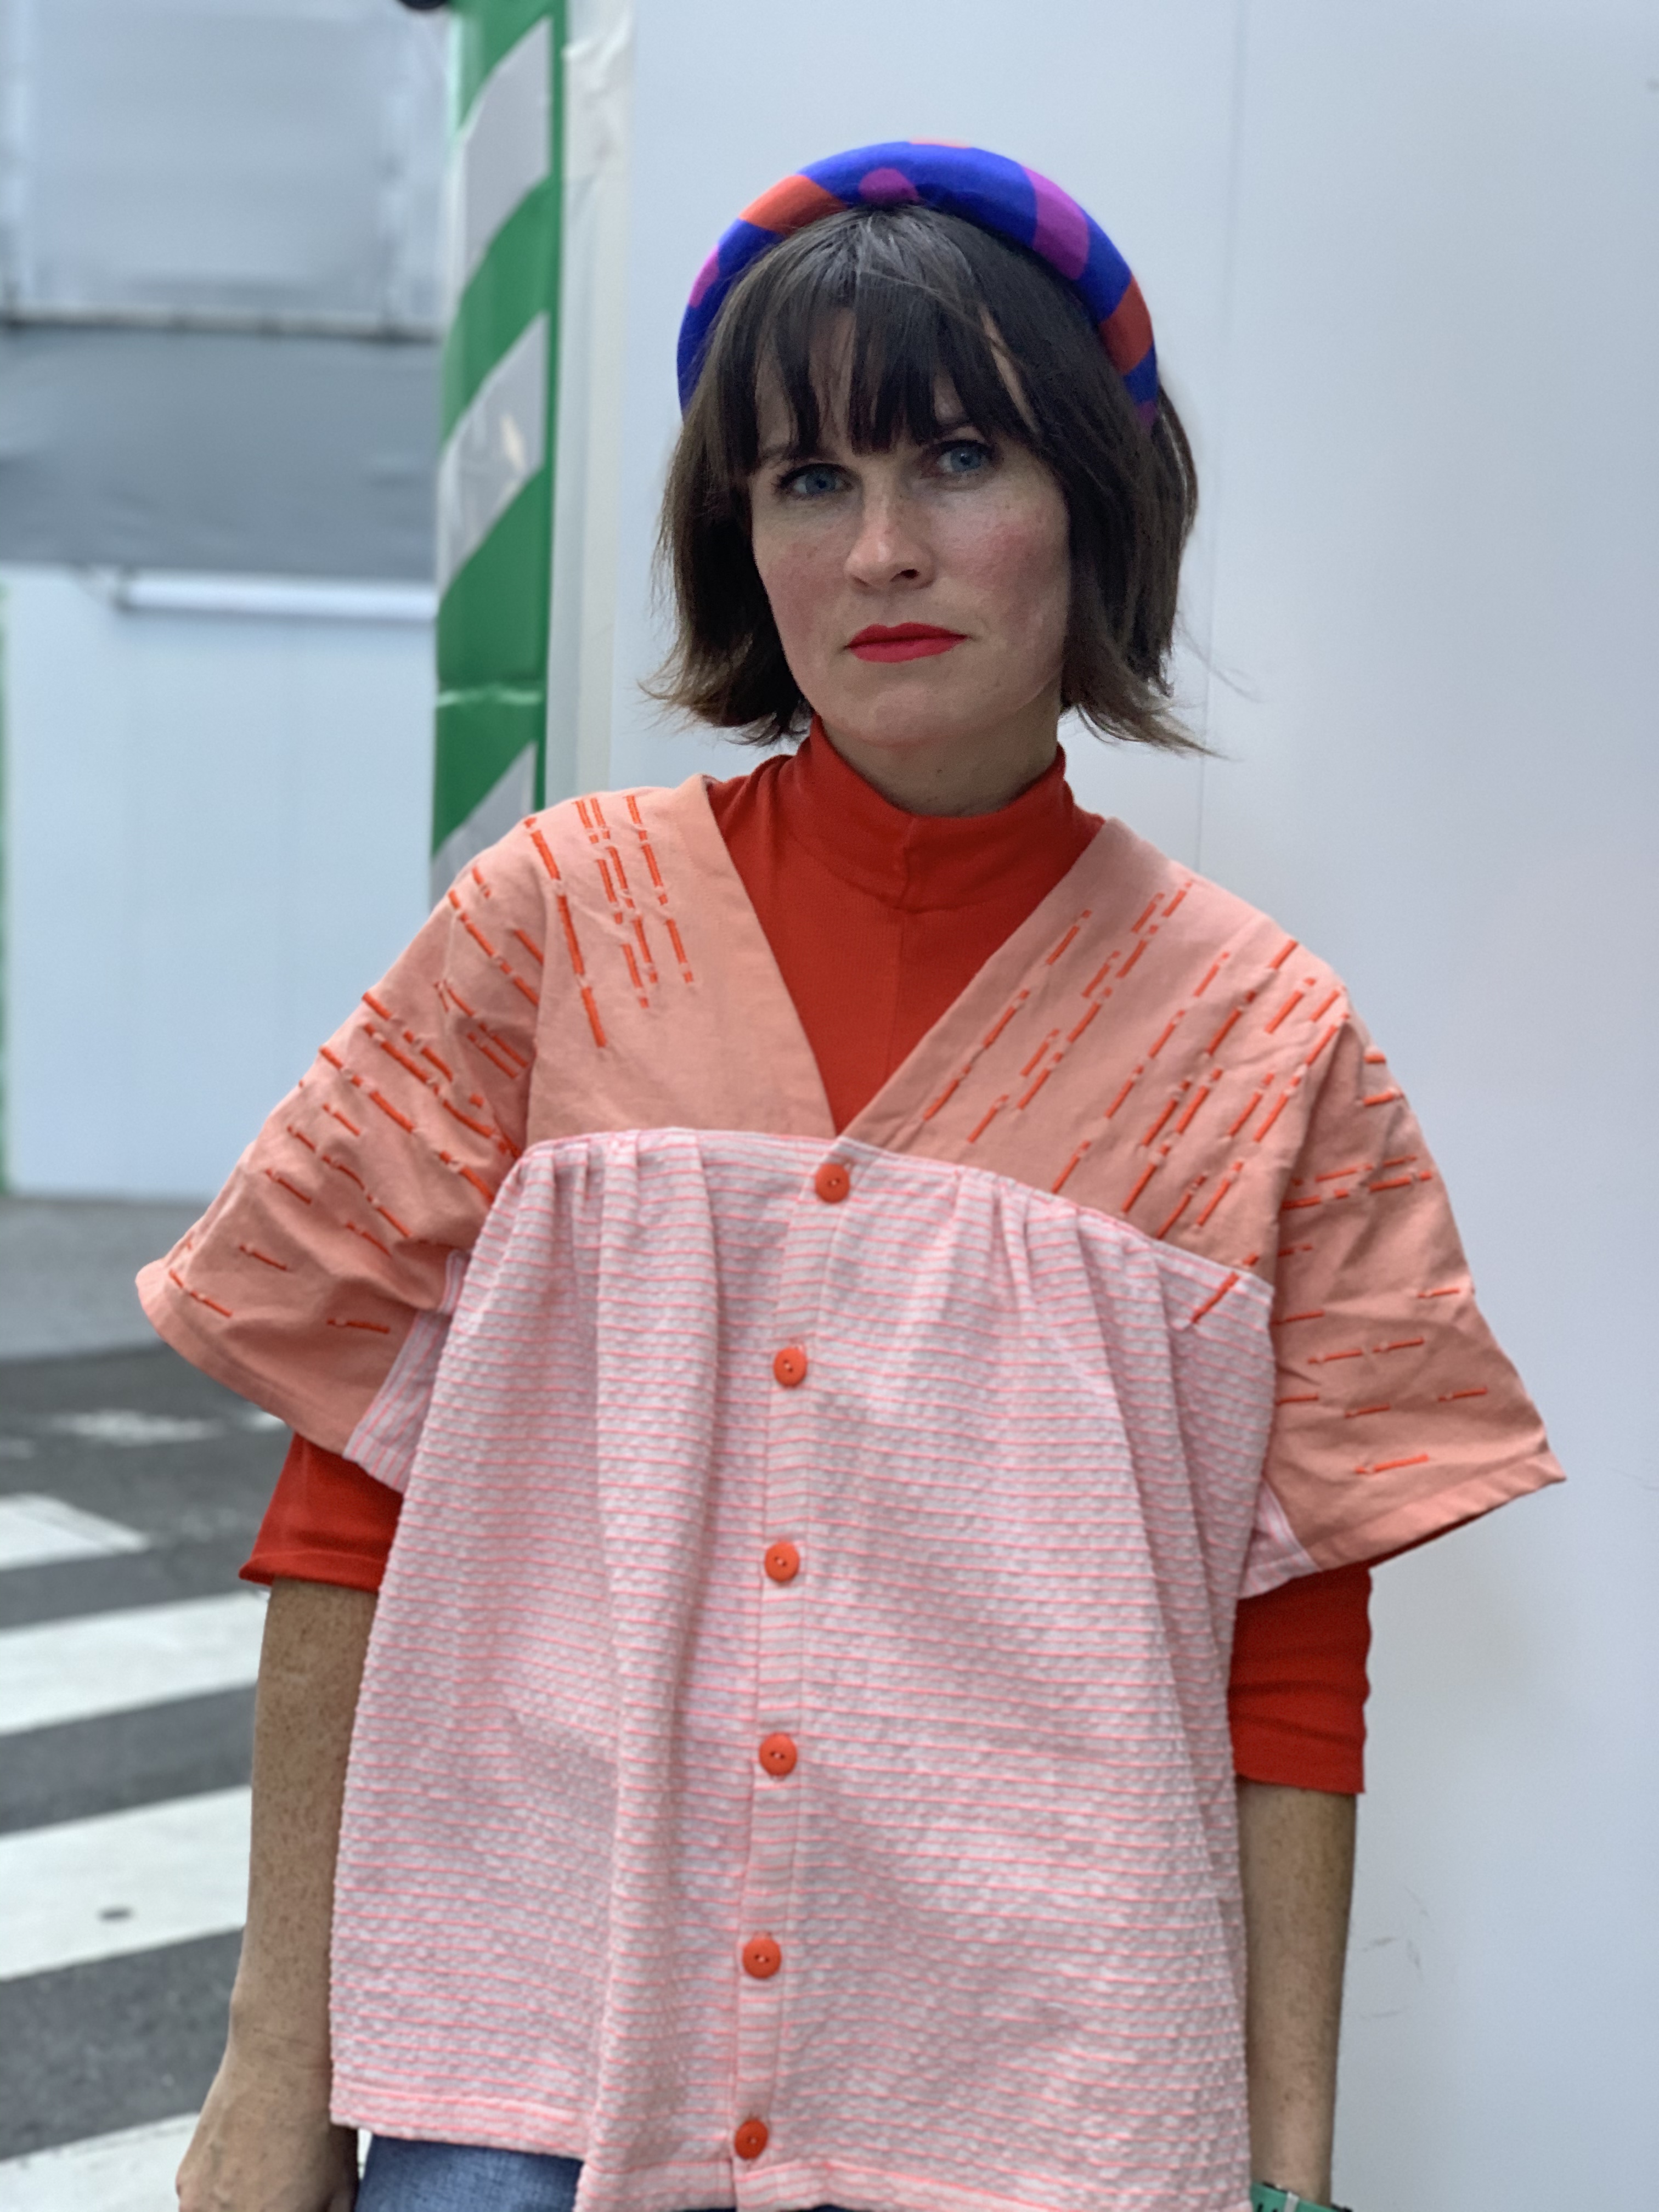
I’ve used pieces of machine stitched fabric like this on garments as cuffs, collars, or pockets, and for small crafts like zipper pouches or needle books. I even embellished one whole yard of fabric in this way to create a custom corset in art school! I’ll include the details for the stitches used in the fabric shown in this tutorial, but you can play with simple designs made with different stitches in your own sewing machine.
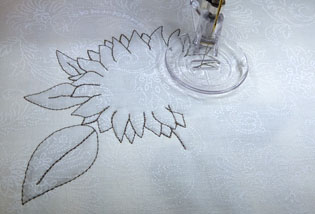
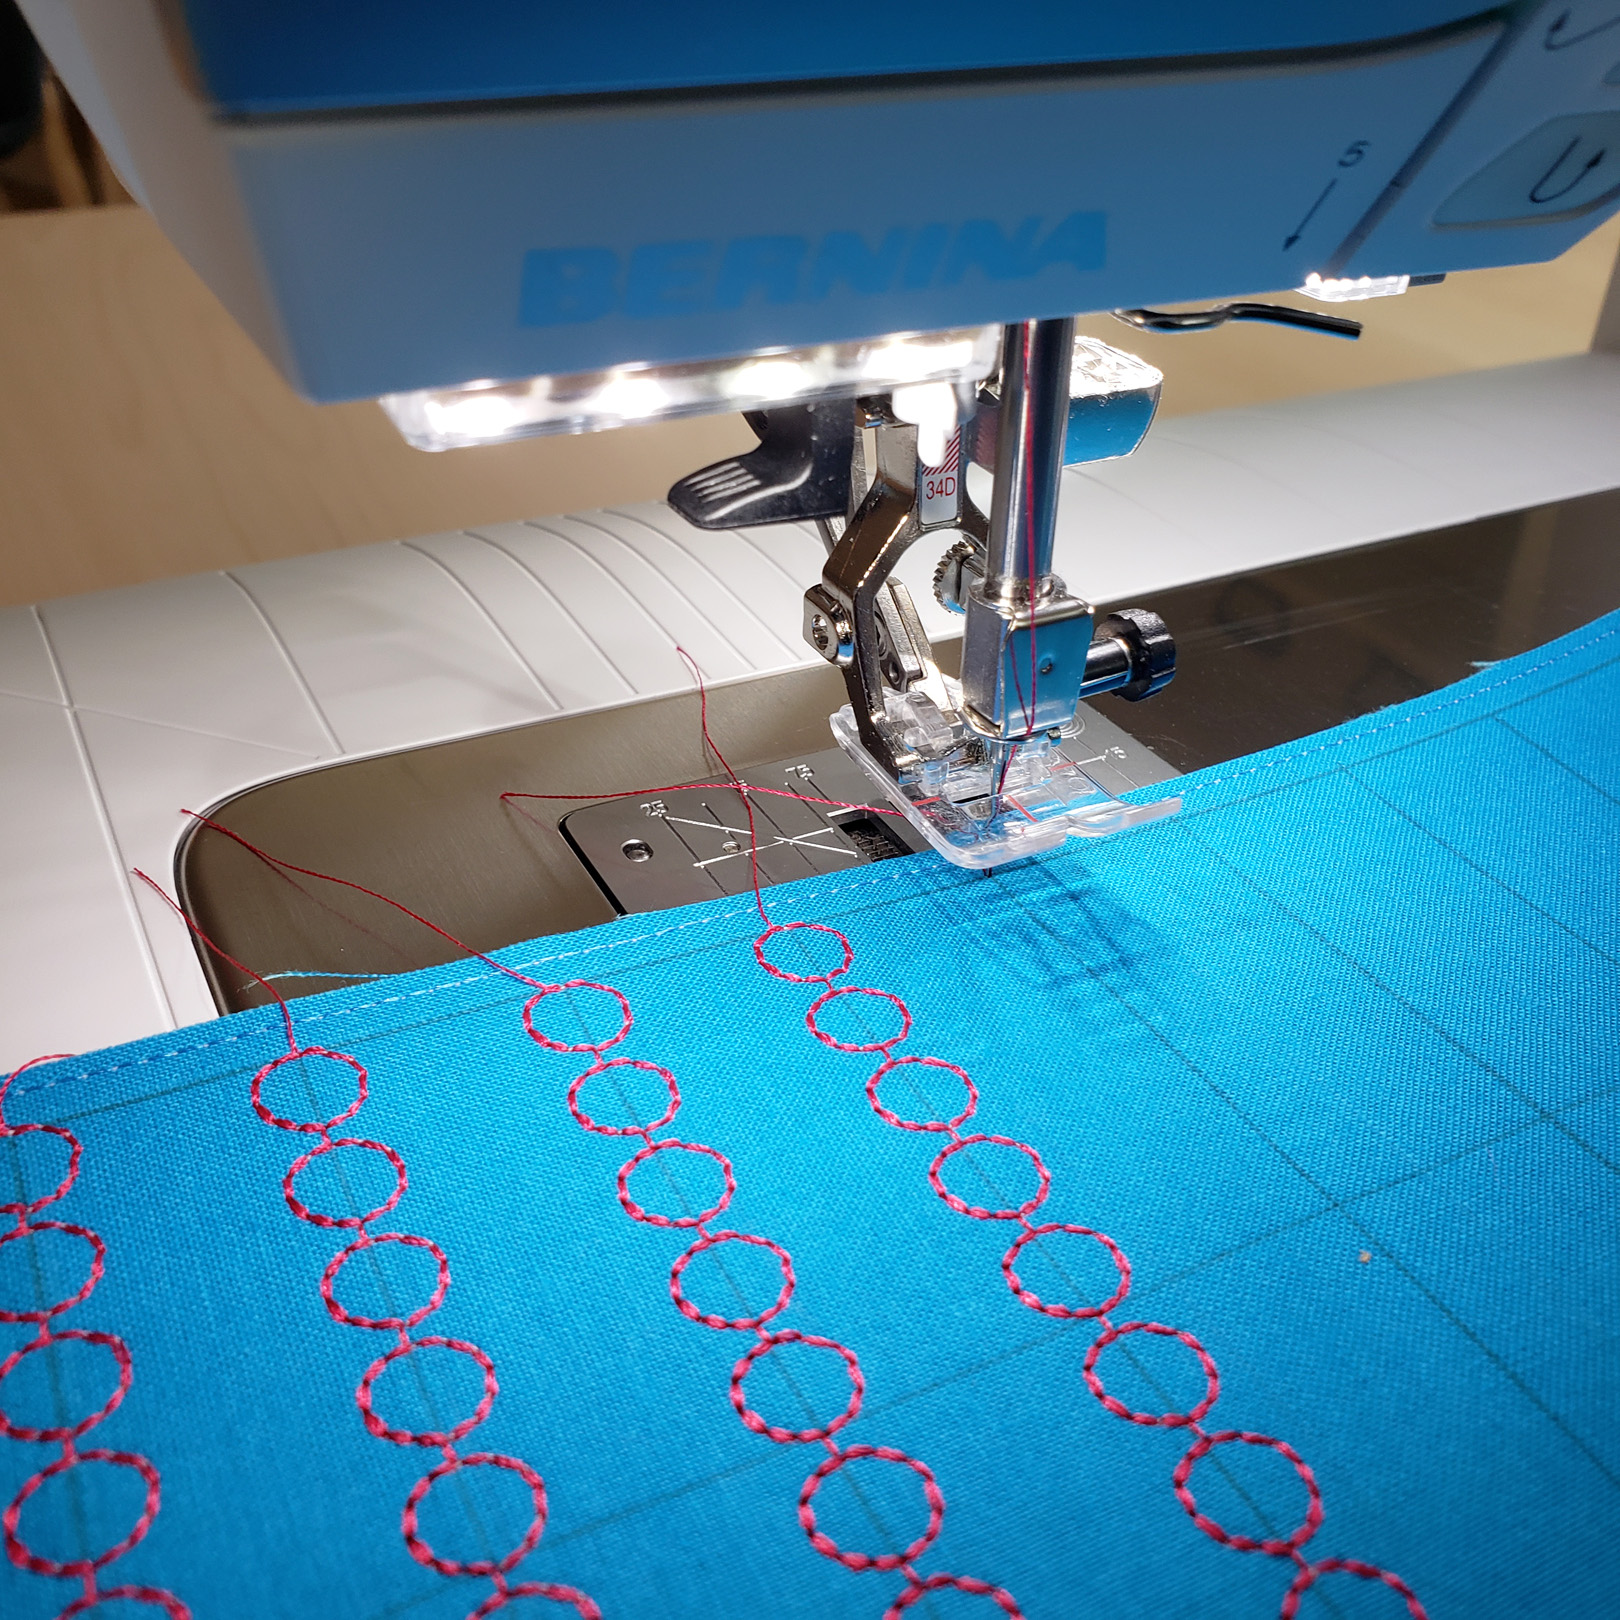
The secret to this technique is using the Reverse pattern foot #34D. This foot has a crystal clear sole and markings on the foot to help you follow pattern lines when you sew.
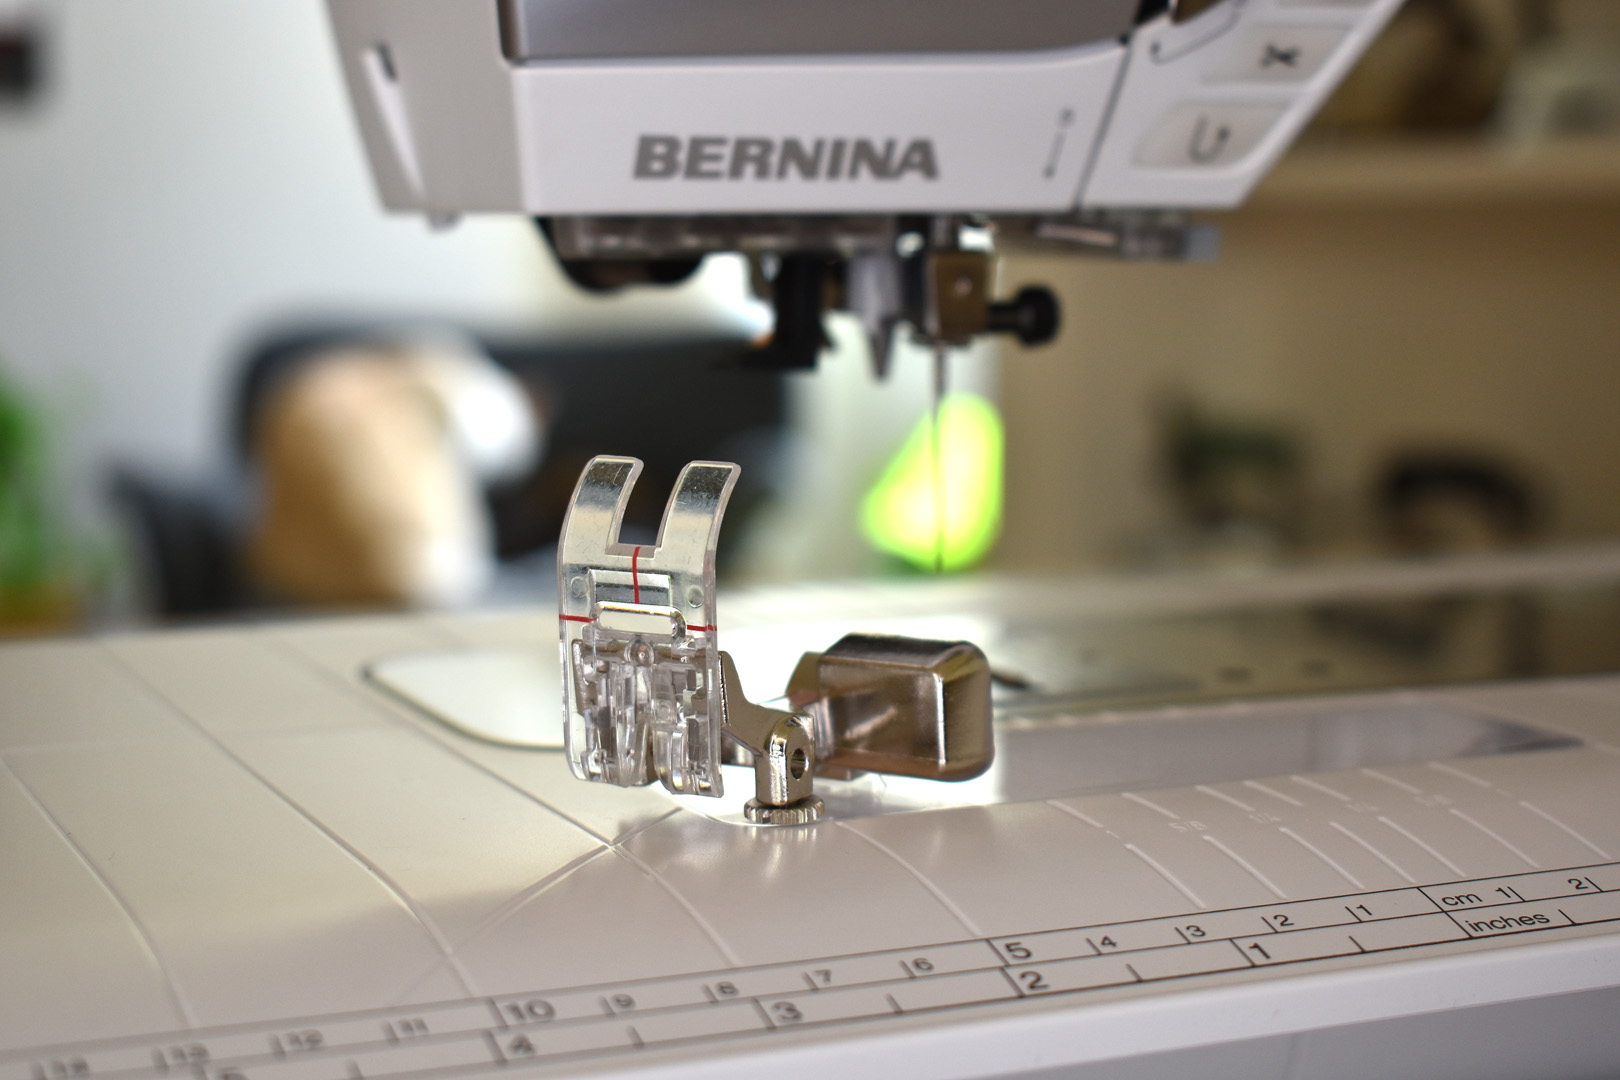
The sole of foot #34D is made with an indentation on both sides of the needle opening. This indentation allows for stitch formation in decorative stitches formed with a back-and-forth motion by the machine. The narrow opening helps support the fabric to prevent the needle from dragging the fabric too far up or down when stitching. Red markings on top of the foot align exactly with the needle in center position.
The crystal clear sole also allows for an easy view of what you’re sewing over with the foot.
Materials to Create Surface Design With Stitches
- Sewing machine (I use a BERNINA 570 QE)
- Reverse pattern foot #34D
- Ruler and fabric marking pen or pencil
- Piece of fabric as base for stitches (I use a 15″ x 15″ piece of 100% medium weight cotton)
- Stabilizer or interfacing to support stitches on fabric (I use a medium weight cut-away embroidery stabilizer)
- Threads (I am using 40 weight polyester embroidery thread in magenta, bright yellow, and orange)
- Optional: embroidery bobbin thread
- Stitches used: decorative stitch # 652, triple stitch #6, and straight stitch #1
How to Create Surface Design With Stitches
The first step to creating a fabric design with stitches is to select the right stabilizer for your project. Using a stabilizer keeps the fabric from puckering or stretching out of shape as you add multiple stitches. A good place to start is to think about the final use for your fabric, if you want a stabilizer that will stay attached to the fabric, or a stabilizer that will tear or wash away. You can use stabilizers made for machine embroidery or choose any interfacing (as long as the interfacing does not stretch). I used a medium-weight cut-away stabilizer with the intention to leave the stabilizer attached to the fabric – it will make a nice weight to sew a zipper pouch.

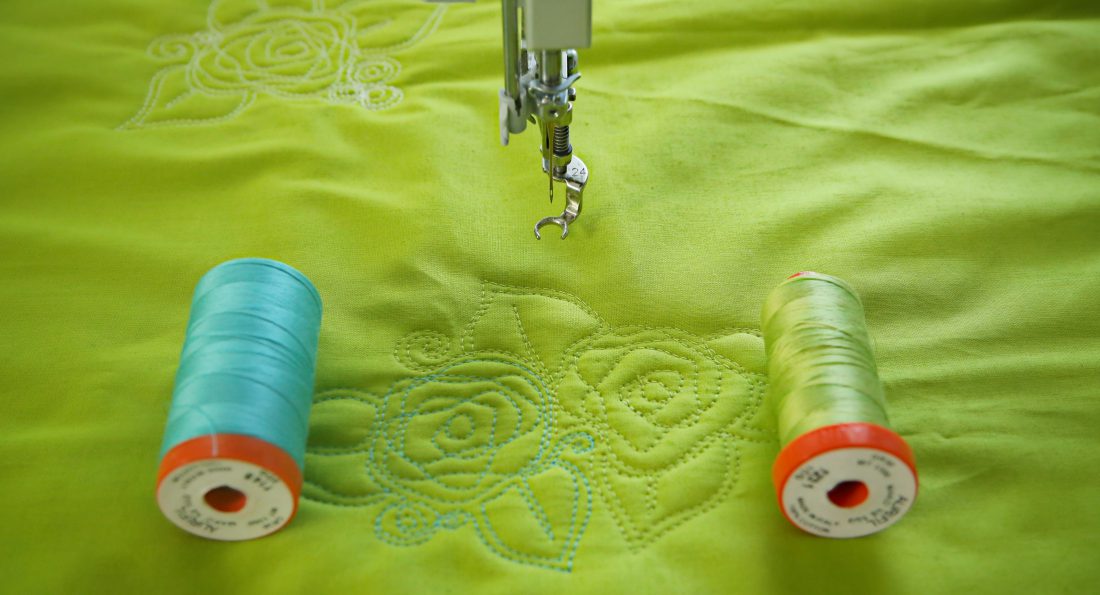
When setting up to sew for this project, you can use the same thread in the bobbin when you sew. Because I am changing thread colors several times for this project, I chose to use a plain white embroidery bobbin thread in the bottom of the machine so that I didn’t have to wind a new color each time. If you use this method, be sure to test your stitches first and decrease the top thread tension a few clicks so that the bobbin thread does not show on the top of the fabric. I use a thread stand to the side of my B 570 QE and a brand new embroidery needle sized 75/11.
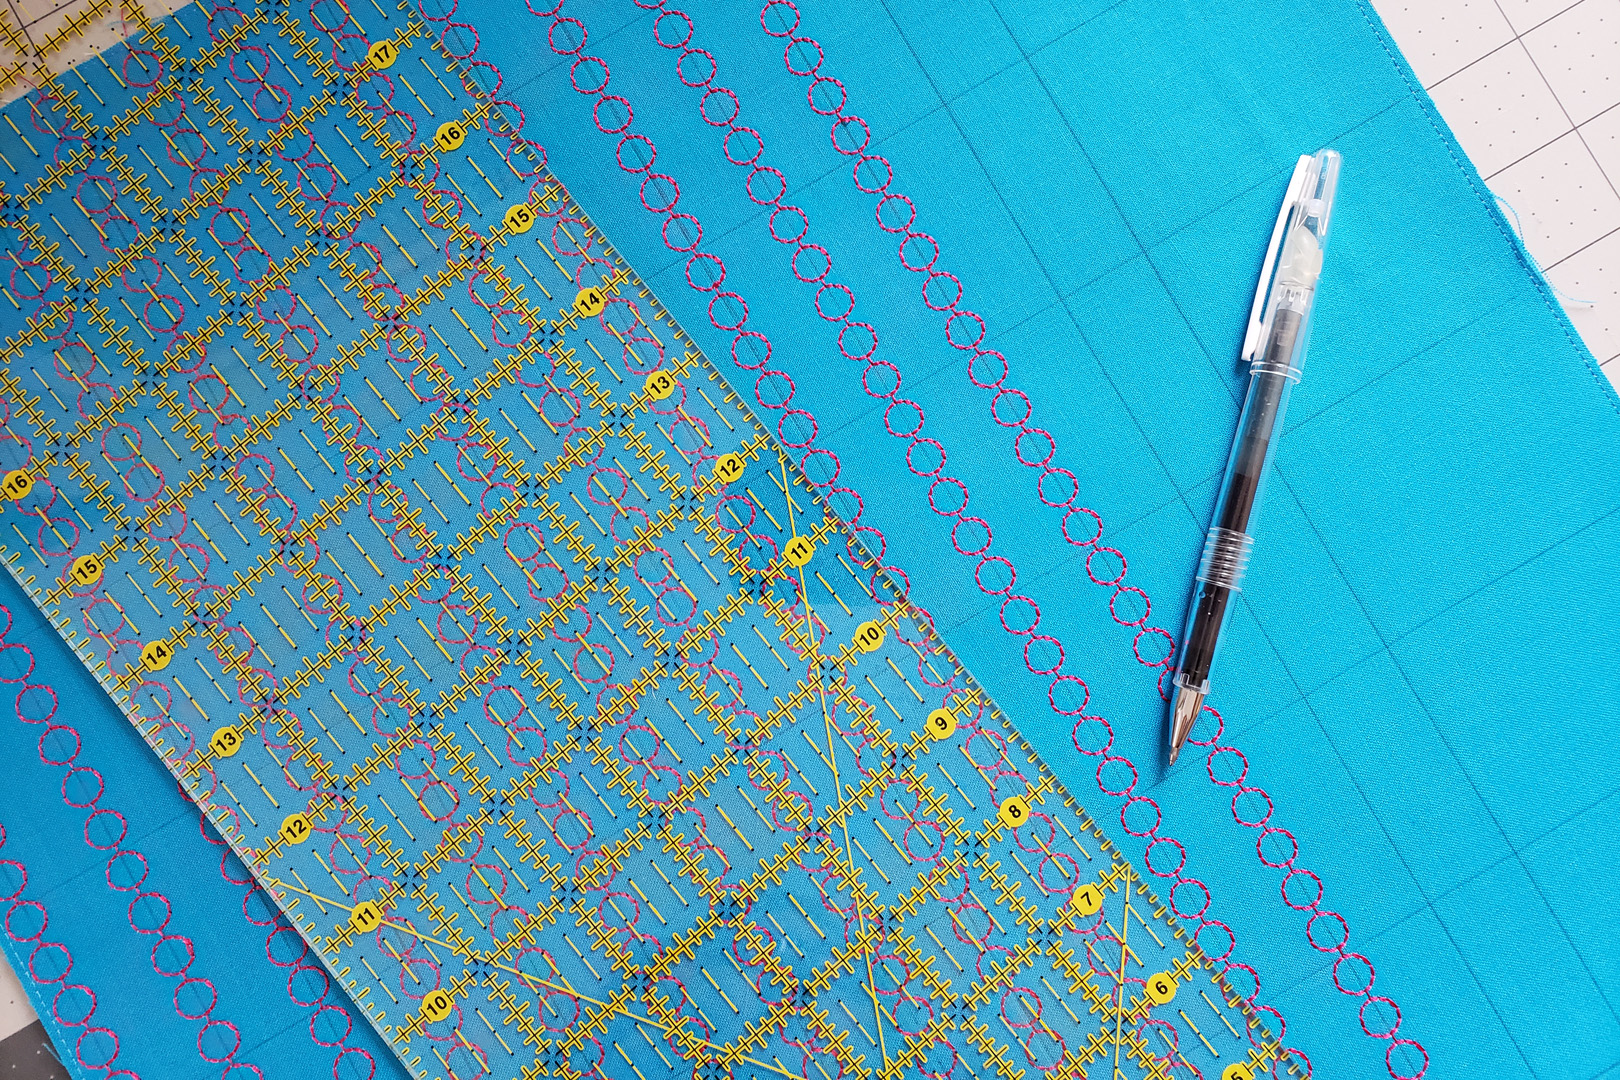
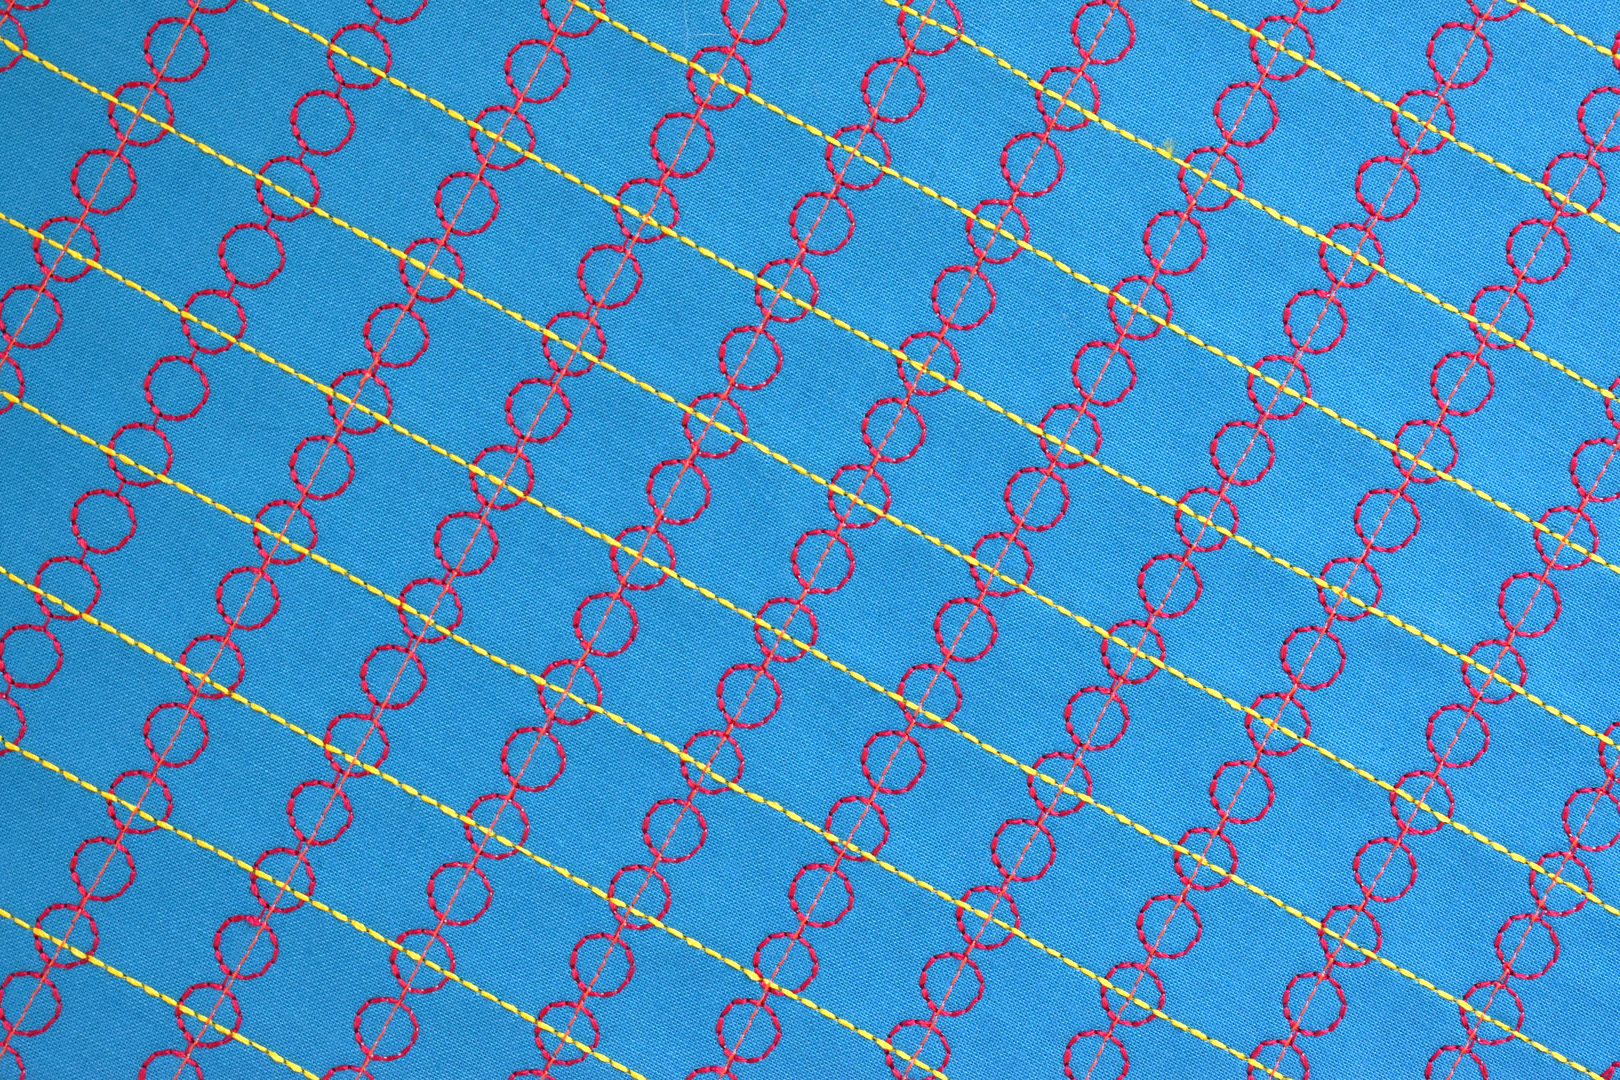
Once your fabric is stabilized, use a ruler and fabric marking pen to draw lines for your first run of stitches. The first stitches on my fabric are decorative stitch #652, and I spaced the stitches about 7/8″ apart. You can see I also created some guide marks parallel to the stitch lines to help me keep the lines square. And most importantly I added a start line across the top end of the fabric.
This start line is where I set the needle down by hand with the handwheel to make sure each row of decorative stitches began stitching at the same place on the fabric.
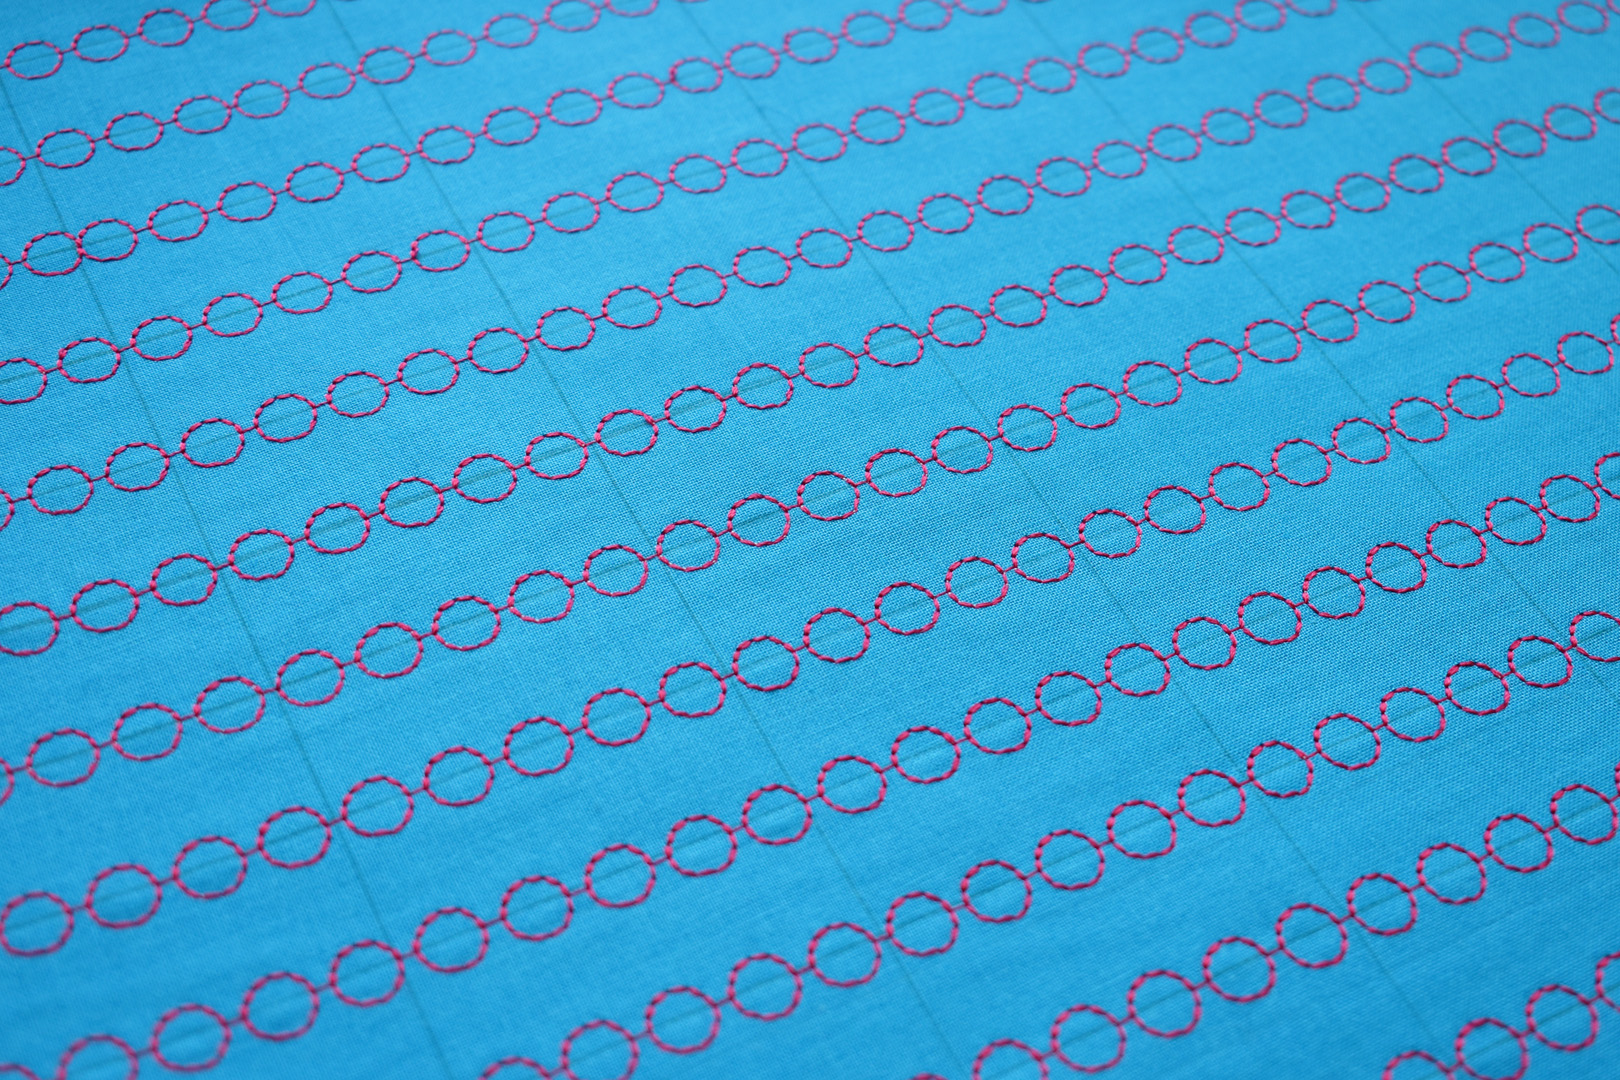
Here’s the fabric after adding the first set of stitches. The fabric marking pen I use disappears with heat, and I press the lines away before the next step.

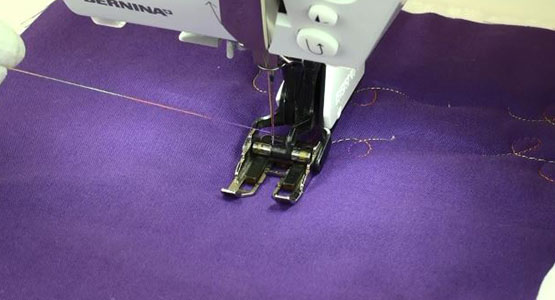
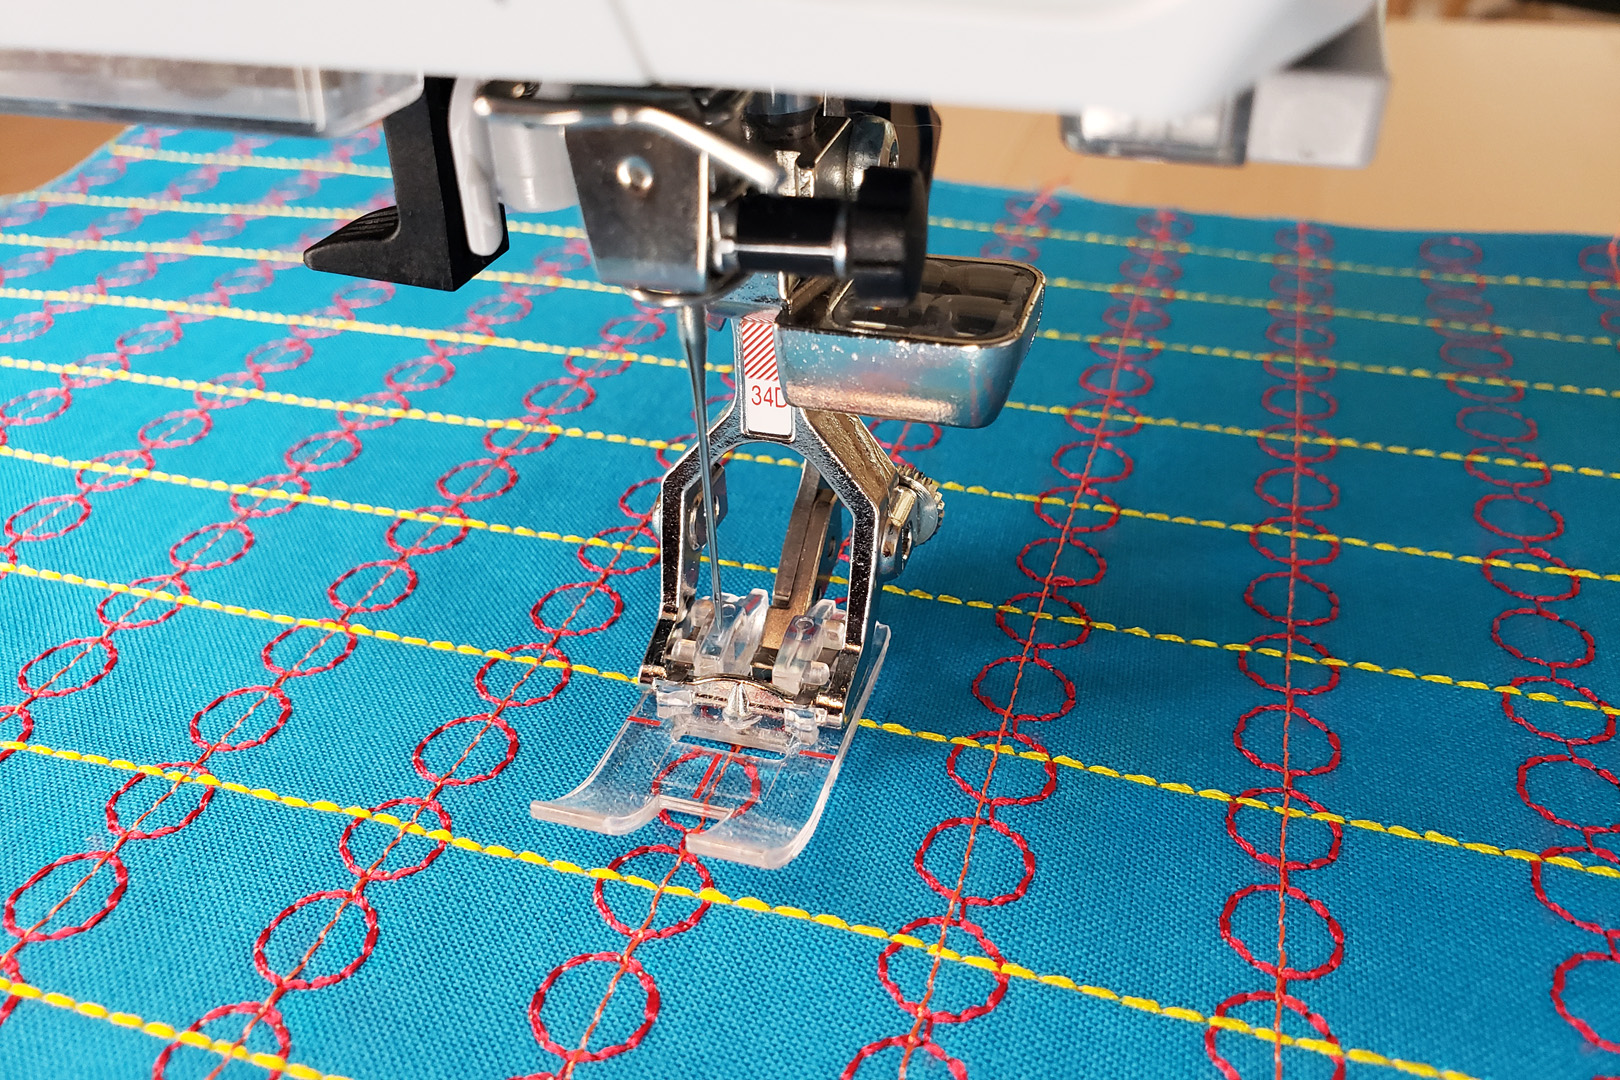
Then I add lines for the next row of stitches, a simple triple stitch #6 using yellow thread. Check out in the video below how the foot helps me follow the lines for stitching.
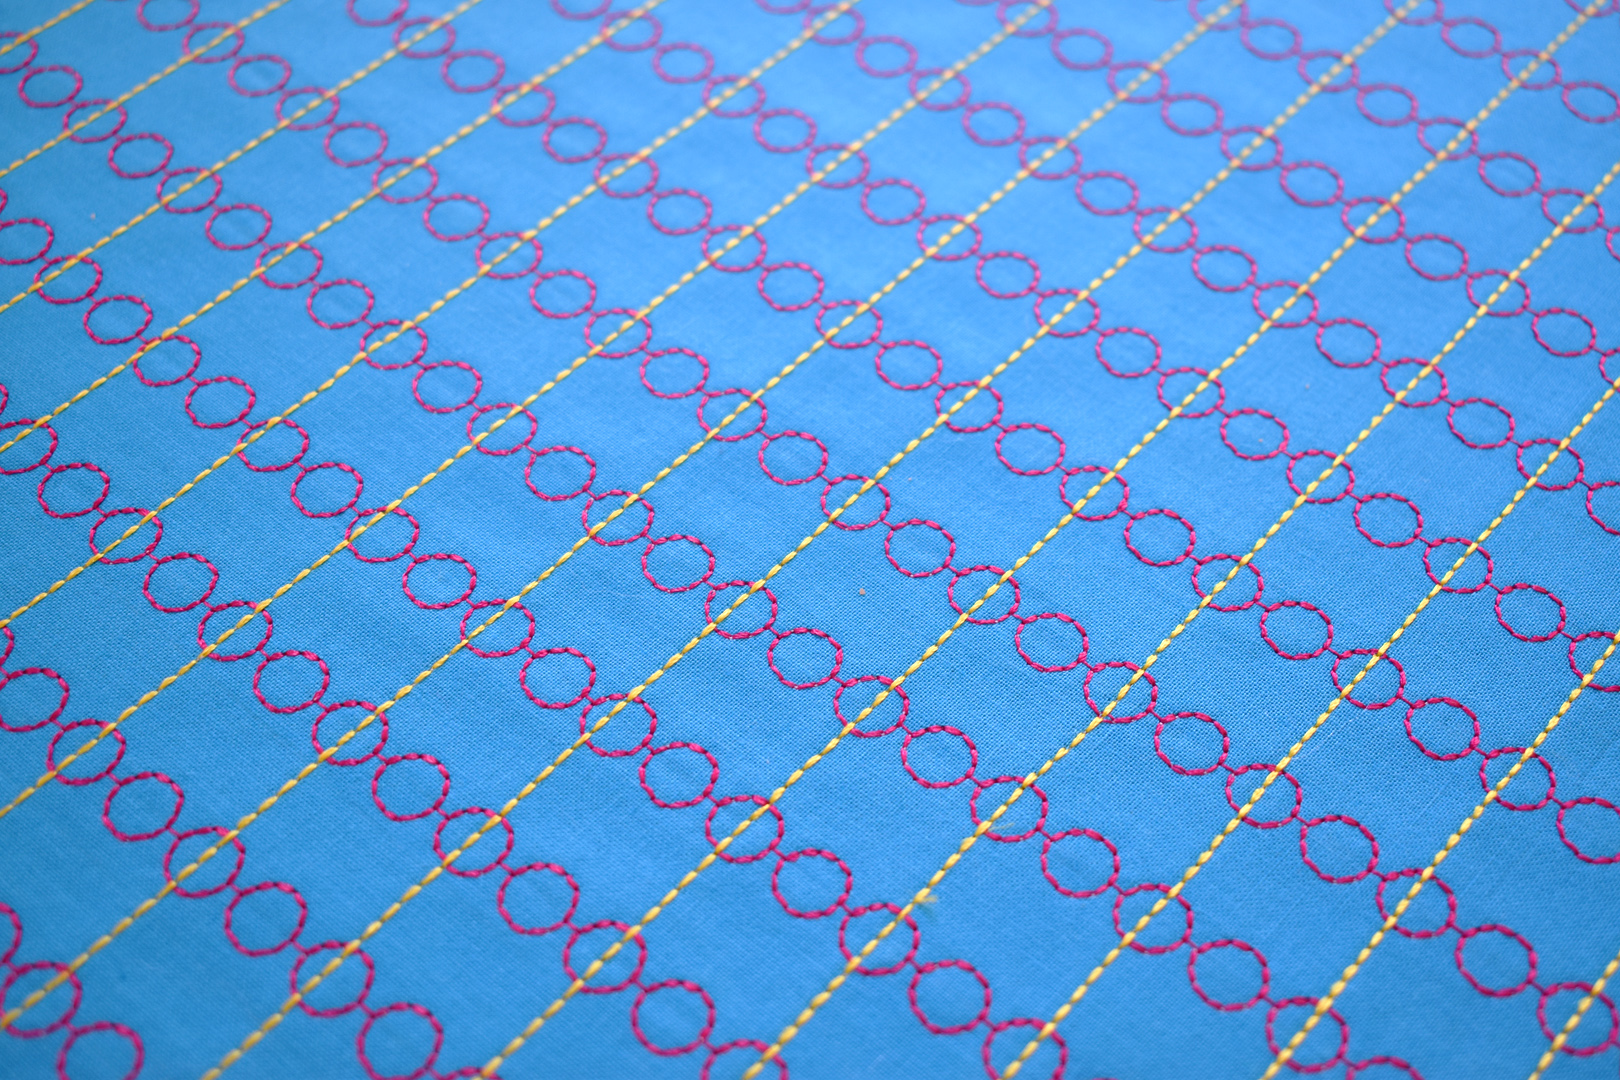
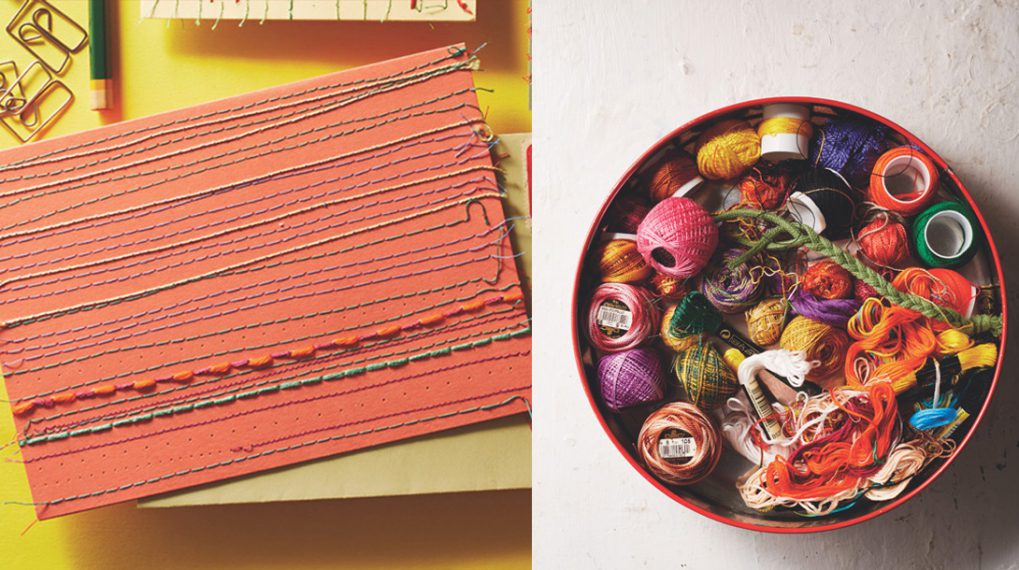
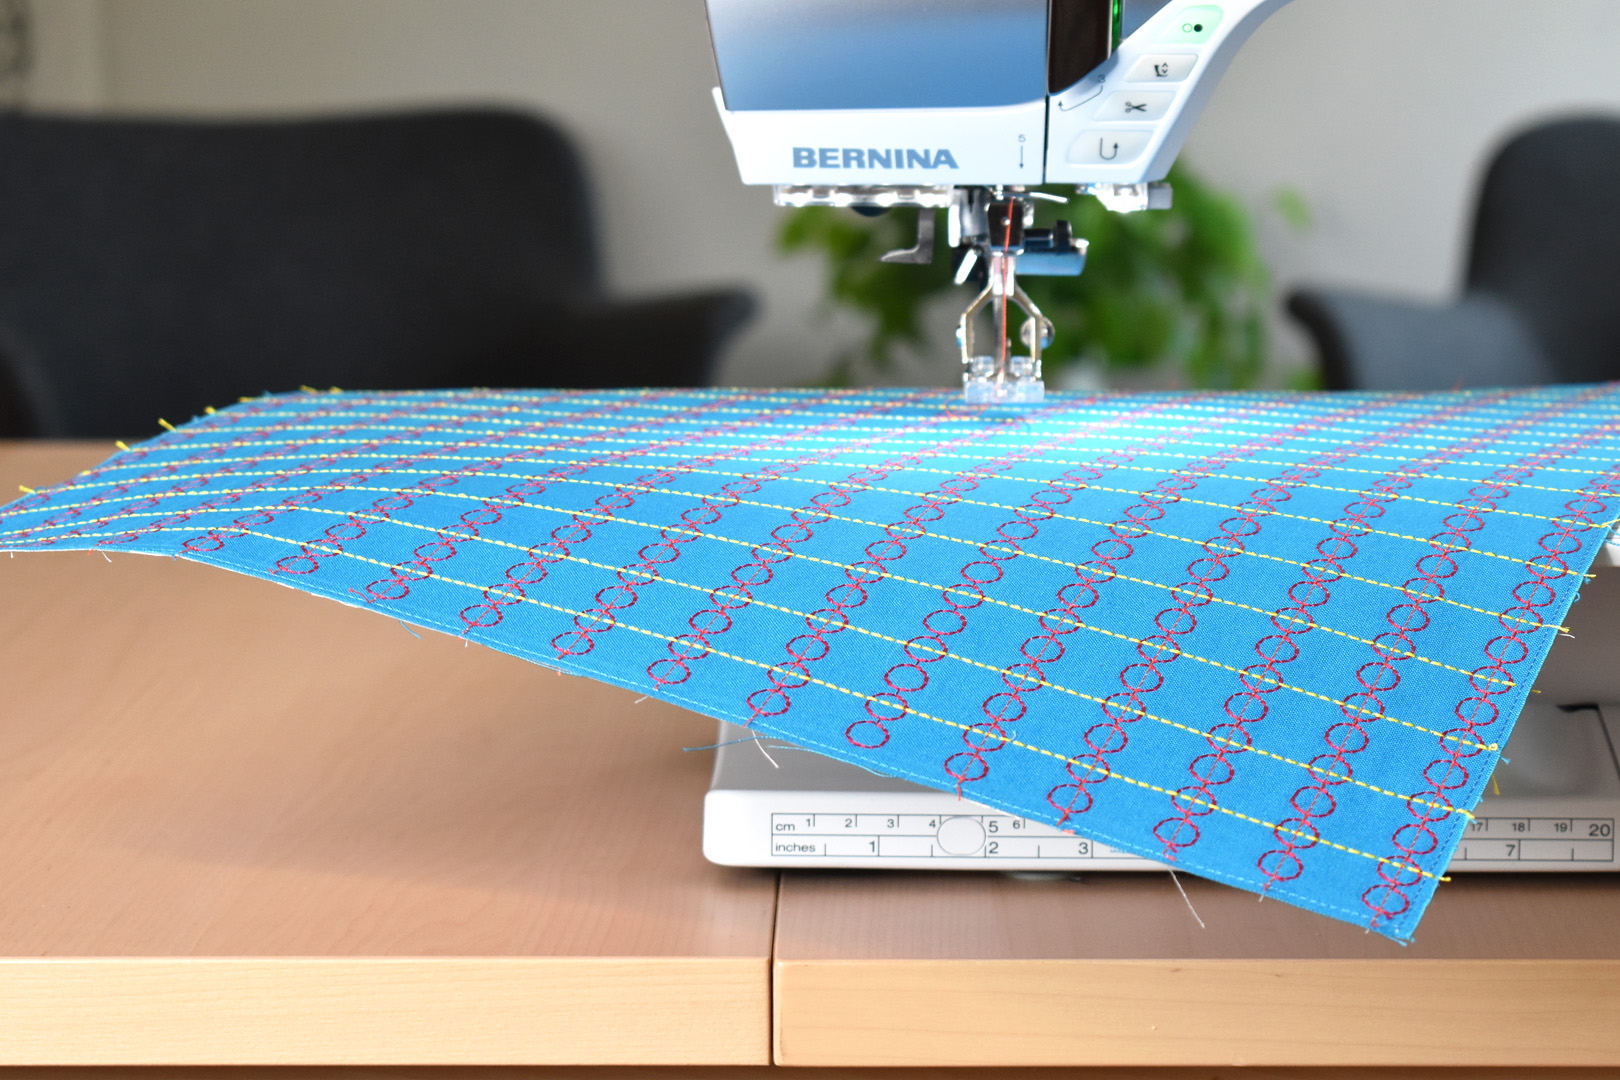
Here is the fabric after adding the yellow triple stitch. The last stitch I added was a simple straight stitch #1 with an orange thread following through the center of the circles stitches.
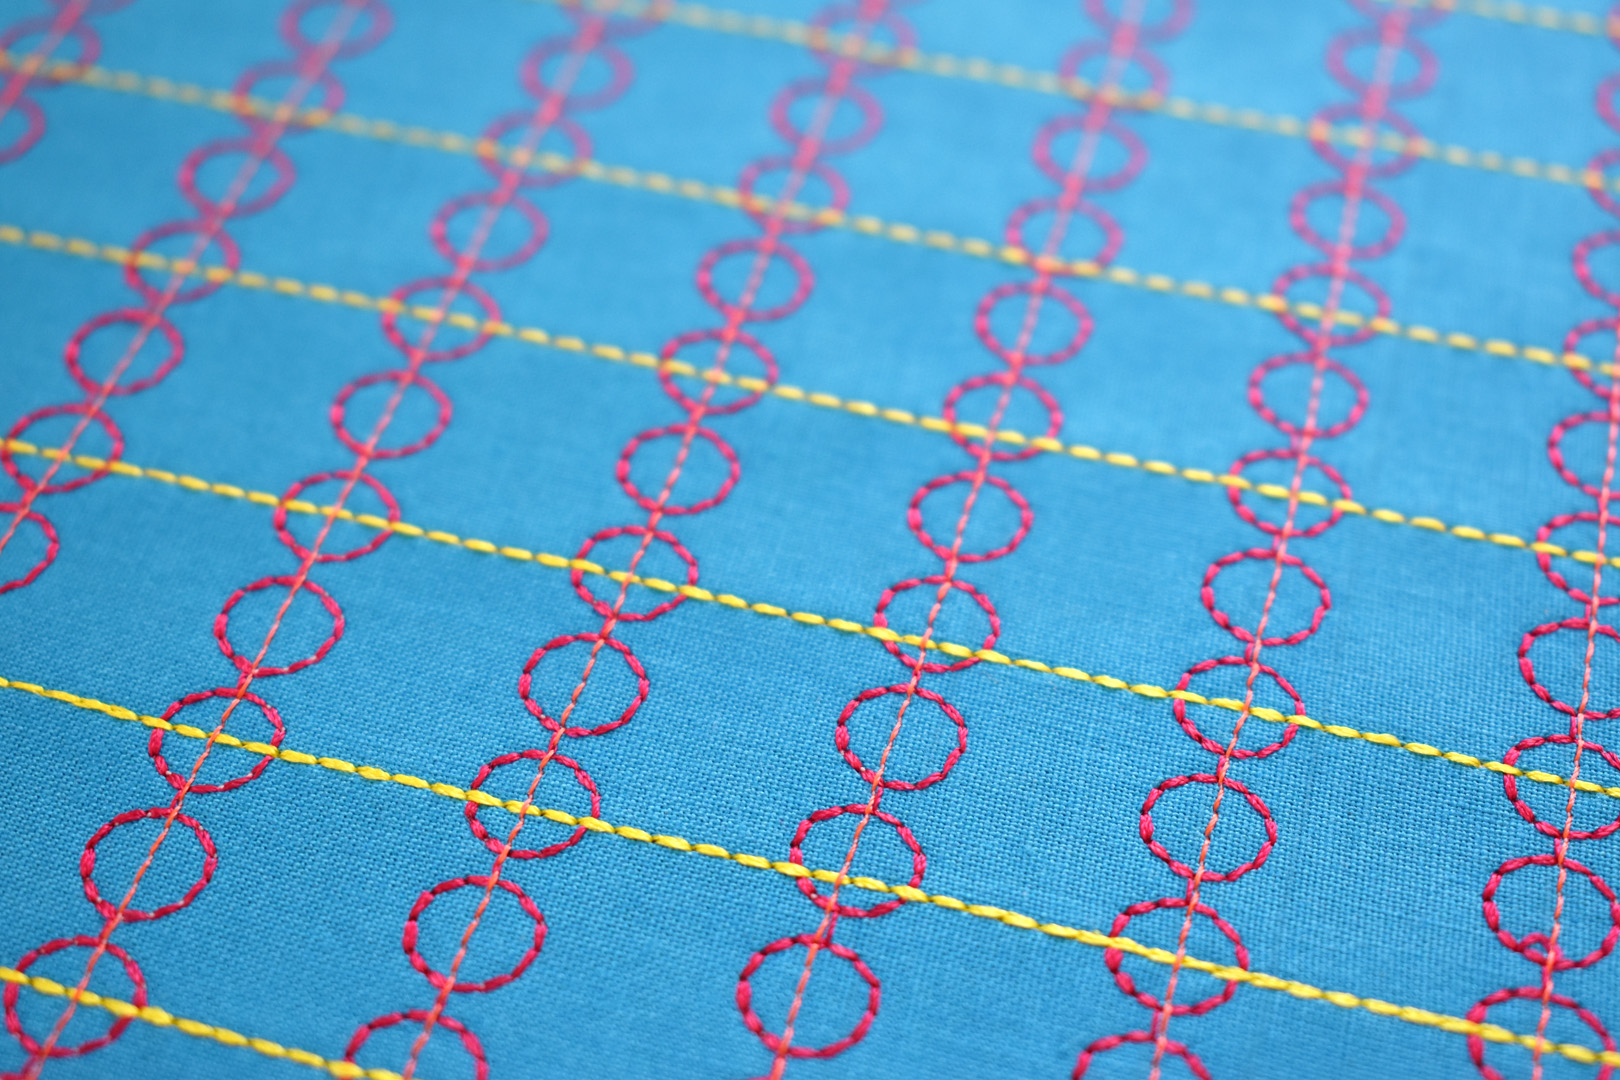
The finished fabric now is embellished with color and pattern!